 BERNINA Corporate Blog -
An ideal project for spring is this paper piecing egg in spring. Ideal for recycling fabric, because you make a patchwork of all kinds of scraps.
Some time ago, I watched tutorials on paper piecing on YouTube. I thought it was fascinating. Today I give it a go! I want to share the information with you in an easy ‘first trial’.
The basic principle is to sew scraps right on a paper pattern. Your lines and corners will be very neat. Look how it works.
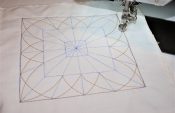
The pattern is drawn in CorelDRAW, the drawing software that comes with the BERNINA Embroidery Software 8.
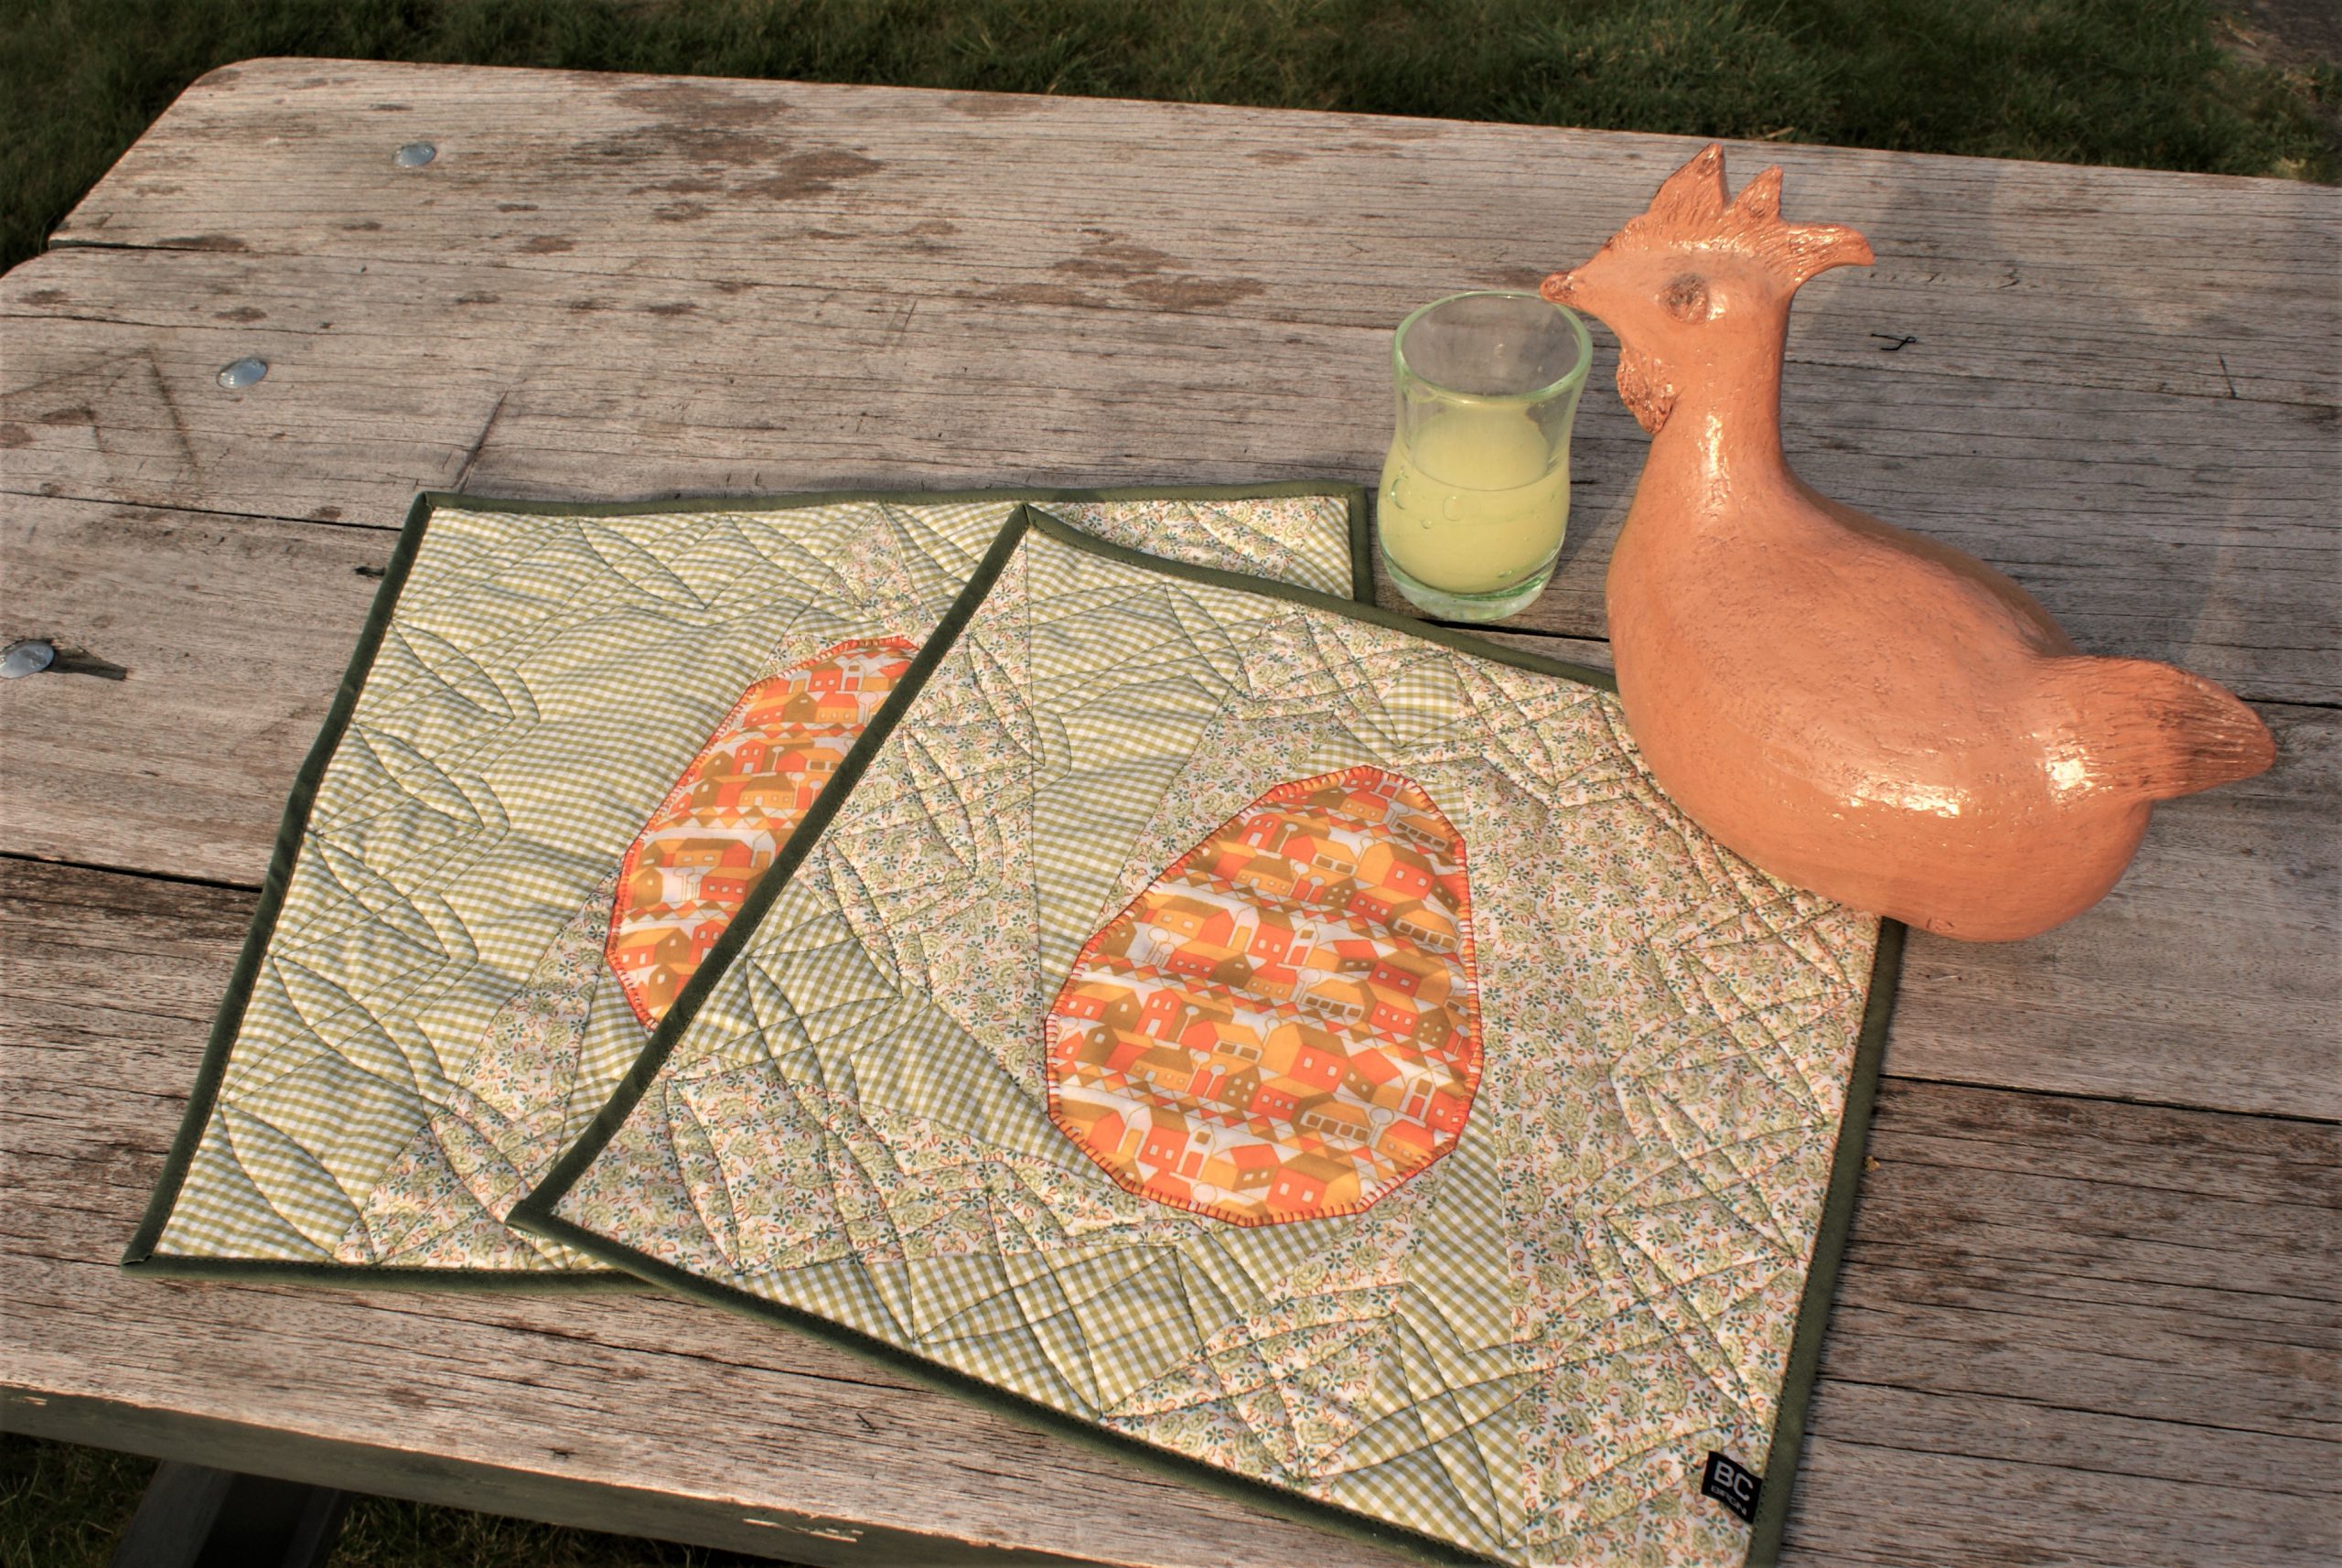
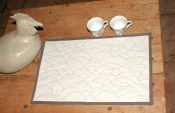
The finished placemat in paper piecing.
Supplies for the paper piecing egg:
- Scraps of fabric yellow-orange for the egg(18 x 24 cm) and matching green for the backgroud (I took 2 borders of 25 cm x 140 cm each).
- Lightweight fiberfill (45 x 45 cm)
- Lightweight cotton fabric to sew to the fiberfill (tip: perfect re-use of an old sheet
 )
) - Fabric for the back of the placemat (45 x 45 cm).
- 1.8 m biastape of 4 cm wide (finish it with binderattachment 87, width 25 mm).
- Mettler Seralon sewing thread in matching color.
- A cutting mat, ruler and rotary cutter are useful (as well as a special ruler for paper piecing).
- BERNINA 740
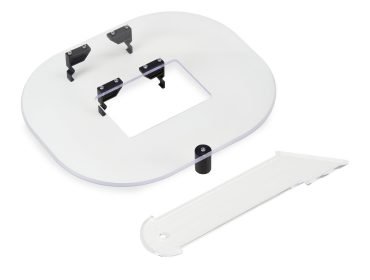
- Ruler work kit
- Download the pattern here Paasei Easter egg 2021

 The specific ruler for paper piecing has a raised ege of 1/4 inch, mine has an 8 mm edge (hubby made it for me). On this picture it is the bronze coloured edge of the ruler. Thanks to the relief, you can place it easily against the folded paper, this makes it easy to cut the seam allowance with the rotary cutter.
This is a very useful tool, but it is not indispensable.
Let’s get started with the paper piecing egg:
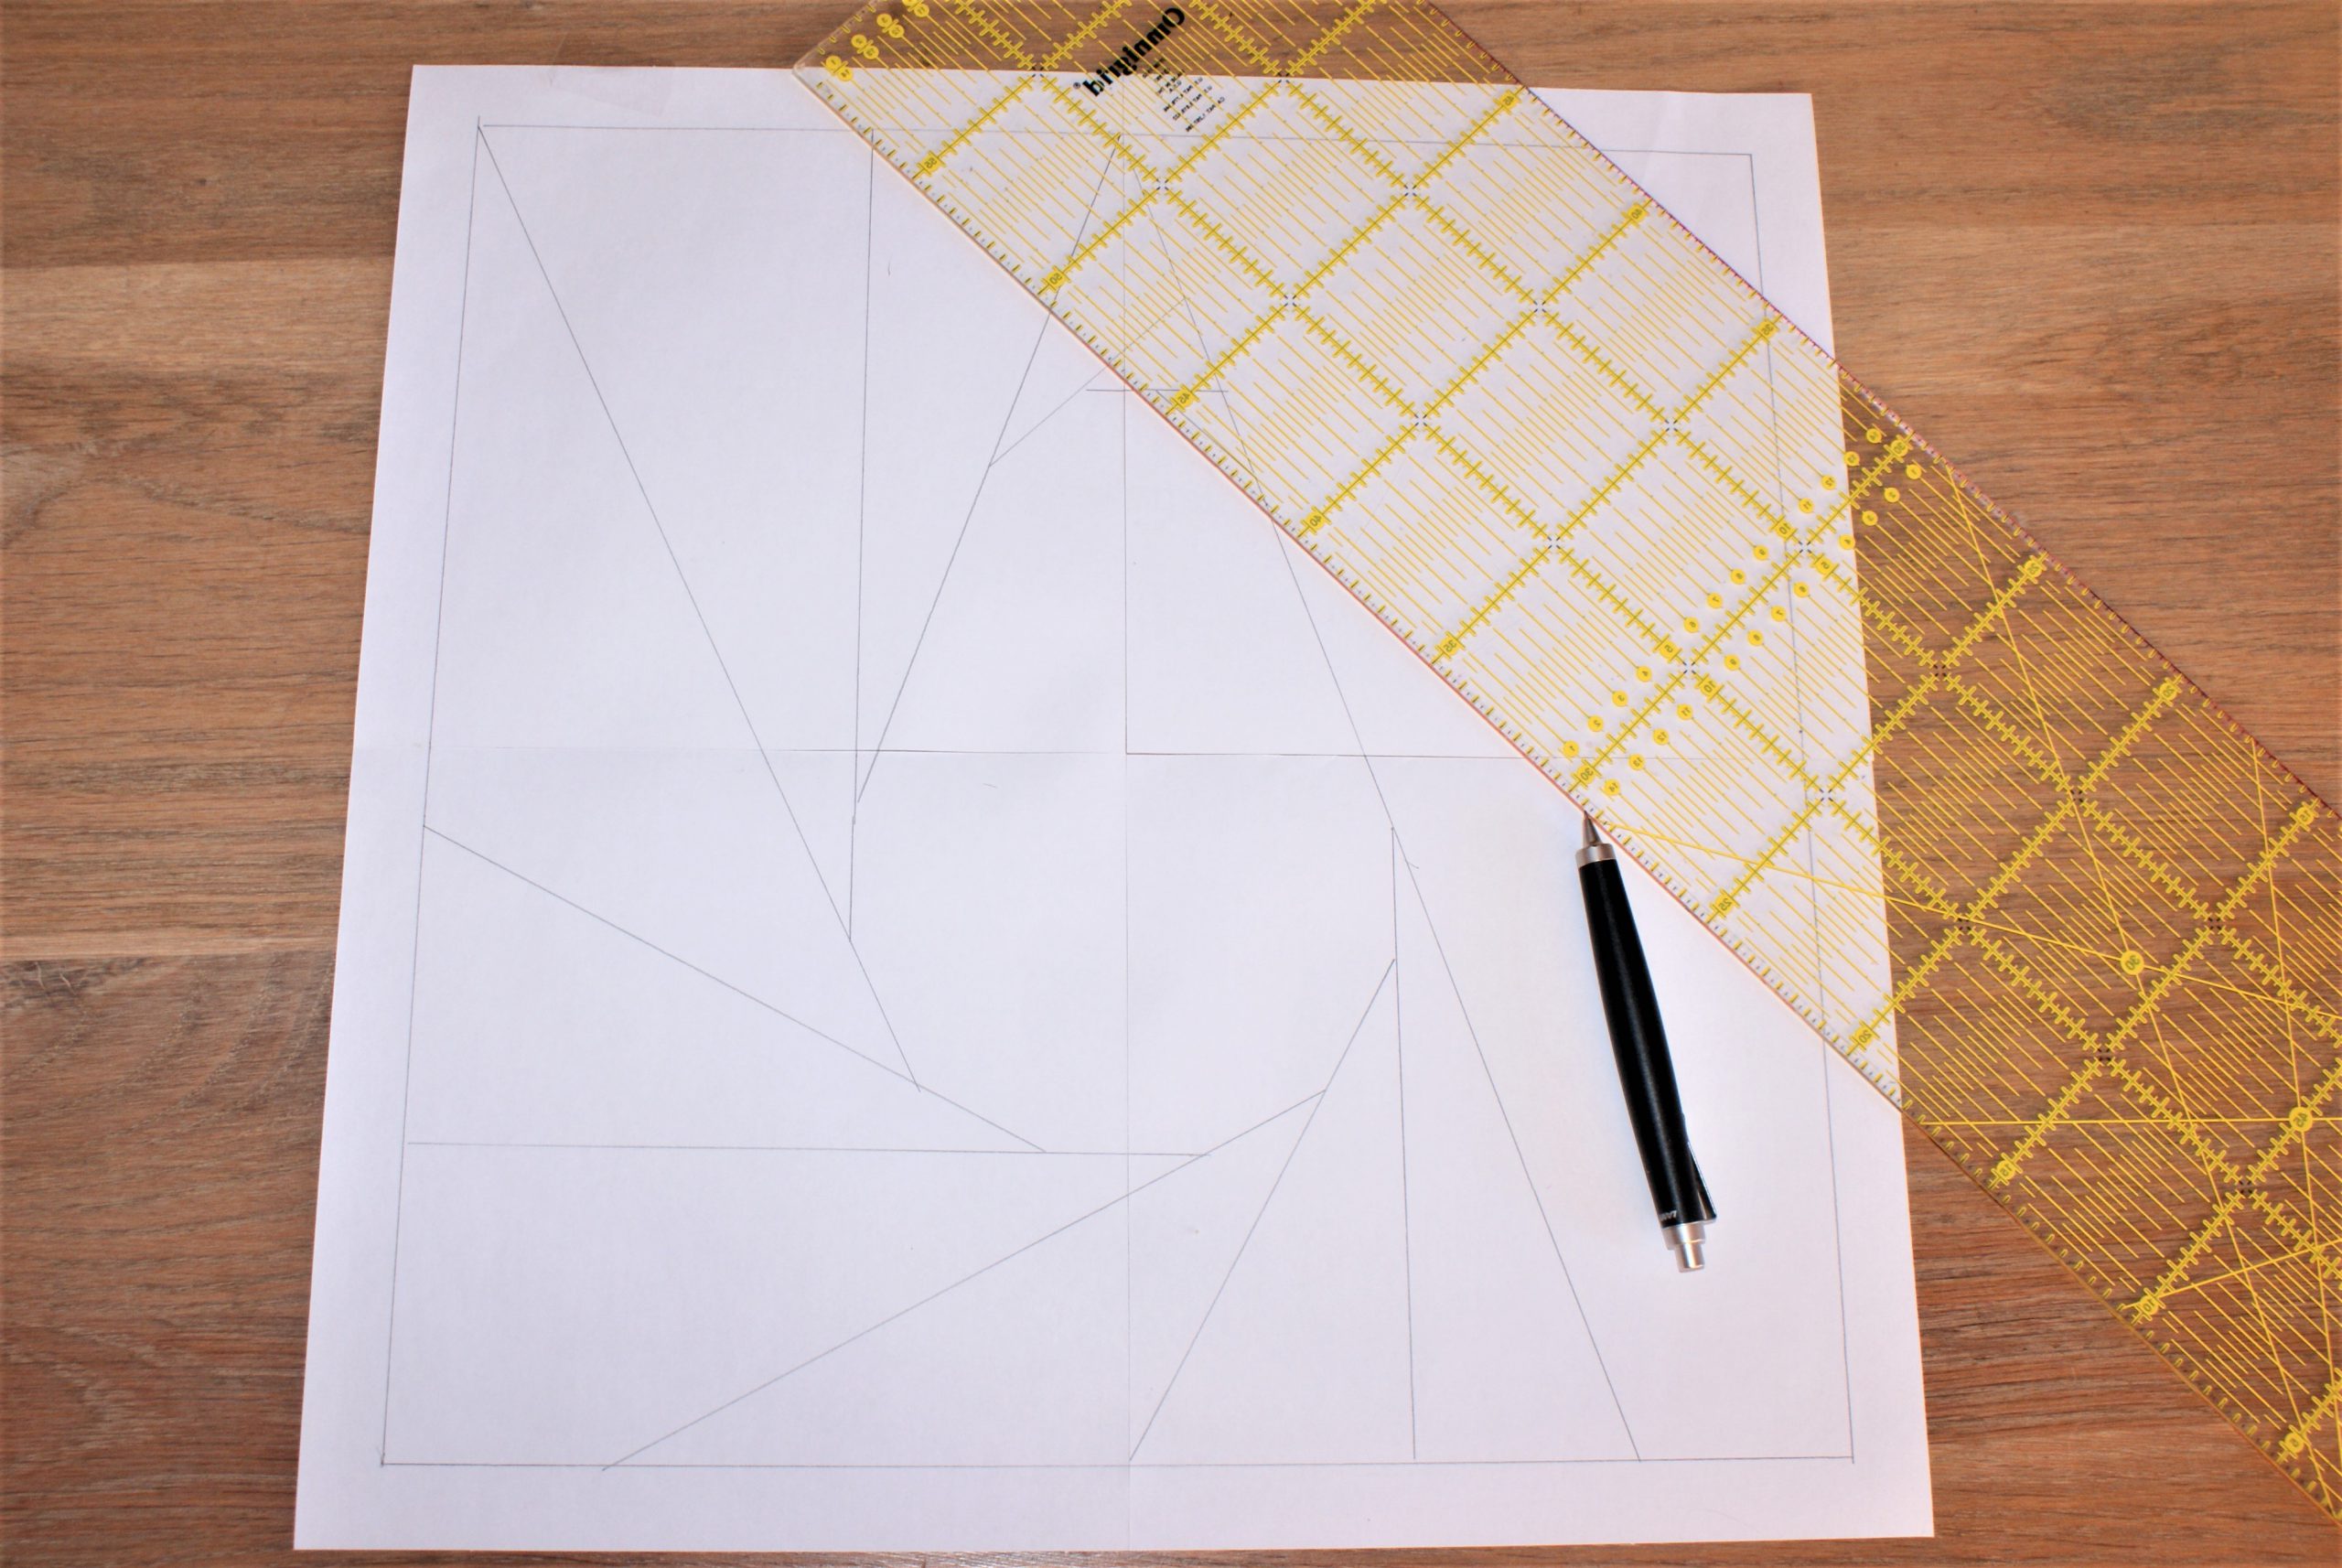
Download the pattern. Set printer settings to ‘poster’, ‘100%’. It is setup for 4 pages size A4.
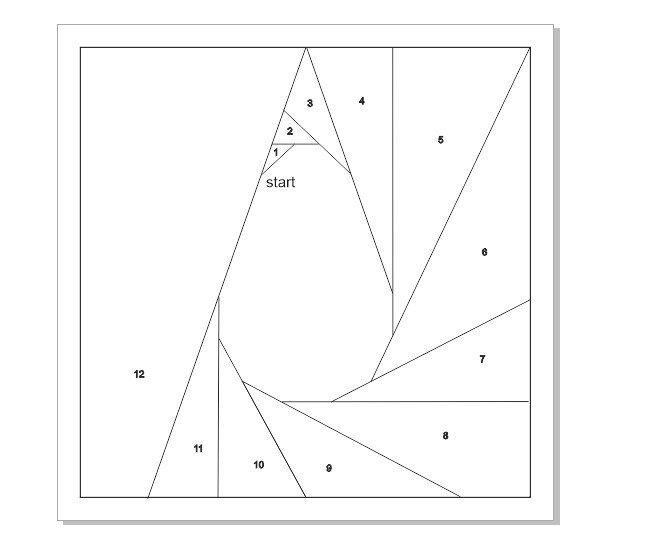
Do you notice the pattern is the mirror image of the placemat? It is because you are sewing on the back side of your work. You will see how it goes:
I felt it is easy to redraw the lines of the pattern to the backside of the pattern. Hold it against a window to draw on the back side of the pattern.
 At first, you put the yellow-orange fabric on the back of the pattern (wrong side of the fabric to the back of the pattern). Check if the shape is totally covered, and you have a 1 cm seam allowance all around the shape.
 Sew the outline of the egg on the right side of the pattern (the printed side).
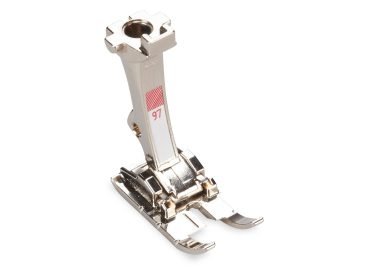
With the Patchwork foot # 97 you have a clear view on the sewing line.

When the outline is sewn, you will trim the seam allowance.
Fold the pattern along every separate line over towards the egg shape. Using a cardboard, you will have a straight line and a sharp crease. In this picture, the pattern is a mirror image of the one you will download. It was my first try.
 So you fold the pattern over (right side of the fabric on the mat and fold the pattern towards you) and you see surplus of fabric that must be trimmed. Cut away the excess of fabric with the paper piecing ruler and the rotary cutter.
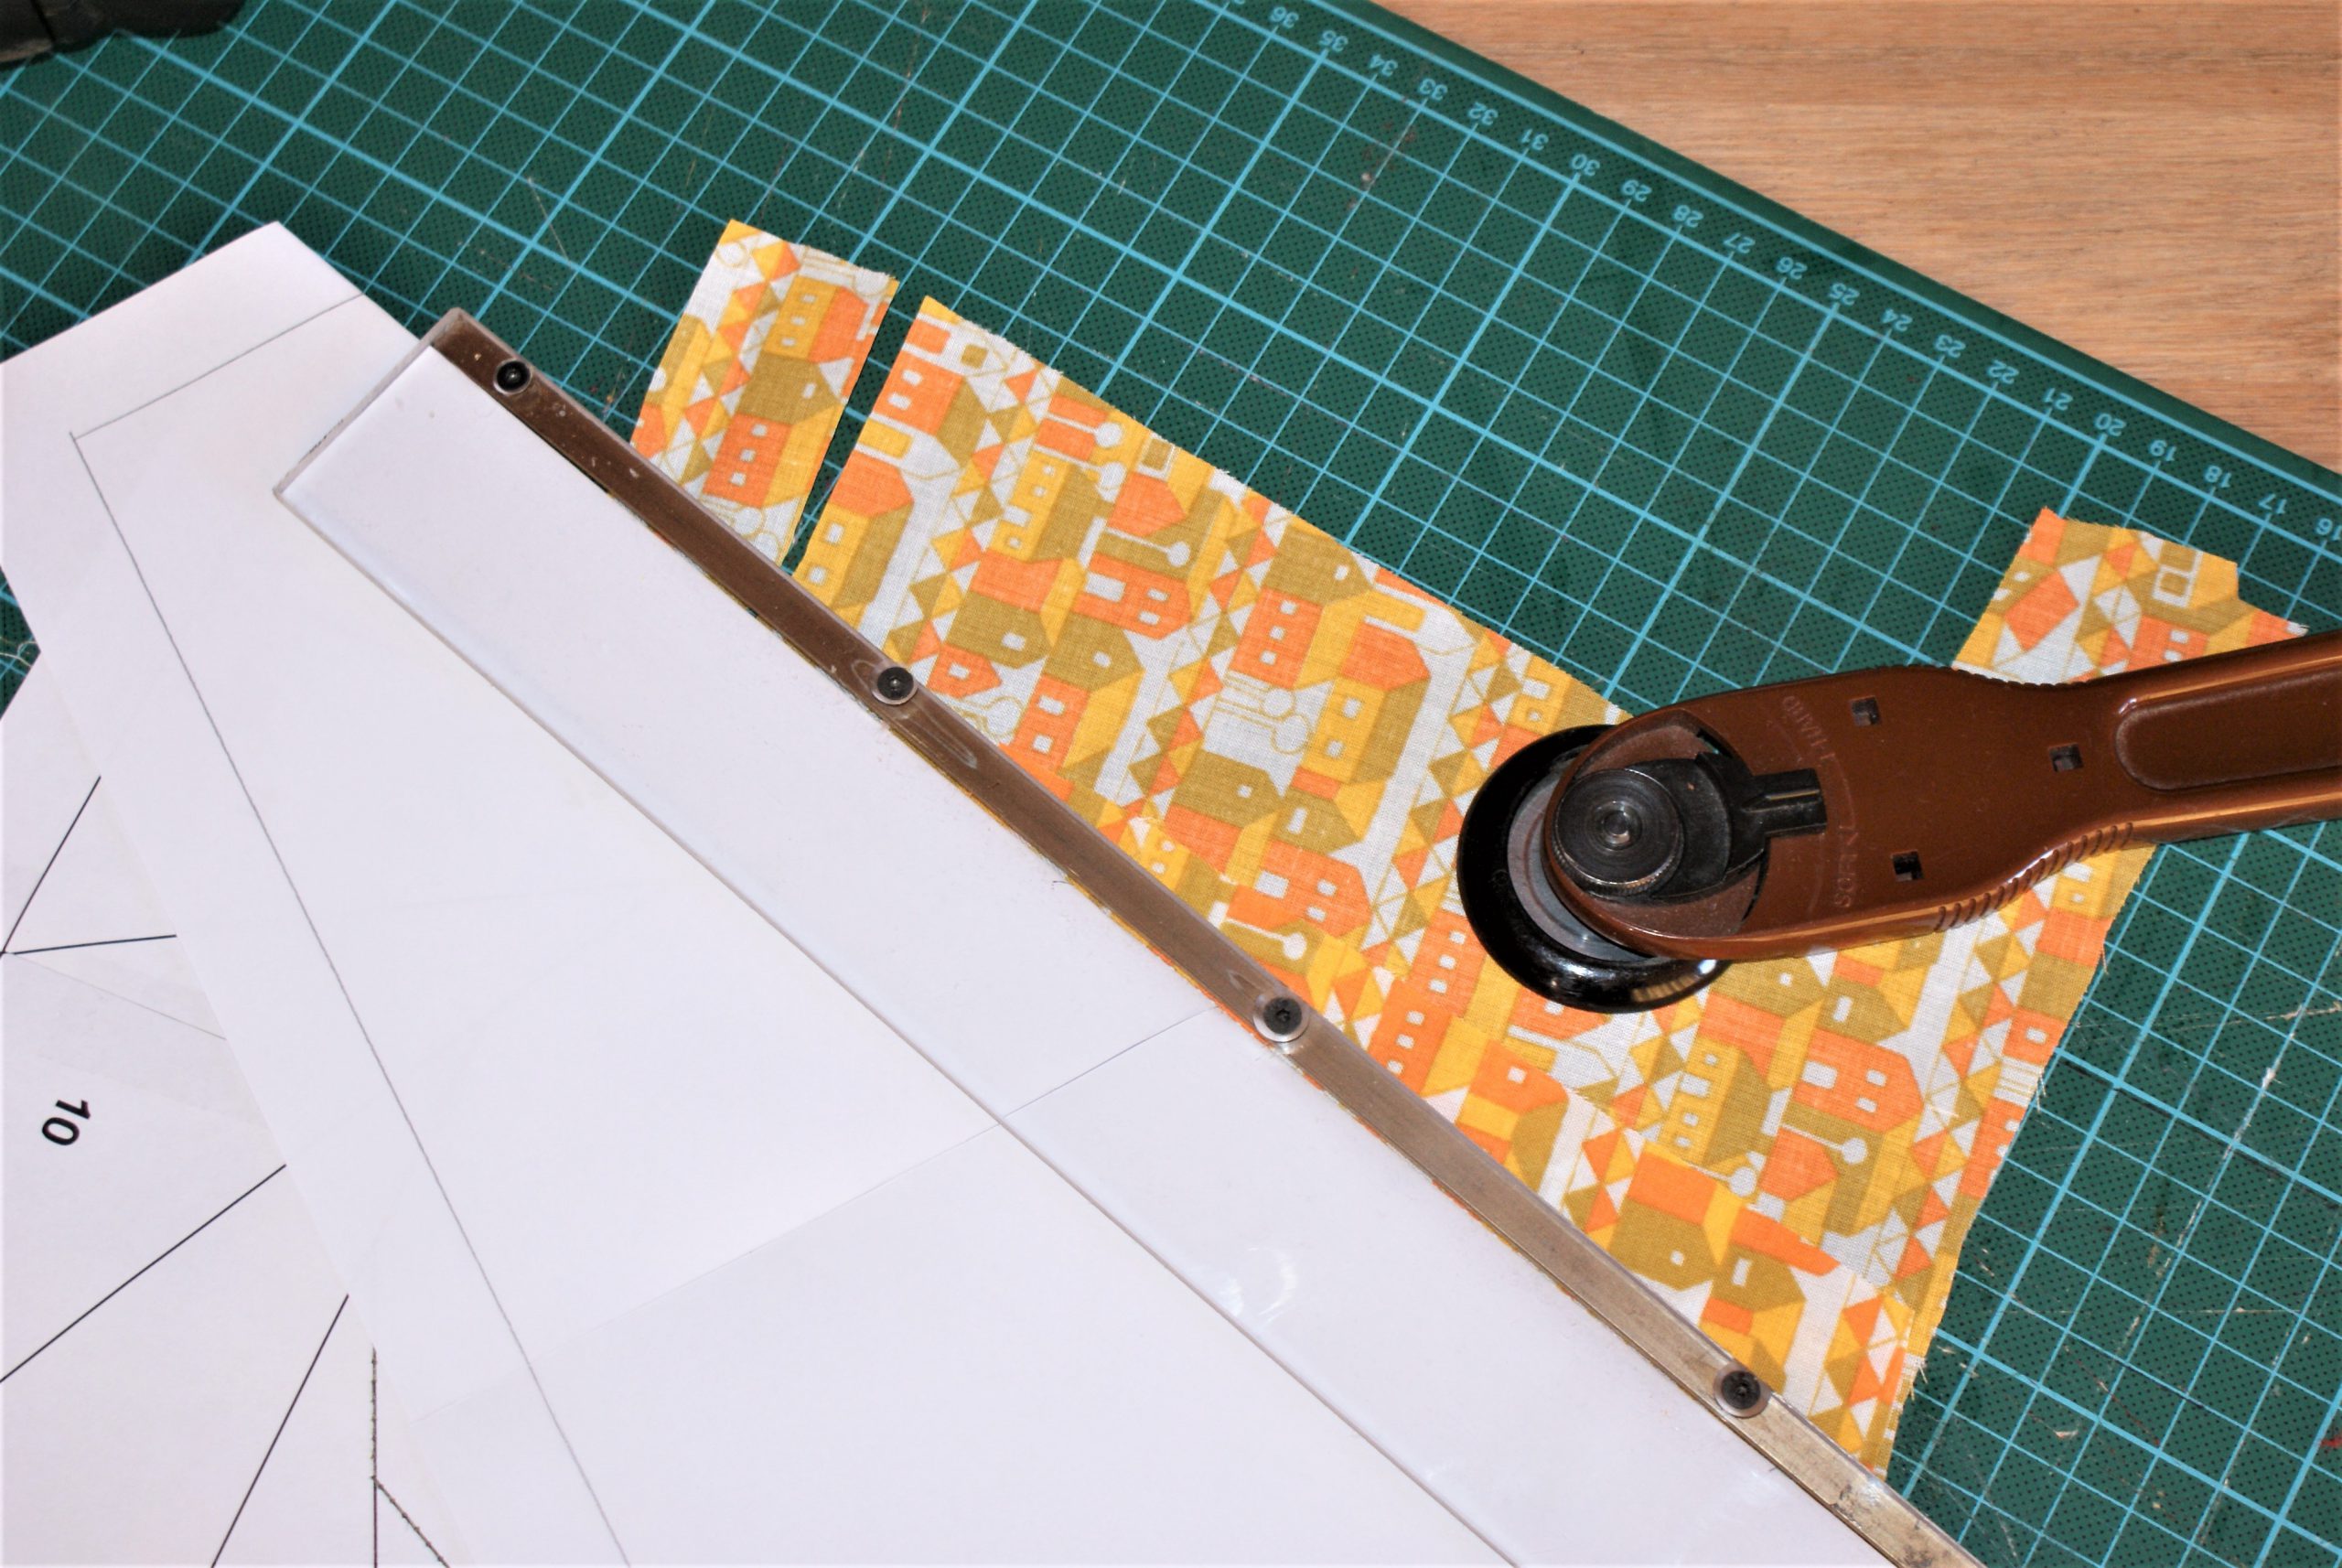 Keep a 7 to 8 mm seam allowance after cutting away the excess of fabric:
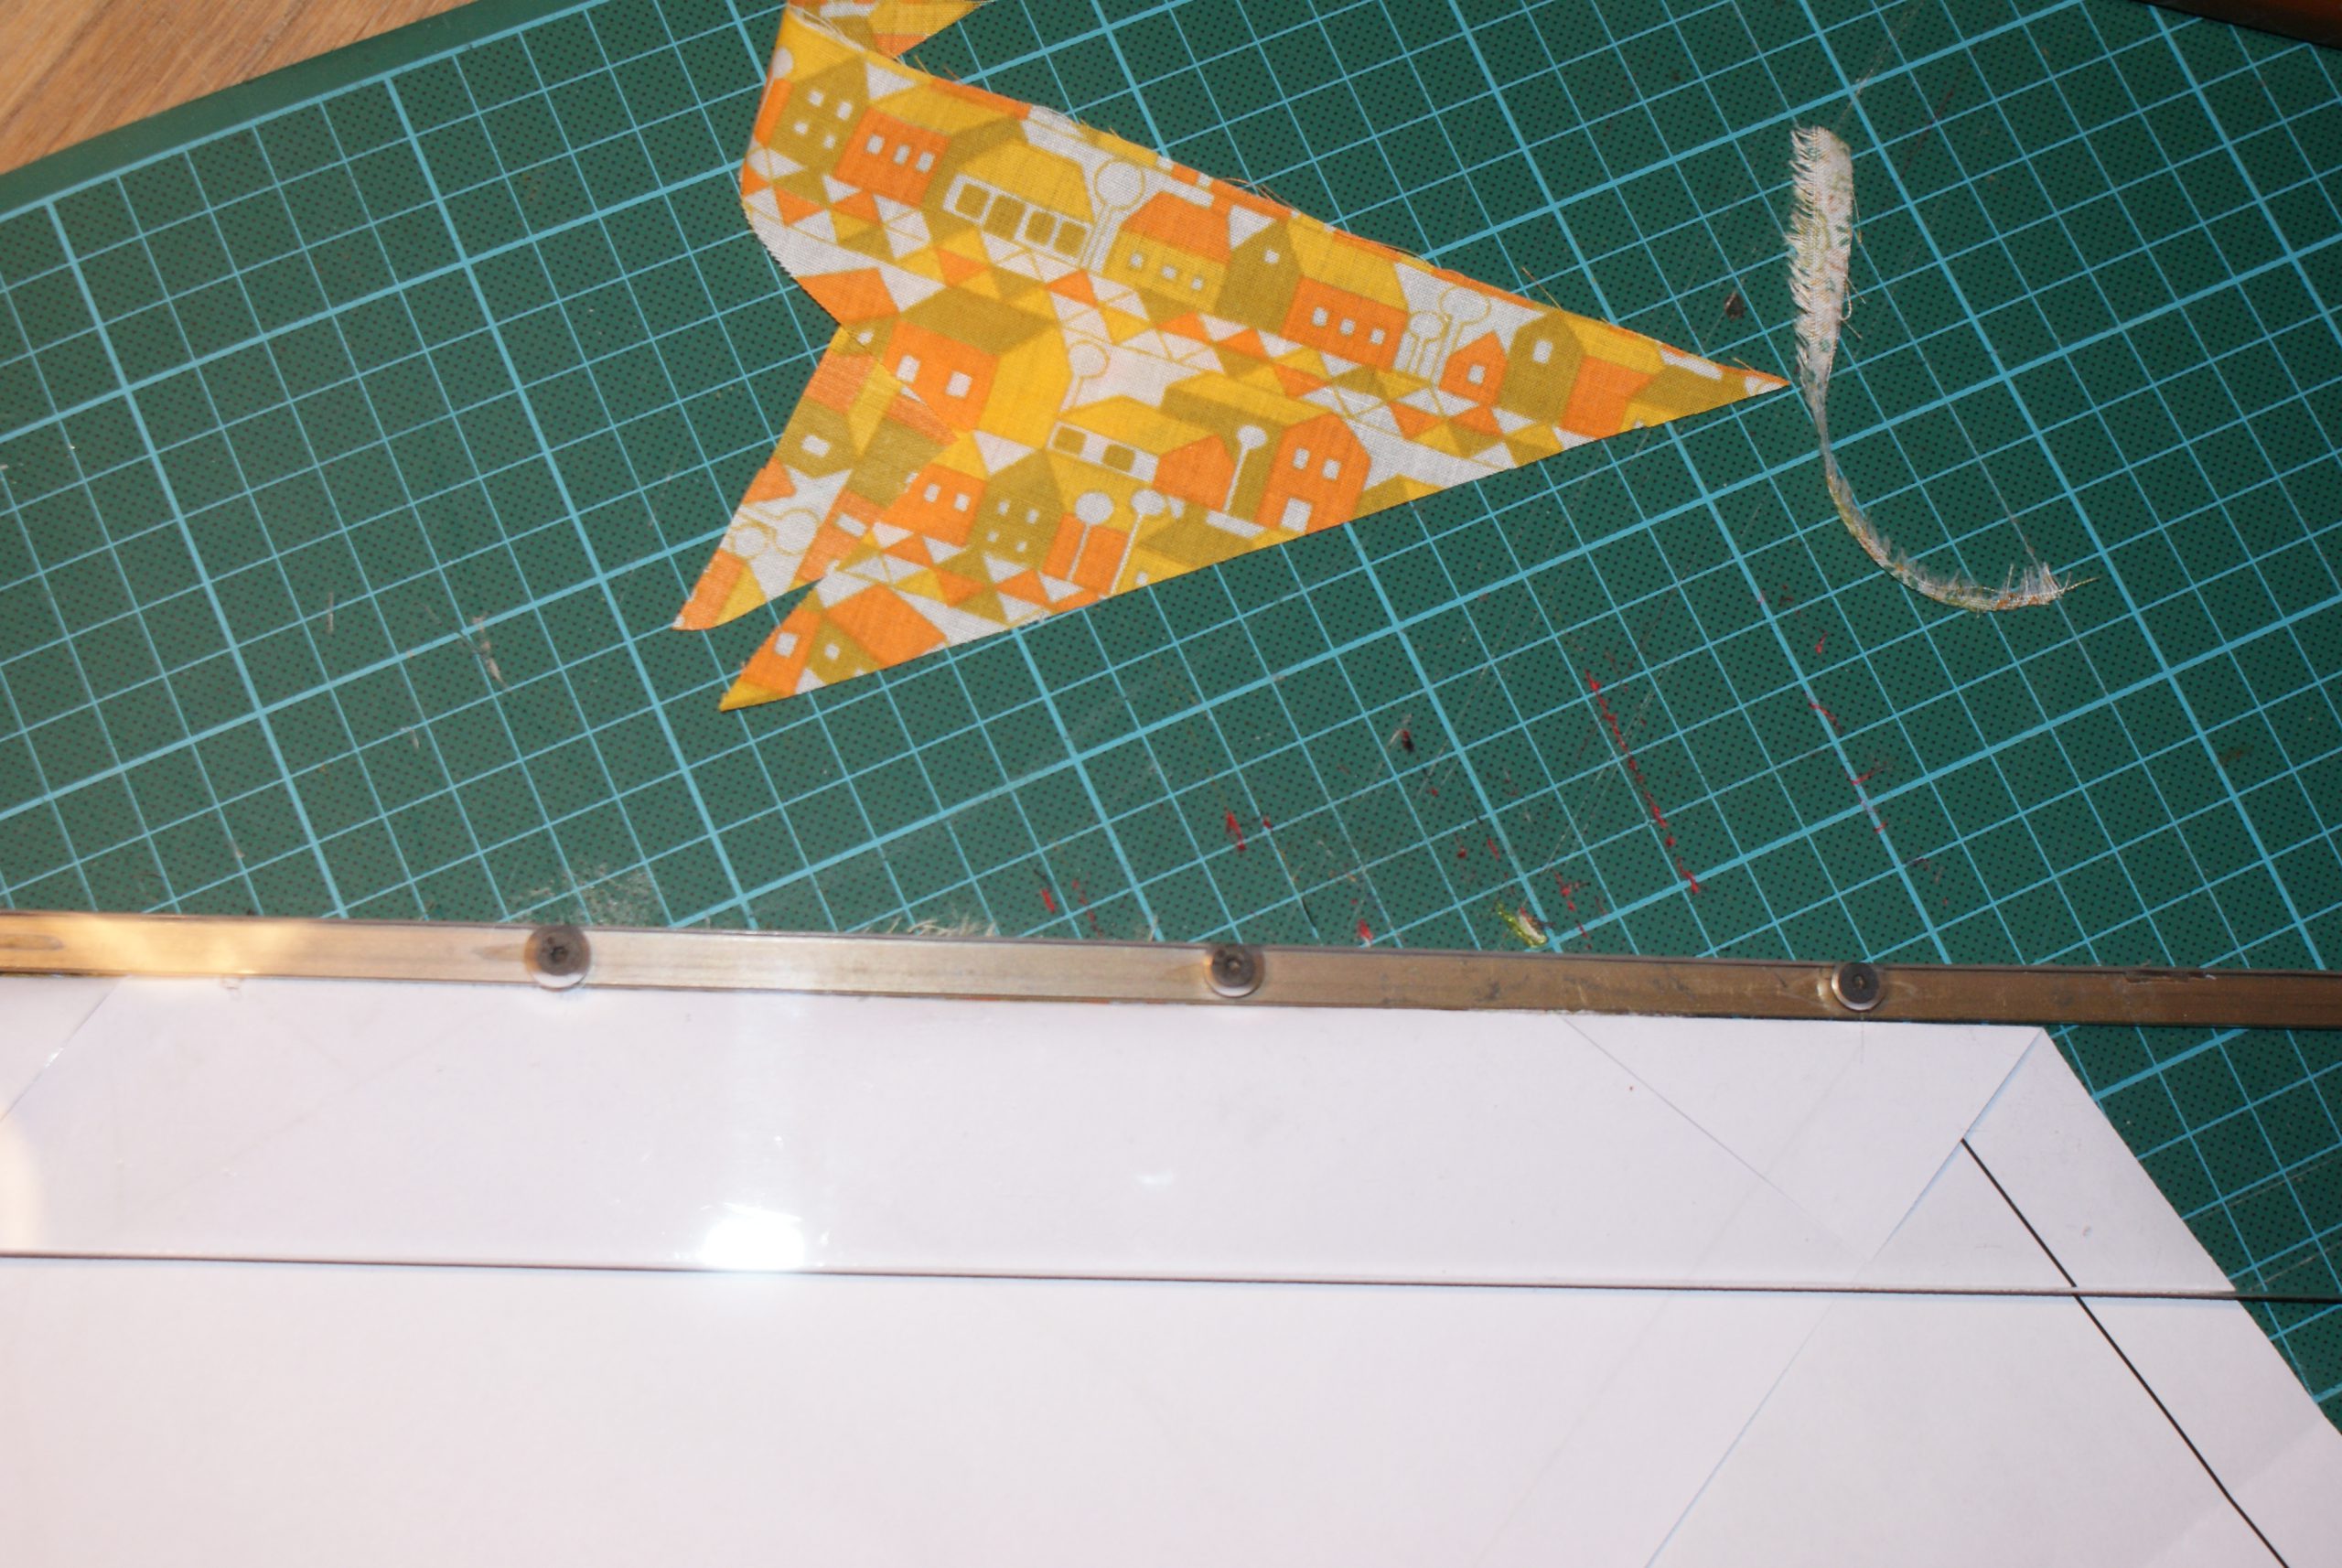 This is your neat seam allowance, repeat this step for all lines of the egg.
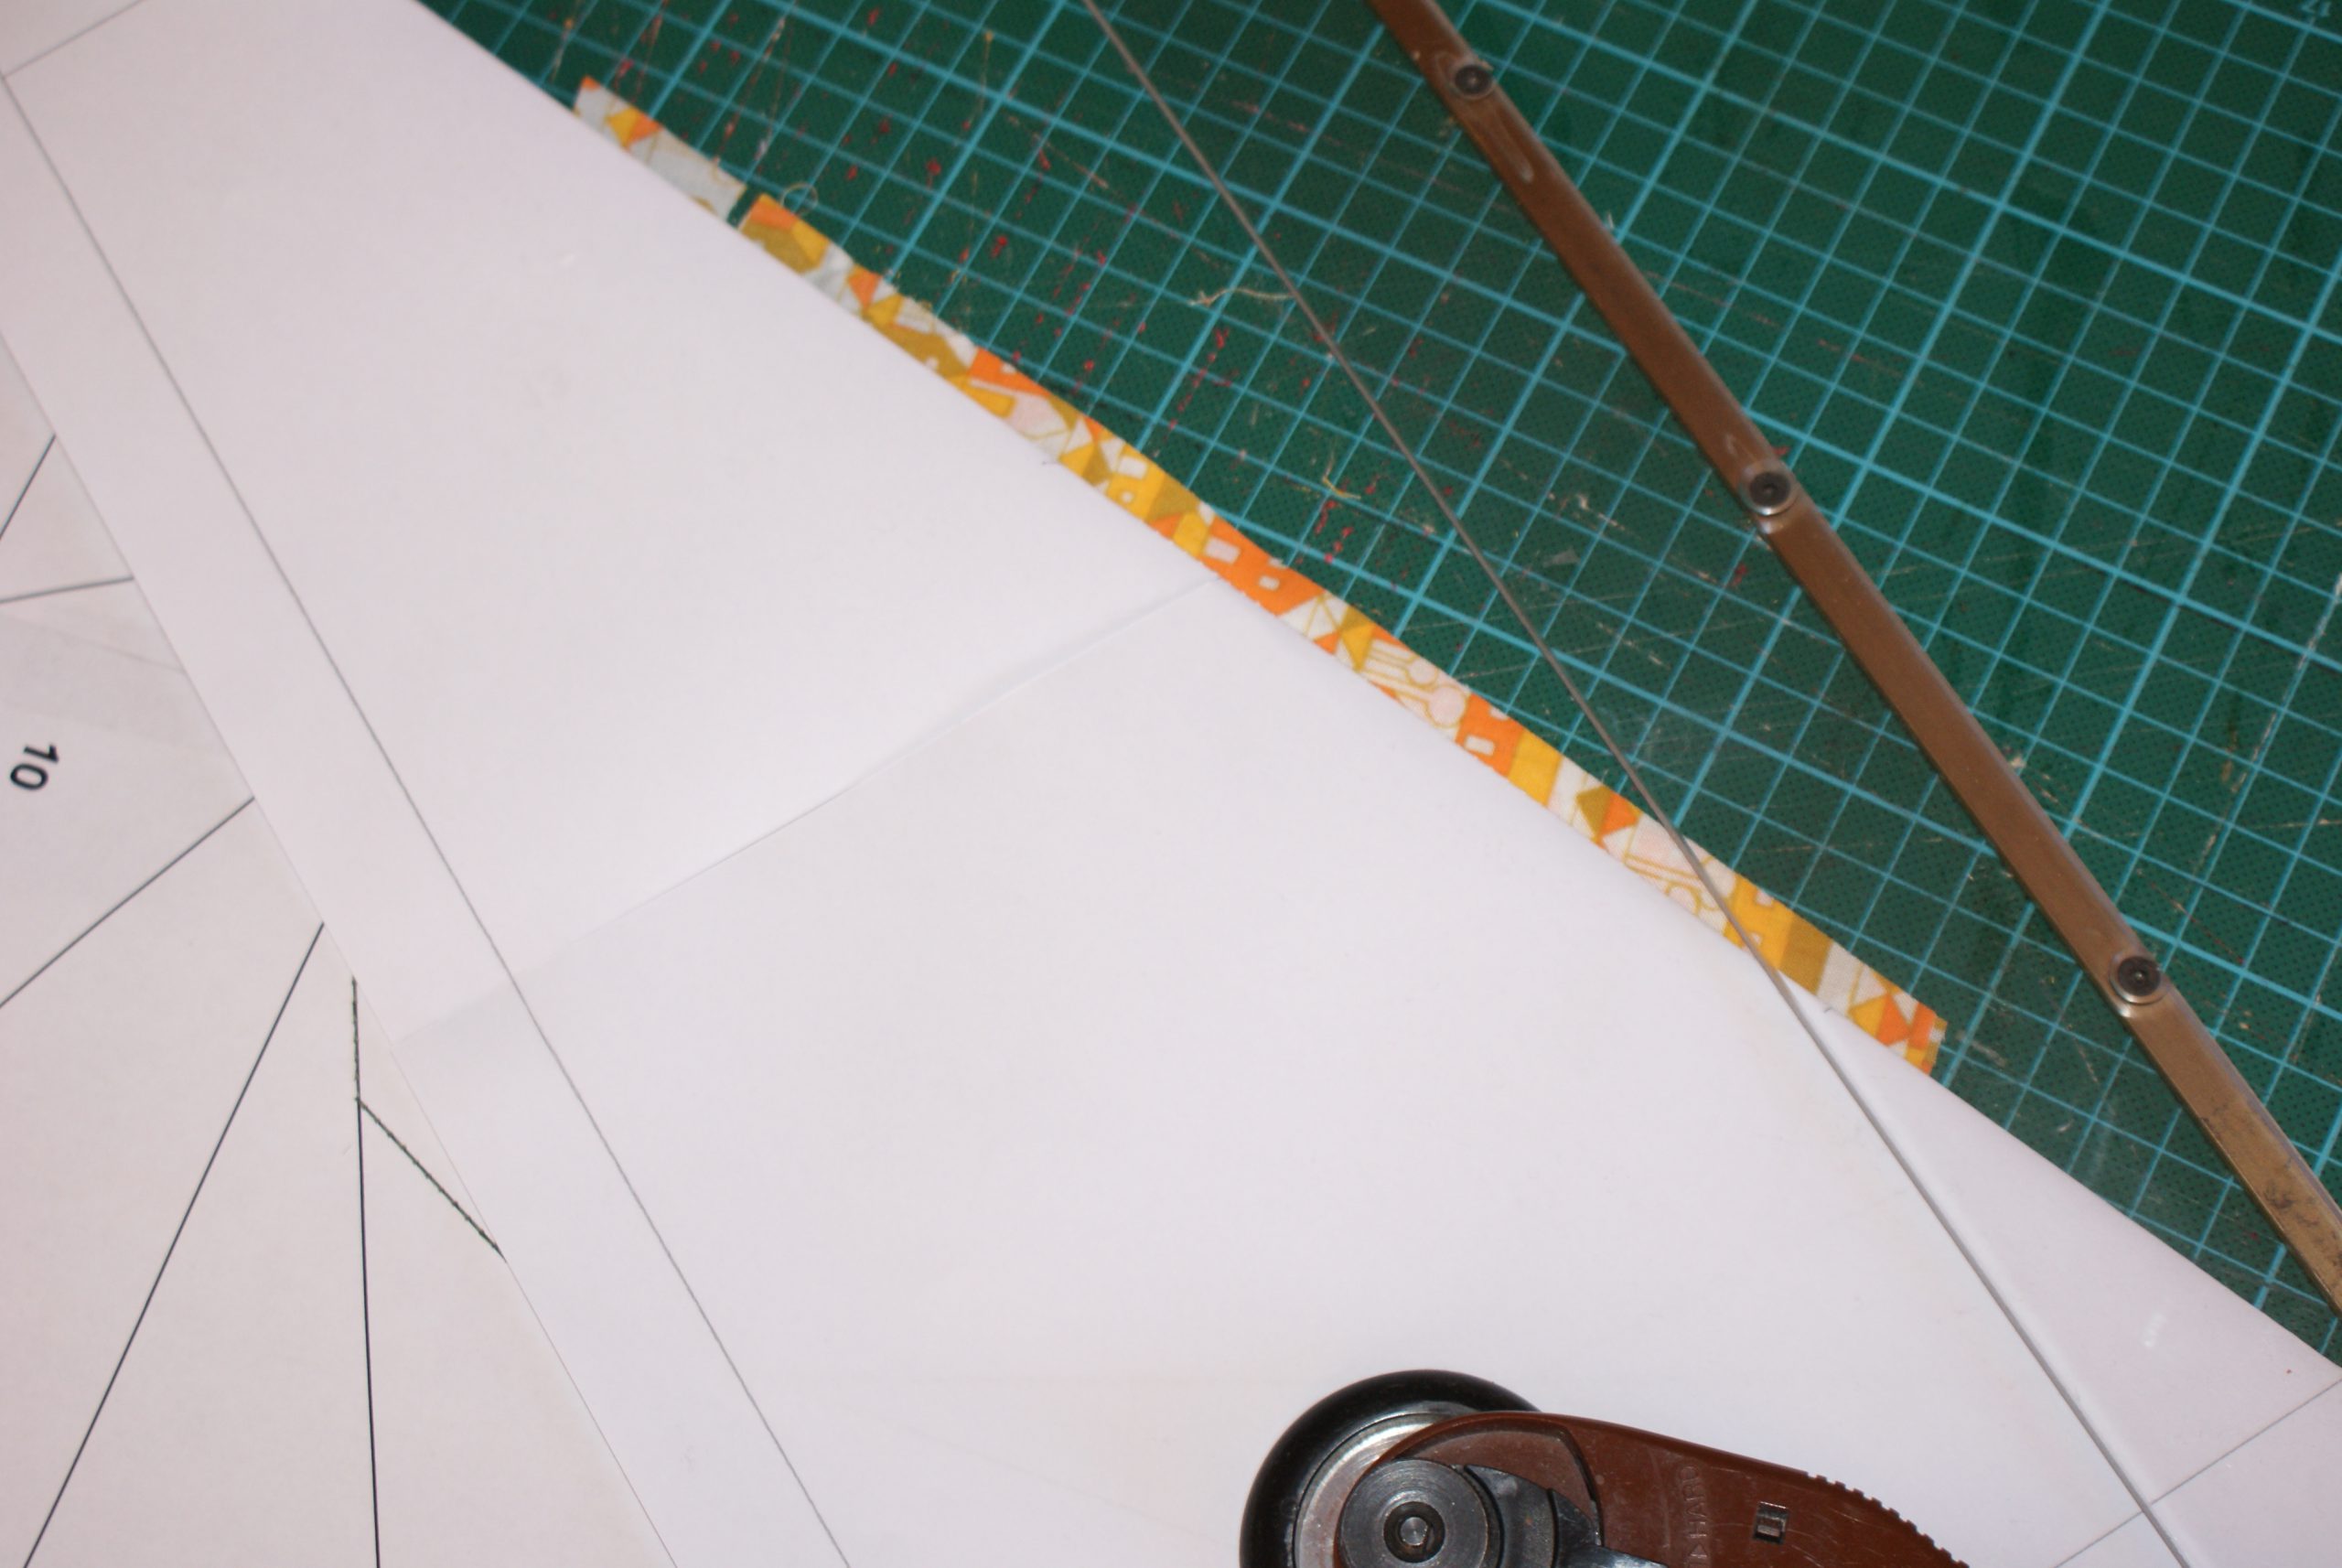
Sewing with the paper piecing method.
Put the first green scrap (right sides together) on the orange fabric. Place it along the seam allowance of the orange fabric. Pin the patch in the sewing line between egg and shape 1, fold over and check if the shape is all covered, and you have a 1 cm seam allowance.
 The red line is the stitching line.
Now sew the line between egg and shape 1 exact from corner tot corner. Set your machine to a short stitch length, like 1,75. This will help you to tear away the paper afterwards.
You will sew on the right side of your pattern (the printed side, where all lines are clearly visible).
 Sew exactly from corner tot corner.
Fold the fabric over and iron.
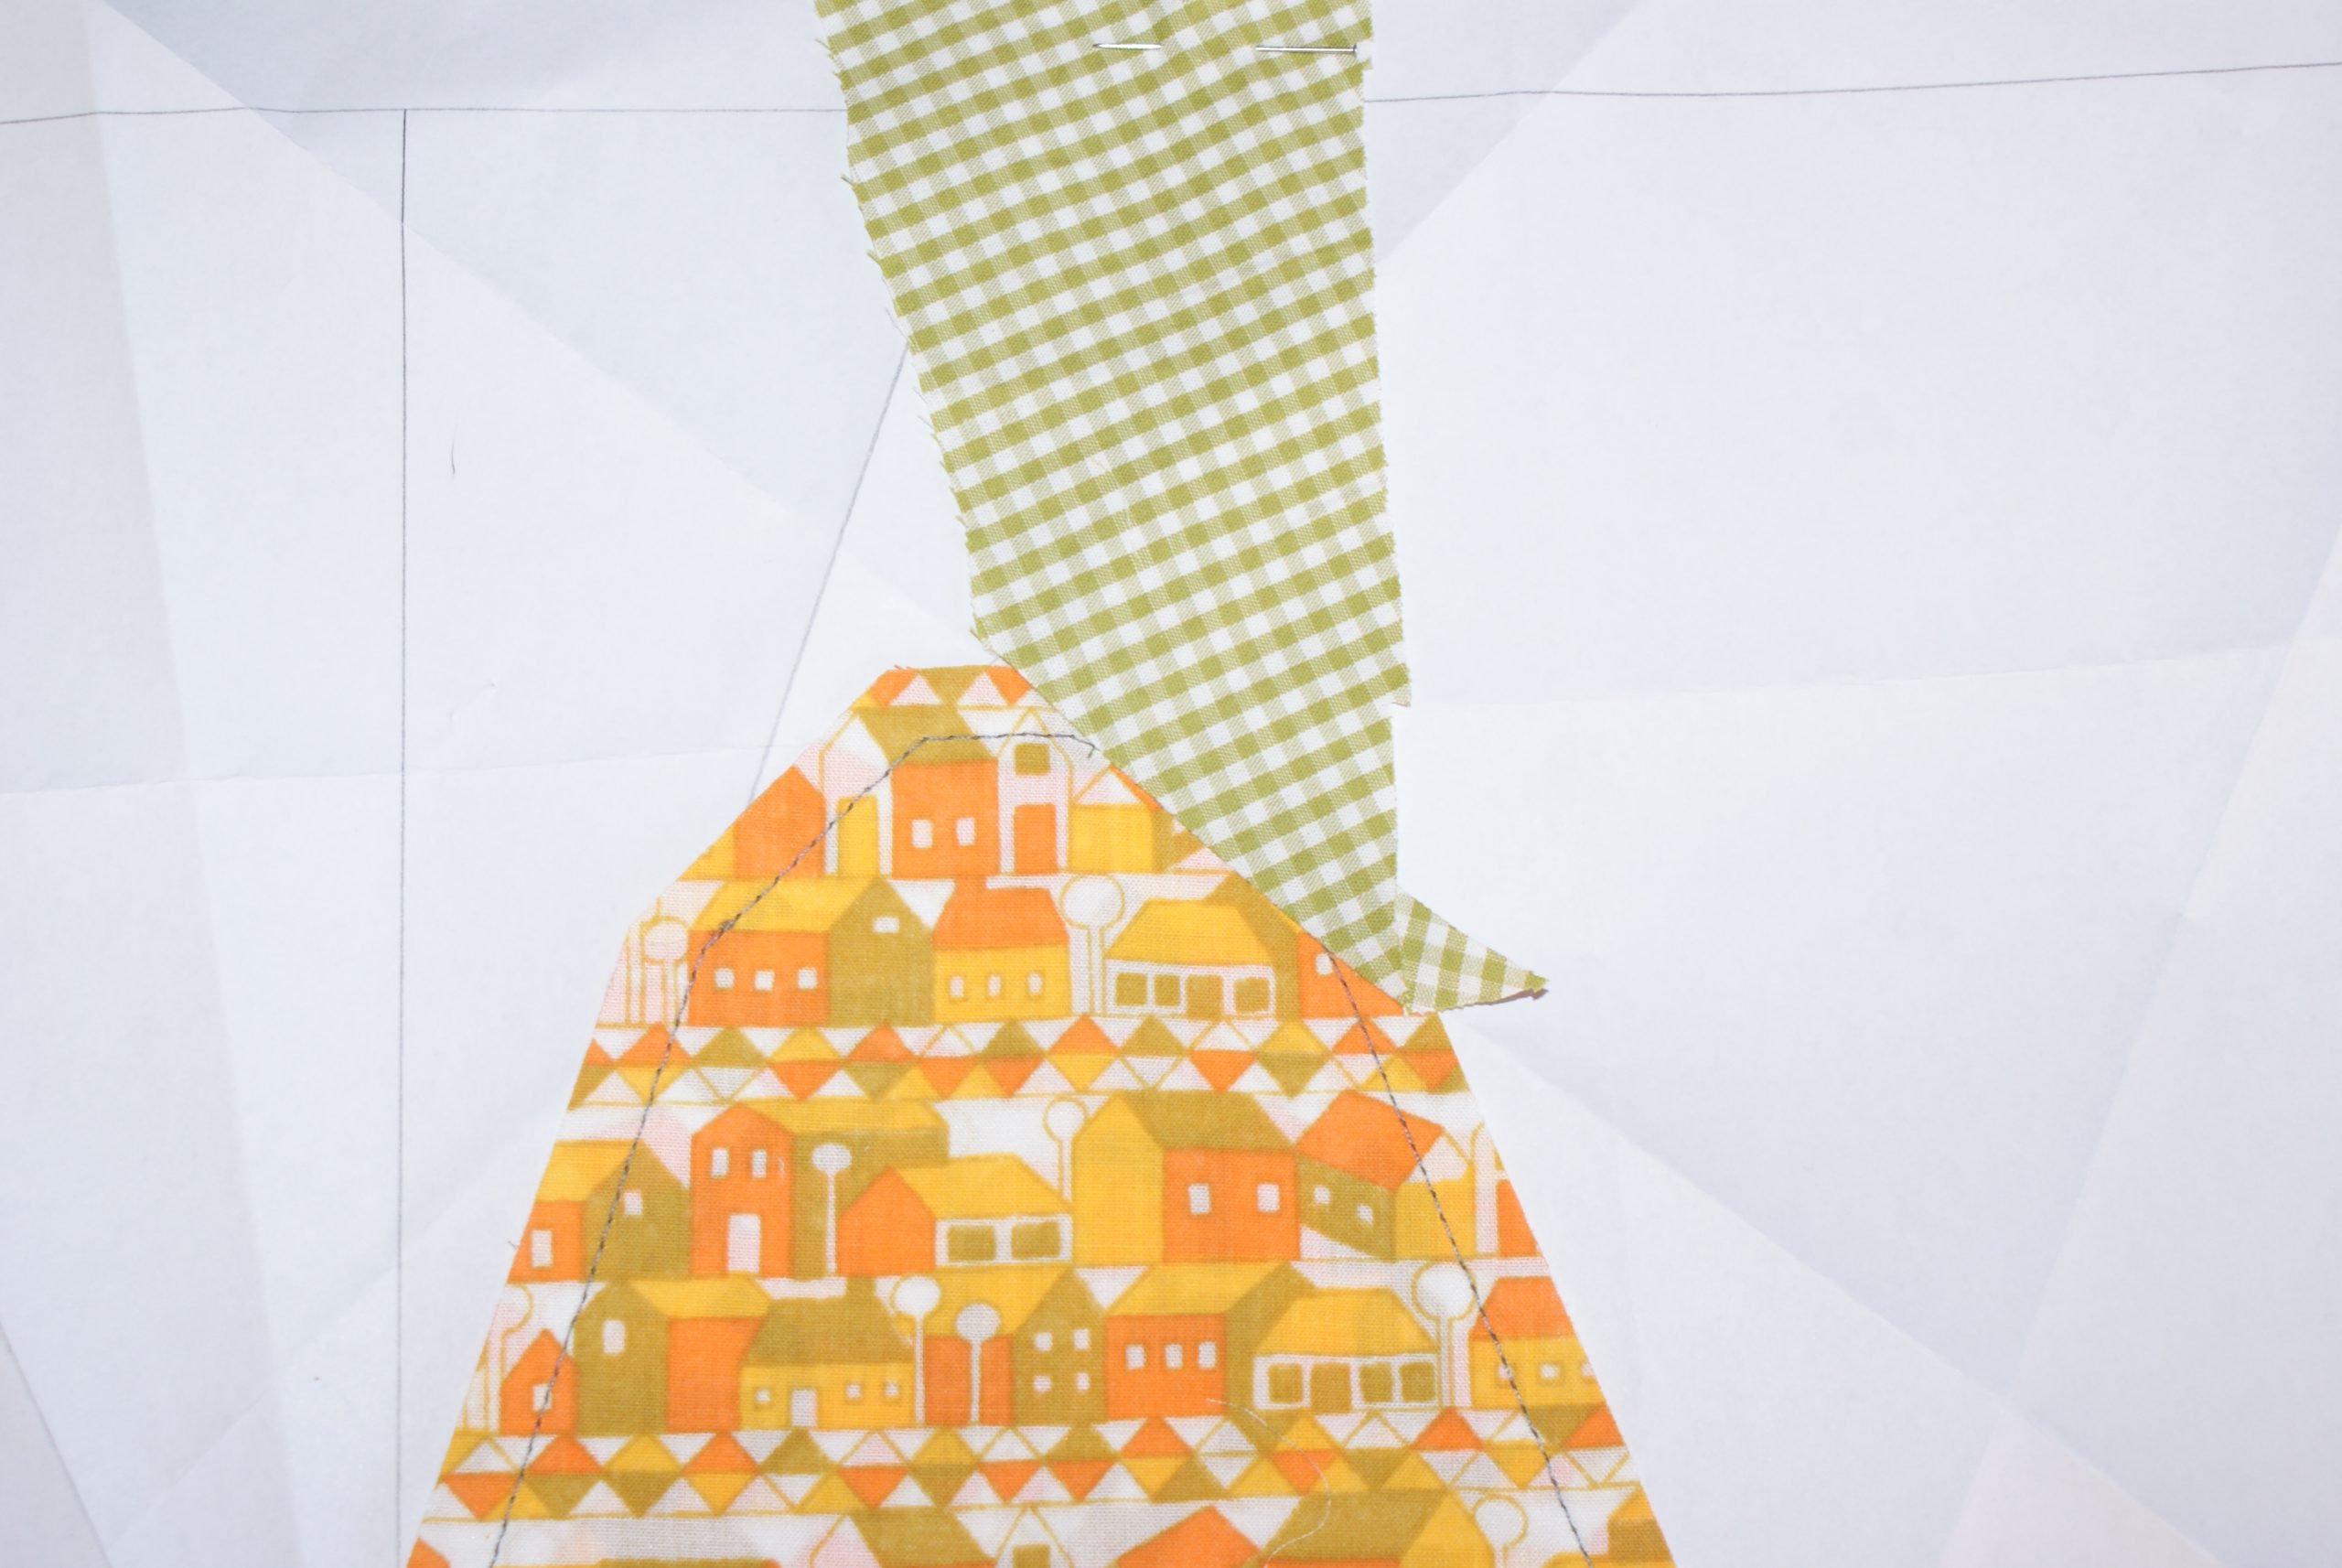 Fold back to cut away the seam allowance (remember: put the fabric-side of the project on the pat, fold back the pattern on the stitched line, and cut away the excess of fabric with the paper piecing ruler).
Now fold over the pattern on the next line: this is the one between shape 1 and shape 2. The excess of the fabric of shape 1 is visible. Cut away with the ruler, to an 8 mm seam allowance. This will help you to find out where to position the next fabric (for shape 2).
I’m sorry, I forgot to take a picture of this step…
There you go!
Continue with the fabric for shape 2, put it along the seam allowance of the fabric in shape 1, pin and check if you positioned it right. Sew and trim. Trim line between shape 2 and 3.
And repeat for all next shapes untill ready.
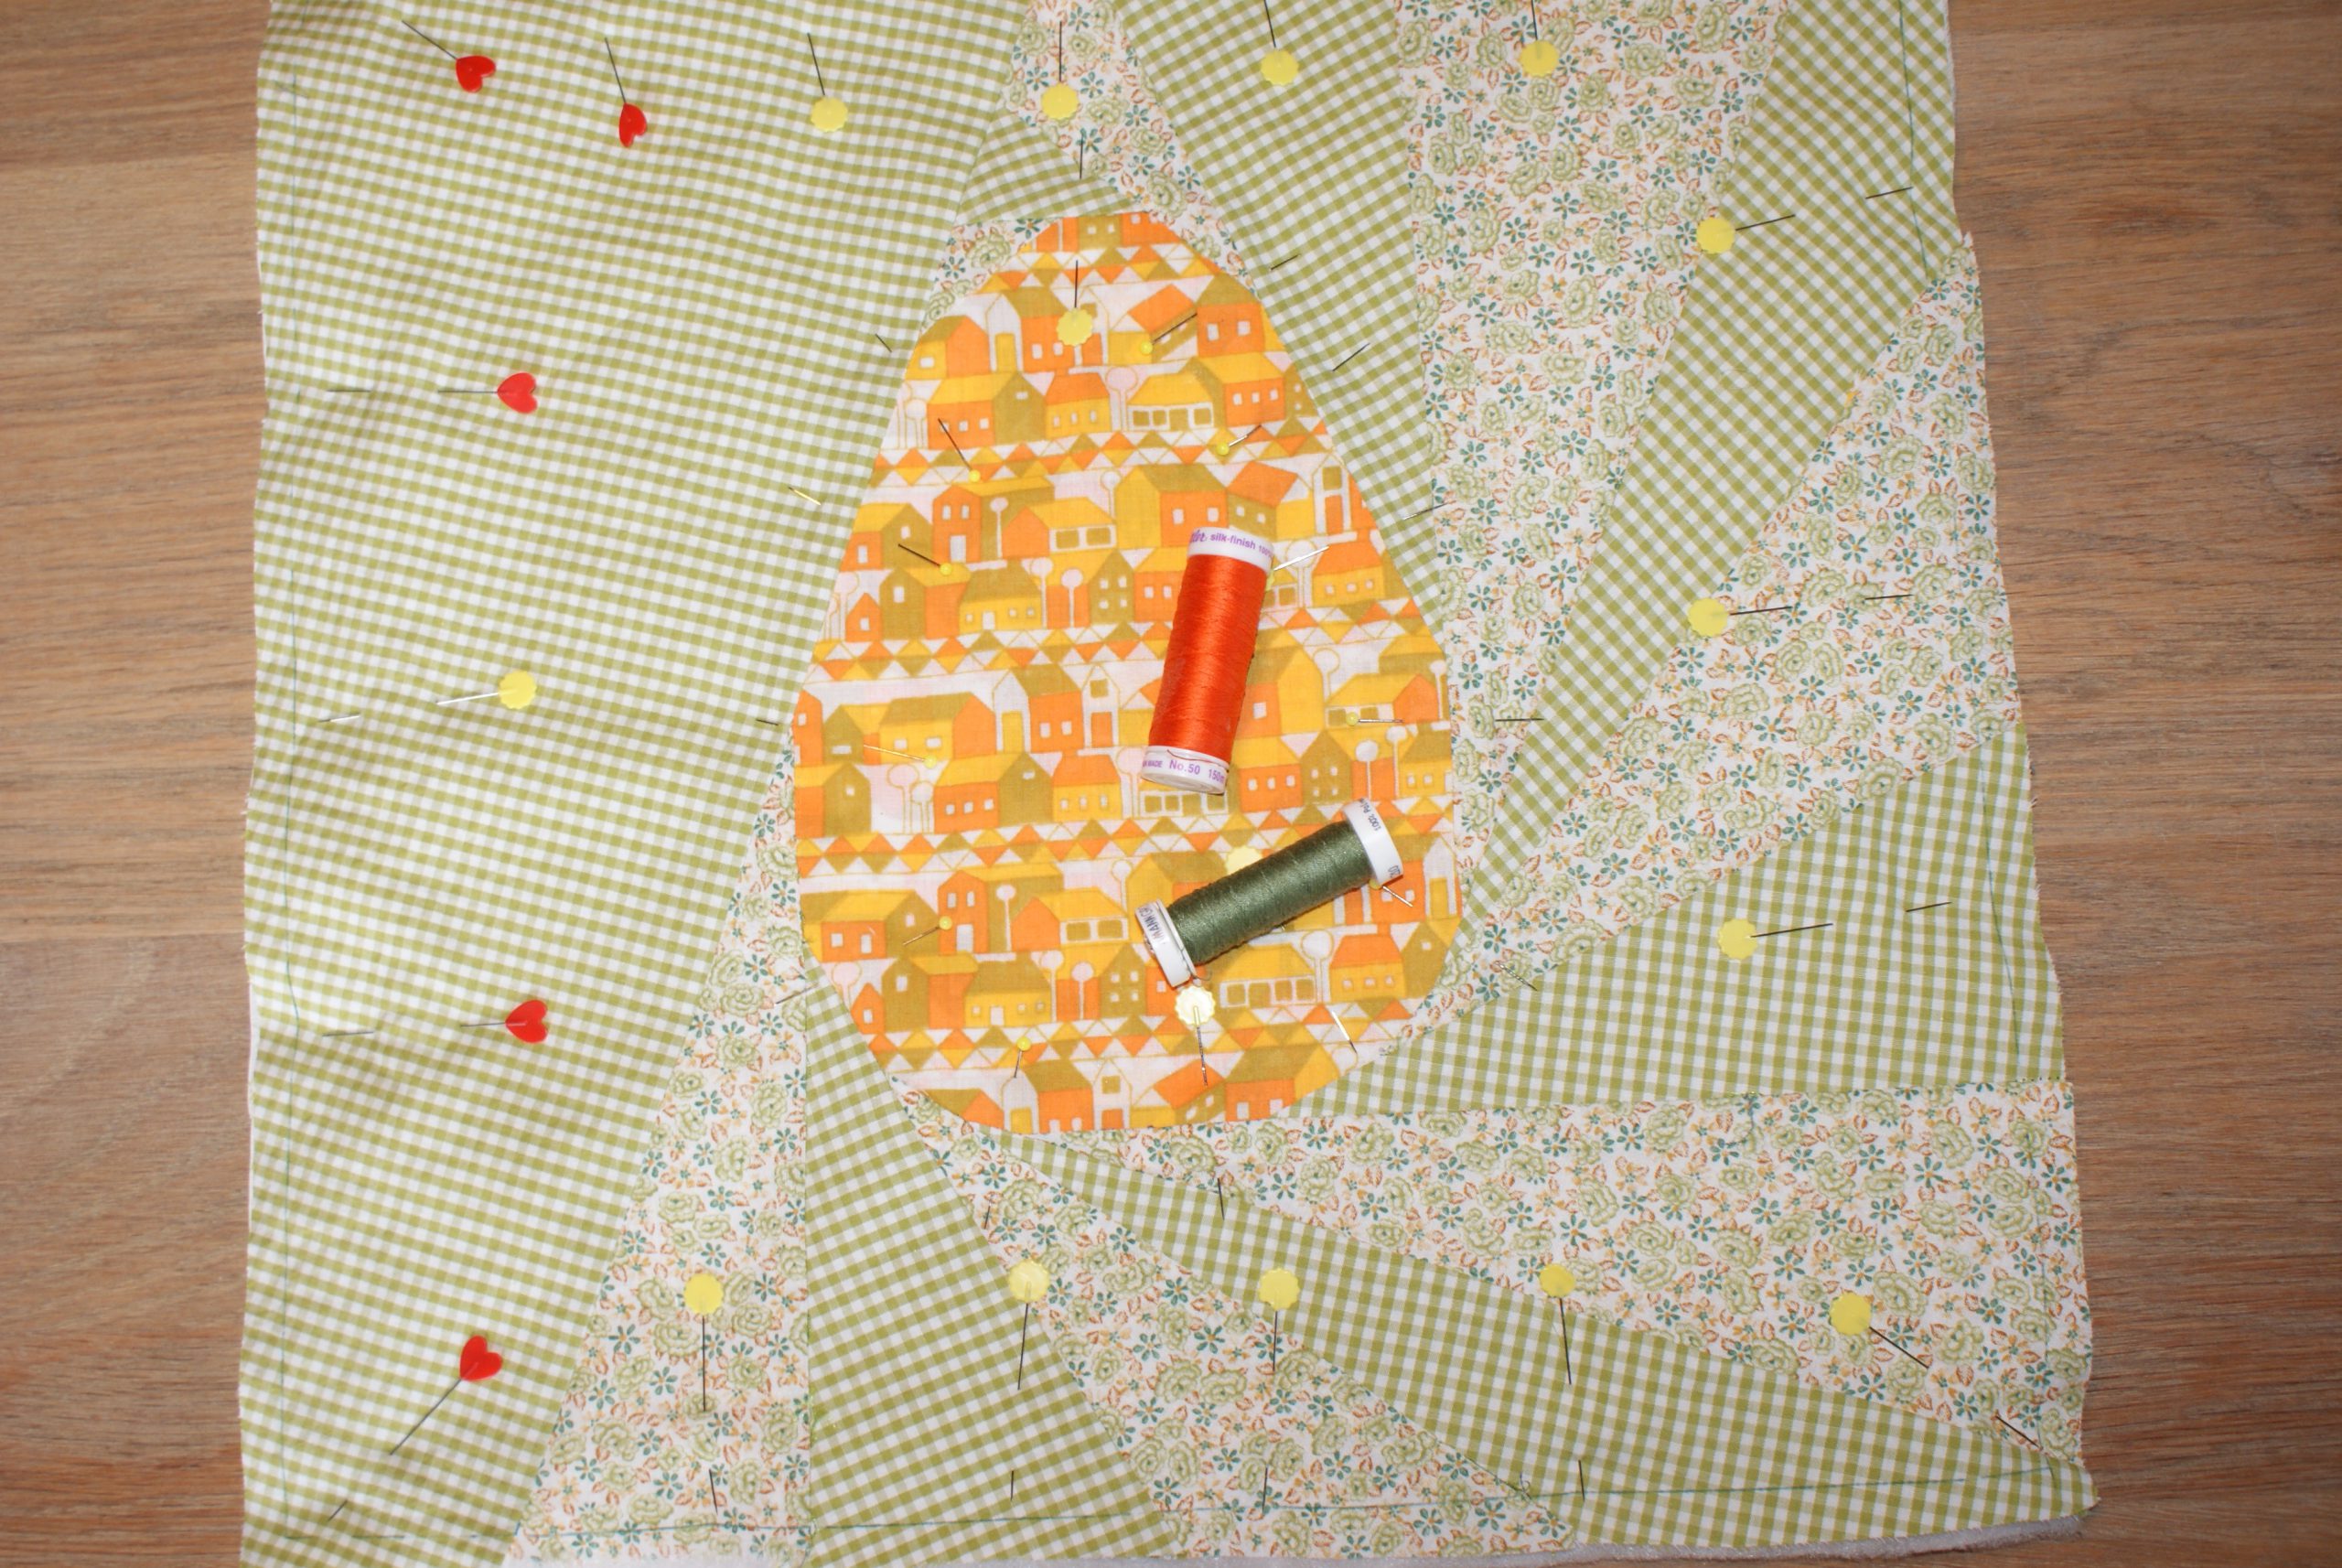 All parts are sewn and ready for finishing. This placemat is the mirror image of the one you are going to make.
At first it seems complicated, but once you have finished some shapes, it is clear what you have to do next, don’t you think so?
In the next blogpost (tomorrow): paper piecing egg (2) we will finish the placemat.


0 Responses