 BERNINA Corporate Blog -
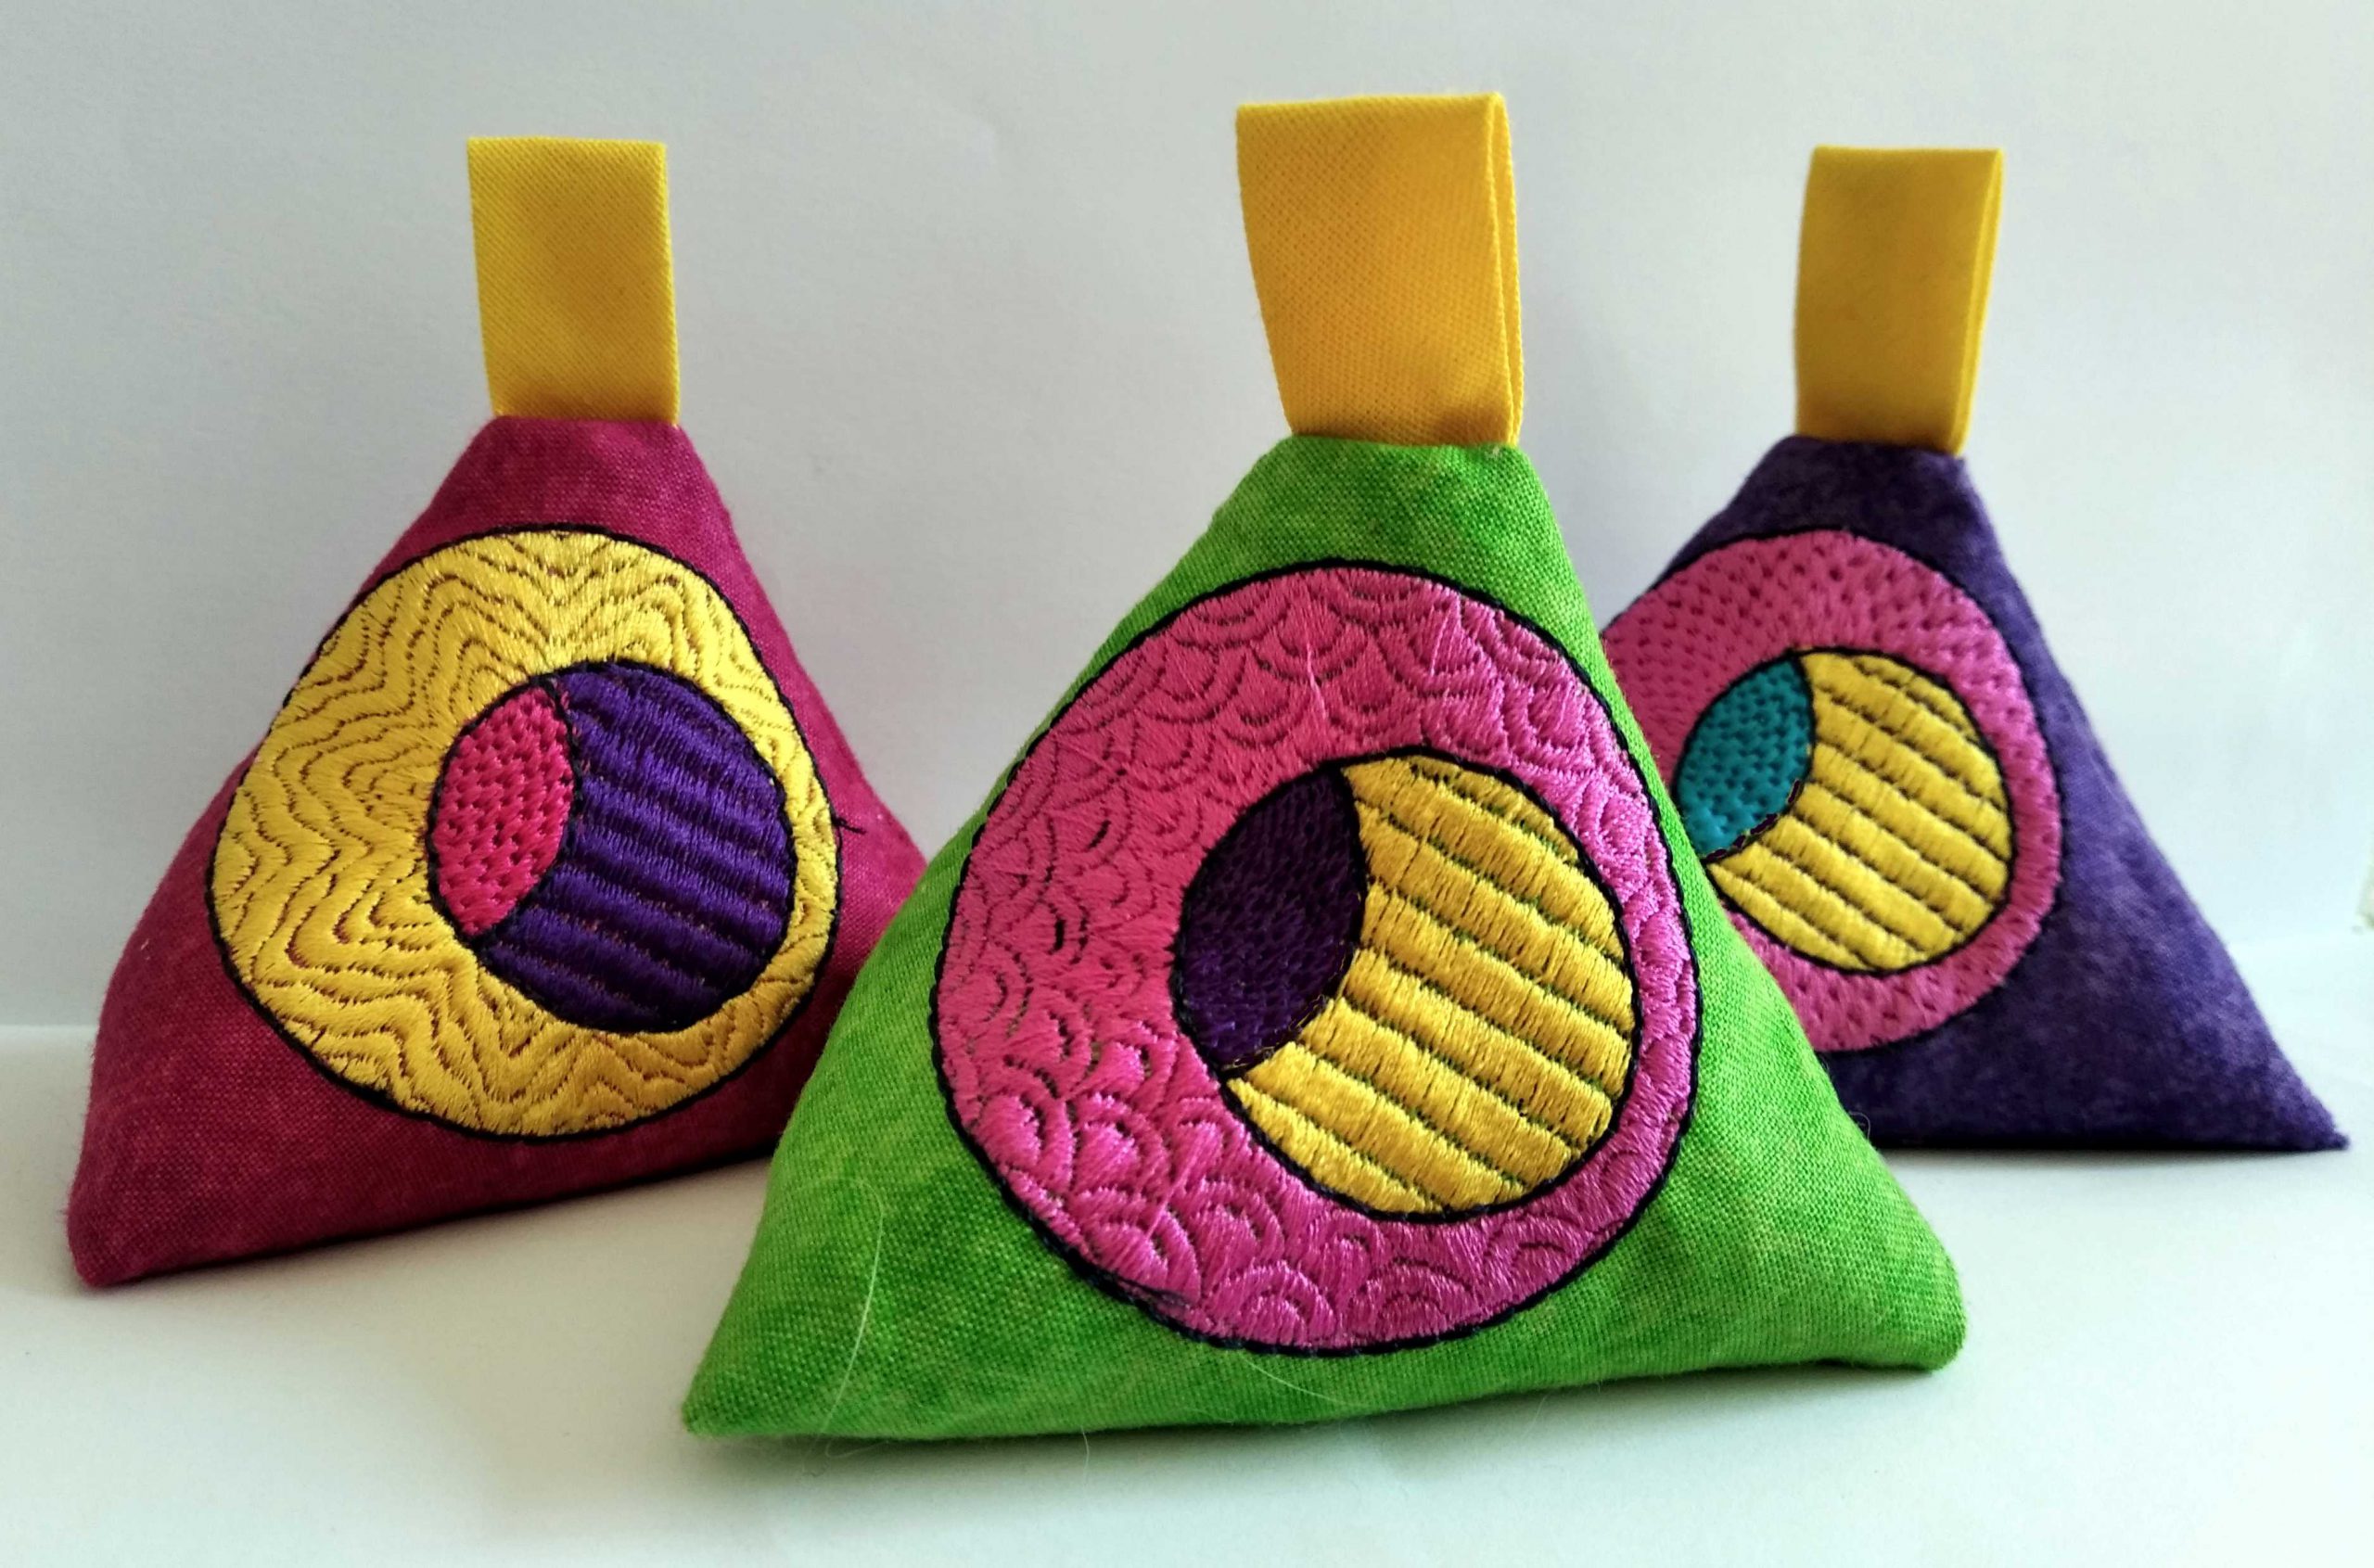
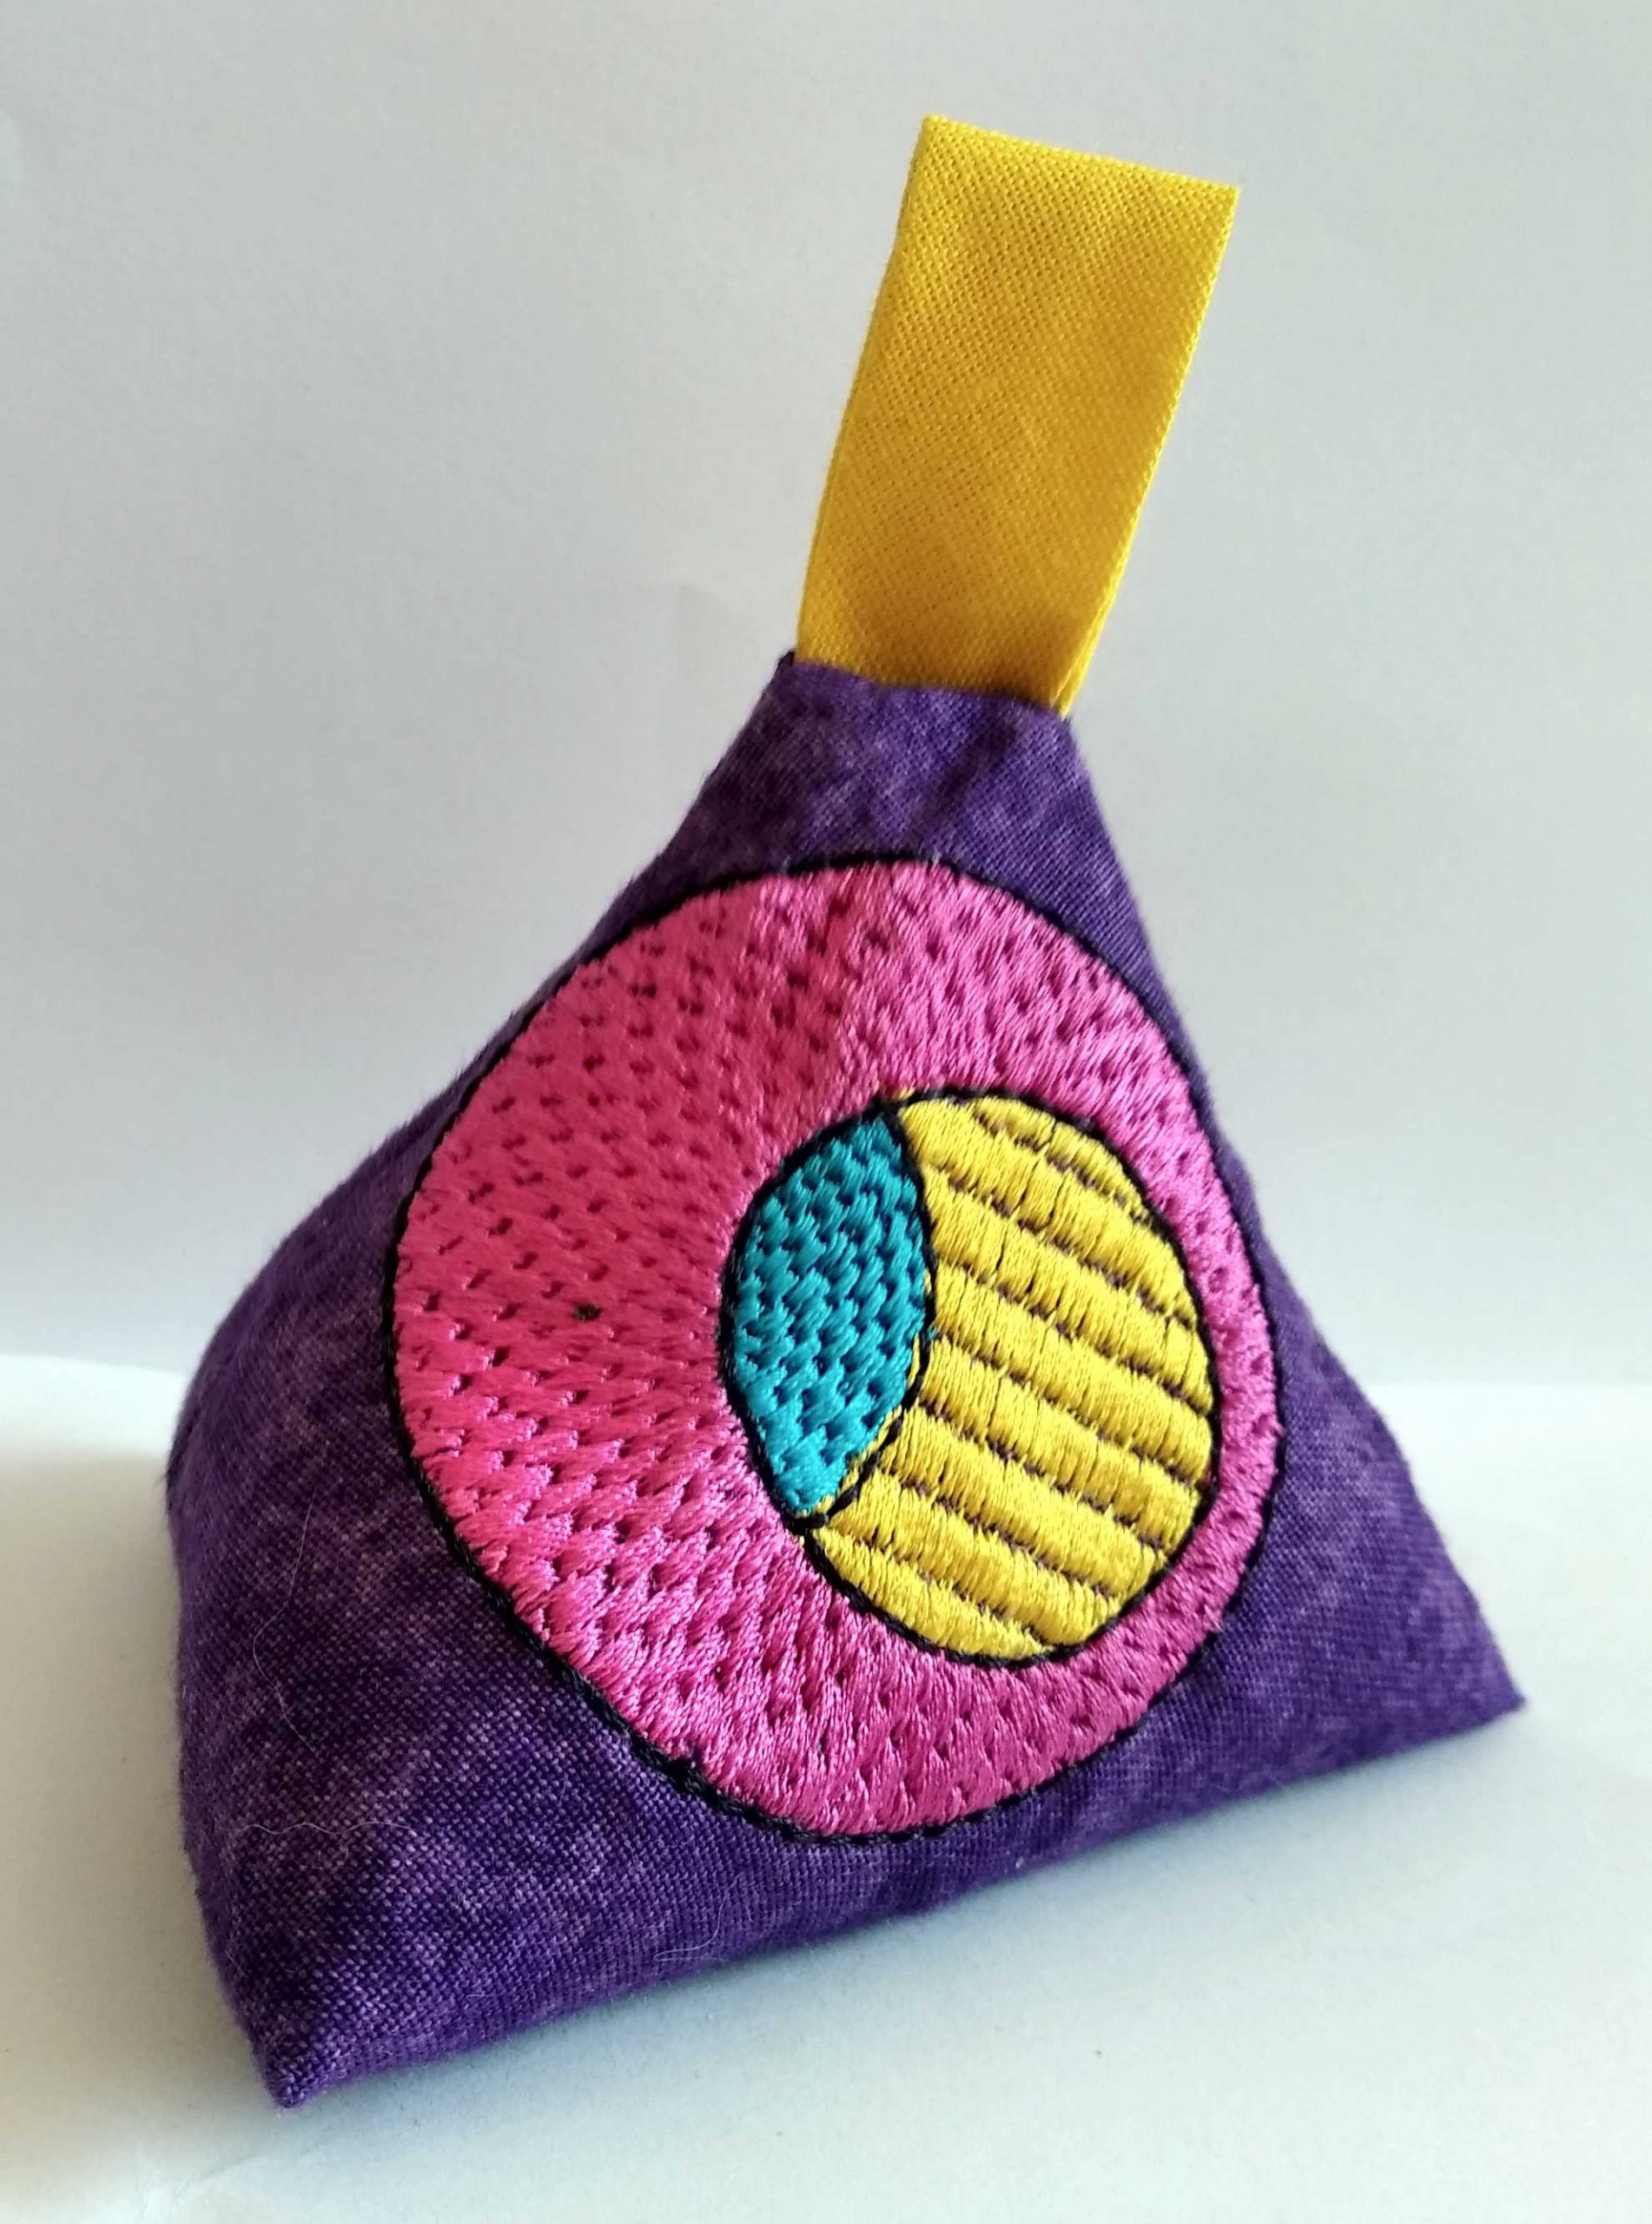
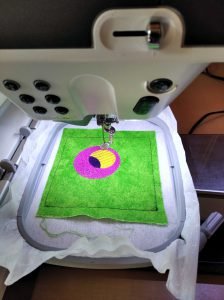
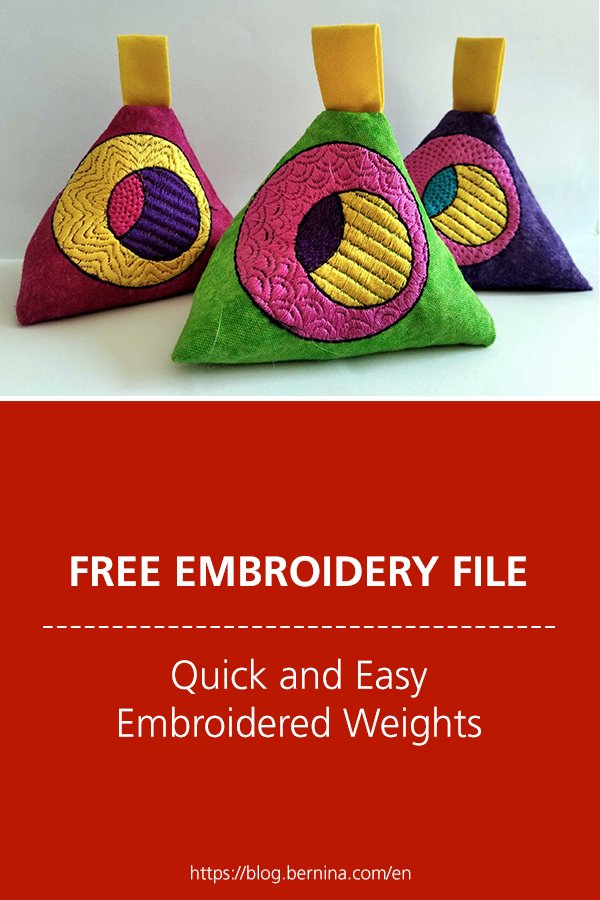
These embroidered weights which are great for sewing or as paperweights, measure 8cms by 8cms when finished and are embroidered and sewn together in the small 130 x100 hoop. I have included four different embroidery designs for you to experiment with. Just choose your favourite colours and fabric!
Each weight takes approximately half an hour to make, from cutting the fabric to stuffing it.
The zipped file is below each picture and contains EXP, ART, and the EMB files so that you can see how it is created.
There is also an instructional PDF which can be printed. embroidered weights


Requirements
Cotton Fabric
Embroidery threads
Tearaway stabiliser
Bias binding or ribbon 8cms long for tab. 1.5 wide
Fabric glue.
Painters or Scotch Tape
Sand or rice for stuffing the weight. A small funnel helps too.
Spray Starch.
Tip Although the embroidered design only measures 5cms by 5cms it is a very dense design so the stiffer your fabric the less risk of the embroidery distorting the fabric, this is why I spray starch the fabric.
Instructions.
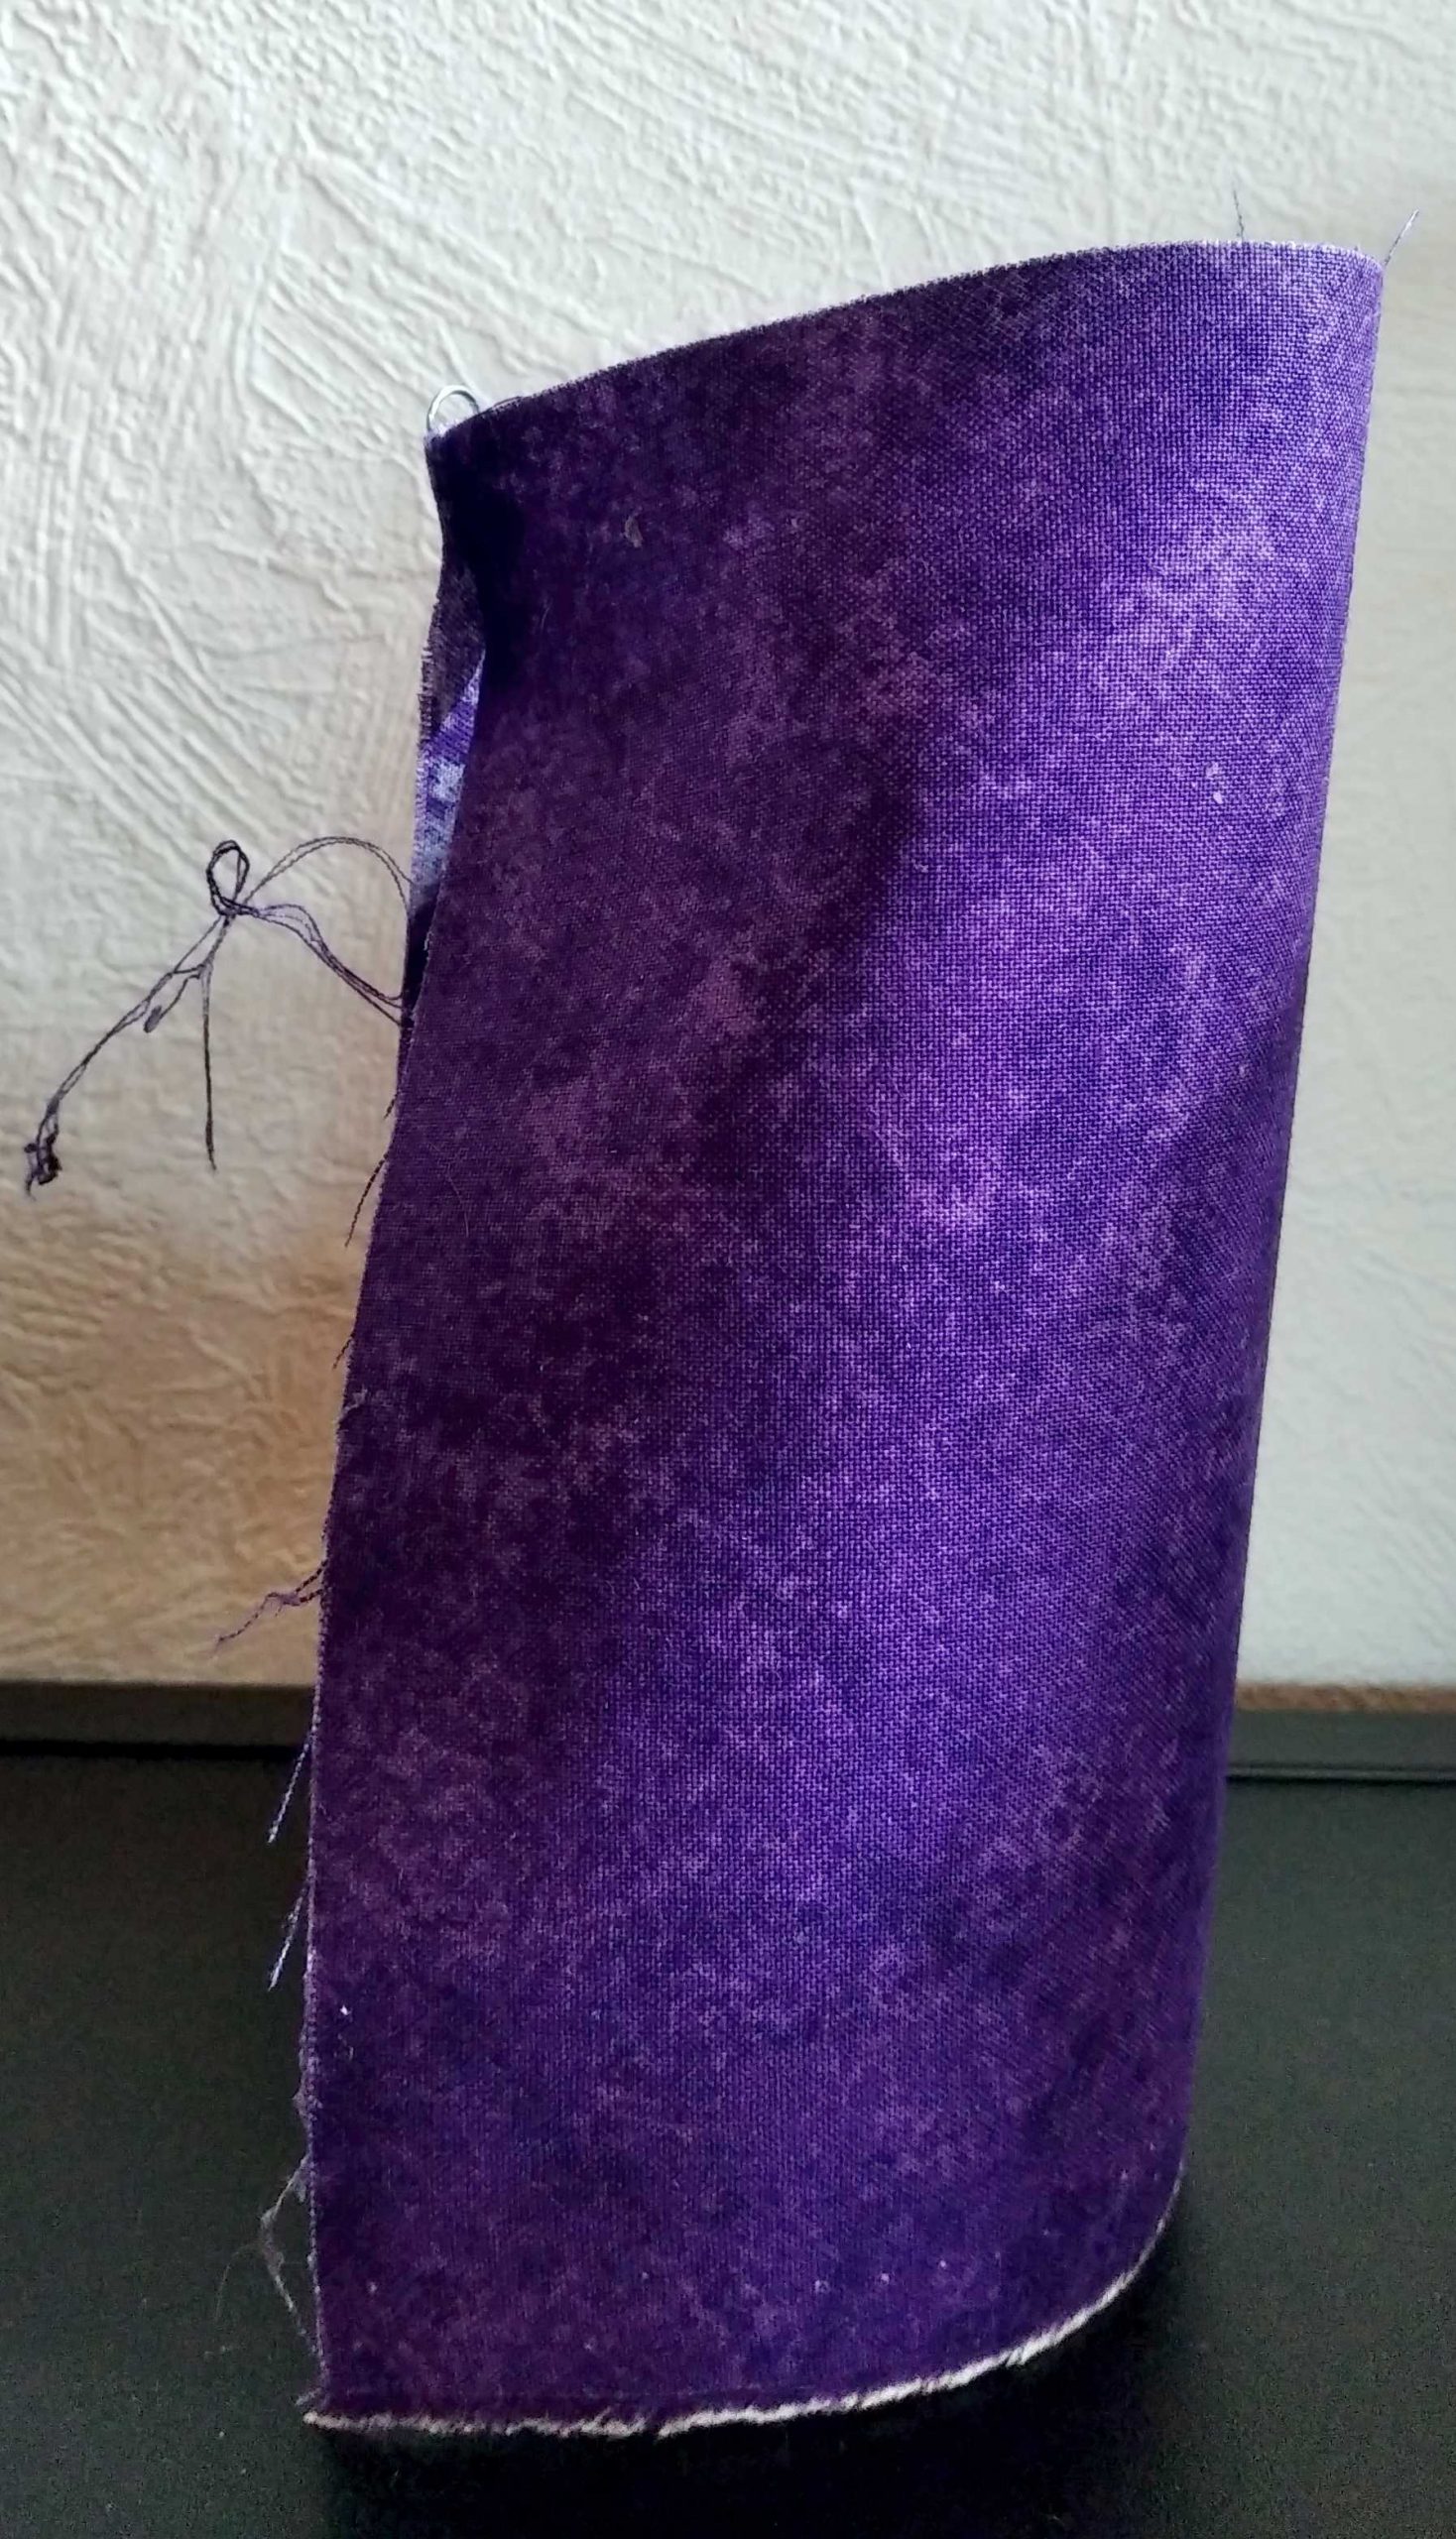
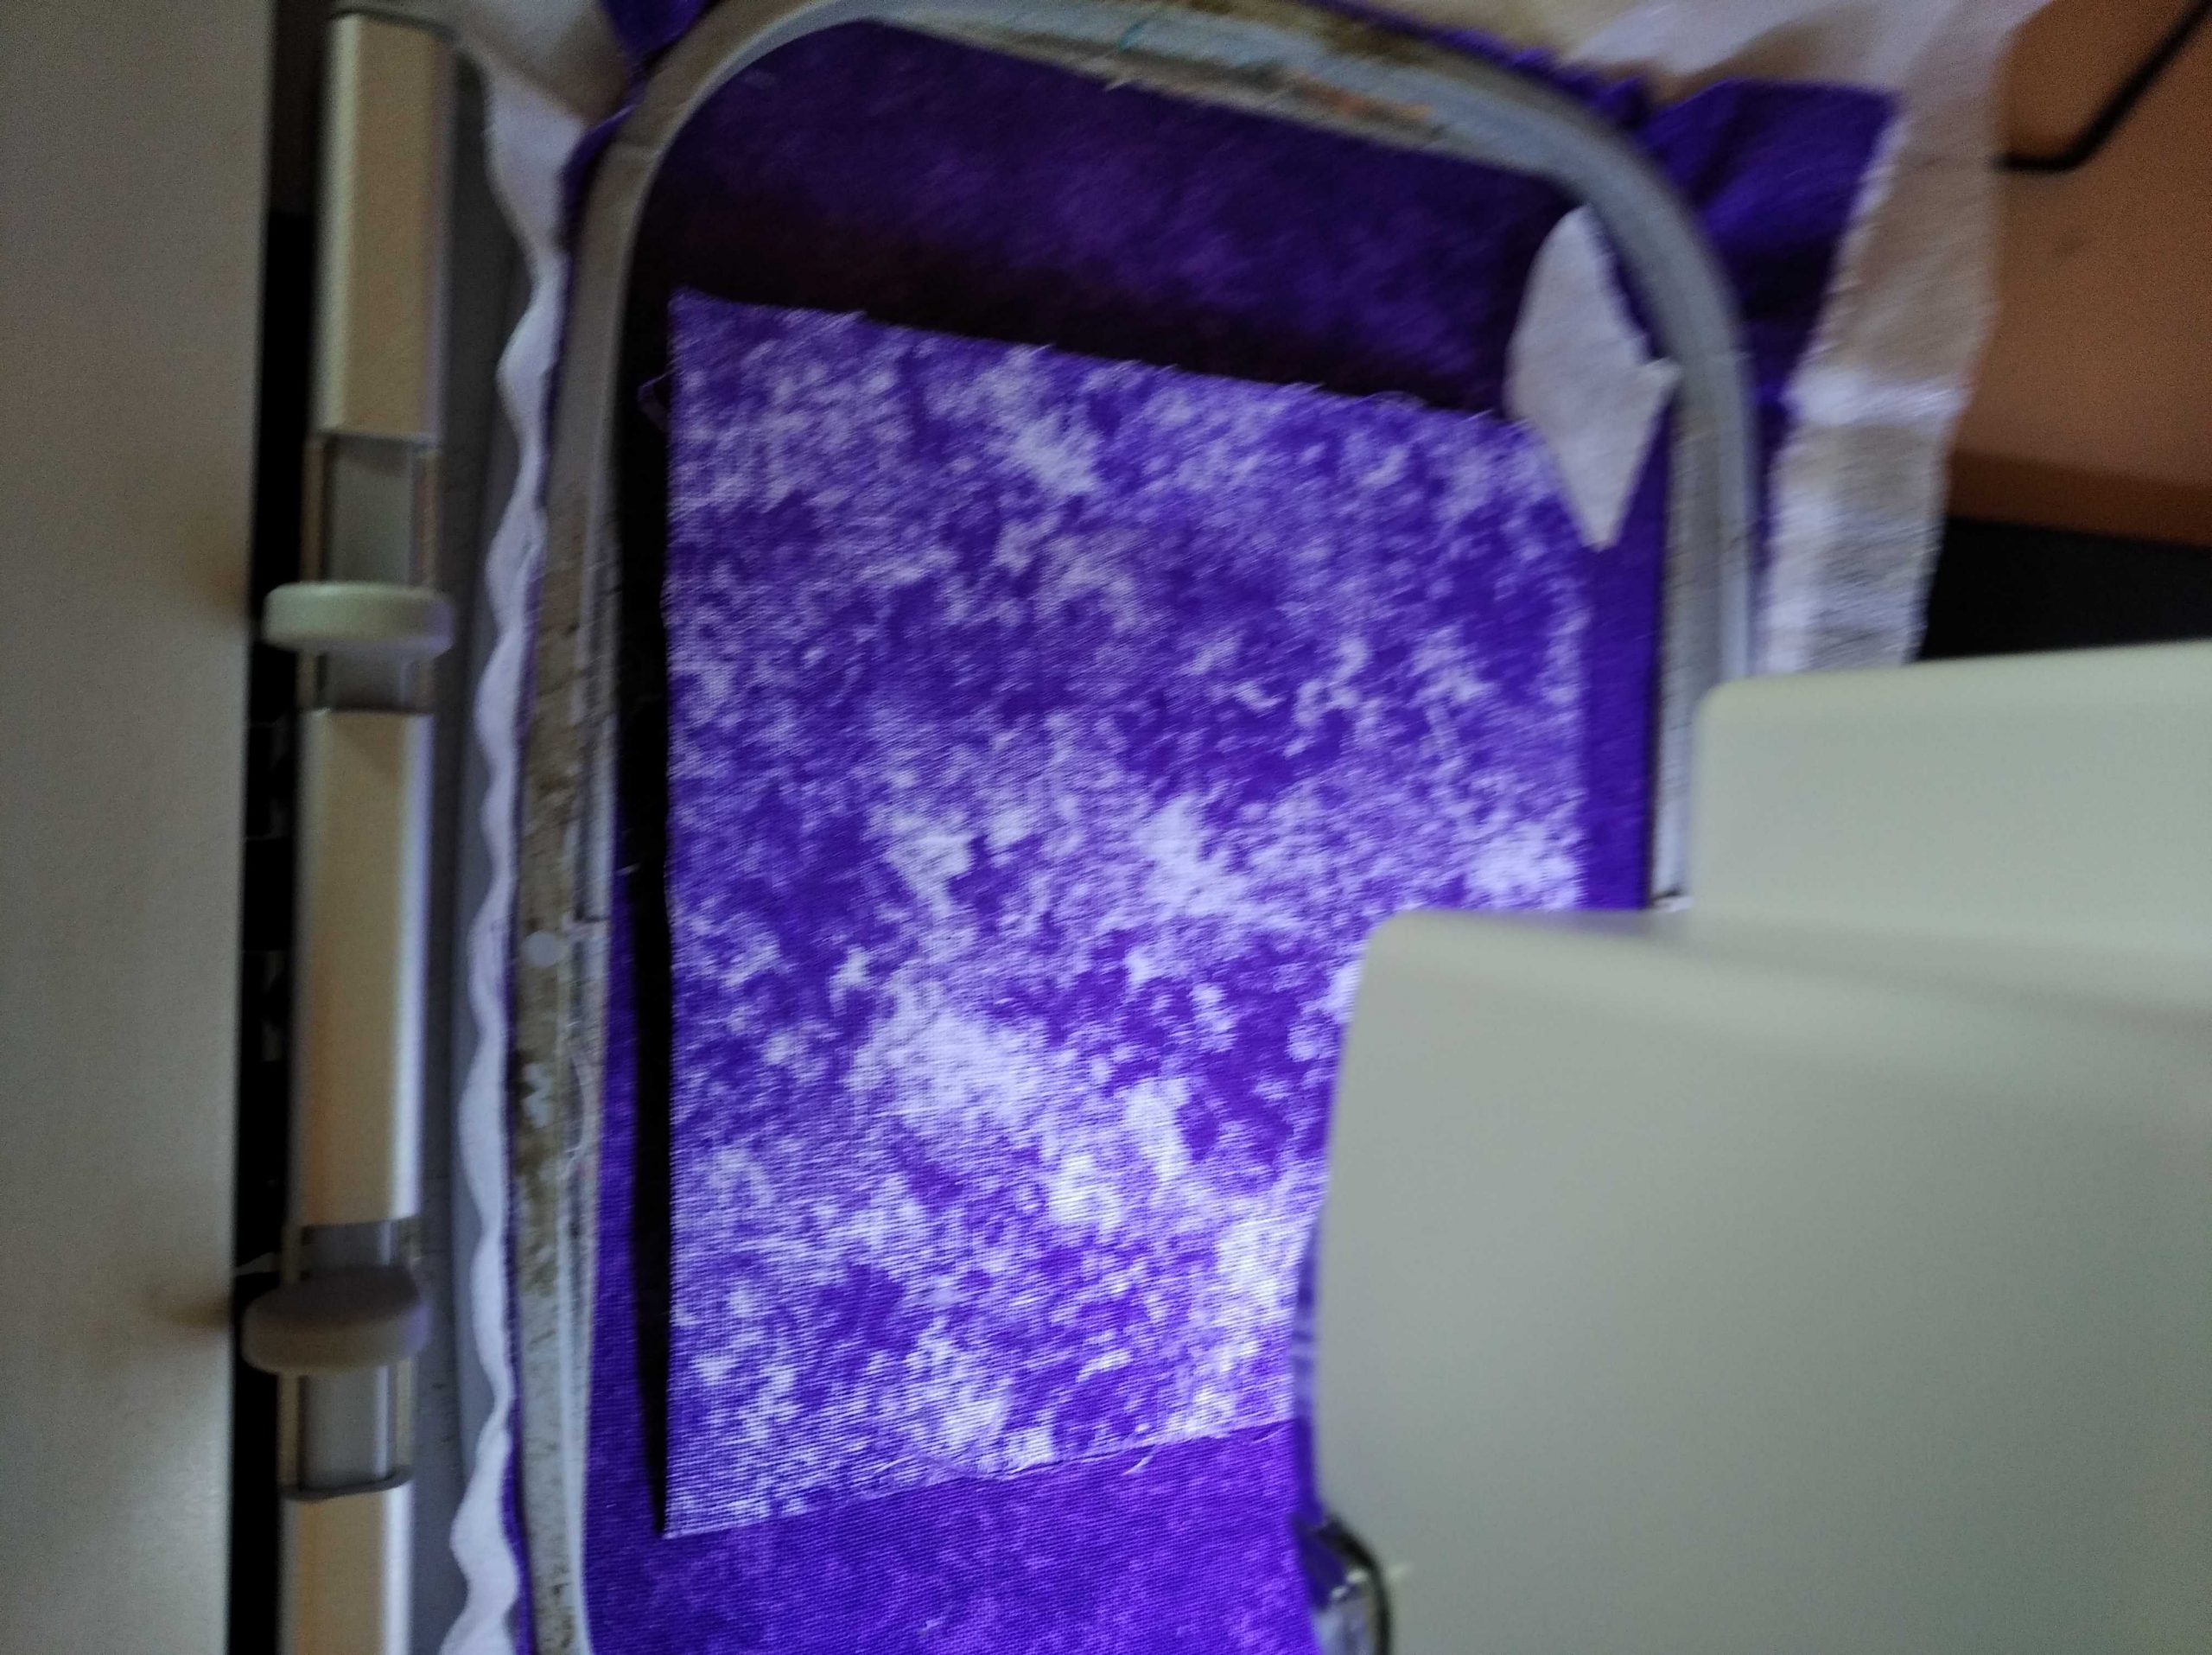
1 If you wish to hoop your fabric as in this photo cut the fabric to 20cms by 16cms.
(If you wish to conserve fabric or only have a small piece of fabric I suggest another technique at the end of this blog.)

2 Cut a second piece of fabric 11cms x 11cms.
3. Spray starch both pieces of fabric until stiff. My fabric, as in this photo, when paperclipped together stood upon its own.
4. Hoop a double layer of tearaway stabiliser and the fabric very tightly in the hoop.
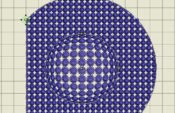
5. The outer rectangle which stitches first, ,serves two purposes. It attaches the fabric to the stabiliser and marks the placement line for the second piece of fabric. The inner circle is just to attach the fabric even more securely to the stabiliser as this is a dense design.
6. Embroider the design.
7. The next line to stitch is the placement line for the tab. When stitched remove the hoop from the machine.
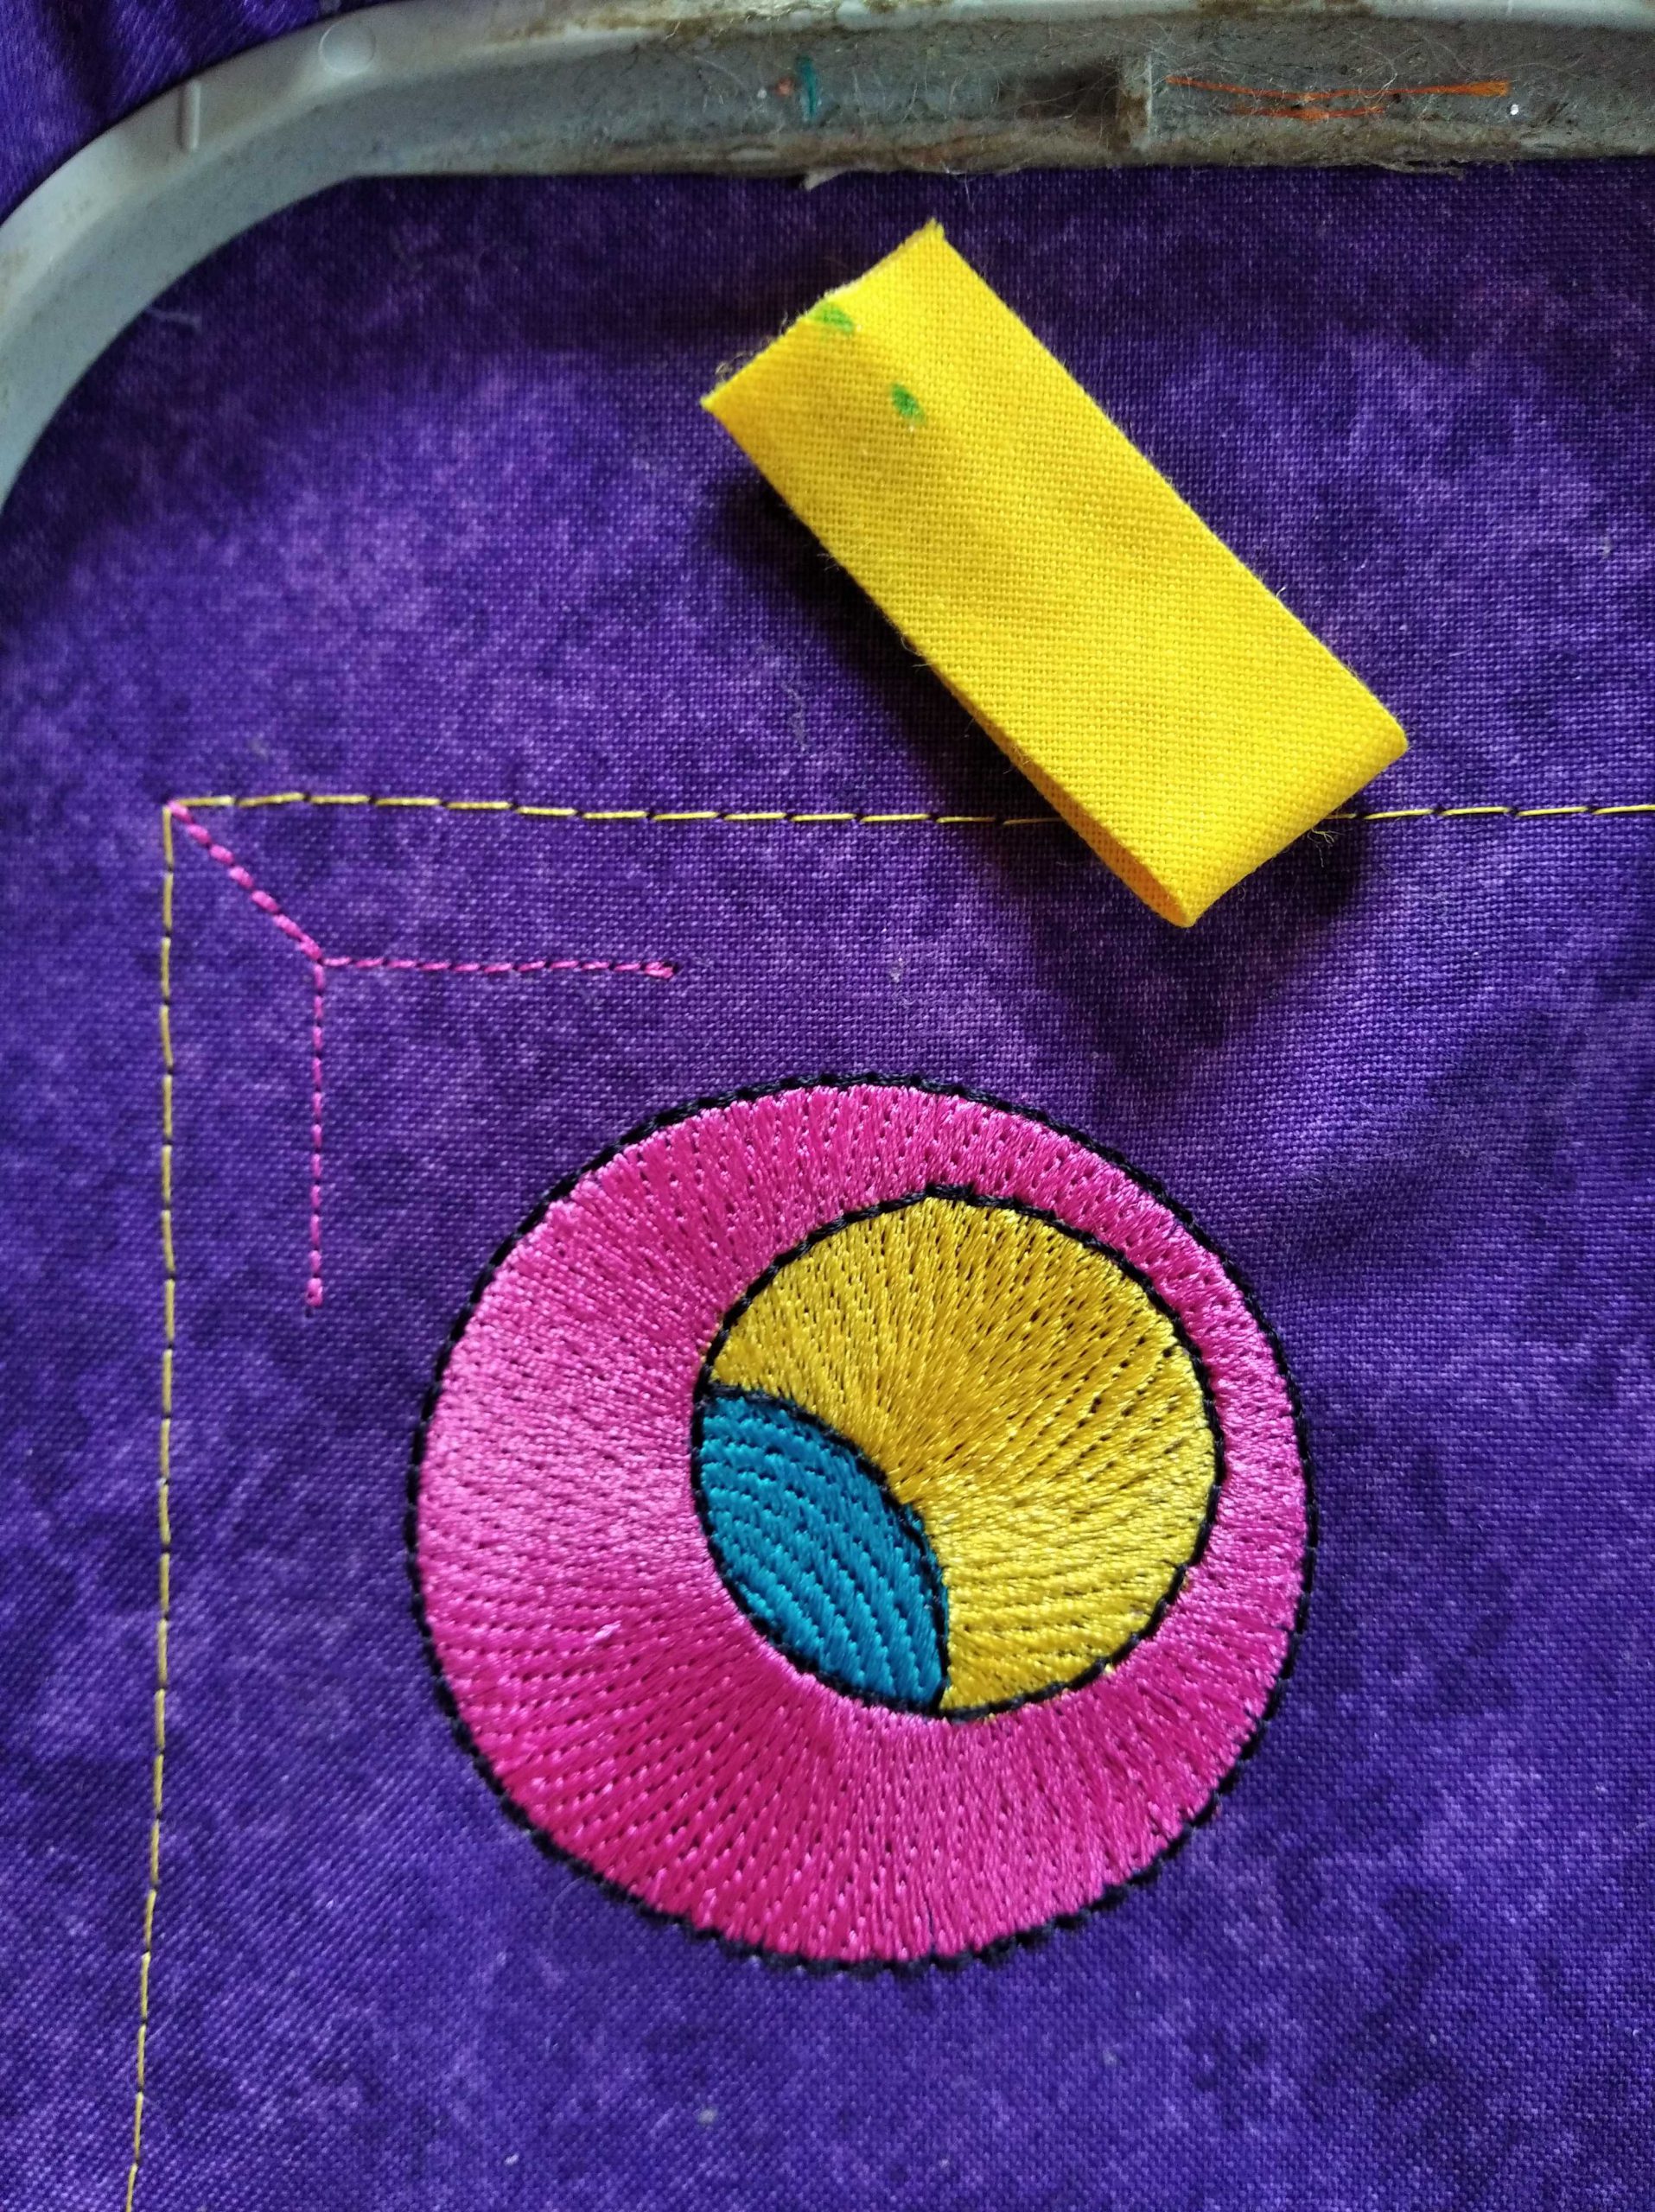
8 . For the tab; ribbon or bias binding works well. A width 1.5cms is best.
Cut an 8cm length fold in half and use a spot of fabric glue to hold ends together. Using a fabric pen make two alignment or positioning marks on tab as in photo. The inner one is approximately half a cm from the end and they must follow the middle line.
9. Put a pin through the mark nearest the folded end of the tab and then put the point of the pin in the corner of the marking line. Align the middle mark at the end of the tab with the diagonal line and use a small piece of tape to hold in place.
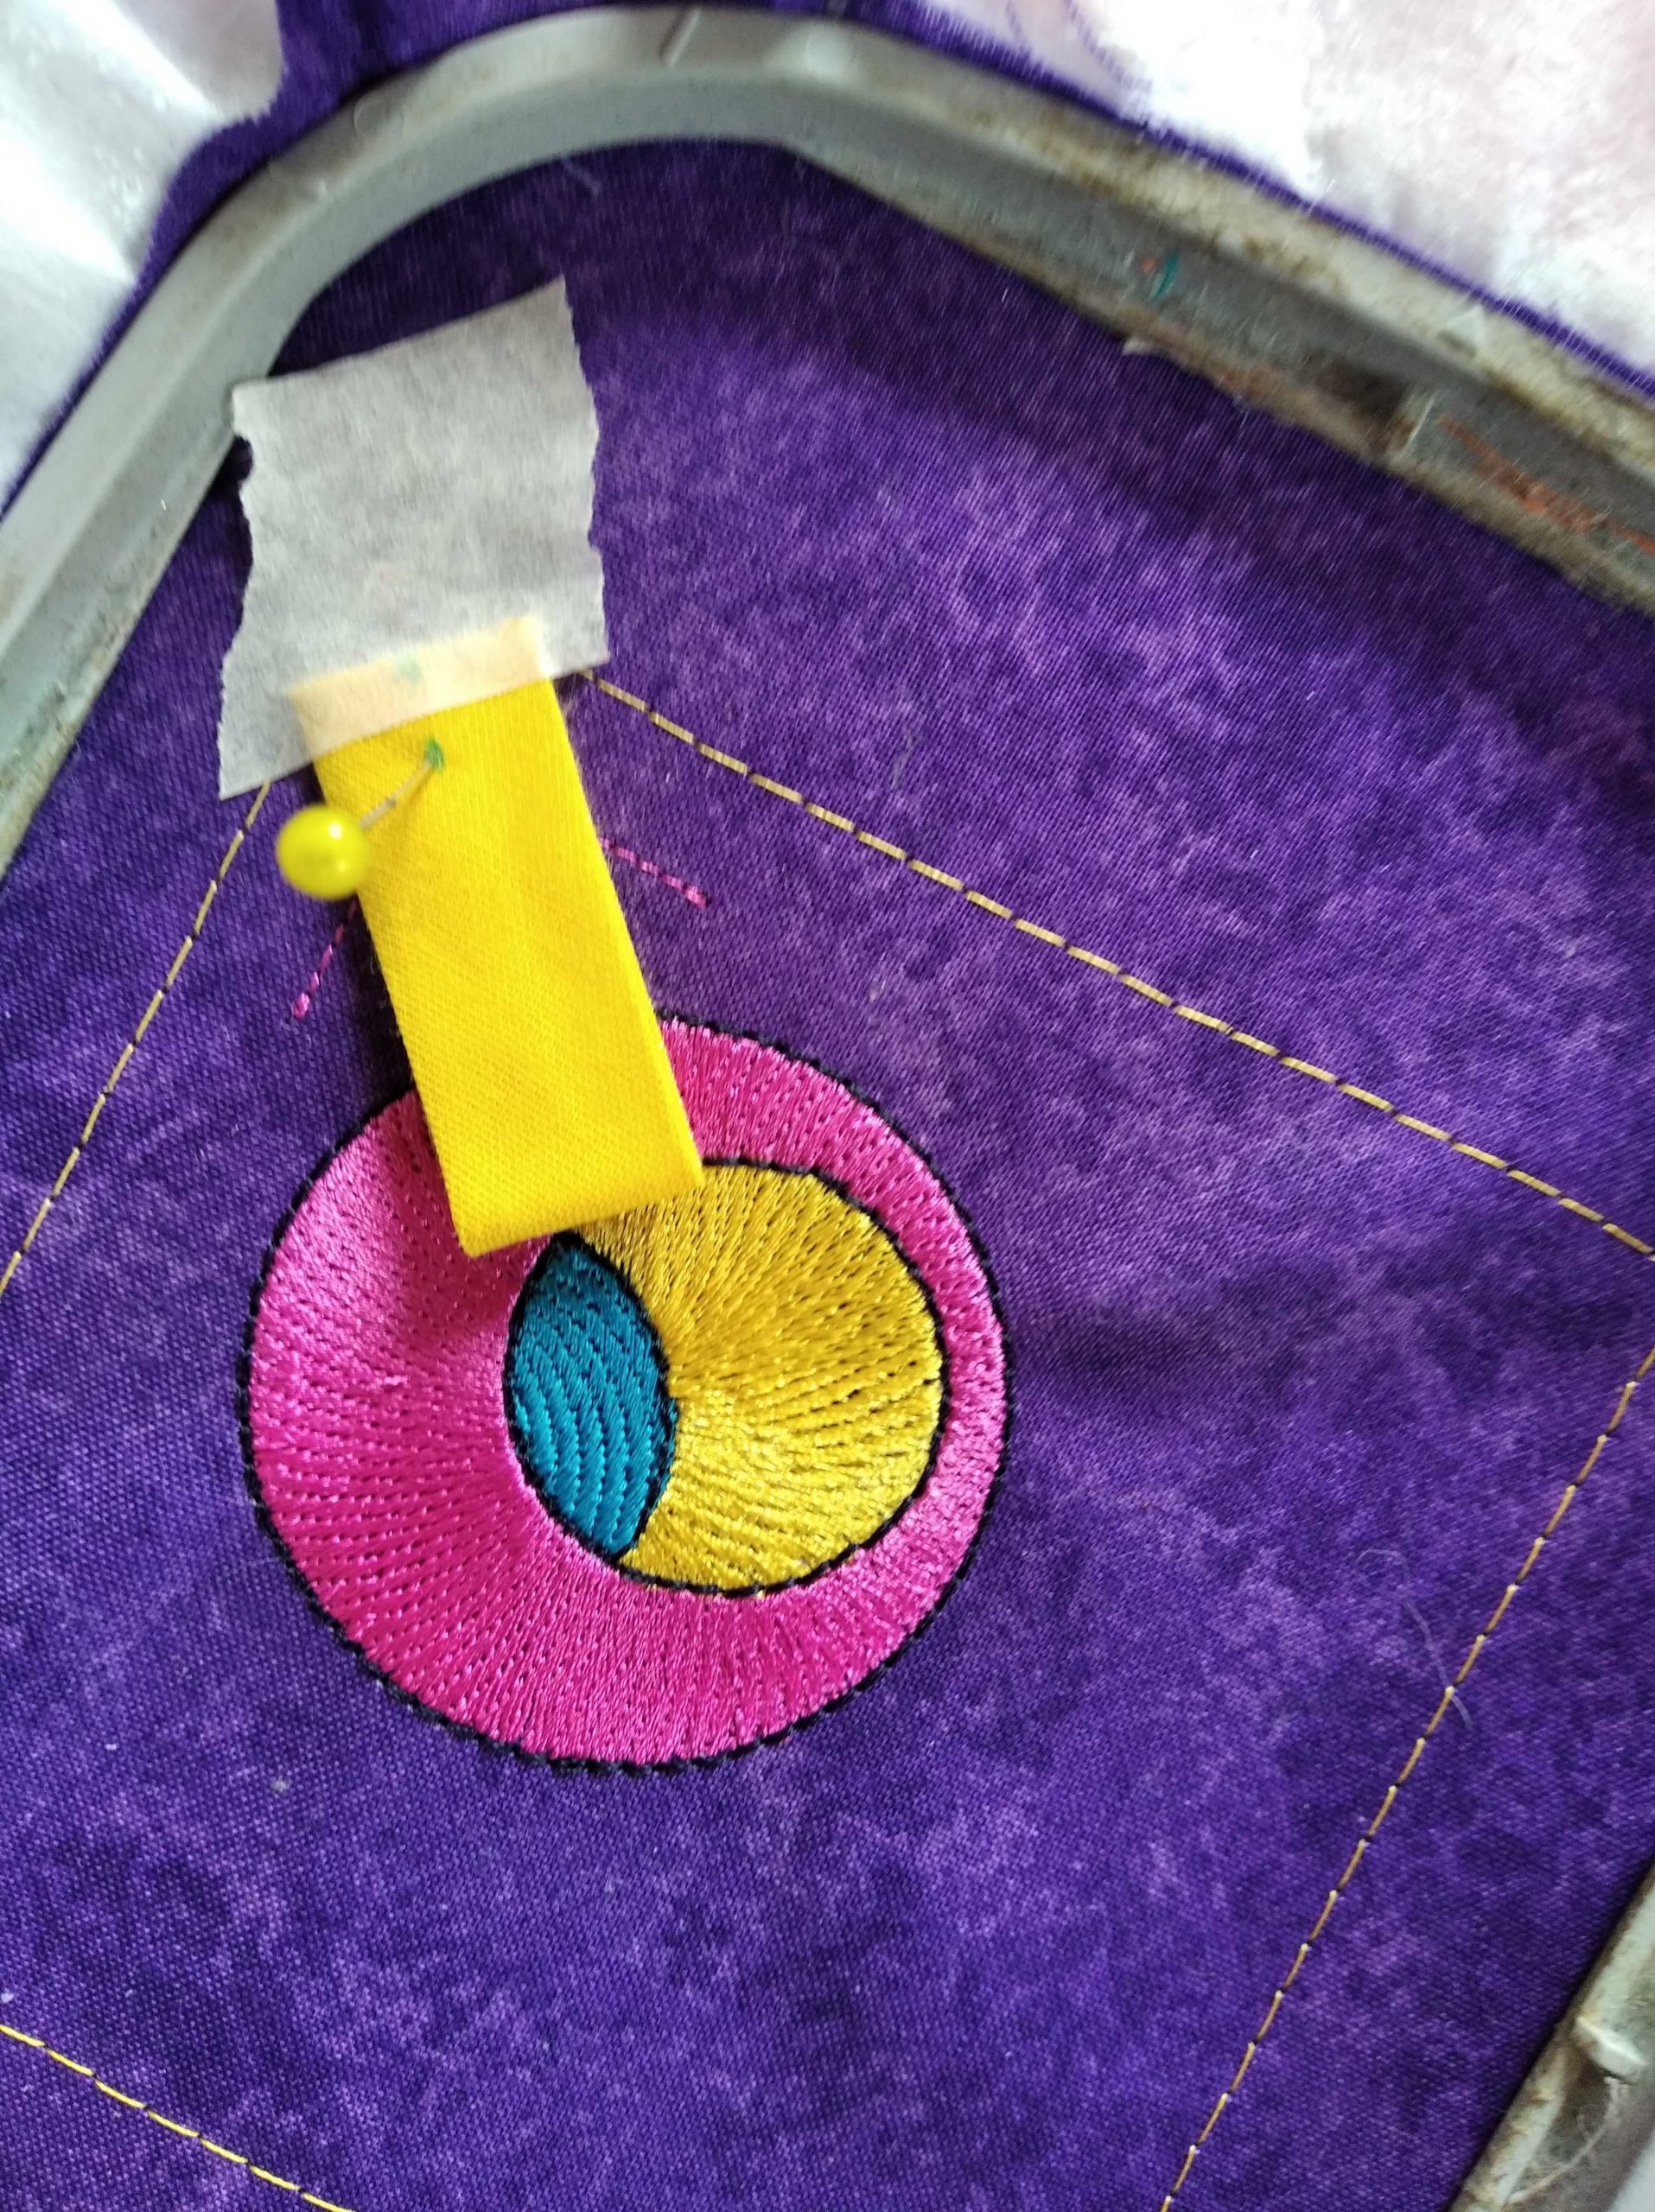
10. Replace the hoop, Slow the machine right down, and the next line of sewing will sew the tab in place. Slowing the machine speed minimises the risk of the foot catching in the tab.
11. Place the second piece of fabric right side down over the marked rectangle, taping it in place at the corners if you wish. The next line to sew, seams this piece of fabric down. It stitches twice to create a strong seam .
12. Remove embroidery from the hoop and trim to the rectangle line at the open edge which allows a 1cm seam allowance for the opening. The rest of the seams were trimmed to 5mm. Clip corners. Remove excess stabiliser.
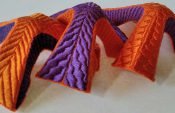
13. Fold along open edge matching seams in the middle. This creates the triangle shape. Switch machine to sewing mode and sew a 1cm seam leaving an opening in the middle large enough to get your fingers in.
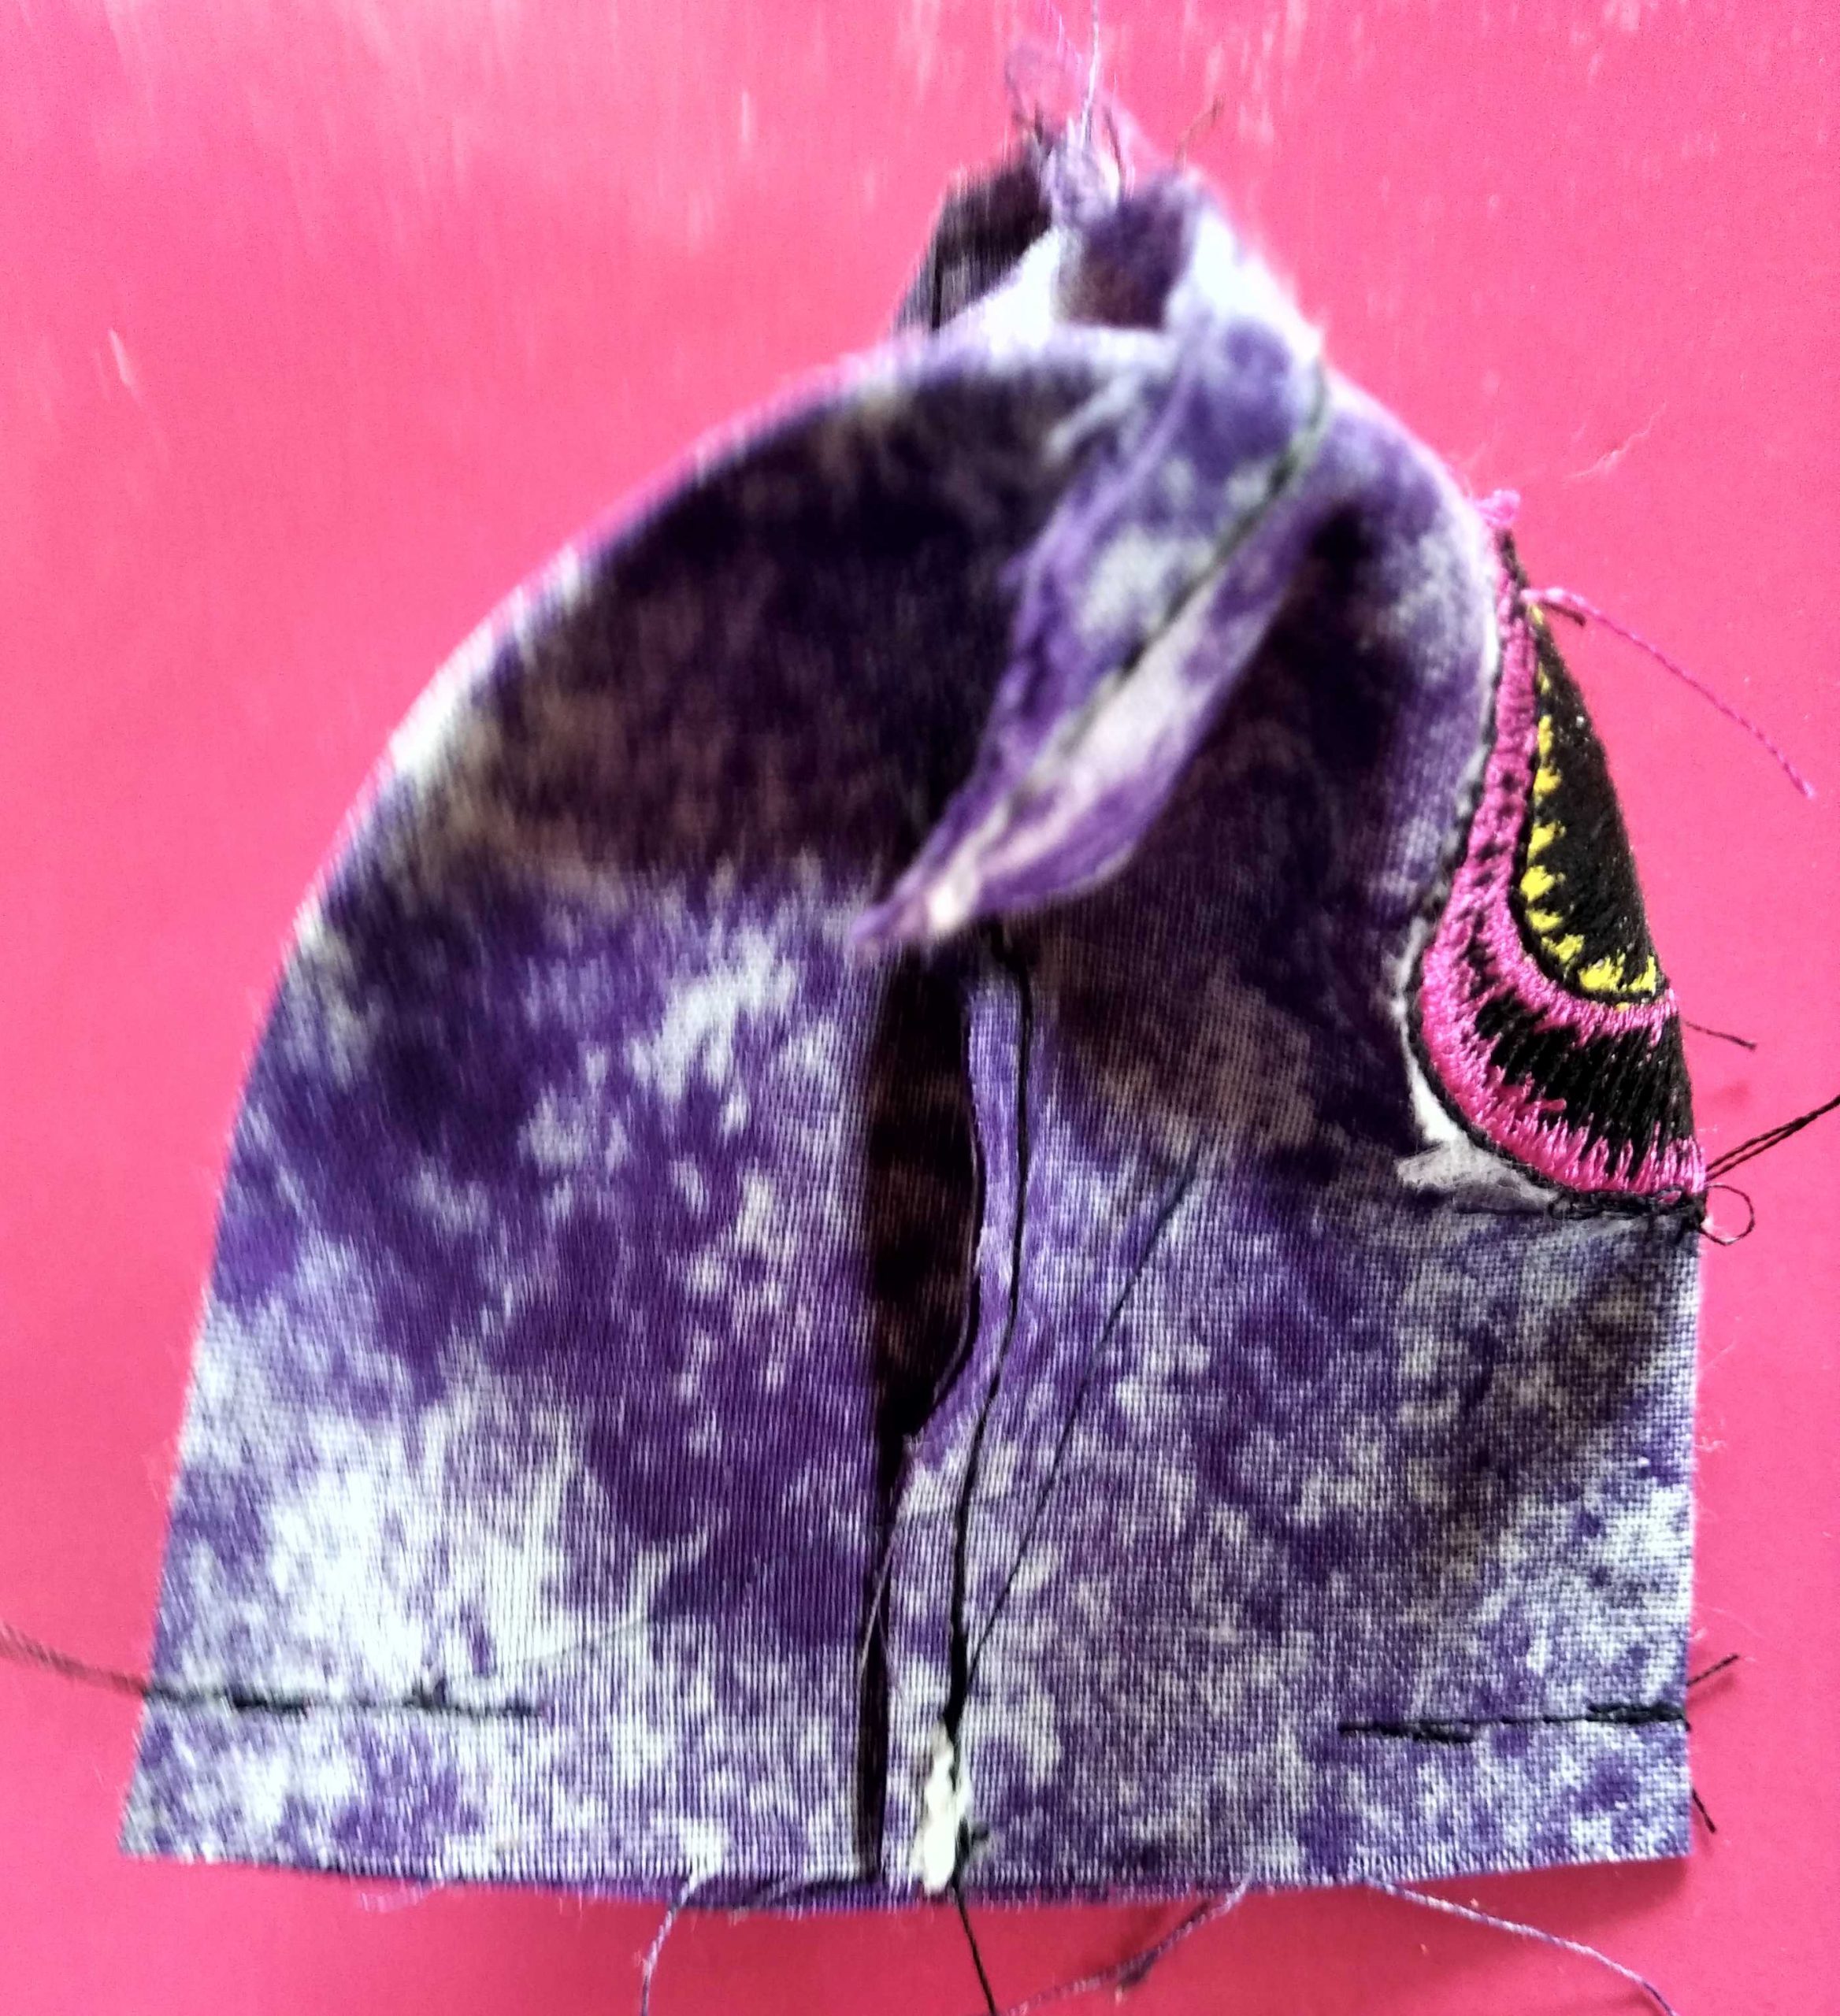
14. Turn right side out by grasping the tab. Push corners well out. I like to partially hand sew the opening until there is only a large enough hole left for my funnel.

15. Fill with sand or rice and hand sew the hole closed.
Alternative hooping method.
If you only have a small amount of fabric or wish to conserve fabric try this technique.
- Cut to 2 squares of fabric 11cms -12cms in size.
- Spray starch both pieces of fabric, the fabric to be embroidered on needs to be stiff.
- Hoop the double layer of stabiliser very tightly. (Very important).
- Place hoop in machine and stitch the first rectangle directly on the stabiliser.
- Place the well stiffened piece of fabric over this stitched rectangle and hold in place at the corners with tape.
- Using the controls of the embroidery machine return the needle to the start of the rectangle and stitch the rectangle again to hold this piece of fabric in place.

Complete the design following the instructions above.


thanks for this project.
I don’t have an embroidery machine but would love to make these with some cut fabric instead. But your directions are very confusing. Do you have a simple version for using a domestic sewing maching?
Glad you like the weights. I will write instructions for using just a sewing machine. Carolyn
Dear Myra,
As far as I understand, it is 2 squares with a size of 11cm, plus a ribbon of 1,5cm width and 8cm long.
Place the ribbon on the right side into a corner, put the two squares with right side together and sew along 3 sides of the squares, then fold the open seam so the seams you just created are in the middle, and the middle of the open side are the corners. Then sew on both sides about 1cm, turn everything inside out, fill it and close the hole.
I found its hard to imagine how the triangle is achieved, but its easiest to just try it. I was surprised afterwards! The lady in this video uses a different pattern, but she uses a similar method to sew it.
Hope this helps!
Kind regards, Ramona from BERNINA International