 BERNINA Corporate Blog -
In Easter holidays, it is a fun activity with the children of for yourself to sew a garland of hens. It is ideal as an intruduction to the sewing machine for a teenager (set the machine to a lower speed) and younger children could help you to decorate.
An easy project to do and a nice decoration, all you need right now 🙂

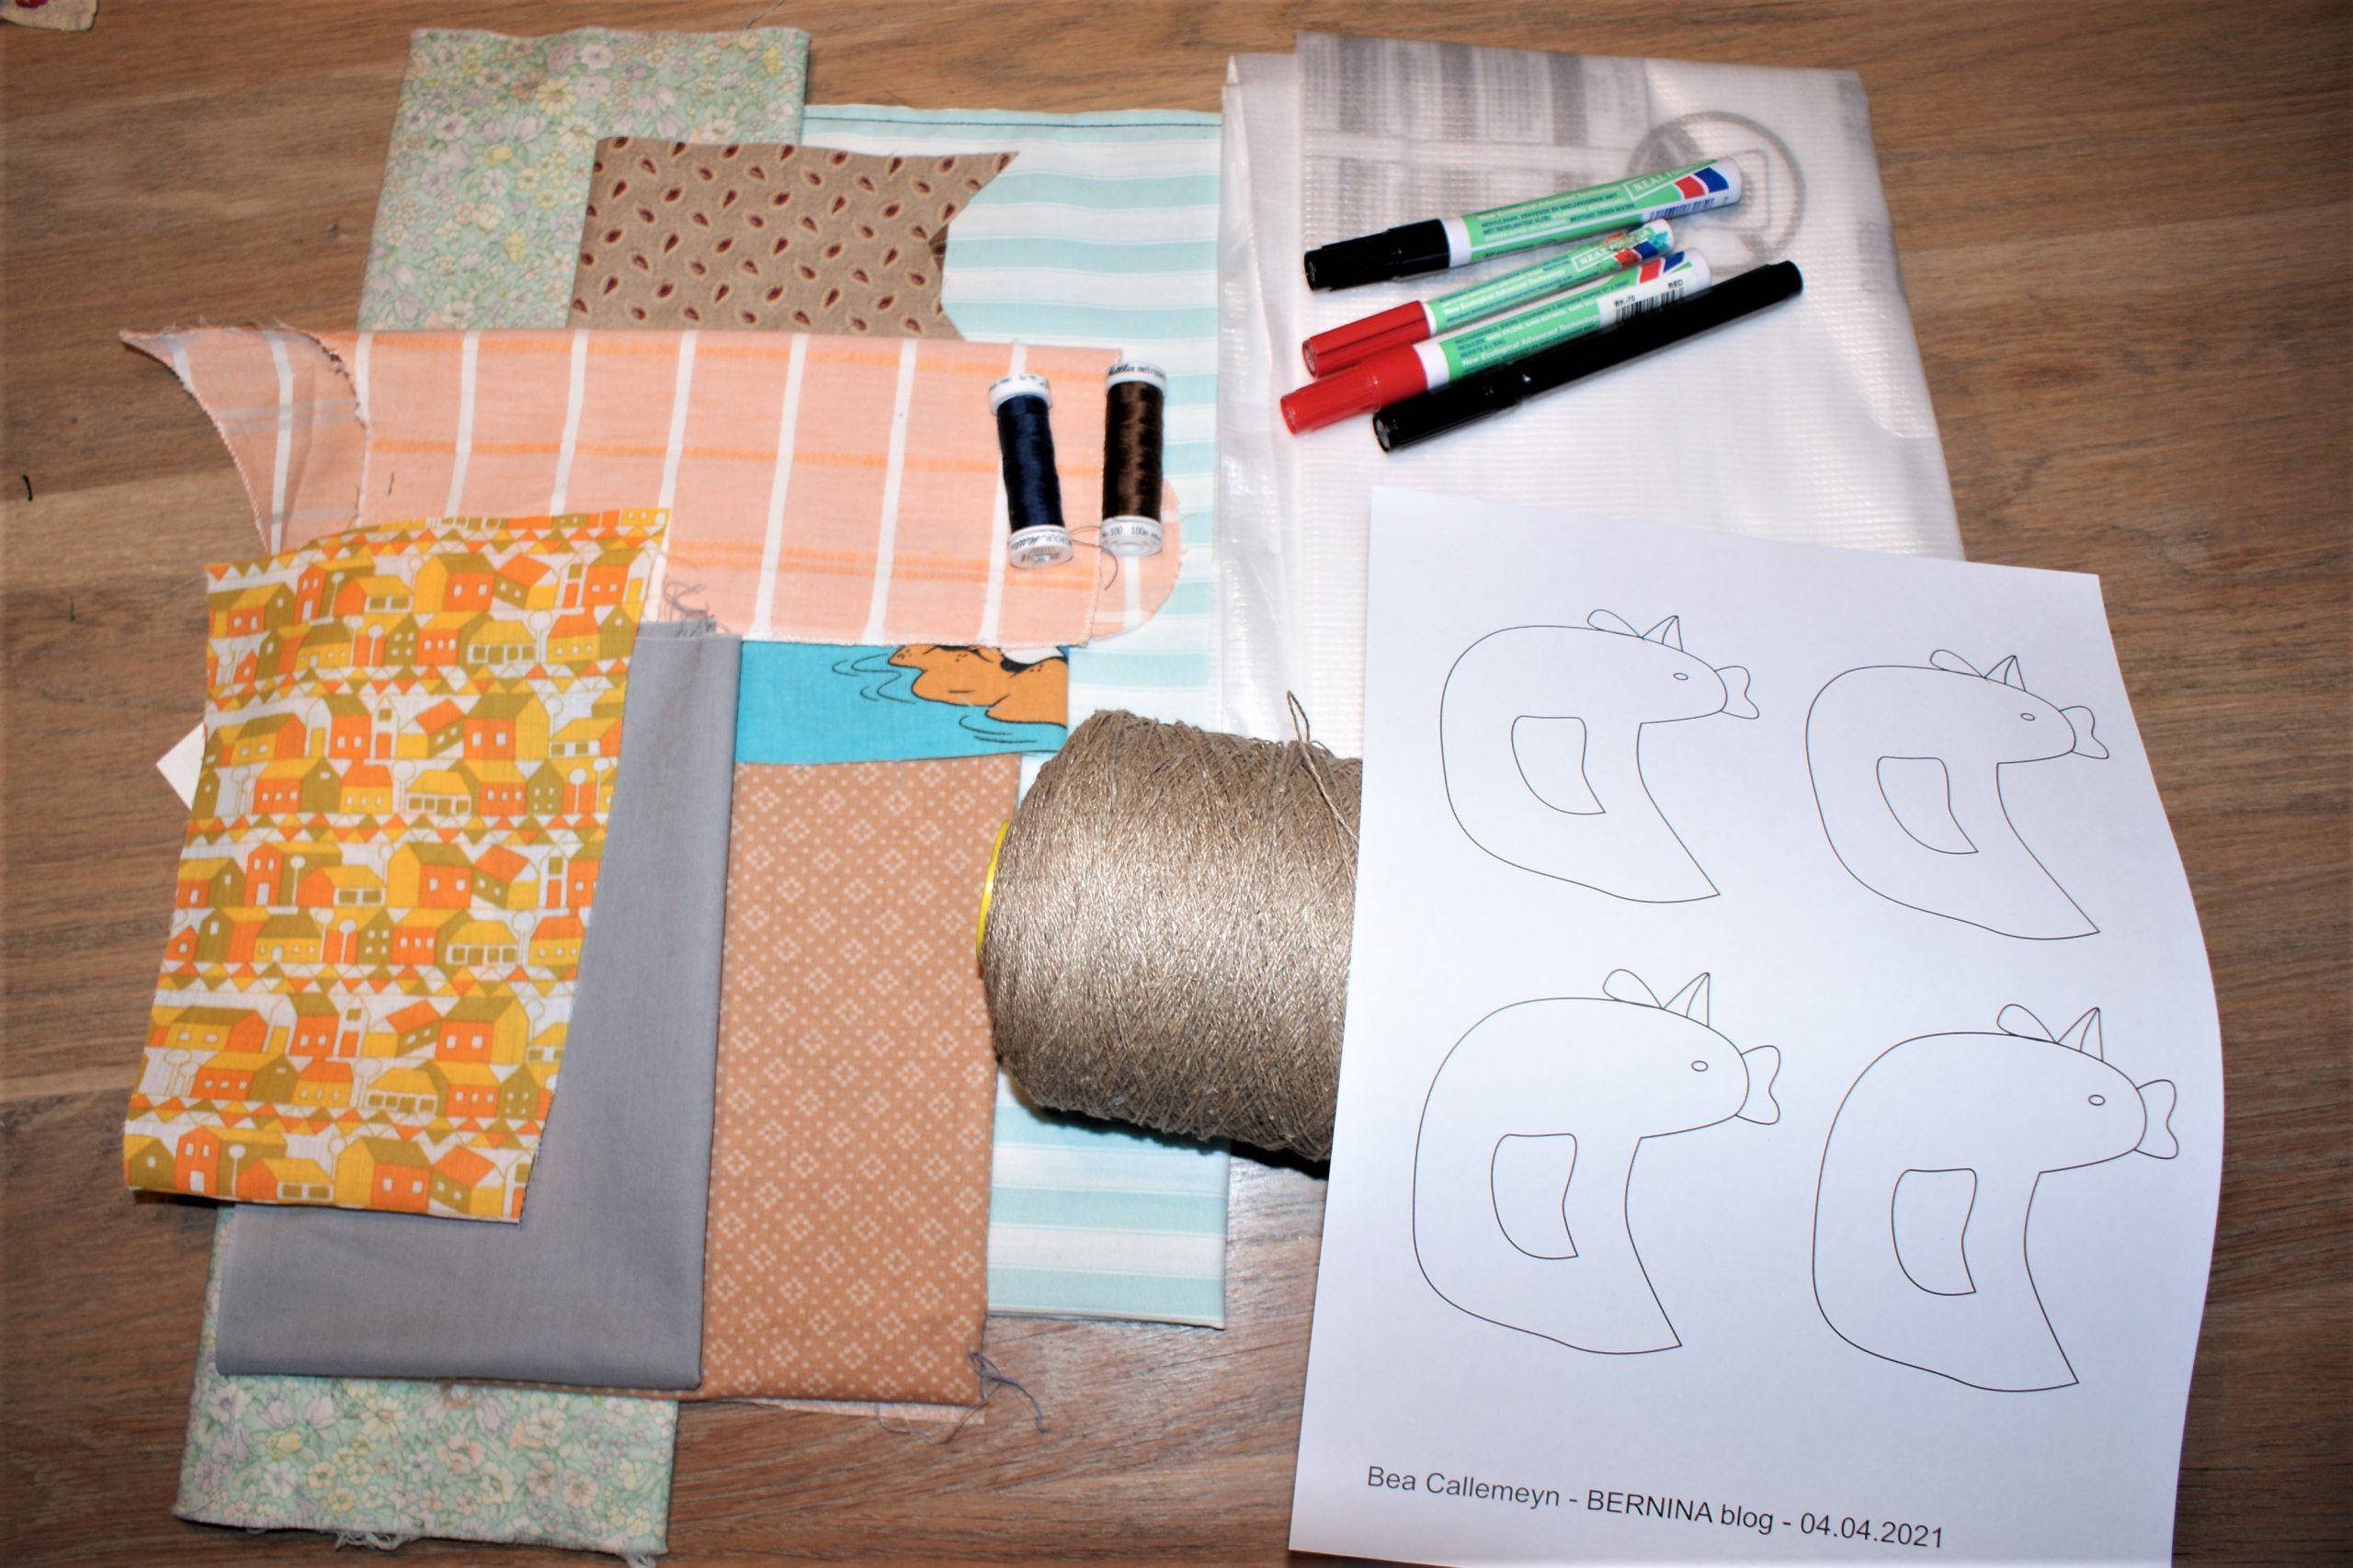
What do you need to sew a garland of hens?
- A range of colourful left over fabric.
- Download the pattern with this link: Kip – Hen – Pasen – Easter 2021
- Mettler Seralon sewing thread
- BERNINA 740
- Open embroidery foot # 20
- Batting to make the hens a little firmer (I used a double layer of throw away package material. You could use an old sheet or flanel).
- Red and black markers.
- Cord or tape for to sew the hens onto.


Let’s start sewing the hens:
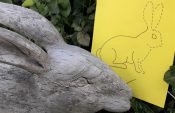
This is the pattern you will download:
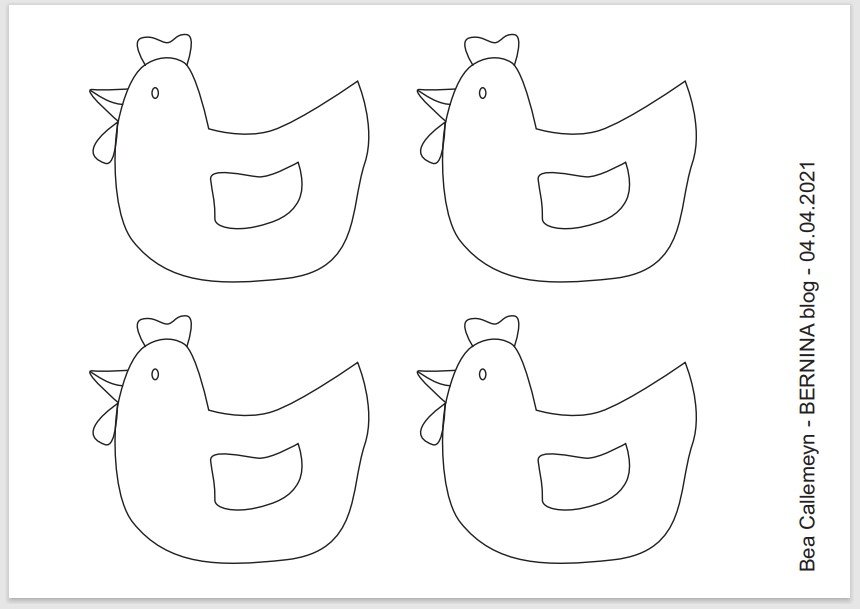
Cut out a hen. You see there are a couple extra, in case you sew into it  .
.
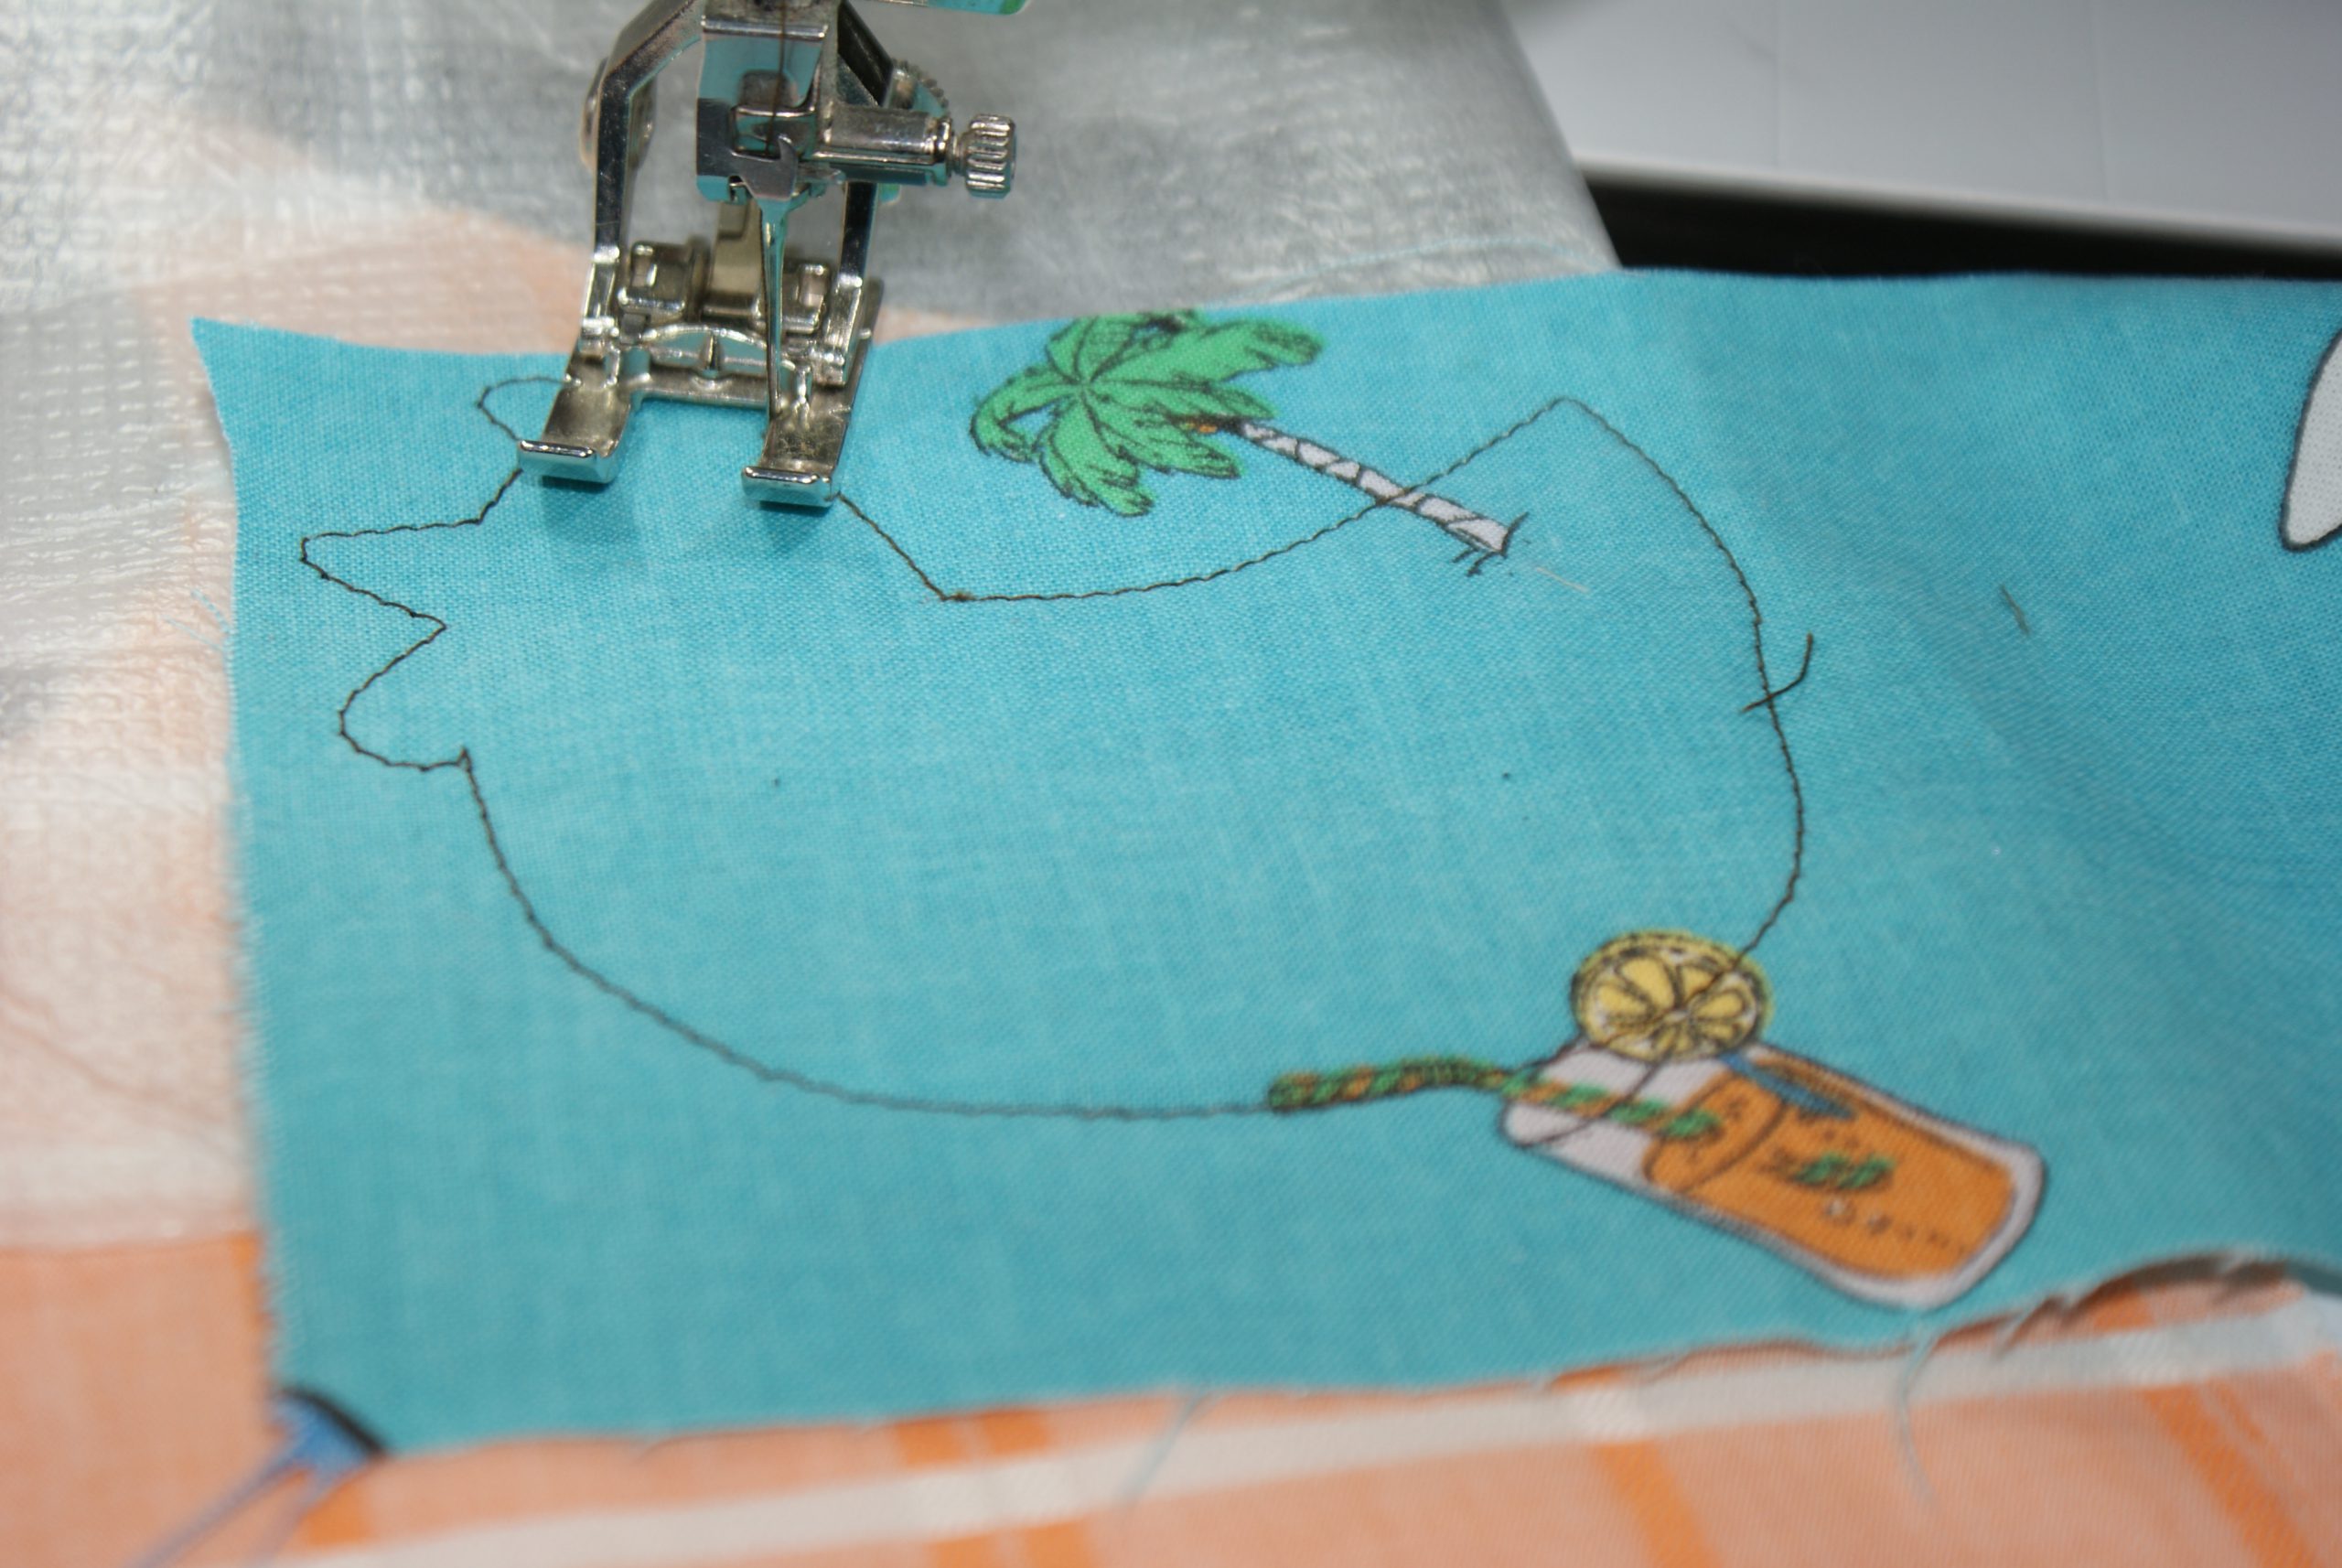
Put the fabric with wrong sides together with the batting in between and the pattern on top.
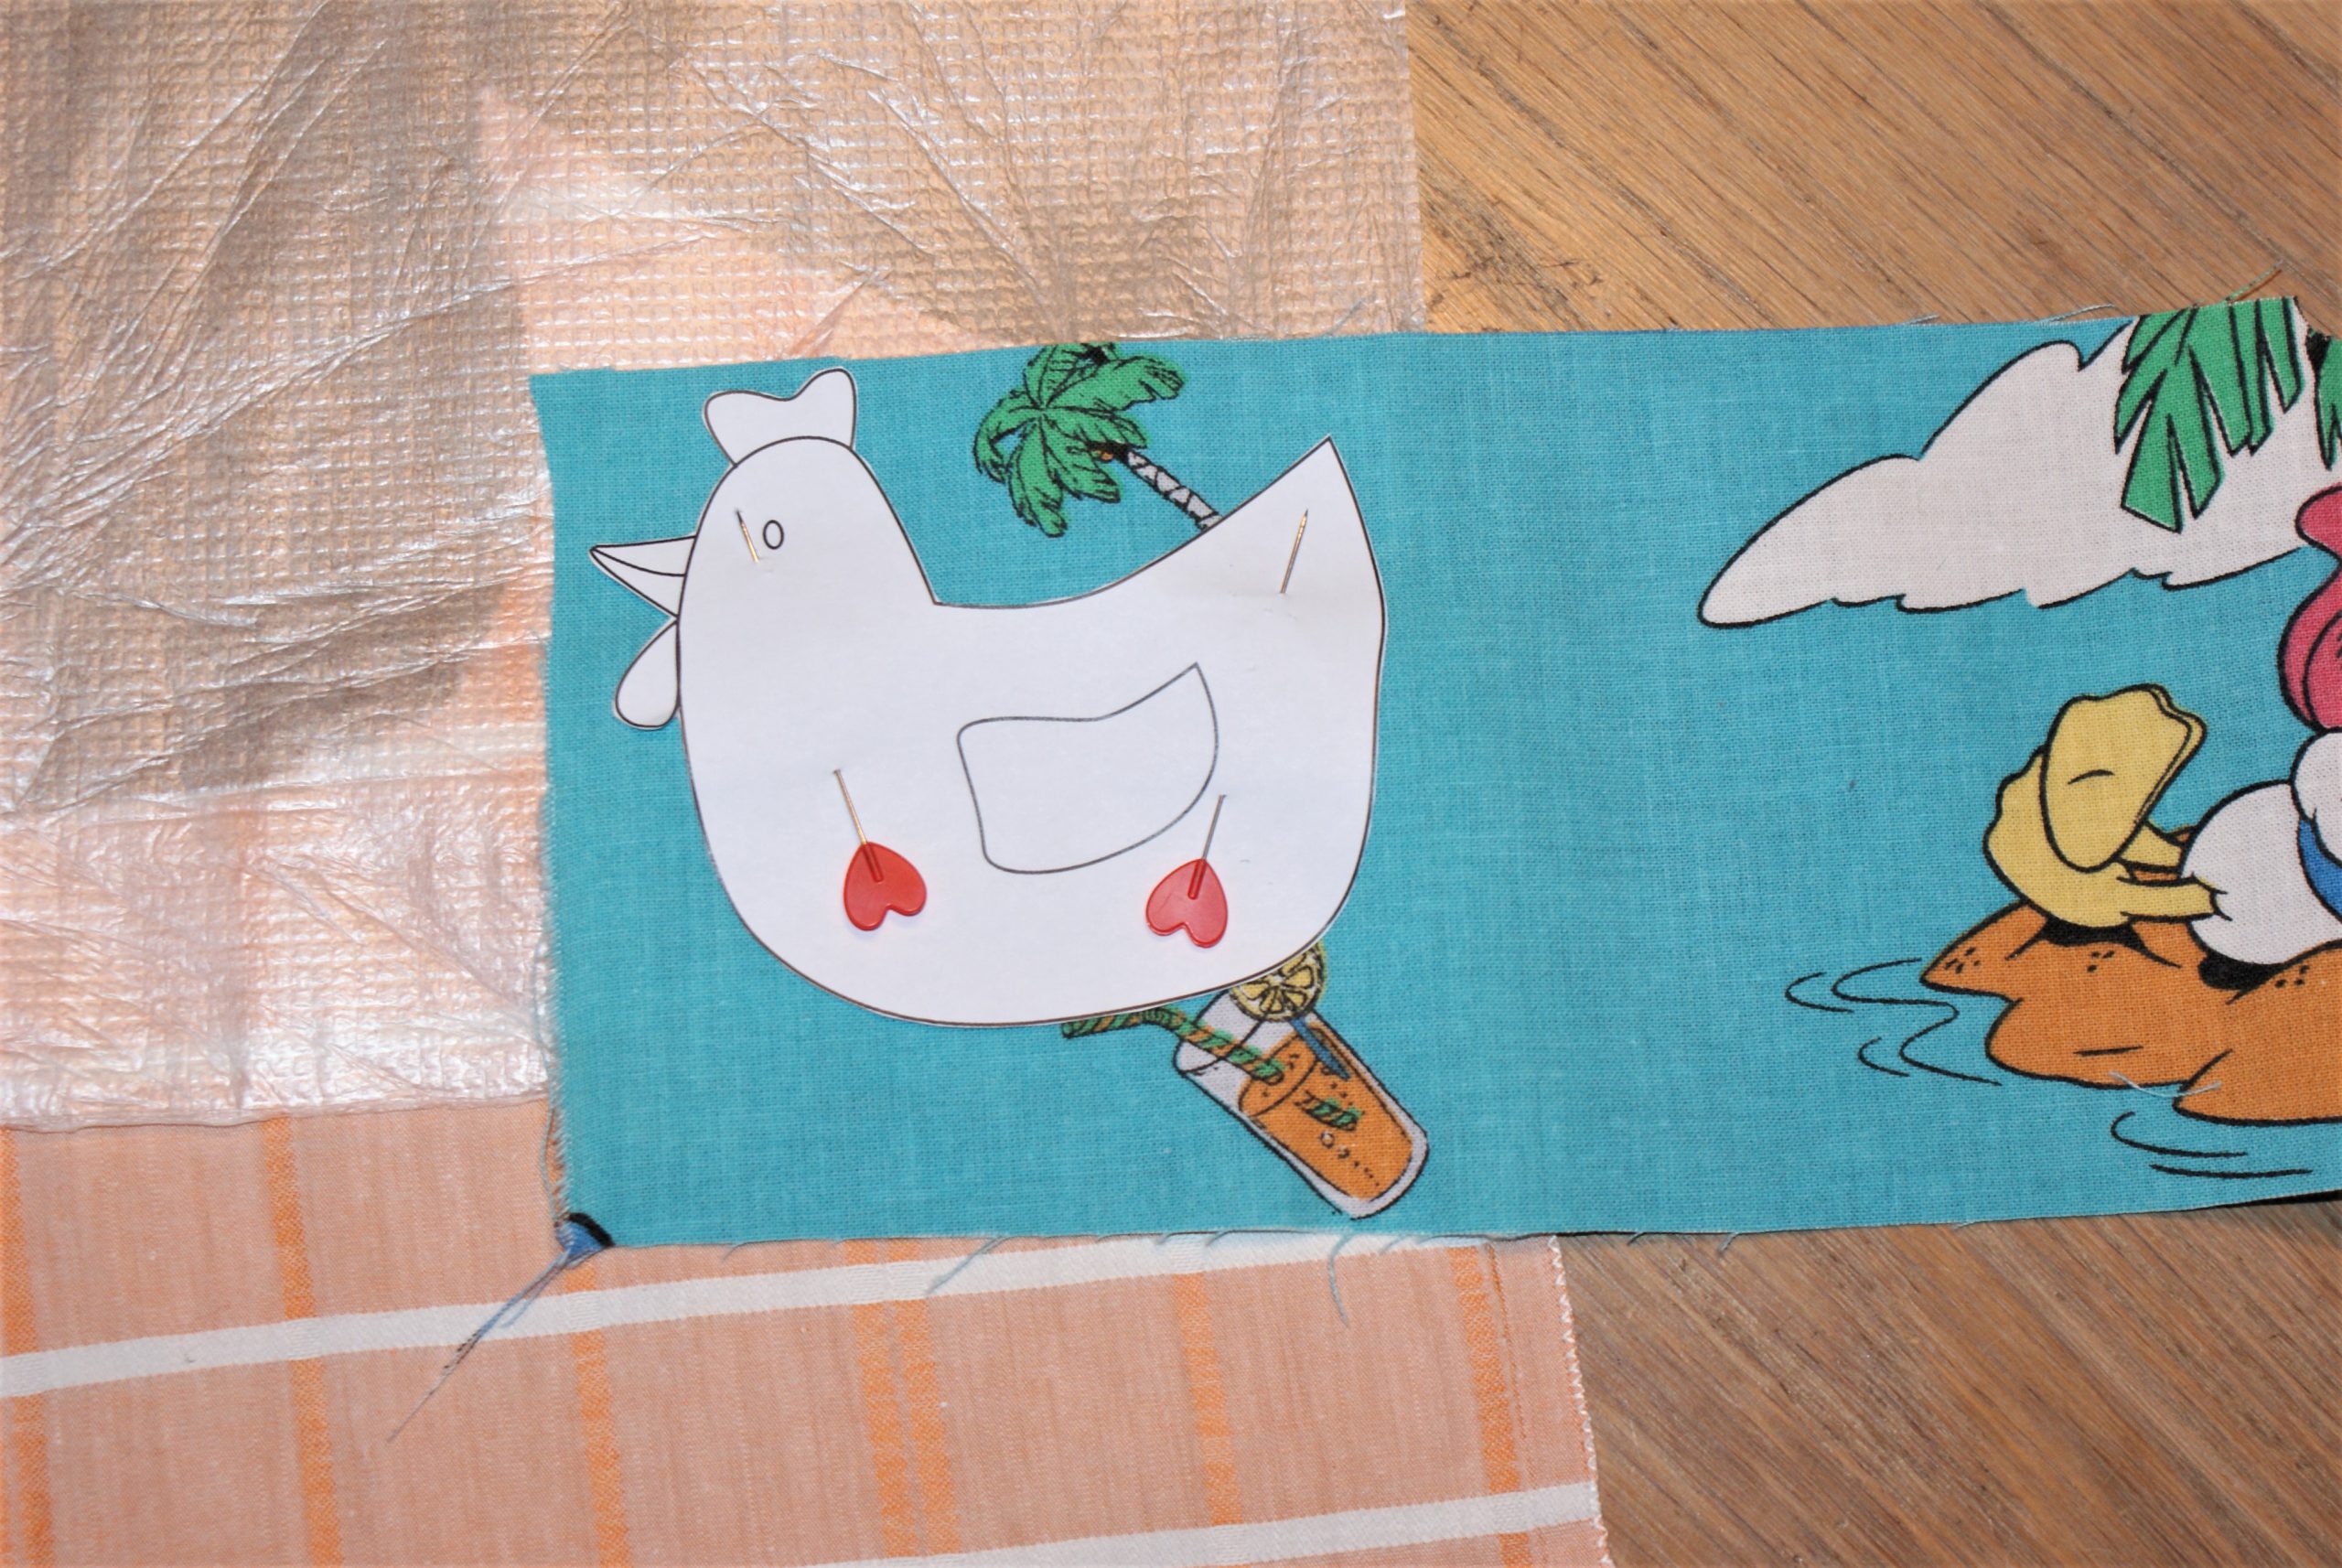
Sew the outline of the chicken, start at the right side of the comb.
With the open embroidery foot, you keep a good view at your work:
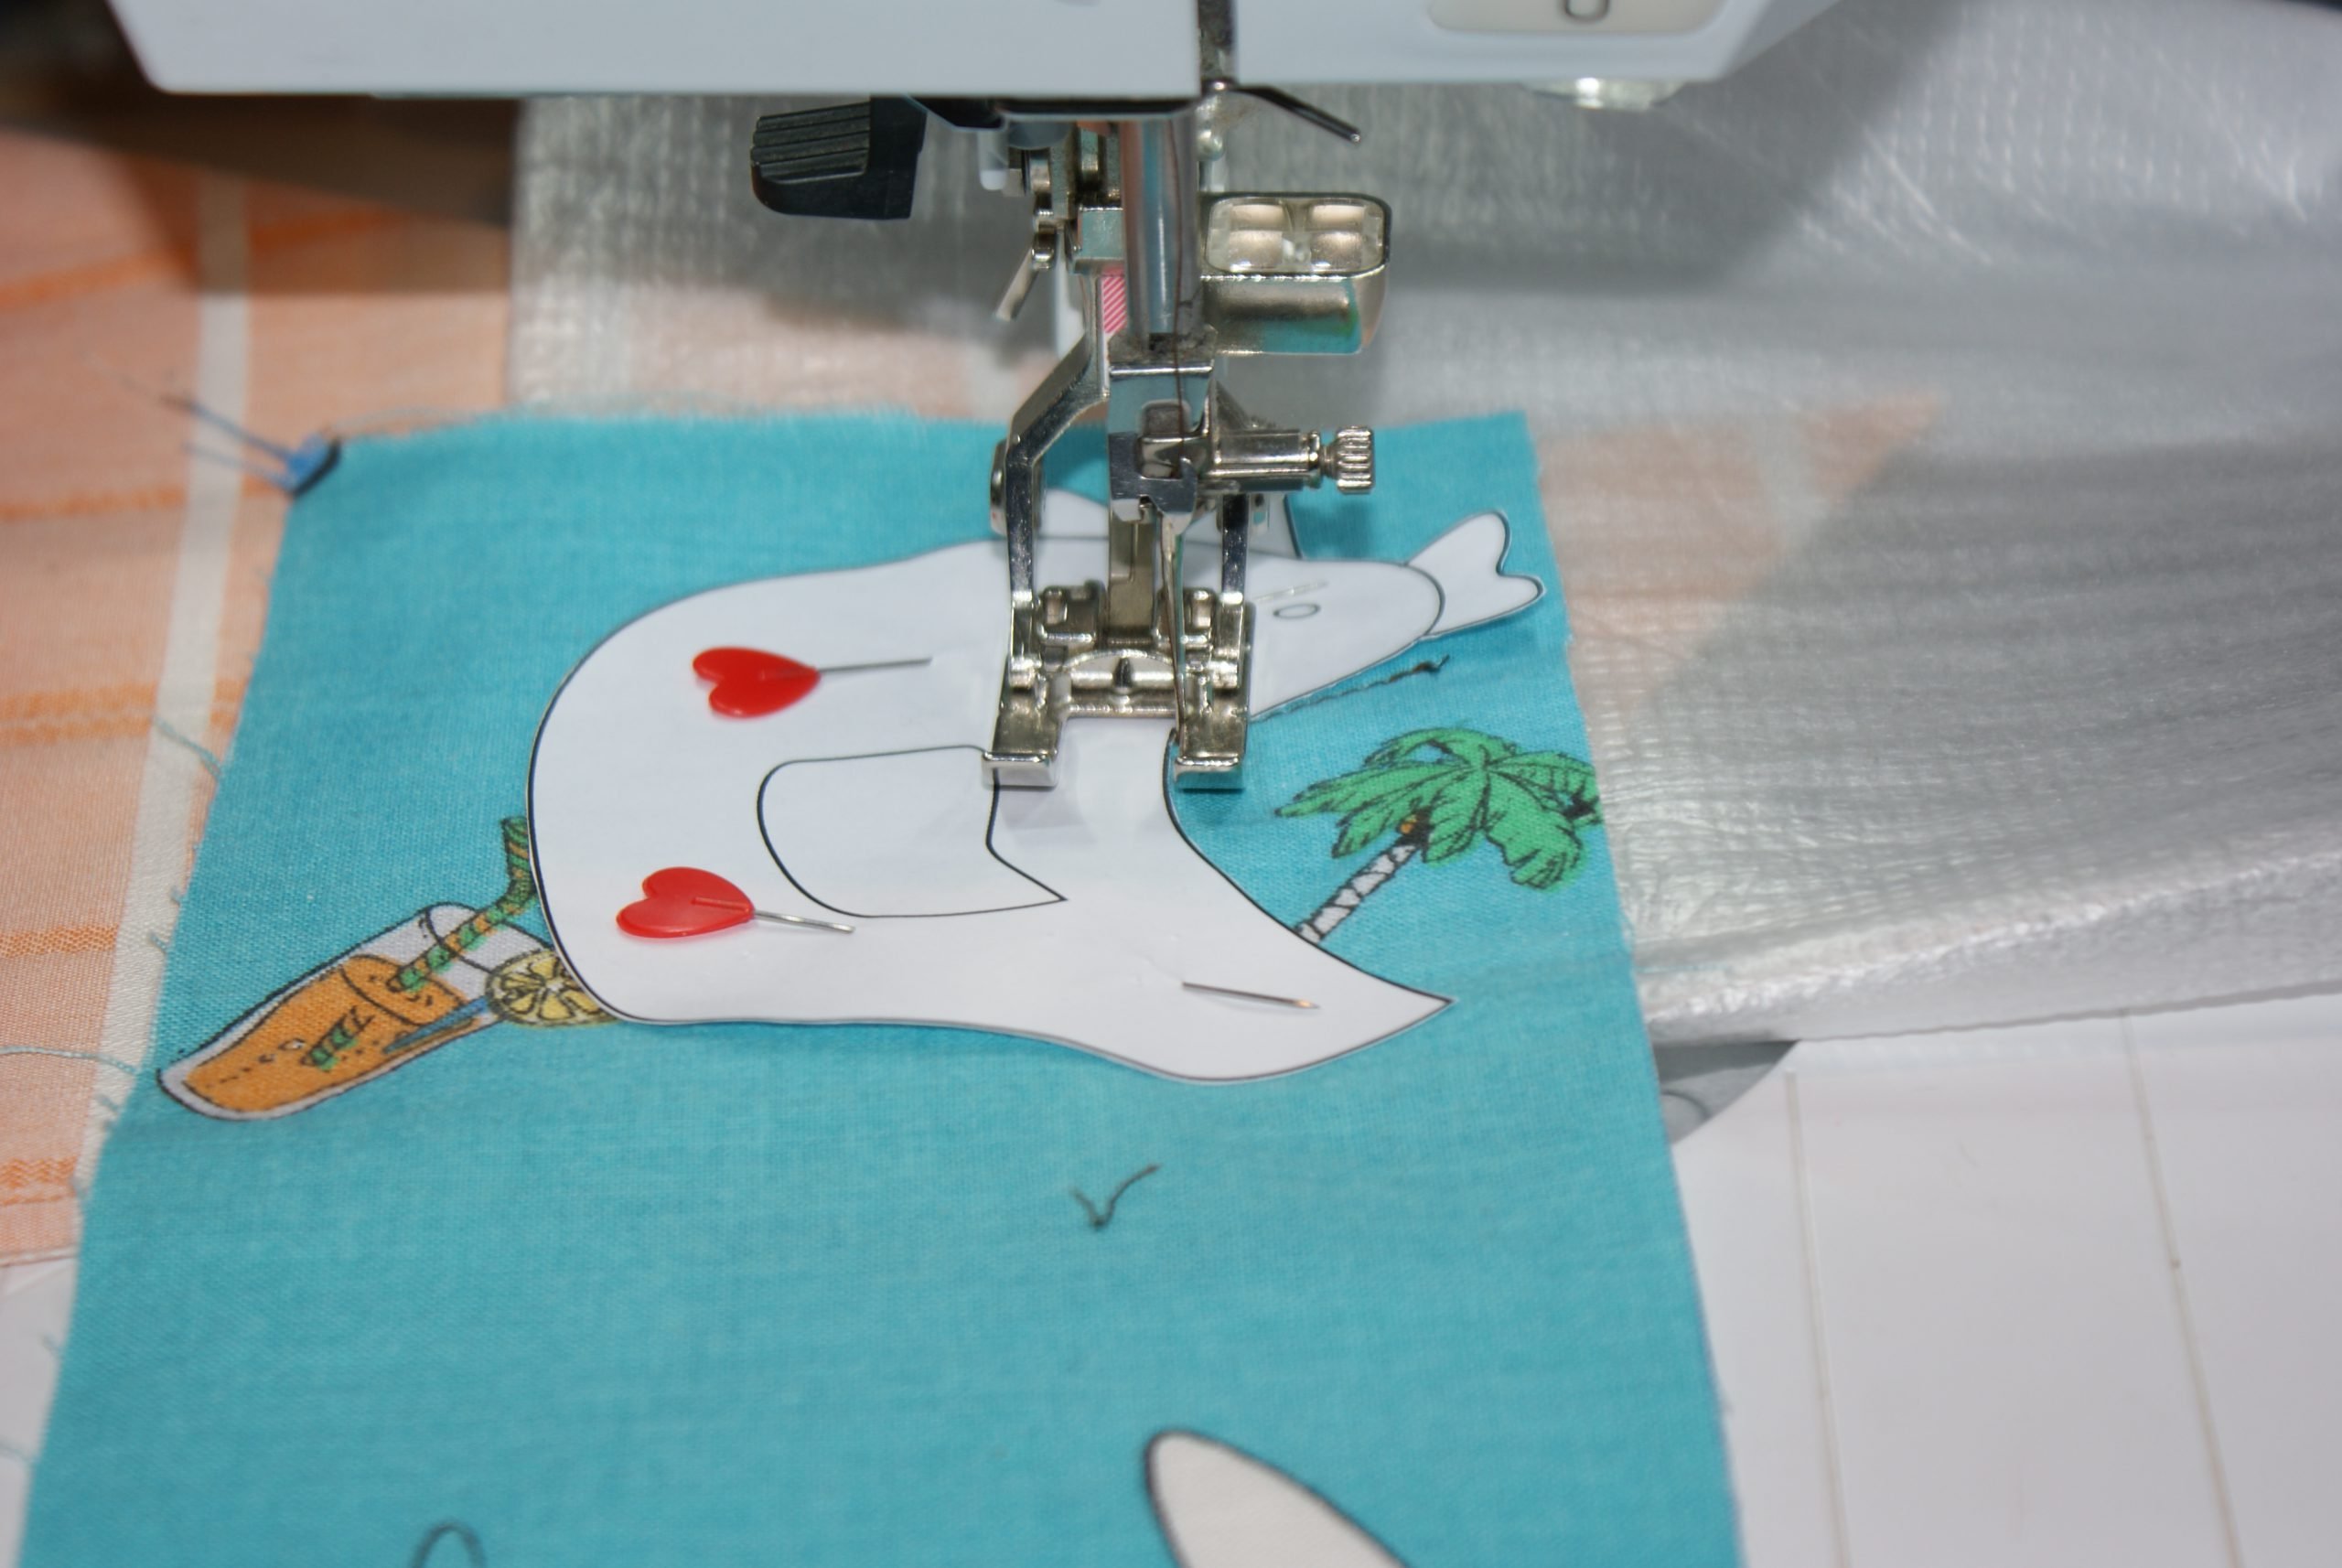
This were my settings: needle position right and stitch length 2,5.

Stop when you reach the starting point and remove the paper pattern.
Turn your work with the needle in the fabric and sew the rest of the line, till the end of the wattle.
This is a perfect project to use the knee lever and the kickback function with the pedal 🙂 .
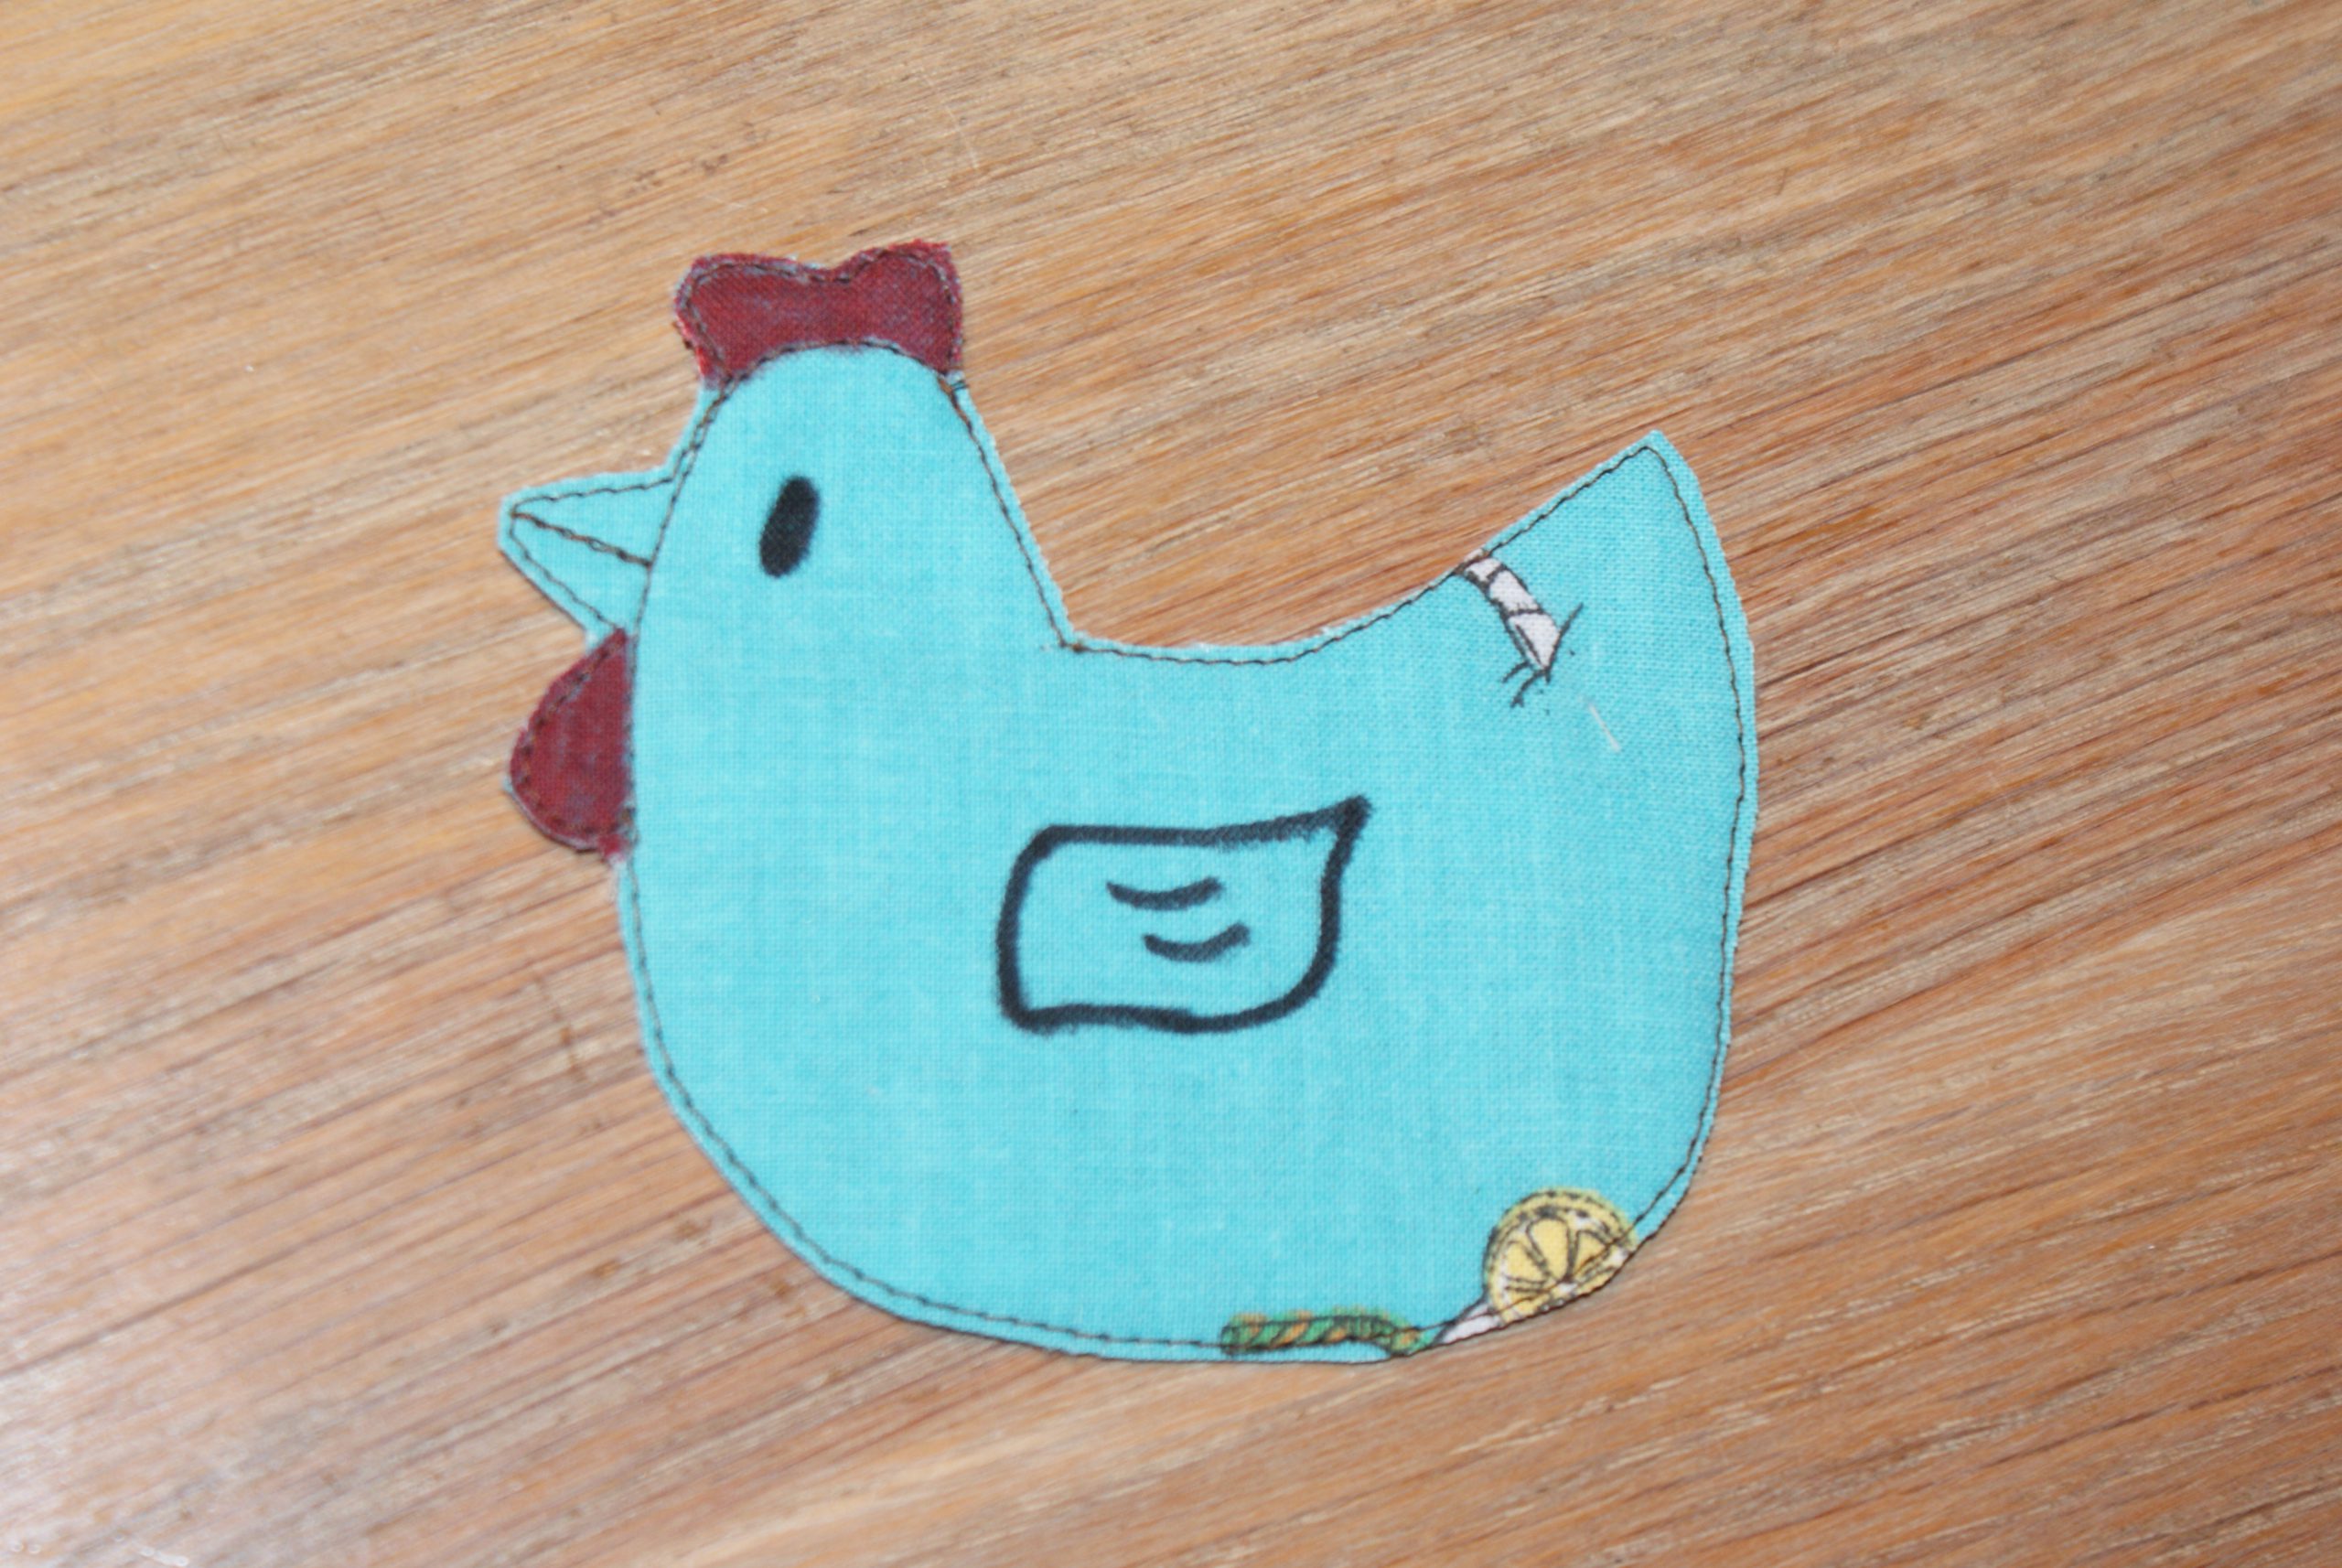
Cut out the shape at 1 mm from the sewing line.

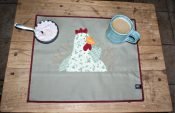
Colour the comb and the wattles with red marker. Draw the eye and the wing with the black one.
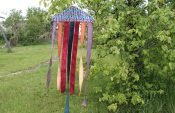
How to finish as a garland?
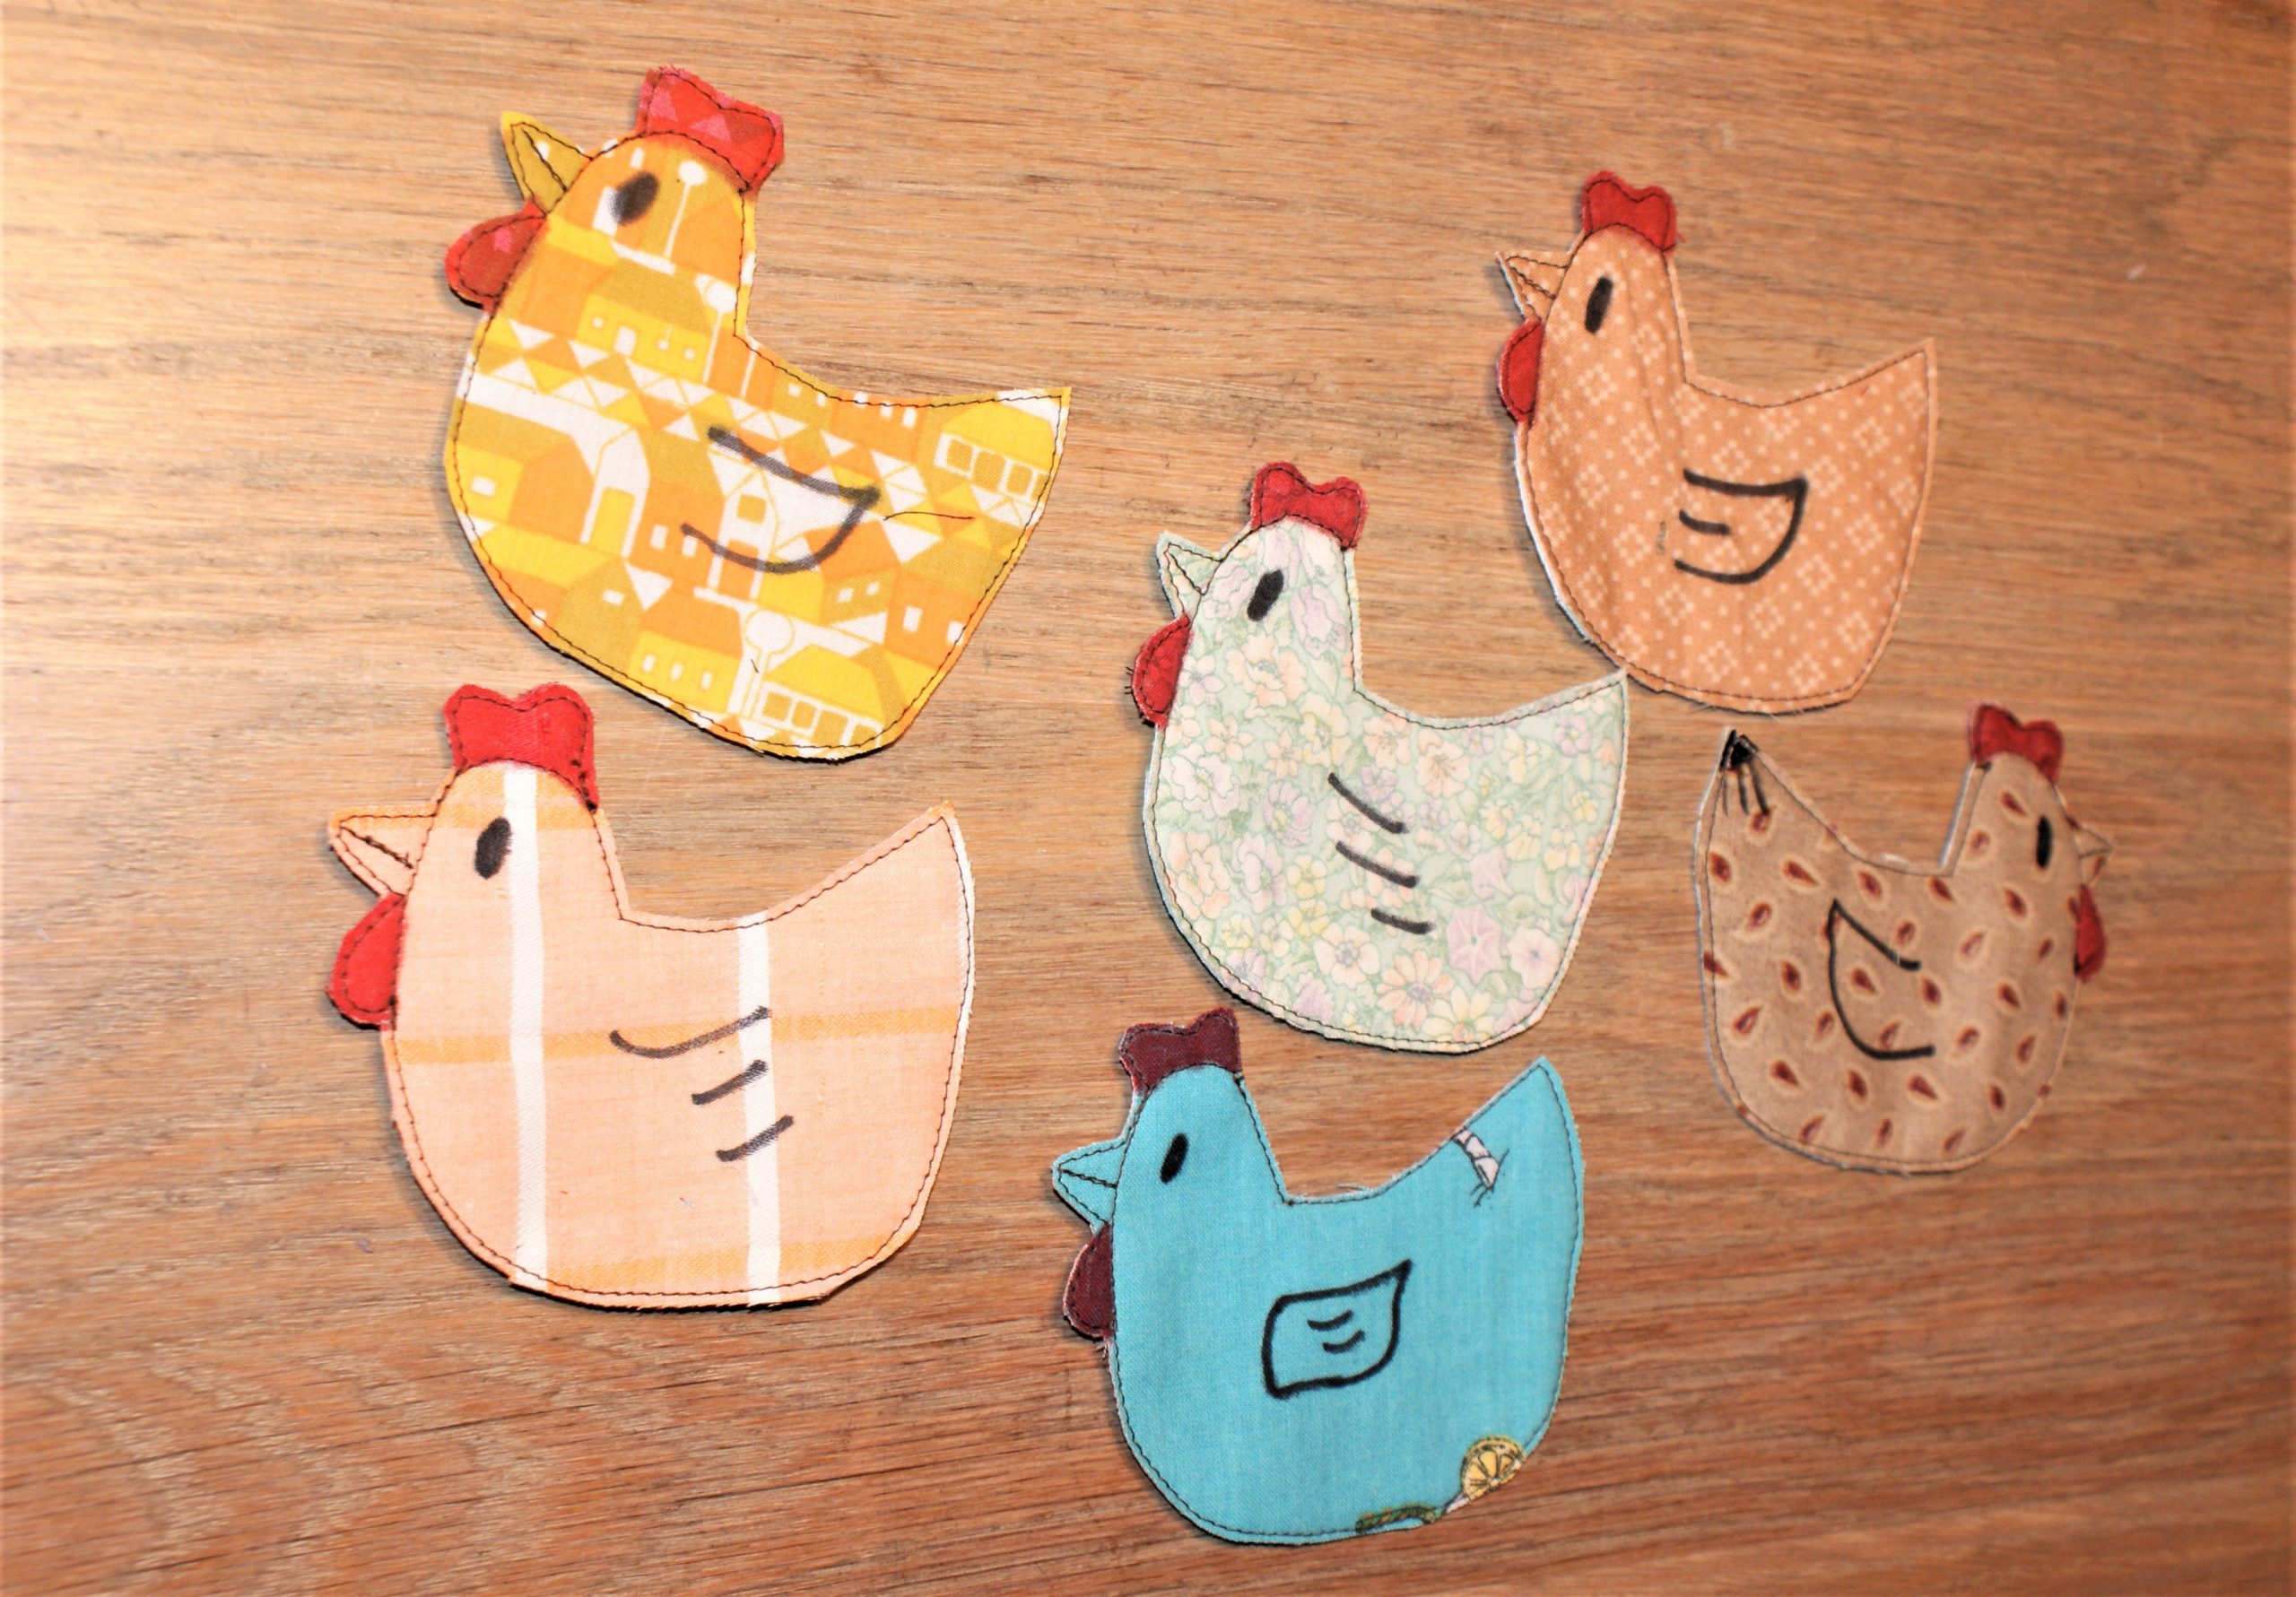
Just sew as many hens as you like.
Sew the hens now on tape or cord.
I used cord and used 3 lines of it with the 3-Groove cording foot # 22. A tip to guide the cord in the foot: open the foot and insert the cord before attaching the foot to the machine.
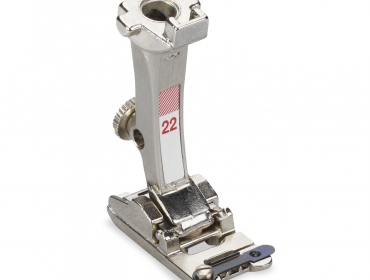
The cord foot is still open in this picture. Close to sew.
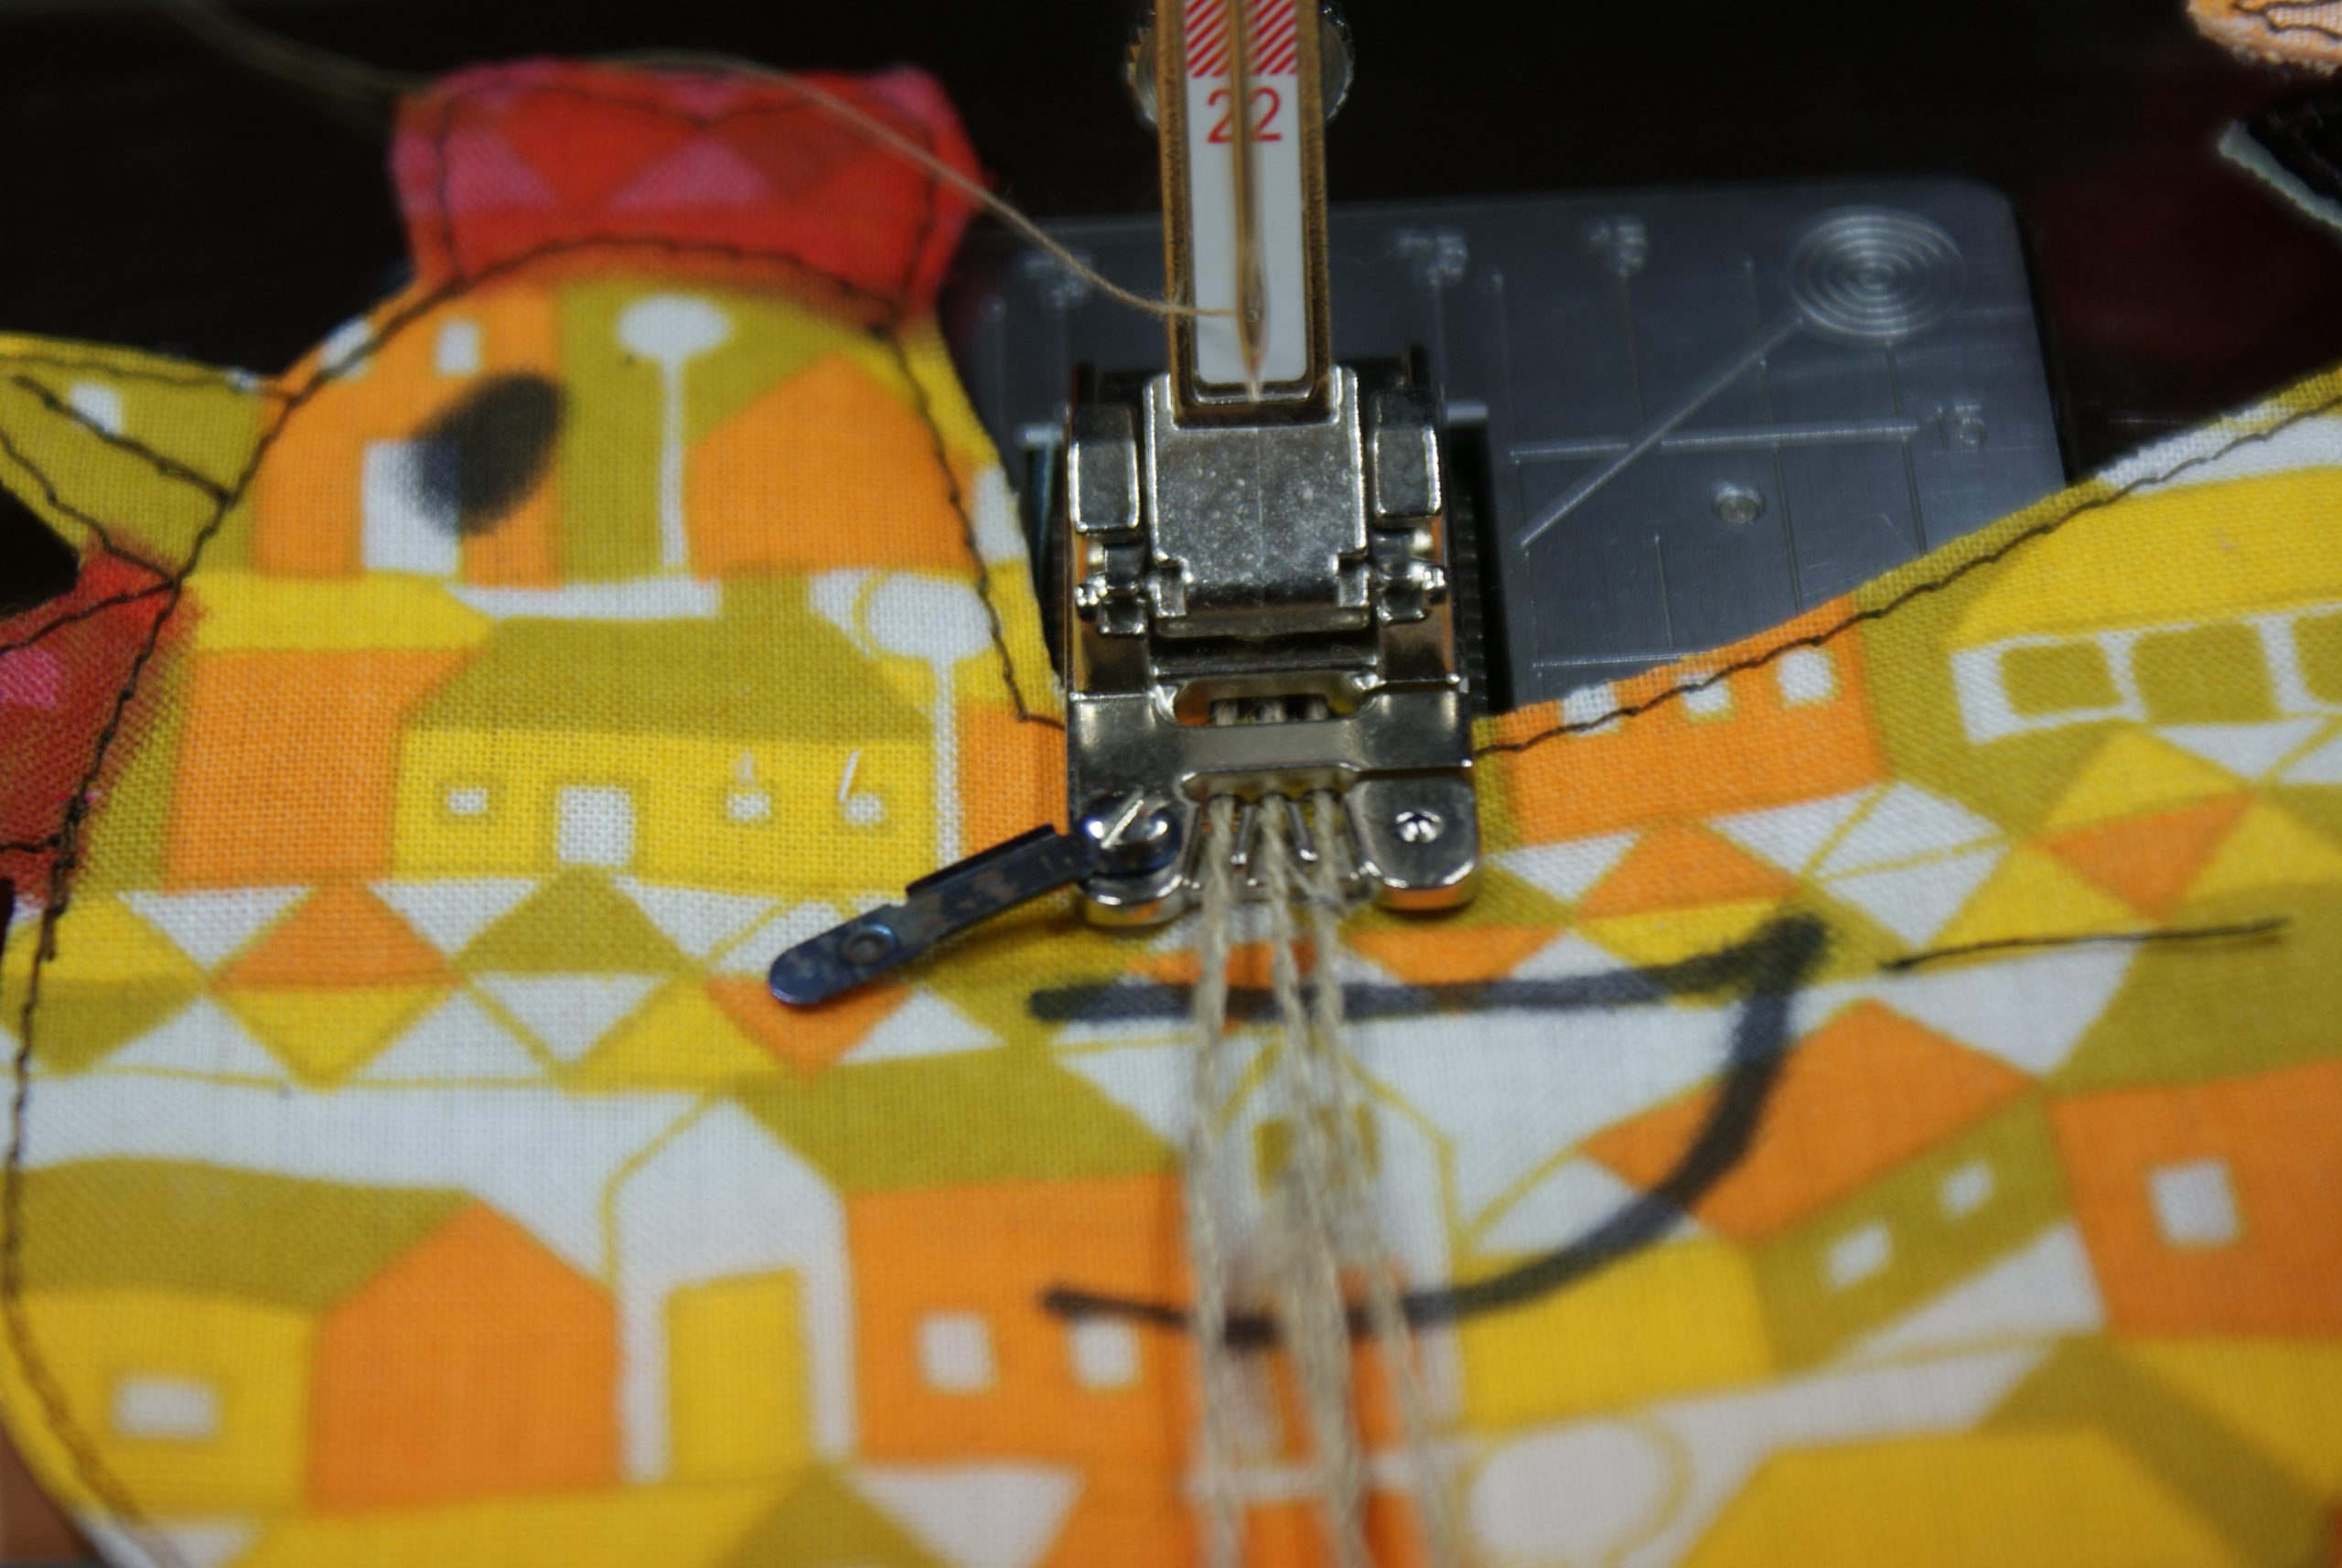
I used a stitched zigzag to sew the cord.
You see it’s not difficult to sew a garland of hens with leftover fabric.

Who’s making one too? Tell me if you liked it?

0 Responses