The free INSPIRATION pattern for April 2021 is the T-shirt Birthe. You will find the sewing instructions for the Birthe shirt here. Find all about the free pattern download in this blogpost: Sewing the Birthe shirt with free pattern.
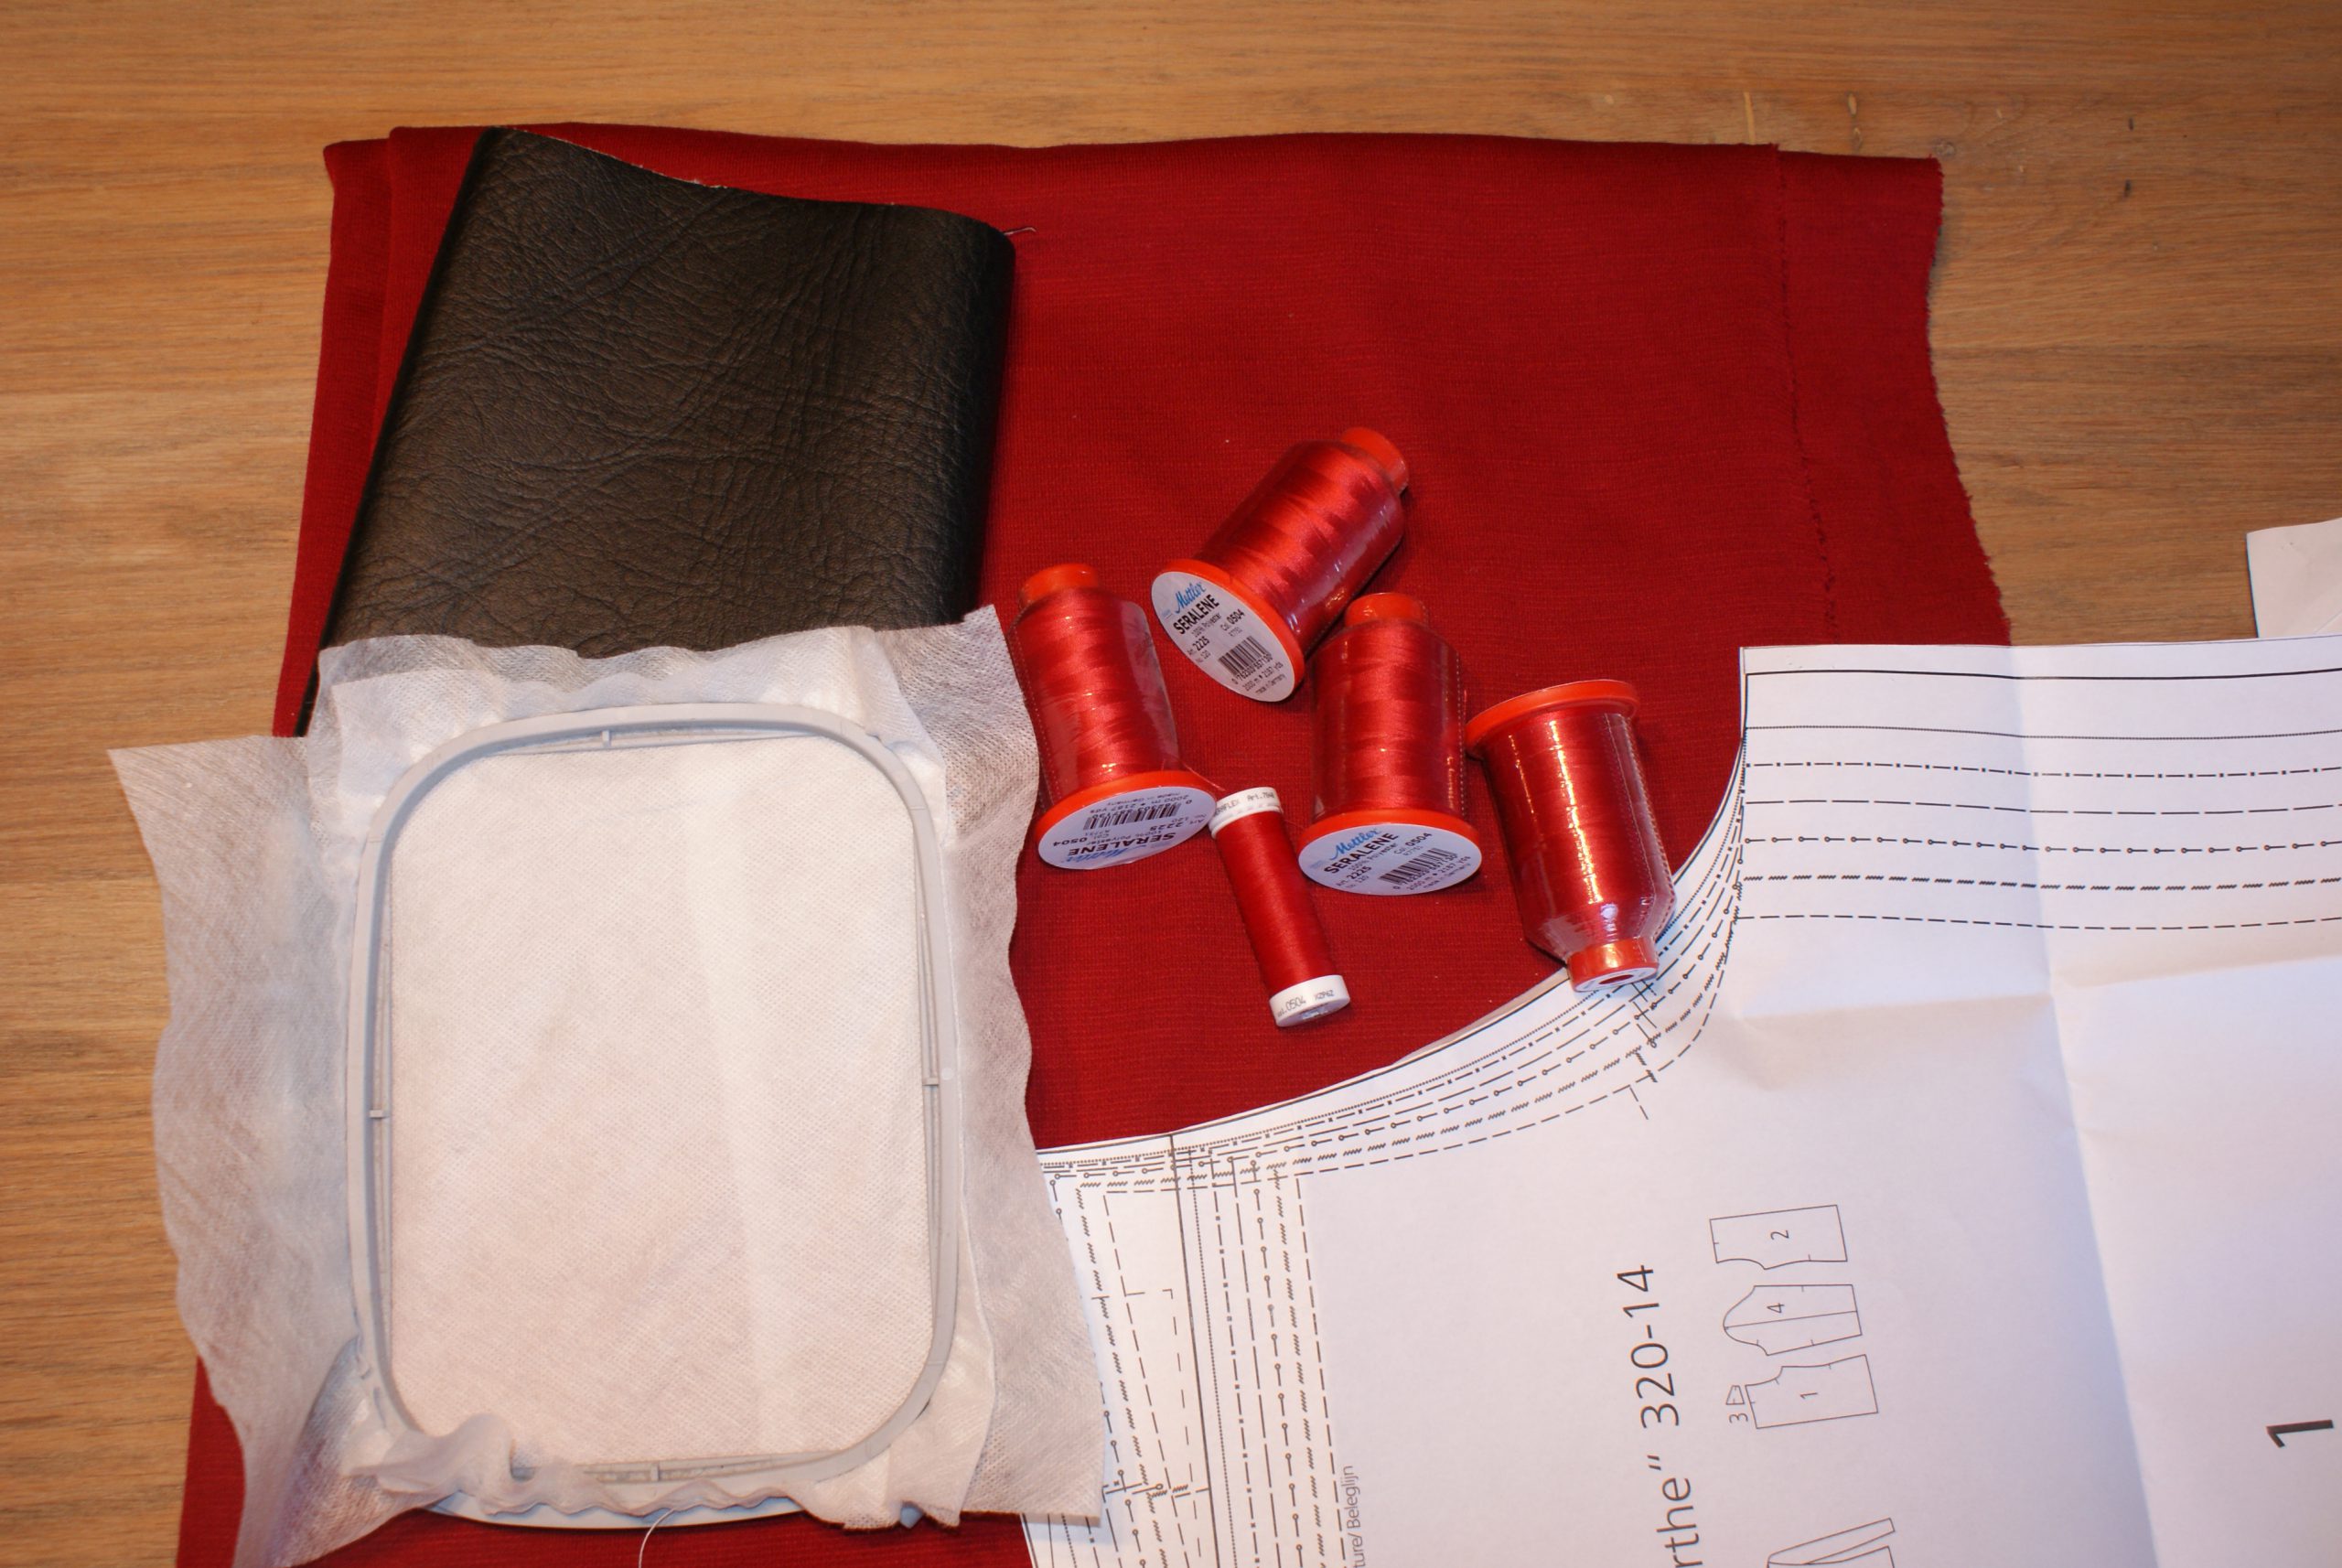
The supplies for the Birthe shirt:
- Free pattern: download instructions in the blogpost Sewing the Birthe shirt with free pattern.
- Free download embroidery file (comes with the pattern download in your zip files).
- Jersey fabric
- Faux leather scraps
- Mettler Seralon sewing thread
- Mettler Seraflex elastic thread
- Metallic thread
- Wash away embroidery stabilizer (take a triple layer)
- Mettler Seralene overlock thread
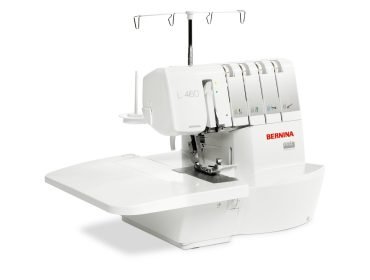
- Overlock BERNINA L 460
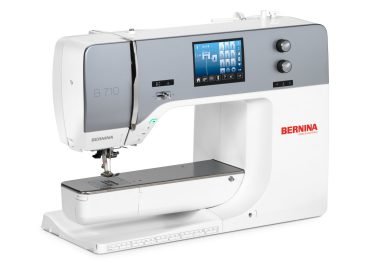
- Sewing machine BERNINA 710
Let’s give it a start:
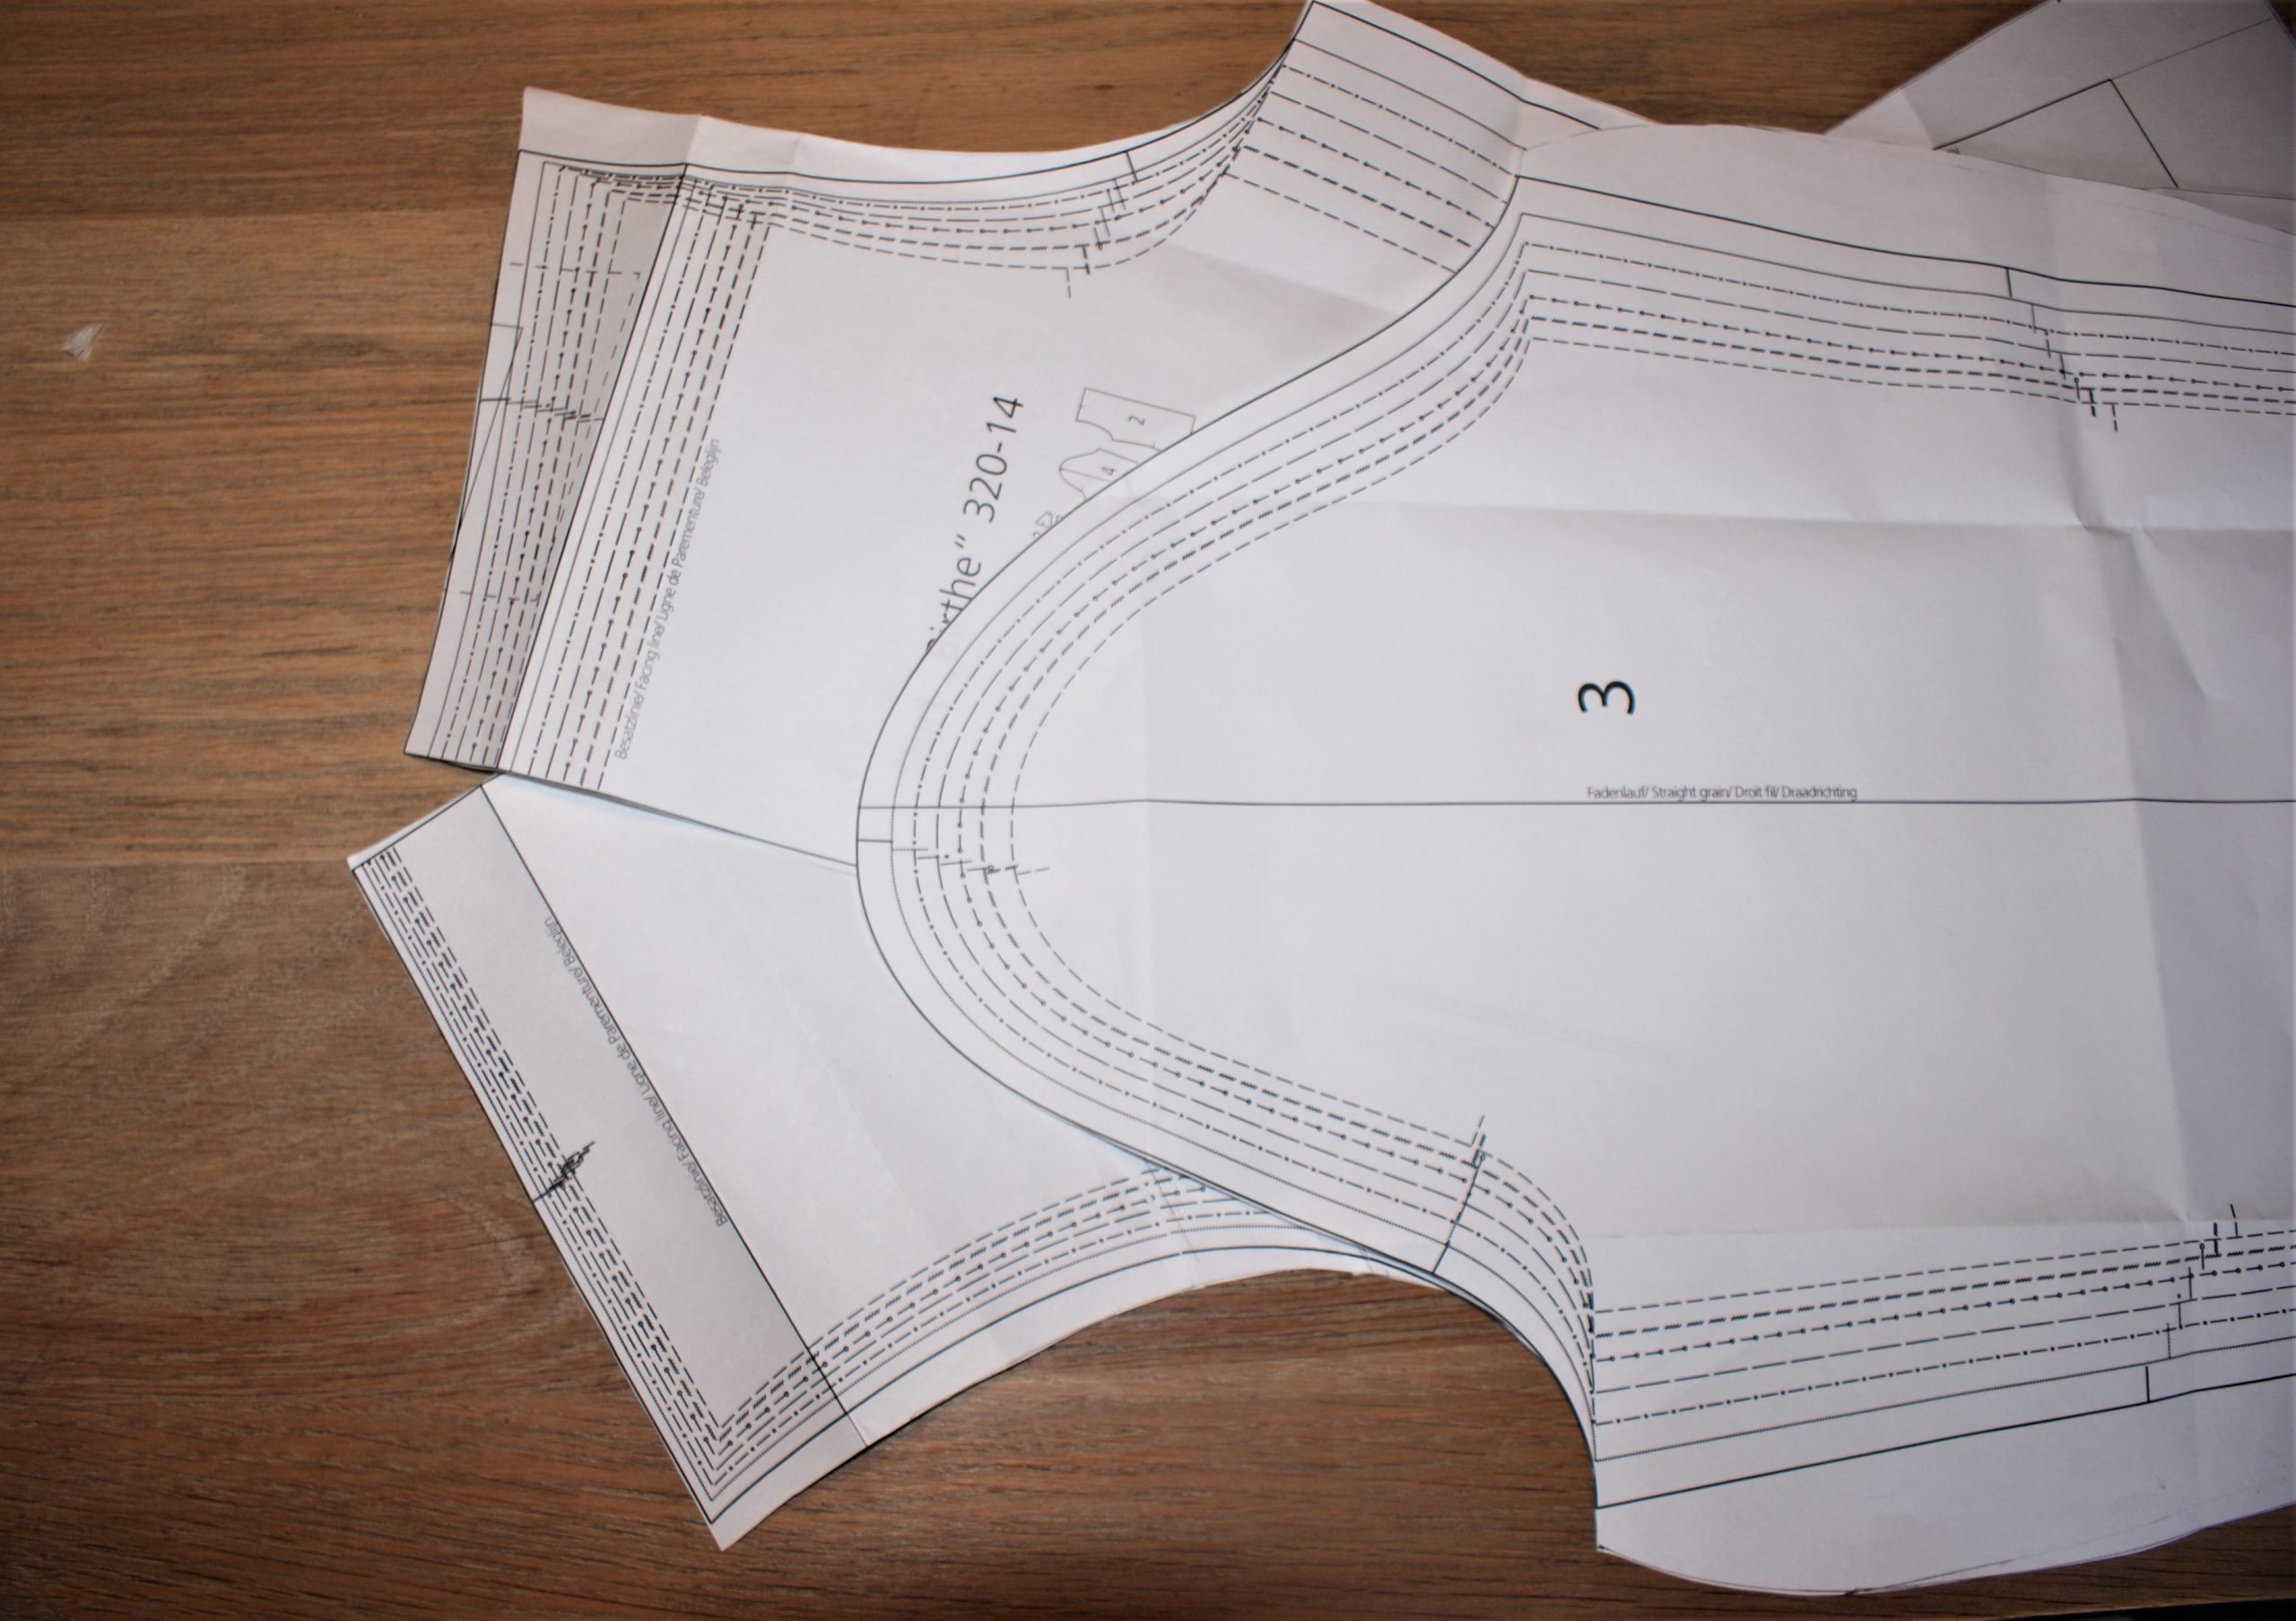
Print the pattern. I printed in a copy shop, size A0. If you print at home, puzzle and glue all the sheets.
Compare all measures to your own body sizes. I needed to do some adjustments and that’s why I have a seam in the back.
If you need to adjust shoulder width, don’t forget to adjust the shoulder piece as well :).
Cut out the pattern. It’s easy to copy the facing into a new pattern piece. Seam allowance are not included in the pattern.
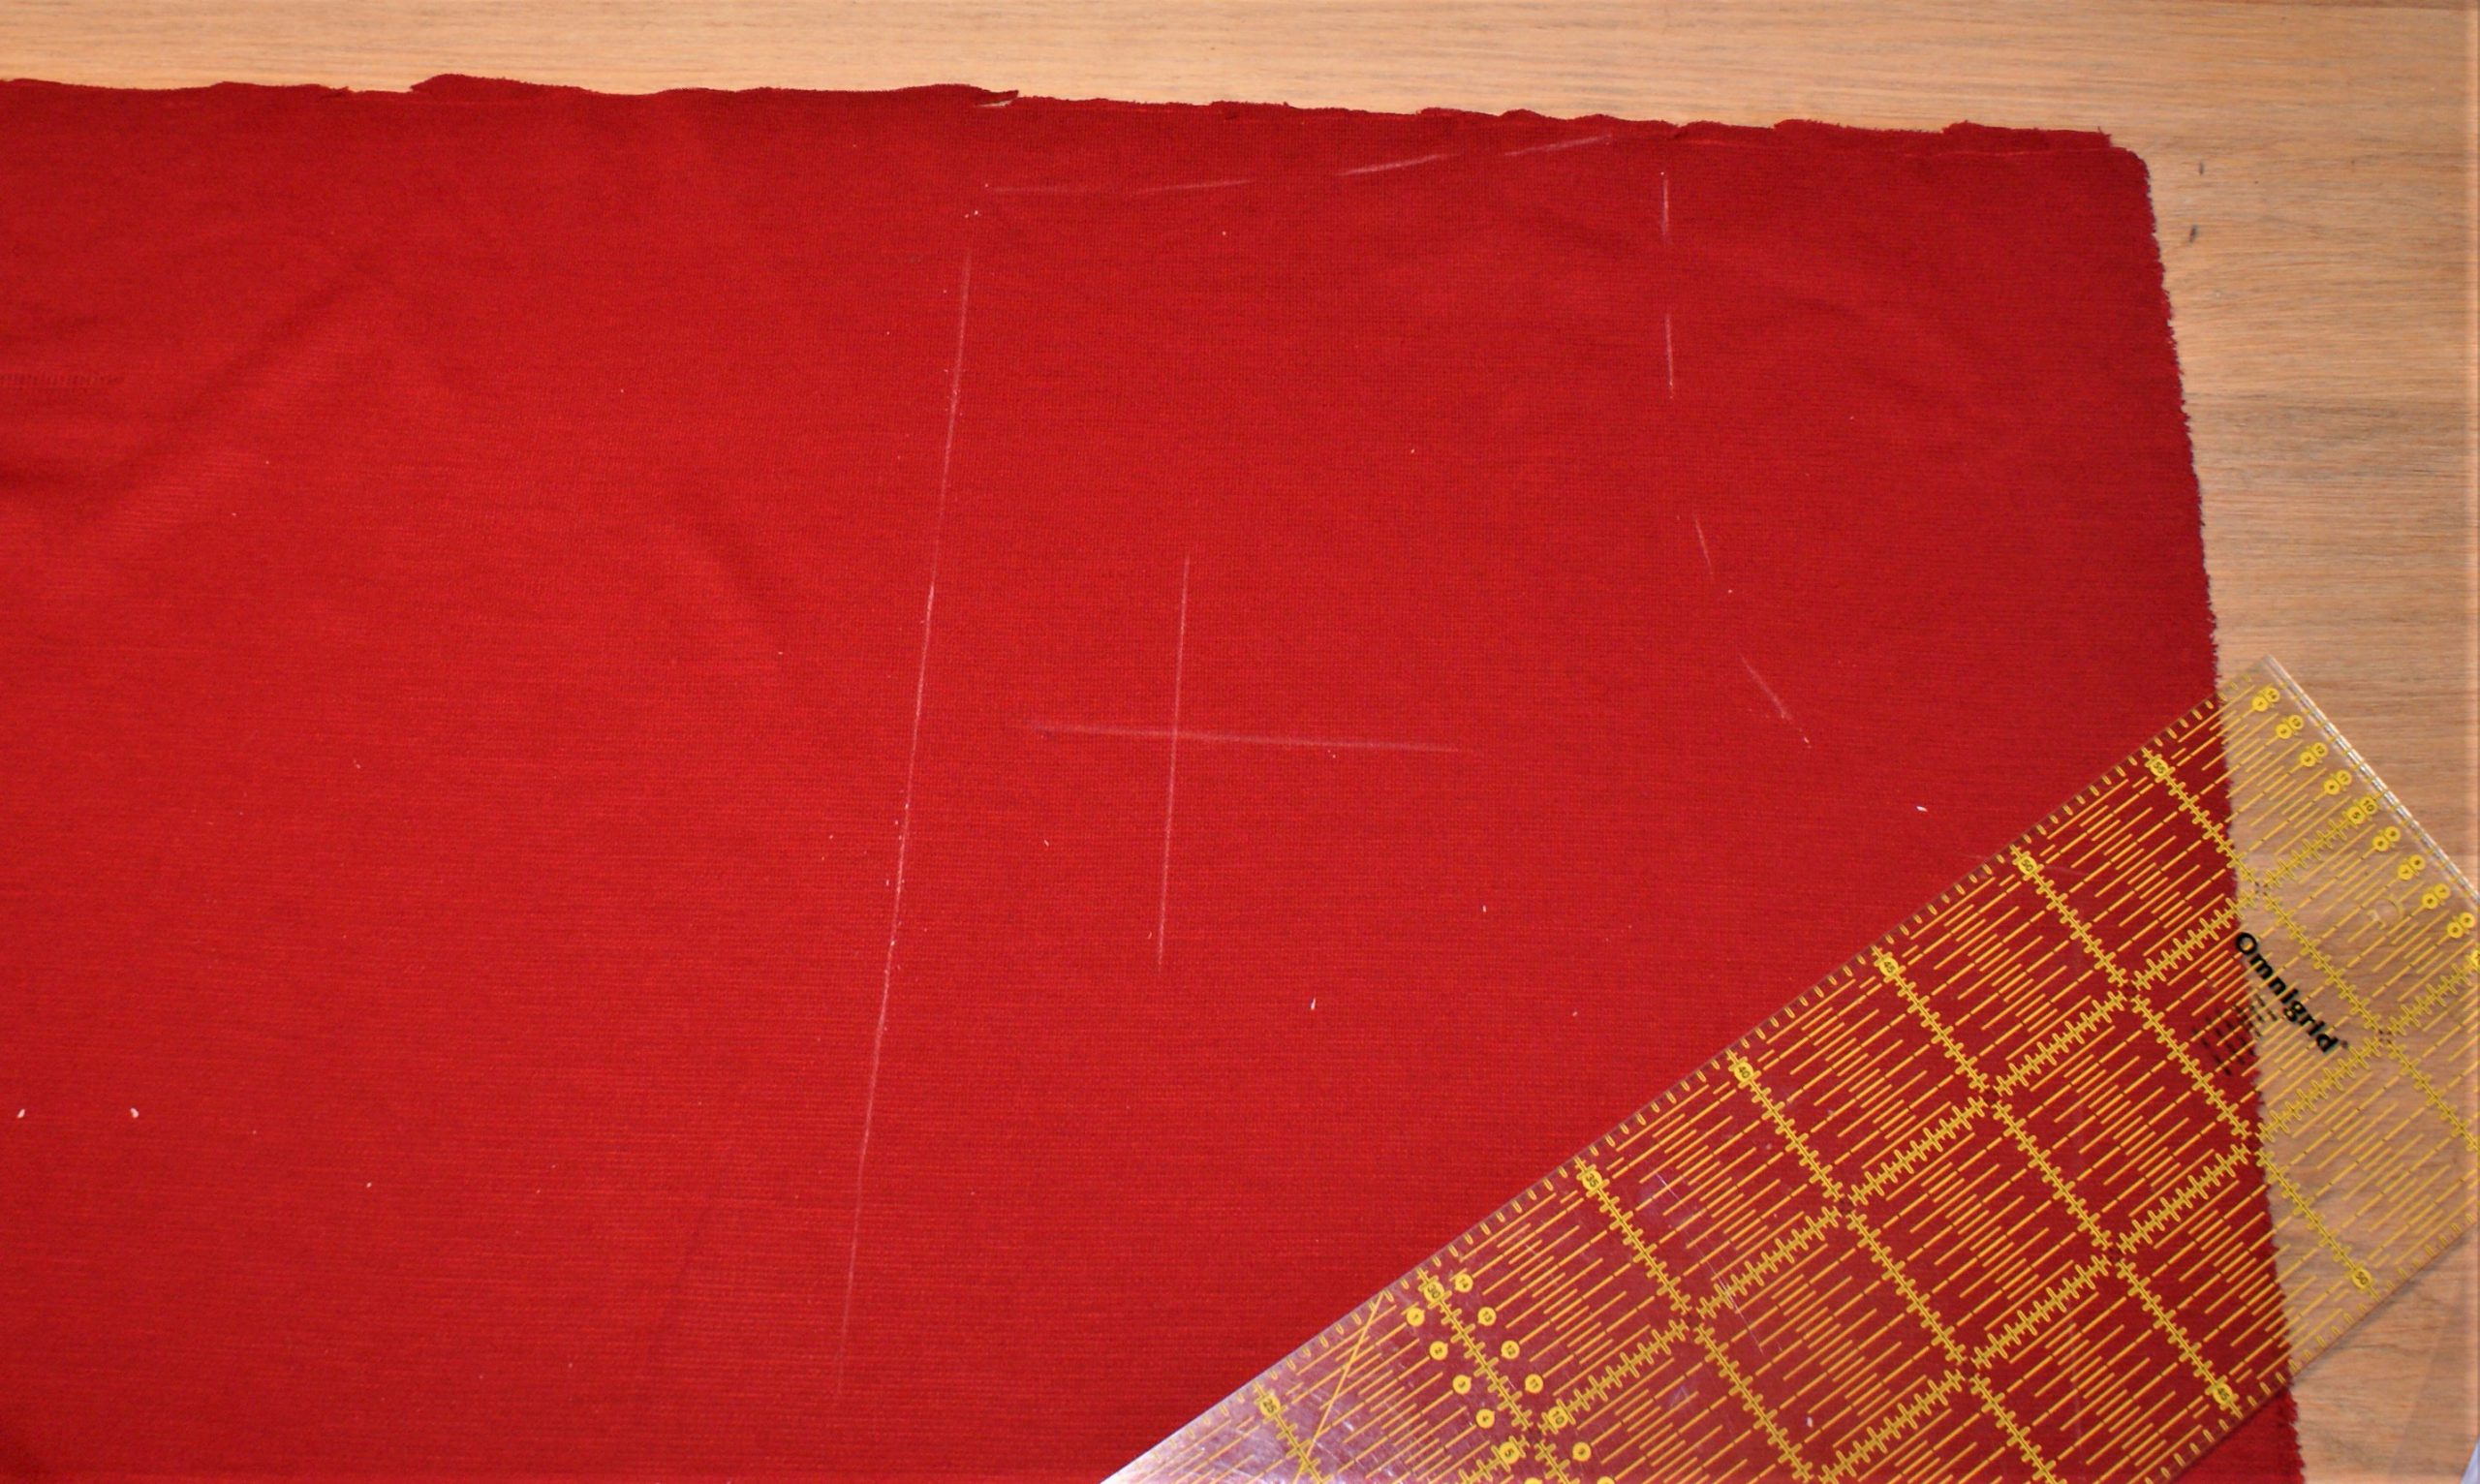
Place the front part on the fabric, mark the pattern position on the fabric.
Remove the pattern and mark the position for the embroidery.
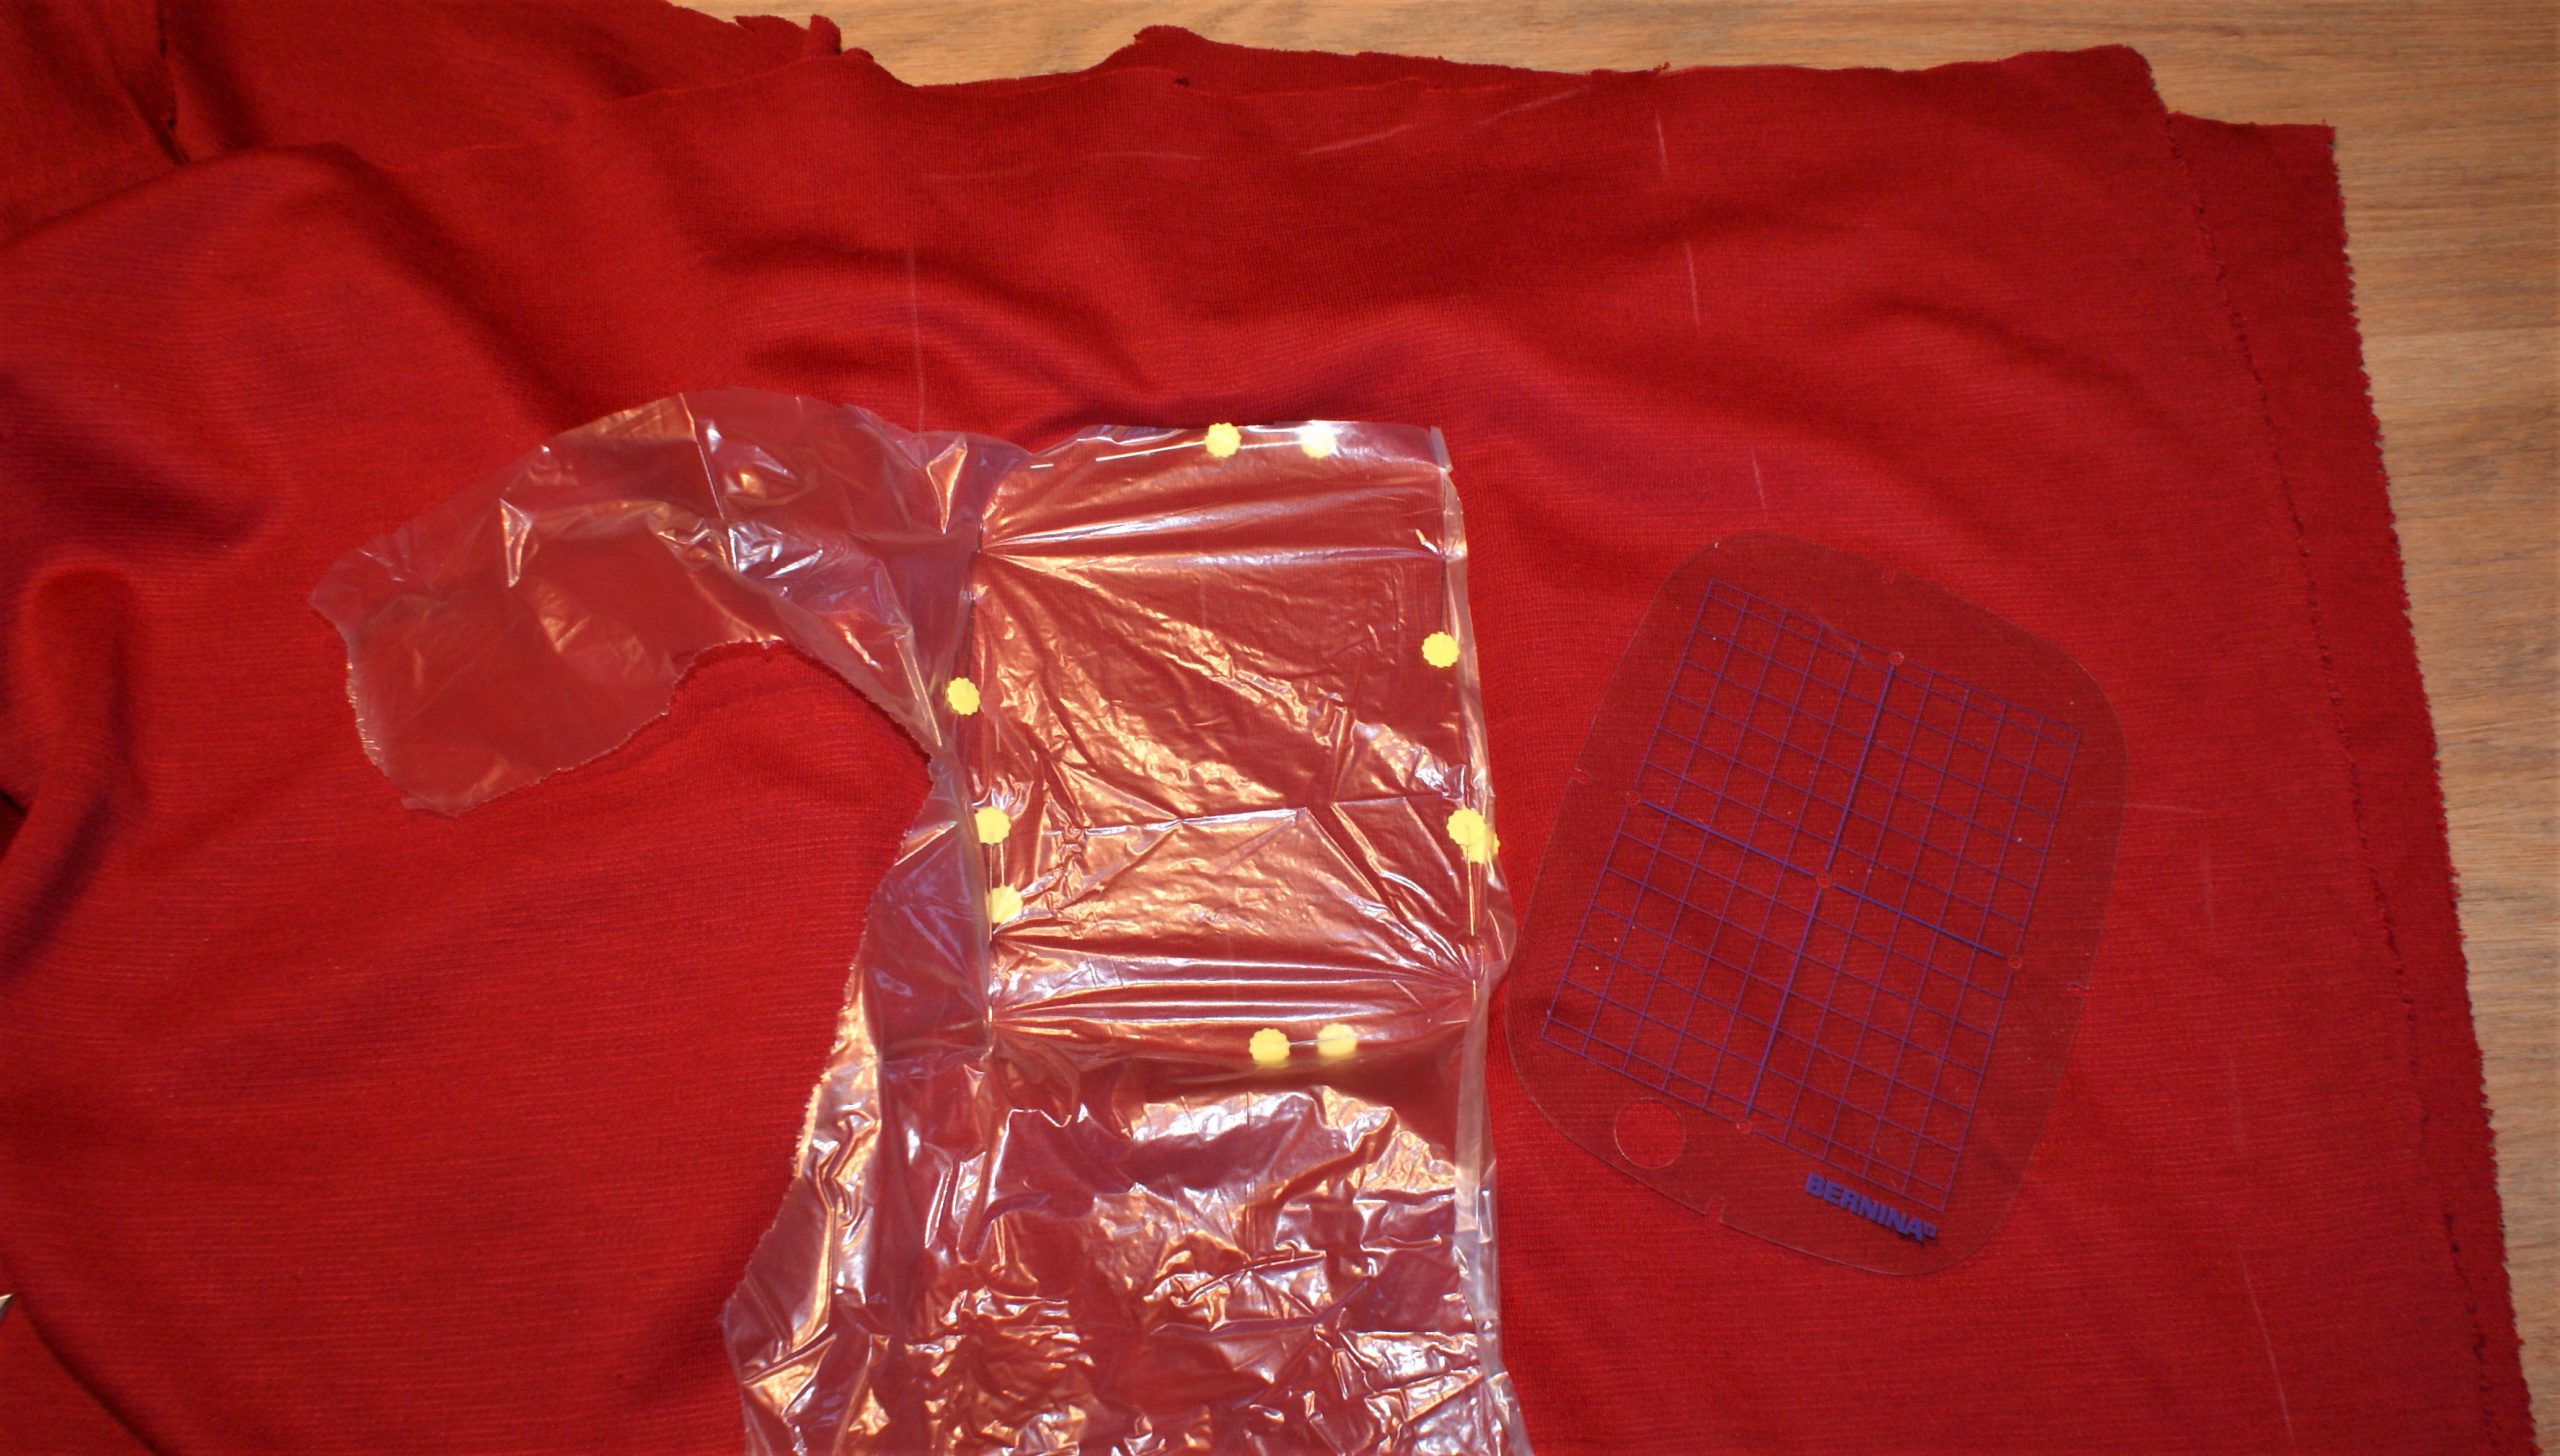
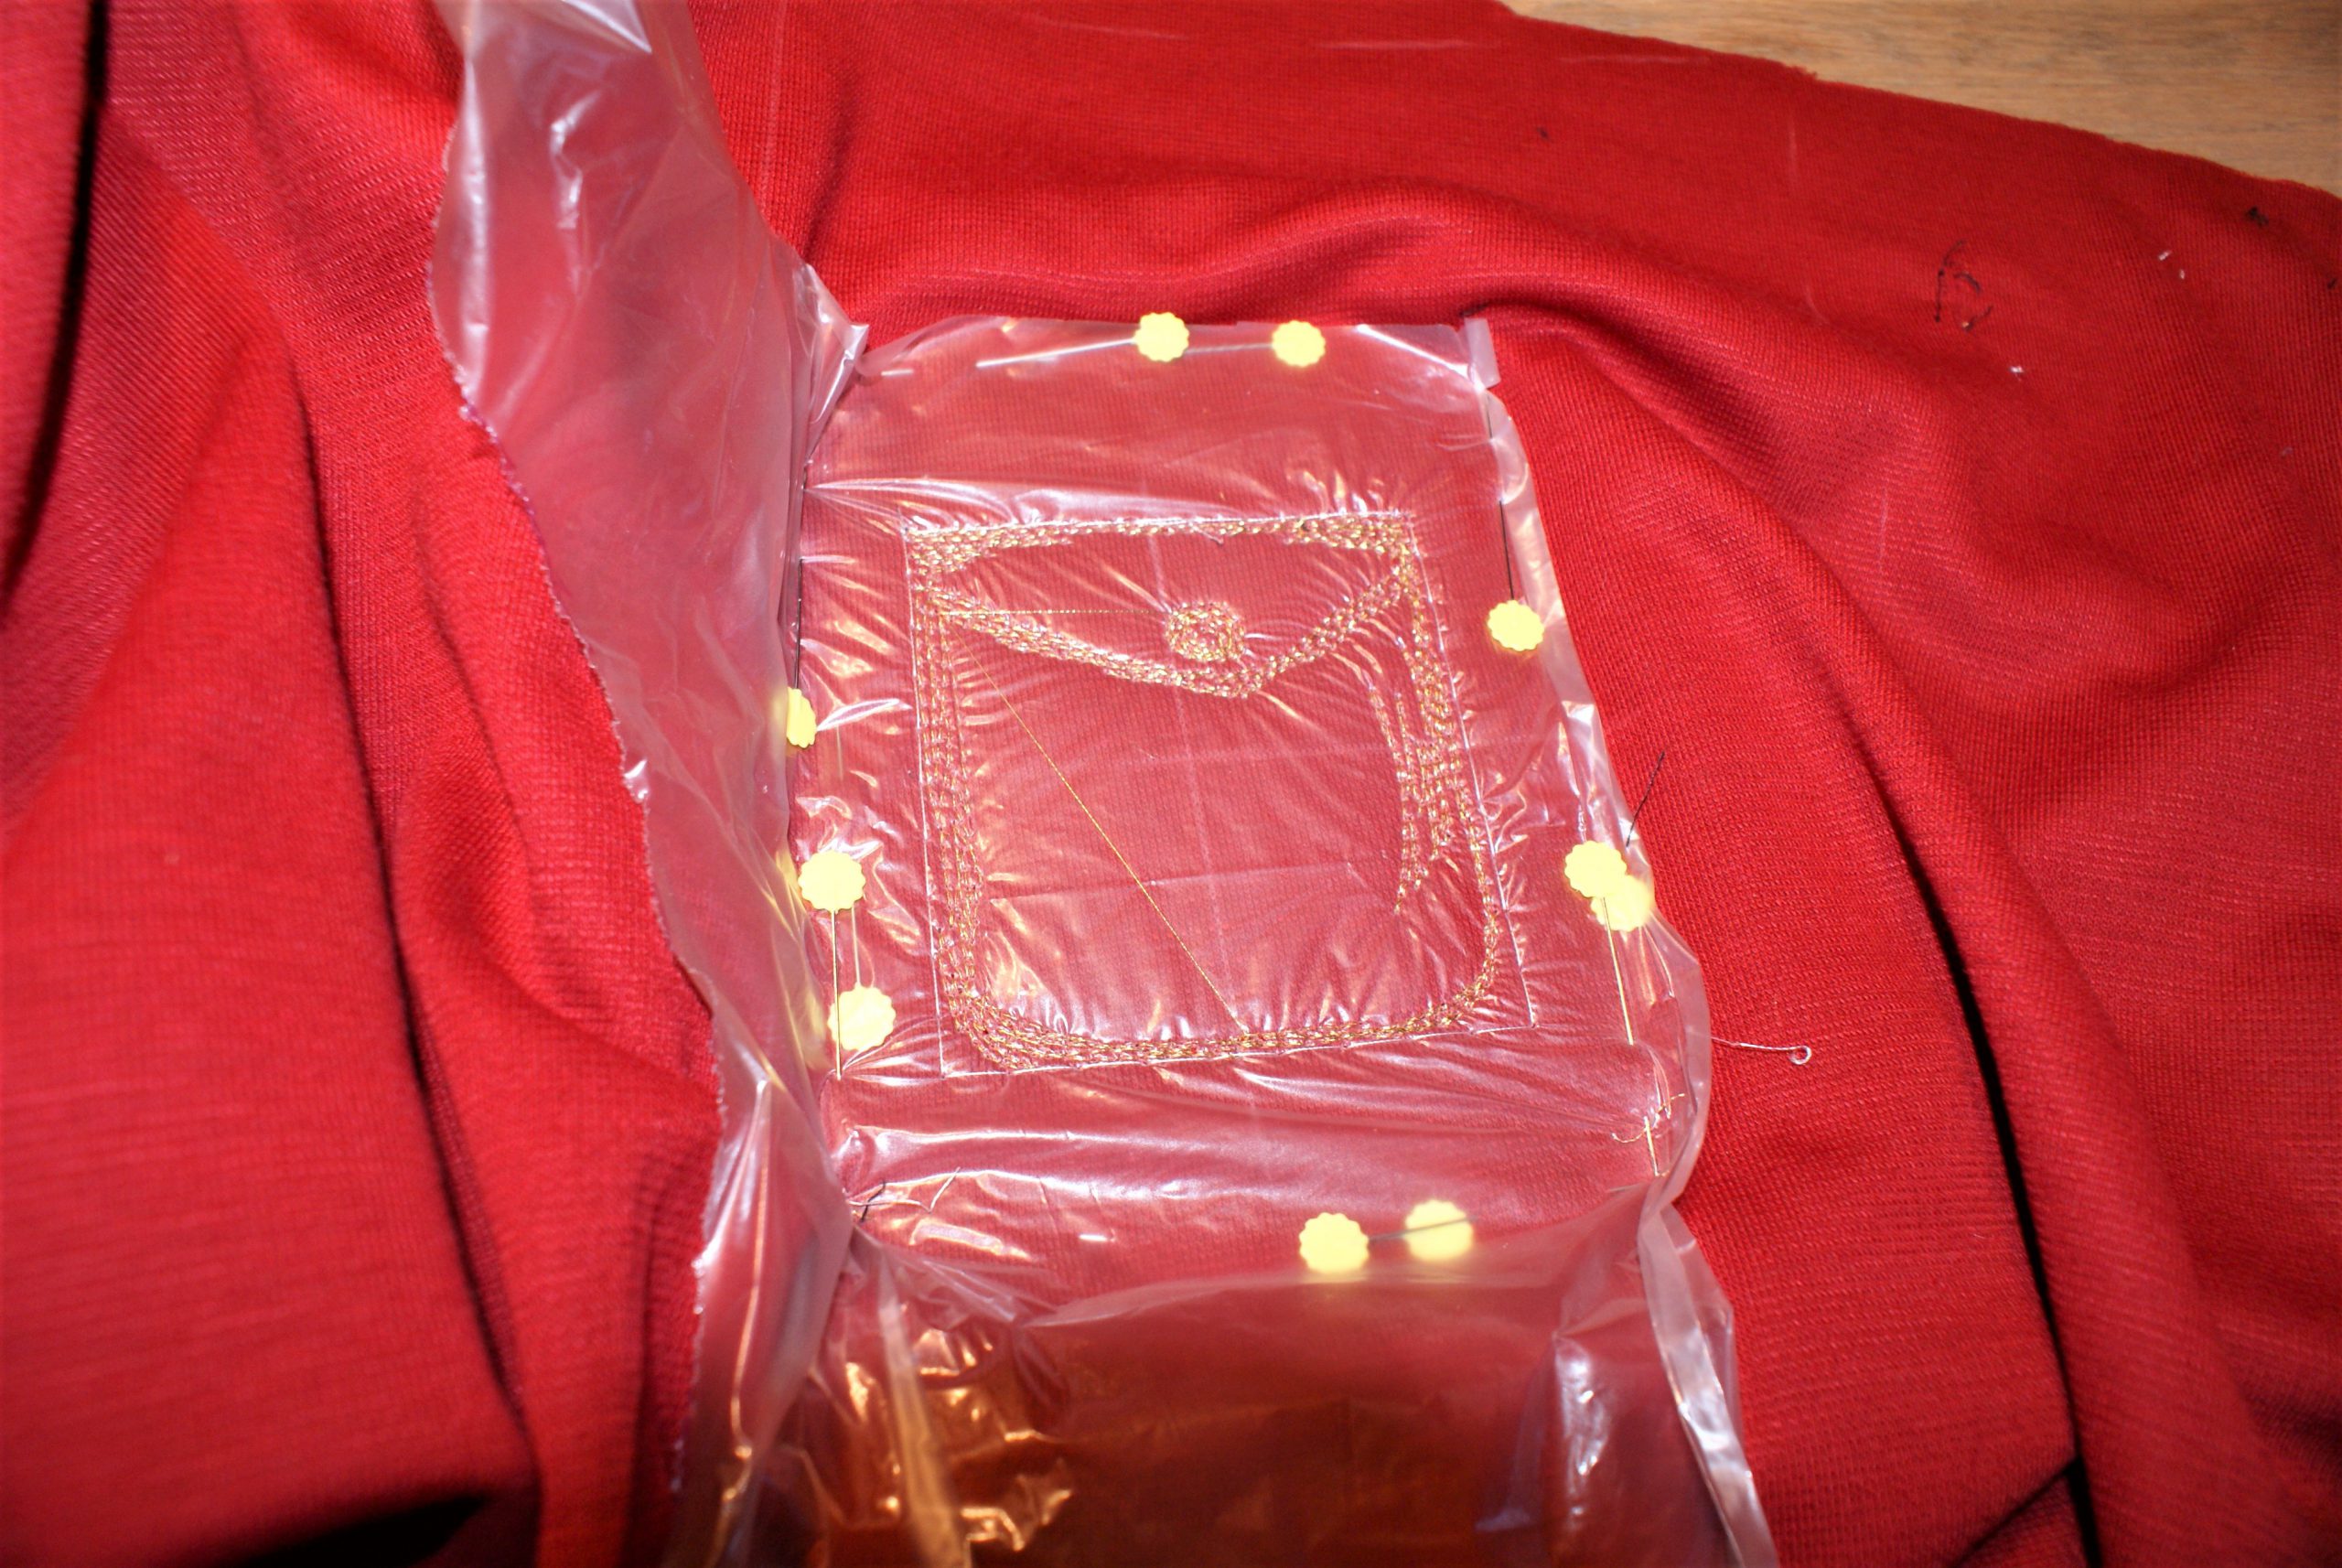
Hoop the wash away stabilizer (I used 3 layers) and put the fabric on top. Above the jersey I added another layer of light weight soluble stabilizer. Fix with pins.
Embroider the pocket with metallic thread.
Take the project out of the hoop and cut away as much stabilizer as you can.
Put the paper pattern for the shirt on the folded fabric again.
Cut out all pattern pieces and the facing for front and back, mark notches.
How to sew the shirt Birthe:
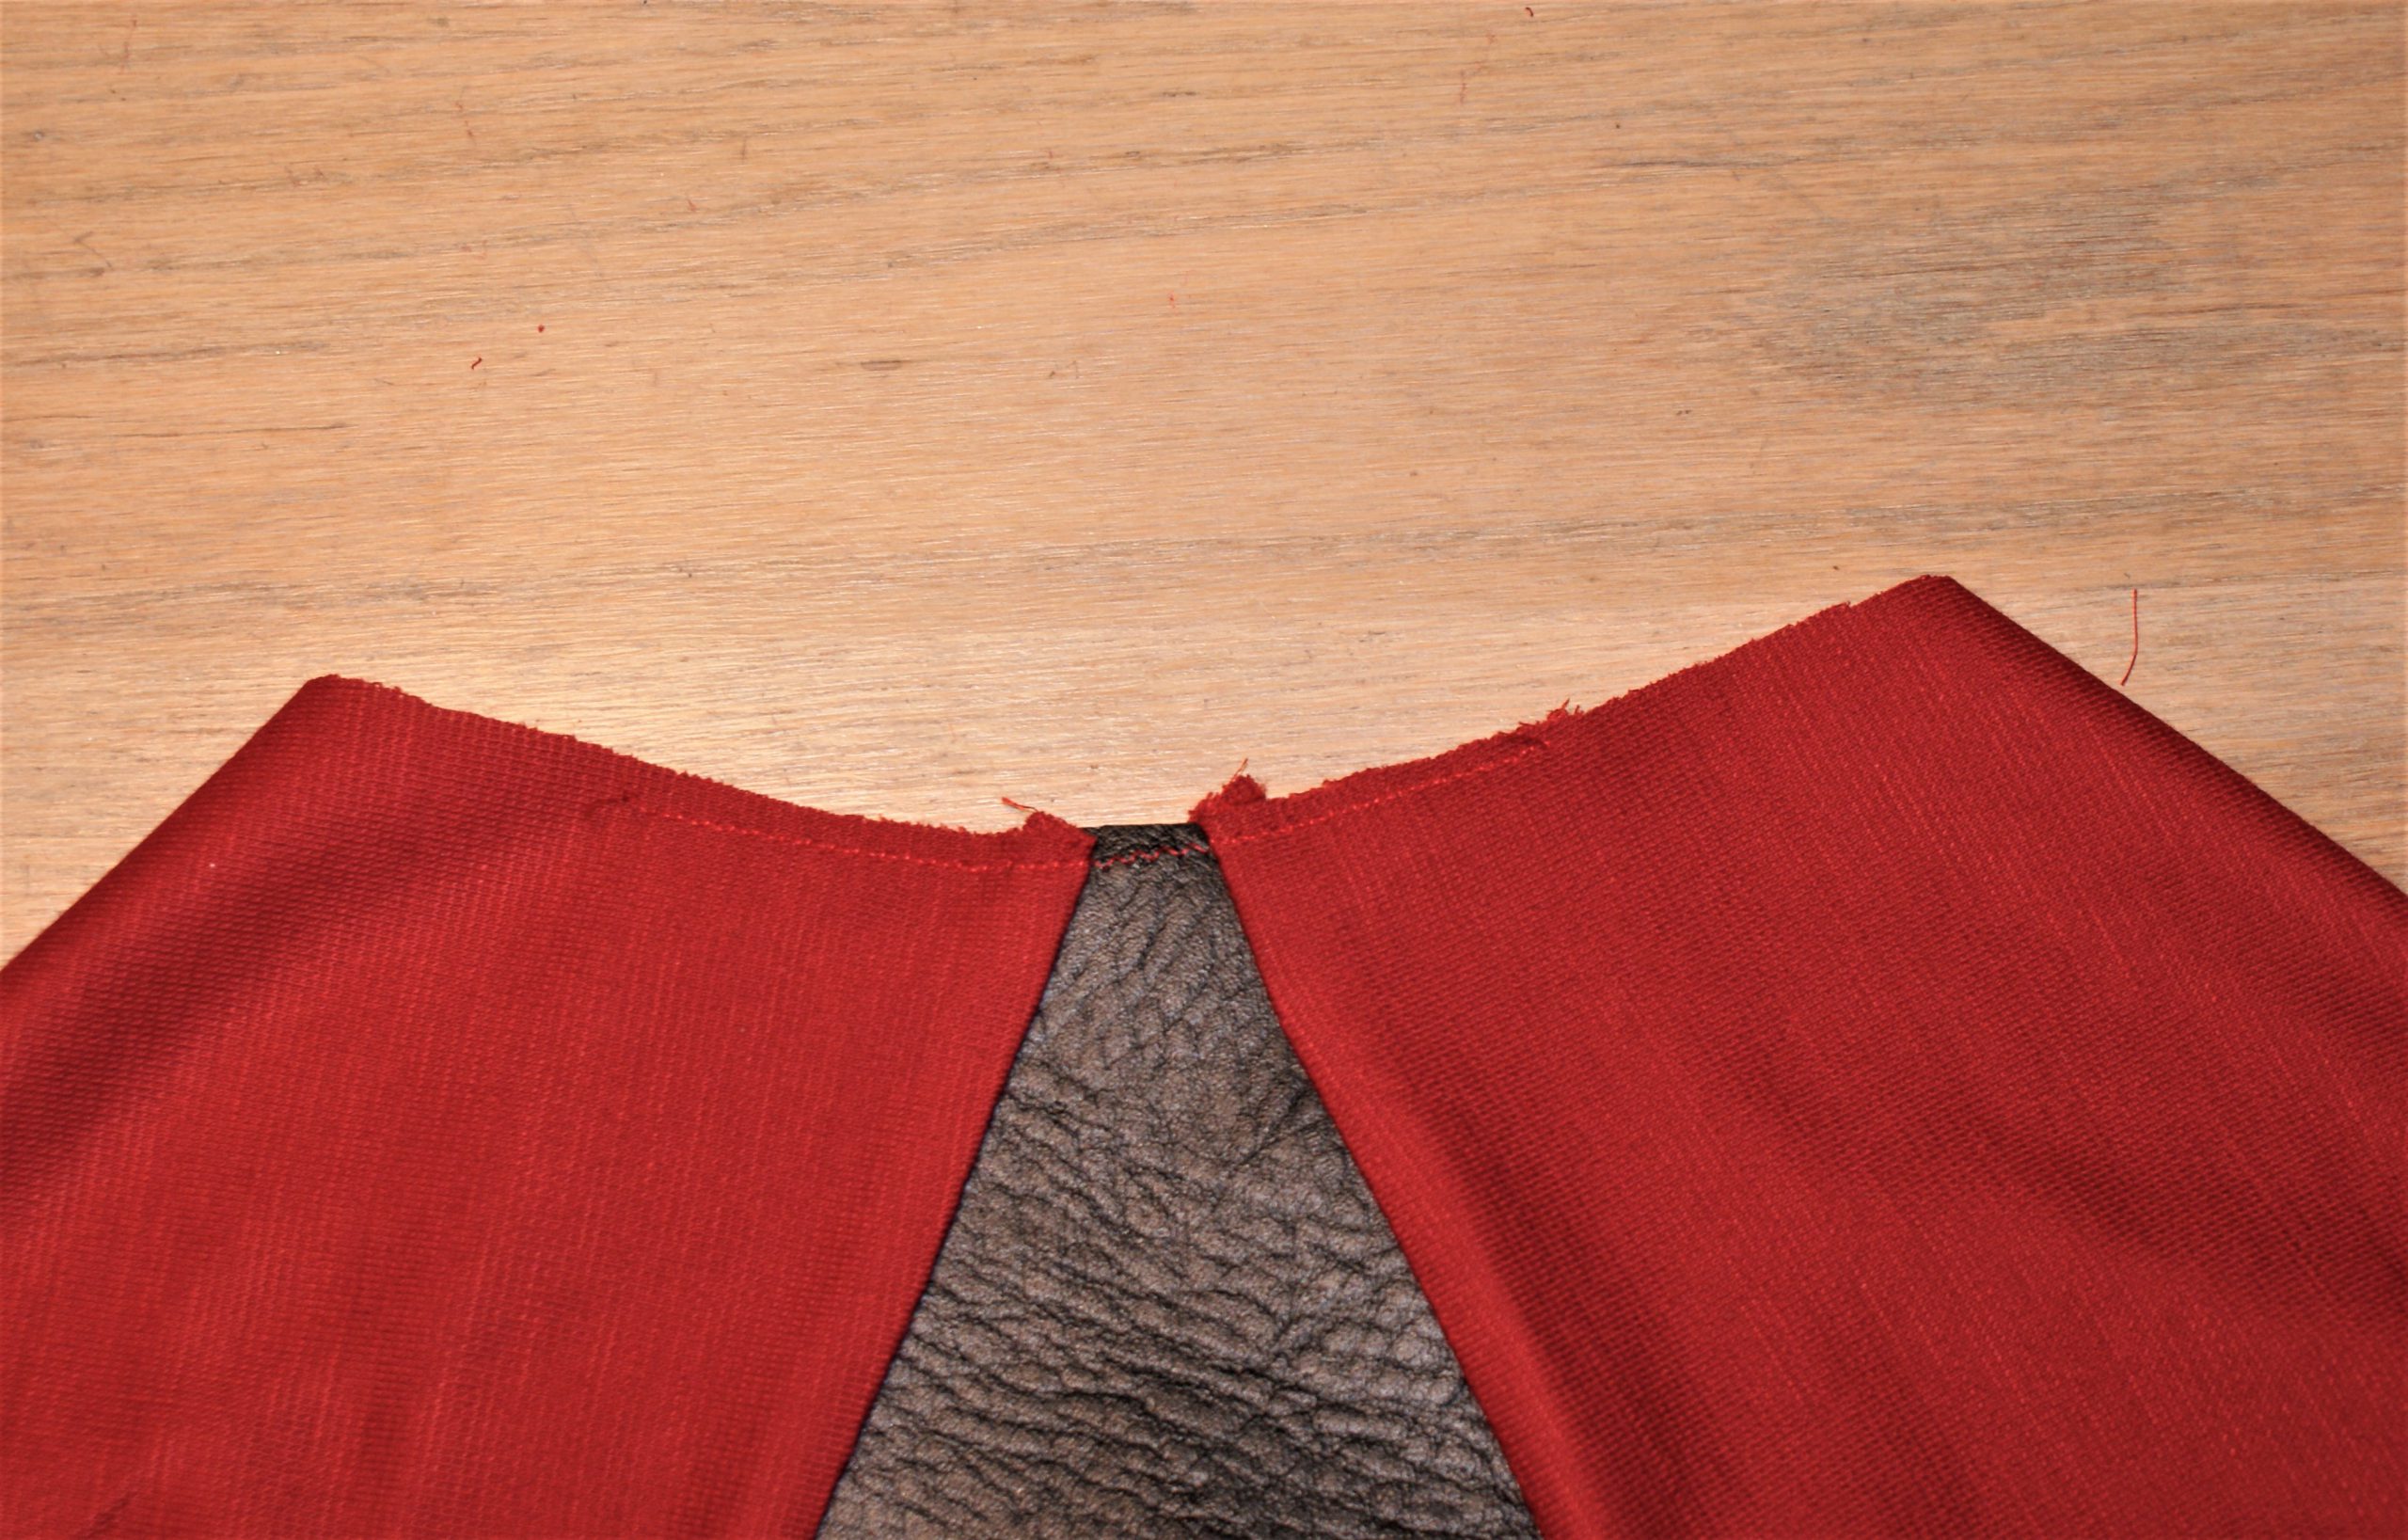
I had a quite firm faux leather and used it in a single layer (finished with bias tape).
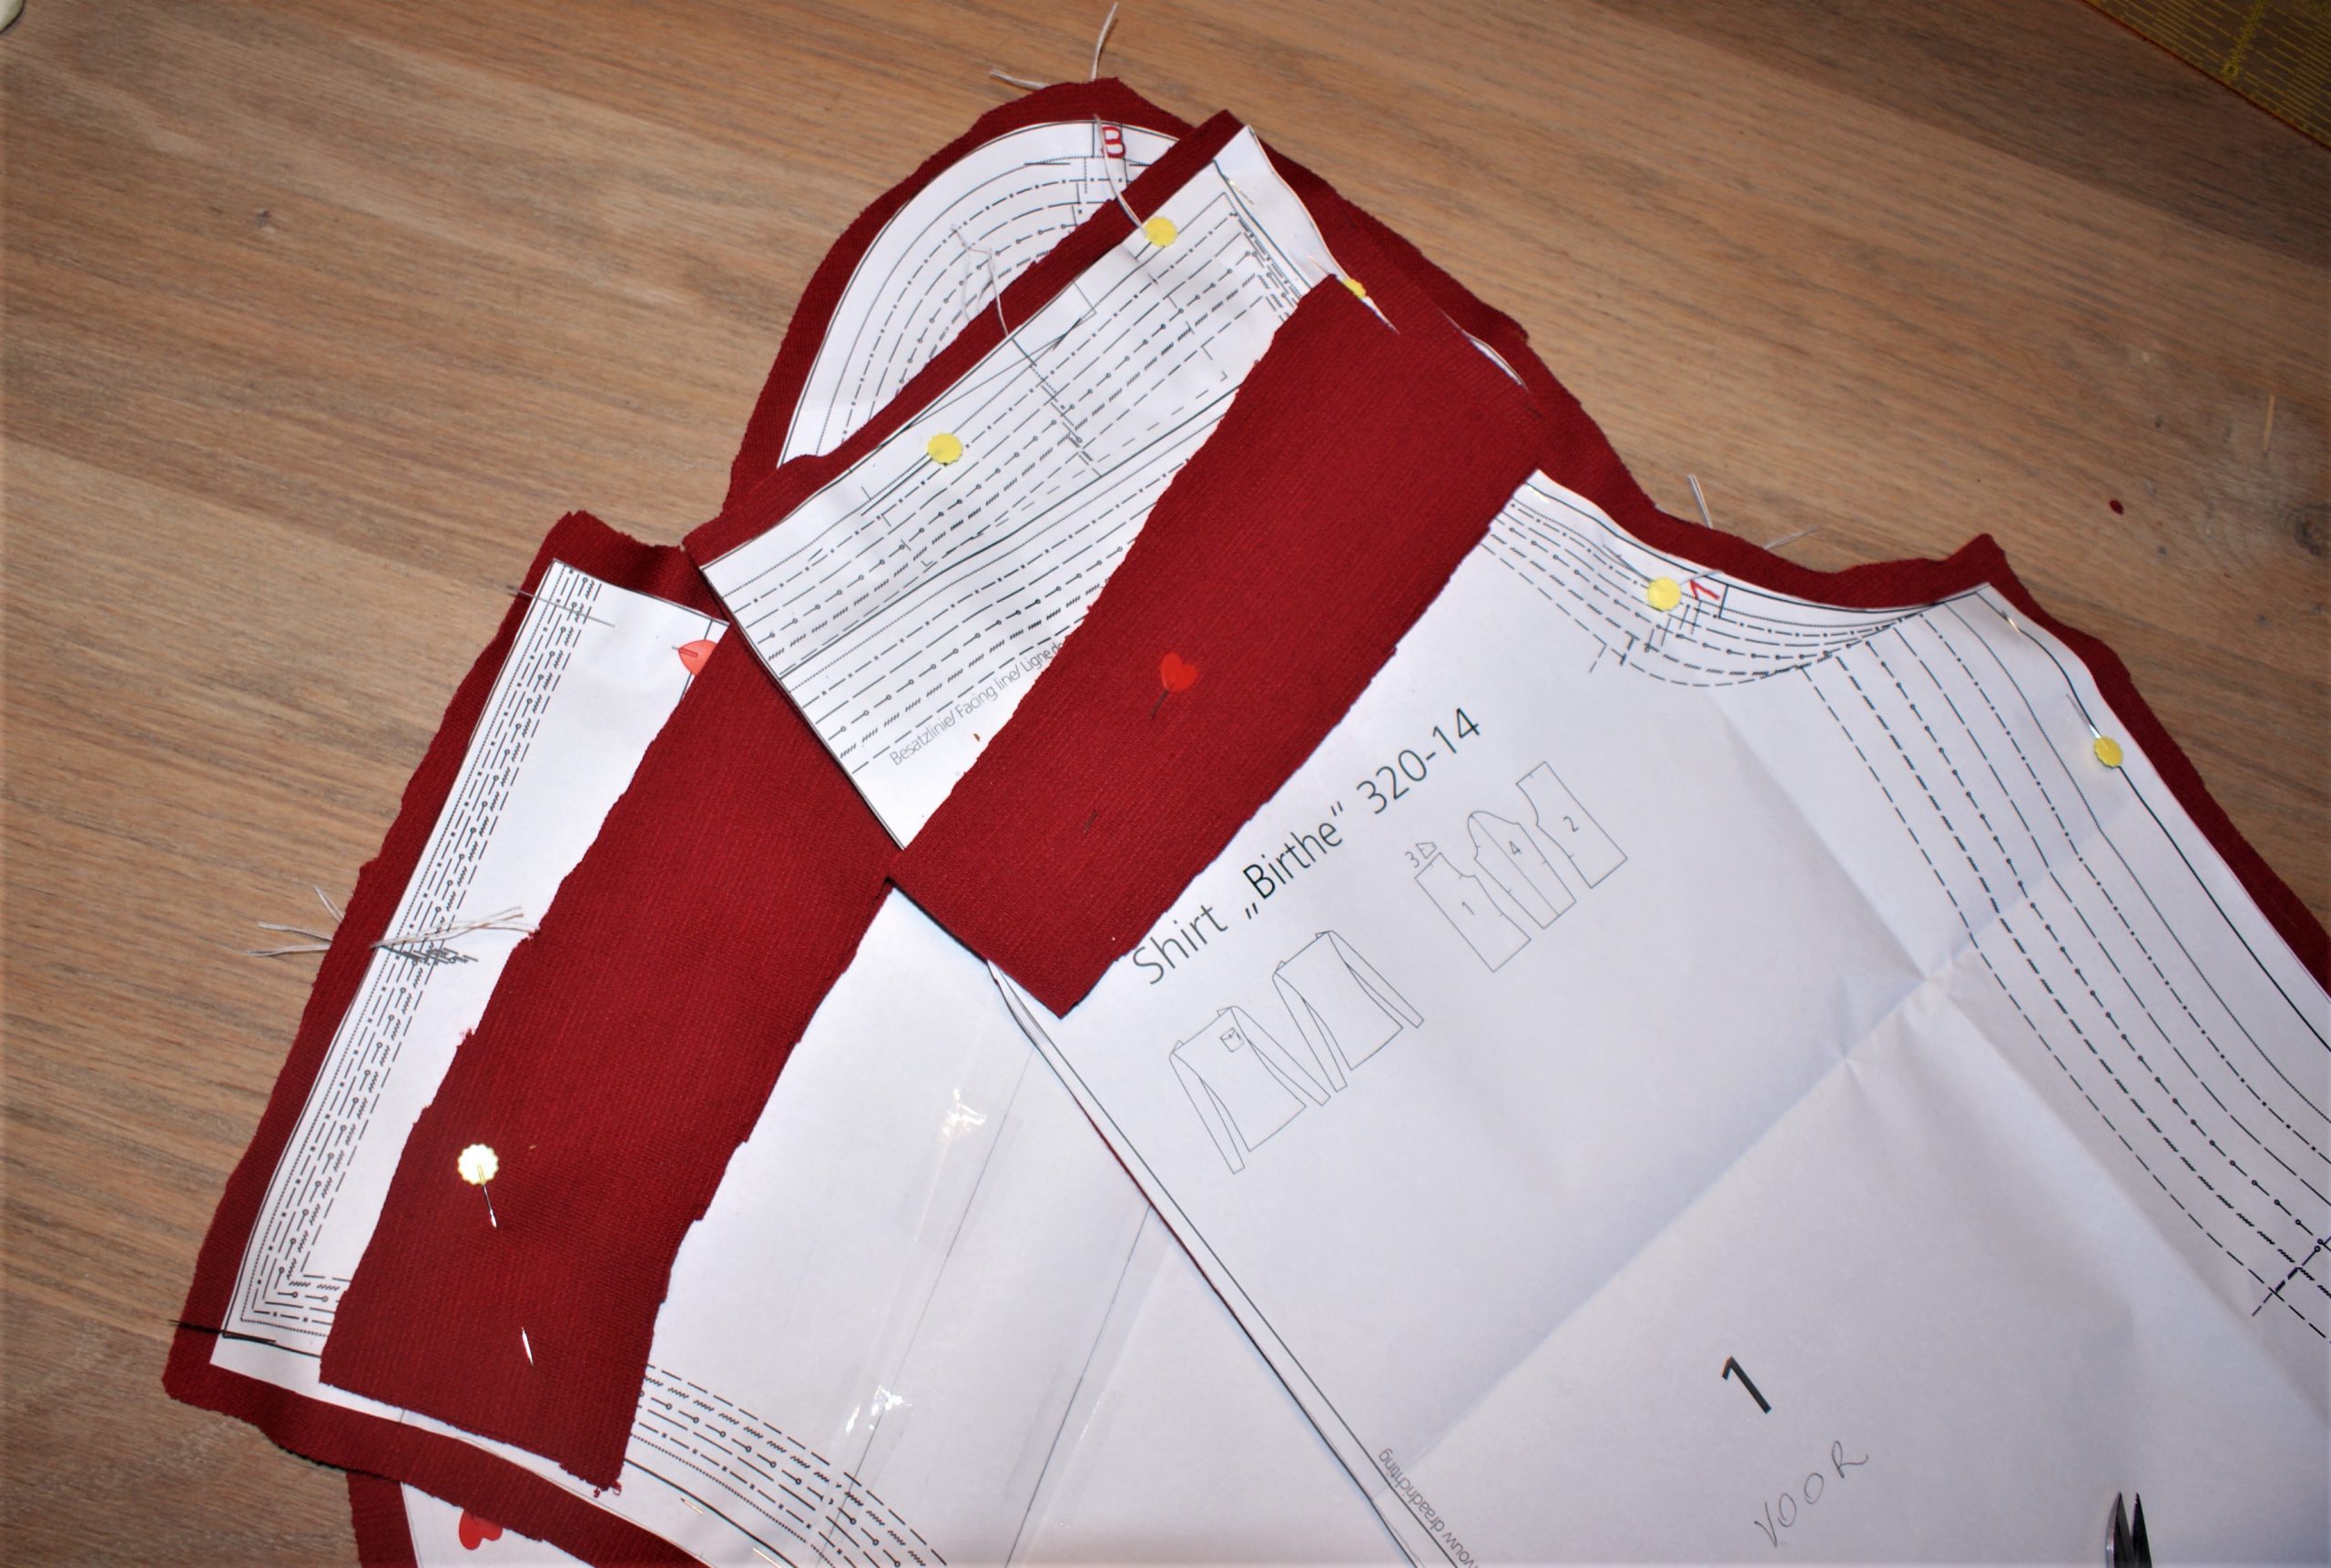
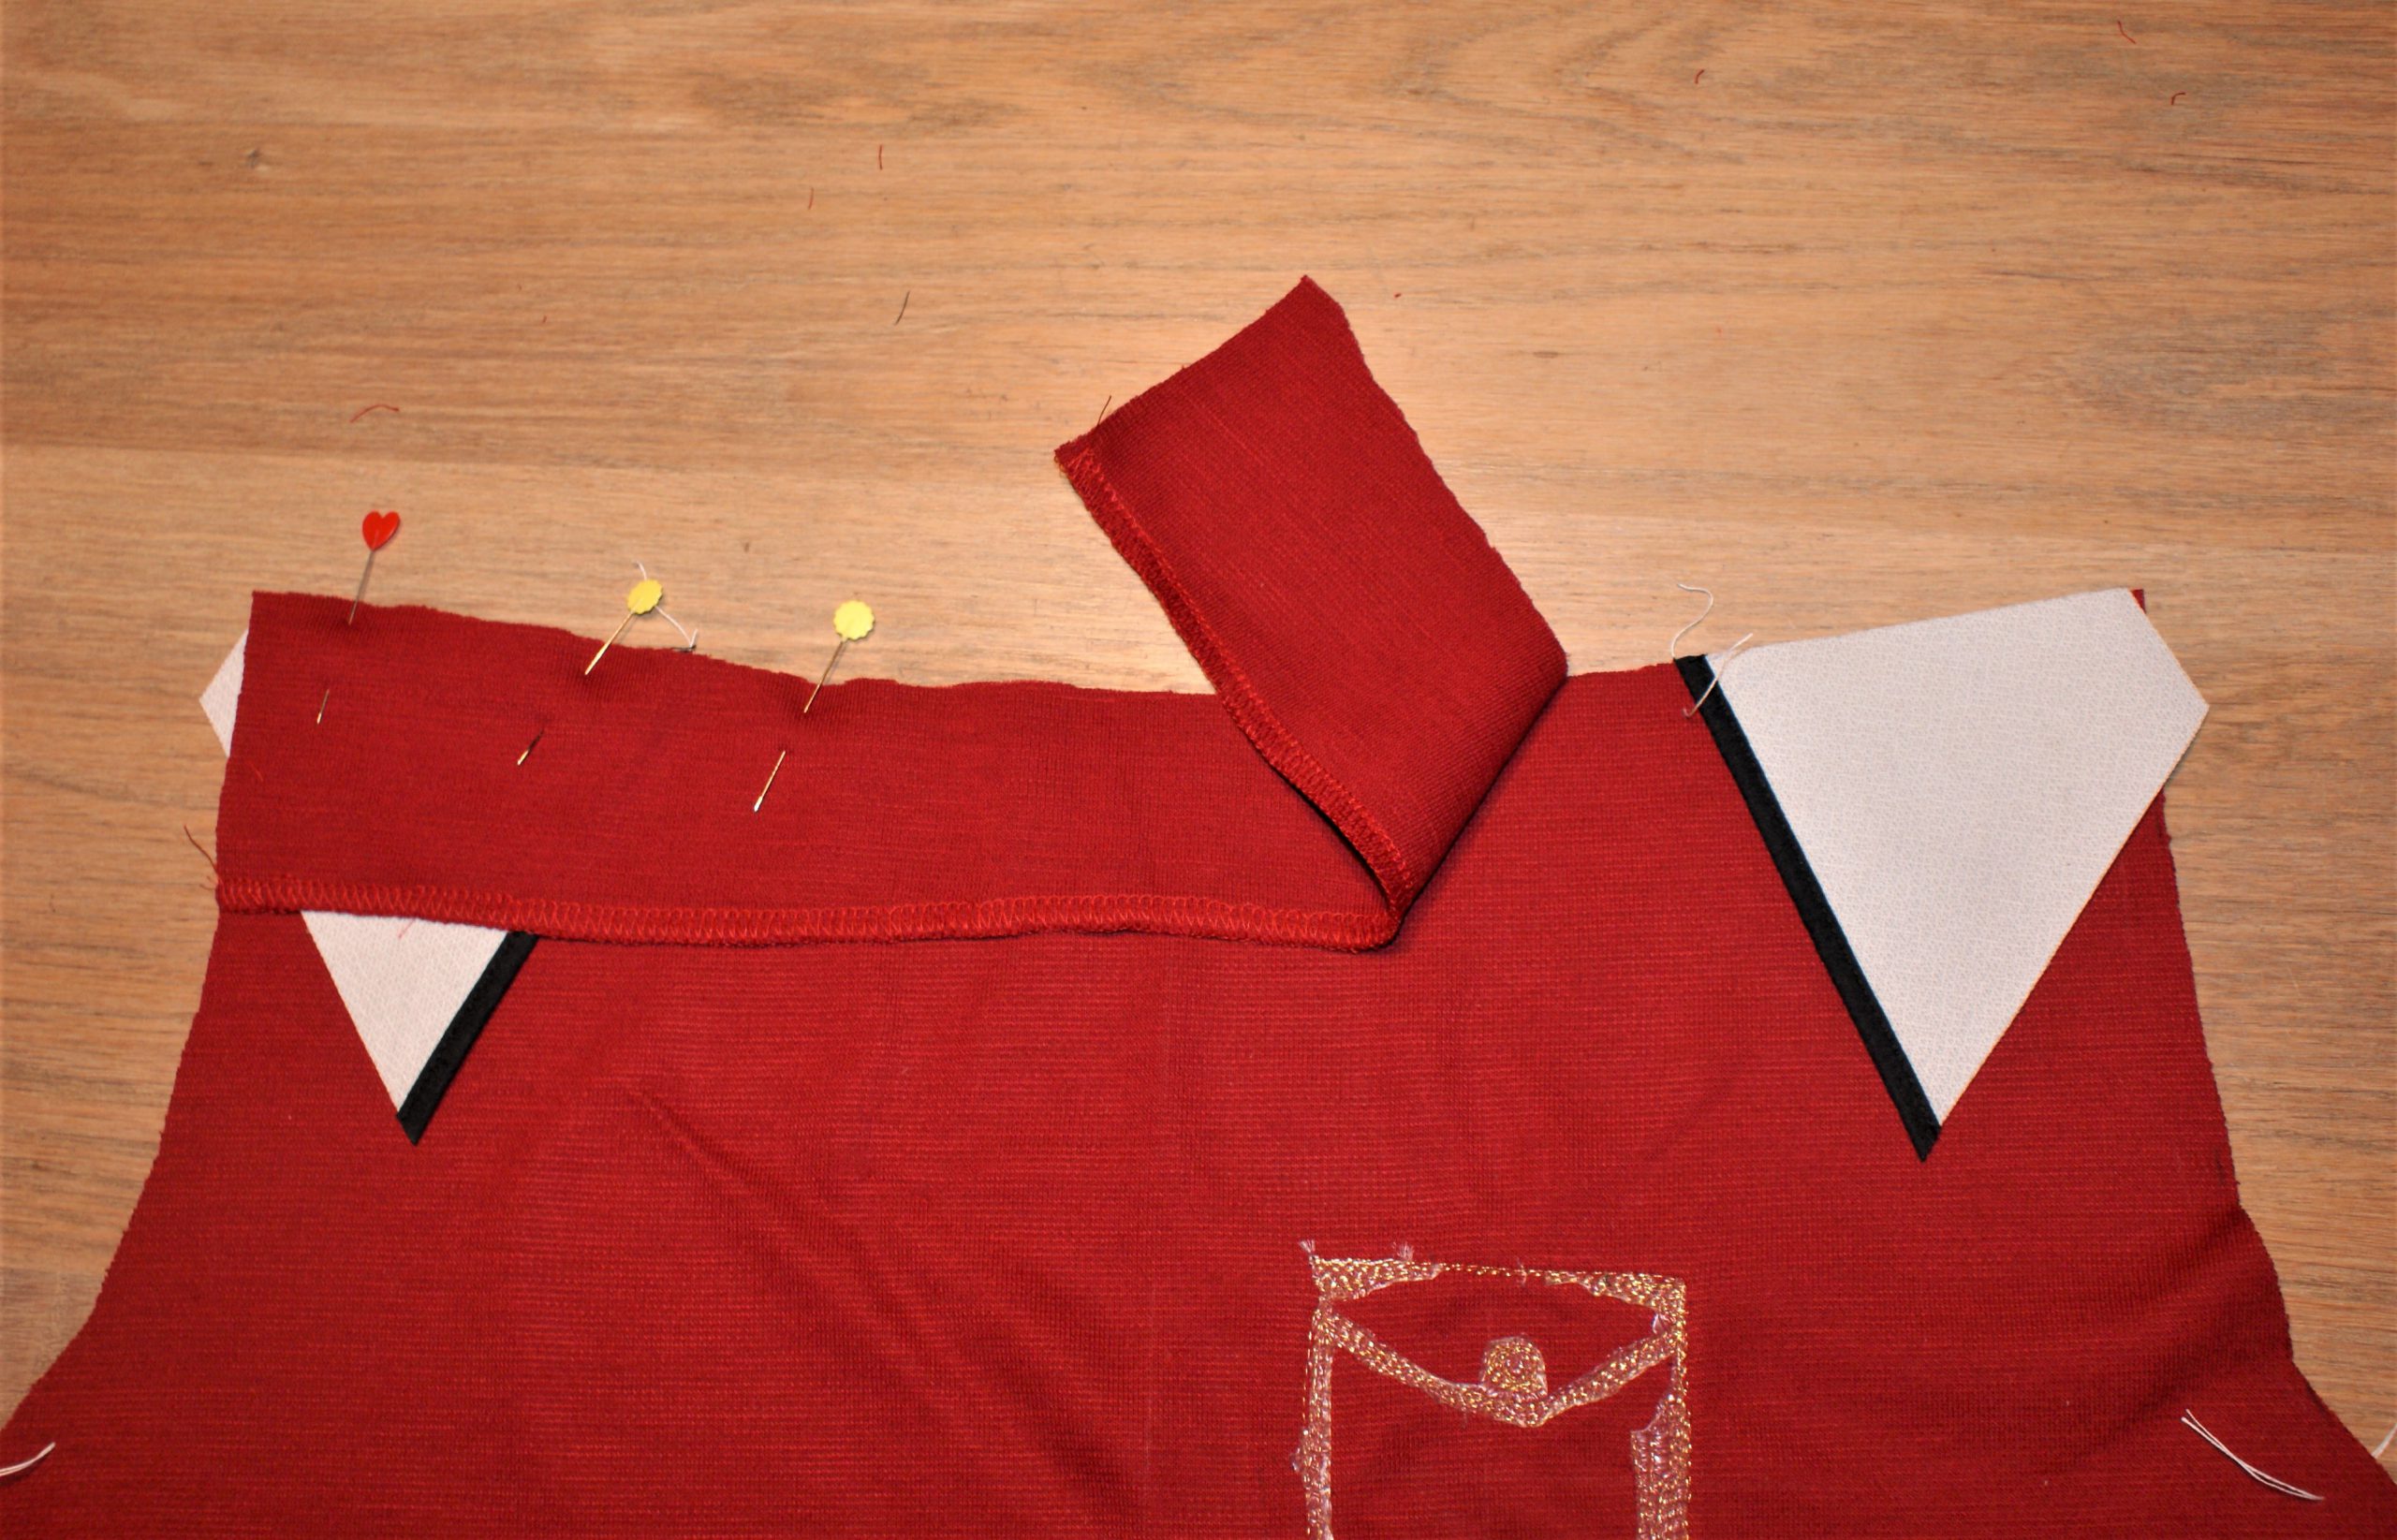
Position the shoulder pieces right sides facing on the front panel (the front side is mentioned on the pattern piece). Put the facing on top.
Do the same for the back panel.
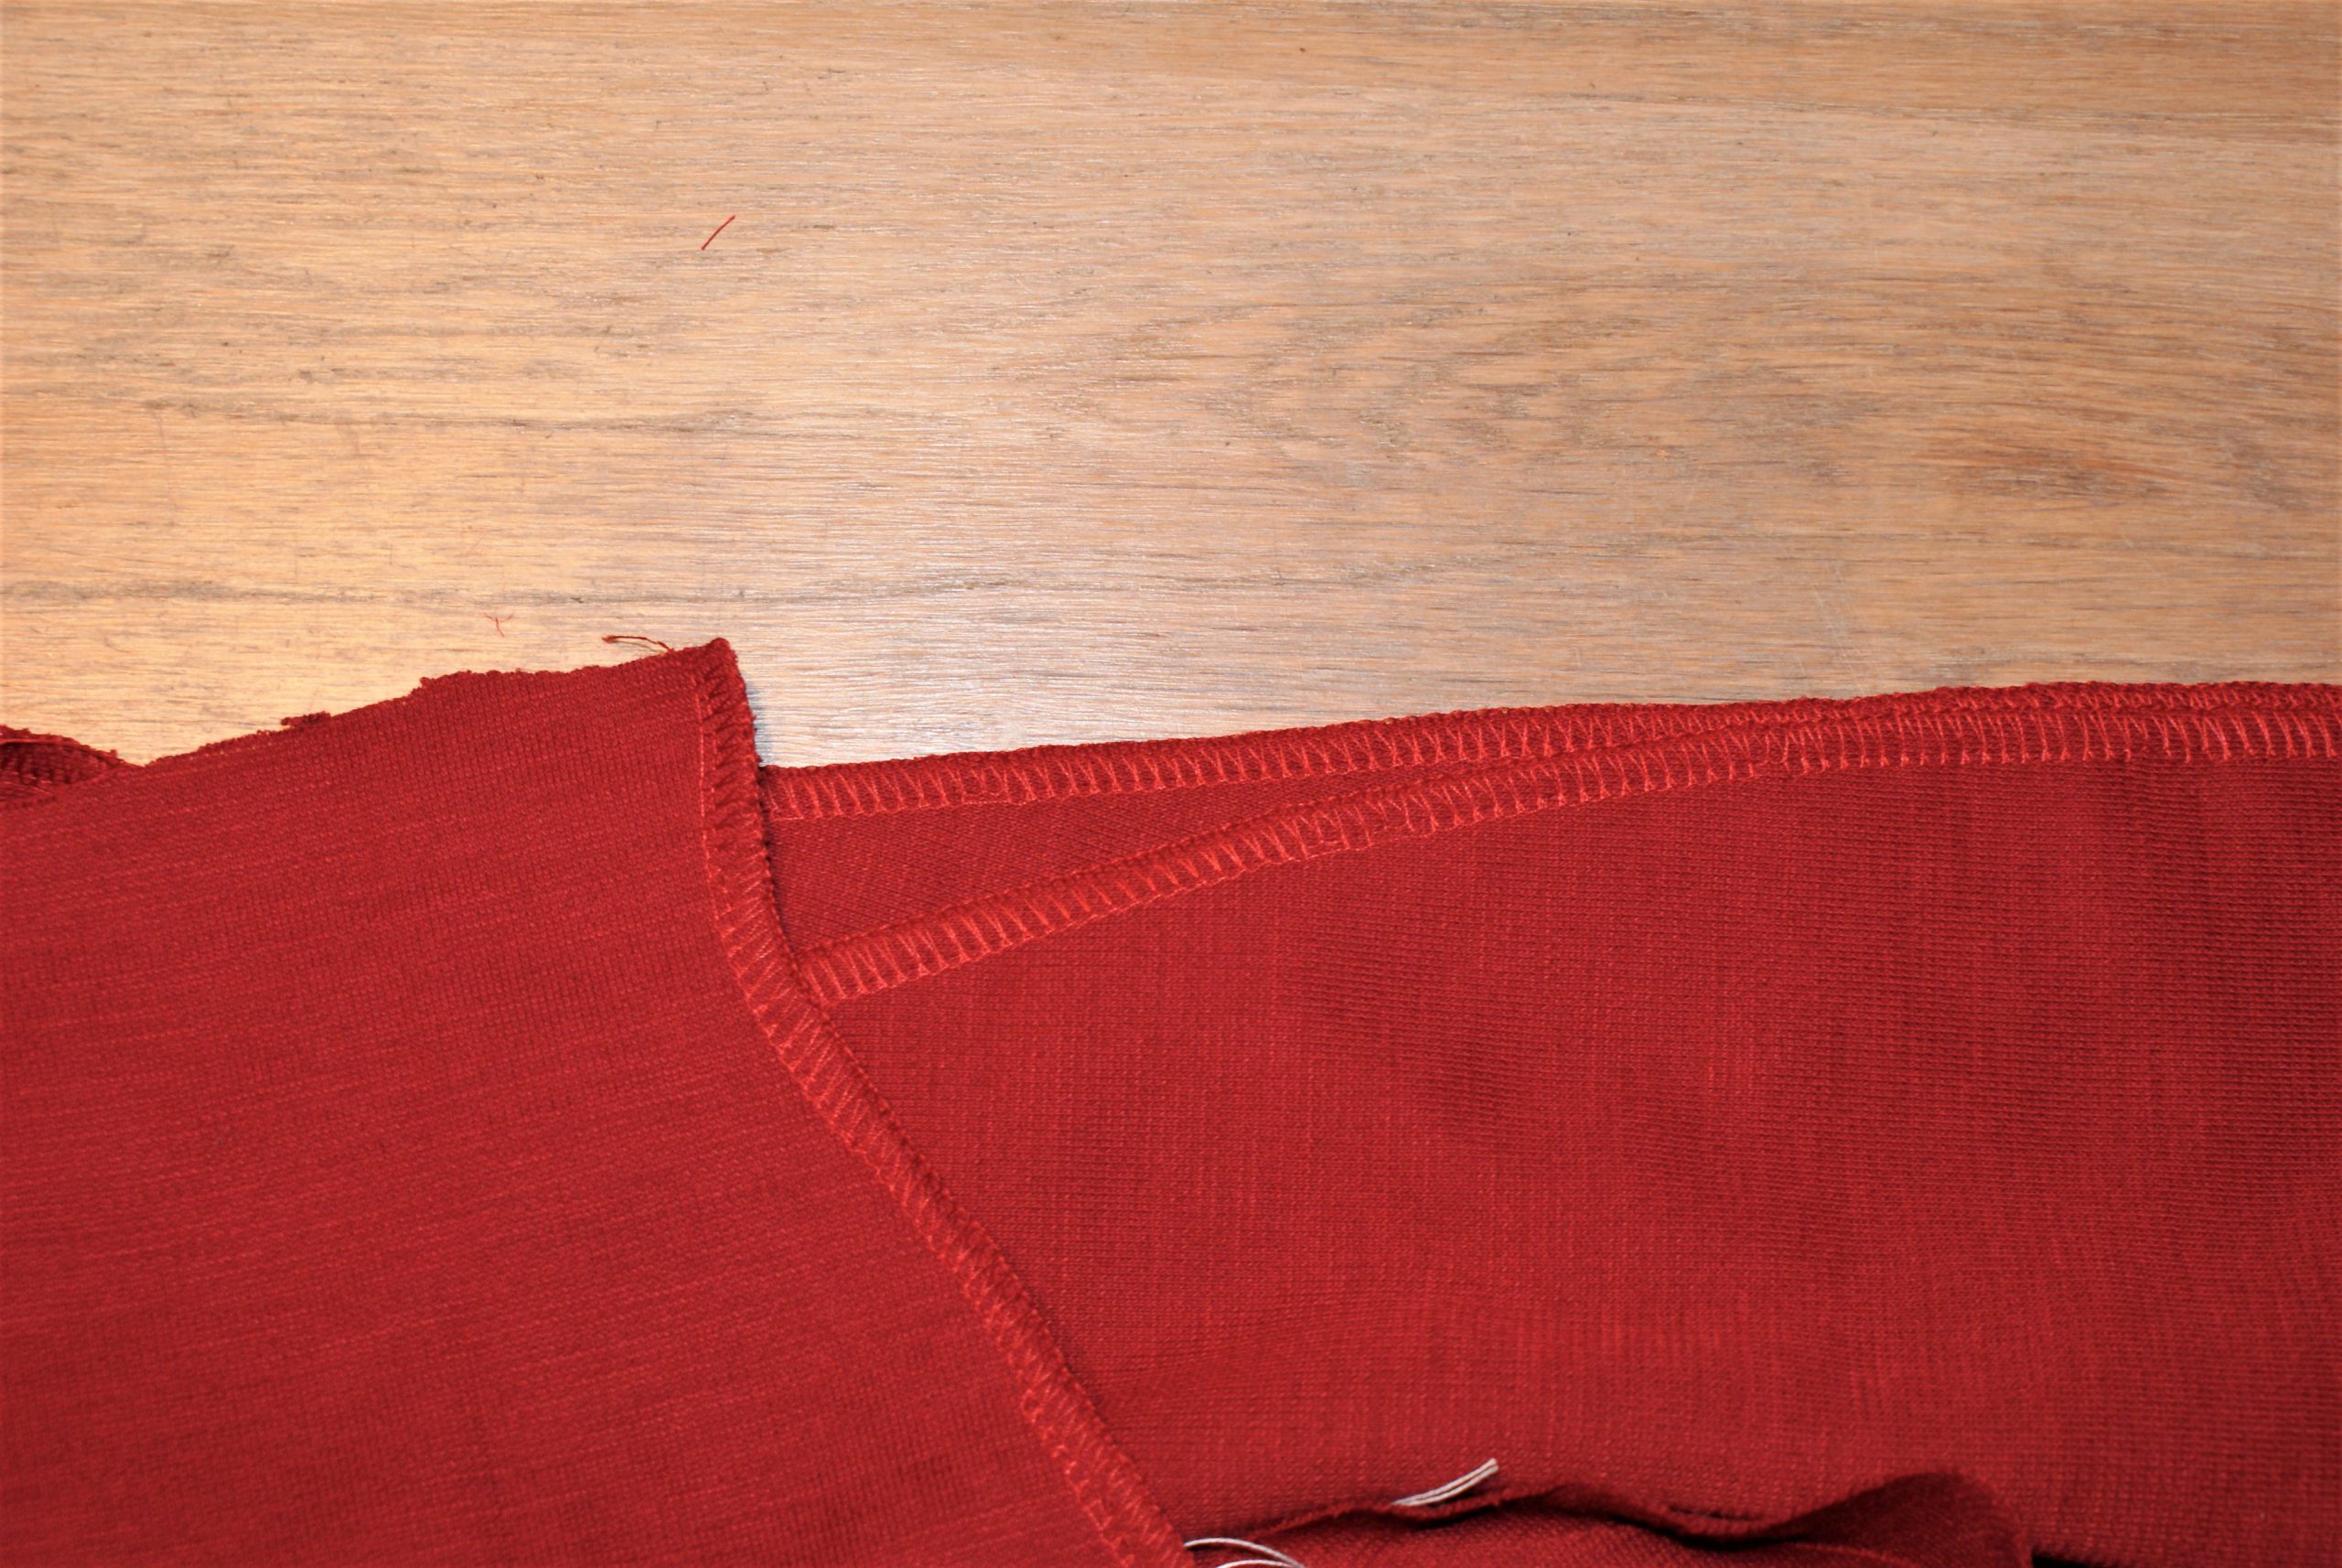
Fix the facings to the front and back panel with a zigzag stitch in the seam allowance. This will help you later on when placing the sleeves in the shirt.
Close side seams of the shirt with the overlock. Choose for a 4 thread stitch and maximum stitch width on the BERNINA L 460 (9mm). Close sleeve seams.
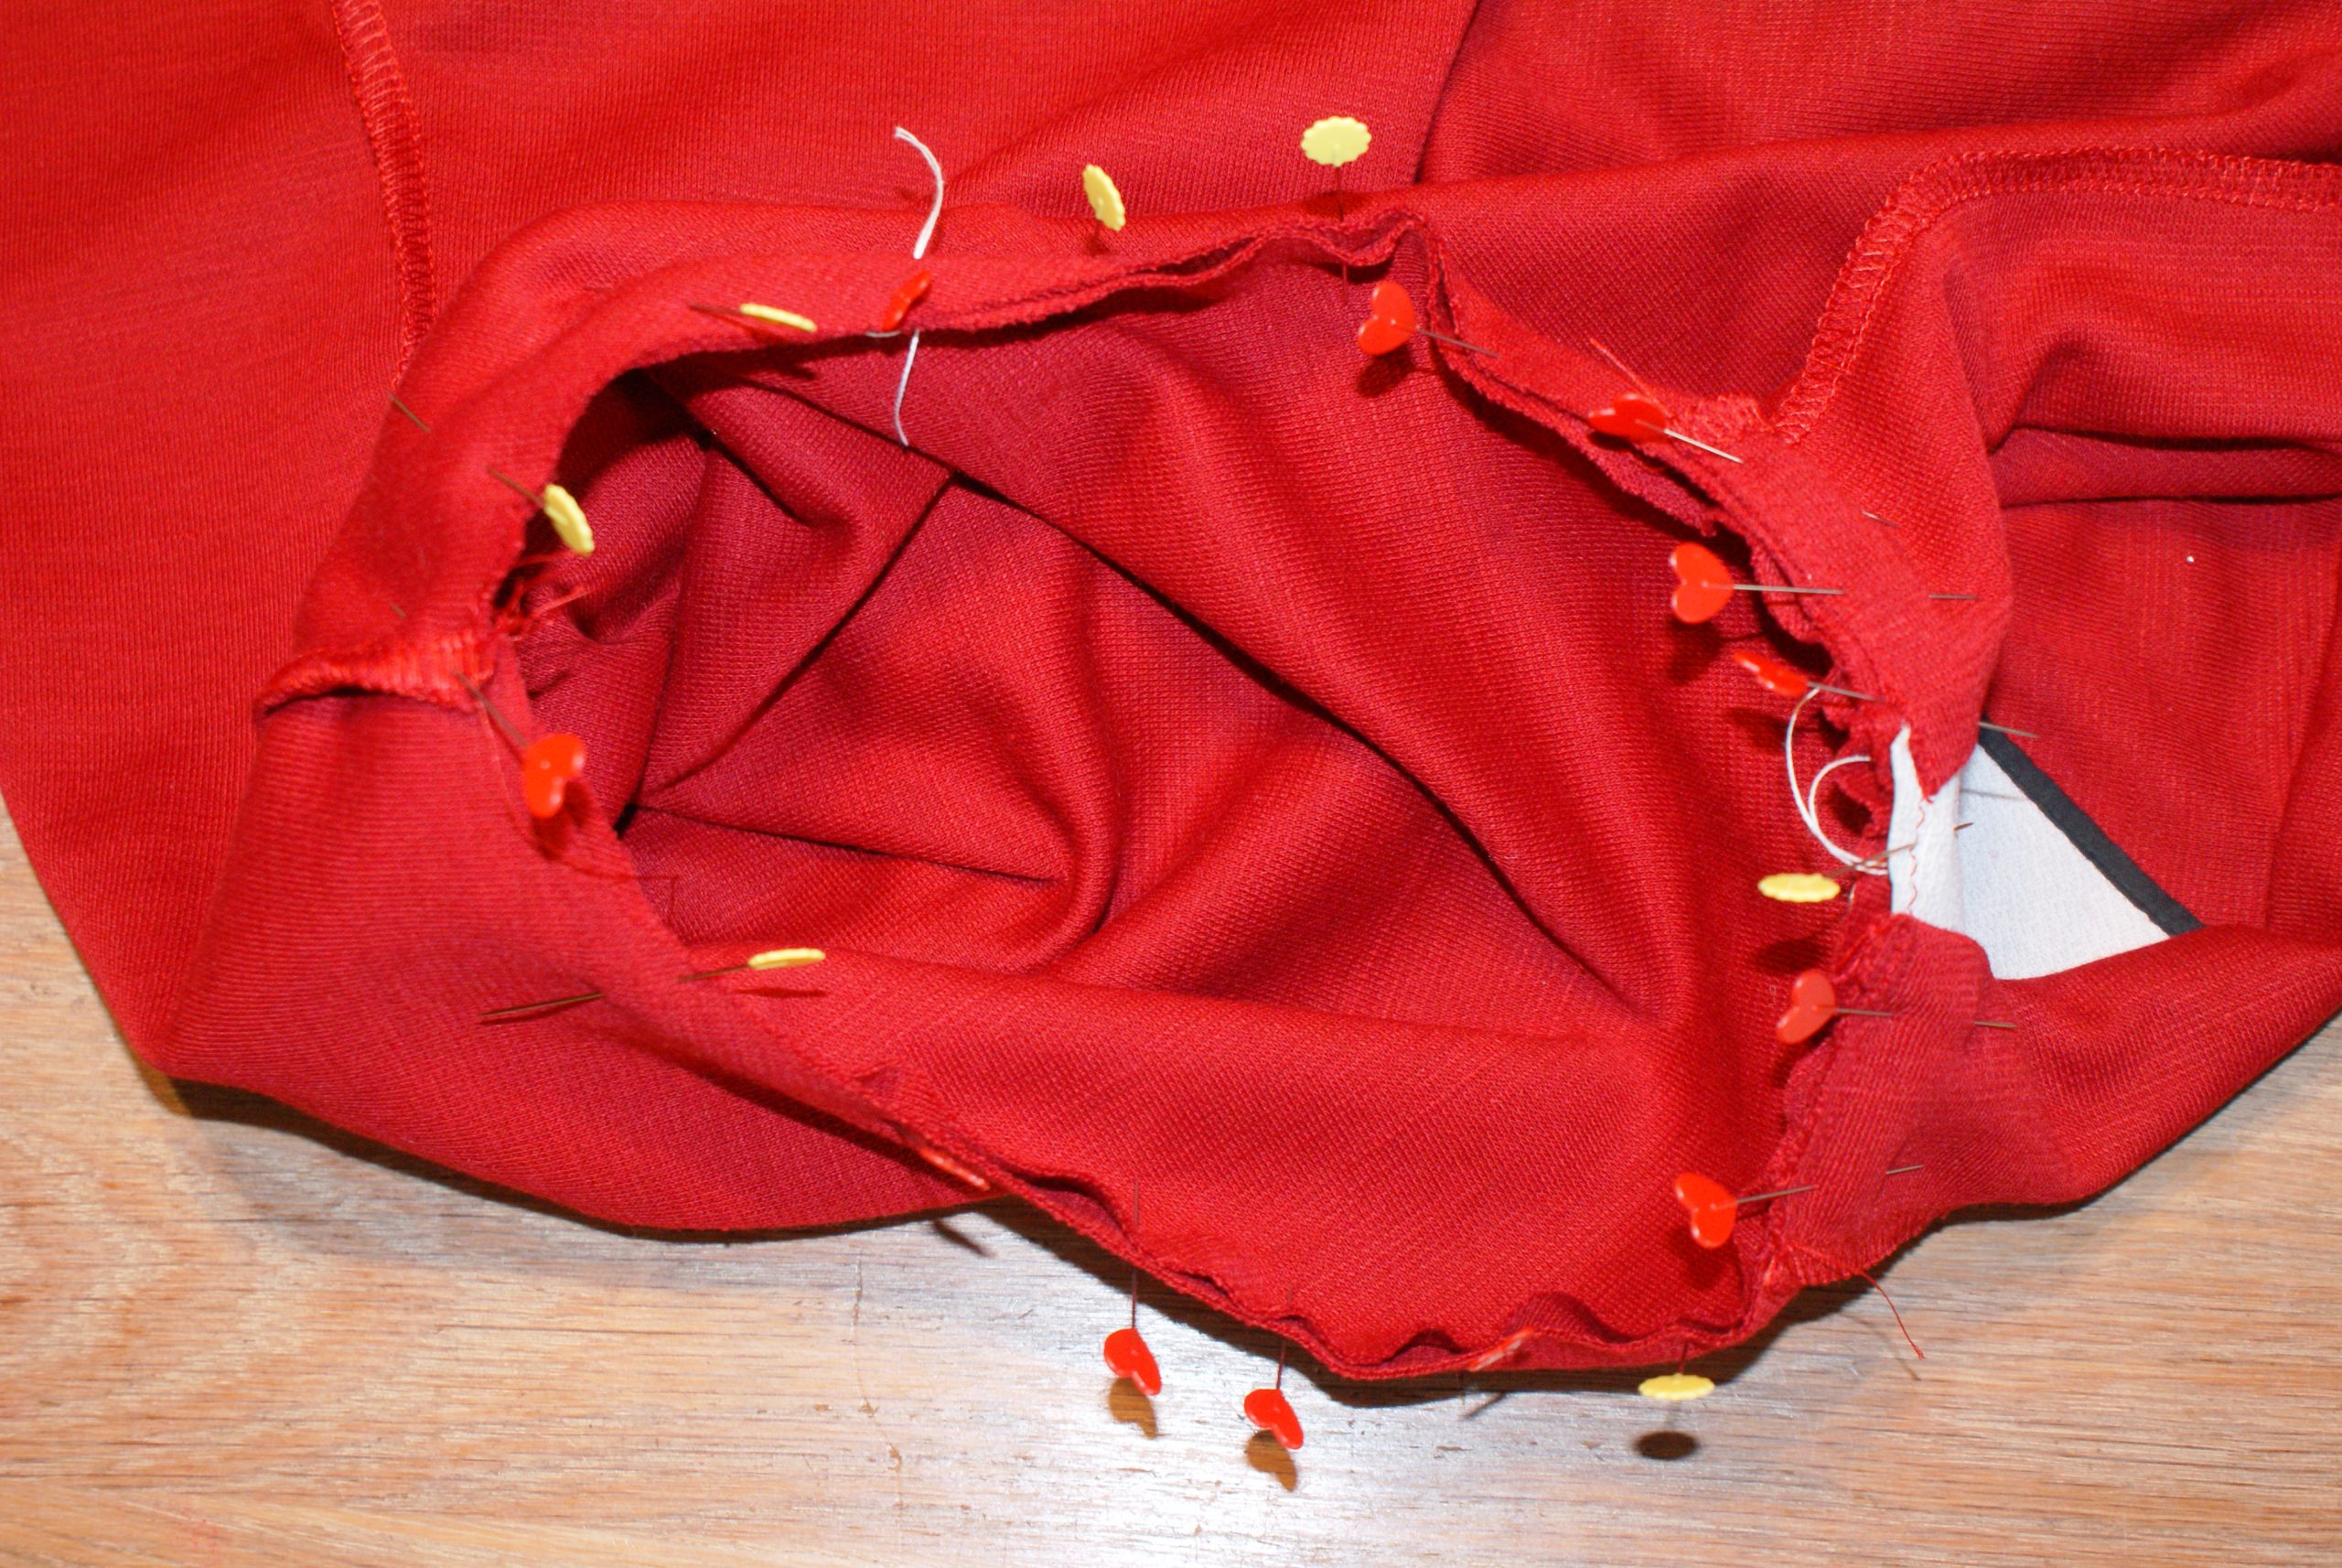
Turn the shirt inside out and the sleeves right side out. Put the sleeves in the shirt, pin and overlock. Be sure to take your pins away in time before overlocking the seams. Basting is a smart idea as well!
You know: overlockers don’t like pins…
Finish the hem and the sleeves with twin needles or coverlock. Or sew with Mettler Seraflex elastic thread, so interesting!
The shirt Birthe is ready.
It is not difficult at all, I’m sure I will use this pattern again! I hope you liked the sewing instructions for the Birthe shirt.
Don’t hesitate to ask questions or comment. I’m curious about the reactions.
Most of my other makes can be found on Instagram (BeaCallemeyn).
 BERNINA Corporate Blog -






What a nice pattern! The shoulder insert is quite distinctive, and the shape of the sleeve cap is wonderful.
I would love to buy this most unusual pattern.
Hi Elona, I liked the shirt too! The pattern is for sale in the Bernina webshop. It was free in April. Can you contact me in Messenger for more information?