 BERNINA Corporate Blog -
I want to share with you a super fun idea to get your kids started in exploring embroidery using a sewing machine.
I recently purchased a Bernette 05 Academy for a community project that I run and this machine has been a big success with my students and with my daughter as well.
As I was preparing the machine to take it to the workshop I decided to make a few samples of the different embroidery stitches that are available through the different setting combinations. I was excited by the results that I was getting and my 10 year old daughter decided that she wanted to have a go too.
She owns my old Bernette sewing machine and she is pretty good at it, but we never explored any kind of embroidery or specific stitches before. I decided to get her to embroider a little drawing using some fabric scraps and we both had a great time. The best thing is that she now knows how to embroider using a sewing machine which is fantastic!
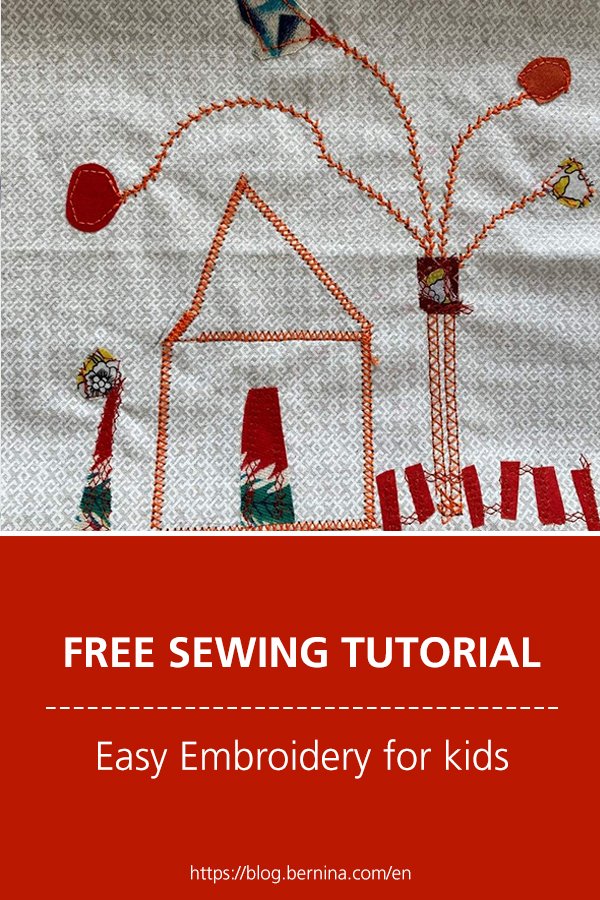
So this post is about me sharing with you a little machine embroidered drawing that my 10 year old daughter and I made using very basic embroidery stitches from the Bernette 05 Academy.

Materials:
- A piece of fabric (100% cotton is best) to embroider on
- A piece of backing fabric (slightly bigger in size)
- Little fabric scraps
- Iron on fusing paper
- Bernette 05 Academy sewing machine
- Bright color threads
- Transfer pen
Step 1:
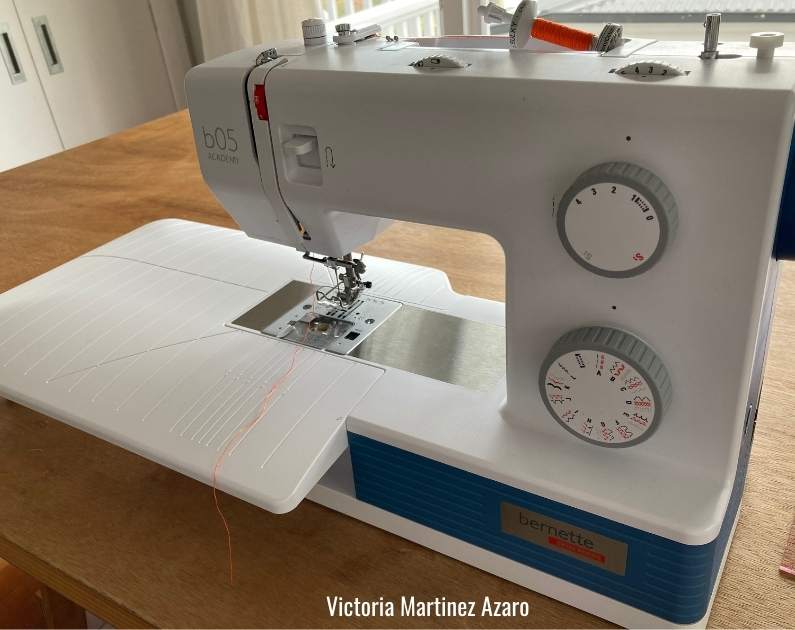
Get your machine set up with the extension table. I used the regular sewing foot. Choose a nice bright color thread. I used a thicker quality thread.
Place your top fabric on top of the backing fabric.

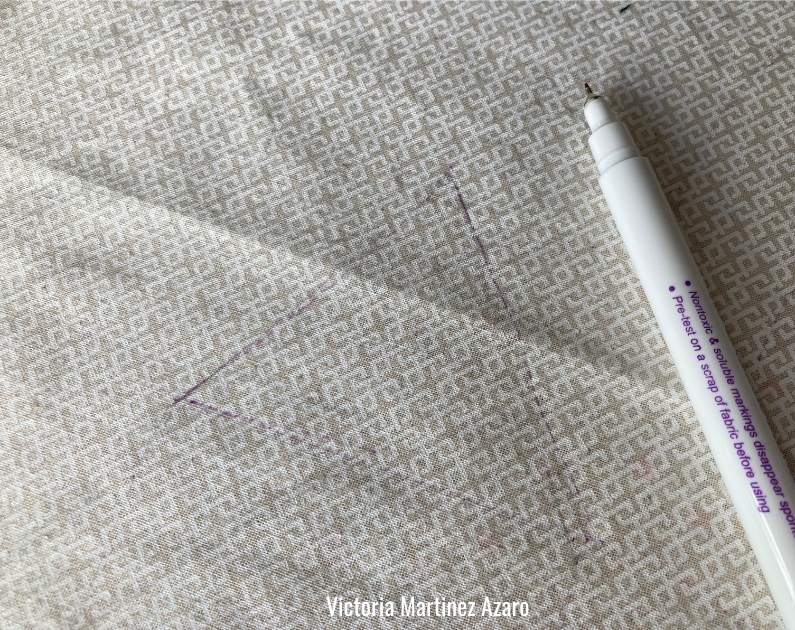
Get the kids to draw on the fabric by using a transfer pen.
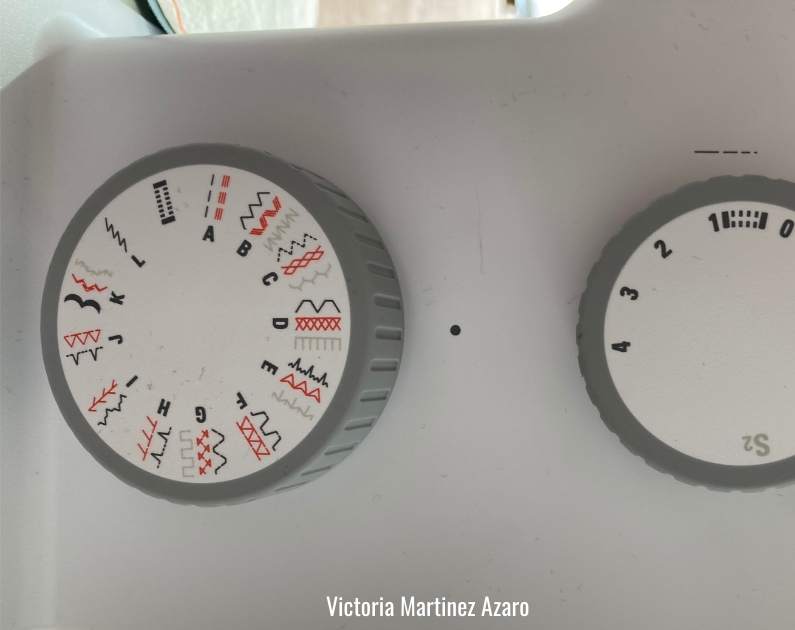
Play around with the settings. I got my daughter to choose from the machine’s manual and then I set it up for her. This is very easy to do in this machine.
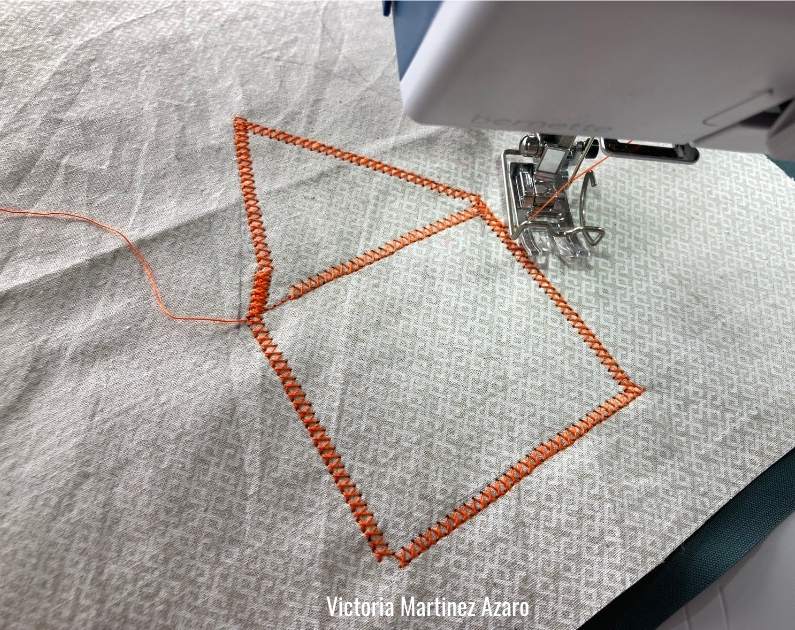
Step 2:
Get your child to start embroidering by following the drawn line. They will be super excited once they see their own embroidery coming to life.
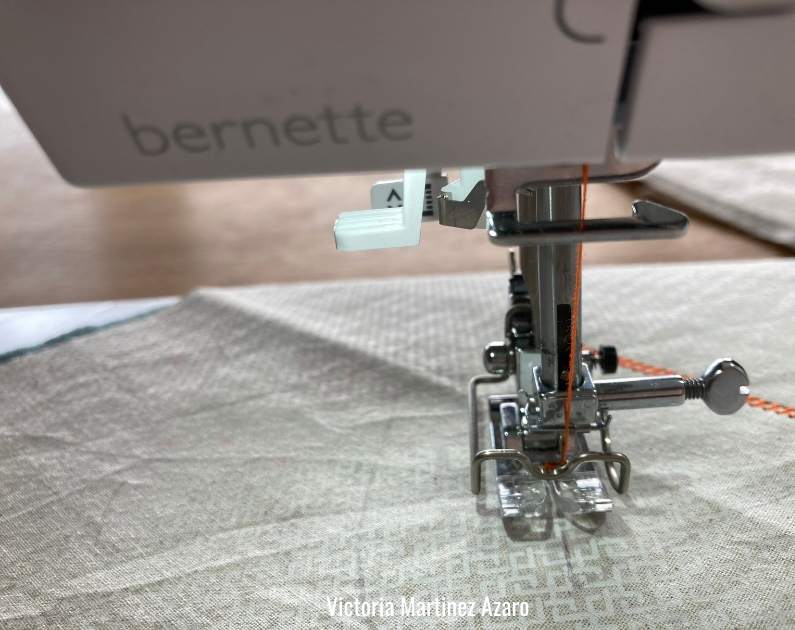
Make sure they sew slowly and that they stop at each pivot point within the drawing.
My daughter made a little mistake by changing the stitches but she just kept going.
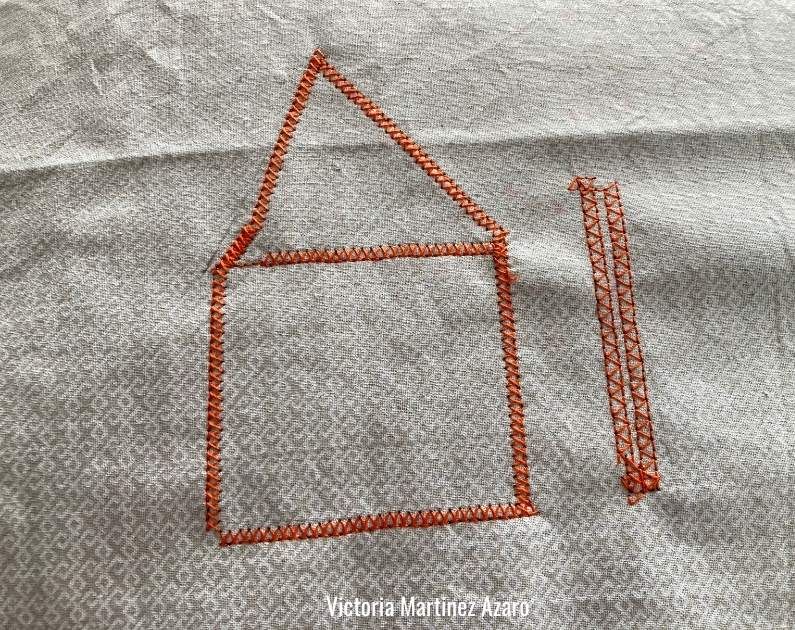
We decided to change to another embroidery stitch to make the tree.
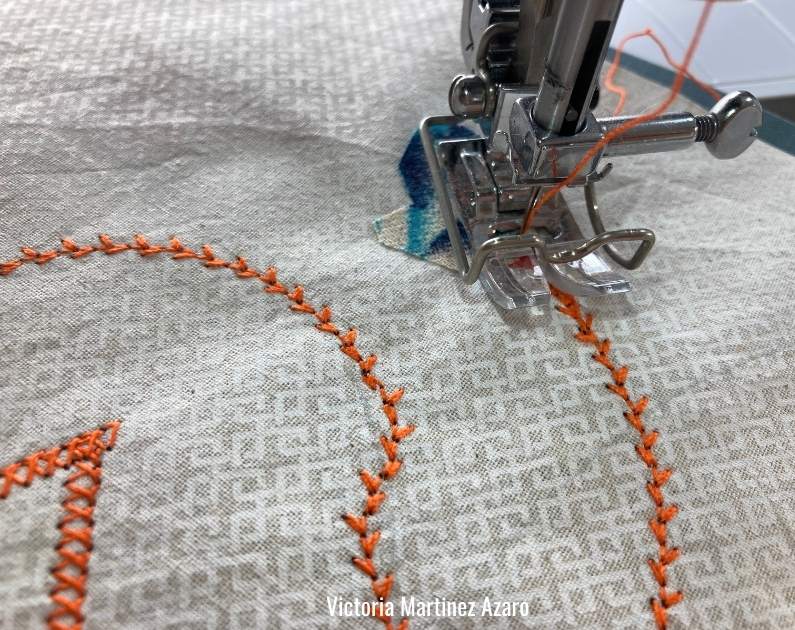
We changed the embroidery stitch again to make the branches of the tree.
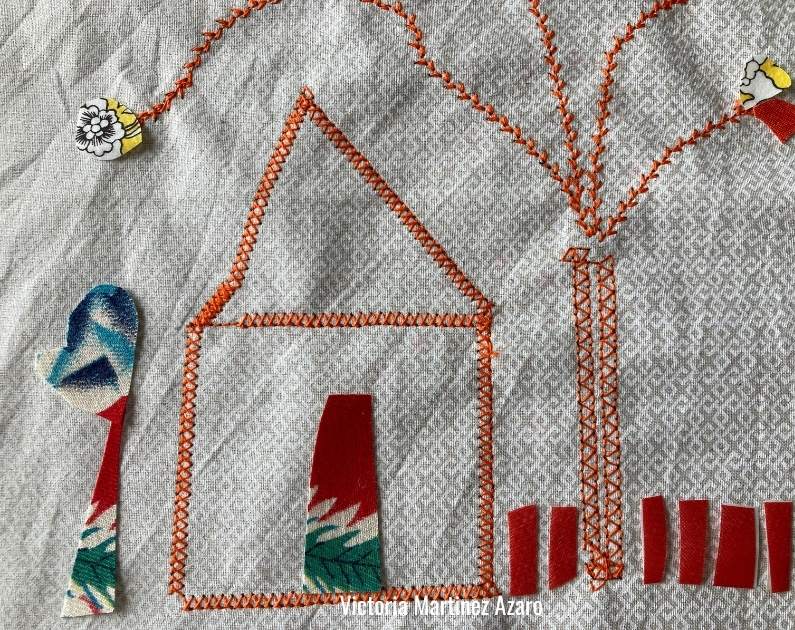
Once the drawing was fully covered by the embroidery stitches we decided to embellish further by adding some applique.
To so this we used the iron on fusing paper. Simply fuse some fabric scraps onto the sticky part of the adhesive iron on fusing paper and then cut it into little shapes. Place the shapes within the drawing.
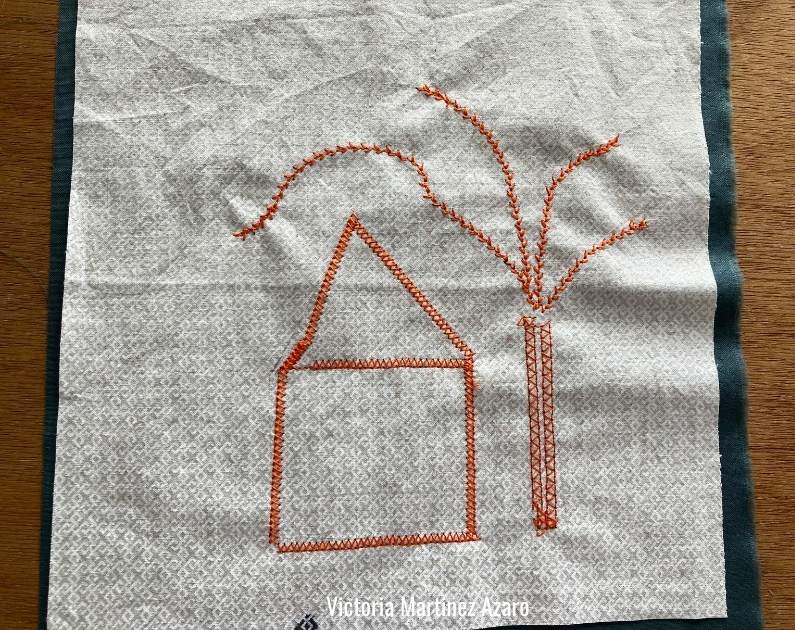
We added a door to the house, some flowers and some leaves.
Allow the kids to have fun and take their time creating a fun and colorful composition 🙂
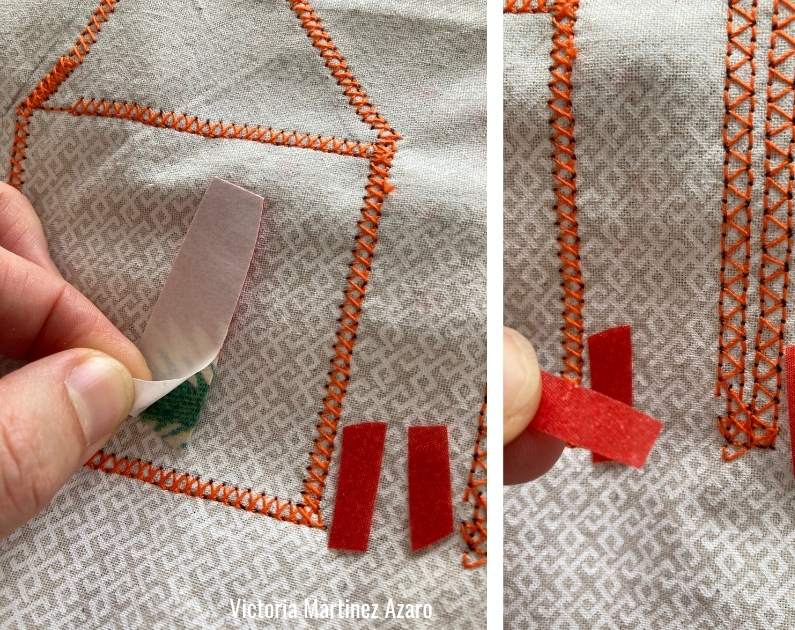
Once you are all happy with the design it’s time to fuse the applique in place. Peel off the backing paper and place the applique exactly where you want it.
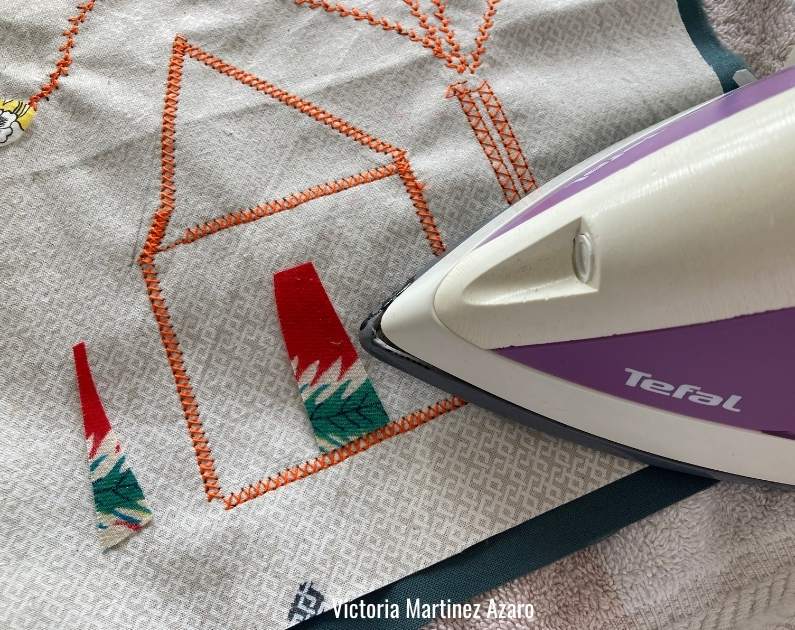
Using a hot non steamy iron fuse it to the embroidered fabric.
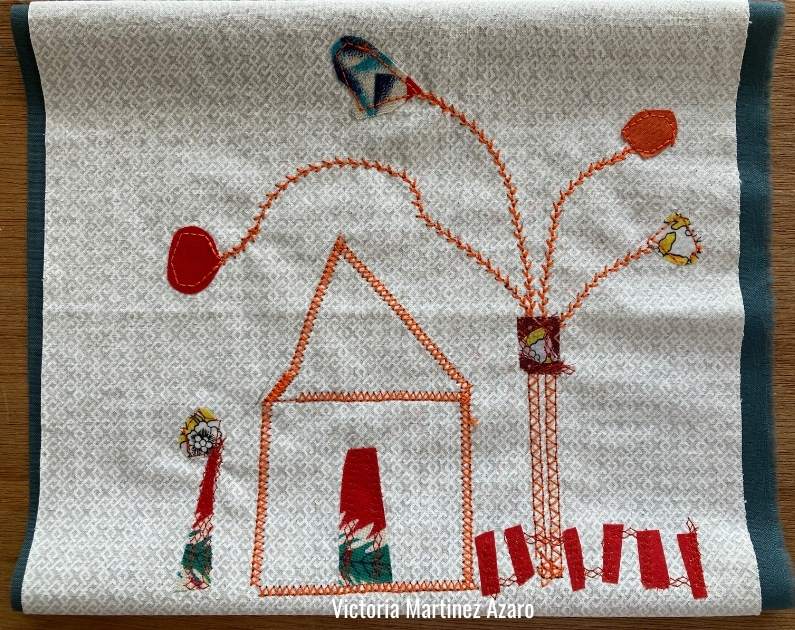
Stitch around the applique pieces to make sure they are sewn in place. this may be a bit tricky for some kids so I actually did this for my daughter because we ended up with tiny applique pieces.
Voila! This was my 10 year old first embroidery project and now she is hooked for life!
I hope you enjoyed this tutorial!!

0 Responses