 BERNINA Corporate Blog -
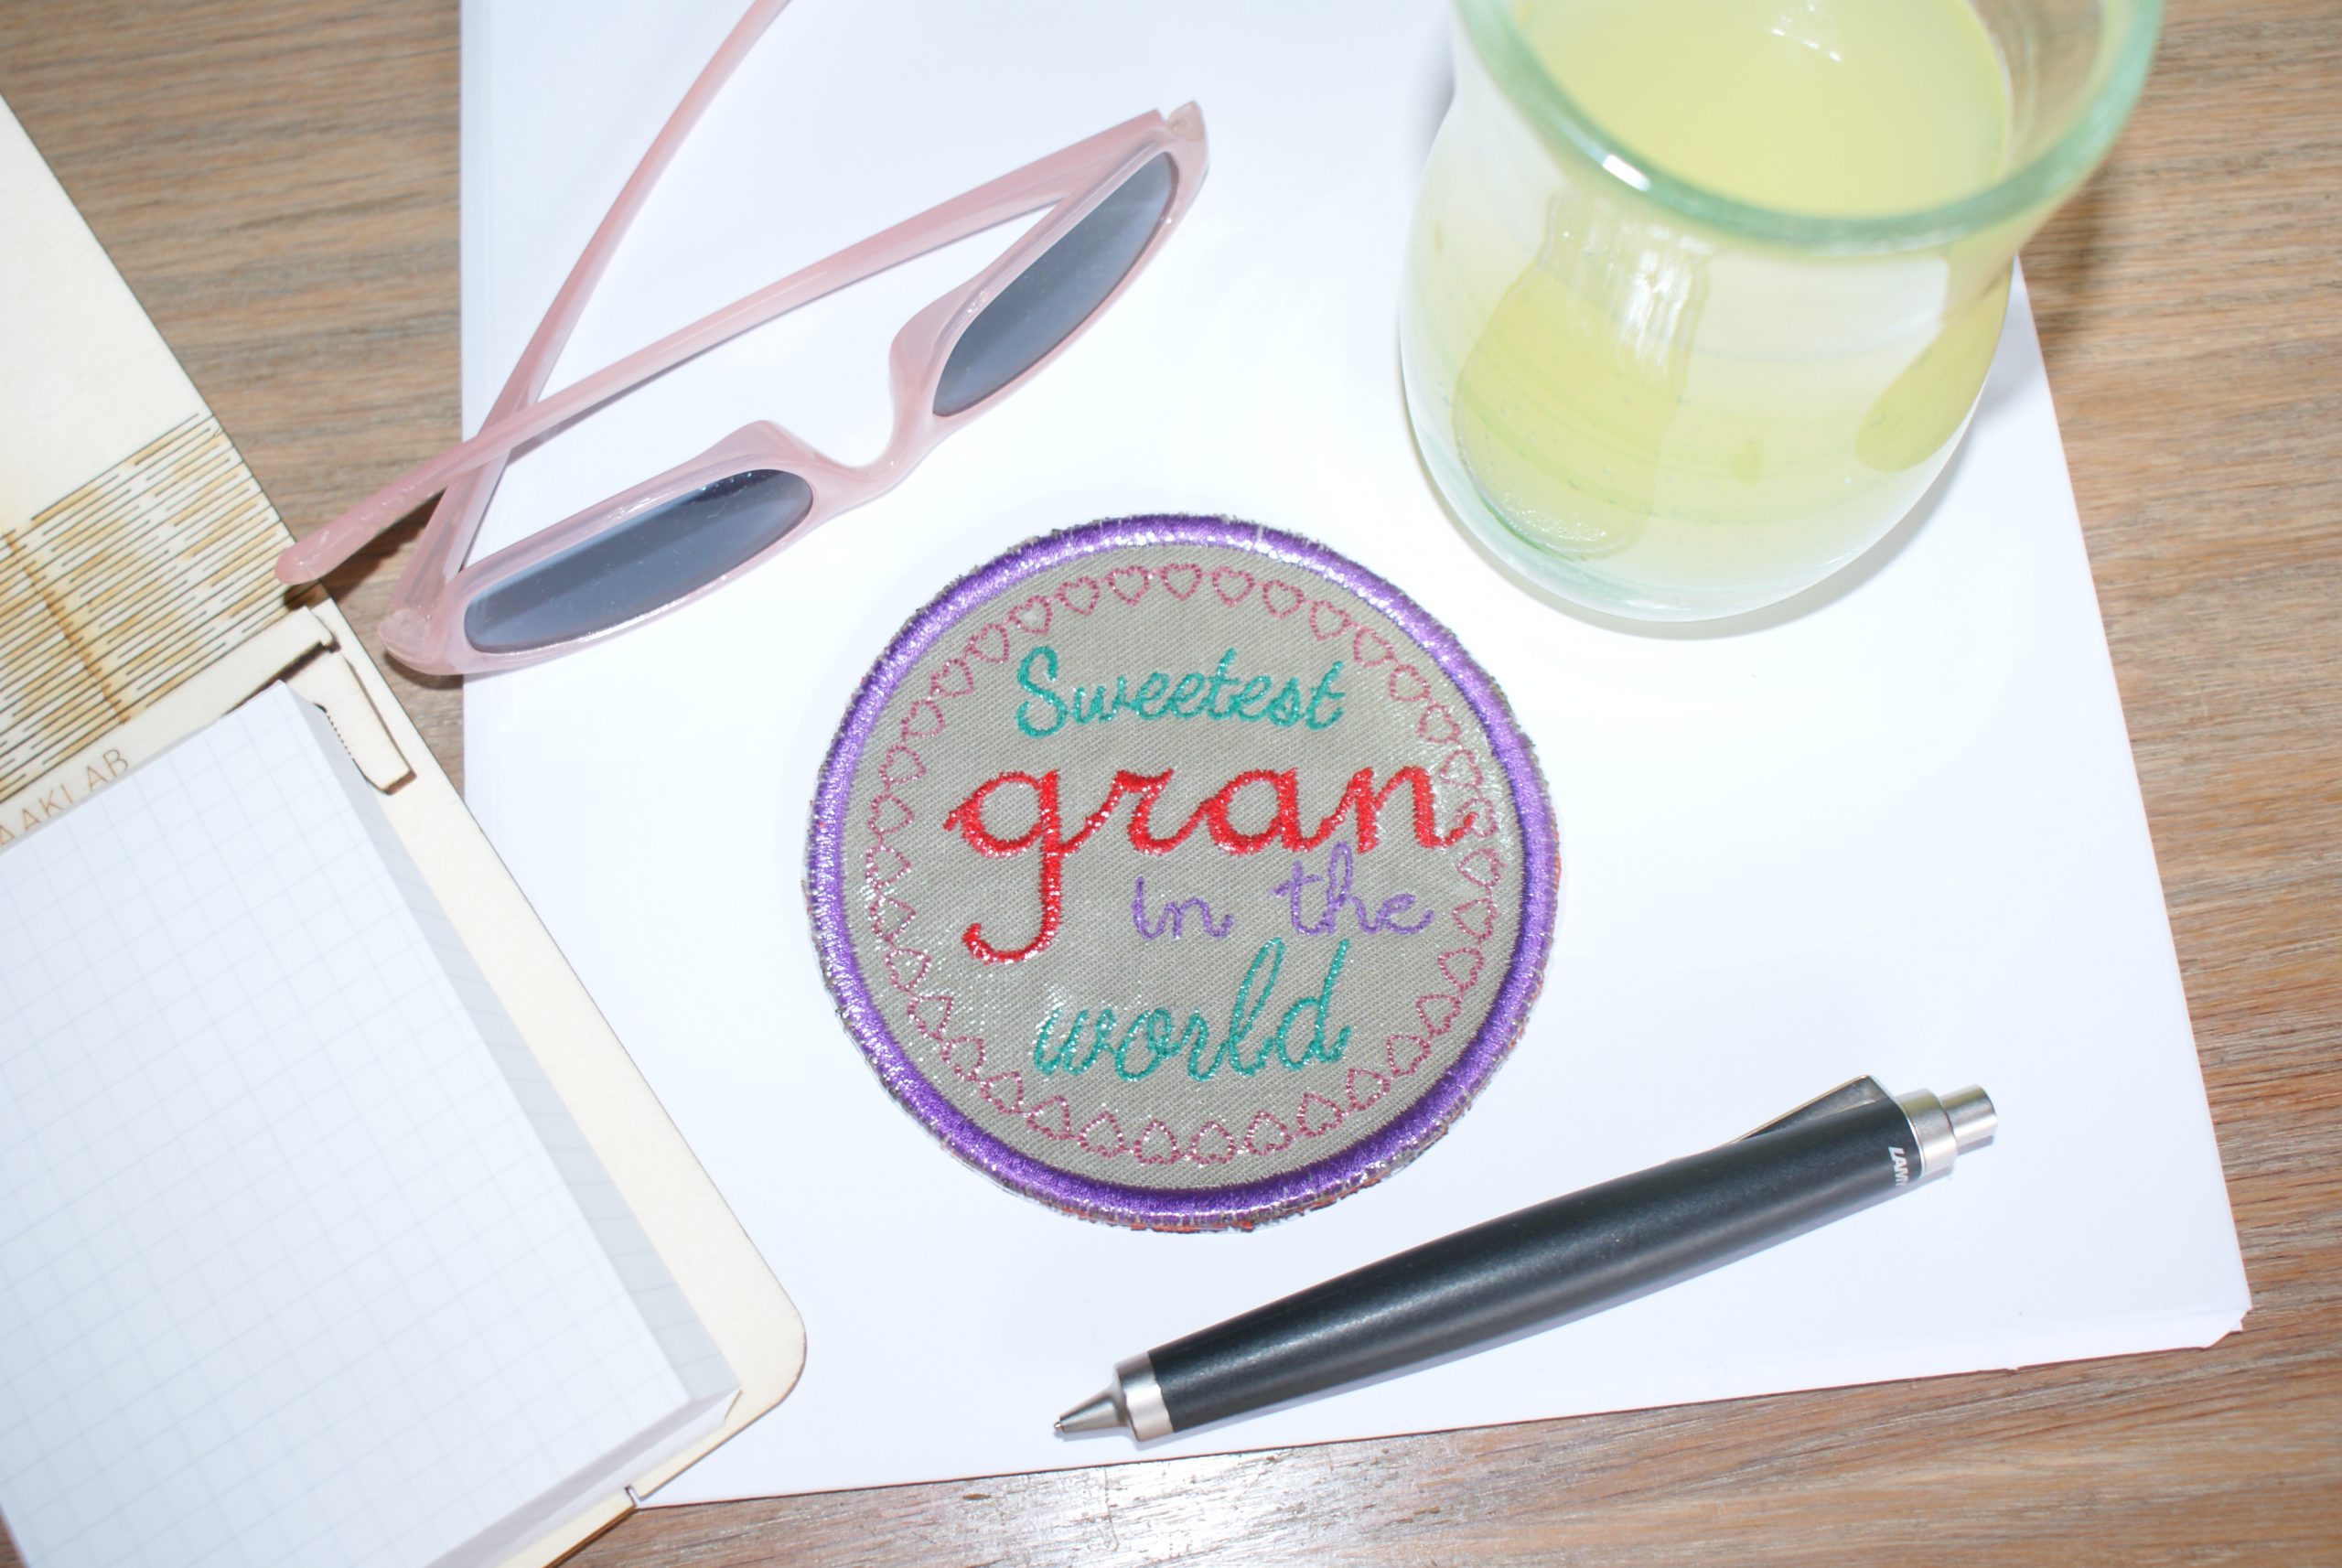
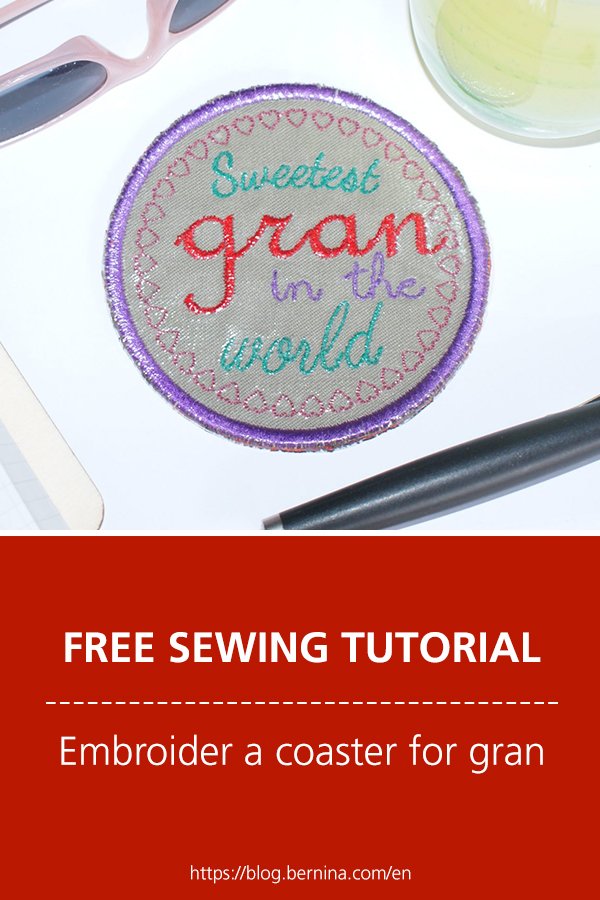
Embroider a coaster for gran, I’m sure she’ll be proud to use it! Wouldn’t you?
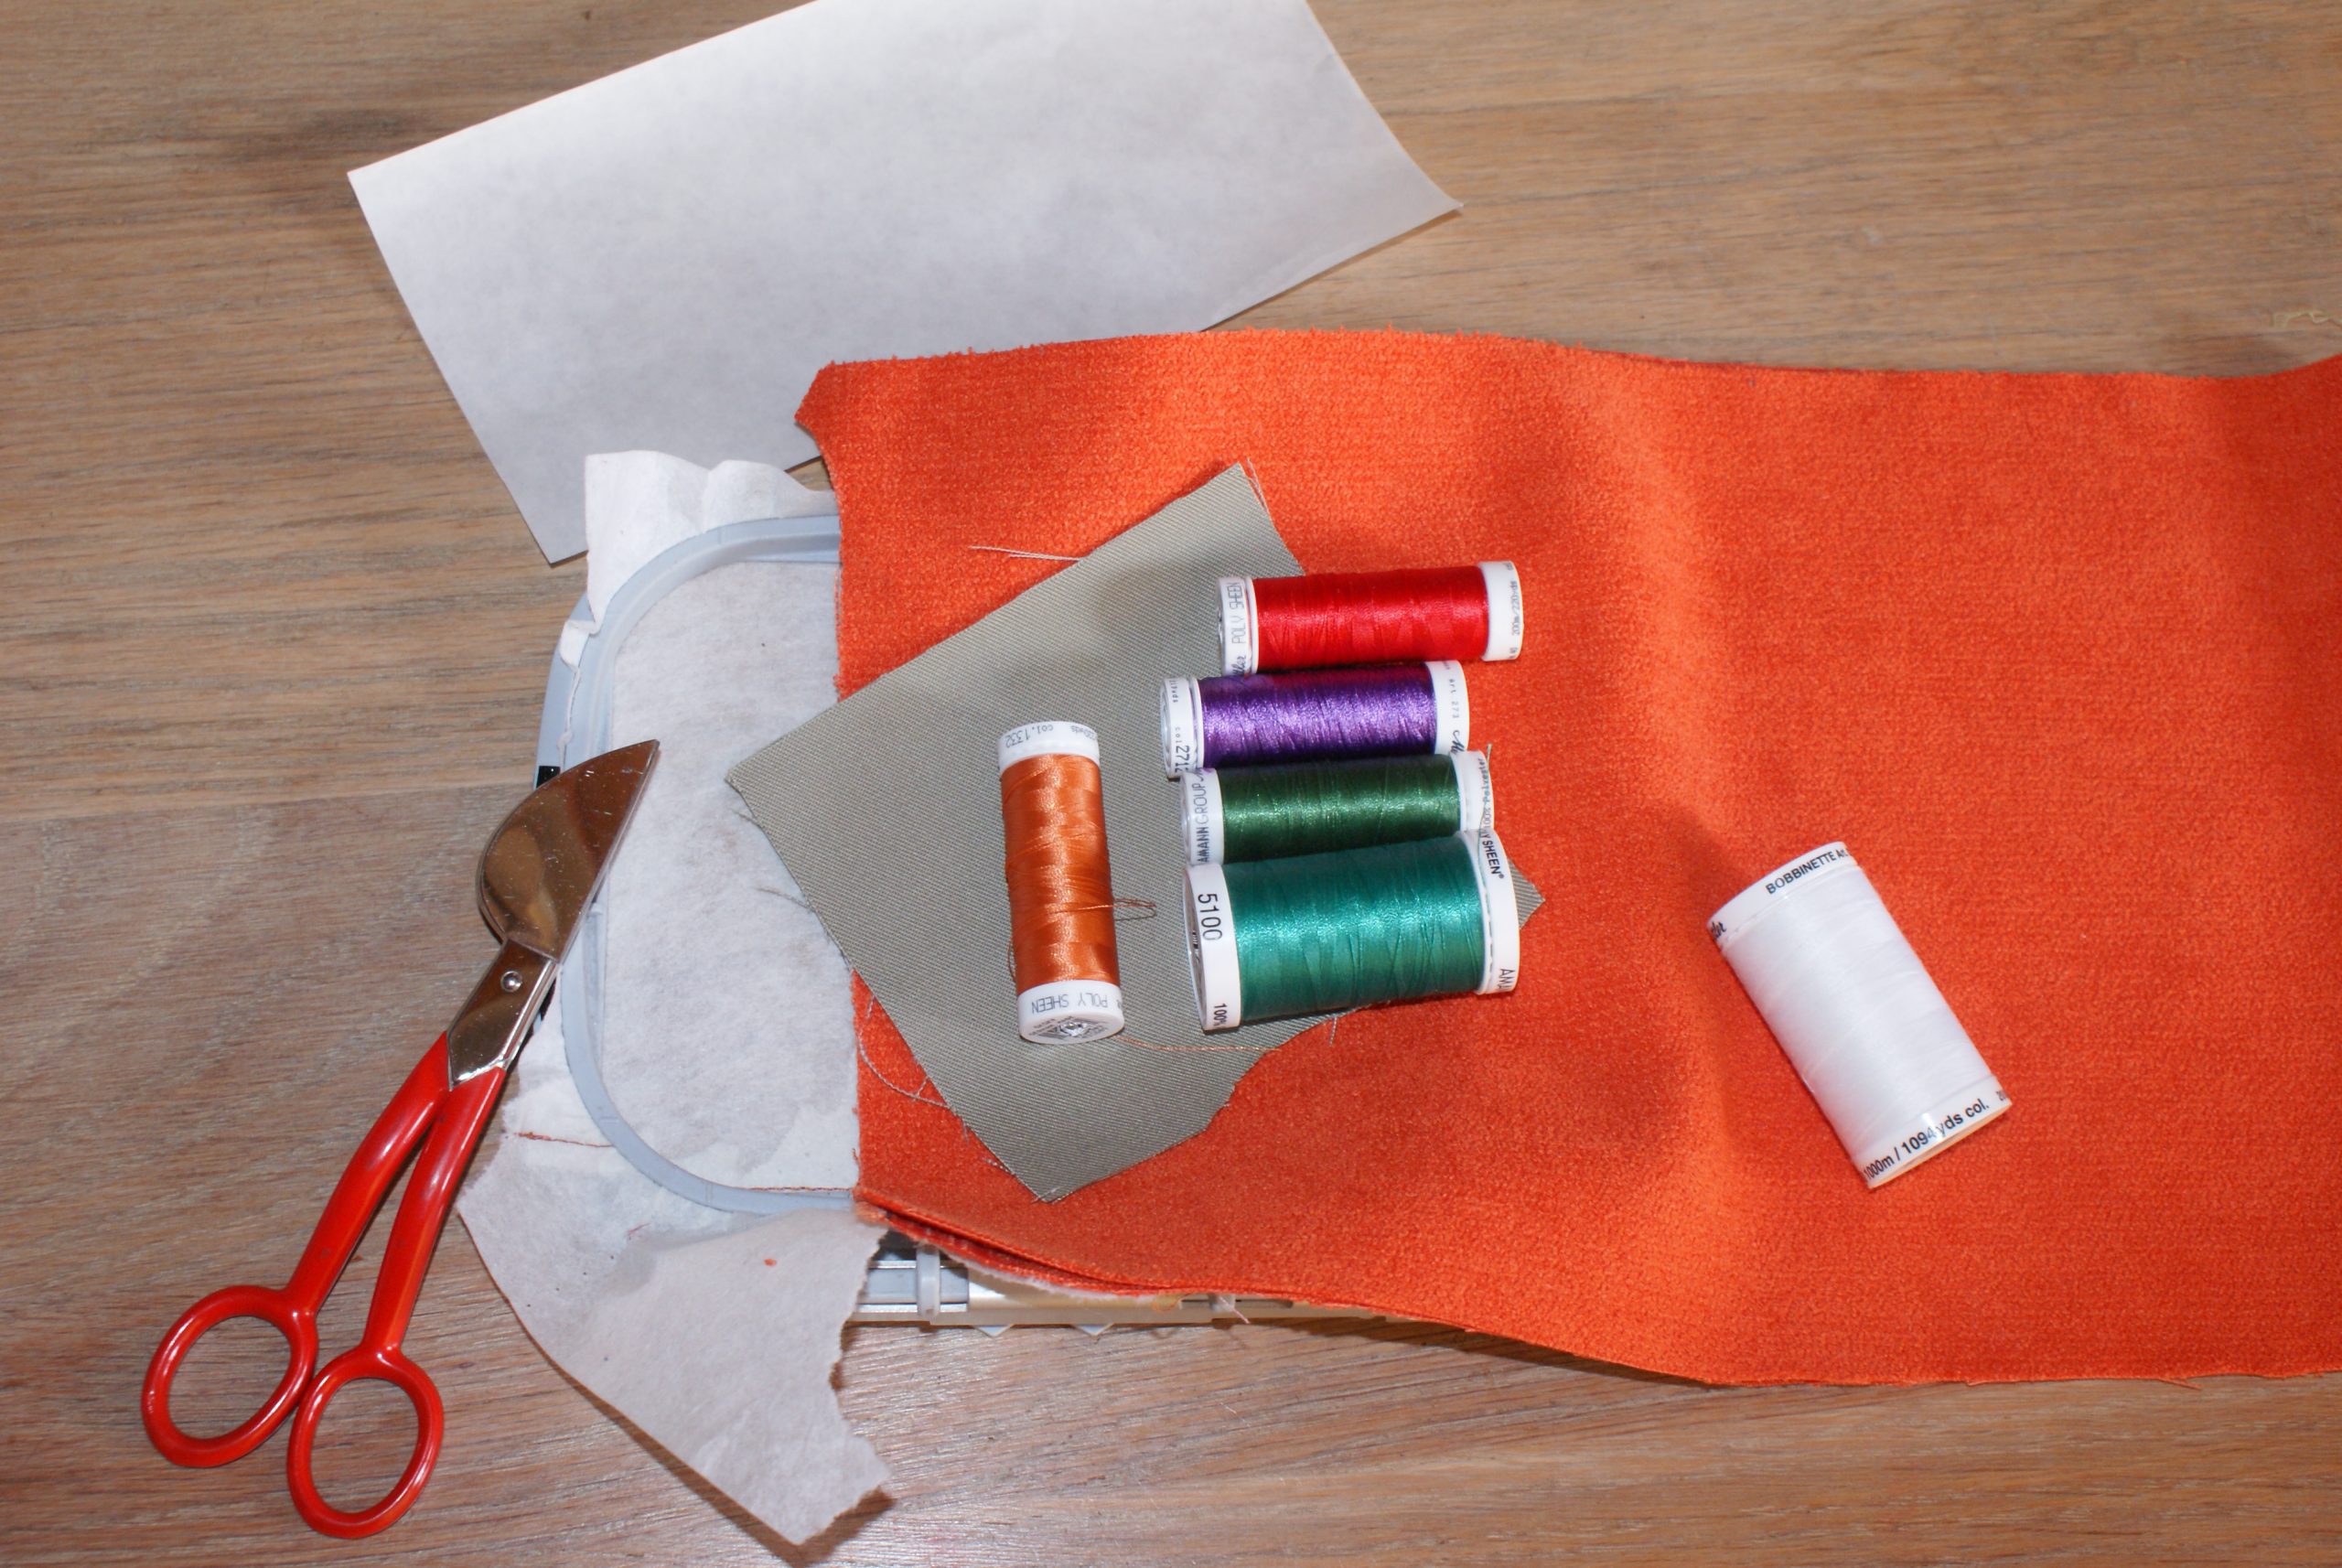
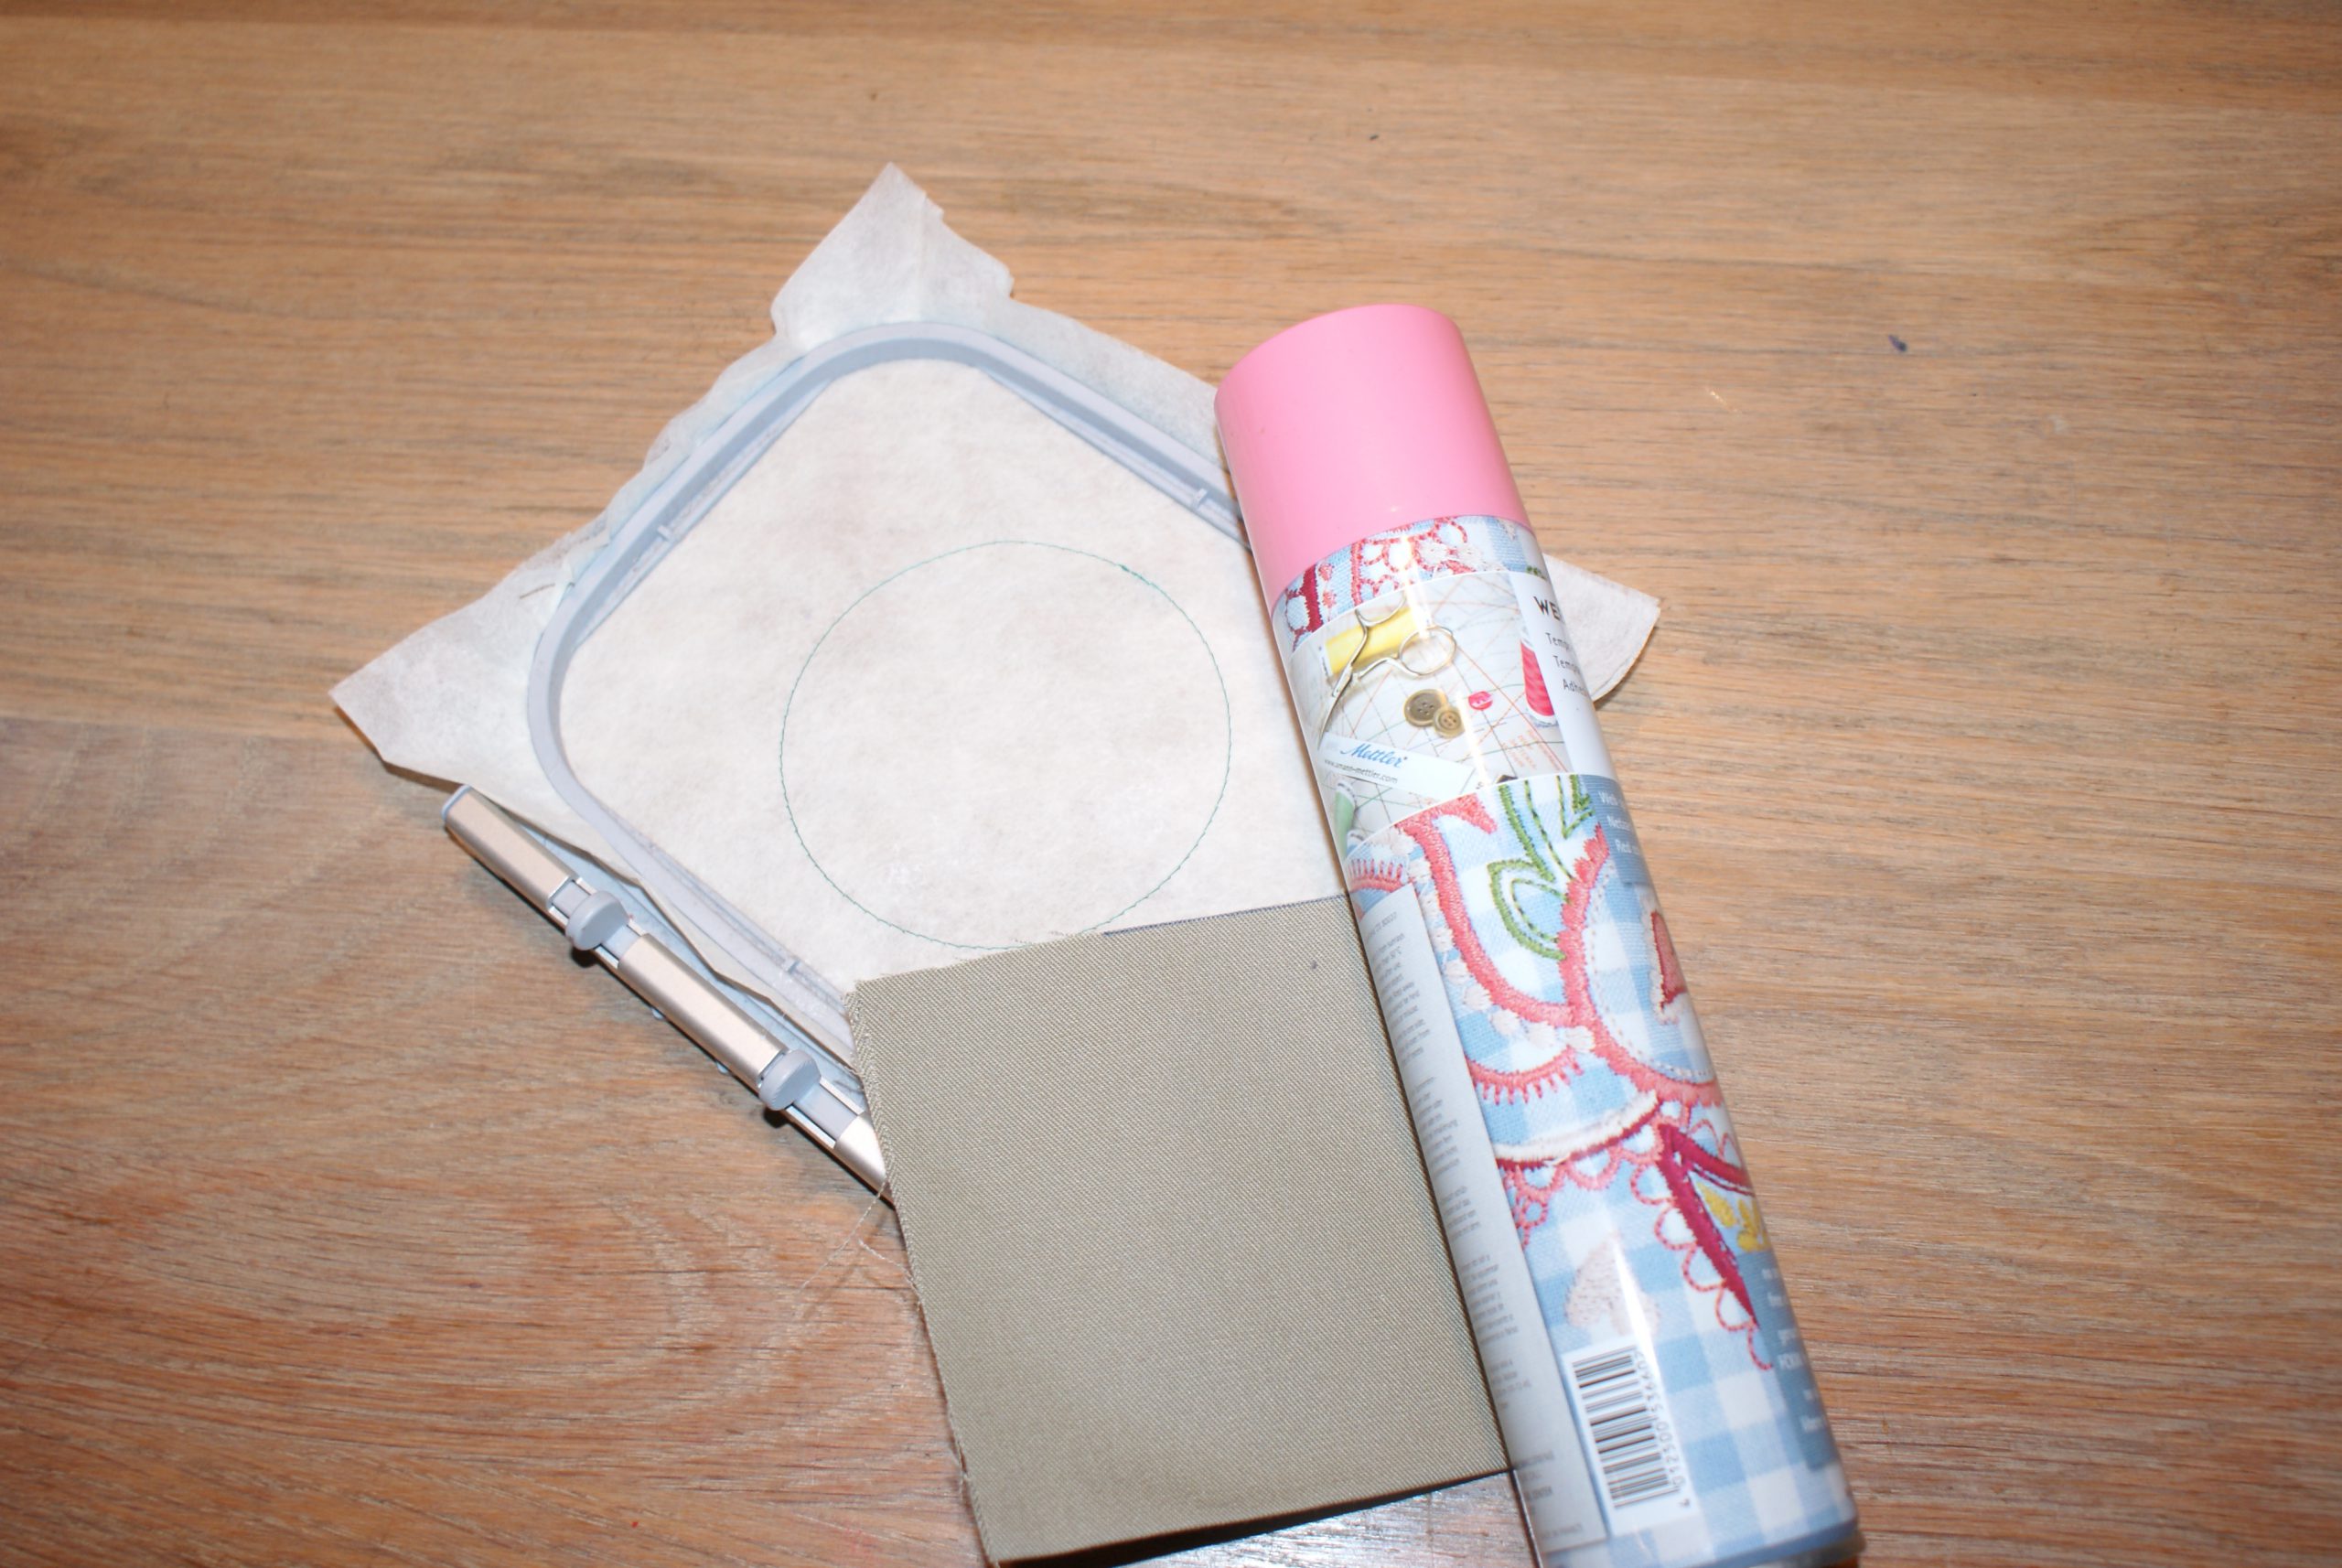
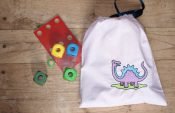
Supplies to embroider a coaster for gran:
- 2 patches sizes 12 x 12 cm for the front and 1 patch 12 x 12 cm for the back
- Embroidery thread Mettler Poly Sheen and bobbin thread Mettler Bobbinette
- Cut away stabilizer or a double layer of tear away stabilizer (an ideal small project to recycle scraps of stabilizer).
- Application scissors are useful.
- Embroiderymachine BERNINA 700
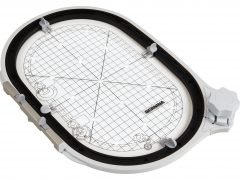
- The Midi Embroidery Hoop
- Temporary adhesive spray Mettler Webb bond is useful
- Heat’n Bond Vinyl iron on is interesting to keep it clean
- Download the embroidery file in EXP, PES, HUS or JEF: Sweetest gran in the world 9,5 cm

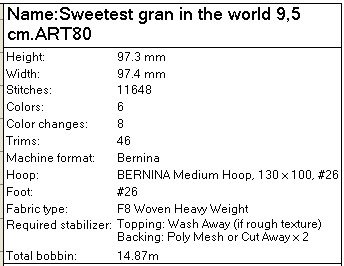
Let’s take a look at the embroidery file:
The size is 9,5 x 9,5 cm. You can find other properties here:
This is the color sequence:
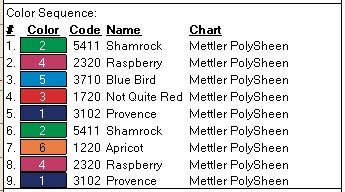
Colors 1 and 2 are not visible in the coaster (the circles to position the fabric and to fix it), so you can start with the color you choose for the word ‘Sweetest’. Dit is de kleur voor het woord ‘Liefste’.
Instead of threading 2 different colors for 8 and 9, take the number 9 after finishing 7, because 8 is an embroidery object that fixes the backing.
Here’s an overview of the objects:

Start to embroider the coaster:
Hoop the stabilizer in the ring.
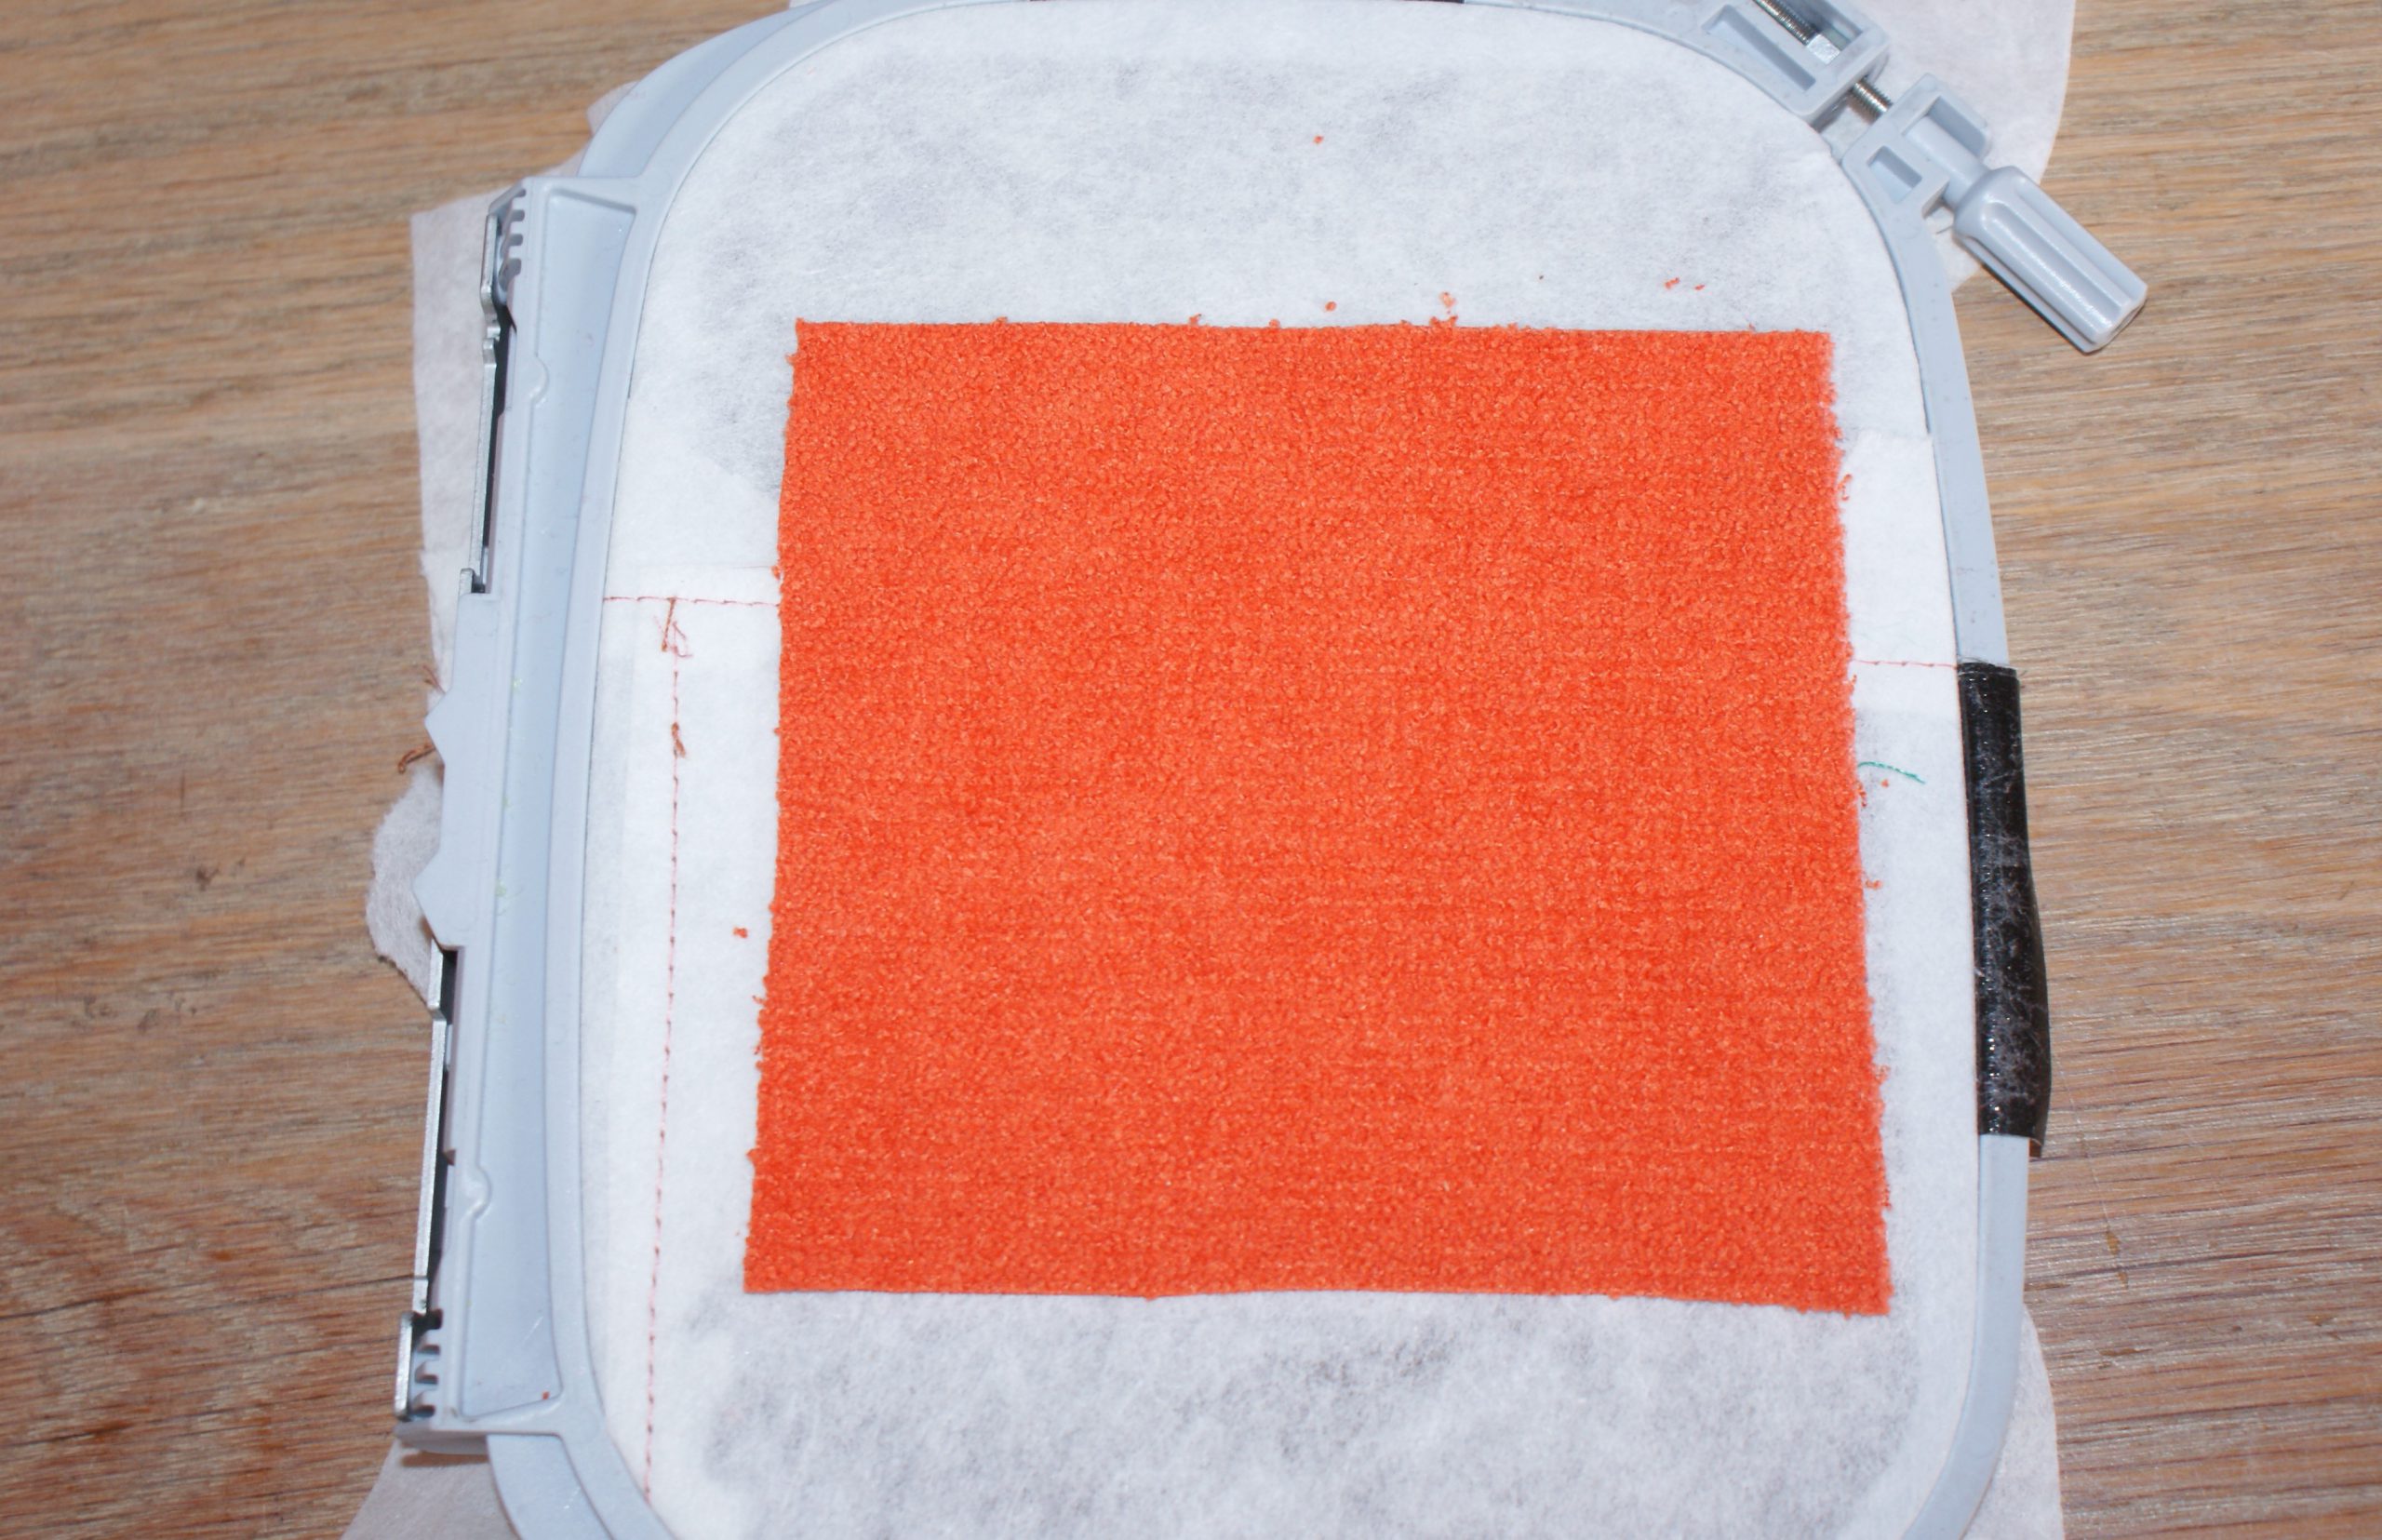
Embroider the first circle to position the fabric and fix both the patches of 12 x 12 on top with temporary adhesive spray or pin.
After object 7 you take away the hoop from the machine and you put the fabric for the back on the back of the project with adhesive spray (or pin).
Change bobbin thread to embroidery thread in the same color as the circle outline.
After embroidering object 7, you cut away all fabric outside the circle, for both sides of the project.

Embroider the outline.
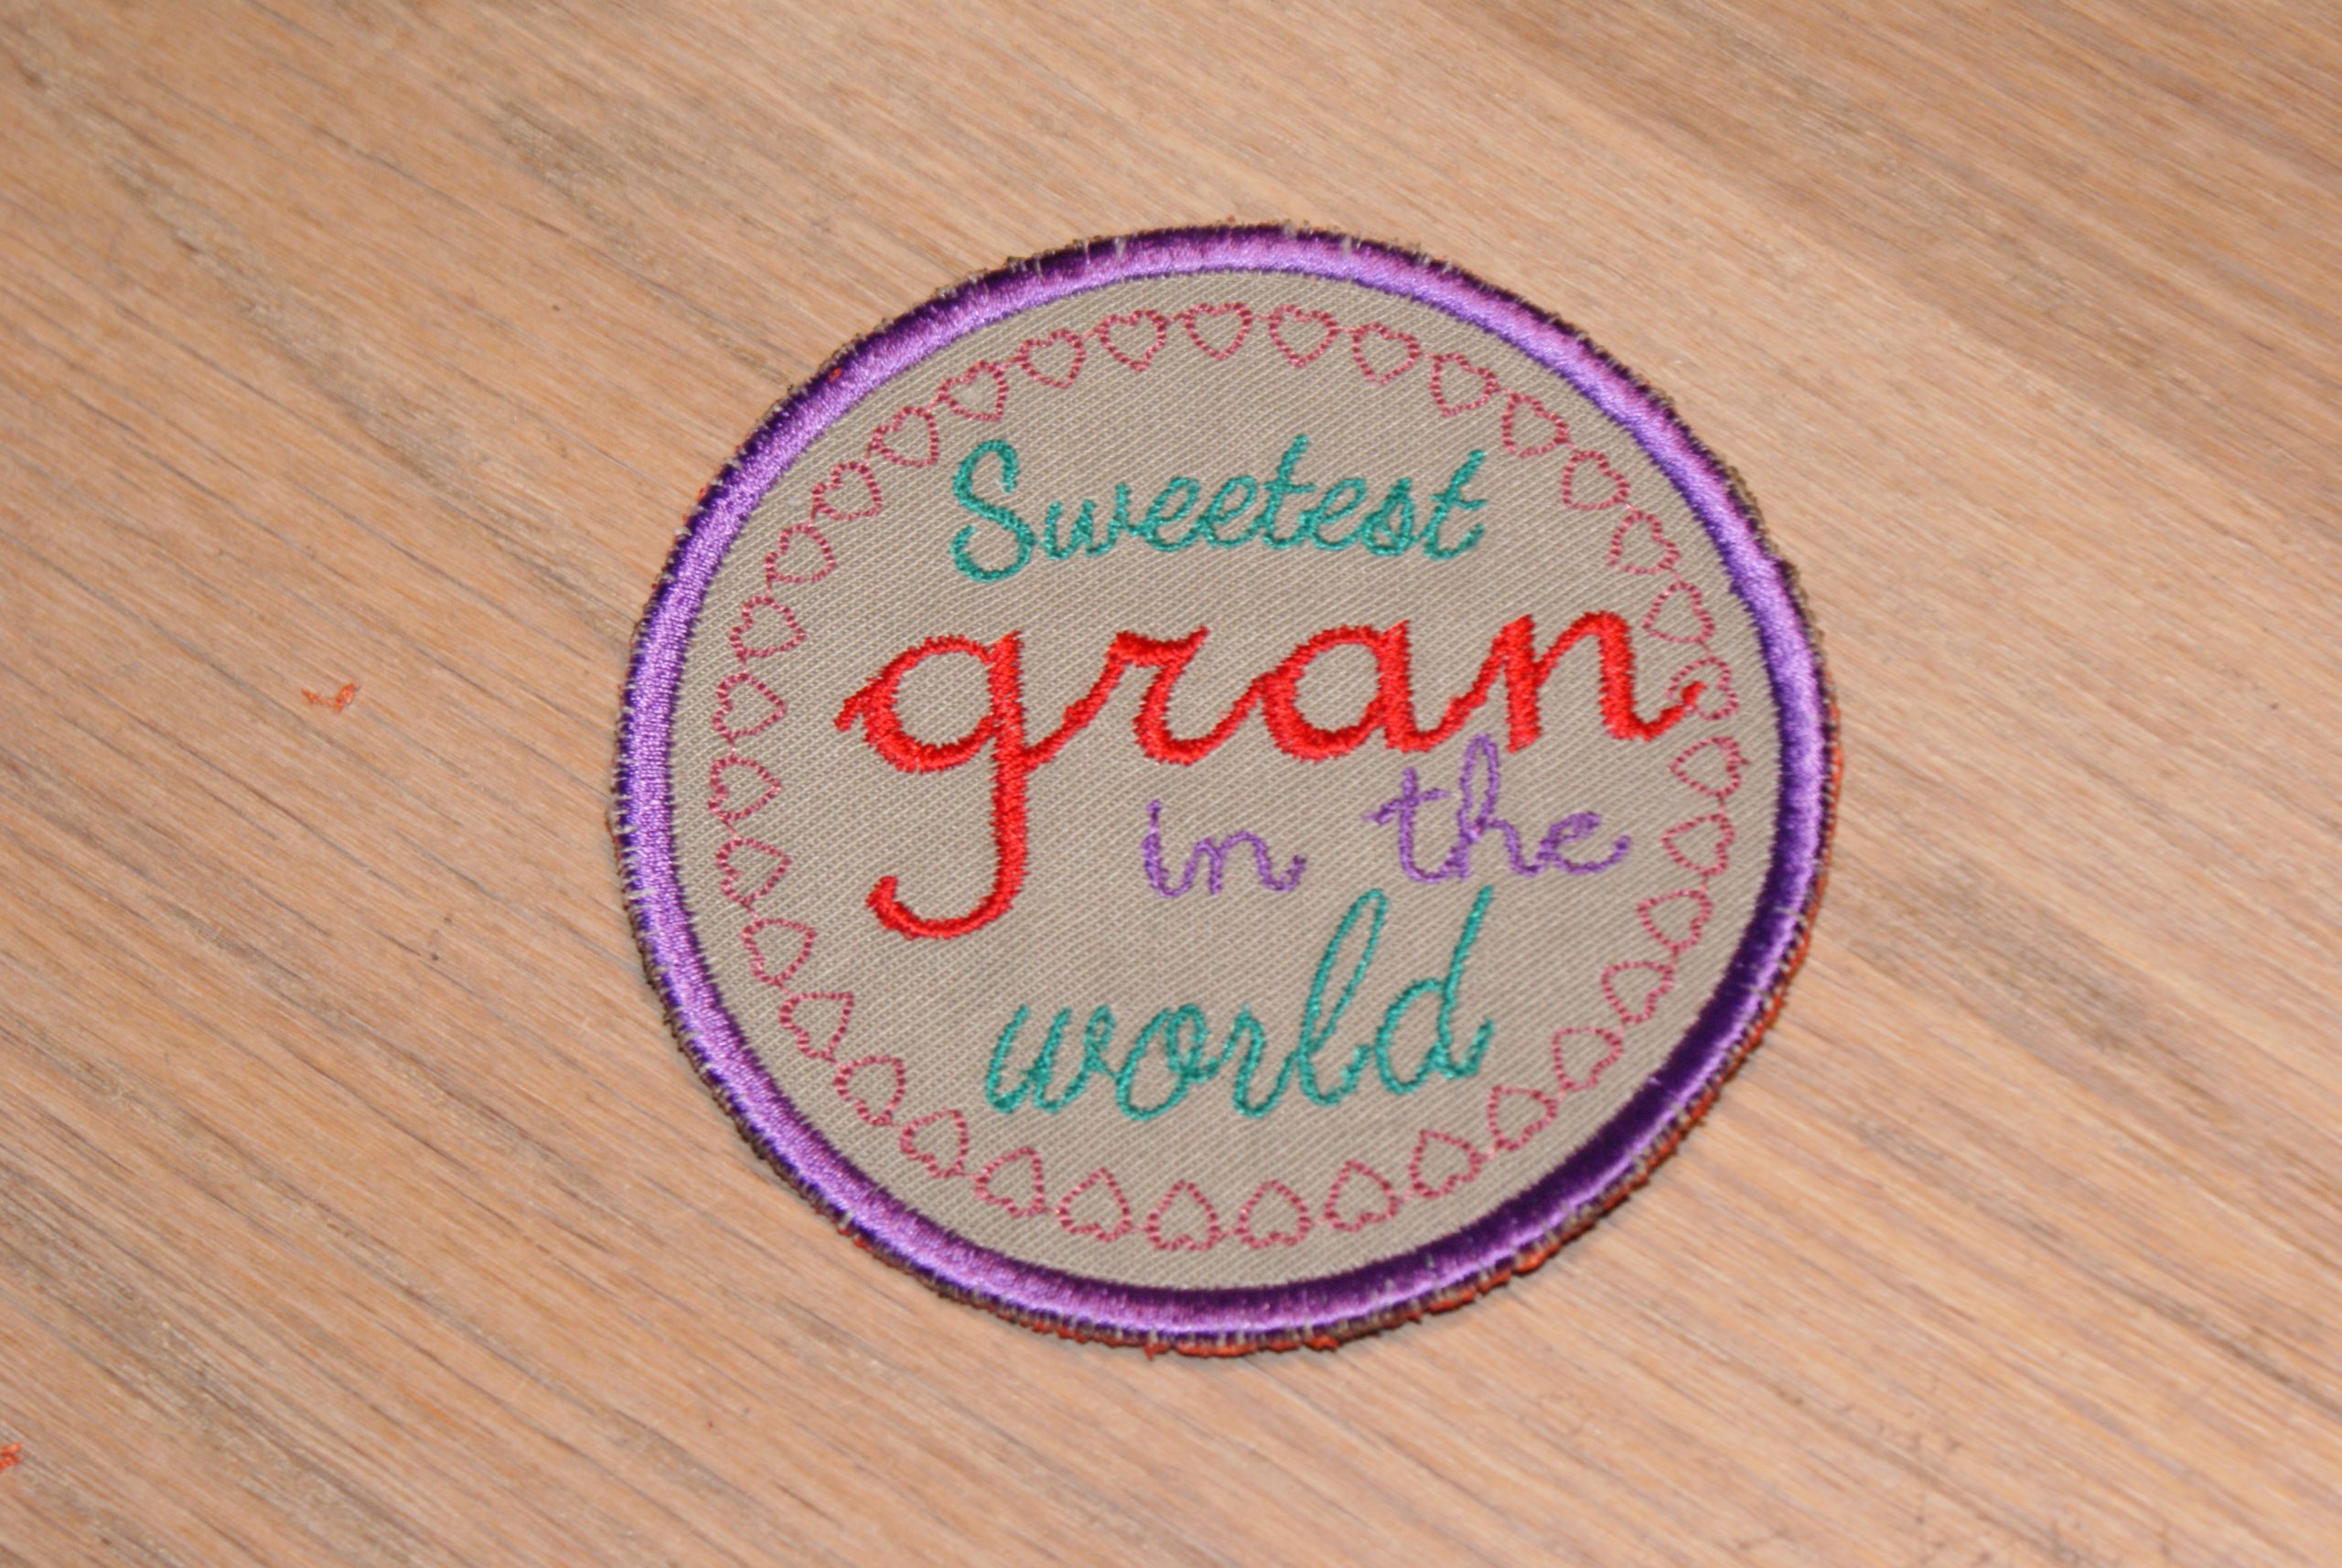
Finish the coaster for gran:
Cut away threads around the outline, or burn them with a candle flame.
If wanted, you can protect the coaster with Heat’n Bond Vinyl. It is a film you iron on the right side of the coaster.
Cut a circle a little bigger than the coaster. Remove the white backing paper. Put the sticky side on the right side of the coaster and iron with a protecting cloth.
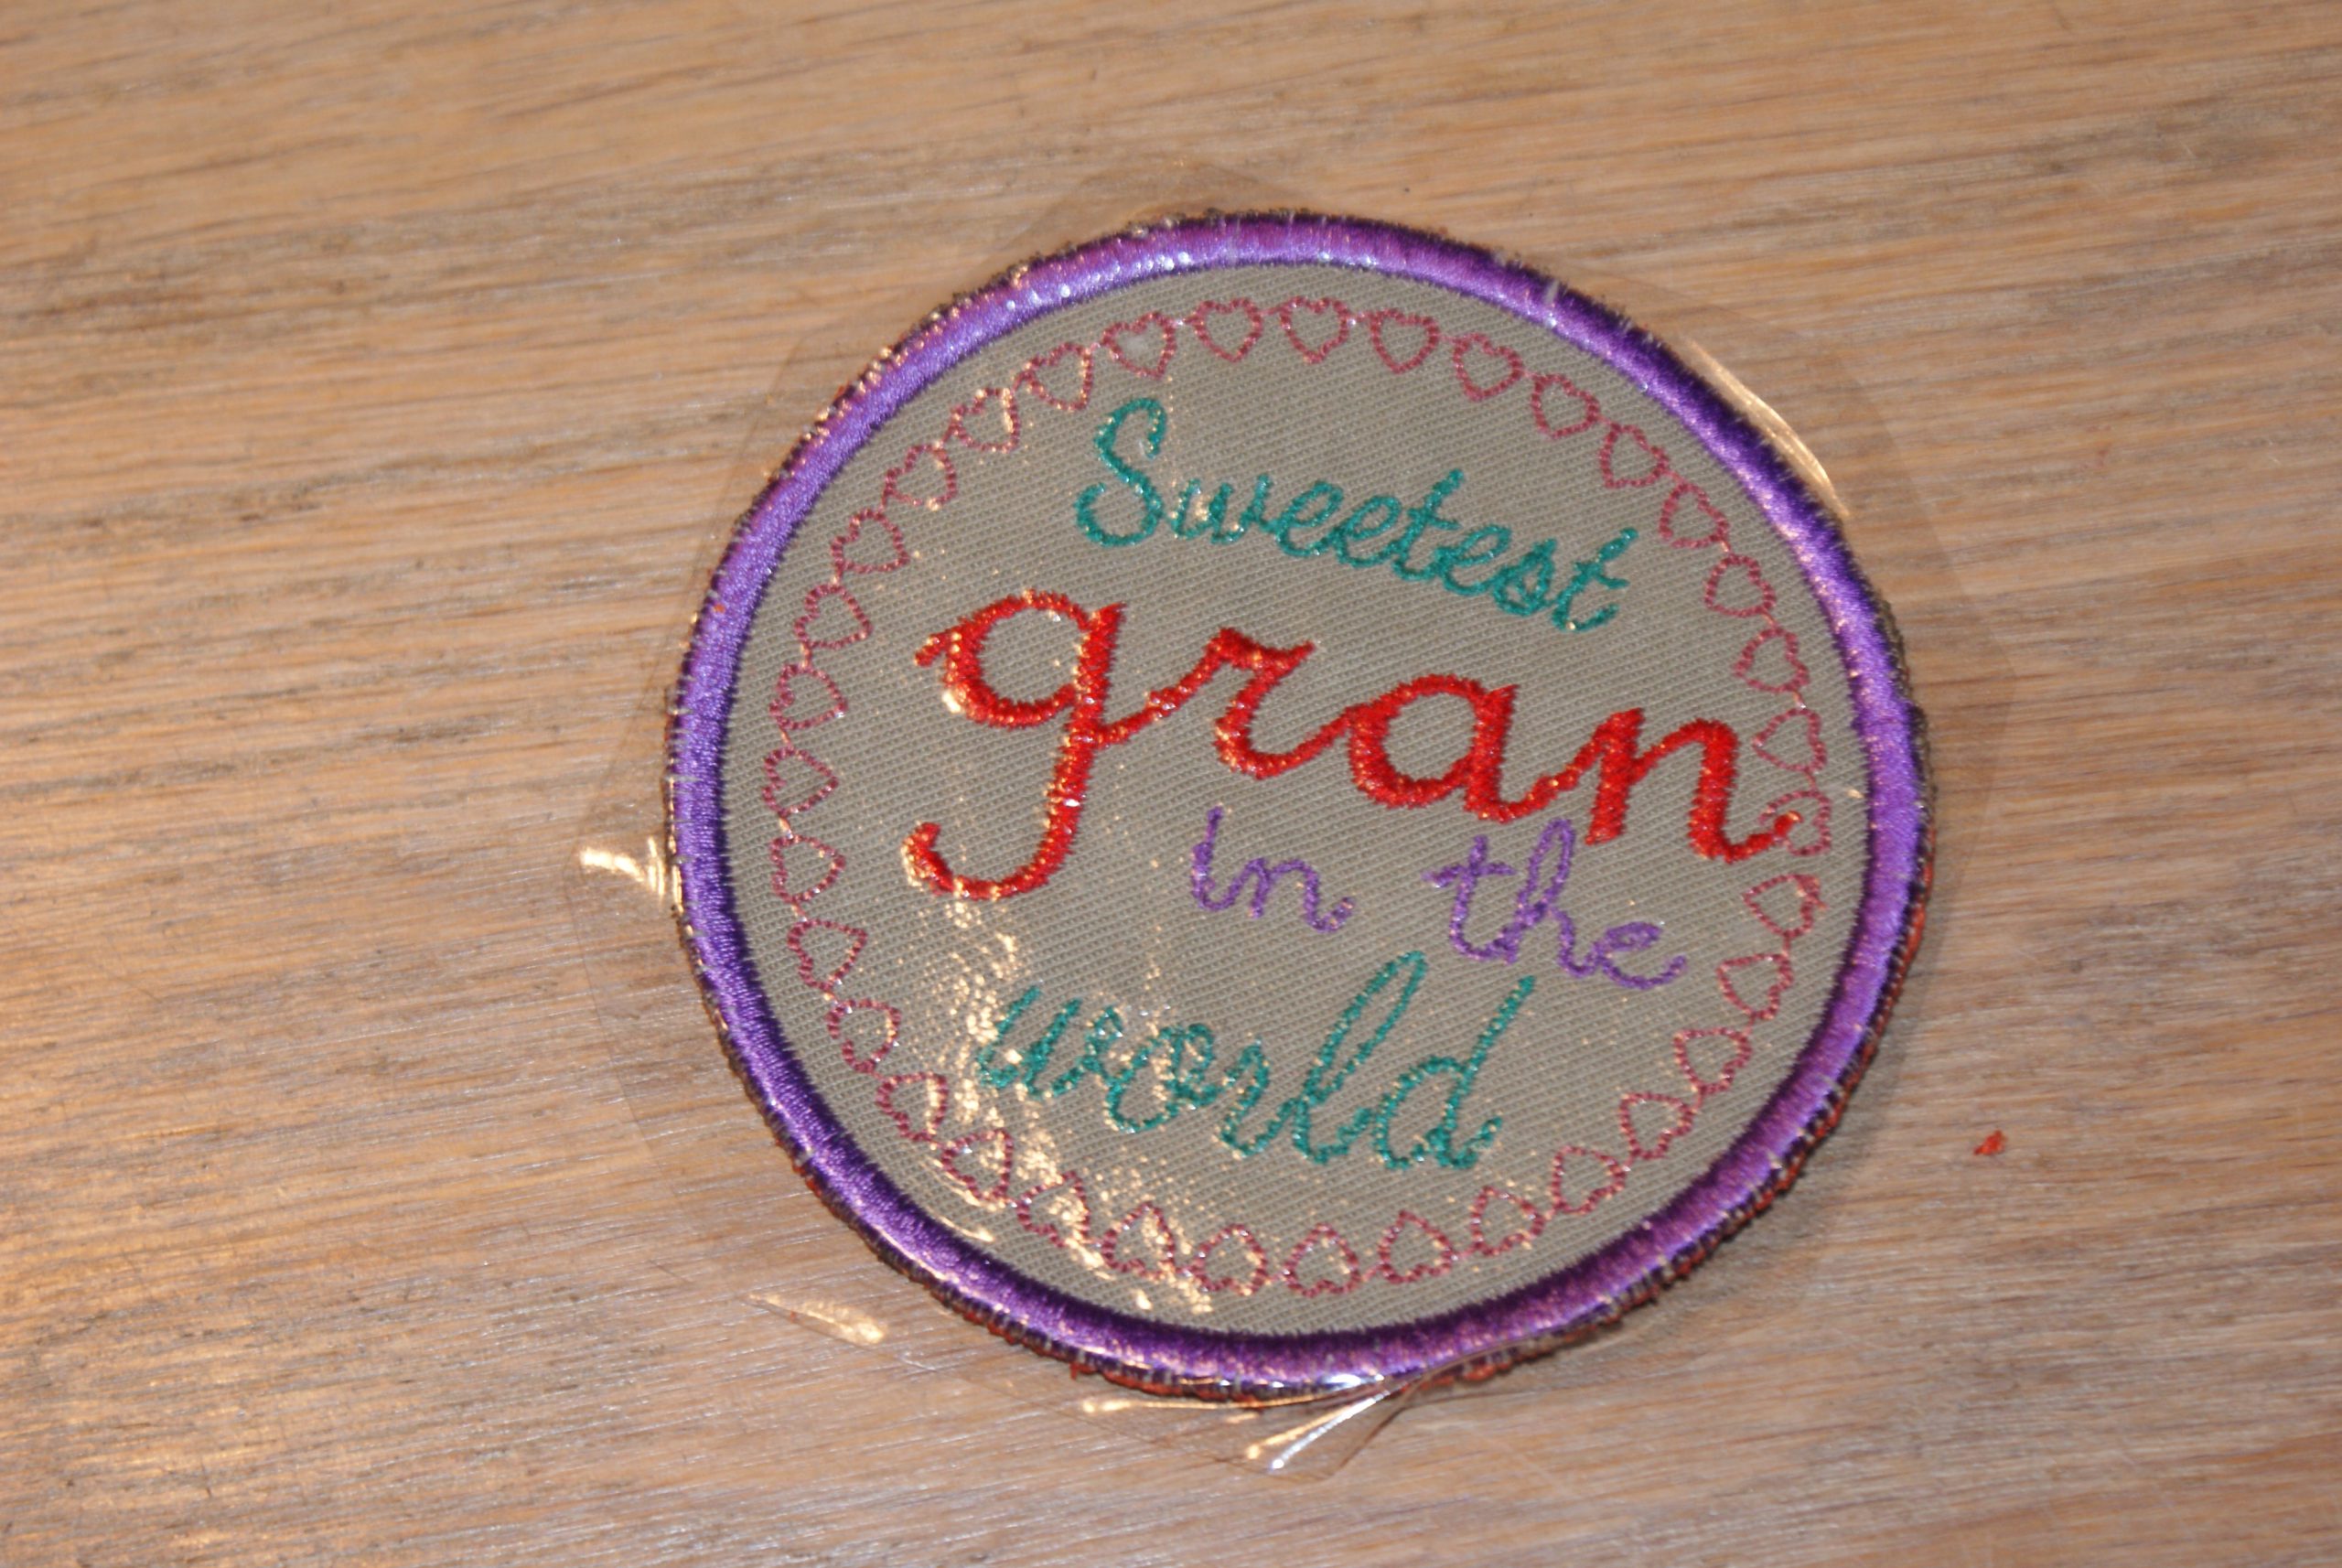
Cut away the excess and iron again, the coaster is ready:
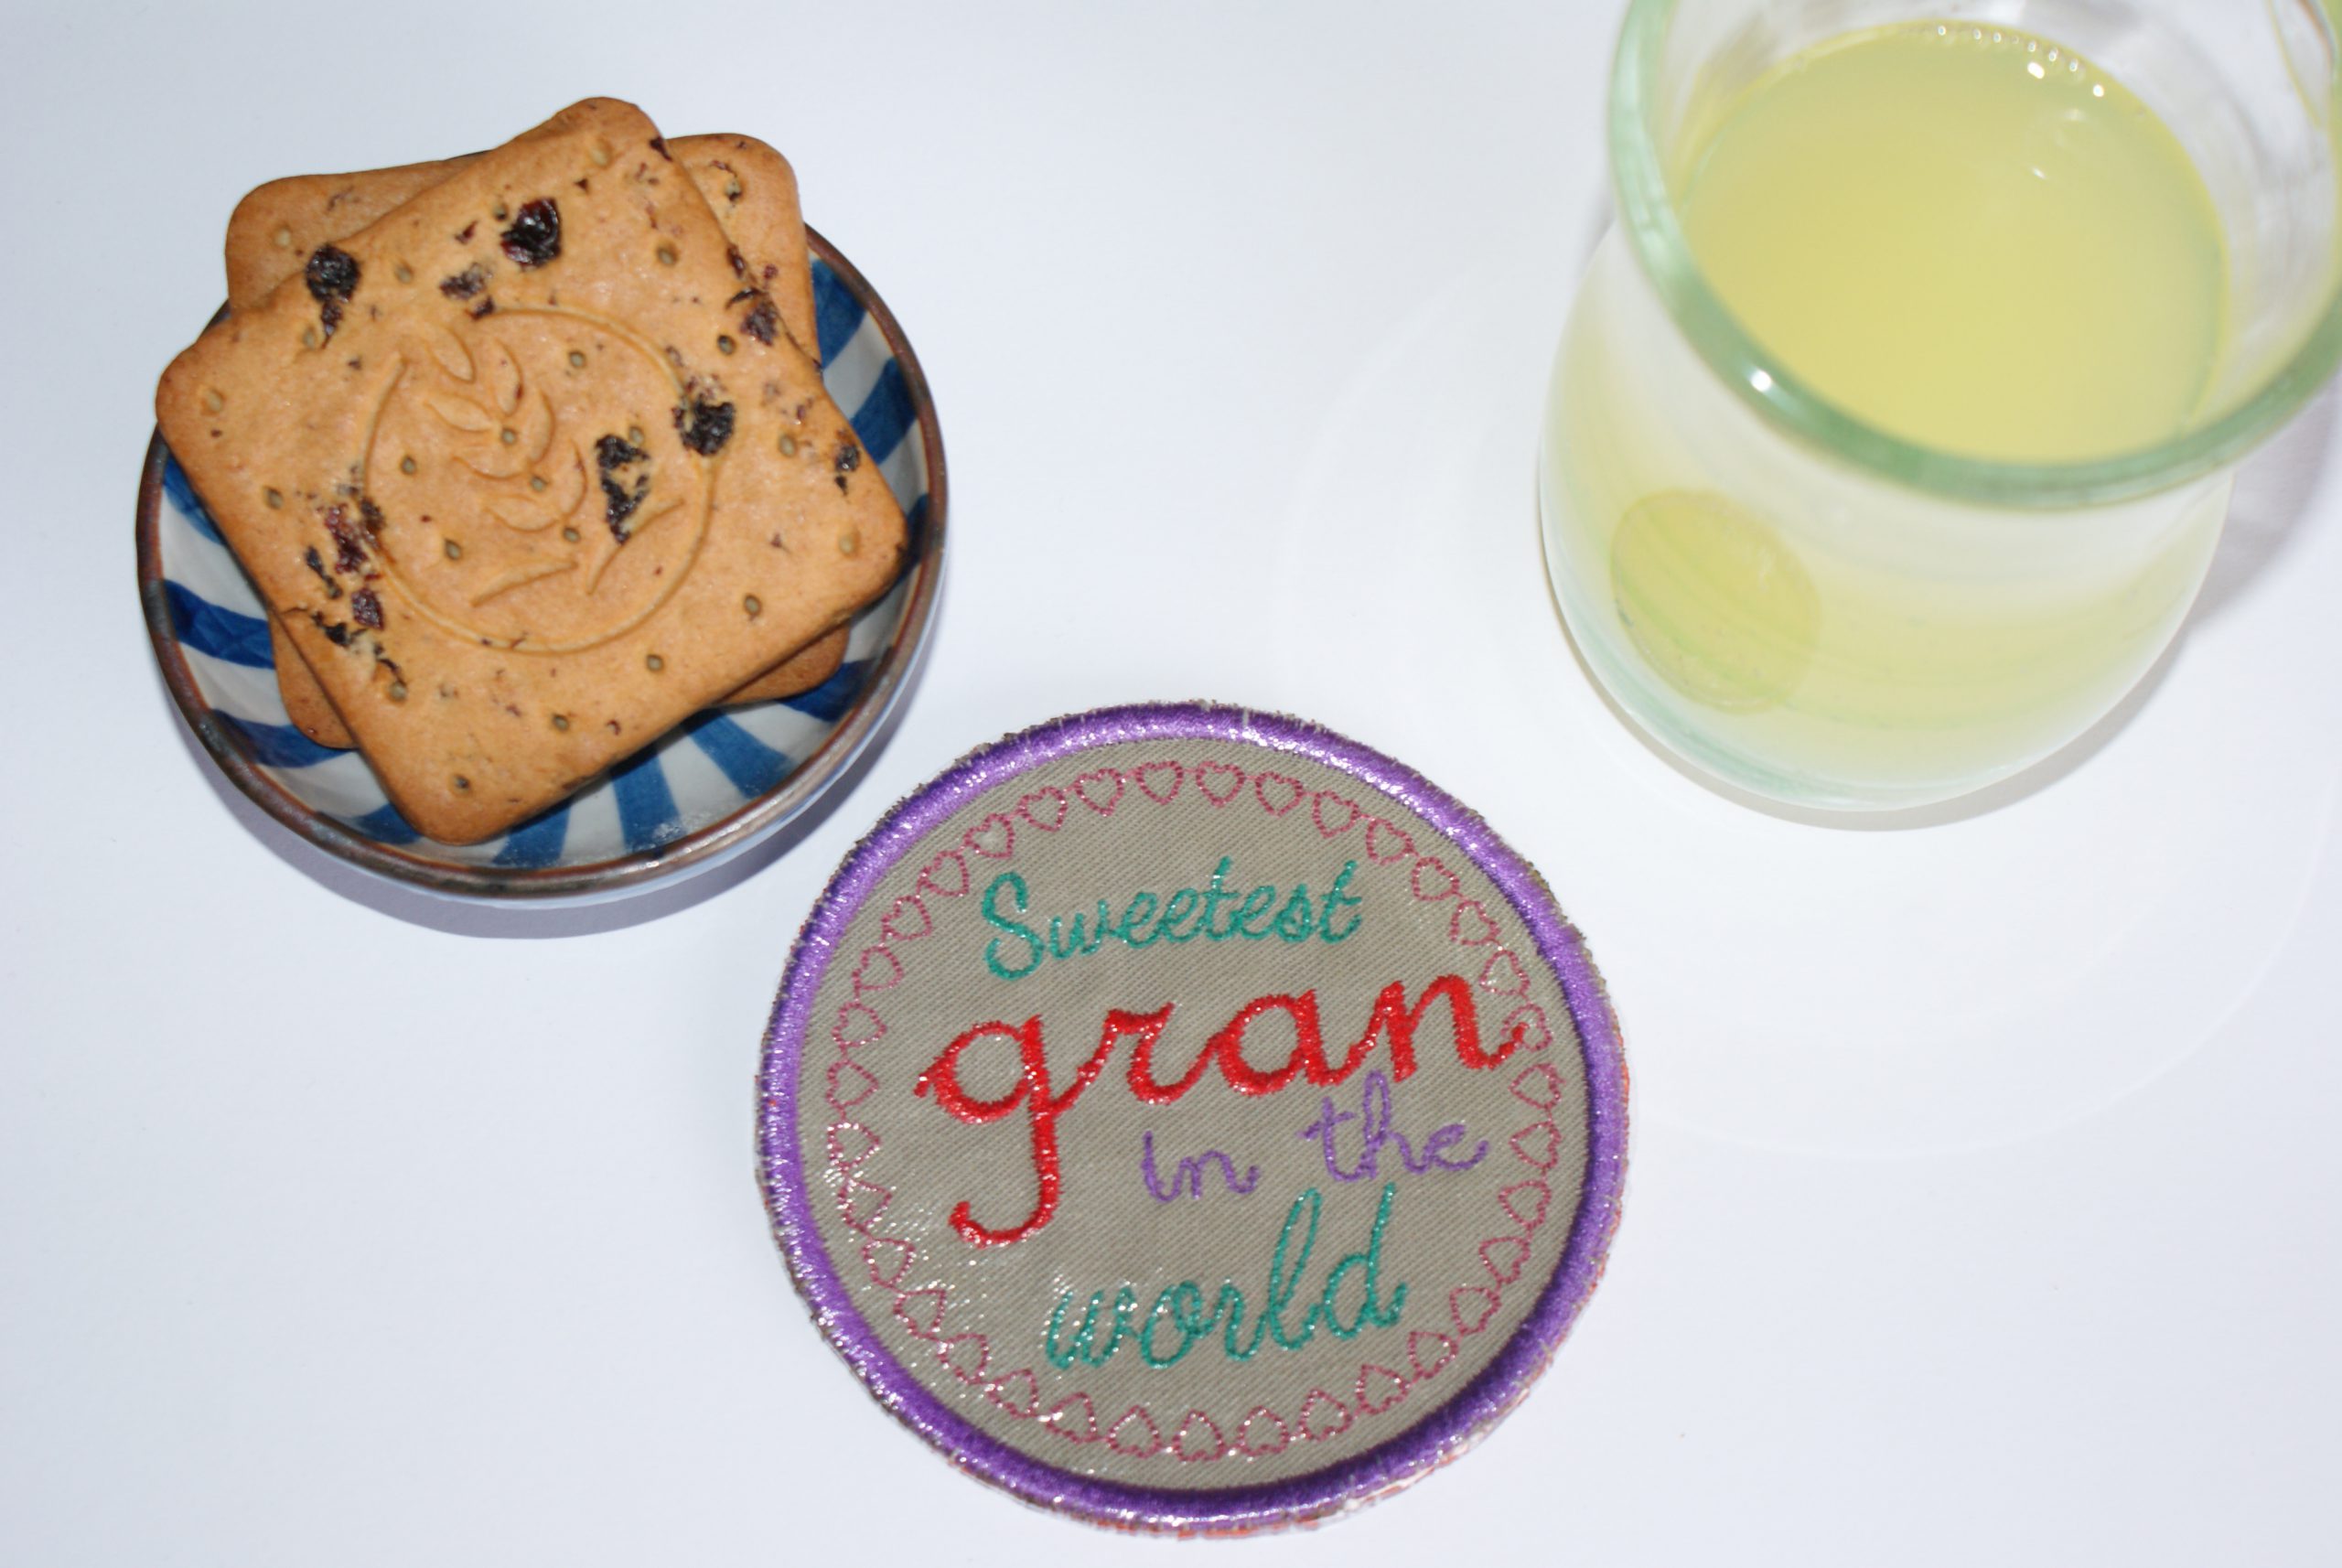
This is neat and functional, isn’t it?
Be sure gran will love this!
Did you have other embroidery projects in mind for granny? I’m curious 🙂 .

0 Responses