 BERNINA Corporate Blog -
Free Motion quilting is something new to me. I always thought it was a very difficult thing to do so I never really tried it.
Last month I bought the new Bernette 05 Academy and I was delighted to see that it came with so many accessories. These are some of my favorite accessories:
- Extension table
- Button sew on foot
- Invisible zipper foot
- Edge stitch foot
- Open embroidery foot
- Darning embroidery foot
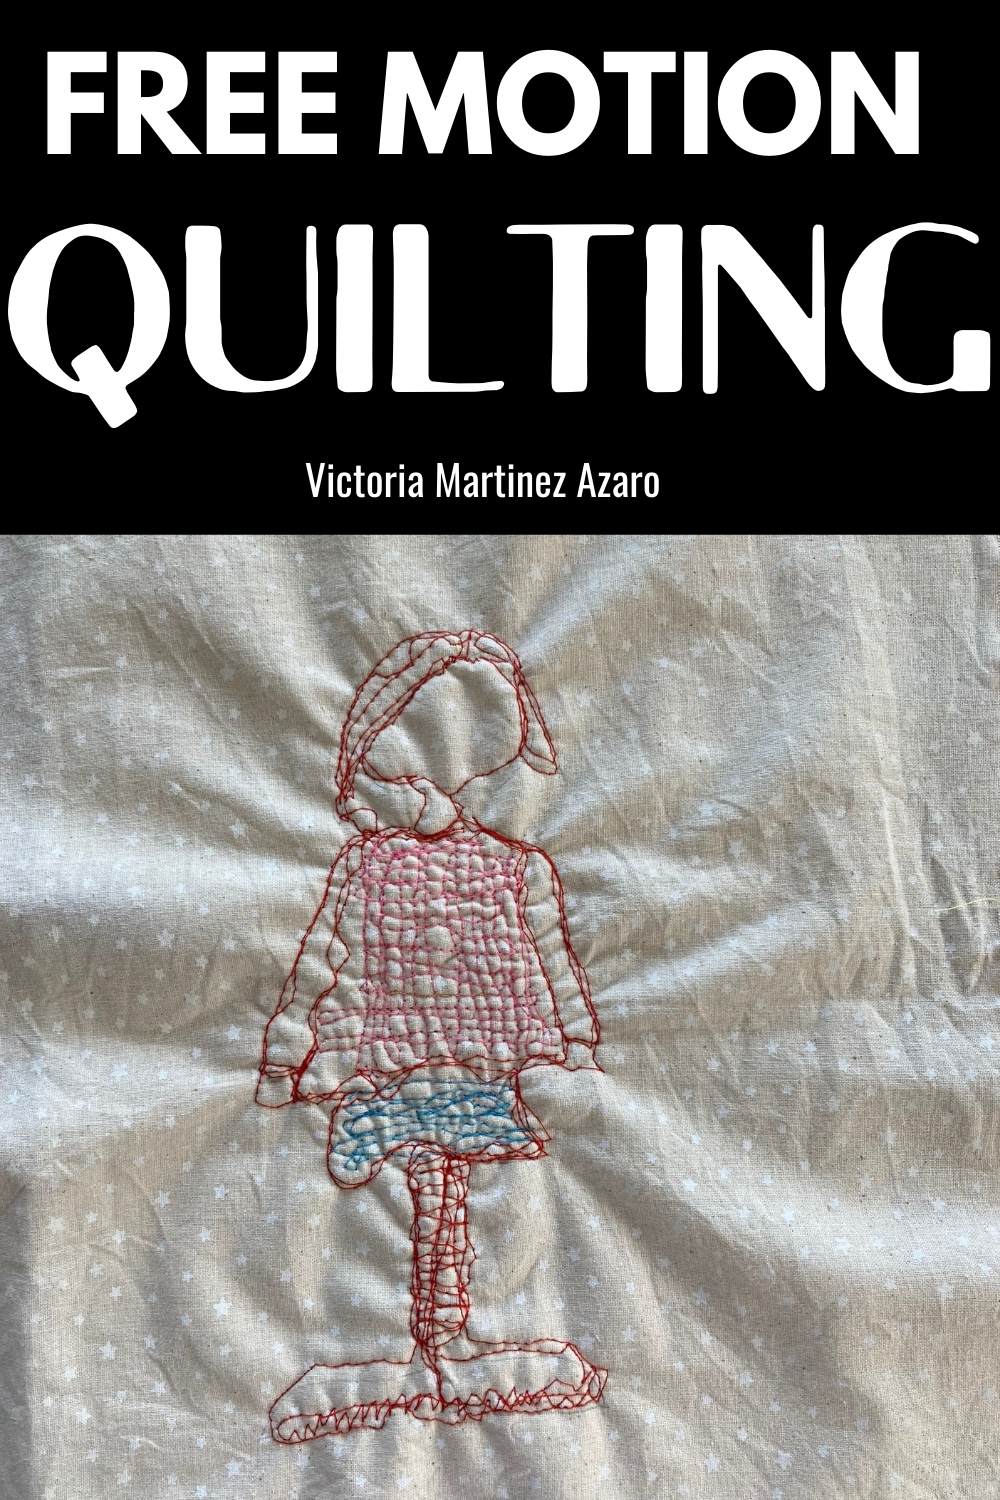
So I decided to give free motion quilting a go by using the darning embroidery foot. I love drawing and I decided to draw and quilt at the same time by using the free motion quilting method.
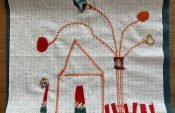
In this post I will show you how I created a little mini quilt (I still have to decide if it’s going to be part of a bigger project or if it will be a pillow cover or a mini tote bag).
Free motion quilting Tutorial
Materials used:
- Batting (100 % cotton)
- A piece of fabric (100% cotton is best)
- Bernette 05 Academy sewing machine
- Darning embroidery foot
- Different color threads
- Transfer pen
- Drawing
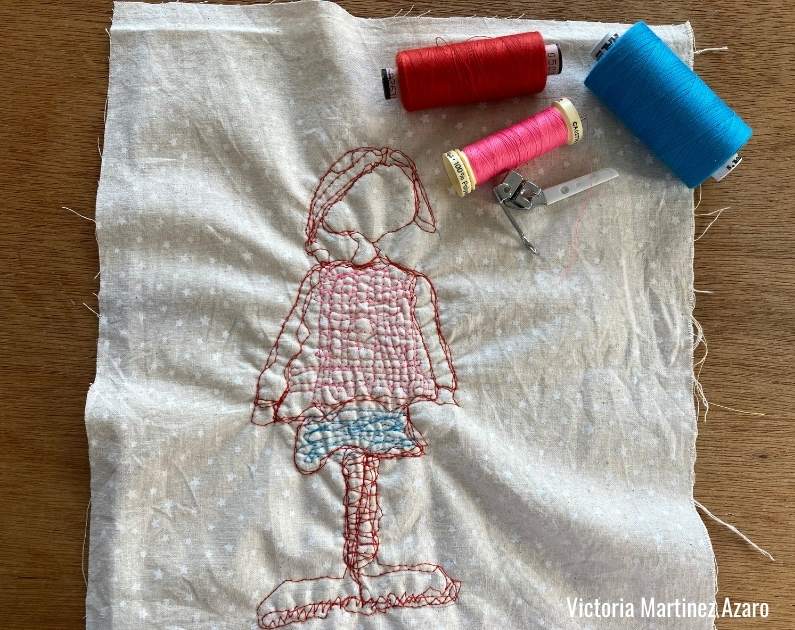
Step 1:
Gather all the required materials. For this project I have used 3 different colors of thread and the darning foot that comes with the machine.
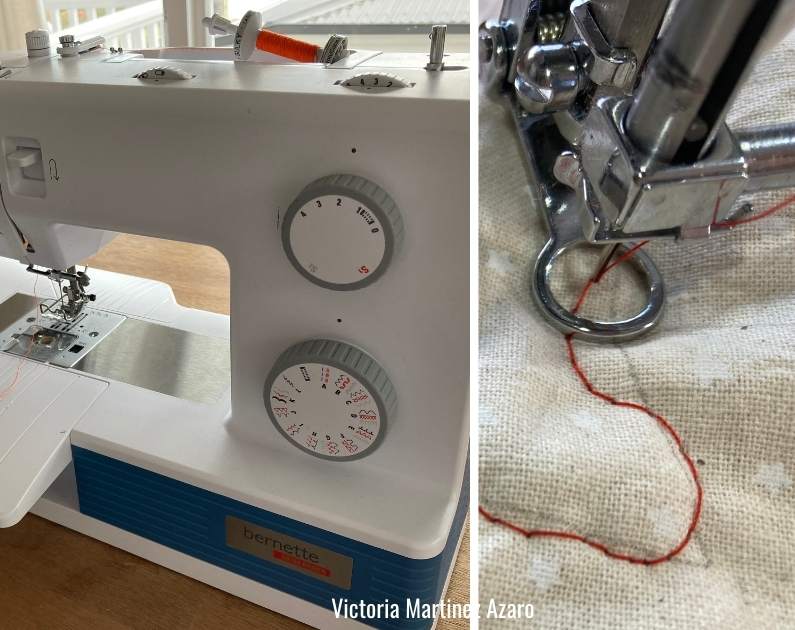
Insert the darning embroidery foot to the machine.
Cut a piece of fabric the same size as the batting.
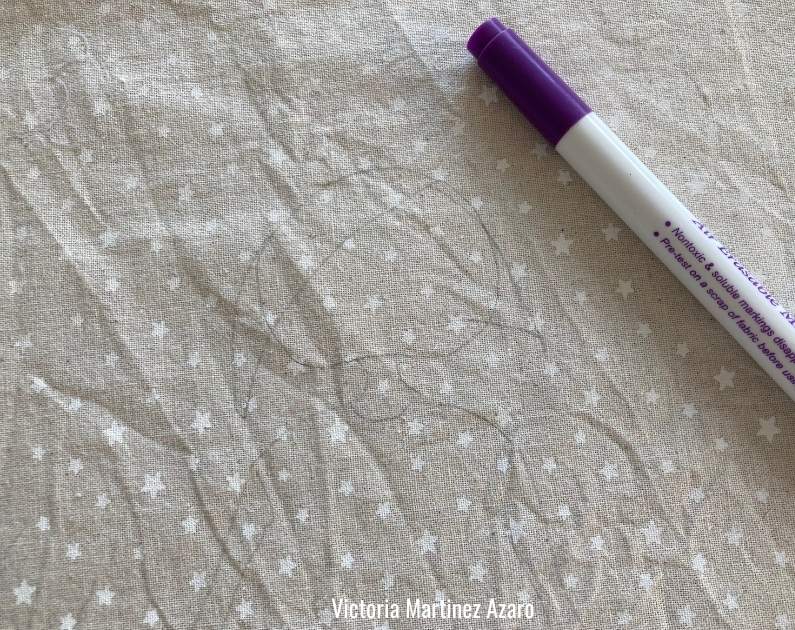
Step 2:
Transfer your drawing onto the cotton fabric using the transfer pen.
Step 3:
Place the cotton fabric with the traced drawing on top of the batting.
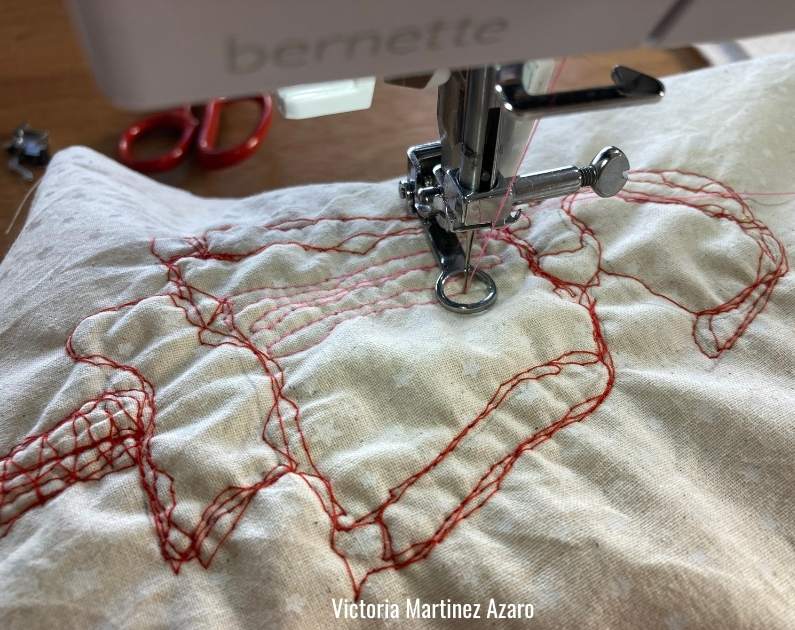
Go to the sewing machine and start sewing. I used a bigger size stitch because it allowed me to move freely around.
The main thing to note when free motion quilting is that the fabric is loose so it will take a little bit of practice to get used to that.
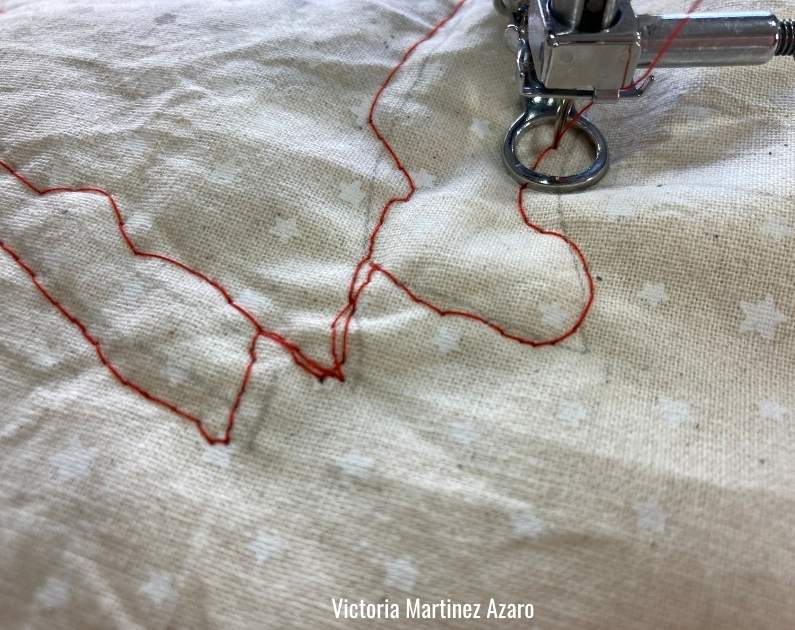
Move the fabric at the same time as you sew. Make sure to follow the lines of your drawing so that you are sewing and drawing at the same time 🙂
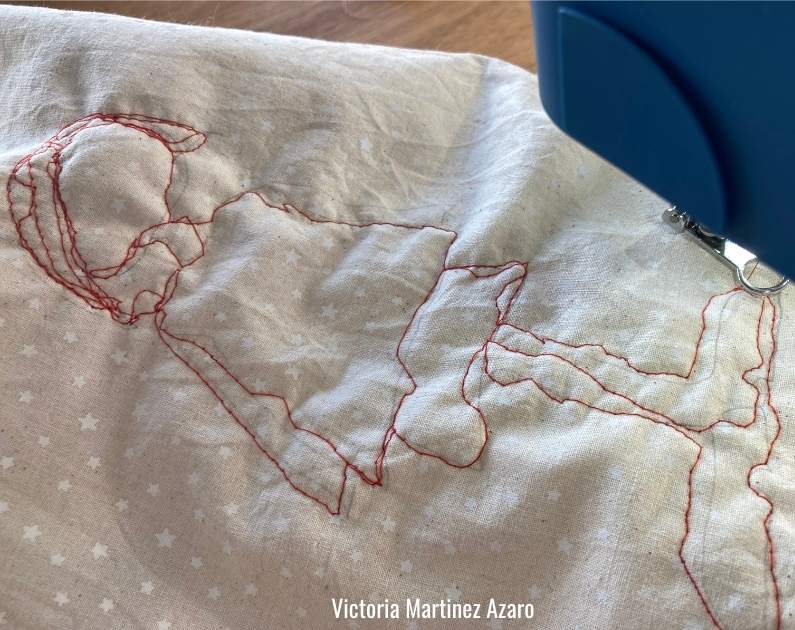
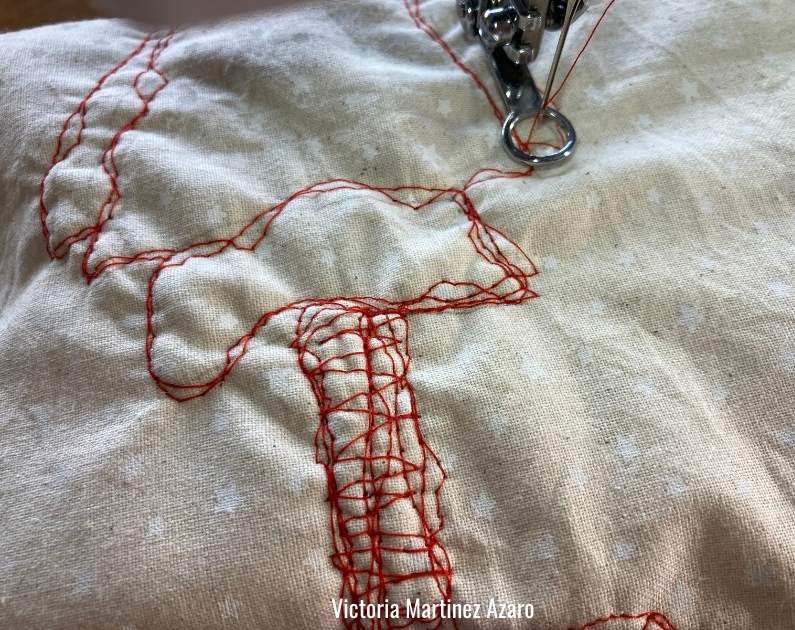
You can go up and down your drawing and you can go inside the outilne edges as well.
I created the full outline in the red color before changing to another thread color.
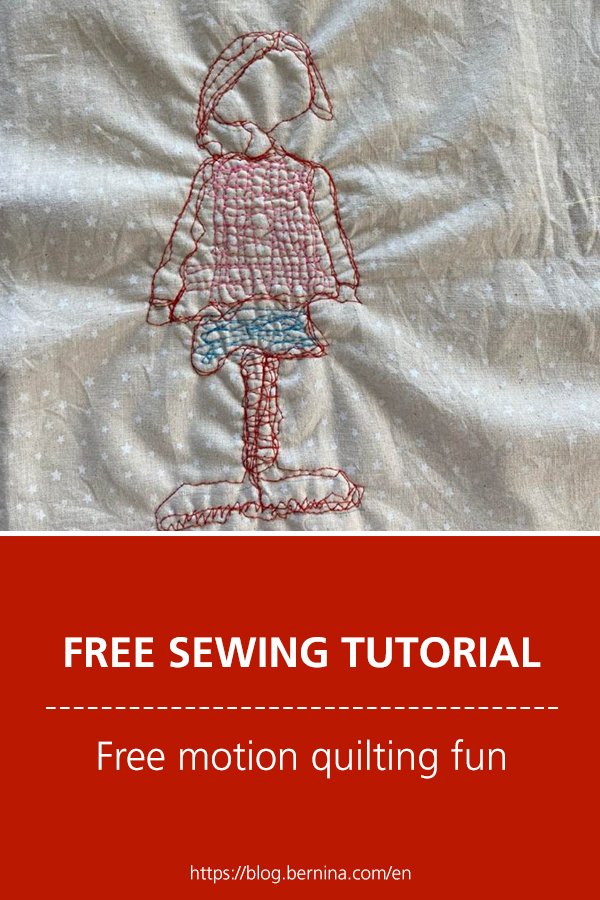
When you change the colors of thread make sure that you use it to add more detail. You can get really creative here and have 10 different color threads.
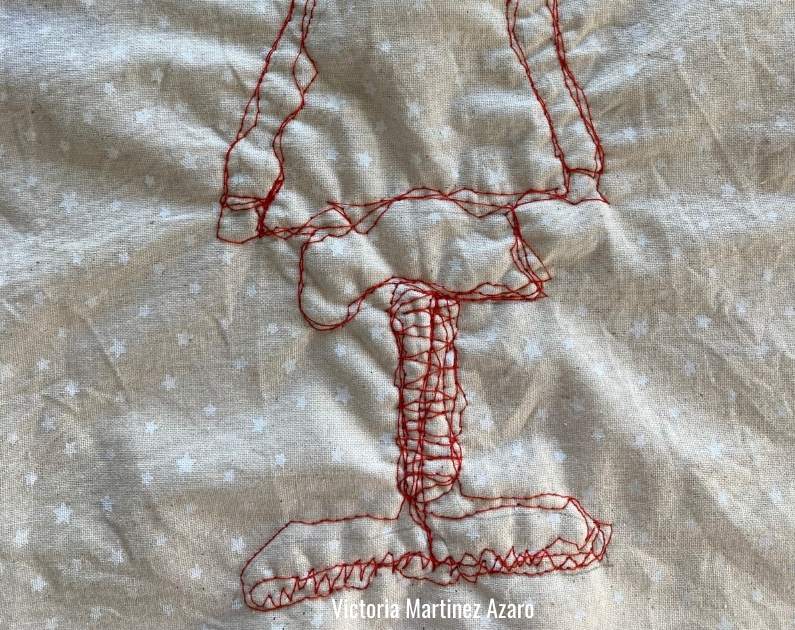
This is how my little drawing turned out and I am super pleased with it.
It actually seems to be the starting point for another project. I will probably turn this into an embroidery patch to use as a brooch. If you are keen to know how to make embroidery patches and pins check out this tutorial.

I hope this little tutorial has inspired you to create your own free motion quilting little project.

Thankyou, I have tried this and it turned out not to bad.
Awesome Karen! I am glad to hear that!