 BERNINA Corporate Blog -
Hello Bernina lovers!
Do you like adding those special details to your handmade garments or accessories? I am a huge fan of bias and piping and I have all sorts of them, in different colors, fabrics, etc. But sometimes either I want to have a piping made out of the same fabric I am using for my project or I want to use some fabric scraps instead of throwing them out.
I also specially love using silver or golden piping and I must admit that the ones that I am able to find in the stores and not of the best quality.
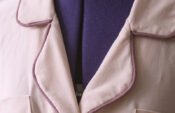
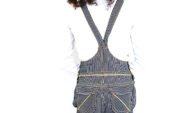
I love piping for the decoration effect it gives to any sewing project; in between two seams to differentiate the pieces of a garment. But also, the strength it gives to accessories like a pouch or a vanity case, putting piping around the edges makes it more sturdy (as well as super cute 😉 )
A few months ago I heard that you could make your own piping bias binding on your own… at first I thought “no way!” but the more I use it (and run out of it) the more I started thinking about it. I kind of dissected one of the pipings I had and I saw that it was in fact bias and a rope inside.
So I guess I had my own little sewing project. I went searching for the materials that I would need and tried to make mine.
So I tried making my own piping bias binding I am pretty happy with it, although the silver fabric I bought for it (first one I found) is not good either, but at least I could see how it looks like.
If you also want to make your own piping bias binding, follow the next steps:
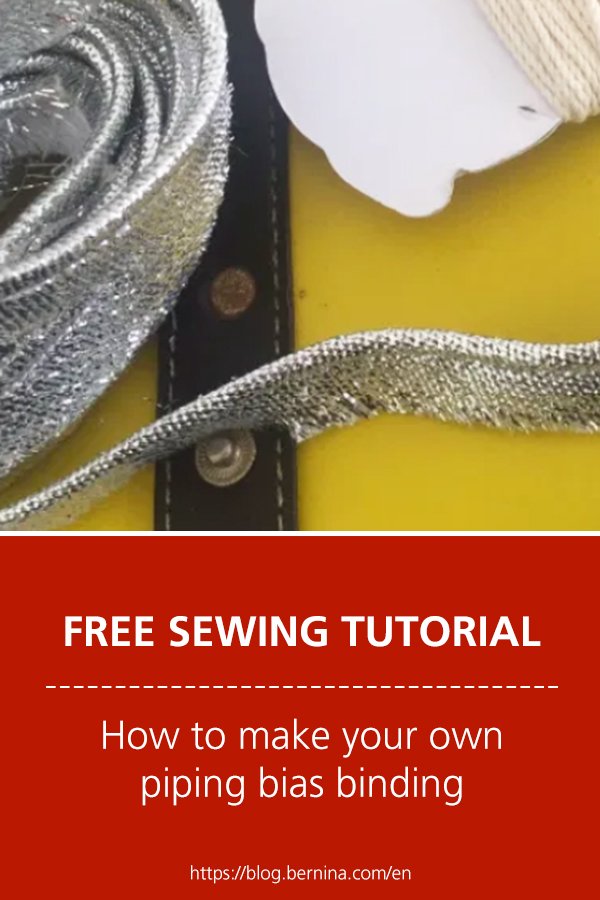
Materials:
– bias tape (that you can either buy or make yourself; if you don’t know how to make your own bias tape). A 3,5 cm bias tape is perfect for this project
– rope (the one used for cooking is perfect)
– normal zip foot or invisible zip foot for more precision
– sewing machine and thread of course
Making your own piping bias binding is a pretty straightforward thing.
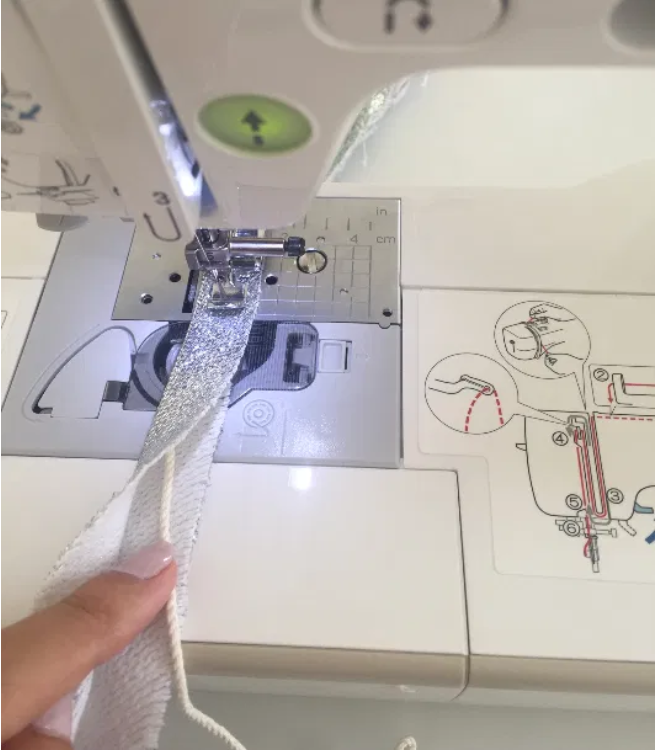
You just have to put your invisible zip footer on your sewing machine, put your rope inside the bias tape wrong sides facing, pin if needed, and sew straight from top to bottom with your needle right next to the bulk left by your rope (or if using the invisible zip foot place the bias and rope underneath one of the two little “channels”)
Now, you know how to make your own piping bias binding. It only takes a couple of minutes if you use a bias tape from the market, and a few more if you make your own bias tape!
What do you think of making your own piping?

Save


0 Responses