Andrea from Quiltmanufaktur and author for the German BERNINA blog is your guide for this fantastic quilt-along over the next 12 months. Together, you will sew classic patchwork blocks and combine them into a sampler. The completed quilt will be traditional, yet modern! The next part has been written and we are delighted that you join this quilt project.
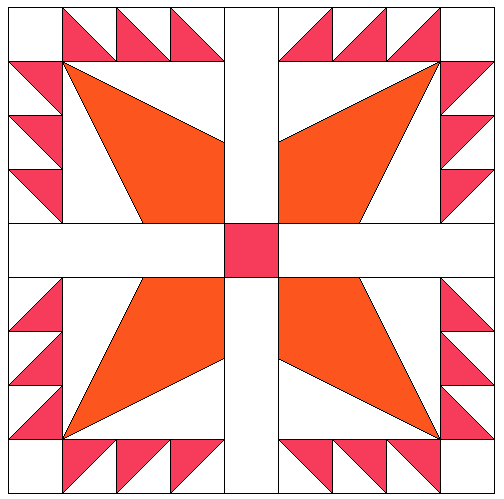
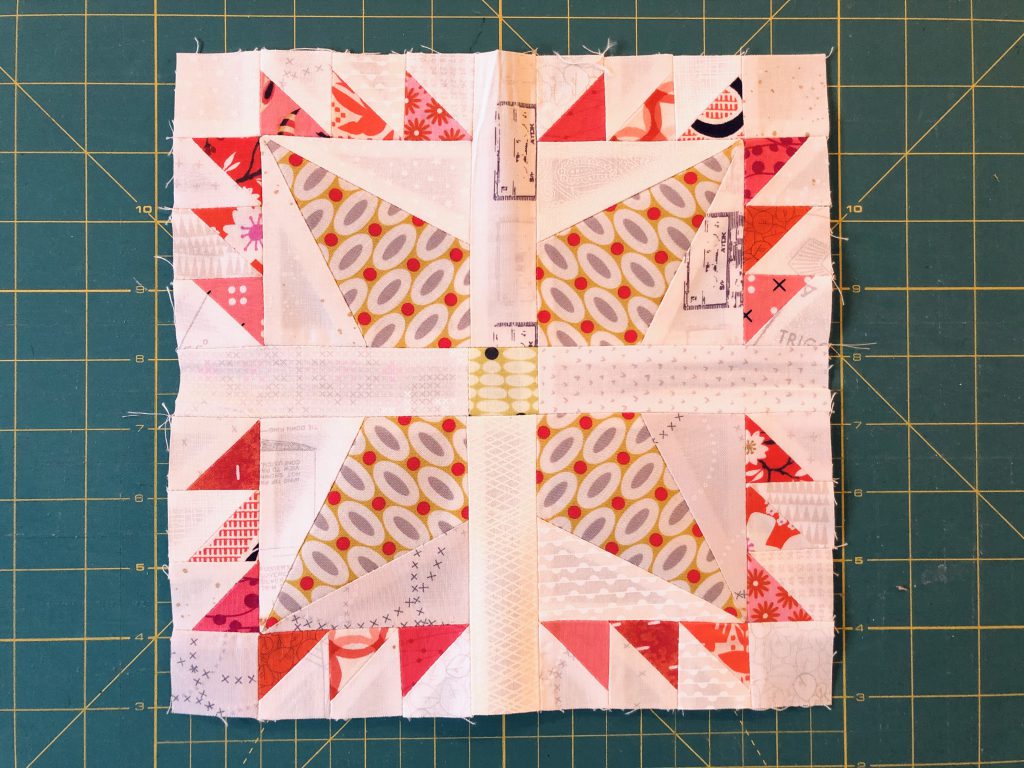
Today we are continuing with a new block for our joint project, the Old Block Quilt-Along! The new block I’m going to show you is called “Cross and Star”.
If you look at the block, you can see why it has been given that name, don’t you think?
This block appeared in the booklet “Practical Needlework”, published in Boston in 1906 by C.W. Calkins & Co. The author is named as Clara A. Stone, but she was probably writing under a pseudonym or this could even have been a name used by several designers. Whatever the truth of the matter, many more blocks were published under this name in “Hearth and Home” at the end of the 19th century, which then reappeared in the booklet mentioned. Clara Stone’s blocks have been copied or modified on many occasions.
We are sewing the “Cross and Star” patchwork block
When I chose this block for the sampler, in addition to the beautiful pattern, I was also thinking that it would give me the opportunity to show you the quick way of cutting out the HSTs (half-square triangles).
But first come the tried and tested coloring sheet, the pattern templates and the templates for the foundation paper piecing components.
The block measures 9.5″ including the seam allowance.
I strongly encourage you to please read the instructions carefully before you start printing and cutting out!
Download the patchwork templates
For cutting out, I have created three PDF documents to download:
- The first is a coloring sheet. This allows you to try out colors and designs for this block first to see what they look like.
- The second PDF contains the cutting templates.
- And on the third PDF you will find the templates for the foundation paper piecing.
On each of the two PDFs with the templates, I have put a control square with a side length of 1 inch so that you can check whether your printout of the templates is the right size. If you set your print options to “Actual size”, this should happen automatically.
Here are the downloads:
“Cross and Star” coloring sheet
“Cross and Star” FPP templates
Cutting out the pattern pieces for each template
You will need to cut out the following number of pieces:
- Template A: 4 x background fabric / 1 x patterned fabric
- Template C: 4 x background fabric (1 1/2″ x 4 1/2″)
- Template B: ATTENTION! Instead of cutting out the pattern pieces individually (far too much effort), I will now show you how to speed up the process by making several HSTs at once! For this, you will need to cut out the following pieces: 3 x 5″ patterned fabric / 3 x 5″ background fabric
A total of 48 HSTs will be sewn for this block, and I imagine you will welcome anything that makes this process a little easier. However, the technique shown assumes that in each case eight of your HSTs will be made from the same fabrics.
Quick cutting technique for making eight half-square triangles
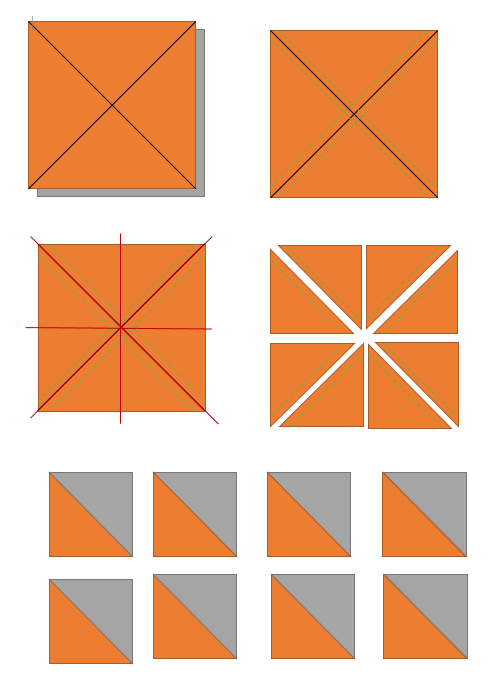
To make eight HSTs at once, you need one square of patterned fabric and one of background fabric, each measuring 5″.
Place the two squares with the right sides together. On the top square, draw the two diagonal lines using a textile marker (black lines).
Next, sew a foot width (1/4″) to the left and right along the drawn lines (green lines).
Then cut up the square, first horizontally and then vertically (in each case parallel to the cut edges) (red lines).
The resulting squares are cut again diagonally along the drawn line (red lines).
Iron the seam allowances of the resulting HST and trim the squares to a size of 1 1/2″.
To make the number of HSTs required, the process now has to be repeated three more times!
Sewing the Cross and Star patchwork block
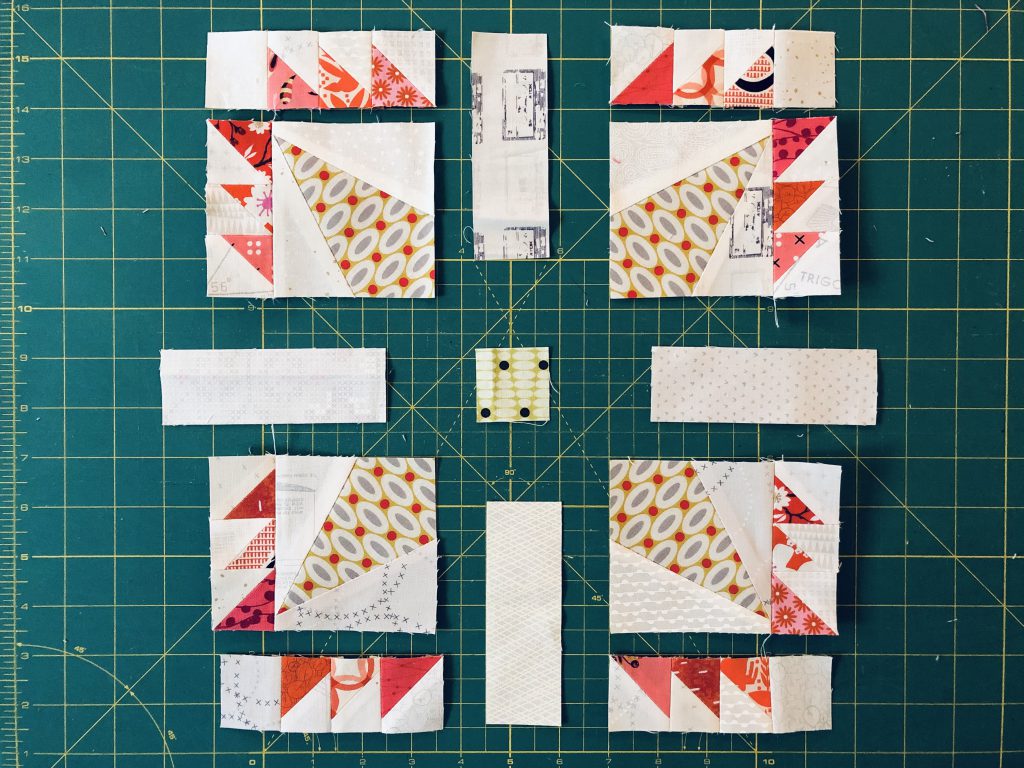
I have already shown you how to sew the four pieces with the triangles using the FPP technique when we sewed the “Quilter’s Delight” block, so I’m not going to explain this again now. We will start by laying out the completed triangle pieces and the sewn HSTs.
Once you have laid out the pieces, the first step is to sew the HSTs together. During piecing, we always sew the pieces together in rows, so attach a Square A to the HSTs in the top and bottom rows. The side HSTs are also joined together.
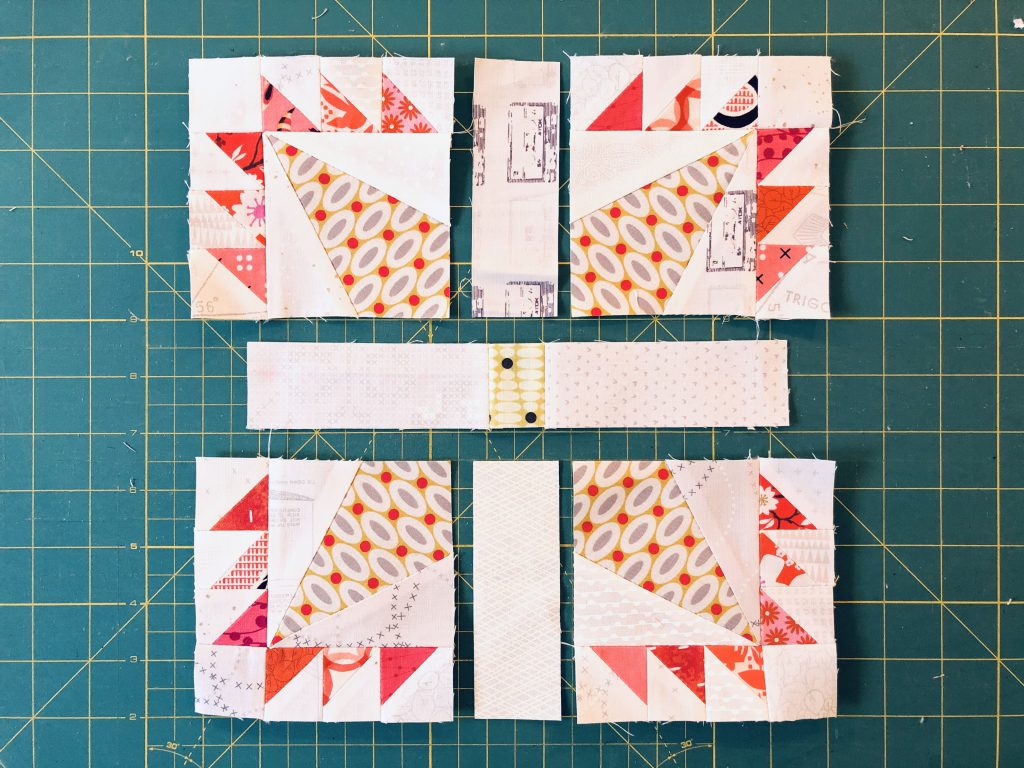
Now sew the side HSTs onto the triangle pieces in sequence.
Once this is done, sew the top and bottom rows with the HSTs to the triangle pieces. Then join the middle strips with the central square.
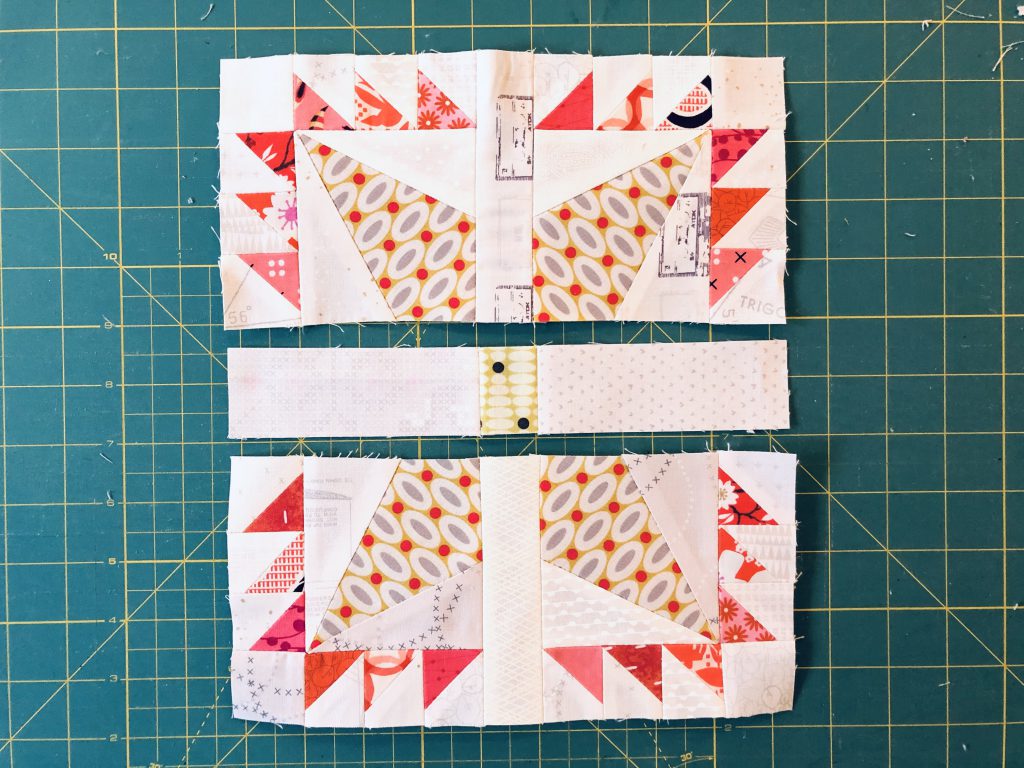
Now sew the outer squares to the middle strip.
The final step is to join the three rows together.
I hope you now have a lot of fun sewing your own “Cross and Star” blocks!
Make sure you post a picture of your block! It’s really fun to admire all your different pieces in the Community area of the Old Block Quilt-Along, on Facebook or Instagram under the hashtag #BERNINAOldBlockSampler. I’m truly speechless every time at the variations and interpretations you come up with!
And here’s a tip if you are not yet sure how to design your block: take a look at what has already been posted and use it for inspiration!
New here?
Have you only just discovered the quilt-along? No problem! You can join at any time. Registration is not required, and you can win a BERNINA 570 QE! All the posts will remain permanently available at the following link: Old Block Quilt-Along – overview of all the posts
In the first post, which was the invitation to participate in the quilt-along, you will find the initial information about our joint project:
Old Block Quilt-Along – who’s in?
You can find the rest of the blocks from the quilt-along that have already been published here:
Old Block Quilt-Along, Part 1: “Bride’s Bouquet”
Old Block Quilt-Along, Part 2: “Quilter’s Delight”
Old Block Quilt-Along, Part 3: “Bird’s Nest”
Have fun and see you soon,
Andrea
 BERNINA Corporate Blog -
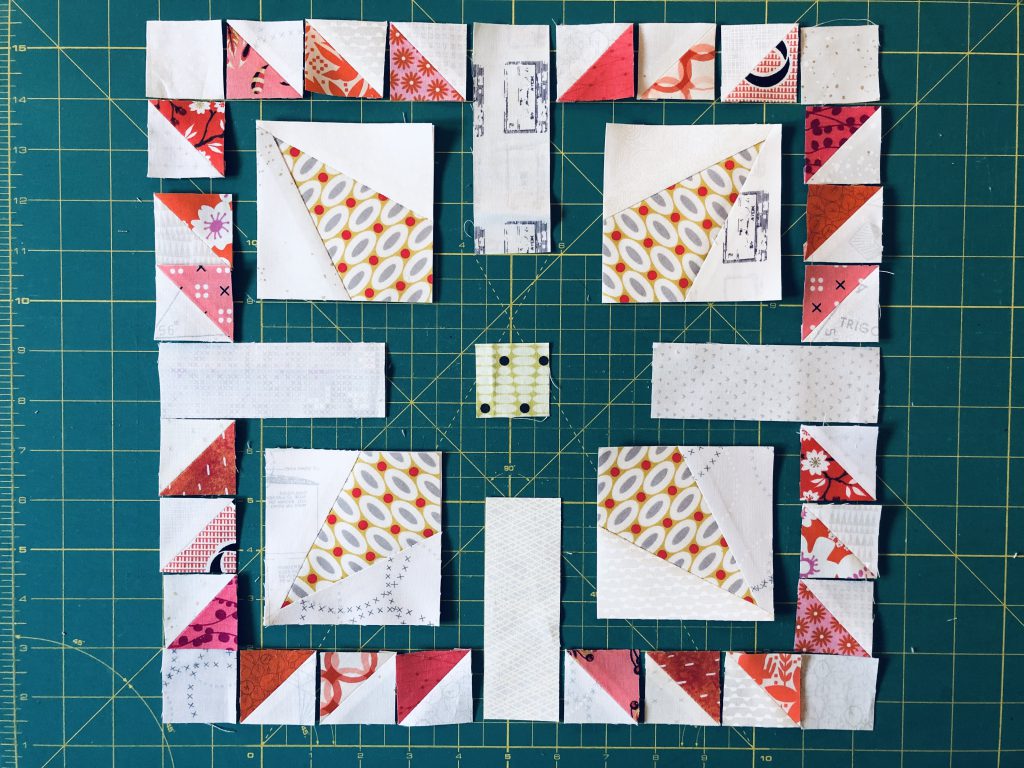
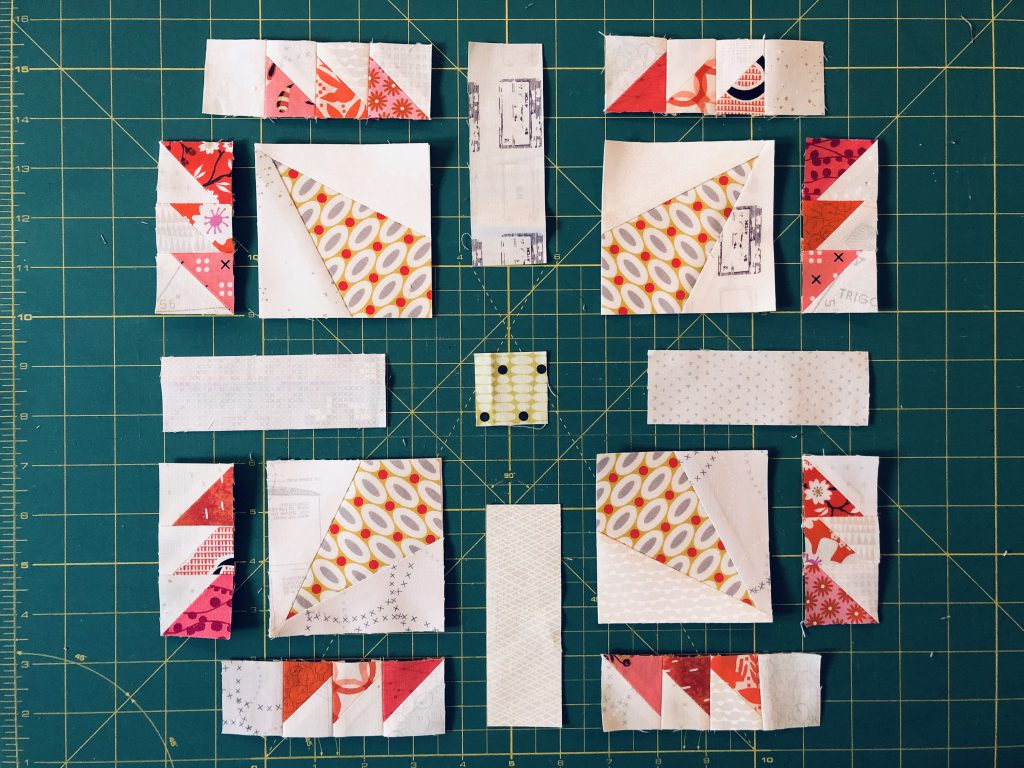
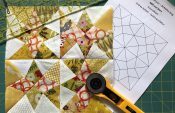
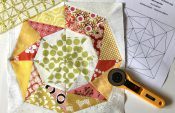
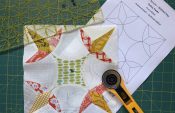
These 2 photos might show what I did – refer to my earlier post about the HST’s needing to be cut down to size.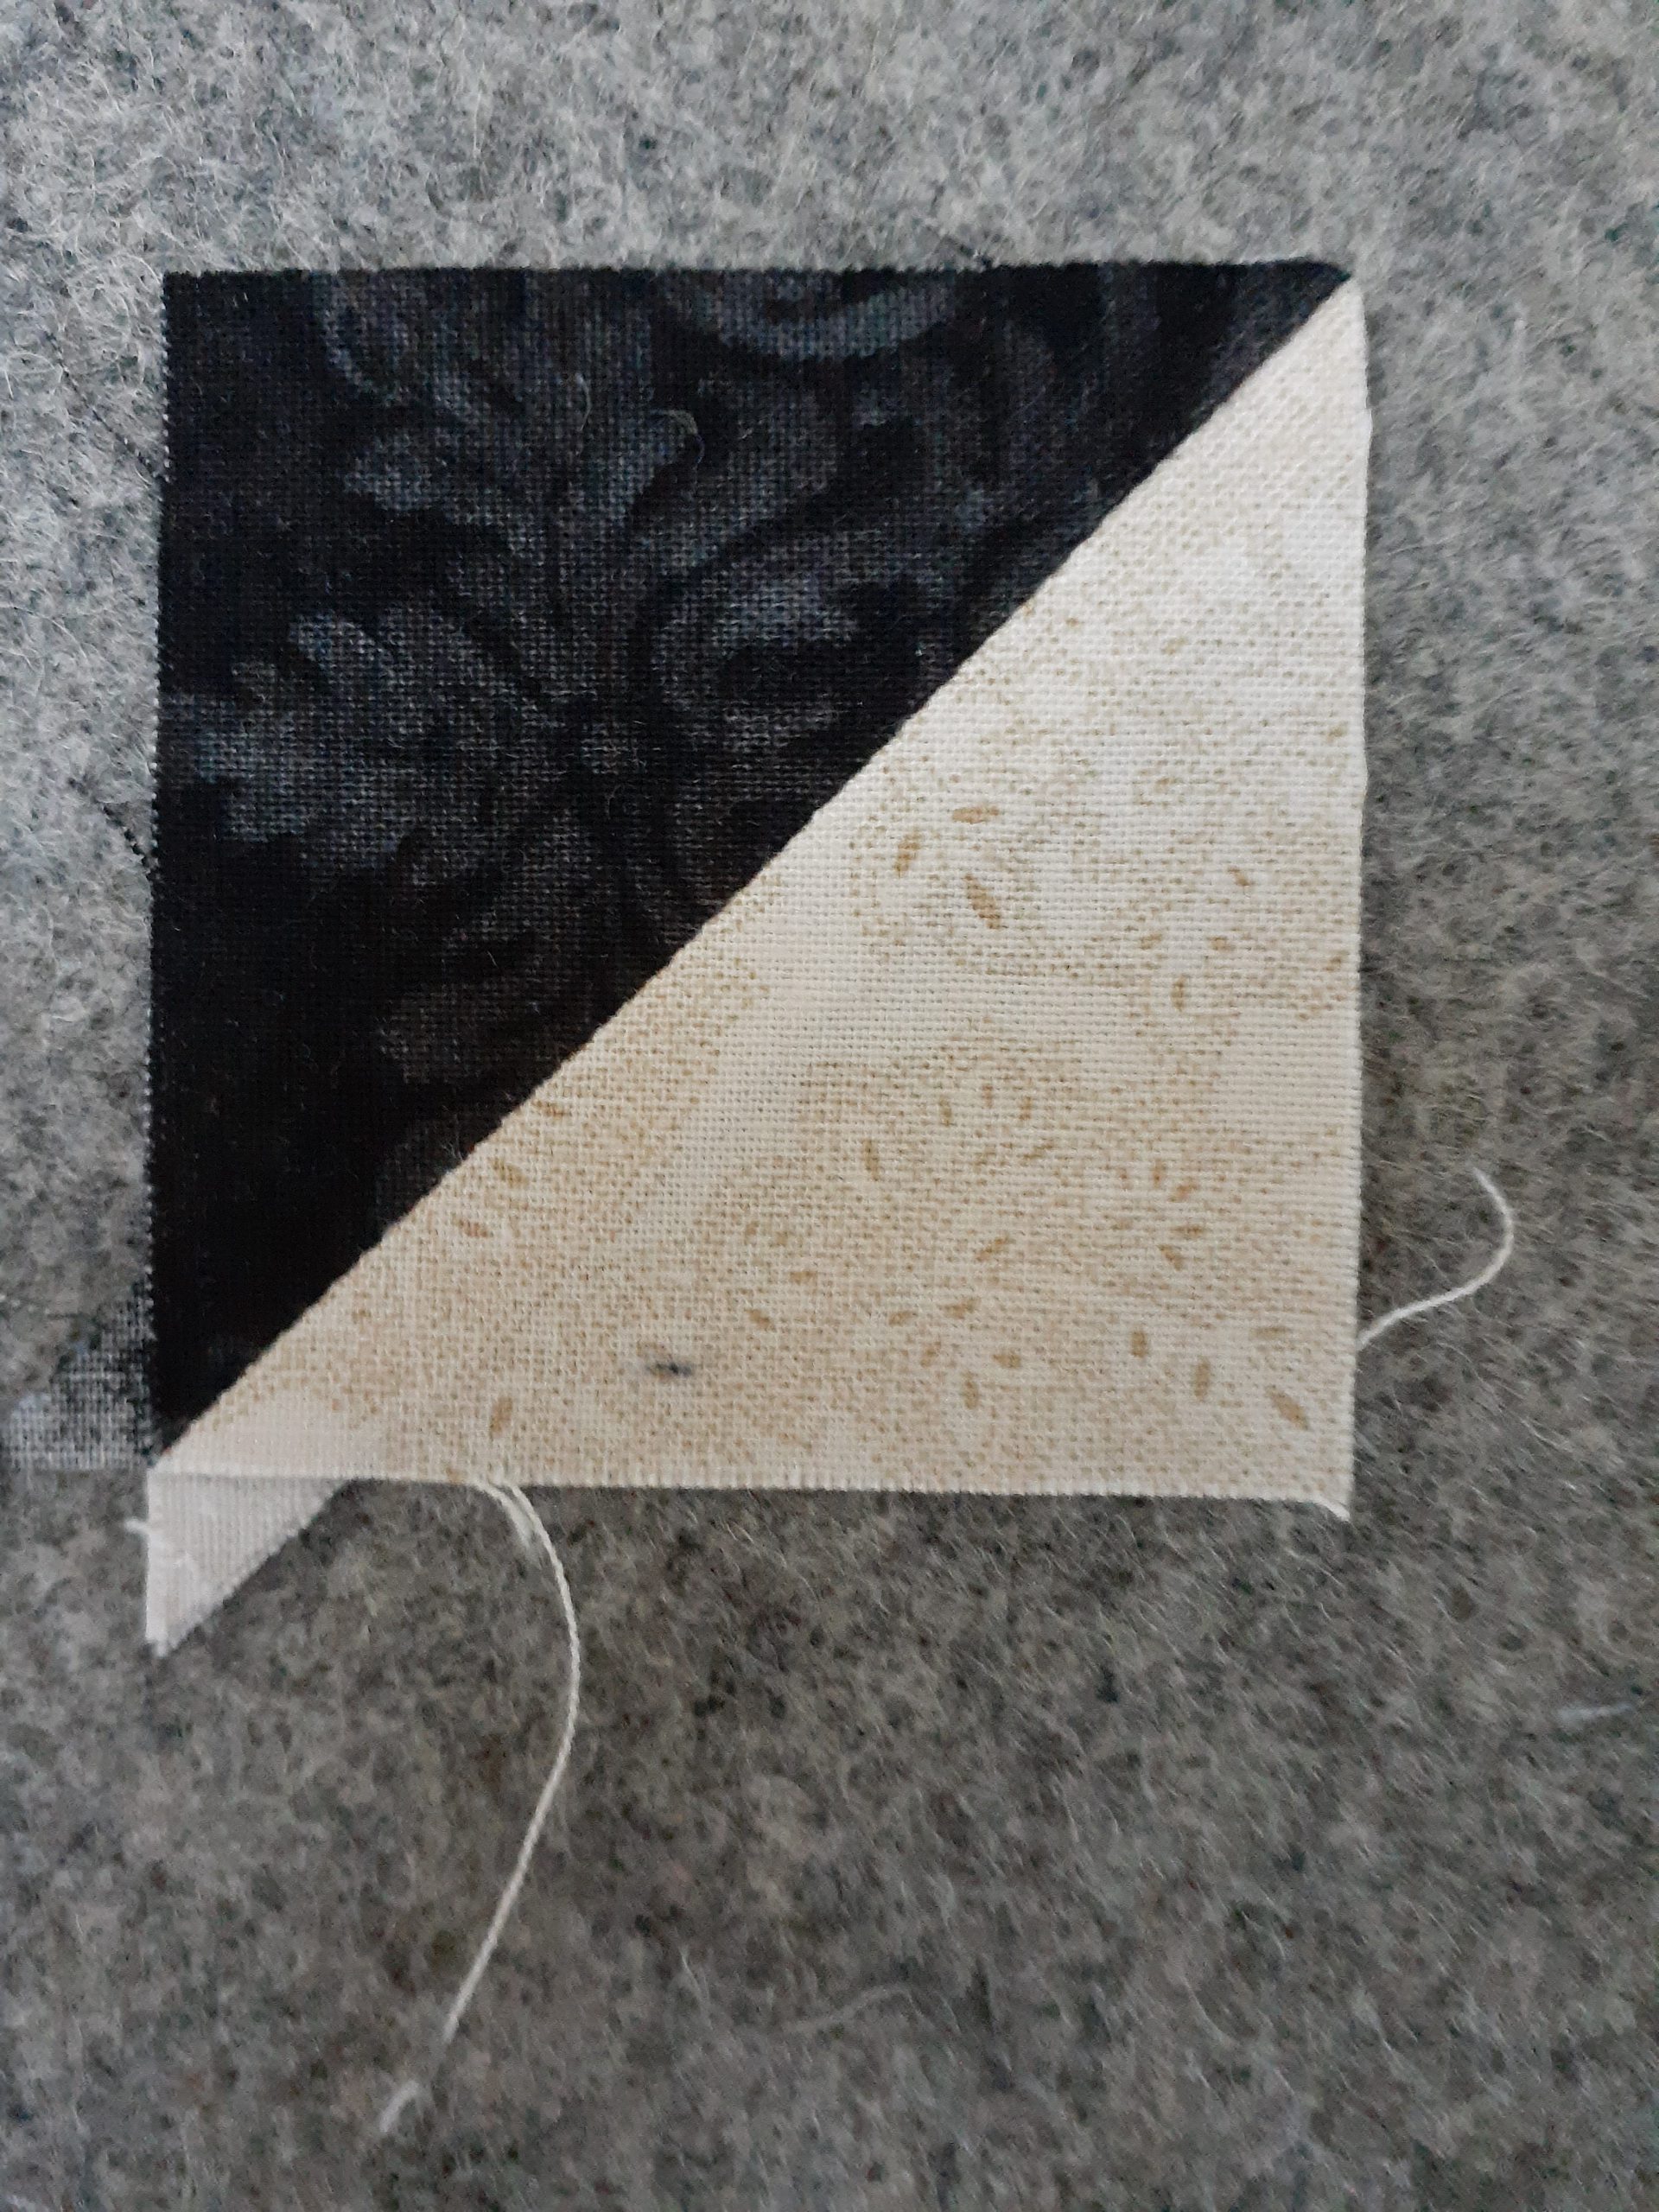
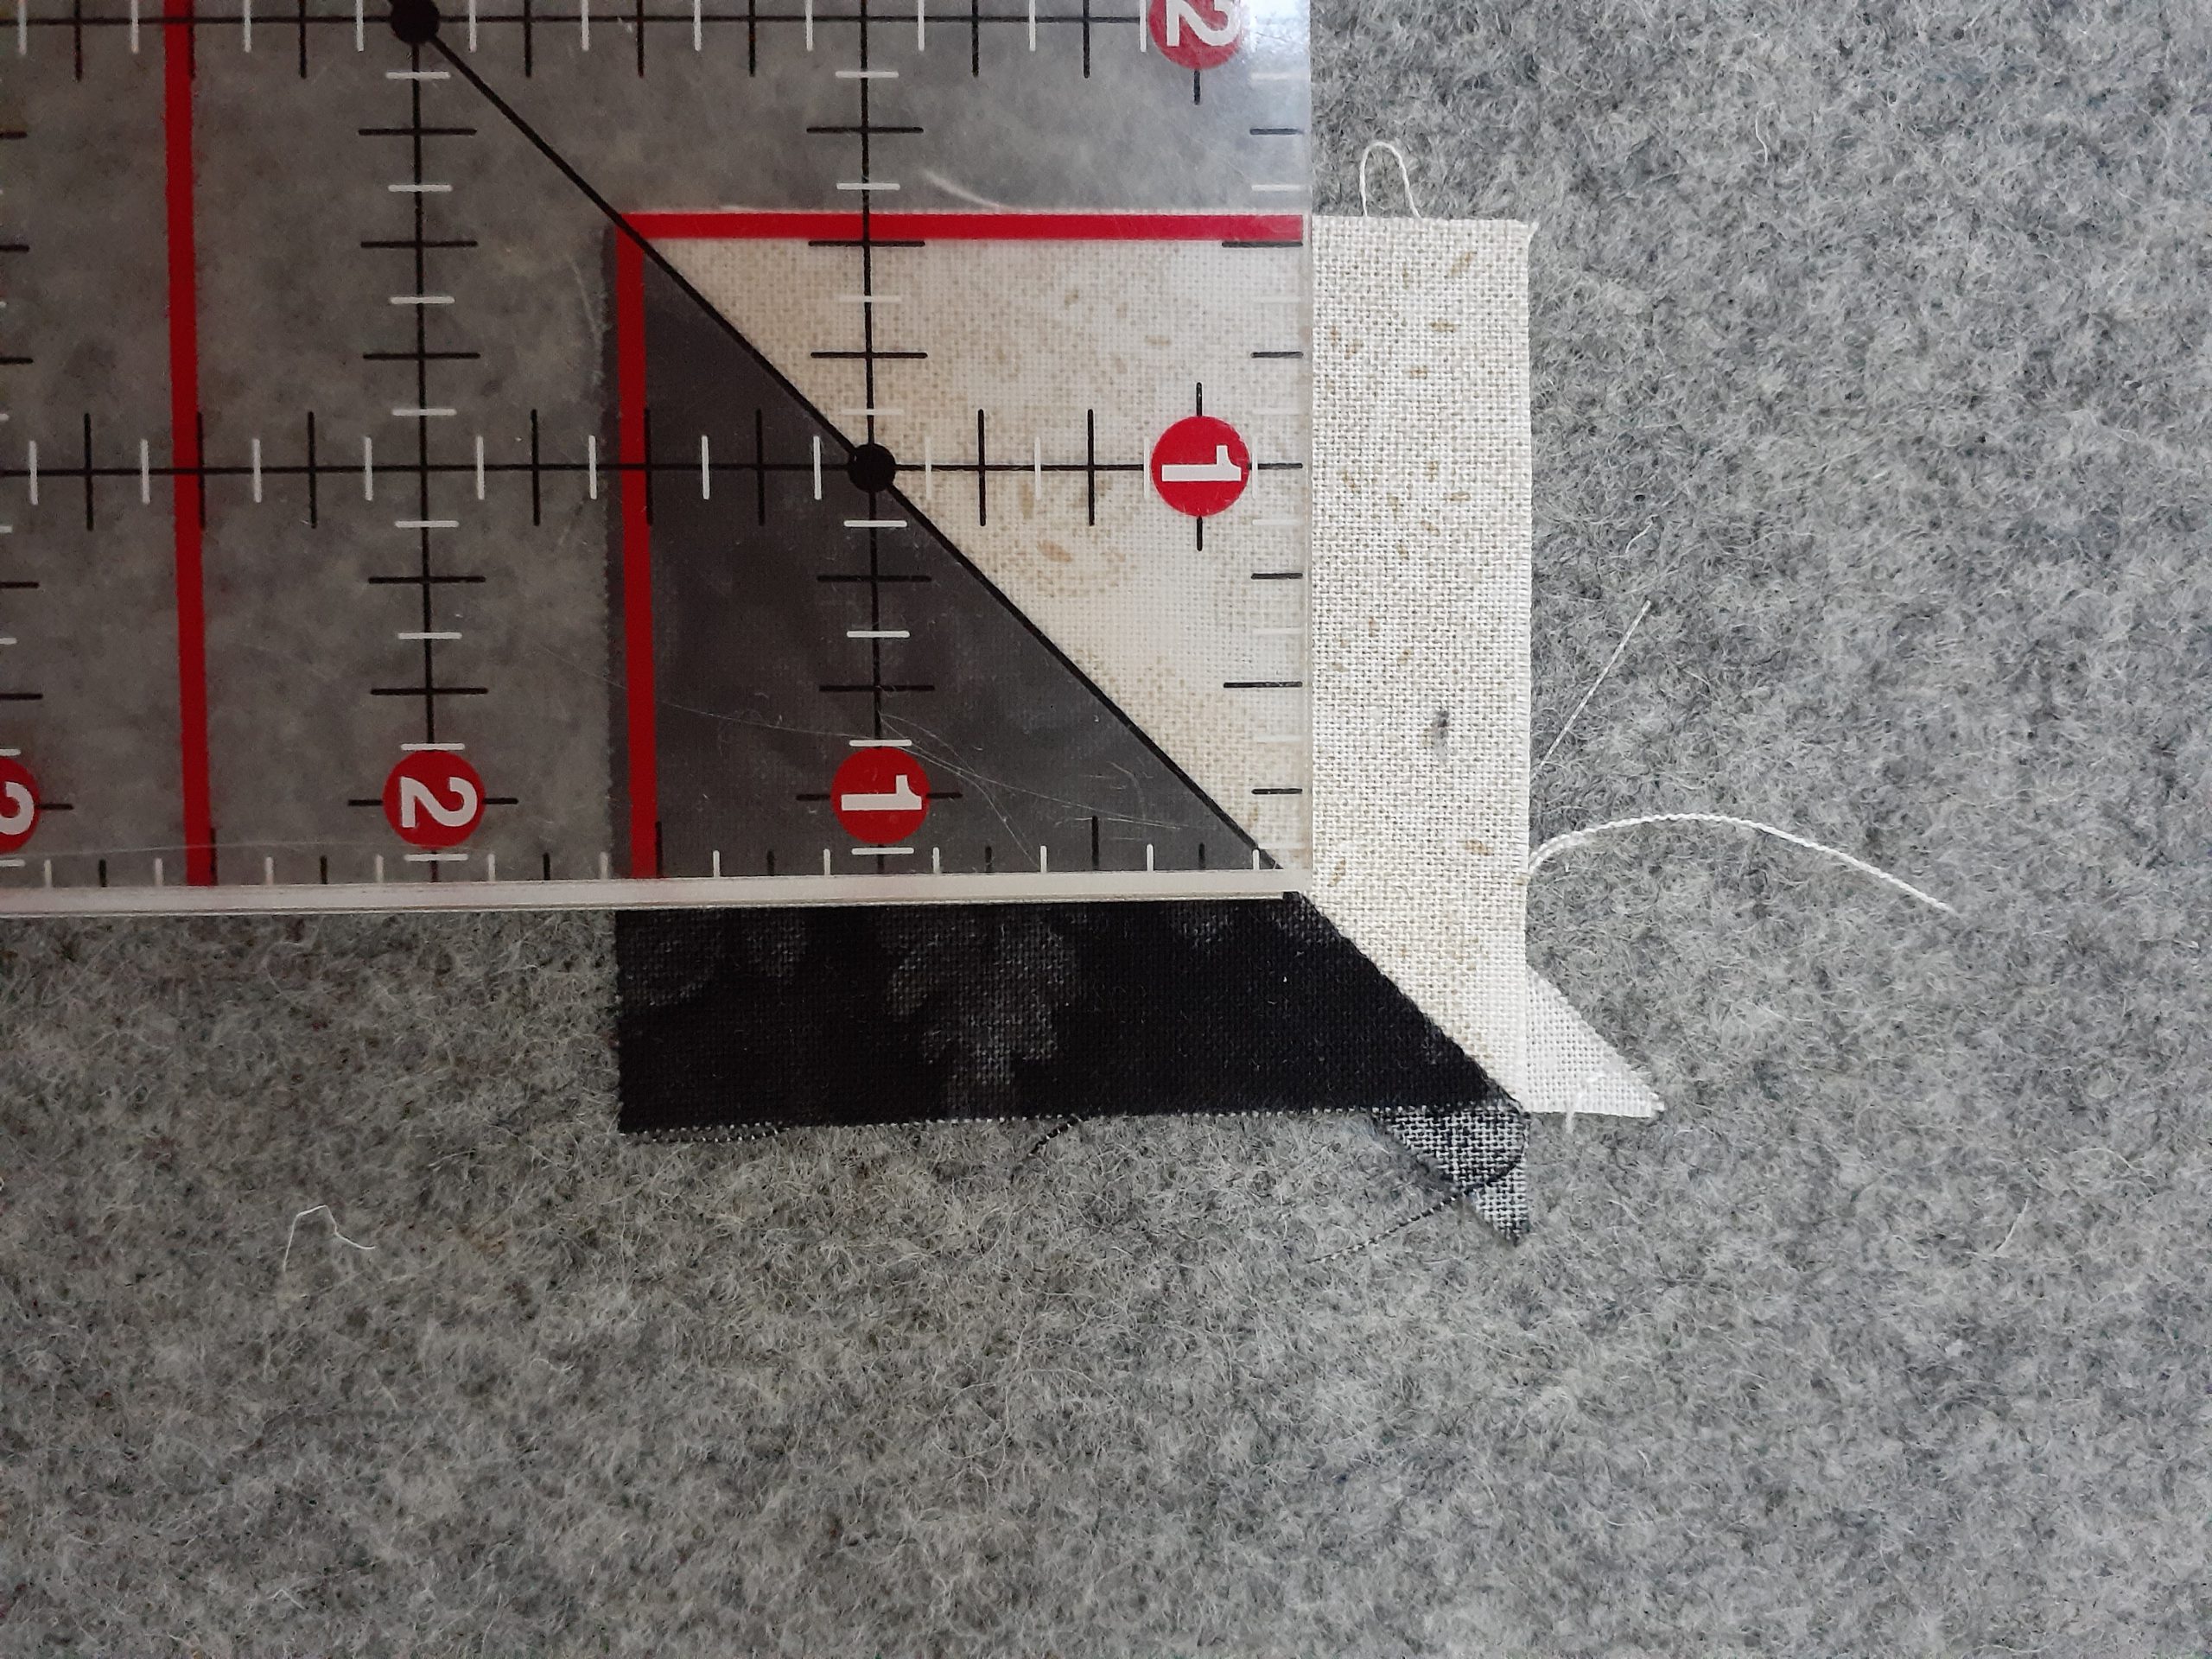
I’m currently working on the “cross & star” block and used the method suggested to make the HST’s. However when they were cut they finished at 2″? Cutting them down to 1 1/2″ was not easy. I really messed up the first one, then discovered that if I trimmed one corner then carefully placed my 4 1/2″ ruler with the diagonal line on the seam at the trimmed corner I could then trim the other 2 sides. This worked well – maybe it will help others.
As far as pressing is concerned I am following the original instructions and mostly pressing the seams open – although NOT for the paper pieced patches. I usually post photos of both the back and front of my finished blocks.
I’ve looked at the cutting instructions. Most steps are unnecessarily detailed (4 diagrams to cut a square into 8 pieces!!) and then no (explanatory) diagram to explain the instruction to “Iron the seam allowances of the resulting HST and trim the squares to a size of 1 1/2″…..
Where – are the “squares” (presumably 2 triangles) to be trimmed?
Dear J. Ewbank,
This QAL is targeted at quilters with experience. Andrea is a German author and if the readers have questions about where to trim or how to iron, she directs them to her blog posts in German which explain the basics. In this post she writes about different ways to iron the sewing allowances. You could always use translation services like google to try and read this article. Or you can use the search function on this blog and check if there are english authors here who have covered this topic.
Or you are lucky and one of our readers is happy to step in and help out!
Hope this helps a bit!
Best regards, Ramona from BERNINA International
Hi Andrea! Pressing suggestions would be greatly appreciated. I always get lost at that step. Lovely blocks for this sew-along.Thanks, Inger
Dear Inger,
I contacted Andrea, and she directed me to a blog post about how to iron the sewing allowances on her own, German blog. You could use translating tools like Google translate to try and read the post where she explains the basics – or you could search for English authors on this blog who have covered this topic 🙂
Hope this helps!
Happy sewing, Ramona from BERNINA International