In these free sewing instructions I will show you how to sew a practical nursing pillow / positioning pillow with a removable cover. I sewed my nursing pillow out of jersey to give it a nice cozy feel, but of course you can also use a woven cotton fabric. The nursing pillow is quick and easy to sew. I hope you enjoy making it!
Using the nursing pillow
The nursing pillow can be bent over and the baby can either be placed into the middle or you can bend it into a U-shape around your body and lay the baby on it for breastfeeding.
The pillow can also be laid out straight to act as a positioning pillow, bolster or body pillow / belly support for moms with baby bumps.
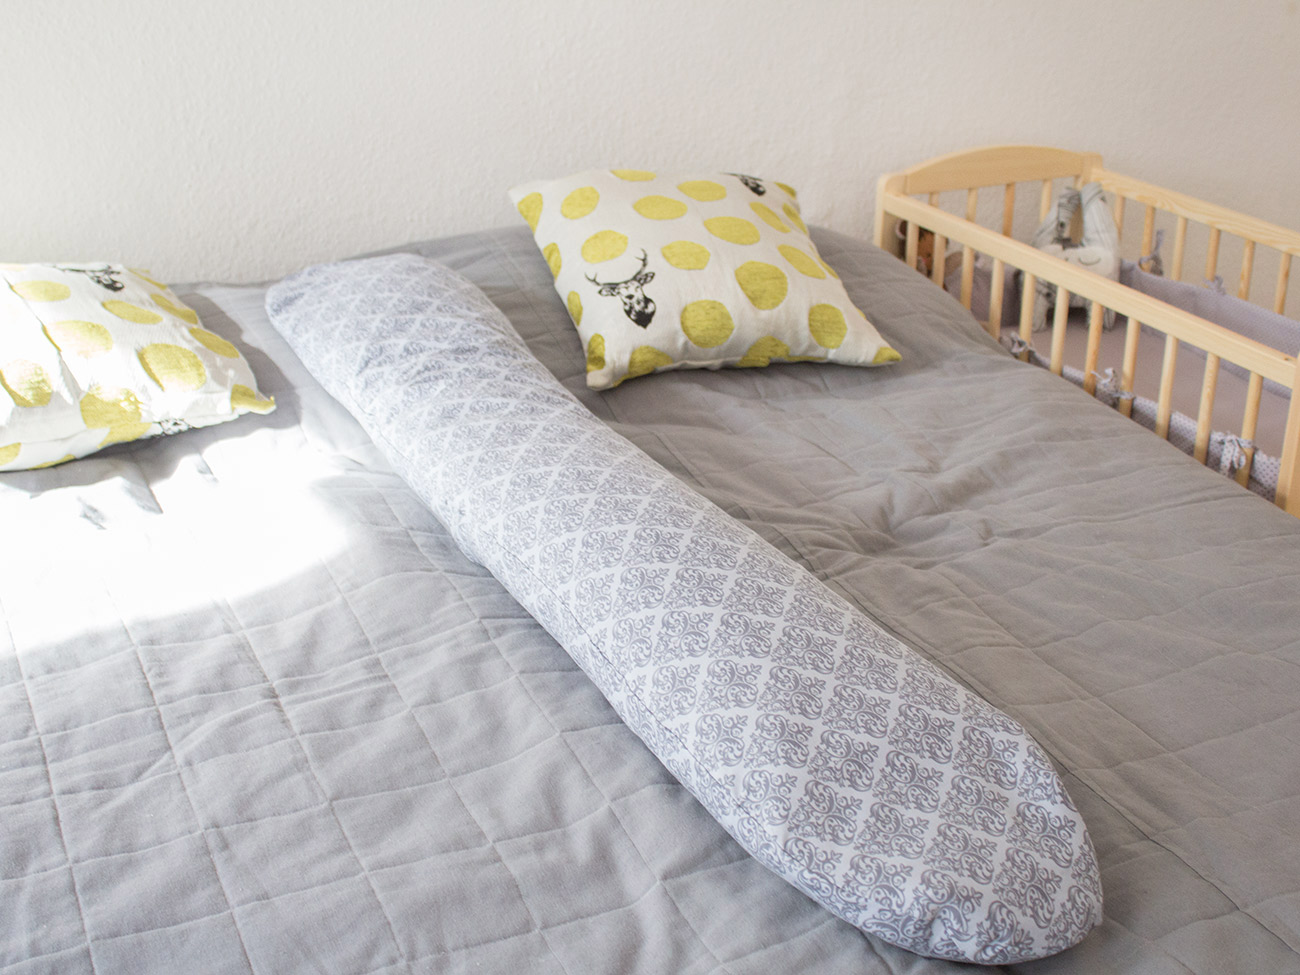
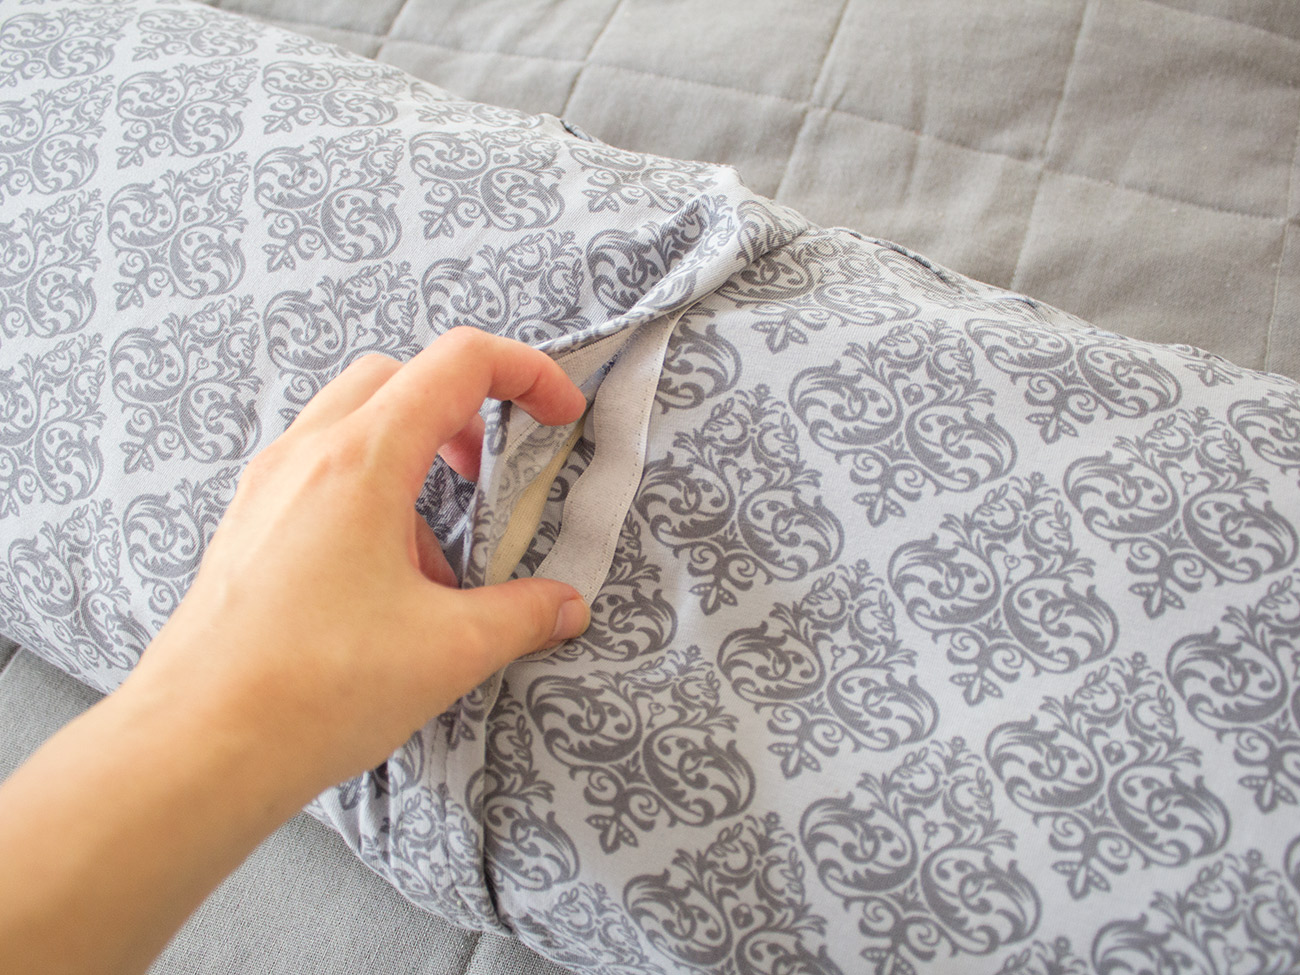
The cover of the nursing pillow is closed with a Velcro fastener, making it easy to remove and wash.
To make a nursing pillow you will need:
- Woven cotton fabric or jersey for the cover: 160 cm x 60 cm
- Woven cotton fabric or jersey for the inner lining: 150 cm x 60 cm
- Non-toxic pillow filling or microbeads (e.g. from Theraline), do not use cheap products
- Velcro tape: 30 cm
Sewing instructions for the nursing pillow:
Two nursing pillows are sewn in all. One is made of lining material and is filled with the filling material. This nursing pillow is fully sewn up. Then comes the nursing pillow for the cover with the same dimensions. However, in this case the top is made up of two pieces with a sewn in Velcro fastener. This allows the cover to be removed and washed later.
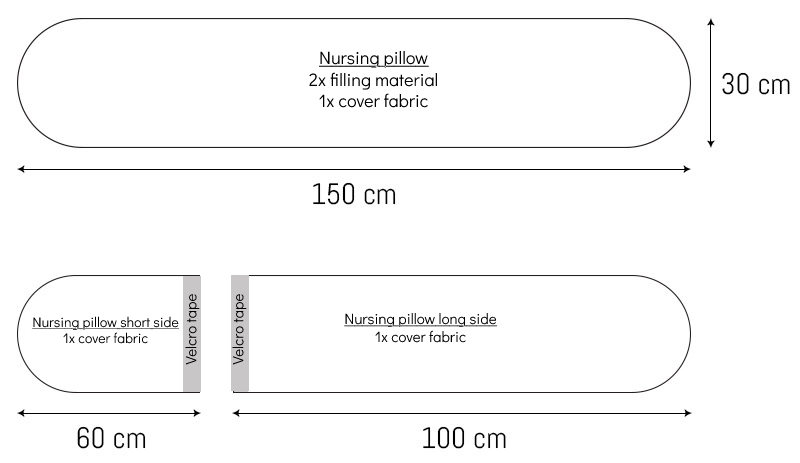
First, cut out the required pieces of fabric. For the inner lining, i.e. the pillow containing filling, you need two rectangles measuring 150 cm x 30 cm. You can then round off the corners on the short sides.
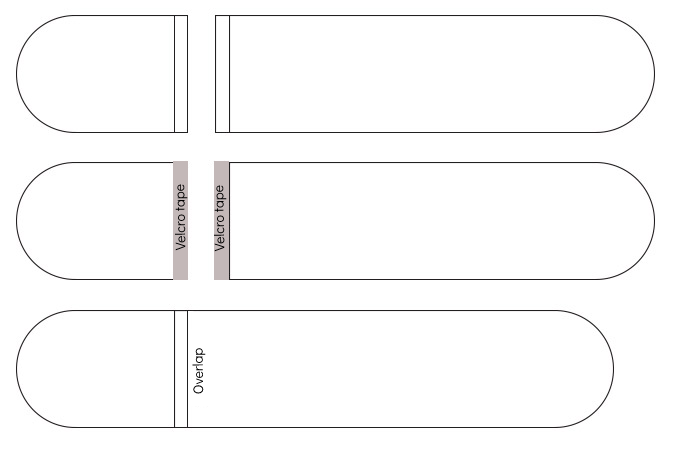
For the cover, you also need one rectangle of 150 cm x 30 cm (round off the short sides), plus one rectangle measuring 60 cm x 30 cm and one of 100 cm x 30 cm (round off the short sides). We need the two smaller pieces to make the pillow opening in the cover. They are different sizes to make it easier to push in the rather firm lining pillow later on.
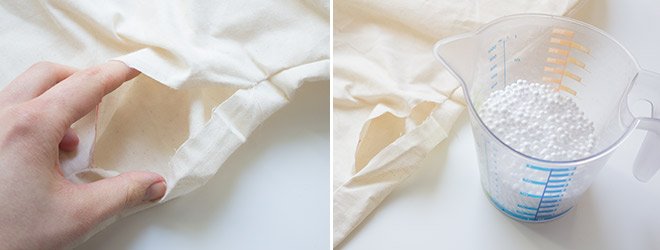
Lay out the two pieces for the lining pillow with the right sides together and secure them around the edge. Then sew around the edge with a seam allowance of 1 cm, leaving a turning opening of 10 cm on one long edge. Turn the lining pillow the right way out and fill it with the pillow filling or microbeads.
When the pillow is full enough (do not make it too firm), close the turning opening with pins or fabric clips…
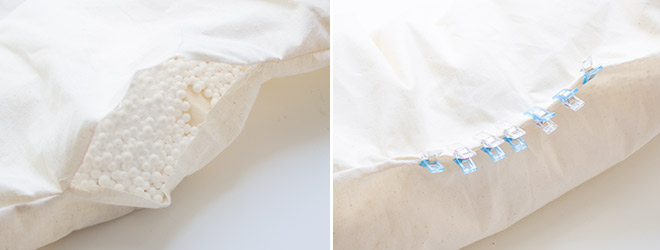
…and sew it up. Your lining pillow is now finished.

Now take the two small pieces for the outer cushion. Fold the short straight edges in by 1.5 cm twice and then edgestitch them. Next, sew a piece of Velcro onto each sewn edge. Here, the loop side of the Velcro is sewn onto the wrong side of the smaller piece so it is not visible from the outside. The hook side of the Velcro is sewn onto the right side of the larger piece. If you now join the two pieces of Velcro together, you get a large pillow piece the same size as the back of the pillow cover.
Now place the joined pillow pieces and the large cover fabric pillow piece with the right sides together and secure them around the edge. Then sew around the edge with a seam allowance of 1 cm. This time there is no need to leave a turning opening because you can open the Velcro fastening to turn it. Turn the outer cover the right way out and insert the lining pillow.
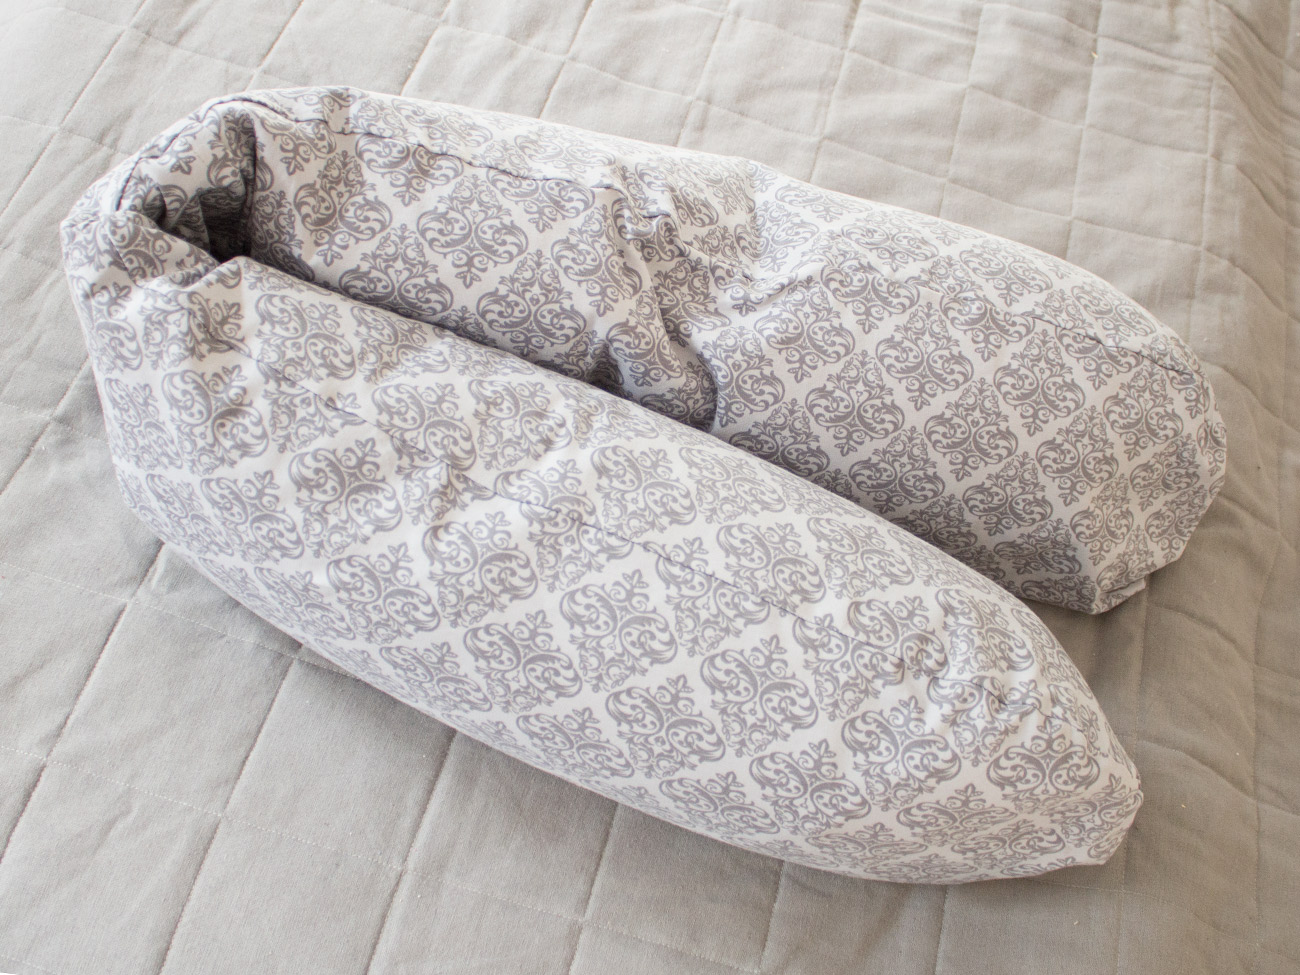
Your nursing pillow with removable cover is now finished.

Enjoy your new nursing and positioning pillow!
 BERNINA Corporate Blog -



0 Responses