La Maison Victor Ziggy top

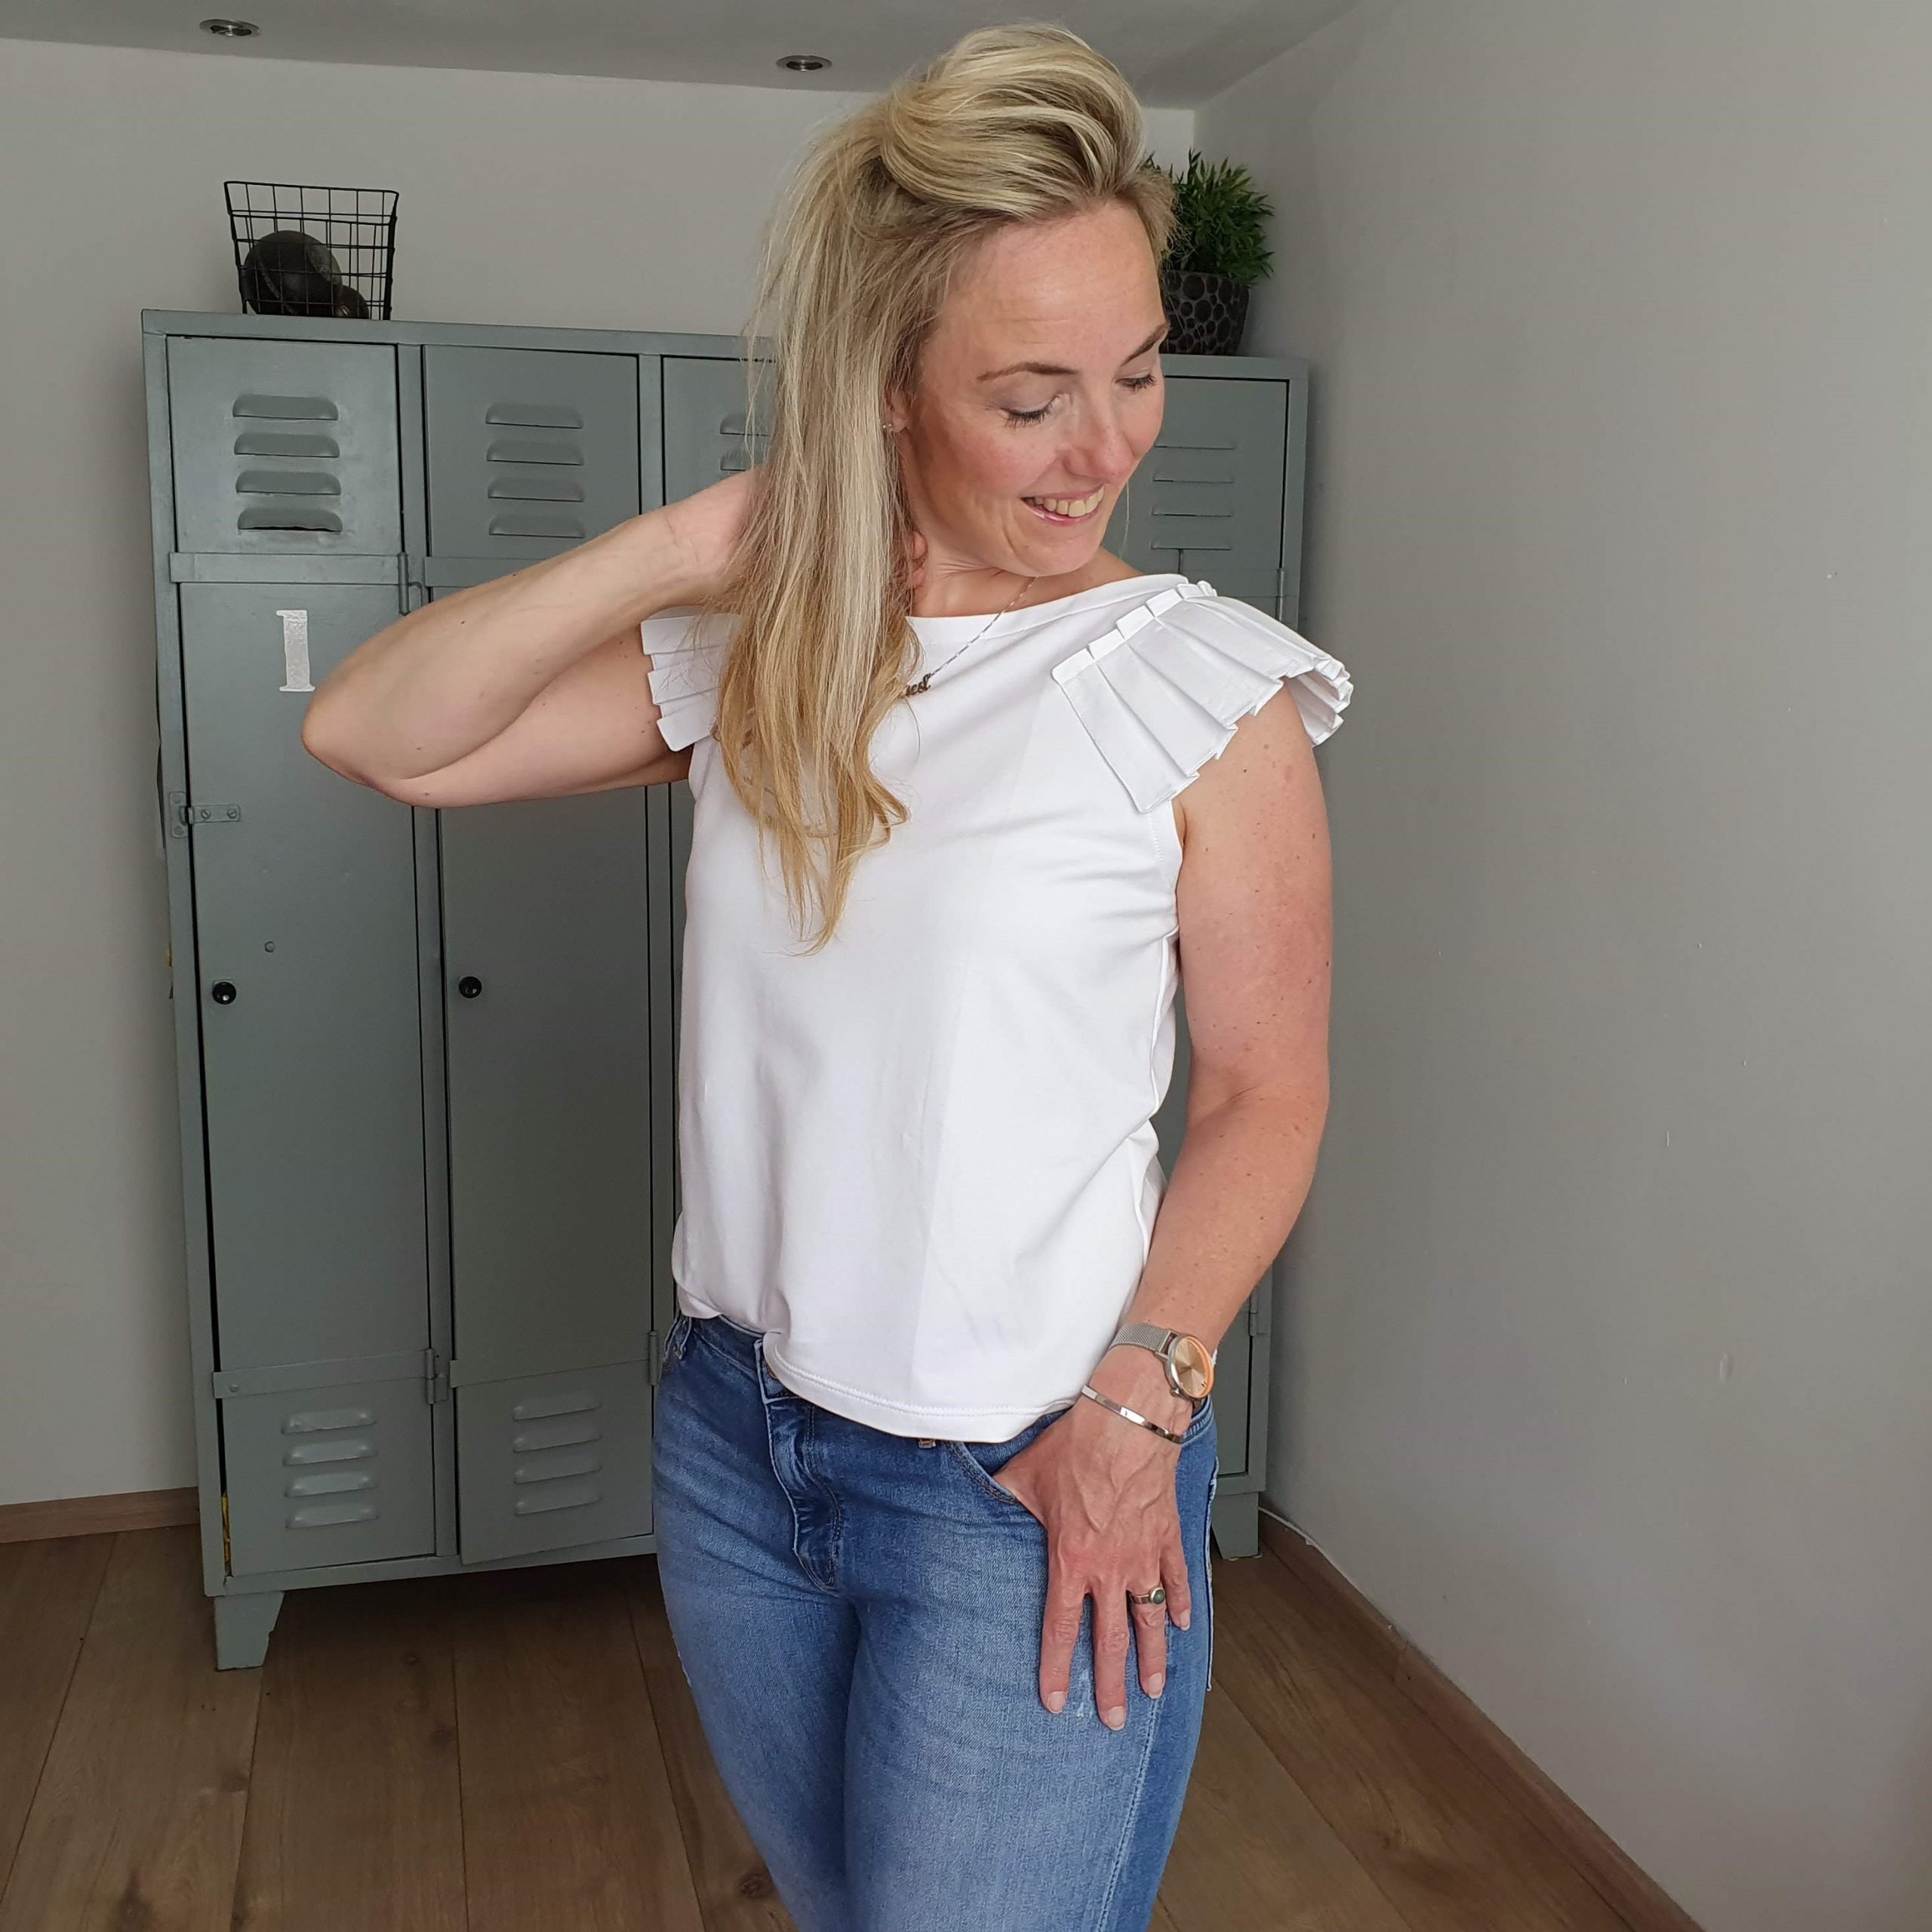
How cute is this Ziggy top with folded sleeves, a.k.a. wings… oh wait it’s a girls top. What if I make it for my size anyway. Should be OK! Gettin’ Ziggy with it!
Click here to go to the Dutch blog
Pattern Adjustment
I took the largest possible size (176) and with a few adjustments I made it a size ‘M’. For this I drew some extra centimetres on the side seam. Under the arm on each pattern piece 2 cm, graded to 3 cm at the height of the hip. From the original Ziggy top pattern I finally took 3 cm of the length. Both the neckline and the armscye are finished on the inside with bias tape of the same fabric. Don’t forget to extend the strips of fabric that you use to finish the armhole with a total of 4 cm. That’s how many centimetres have been added to the side seam at that spot.
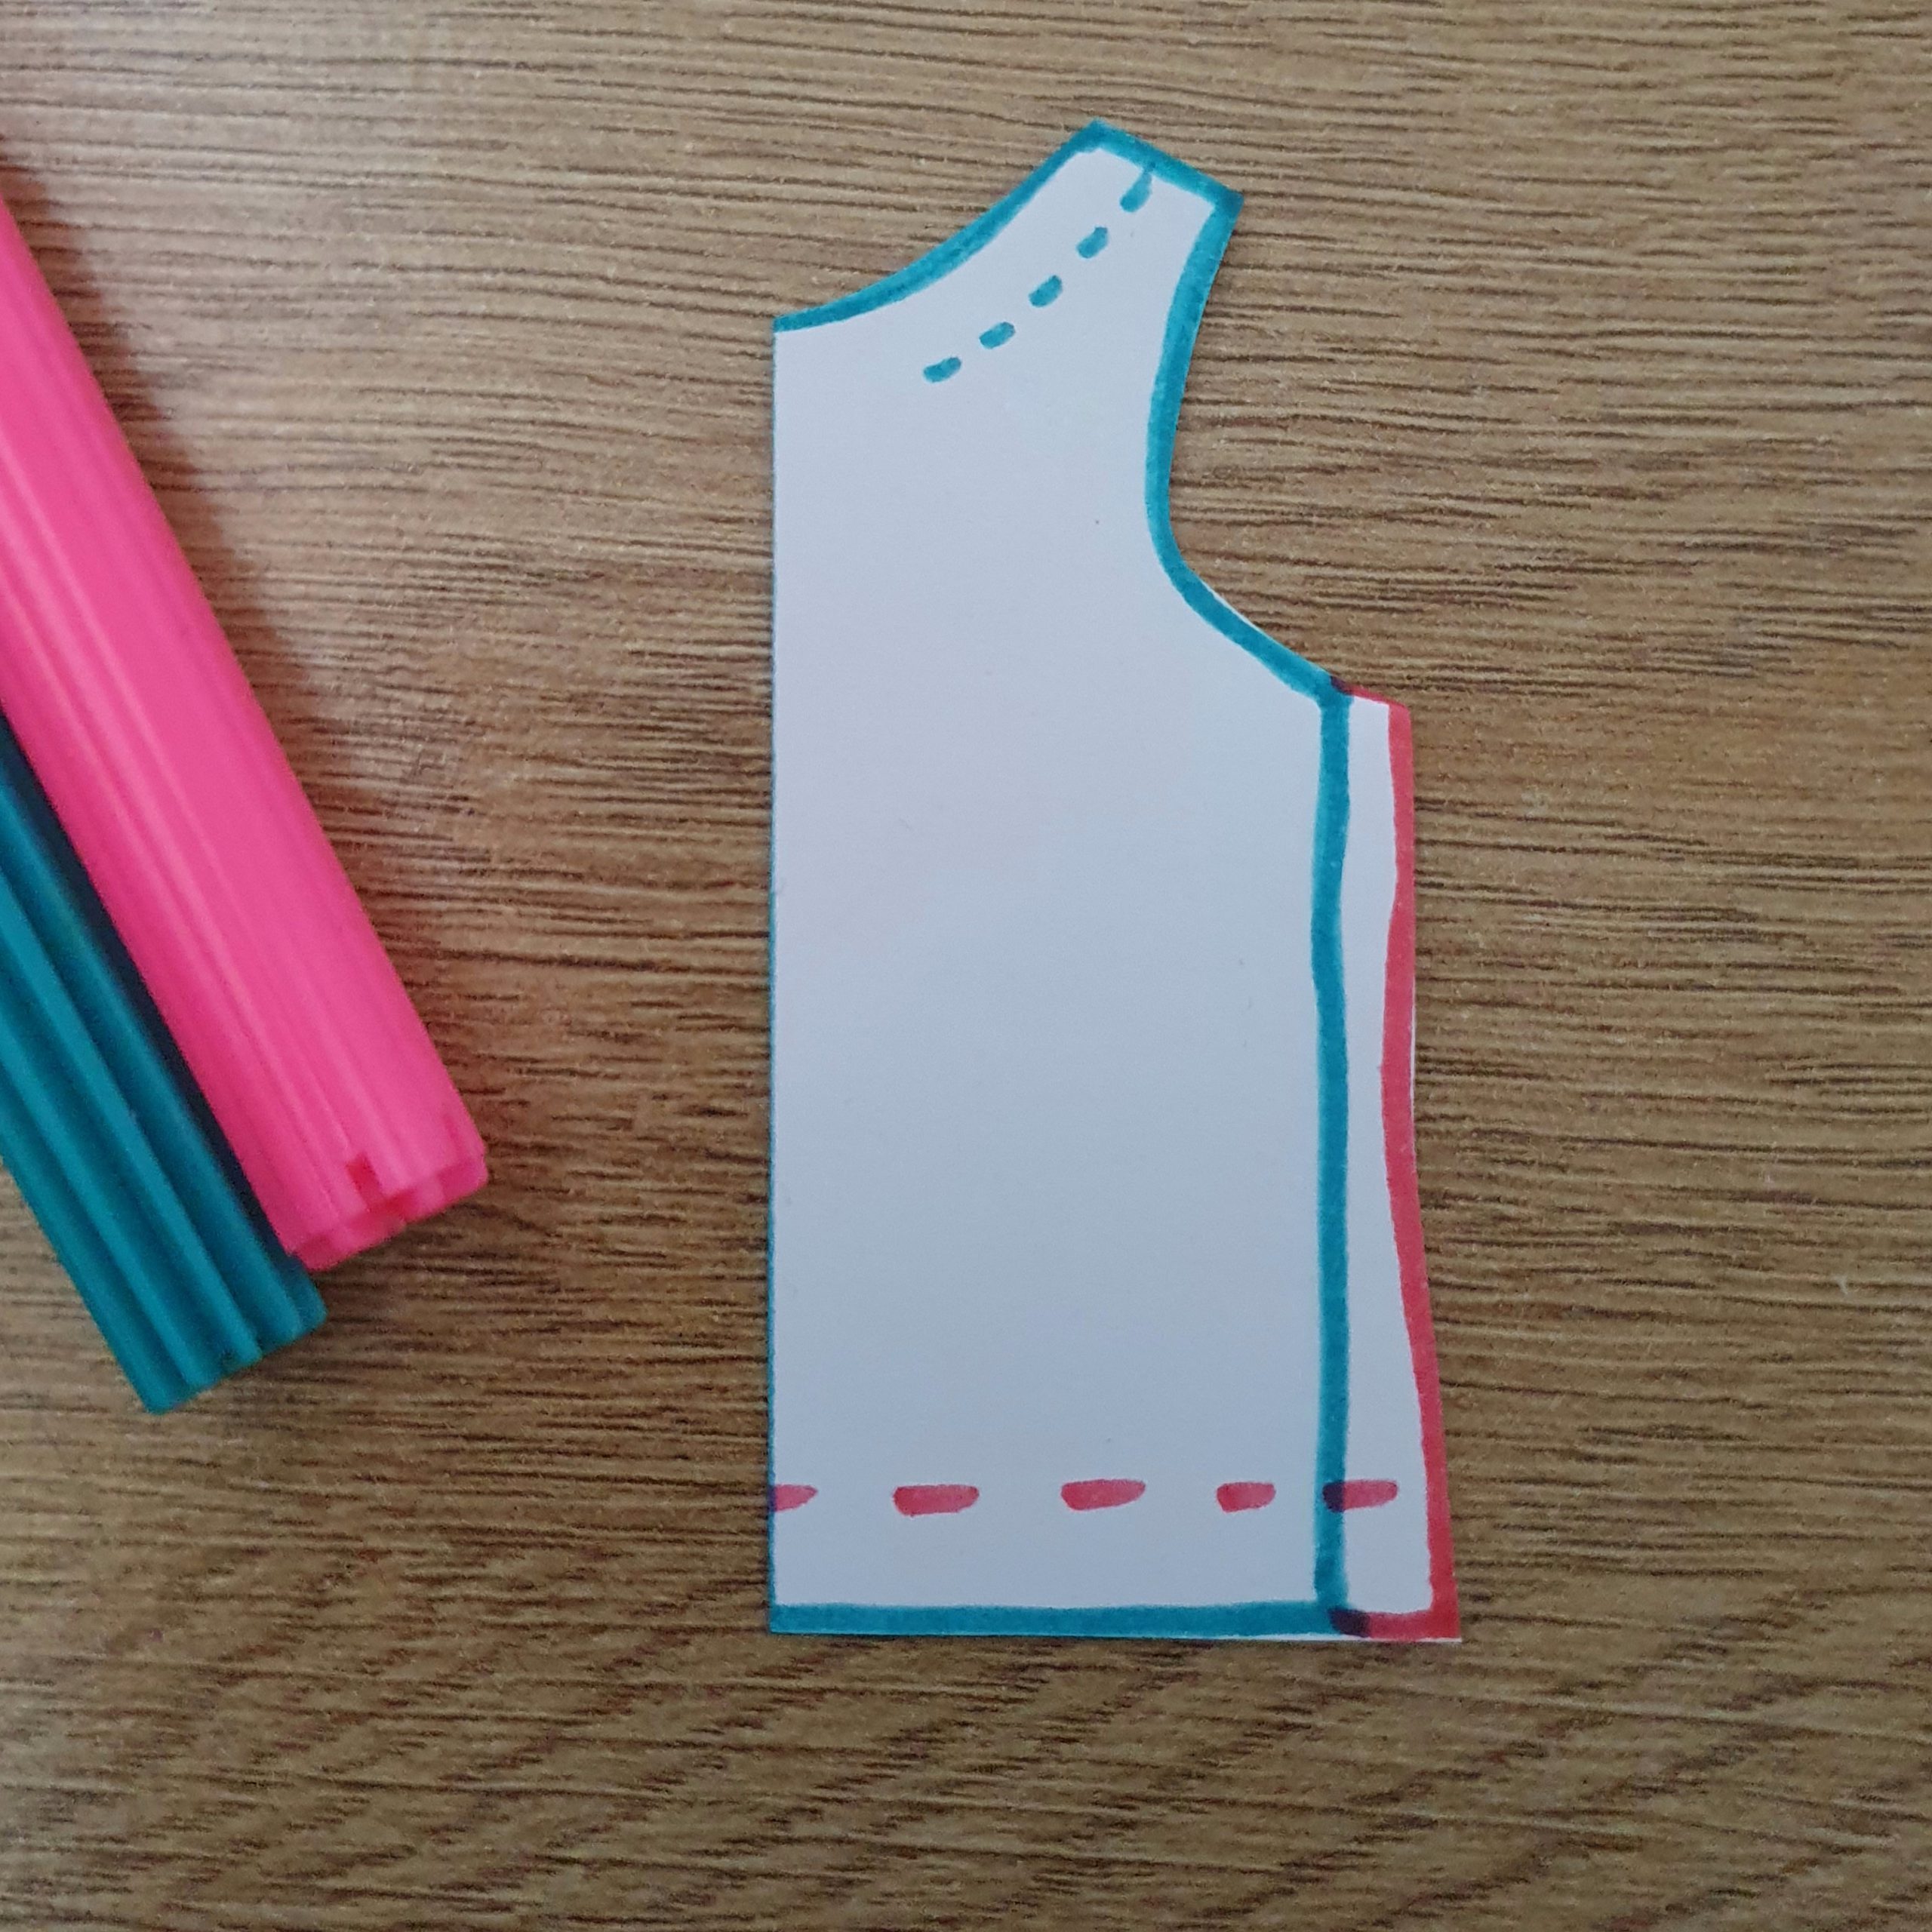
Ziggy top Wings
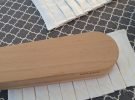
The wings were made 3.5 cm wider than the pattern stated, I didn’t change the length. For sturdiness, you iron on interfacing on this rectangular piece of fabric. Then you can finish it in different ways. In the instruction of the Ziggy top two ways are optional. If your fabric does not fray, you can leave it as is (option 1) or finish it with a rolled hem (option 2). I wouldn’t go for the first option, because the facing can come of after washing. Especially if you use stretch fabric like me.

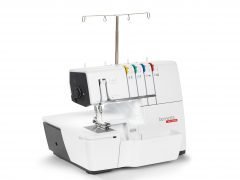
Before making this white version, I tested the pattern and wings first. I simply finished the wings with the bernette 64 AIRLOCK (option 3). Don’t forget to finish those loose threads. For instance by tucking them back into the stitching with a thicker needle. (I will share the end result of this test version on my Instagram later. I actually really liked it and will definitely finish and wear it).
Option 4
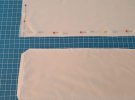
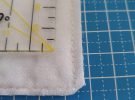
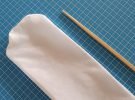
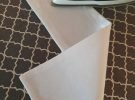
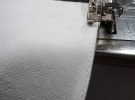
In the end for this white top I went with a fourth option, where you finish the seams by first sewing the fusible interfacing, turning it, then ironing and topstitching it. Did you get that?? Below I show the steps:
Box pleats
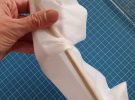
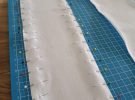
The cute wings of this Ziggy top are created by folding box pleats. Every two centimetres you make a fold and then you bring two folds together. Then you ….wait, I’ll show you….:
Hemming time
Last step: the finishing of the hem. I finished the hem first with the overlocker and then with the twin needle on the regular sewing machine.

After overlocking the seam I ironed the hem at 2 cm. Pin it first on the inside and then on the outside for the best result.
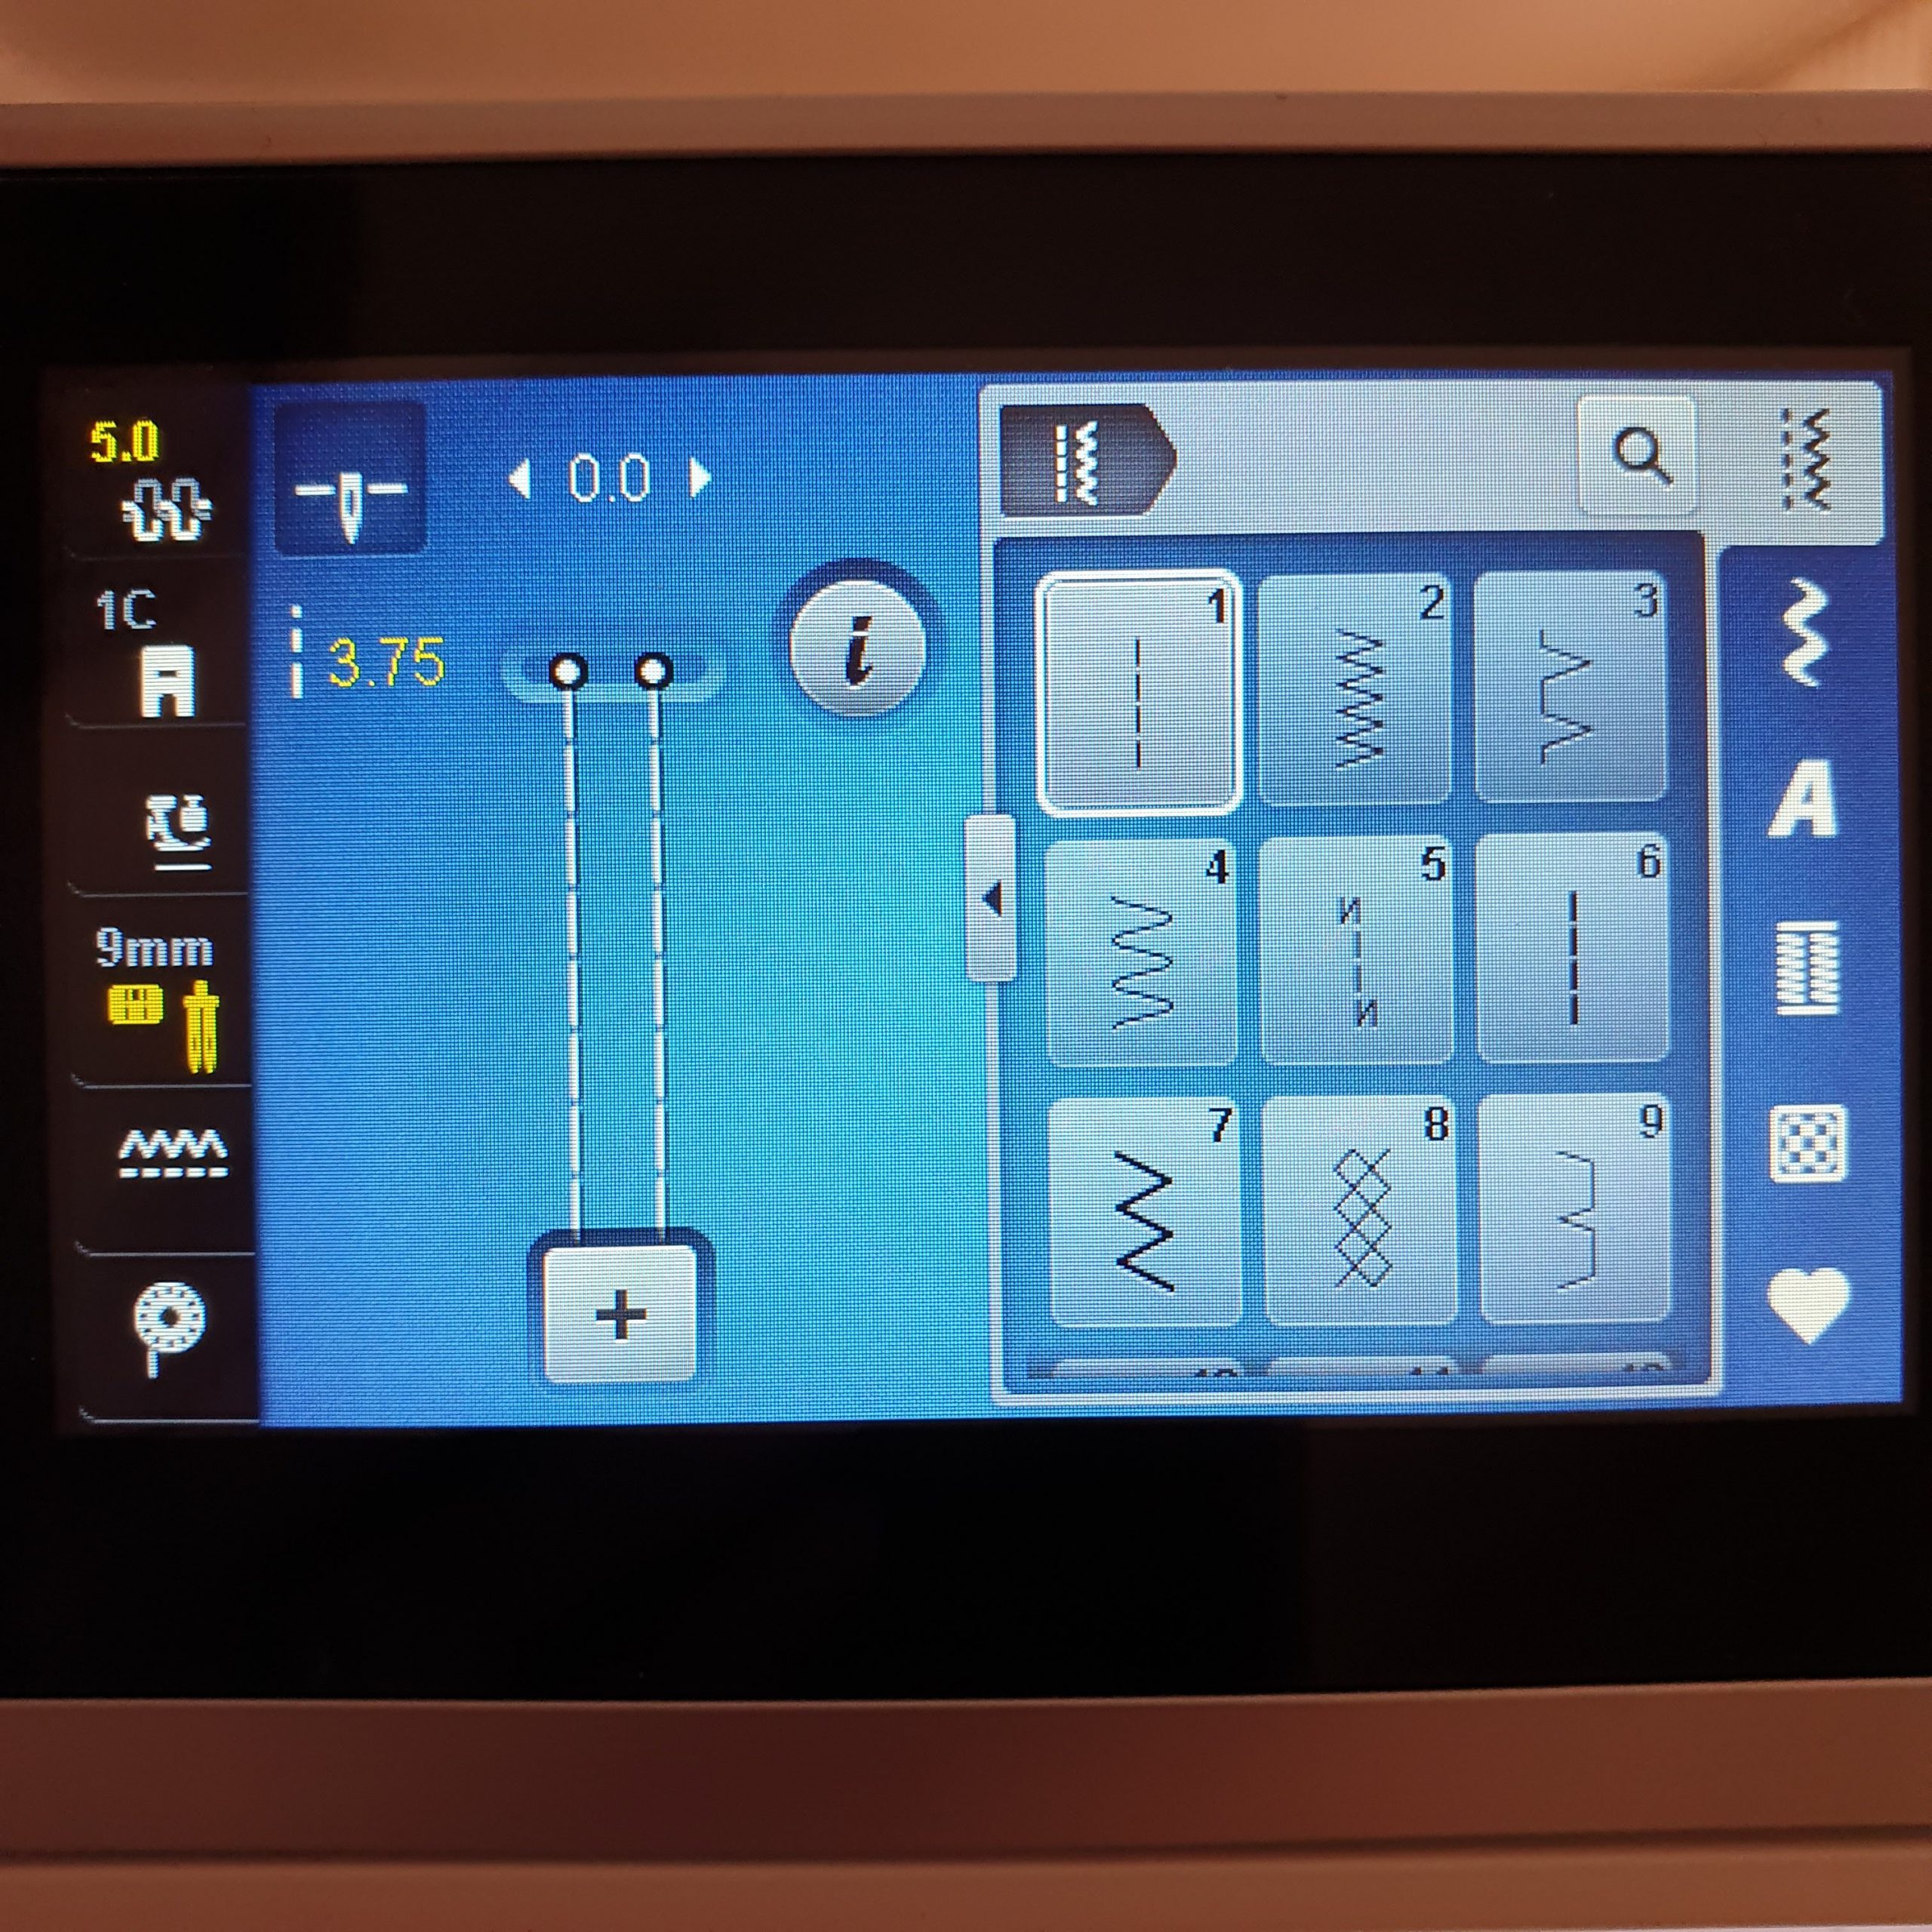
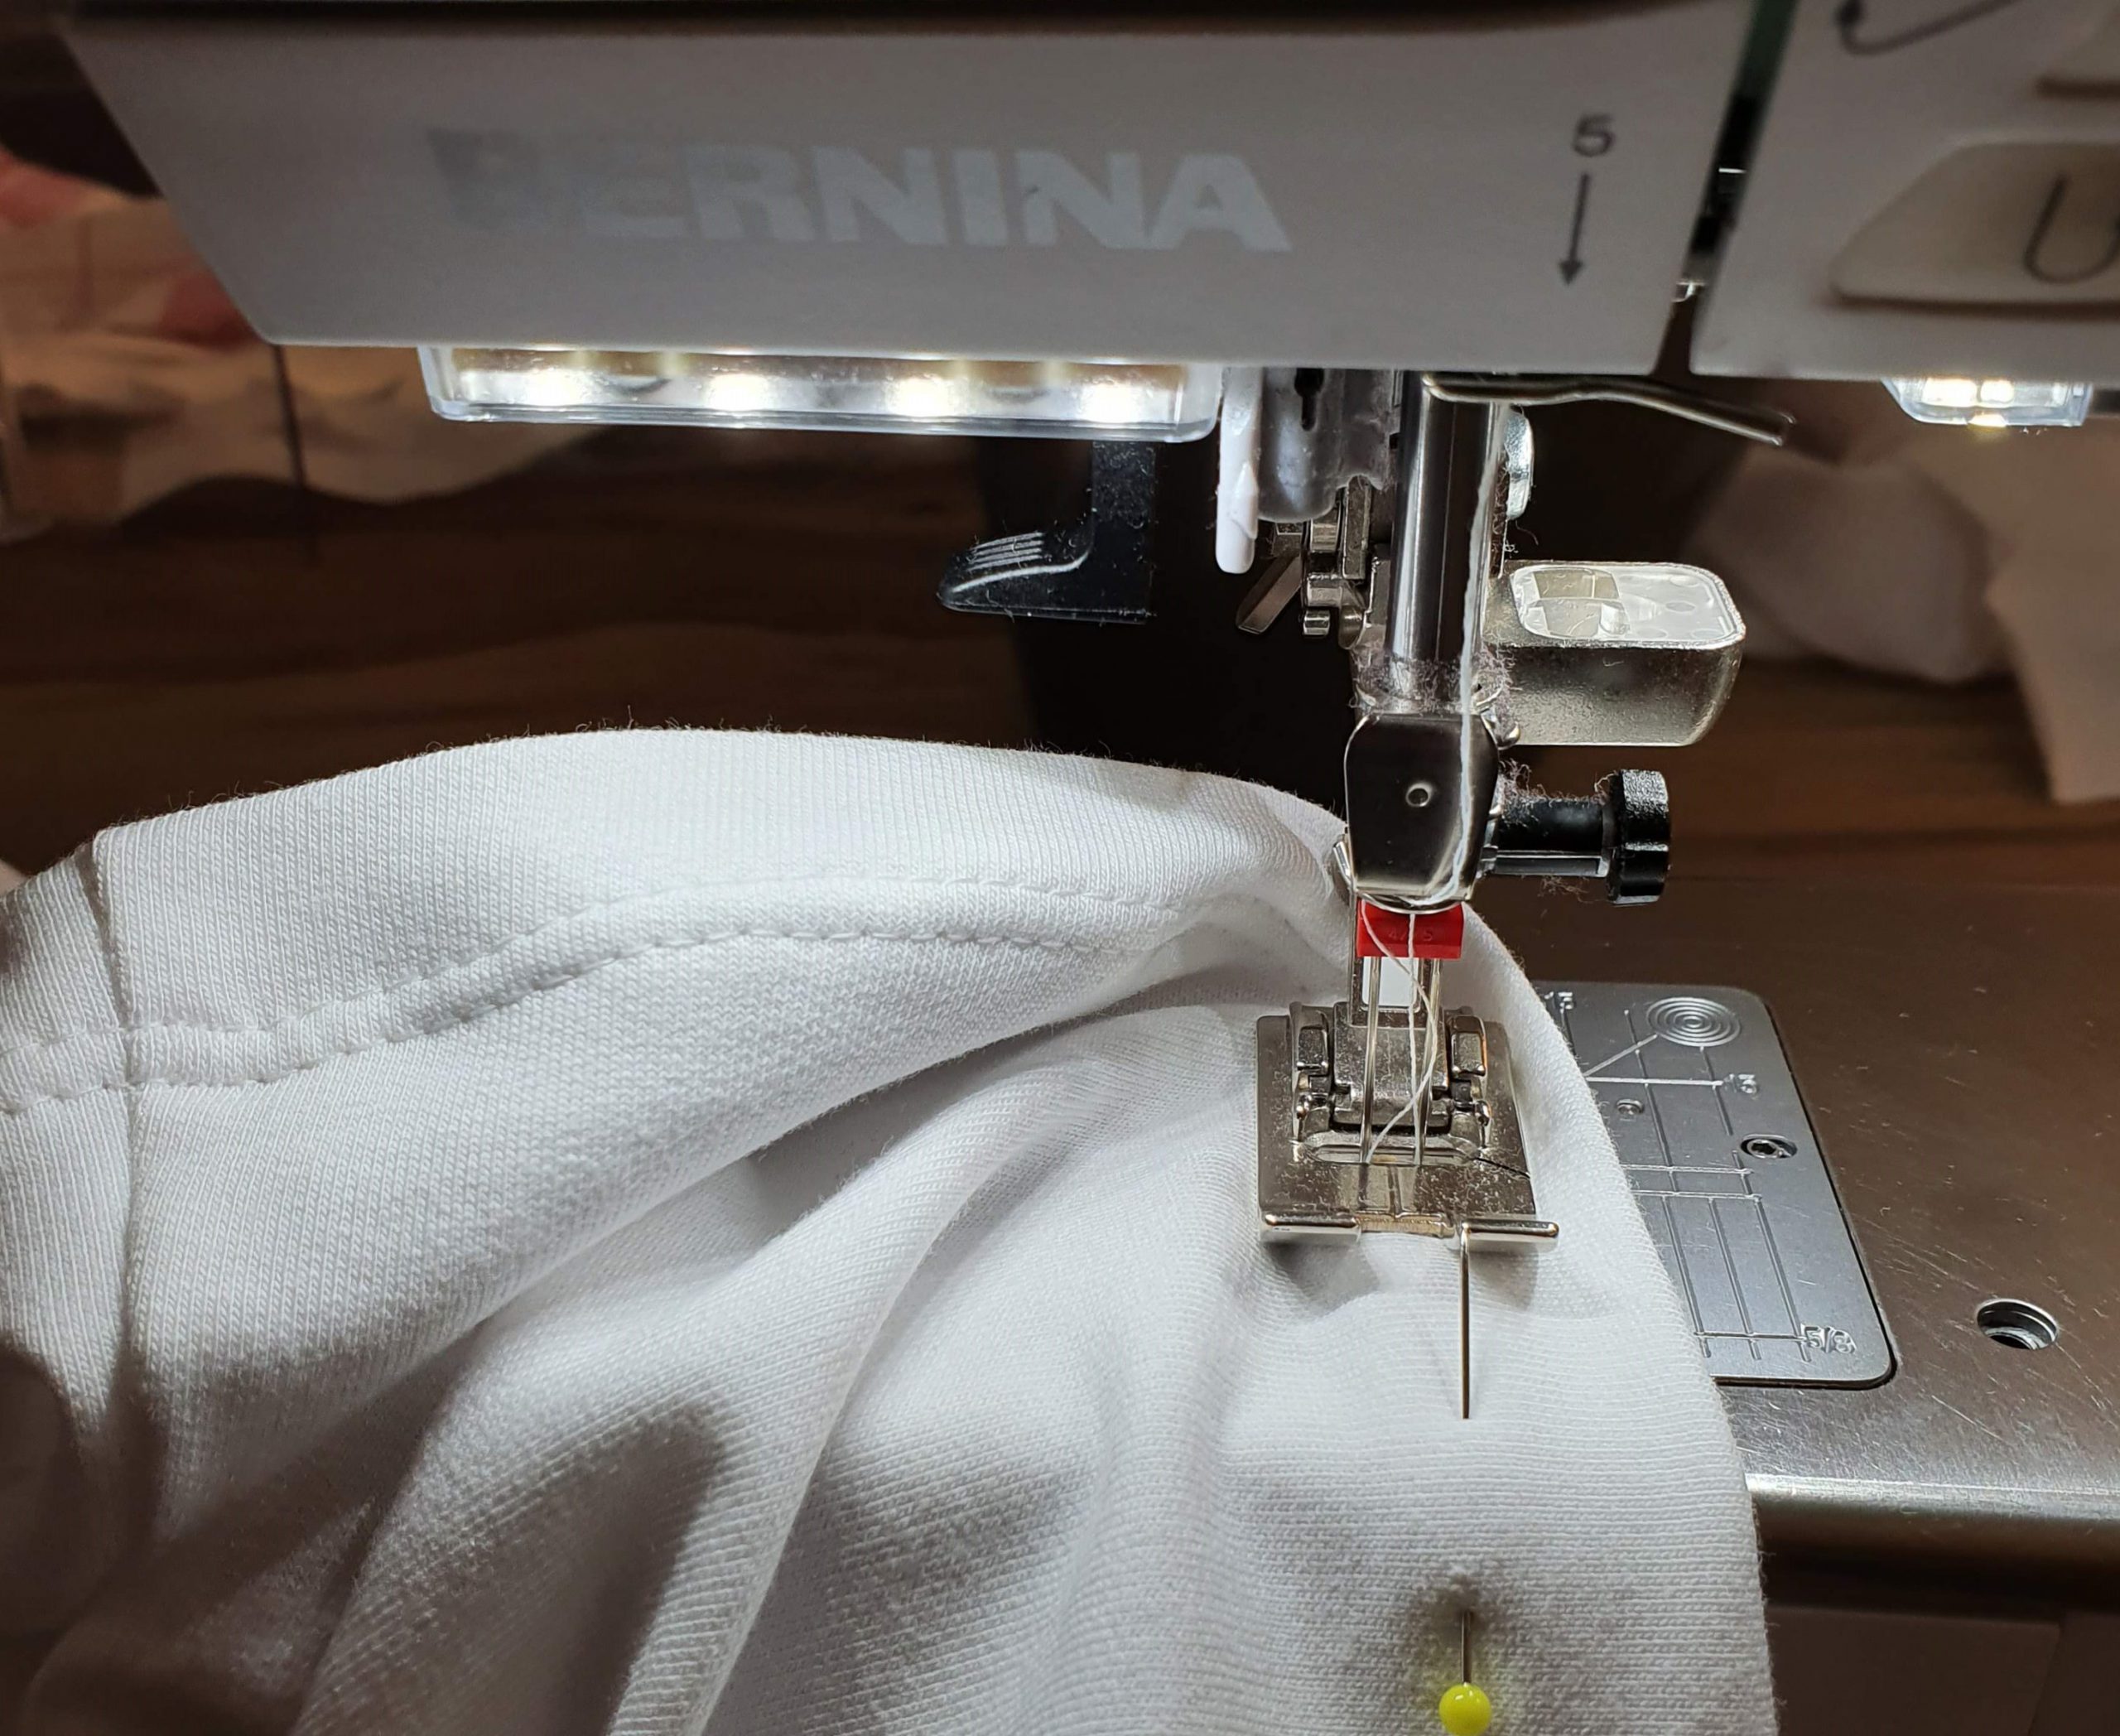
Then it’s time for the twin needle. I use a twin needle for stretch fabrics, width 4 mm. I select this needle in the menu. Select a slightly longer stitch length and adjust the bobbin thread tension accordingly. I always test it first on a fabric sample.
How cute is this Ziggy top? For all girls, big and small!

Love,
Marlies
 BERNINA Corporate Blog -











Hi
Love all your designs. How do I get Ziggy top pattern. Thanks
Hi there,
I don’t believe it is available as a single pattern, yet. You can purchase the magazine containing the Ziggy pattern and lots of other cute patterns. I don’t see it available in English, but here is the link for the Dutch Magazine. https://www.lamaisonvictor.com/nl/shop/lmv-magazine-jul-aug-2021-editie-4.html
Regards,
Marlies