Hello my sewing friends
I am back this month with a men’s shirt for my partner. The model is called Jaxon and it’s from the latest issue of the magazine La Maison Victor. With the magazine you’ll have the opportunity to order fabric packages to make one of the models in the magazine. Both my fabrics are cotton shirtings with some elasthane. Since the shirt does not have e back pleat, darts or even a yoke elasthane in your fabric is needed for the added mobility and comfort factor. So even if using different (woven) fabrics, make sure there is some stretch.
First I copied tha pattern out of the magazine and made a mockup. Both my partner and myself were very surprised at how the good the fit was right out of the packet, because he has very wide shoulders and quite a chest.
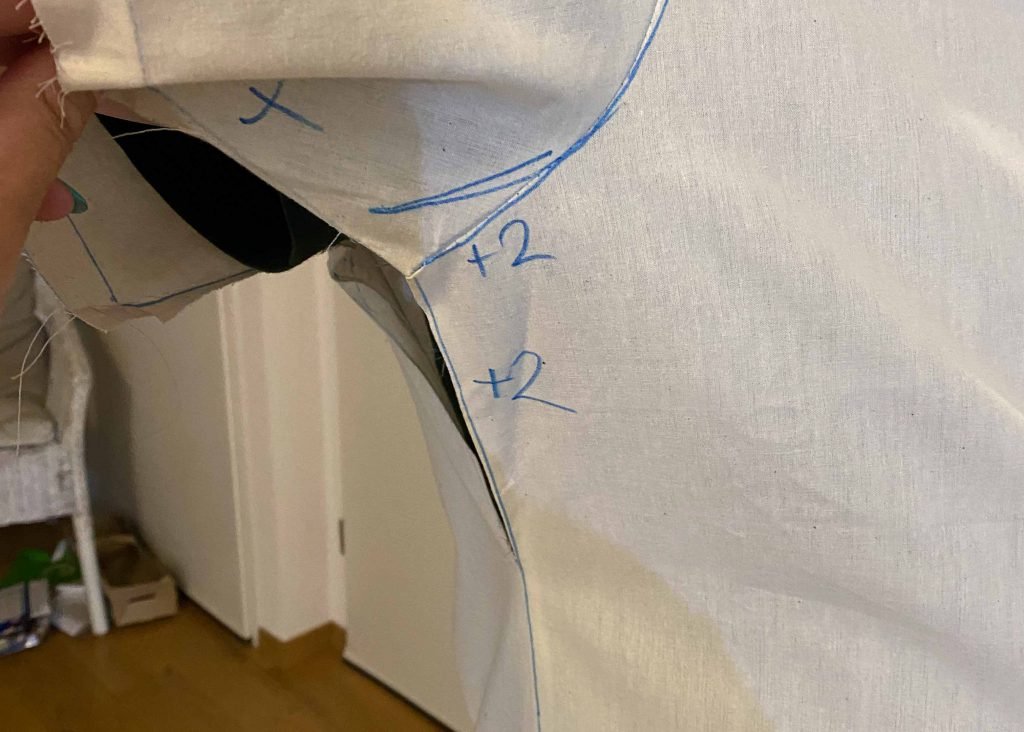
The armscye, however, was much too deep and I moved it up about 2cm. Additionally I had to move the dart towards the front and add a few centimeters to the chest area. Also, my partner wanted 2cm of additional length. I make it a habit to mark all the changes directly on the mockup.
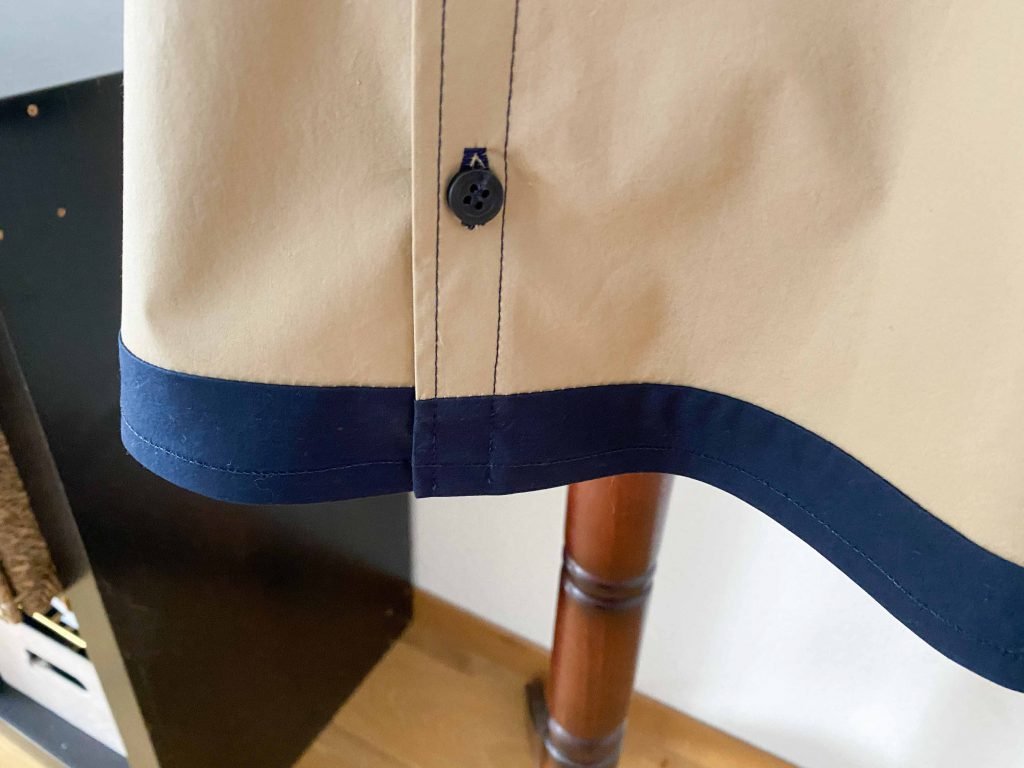
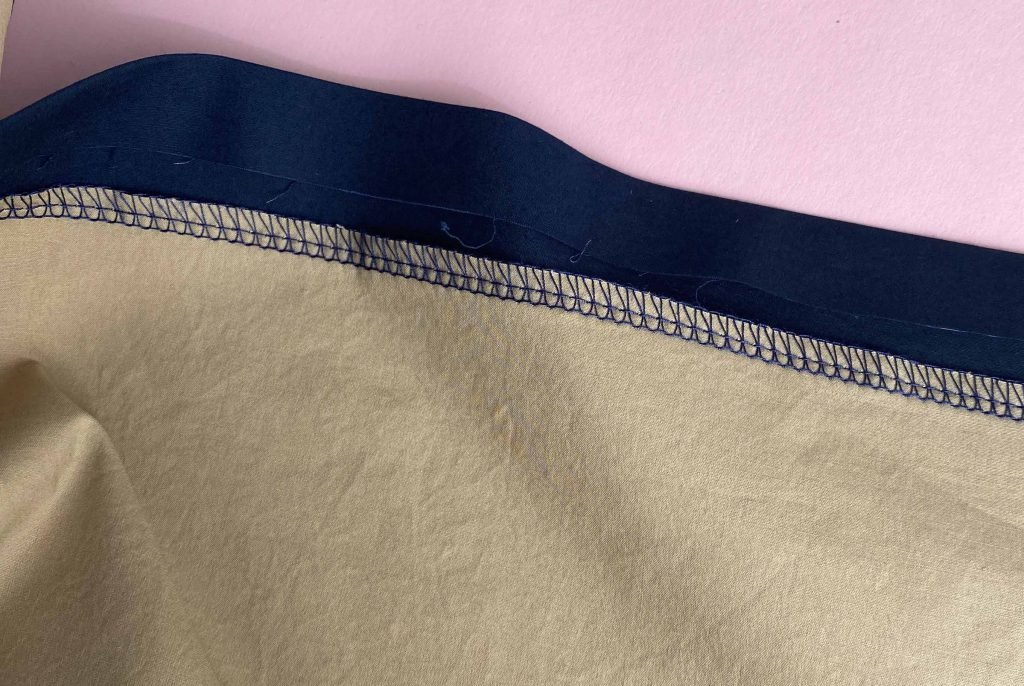
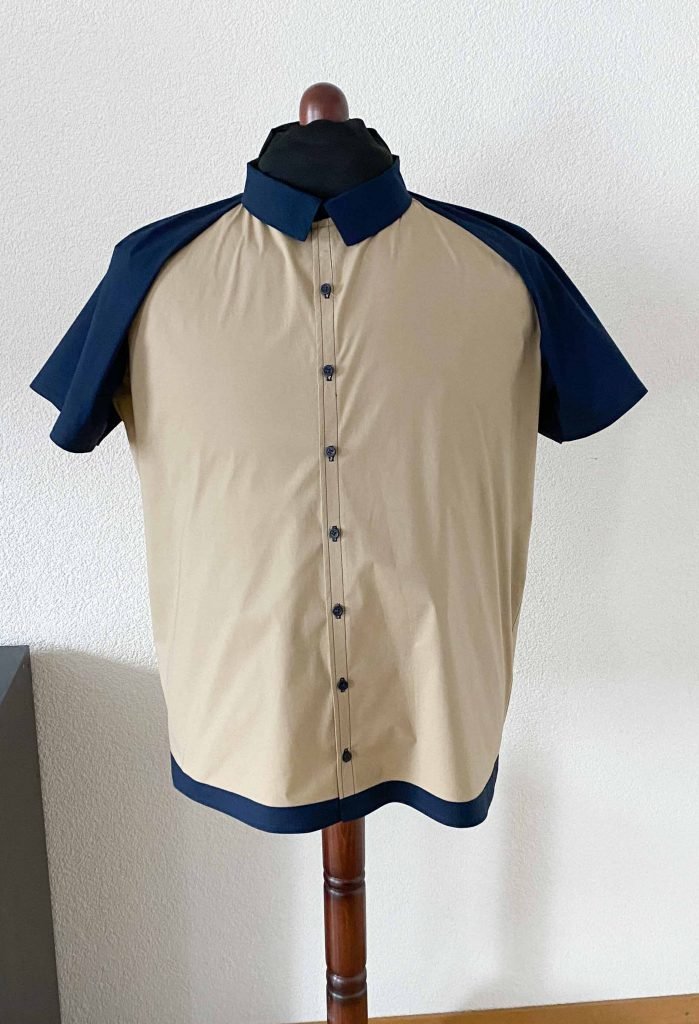
Next I went to cut out my pattern pieces only to make a huuuuge mistage. Remember when I wrote, that he wanted the shirt 2cm longer? Well, I forgot about that and cut right at the wrong place. There was no way I could re-cut the back piece and after some cursing I decided to add a contrasting edge to the bottom of the shirt. I had enough navy fabric after all. You can skipt all my despriptions and scroll down to see the result. It turned out pretty good! Still, I was quite angry at myself for making such an avoidable mistake.
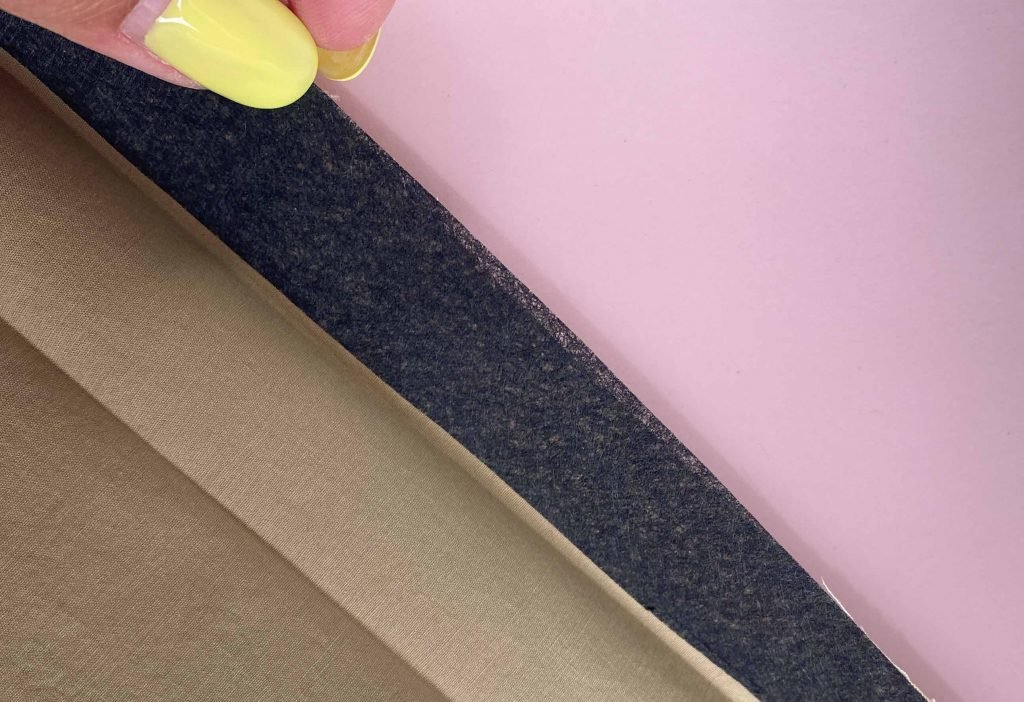
Before starting to sew, I interfaced the collar and the center front. Also, I pressed the hems already – I find this process makes hemming a lot easier.
The shirt came together pretty quickly and the instructions were easy to understand. After sewing the side seams I attached the contrasting fabric strip to the bottom. This way I avoided having mismatches contrasting strips at the sideseam.
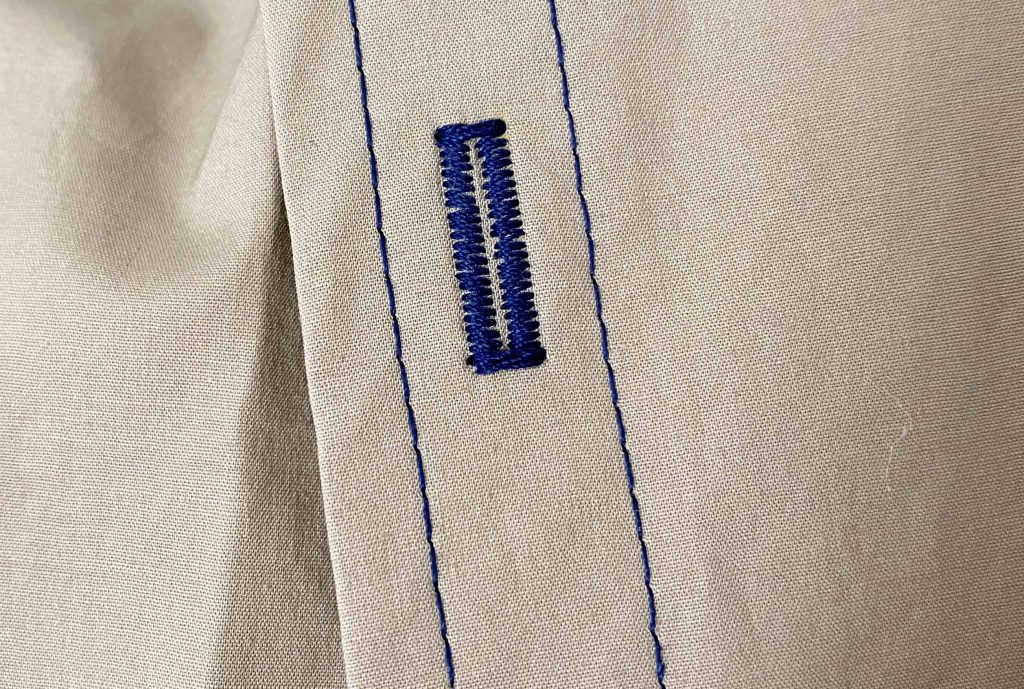
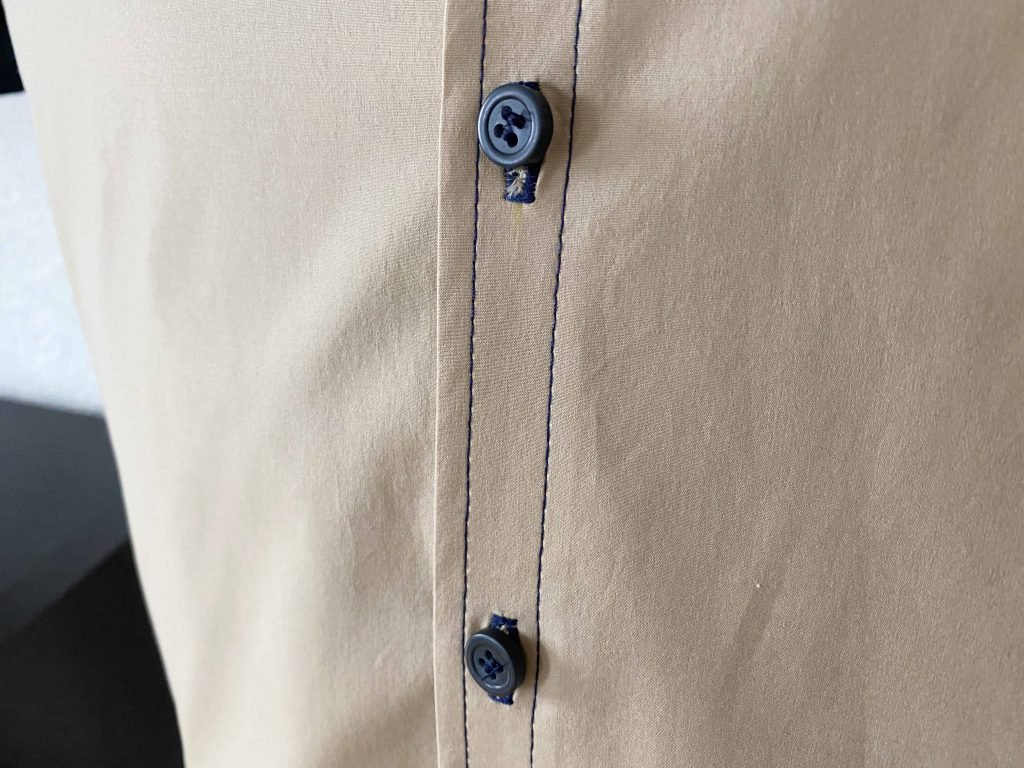
Also, I went for contrasting topstitching in navy on the center front and some contrasting buttons. I really was “all-in” with this constrasting theme!
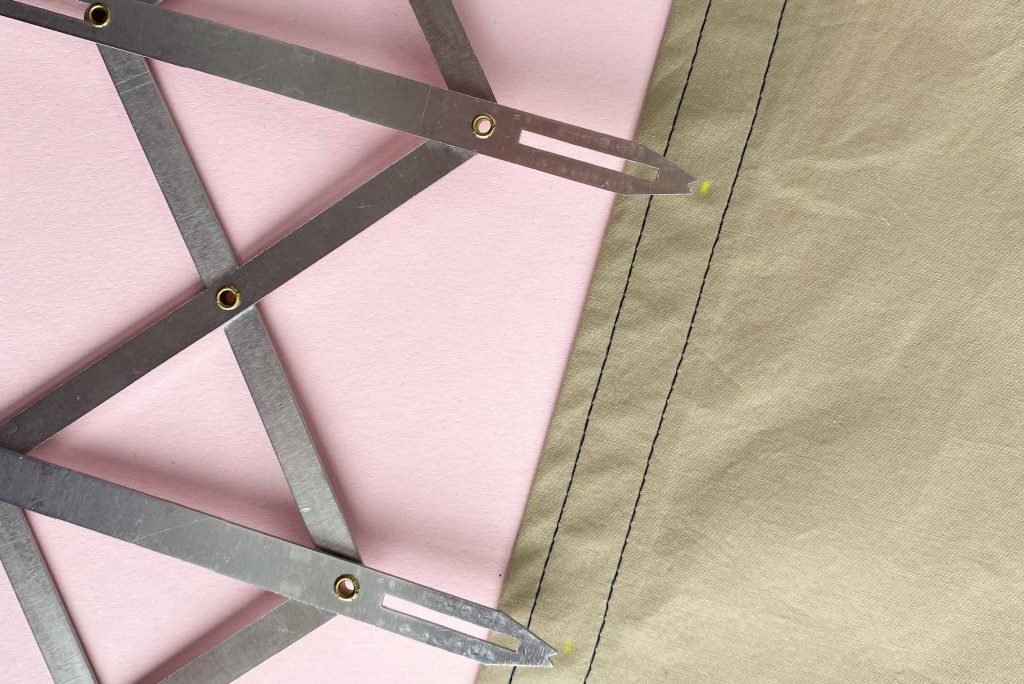
I achieved an even button distribution by using my trusted button gauge I got of the internet.
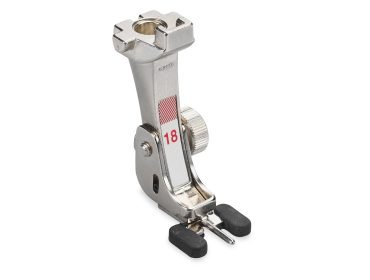
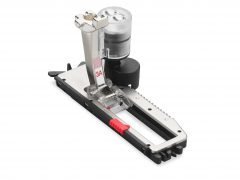
The buttonholes were made with the special buttonhole foot 3A. My partner makes it a point never to hand-sew a button on – so he used the button-attachment-foot to sew on all the buttons.
Buttonhole foot with slide #3A Button-sew-on foot # 18
As you can tell the result turned out to be really good. My partner was very happy with the two-tone look of this shirt.
Until next time!
Nadine @heart.pleat
 BERNINA Corporate Blog -


0 Responses