 BERNINA Corporate Blog -
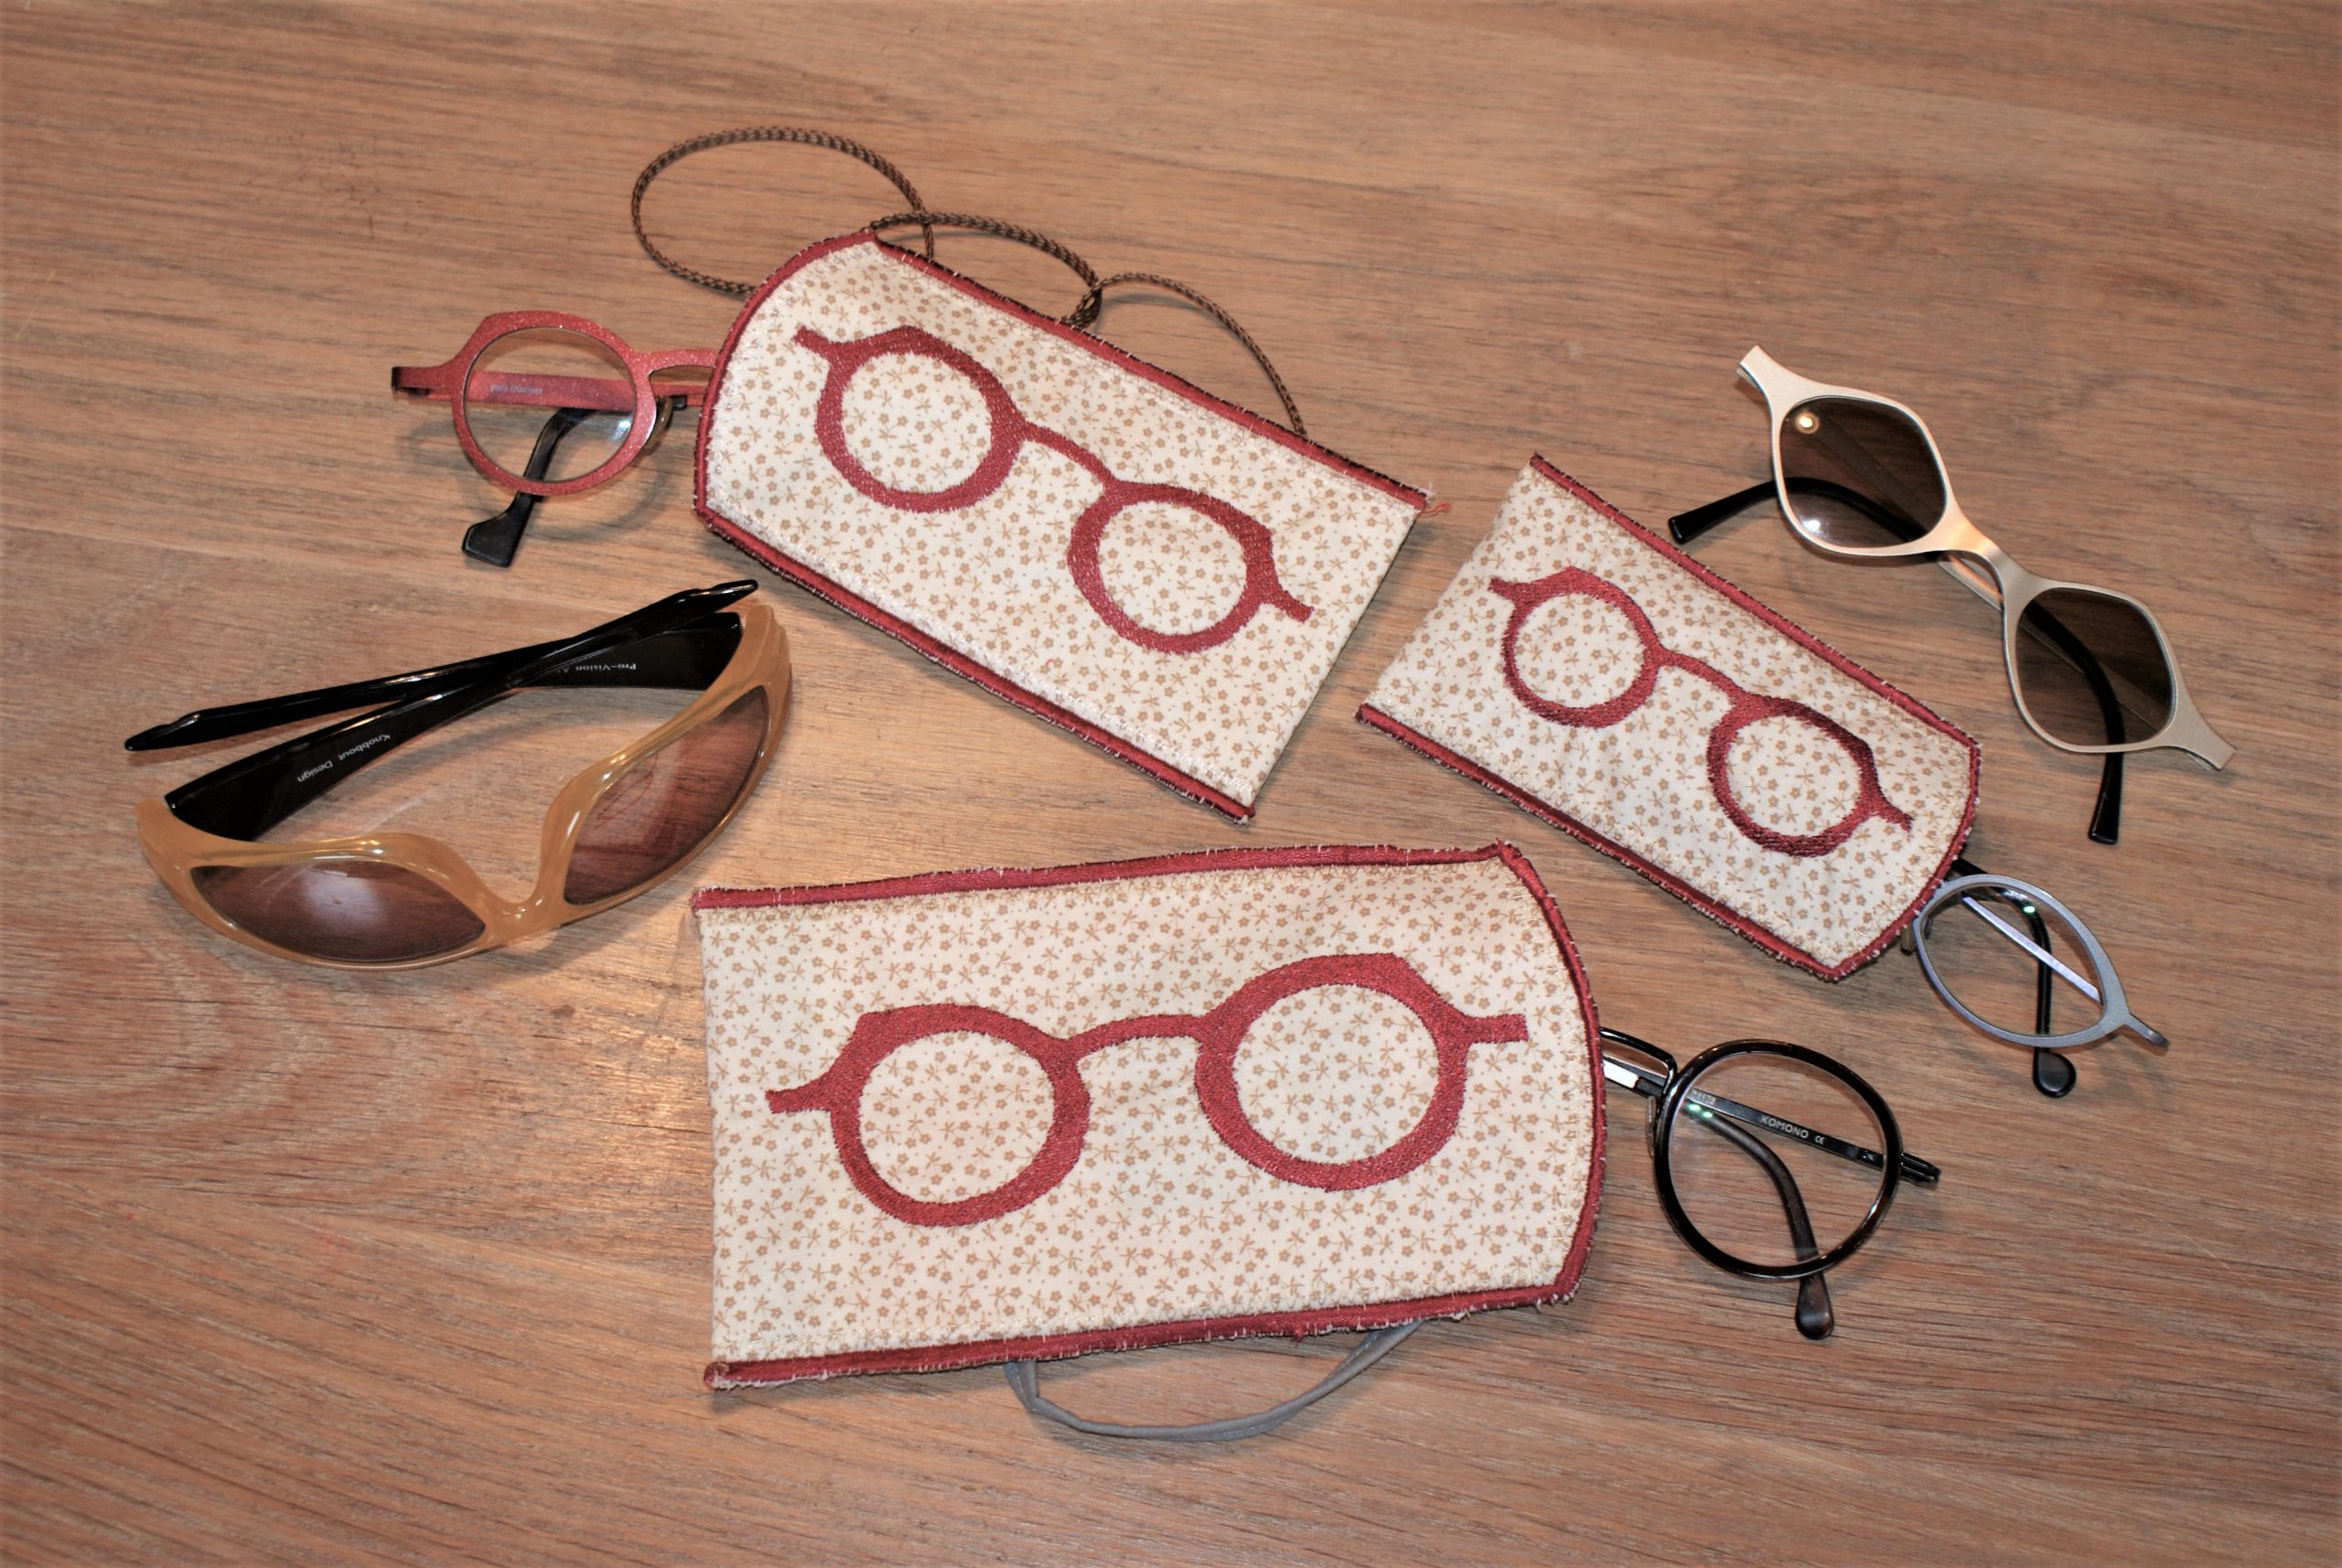
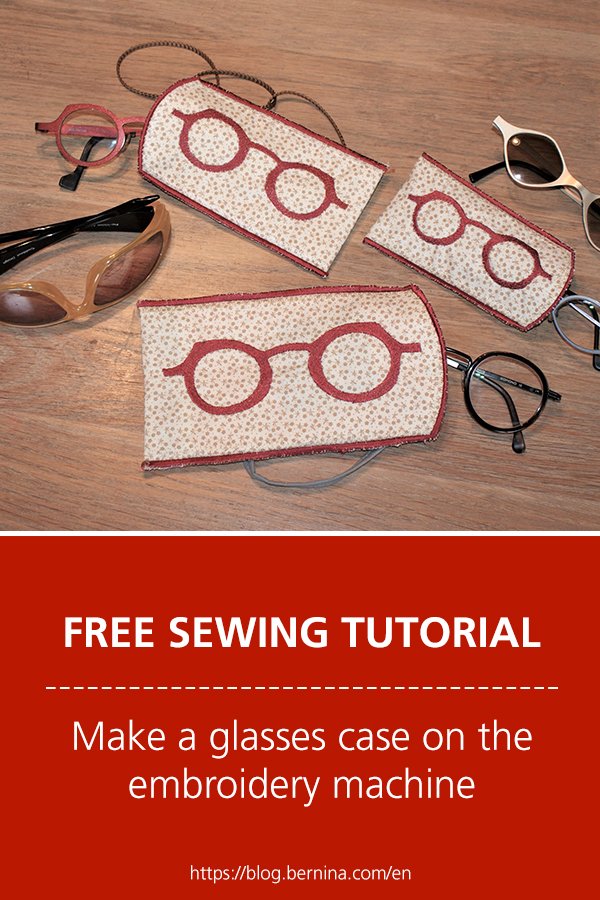
Make a glasses case on the embroidery machine. It’s a nice and funny model. Of course, you can’t compare it to a really safe hard case, but it is nice to use every now and then. Sometimes I wish to have it close at hand (hanging round my neck) when cycling on a sunny/cloudy day. And I want one besides the shower, and in some other places. Three sizes are available.
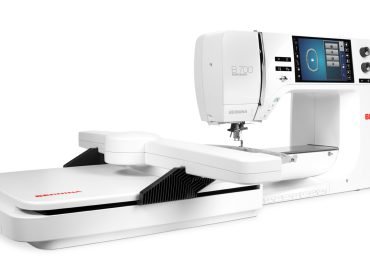
I use the BERNINA 700 embroidery machine.
The file is made in BERNINA Embroidery Software 8
Make your choice!
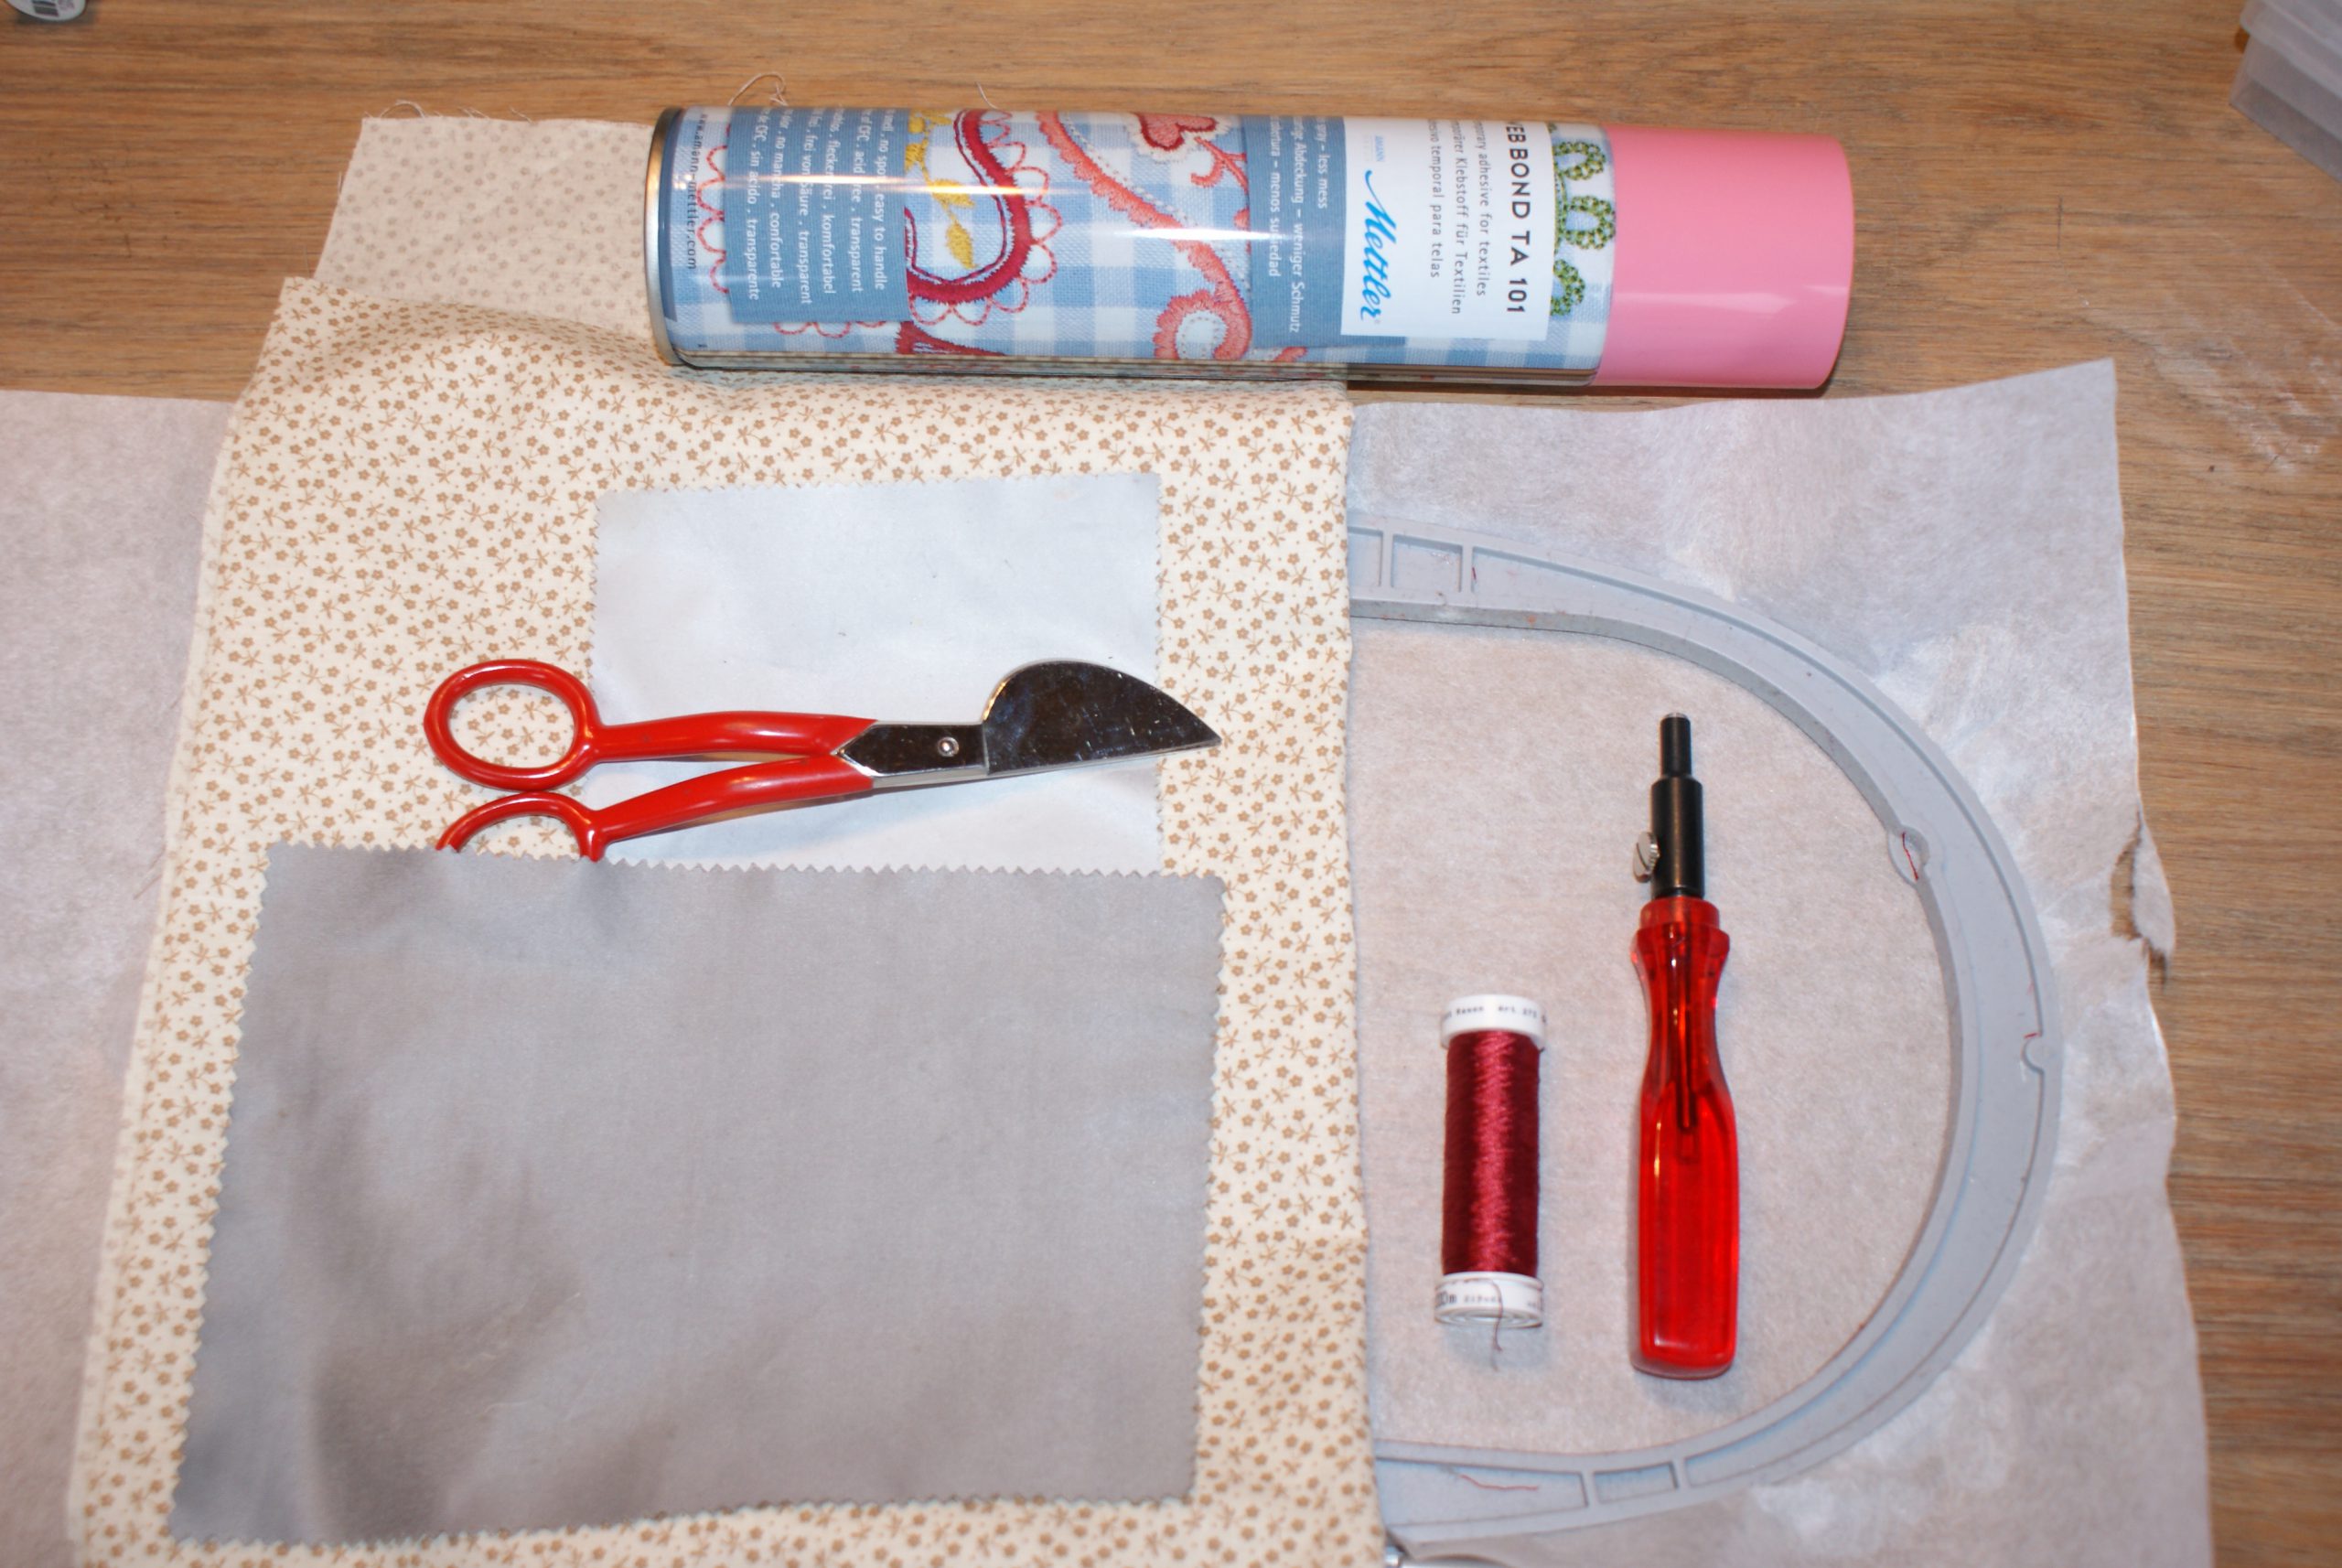
The supplies for a glasses case on the embroidery machine:
- A decorative cotton scrap
- Glasses cleaning cloth for the lining.
- Cord or tape to hang the case round your neck.
- Embroidery thread Mettler Poly Sheen in the same color as the outer fabric and a contrasting color.
- Cut away stabilizer
- Mettler Web Bond temporary adhesive spray is useful.
- Fabric glue to secure threads after finishing.
- A punchtool (from the eyelet embroidery accessory f.i.) or a revolving punch tool.
- The embroidery file free download in the next paragraph
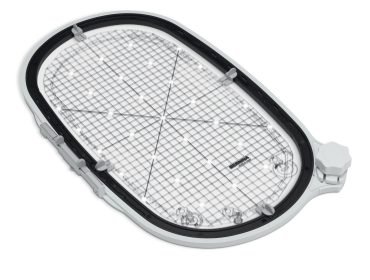
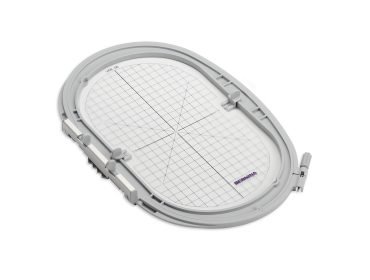
- The Large oval hoop or Maxi Hoop depending on the chosen size.
The files for the glasses case:
Small:
- This one is meant for children’s (sun)glasses or for small reading spectacles.
- Finished size: 13 x 7 cm
- Fabric size: 29 x 10 cm (for outside fabric and lining)
- Embroidery file in EXP, PES and JEF: Bril Glasses Small
Medium:
- This one fits a medium size glasses (measure, if you doubt).
- Finished size: 15 x 9 cm
- Fabric size: 23 x 12 cm (for outside fabric and lining)
- Embroidery file in EXP, PES and JEF: Bril Glasses Medium
Large:
- Perfect for a larger model or sunglasses.
- Finished size: 18 x 10,5 cm
- Fabric size: 40 x 14 cm (for outside fabric and lining)
- Embroidery file in EXP: Bril Glasses Large
Make the glasses case on the embroidery machine.
Hoop the stabilizer.
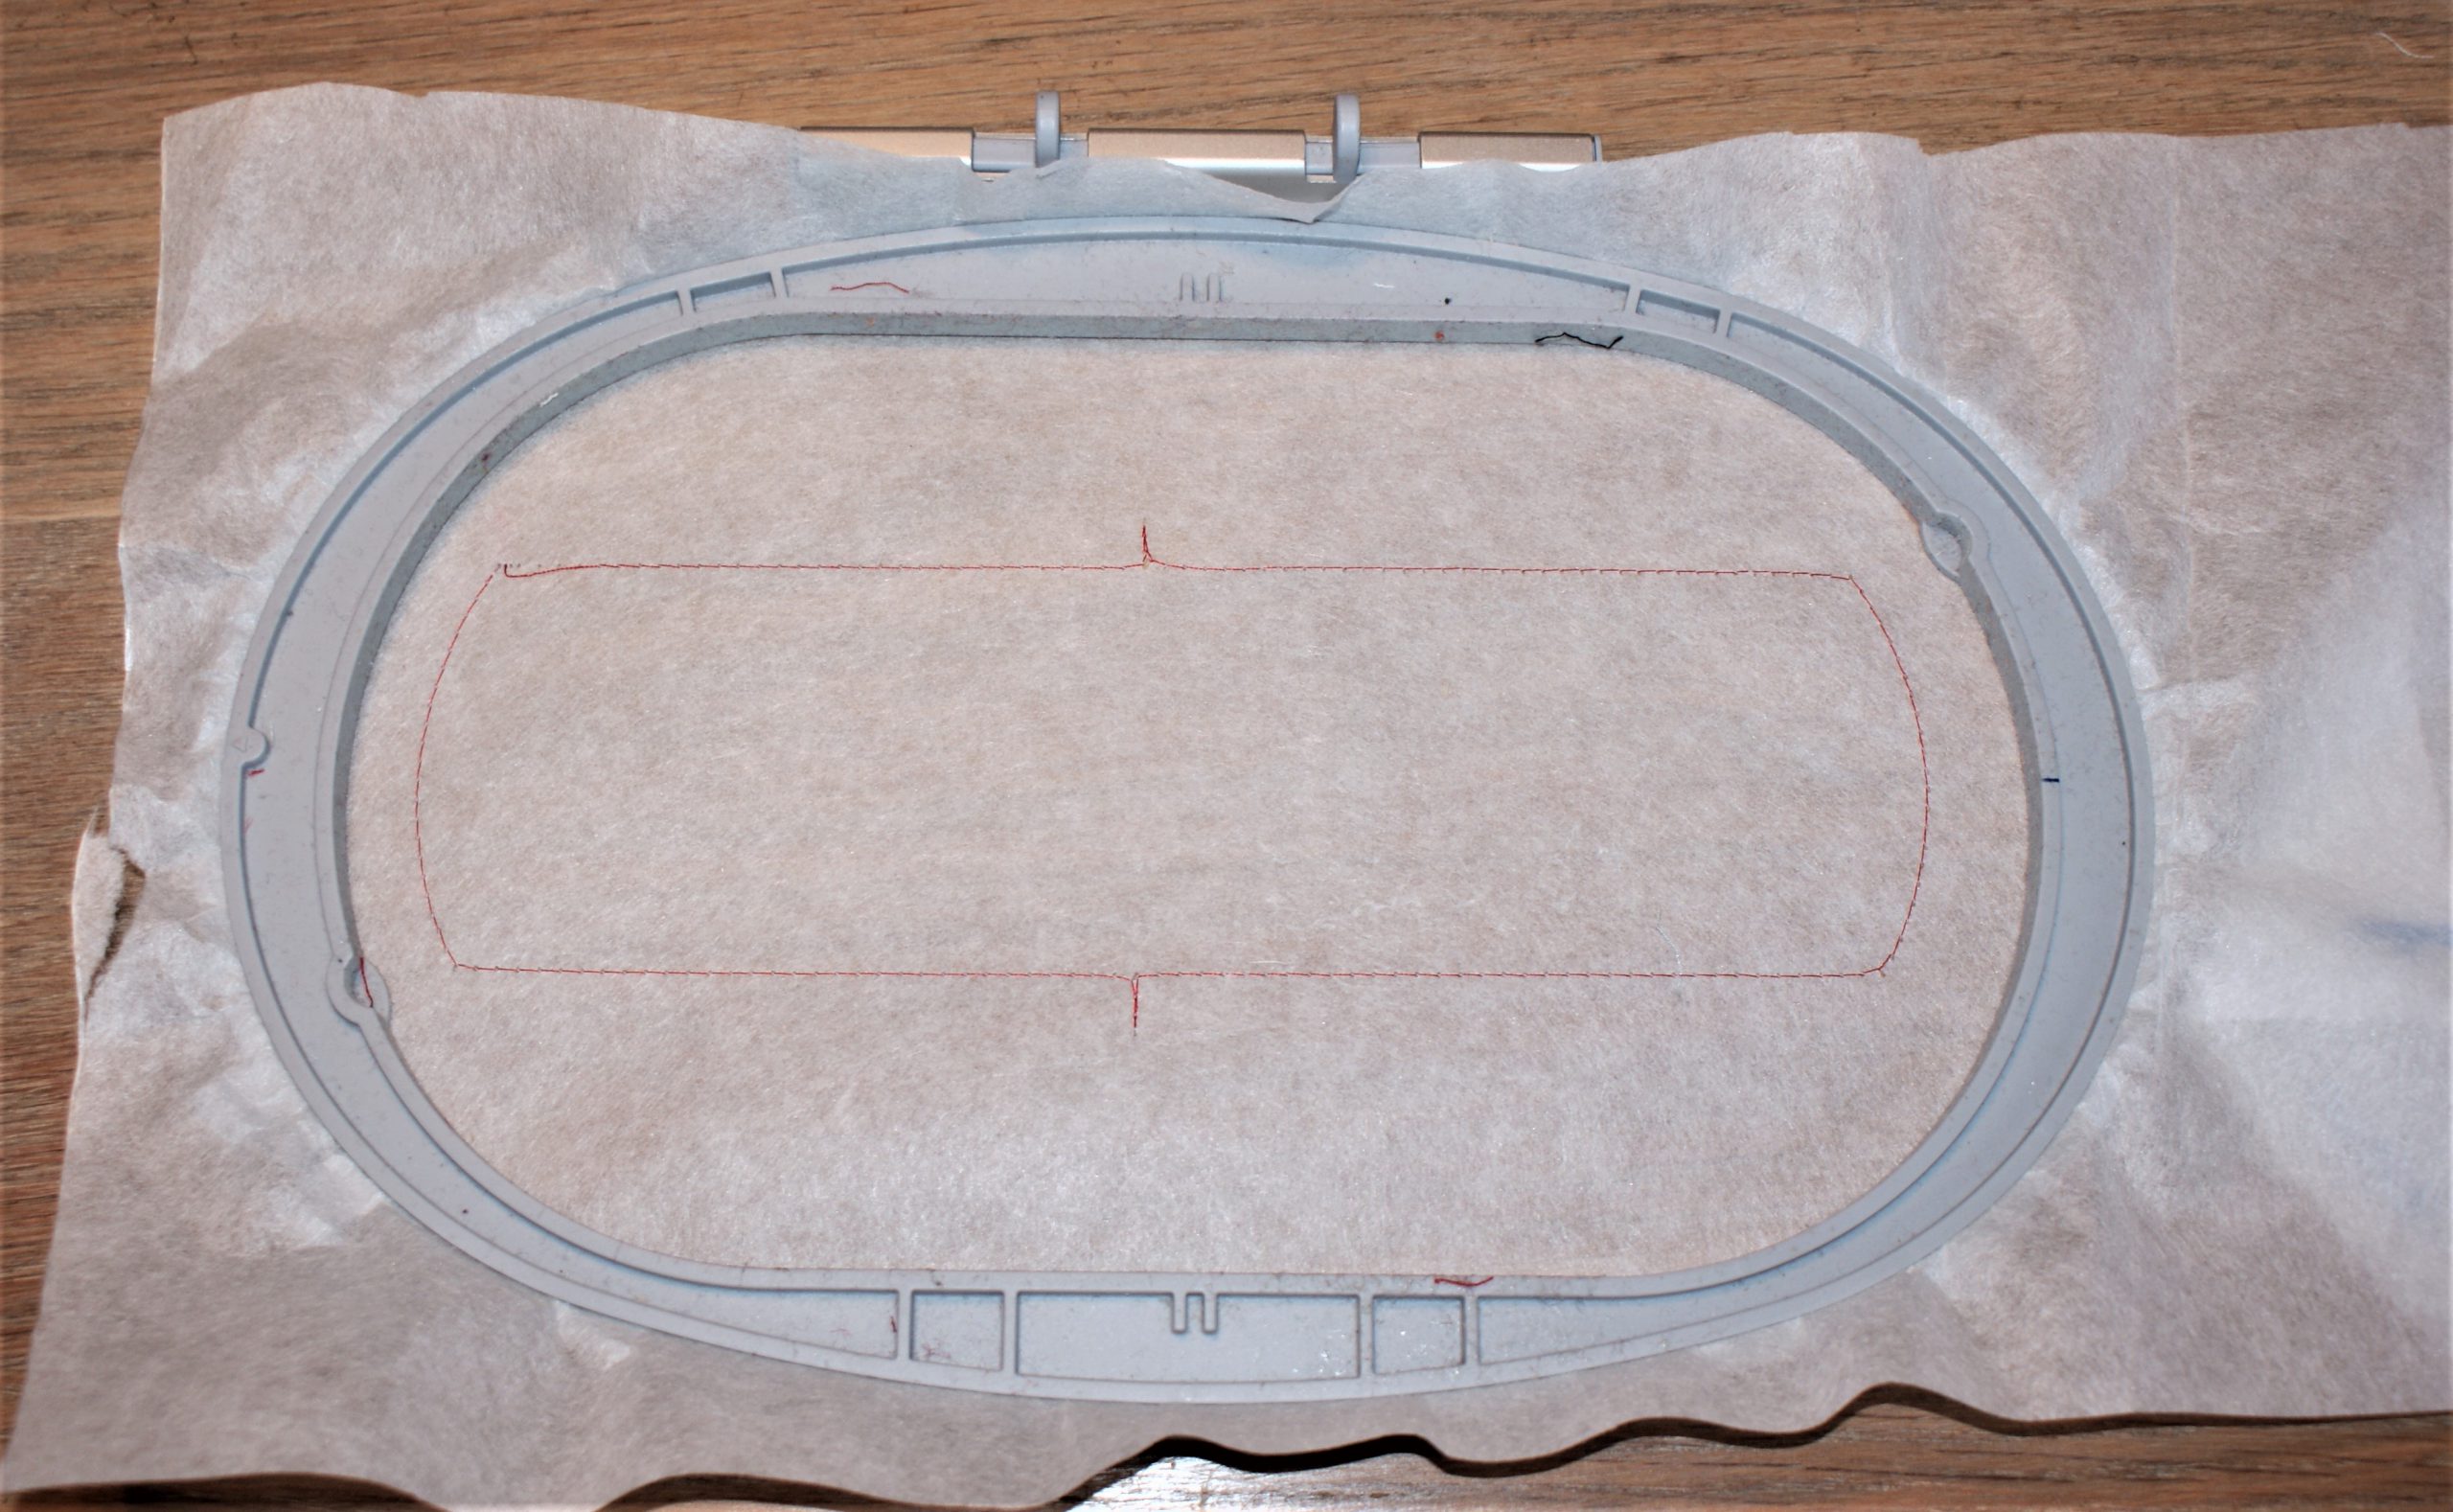
Put the fabric fot the case on top and fix with temporary adhesive spray or pin it.
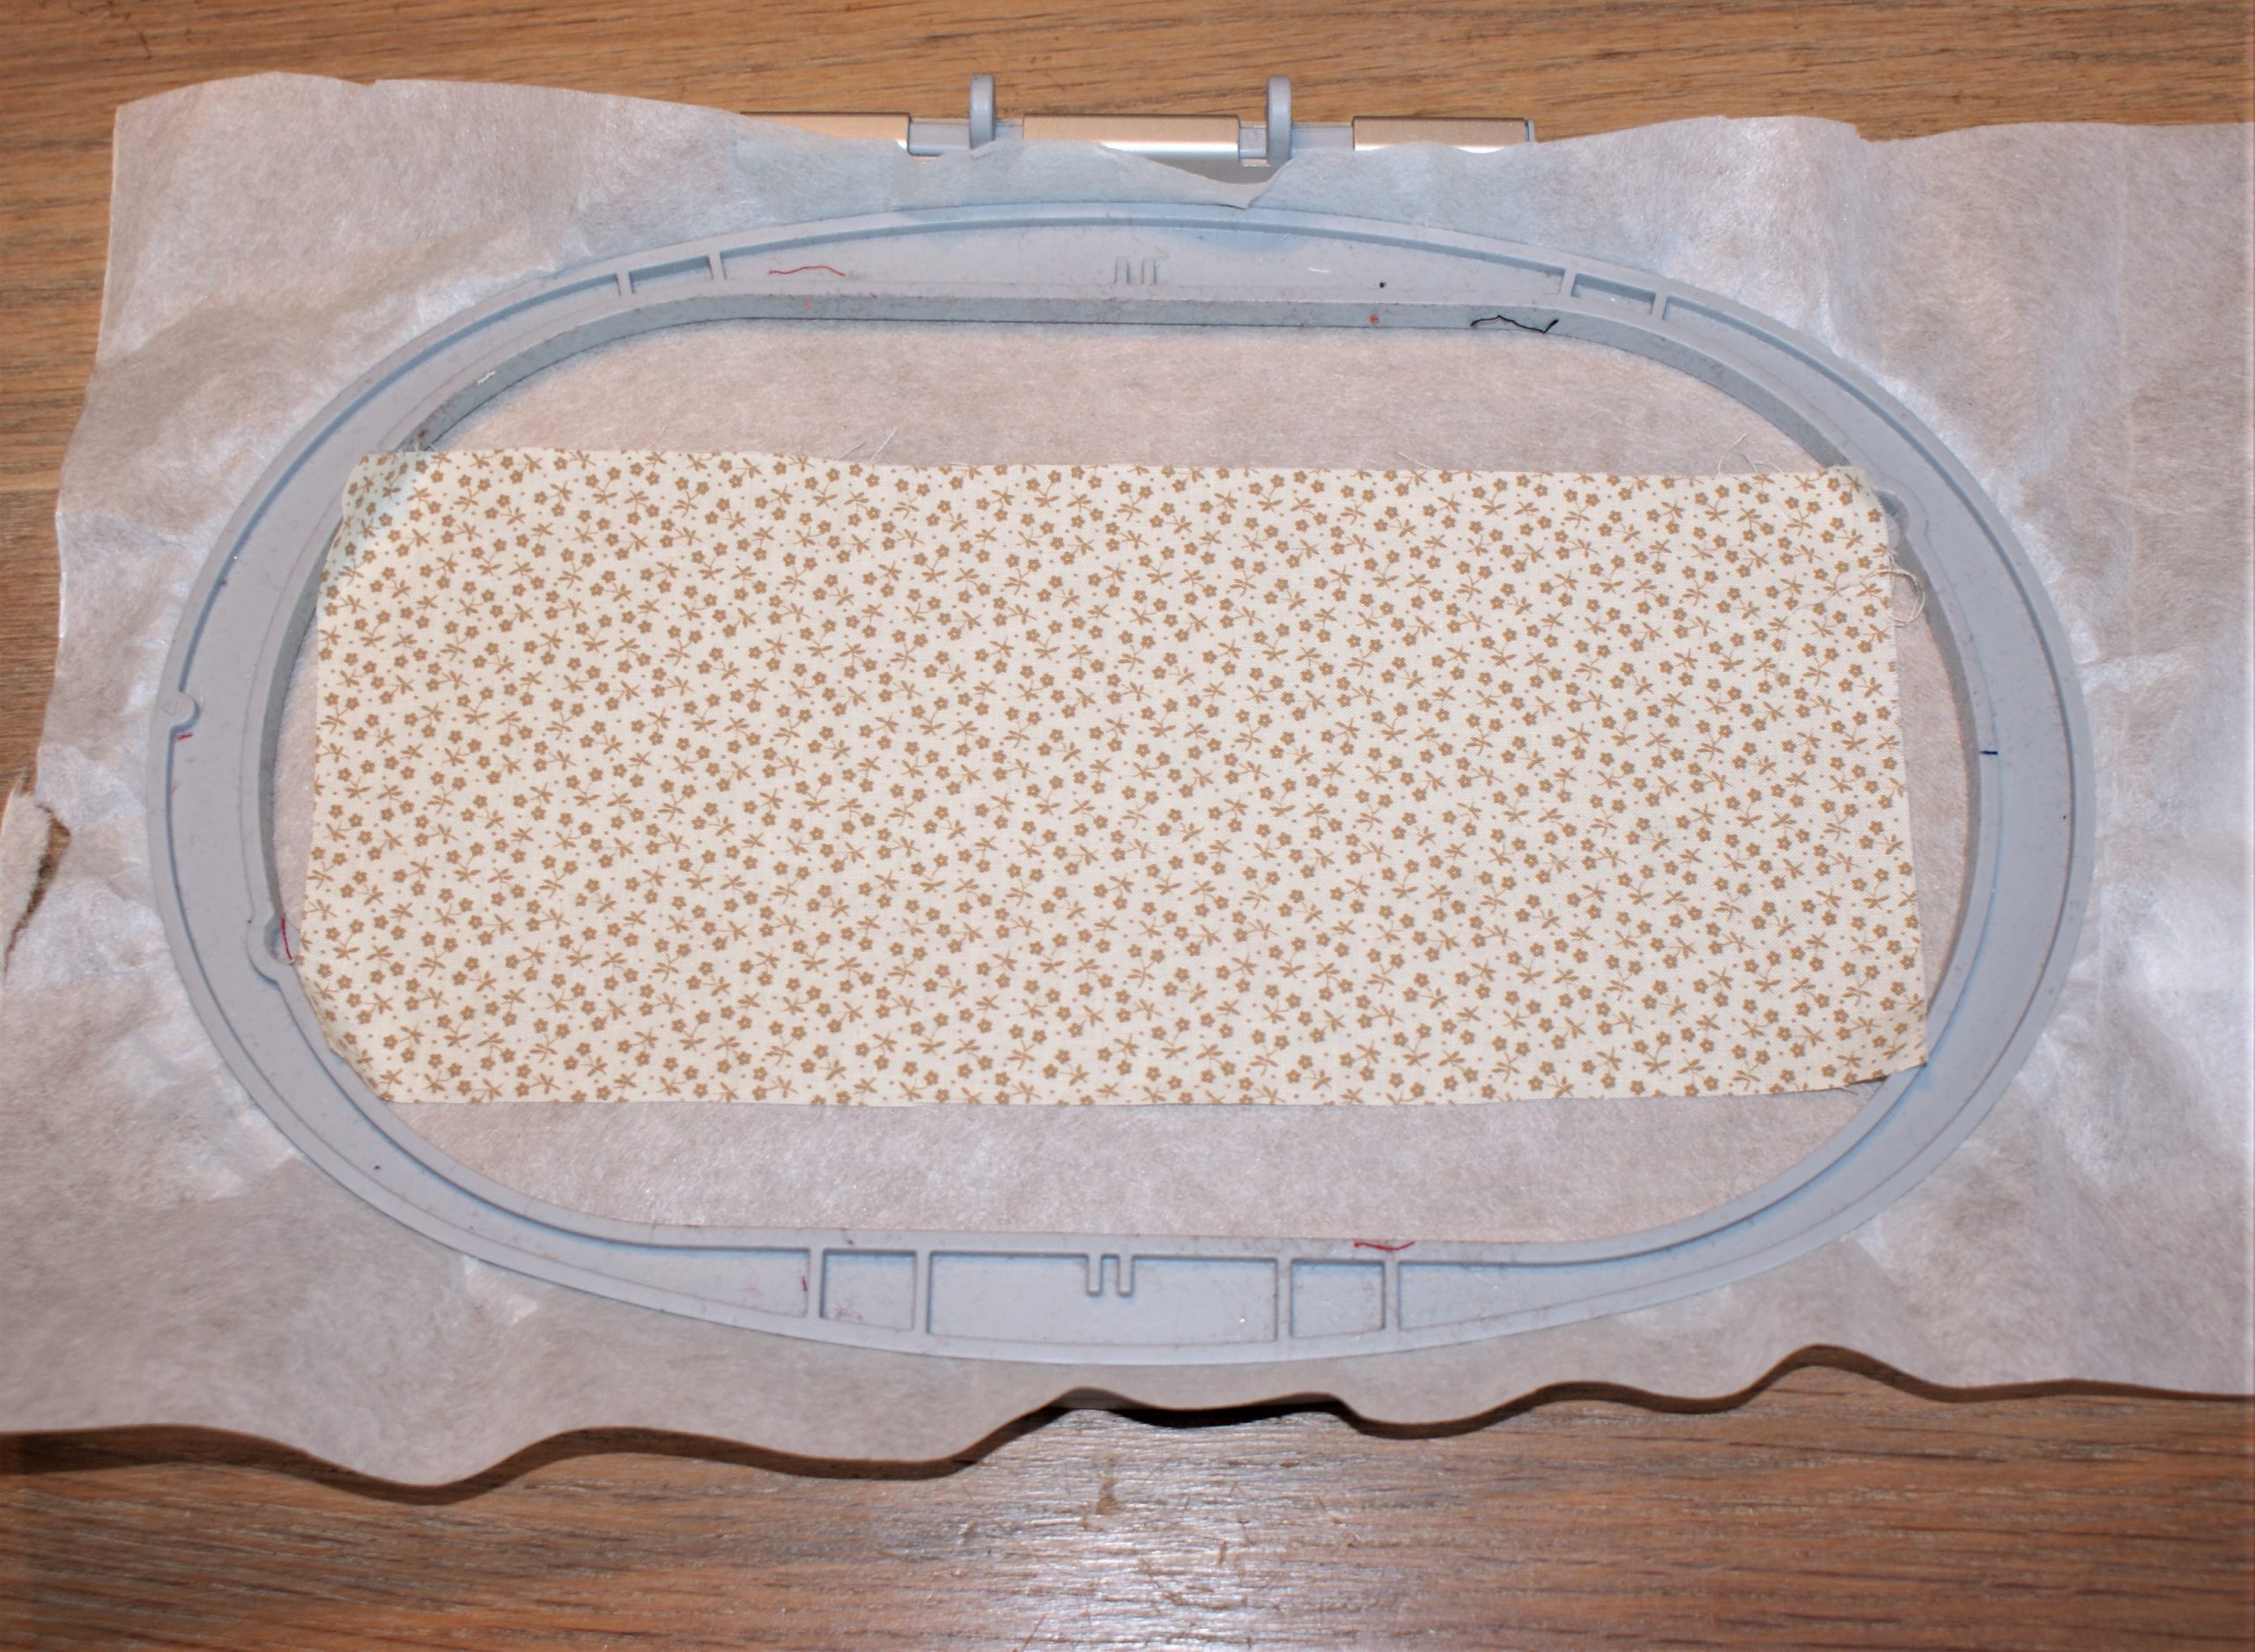
Embroider the next object, it will fix the fabric to the stabilizer:

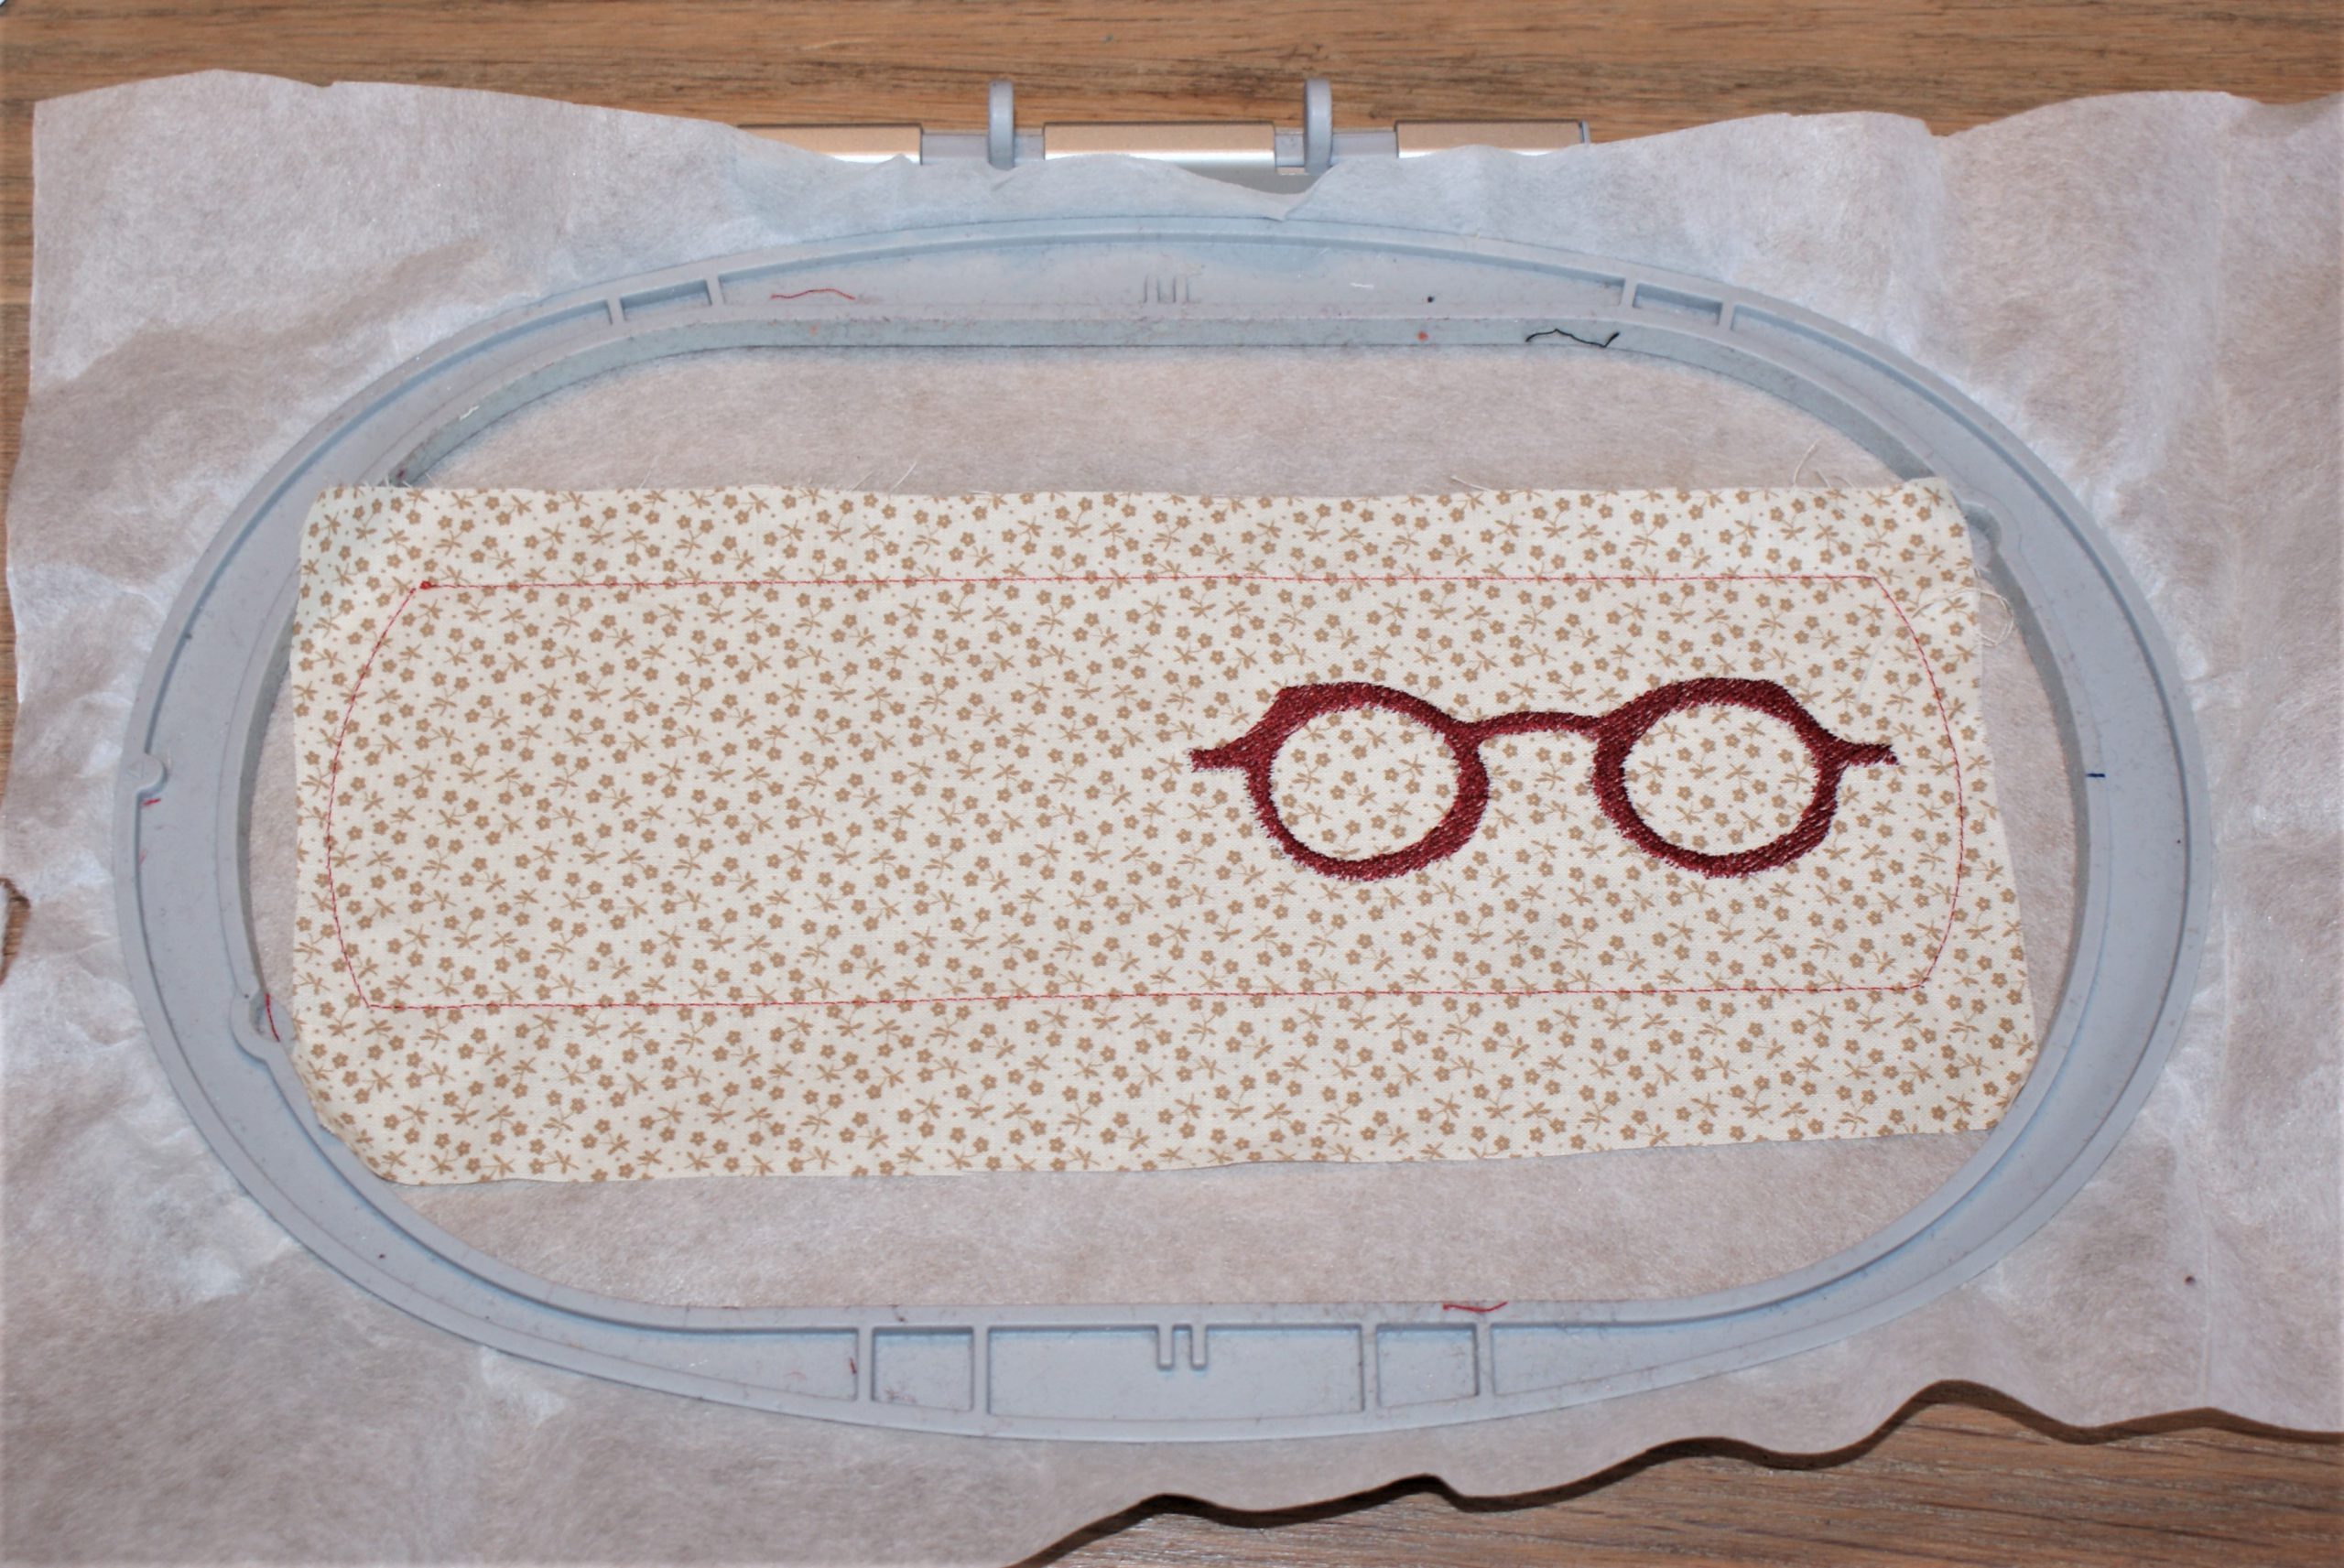
Embroider the glasses in the chosen color:
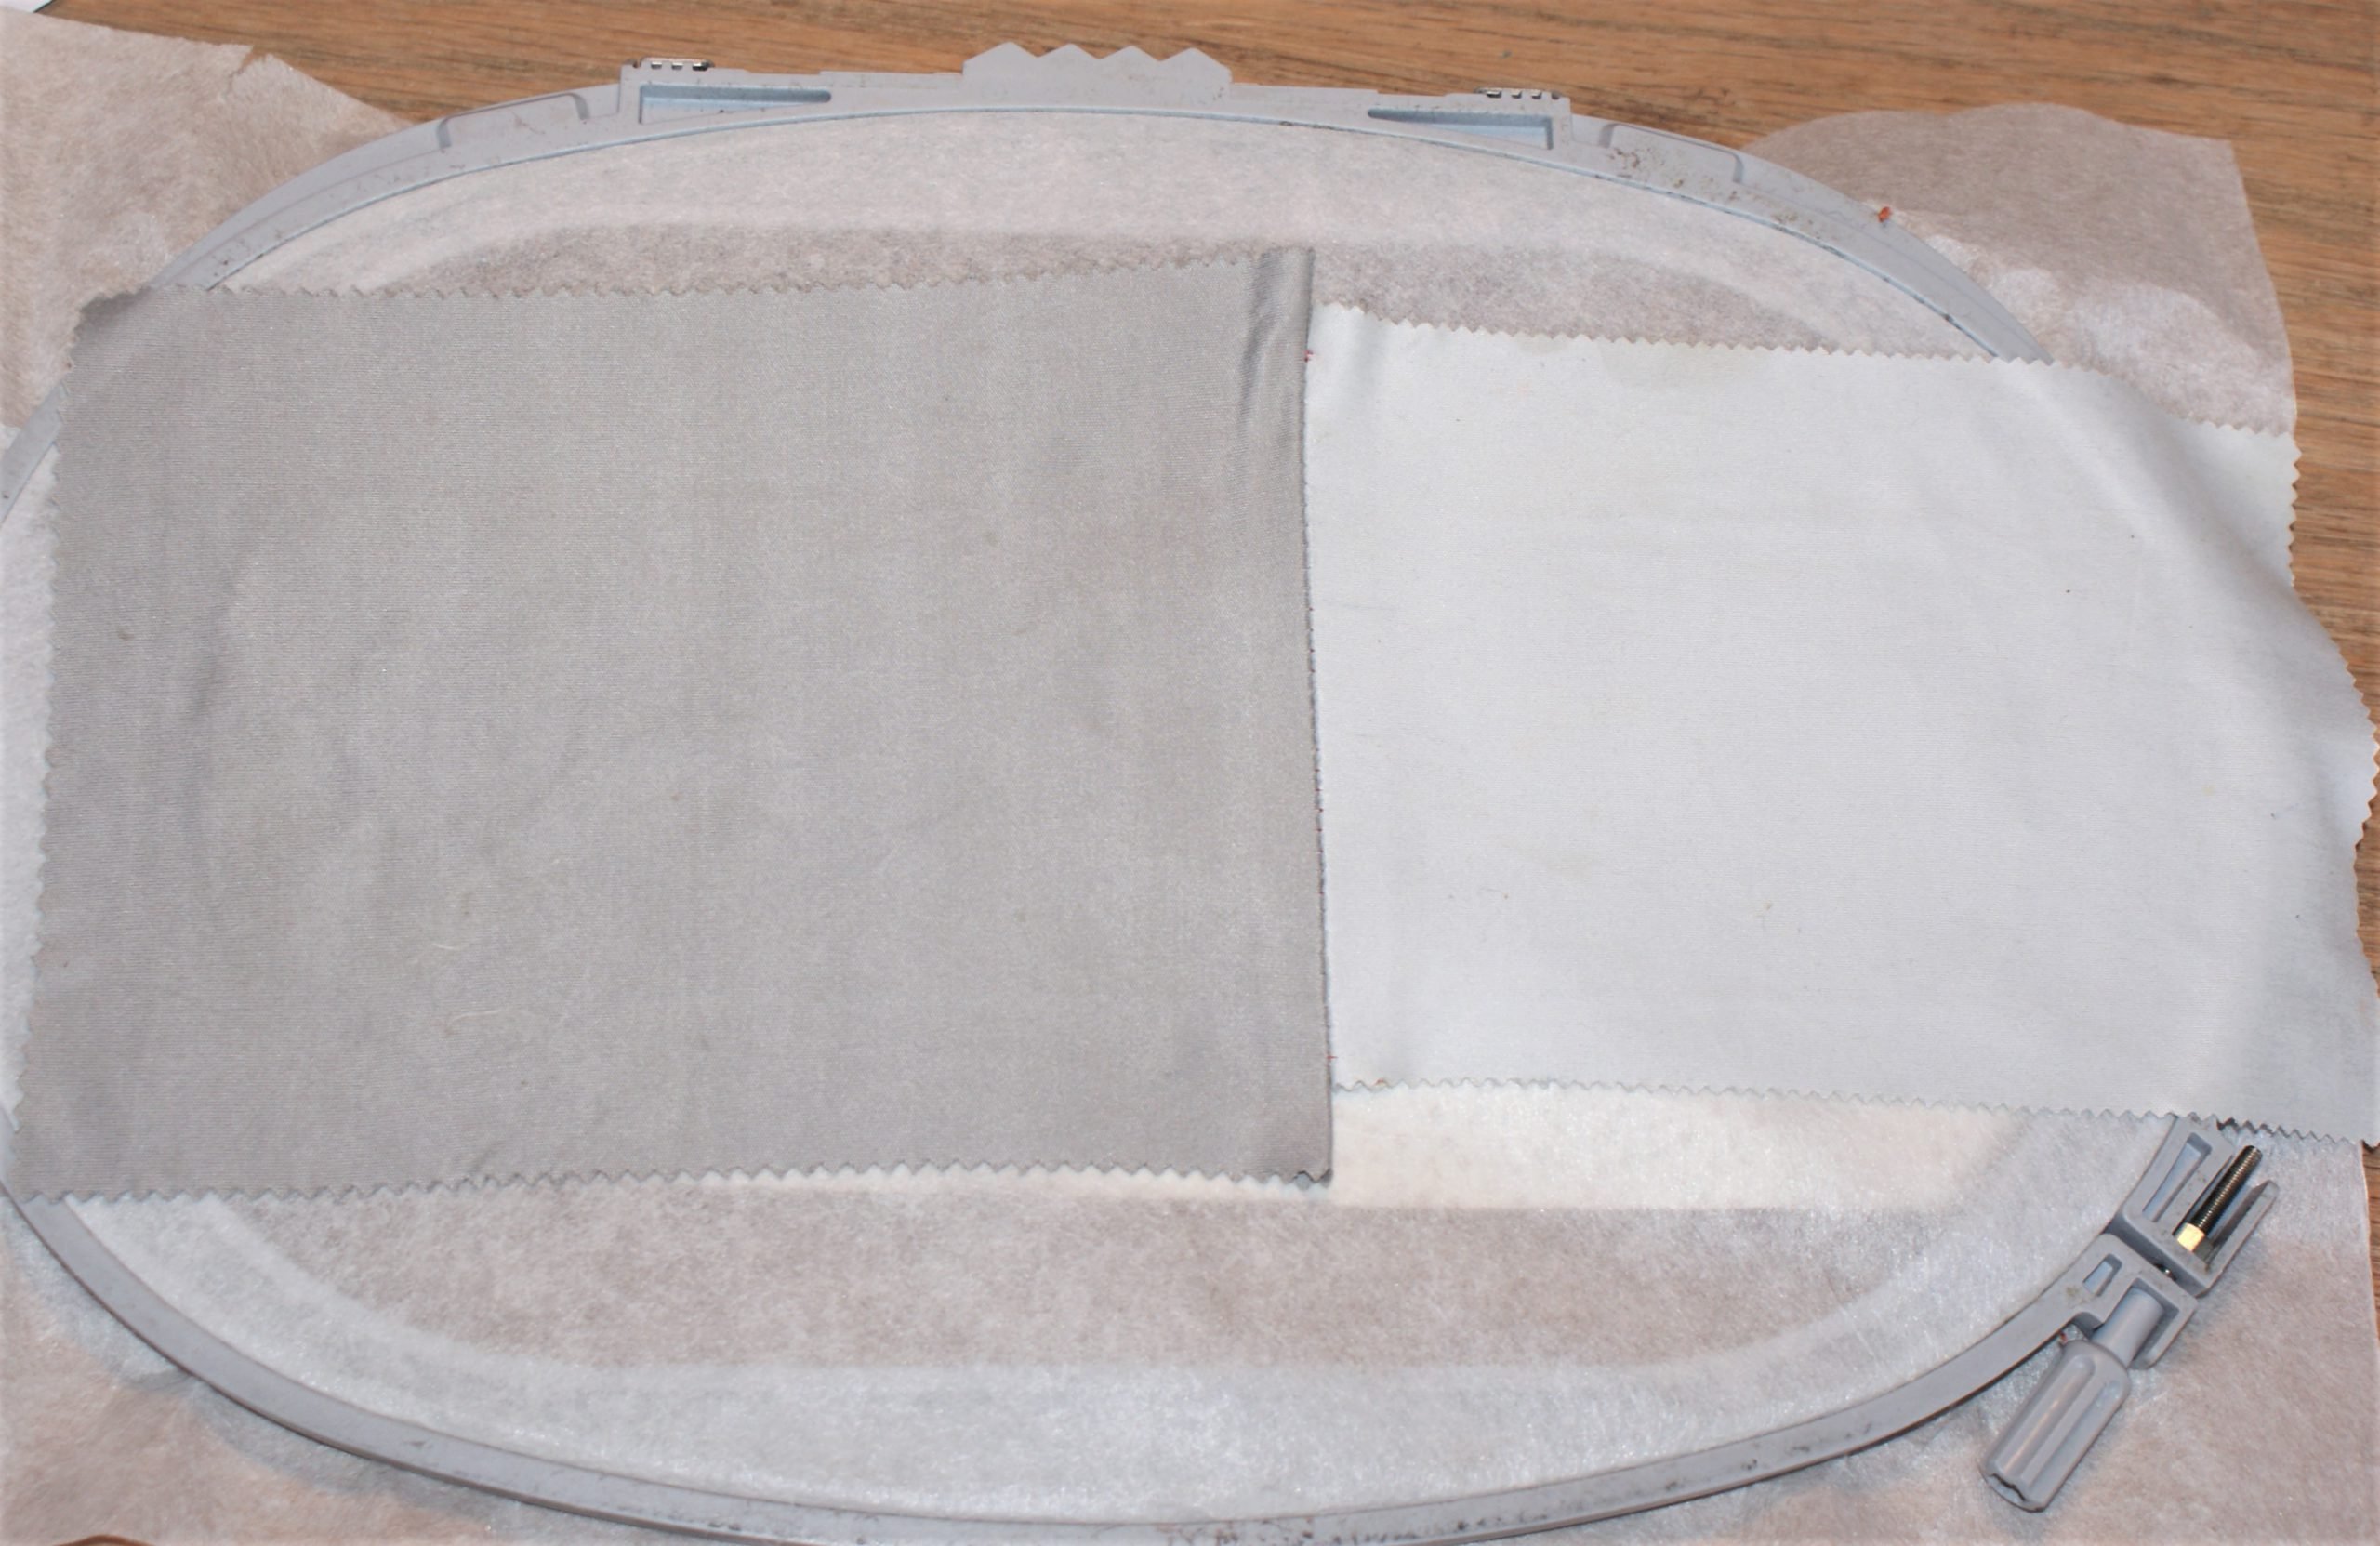
If necessary, sew 2 patches of cleaning cloth together:

Put it on the back of the fabric (right side up) and keep in place with temporary adhesive spray or pins.
Embroider with a straight stitch, take embroidery thread in the color of the outside fabric.
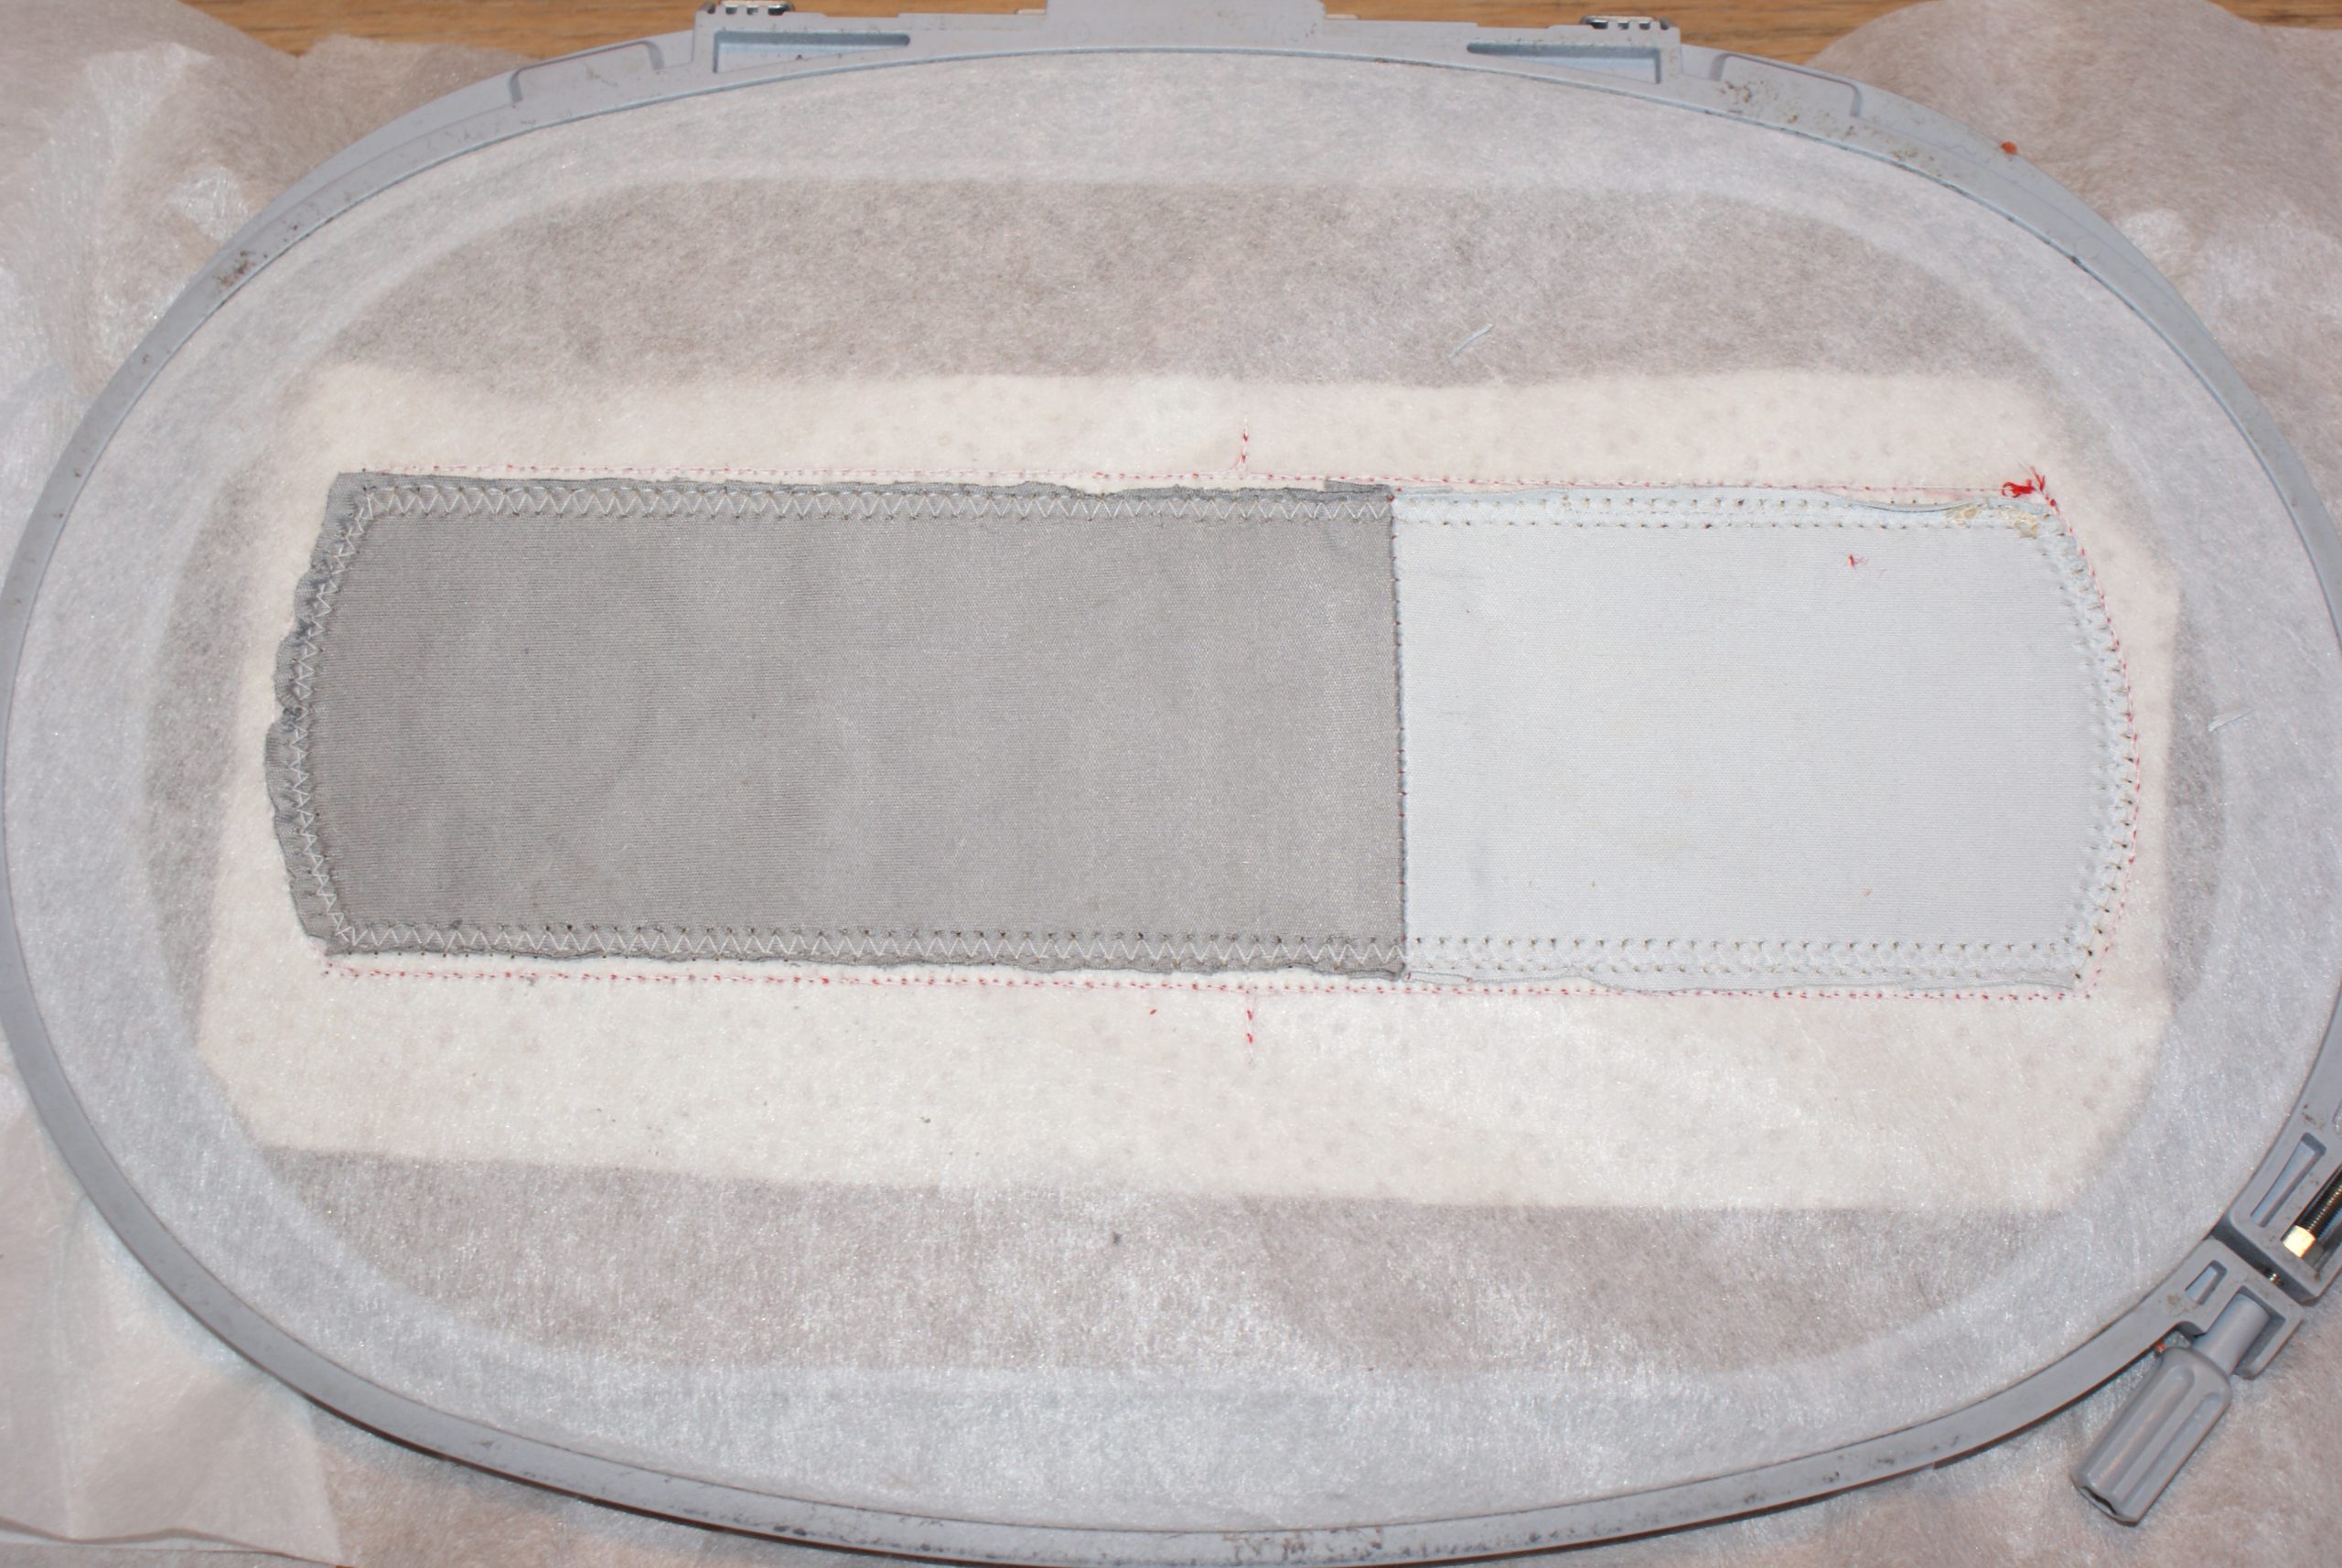
Next is a zigzag embroidery line. The circle for the holes can be embroidered in the contrasting color. Don’t forget to change bobbin thread to the contrasting color (mine is red).
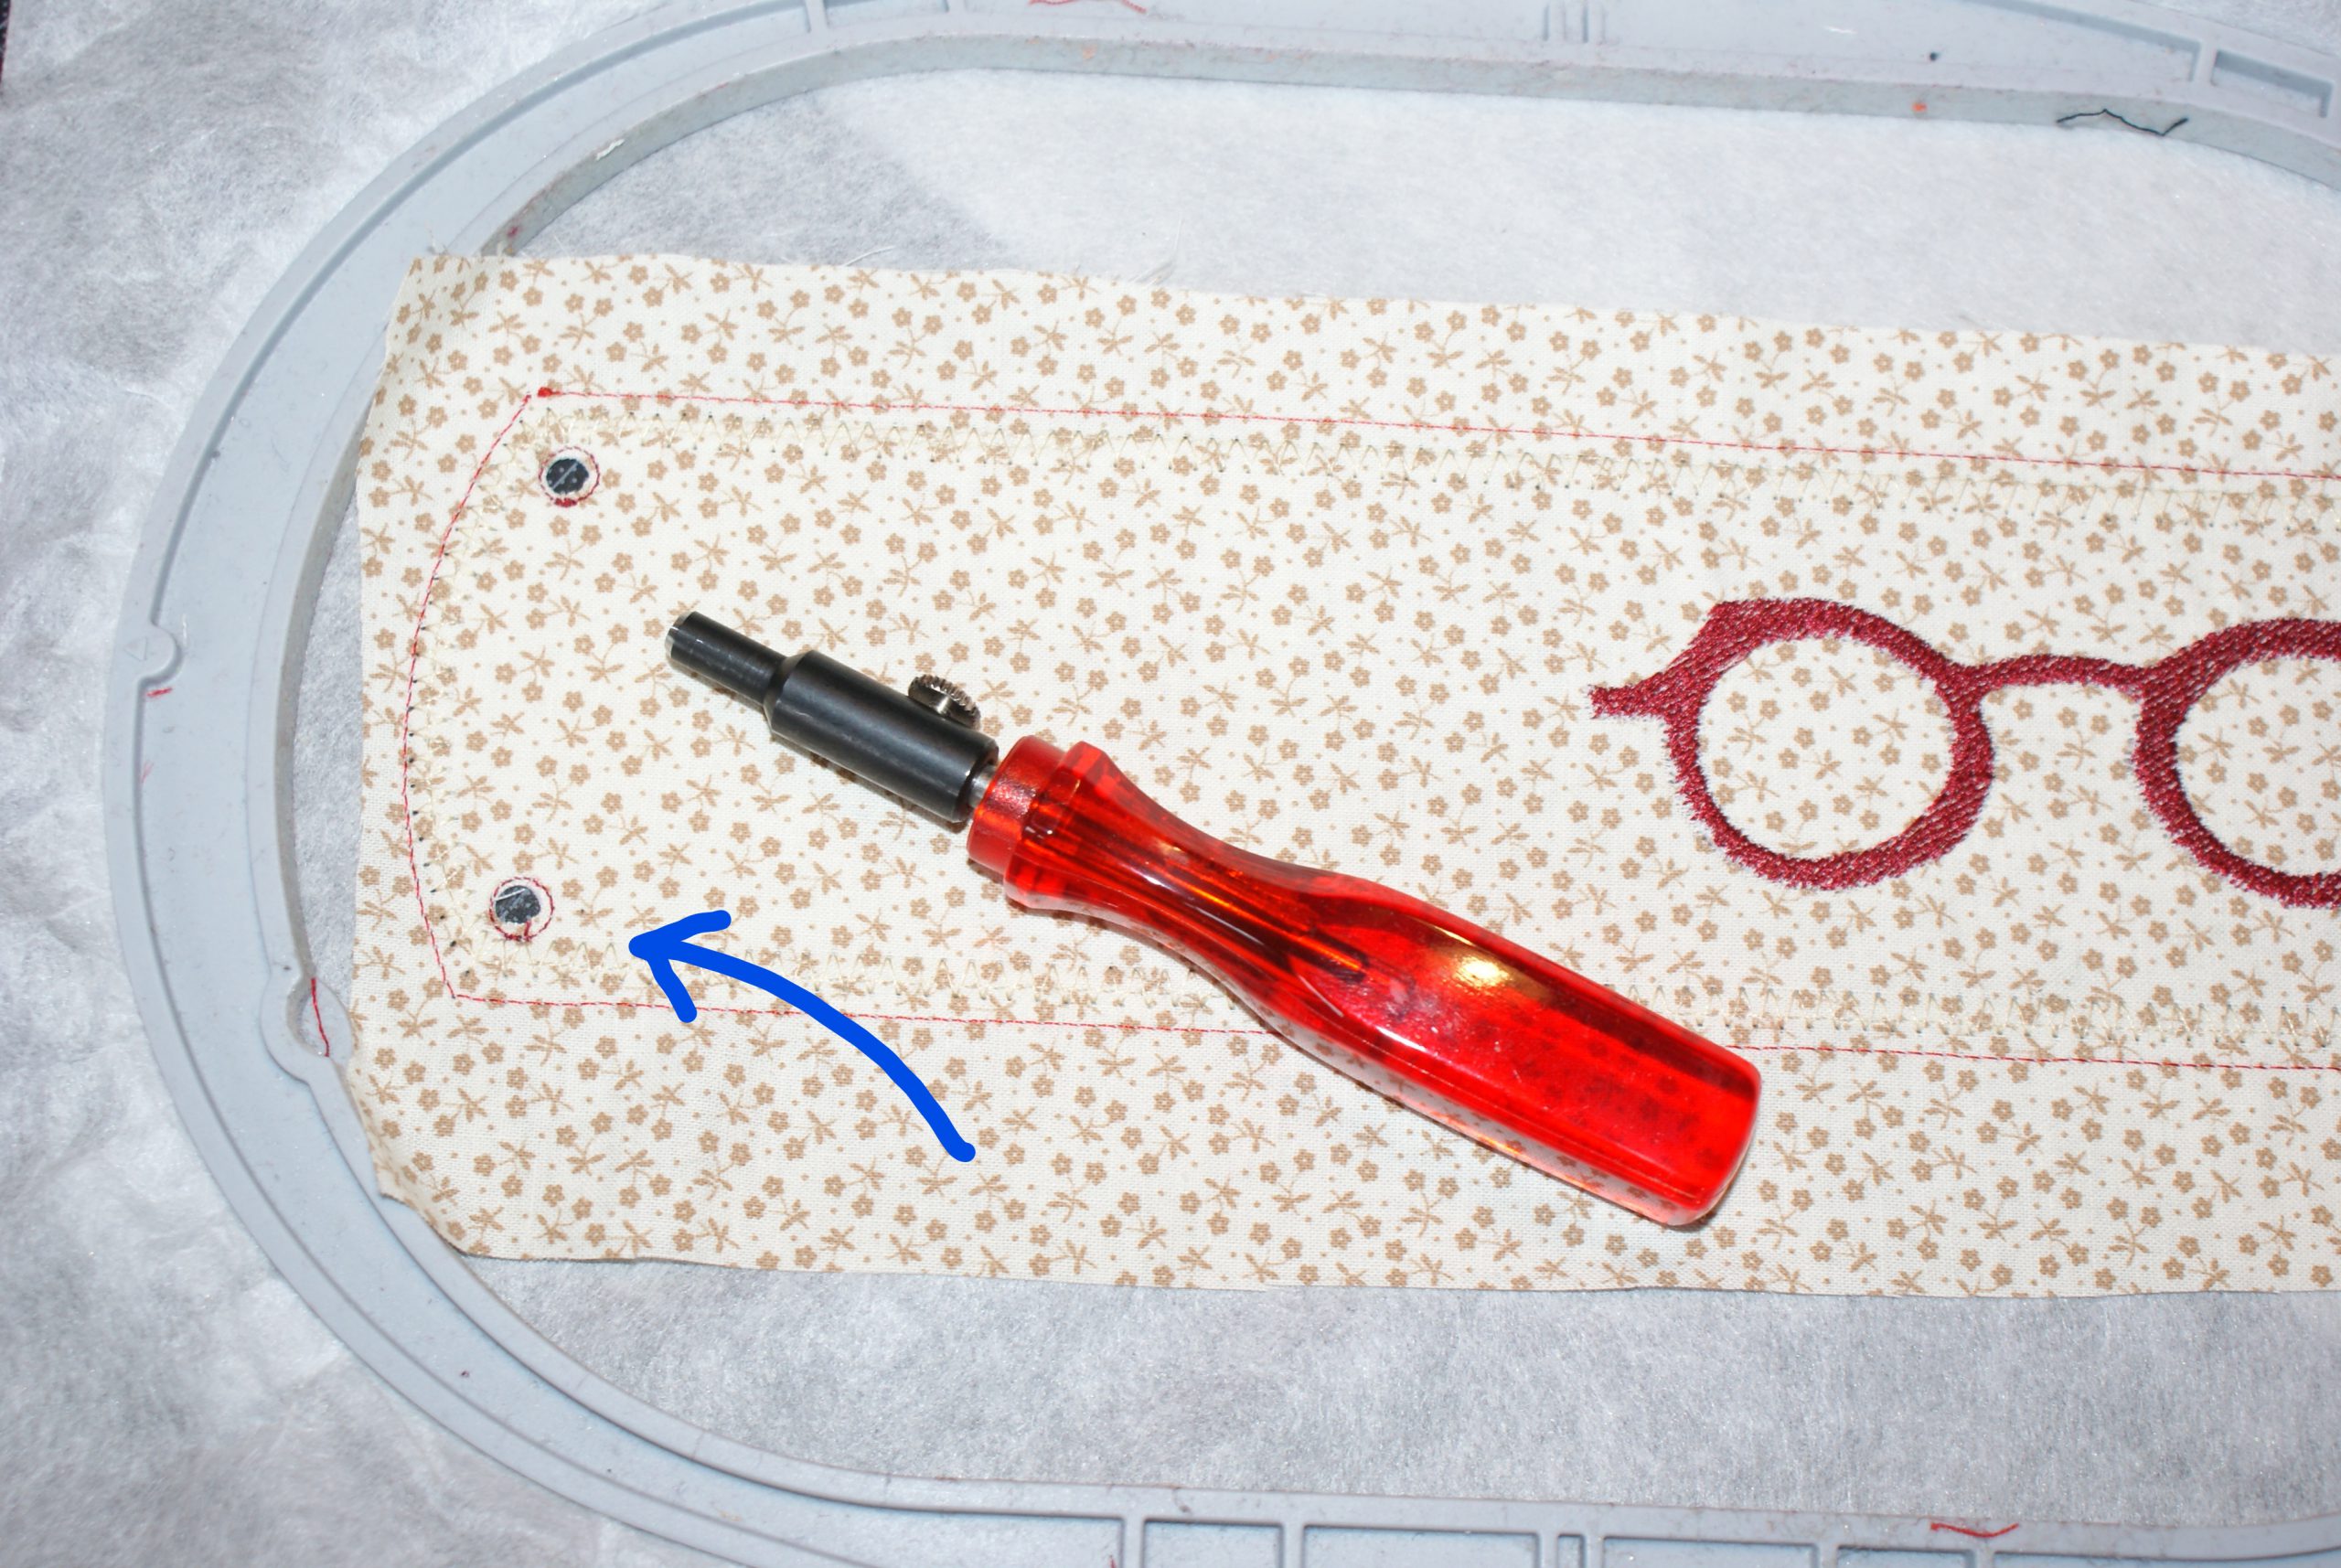
Punch the holes with the punch tool from the eyelet embroidery accessory. Or take a revolving punch tool and punch when finished.
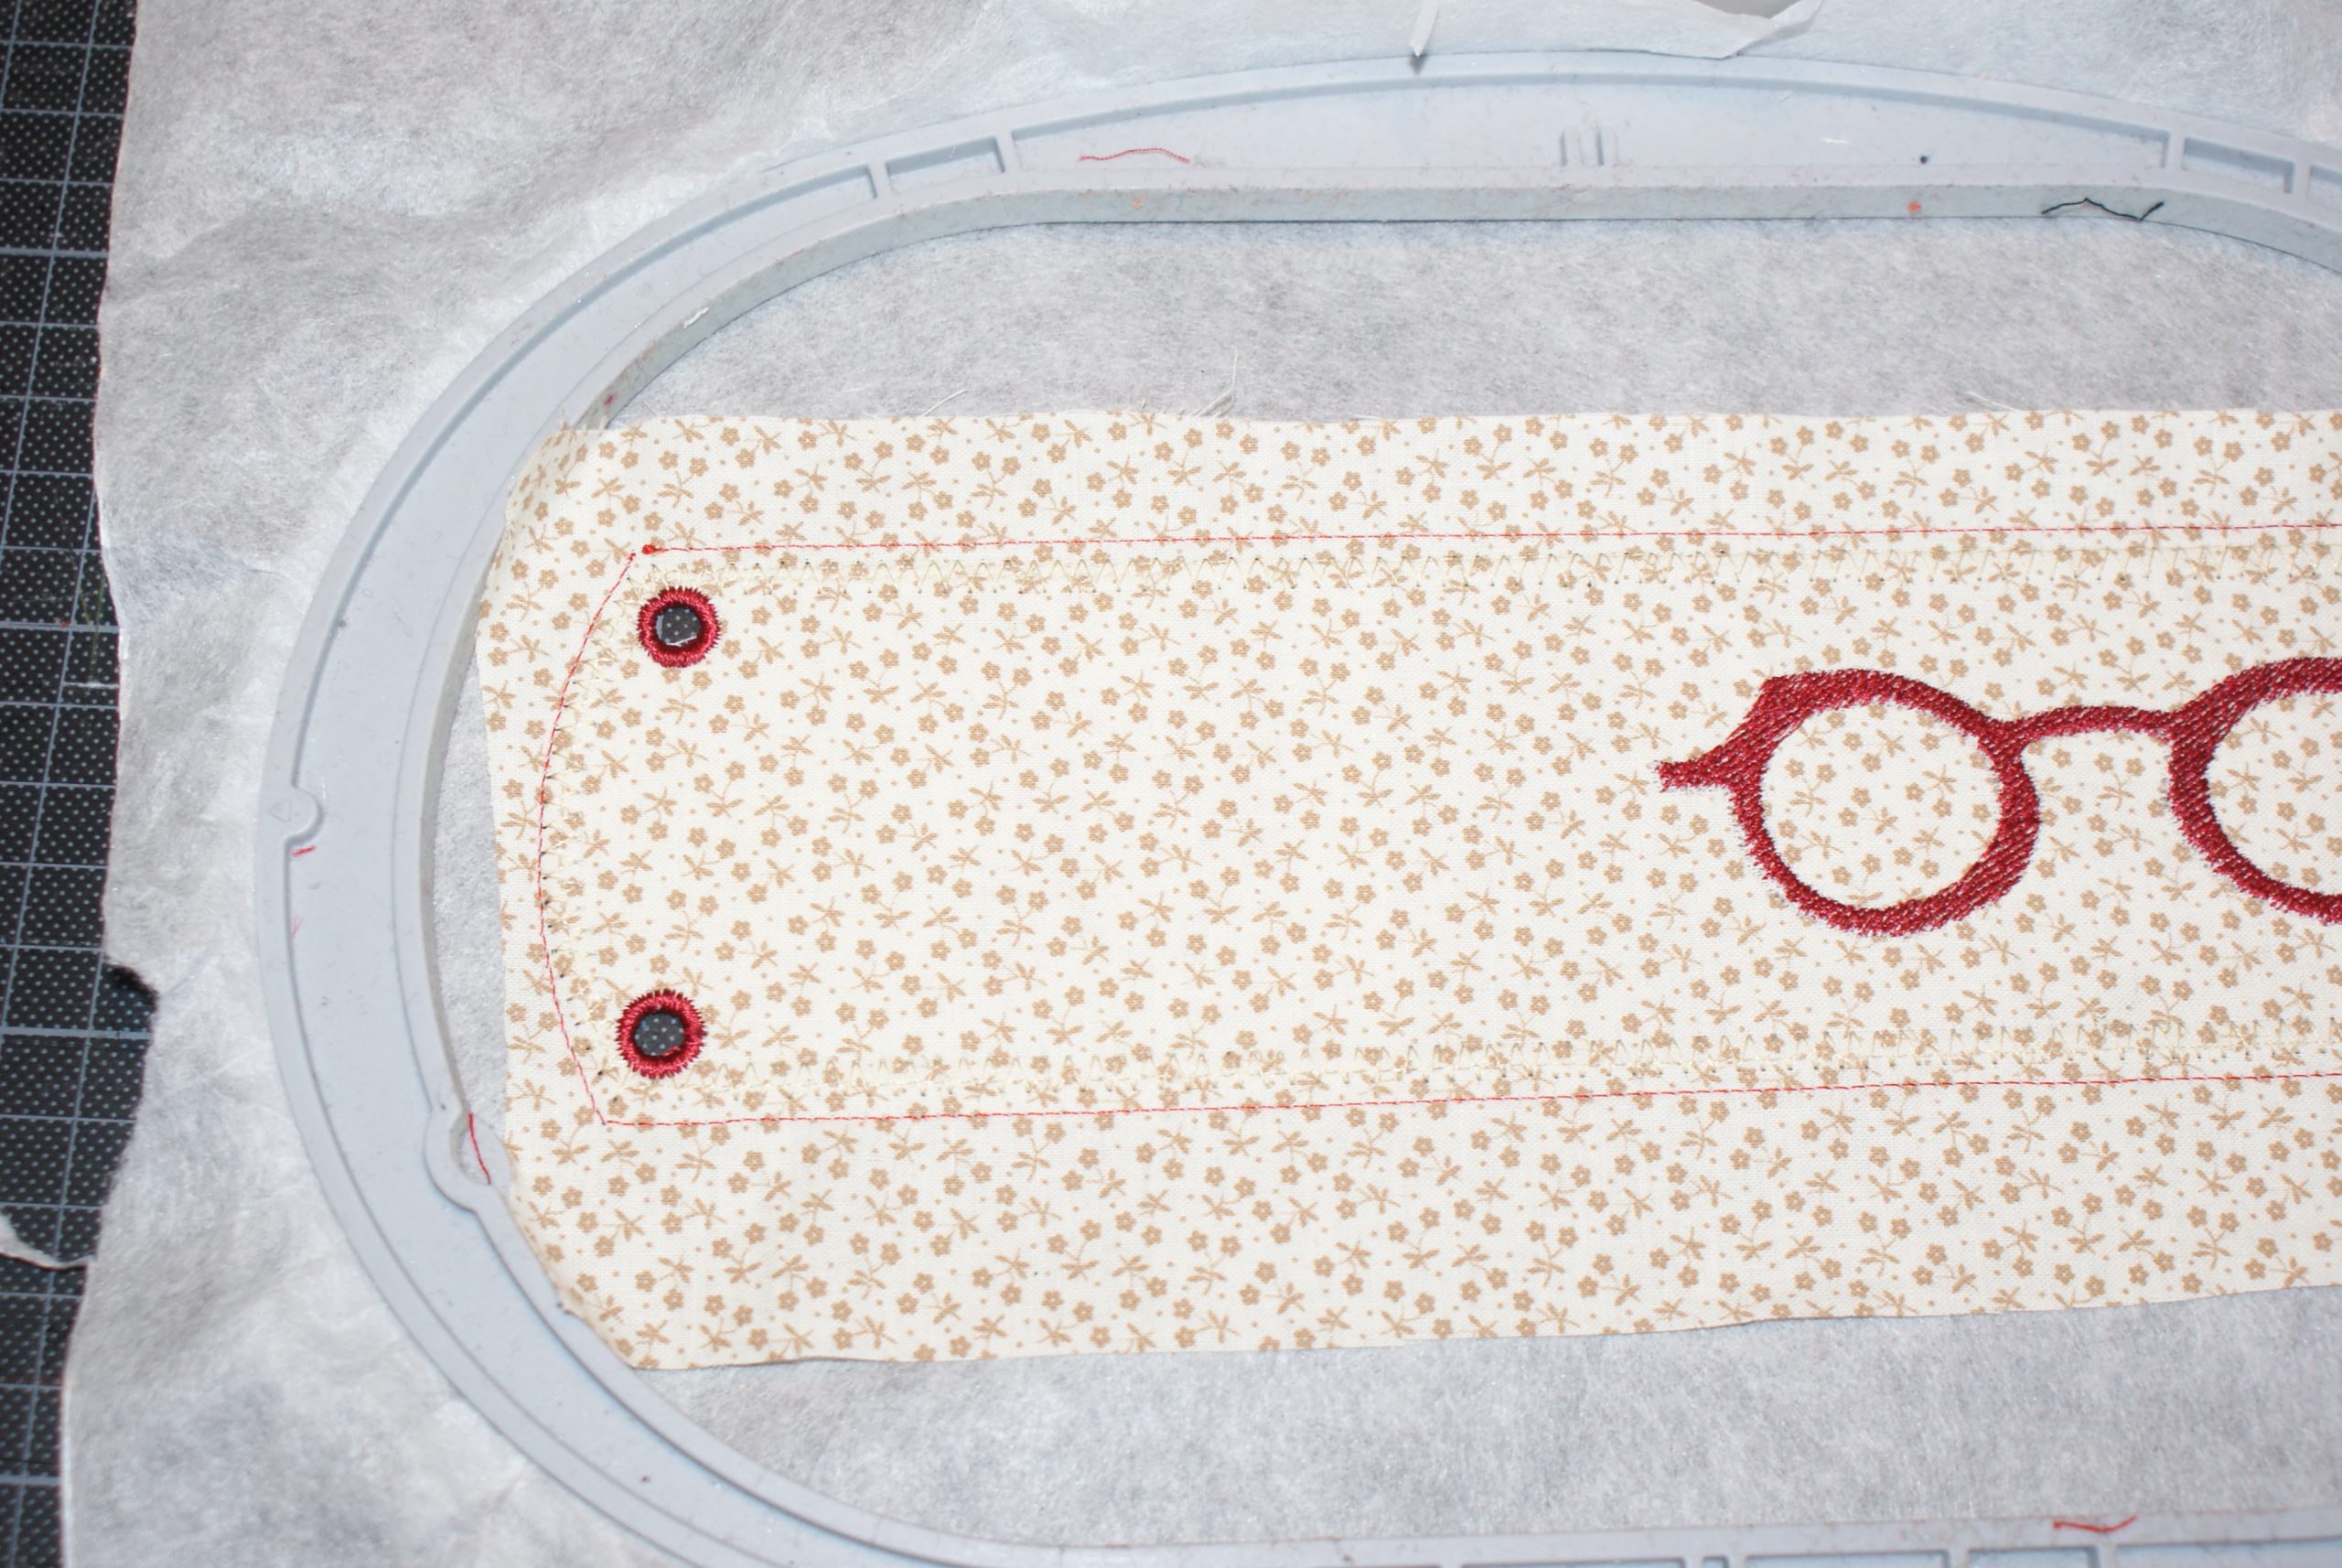 Embroider the satin stitch round the holes.
Time to finish the edges:
Let’s continue with finishing the edges of the glasses case on the embroidery machine.
Embroider the next step, it is the satin stitch (left on the picture below). You can also notice that the satin stitch perforates the stabilizer.
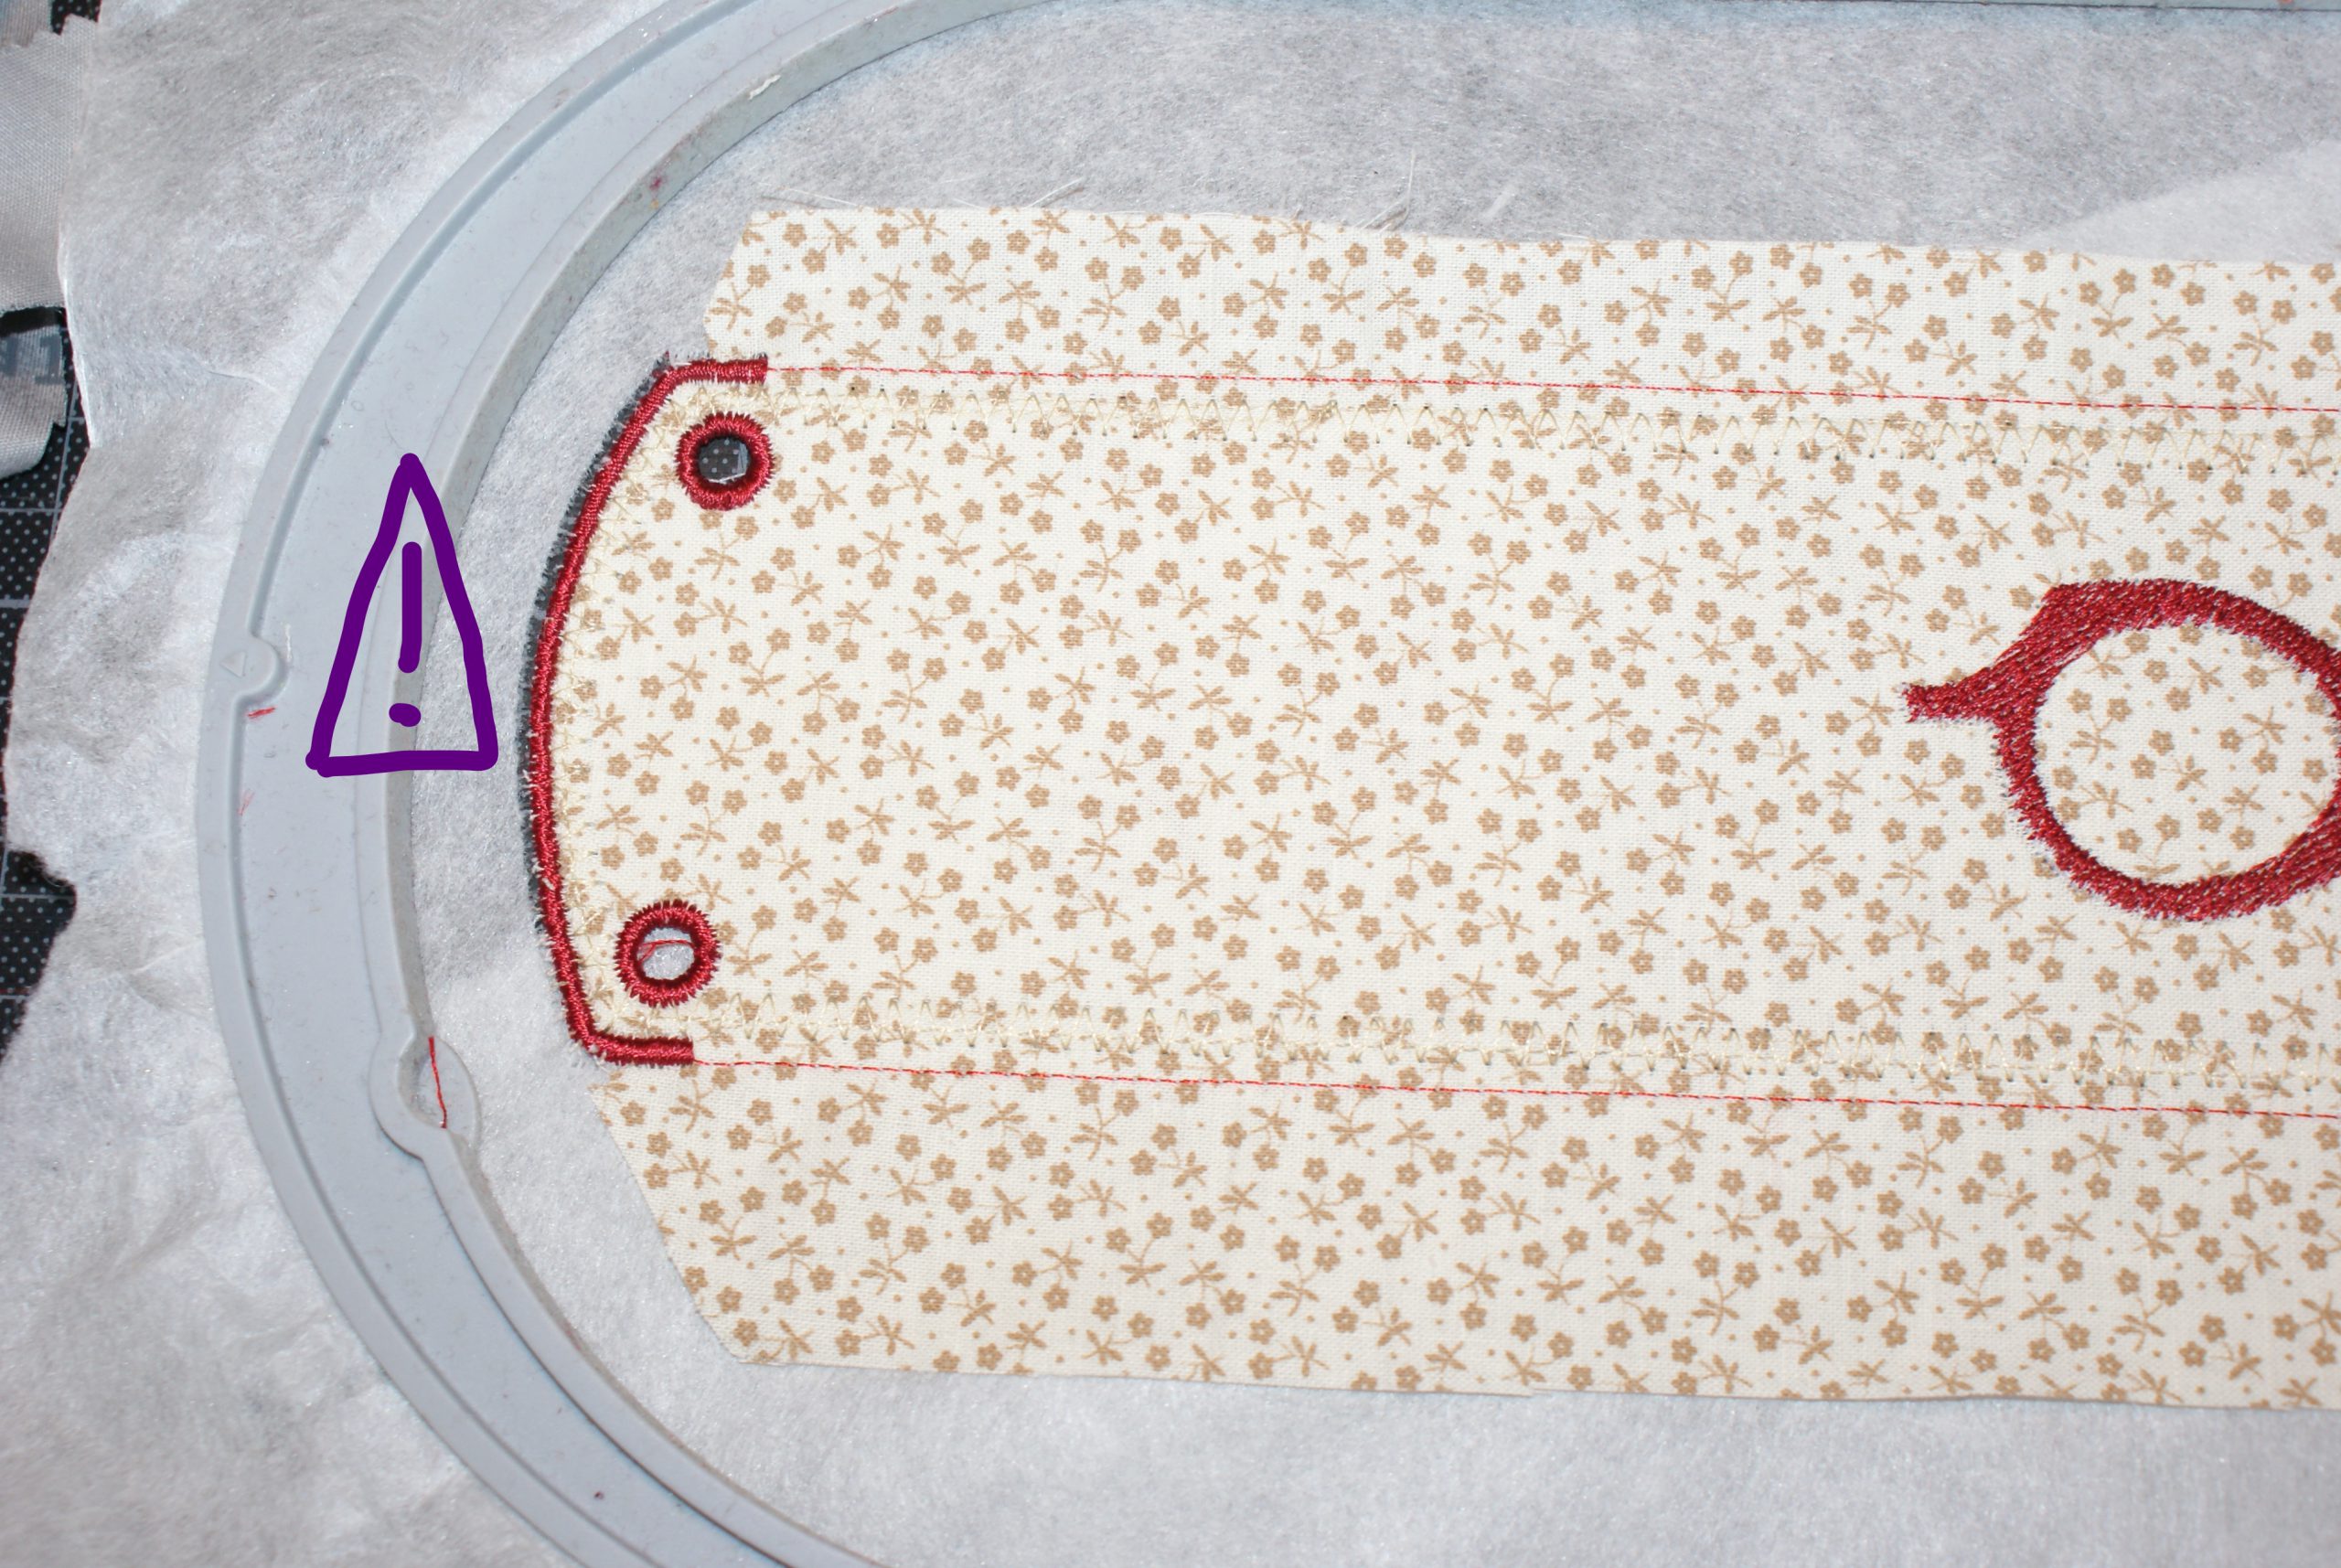
Cut out the edge (leave a 1,5 cm seam allowance), cut as far as the marks in the middle. Fold the flap over to the back and pin.
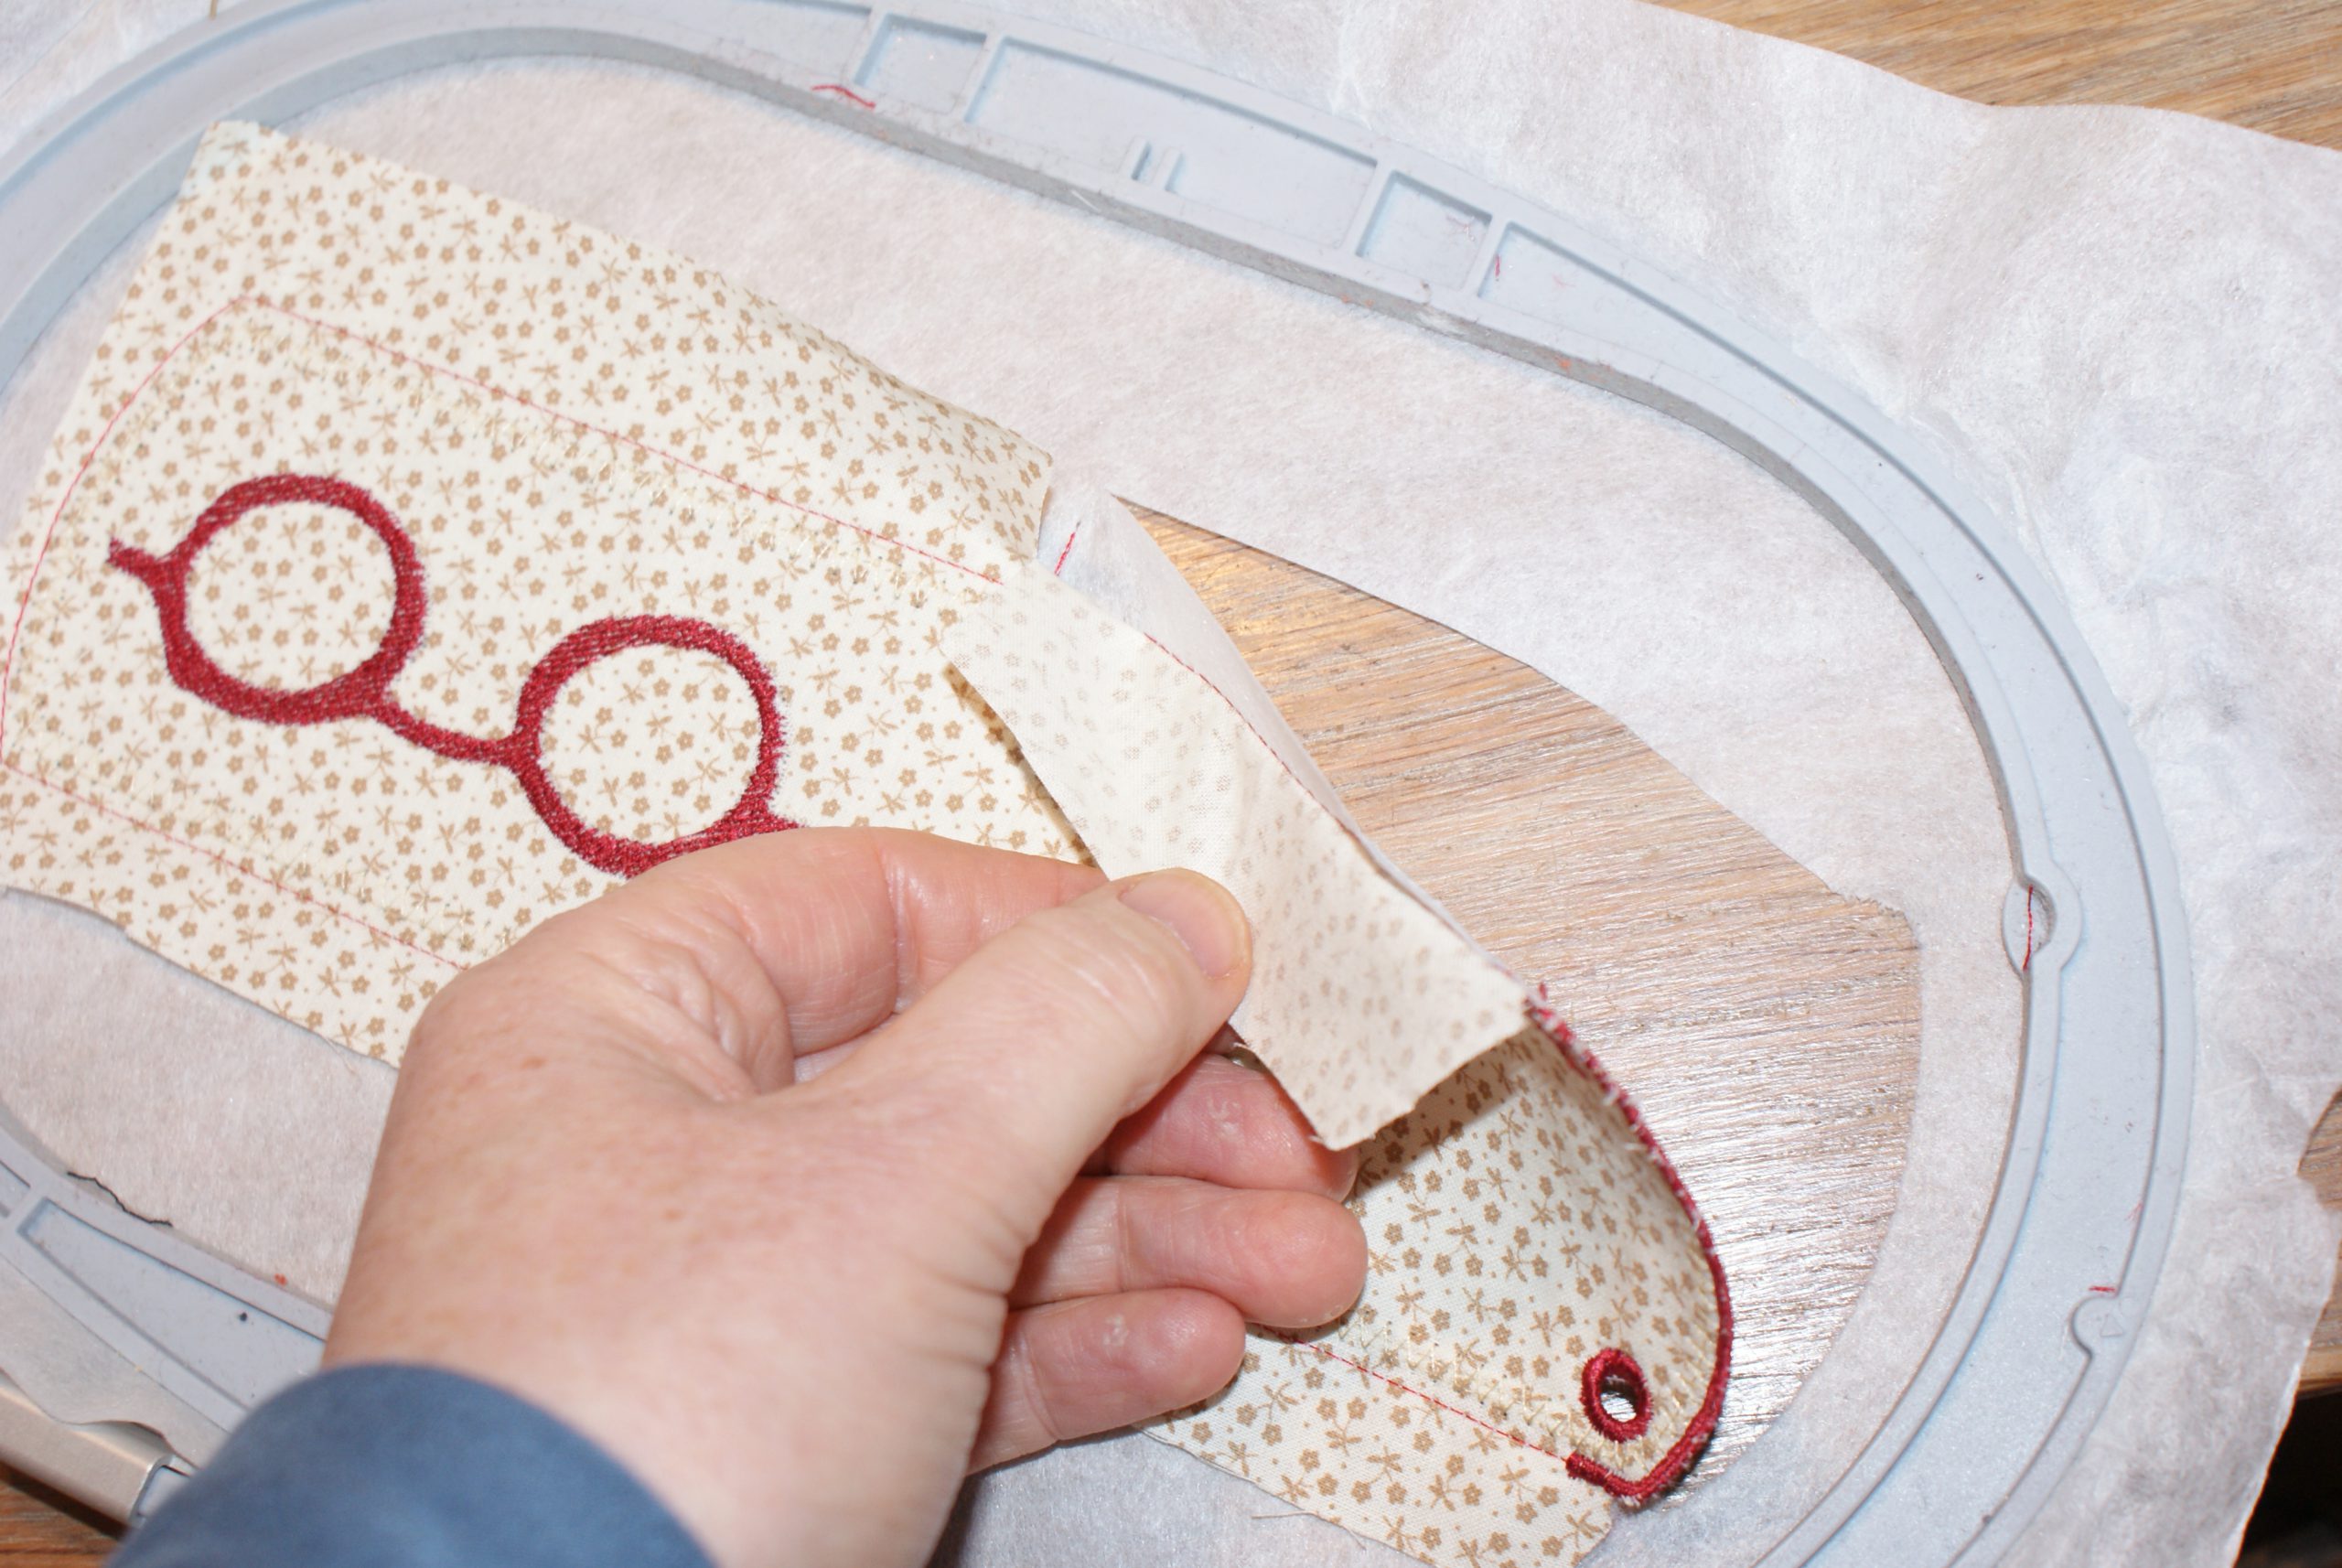
With a straight stitch line, you sew front and back together. Cut away the fabric close to that stitching line (don’t cut the stabilizer).
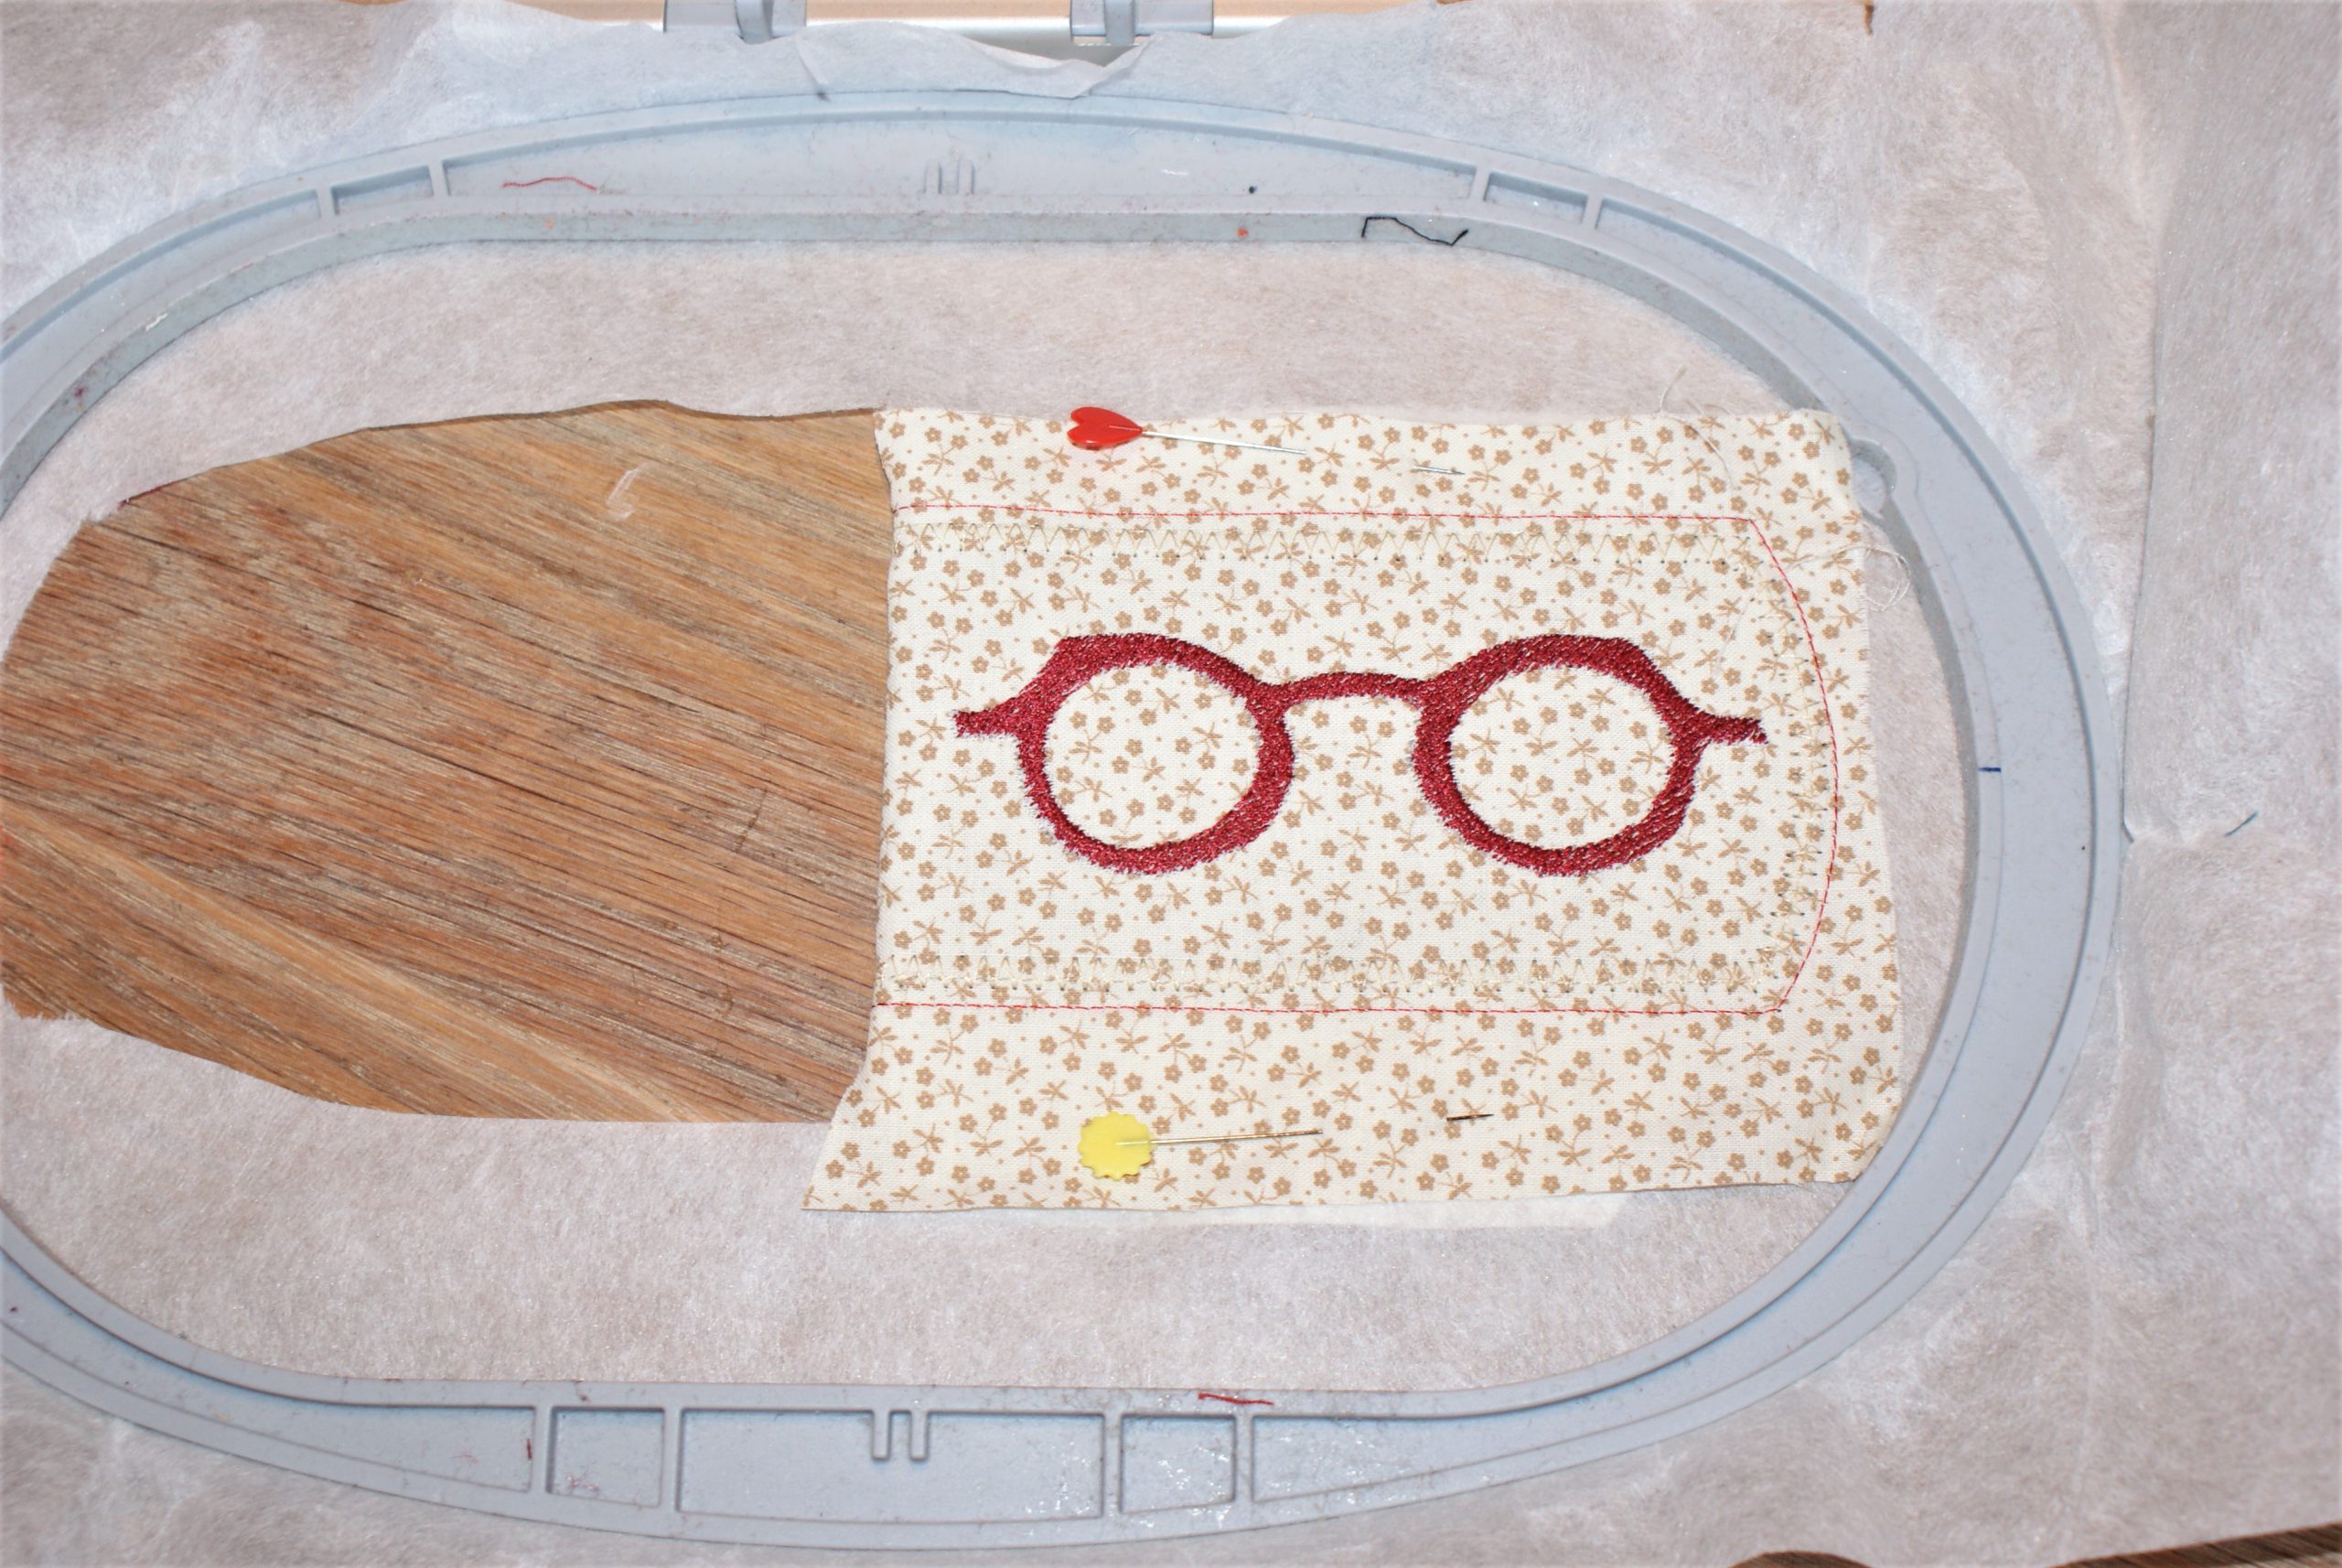
At last, we have come to the last step, it is the outline satin stitch on 3 sides.
Take the project out of the hoop. Cut loose threads and secure them with fabric glue in the fold area.
I hope you found this blogpost ‘Make a glasses case on the embroidery machine’ useful. I will start to use them soon!


0 Responses