 BERNINA Corporate Blog -
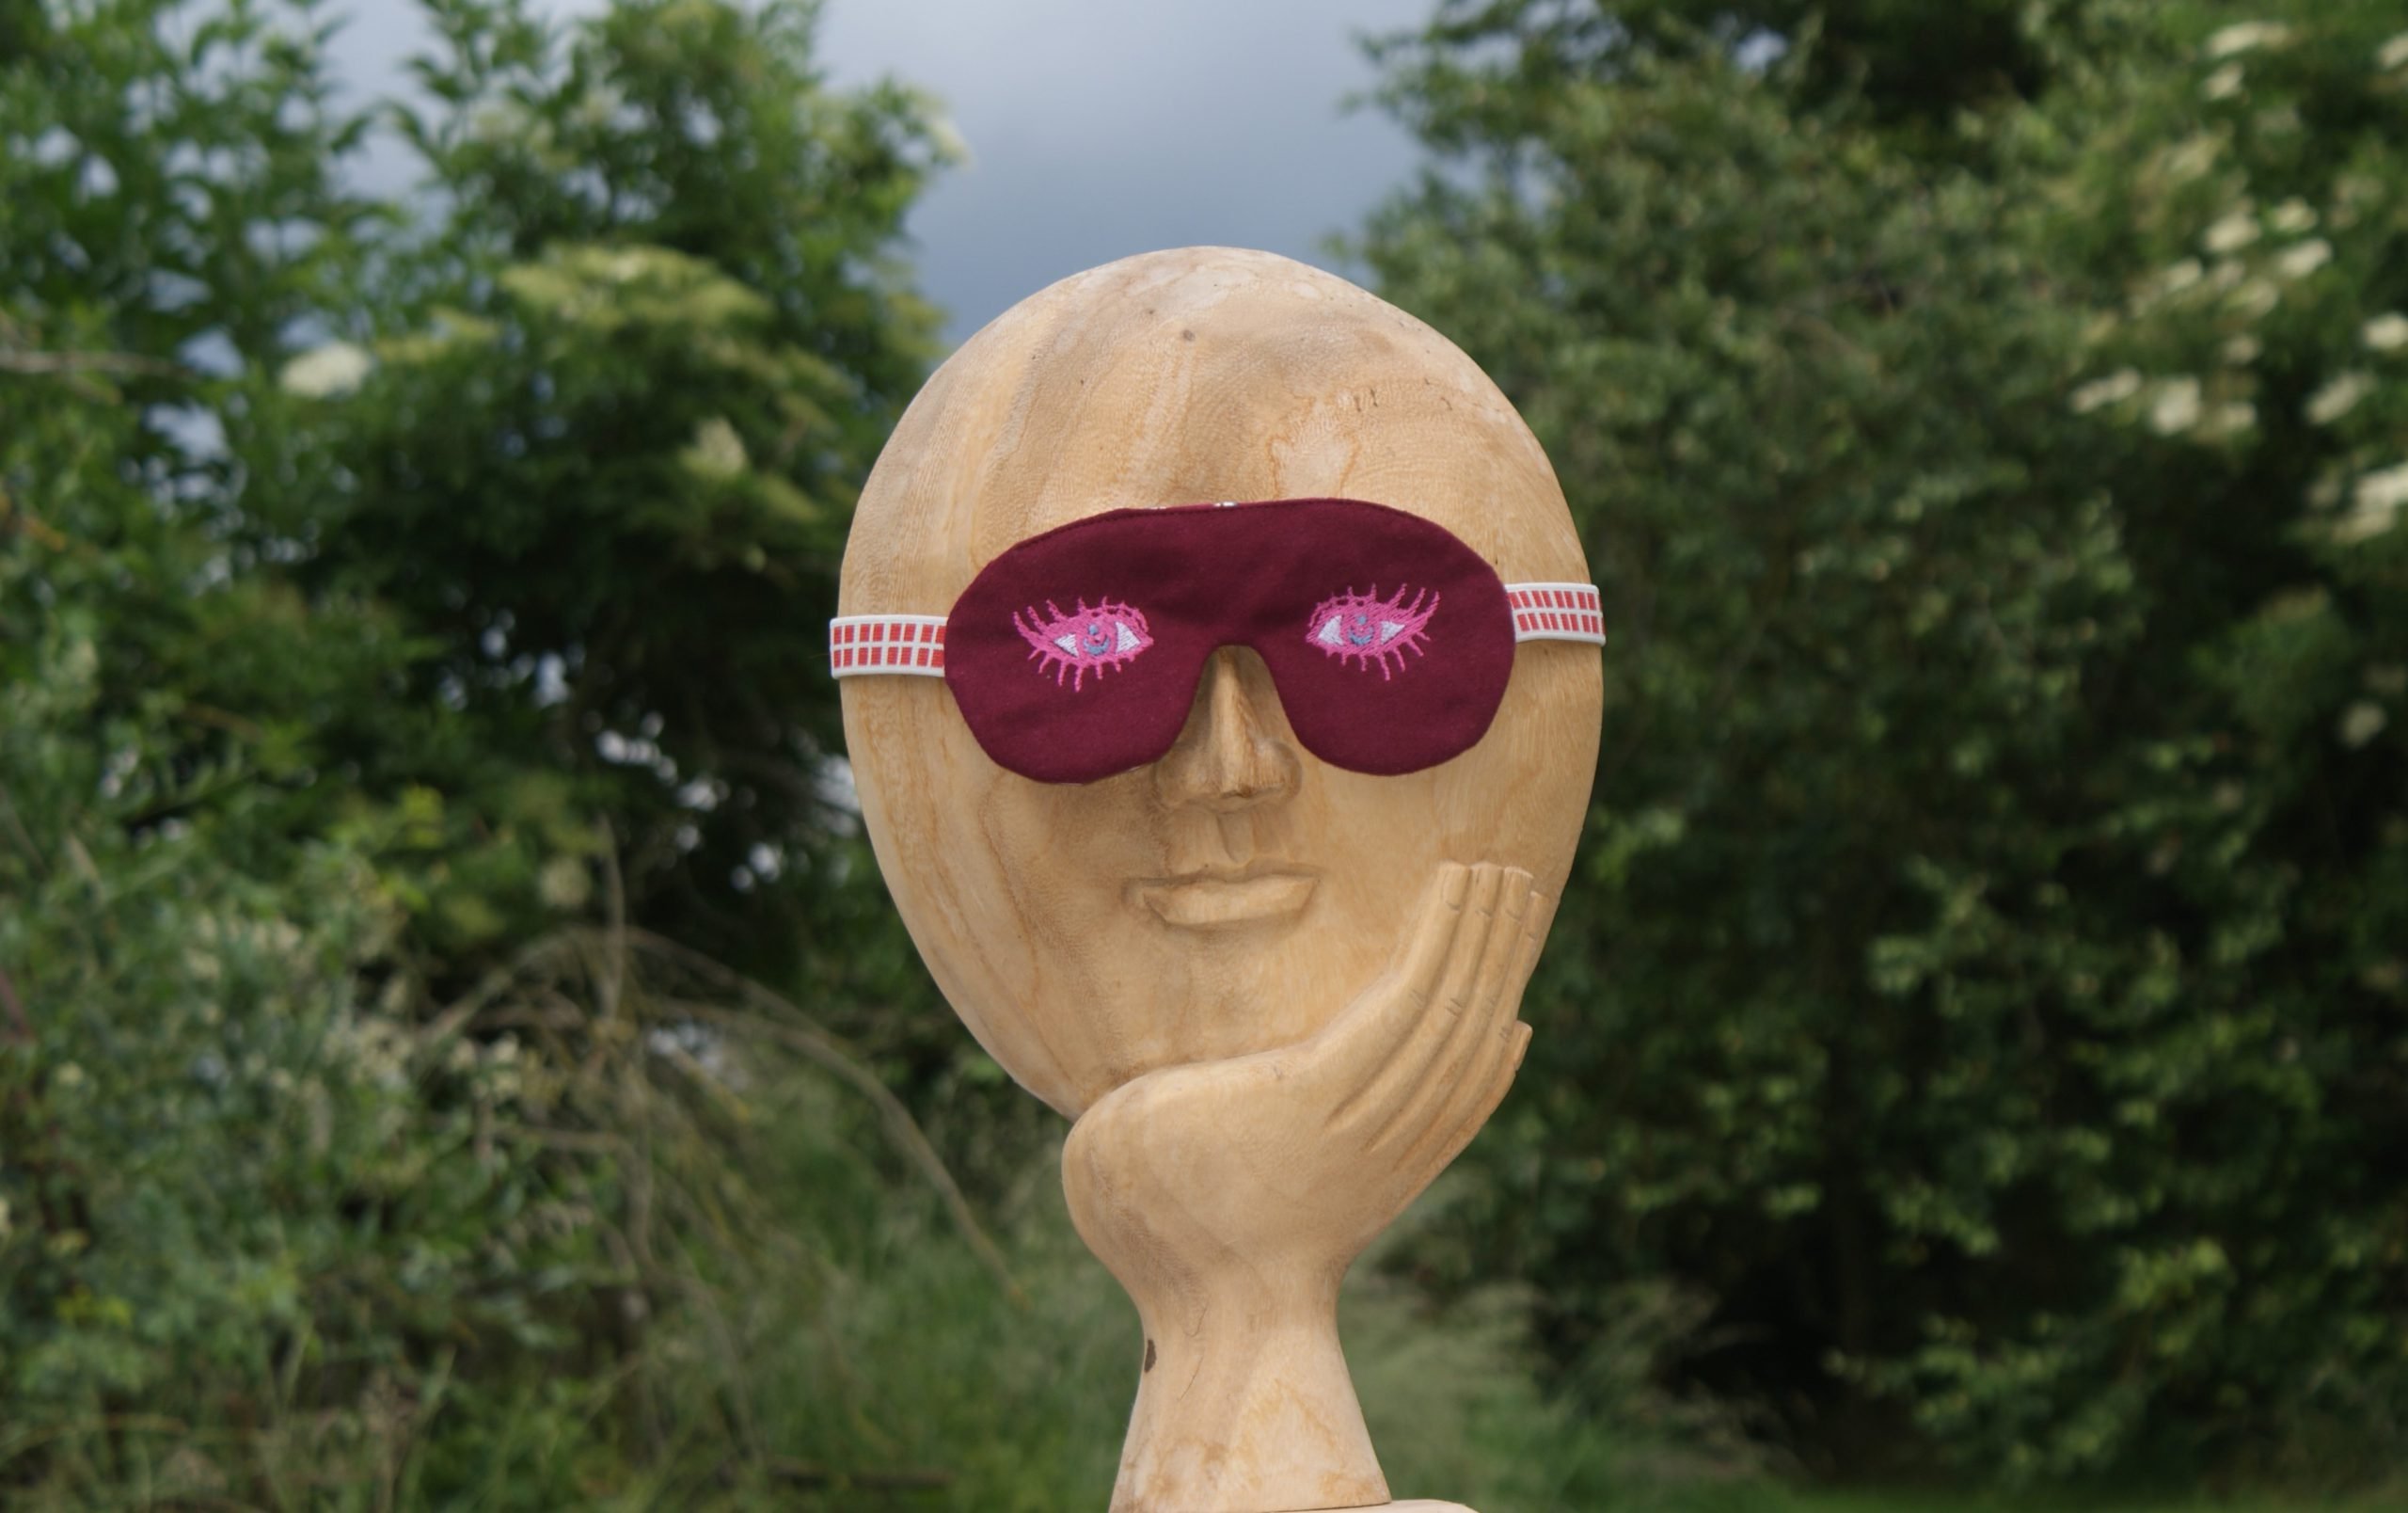
You wonder how to make a sleep mask on the embroidery machine? Try it with this ‘in the hoop’ project (ITH). Step by step you embroider the next embroidery object, they replace the stitching on the sewing machine.
You can skip the embroidered eyes if you wish to. This is not a beginners project, but sure give it a go when you have some experience.
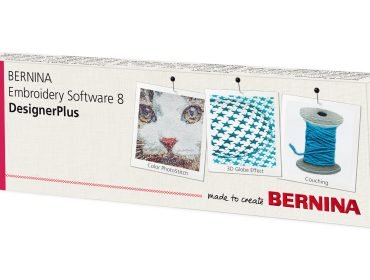
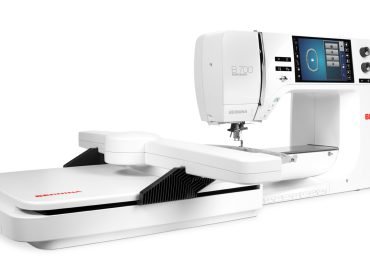
I embroidered on the BERNINA 700 and designed the file in BERNINA Embroidery Software 8
Supplies for a sleep mask on the embroidery machine:
- A scrap of 21 x 12cm dark heavy weight fabric for the front.
- A scrap of 21 x 12 cm light weight decorative fabric..
- 38 à 39 cm elastic (depends on the size of the head and the kind of elastic. For my head (56 cm), I used a 39 cm elastic, seams included).
- Tear away stabilizer
- Contrasting colors of embroidery thread Mettler Poly Sheen
- Bobbin thread Mettler Bobbinette
- Foam 1 cm thick
- Temporary adhesive spray Mettler Web Bond can be useful.
- Find the free download embroidery files in EXP, PES or JEF in this link: Slaapmasker ogen sleep mask eyes en Slaapmasker sleep mask
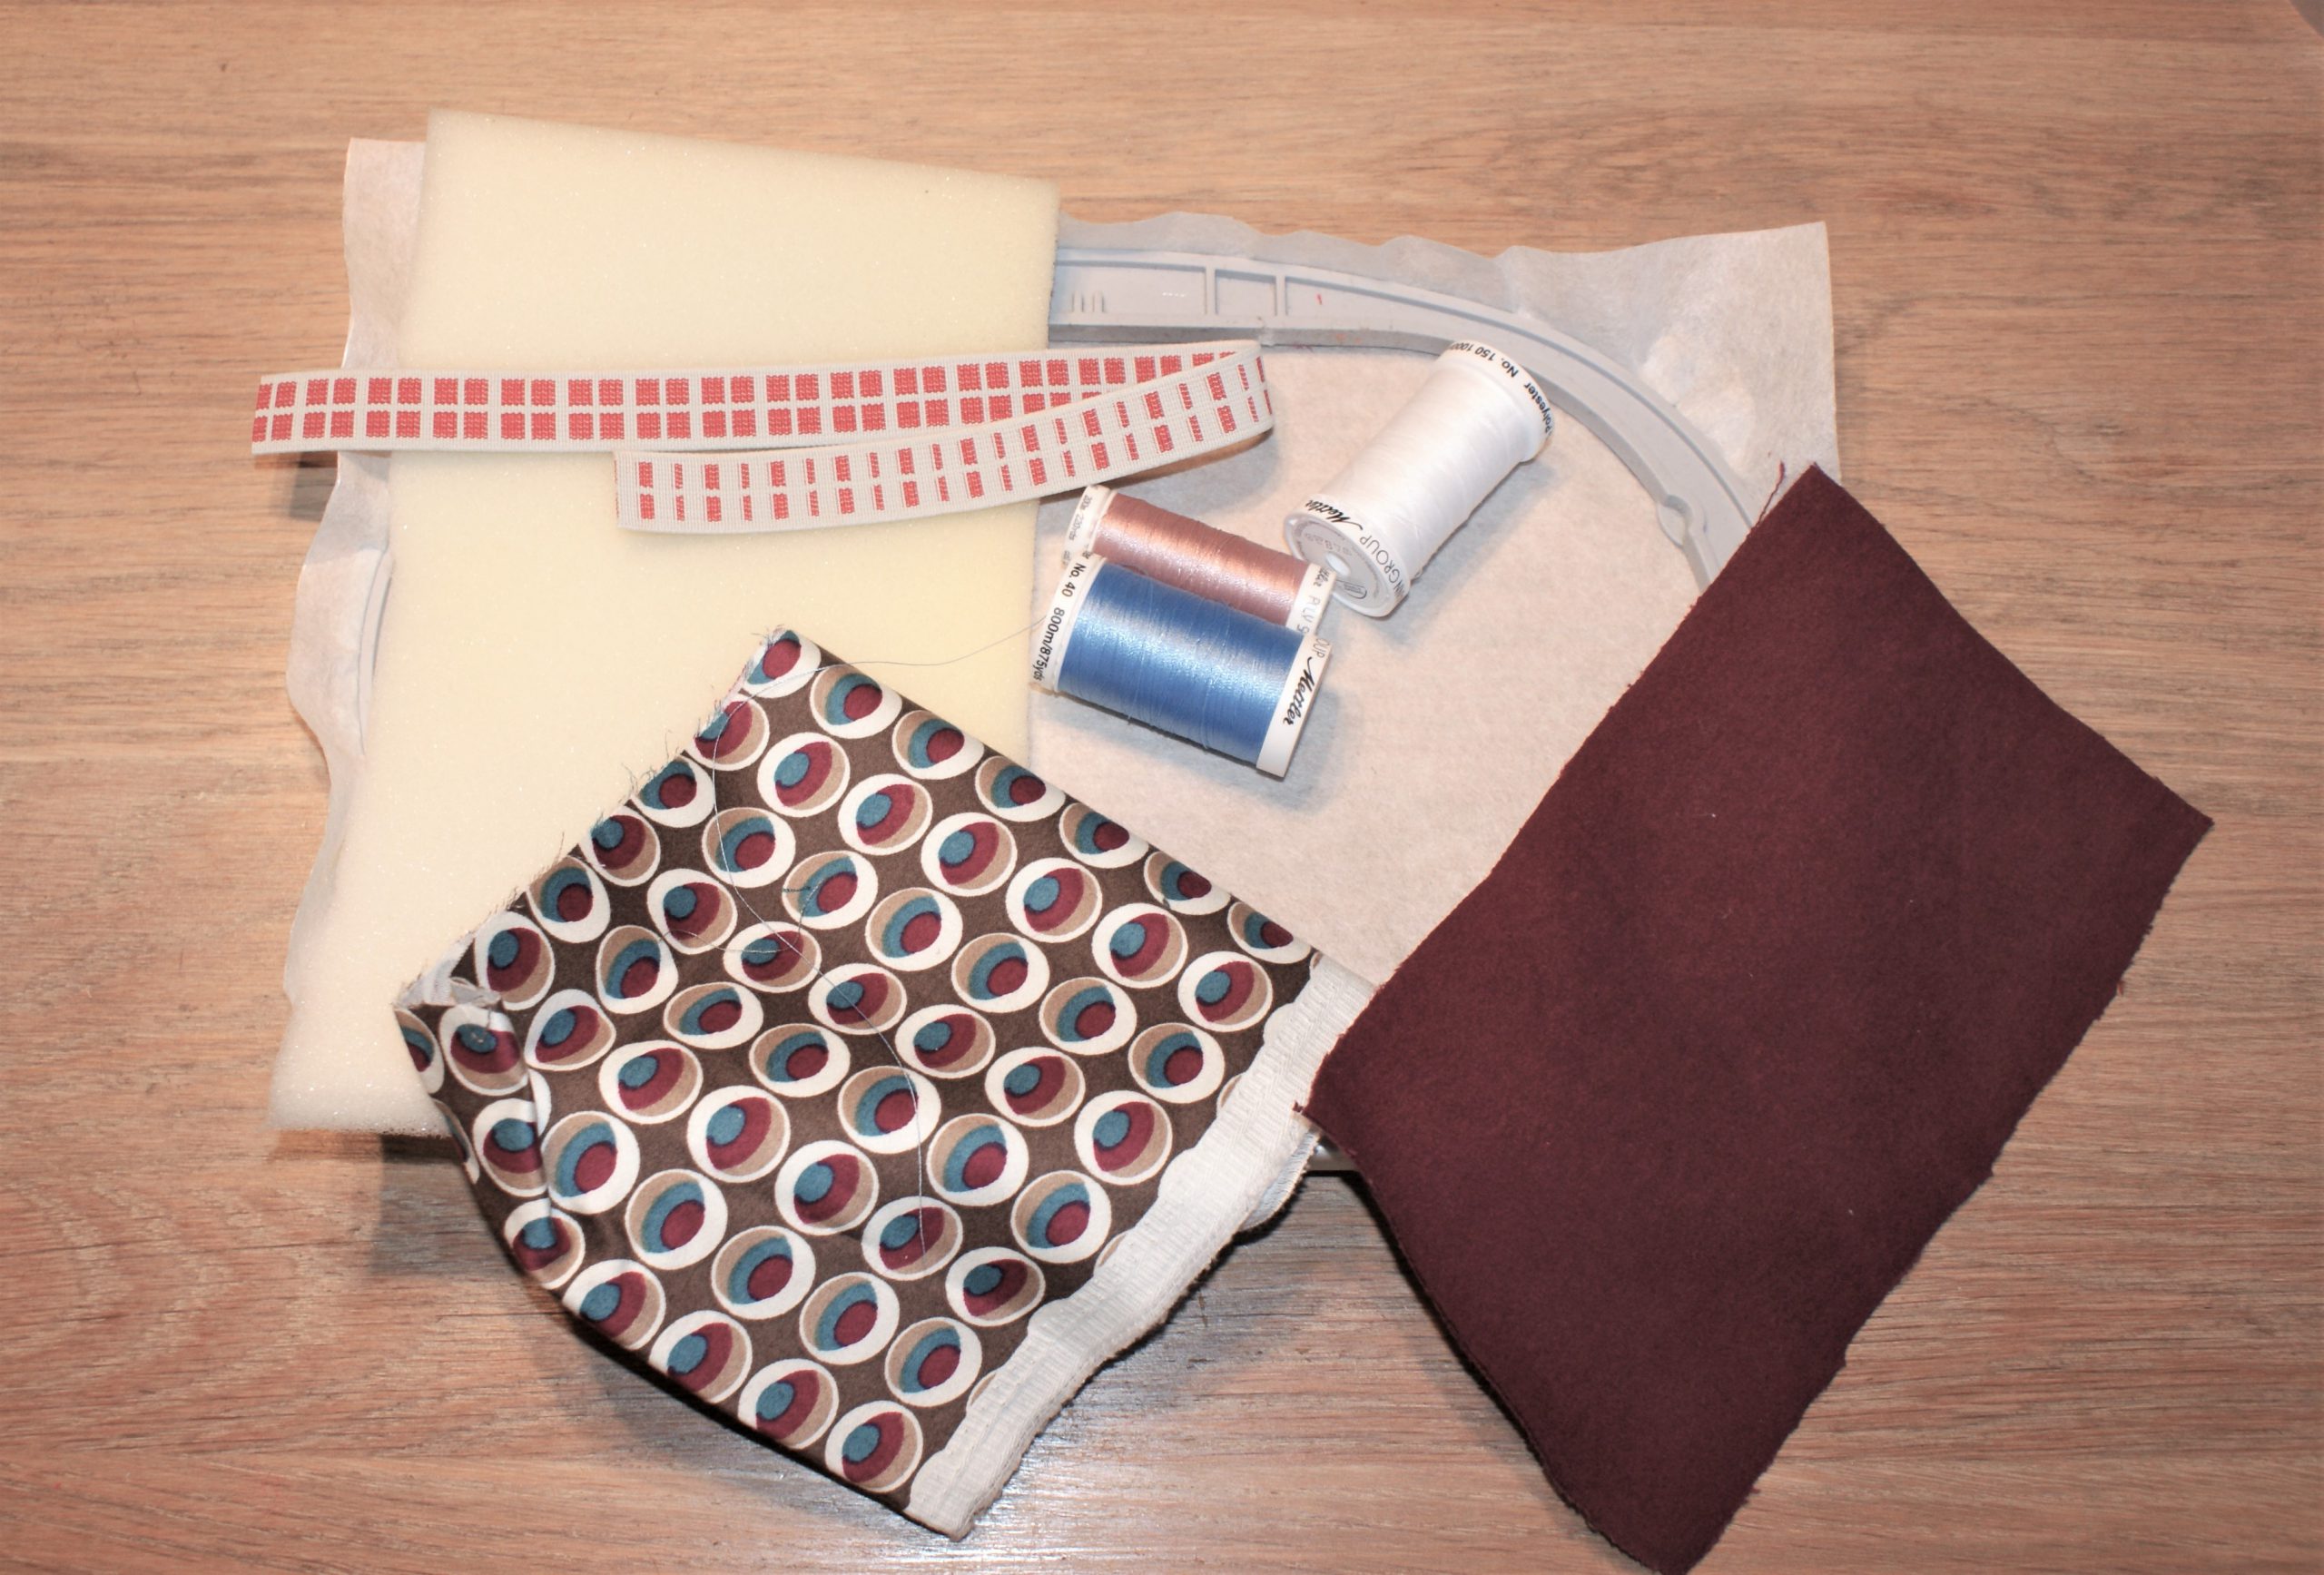
Supplies for the sleeping mask – use scraps 🙂
Embroider the sleep mask:
You will need 2 hoopings to make the mask
Embroider the front:
At first, you will use the file with the eyes.
These are the embroidery objects:
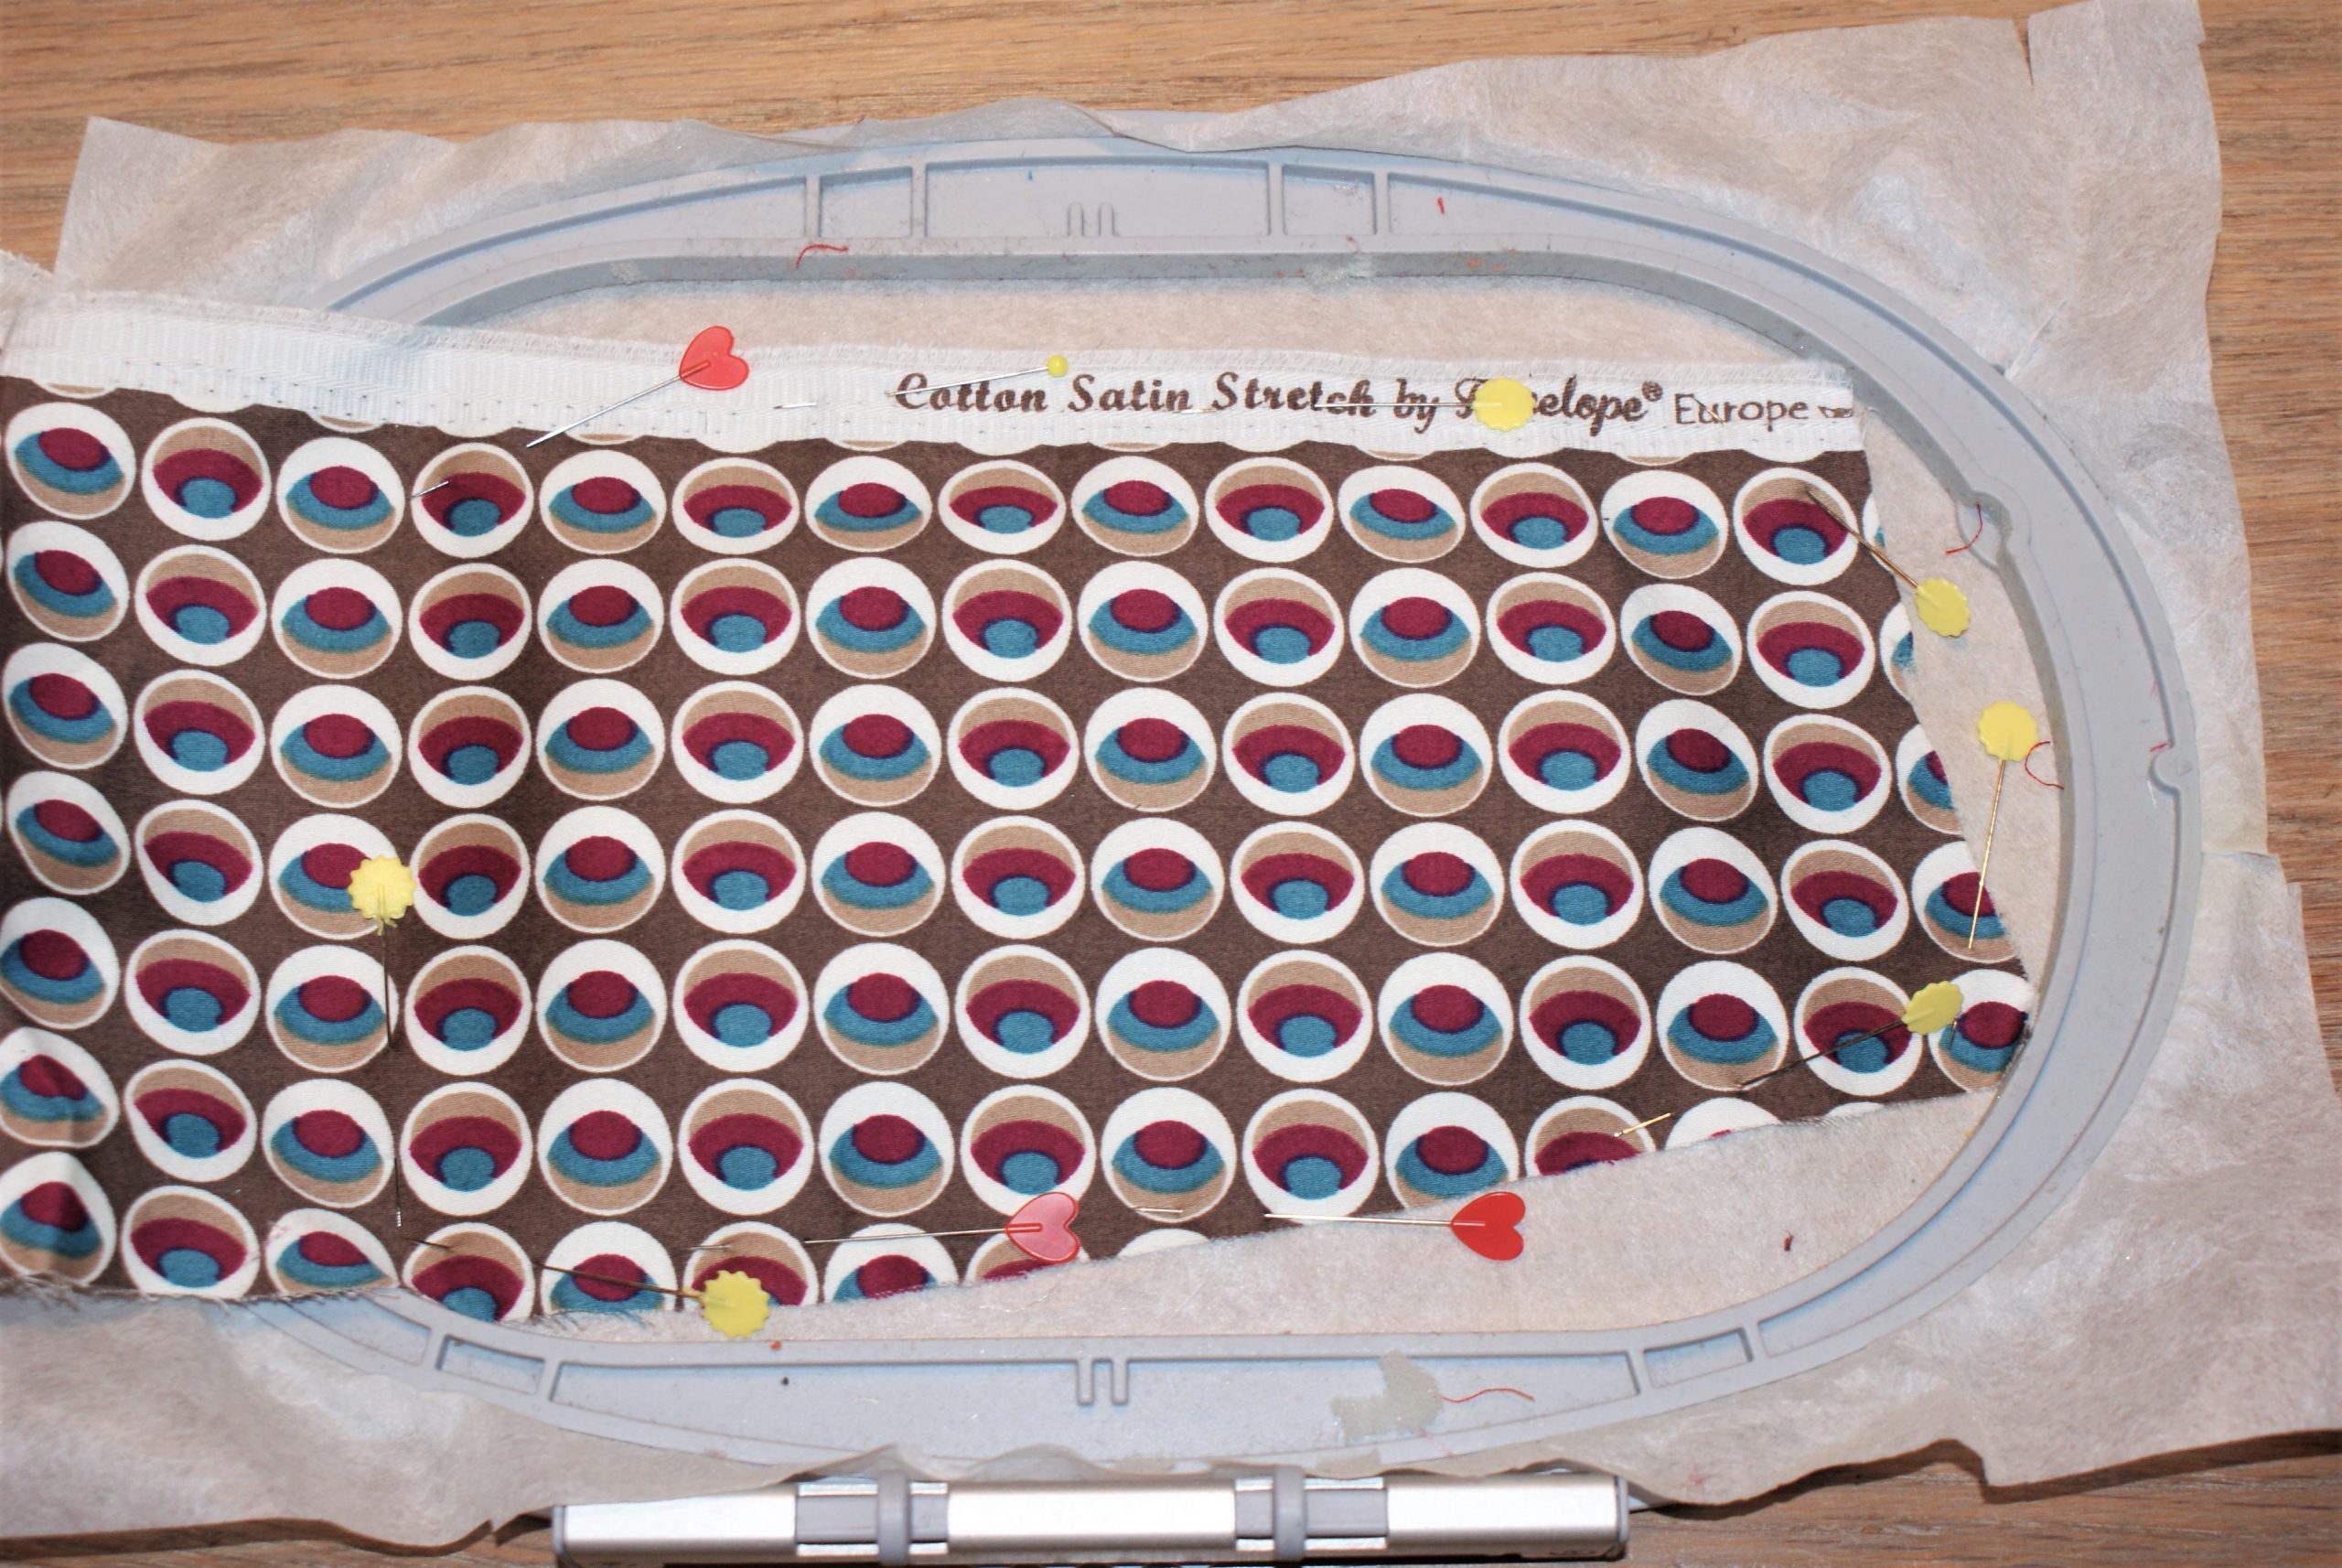
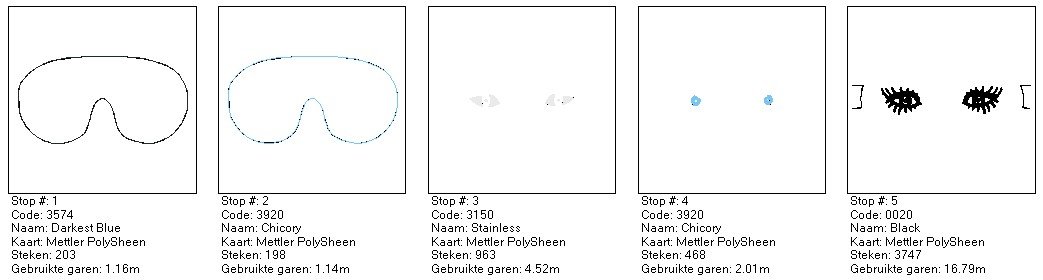 Object 1: embroider on the stabilizer. Lay the dark heavy weight scrap on top of the stabilizer (fix with temporary adhesive spray or pin).
Object 2: embroider the patch to the stabilizer. The shape is slightly bigger than the finished mask. Embroider the eyes in the chosen colors. The last step embroiders the shape to position the elastic. It is embroidered in the mask file as well, so you can match it.
The back of the sleep mask on the embroidery machine.
Let’s go further on to make a sleeping mask on the embroidery machine..
These are the steps to finish the mask:
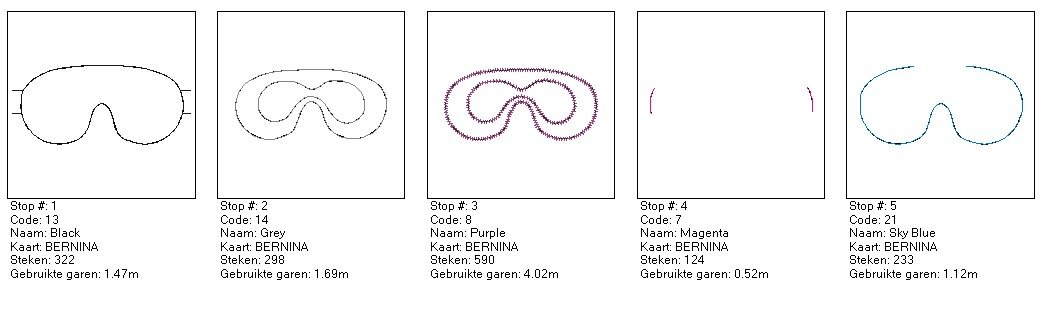 Embroider step 1 on the stabiizer. It shows you the place to put the fabric on, and where to attach the elastic. Put the 1 cm foam on the stabilizer. Embroider step 2, it sews the foam to the stabilizer.
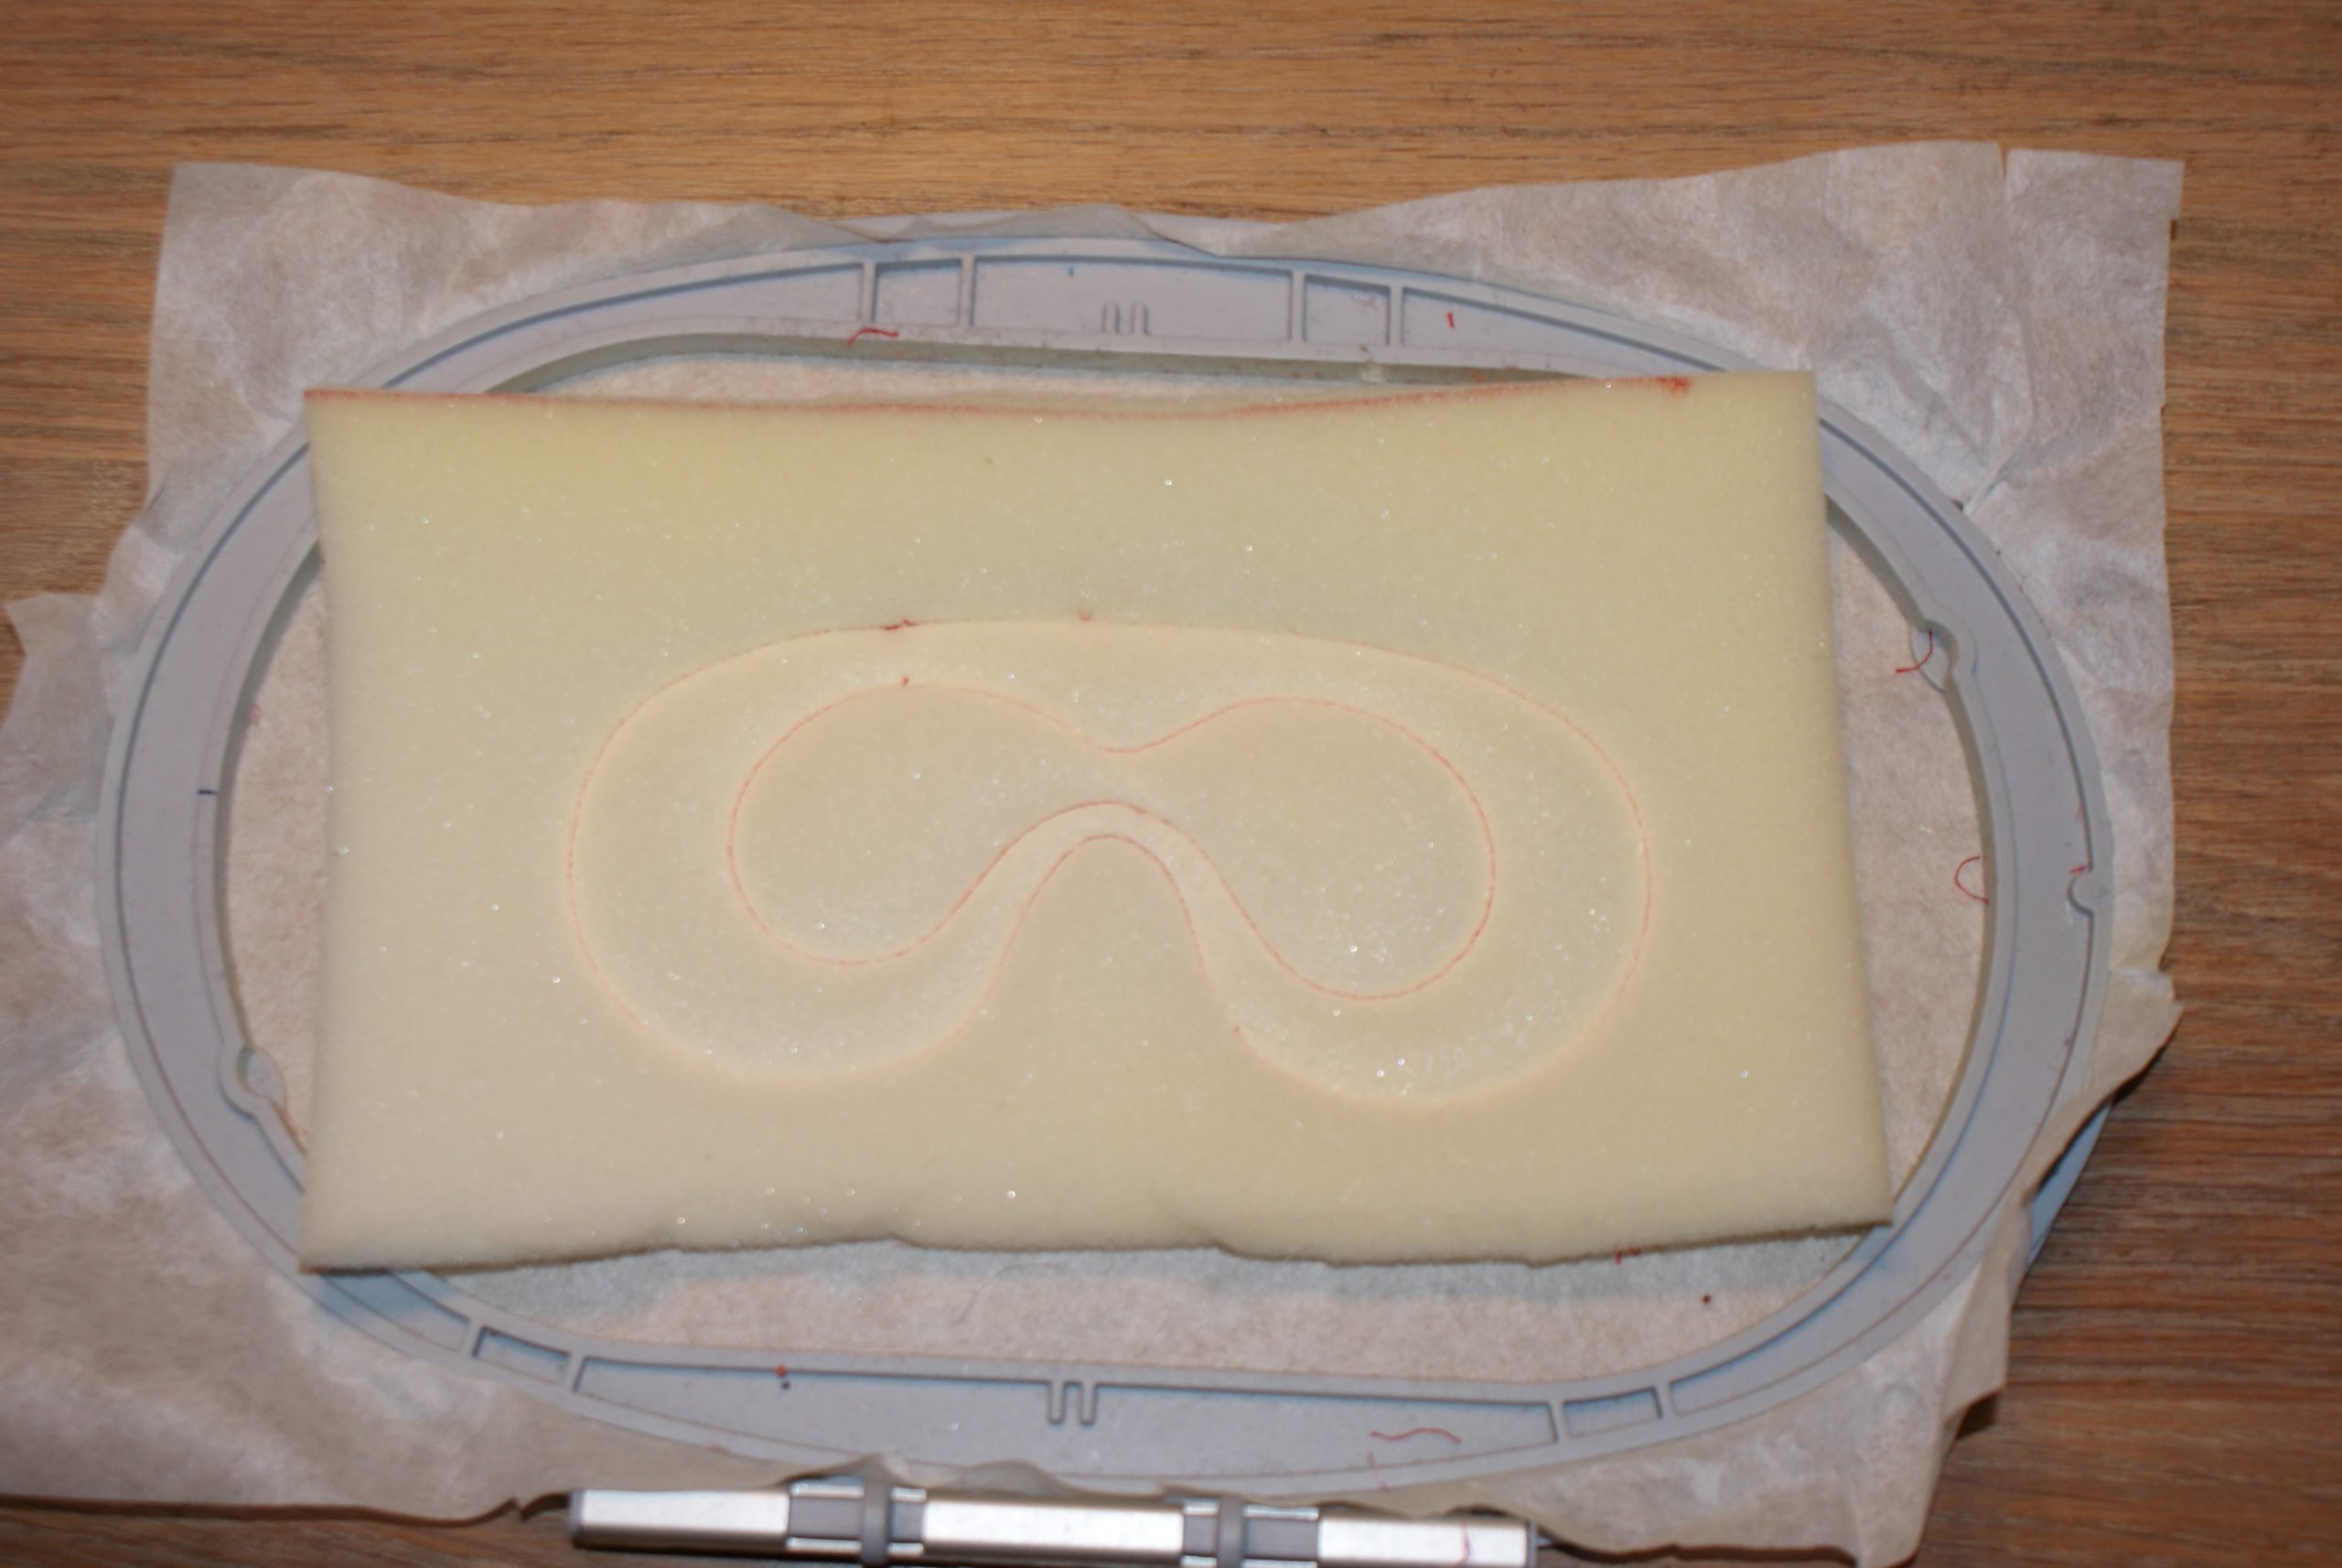
Cut out the outer and the inner part, as you can see on the picture below.
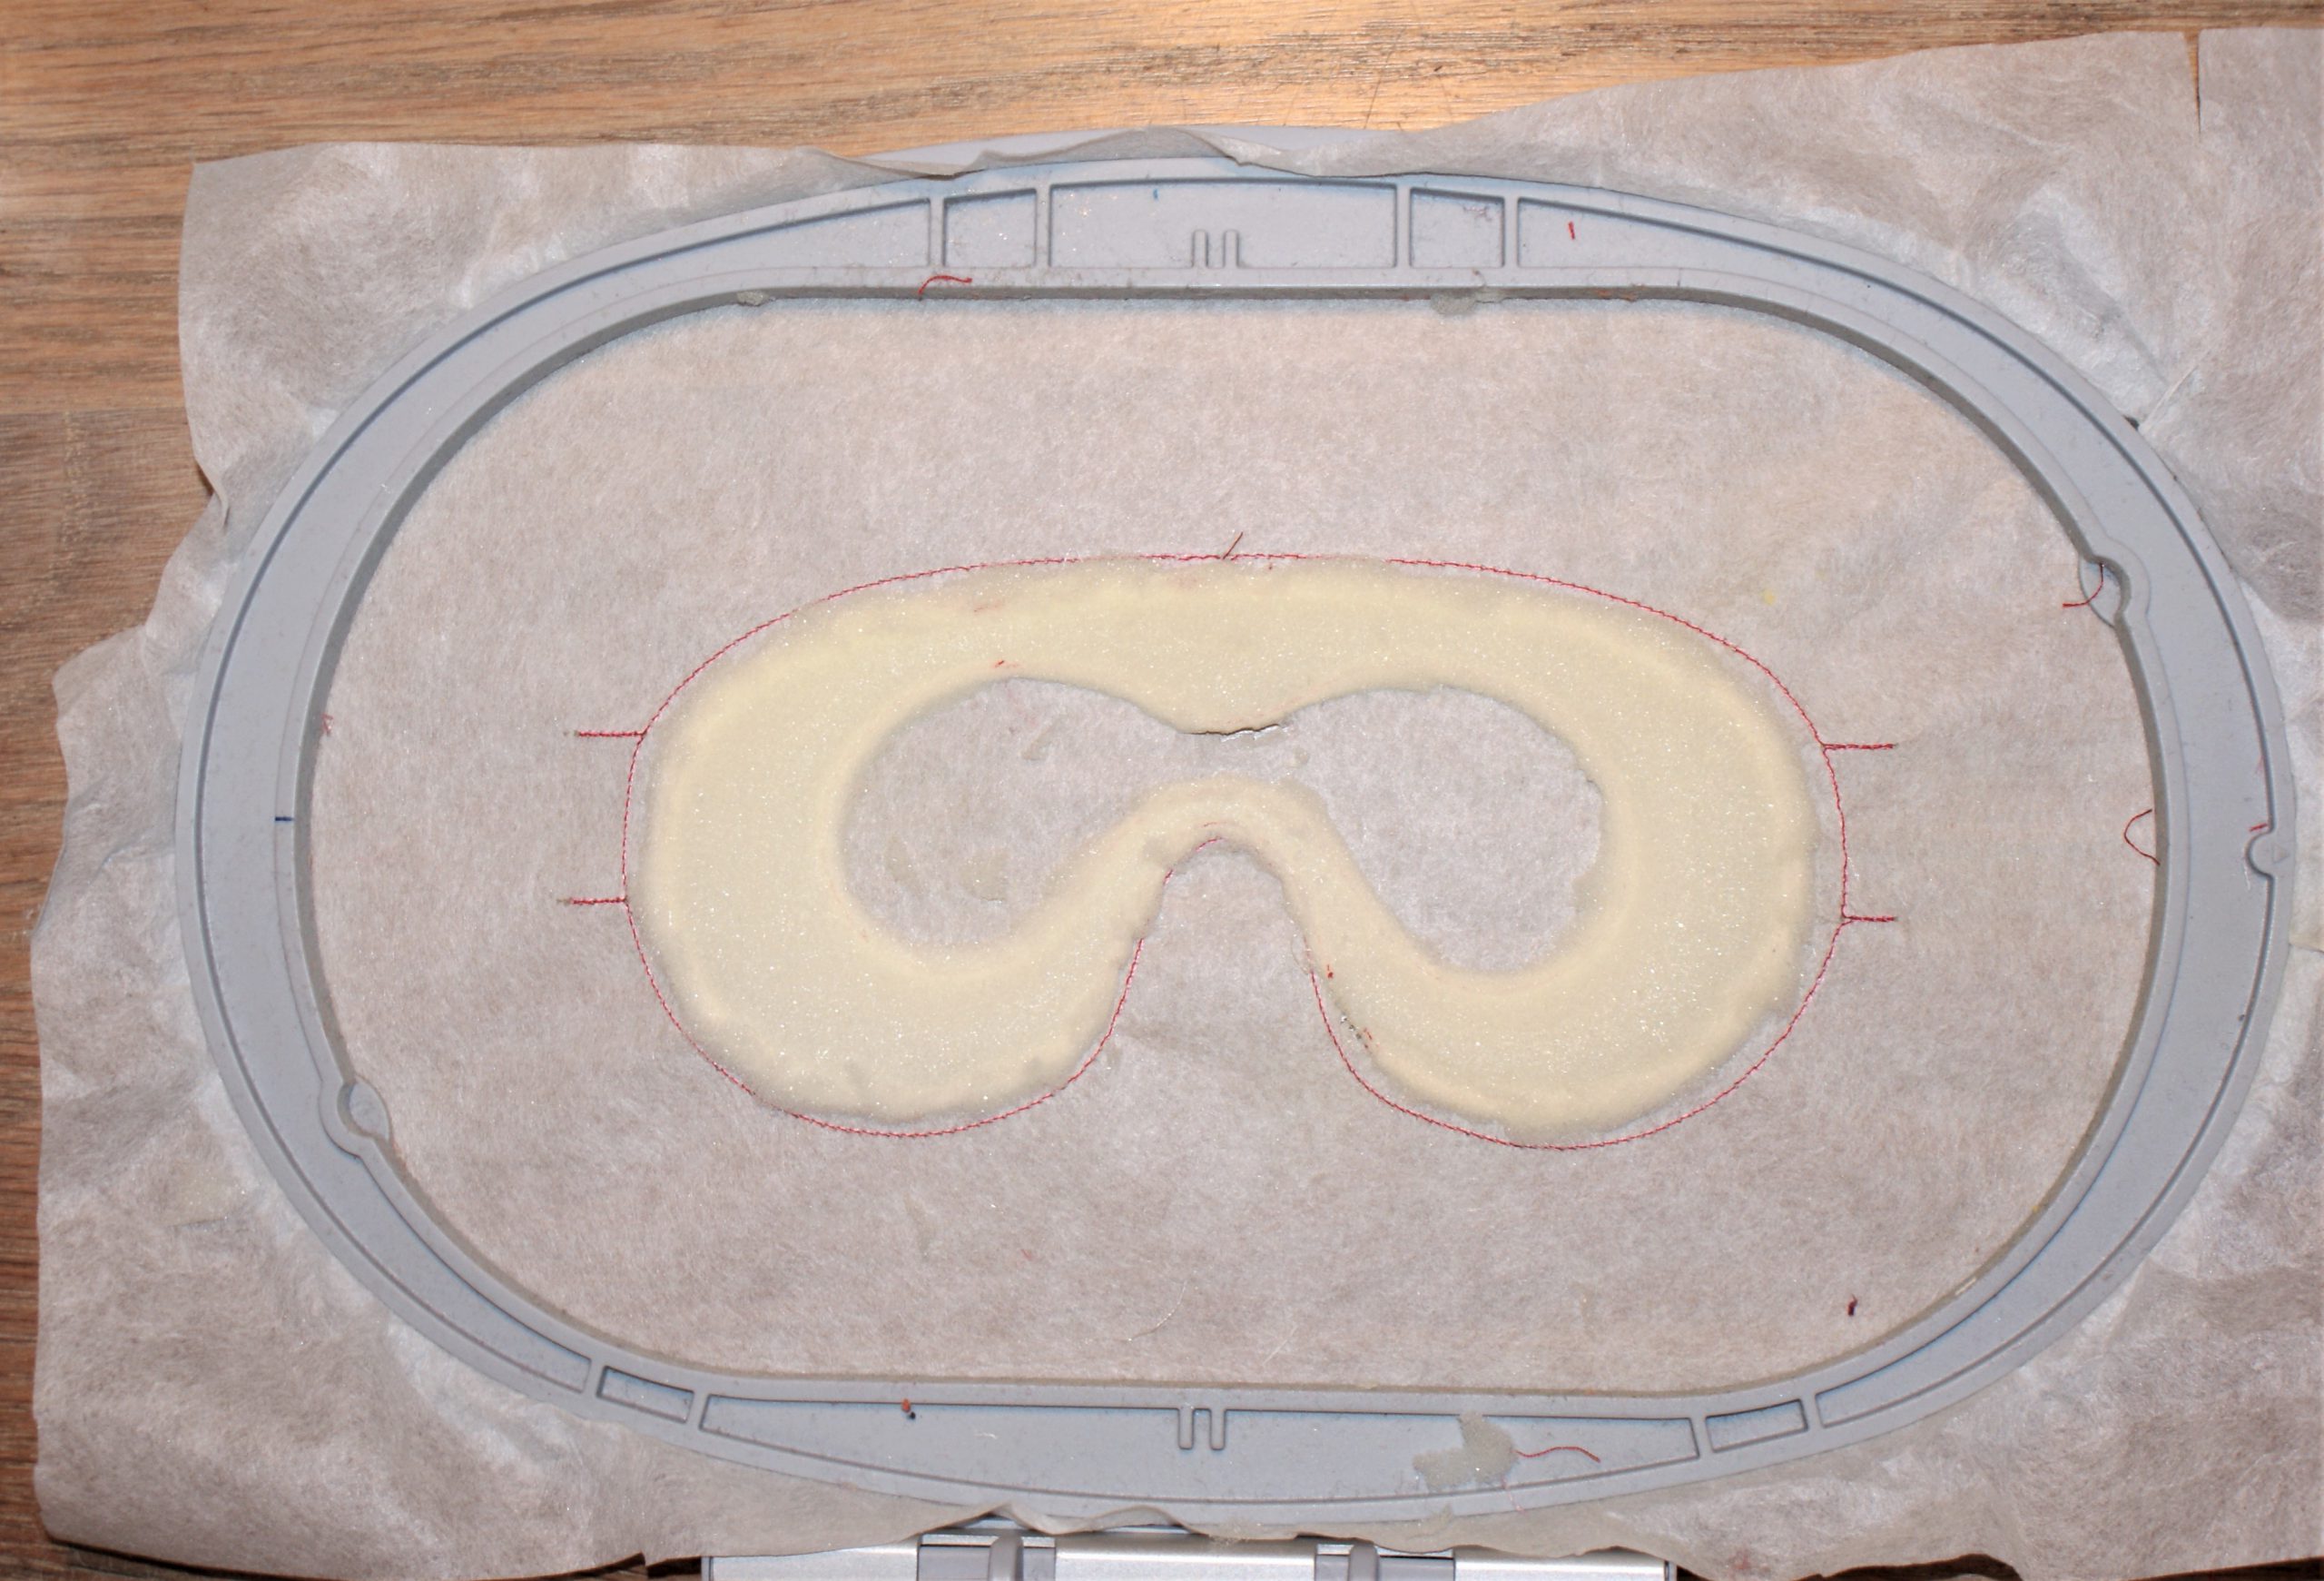
Put the patch for the back (right side up) on the foam and pin it on the sides.
Embroider step 3, it sews the edge of the foam with a zigzag stitch.
Let’s finish with the elastic:
Afterwards, you will put the elastic in place.
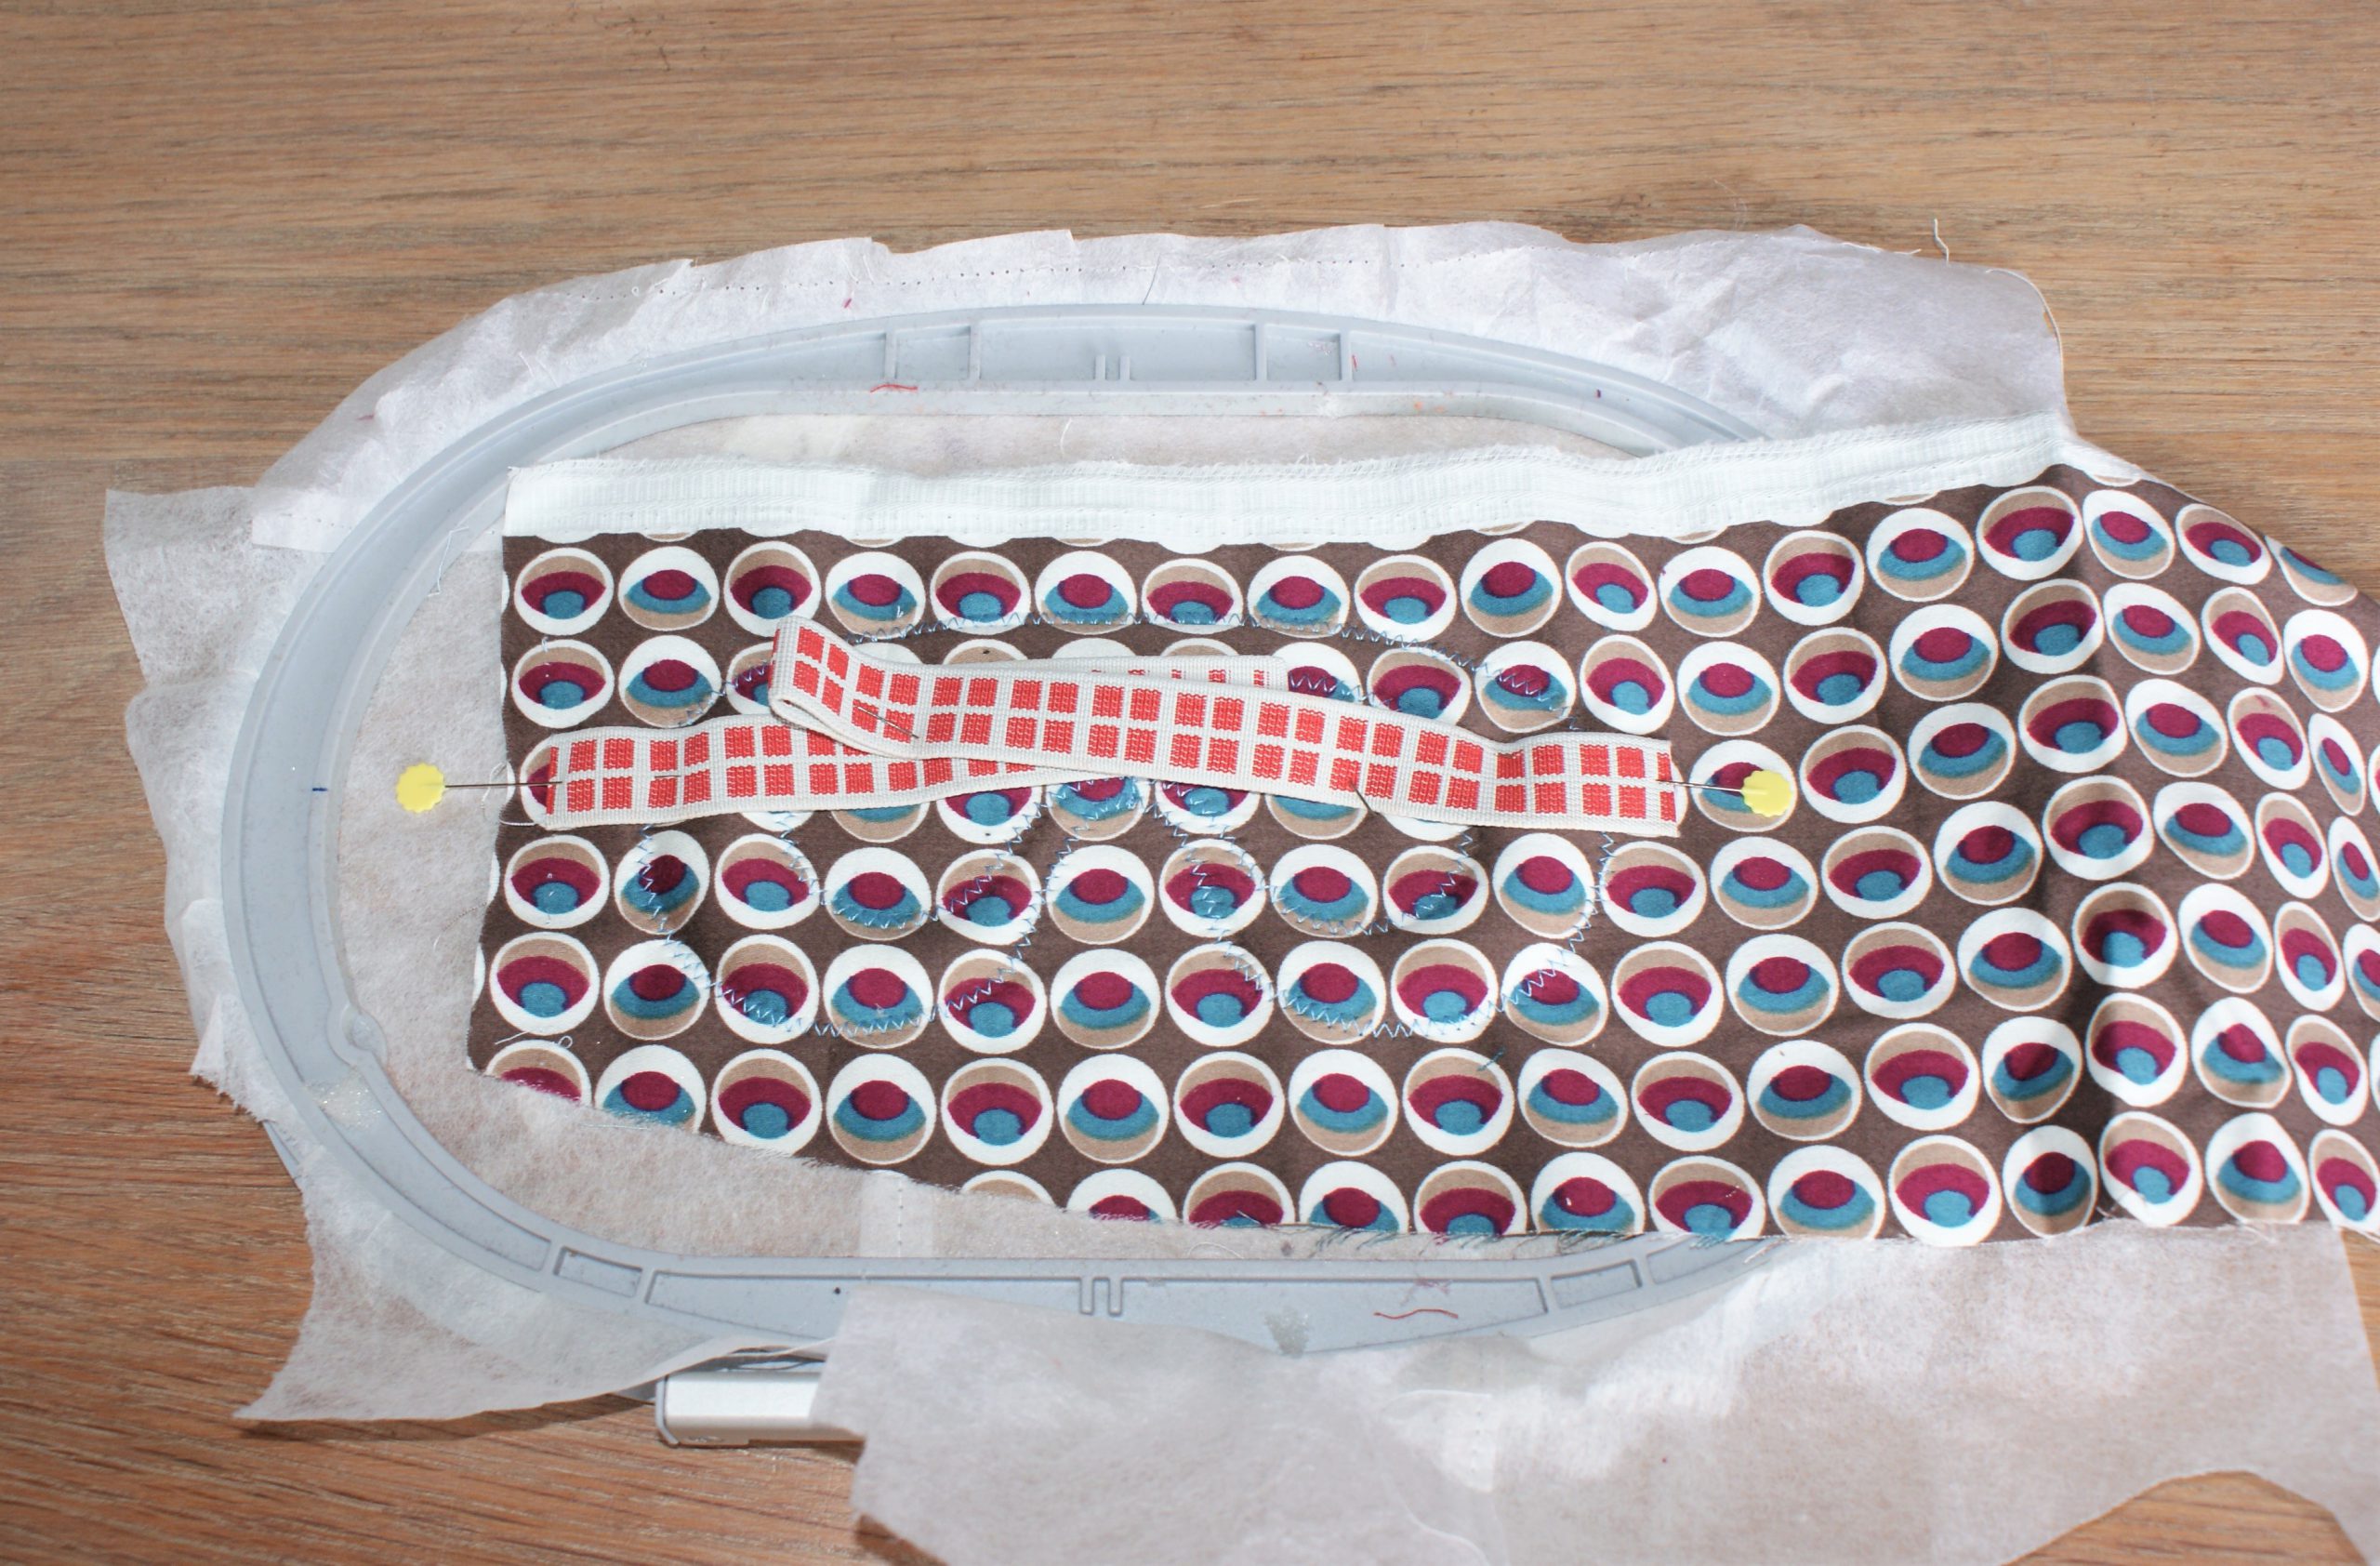
Pin the elastic in the correct place, left and right (lift the fabric to find the marks on the stabilizer). I pinned the middle as well, but in fact it could be even better to hold it out of the way and to embroider at a low speed. This will prevent the machine from faltering in the elastic, while moving from left to right.
Put the front with the eyes (right side down) on the project (check the marks) and pin. Check if the elastic is positioned high enough, not to be stitched with the outer seam. If necessary, pin from the back.
Embroider the last step and check if all pins are removed. Cut the mask out with 0,5 cm seam allowance (except for the opening in the seam) Cut in the seam allowance in the nose area, it will help you turn the mask neatly.
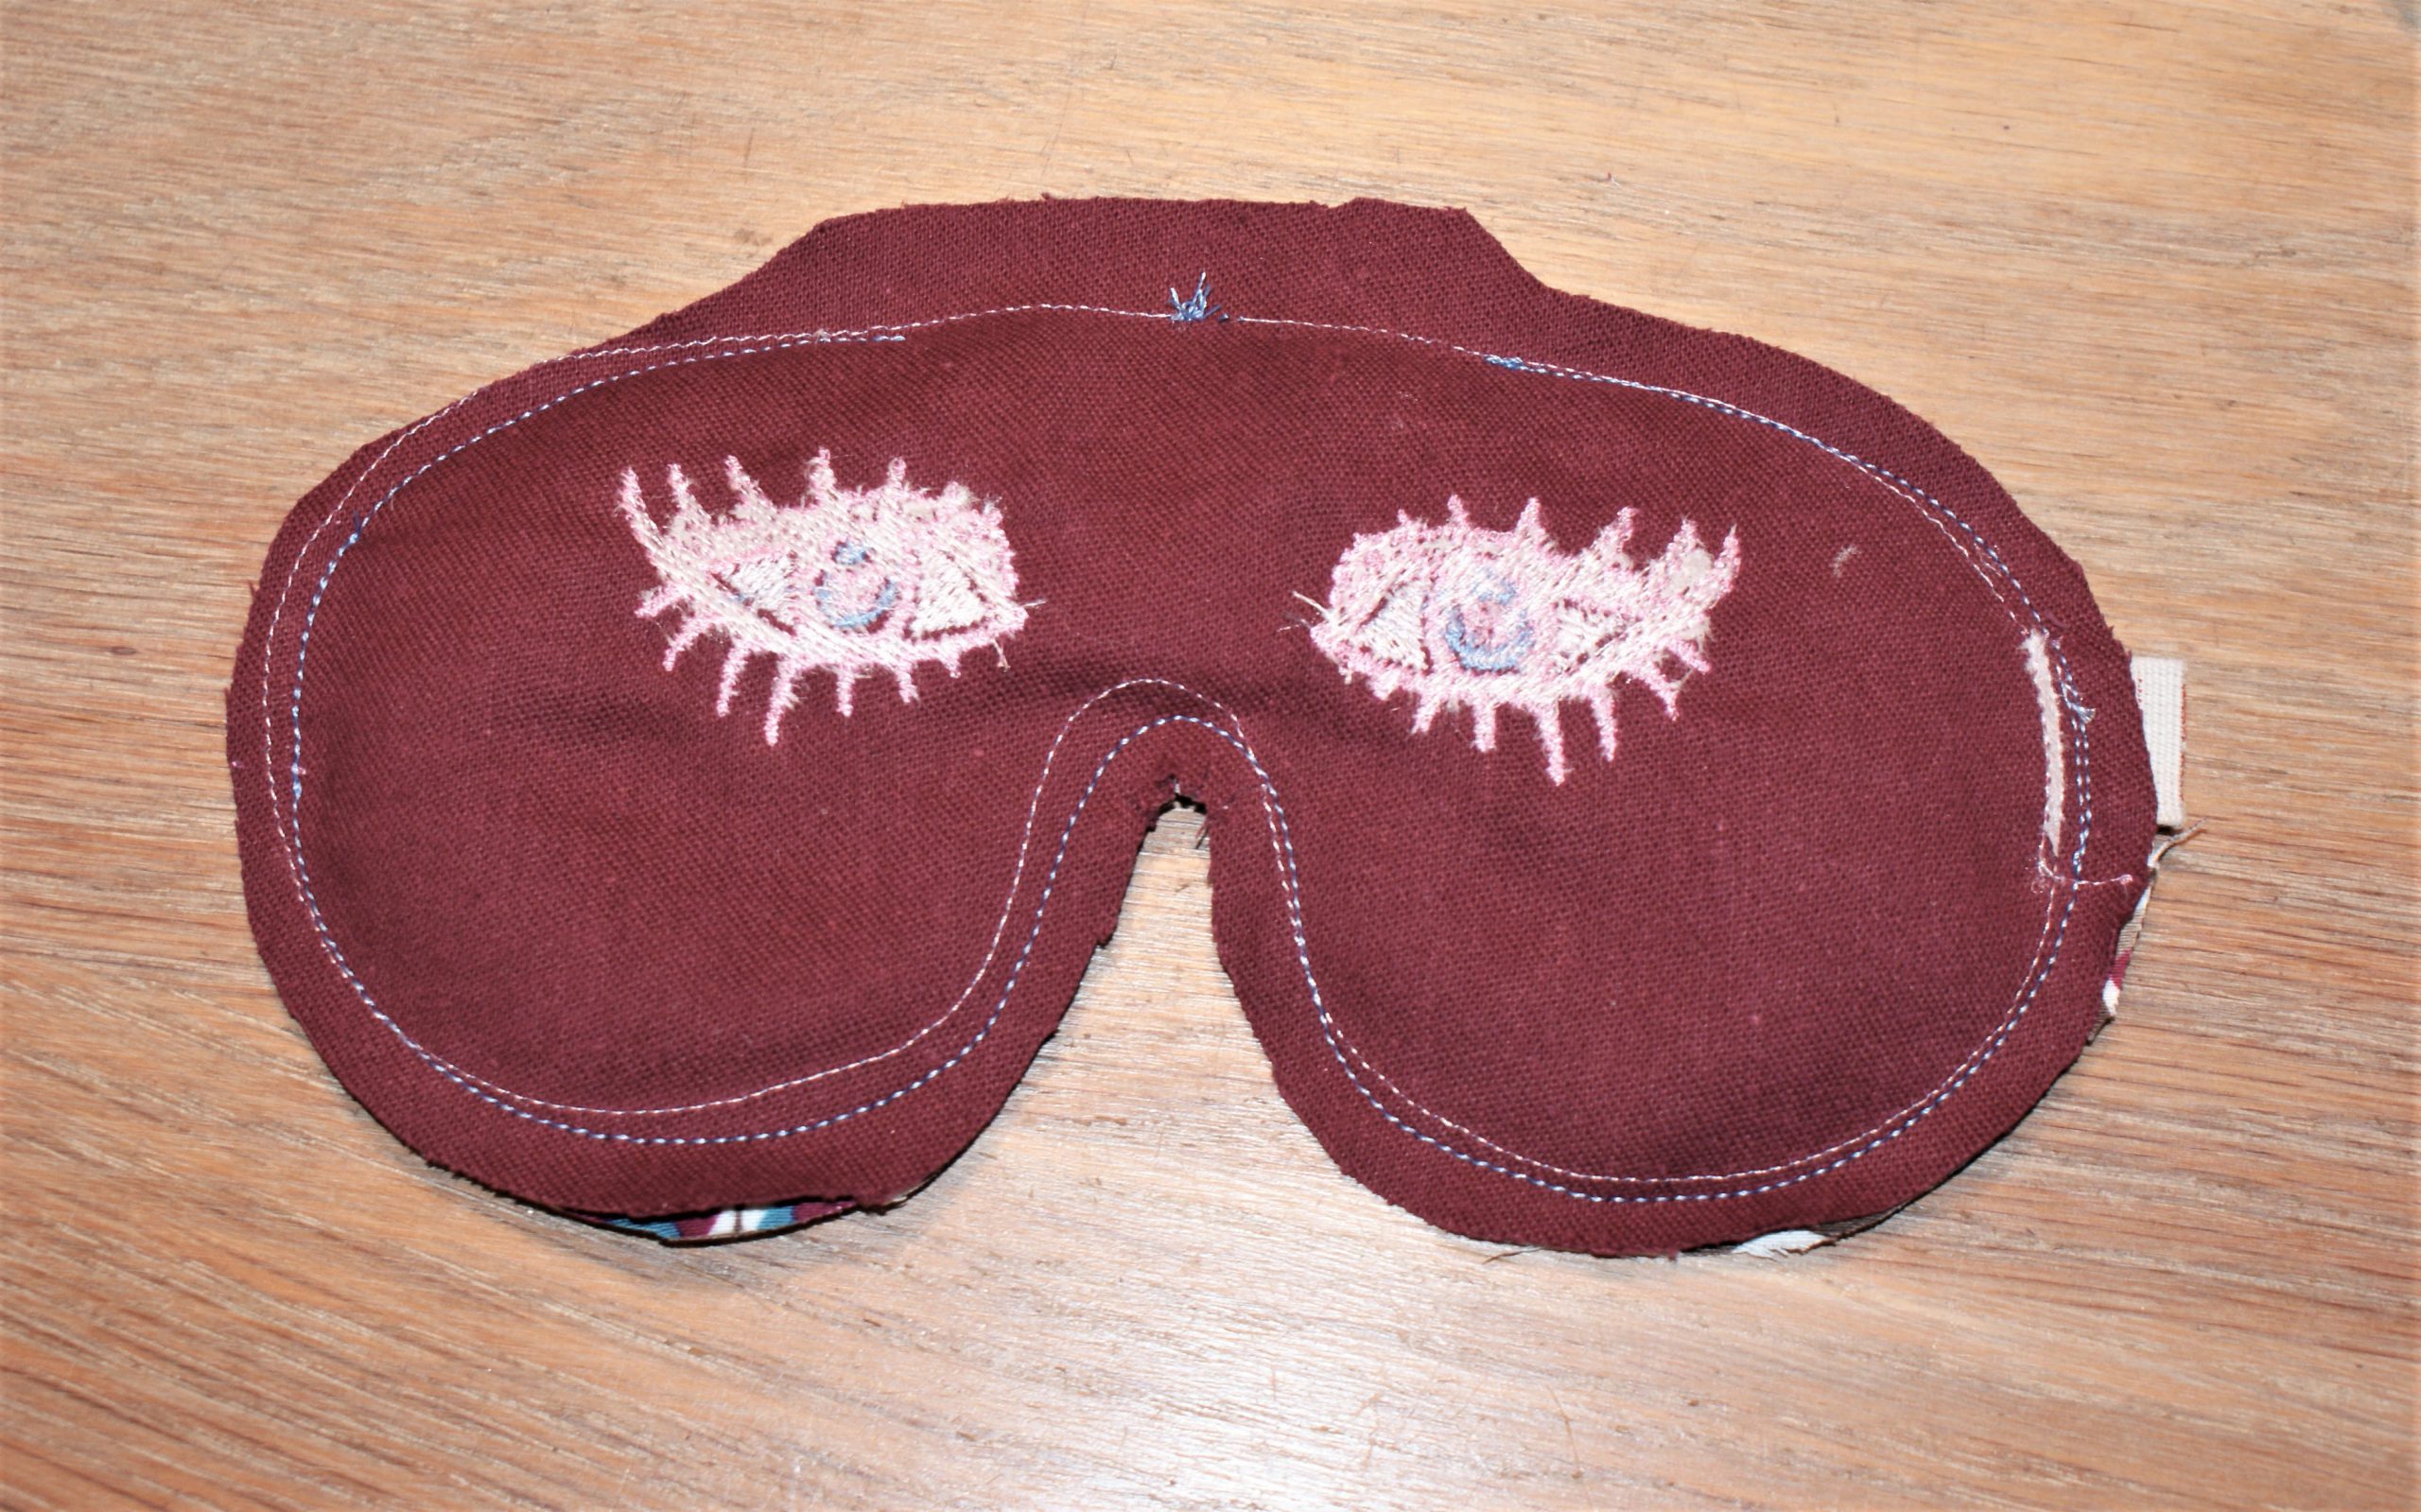
Cut in the seam allowance in the nose area. It helps you to turn inside out.
Now, at last, turn the mask inside out and close by handsewing (or machine). Unpick an eventual unwanted visible stitching line after finishing the project.
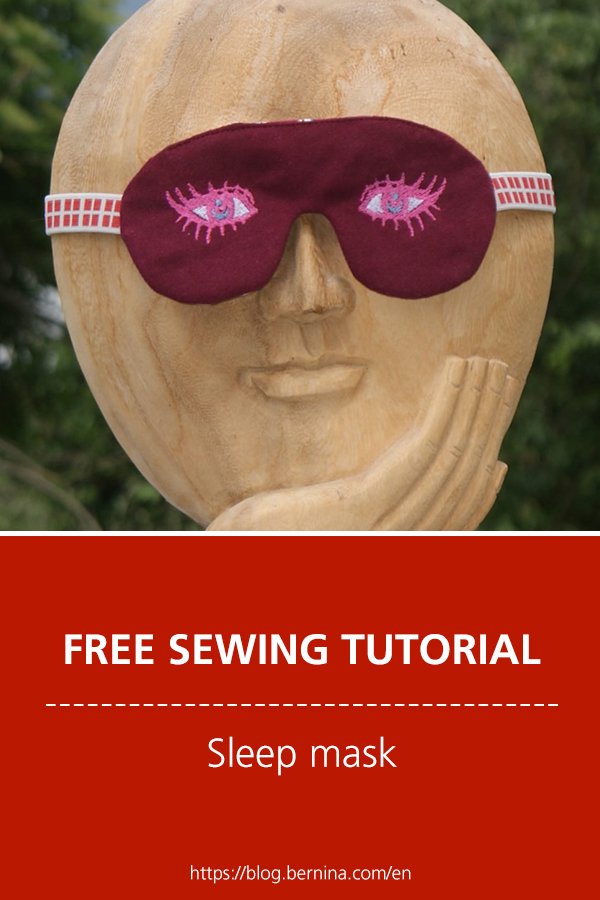
Do you sleep with open windows? Are you planning a journey? Do you eventually like an afternoon nap? It’s my advice for you: ‘Make a sleep mask on the embroidery machine.’ You will like it as much as I do.
0 Responses