 BERNINA Corporate Blog -
Hello, dear sewing friends. Sewing a pouf seems like quite a challenge at first. But that’s not the case at all! With the right tools, it’s easy as pie.
To sew the pouf, I mainly used Leather roller foot #55. Leather roller foot #55 looks a little strange with its big wheel. With this presser foot, the point of contact is on the left side, leaving the right side free, which allows the material to pass through freely and gives a clear view of the sewing. The wheel has a surface that enables it to grip the fabric securely. The Leather roller foot #55 is particularly suitable for sewing over leather or other similar materials. It’s also great for creating giant piping or for sewing a circular piece of fabric onto a straight piece, as the roller grips the fabric securely and still allows movement in almost any direction. The ideal presser foot, especially for quilting novices.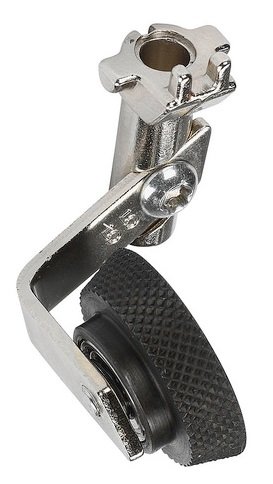
The videos below provide a good illustration of the application possibilities of Leather roller foot #55.
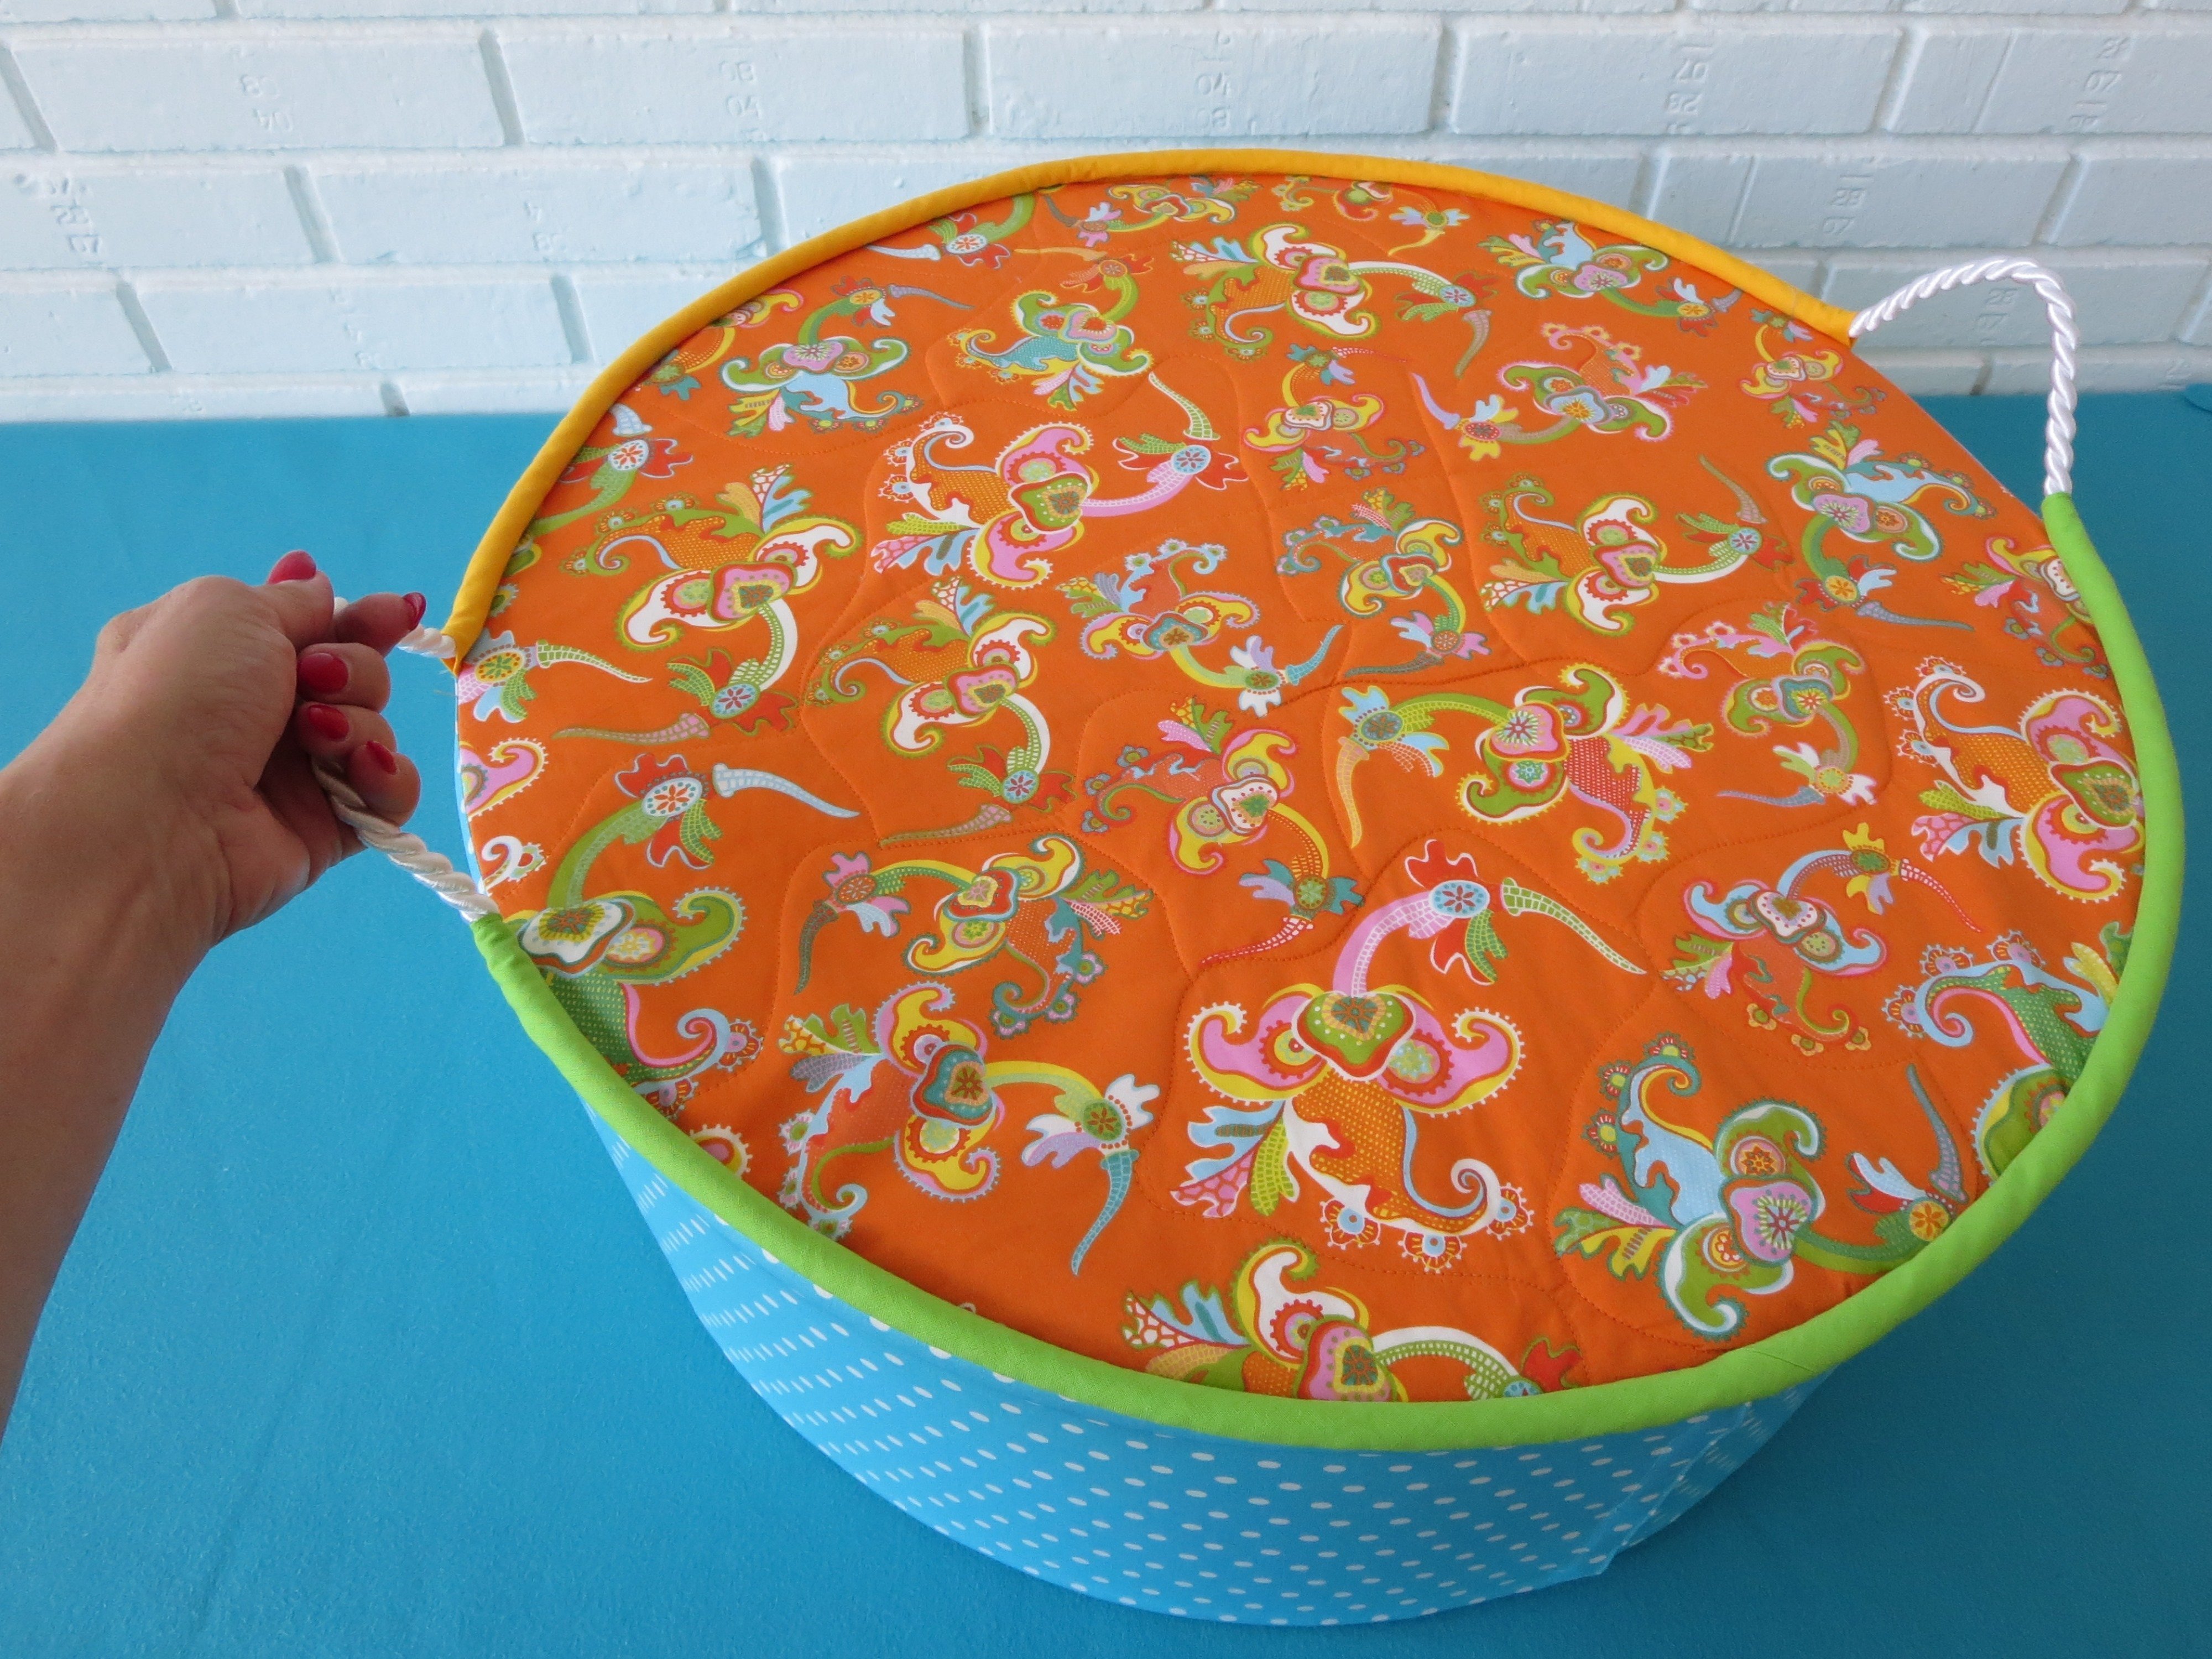
I would now like to show you how I sewed the pouf. By the way, a particular highlight of this pouf for me is the way the handles are threaded into the giant piping.
Sewing instructions for a pouf with handles
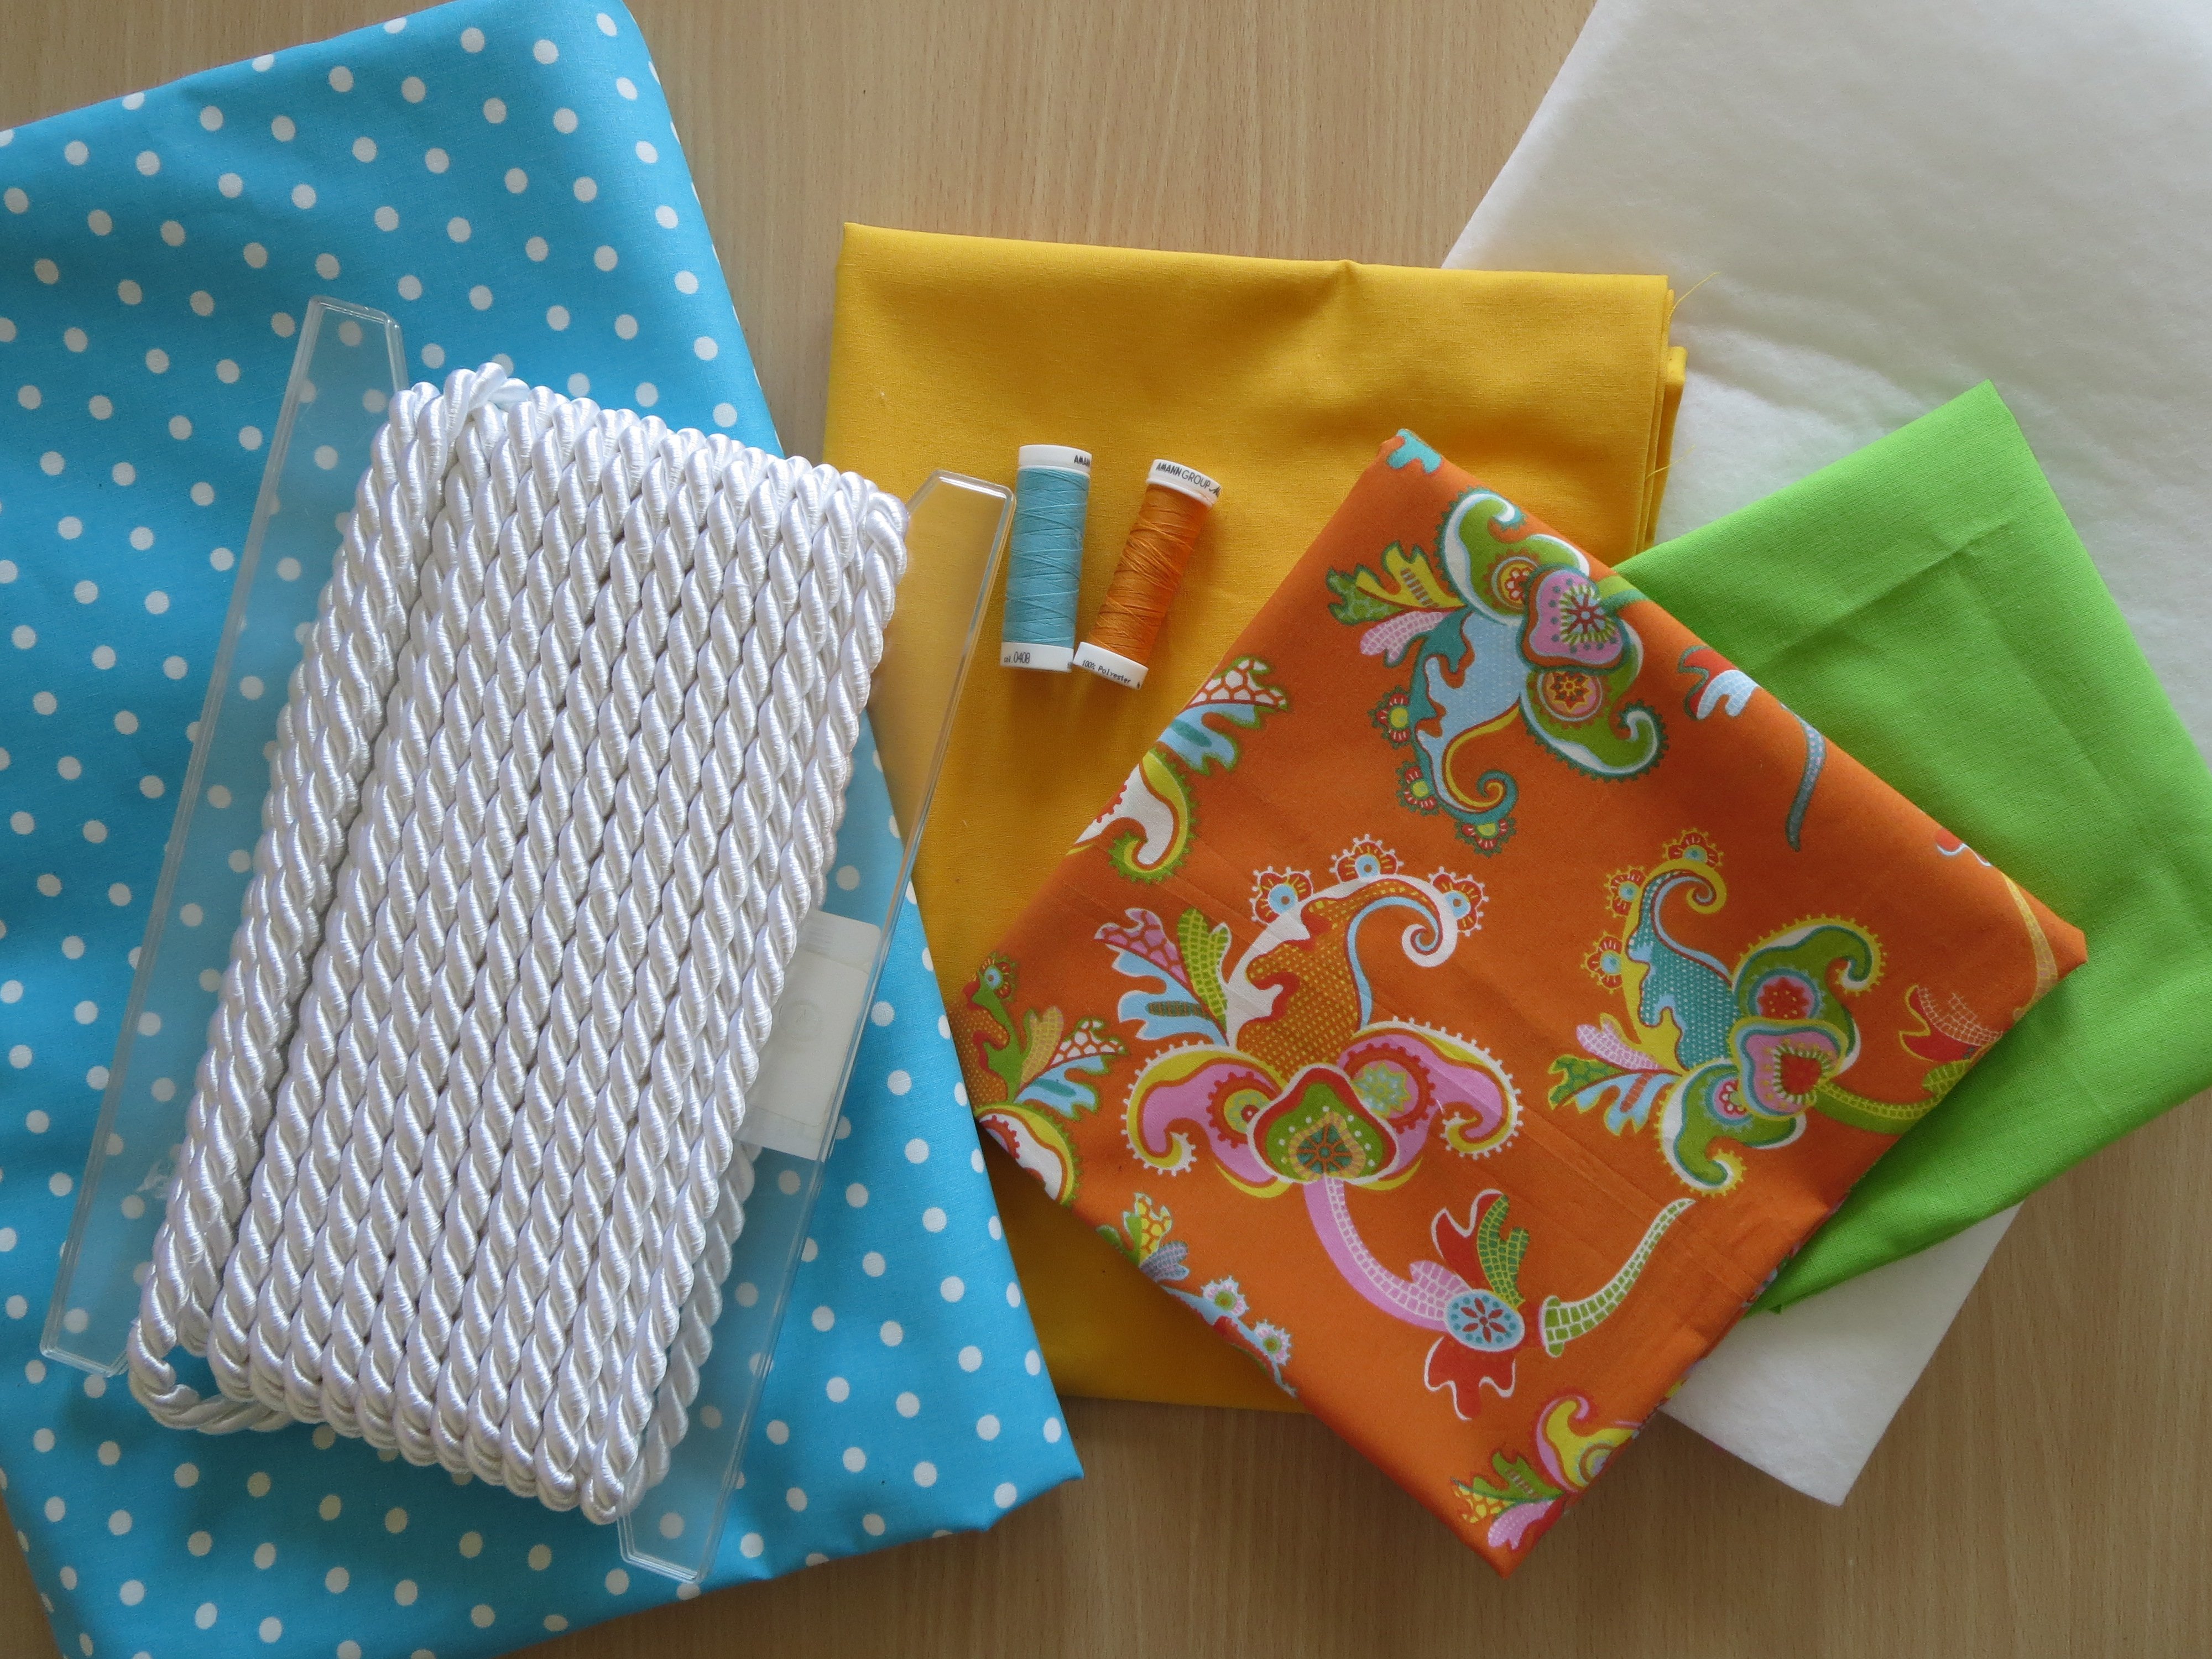
You will need (measurements including a 1.5 cm seam allowance):
- 65 cm cotton fabric:
- Cut out: 1 circle, diameter 63 cm
- 65 cm Vilene H 180 interlining
- Cut out: 1 circle , diameter 63 cm
- 65 cm 279 Cotton Mix or H640 Fusible Fleece/iron-on batting
- Cut out: 1 circle, diameter 63 cm
- 110 cm oilcloth, 150 cm wide
- Cut out: 1 semicircle, radius 31.5 cm plus a 3 cm seam allowance on the straight edge
- Cut out: 1 semicircle, radius 31.5 cm plus a 1.5 cm seam allowance on the straight edge
- Cut out: 1 strip measuring 26 cm x 97 cm
- Cut out: 1 strip measuring 26 cm x 100 cm
- Cotton fabric remnants in 2 different colors
- Cut out: 2 diagonal strips of cotton fabric measuring 8 cm x 168 cm (seam allowance is adjusted once the piping has been created)
- 95 cm white Velcro 1 cm wide
- Cut out: 2 pieces 19 cm long and 1 piece 57 cm long
- 1 roll of RG 40 Cold Foam /firmness 4.0 KPa, diameter 60 cm, height 23 cm (available online)
- 1 cord, diameter 1.2 cm, 2 m long
- Transparent adhesive tape (Tesa, etc.)
- Matching colored sewing thread
- Wonder Tape (double-sided adhesive tape)
Accessories and tools such as:
- Reverse pattern foot #1/1C/D
- Zipper foot #4
- Piping foot #38
- Walking foot #50 if required
- Patchwork Seam Guide
- Hand sewing needle
- Fabric clips
- Marker
- Tape measure
- Scissors
- Craft scissors
- Rotary cutter
- Cutting mat
- Cutting ruler
To cut out the circles, fold the cotton fabric in half and draw a semicircle by measuring 31.5 cm from a point.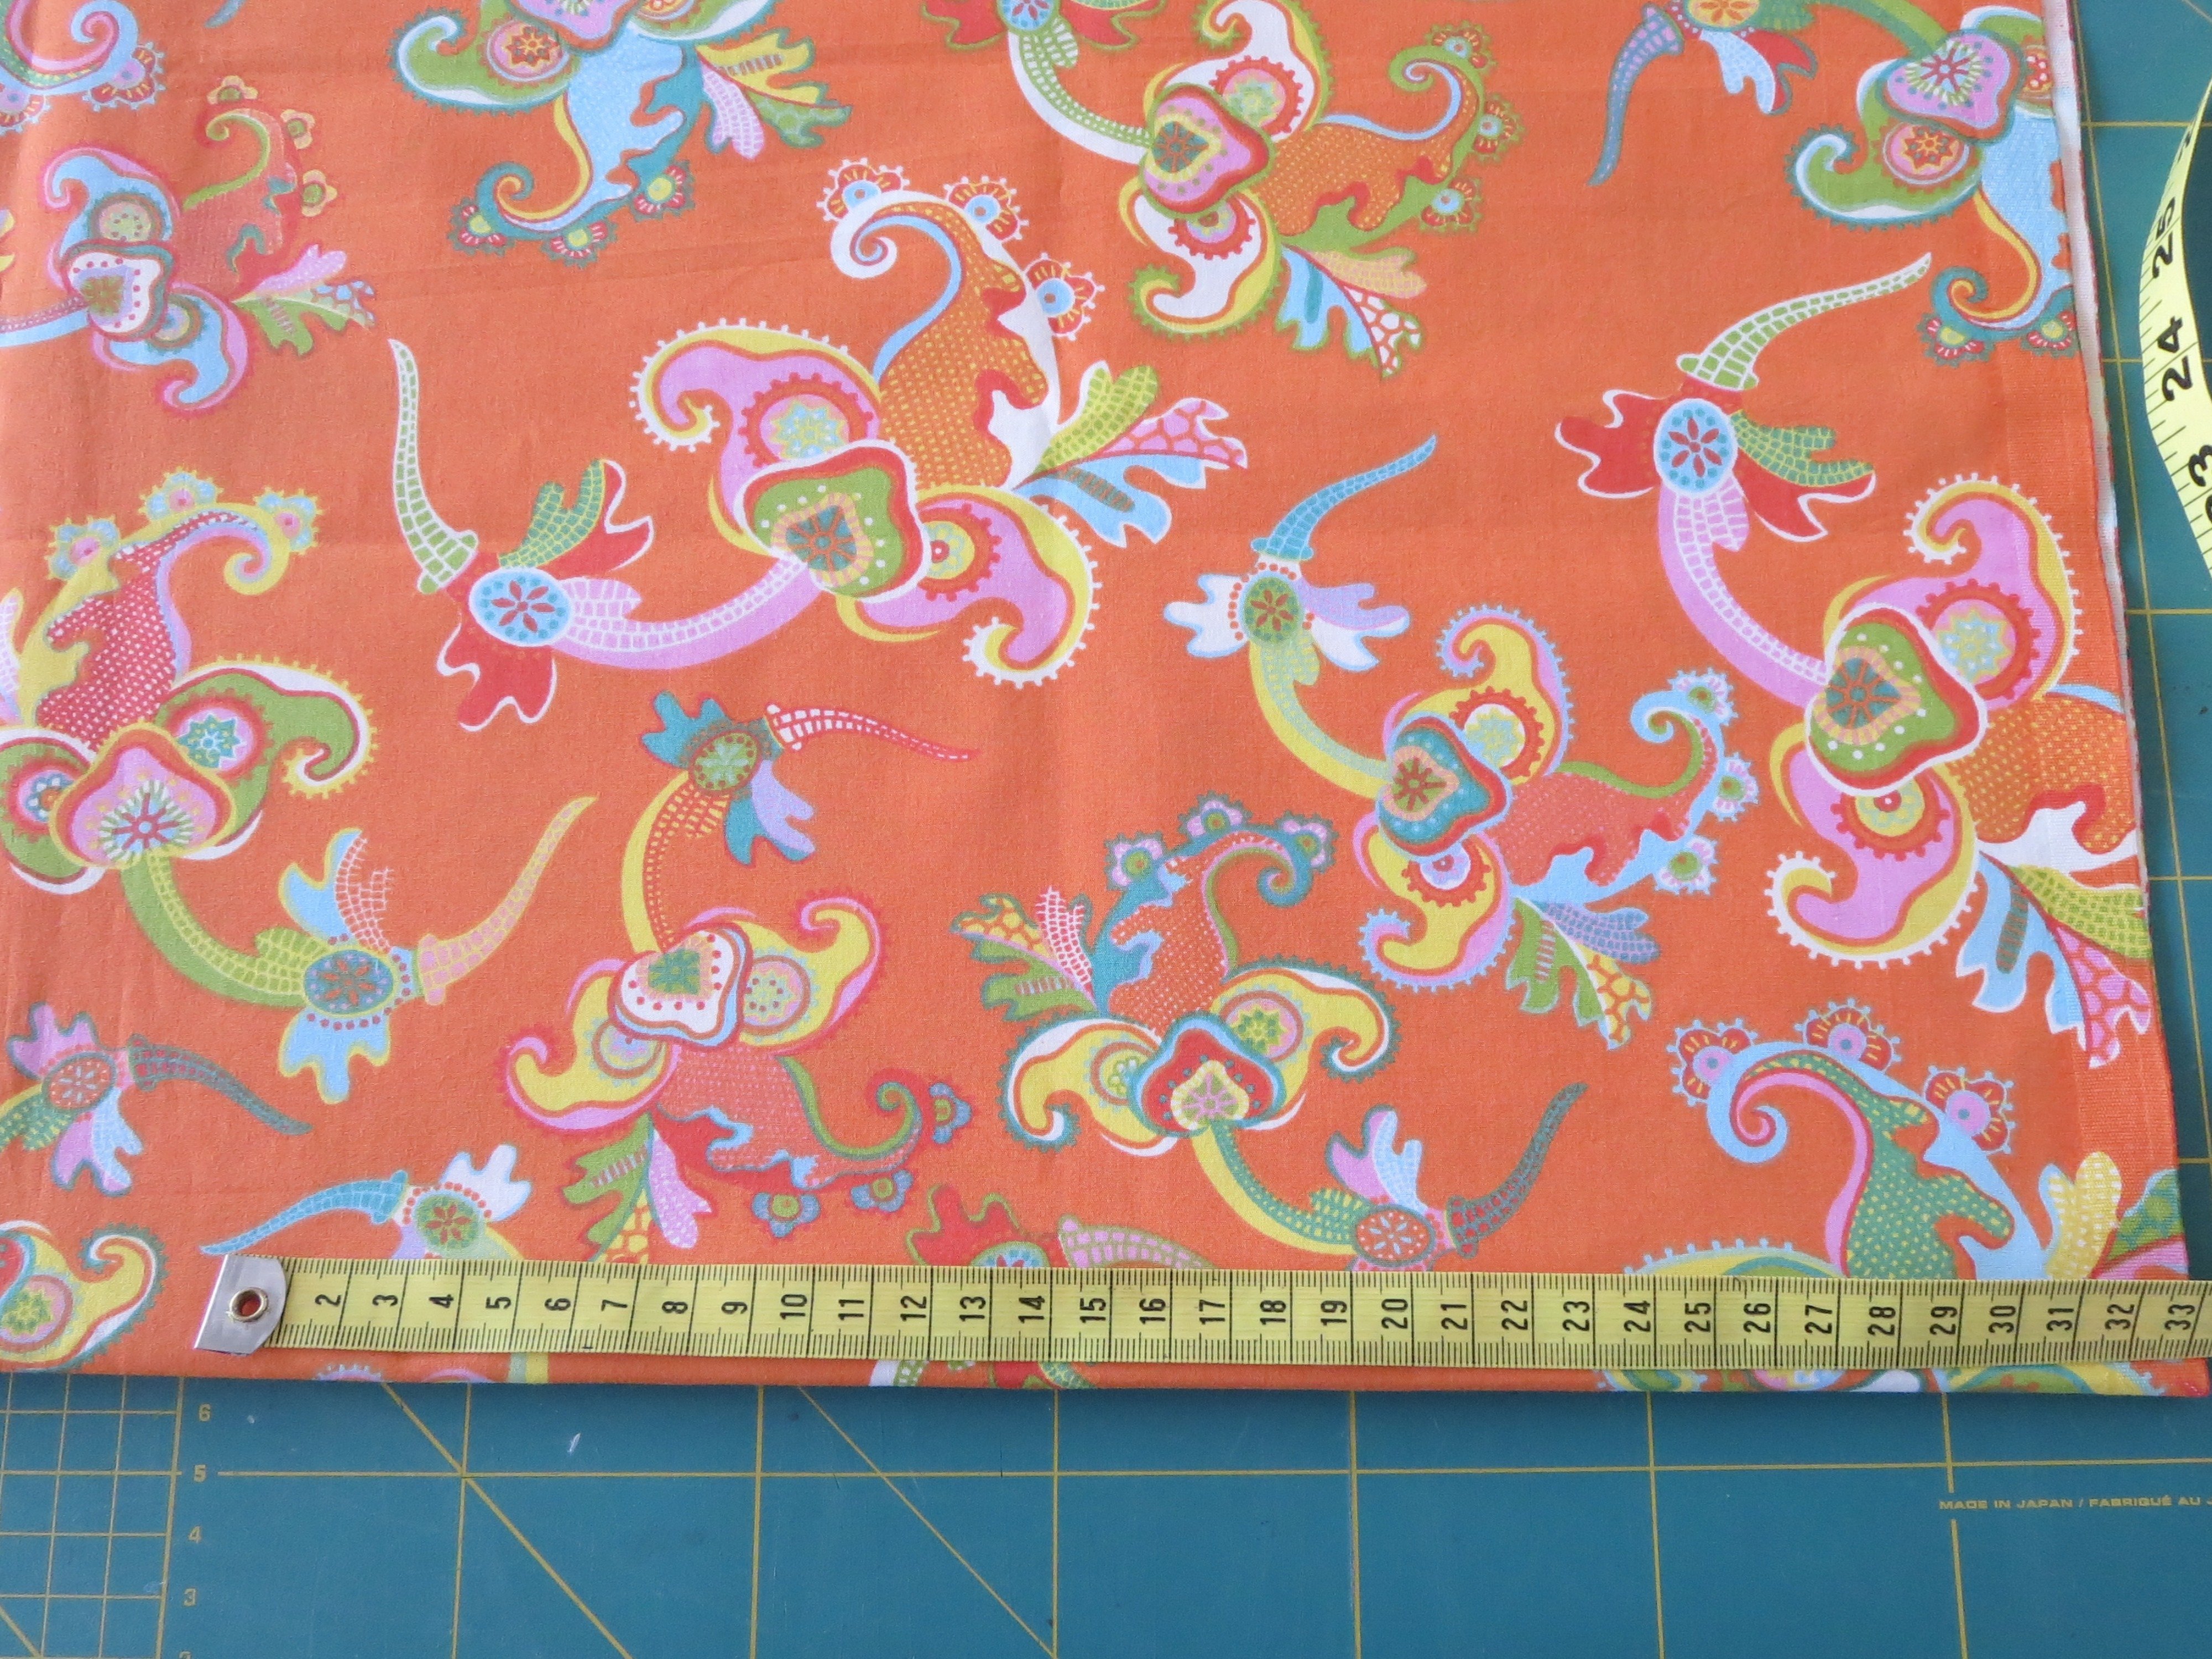
Cut the Vilene into a circle and iron onto the wrong side of the cotton fabric. Do the same with the 279 Cotton Mix or H640 Fusible Fleece, but do not iron on.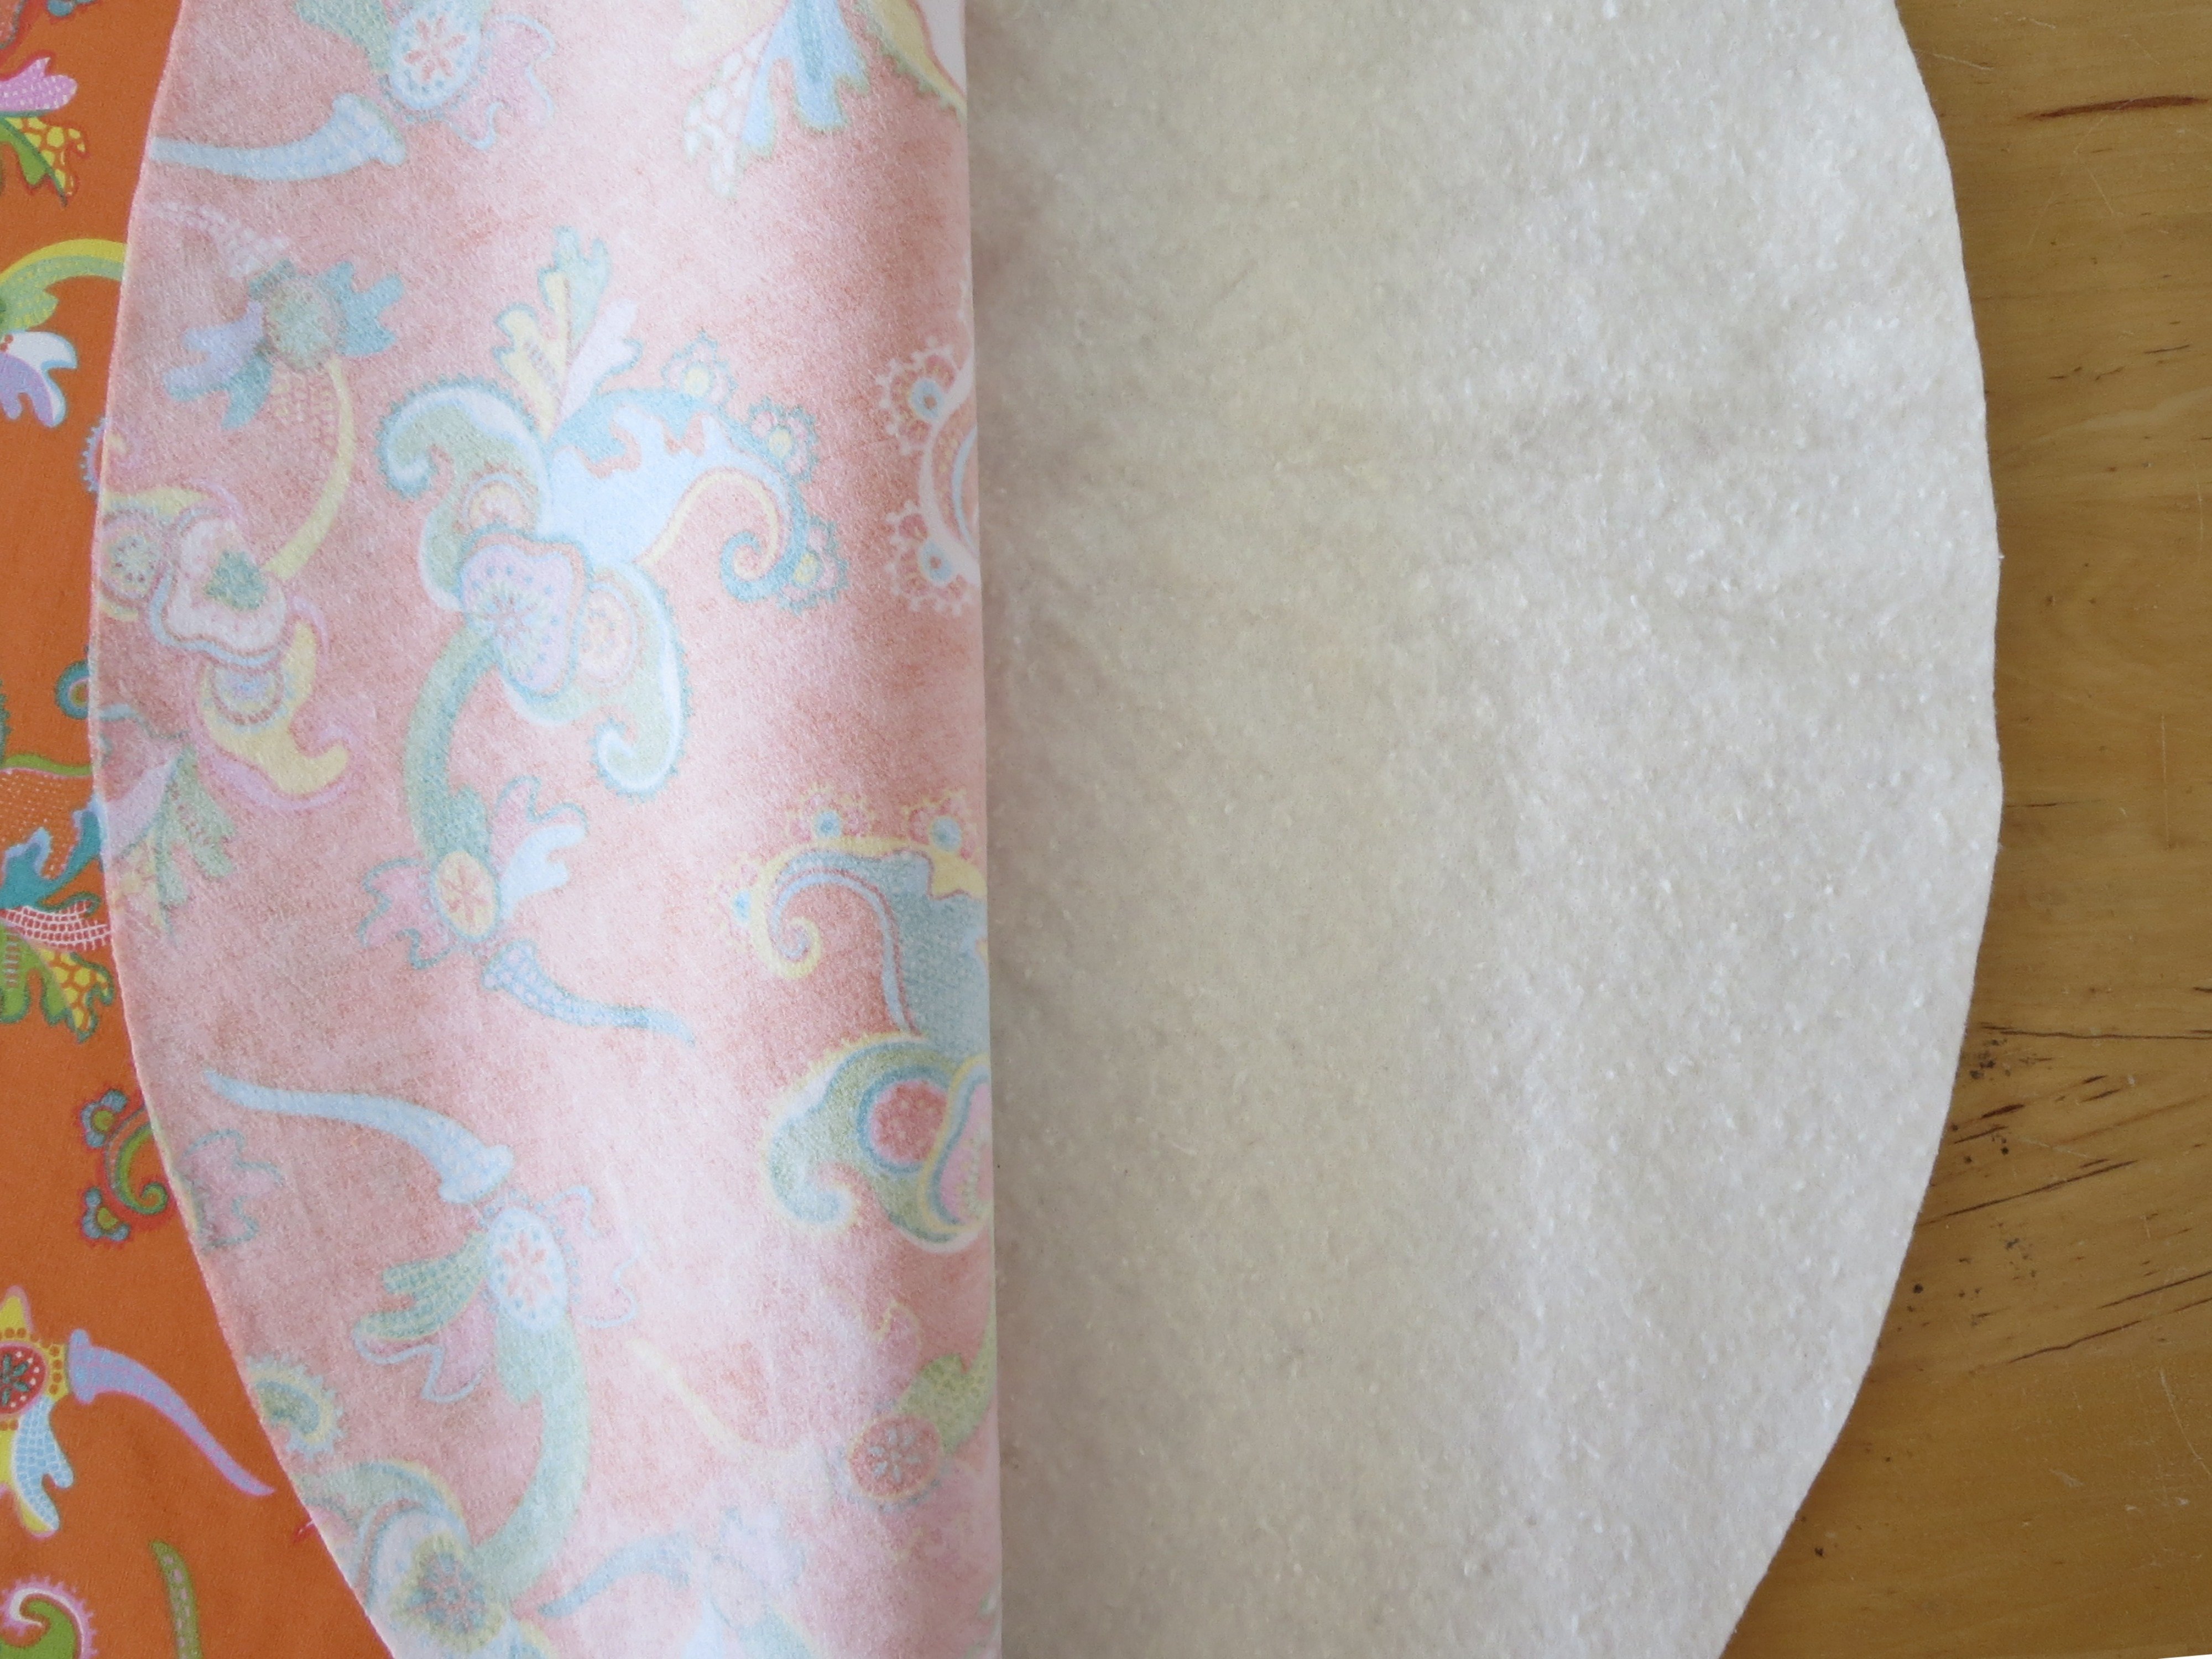
Thread the machine with a matching colored sewing thread and then attach the Leather roller foot #55. Select the presser foot if possible. Note: The needle threader cannot be used when the presser foot is attached and the automatic thread cutter does not work. Quilt the cotton fabric.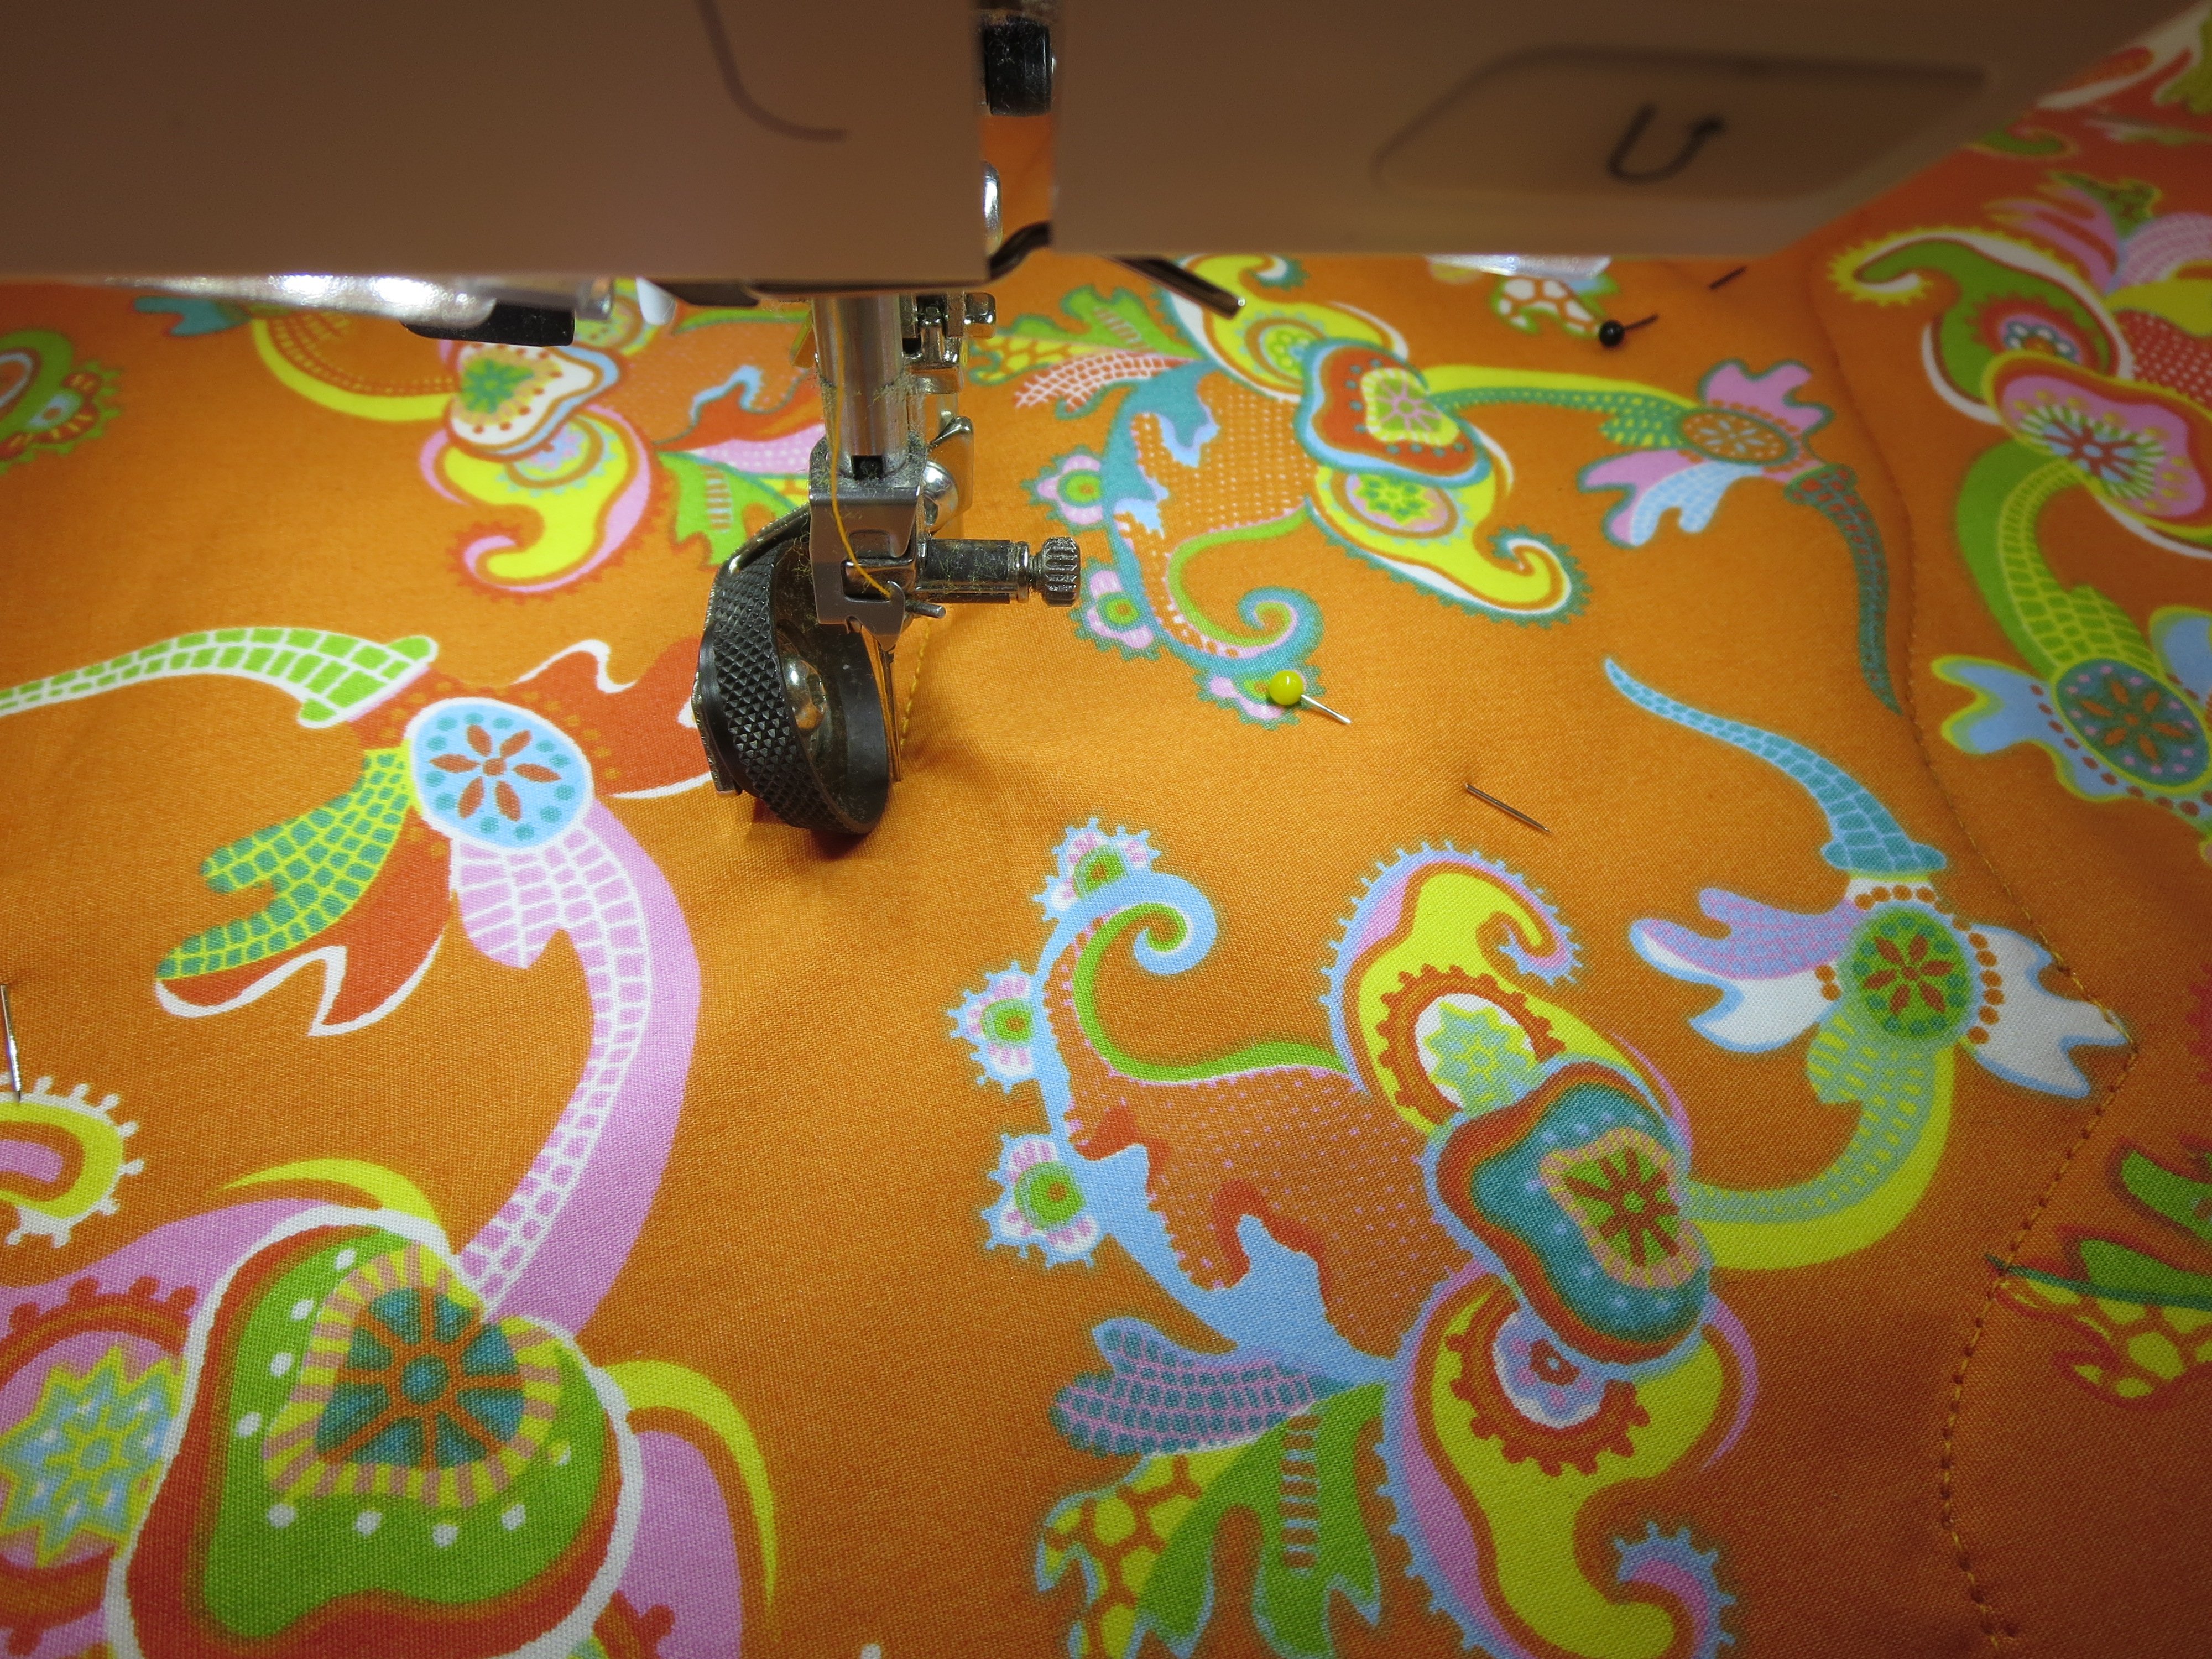
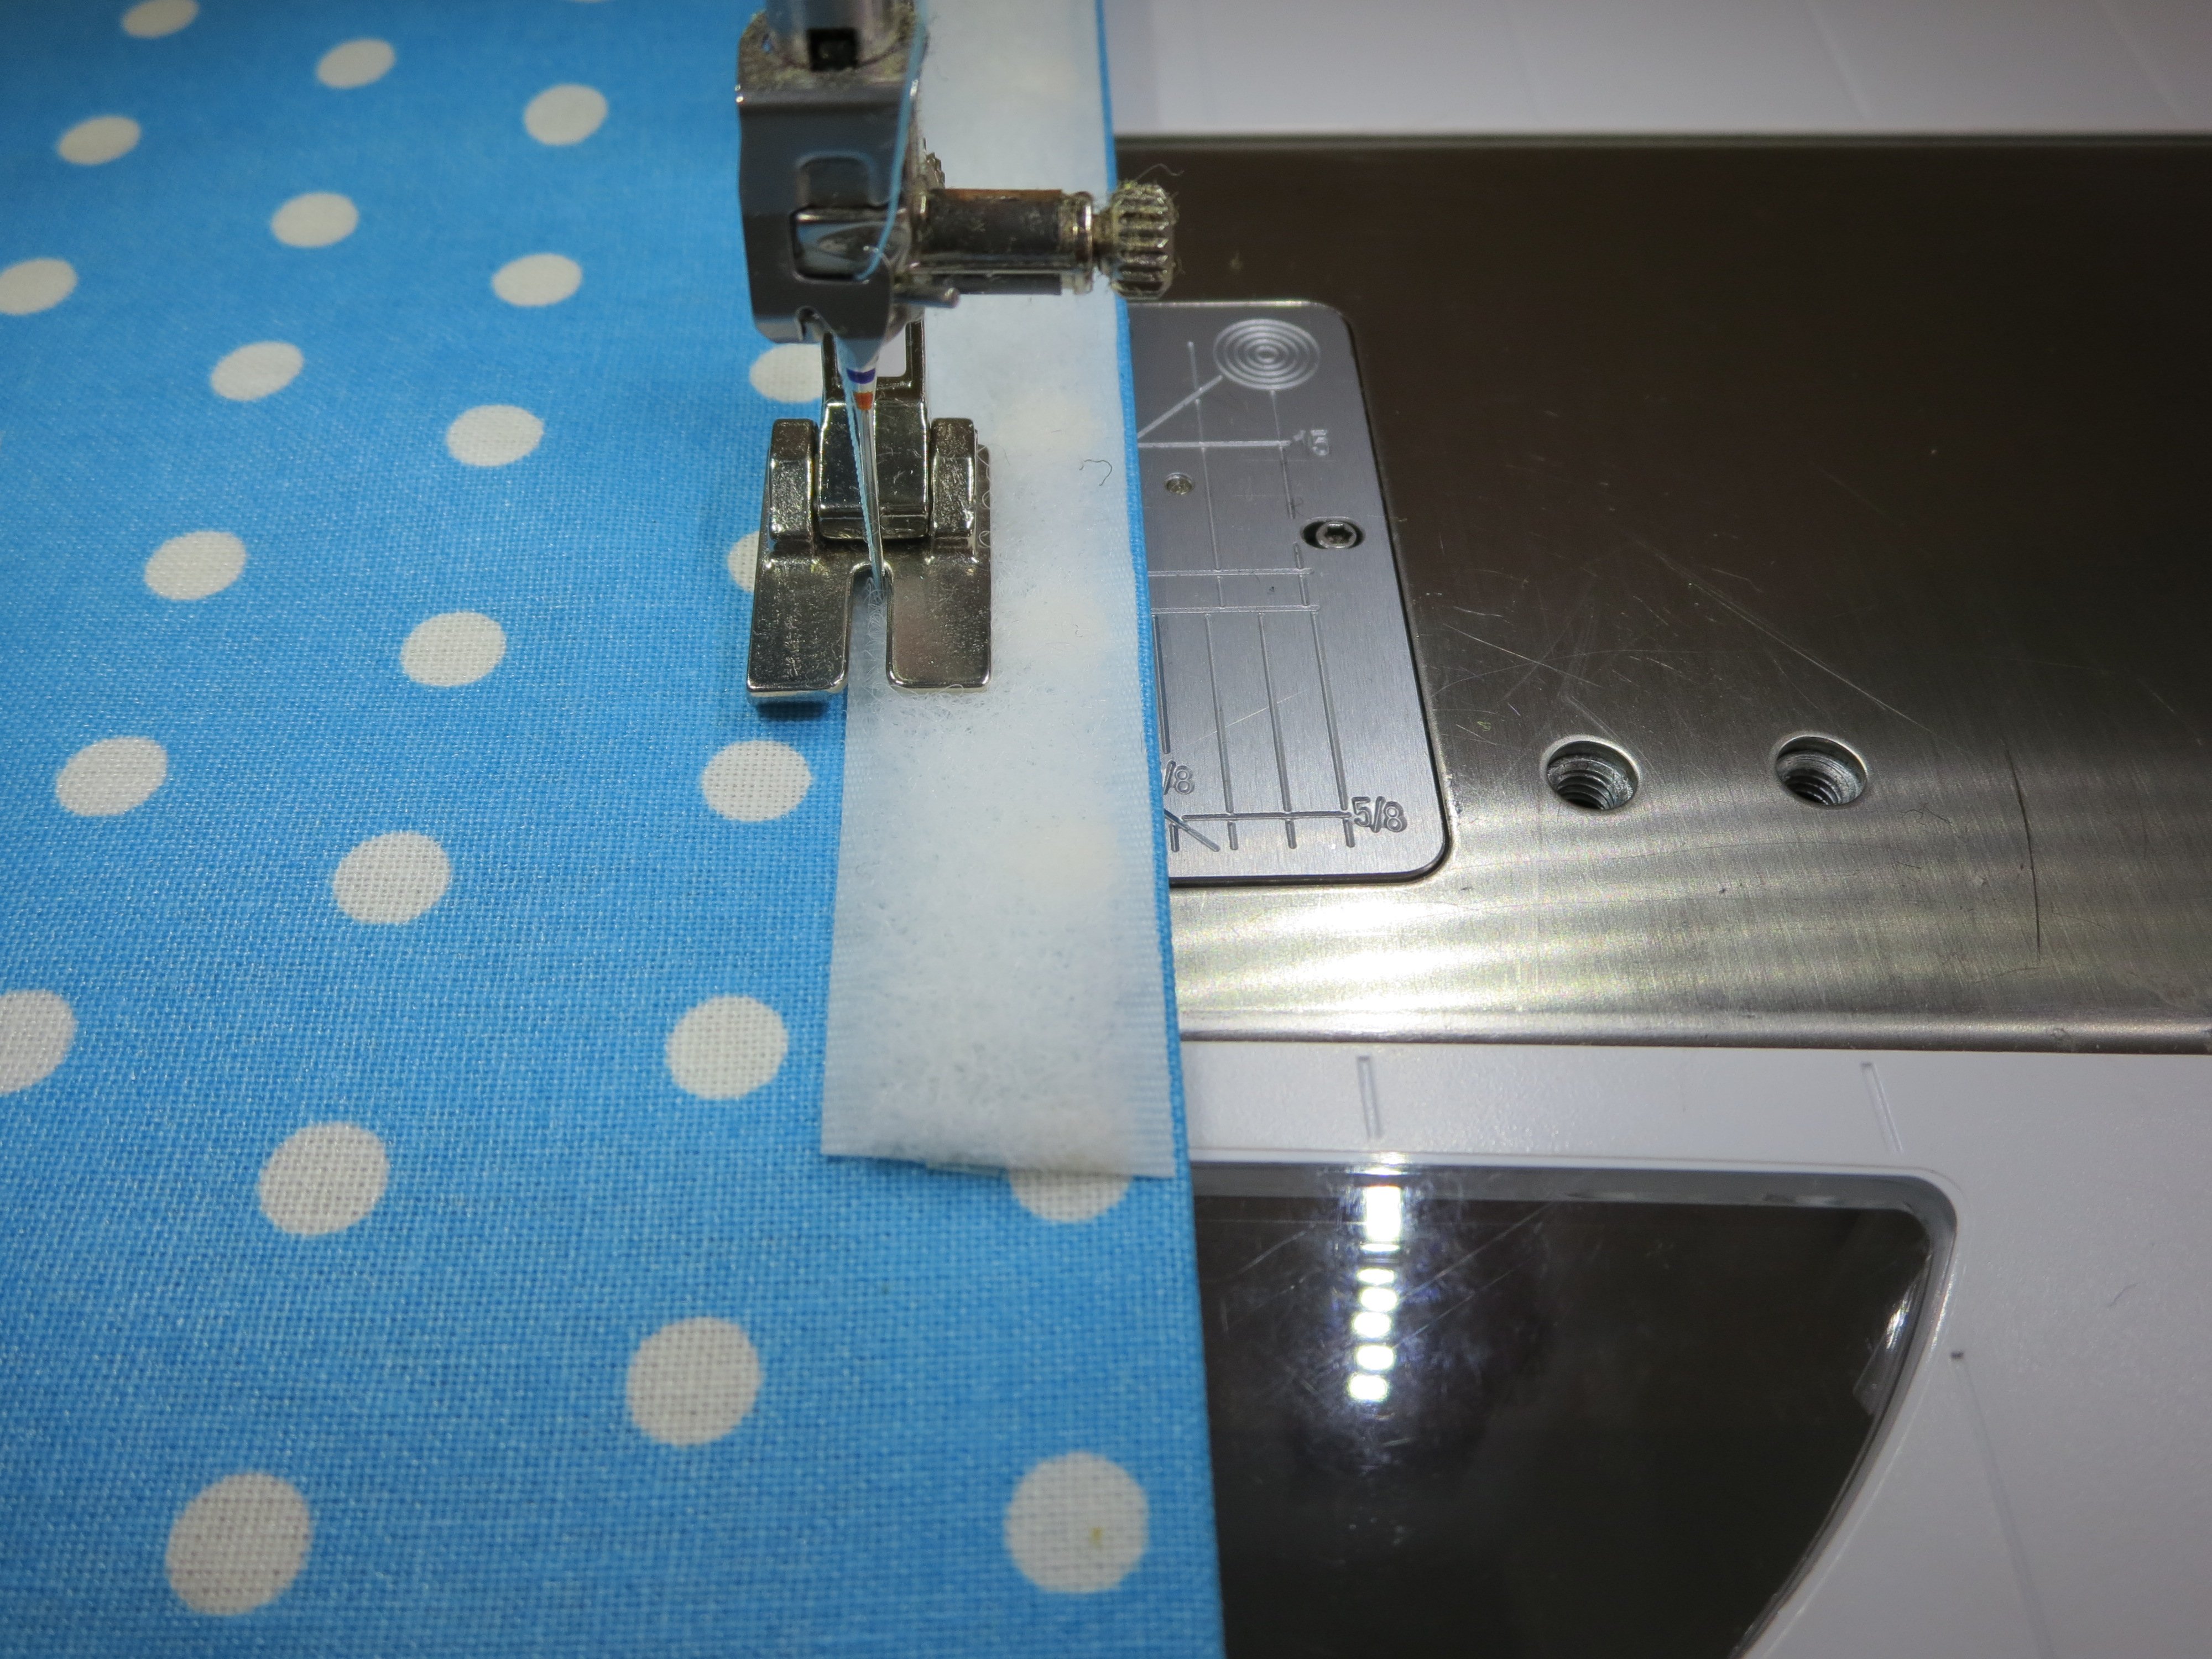
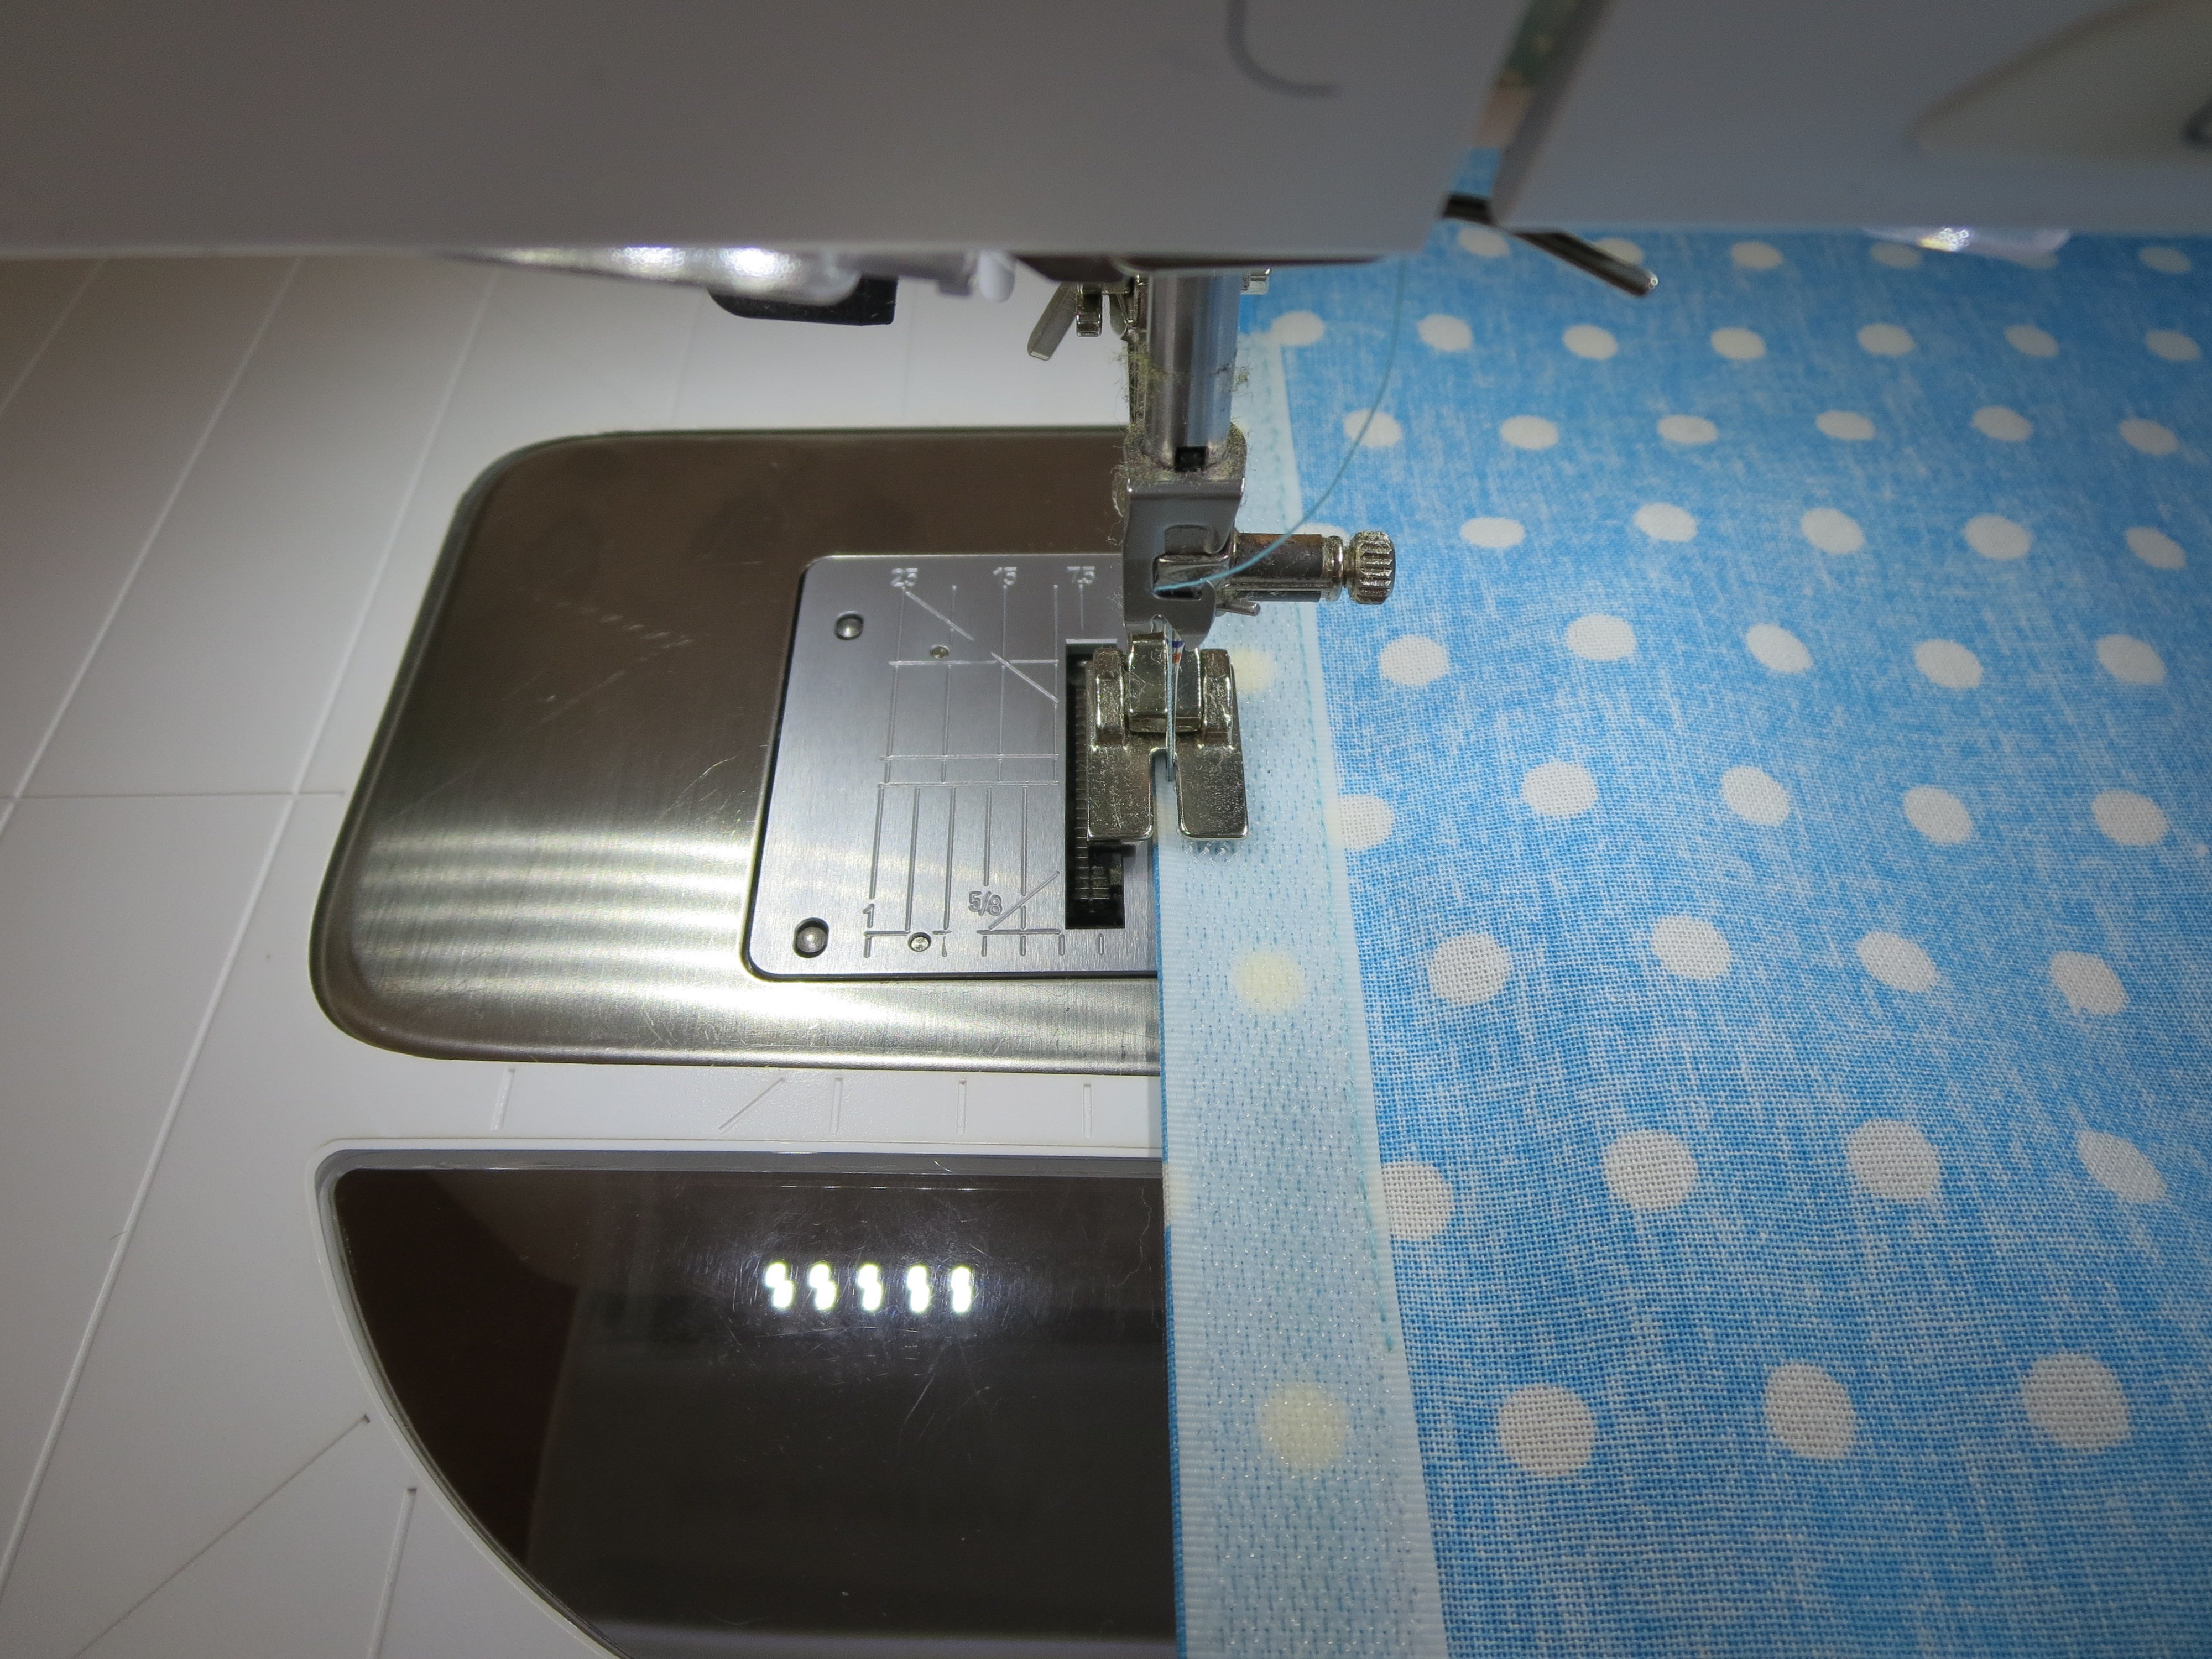
Iron over the straight sides of the semicircles and the short sides of the strips by 1.5 cm. Stick Wonder Tape onto the Velcro tape. Stick the rough side of the Velcro onto the wrong side of the ironed-over edge of the narrower/shorter pieces and the soft side onto the right side of the ironed-over edge of the wider/longer pieces. Thread the machine with a sewing thread that matches the oilcloth. Attach Piping foot #38 and select on the machine if necessary. Place the presser foot on the Velcro so that the edge of the presser foot touches the side of the Velcro. Sew around the edge of the Velcro.
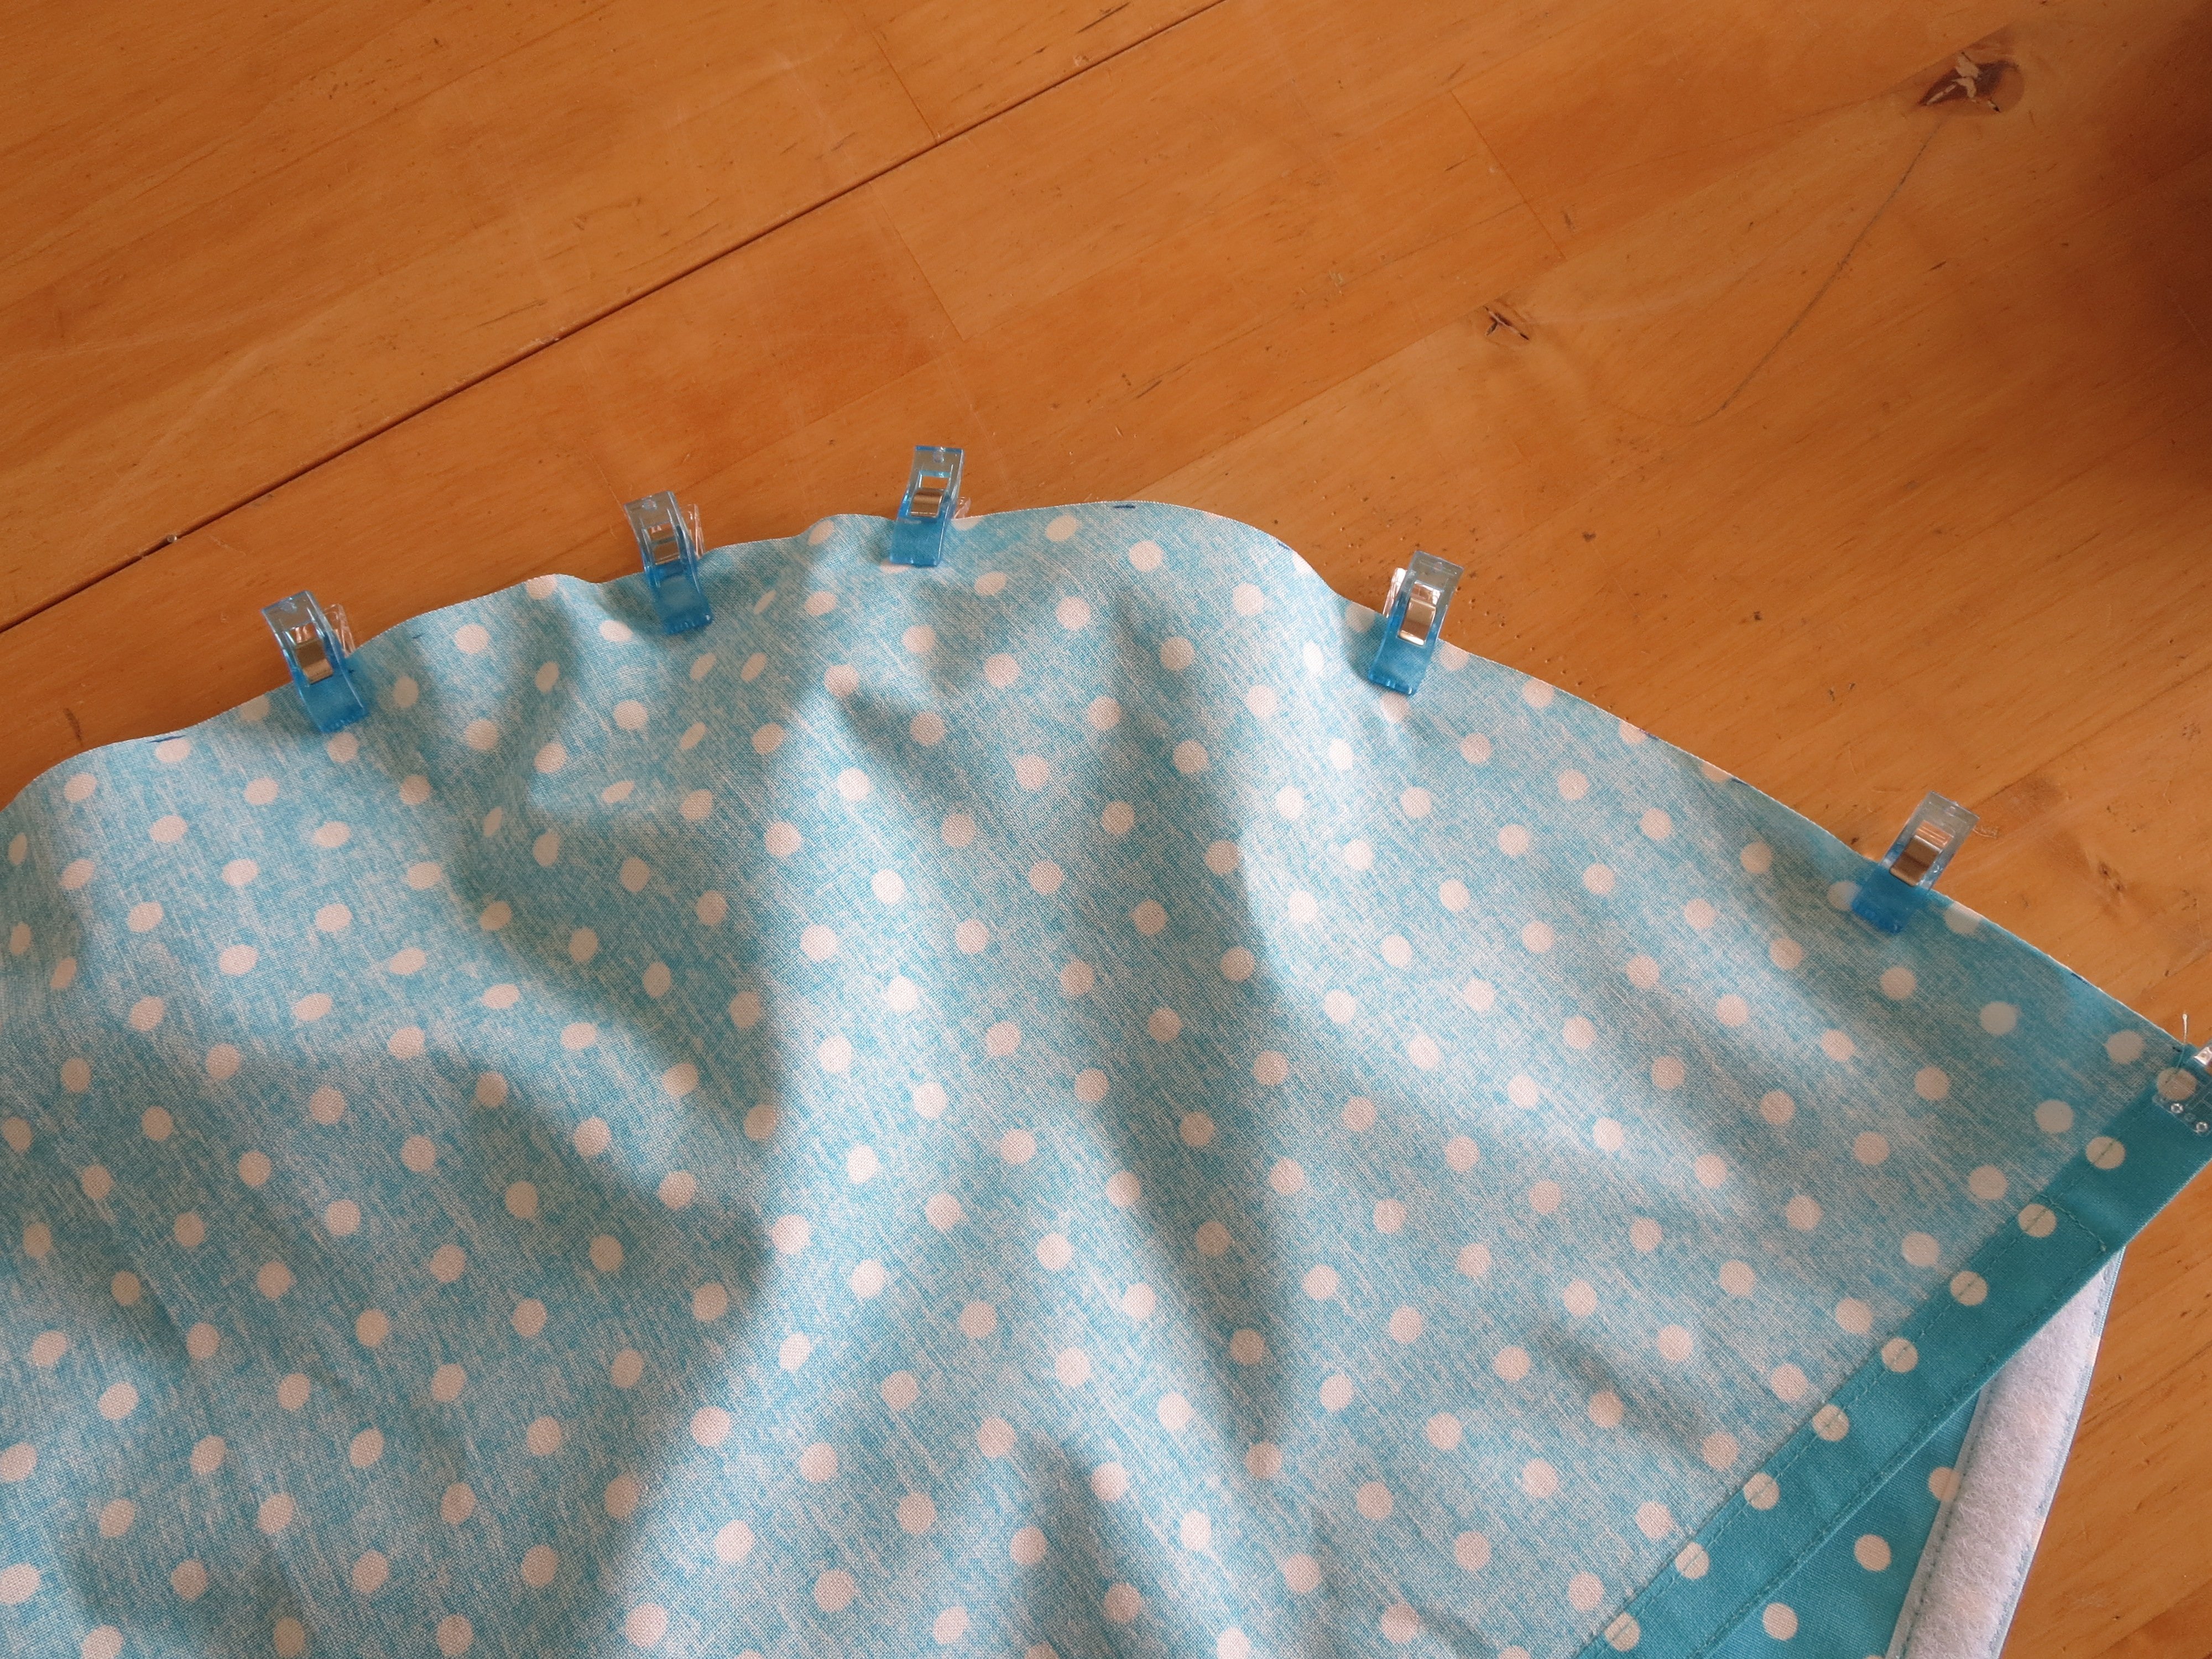
Velcro the two semicircles together. When completed, they should make a full circle with a diameter of 63 cm.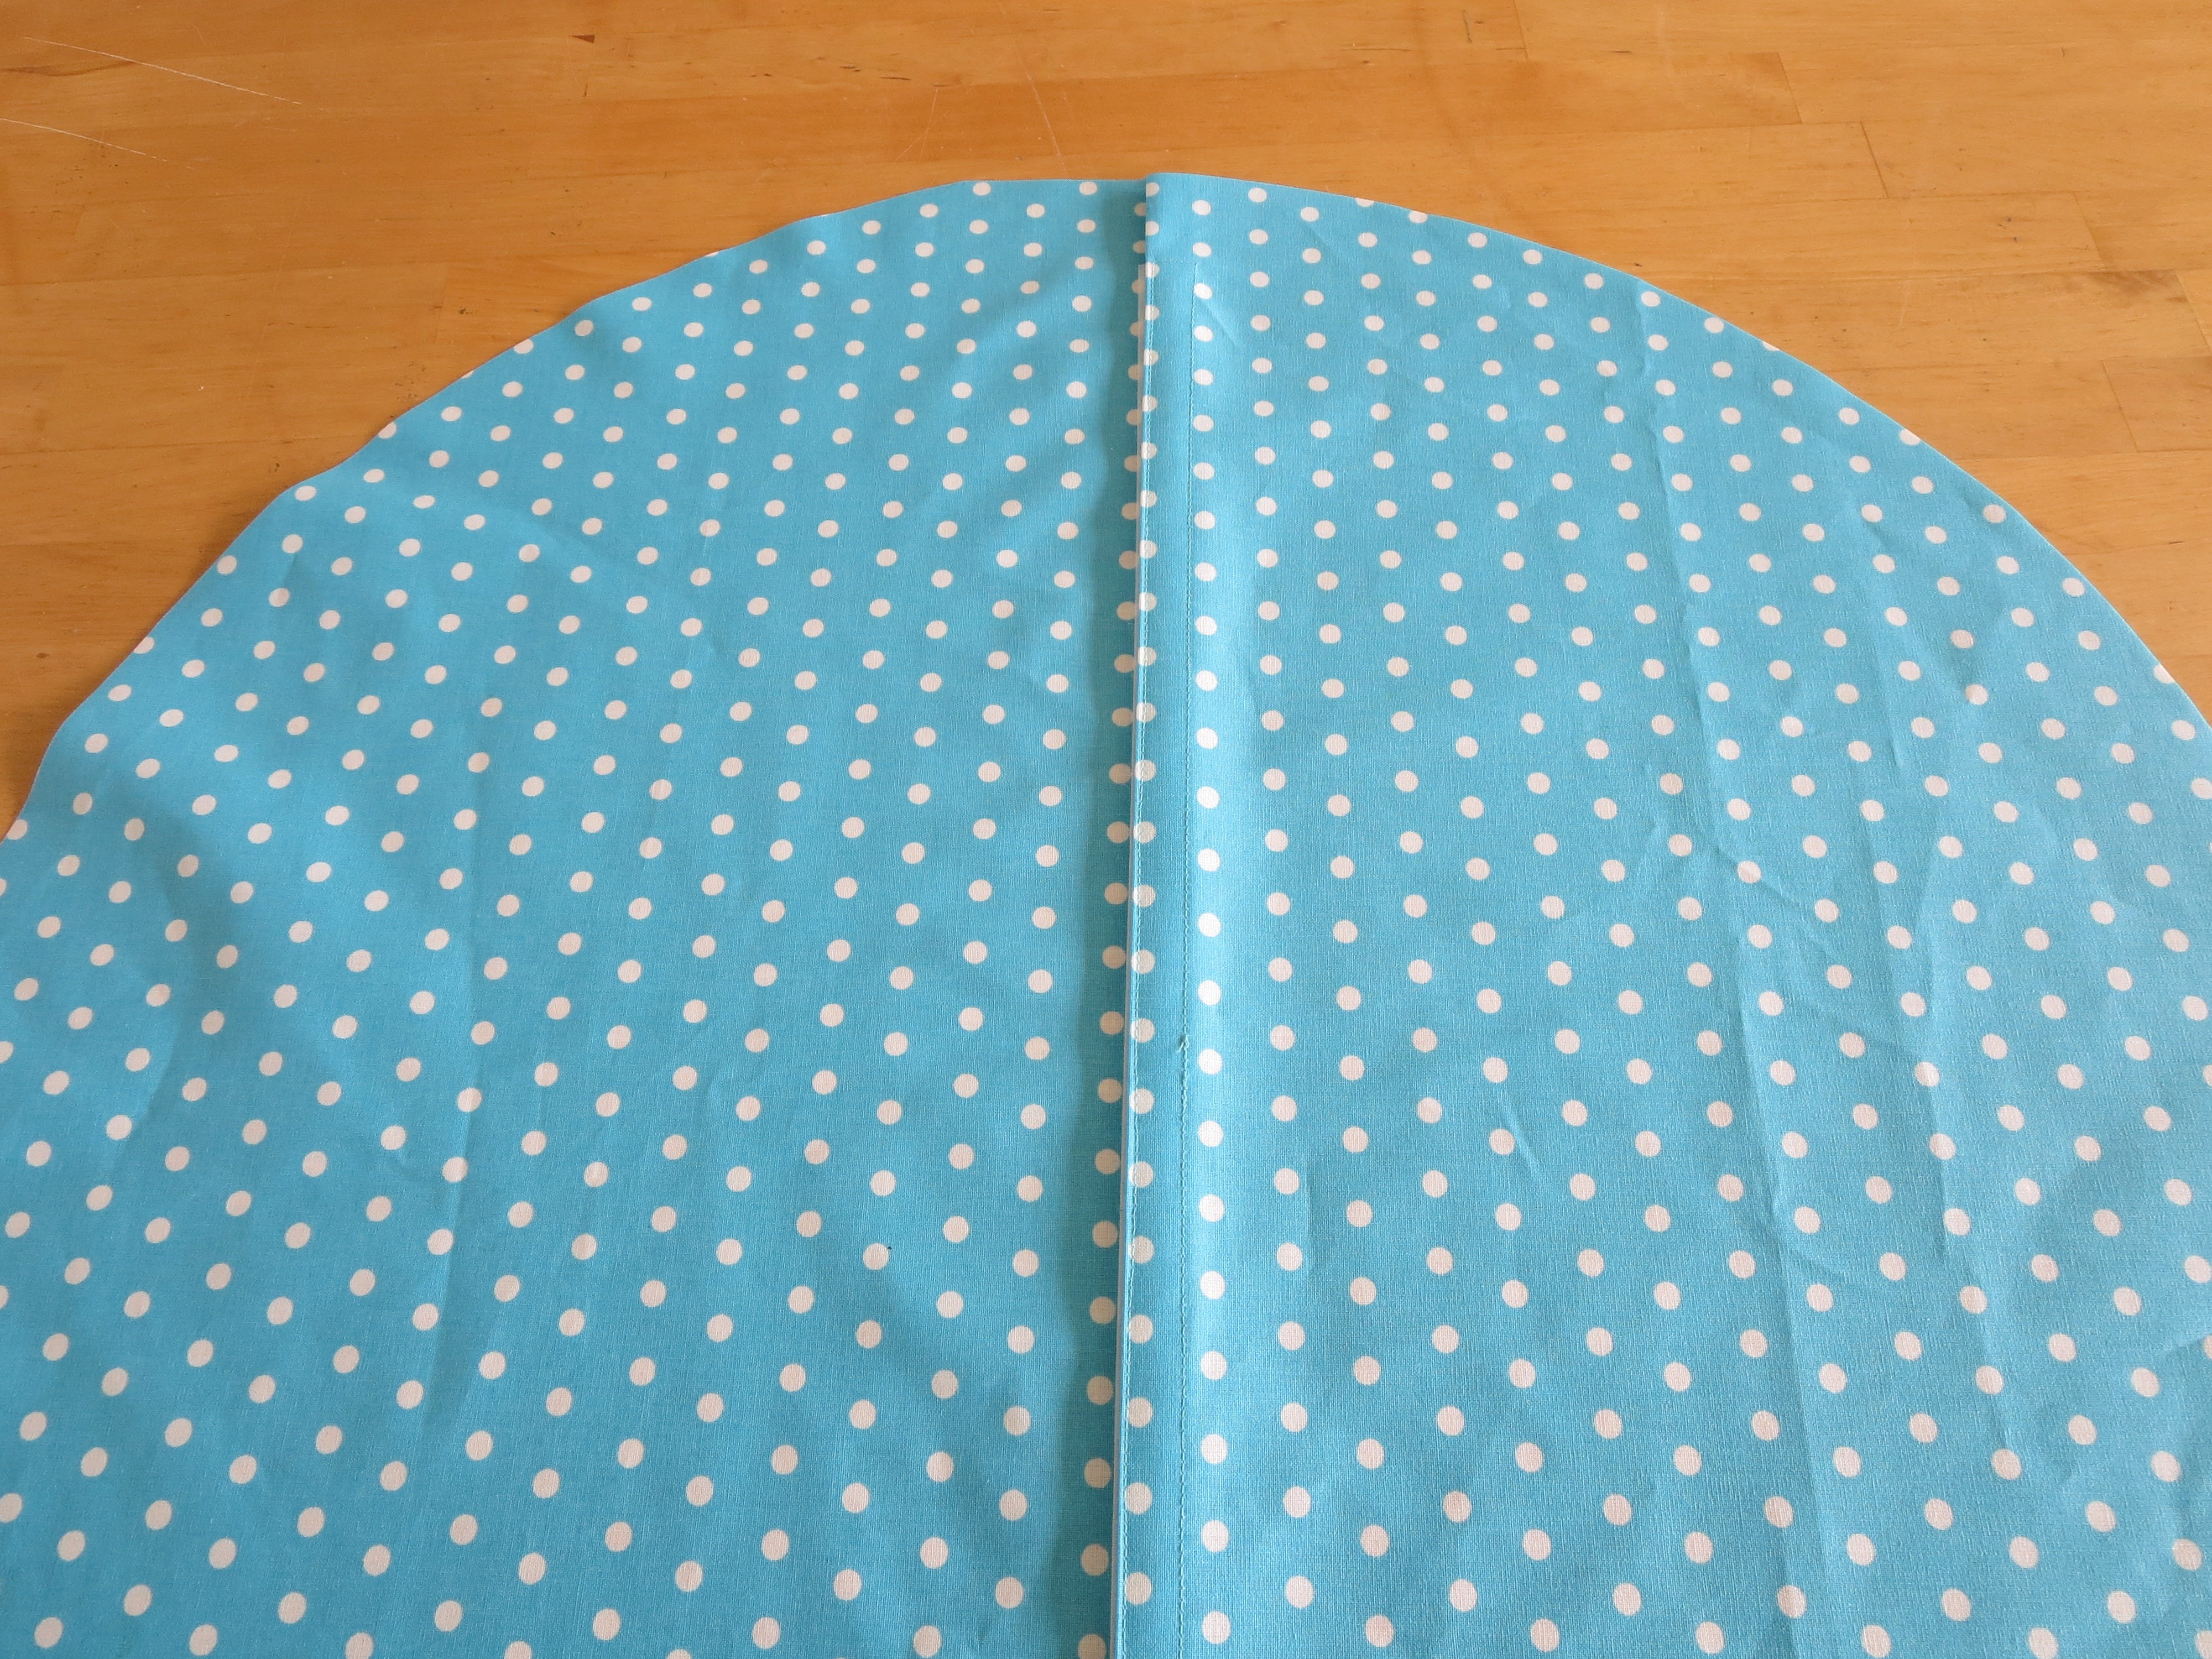 Separate the pieces again and clip the side pieces onto the curved edges. Make sure the pieces have matching Velcro pieces. Rough with rough and soft with soft.
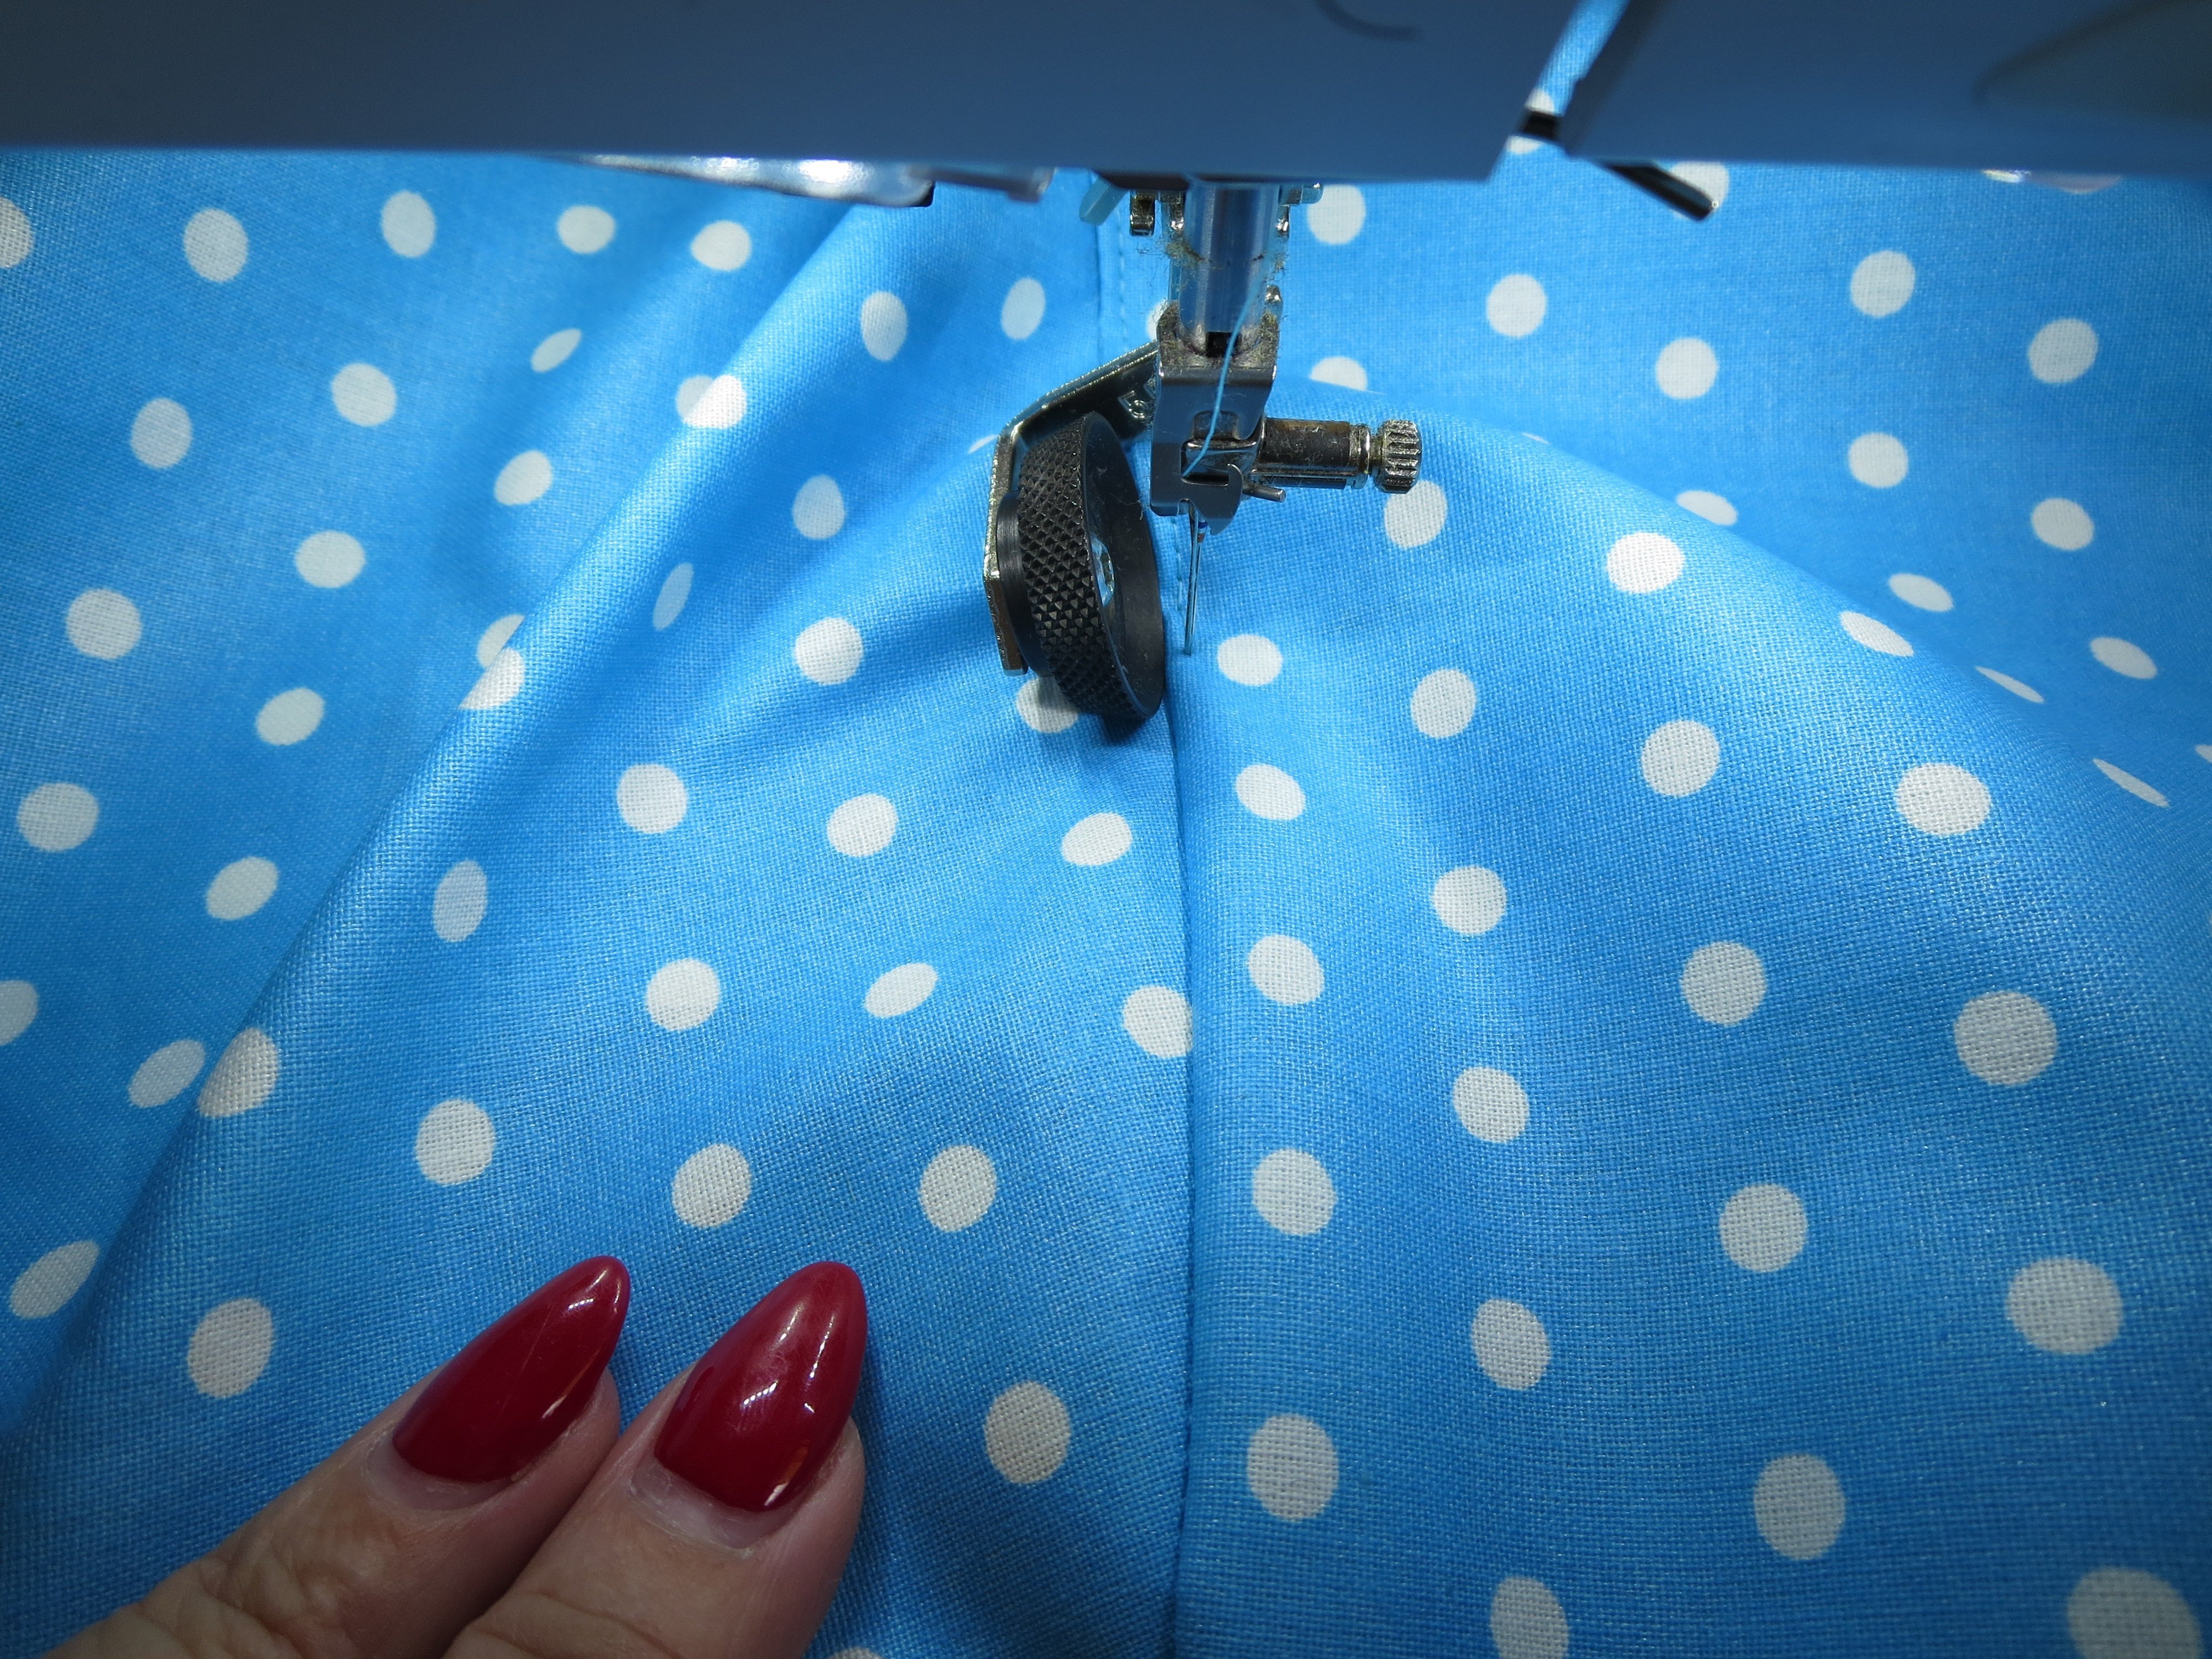
Attach the Leather roller foot to the machine and select if necessary. Set the needle position all the way to the left and lower it. Adjust the Patchwork Seam Guide so it is 1.5 cm to the right of the needle and screw it in place.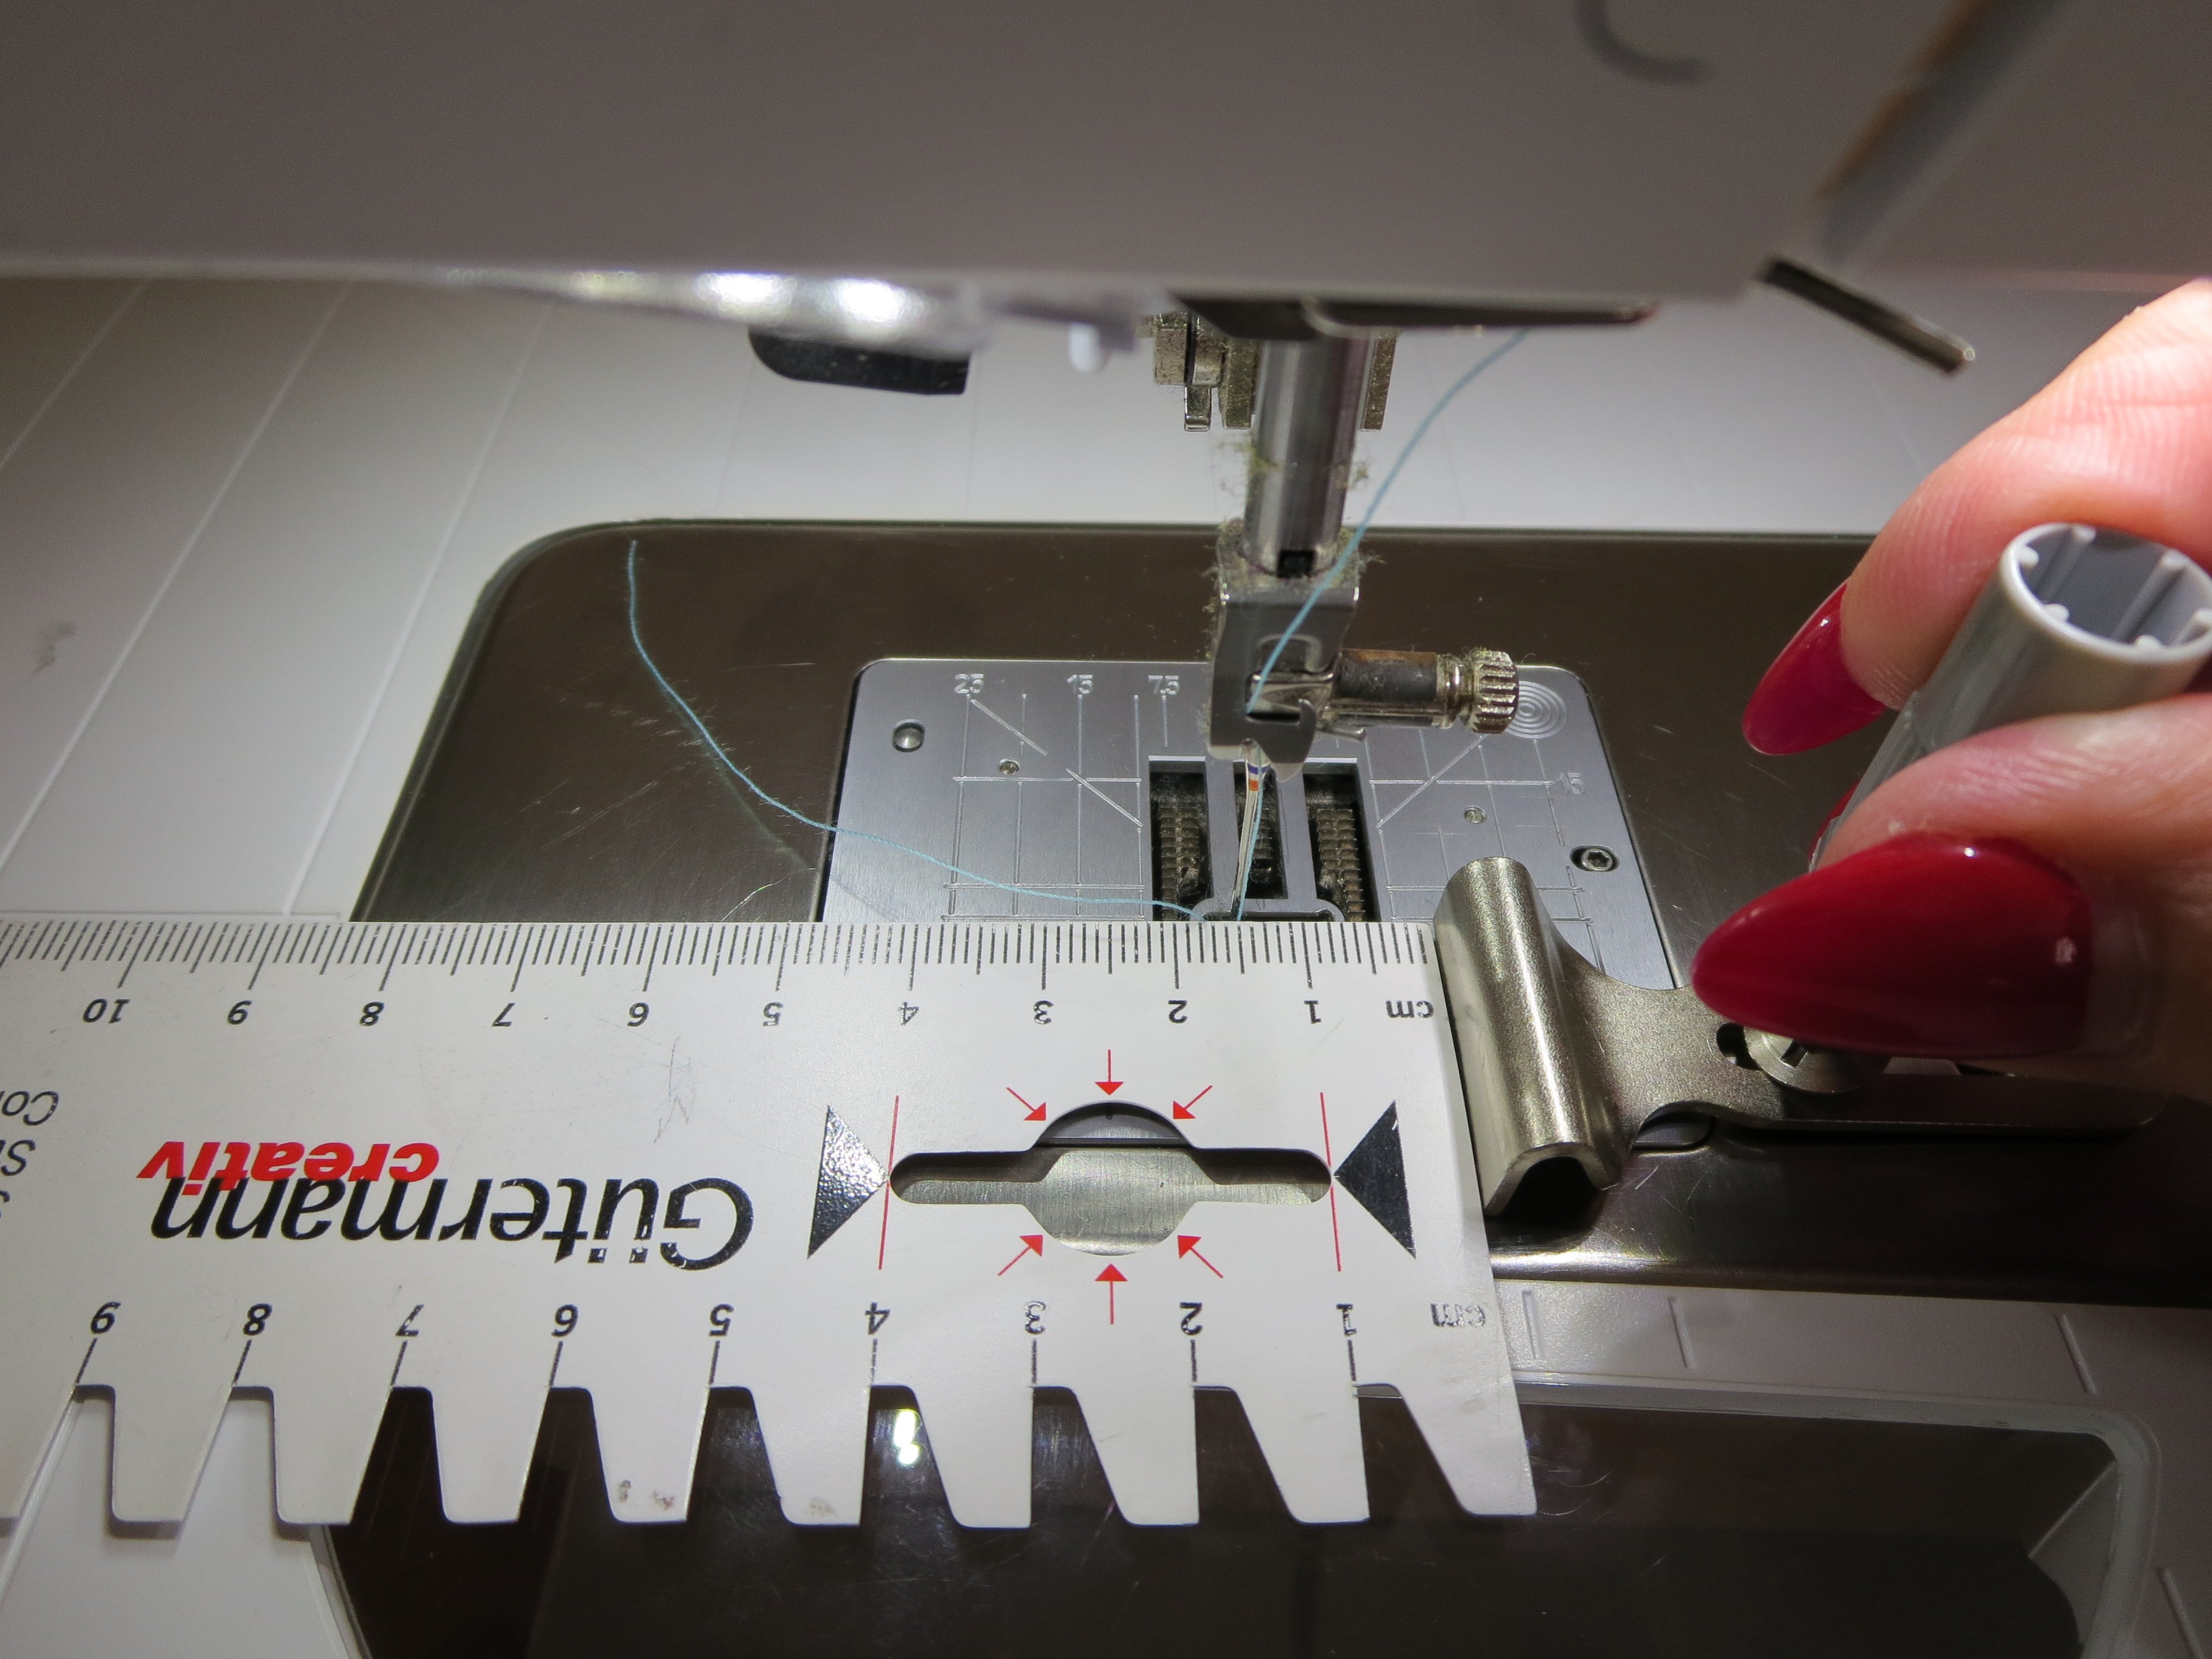
Place the edge of the fabric under Leather roller foot #55 and guide it along the seam guide. Remove the fabric clips before they touch the seam guide.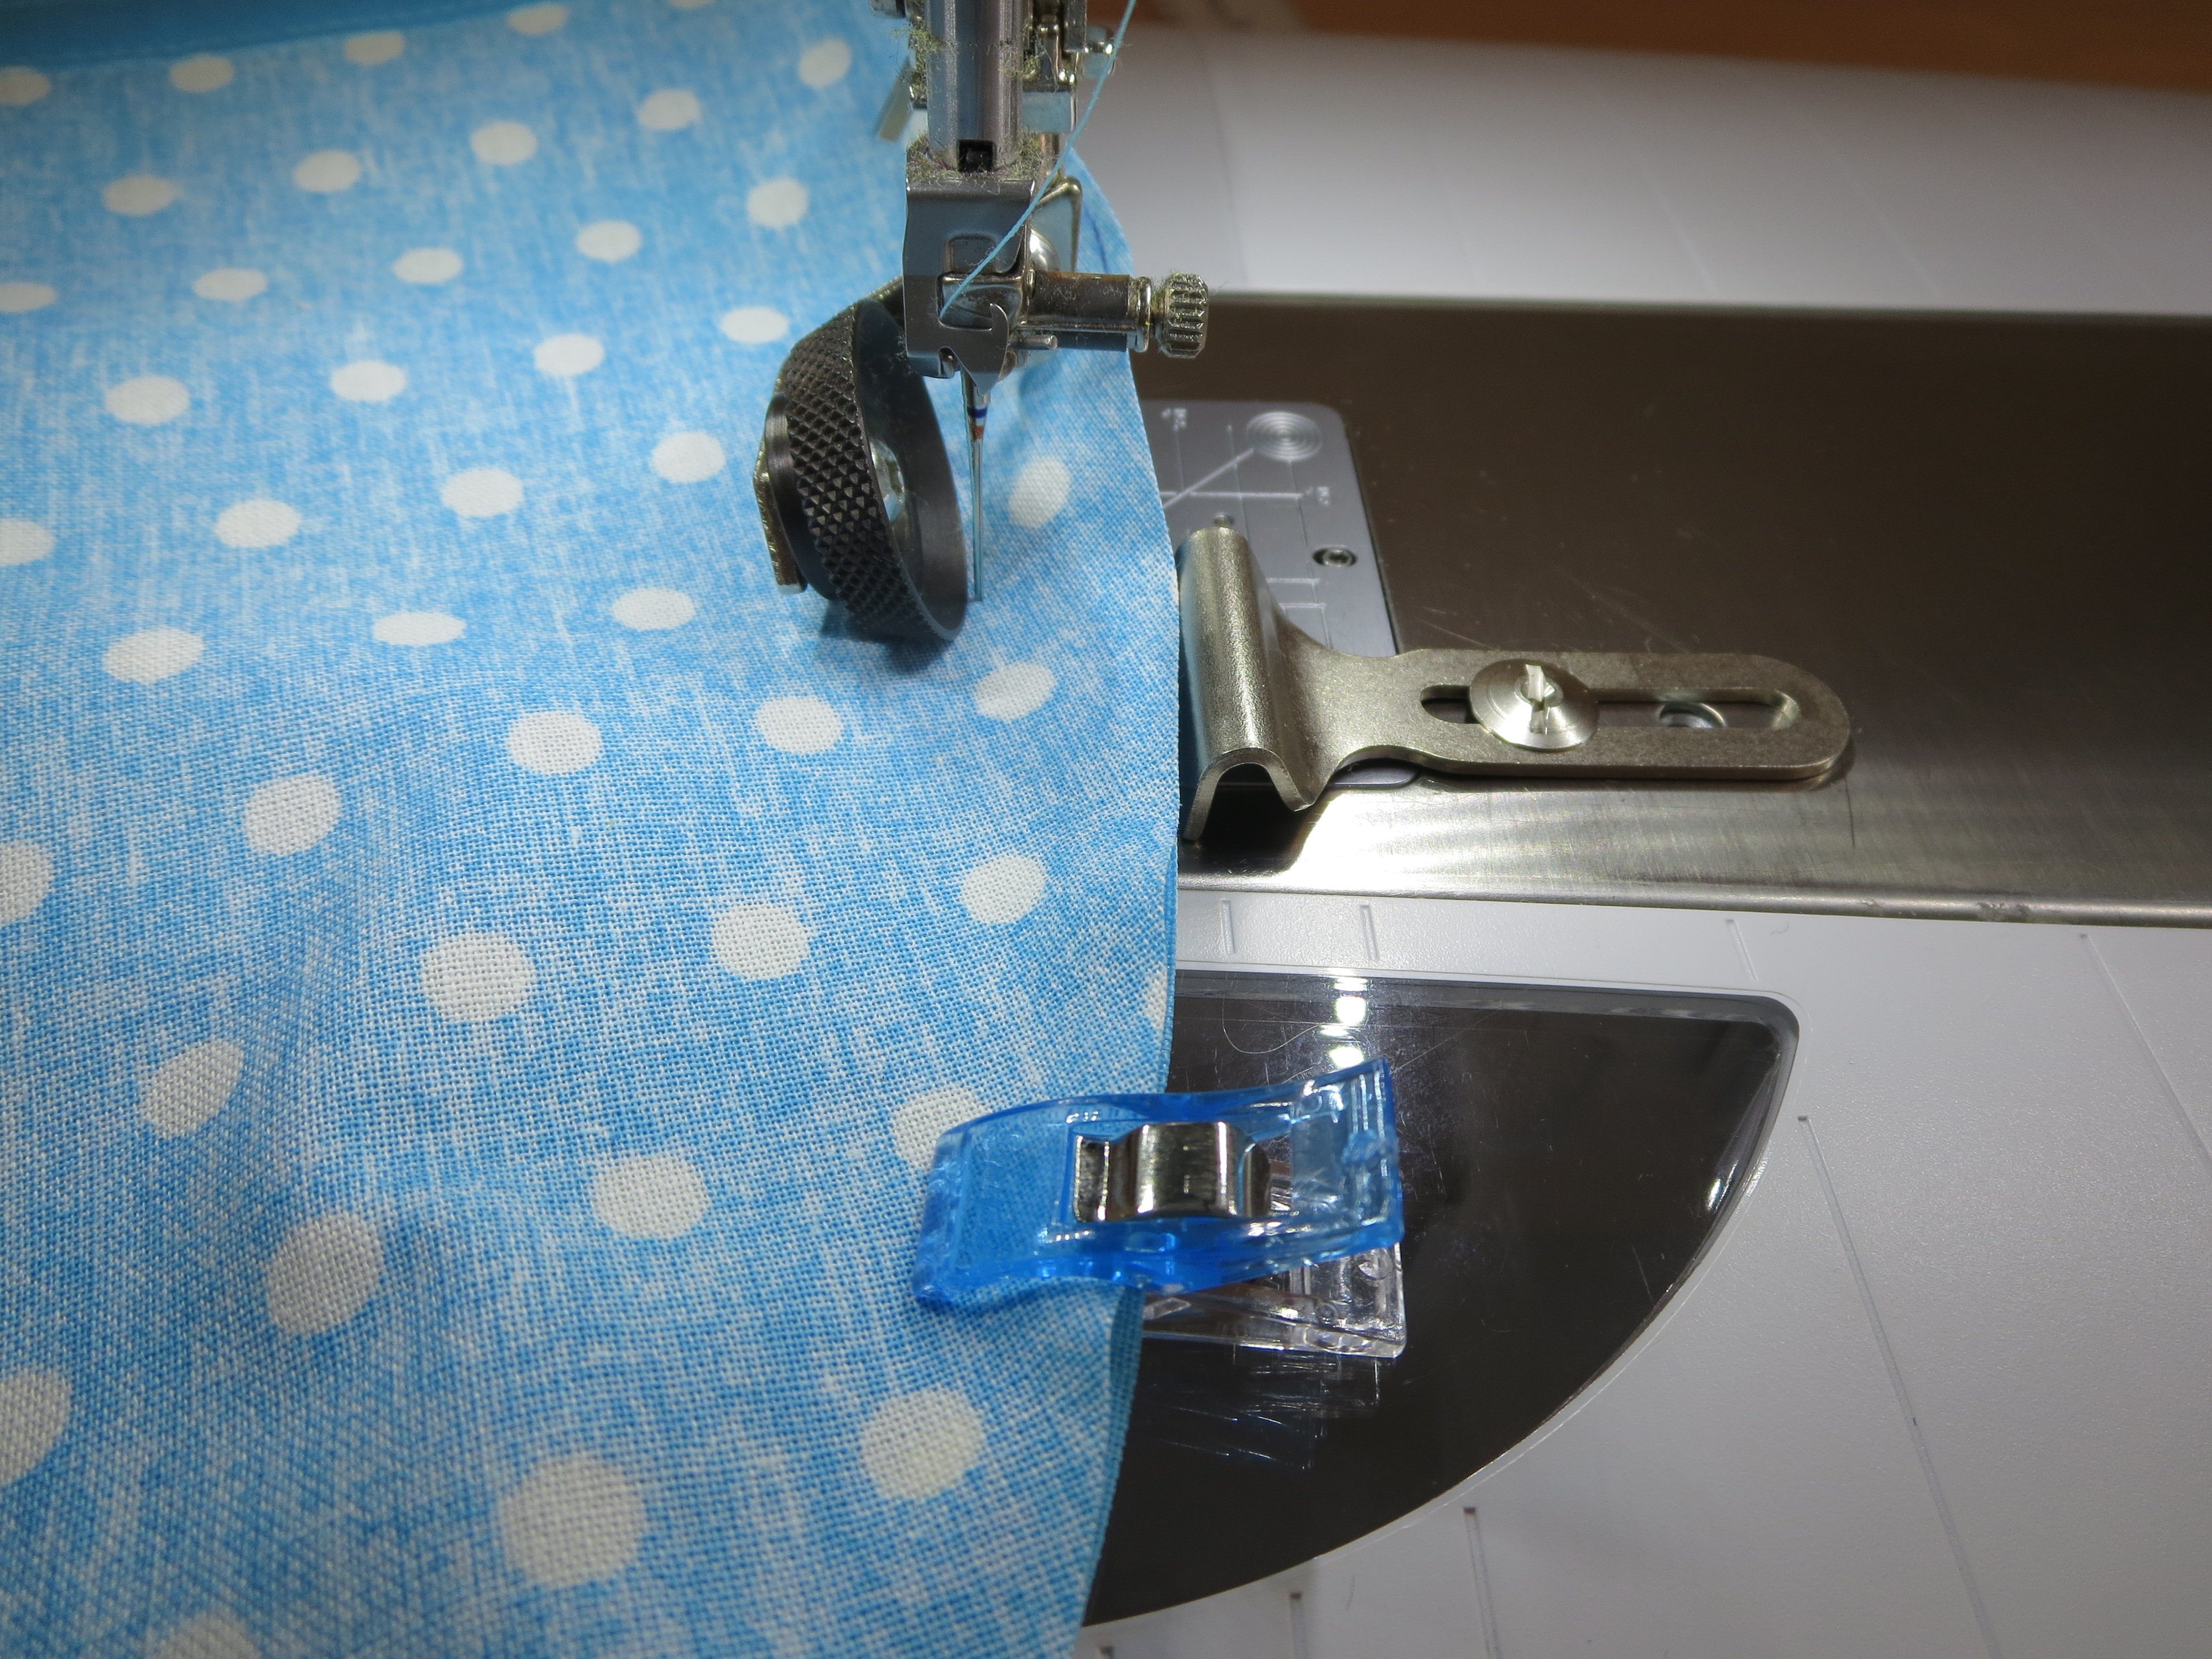
Lay the seam allowance towards the straight fabric piece. Fold over a small triangle at the beginning and end of the seam and clip in place. Edgestitch the seam allowance from the right side either with Leather roller foot #55 or, if you are not quite confident enough, with Walking foot #50 (edgestitching sole). Fold the seam allowance down towards the straight piece.
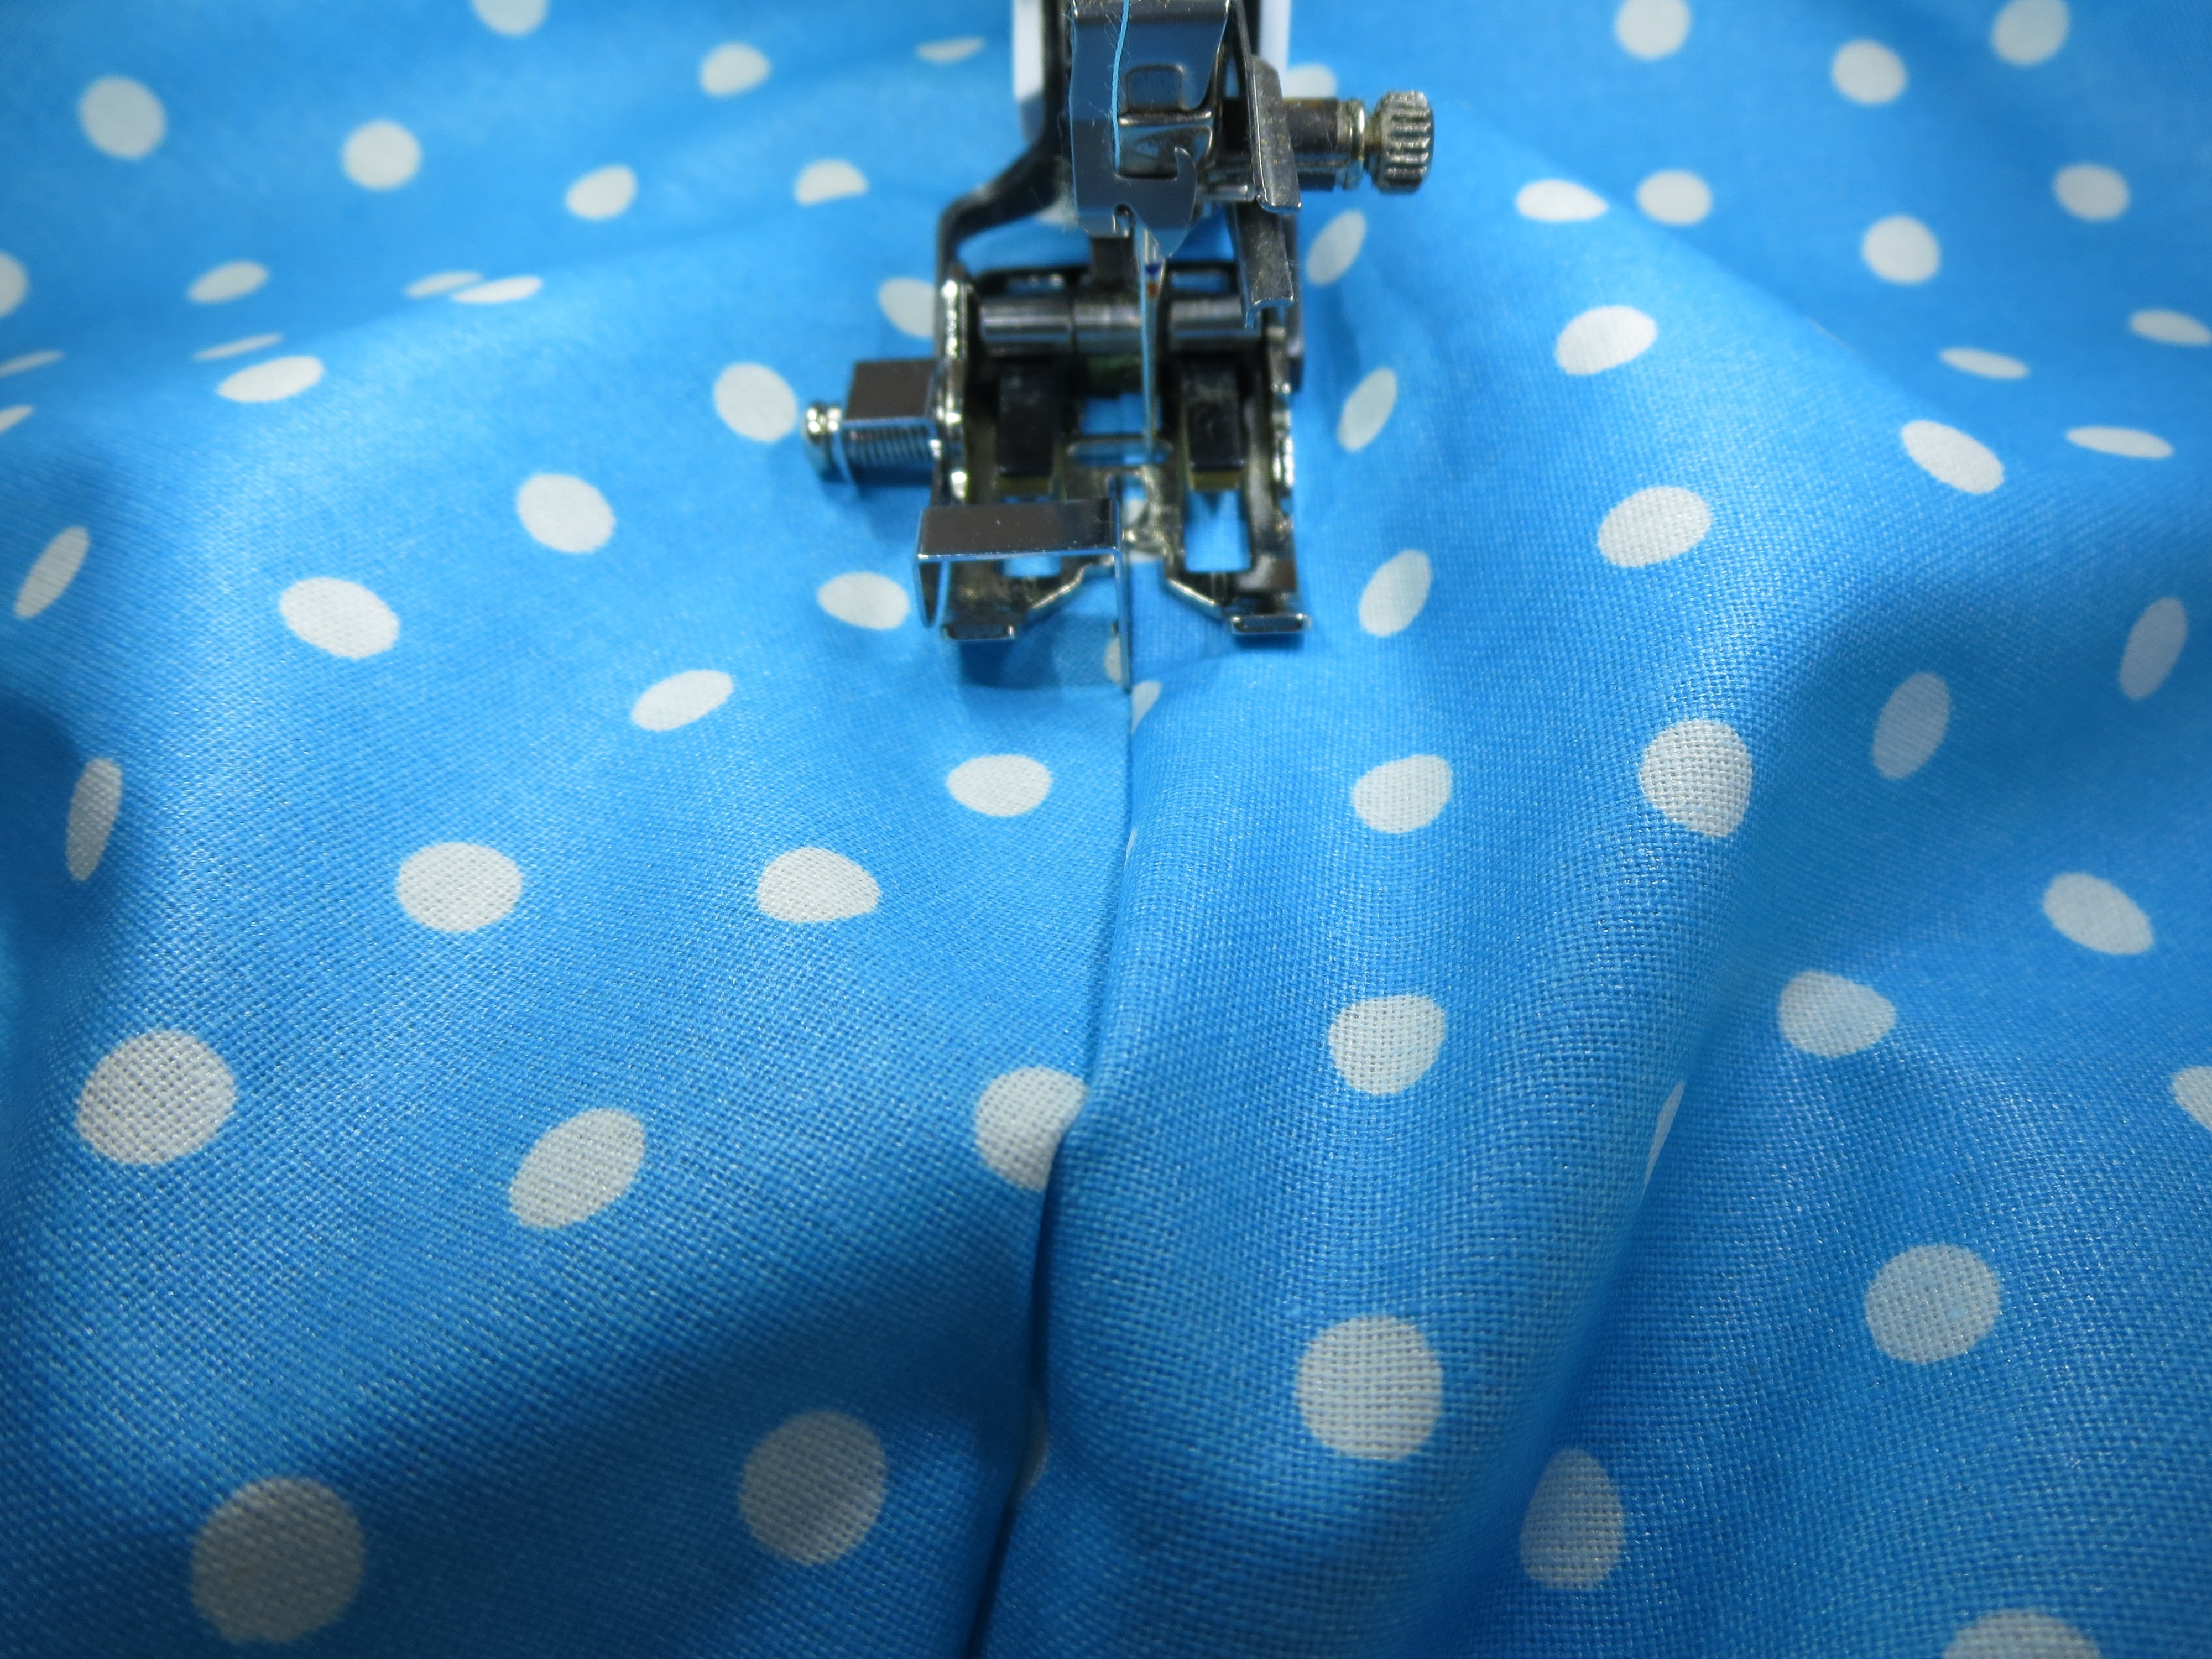
Attach Piping foot #38 to the machine and sew the small folded-over corners from the right side. The notch should sit exactly on the folded edge of the triangle.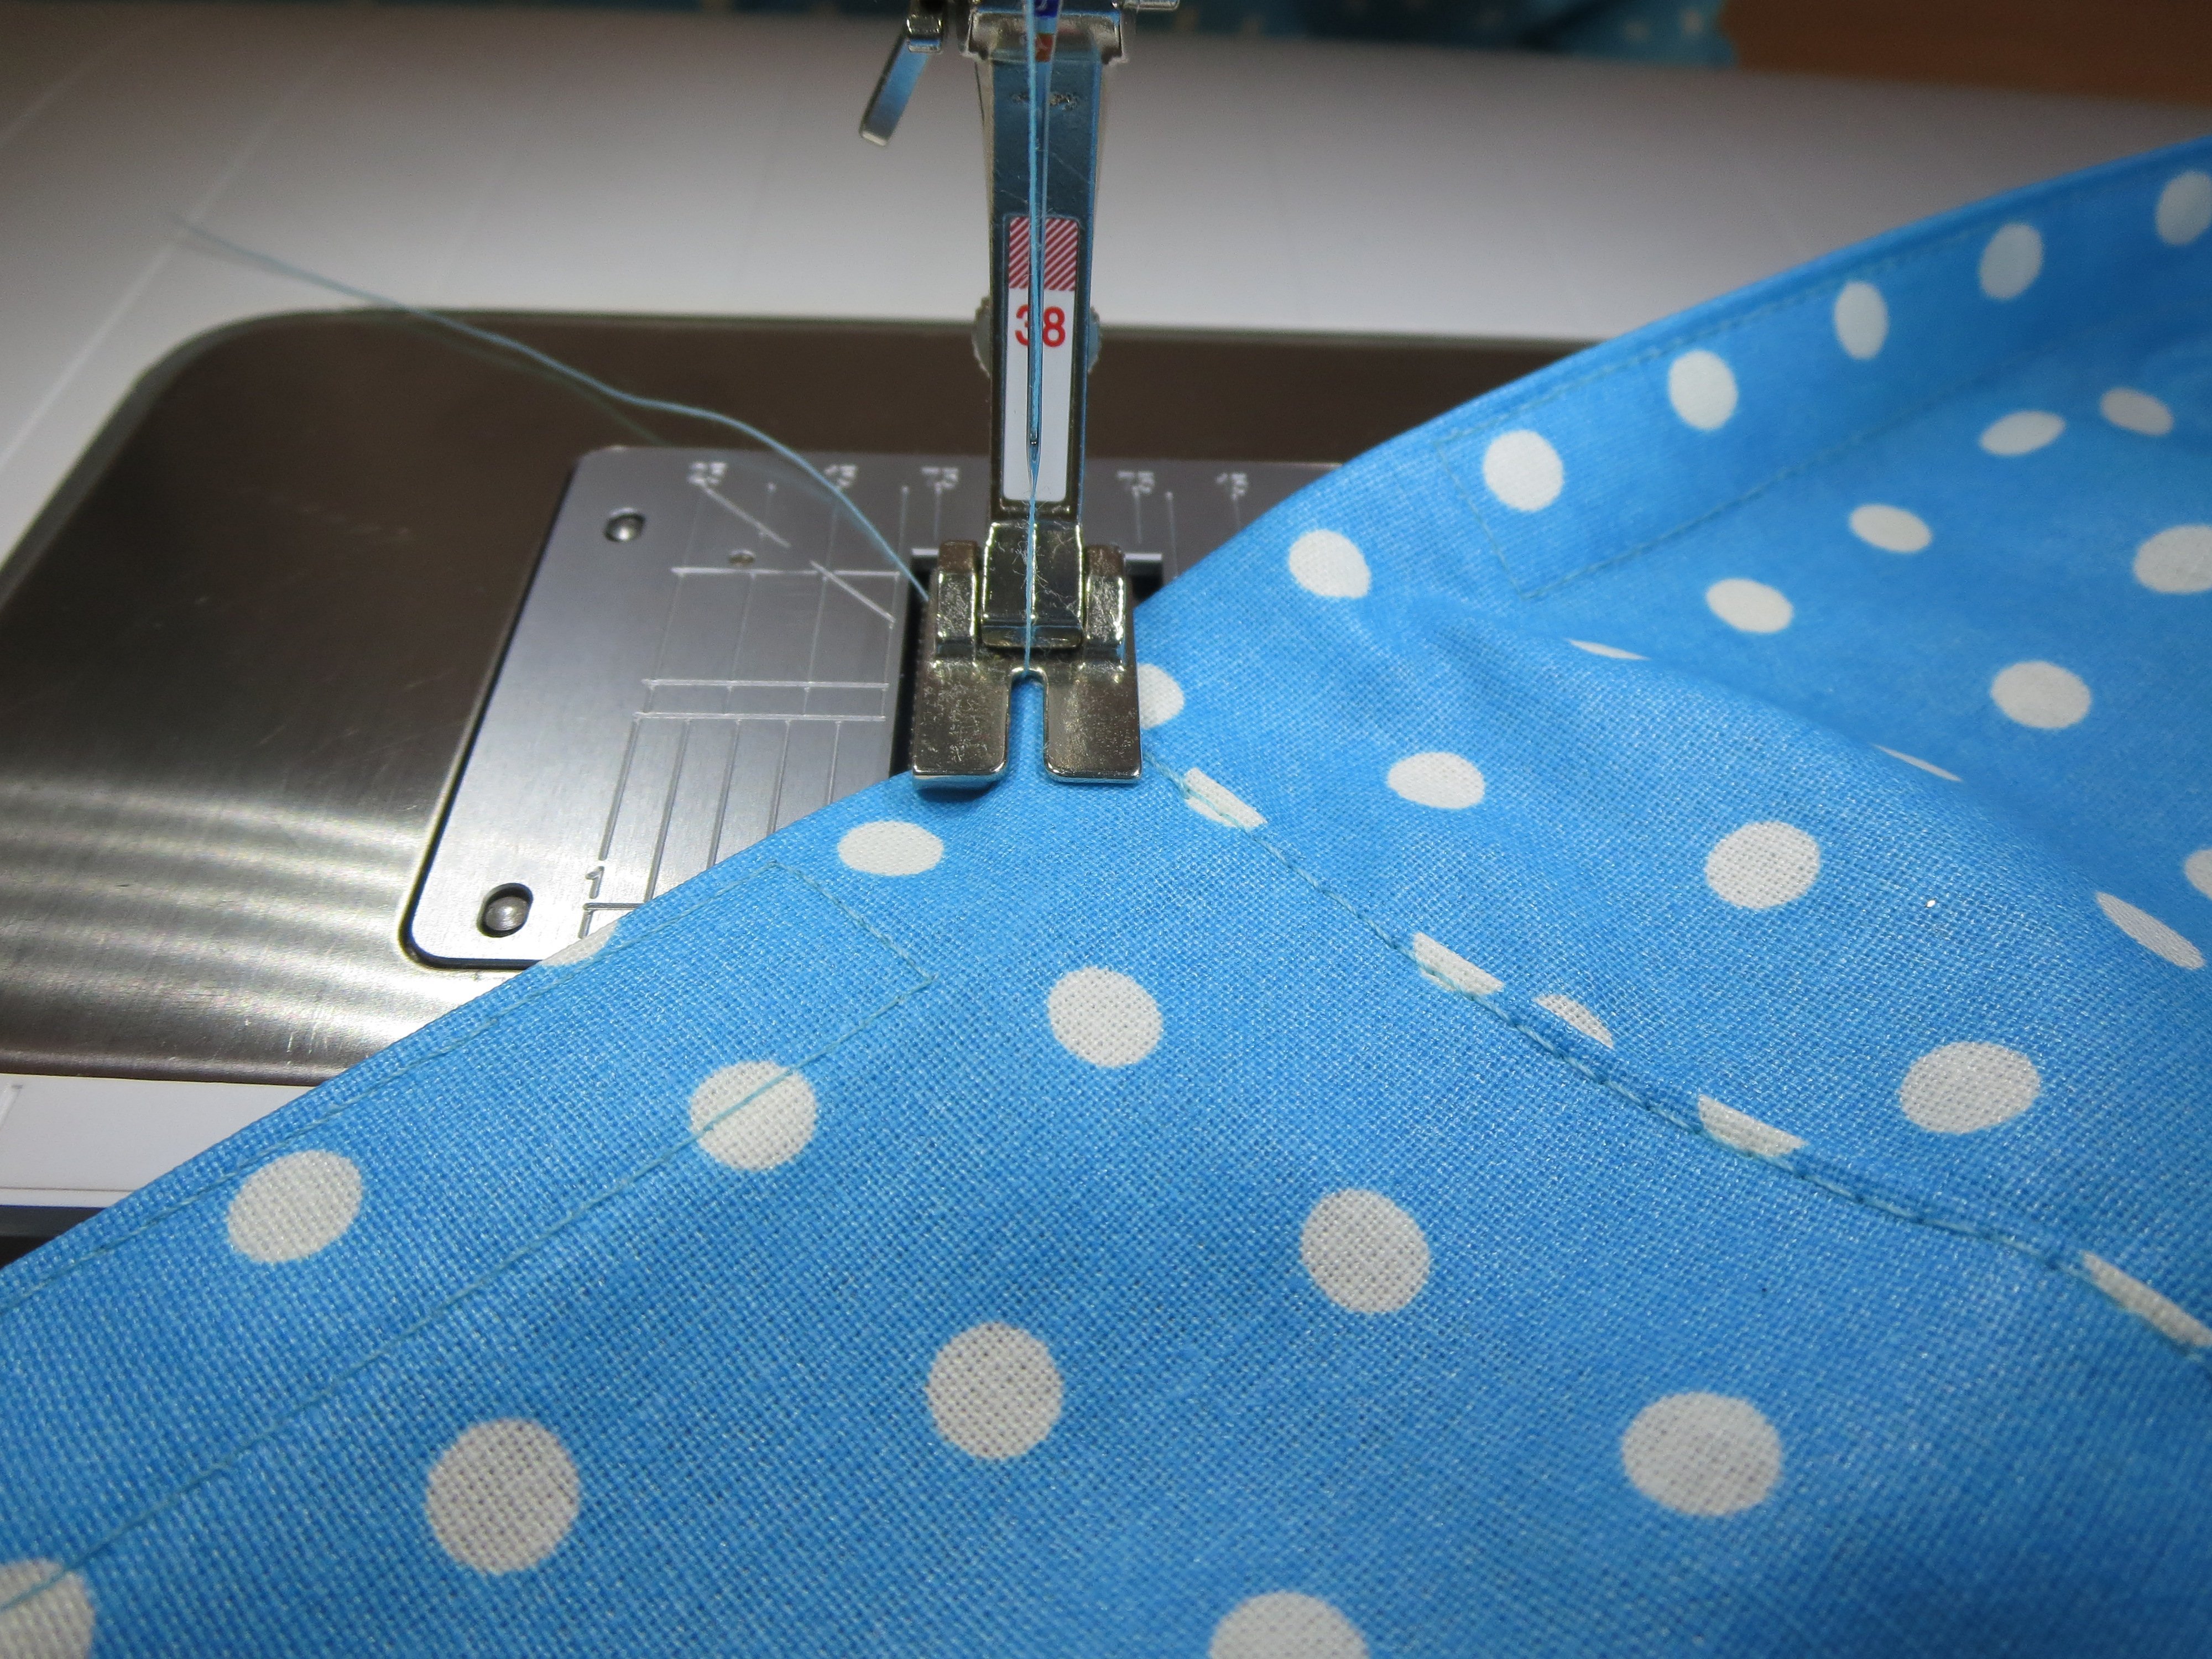
Velcro and clip the pieces together.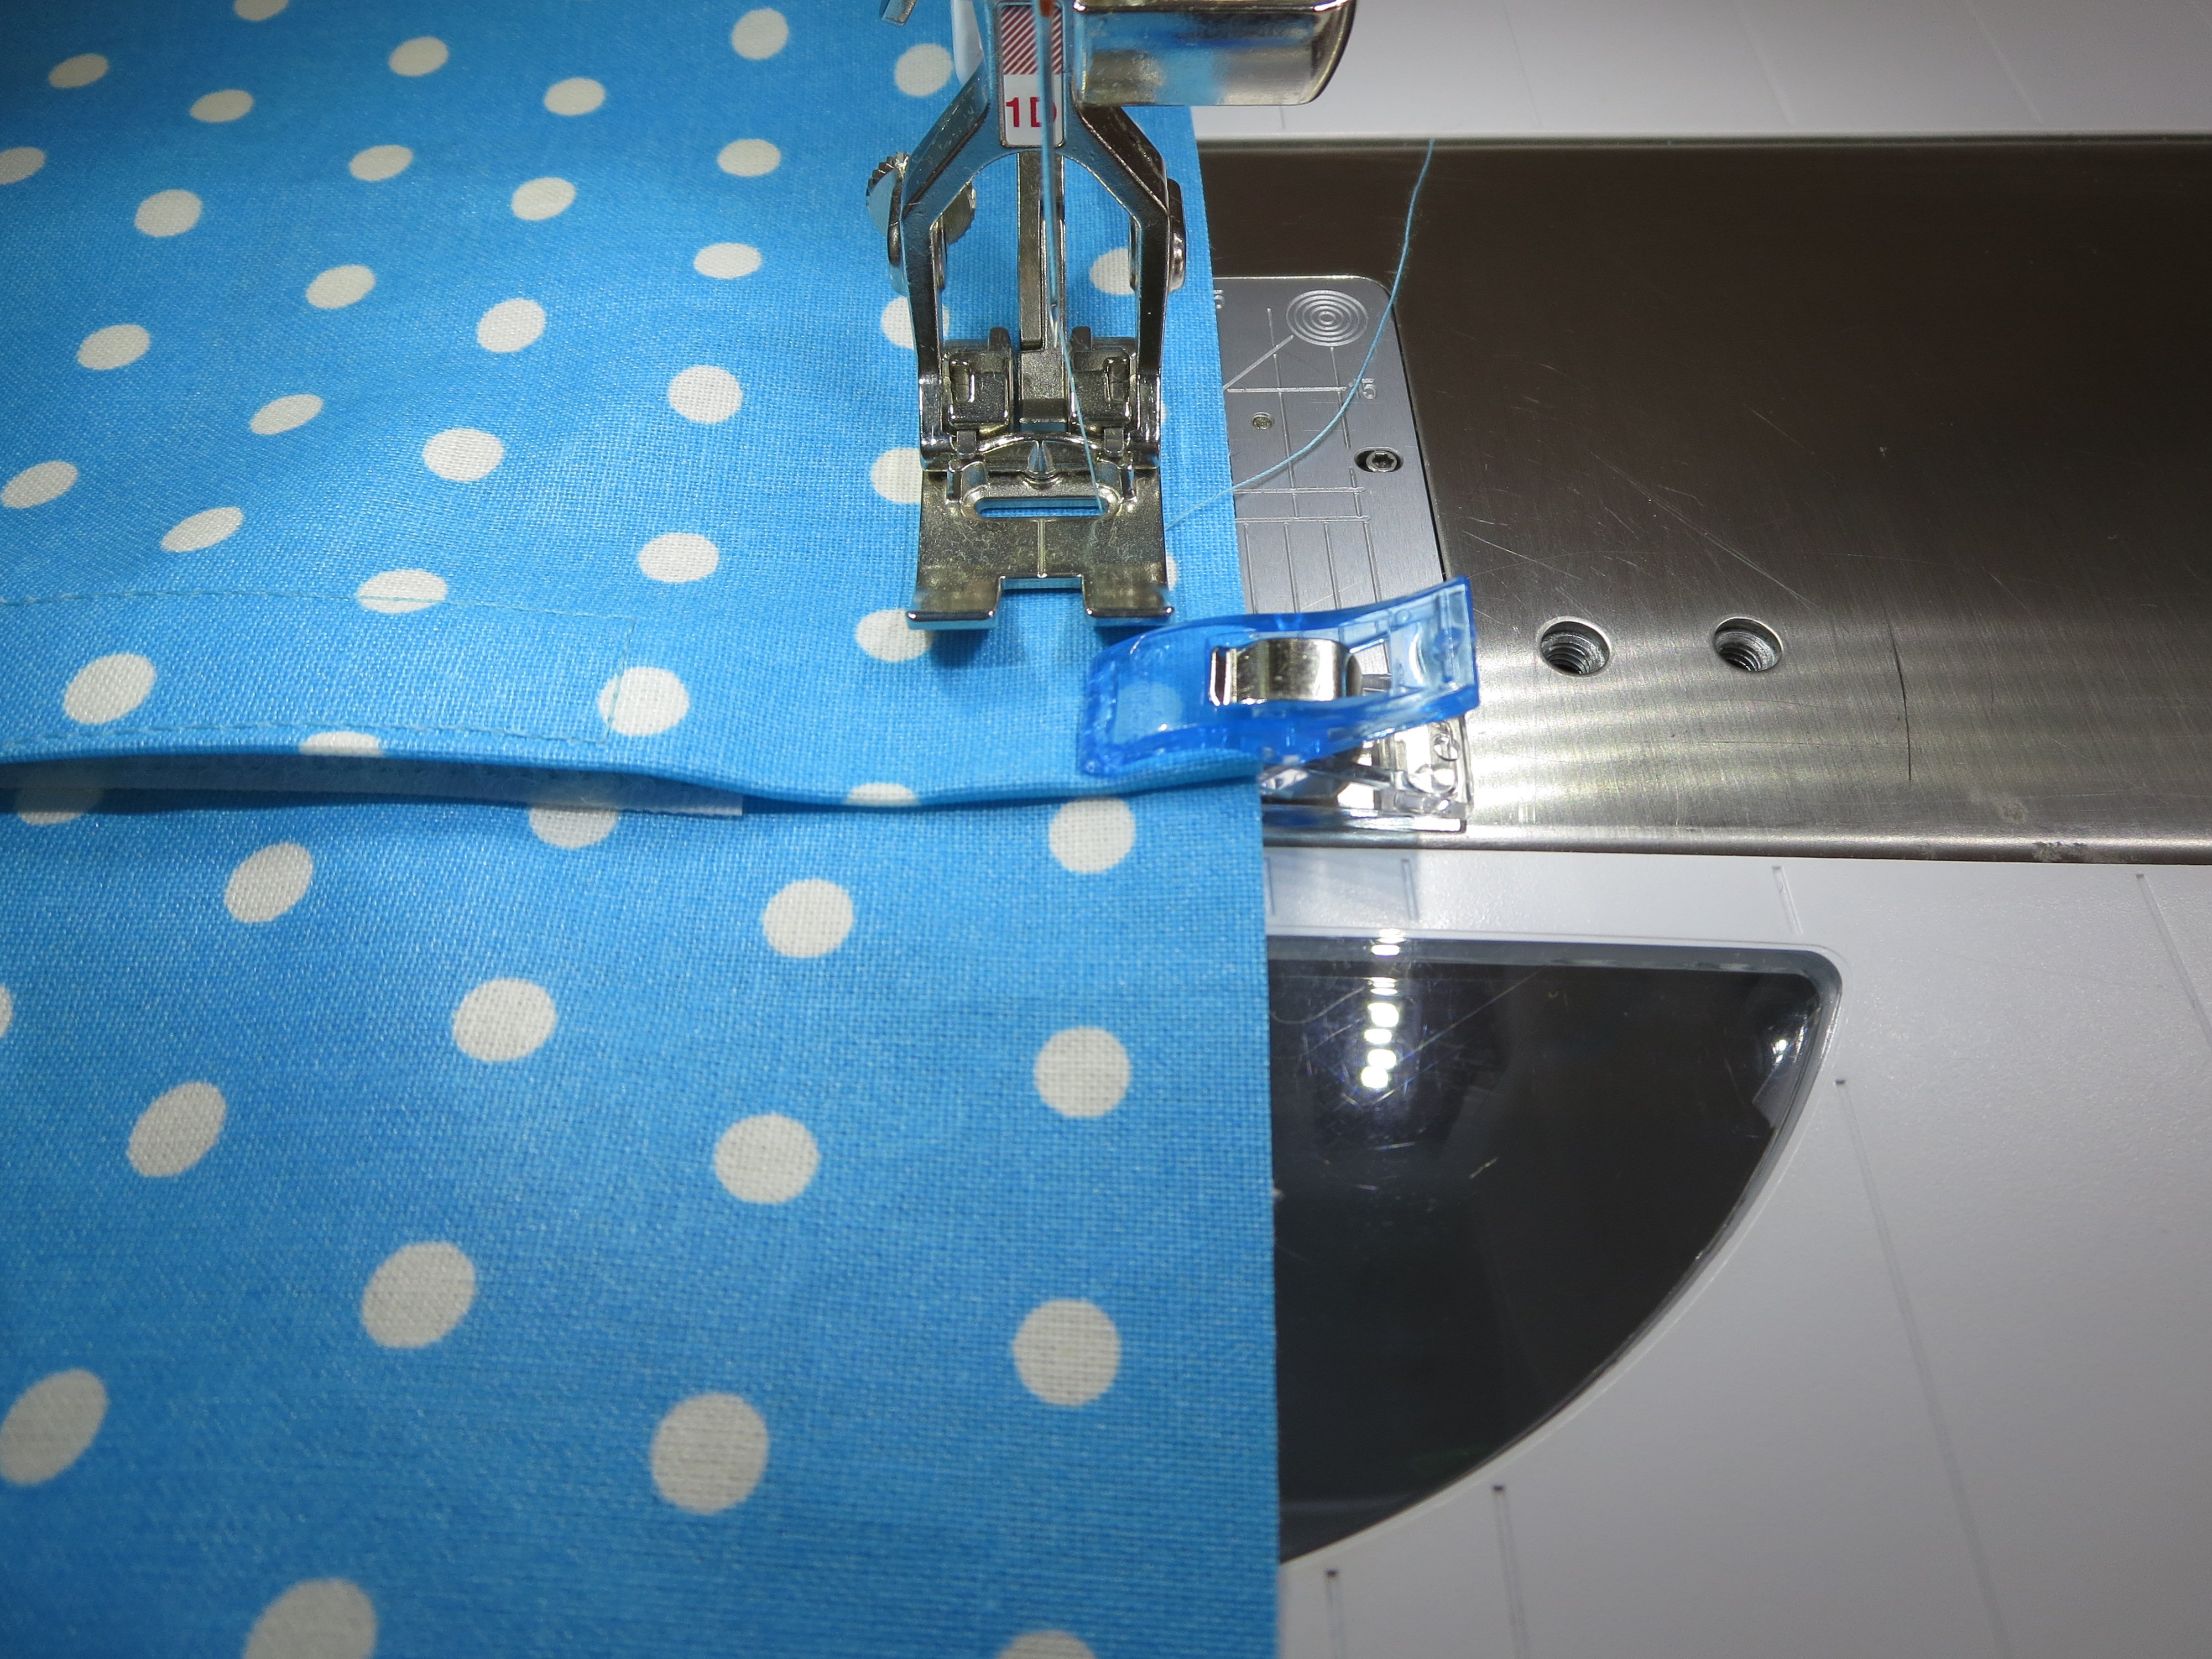 To get the right length of bias tape, simply pin and sew several pieces together.
 Iron the connecting seams open.
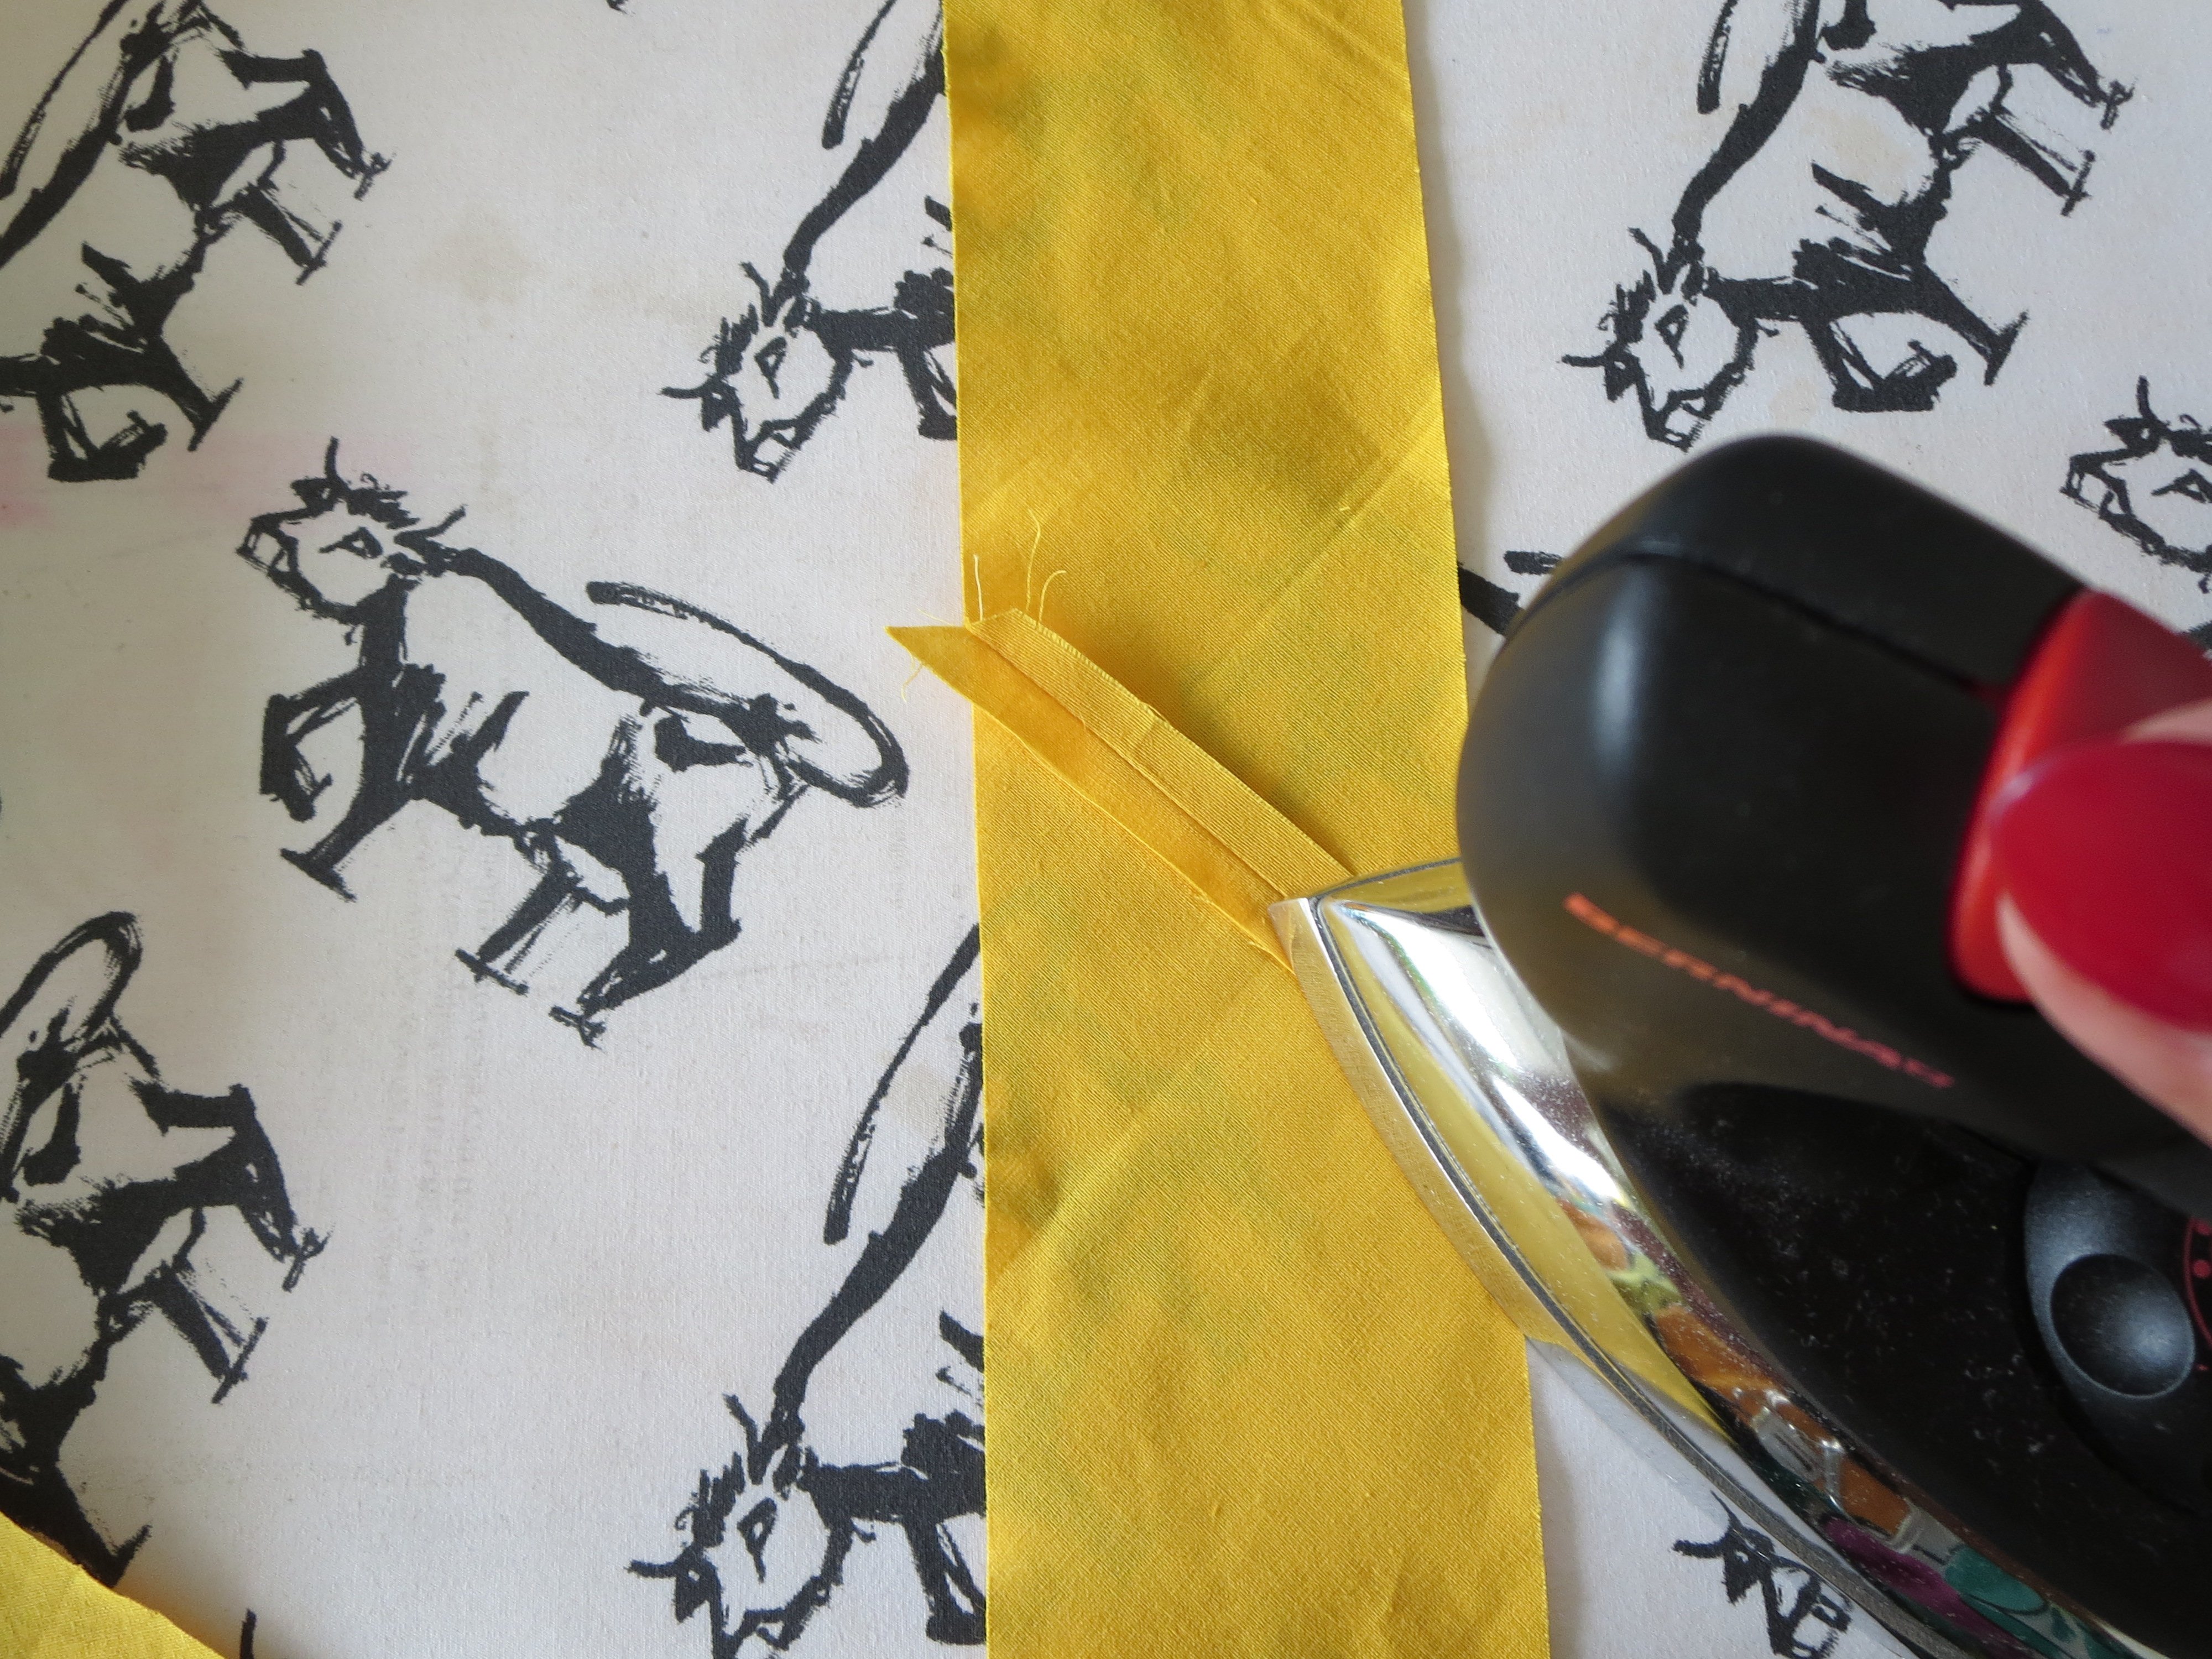
Cut to a length of 1.68 m and sew together with the right sides together. Iron the seam open and turn. The seams are now on the inside. (finished length 83 cm.)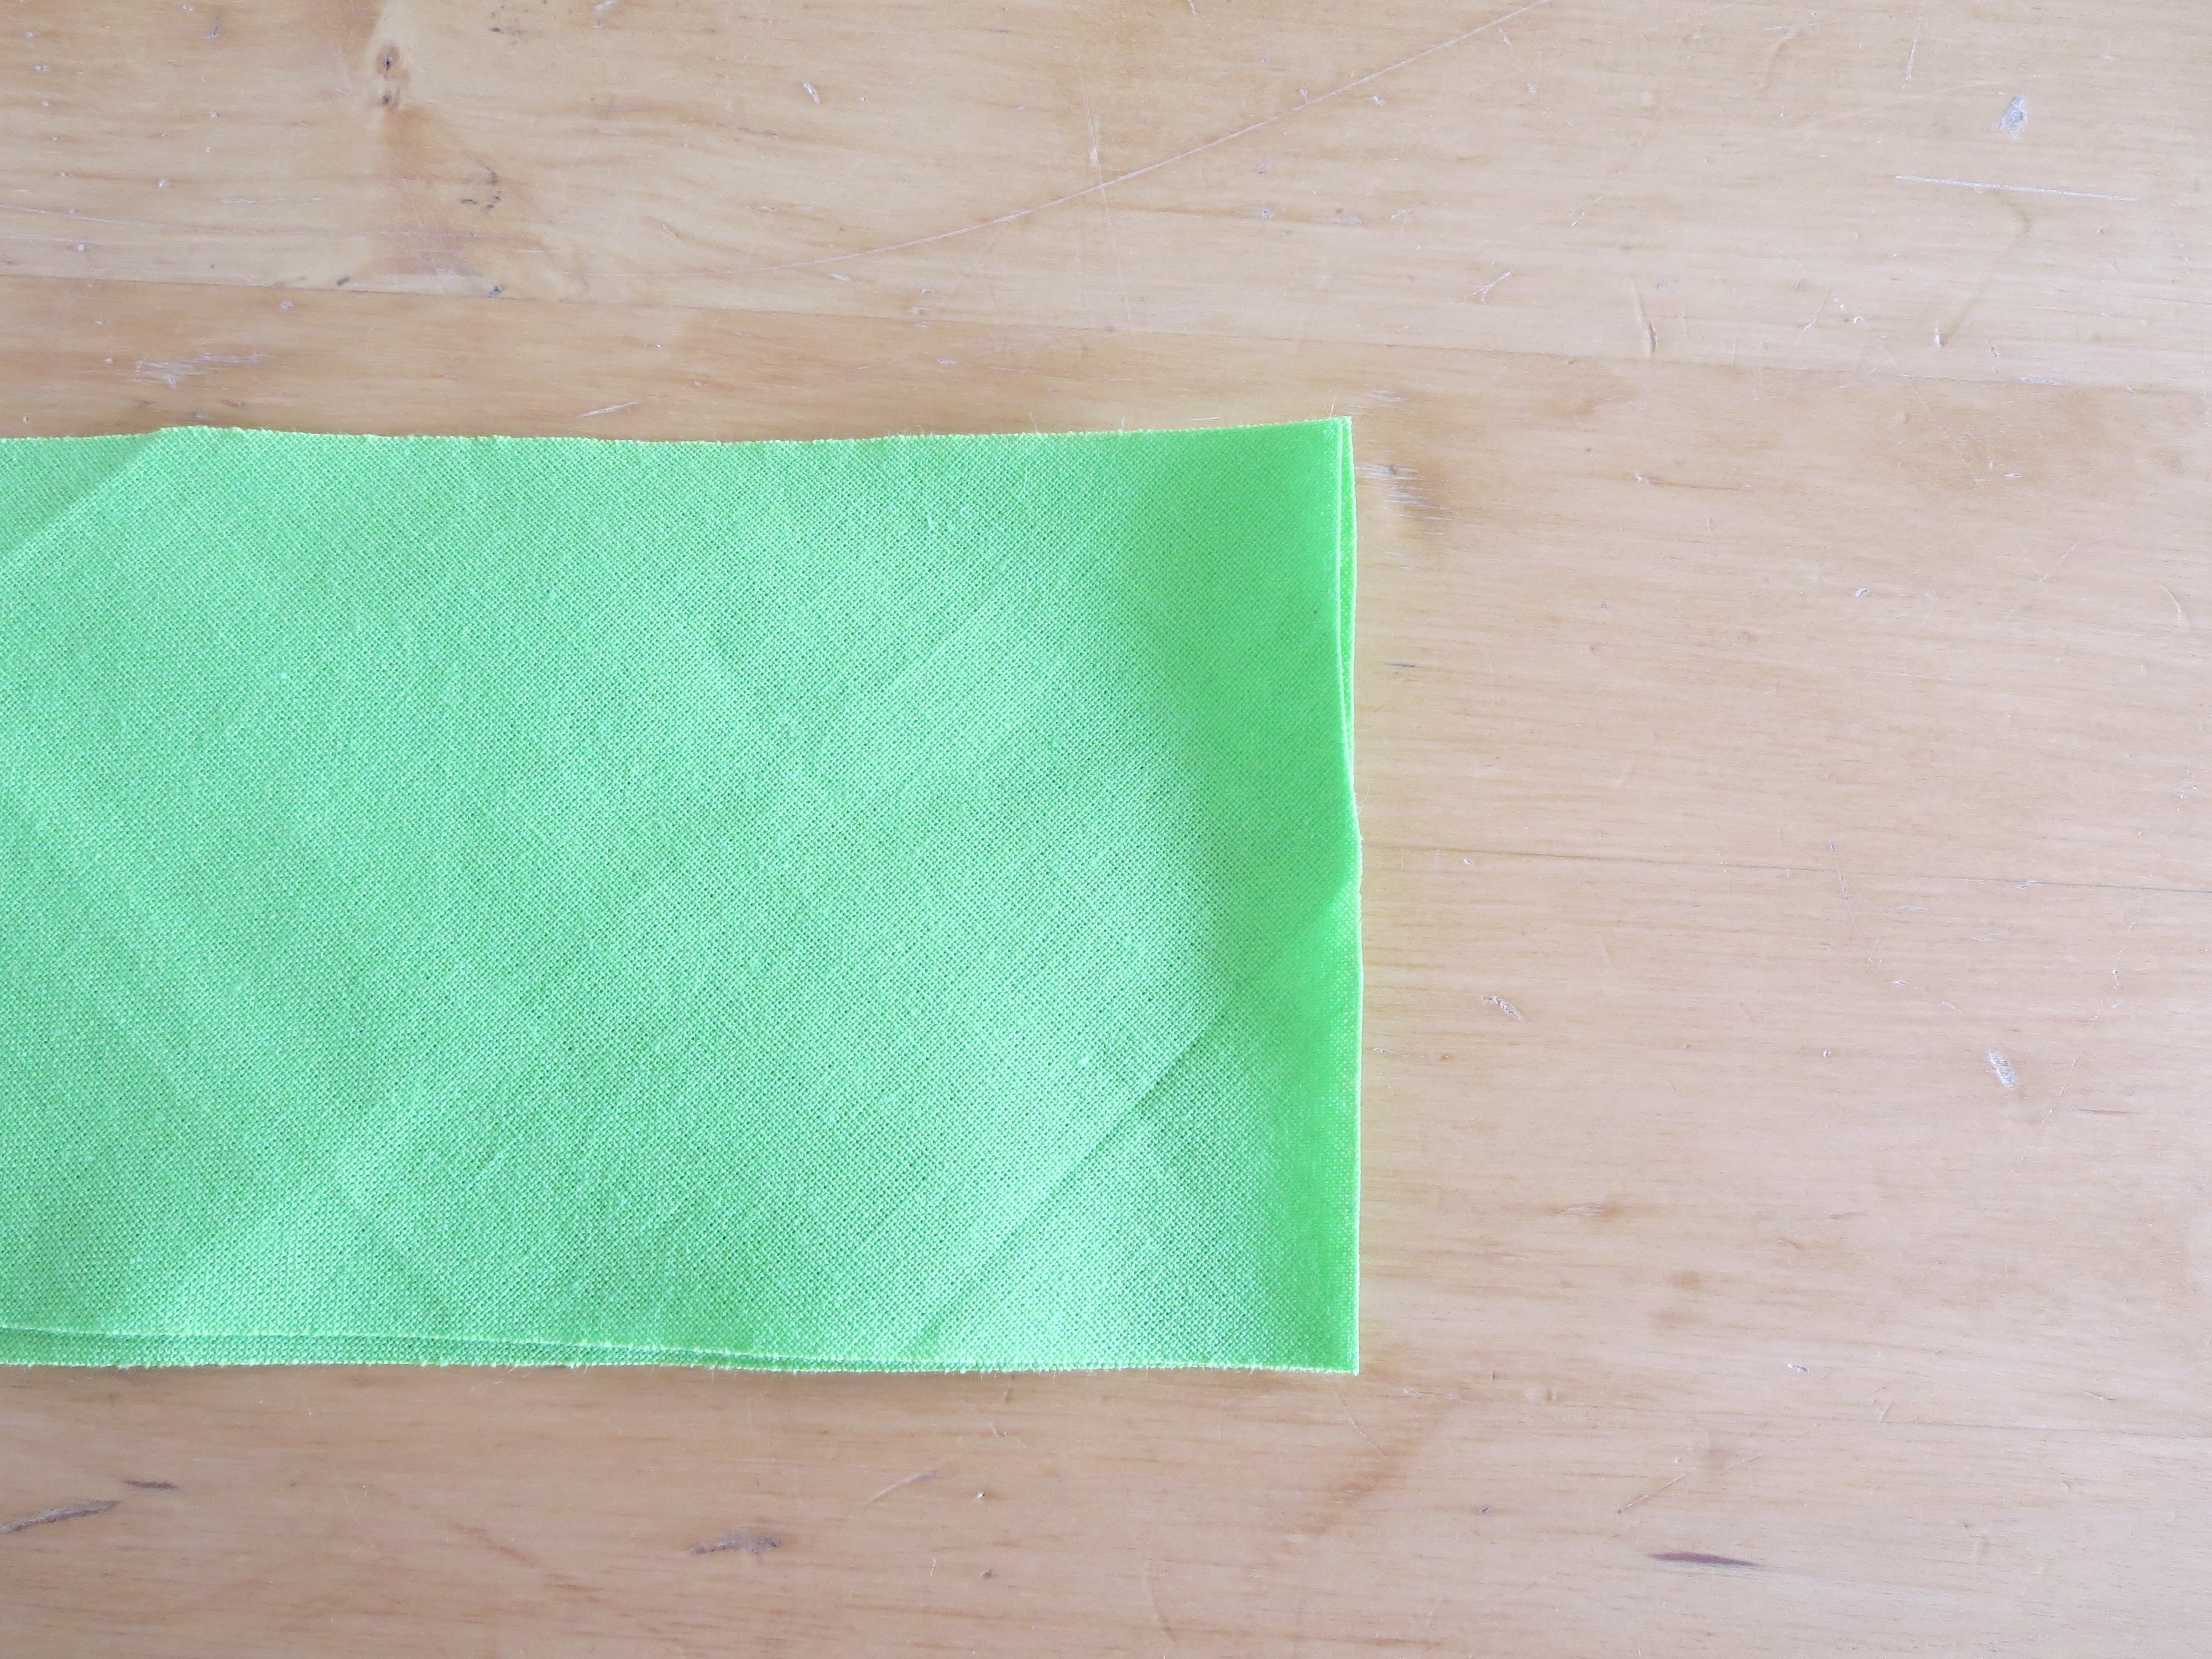
Secure the ends of the cord with an adhesive strip and cut to length if this has not already been done.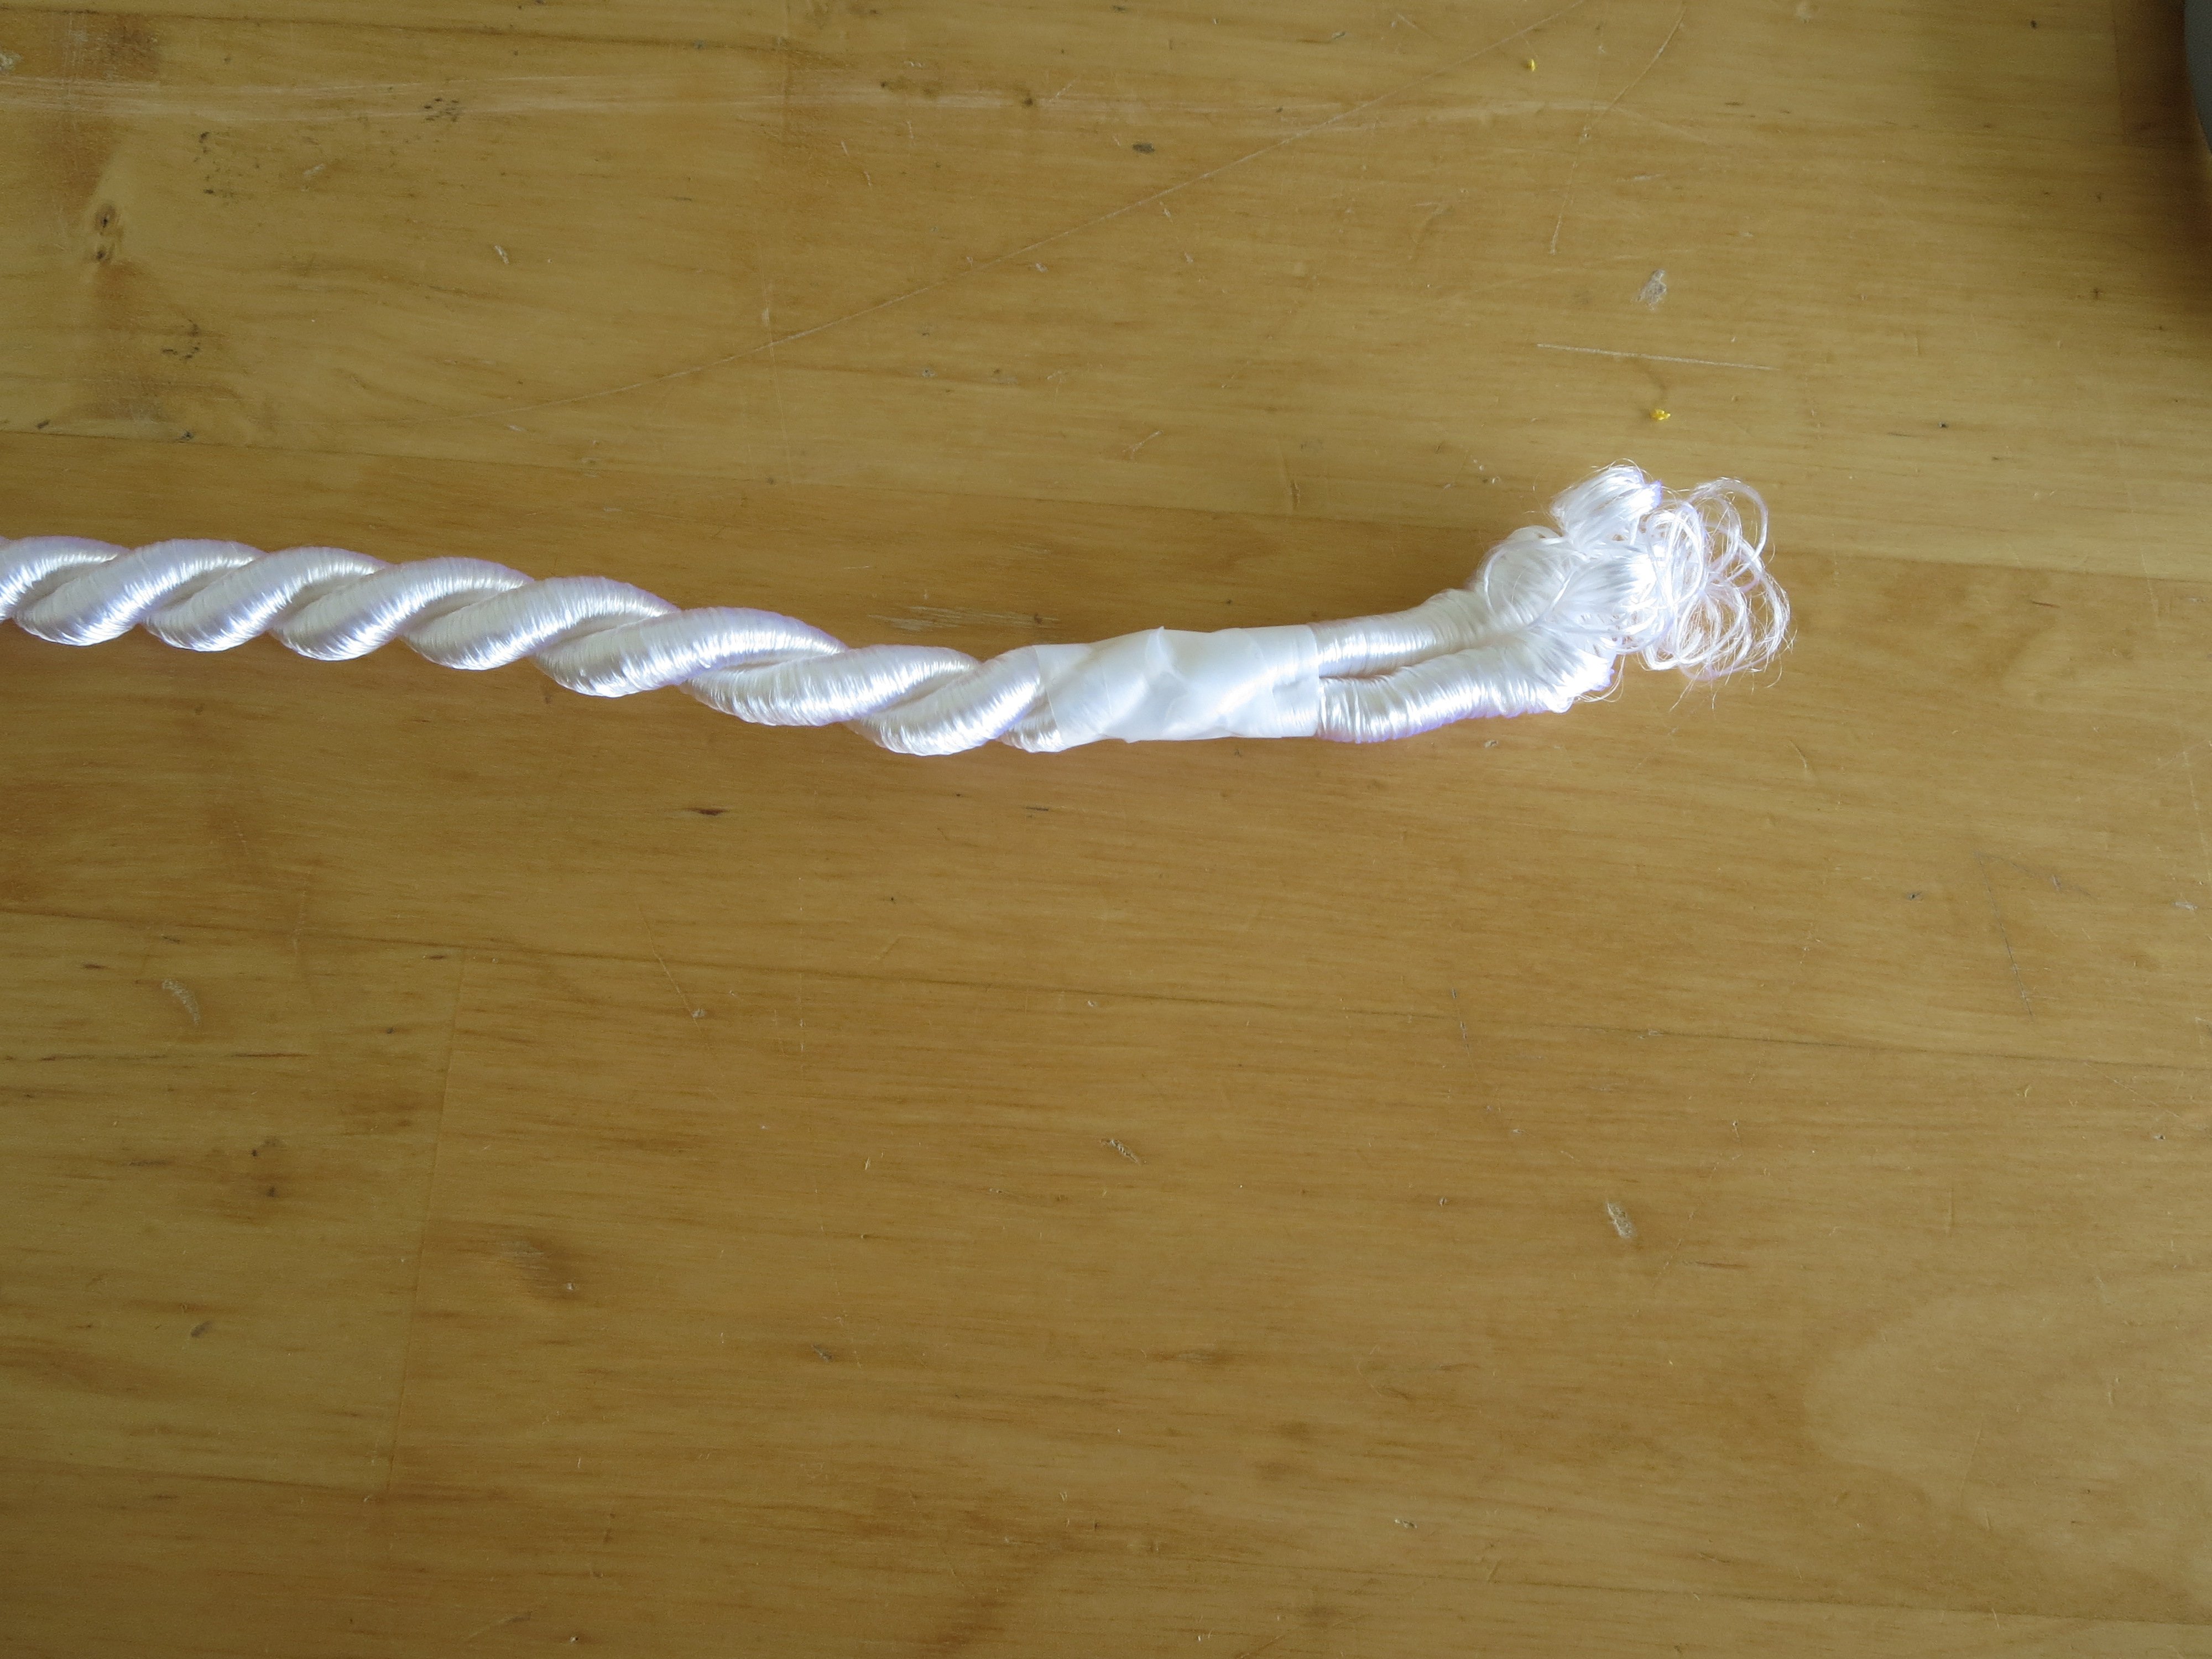
Stick the two ends together end to end with an adhesive strip.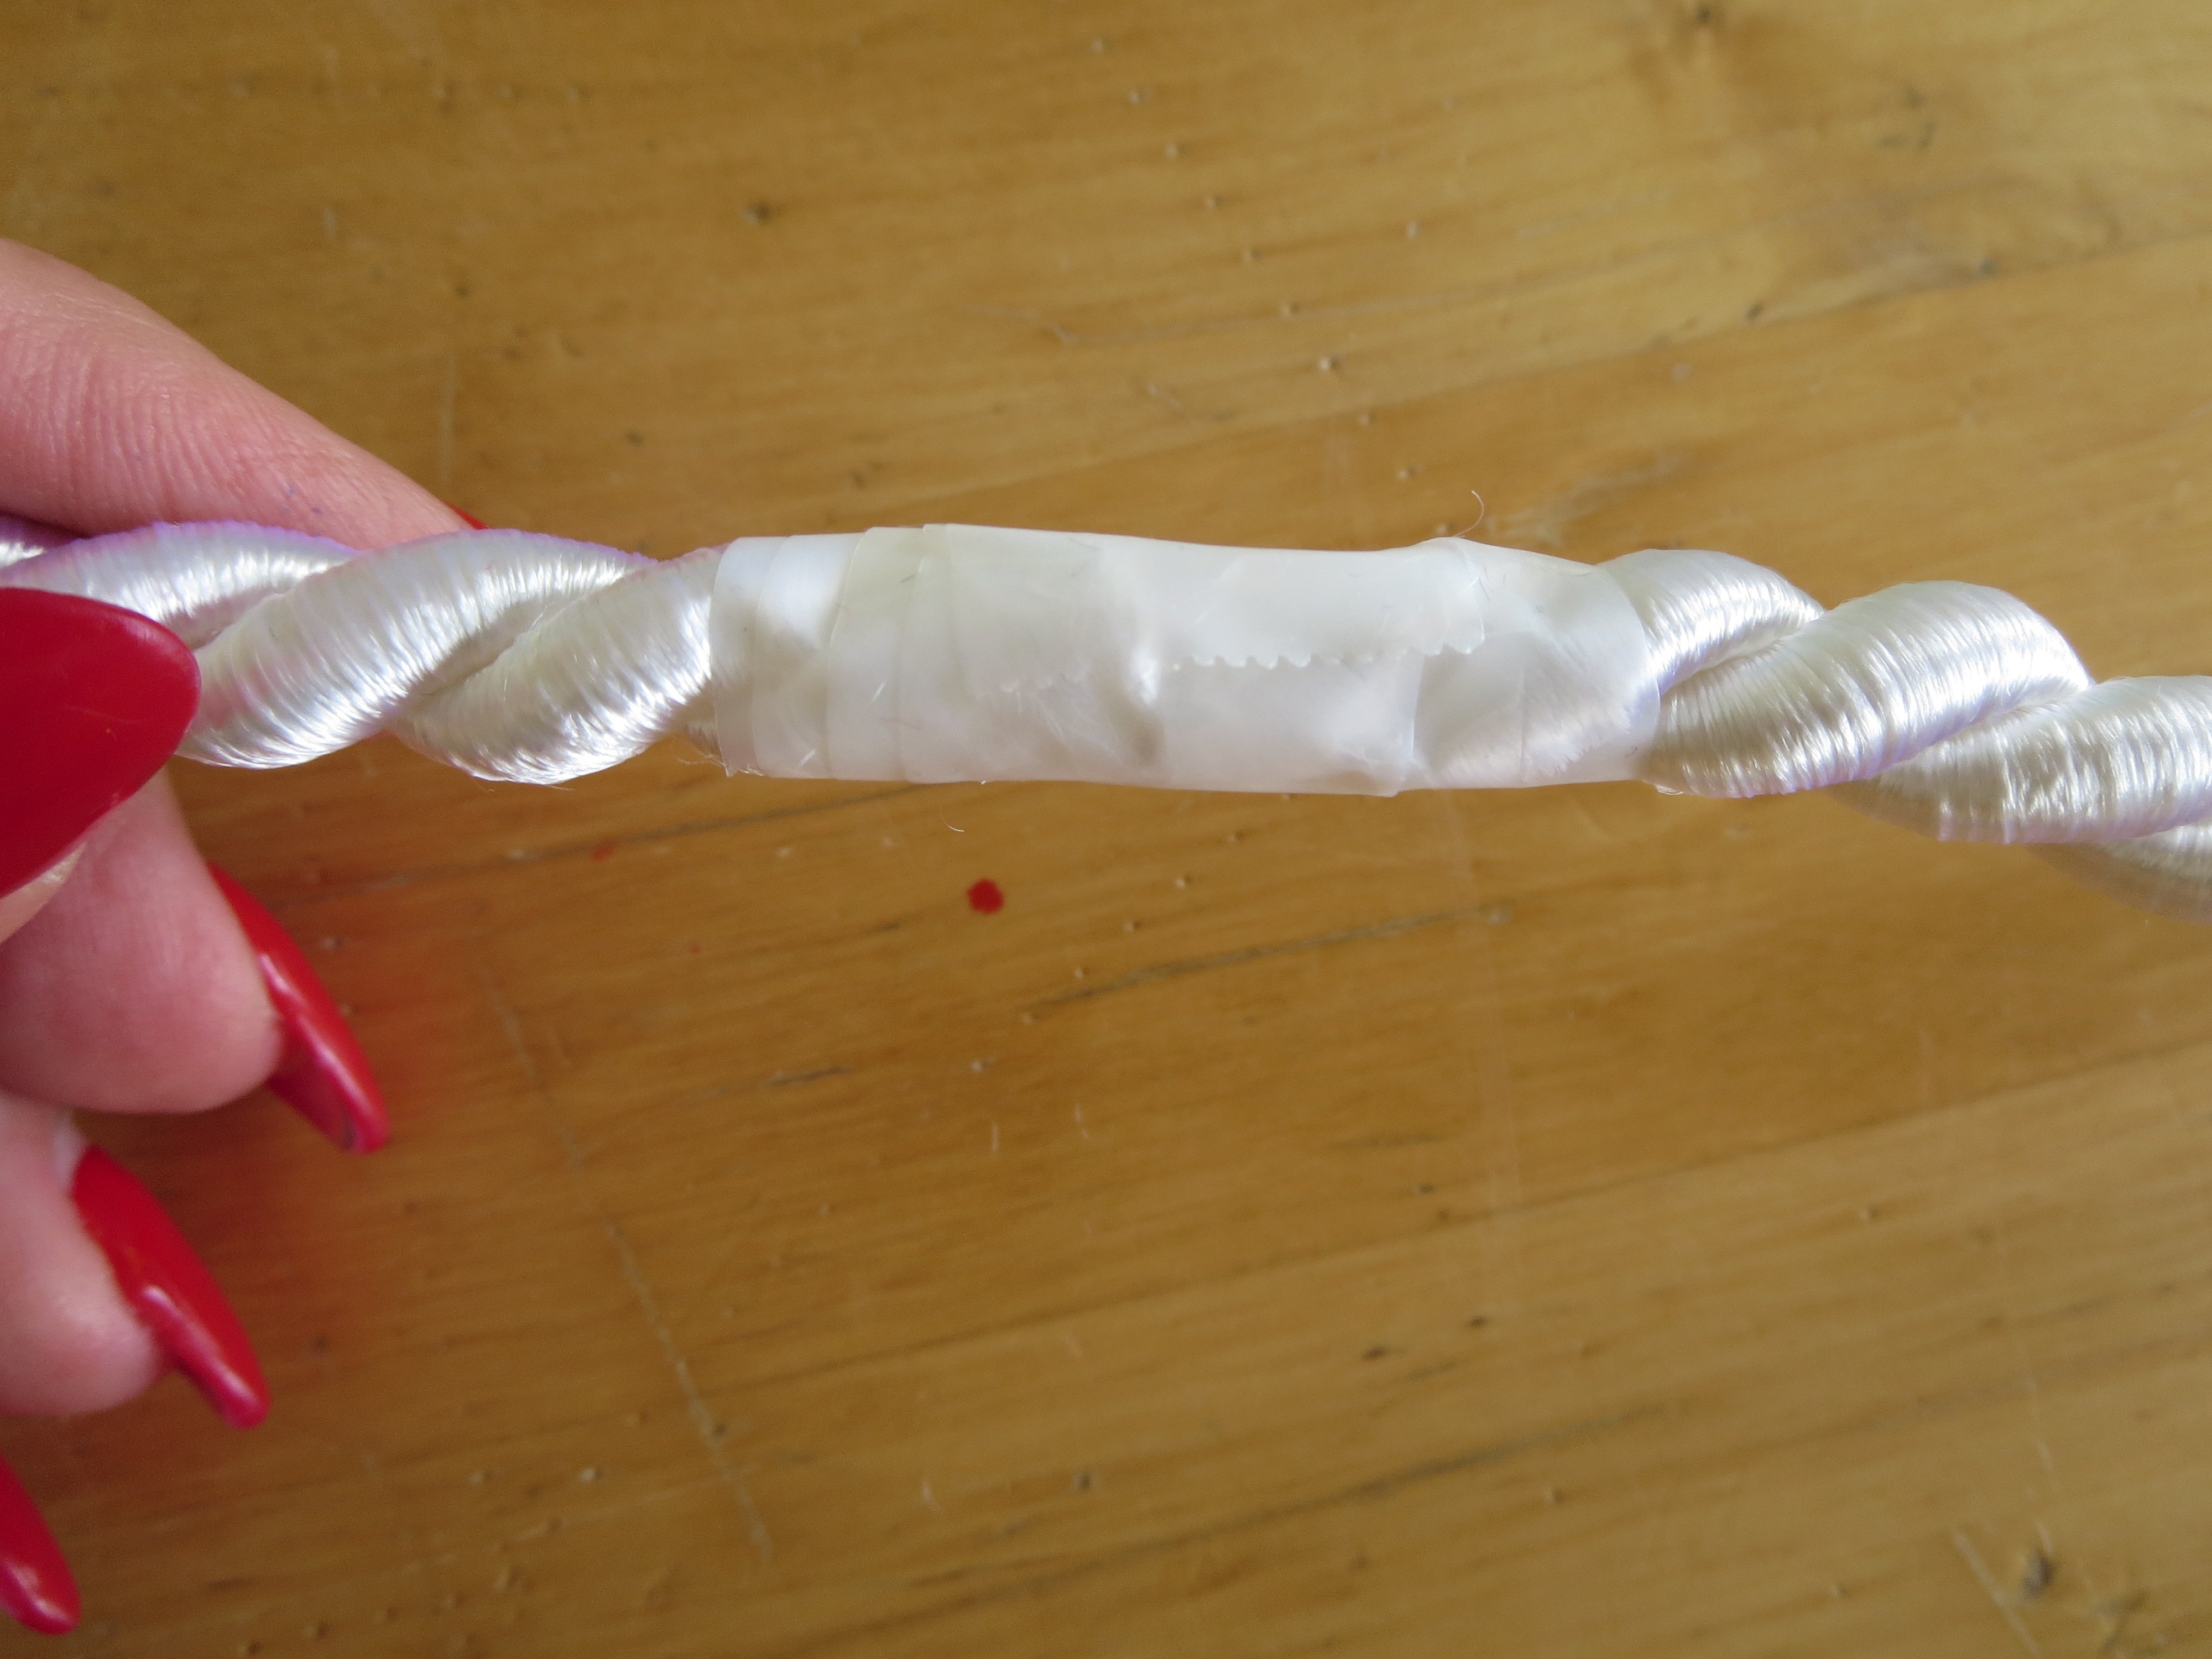
If there is any leftover bias tape (approx. 8 cm), stick a strip of Wonder Tape onto 2 opposite edges.
Remove the protective film from the Wonder Tape and wrap the leftover bias tape around the cord.
Sew together by hand, catching in the cord as you do so.
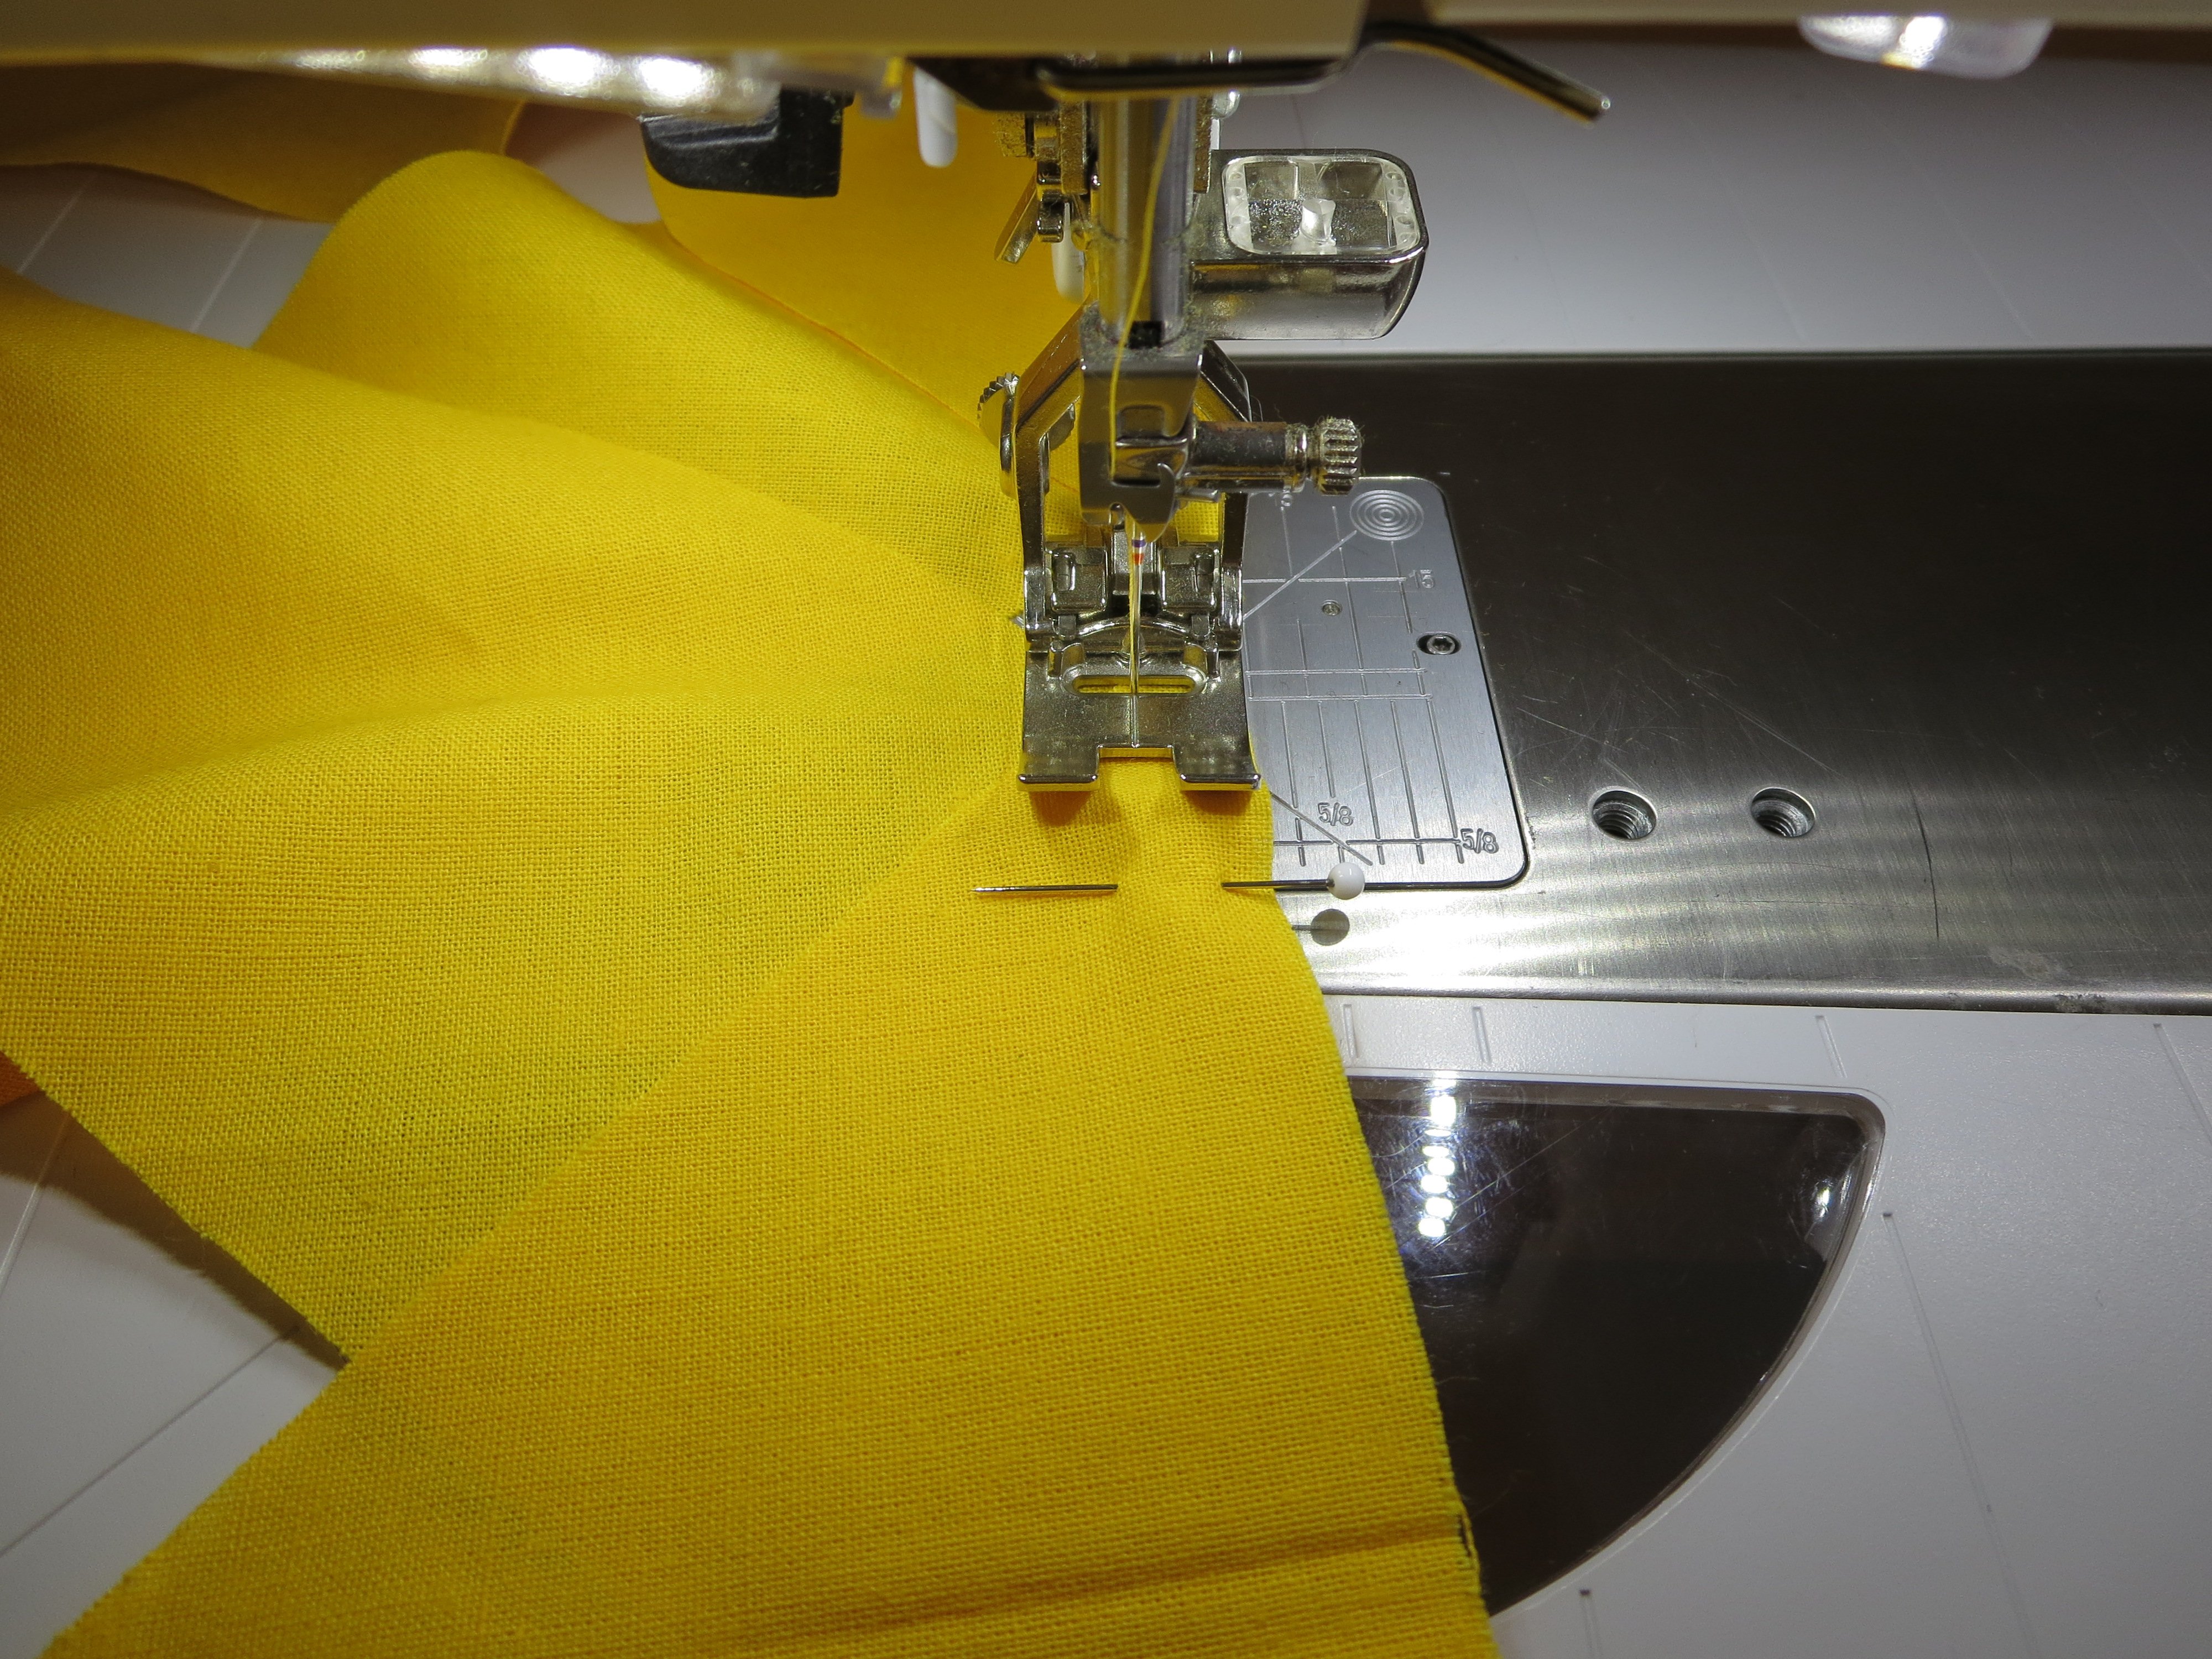
Thread the machine with matching colored sewing thread and attach Leather roller foot #55. Select the presser foot if necessary. Put the cord into the bias strip and place it under Leather roller foot #55 so that the needle sews as close to the cord as possible.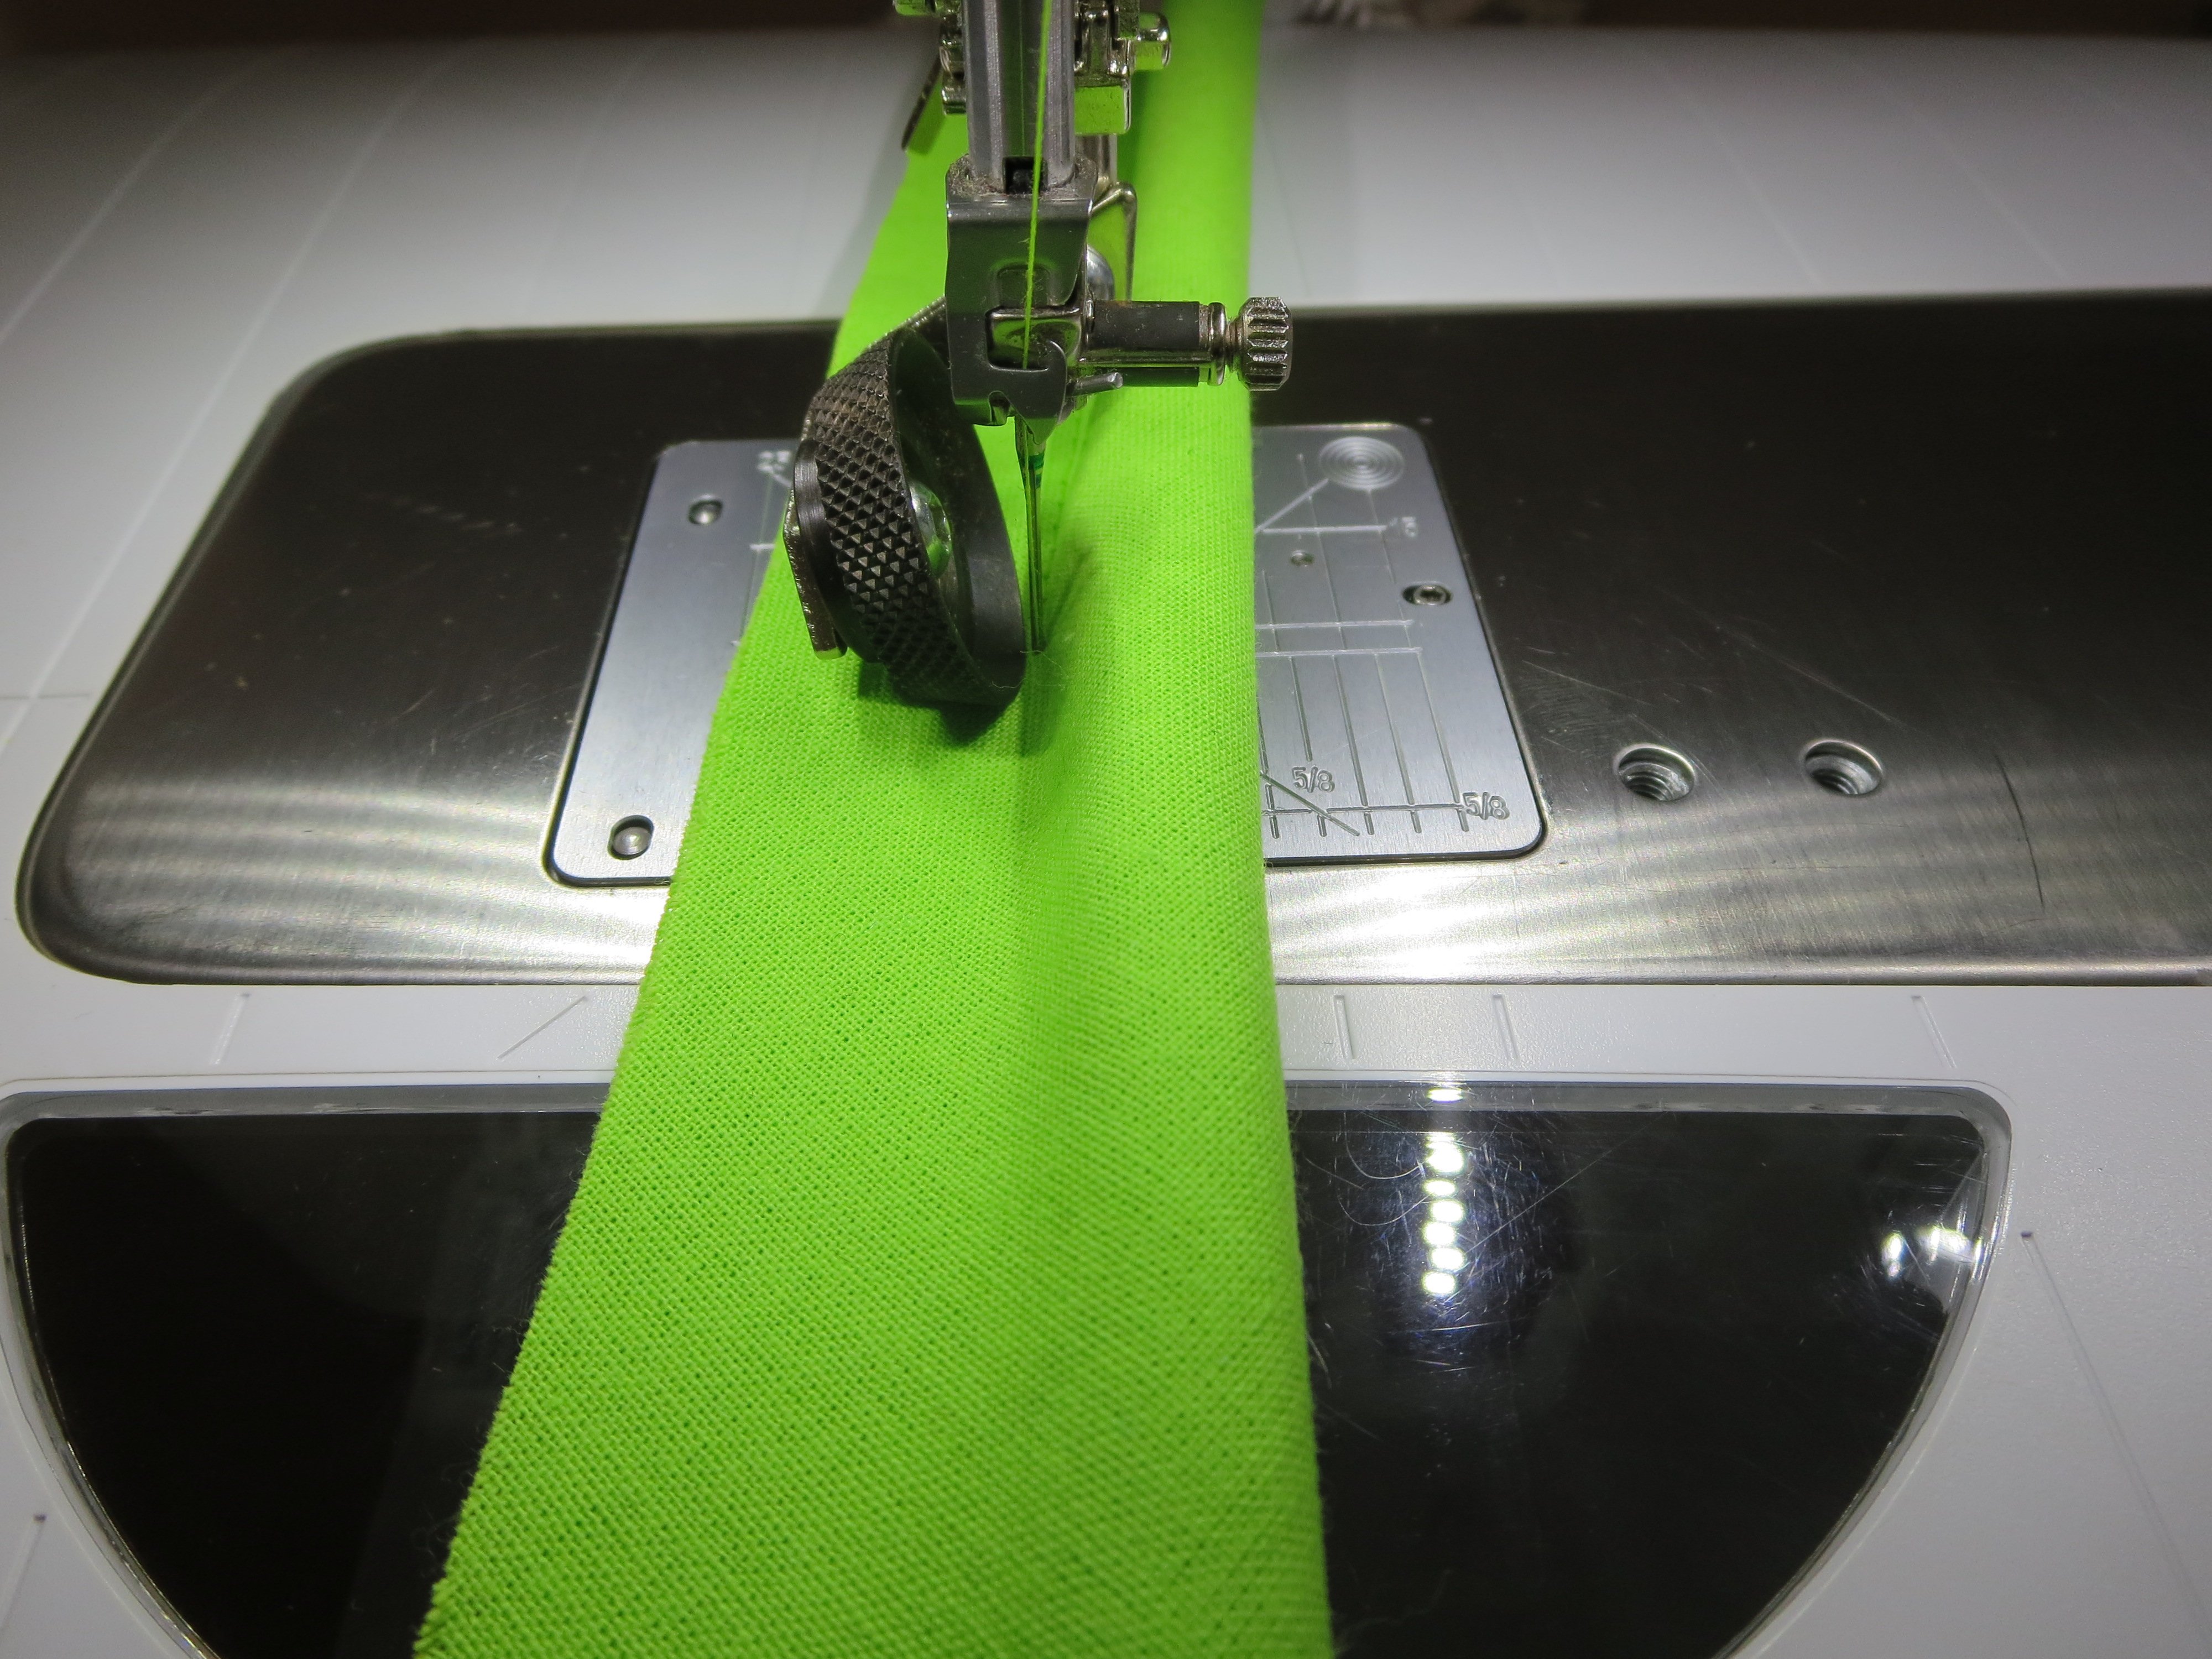
If necessary, you can also pin the bias tape. Do the same with the second strip. Make sure the cord join is covered by the bias tape. The bias tape should cover the cord and leave two sections of 17 cm each uncovered for the handles.
Select a sewing thread to match the oilcloth as the bobbin thread and sew the piping pieces onto the side pieces.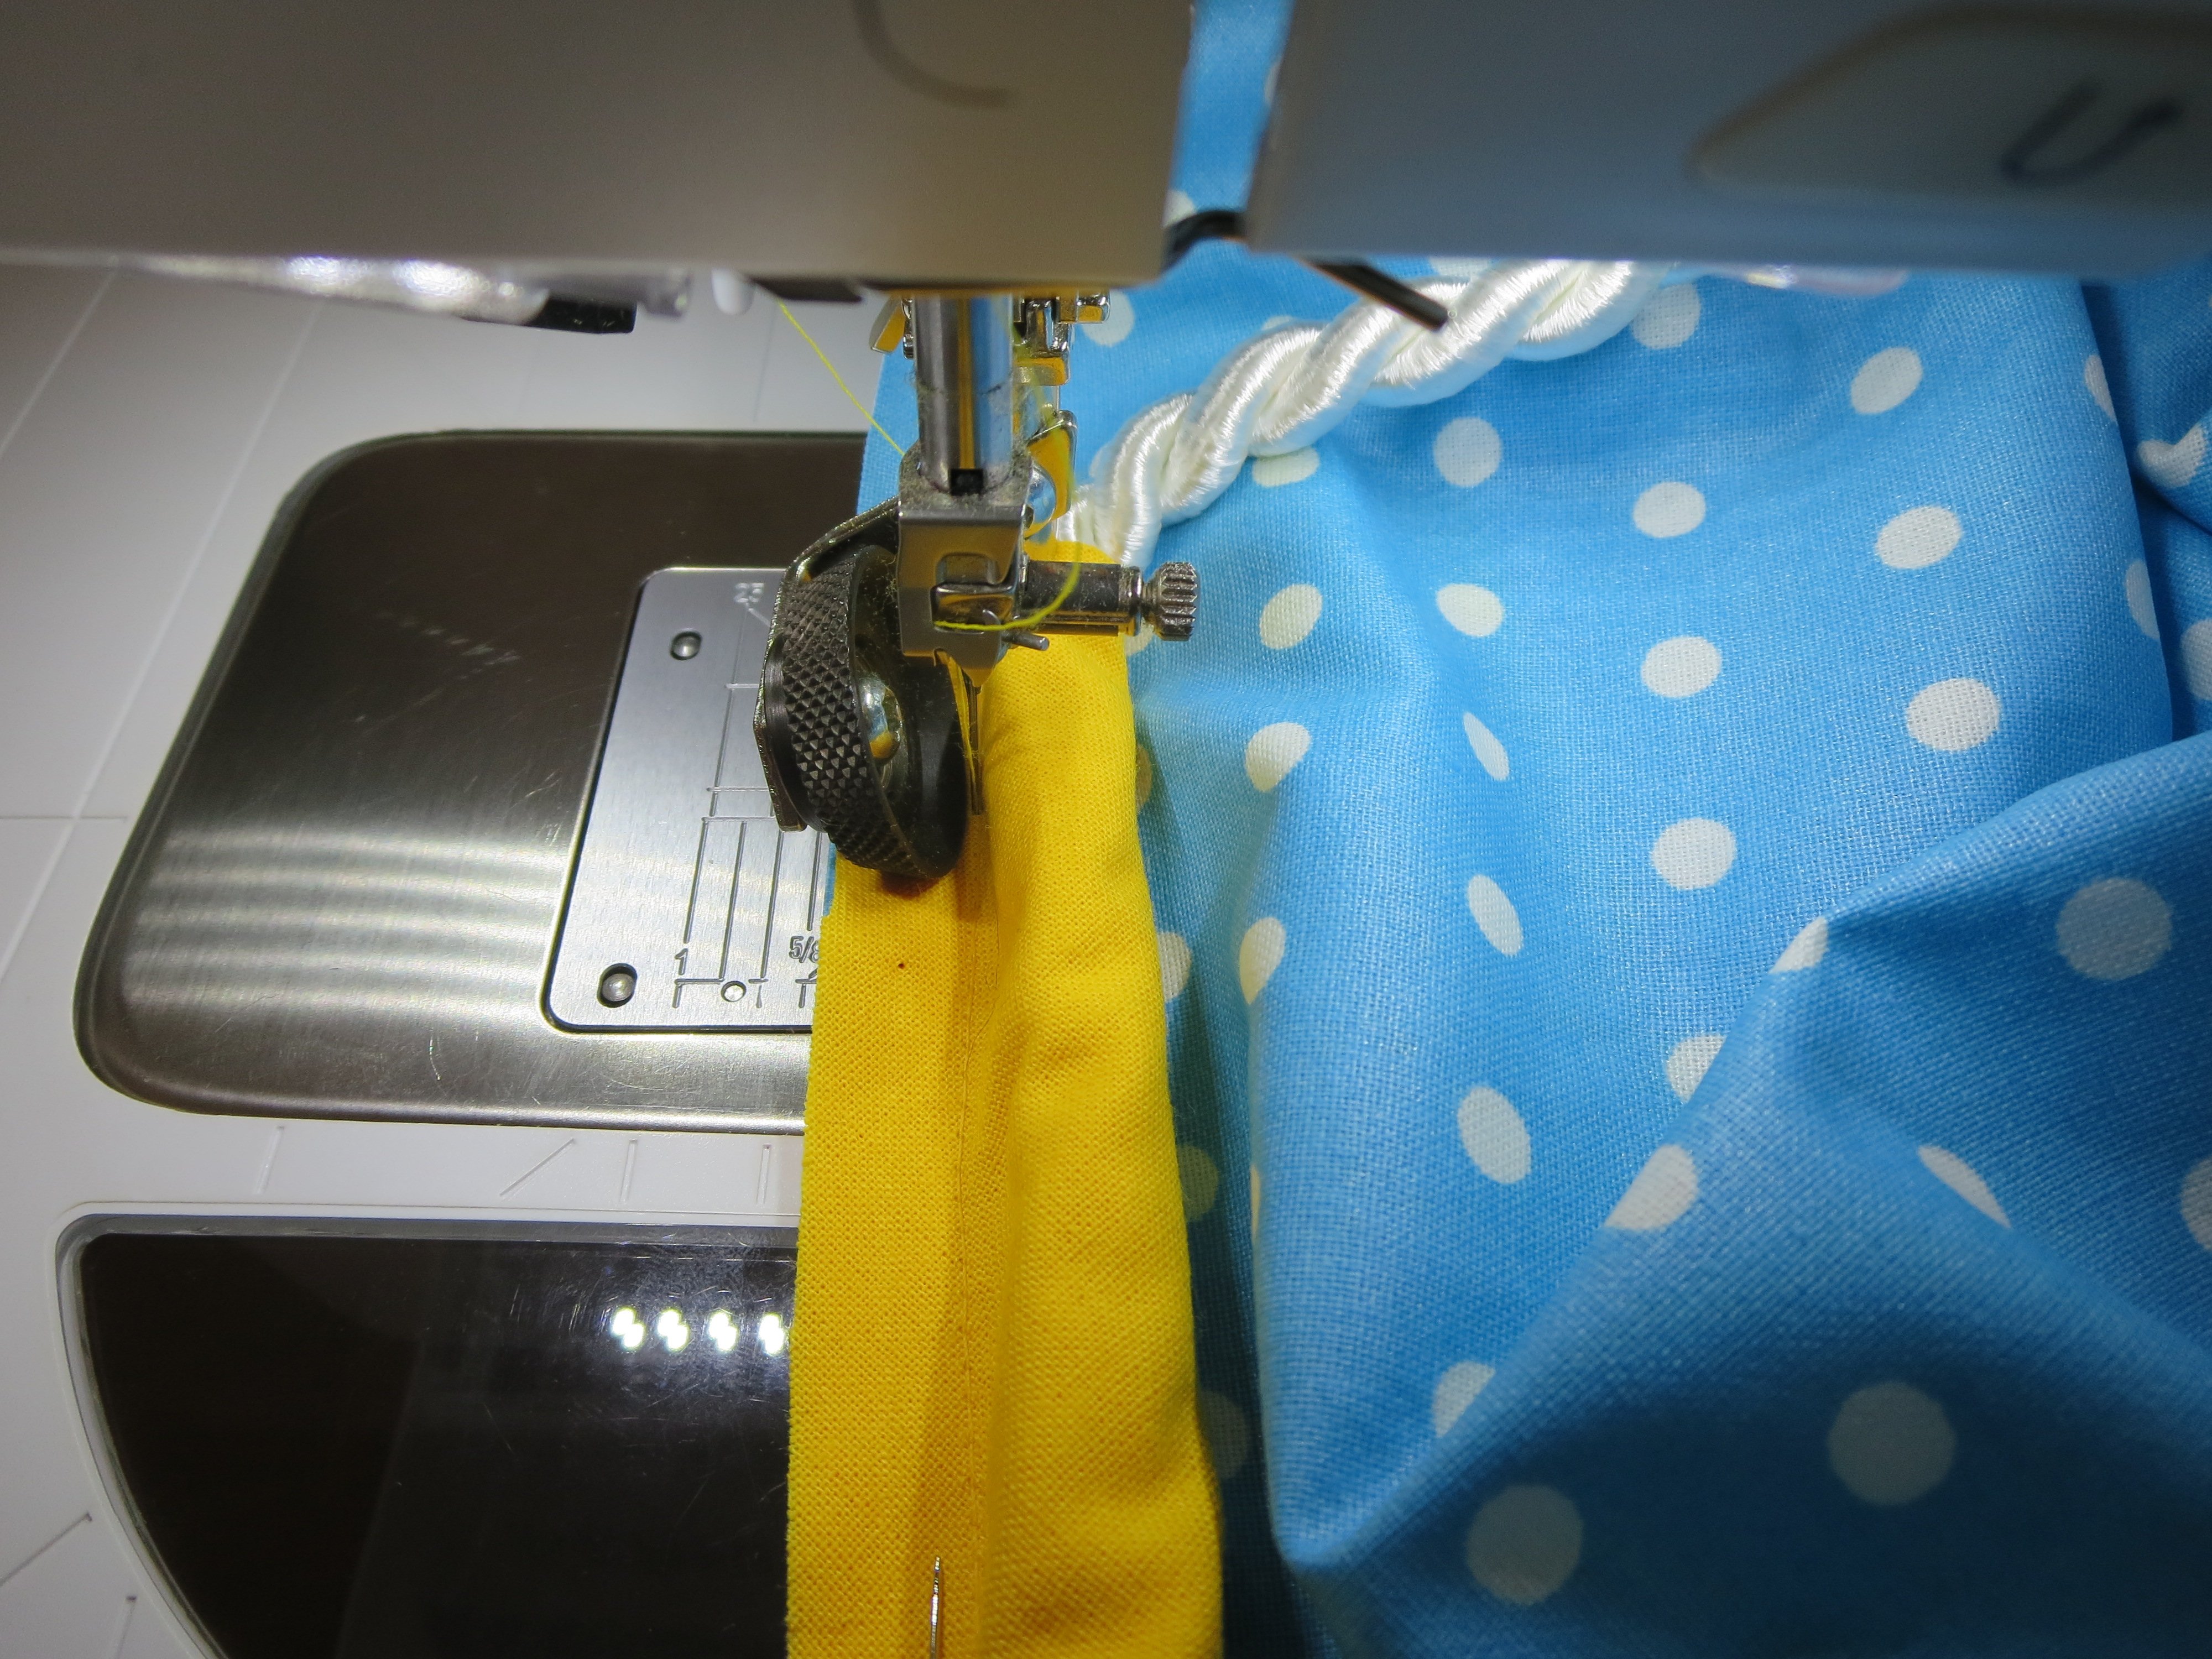
Clip the quilted circular cotton piece onto the side pieces and sew together with the oilcloth on top. Of course you can also use Leather roller foot #55 to sew this last seam. Personally, I thought there would be too much fabric on the free arm, so I decided to use Zipper foot #4. Set the needle position all the way to the left.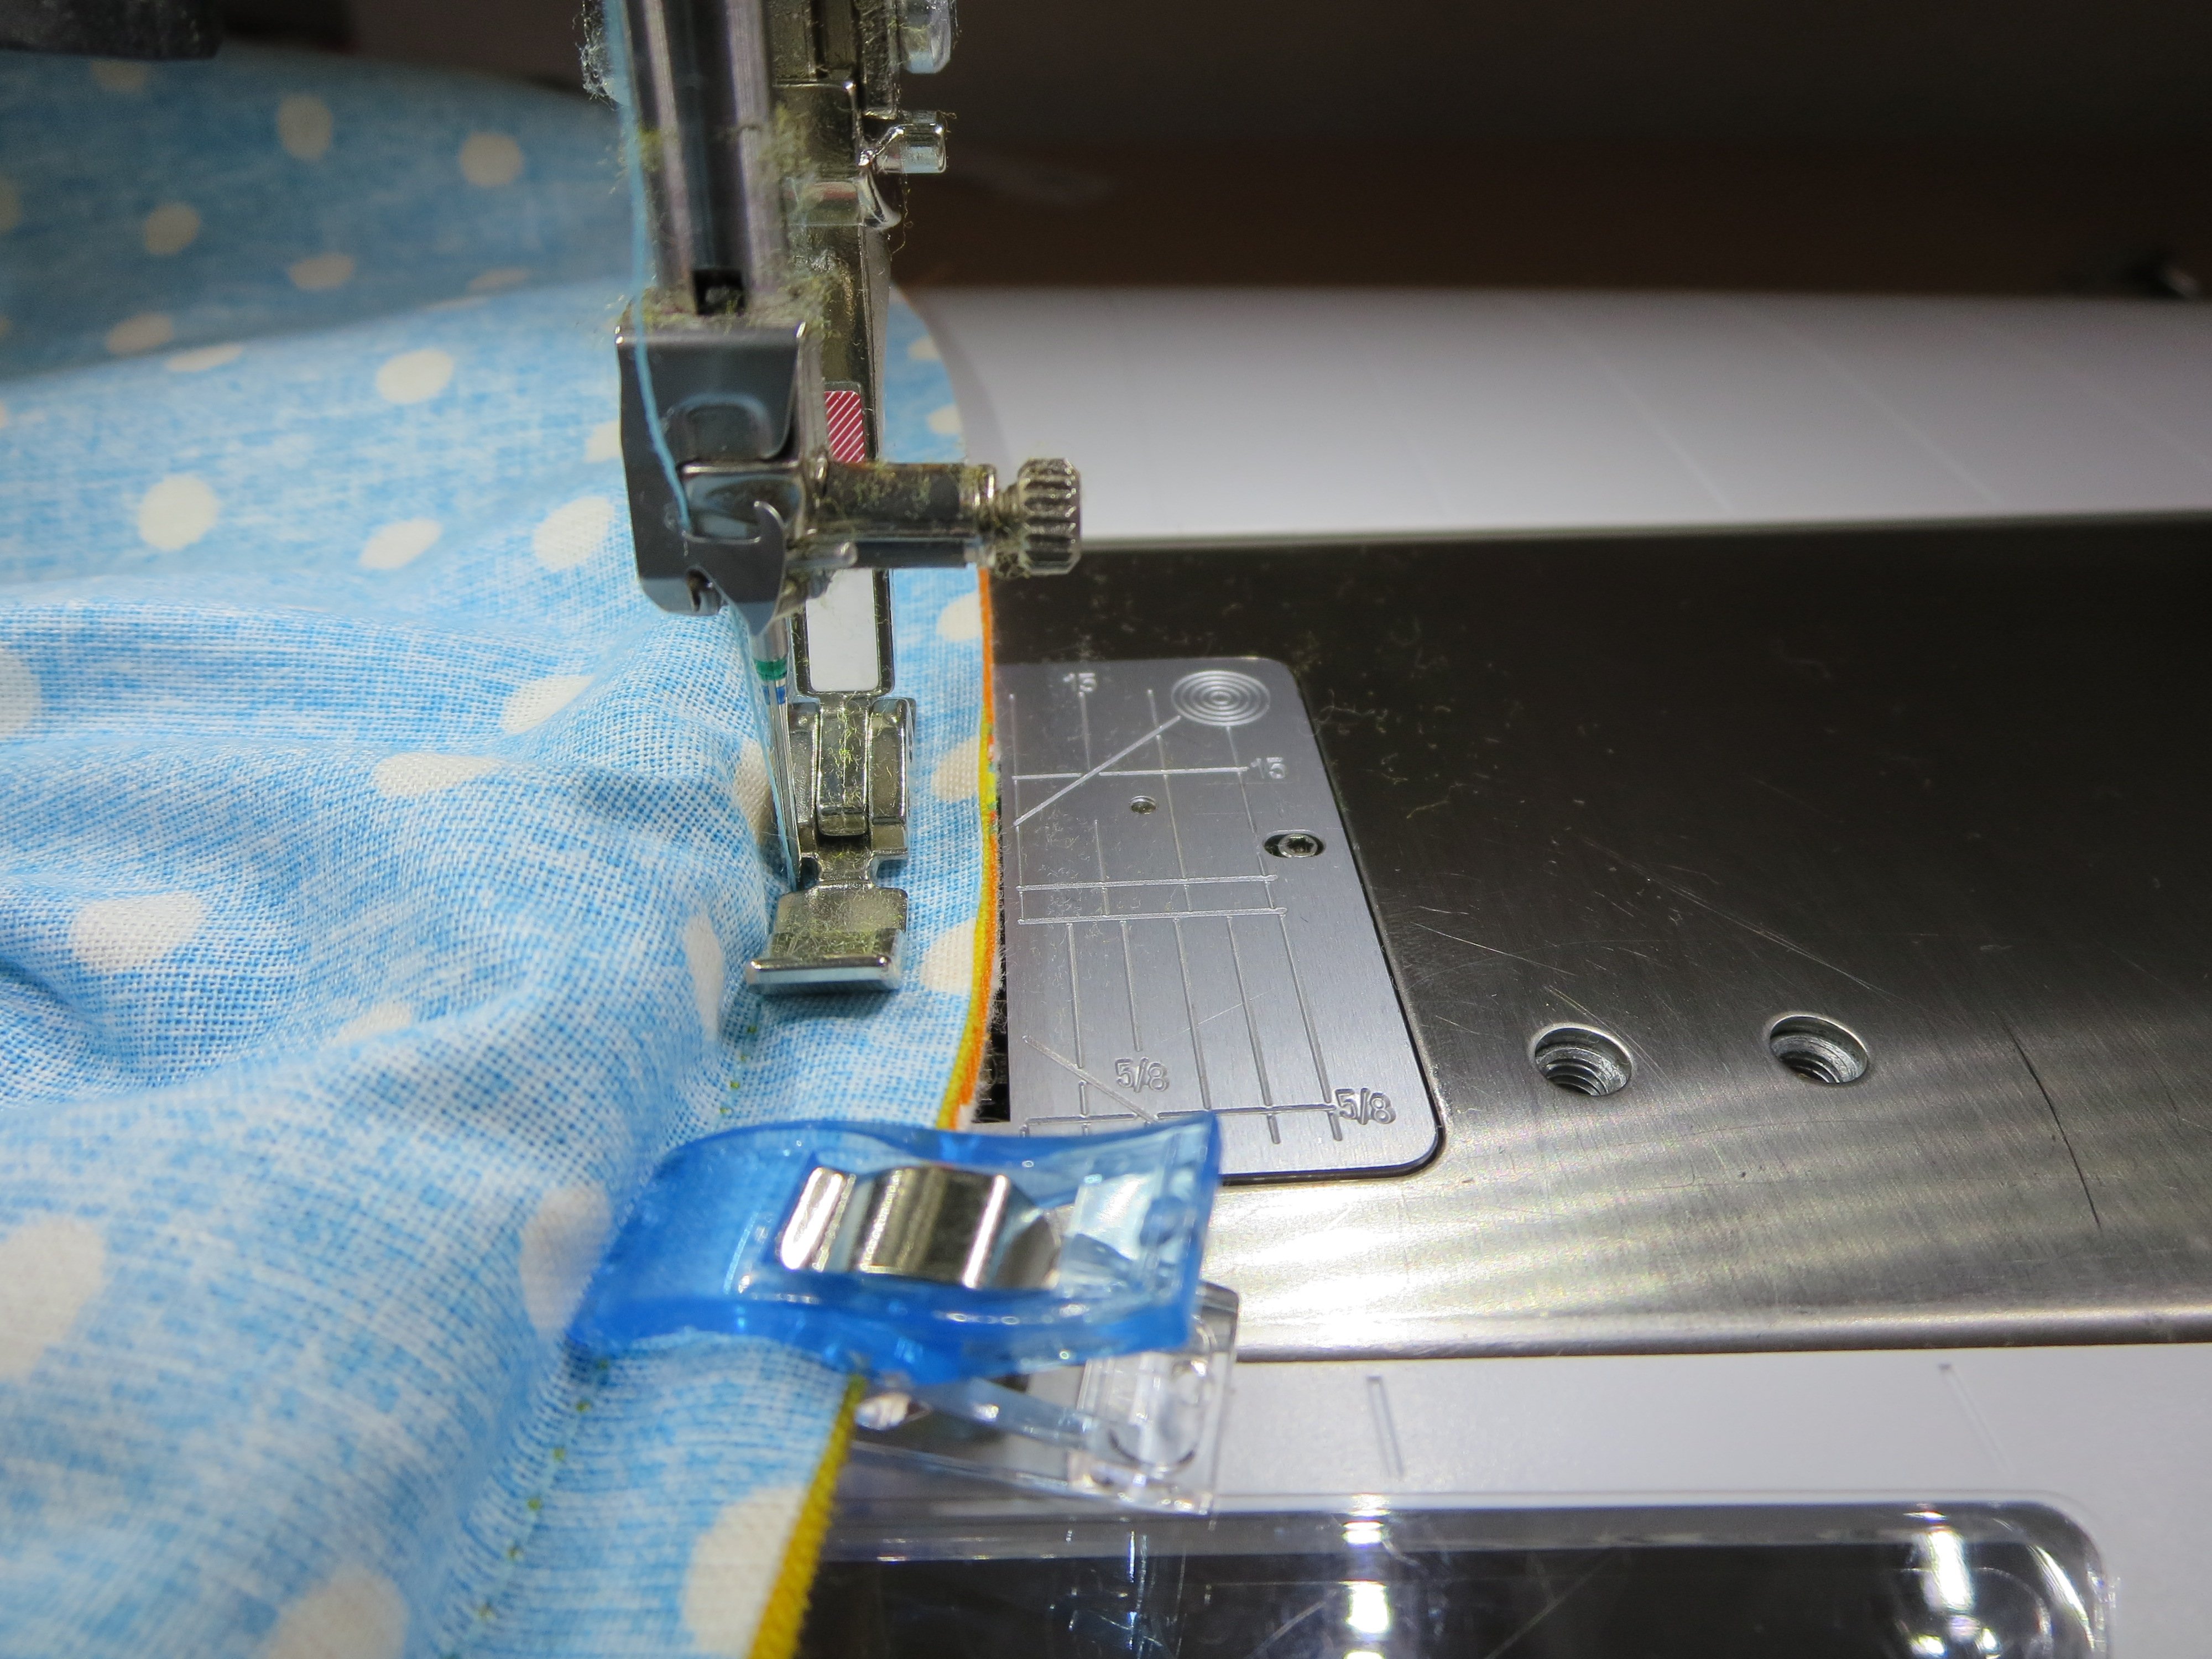
The Velcro fastenings on the bottom and side mean that the pouf cover can simply be pulled over the foam and pulled off again if it needs washing.
And you’re done! The handles make it easy to move around.I hope you have fun making your own pouf! Birgit

0 Responses