 BERNINA Corporate Blog -
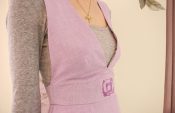
In the instruction videos for the BERNINA L 890, a blue dress can often be seen. It is a “Princess Line” dress. This is a dress that is cut in long pieces, without horizontal seams or separation at the waistline. The dress is not shaped with darts. Instead, the figure-hugging shape is achieved by long seams (“princess seams”) and shaped cut parts. Did you notice the dress in the videos and would you like to sew such a “Princess Line” dress yourself? Then you don’t have to wait any longer, because in this post I provide you with free patterns and instructions for the dress. This makes a good figure in size 36 to 46. But see for yourself!
“Princess Line” Dress sewing Instructions Part 1
In this first of two blog posts, you’ll learn what materials you need, how to cut and sew the decorative stitches, with tips on stitching with decorative threads in the chain looper.
The second part will be about sewing the dress, trying it on and finishing it. Part 2 will be released in five days, next Tuesday.

Supplies
- 3.00 – 3.30 m knit, two-way stable stretch fabric, 140 cm wide
Alternative: stretch fabrics only, e.g. with elastane component and with approx. ca. 20% stretchability. The fabric should not be too fine so that the decorative seams can be sewn nicely. - Universal overlock thread, for example Mettler Seracor
- Sewing thread, for example Mettler Seralon
- Decorative threads in three or four colors, for examples Madeira Glamour 8, Glamour 12, Metallic 12 or Metallic 40
- BERNINA L 890 Overlock-/Coverstich-Combo machine
- Optional: Clear overlock/Combostitch Foot #C27
- Optional: Decorative threads Guide #L25, depending on the decorative threads for the chain looper
- BERNINA sewing machine
- Rotary Cutter, ruler and large cutting mat
- Cutting Weights
- Colored tracing paper and marking wheel
Pattern Pieces
Pleae note that the seam allowances are not included on these pattern pieces. See below for the recommended allowances.
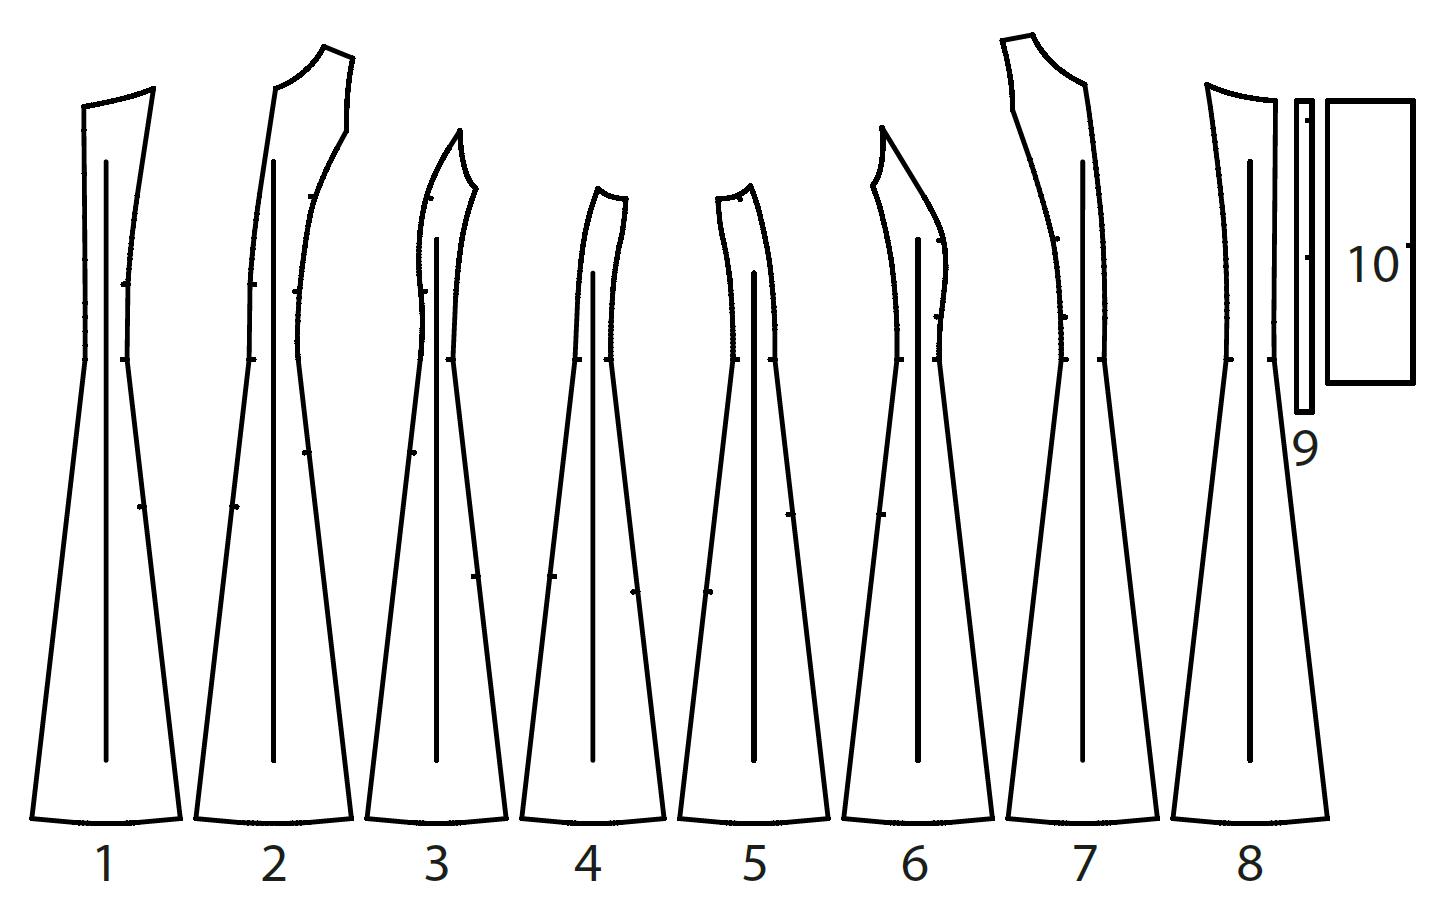
2 x back part middle 1
2 x back part 2
2 x back part 3
2 x Back part 4
2 x Front part 5
2 x Front part 6
2 x Front part 7
2 x Front part middle 8
2 x Armhole cuff 9
1 x Collar 10
Download the dress pattern for free
Format A4
Format A0
Format US-Letter
The pattern sizes A4 and US-Letter you can print this out on your regular printer at home and stick the sheets together. Make sure your print the pattern unsing the “original size” setting. Check the test square on page 20 (A4) or page 6 (US-Letter) to make sure, the pattern will be printed in the correct size.
The pattern A0 can be used for copy-shop printing so you can save time in sticking the smaller paper sheets to a large format pattern.
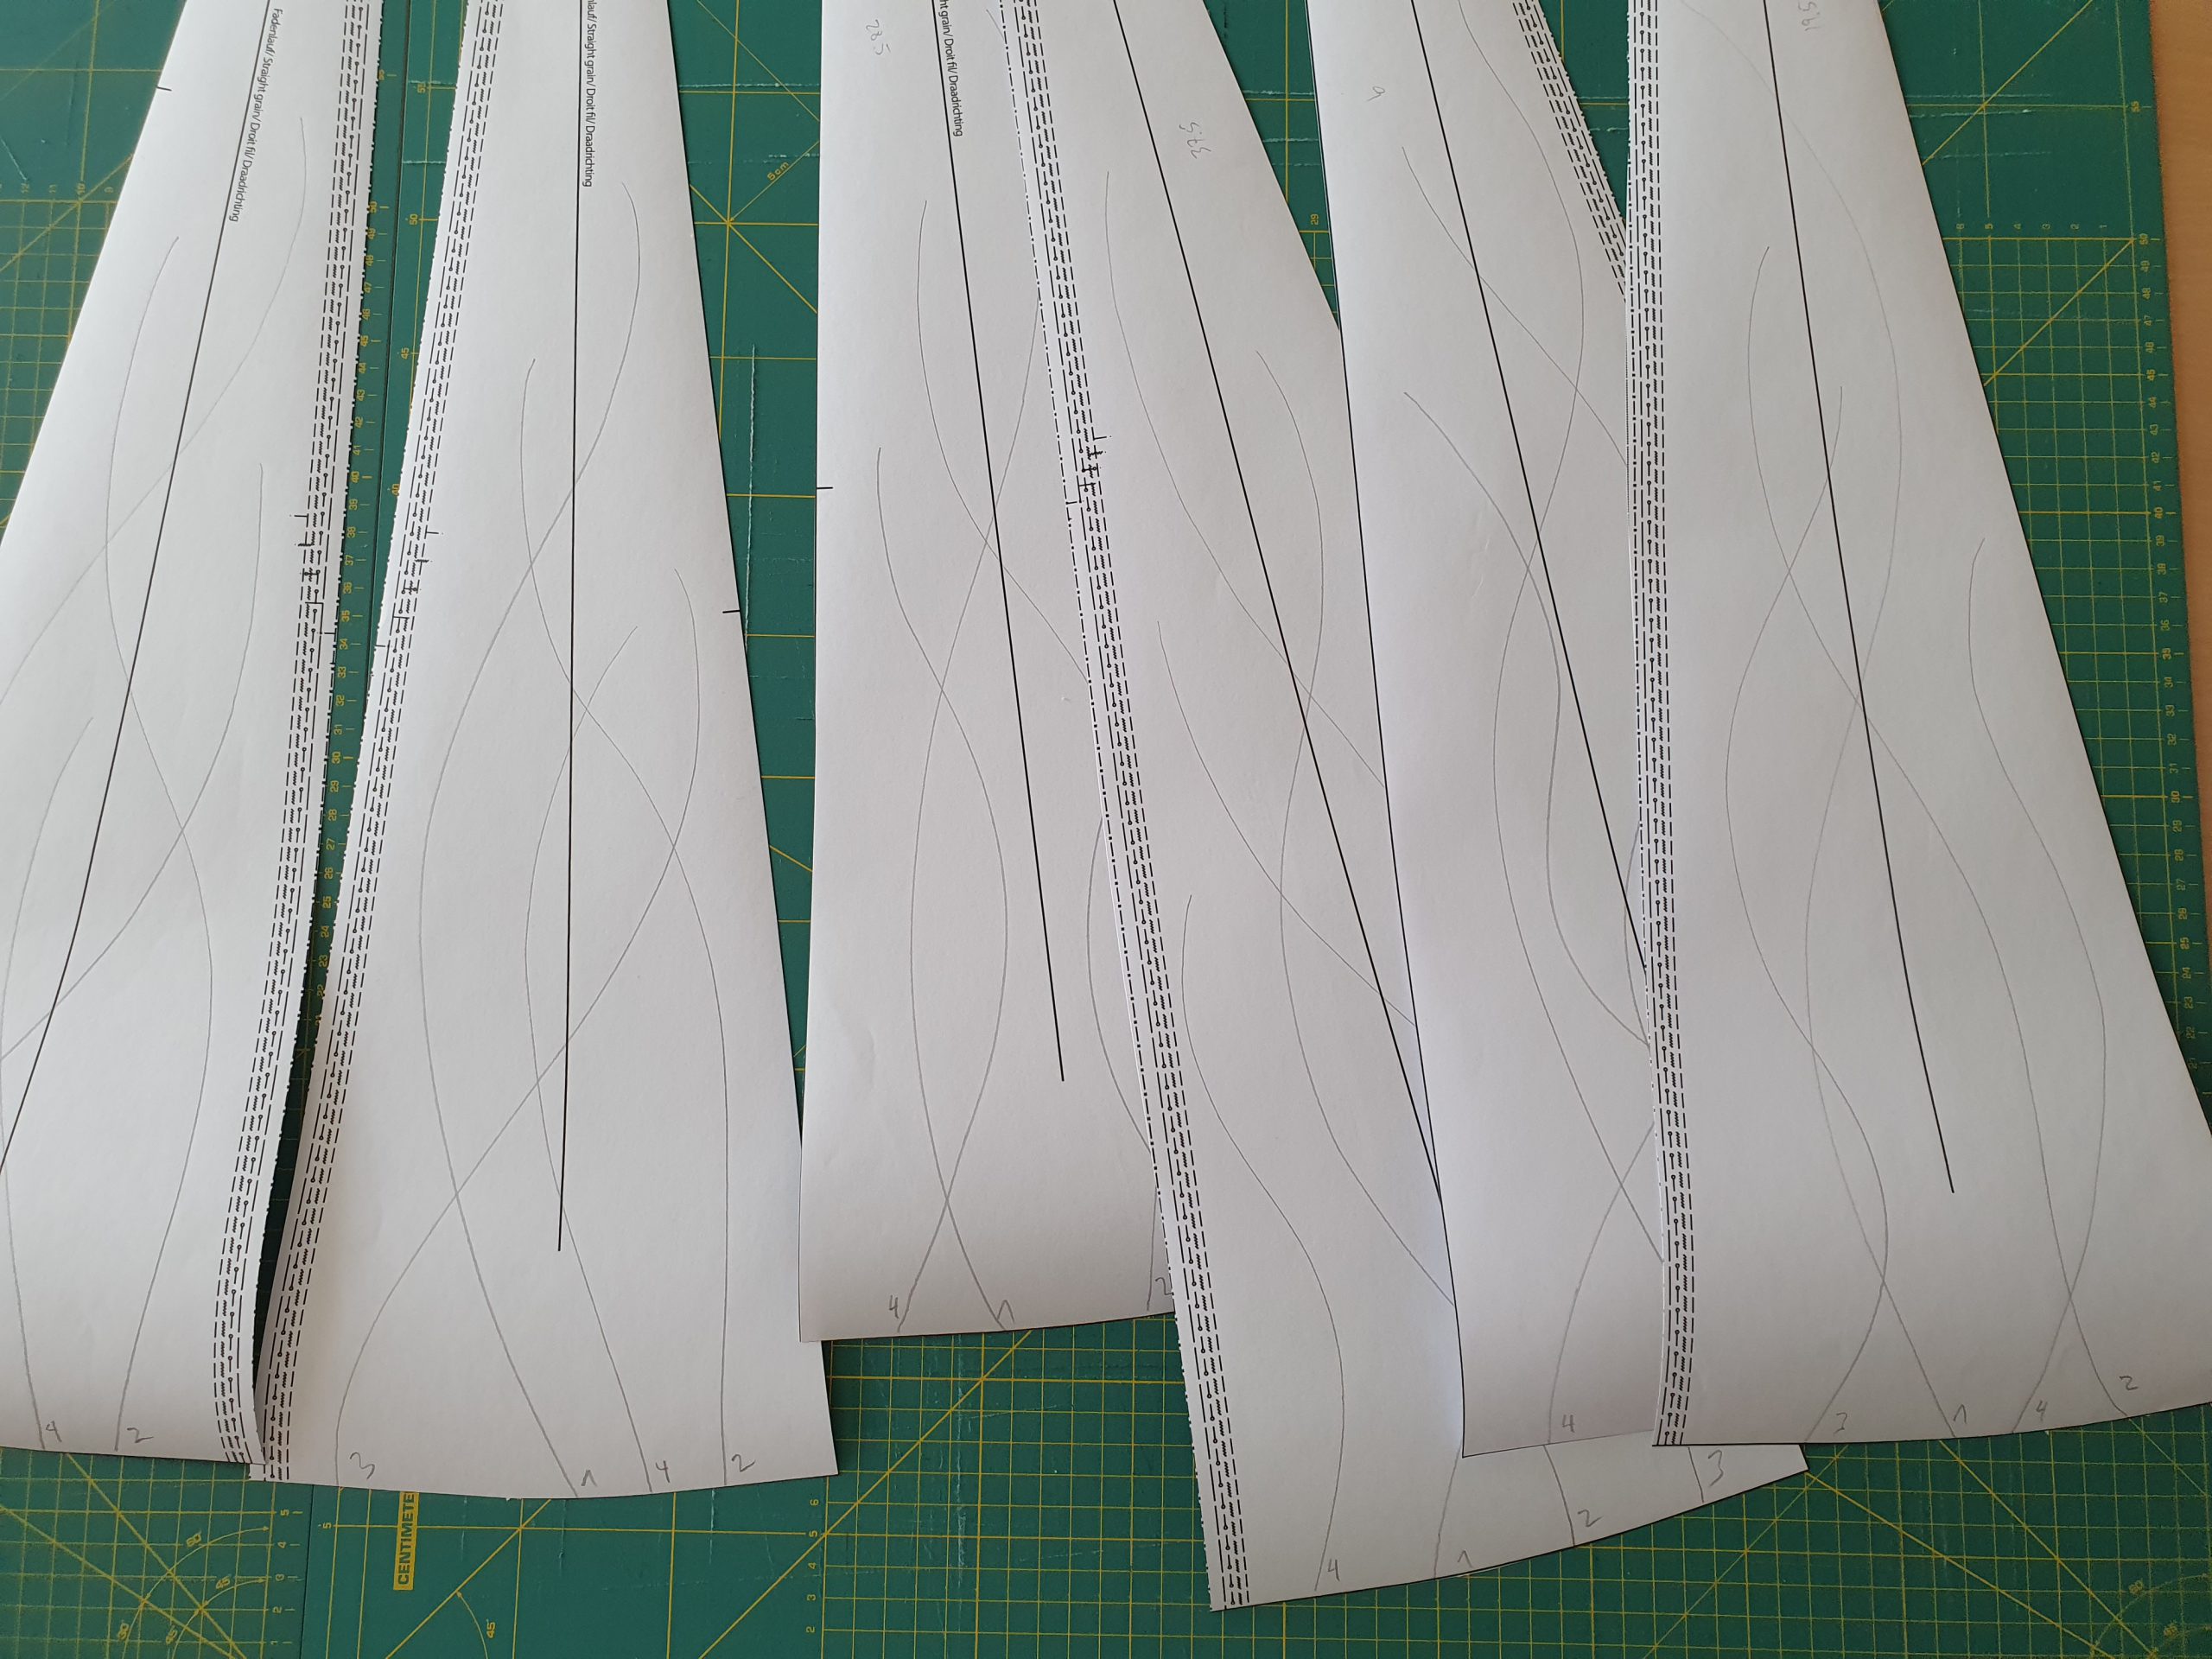
Decorative Design Preparation
Plan the decorative stitching, for example on each of the pieces 1 to 8 three or four lines in different length, beginning below the waist to the hem line.
Tip: drawing from waistline towards the hemline eases the design process.
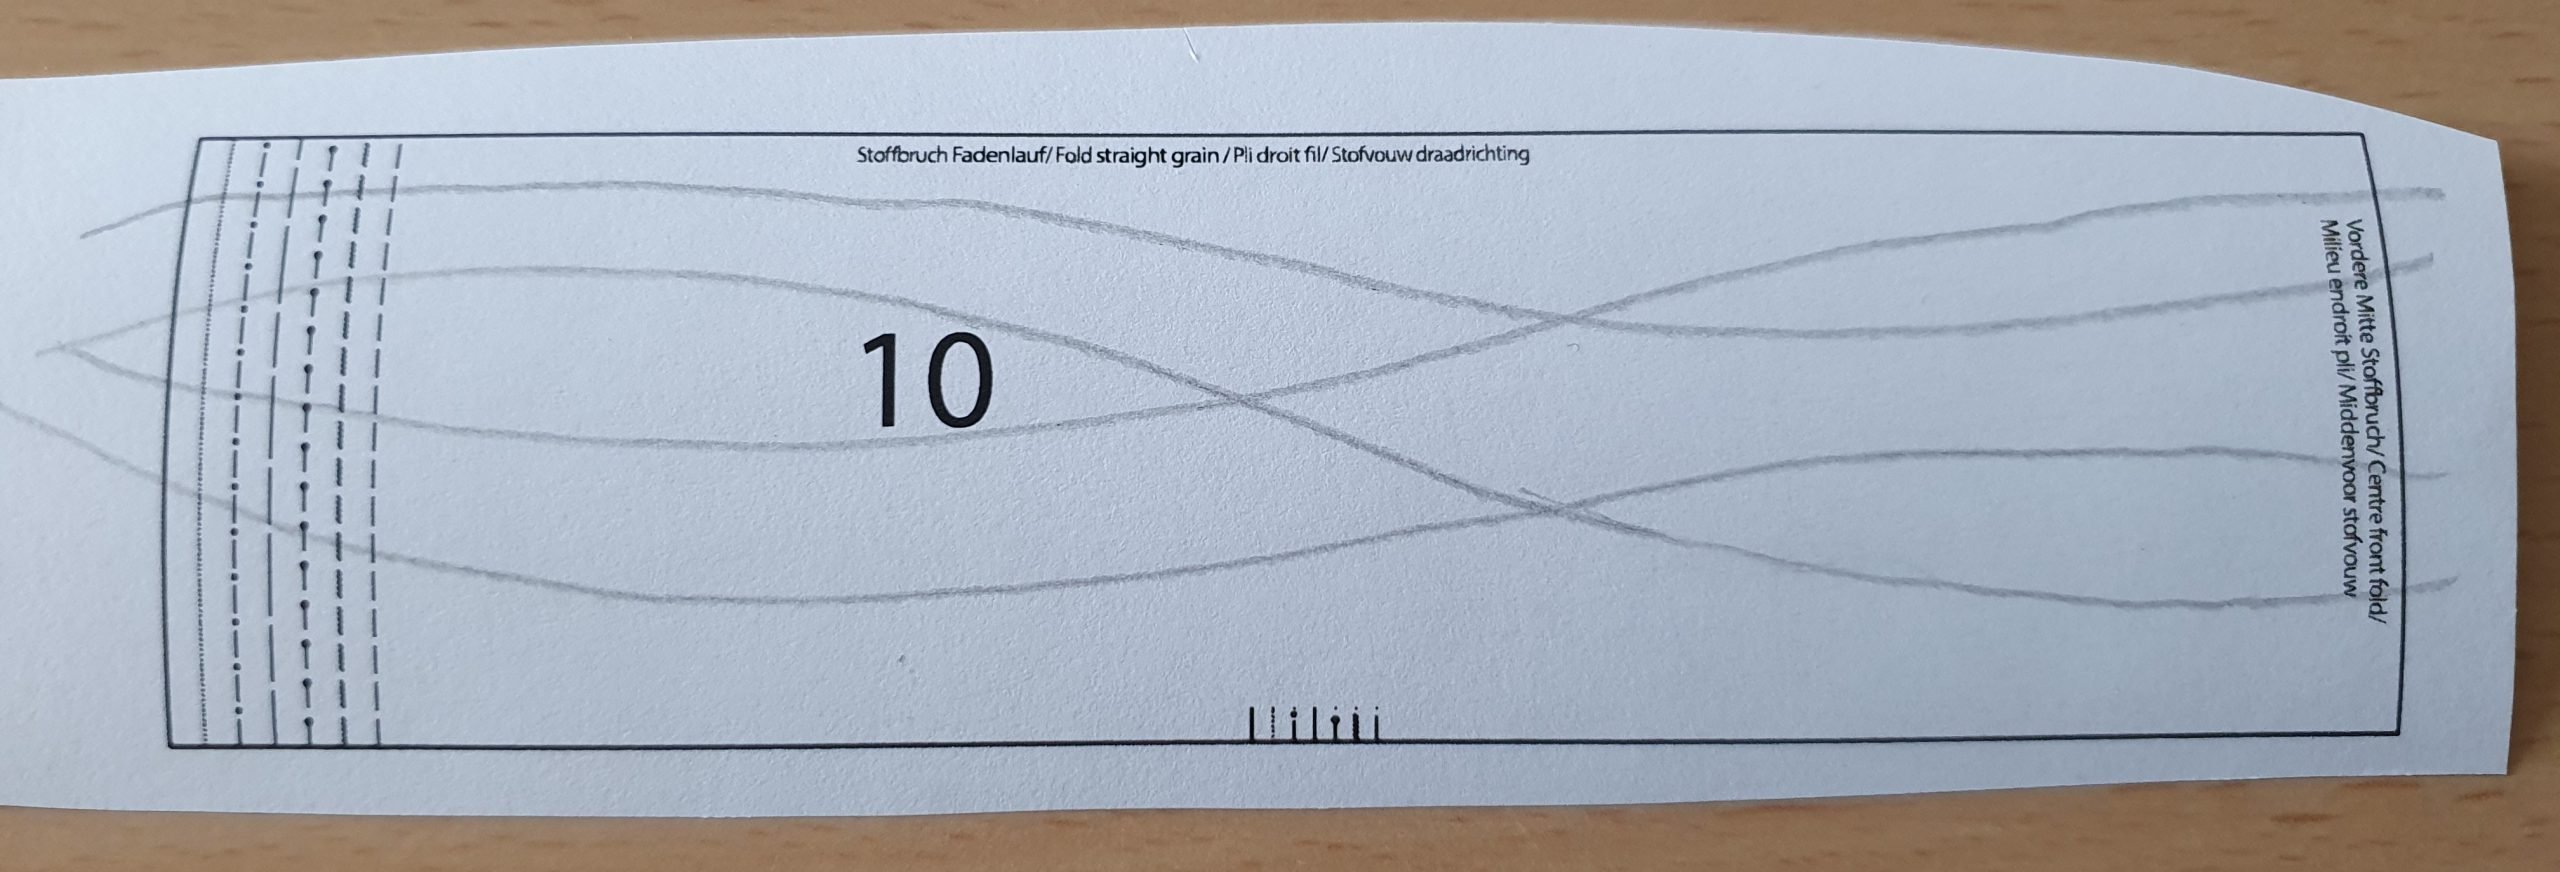
Plan the decorative stitching on the collar, four to six lines on part 10.
Number the decorative threads and assign them to stitches: chainstitch no. 16 and narrow coverstitch no. 23. Assign the numbers to the lines on the pattern.
Tip: I have made the longest line in the darkest color and the shortest in light blue, so that the dress shines lighter towards the hem.

Cutting
Tip: when using a ruler and cutter together with weights, the pattern and fabrics remain together better,giving more precision to the cutting.
Place the pattern pieces 1 to 8 along the grain on a double layer, right side inside. Allow for a seam allowance of 1.5 cm (1/2″) and a hem allowance of 3 cm (1 1/4″) Fix the pieces with the weights and cut them out.
Place the pattern piece 9 on the fold, right side inside. Cut it with a seam allowance of 1 cm (3/8″).
Place the pattern piece 10 on a double folded double layer of fabric, notice the two folds, right side inside and cut it with a seam allowance of 1 cm (3/8″).
Transfer all markings with the tracing paper and wheel. Also transfer the lines for the decorative seams onto the wrong side of the fabric, allowing the looper thread to show on the right side of the fabric.

Tip: already pin or clip the front parts 8 and back parts 1 in the middle together in the upper area where no decorative stitching is marked.
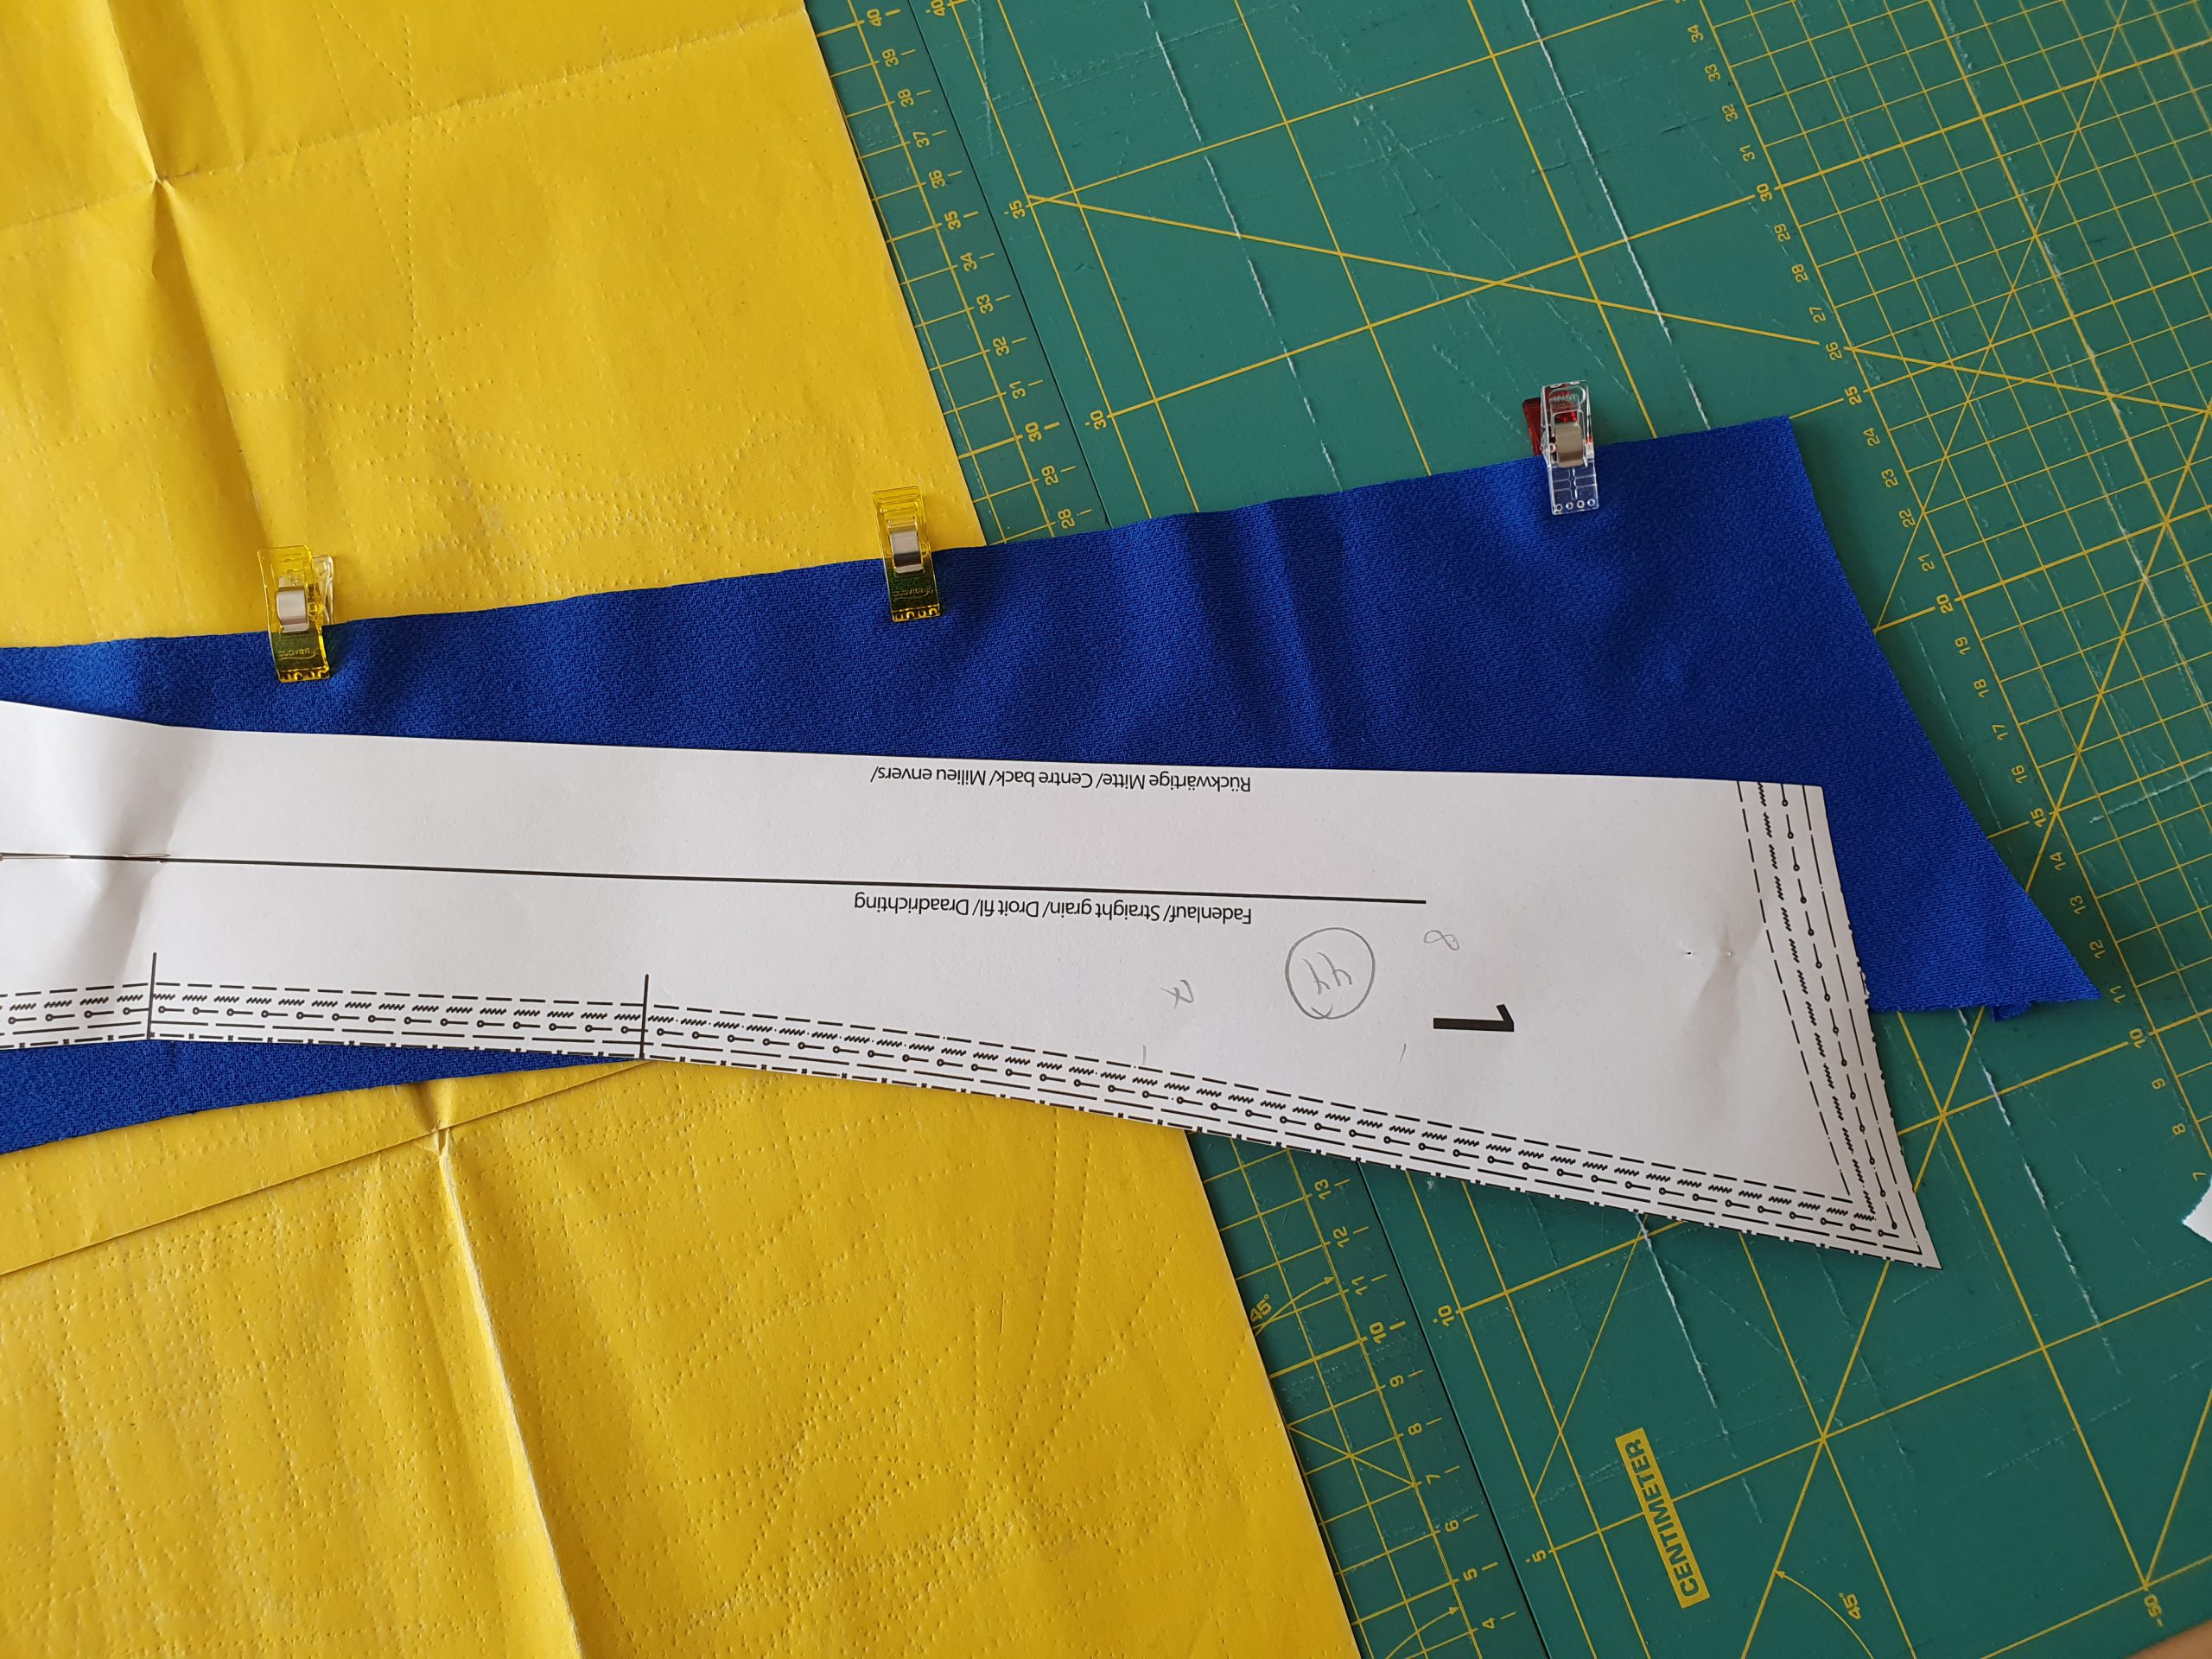
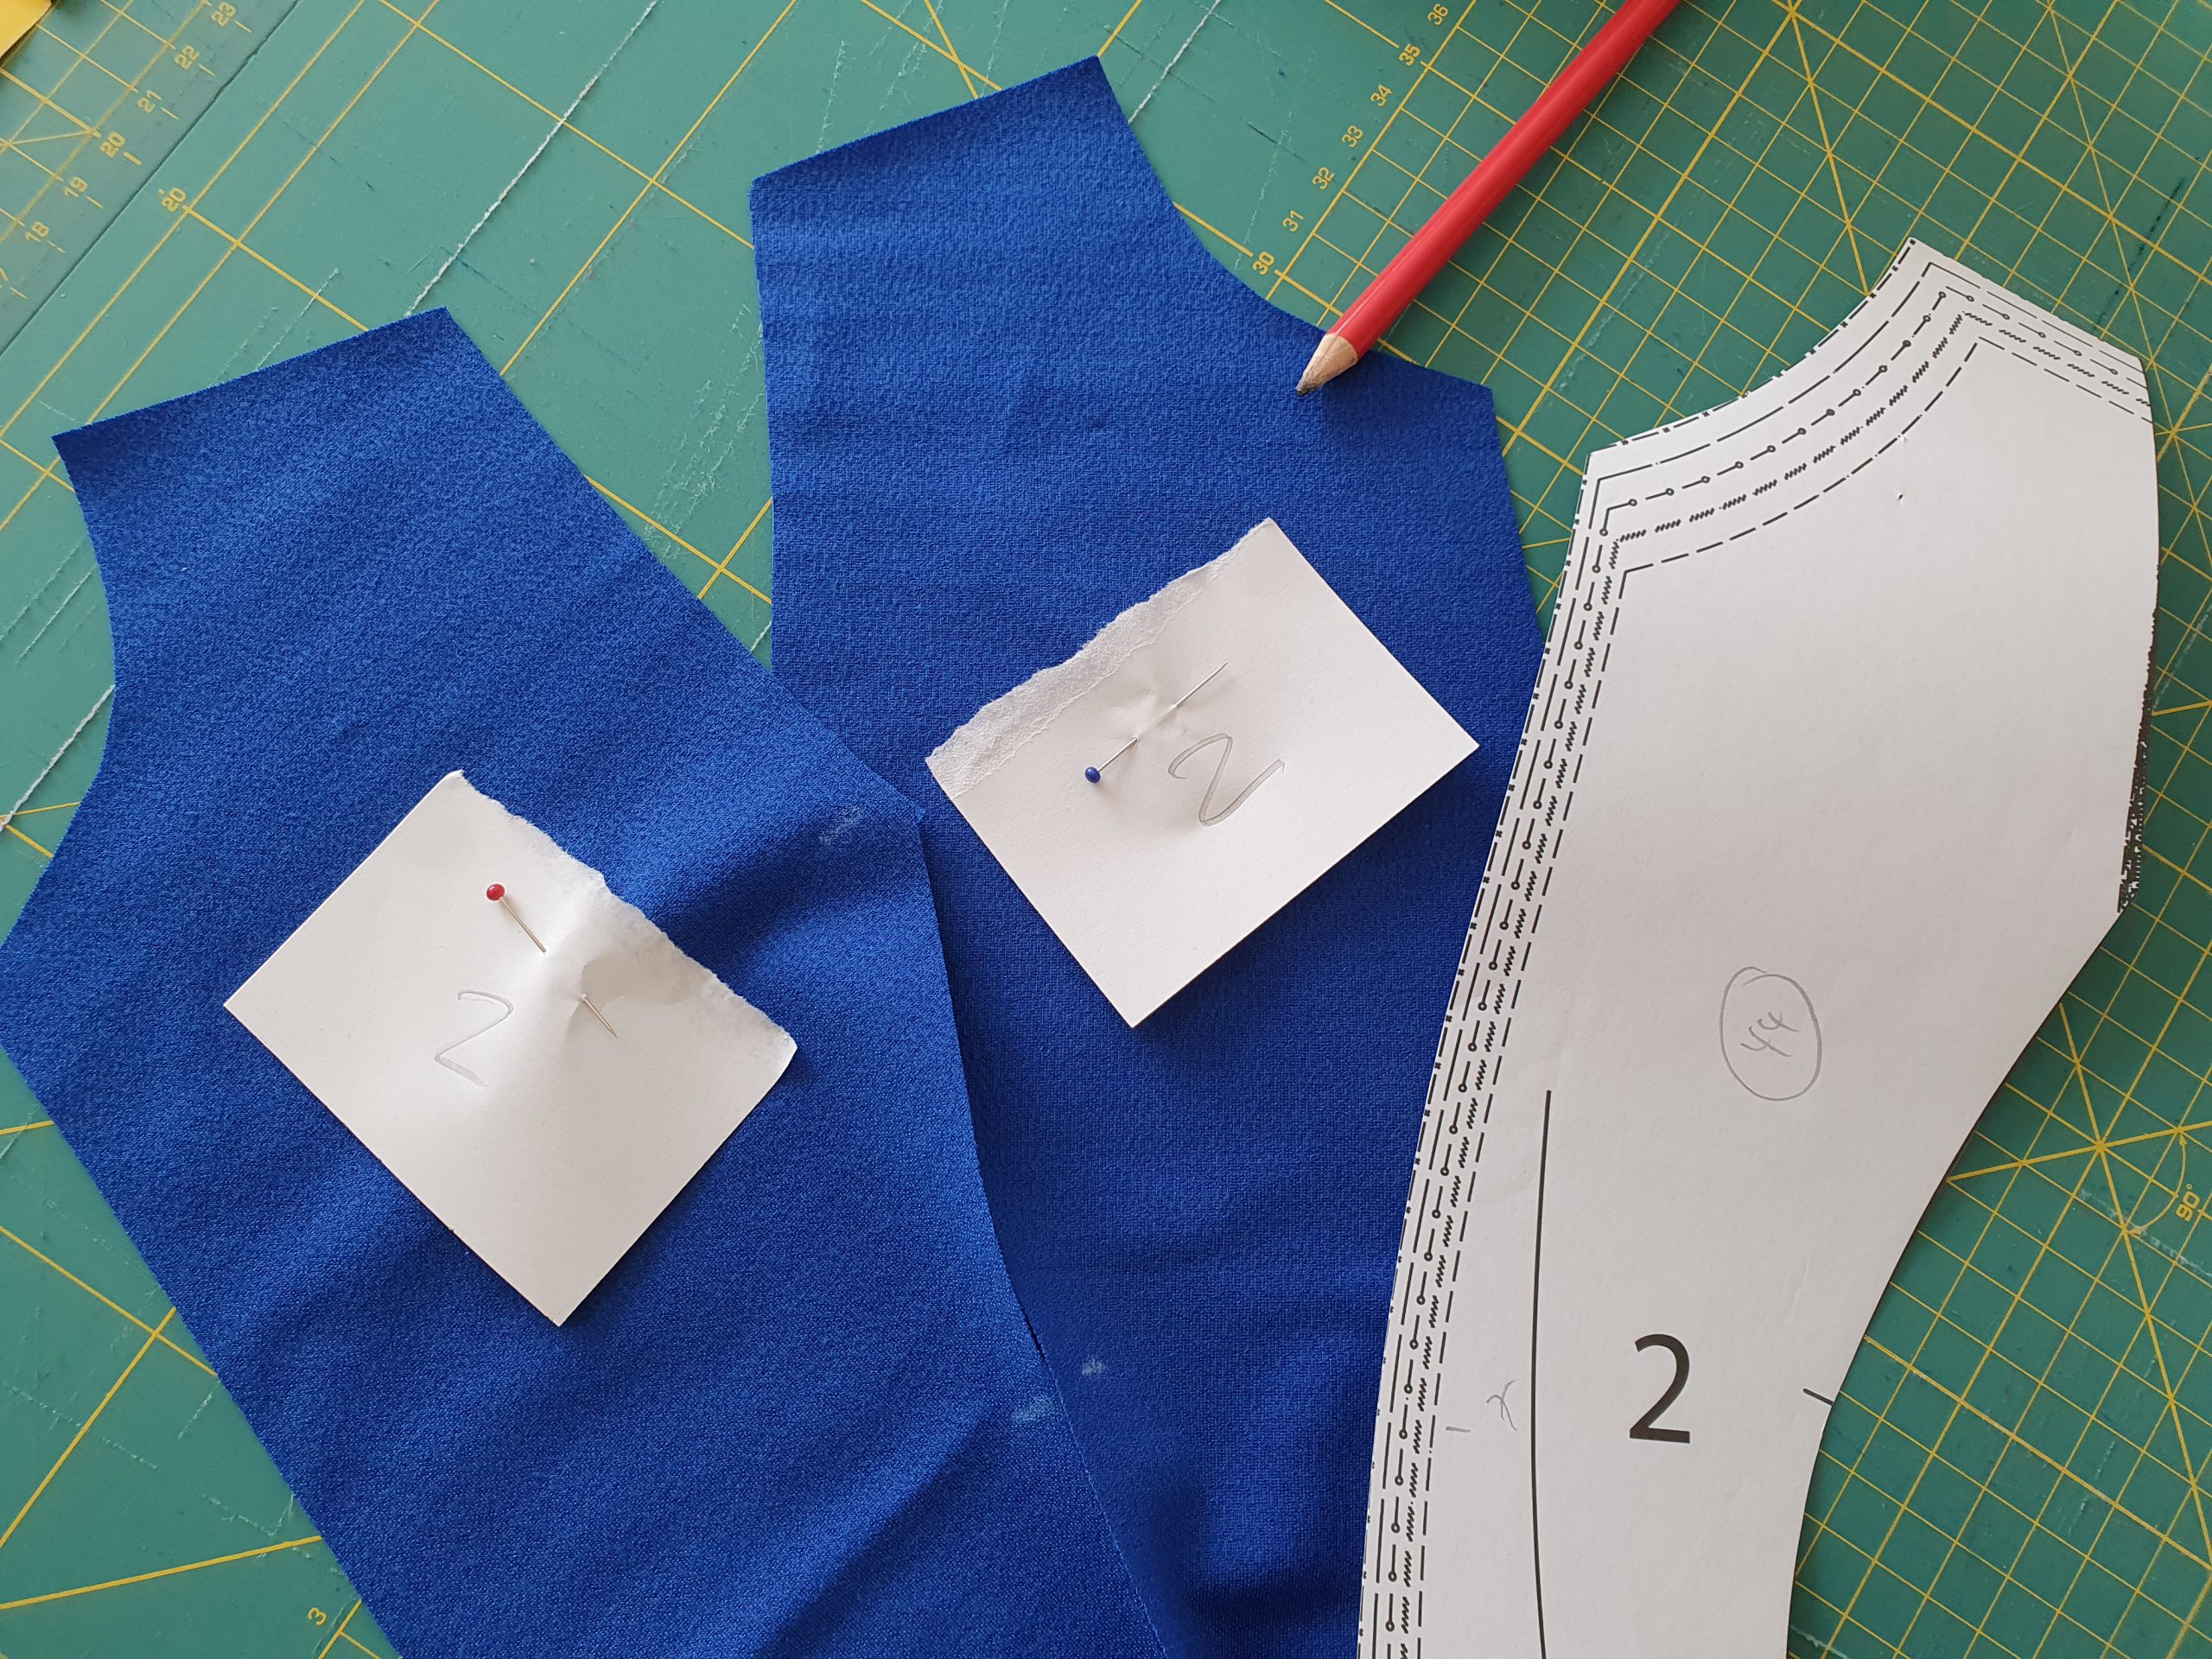
Numbering the fabric pieces before removing the paper pattern makes it easier to verify the parts for later assembly.
Decorative Stitching
I recommend sewing the decorative seams from the hem line towards the waist. At the start of the seam, use a fabric remnant for the stitches at the edge. The clear presser foot #C27 allows a better view onto the markings.
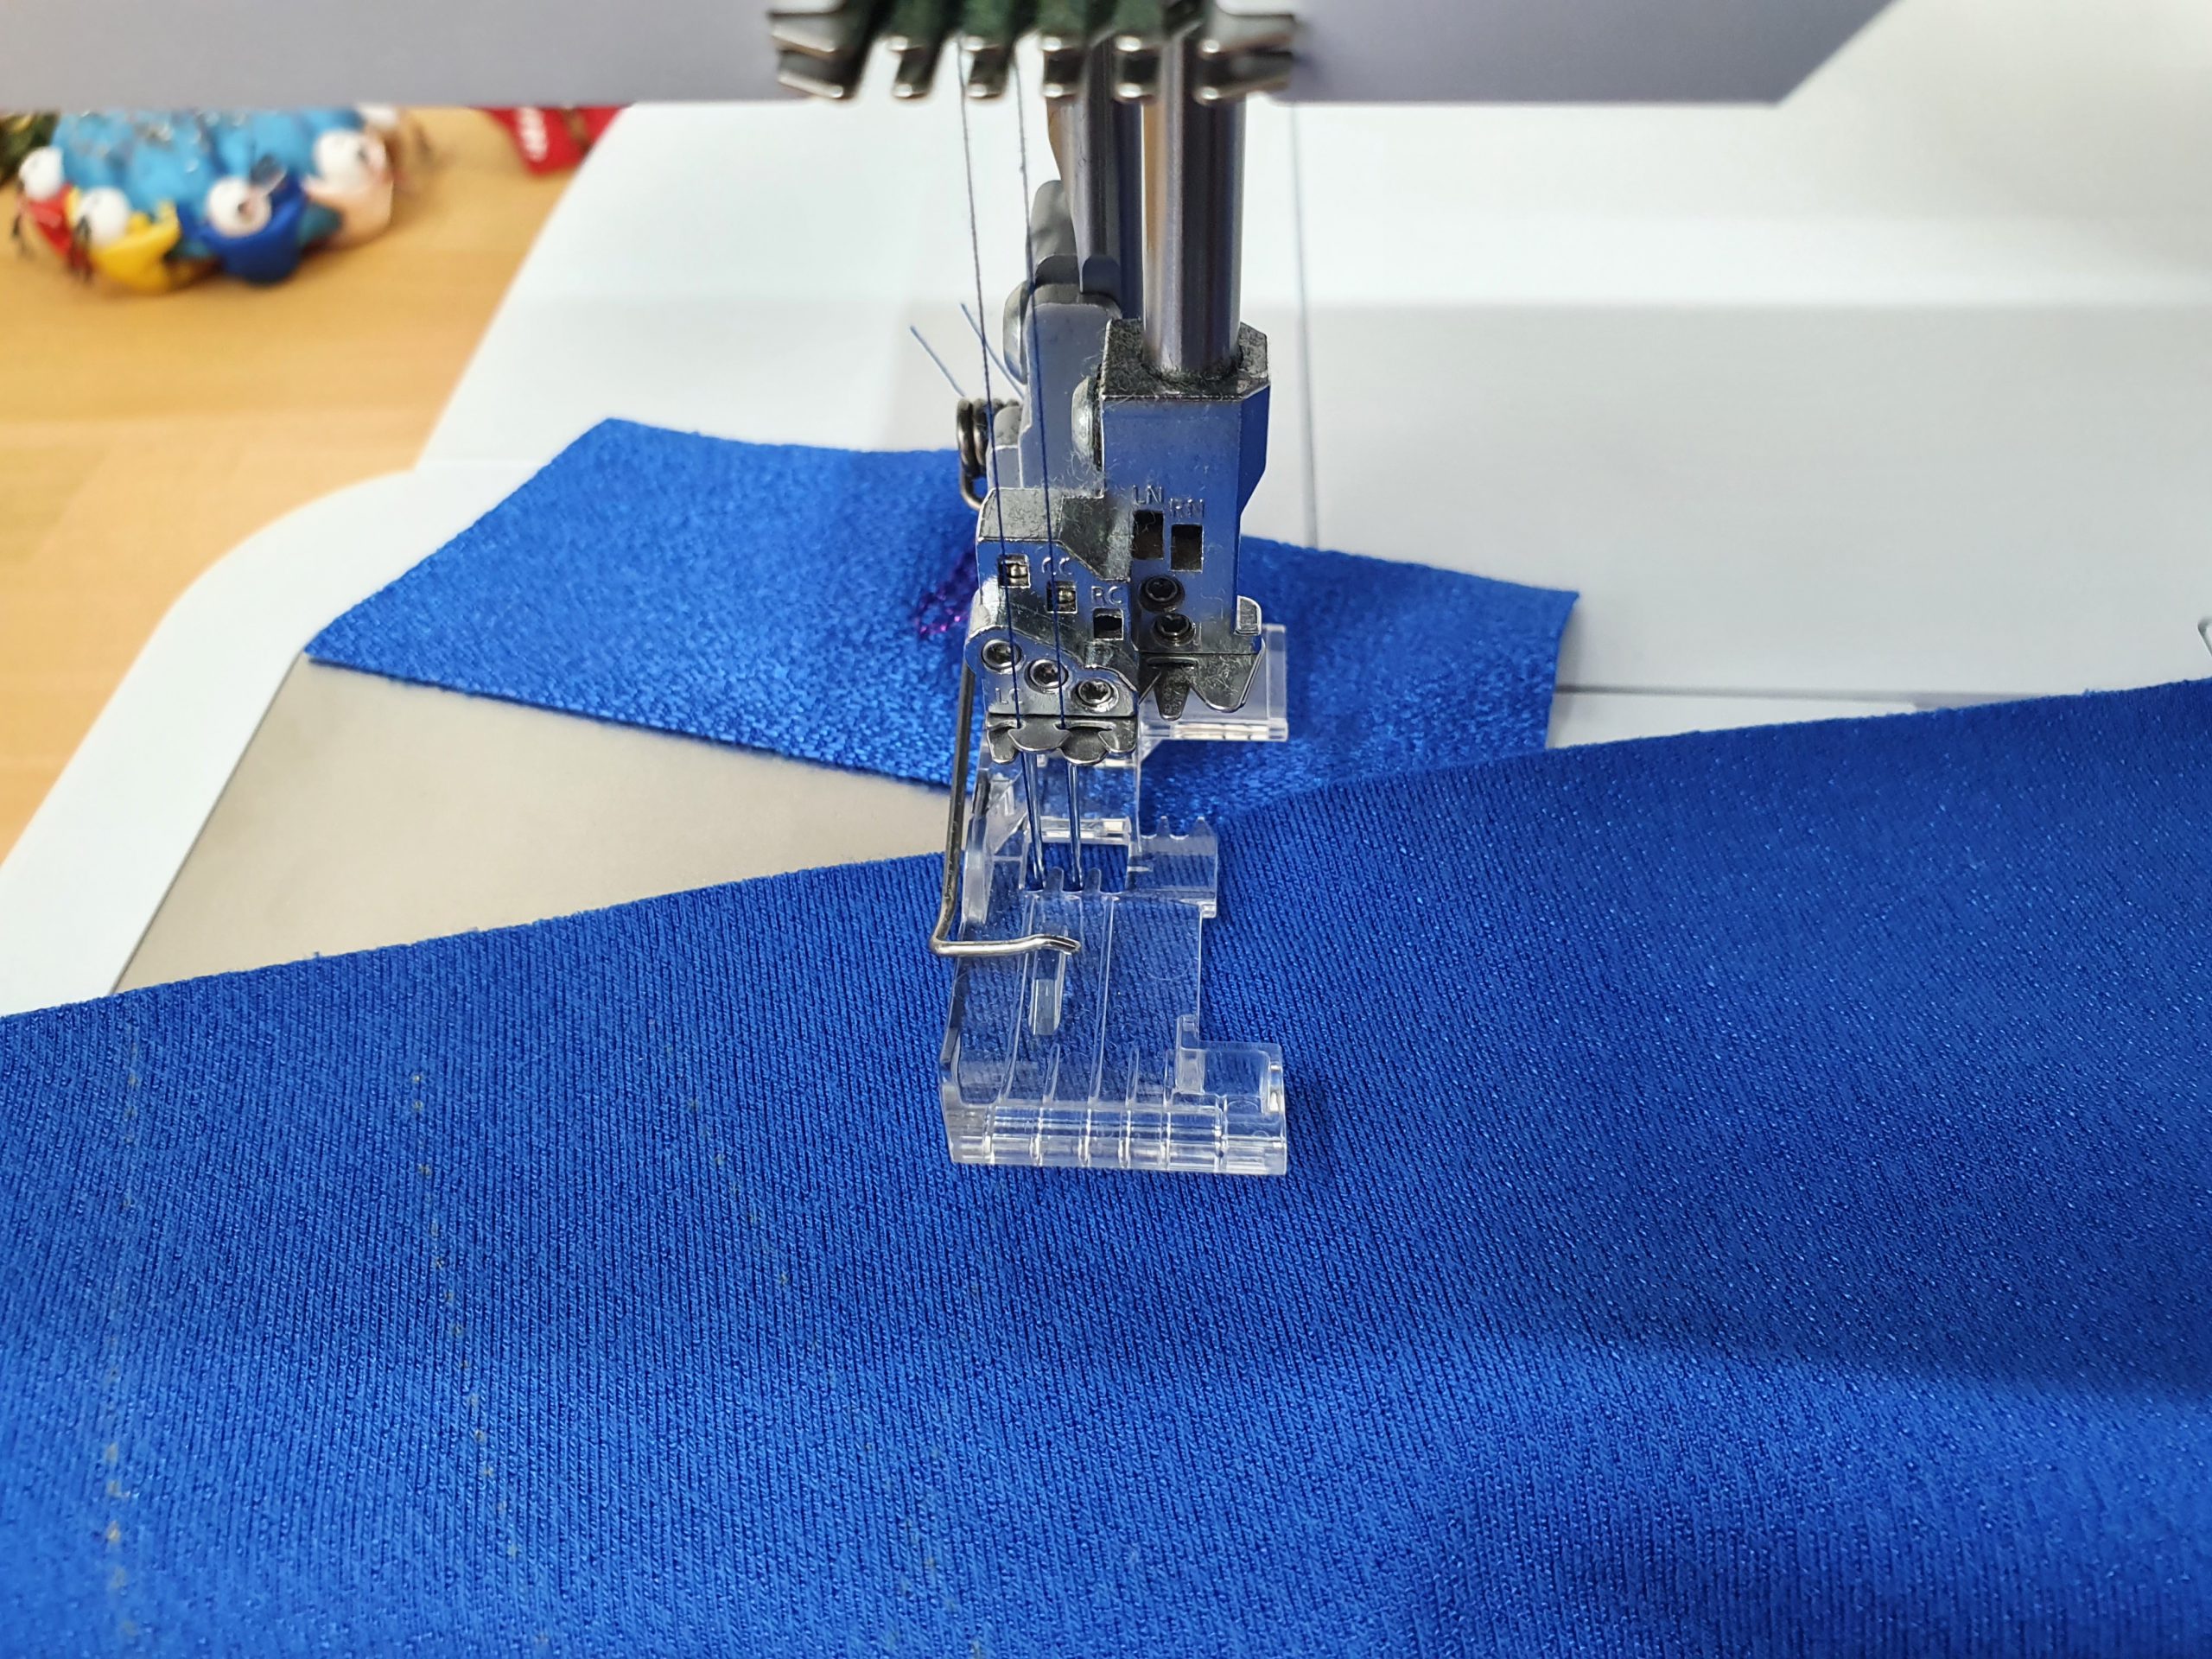
Working from the wrong side, sew the decorative stitches along the markings, so that the decorative chain looper thread will show on the right side of the fabric.
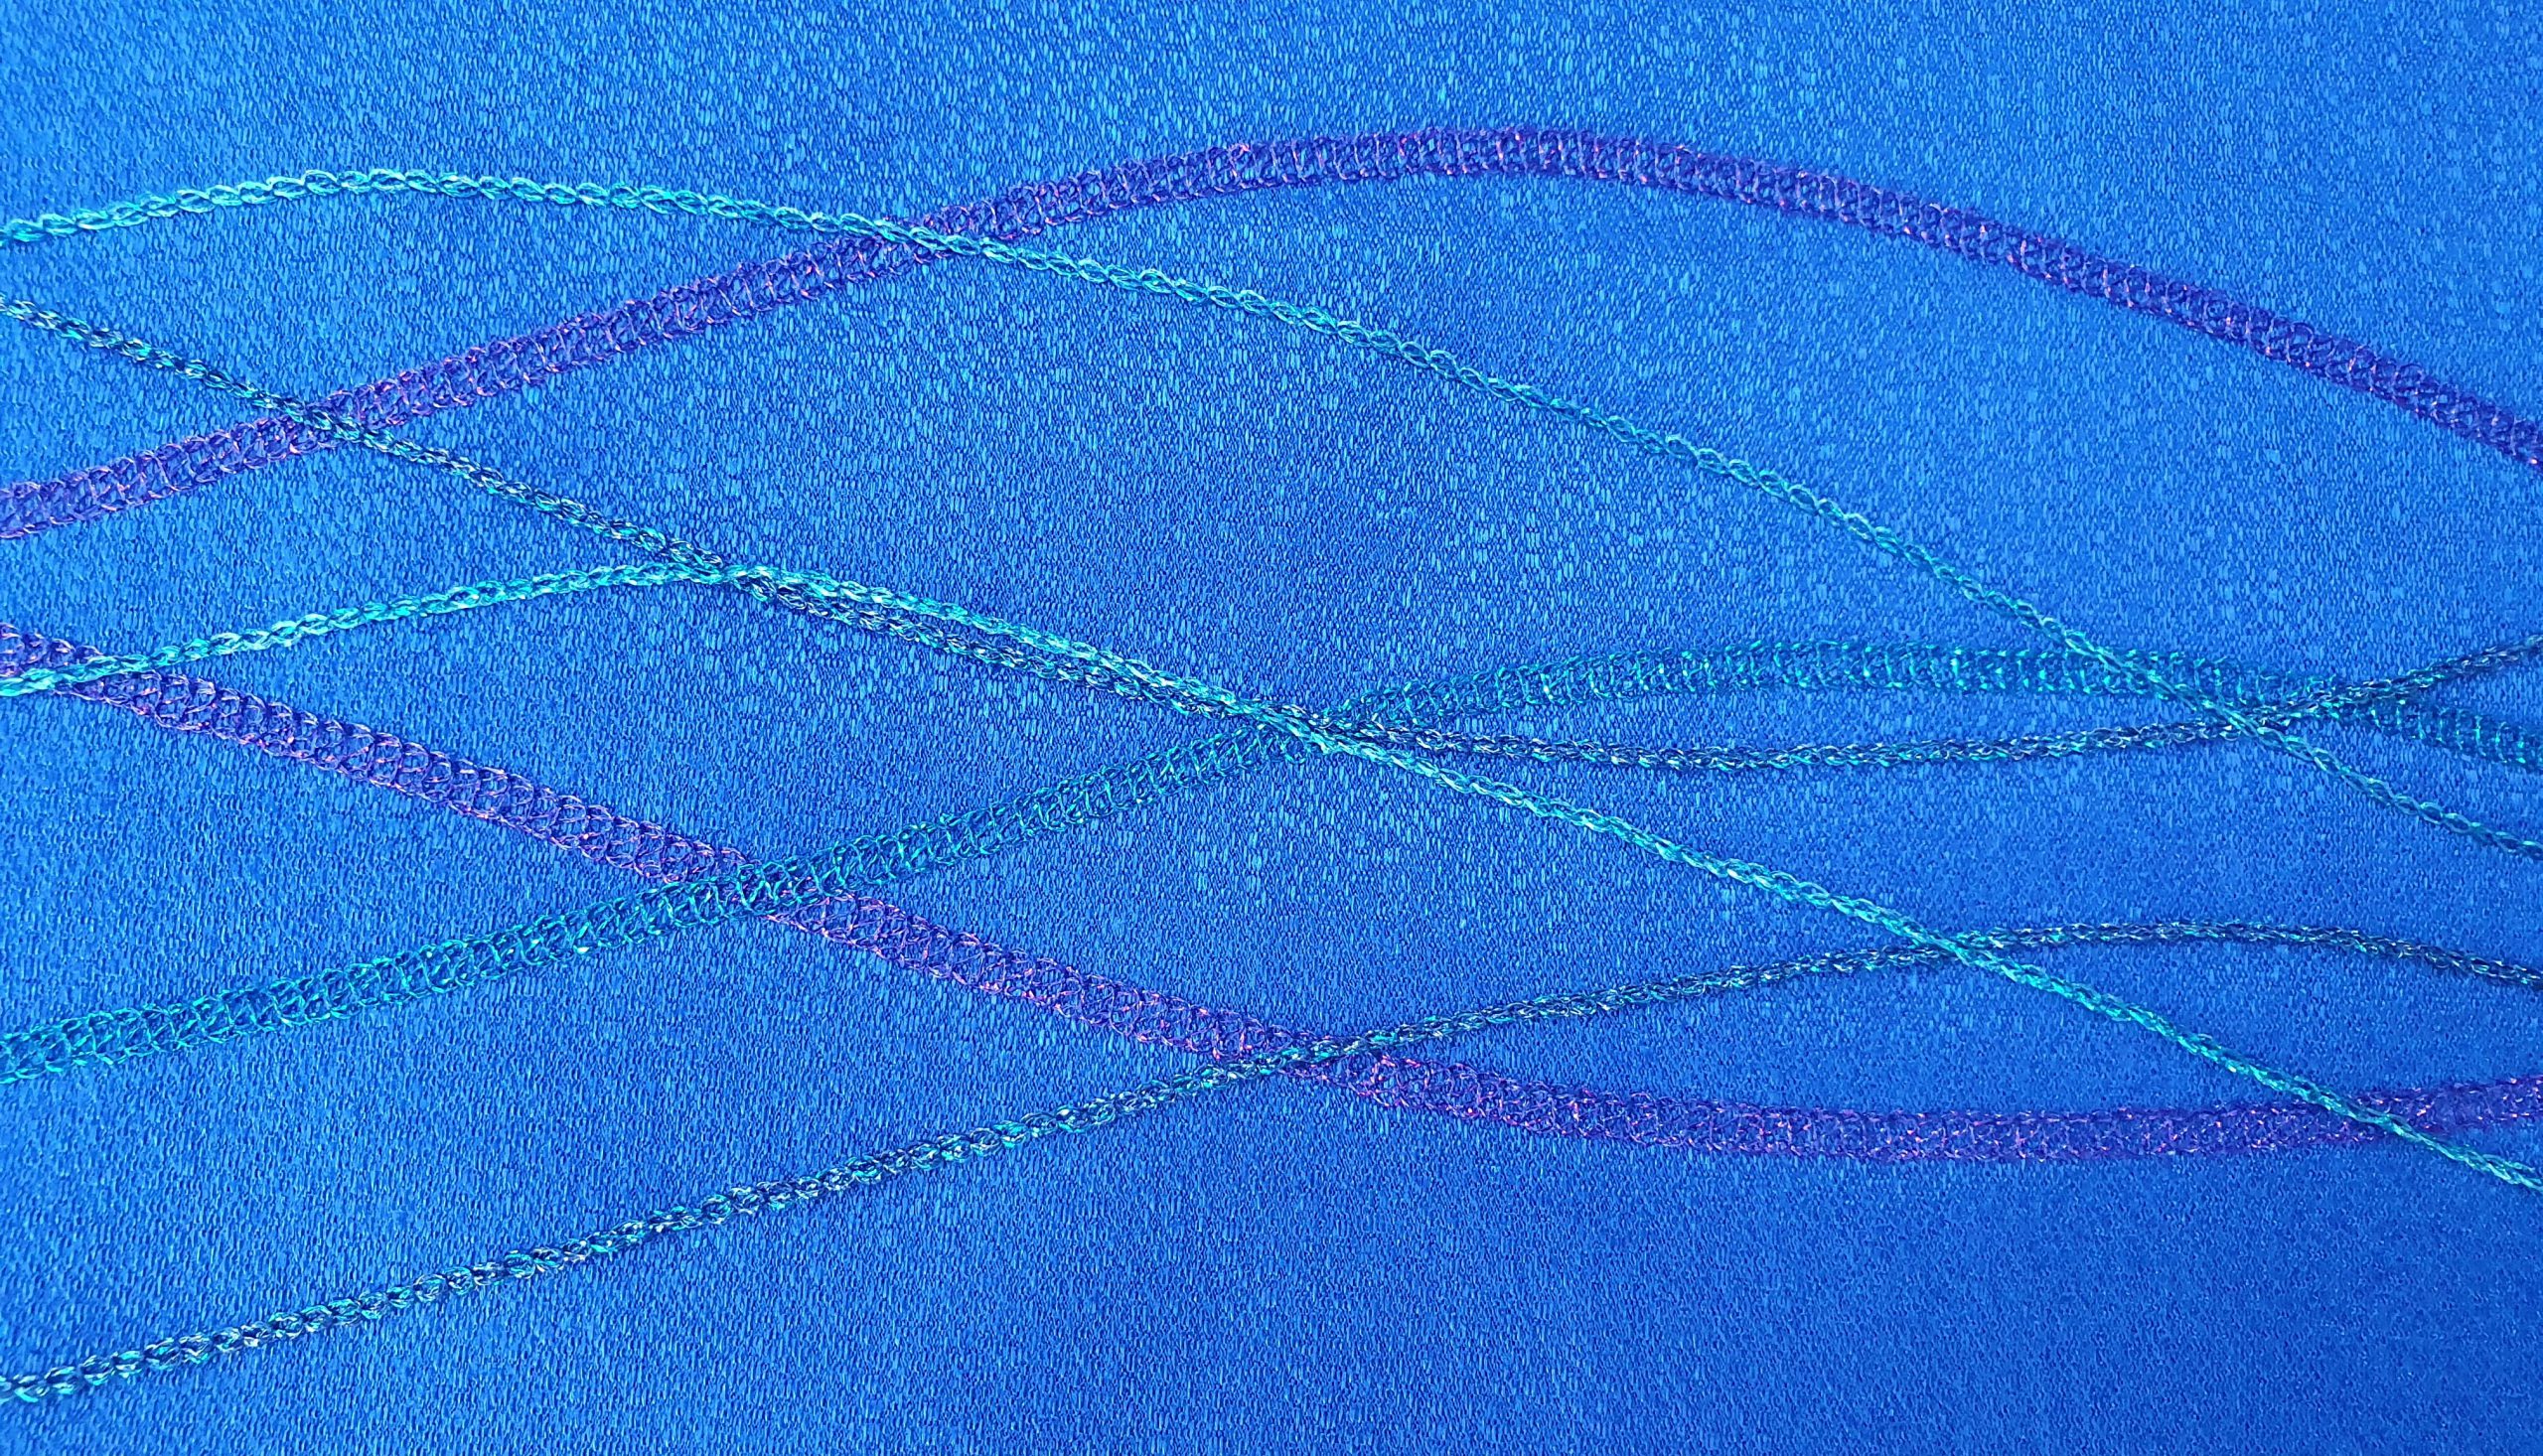
Tip: in my example I first stitched “seam 1” on the collar and on all parts 1 to 8, stitch 23, then changed the chain looper thread and stitched “seam 3”. Then I selected stitch 16, threaded the chain looper for “seam 2”, then changed the chain looper thread for “seam 4”.
While sewing, guide the fabric gently and stretch if needed or set differential feed to 0.9, so thatthe decorative seams are not puckering.

At seam end, secure the stitches, for example using the CS Lock Tool. Then pull all threads to the wrong side of the fabric and if needed, secure them with a knot before cutting back to approx. 2 cm (3/4″).
More on how to secure cover and chainstitch with the CS lock tool is shown in Video: L 890 Coverstitch Sewing, Sewing in a Circle.
Iron the decorative seams.

Tip: more about sewing with the Clear Overlock-Combostitch foot #C27 is shown in video: Clear overlock feet L27/C27.
More about optimizing cover stitches with decorative threads is shown in the following video: L 890 optimizing stitches.
In case, thick decorative threads and yarn is used, refer to the following video for more information: L 850 Looper thread Change and Alternative Threading Methods.
The use of the Decorative Thread Guide #L25 is shown in Video: Decorative Threads Guide L25.
So far so good. As mentioned, it continues in five days. Then we will finish the “Princess Line” Dress.
But for now, I wish you fun and good success in decorating and sewing with different yarns and stitches.
Kind regards,
Doris


Hi Doris,quick question on the pattern. I need to adjust the pattern a little bit for it to better fit my figure. There are several notches drawn on each panel.Can I understand that the two bigger ones are the notches for waist and hip? If not, could you please explain to me how to interpret the drawings?Thank you and happy sewing
Hi Jesse, thanks for your inquiry. Yes, you understand correctly. The waistline is marked on all parts, some parts include the hip line, some use an additional cross mark to fit to parts together, such as 2 to 3 for example. If my reply is not to late, I recommend to make the amendments, then sew your dress together using either a chainstitch on the overlocker or a long stitch on the sewing machine, to check your fitting. If you need additional marks, I recommend adding one from the waistline towards the seam, at 15cm / 6″ distance, so that you can control your hip measures. If it is the bust that needs changing, you can mke 6 rounder and add a bit on 7. Or add a bit at the side seams of 4, 5, between waist and armhole. Kind regards. Doris
Hello, I am making this dress, did you save the pattern of the decorative stitching? I like the way that you did. I want to make the same way. ❤️👗
Hi Nina Krooh, thanks for your interest and enthusiasm to copy the dress as the original is. All I have about my decorative stitching lines is what you see on the photograph under “Decorative Design Preparation”. I recommend to draw a long wavy line in the center of each pattern piece, starting at the hem. Then add a shorter line 2, then a shorter line three and a shorter line 4 if there is a gap. Then assign colors to the lines. When placing the pattern on the fabric and after cutting, important is, that the two pieces remain lying one on the other, right sides facing, like you have been cuttomg them, to profit from the mirroring of the design. I hope the pictures of my dress are clear enough to find your way through. Have fun stitching! Kind regards, Doris.
Hi!
i am sewing the dress for my daughter, unfortunately she is too big. I was based on the measurements of the pattern, but there are 2 sizes bigger!
I do not have time to draw a new pattern, I will sew each seam of about 5 mm more, and see….Excuse me for my bad English, I hope you can understand me anyway.
Hello Isabelle. I trust it will turn out well, as you add some allowance to each seam. I personally would use a printed fabric first to do a “trial”, that hides little tweeks a bit better. Wish you a lot of pleasure sewing! Kind regards, Doris.
My daughter didn’t want any embroidery, just a lace cowl.
Not mind, i’ll sew another princess dress for me!
I sewed the dress draw on draw, really, at the end, the dress is perfect on my daughter’s body, ready for the ceremony!
thanks for the pattern!
whow, how pretty! thanks for sharing!
HiI read you blog. Very usefully information for “prince line dress” Sewing. I am so lag. Nice video all other information share.
Hi Barkat Khoja. Thanks for your kind feedback. Wish you pleasure in reading our blogs, watching the videos and sewing some of the projects! Kind regards, Doris.
The ideas for embellishment are great but the dress is not anything that my body can wear any more. I will likely use these ideas for other projects but not for such a form fitting dress. the fabric you suggest will be difficult to find so the search will take some time too.
Dear Marijean, thanks for your feedback. The decorative ideas are of course something that will show nicely on any project, dress or homedec or whatever is your preference. If you live in Europe you may want to send us an email and we will give you the source where we purchased that stretchy but solid material quality (a German supplier with online-shop). Kind regards, Doris.
The dress is lovely. I’m wondering what the size ranges would be in U.S. sizing? The various countries size charts show me that size 46 can range from a size 14 U.S. to an 18 or 20 U.S? I would love to make this dress for my Mother.Thank you.
Dear Melissa. thanks for your inquiry. Please find here an extract of the measurement chart that is included in the patterns, I hope that hepls verify the US size you need for sewing the dress for your Mother. Kind regards, Doris
Bonjoour, Je viens de recevoir votre mail avec la robe Princess très jolie mais impossible de télécharger le patron. Pourquoi ? Dommage car ce modèle m’intéressait vraiment.
Dear Andree, thanks for your feedback. Did you try clicking the links below “download the patterns” and then check in the download folder of your pc for the file?
Chère Andrée, merci pour votre comment. Avez-vous essayé de cliquer sur les liens ci-dessous «download the patterns for free», puis de vérifier les fichiers dans le dossier de téléchargement de votre ordinateur ?
Hope this helps. Avec meilleurs salutations, Doris.
Thank you so much. !
Thank you for the beautiful pattern. I had admired the dress when I had seen it on the recent videos. I would love to make it if I can find a suitable fabric. I am also thinking of trying a gored skirt in the same method. Thank you for the inspiration.
Dear Jan, thanks for your kind note. If you can not find a “two-way stable stretchy knit” for sewing coverstitch and chainstitch decorations right away, you may want to consider a soft printed knit and use that pattern – I know it works very well too 🙂
Kind regards, Doris