 BERNINA Corporate Blog -
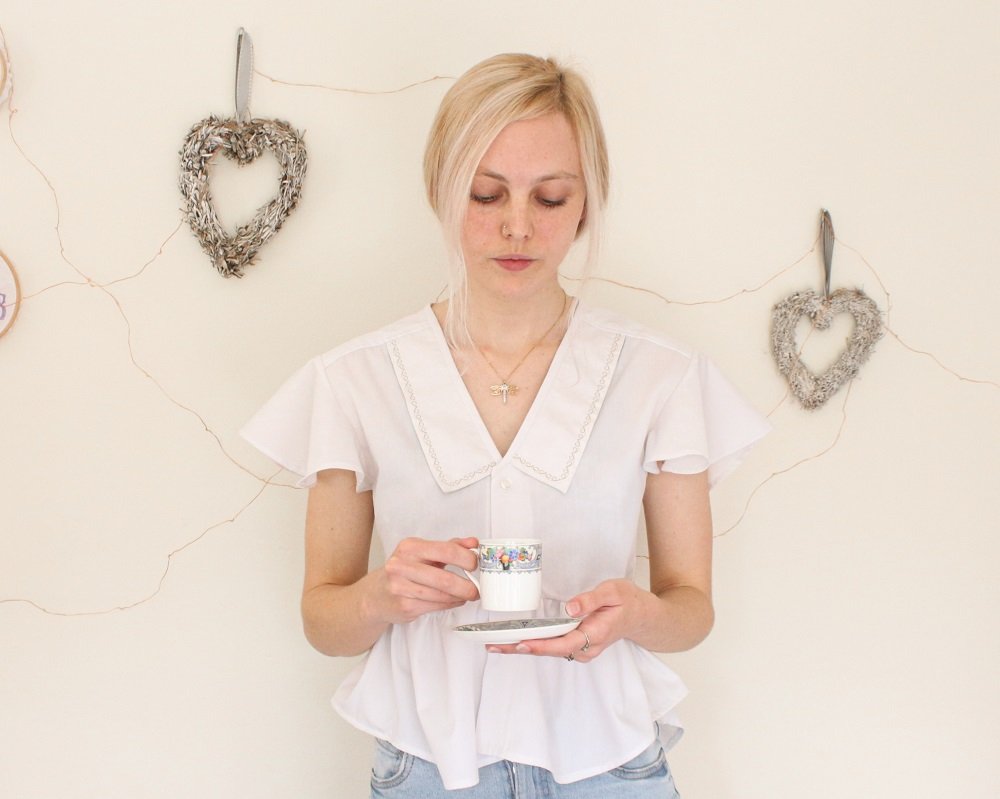
I’ve said before that one of the best things about being able to sew, is having the ability to make special and unique items. Not only for yourself but also for those you love.
I have made a few custom garments for my boyfriend, particularly tailored items like shirts and trousers.
Some of his ready-made clothes have made their way into my wardrobe by means of refashioning. Usually these items have stains or irreparable damage.
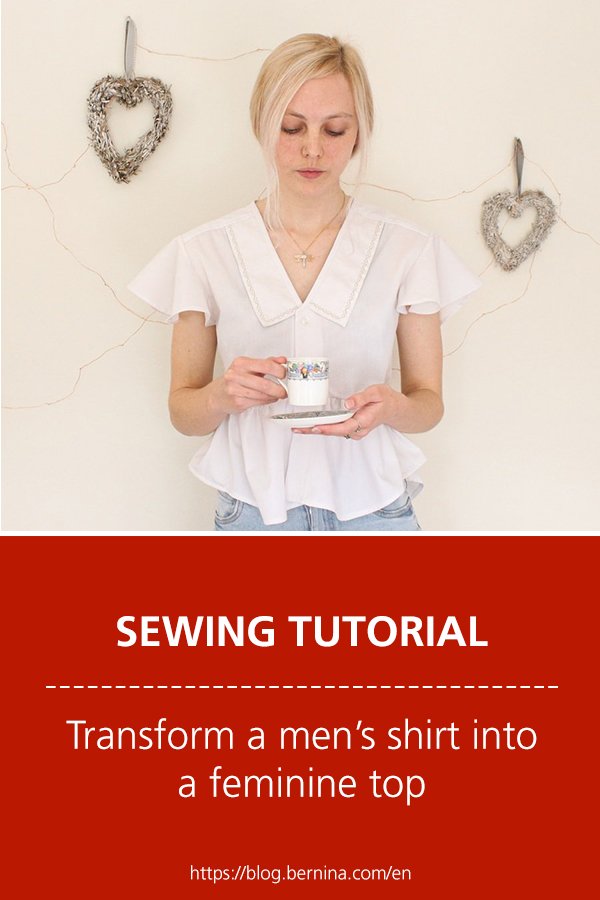
Recently he gave me a white shirt that he had outgrown. It was one that I had made for him a few years ago.
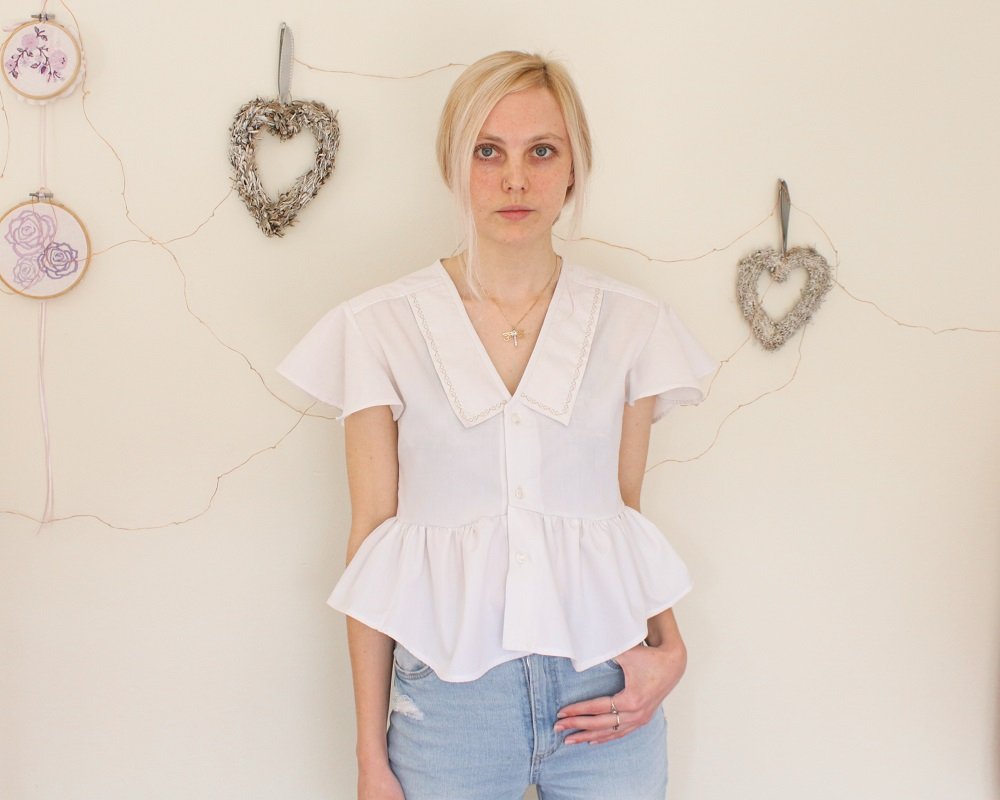
With Spring just around the corner, I decided to refashion it in to a feminine top for myself.
I love the idea that one garment was custom made twice to suit two different bodies and personalities.
What will be needed:
- Sewing machine
- Overlocker
- A collared men’s shirt
- Thread to match
- Decorative thread
Pattern/Cutting fabric
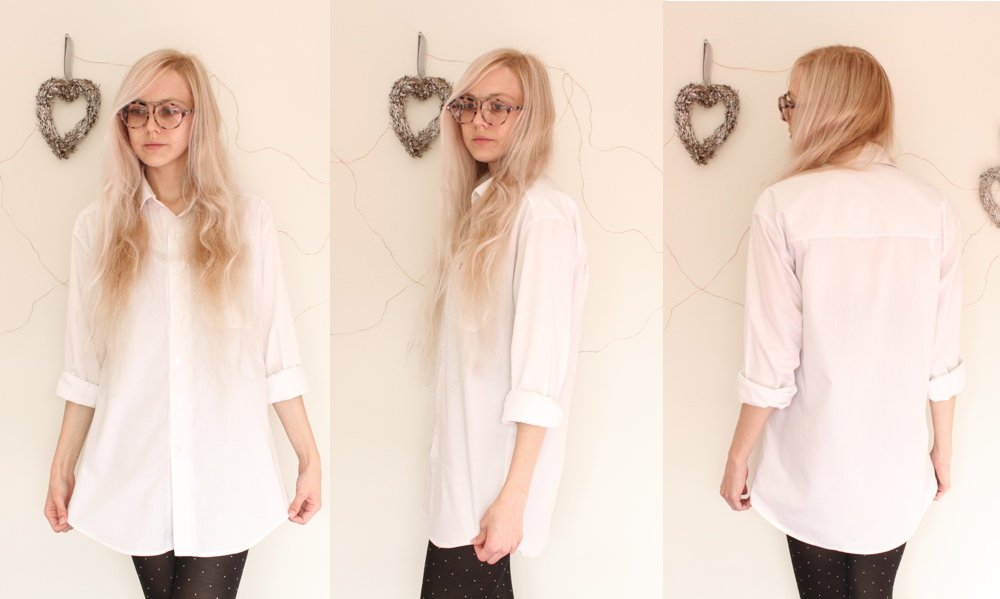
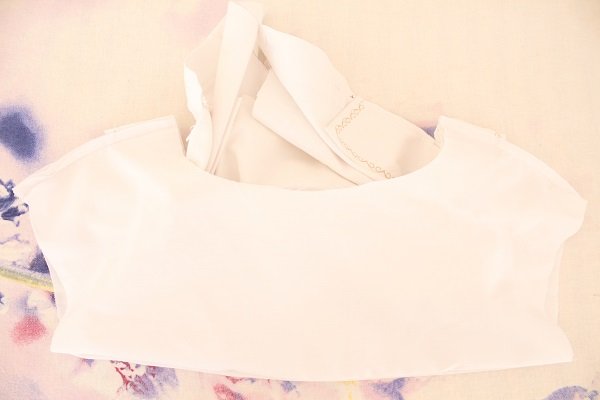
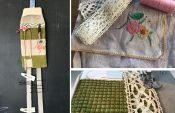
This is my boyfriend’s shirt that I up-cycled.
Ideally you want to use a shirt that is a bit bigger than your size. This is so that there is extra fabric available to create the ruffle.
Don’t let this limit you though! If the shirt is your size, you could instead use fabric from the sleeves to add to the ruffle and use some off-cuts to make little Sleeve ruffles.
You can even experiment with using 2 shirts which could create a cool colour blocking opportunity.
If you are using a shirt that is larger than your size, I would suggest using a loose Tshirt, woven top or even a bodice pattern you have as a pattern. It will help you get a nice fit across the chest and good shaped arm holes. The style doesn’t necessarily need to be exactly the same as the outcome of the refashioned shirt. The simpler the shape/style the better. A basic tshirt shape is best.
Follow the steps in these free downloadable documents to make your own upcycled shirt.
All the information may seem overwhelming at first. Take your time and follow along step by step.
I tried to provide as detailed instructions as possible to help you understand the process.
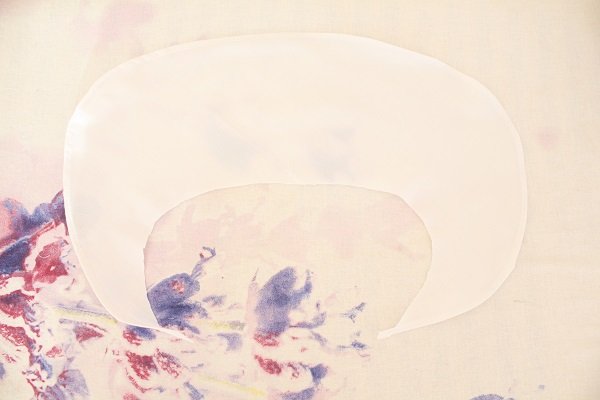
I made my Sleeves using my free Frill Cap Sleeve Pattern. Feel free to experiment with your own choice of sleeve.
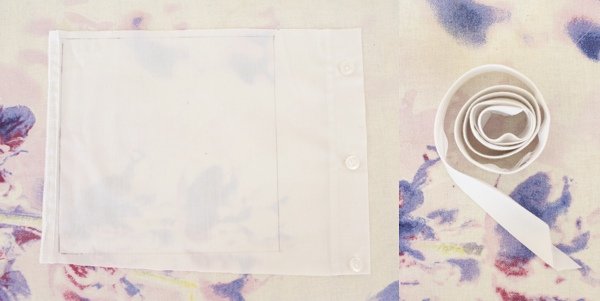
To finish the neckline, I made 75cm of bias binding from a 17cm x 17cm square piece of left over fabric from the shirt.
Followed these steps to make your own bias binding from minimal fabric:
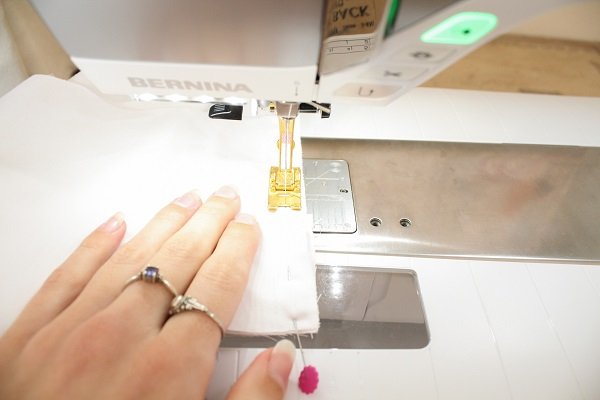
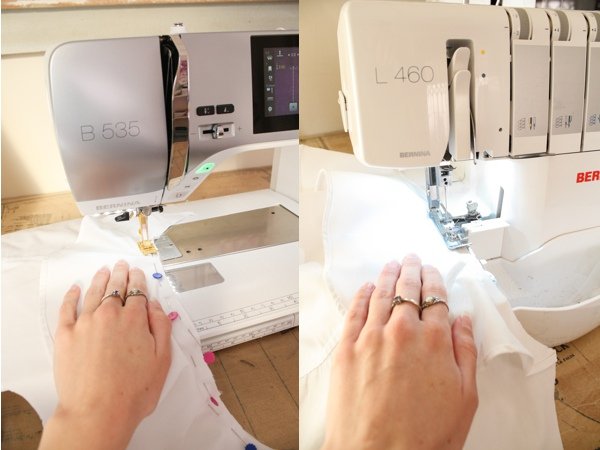
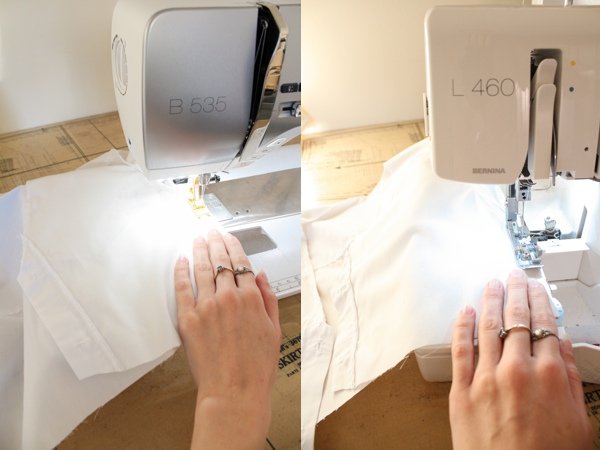
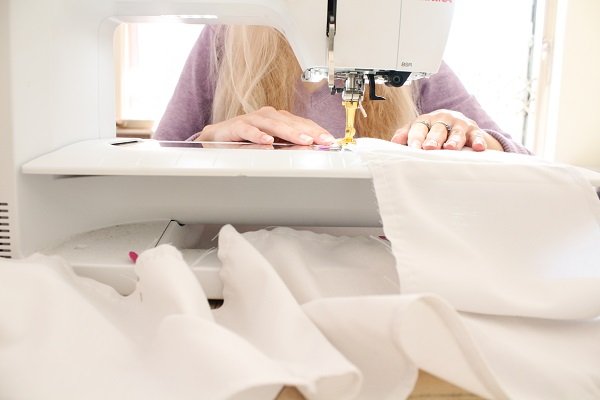
Sew
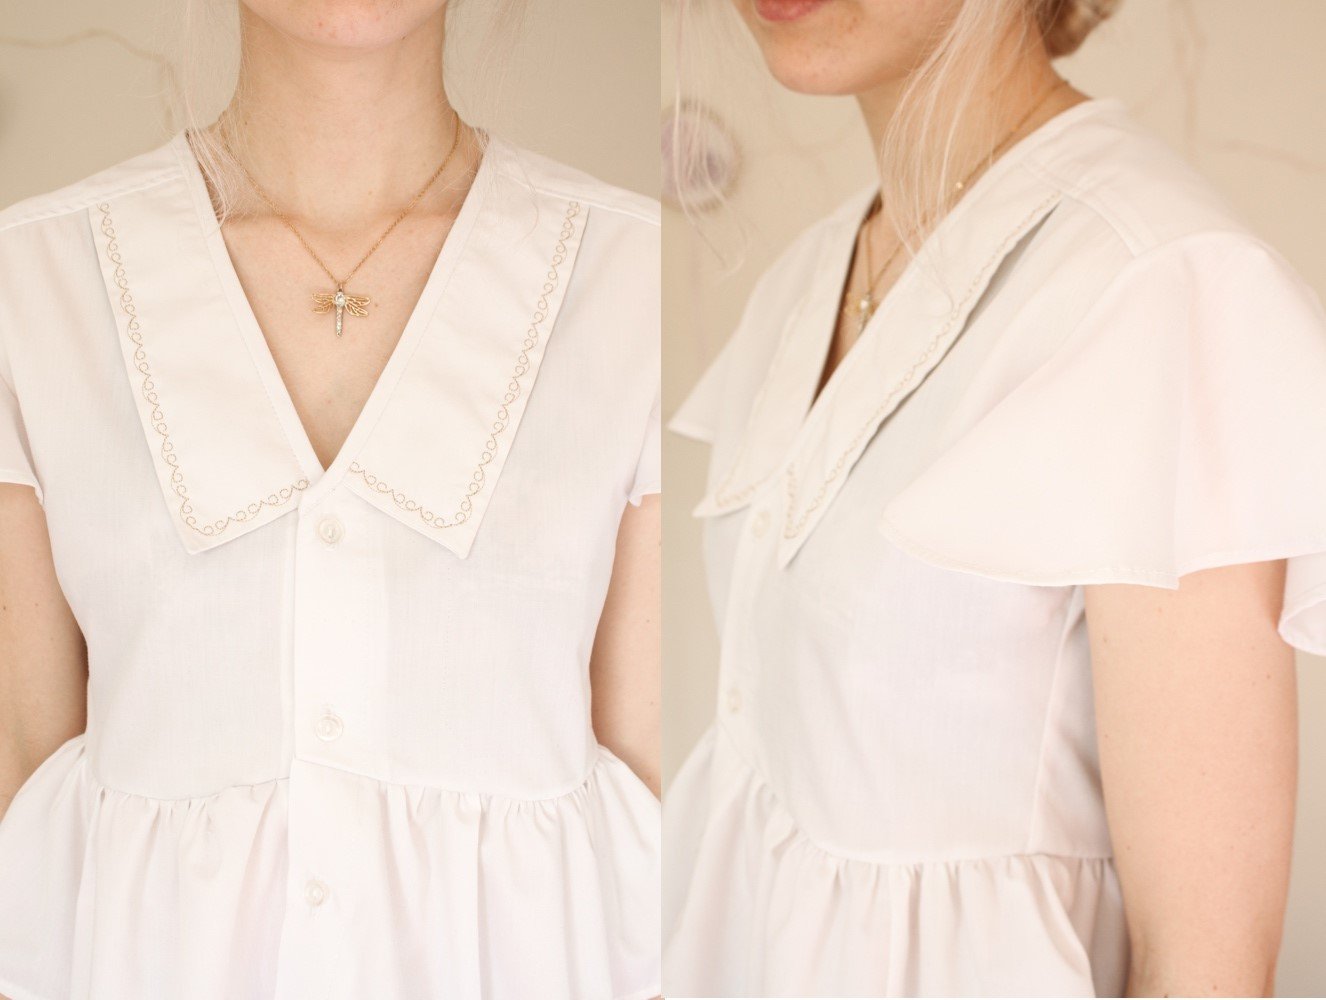
Collar
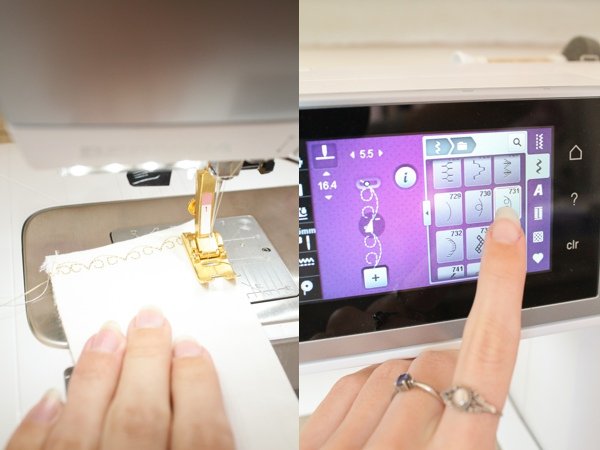
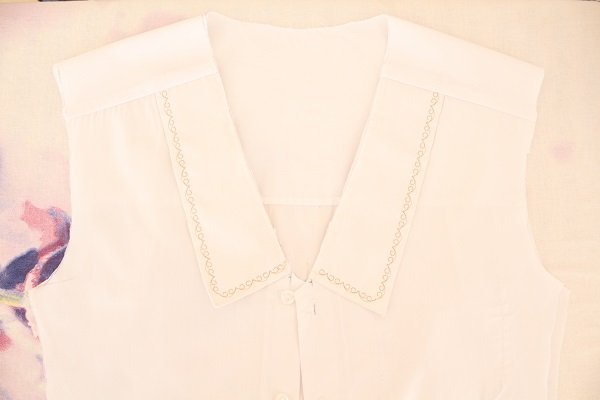
- Choose a decorative stitch. I chose stitch #731
Stitch along the two sewn edges of each Collar piece.
Remember to try create a mirrored version on the other Collar piece.
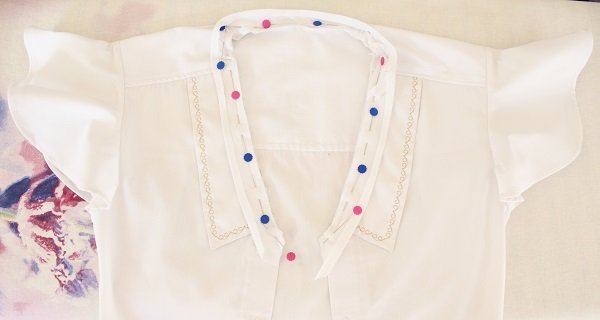
Shoulder Seams
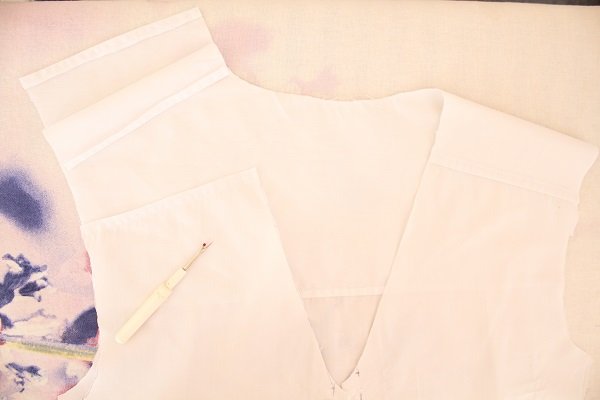
- Unpick the Shoulder Seams.
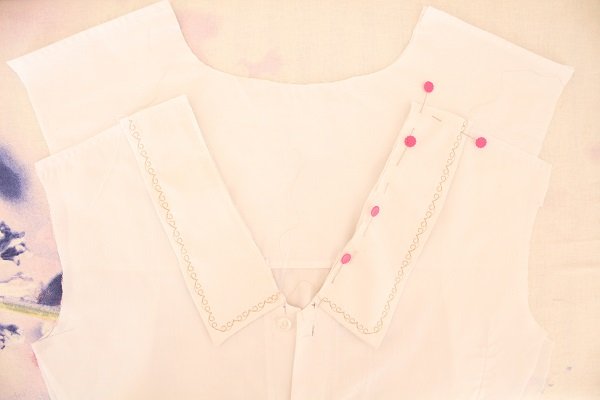
- Pin the Collar pieces along the Neckline and Shoulder Seam of the Font Bodice.
Stay-stitch them in place.
Depending on the size of the Men’s Shirt and the depth of your Neckline, the Collars might not extend along the full length of the Neckline. Regardless, I think it will still look cute!
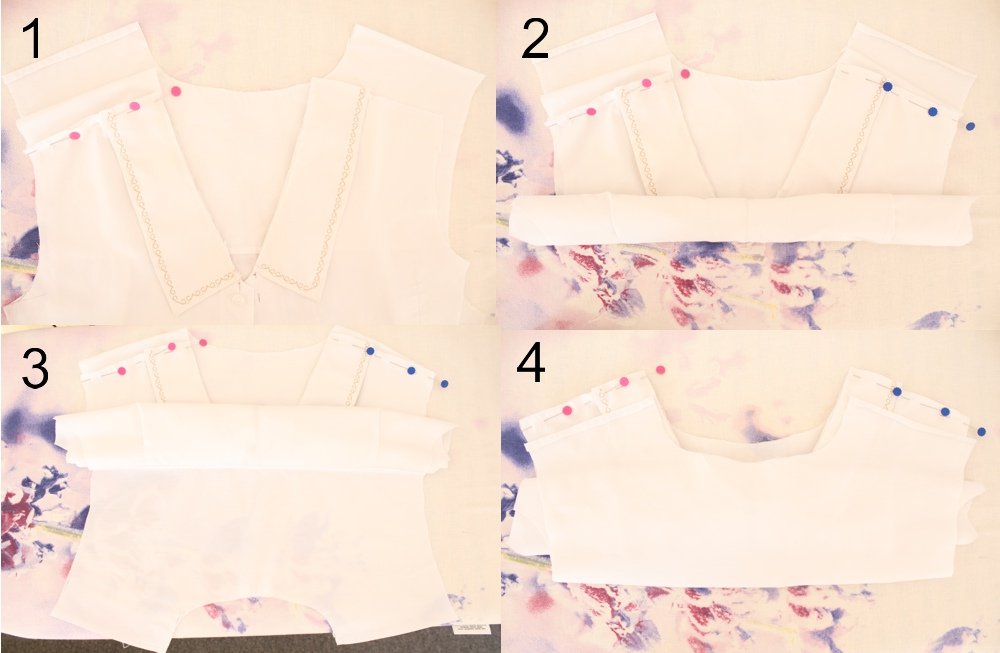
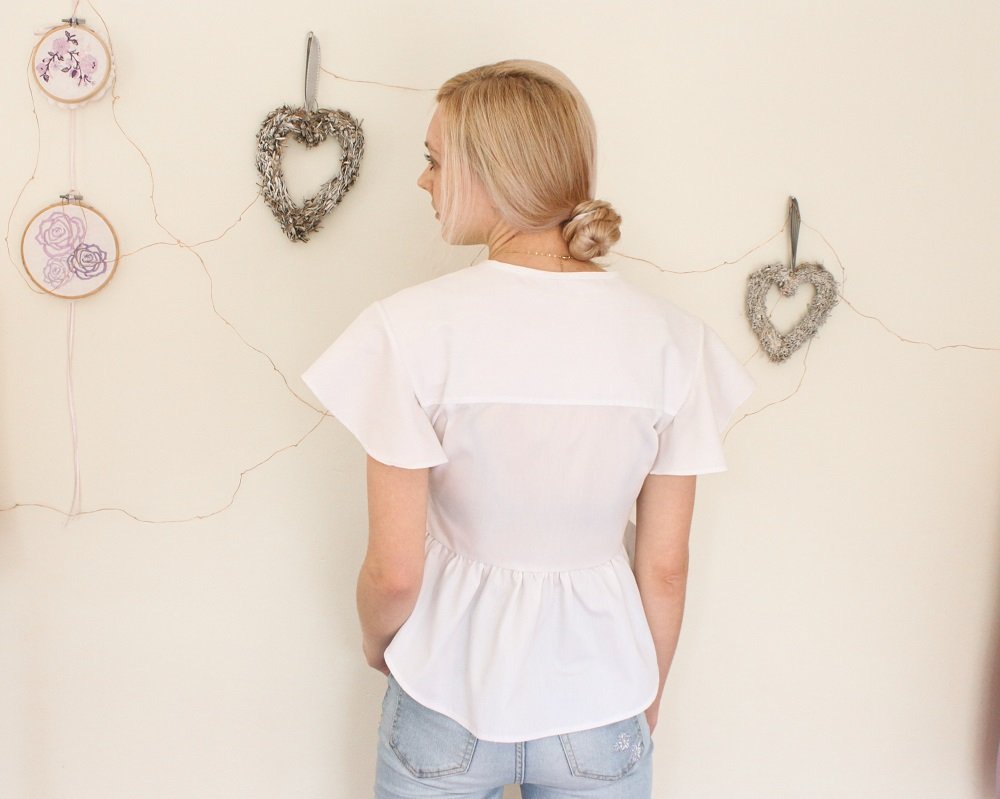
- Pin the Font Bodice to the Yoke using the Burrito Technique.
4.1. Pin the Front Bodice and the inner Yoke together along the Shoulder Seam.
4.2. Roll the Font & Back Bodice up from the Hem until you get to the Yoke.
4.3. Pull the Outer Yoke piece down.
4.4. Pull the Outer Yoke piece upwards, encasing the rolled up Bodice between the 2 Yoke pieces.
 4.5. Pin together the 3 layers along the Shoulder Seams.
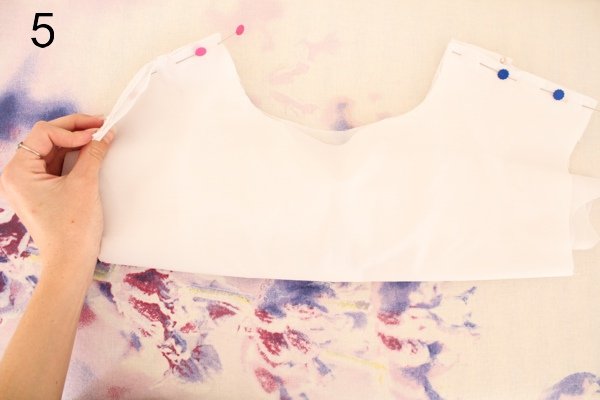
- Sew along the Shoulder Seams, following the garment’s original seam allowance.
- Pull the Bodice out though the Neck.
- Press and top-stitch along the Shoulder Seams.
Sleeves
Follow the necessary steps to attach your Sleeves according to the style you have chosen.
These steps are for the Frill Cap Sleeve.
- Finish the Sleeve Hem.
I did a narrow rolled Hem with my sewing machine.
You could do an overlocked rolled Hem like the pattern’s blog post suggests.
- Attach the Sleeves to the Armholes with a 1cm seam allowance.
Lightly press along the seam.
Side Seams
- Attach the Font Bodice to the Back Bodice at the Side Seams with a 1cm seam allowance.
Press the seams towards the Back.
Binding
- Pin the binding along the Neckline.
Remember to extend the binding a bit past the ends of the Neckline.

- Stitch the binding in place.
Fold in the ends then fold the binding over the Neckline edge.
Secure the underside of the binding by stitching in the ditch.
Using a foot with a blade like the Blind Hem Foot #5 helps to stitch neatly in the ditch.
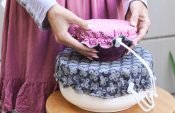
Ruffle
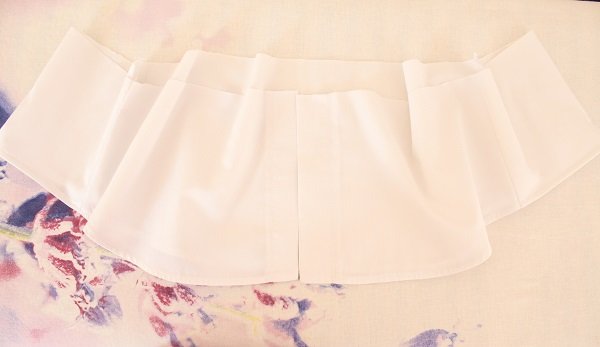
- Join all the pieces of the Ruffle and if necessary finish the Hem.
- Gather along the top edge using a long stitch length.
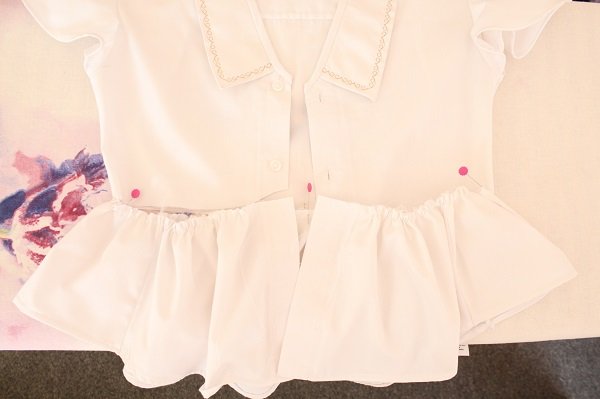
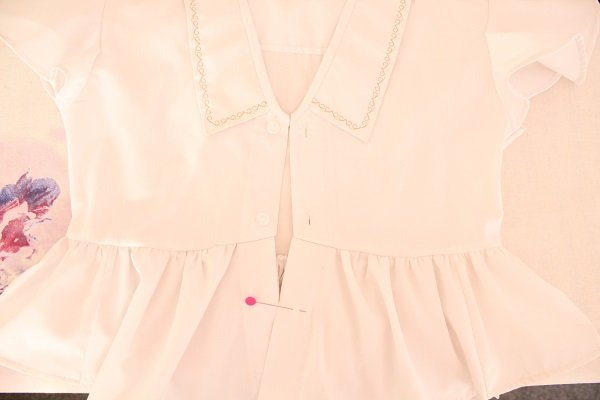
- Evenly divide the gathered Ruffle and match it up along the base of the Bodice.
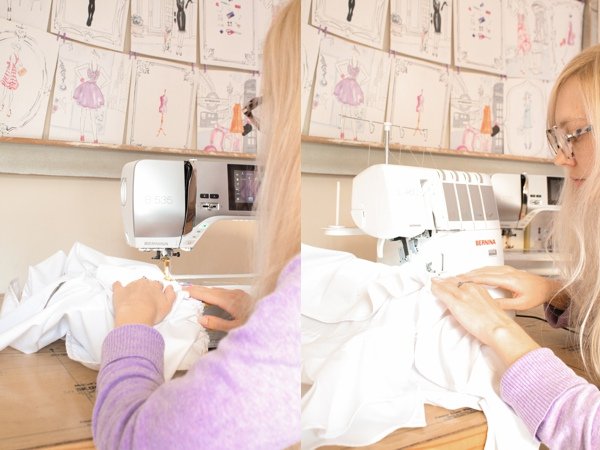
- Attach the Ruffle to the Bodice with a 1cm seam allowance.
Lightly press along the seam.
Buttons
As my Ruffle piece doesn’t have any Buttonholes I needed to make my own.
I could have left it without but didn’t feel comfortable with possibly exposing my tummy.
- Work out the Buttonhole placement.
I kept the distance the same between the Buttonholes.
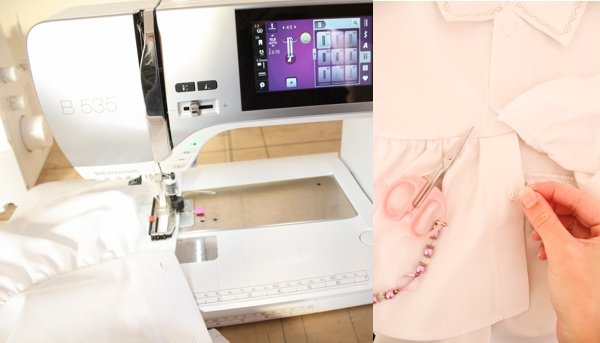
- Stitch the Buttonhole, keeping it the same size as the original Buttonholes.
Stitch on the Button (take it from an off-cut of the original Shirt)

Tips
- Use this as an opportunity to experiment.
We all have different bodies and access to different styles/sized Collared Shirts so no two Tops will be the same. - As you are working with a ready made garment, try be open to adapt.
While it is great to have a plan to follow, you never know what curve balls the original garment may bring your way. - Try different Sleeve styles: long, short, puffy, minimal…
- Work out the length of the decorative stitch by creating a sample on an off-cut.
This will help you create matching stitched Collars.
@hannah_rose.smith
I would love to see what you make, please feel free to share with me!
Instagram
Facebook
-Hannah-Rose


Fantastic upcycle! I really like how you reworked the collar, and the ruffle additions are lovely.
Hi Yolanda
Thank you so much 🙂
If you have a go at making your own, I would love to see it!