 BERNINA Corporate Blog -
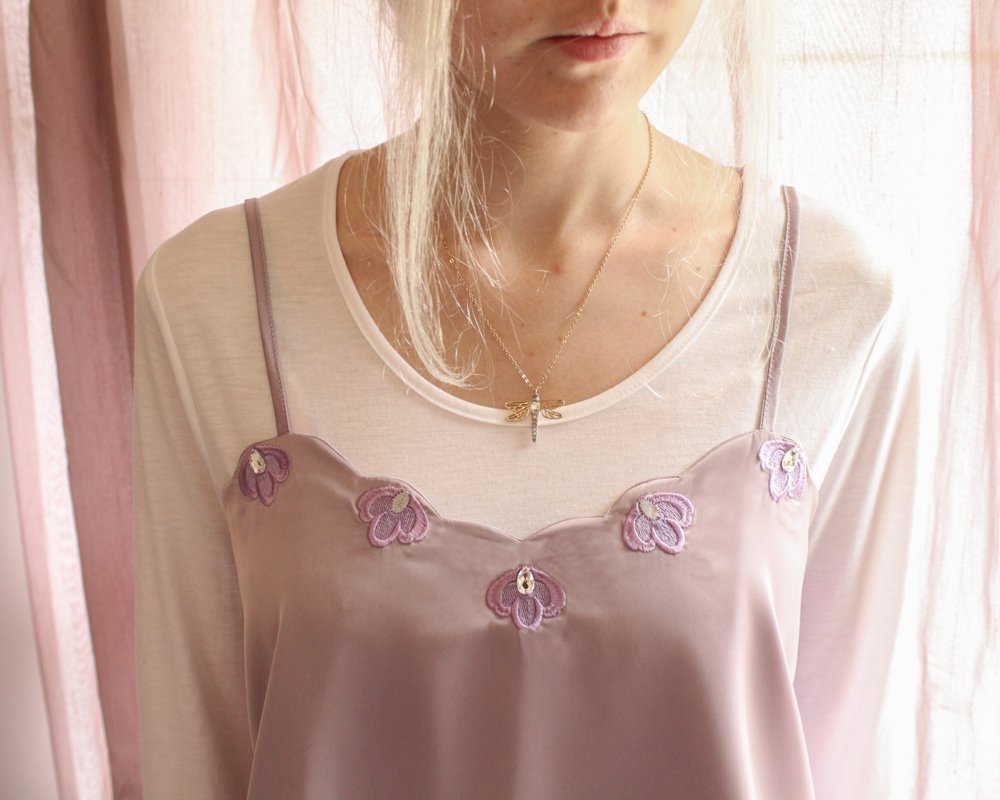
What better time to shine than your birthday!
I was recently generously gifted a Crystal Edition Inspiration Kit from Bernina which contains over 50 sparkly Swarovski crystals! These would add a special touch to any garment and make me feel like celebrating.
The timing of the gift couldn’t have been better as it was my birthday this past weekend and I decided to make myself an extra special garment to celebrate.
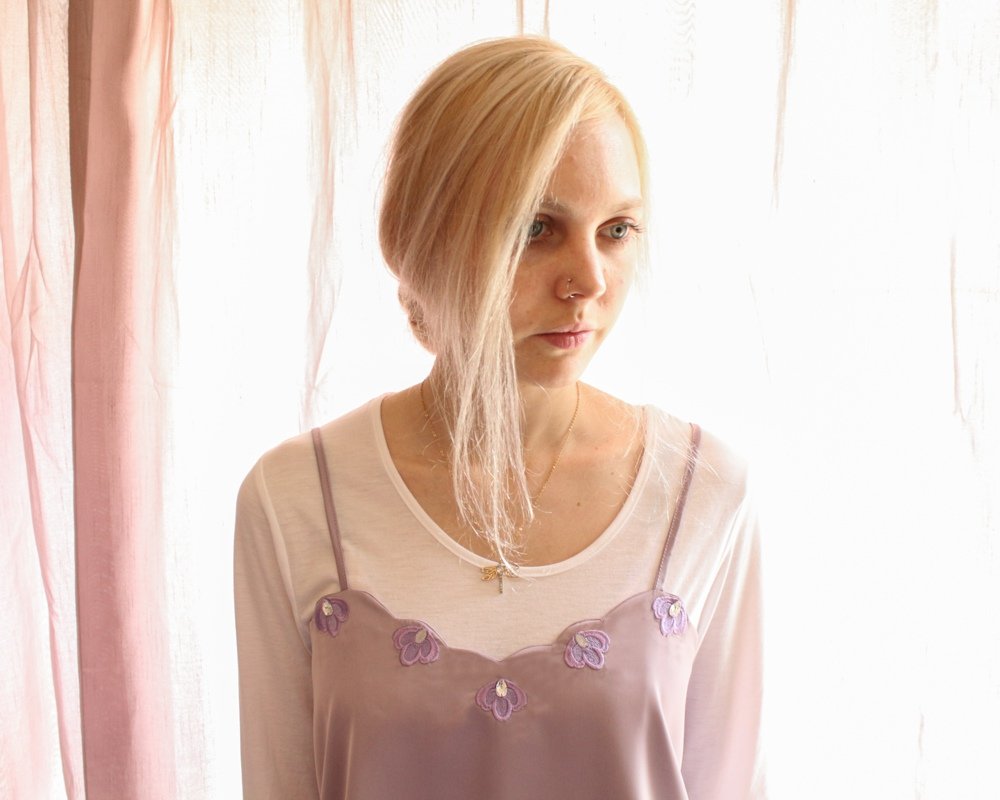
The crystals would also add a sparkle to the Swarovski dragonfly necklace I wear all the time. It too was a gift, one I received for my 21st birthday from my boyfriend and his mom.
What will be needed:
- Sewing machine
- Annika Camisole Pattern
- Stitch on crystals
- 0.7m Satin, Silk or Crepe fabric
- Thread to match
- 0.2m Elastic 1.5cm wide
- Embroidery:
Embroidery Module
Tear-away Stablizer
Embroidery foot #26
Embroidery design
Complimentary Embroidery Threads
Small Embroidery Hoop - Edgestitch foot #10D
- 2 Lingerie Sliders & 2 Lingerie Rings each 1cm wide
- Hand sewing needle
- Loop turner
Pattern
The Annika Top pattern is from the Spring 2021 issue of Bernina’s Inspiration Magazine.
Please note that unless specified, the pattern does not include seam or hem allowances.
Add the necessary seam and hem allowances to the pattern pieces before cutting out the pattern.
Use the seam & hem allowances you prefer.
The size chart can be found on the pattern but you can find it on the Inspiration Tips & Tricks page.
Embroidery
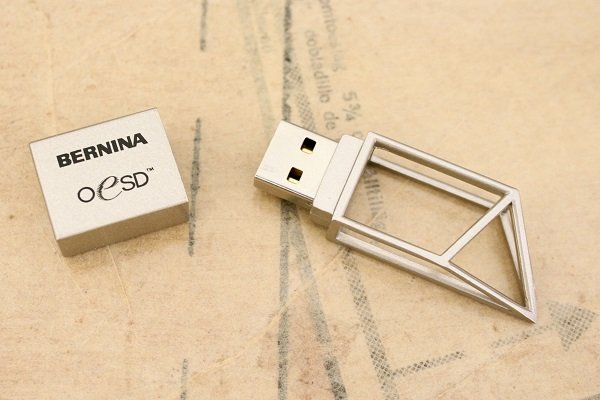
In the Inspiration Kit there is a Crystal Edition USB with 35 exclusive designs.
I chose design 32148-17 Nouveau Bud from the Crystal Nouveau Exclusive Collection.
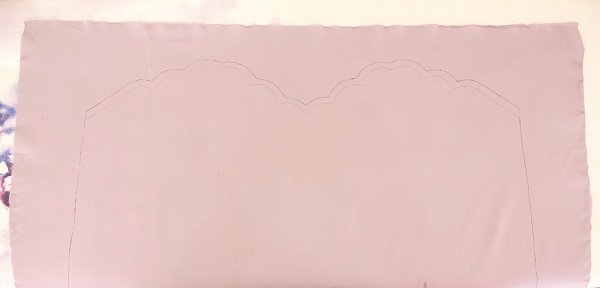
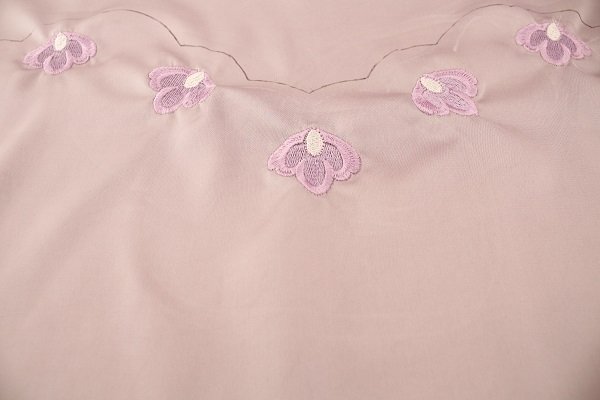
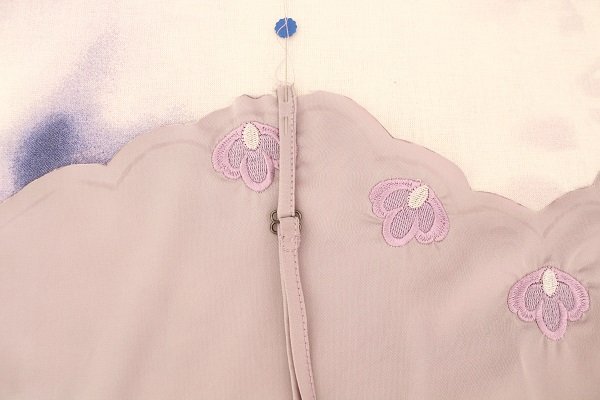
As I am working with a slippery fabric, I found it best to trace the Front Bodice on to the fabric and embroider prior to cutting it out. I also lightly marked out the seam allowance along the scallops to help me with the embroidery placement. It is best to use chalk or an erasable marker when doing so.

I used the Small Hoop and embroidered each design one at a time to get the most accurate placement. I was able to easily rotate the design for each placement by way of the machine’s knobs.
If you experience hoop burn, please refer to this blog post for tips on how to remove it:
Sew
Adjustable Straps
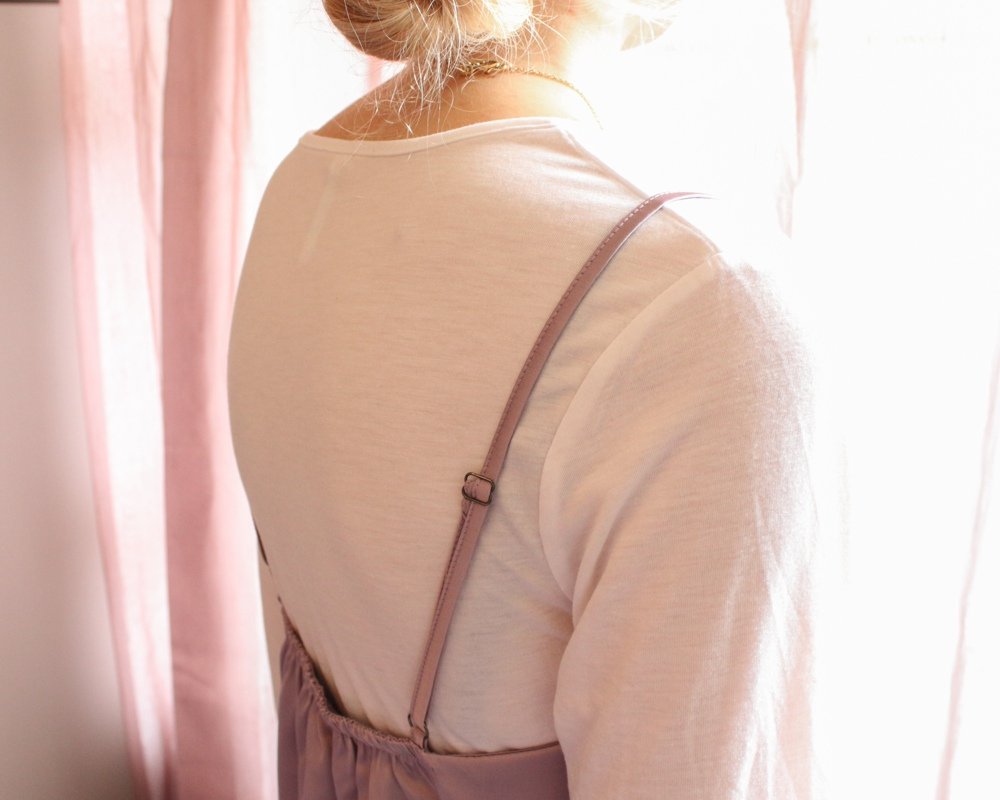
I chose to go with the traditional over the shoulder style, rather than the pattern’s suggested criss-cross back style.
However, I wanted to make my Straps adjustable so I added about 10cm to the length of my Straps (measured from the Front Bodice, over the Shoulder to the Back Bodice)
I also cut 2 strips each 4cm long(including 1cm seam allowances) for the Lingerie Rings.
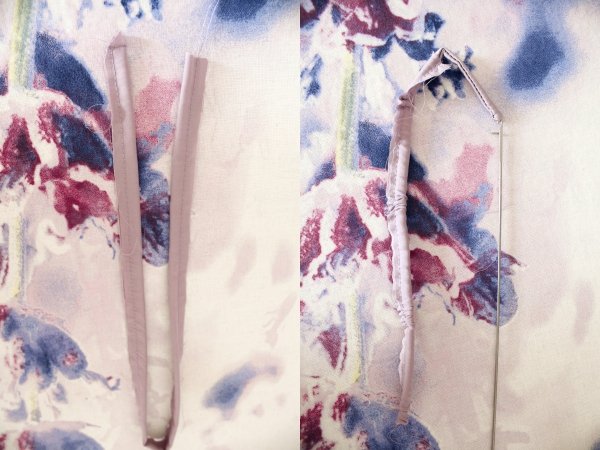
- Make the Straps according to the instructions (fold, sew, trim, turn)
I just added the step of sewing one of the short ends closed.
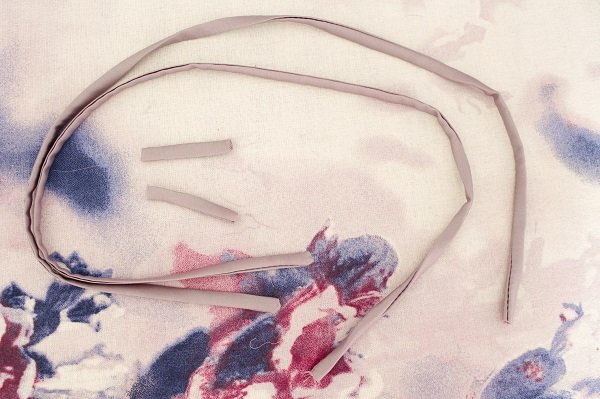 Remember to make the Short Strips too.
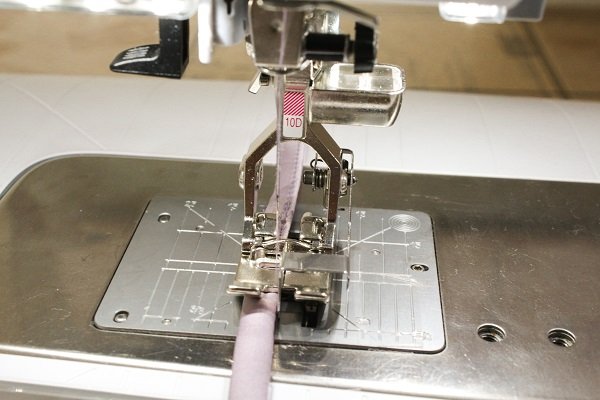
- Top-stitch the length of the Strap along the sewn edge.
I used the Edgestitch foot #10D which came in the Crystal Edition Inspiration Kit.
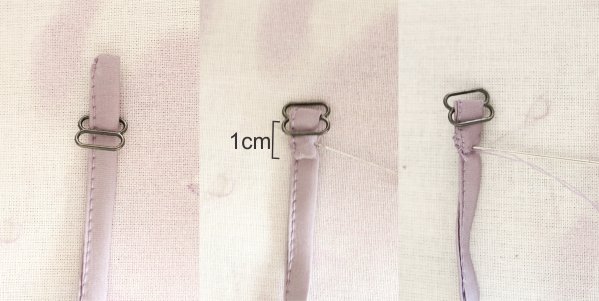
- Insert the Strap into the Slider.
Fold the sewn short edge of the Strap 1cm over the middle of the Slider.
Secure with a row of stitches. I found hand stitching to be the neatest here.
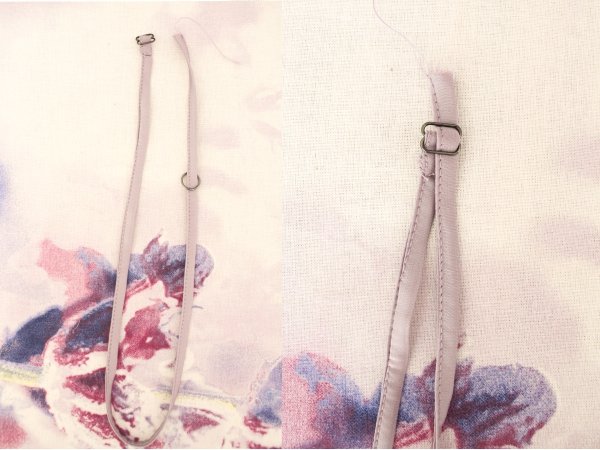
- Insert the other end through the Ring and feed back through the Slider.
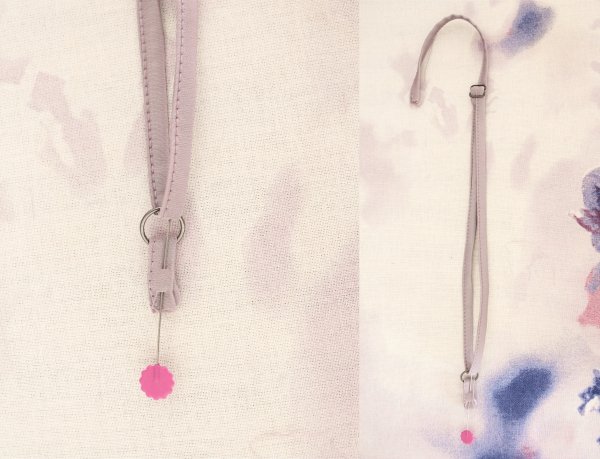
- Feed the Short Strip through the Ring and fold it in half.
- Staystitch the Straps to the Bodice at the respective placement markings.
Take note of the placement of the Slider. The Slider should be touching the right side of the Front Bodice.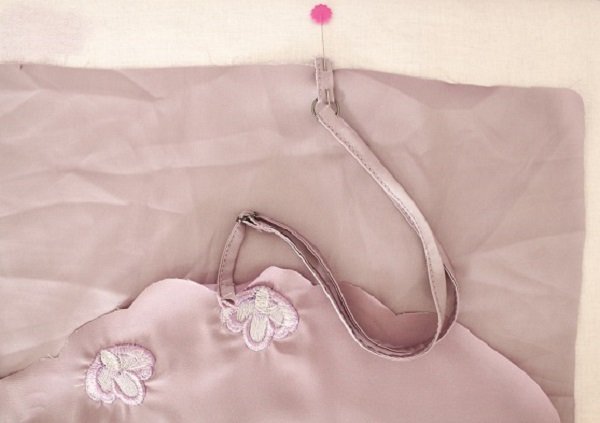 Attach the Short Strips to the right side of the Back Bodice. Ensure that the Strap hasn’t twisted.
French Seams
I chose to use French Seams rather than overlock the side seams as my Satin has a bit of stretch in it and I was concerned the overlocking may stretch the fabric and cause wonky seams.
A 1.5cm seam allowance is recommended for a French seam, even though the end result will be a 0.5cm seam.
Ideally you should divide your seam allowance in to thirds. The first seam allowance would be ⅔ and the second ⅓.
It is best to not sew the initial seam smaller than 0.5cm as the delicate fabric may be pulled in to the feed dogs and get damaged. This is why it is best to sew a larger seam allowance and then trim it down.
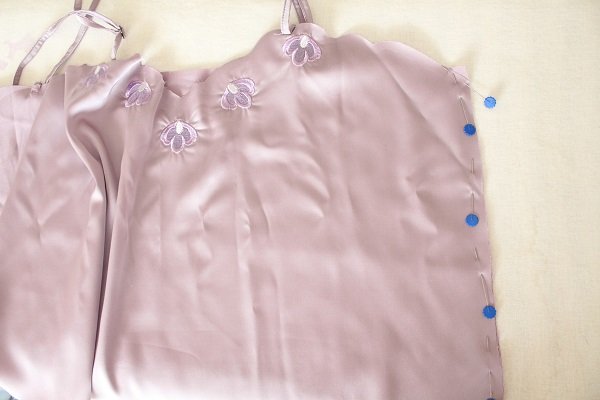
- Pin the Front & Bodice with wrong sides together along the side seams.
- Sew with a 1cm seam allowance.
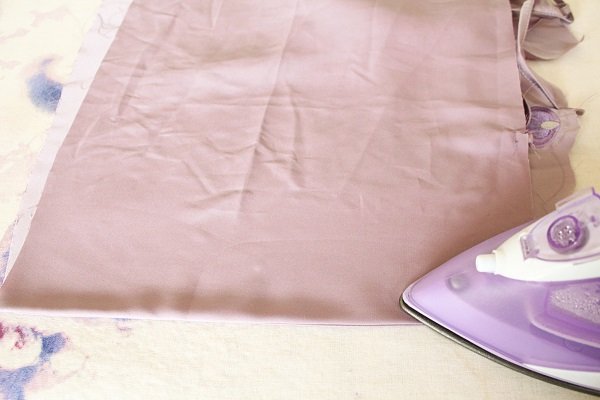
- Place the right sides together and press along the seam line.
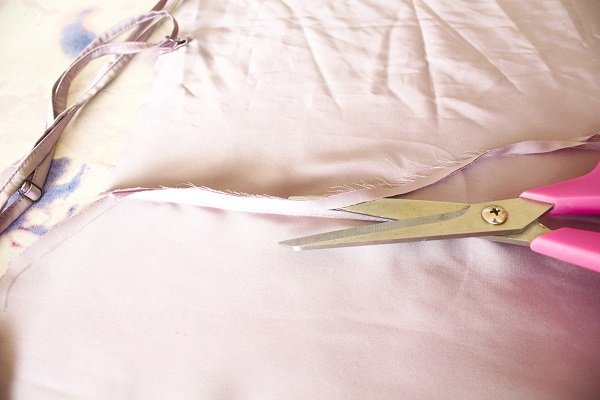
- Neatly trim the seam to about 0.3cm.

- Pin the seam again and sew 0.5cm in from the previously sewn seam.
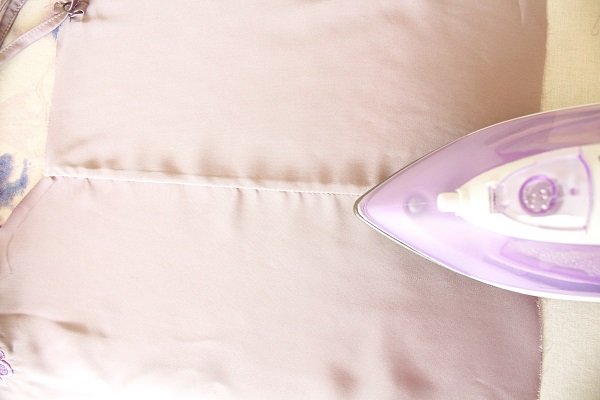
- Press the seam towards the back.
If using a Lining, I always press the seams of the Lining the opposite direction to prevent bulk.
Neat Scallops
Trace the top edge of the Front Bodice pattern piece (exclusive of seam allowances) on to a firm piece of paper. This will help you achieve neatly shaped scallops when sewing.
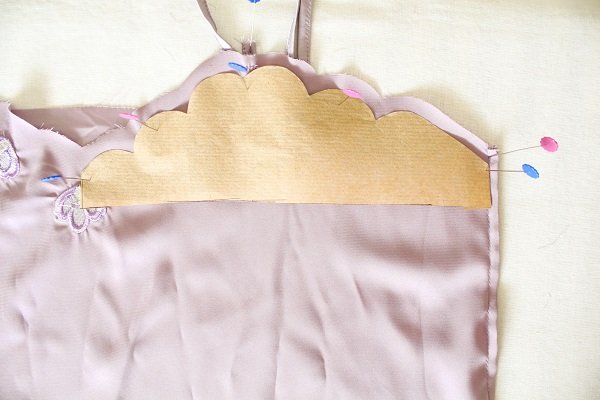
- Use the scalloped paper to draw the scallops on to the fabric.
Remember to accommodate the seam allowance.

- Pin the Lining and Bodice pieces right sides together.
It would be best to thoroughly pin along the scallops (a pin at each V and in the middle of the arch).
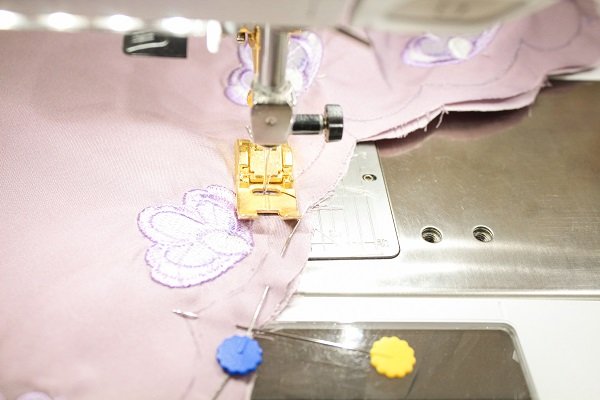
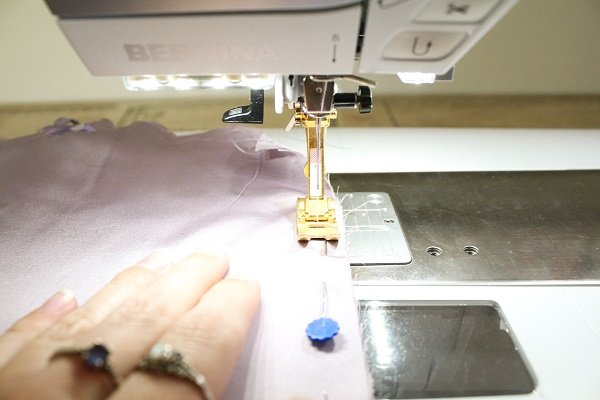
- Sew along the marked out scallop line with a narrow stitch length (2)
Take care and sew slowly. The more precisely you sew, the neater your scallops will be.
Use the hand wheel when approaching the Vs to ensure you stop precisely at the point.
Remember to stop each time you get to a V point, lower the needle, lift the foot, turn the garment, lower the foot and continue sewing.
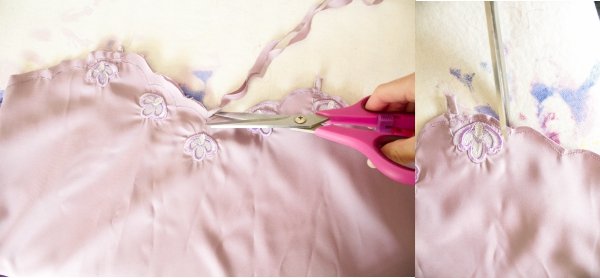
- Trim the seam allowance along the scallops to about 0.3cm
Snip into the Vs, ensuring you don’t cut through the stitches.

- Turn the garment right-side-out.
Use a knitting needle or something to help you neatly turn out the scallops and iron along the edges.
Try iron the Lining edge 1mm-2mm inwards.
Crystals
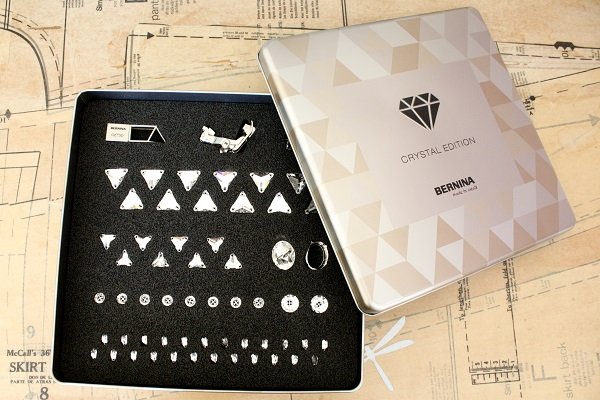
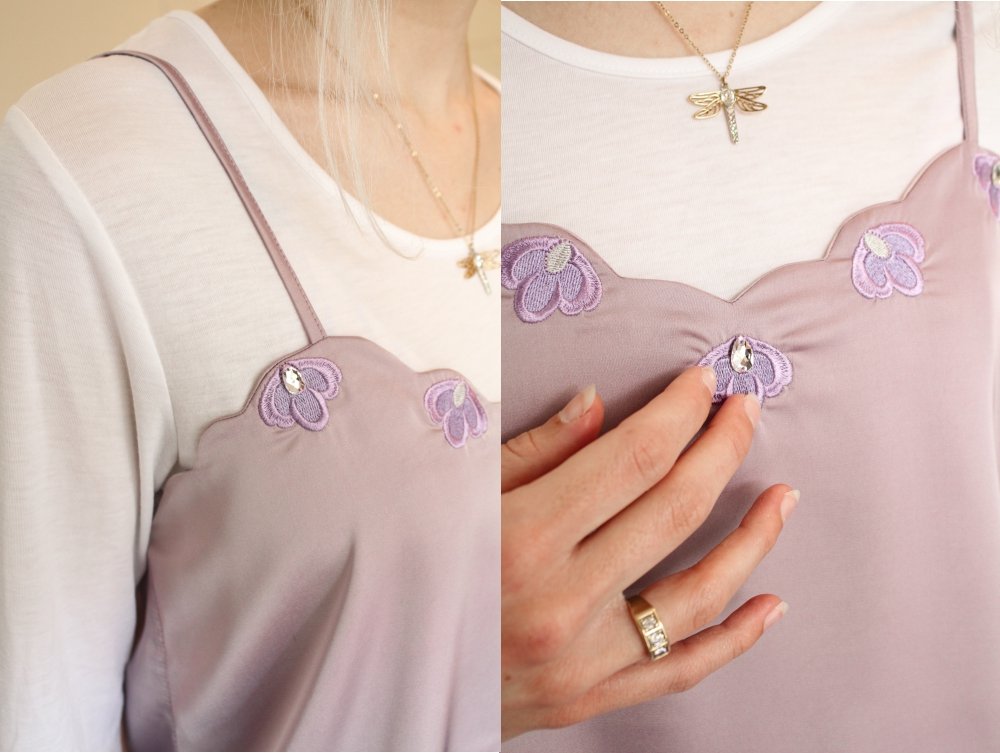
I chose to use the smallest crystals for this project.
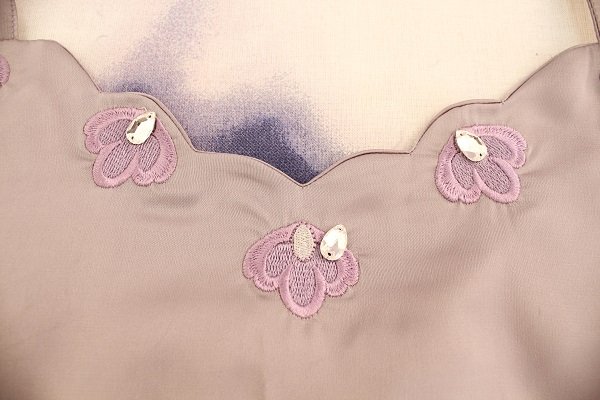
It seemed only appropriate to place them onto the special embroidery design, as though the centre of the embroidery design was made for this crystal.
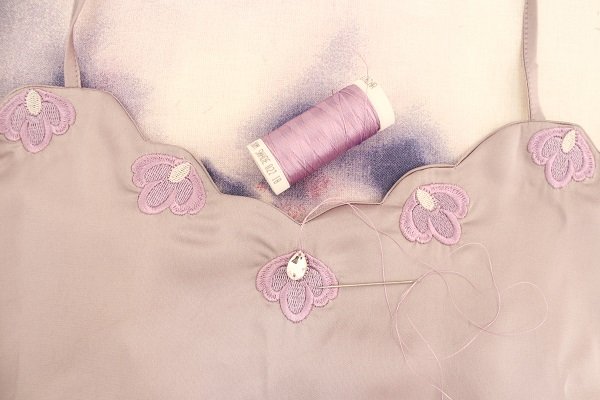
I hand stitched the crystals on like I would a button.
Tips
- Use a thin needle when hand stitching the crystals on.
Do not force the needle through the holes as it will crack them.
I would love to see what you make, please feel free to share with me!
Instagram
Facebook
-Hannah-Rose
Please note that the Crystal Edition Inspiration Kit was generously gifted to me by Bernina.
It is only available with the purchase of the limited BERNINA 590 Crystal Edition, B 790 PLUS Crystal Edition and B 880 PLUS Crystal Edition machines, it cannot be purchased separately.
You can learn more about them in this blog post: Time to shine! We unveil three glamorous special models


0 Responses