 BERNINA Corporate Blog -
In this blogpost, you can learn how to pimp a bag as beginner sewist.
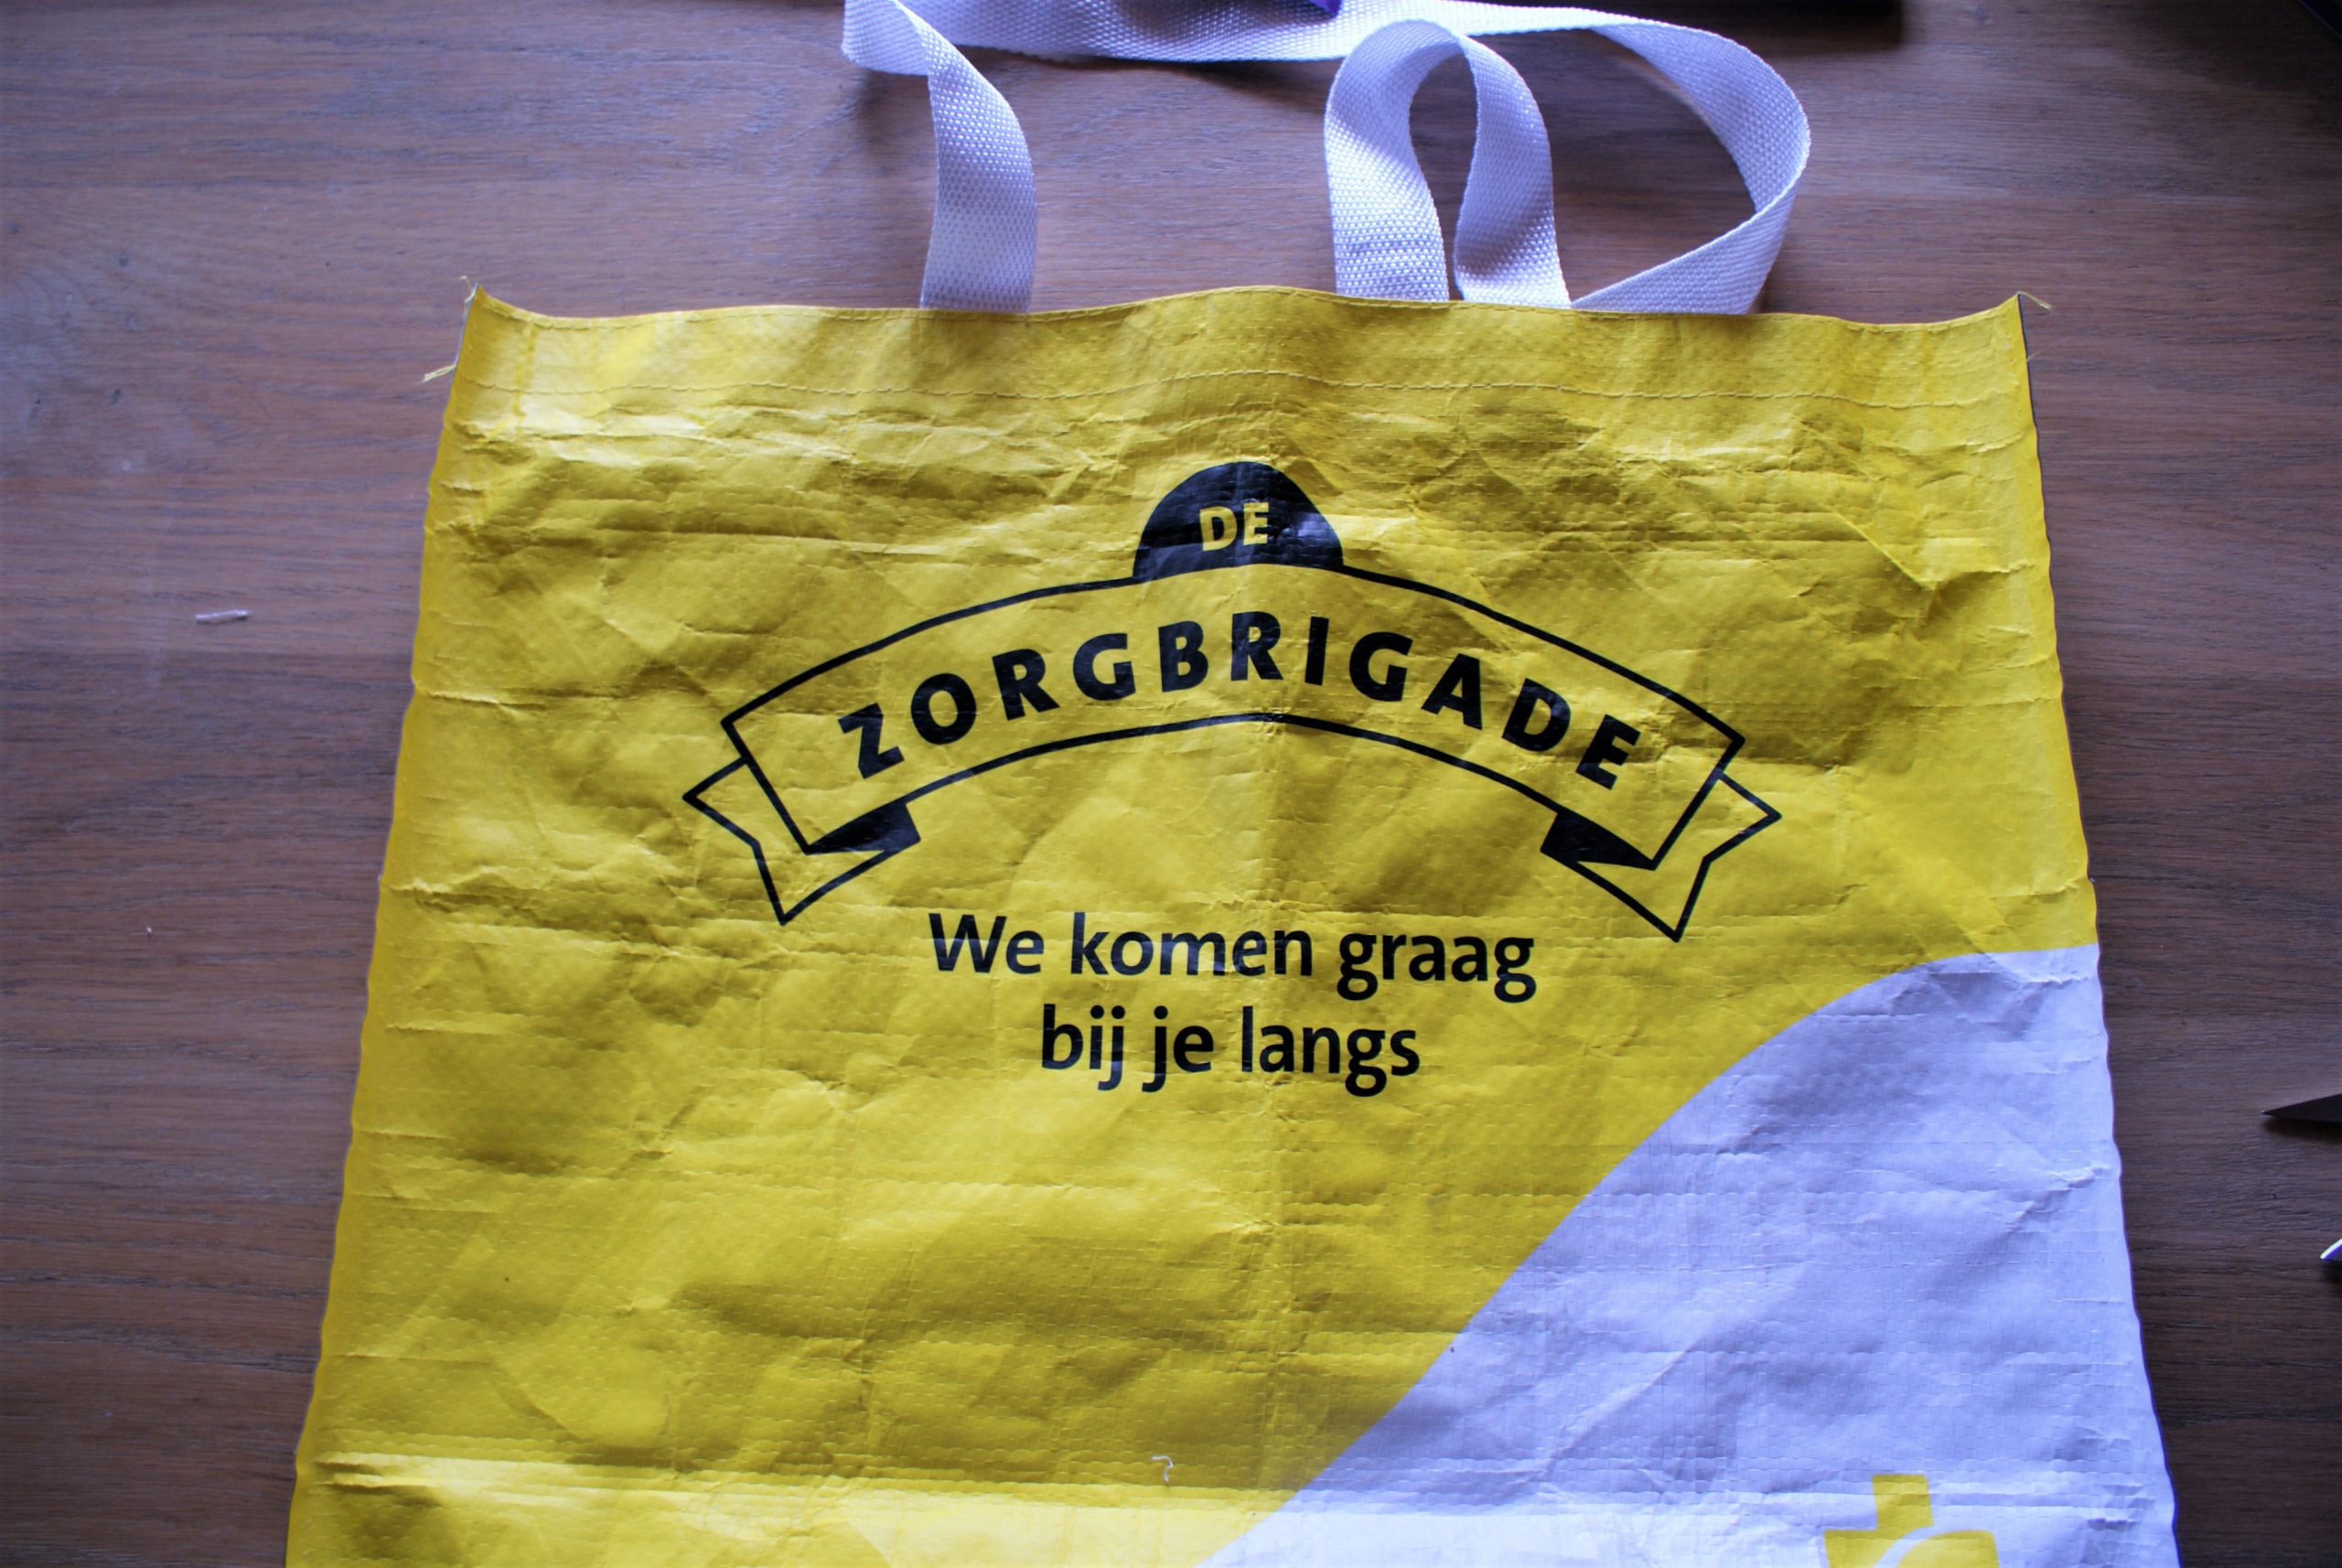
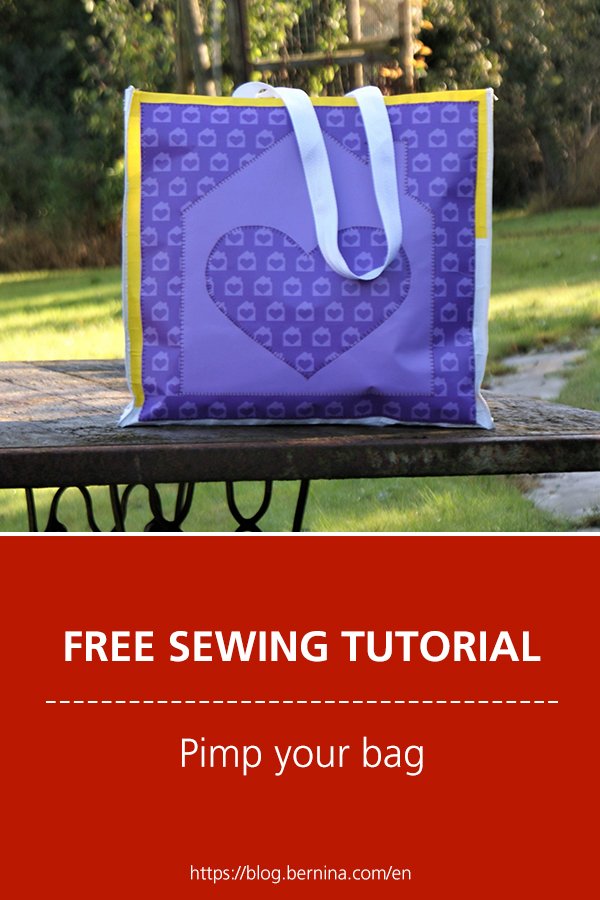
Do you have enough of the publicity message on a bag? I can undertstand that publicity is necessary, but after using it for a while, I thought of a solution to cover it on this bag. This one is a very useful big bag, that I use every weekend. Let’s go for a new look!
I found a nice image that can be used, in a plastic poster:
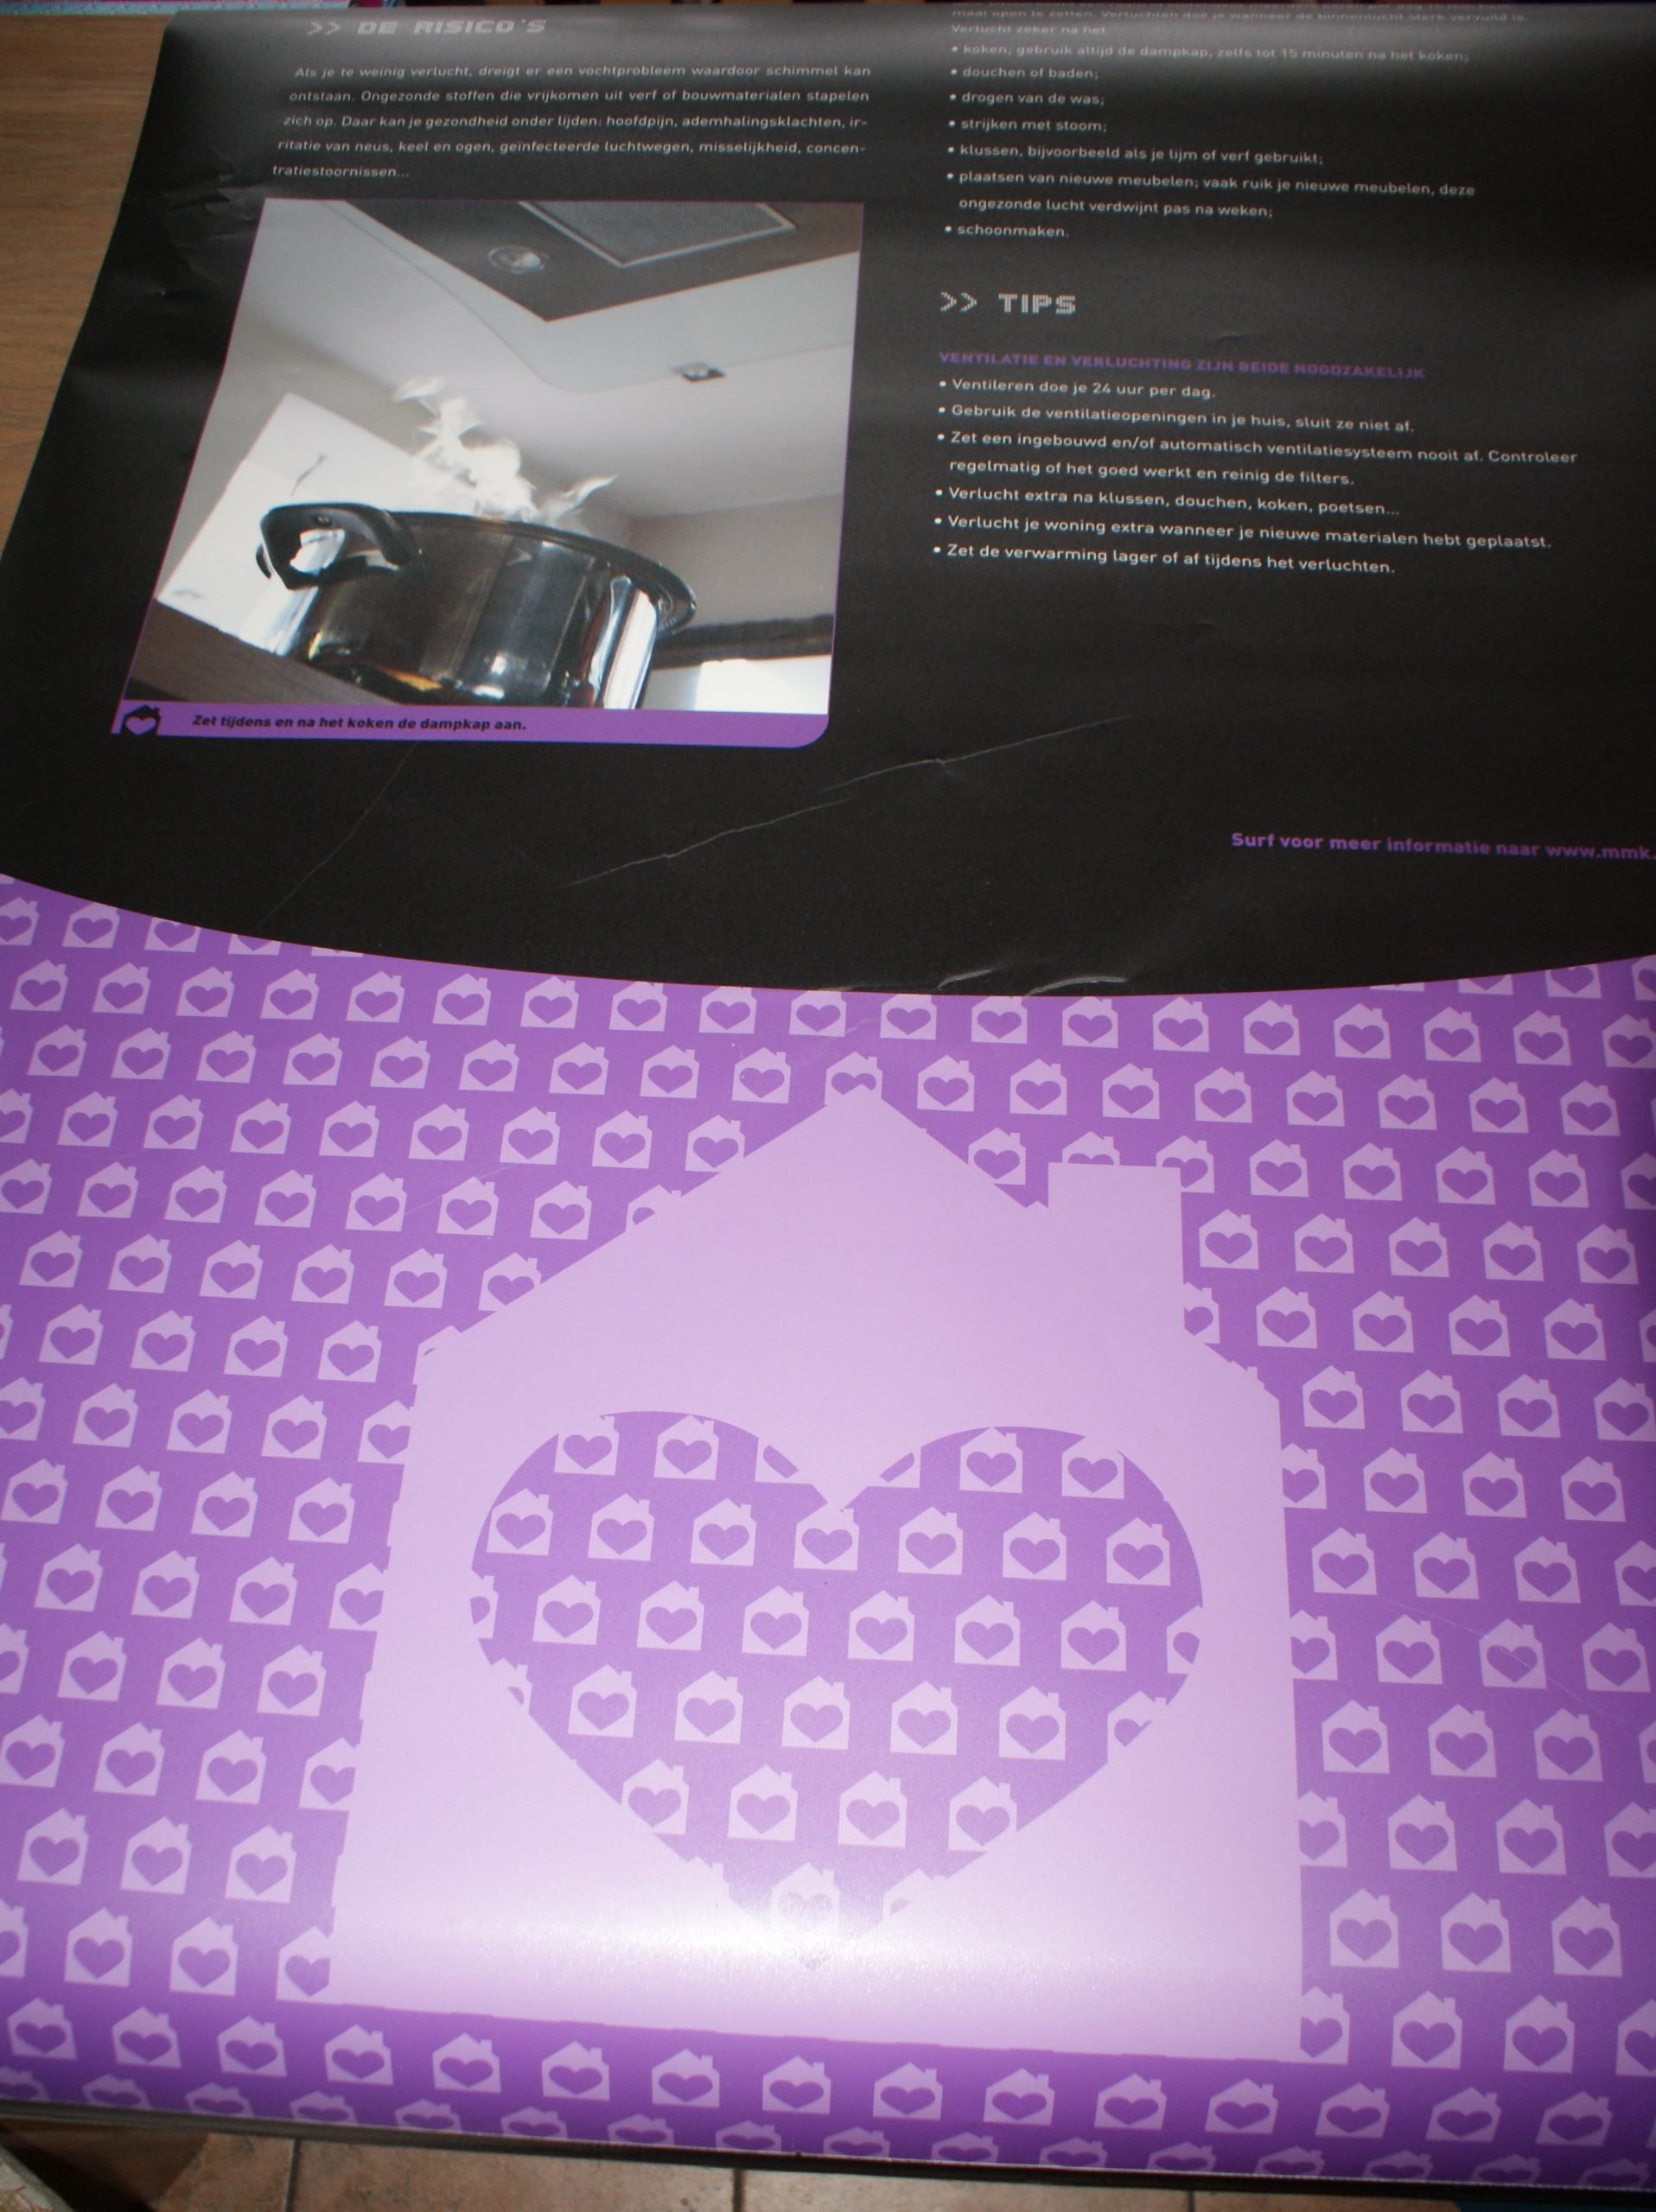
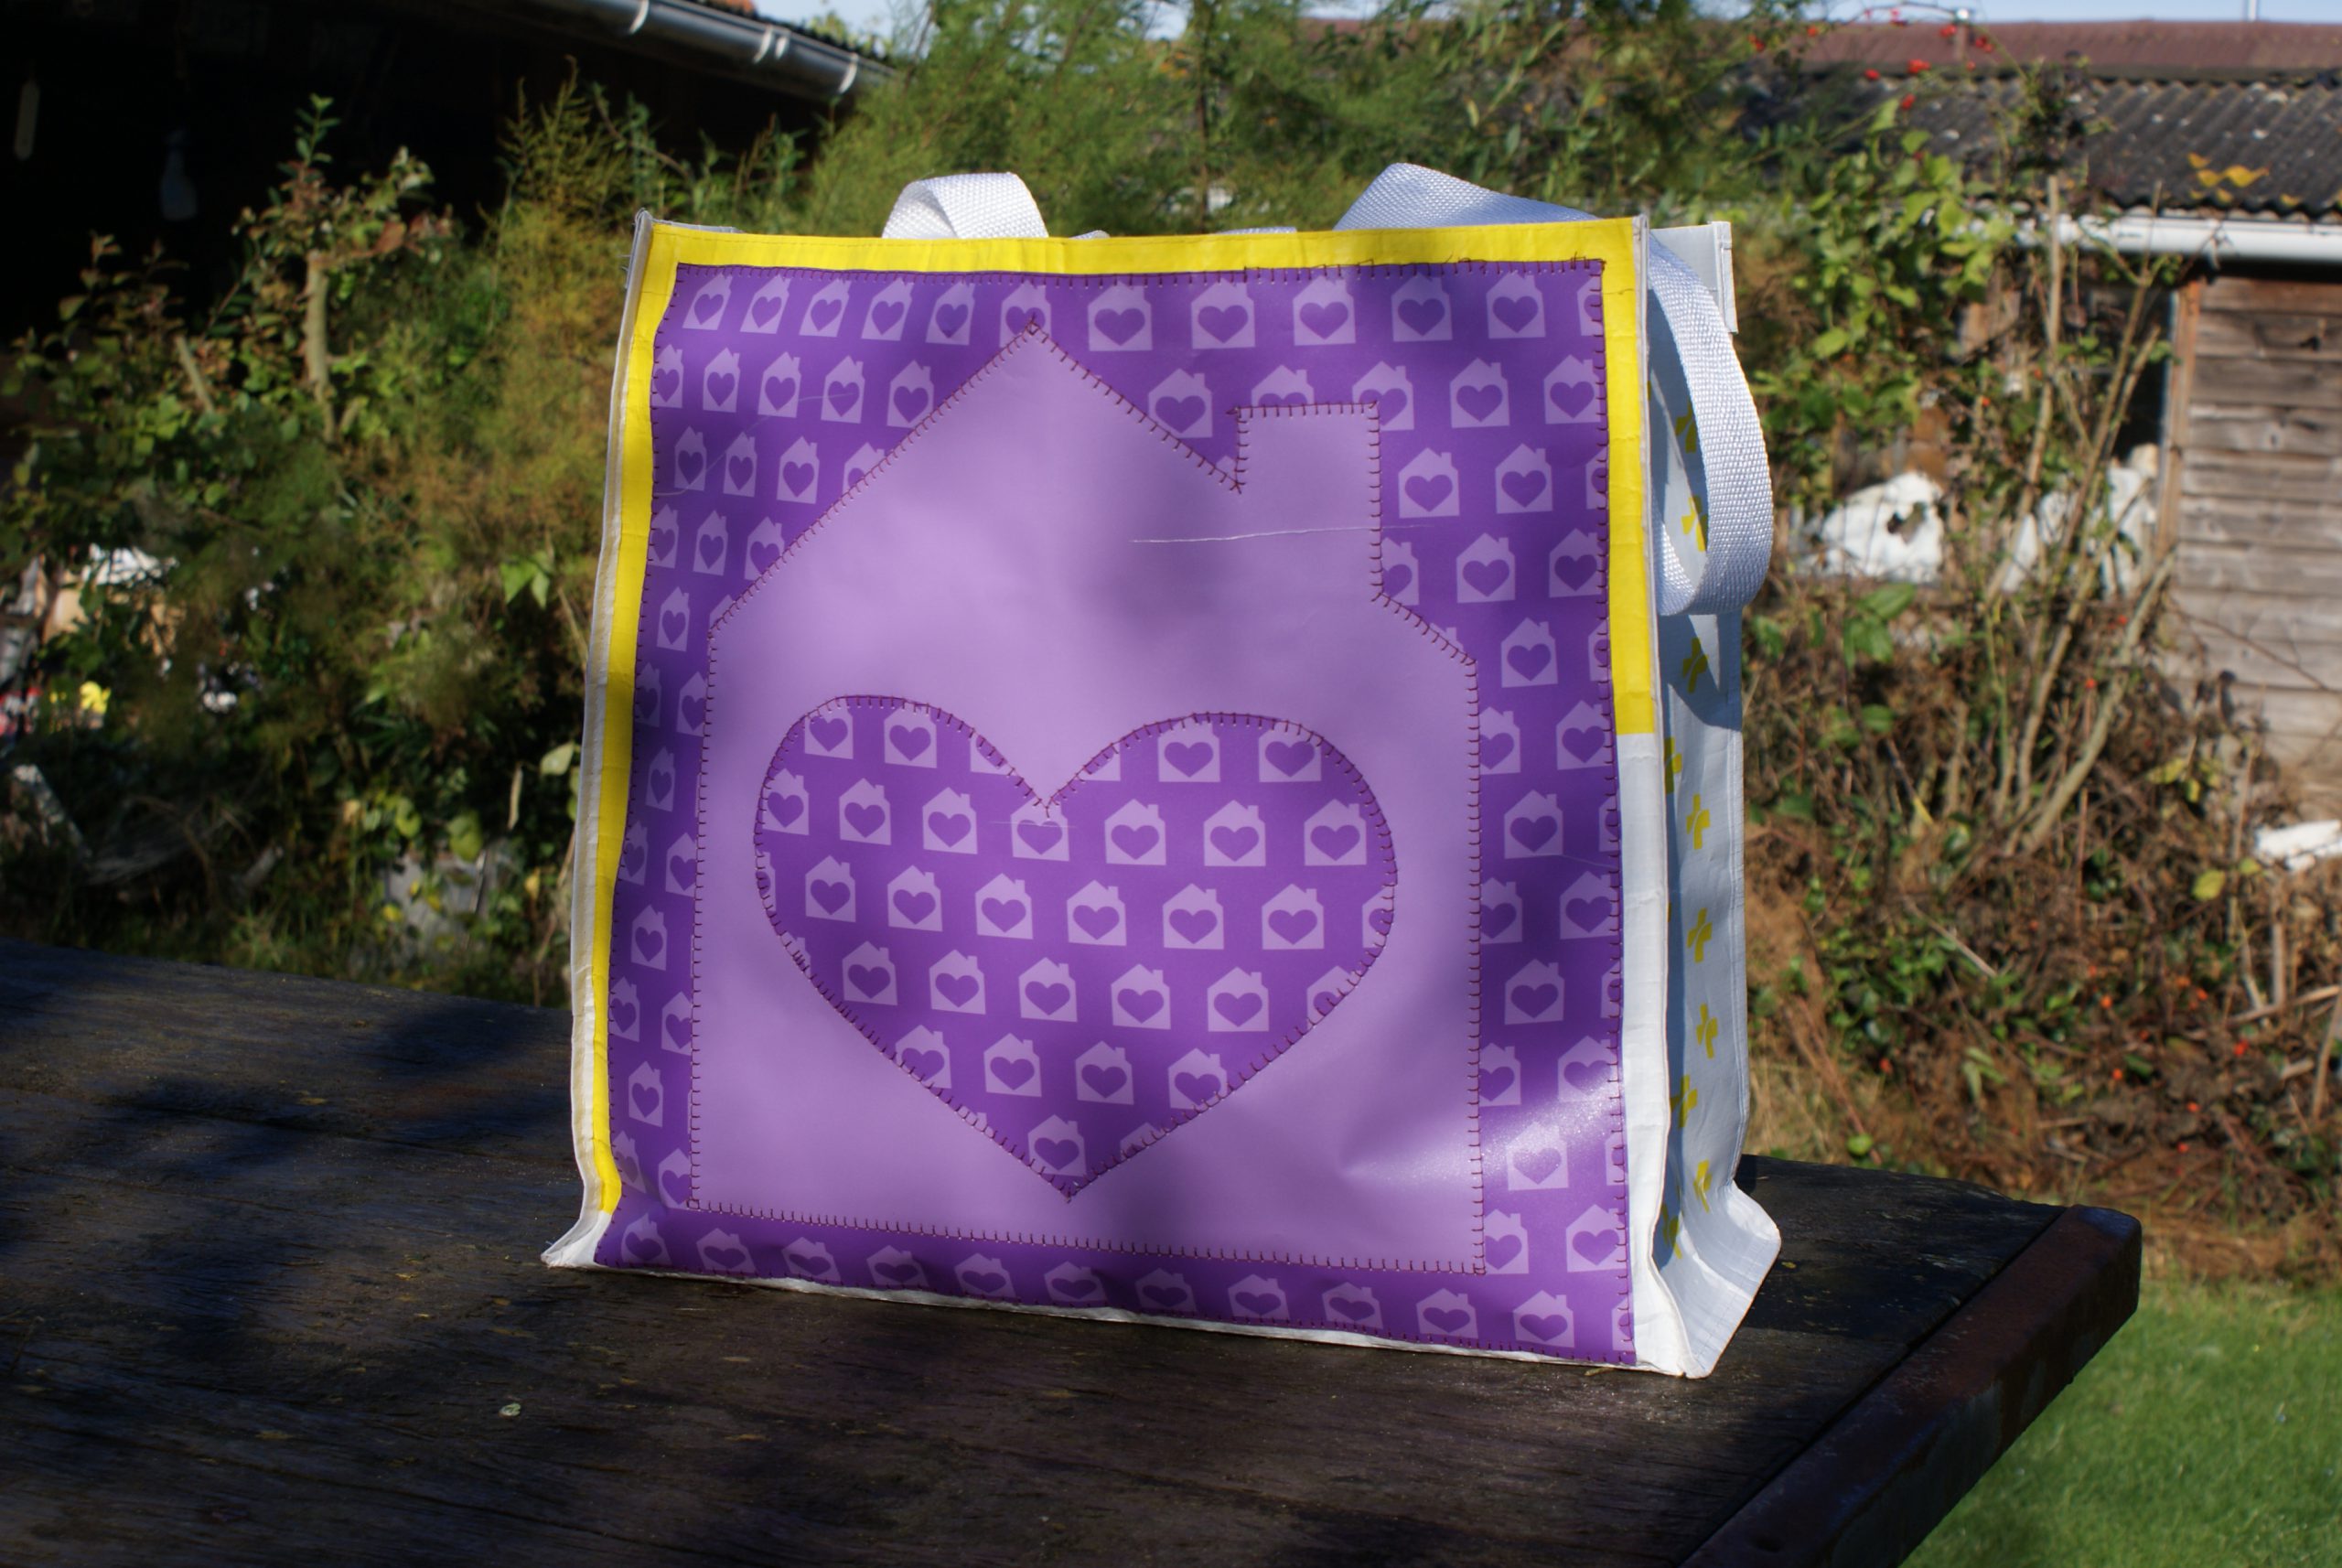
I like the bottom part of this poster, with the house and the heart. Do you think the purple color goes well with the yellow on the bag?
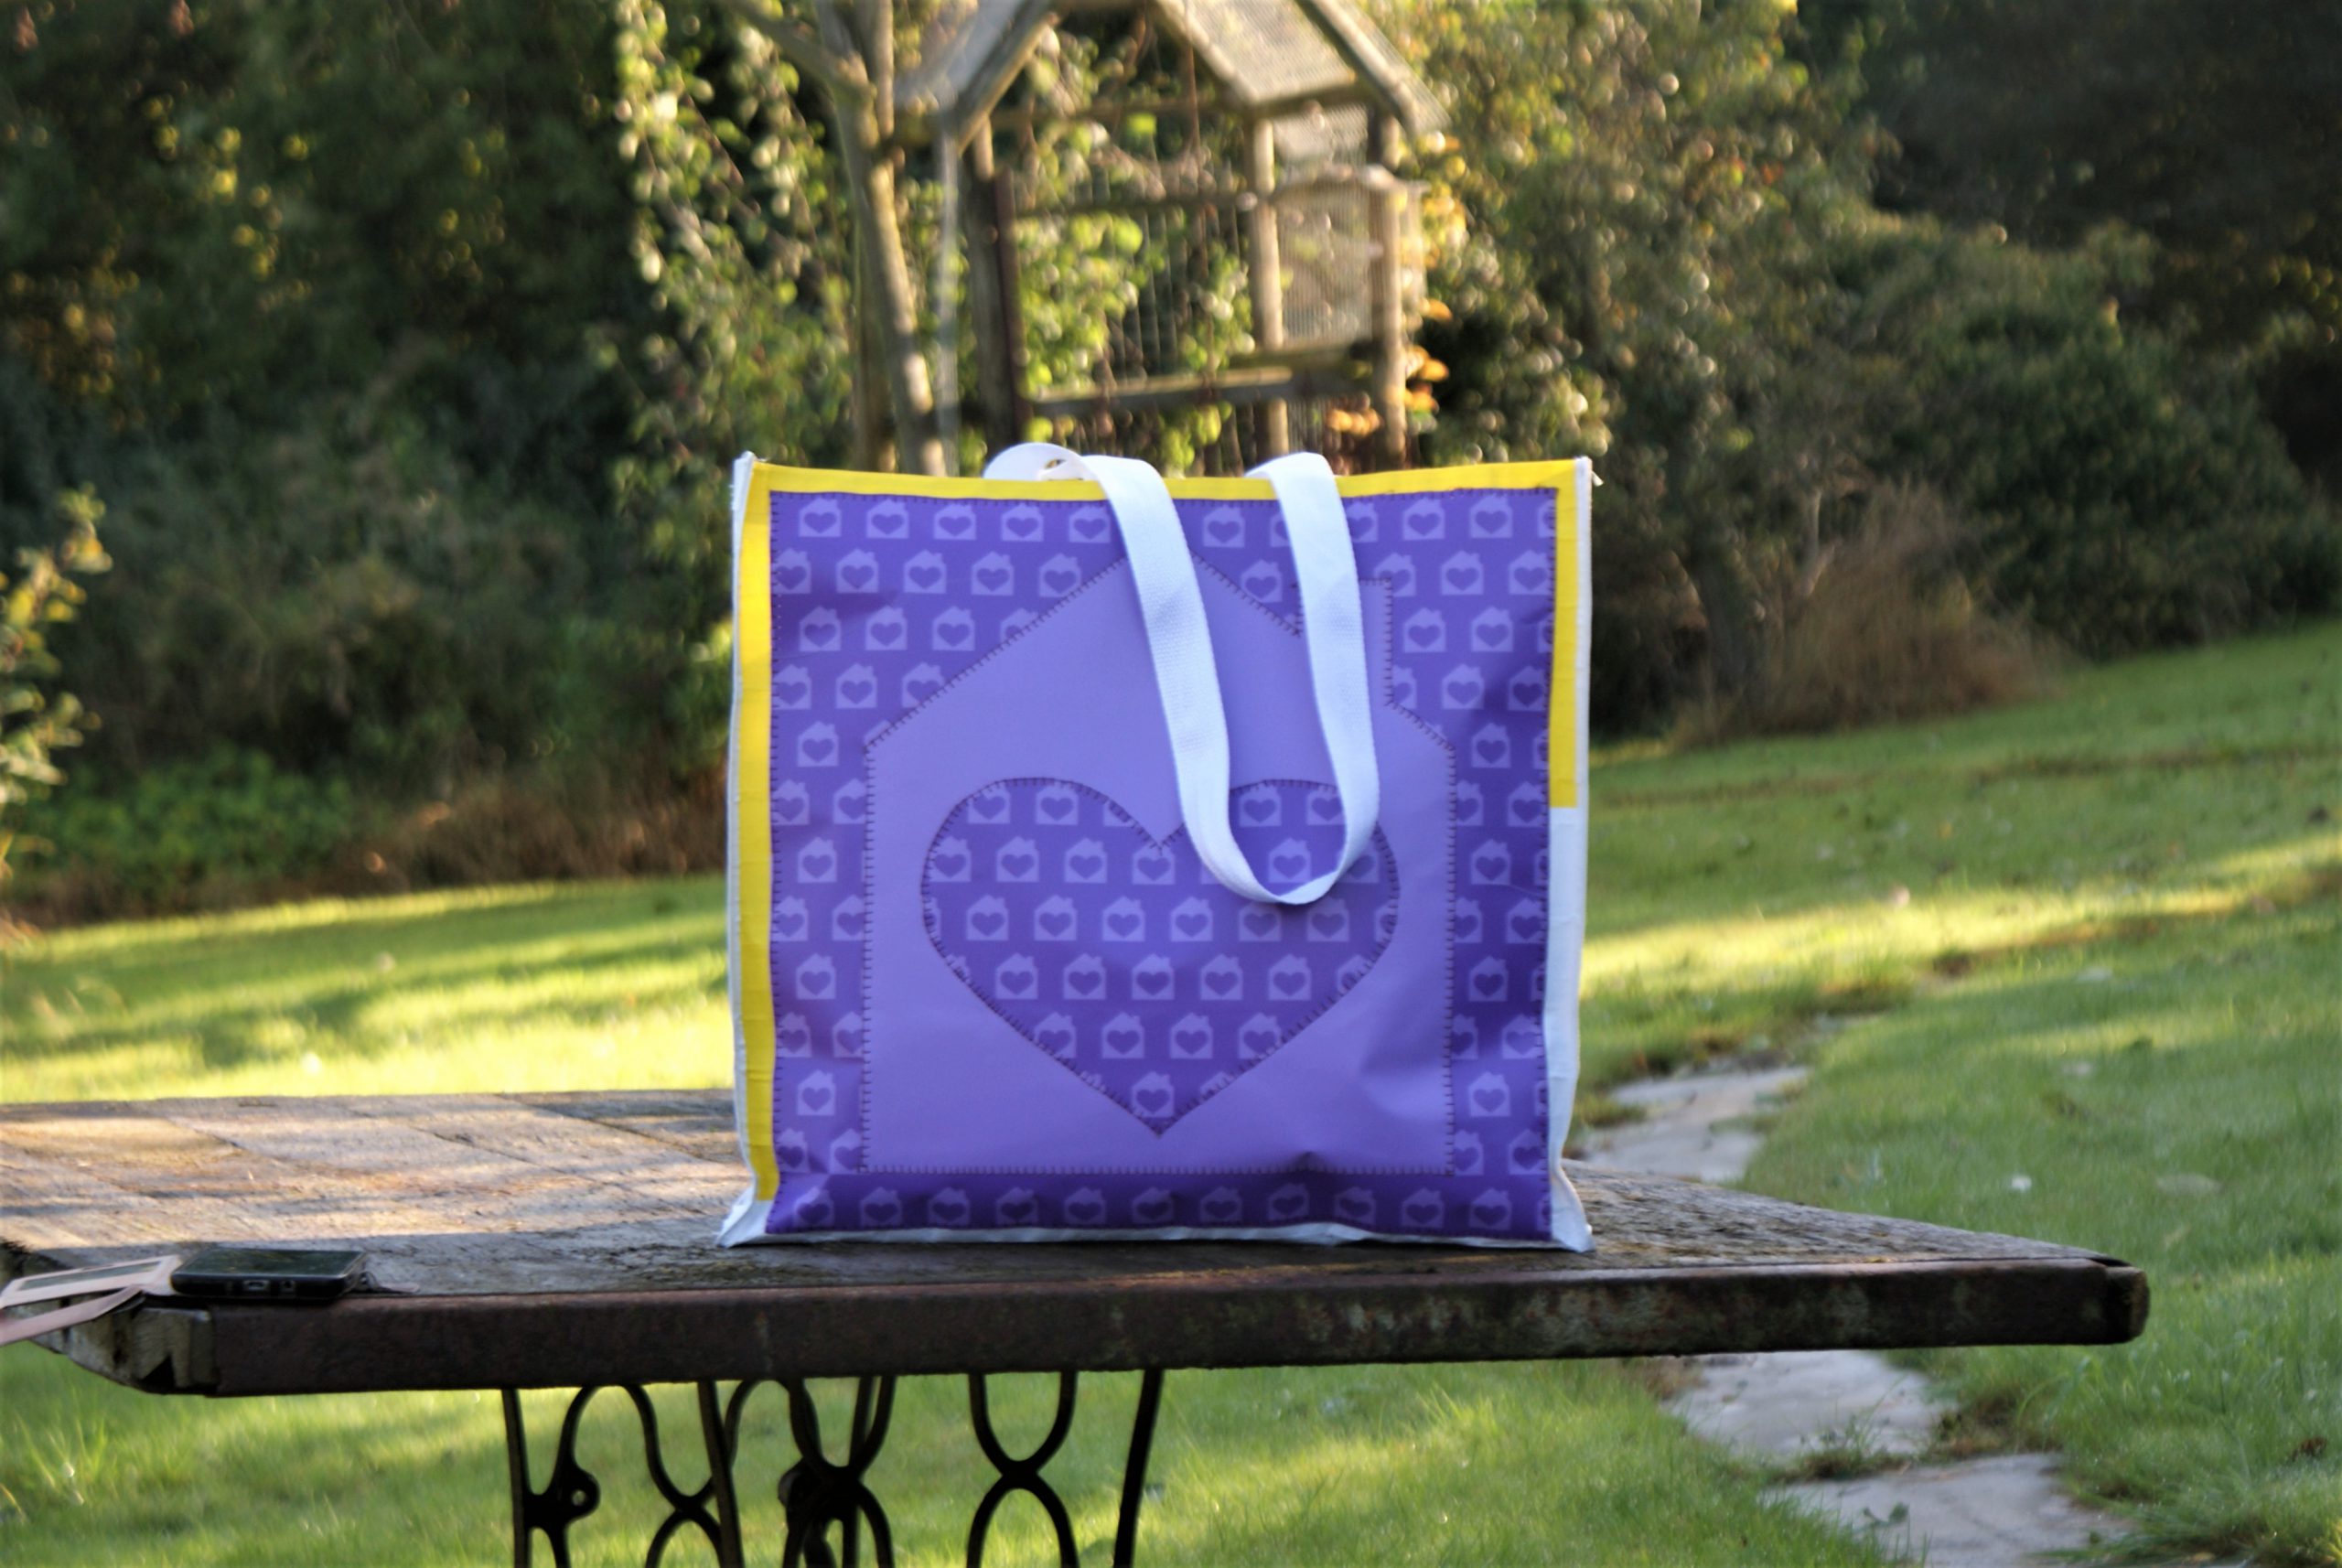
A yellow and white bag, decorated with a purple image.
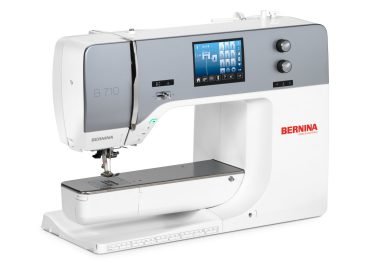
My BERNINA 710 was used for sewing, it’s a 9mm machine. For this project I engaged the dual transport.
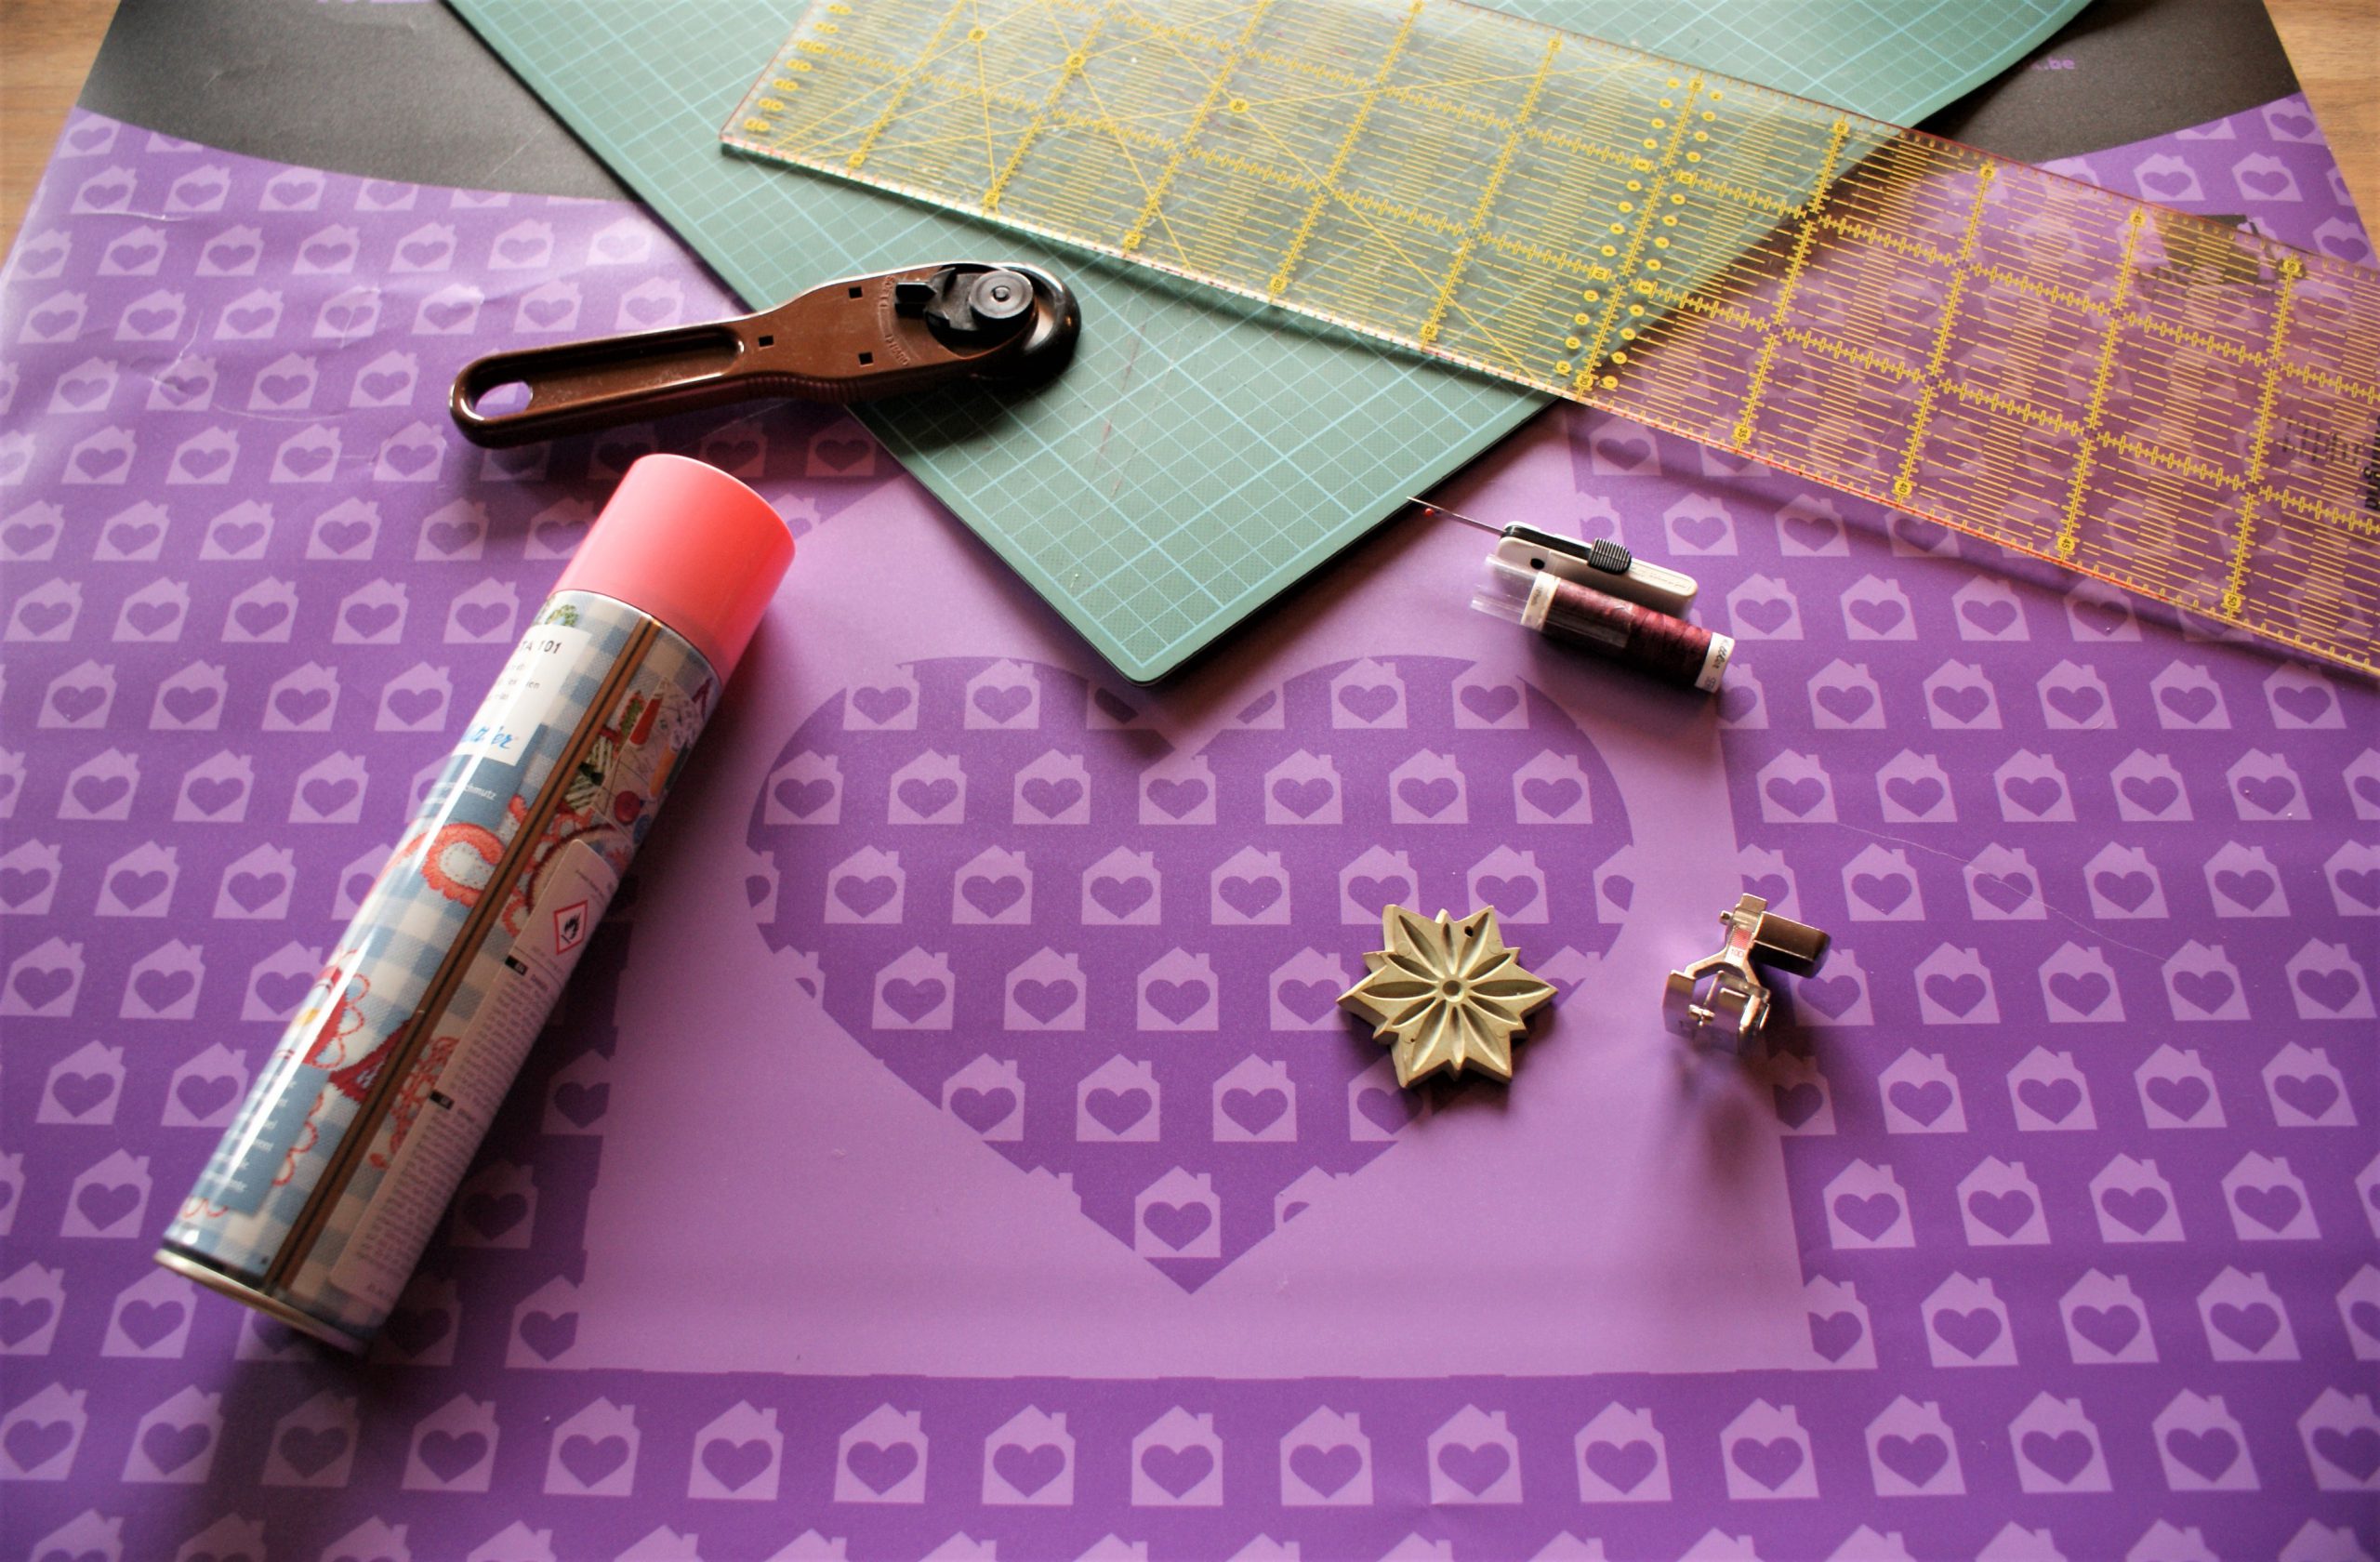
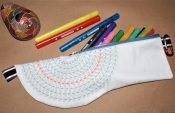
Supplies to pimp a bag:
- A poster with a nice image (if you use a woven fabric, fold over a seam allowance).
- Mettler Seralon sewing thread in a matching color.
- Rotary cutter, mat and ruler
- Mettler Web Bond temporary adhesive spray or double sided adhesive tape.
- I use Edgestitch foot # 10 to follow the side of the image.

How to pimp a bag as beginner sewist?
Measure the needed size. Cut out with the rotary cutter and mat.
Undo the stitches on both sides of the front panel with a seam ripper. Rip only as far as needed.
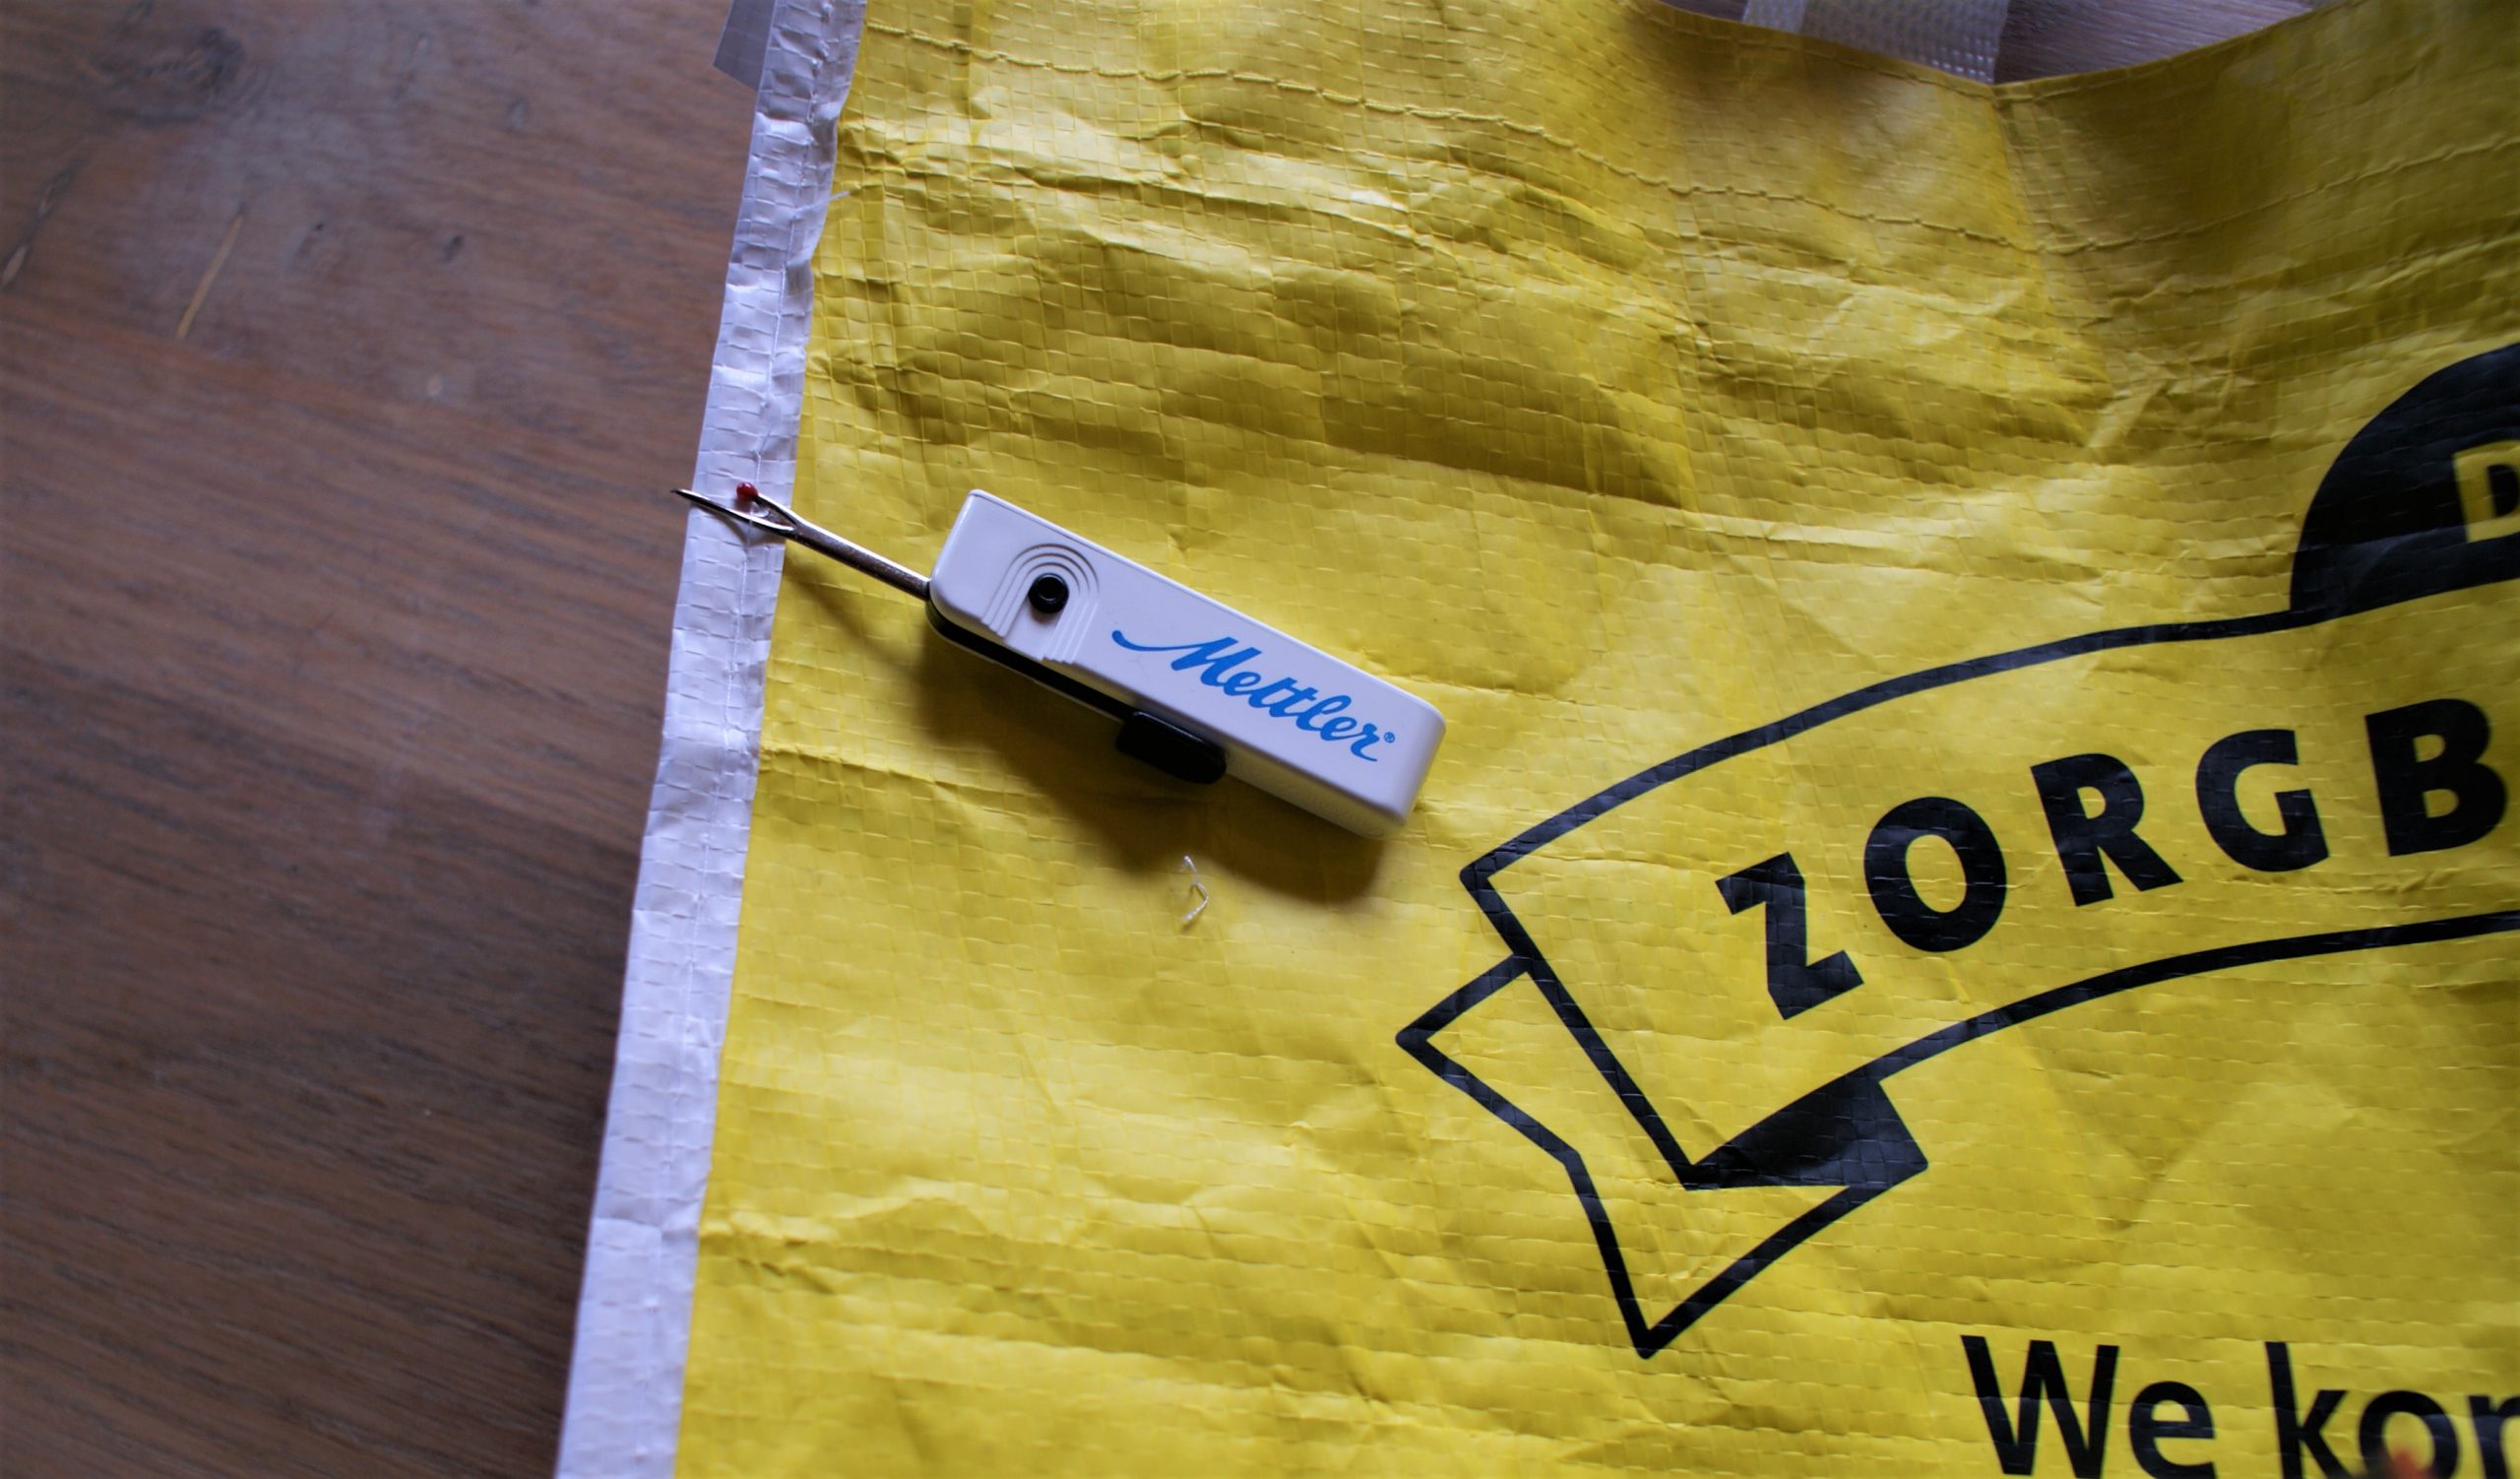
Now you have 2 open sides, it gives you room to sew on the panel of the bag.
Fix the synthetic poster to the bag with the adhesive spray.
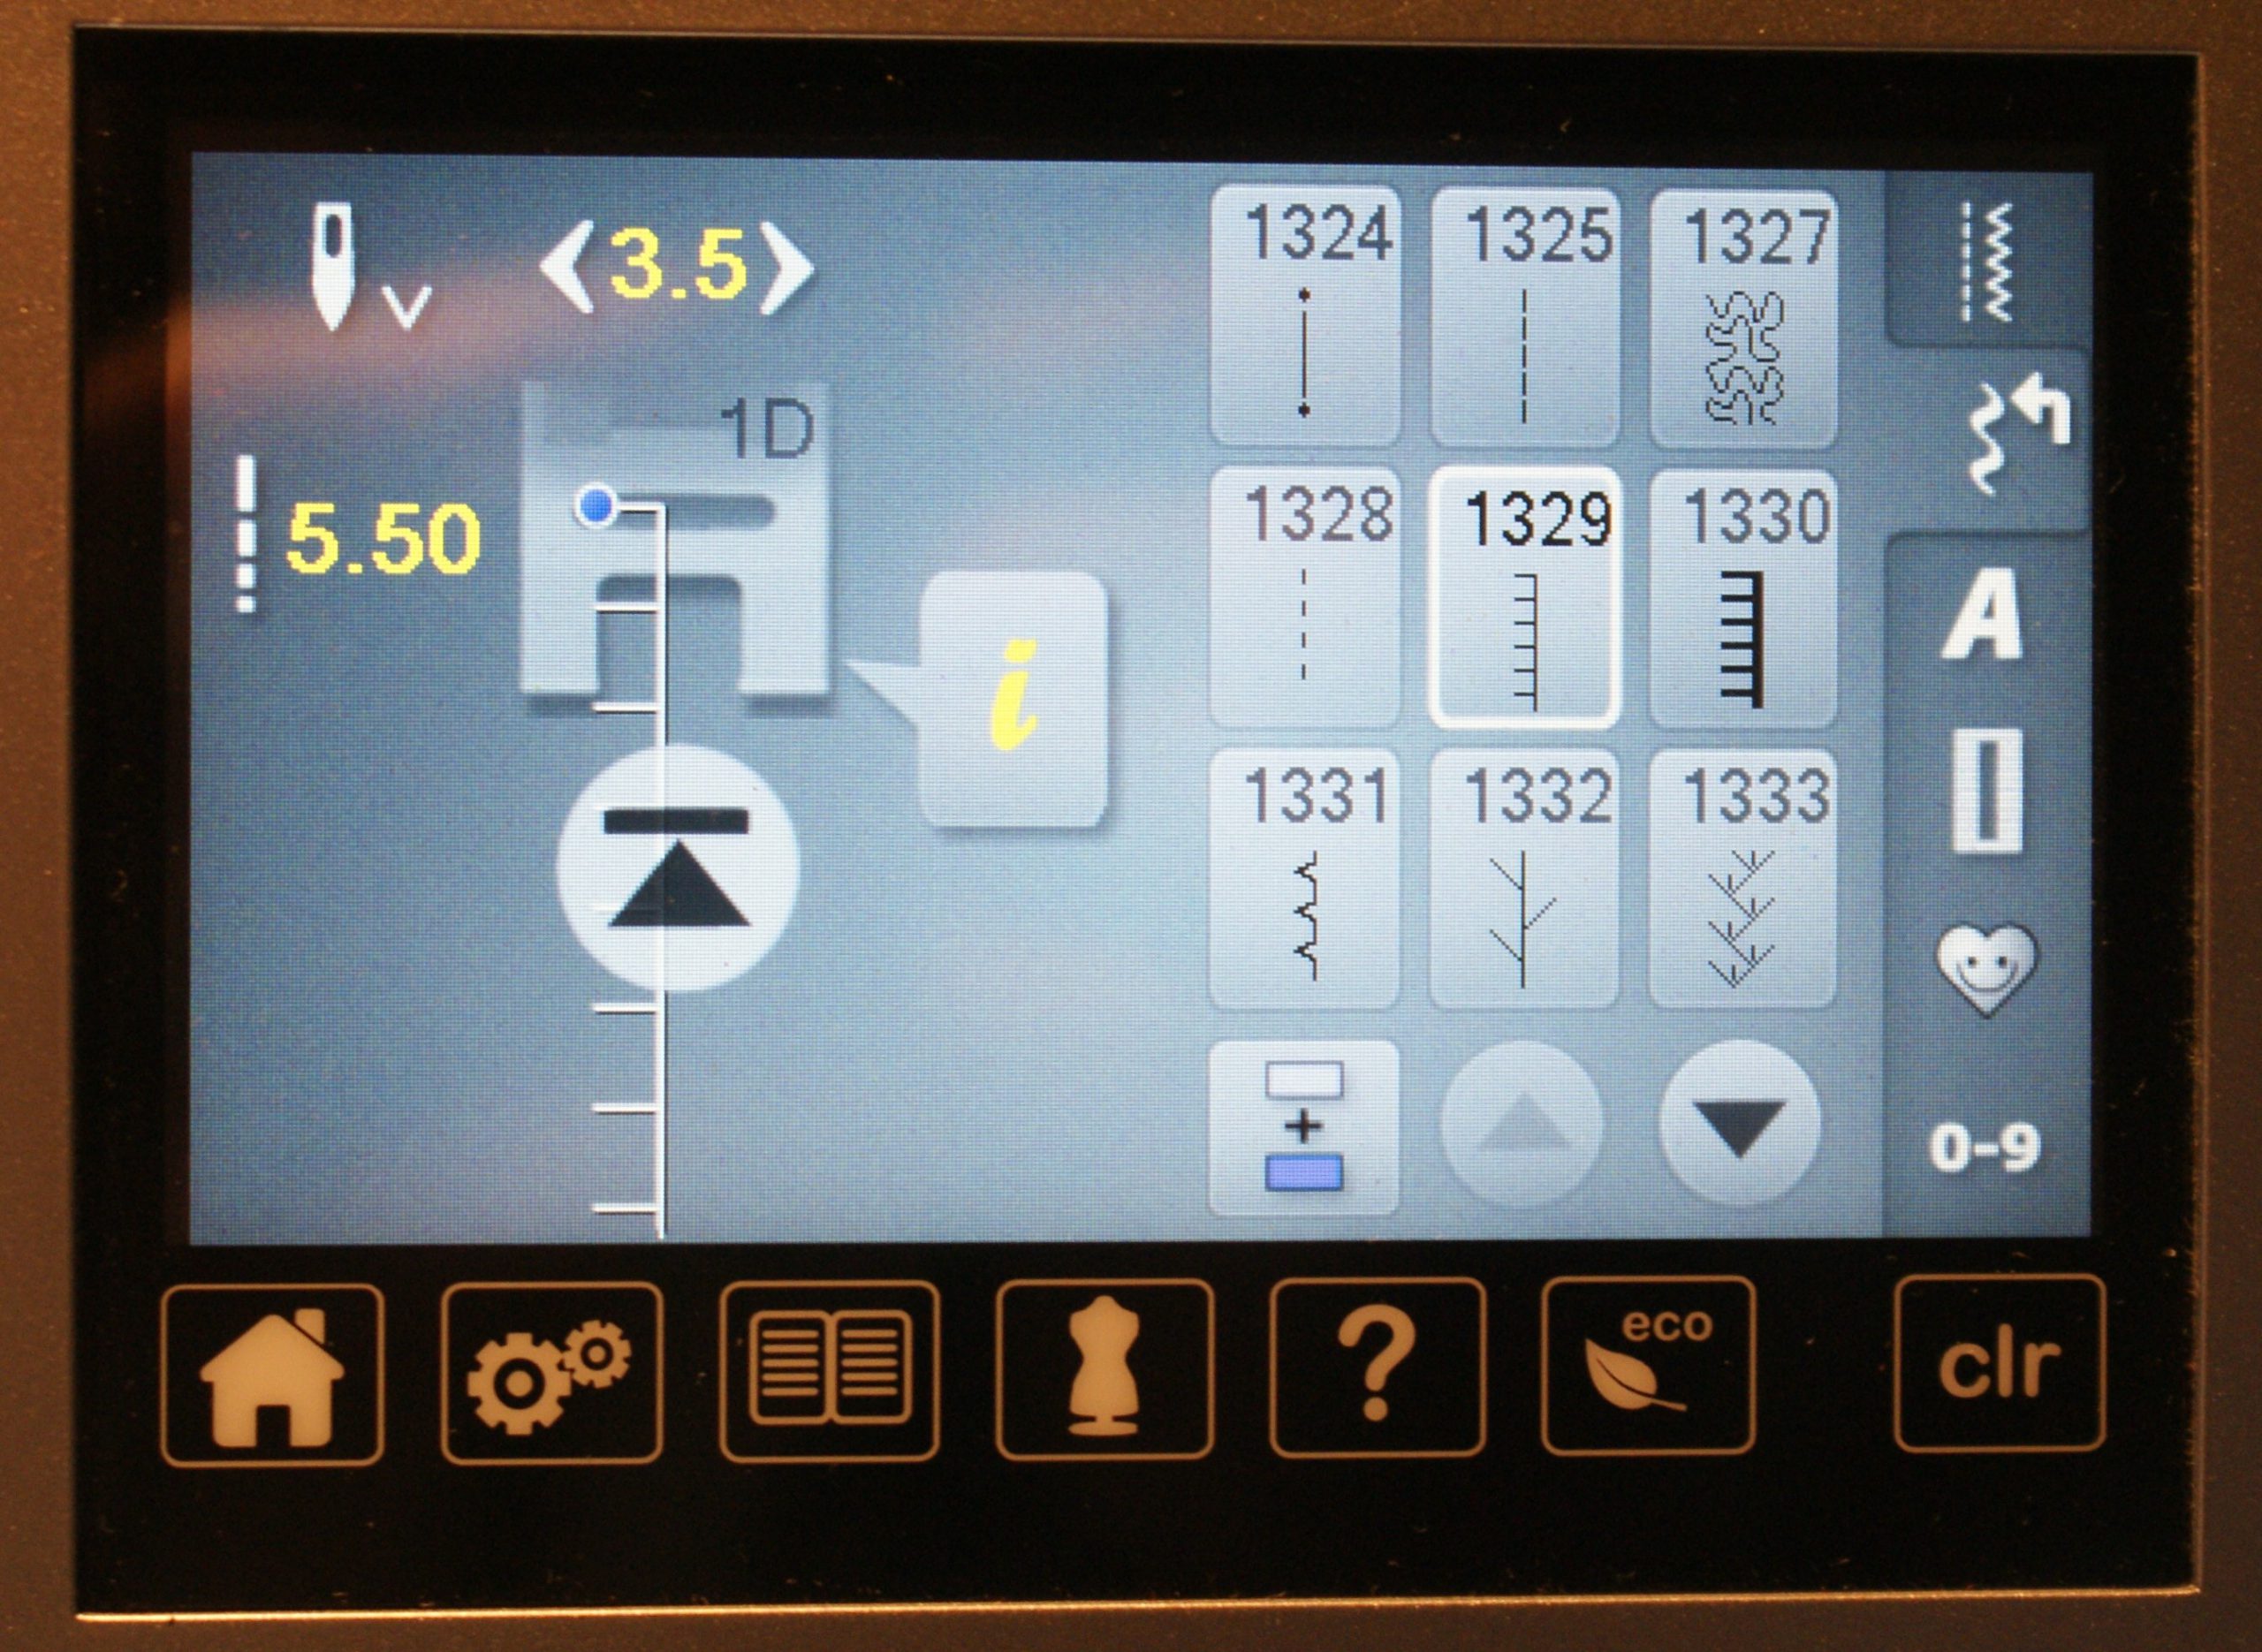
I chose an application stitch on the sewing machine, then moved it to the far left to use the edgefoot. This presser foot is great to follow a line. Take a look at the further settings:
Look how I sewed along the side of the poster to embellish the bag:
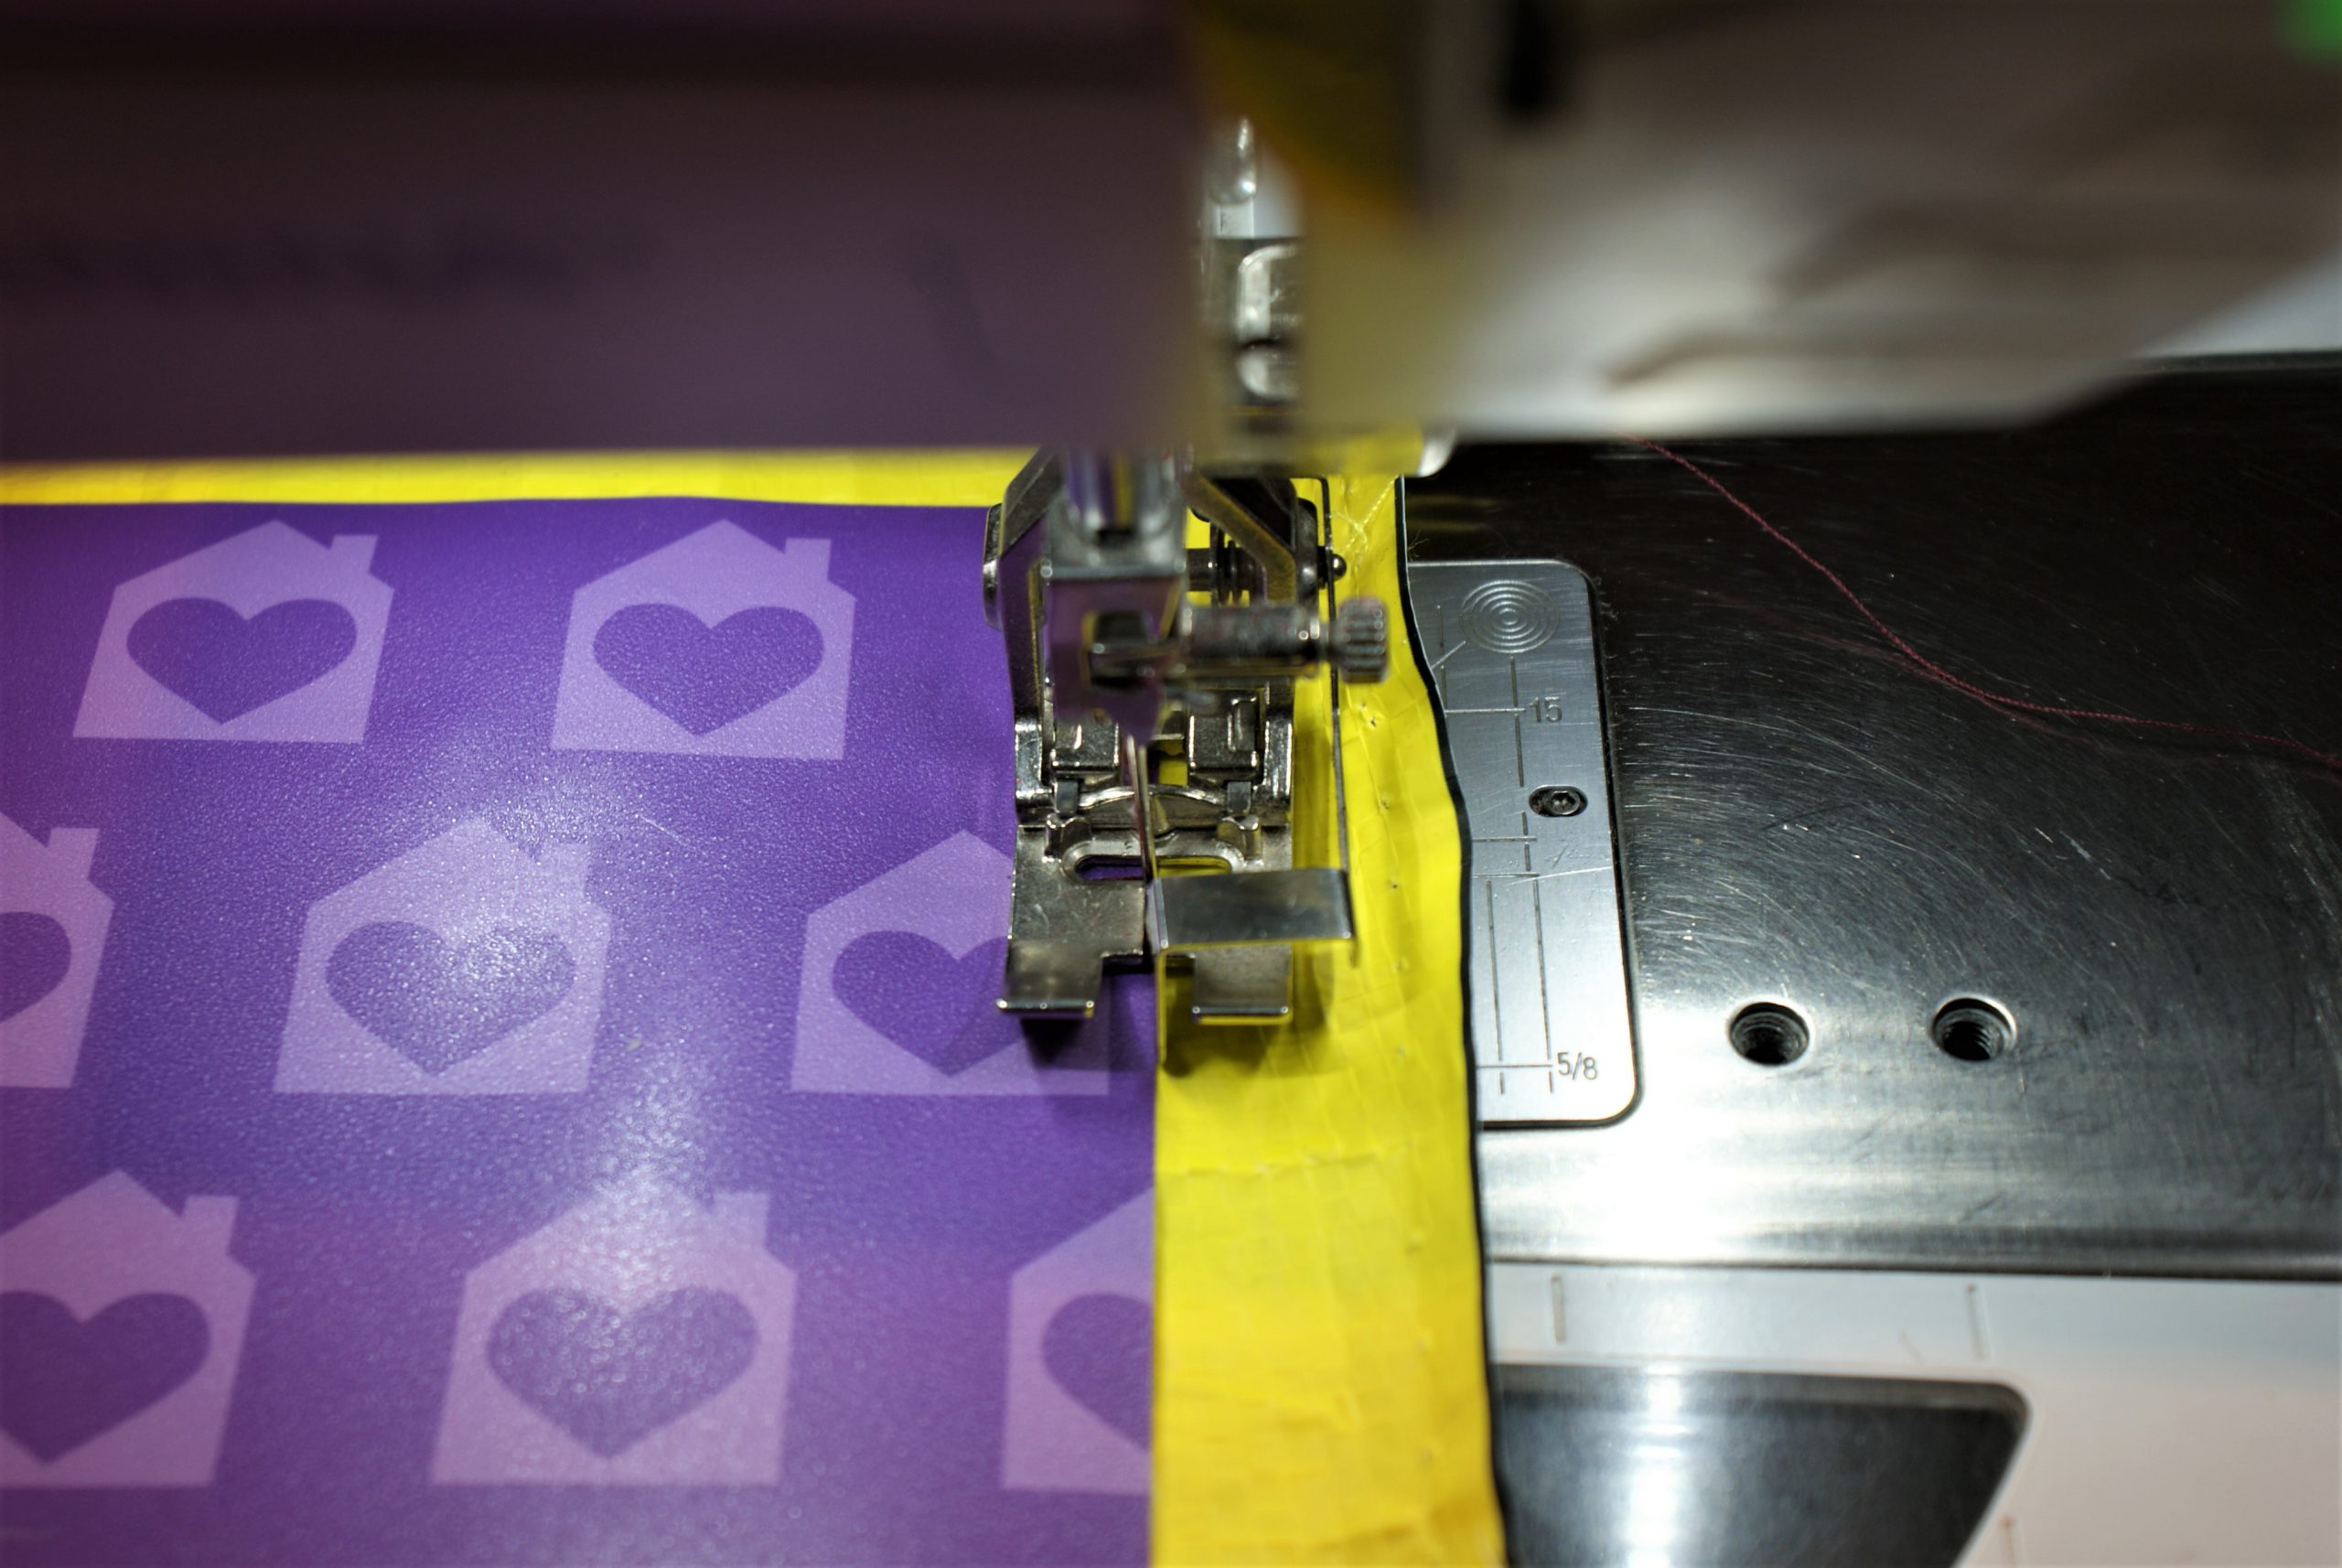
Sew along the side with the edgefoot 10.
Think of how to finish the corners. Make symmetric stitches. If necessary turn your work (with the needle in the bag) to find the right direction.
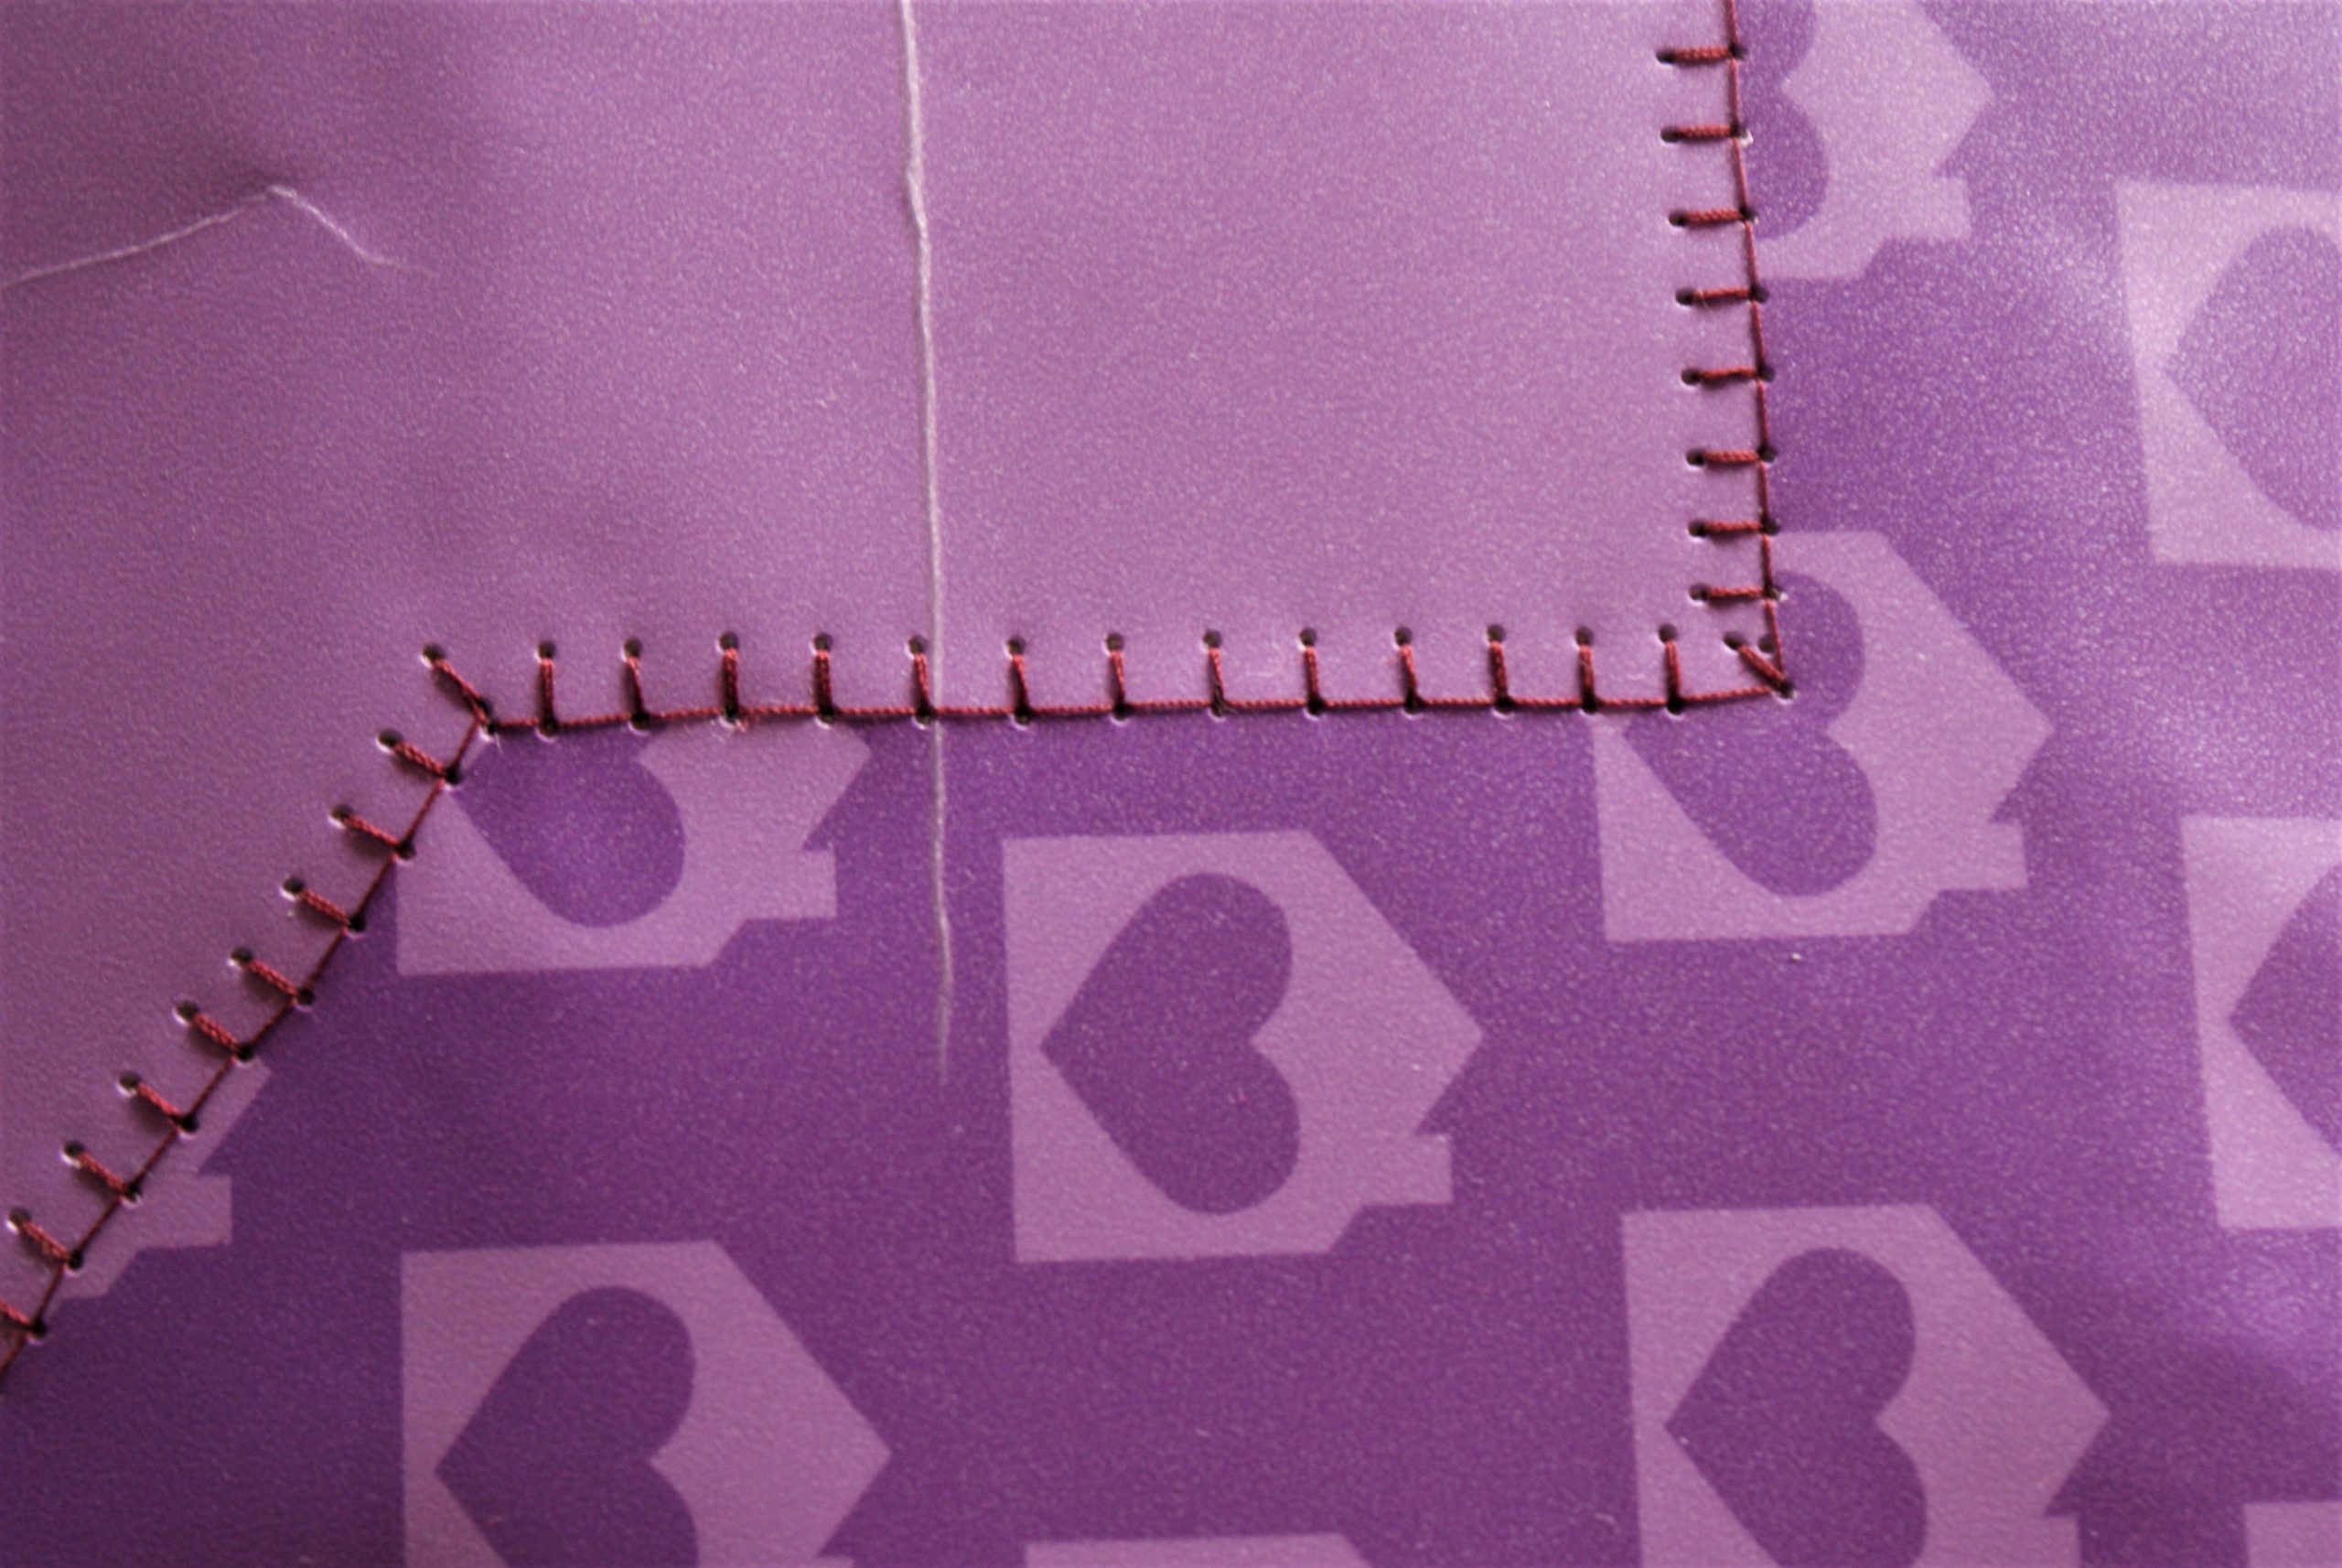
Take care to make symmetric corners. Turn you project in the right direction if necessary.
You see it’s easy to learn how to pimp a bag as beginner sewist.
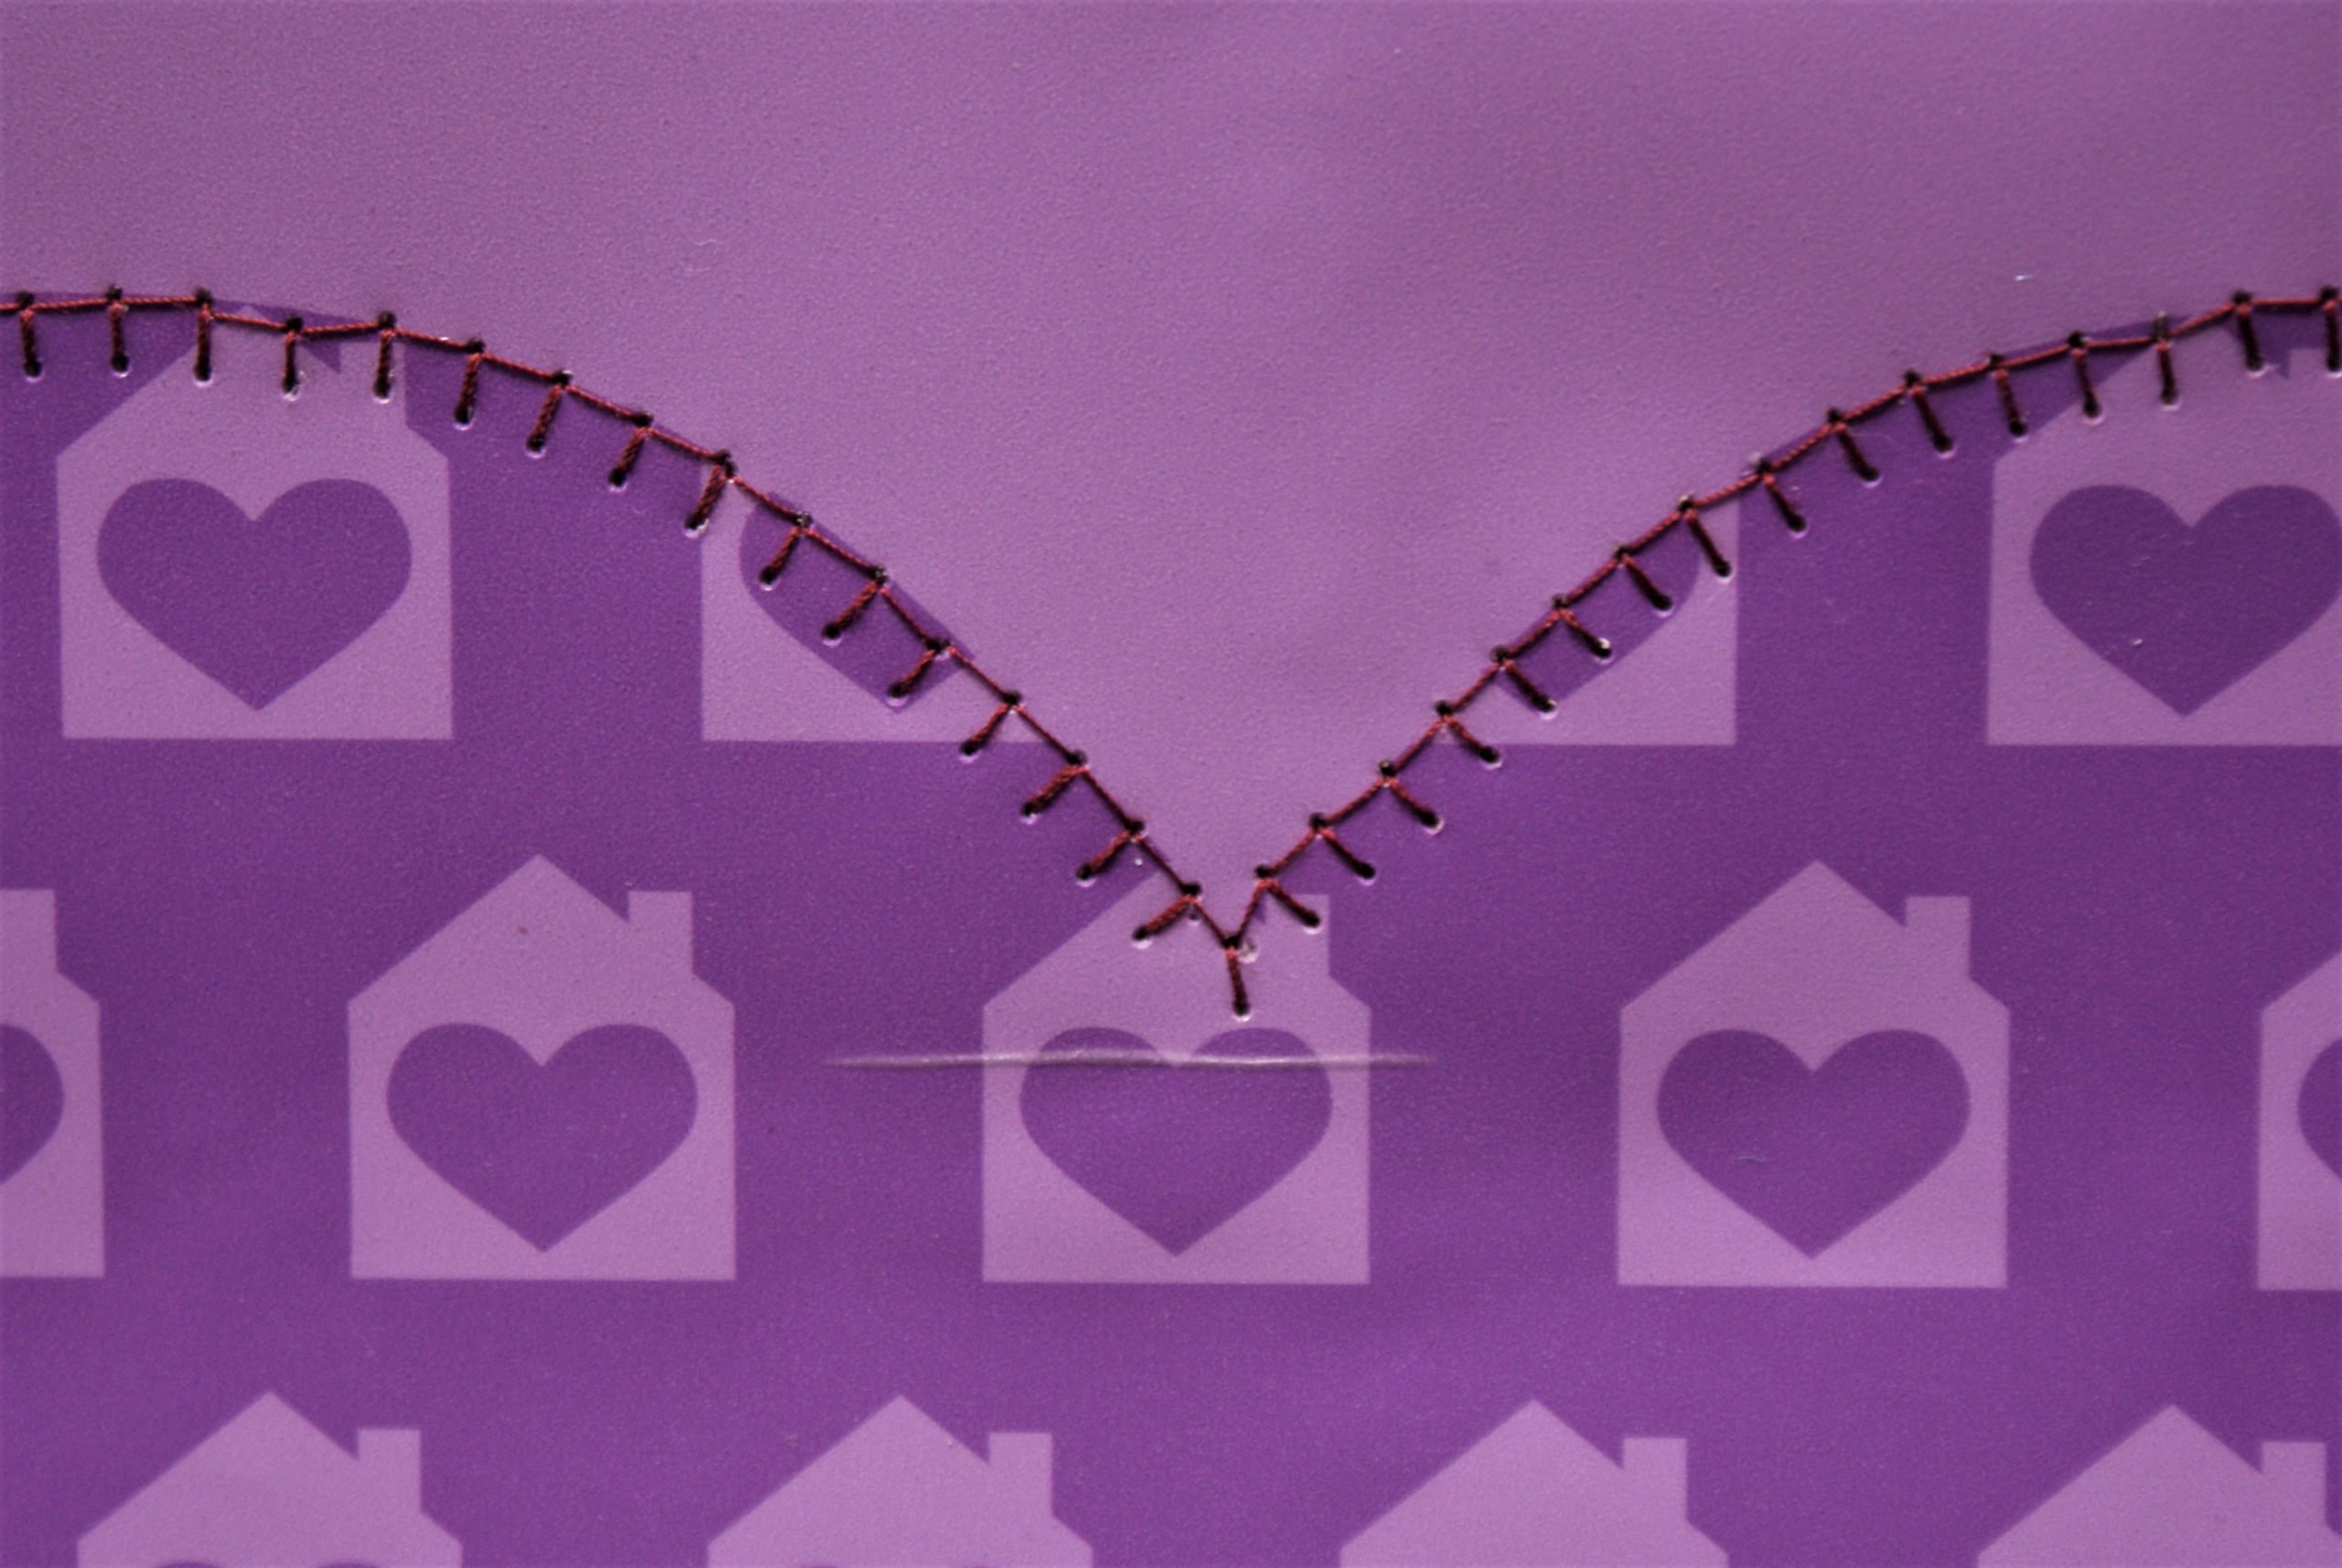
If it fits to the look of your image, you can add extra accent lines to highlight some parts. After finishing the original image, I sewed along the outline of the heart.
How to finish the bag:
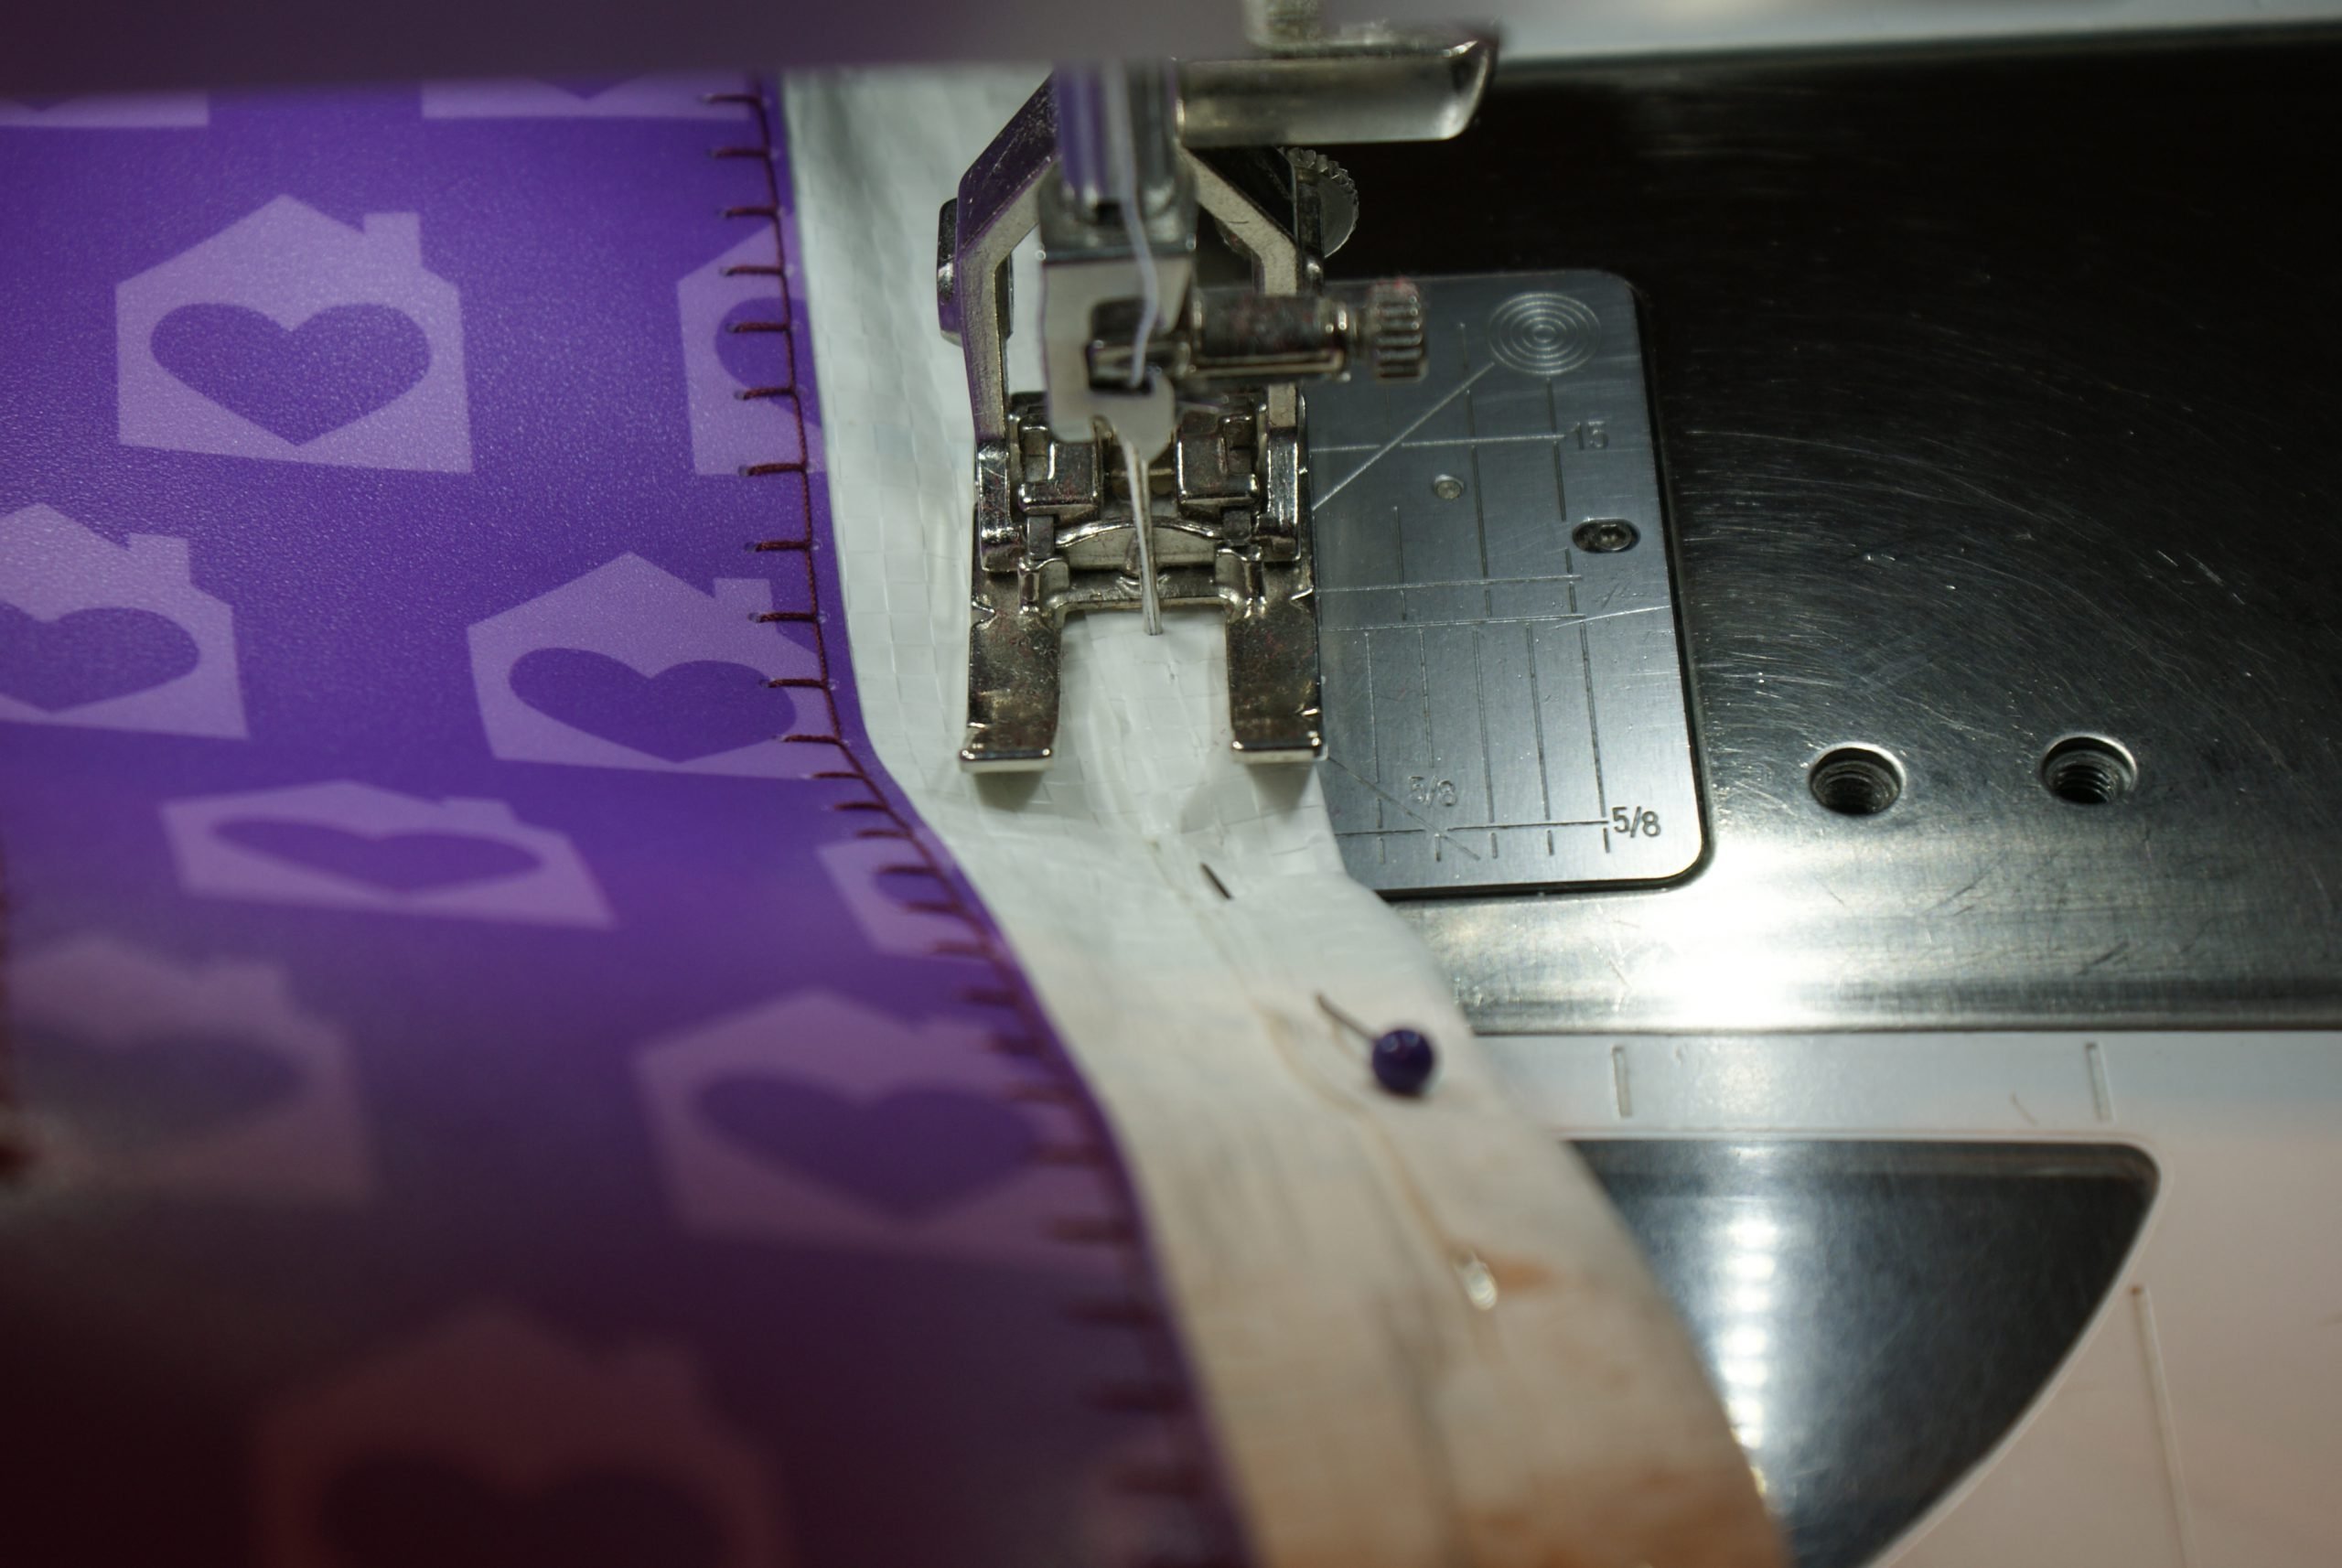
When all parts are sewn, you fold back the tape along the front and side part of the bag. Pin, if possible.
Then sew the tape with a straight stitch, in a larger stitch length. I used the Open embroidery foot # 20, because it gives a good view at the sewing.

The decorated bag is ready for further use:
Will you try these advices in the blogpost ‘How to pimp a bag as beginner sewist?” I hope you like upcycle projects and to be creative with cheap ideas. Please tell me in the comments?
0 Responses