 BERNINA Corporate Blog -
Andrea from Quiltmanufaktur and author for the German BERNINA blog is your guide for this fantastic quilt-along over the next 12 months. Together, you will sew classic patchwork blocks and combine them into a sampler. The completed quilt will be traditional, yet modern! The next part has been written and we are delighted that you join this quilt project.
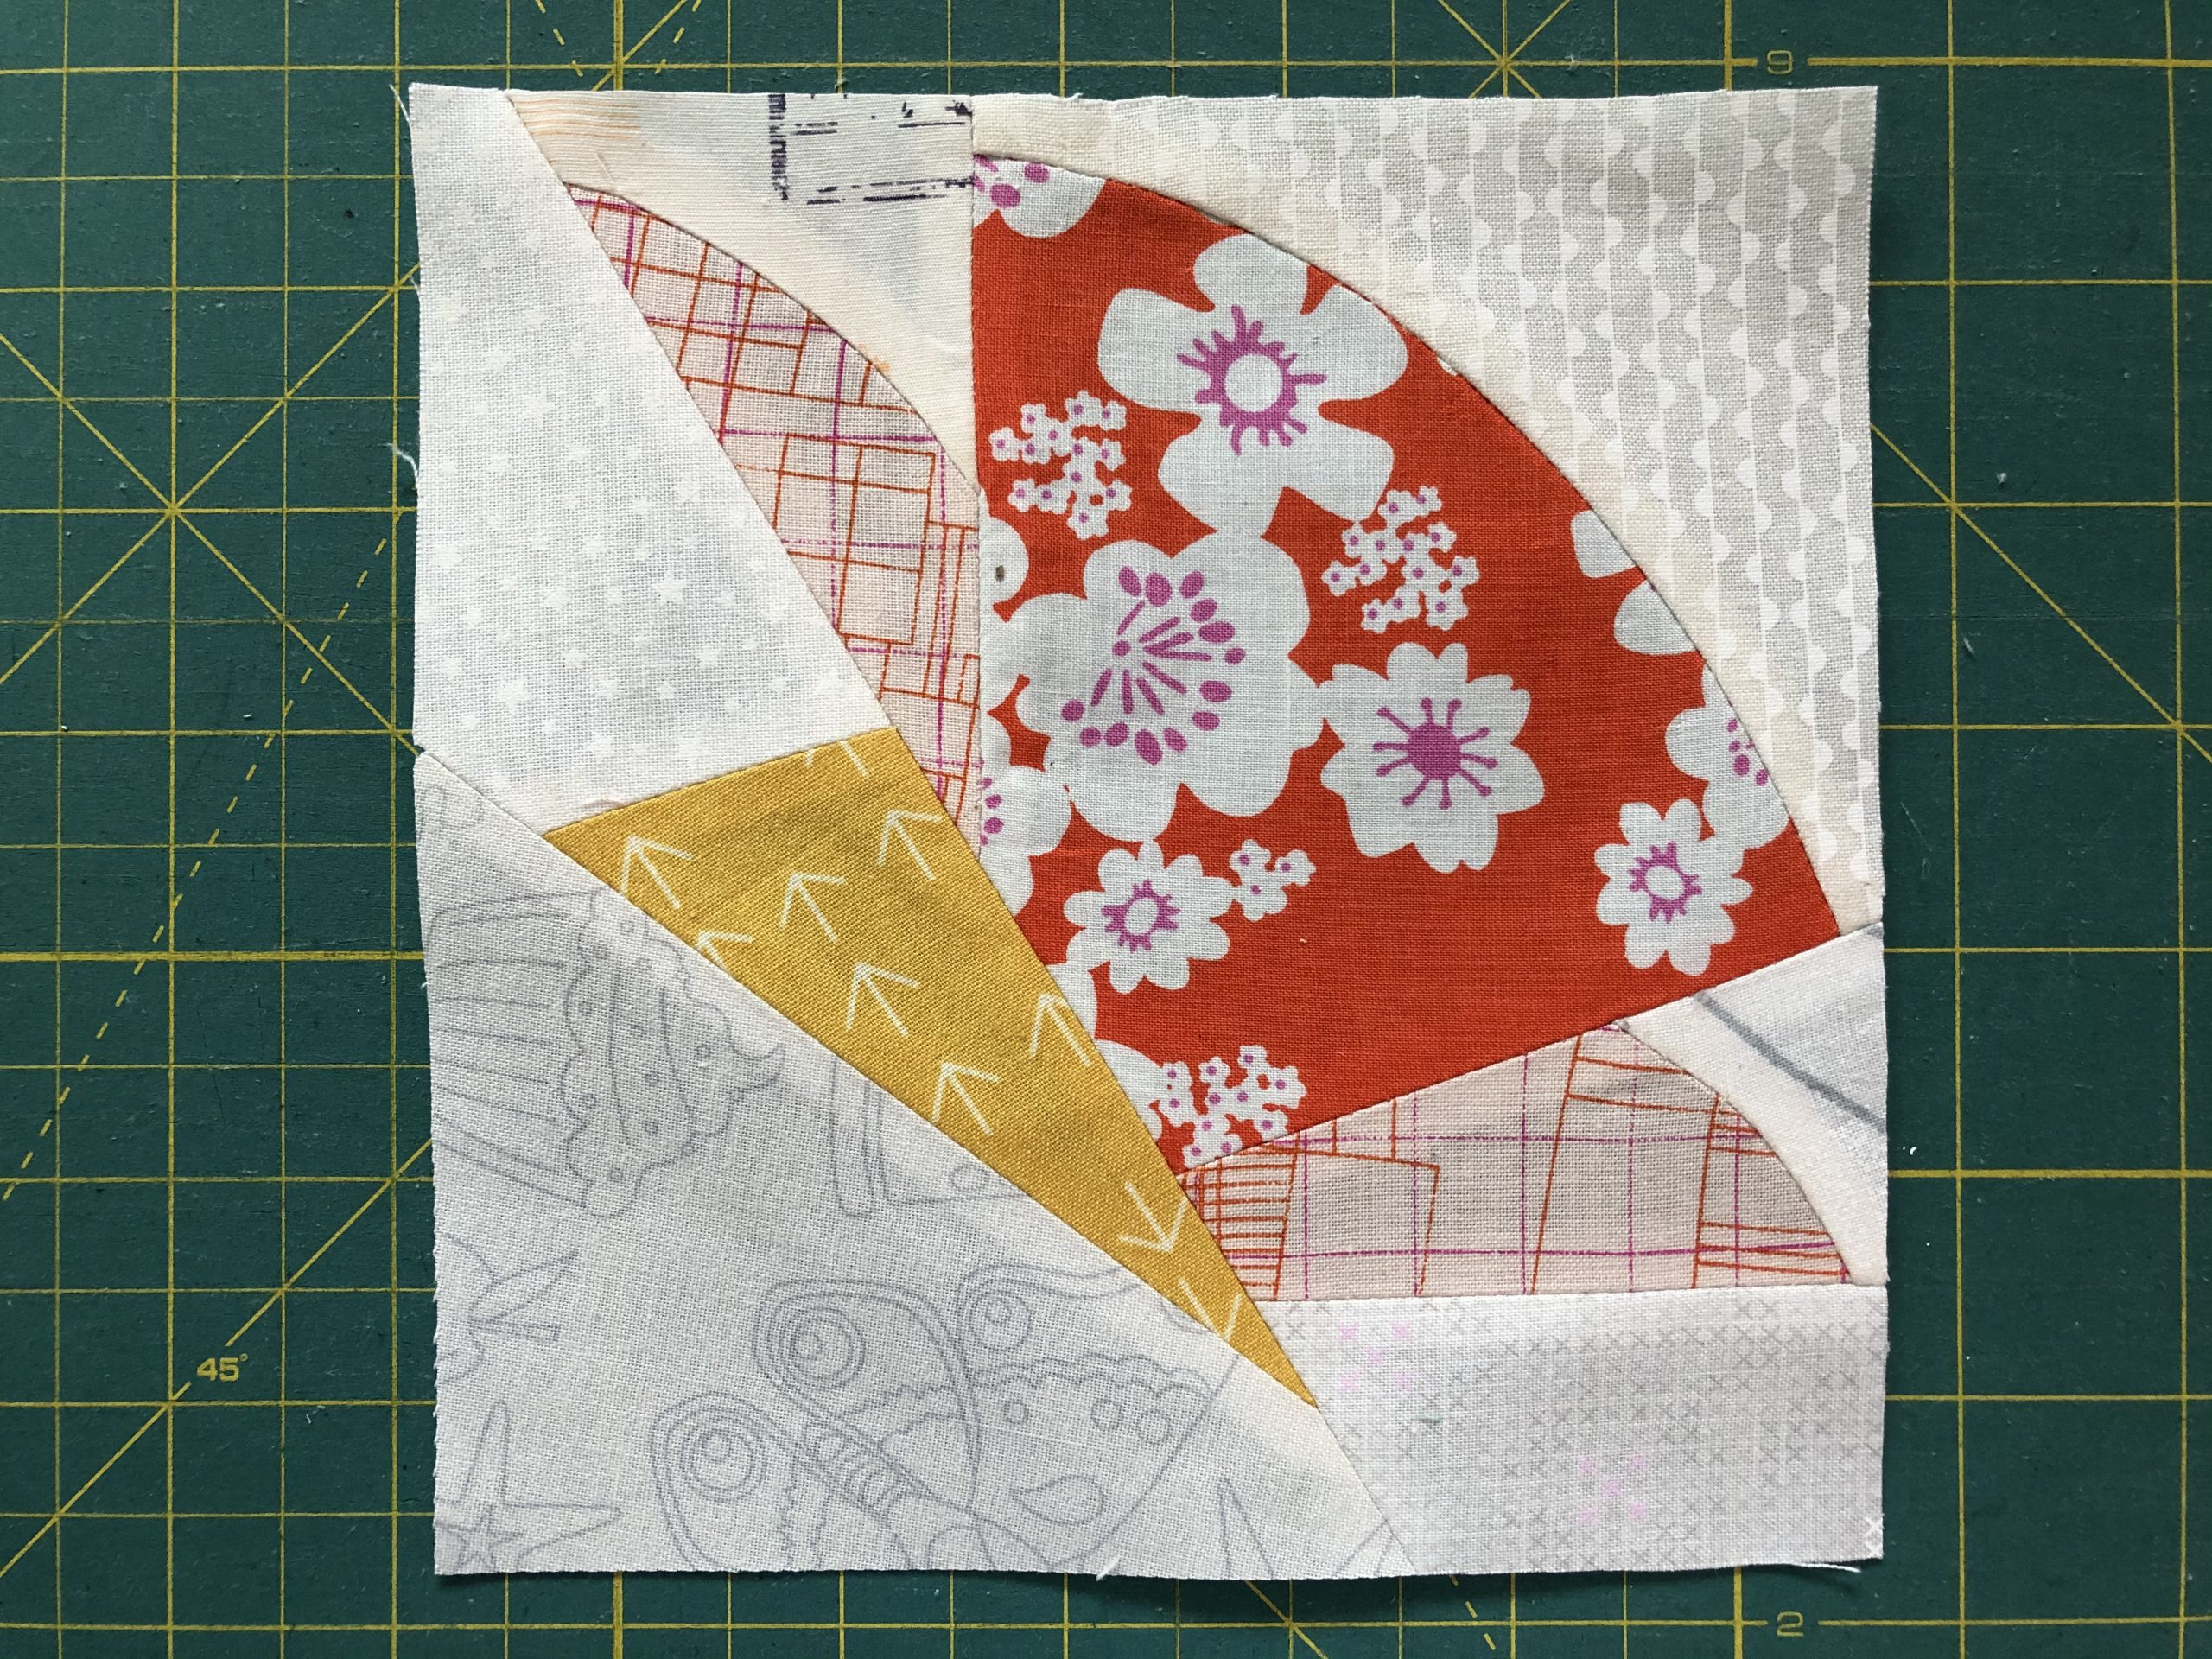
In the blink of an eye, it is once again time to create the next 6-inch block. The 18th block in the Old Block Quilt-Along is called “Butterfly”.
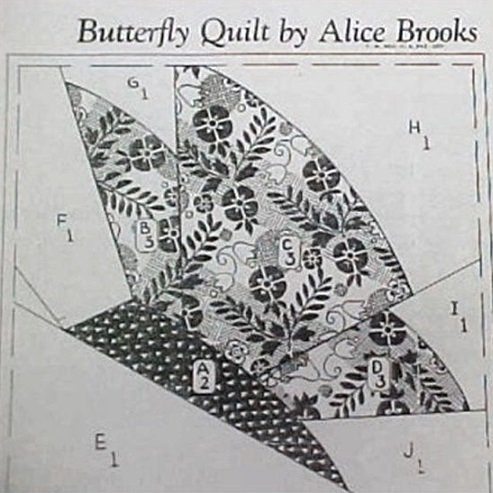
The pattern is by Alice Brooks and was published on July 25, 1936 in the Detroit Free Press.
Butterflies were a very popular design and the subject of several patterns. I liked this one mainly because of its simplicity. It is also not very complex, making it ideal for this mini-series of 6-inch blocks!
We are sewing the “Butterfly” patchwork block
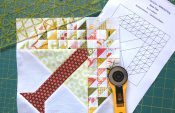
This is a 6-inch block (6.5 inches including the seam allowance) made using pattern templates.
Download the patchwork templates
For cutting out, I have created two PDF documents to download:
- The first is a coloring sheet. This allows you to try out colors and designs for this block to see what they look like.
- On the second PDF you will find the templates.
On the PDF with the templates, I have put a control square with a side length of 1 inch so that you can check whether your printout of the templates is the right size. It is important to set your print options to “Actual size”.
Here are the downloads:
Cutting out the pattern pieces
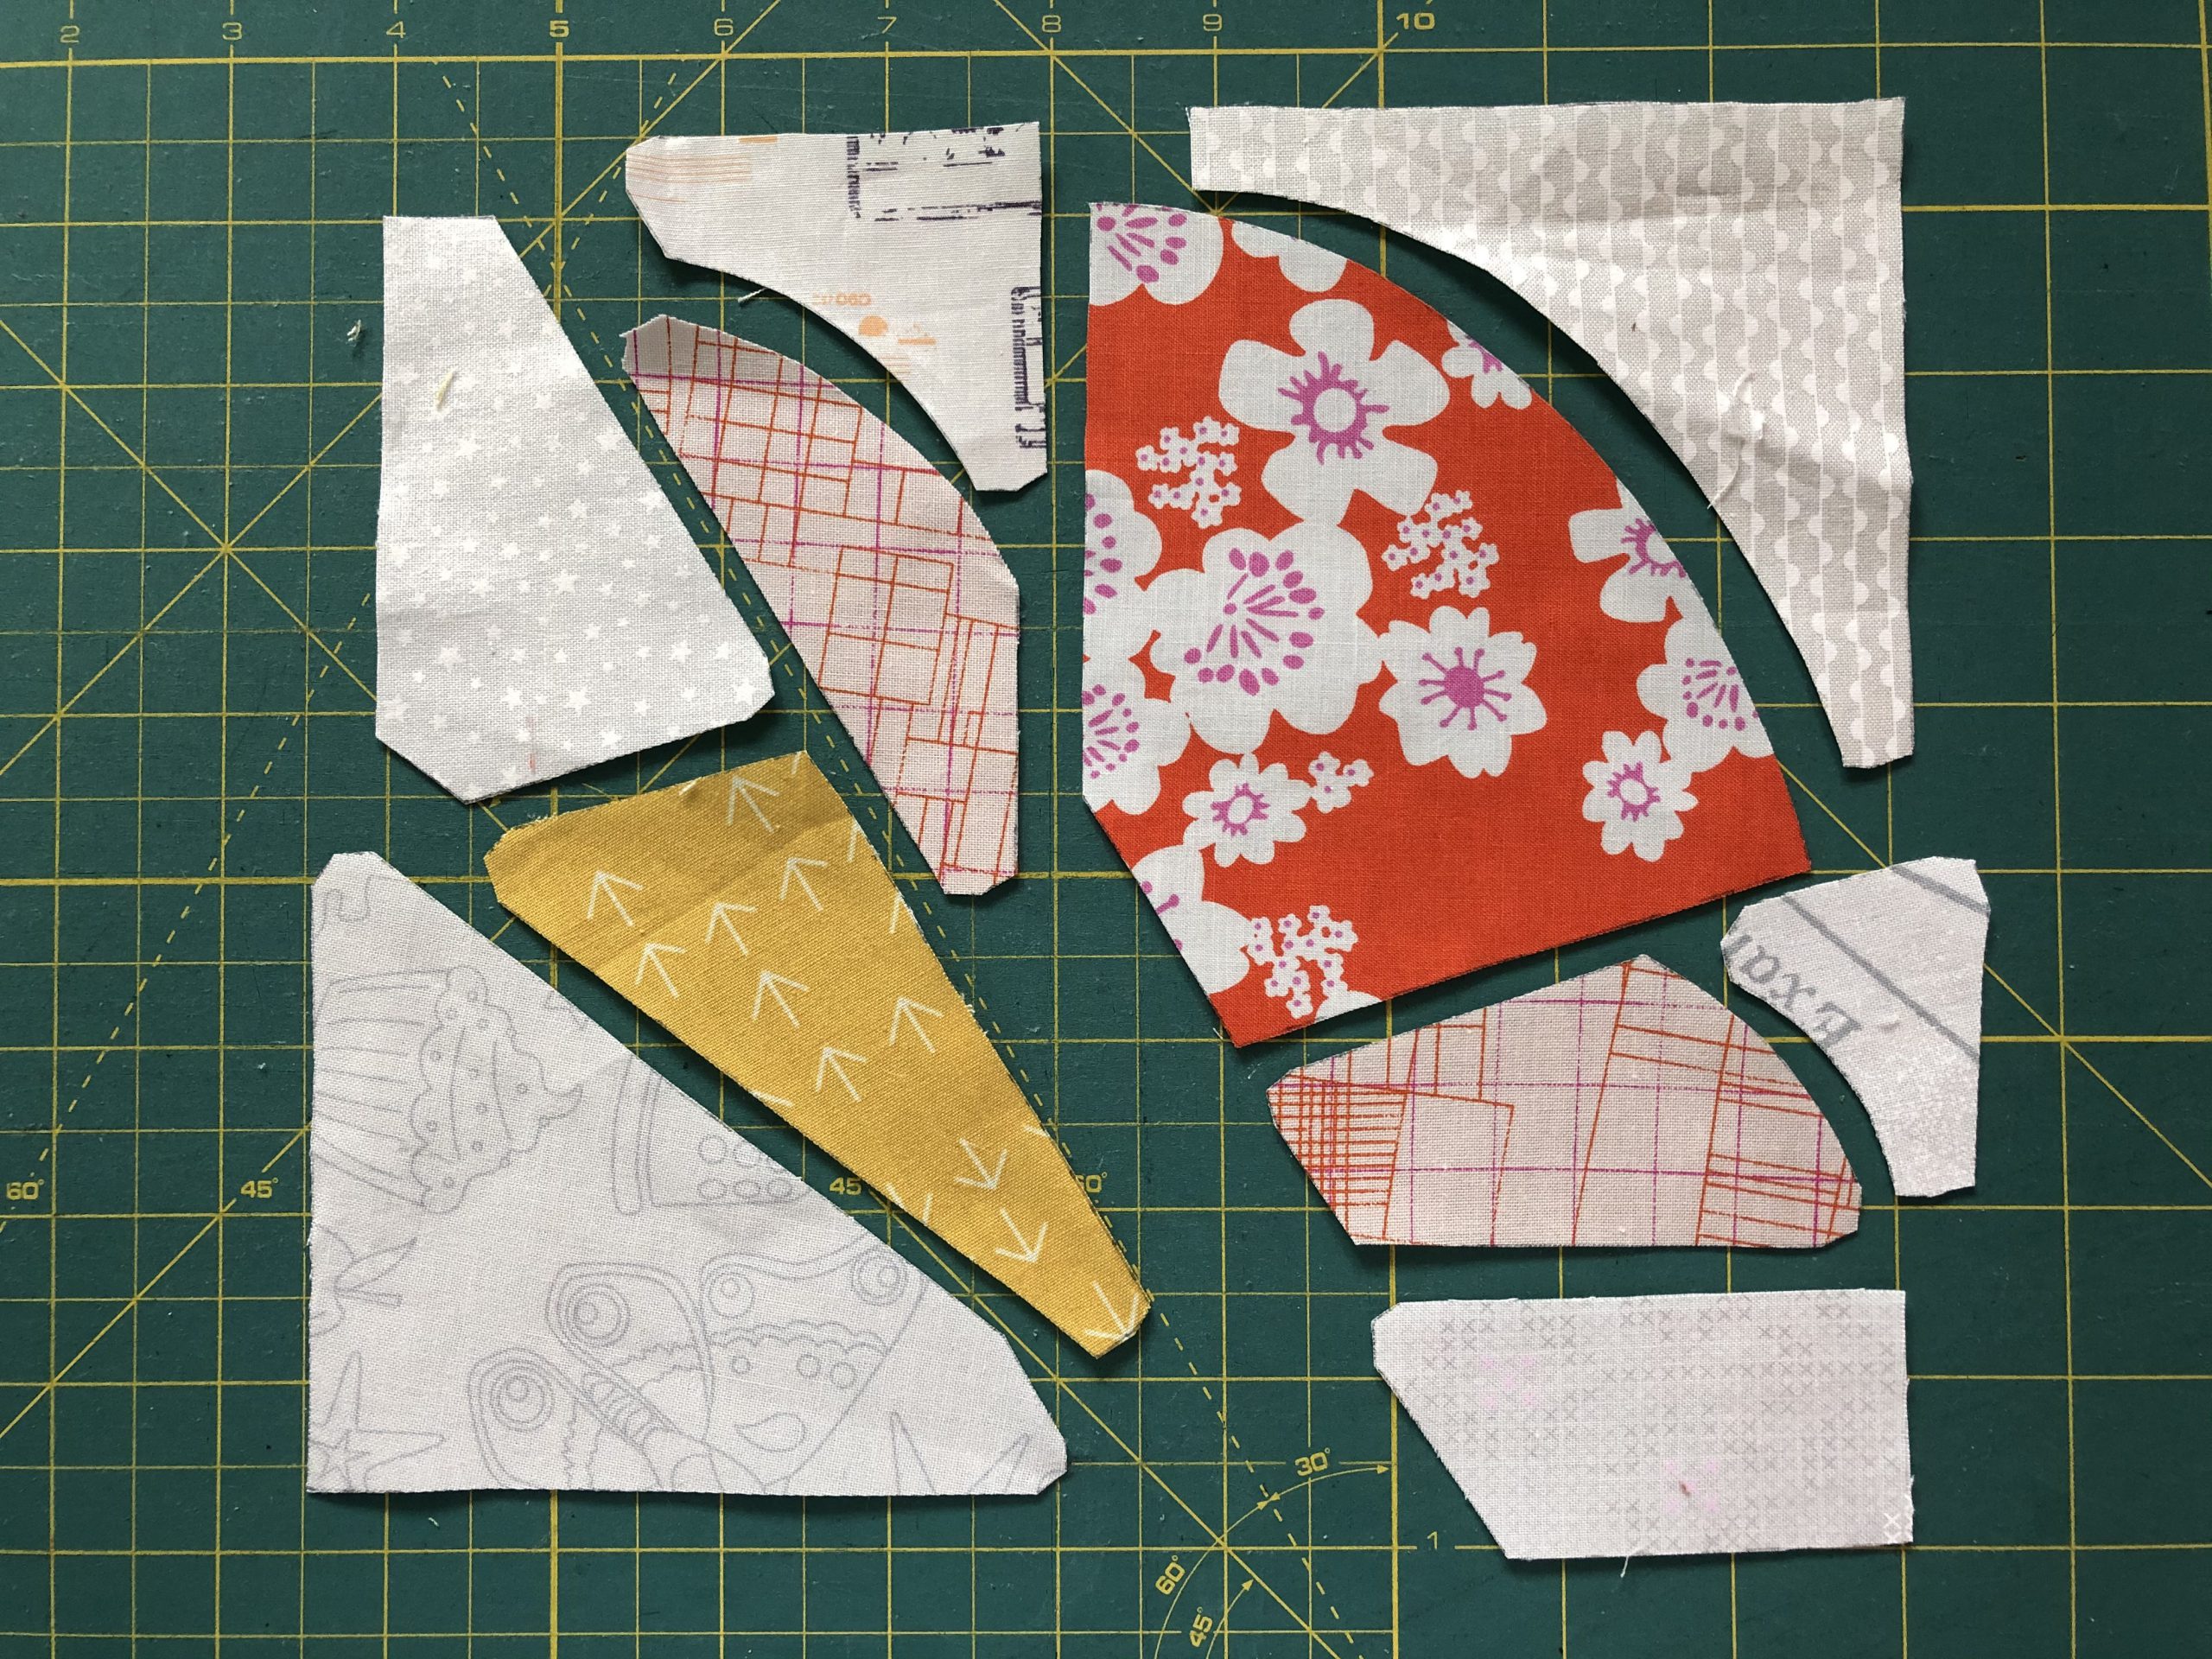
The following pattern pieces are needed:
- Pattern piece A: 1 x background fabric
- Pattern piece B: 1 x background fabric
- Pattern piece C: 1 x background fabric
- Pattern piece D: 1 x background fabric
- Pattern piece E: 1 x background fabric
- Pattern piece F: 1 x background fabric
- Pattern piece G: 1 x patterned fabric
- Pattern piece H: 1 x patterned fabric
- Pattern piece I: 1 x patterned fabric
- Pattern piece J: 1 x patterned fabric
Sewing the “Butterfly” patchwork block
Once again, the block looks more complicated than it is! You’ve sewn curves quite often now, so everything should work out fine ;-).
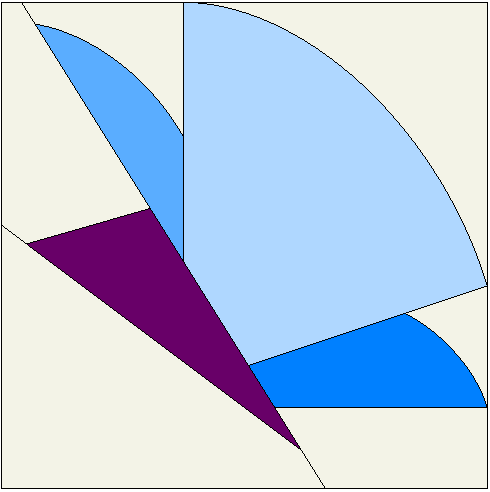
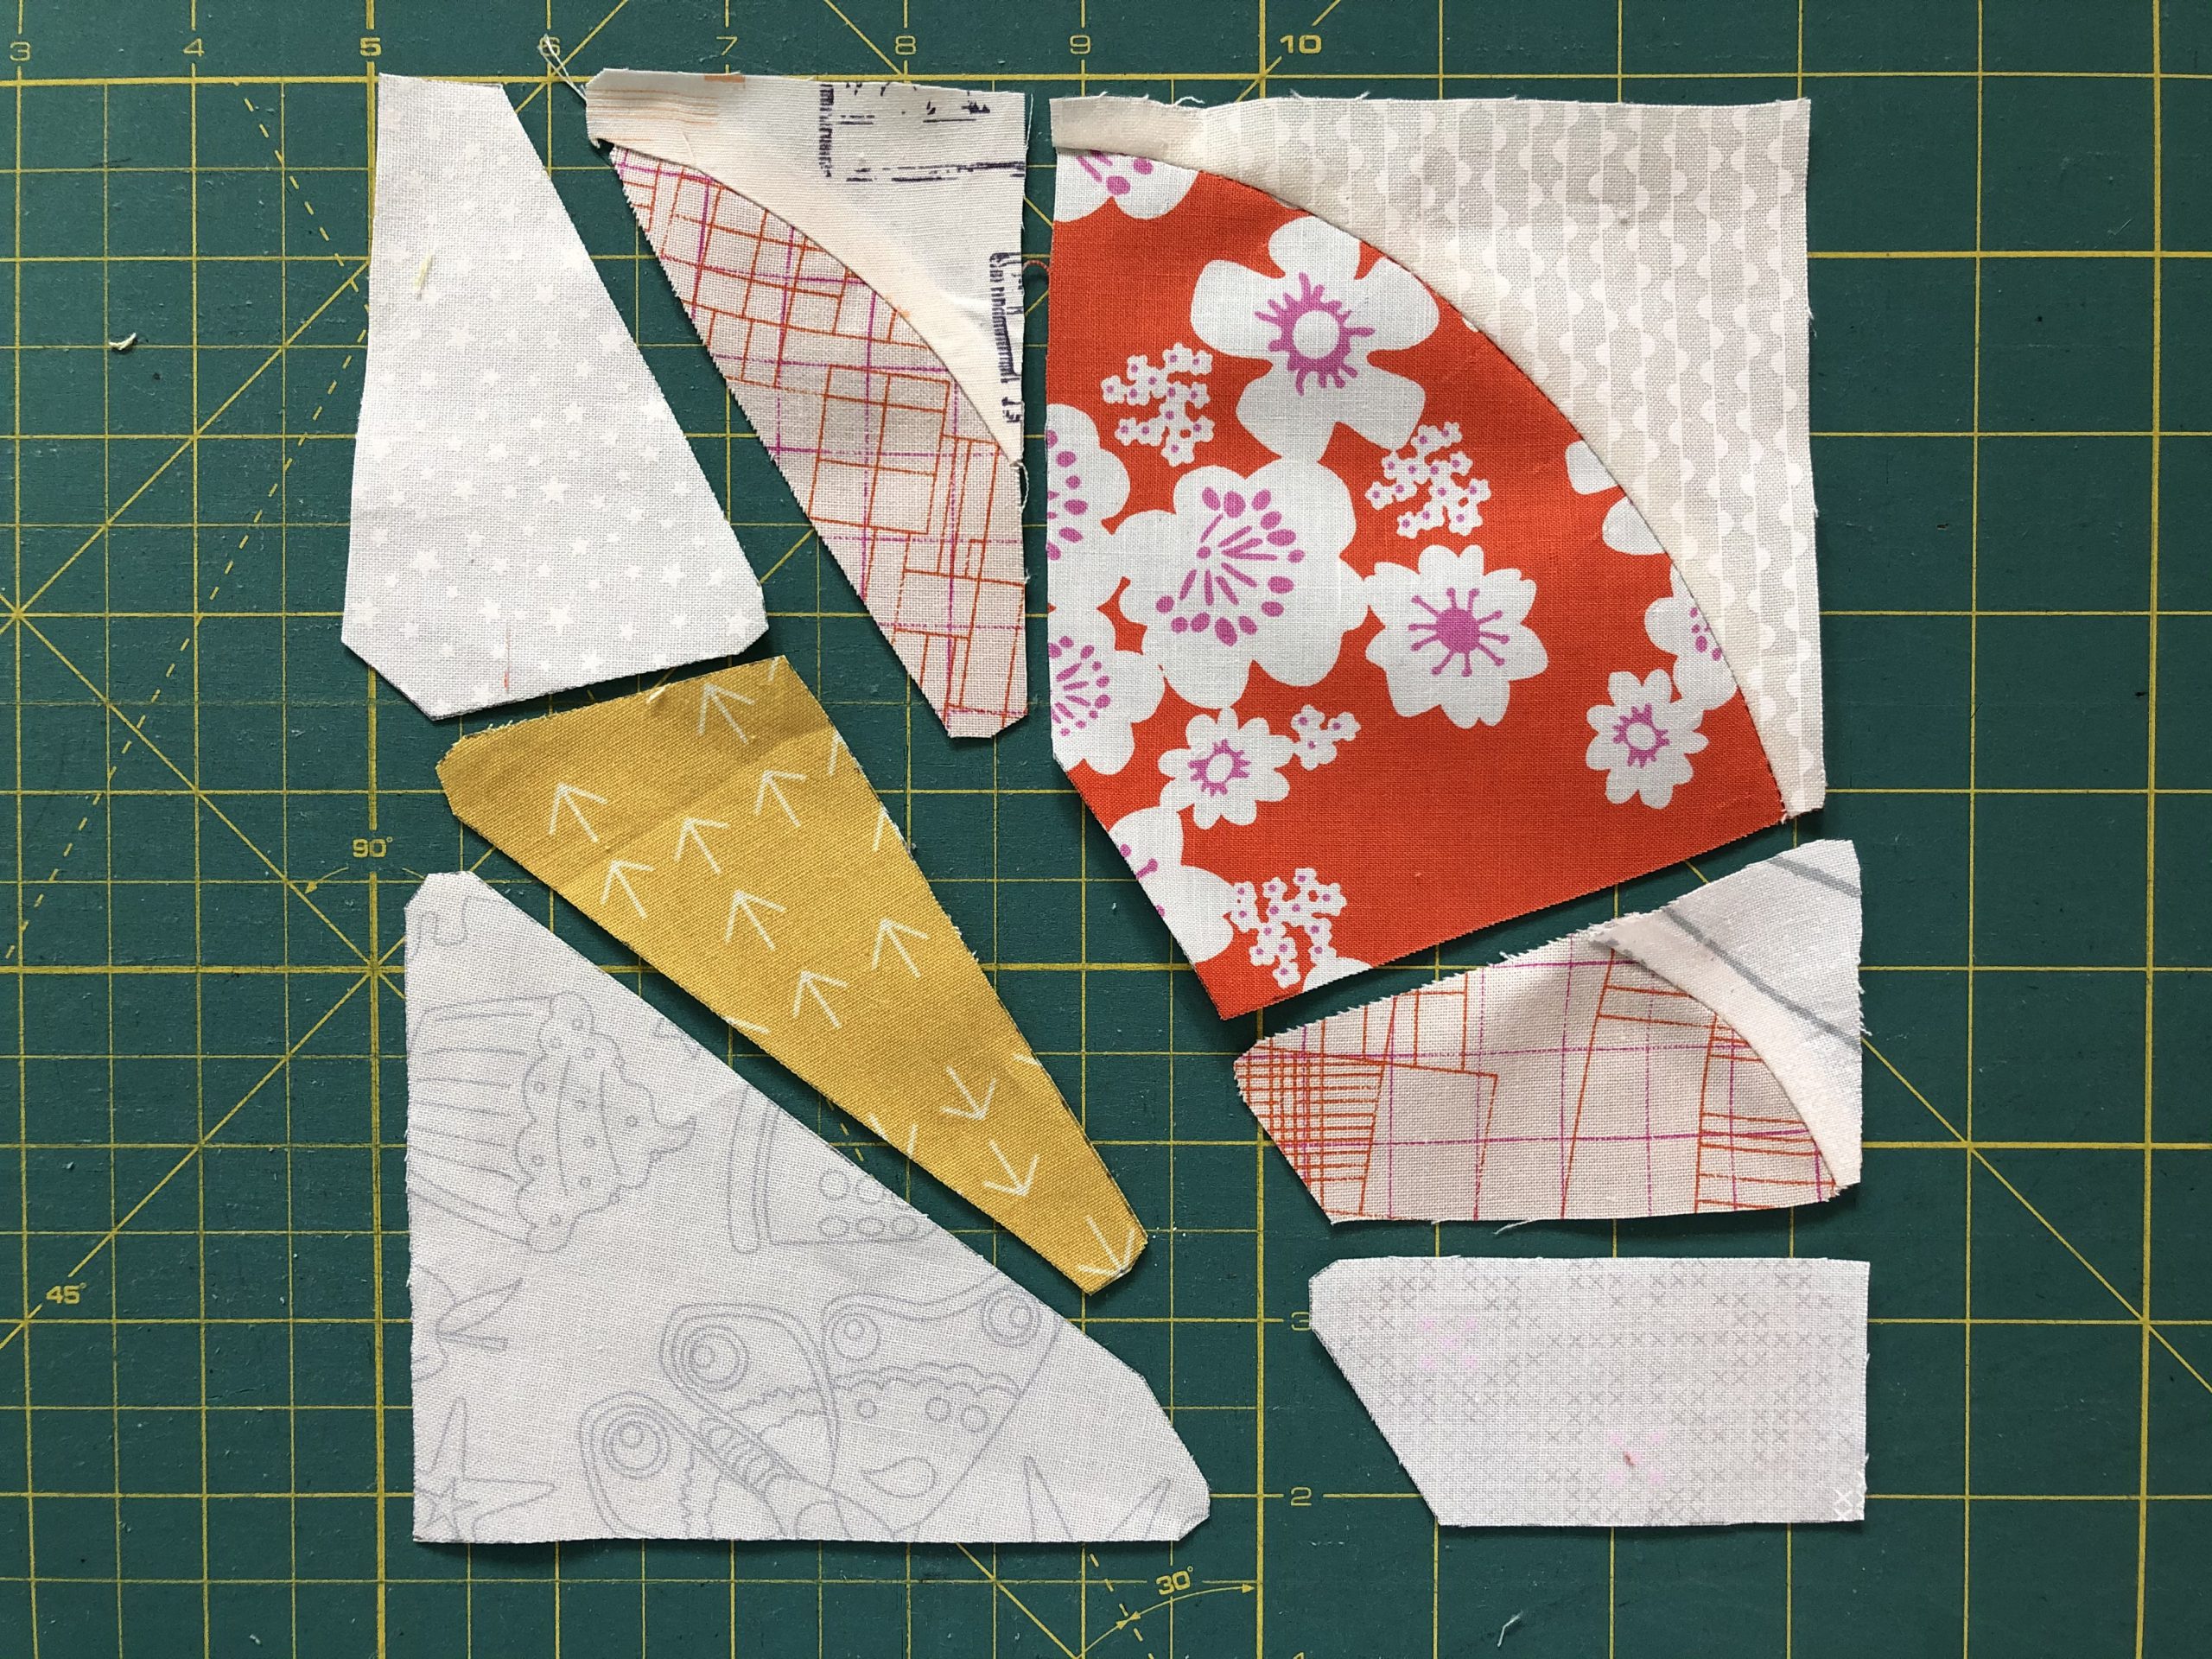
As always, first lay out the pattern pieces to get an overview.
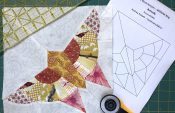
Sew the block pieces with the curves together first.
Now join the resulting segments to this diagonal block piece.

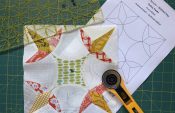
Then sew the pieces beneath the wings to make a block piece.

In the last step, the diagonal seam between the two block pieces is sewn together.
And another small block is already complete. That wasn’t so hard, right?
If you want, you can add antennae to the butterfly’s head – by hand or on the machine. To do so, take another look at the newspaper clipping. There you can see two fine lines extending from the top of the head.
Everyone will be happy to see your finished block here in the Community area. And of course you can also share your block on Facebook and Instagram. If you post there under the hashtag #BERNINAOldBlockSampler, it’s easy for people to find the blocks for this quilt-along all in one place.
New here?
Have you only just discovered the quilt-along? No problem! You can join at any time. Registration is not required, and you can win a BERNINA 570 QE! All the posts will remain permanently available:
In the first post, which was the invitation to participate in the quilt-along, you will find the important initial information about our joint project:
Old Block Quilt-Along – who’s in?
You can find the rest of the blocks from the quilt-along that have already been published here:
Old Block Quilt-Along – overview of all the posts
I’m glad you’re taking part and I hope to see more wonderful pictures of your blocks!
Best regards,
Andrea
0 Responses