 BERNINA Corporate Blog -
Andrea from Quiltmanufaktur and author for the German BERNINA blog is your guide for this fantastic quilt-along over the next 12 months. Together, you will sew classic patchwork blocks and combine them into a sampler. The completed quilt will be traditional, yet modern! The next part has been written and we are delighted that you join this quilt project.
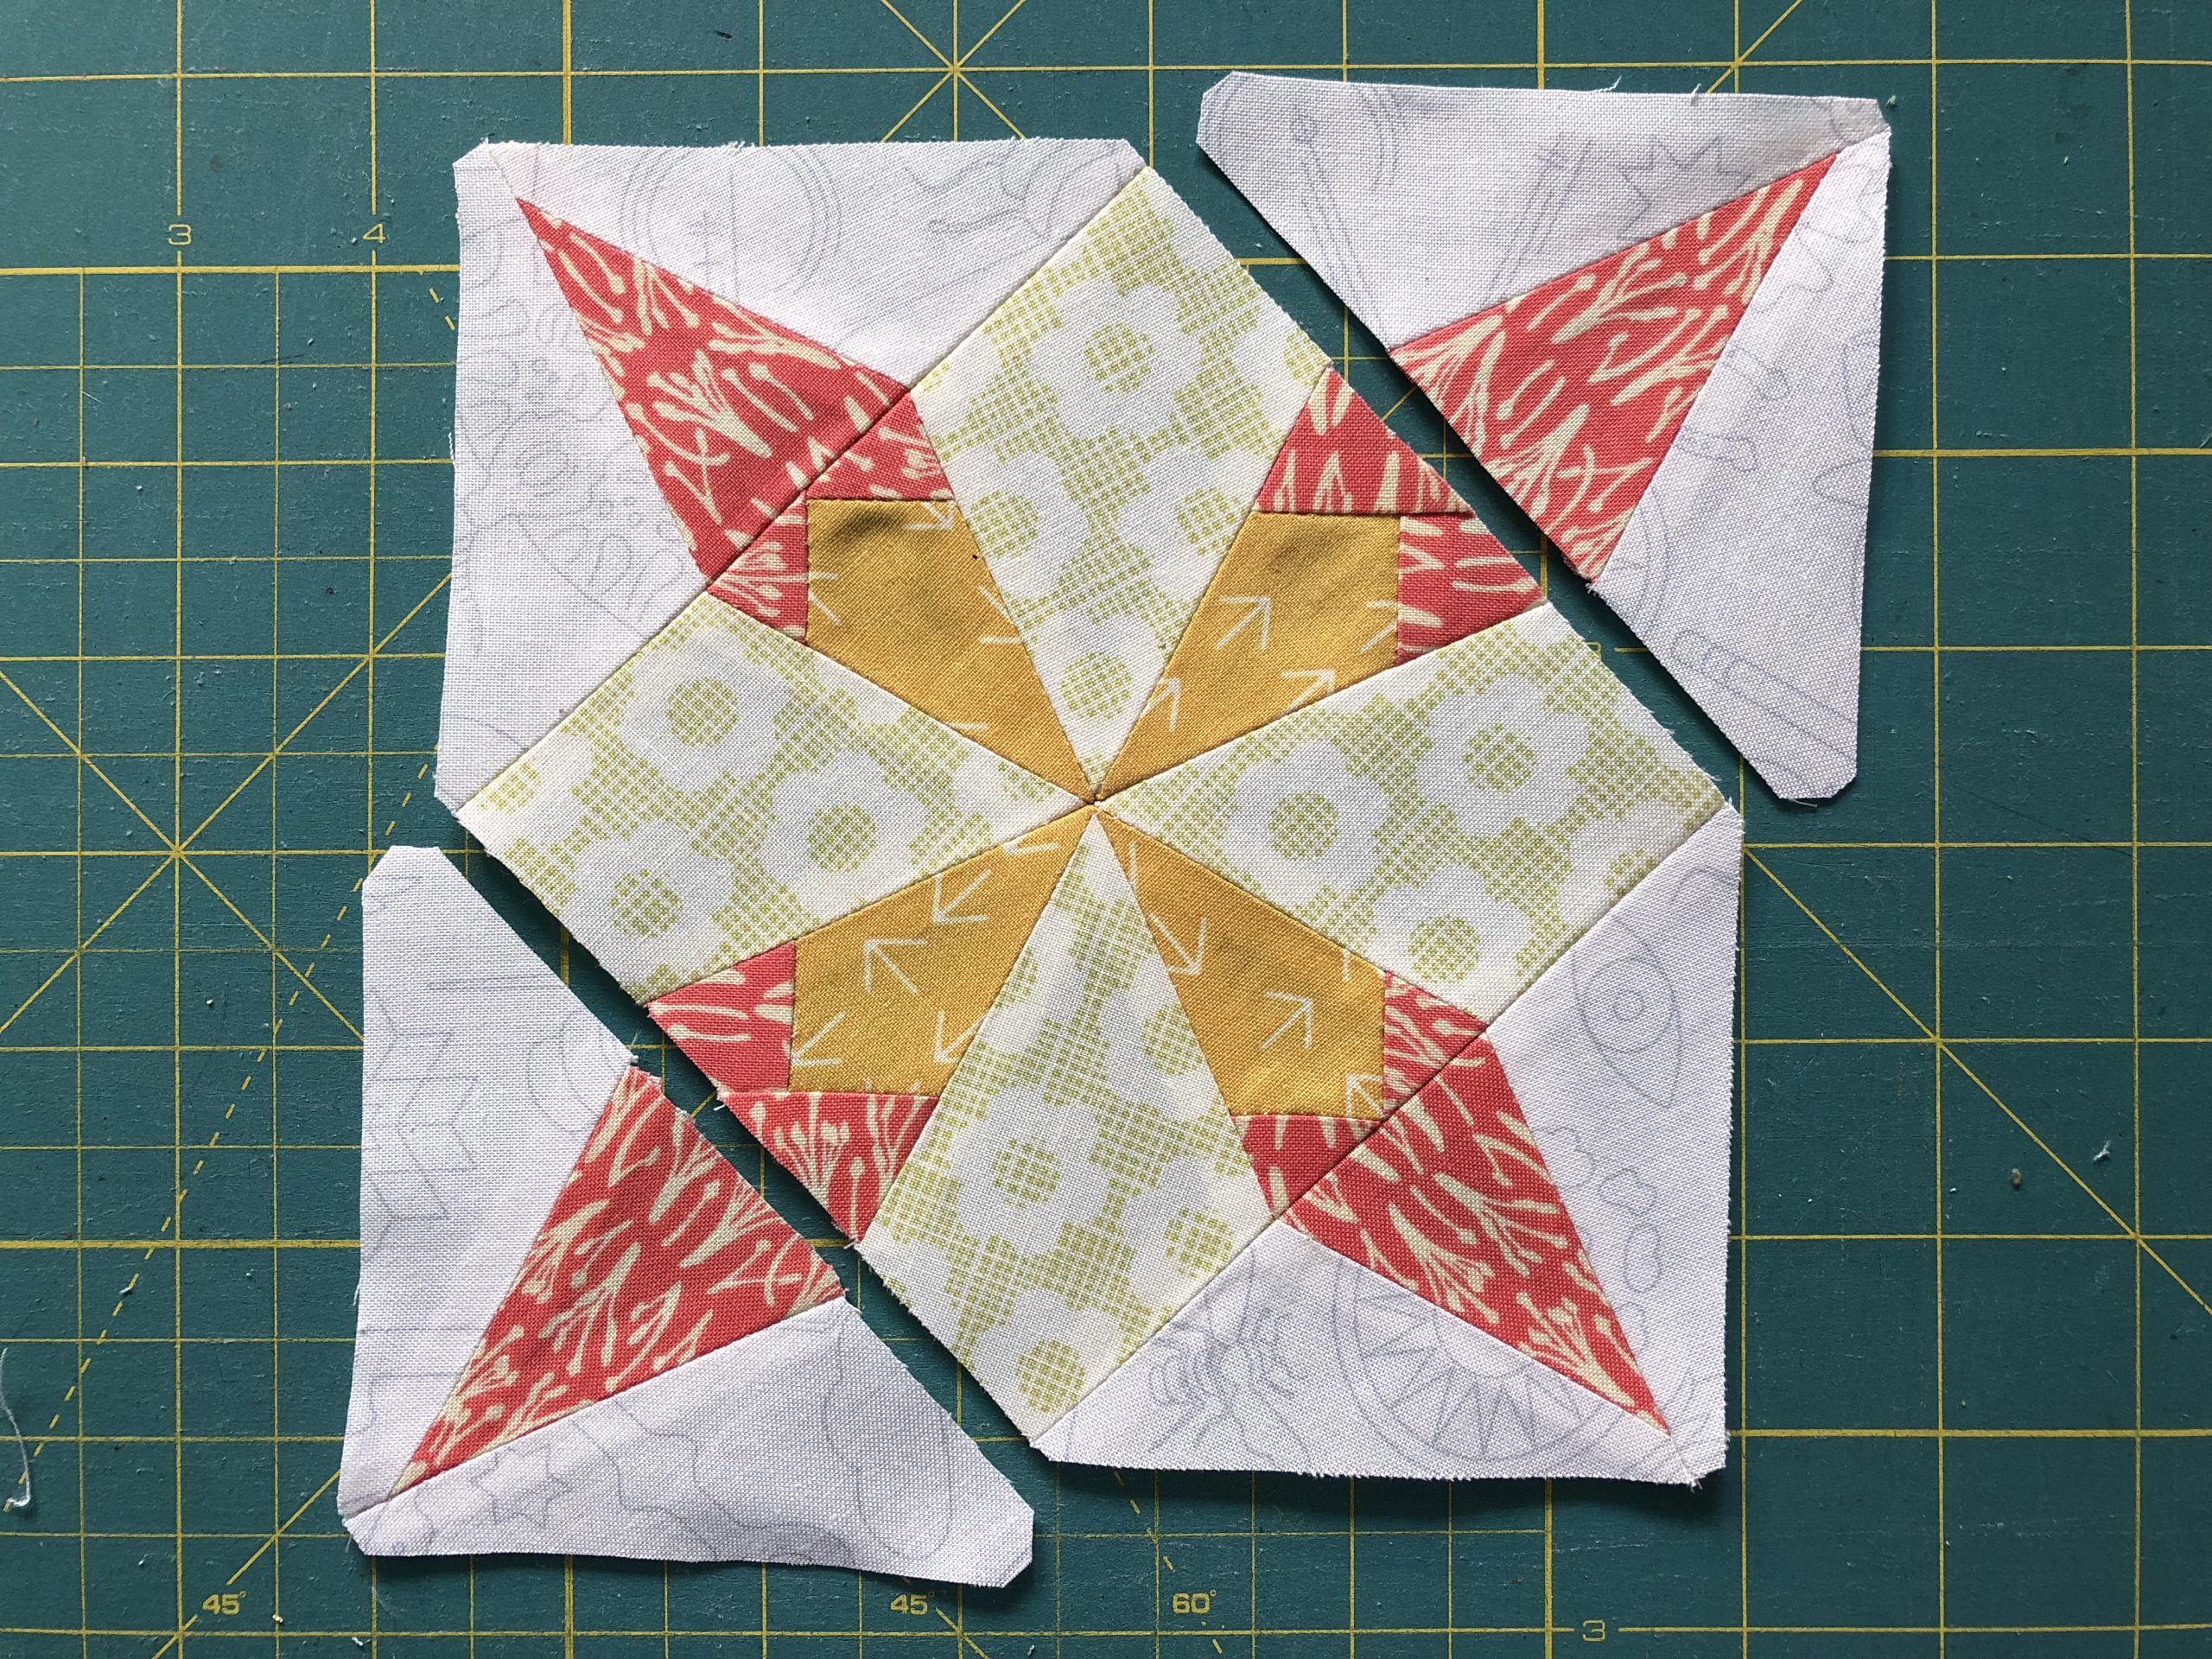
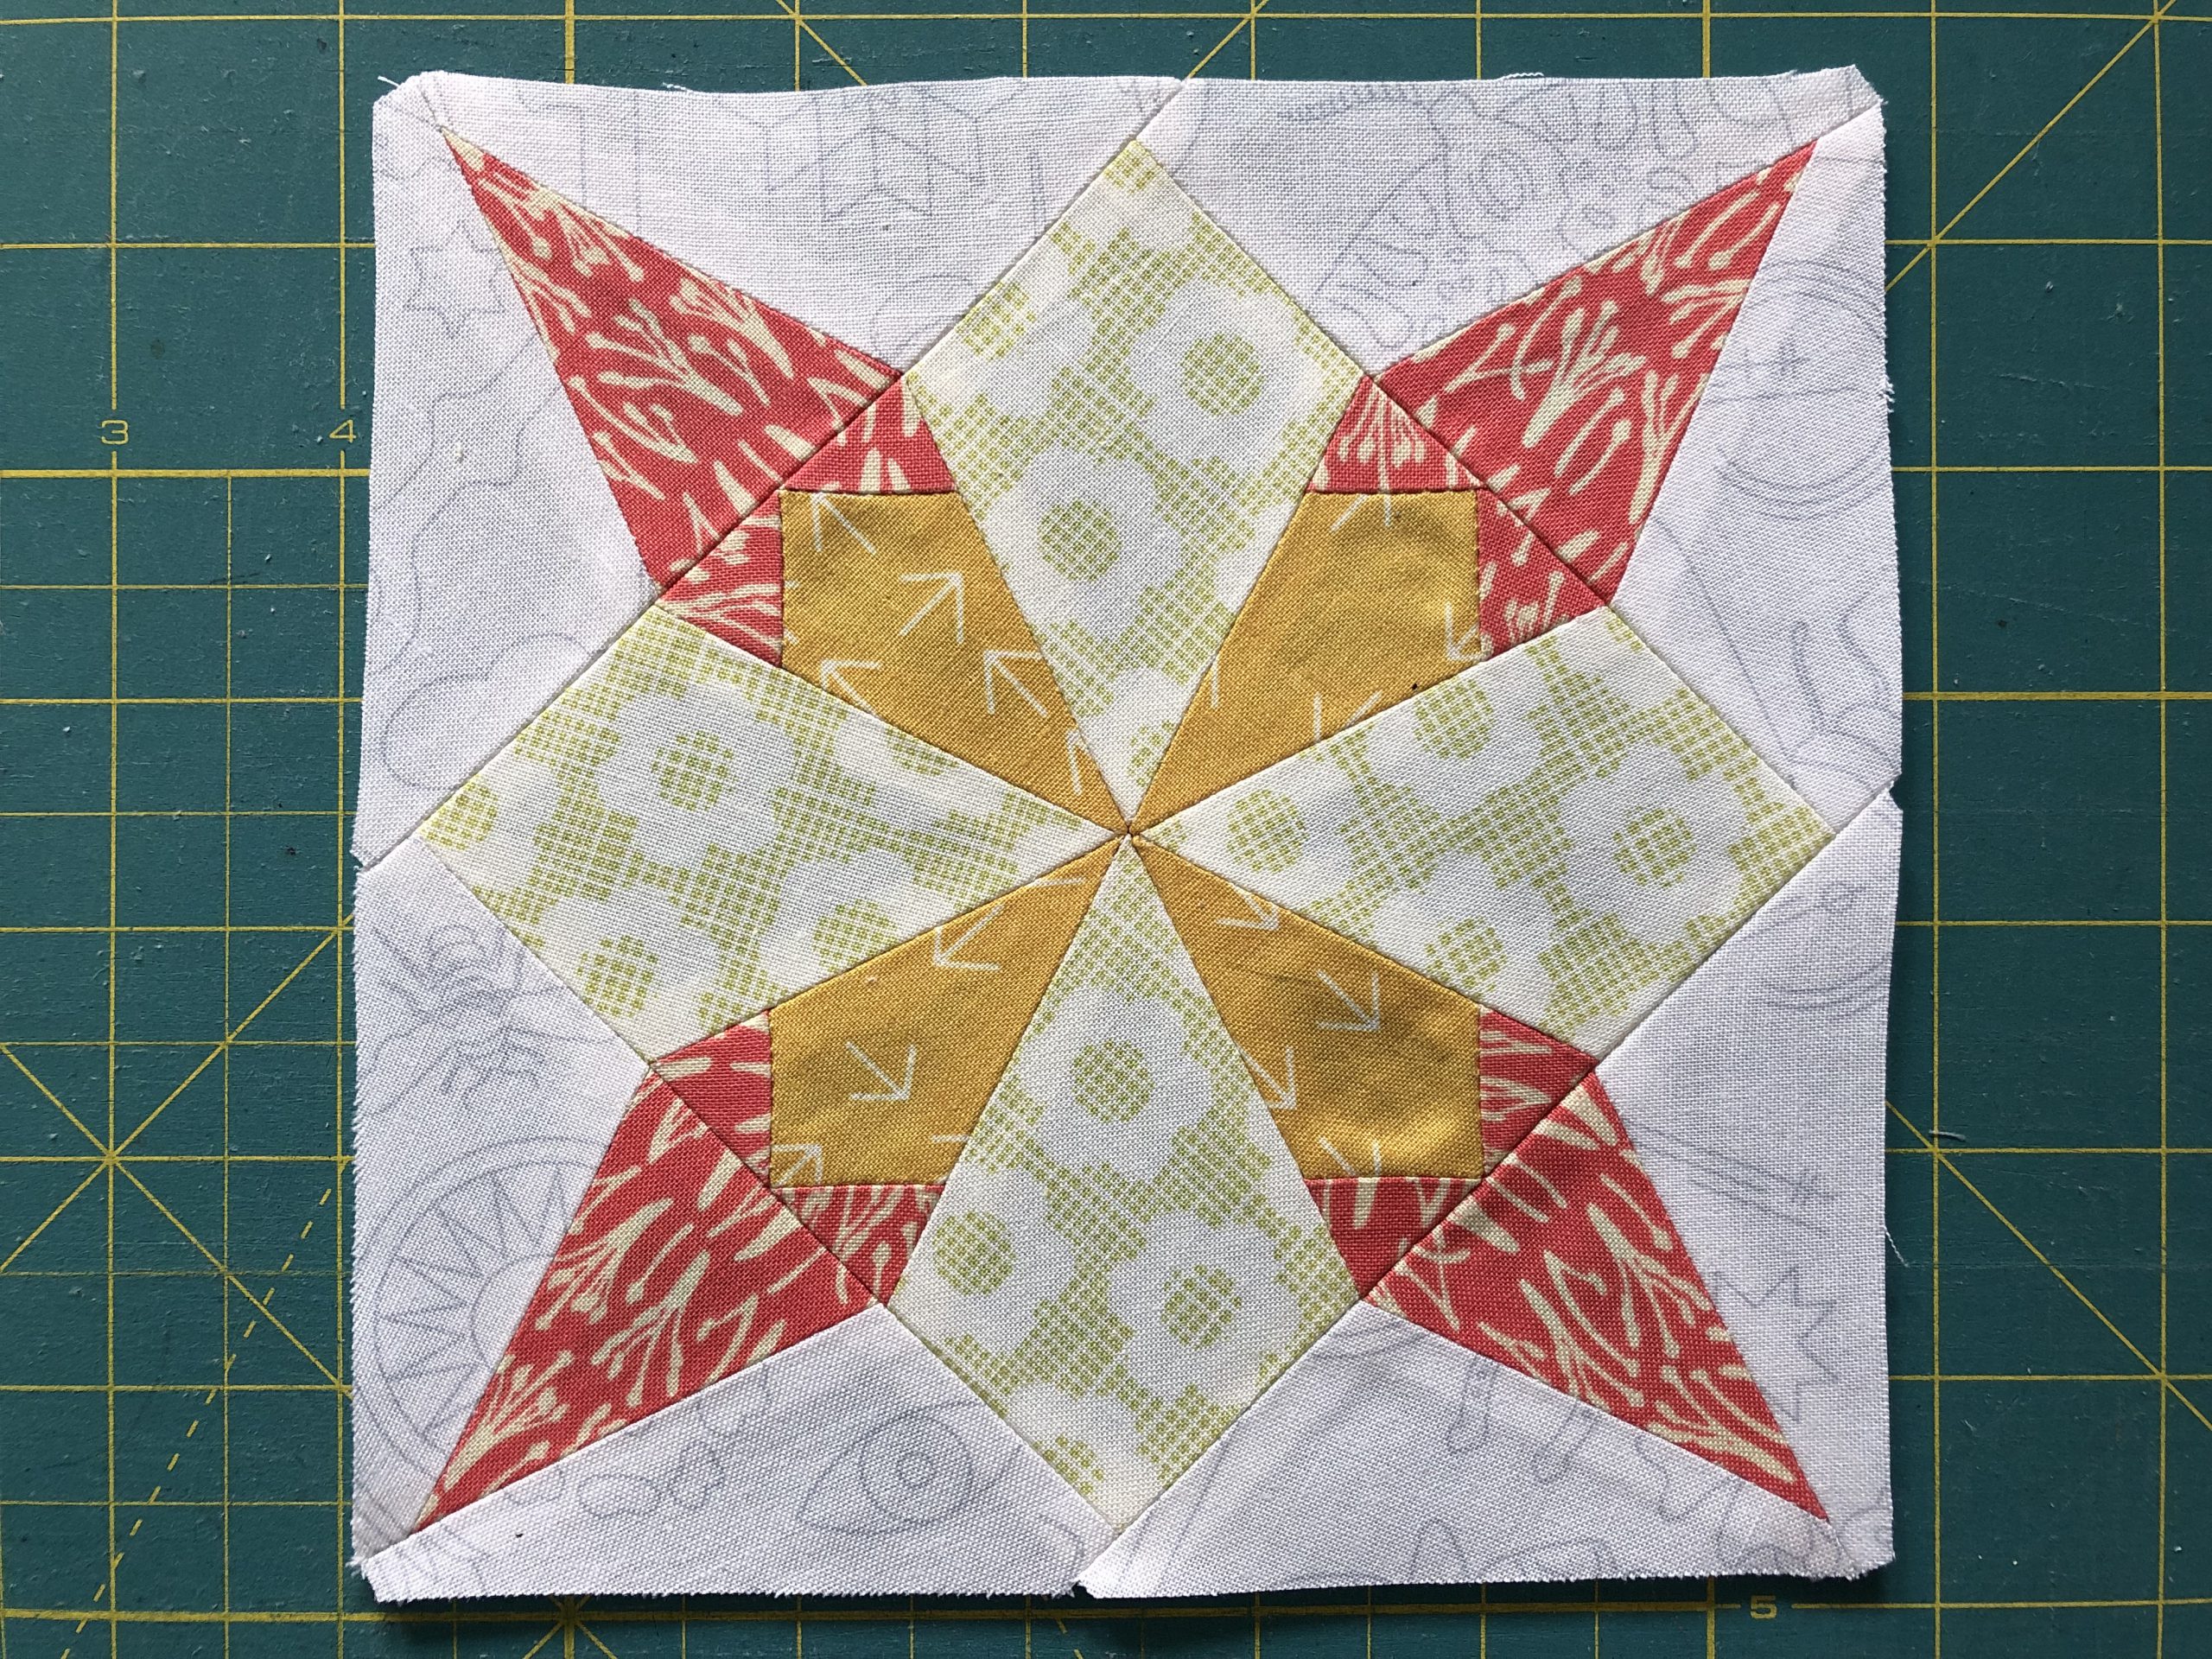
Hi there! Today we have another 6-inch block for the Old Block Quilt-Along. It is called “Ella’s Star”.
“Ella’s Star” was probably published by Clara Stone in “Heart and Home” around 1910, but in any event it was published by her under the name “Exea’s Star” in 1906 in “Practical Needlework”.
We are sewing the “Ella’s Star” patchwork block
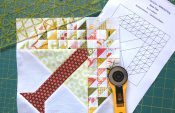
This block is made using both pattern templates and FPP templates. This is a 6-inch block (6.5 inches including the seam allowance).
Download the patchwork templates
For cutting out, I have created three PDF documents to download:
- The first is a coloring sheet. This allows you to try out colors and designs for this block to see what they look like.
- On the second PDF you will find the templates for the foundation paper piecing
- and on the third you will find the pattern templates.
On the PDFs with the FPP templates and the pattern templates, I have put a control square with a side length of 1 inch so that you can check whether your printout of the templates is the right size. It is important to set your print options to “Actual size”.
Here are the downloads:
“Ella’s Star” pattern templates
Cutting out the pattern pieces
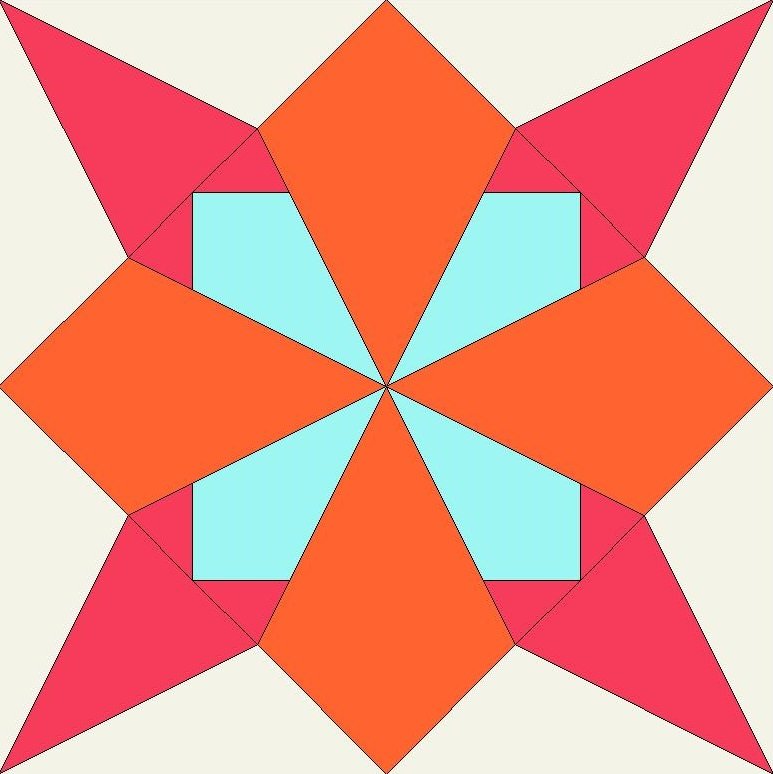
You will need to cut out the following pattern pieces:
- Template A: 4 x background fabric
- Template B: 4 x background fabric
- Template C: 4 x patterned fabric
- Template D: 4 x patterned fabric
- Template E: foundation paper piecing
Sewing the “Ella’s Star” patchwork block
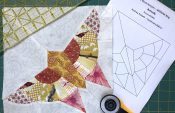
First sew the 4 FPP templates, then – as usual – lay out all pattern pieces.

Make the center block first. To do this, sew a rhombus onto each FPP piece.
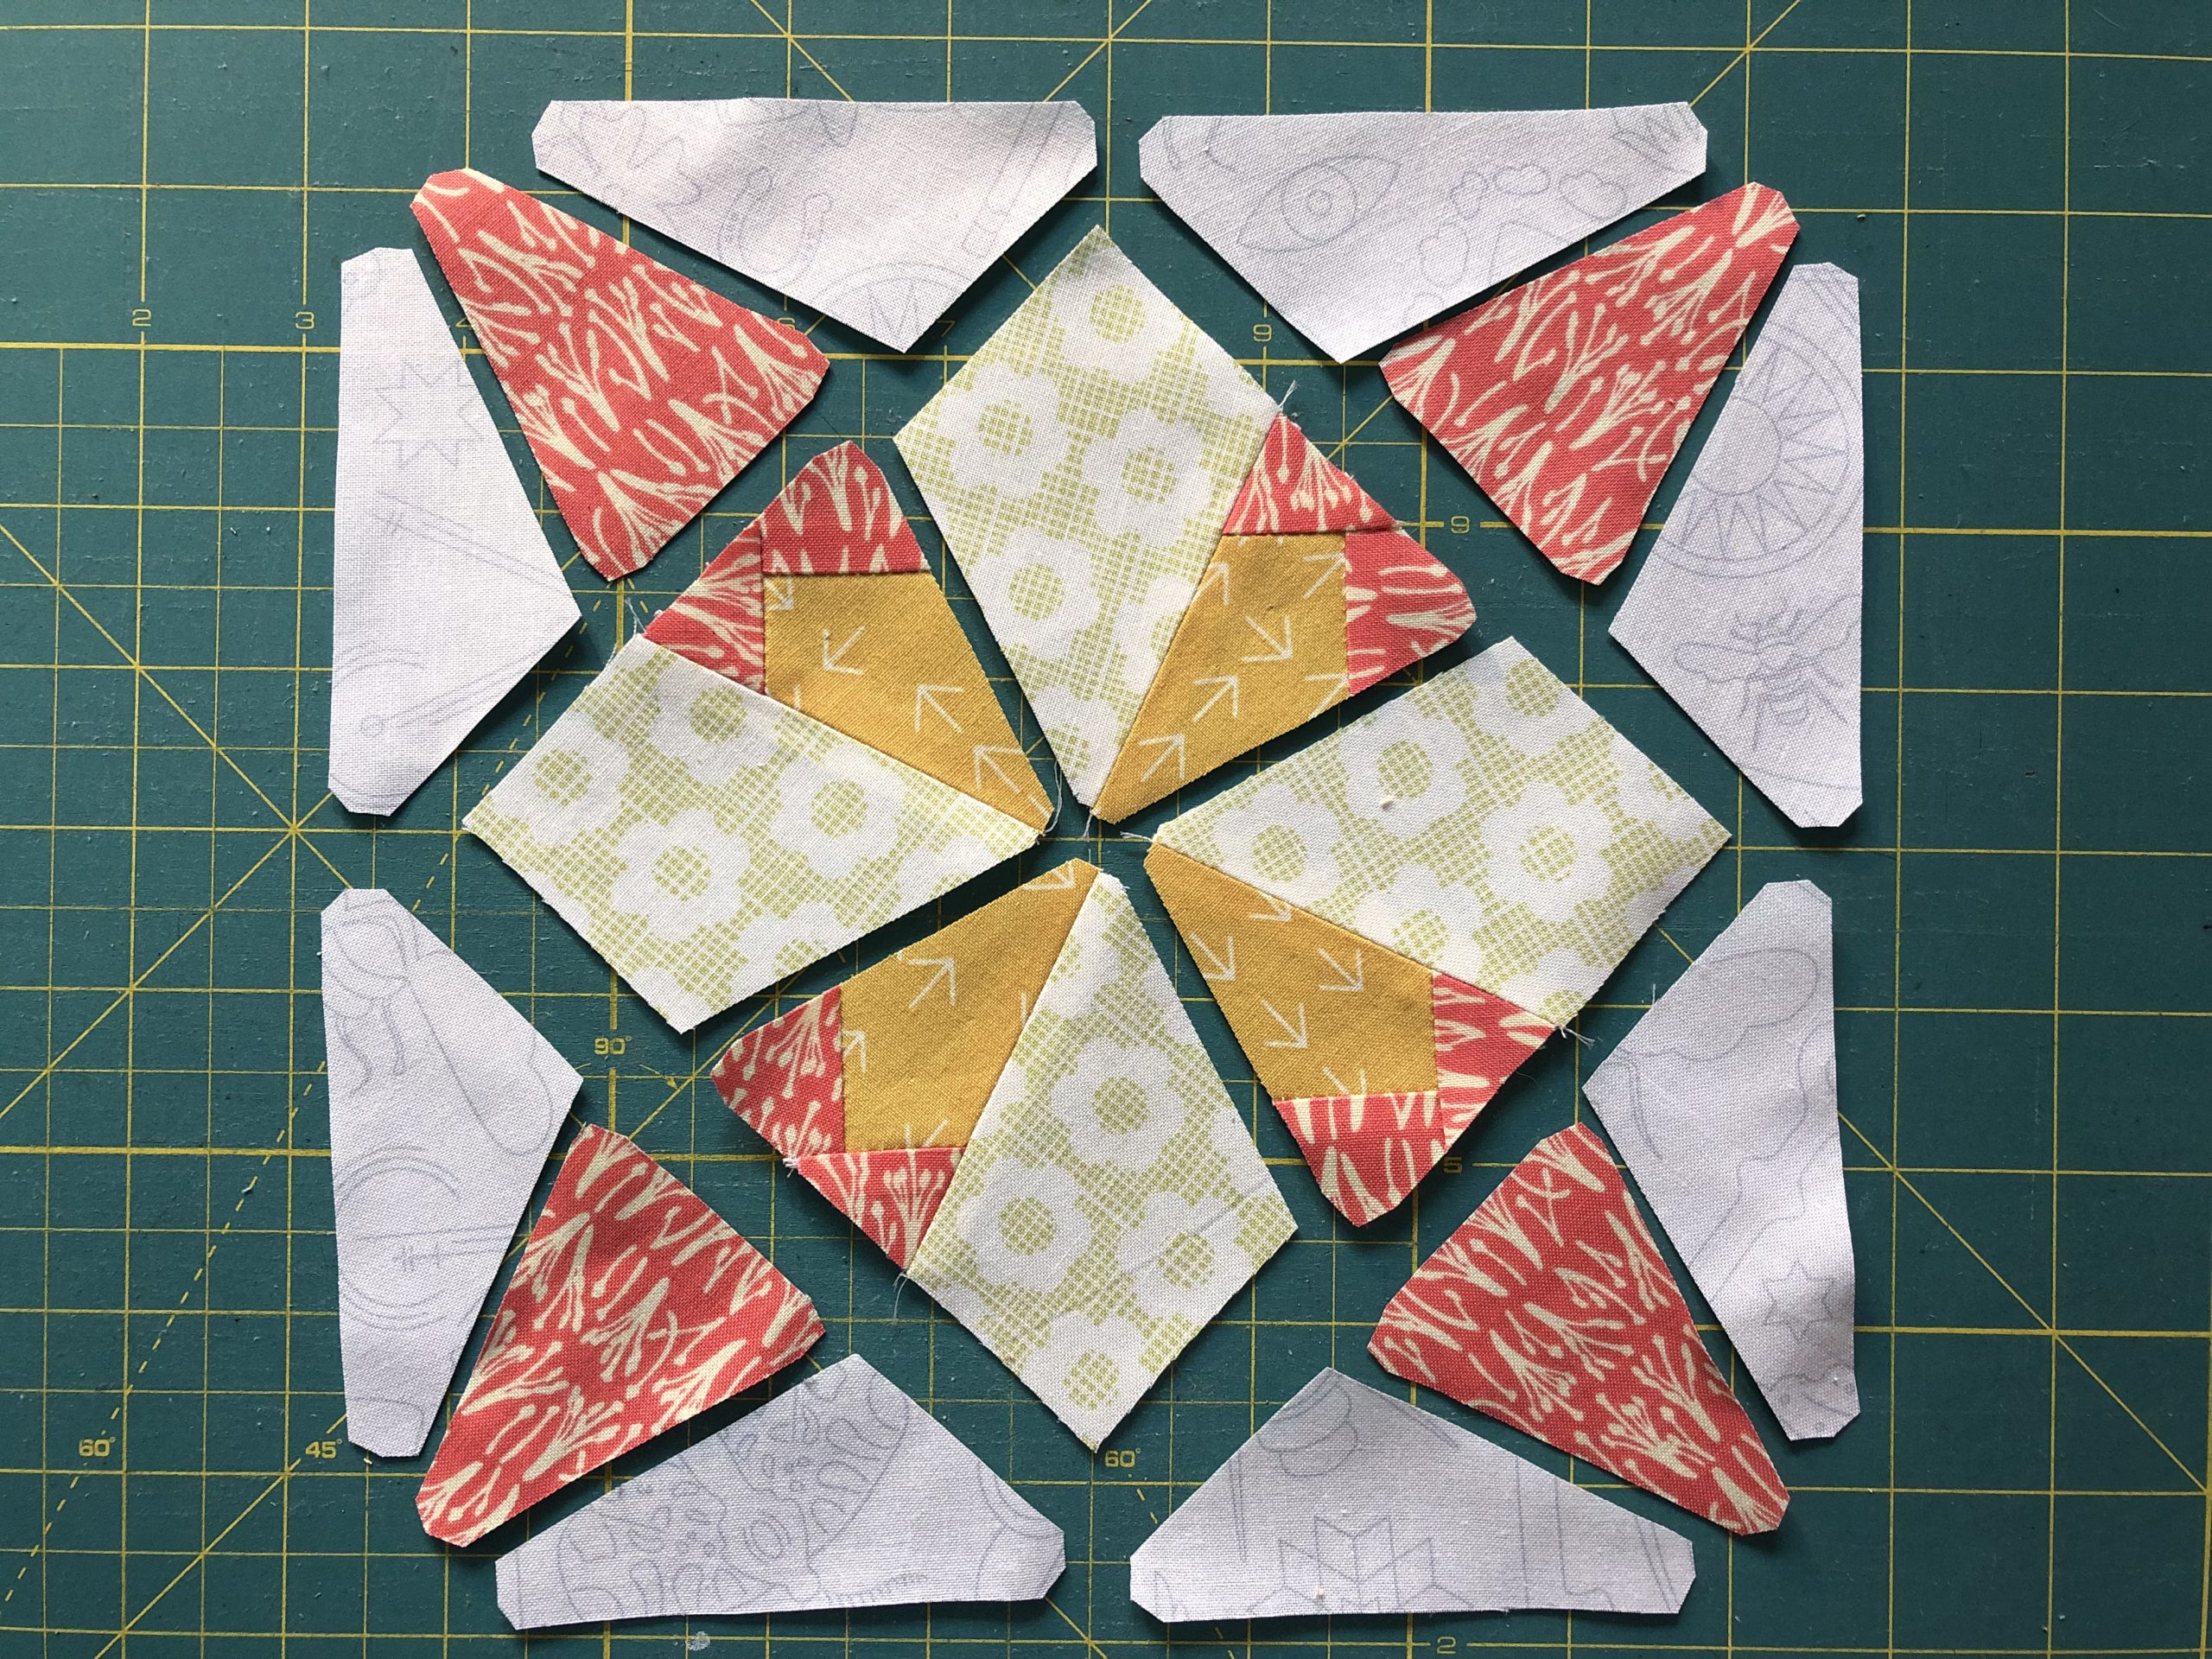
Next, sew together two block pieces each.

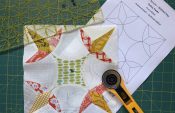
Then close the diagonal between the center piece of the block. In the same step, sew the four corner pieces together.
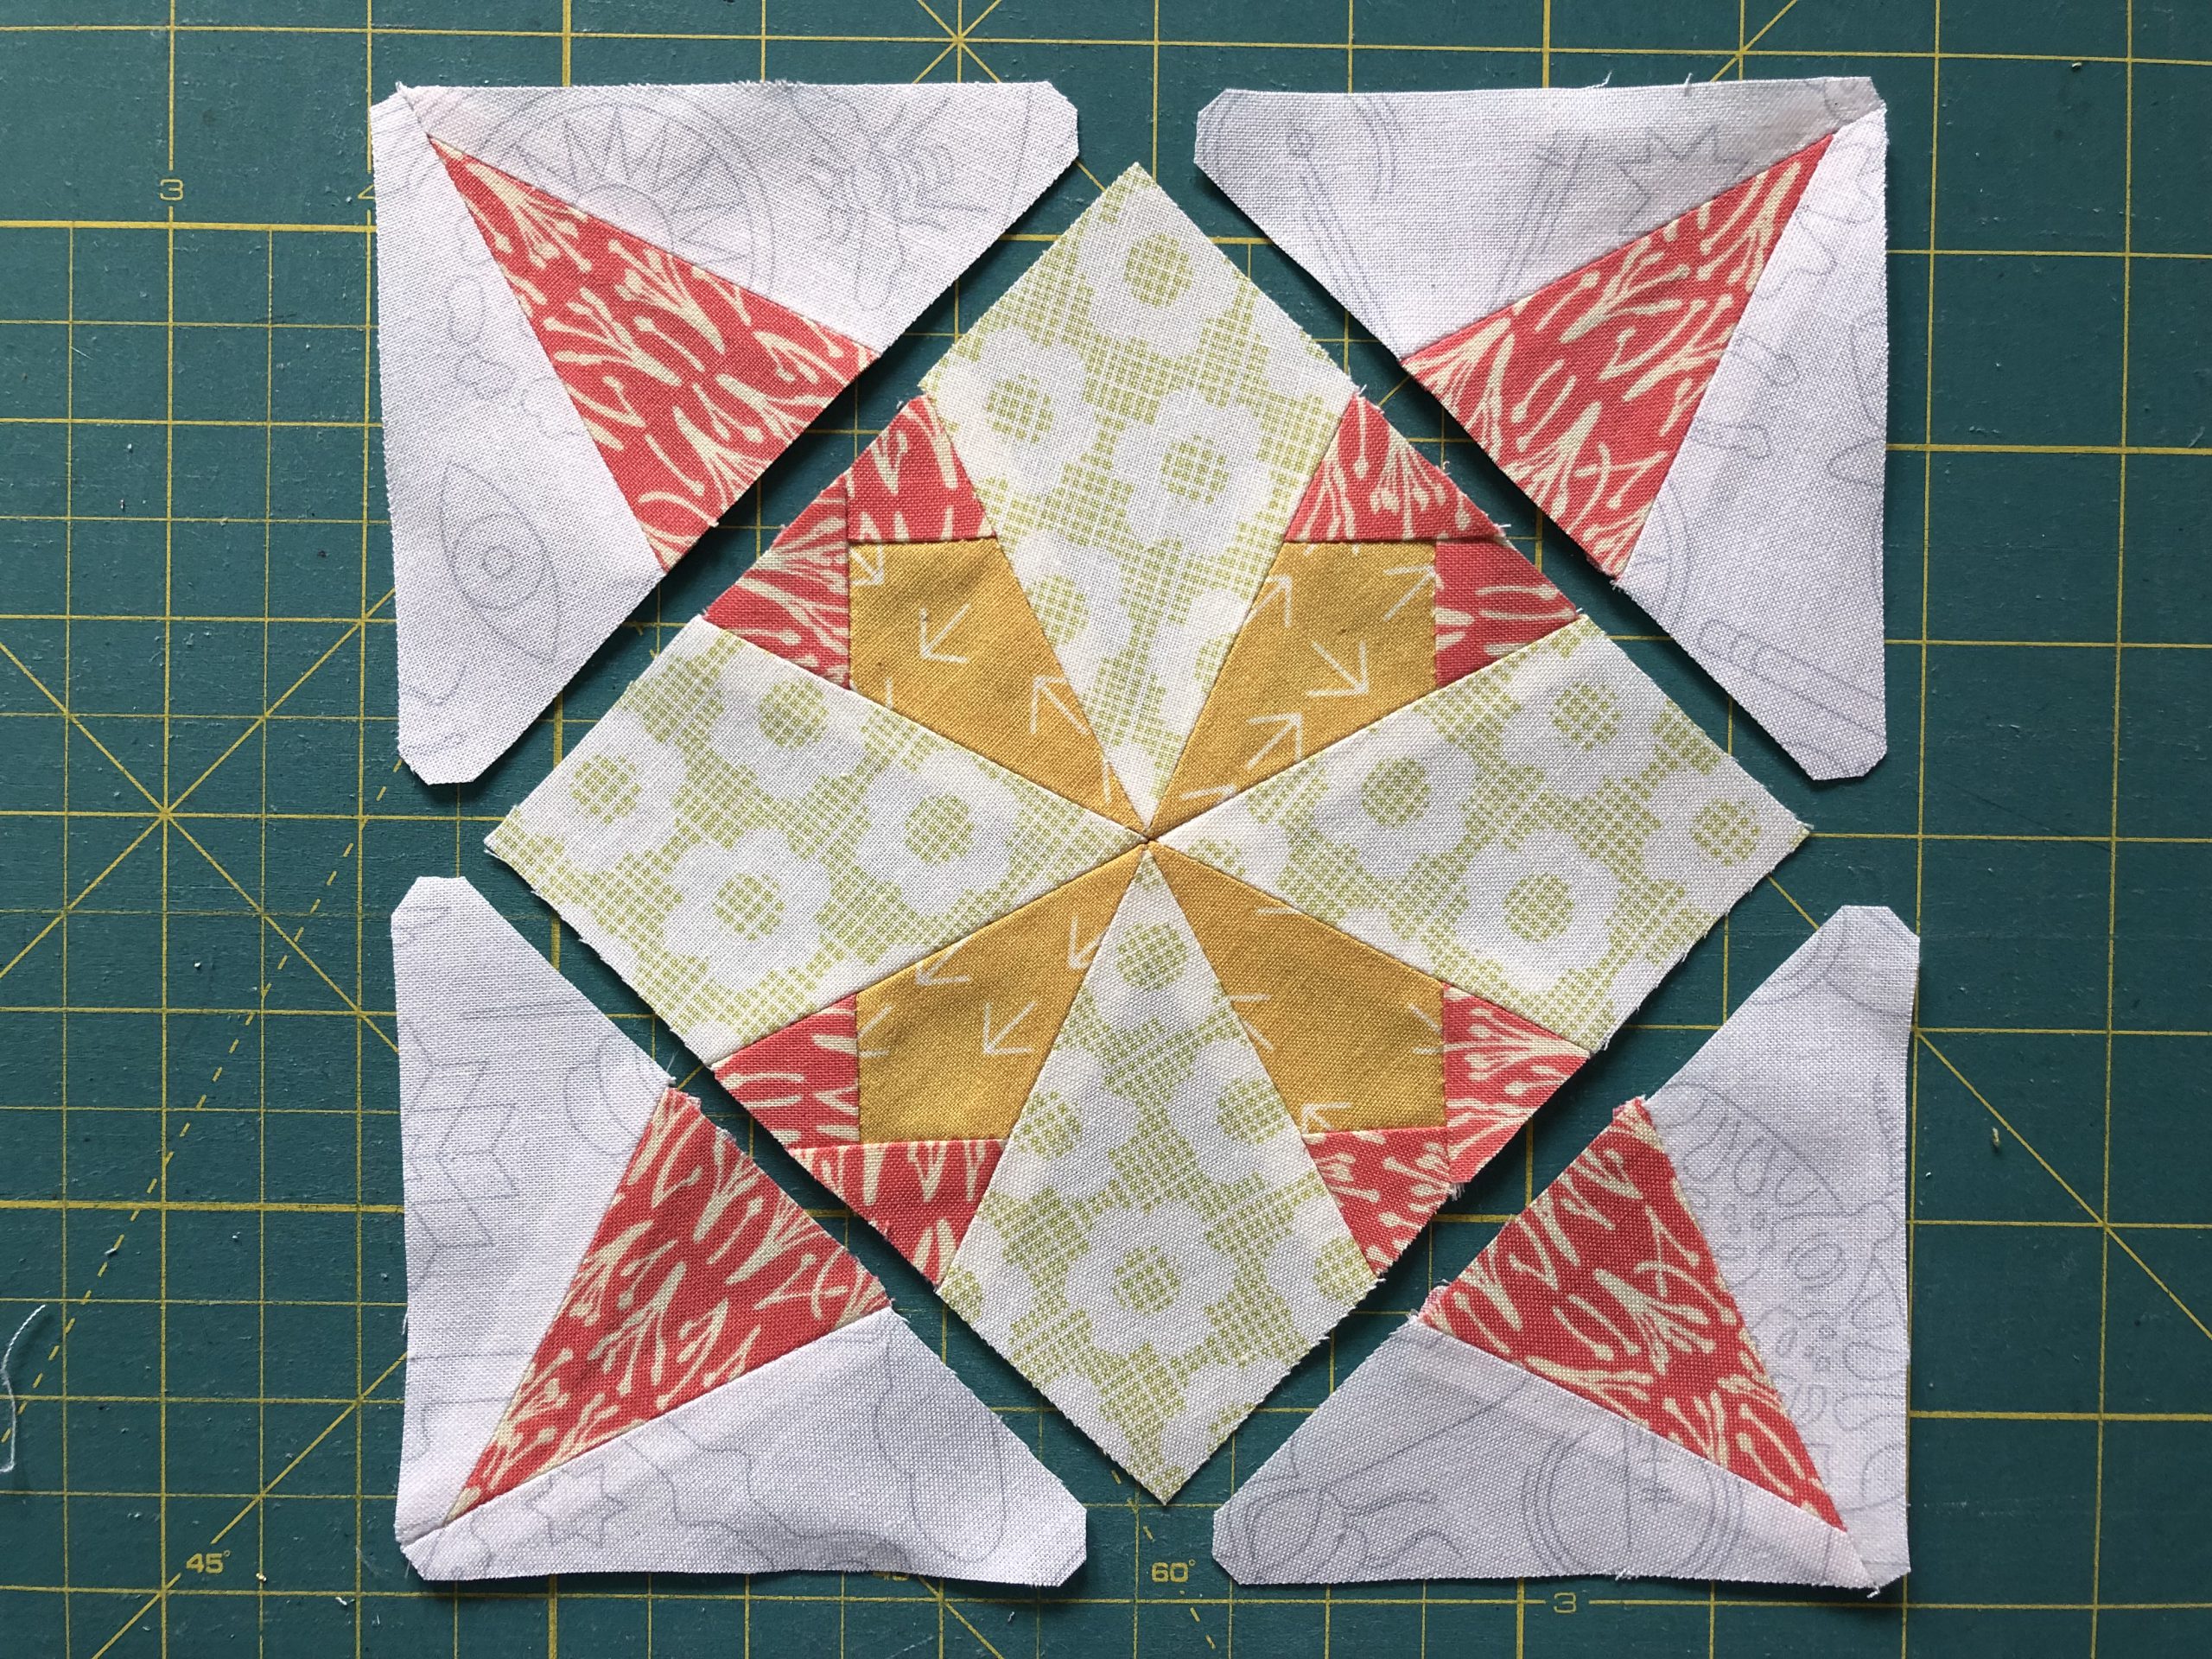
Next, the opposite corner pieces are first sewn onto the center block and then the two remaining corner pieces are sewn onto the block.
And now you have completed another small block!
I can’t wait to see your version!
The color scheme of this block actually gave me a bit of a headache… Here you can really do a lot with light and dark to make the block look very different. I’m not completely satisfied, but as I always say: in the quilt itself, you won’t even notice it later. So just do your thing! and then it’s on to the next block (which is definitely coming soon ;-)).
Show us your magical creations from this pattern! Post it here on the Community area. If you are also on Instagram and/or Facebook and want to share the block there, don’t forget to use the hashtag #BERNINAOldBlockSampler!
New here?
Have you only just discovered the quilt-along? No problem! You can join at any time. Registration is not required, and you can win a BERNINA 570 QE! All the posts will remain permanently available:
In the first post, which was the invitation to participate in the quilt-along, you will find the important initial information about our joint project:
Old Block Quilt-Along – who’s in?
You can find the rest of the blocks from the quilt-along that have already been published here:
Old Block Quilt-Along – overview of all the posts
I’m glad you’re taking part and I hope to see more wonderful pictures of your blocks!
See you soon,
Andrea
0 Responses