 BERNINA Corporate Blog -
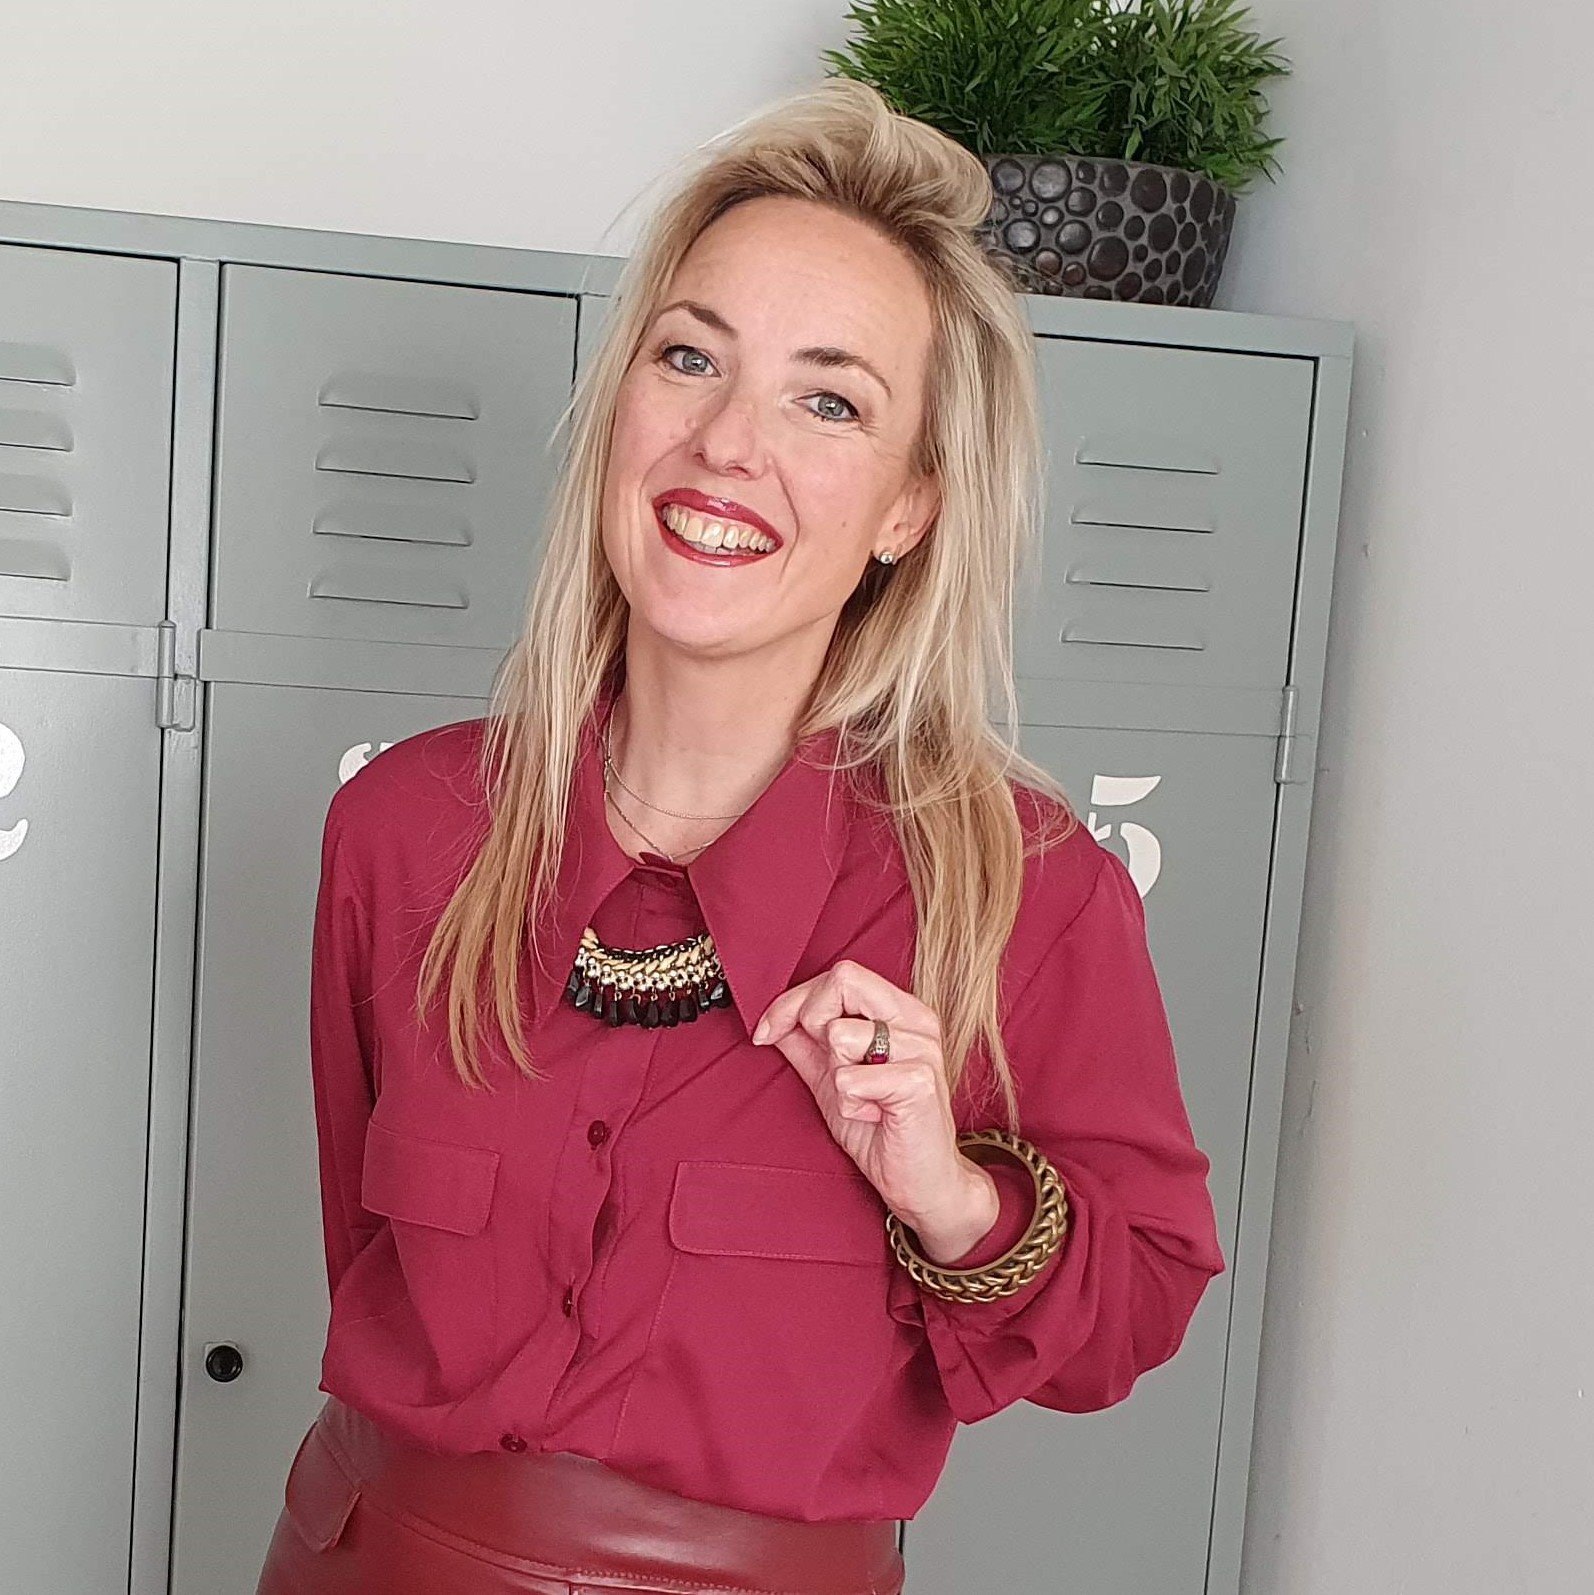
Time to shine! Megan blouse Sew-along part 3 – Instructions and tips
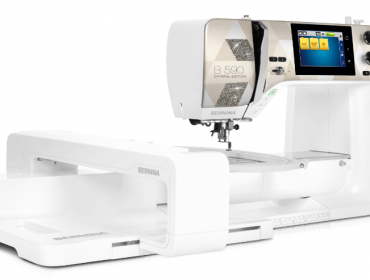
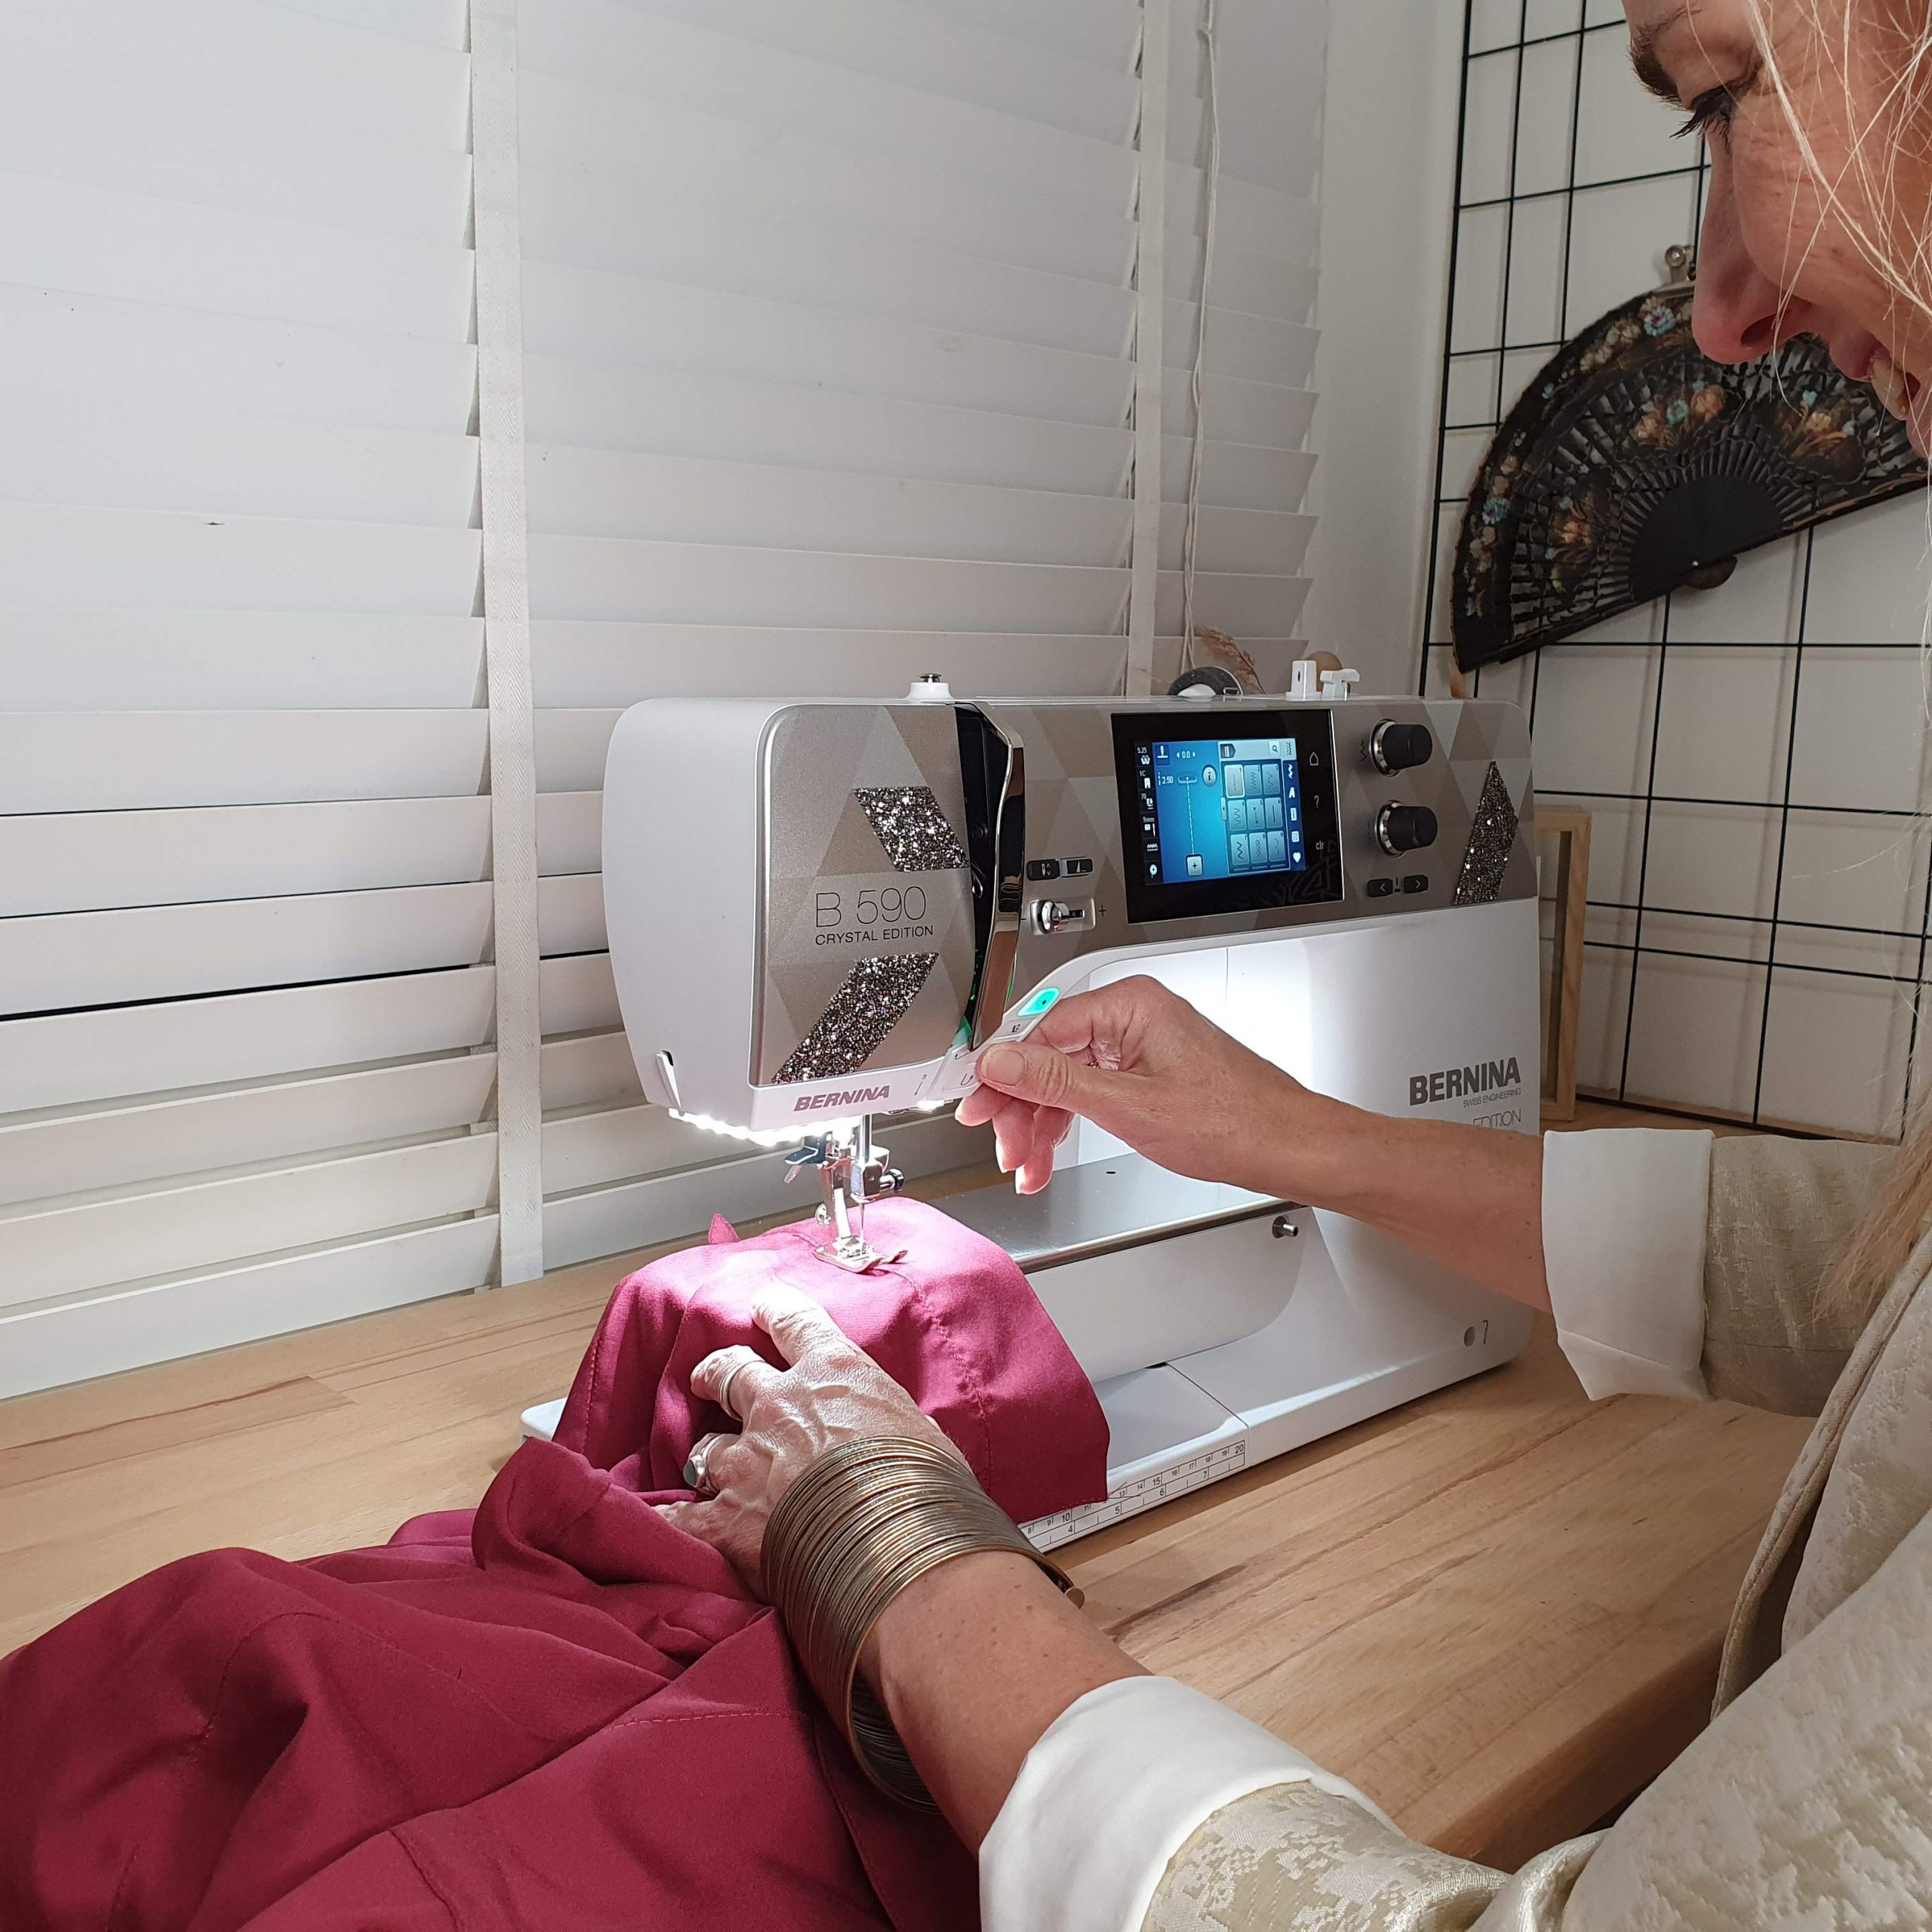
Nice of you to take another look at this Megan blouse Sew-along blog series. You’ve might even decided to join in the fun. In this third blog we will assemble the blouse. After a number of preperations, it is finally time to make sew some mileage. In addition, a number of precise sewing techniques will be needed: we sew the button placket, collar, sleeve split and cuffs. I use the BERNINA 590 Crystal Edition for this.
In the blog I will elaborate on the Megan blouse sewing instruction and in addition I’ll share some tips.
Klik hier op de blog in het Nederlands te lezen.

Willst du den blog auf Deutsch lesen? Klicke hier.
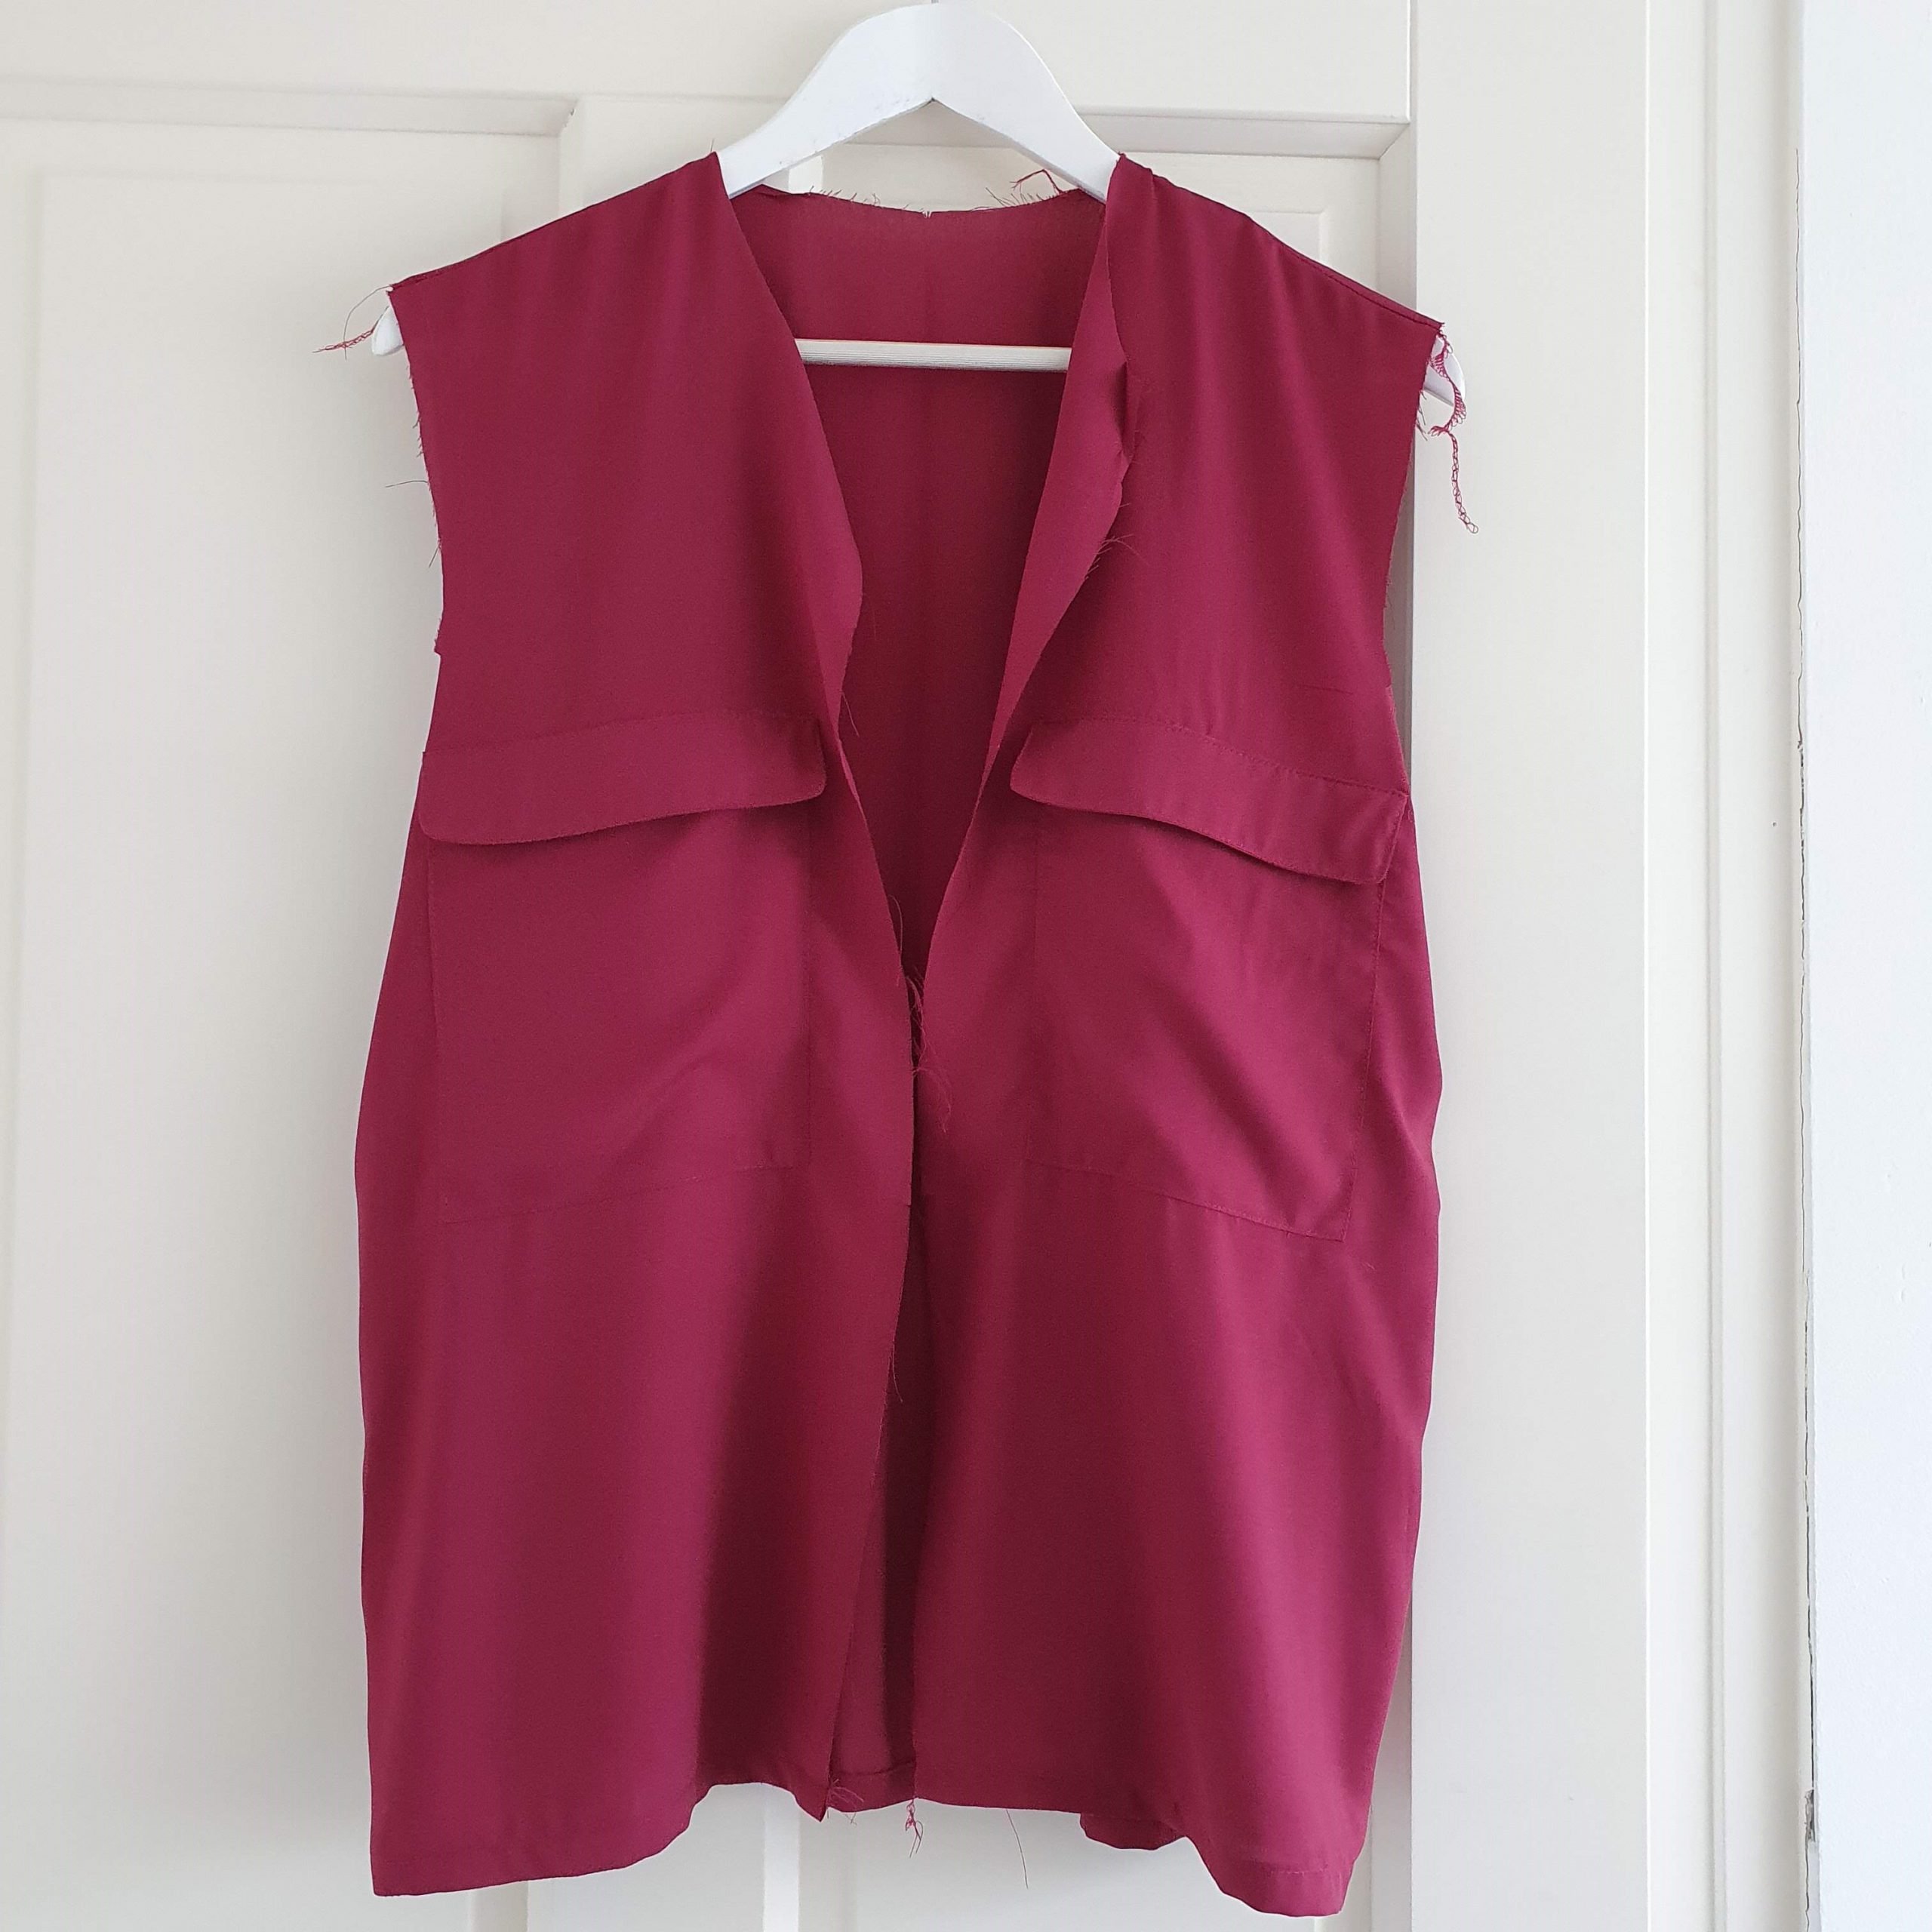
Front and back
In this part of the sew-along we start with assembling the front and back pieces.
If you have chosen to use the strip as a detail in the middle of the back in your Megan blouse, then attach it now. Sew the strip right sides together to the back pieces. Finish the seam allowances and iron them onto the back panels. Then topstitch narrowly on the side.
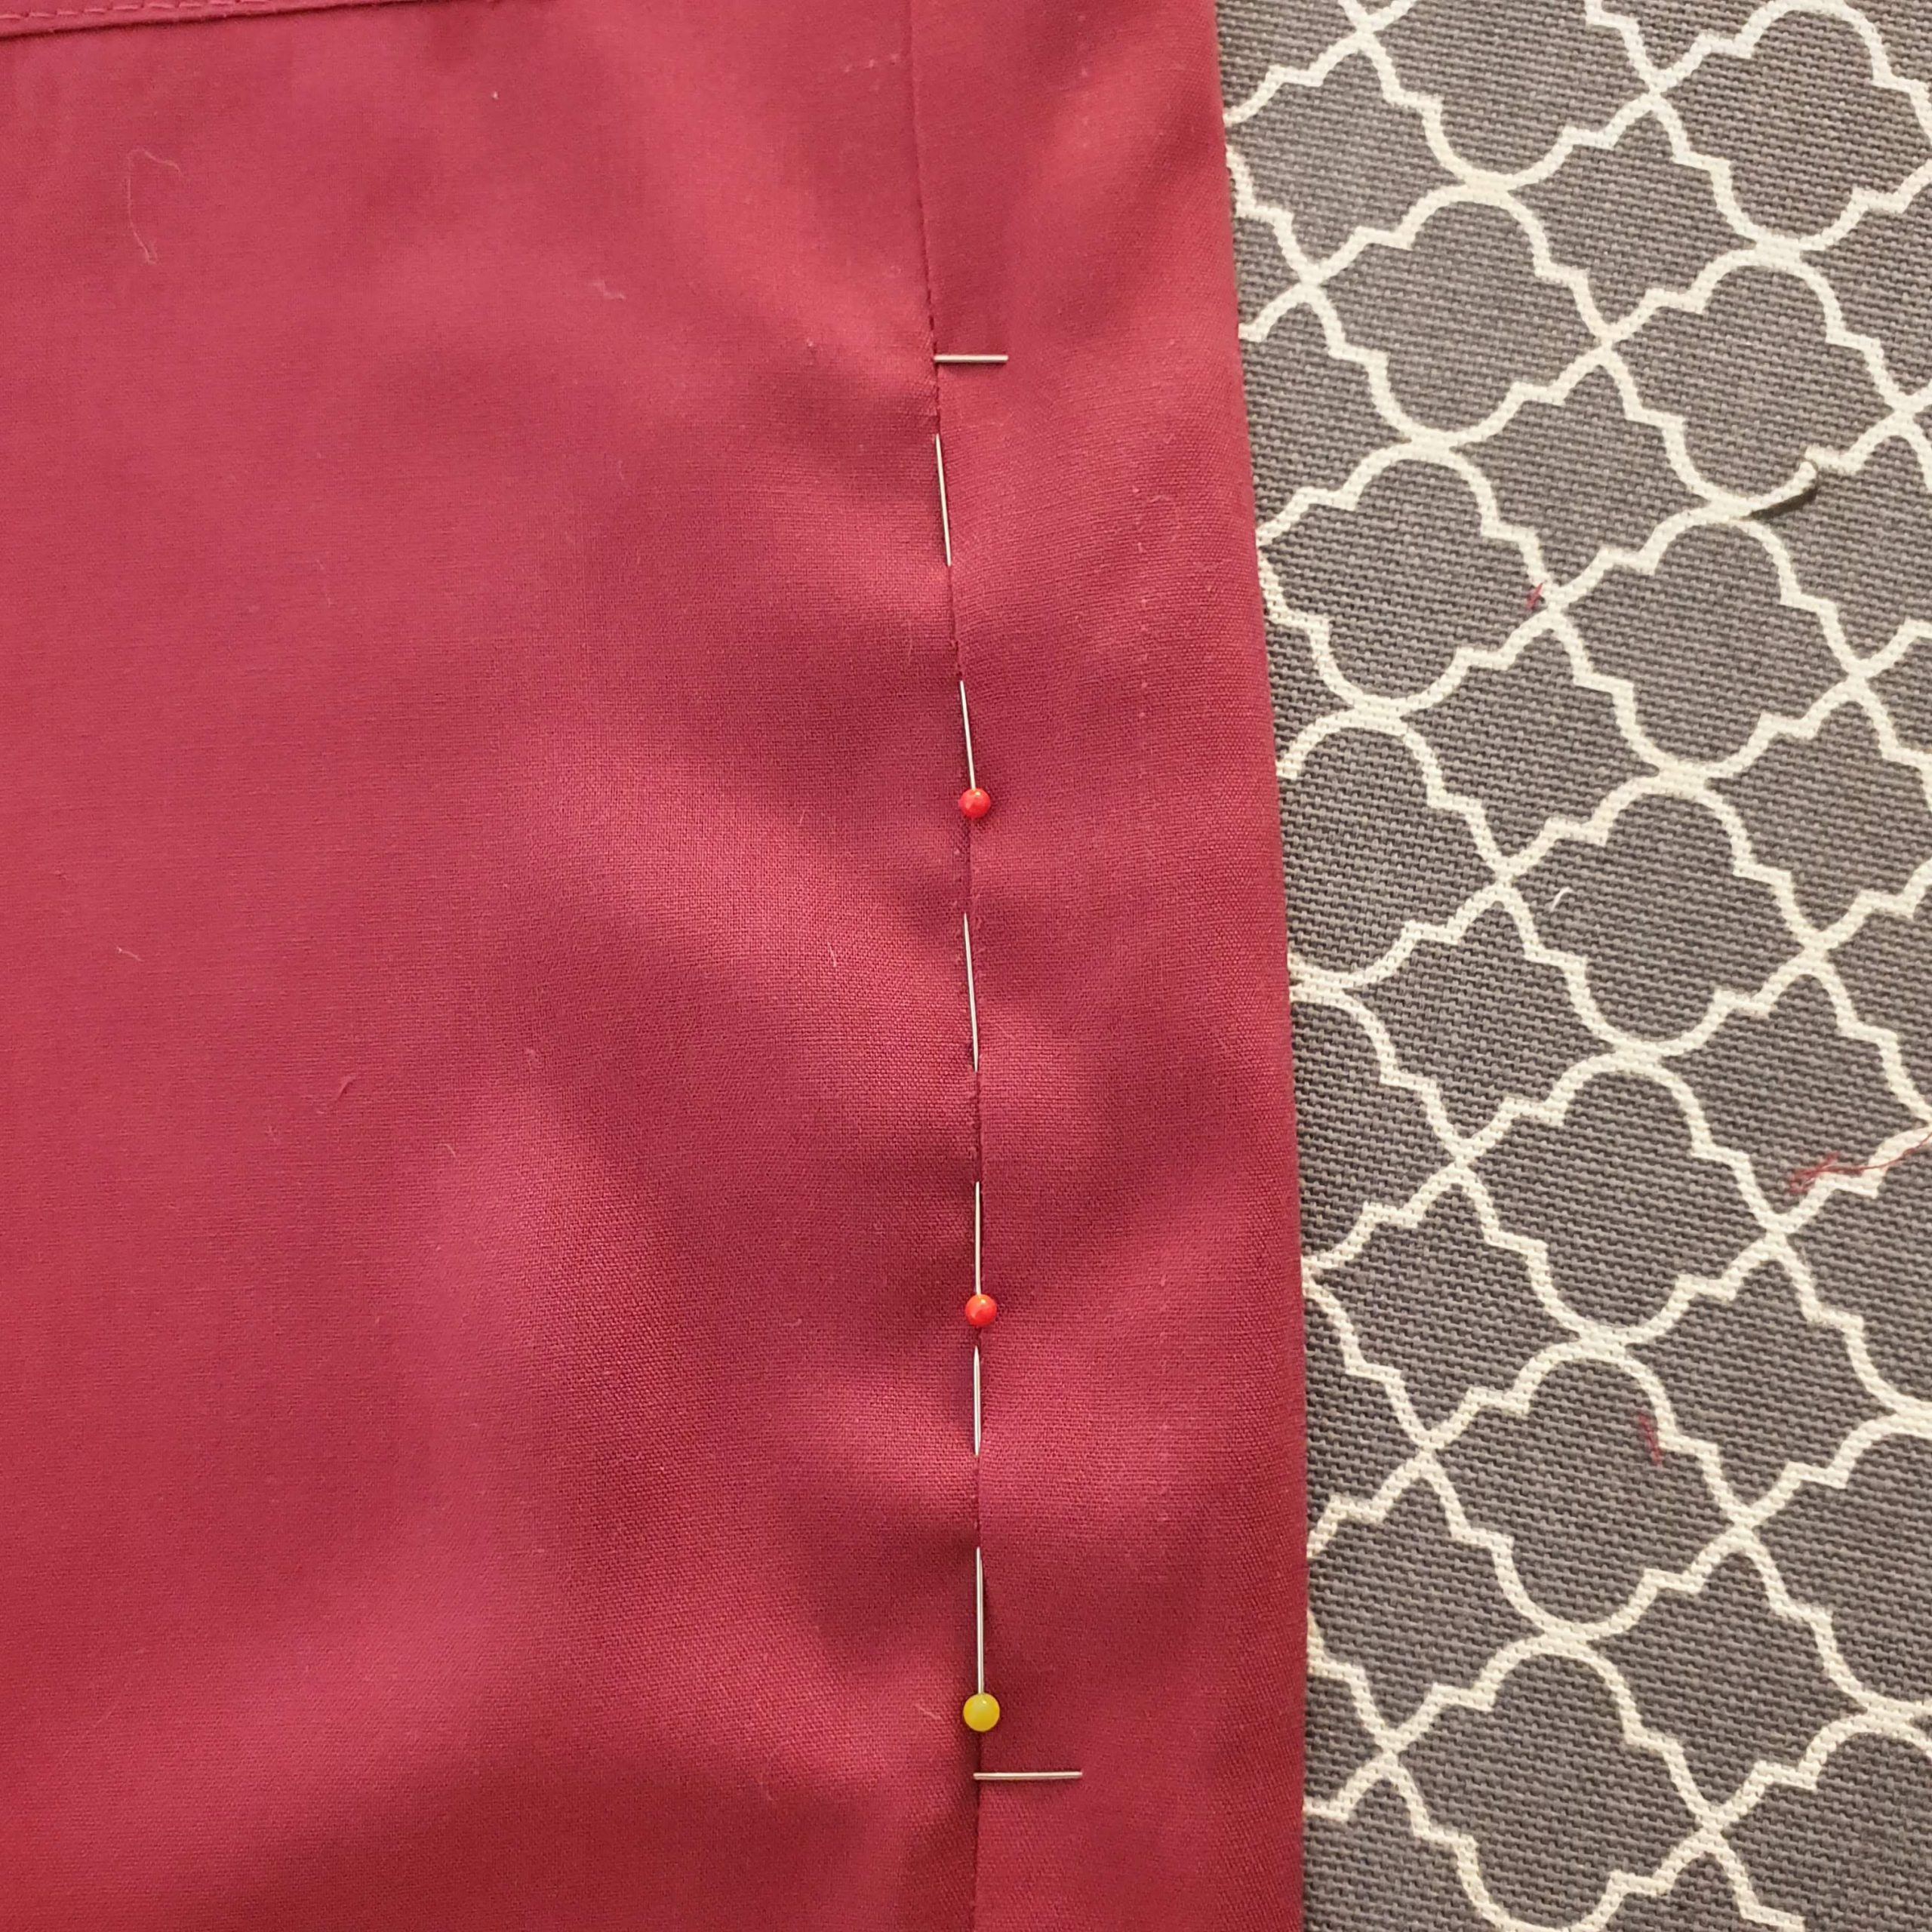
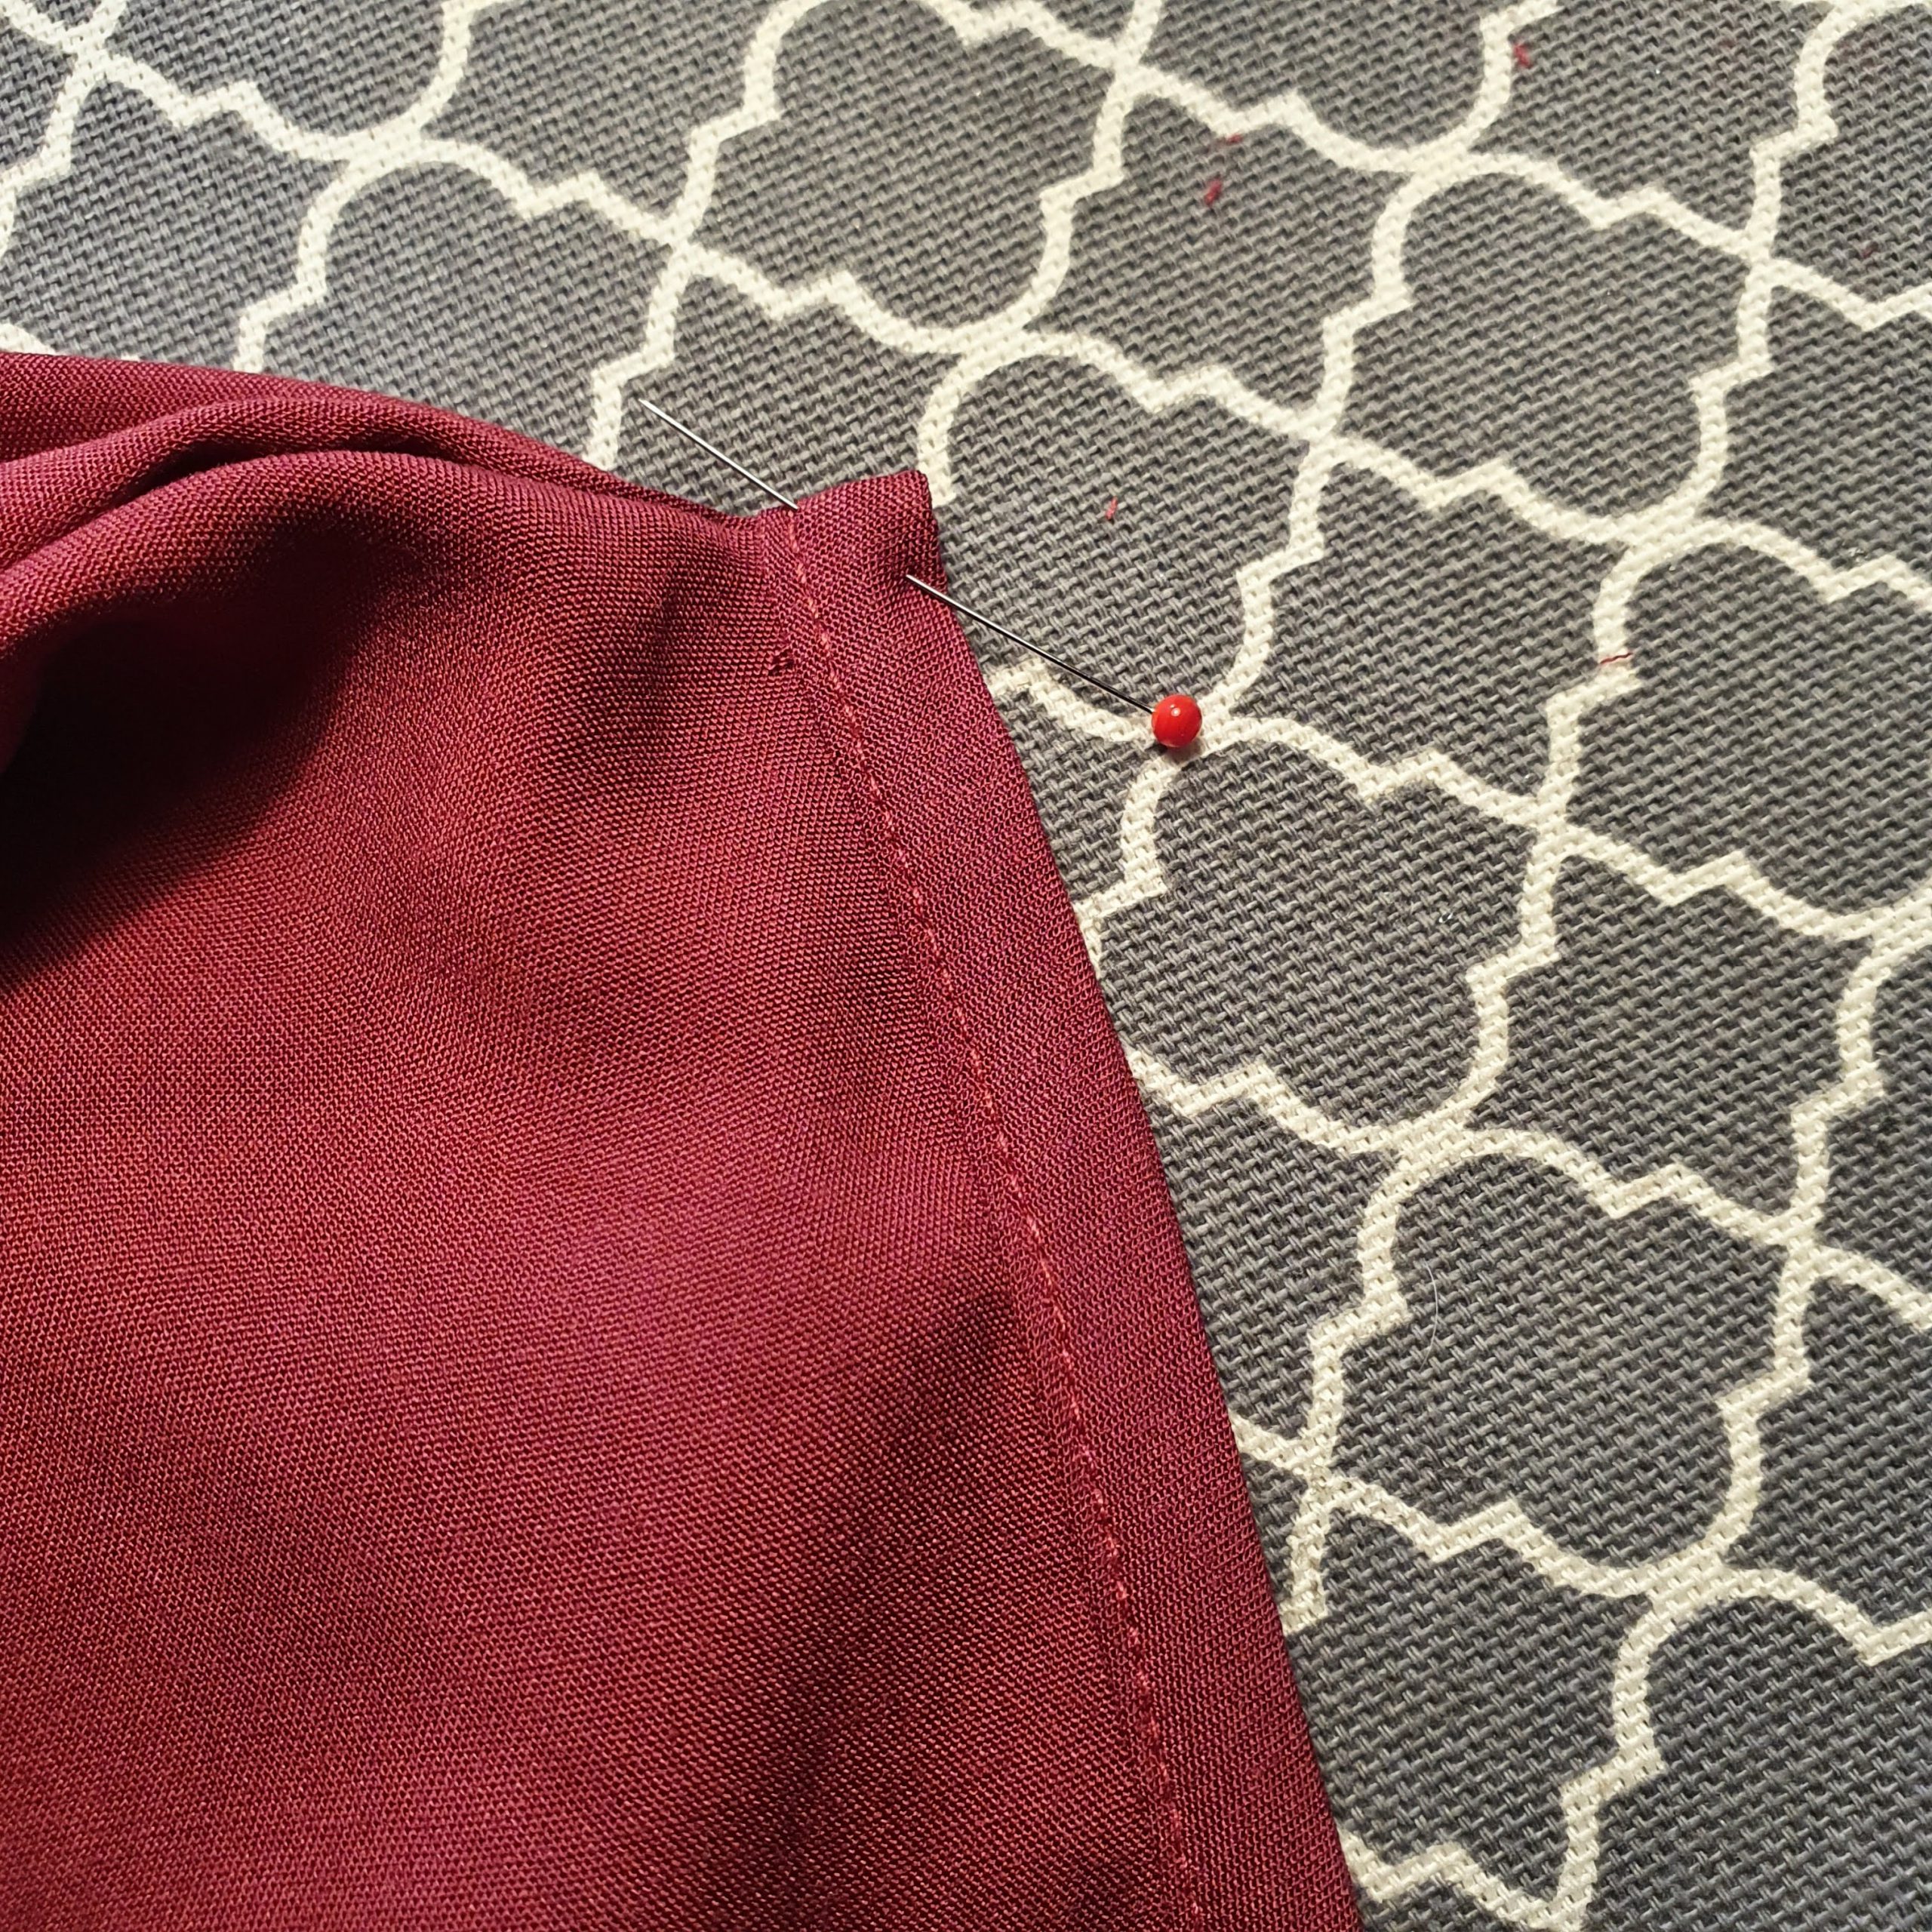
Close the shoulder and side seams. Try on the blouse before finishing the seams with an over locker or a zigzag stitch. Keep in mind the button placket has yet to be attached. Satisfied with the fit? If not, make adjustments now. Then determine whether the length is right and hem the blouse.
Button trim
Fold the buttons in half, wrong sides together and iron the fold. Also iron the seam allowance on the reinforced side. Then place the button placket with the non-reinforced side with the right side at the front edge of the front piece and sew.

Attach button placket to the front
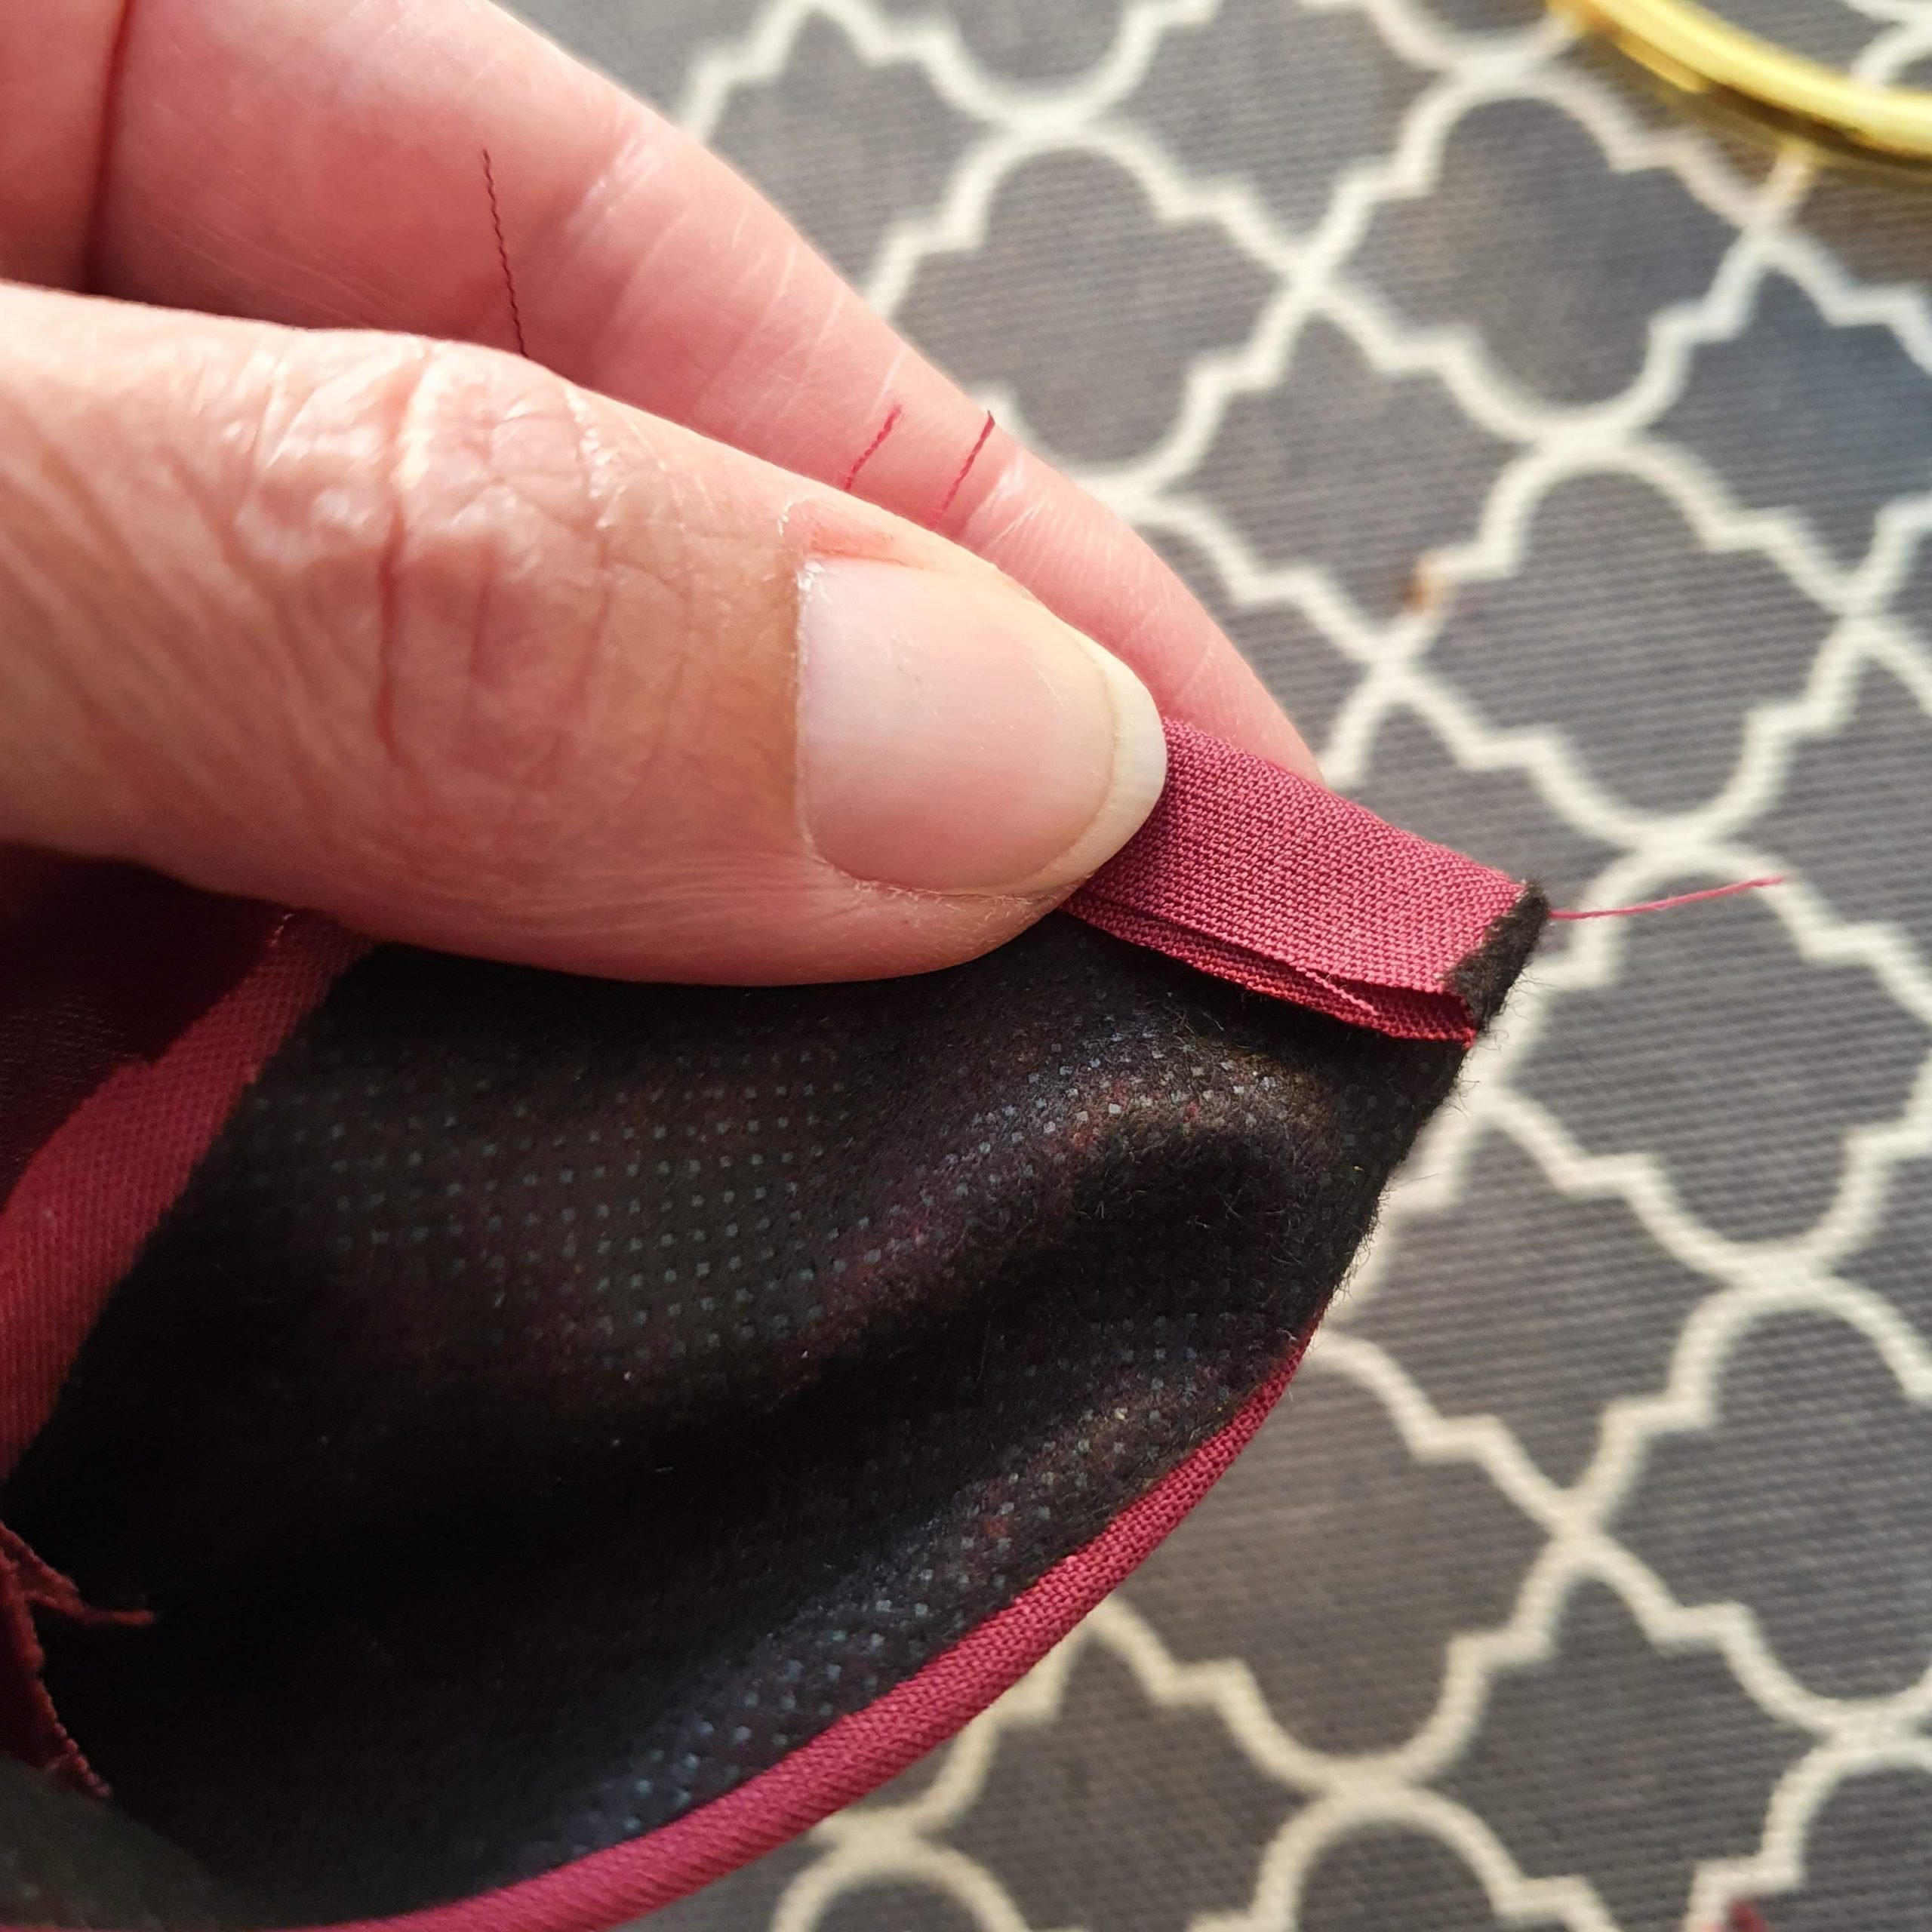
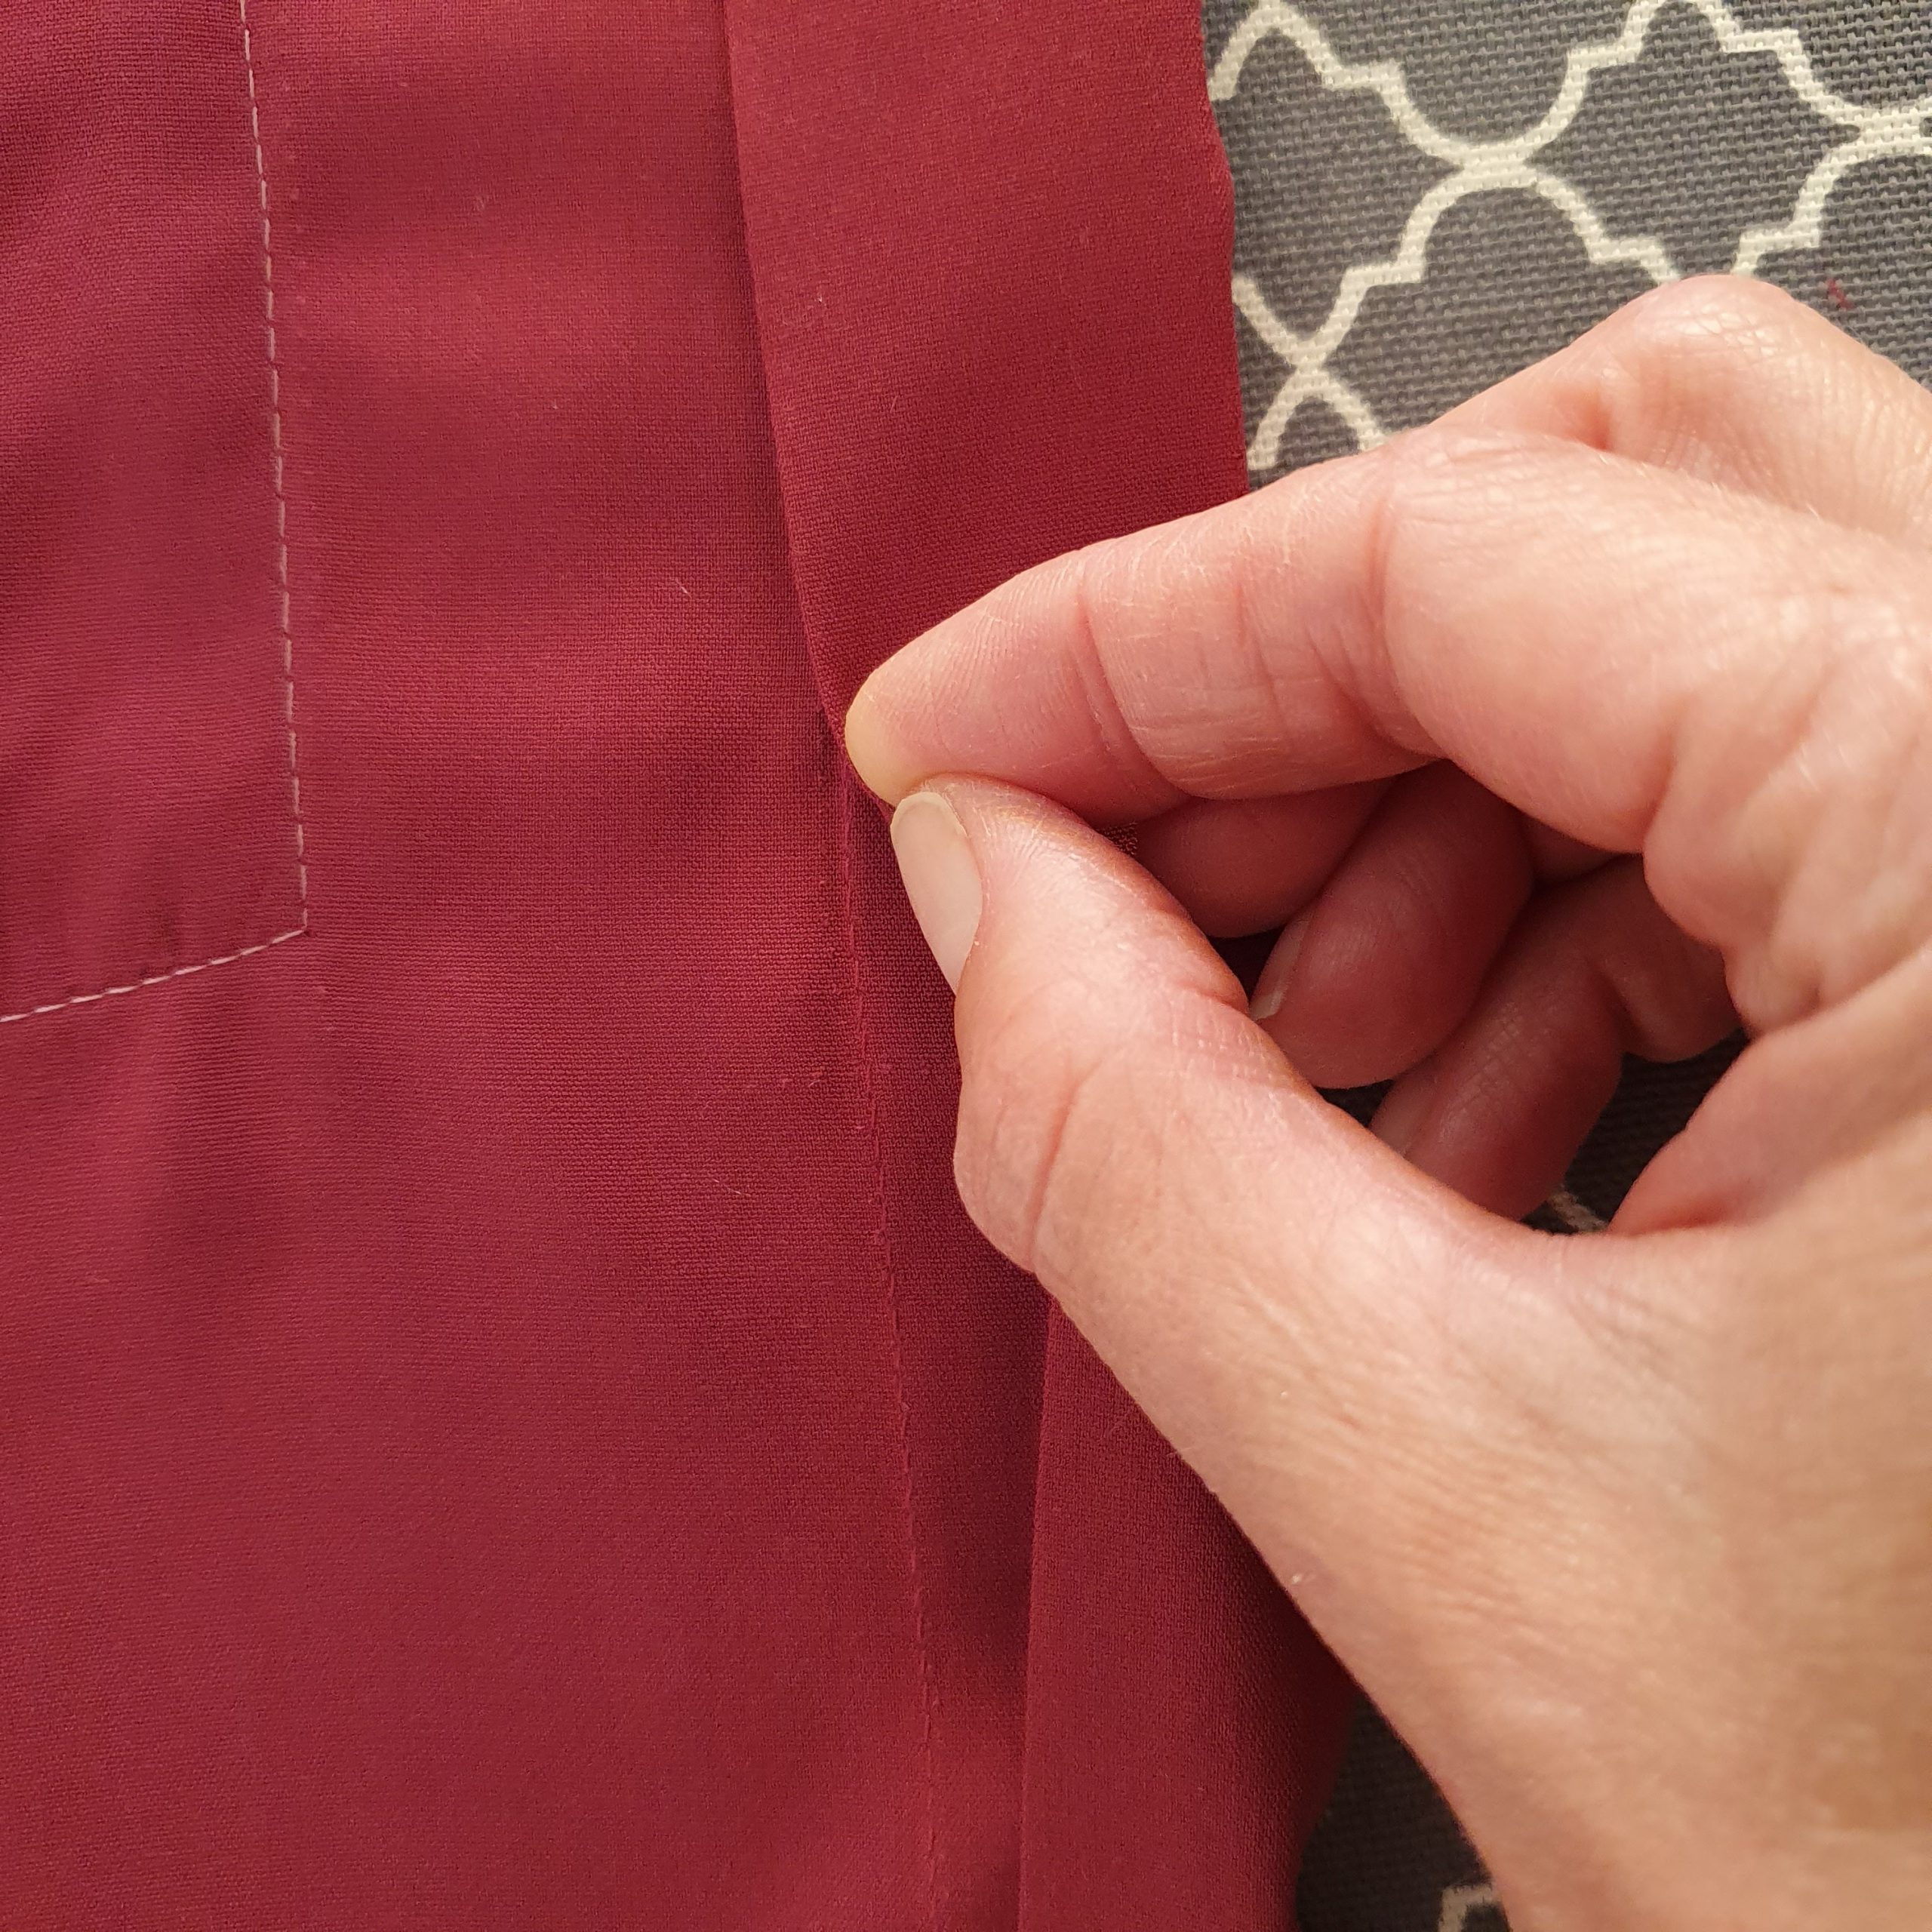
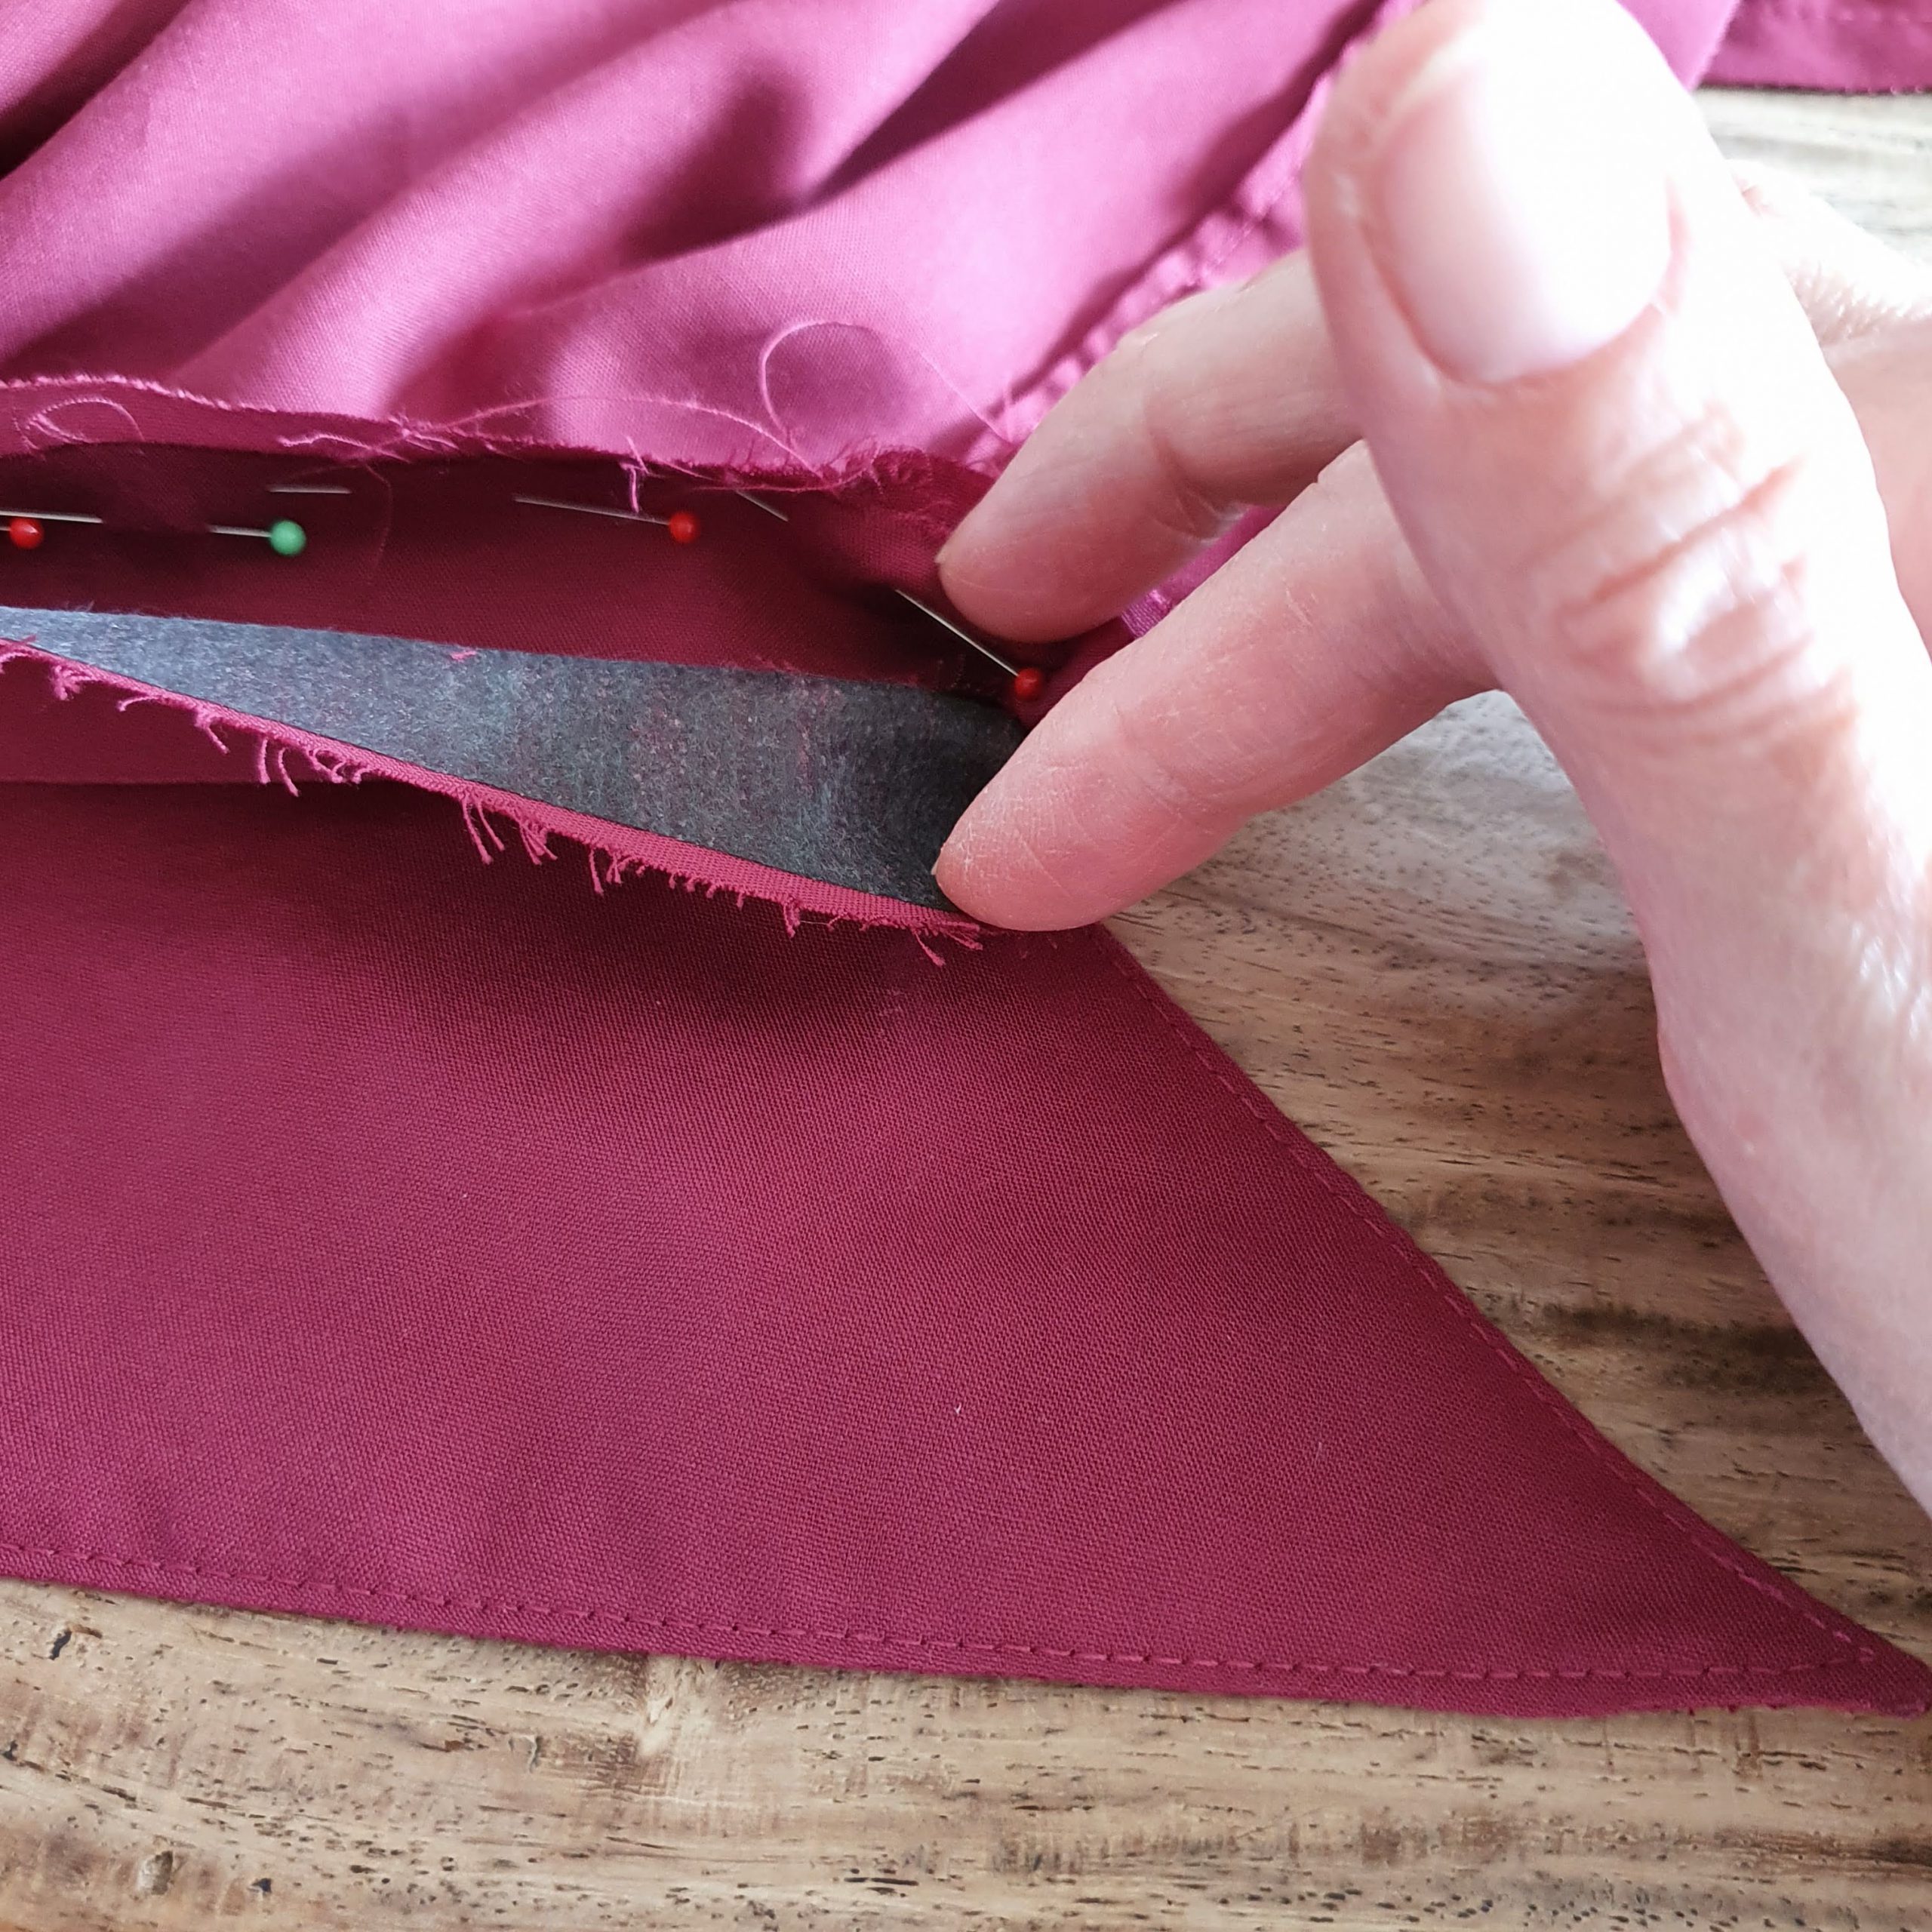
Fold the trim in half at the bottom right sides together, sew and turn inside out. This way you have finished the bottom edge neatly. Especially if you fold the seam allowance inwards before turning, then hold it firmly in the corner between your thumb and index finger while turning. A recently learned couture technique that will be used a few more times later in this sew-along blog.
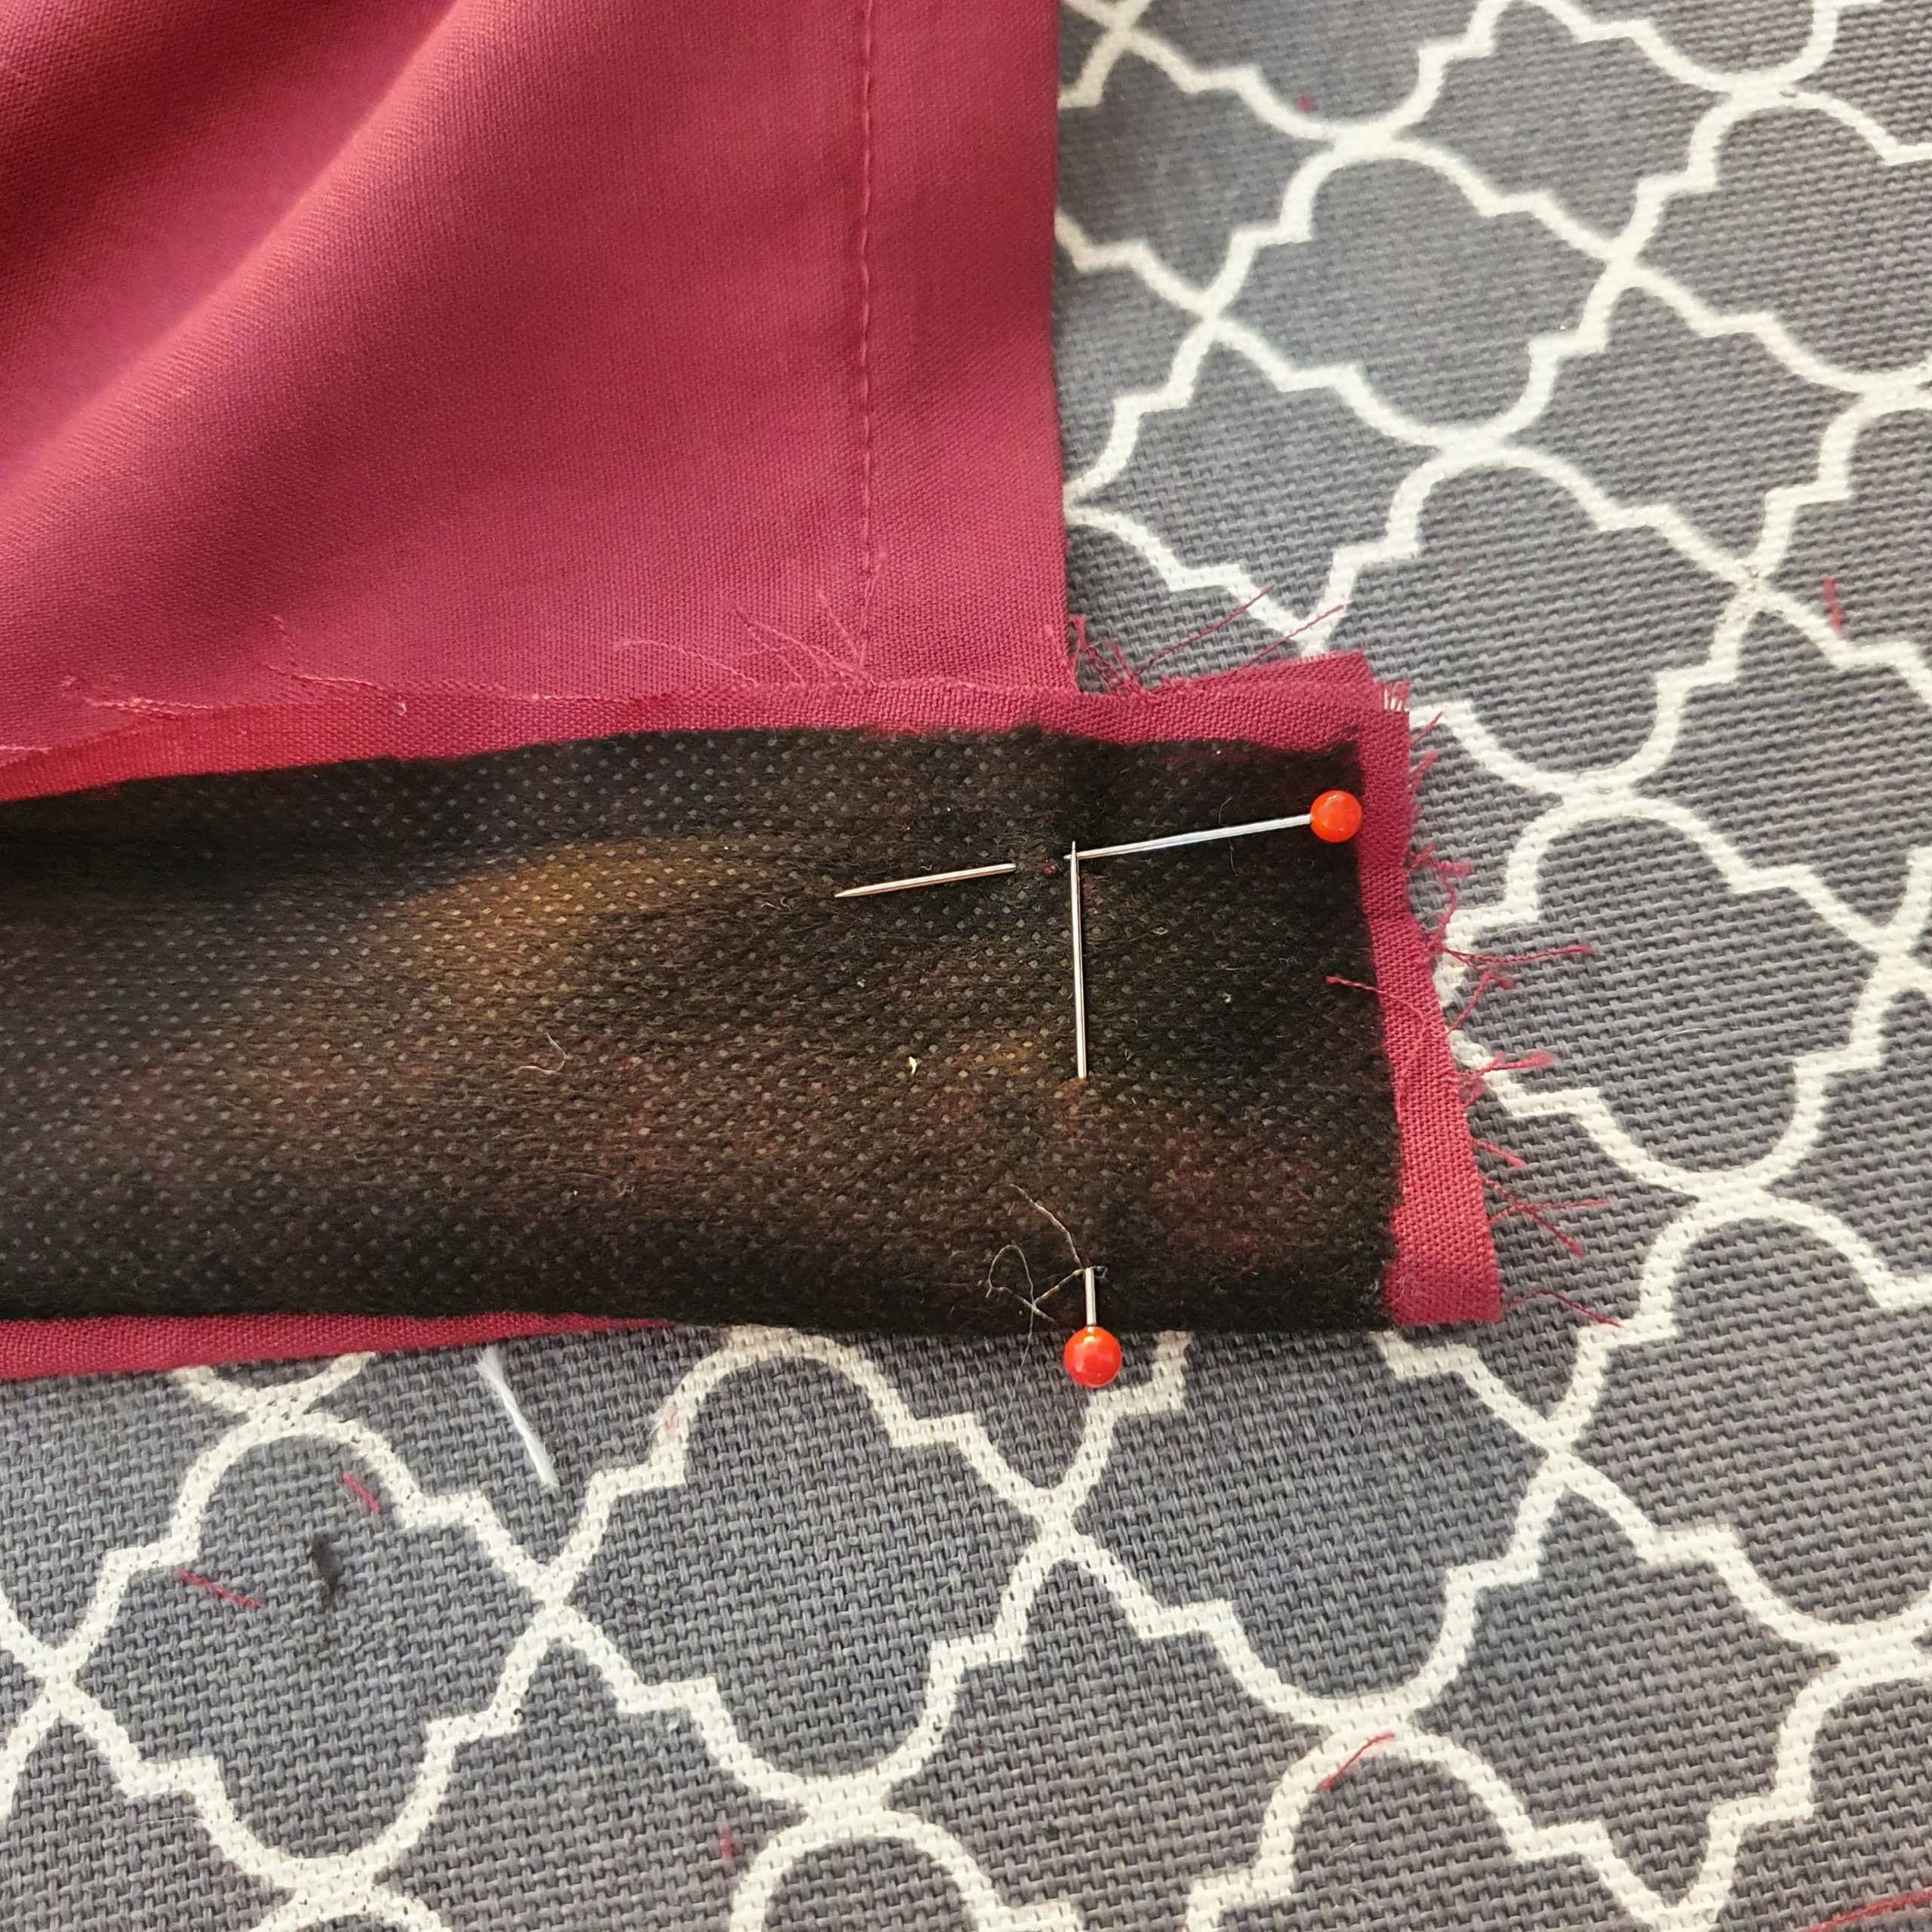
Bottom button placket
Fold seam allowance inward and turn
Now pin the button placket with the previously ironed seam allowance folded inward and stitch in the ditch at the front. Make sure that the button plaqet just falls over this on the inside.
Fold button placket to the inside
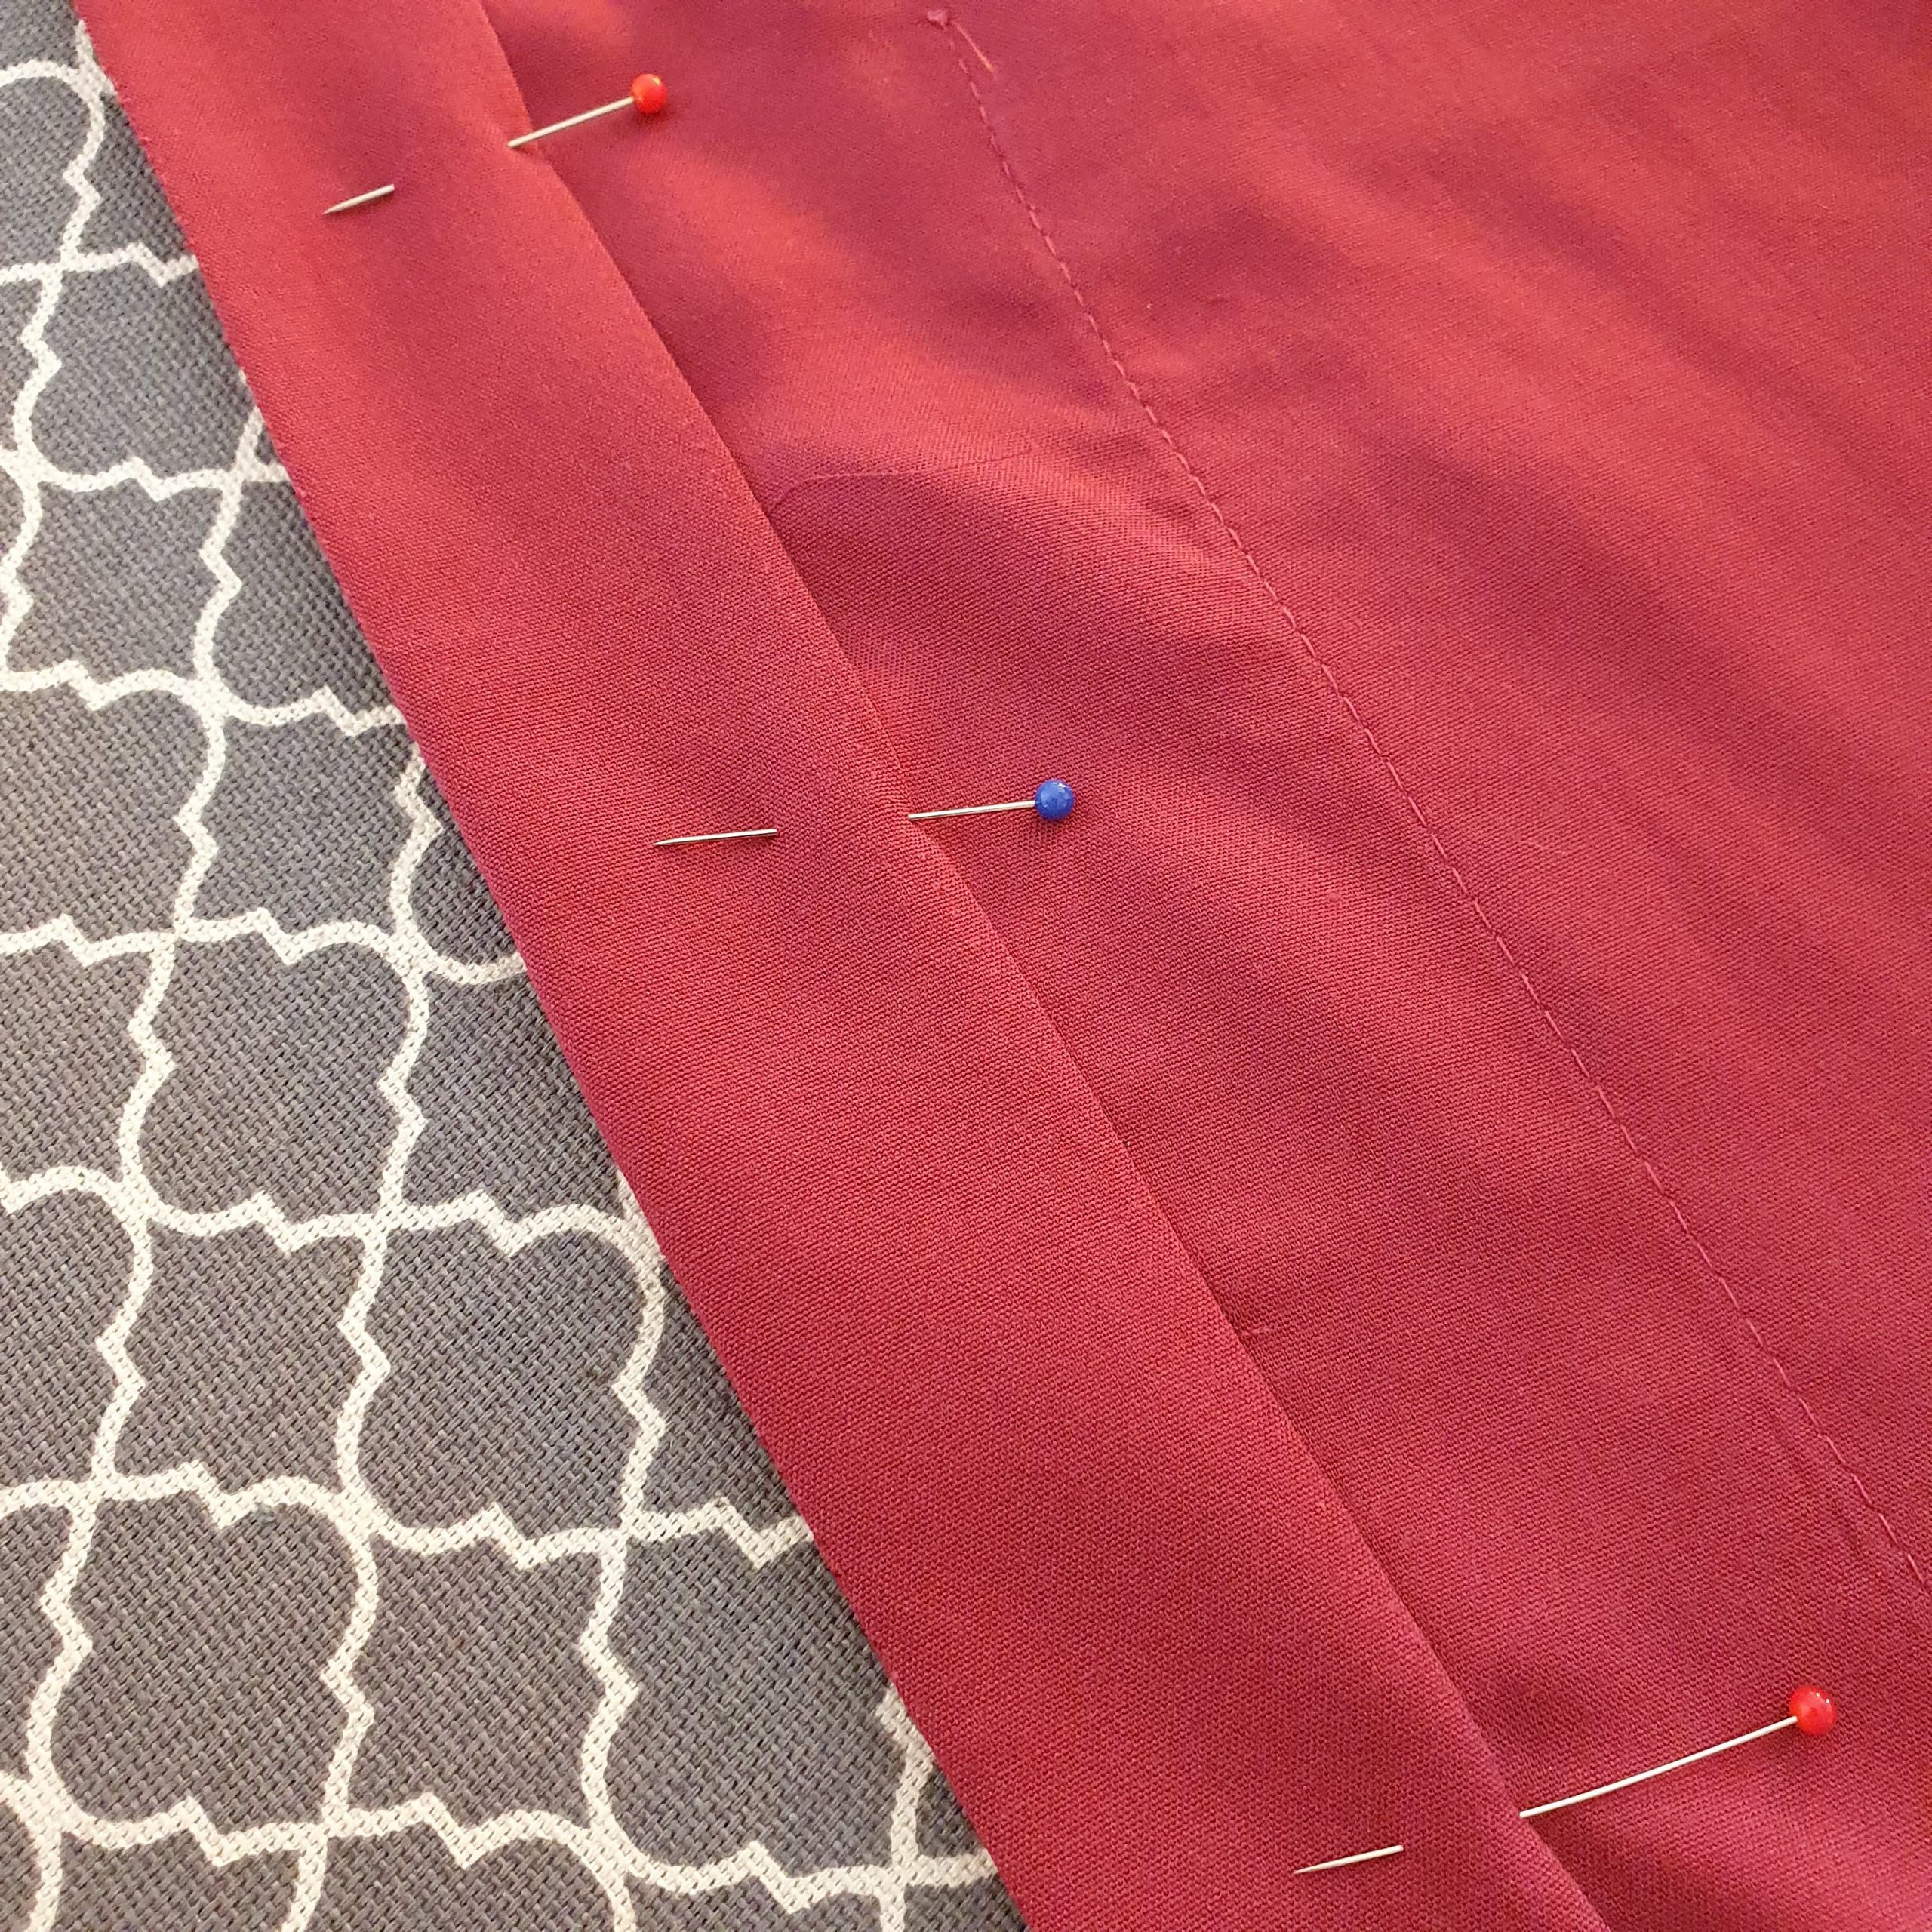
Pin first on the inside
Then on the outside
Stitch in the ditch
Collar
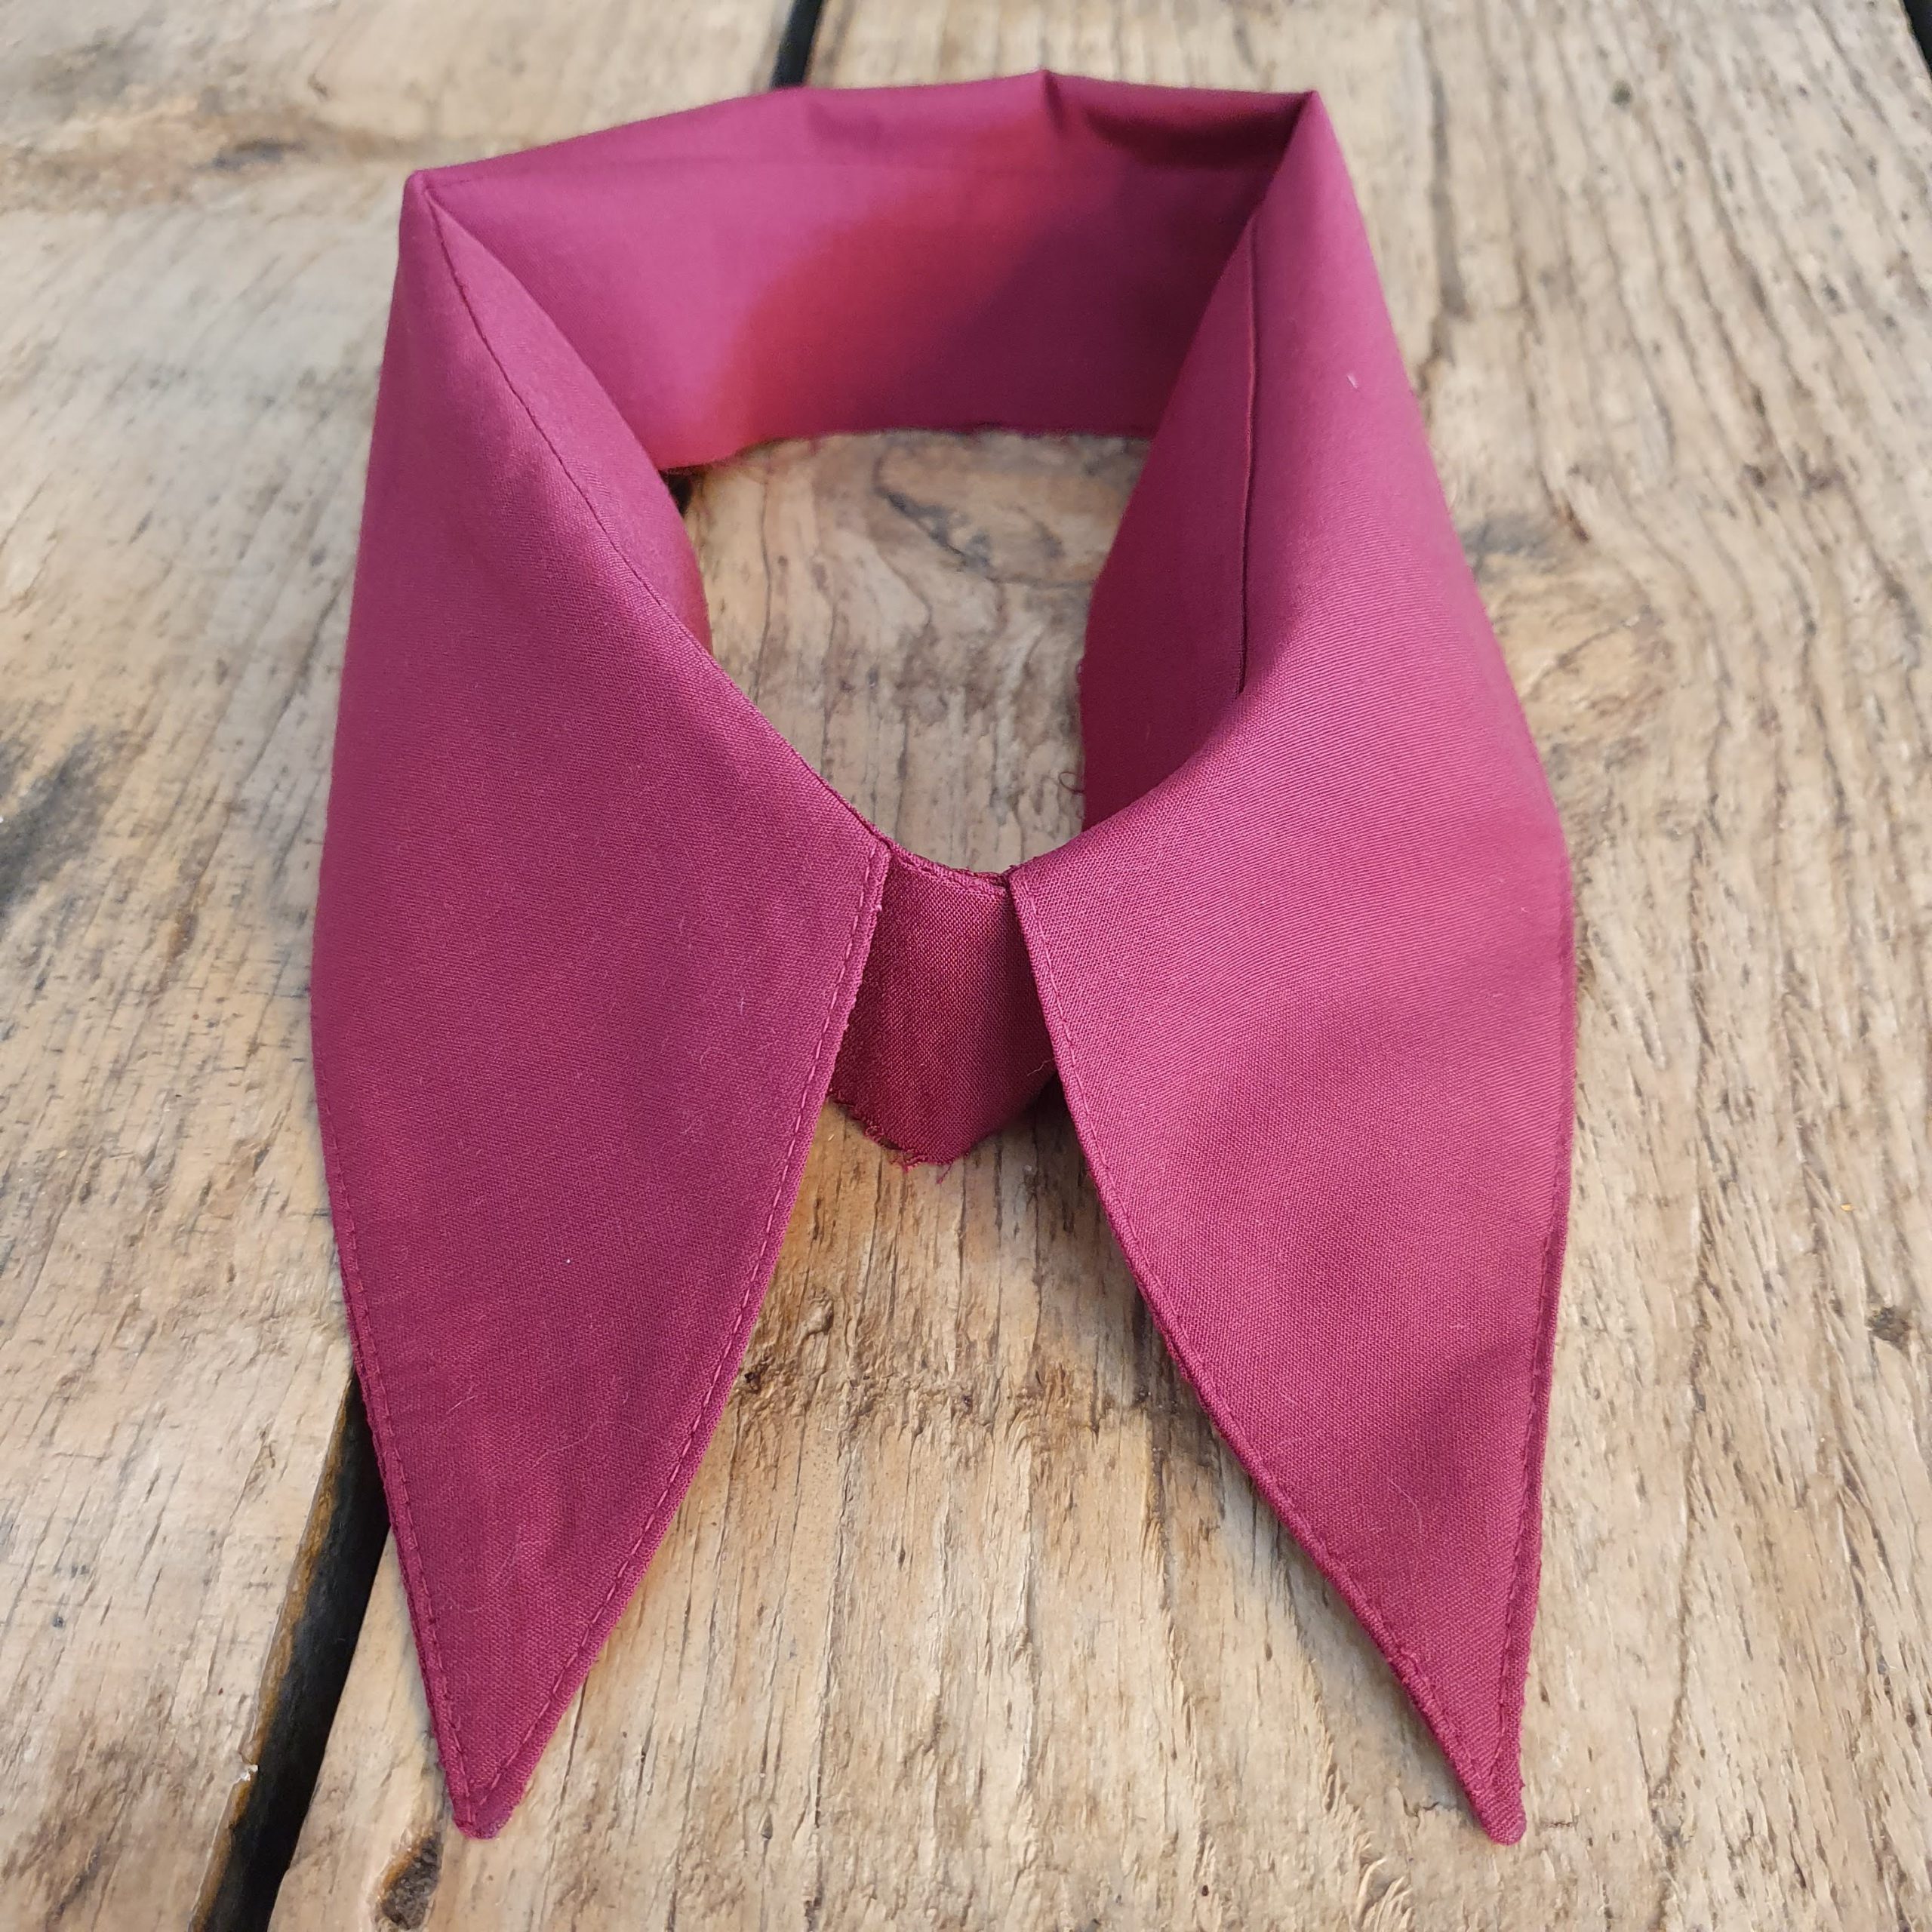
For sewing the collar, also read the separate tips in the pattern instructions.
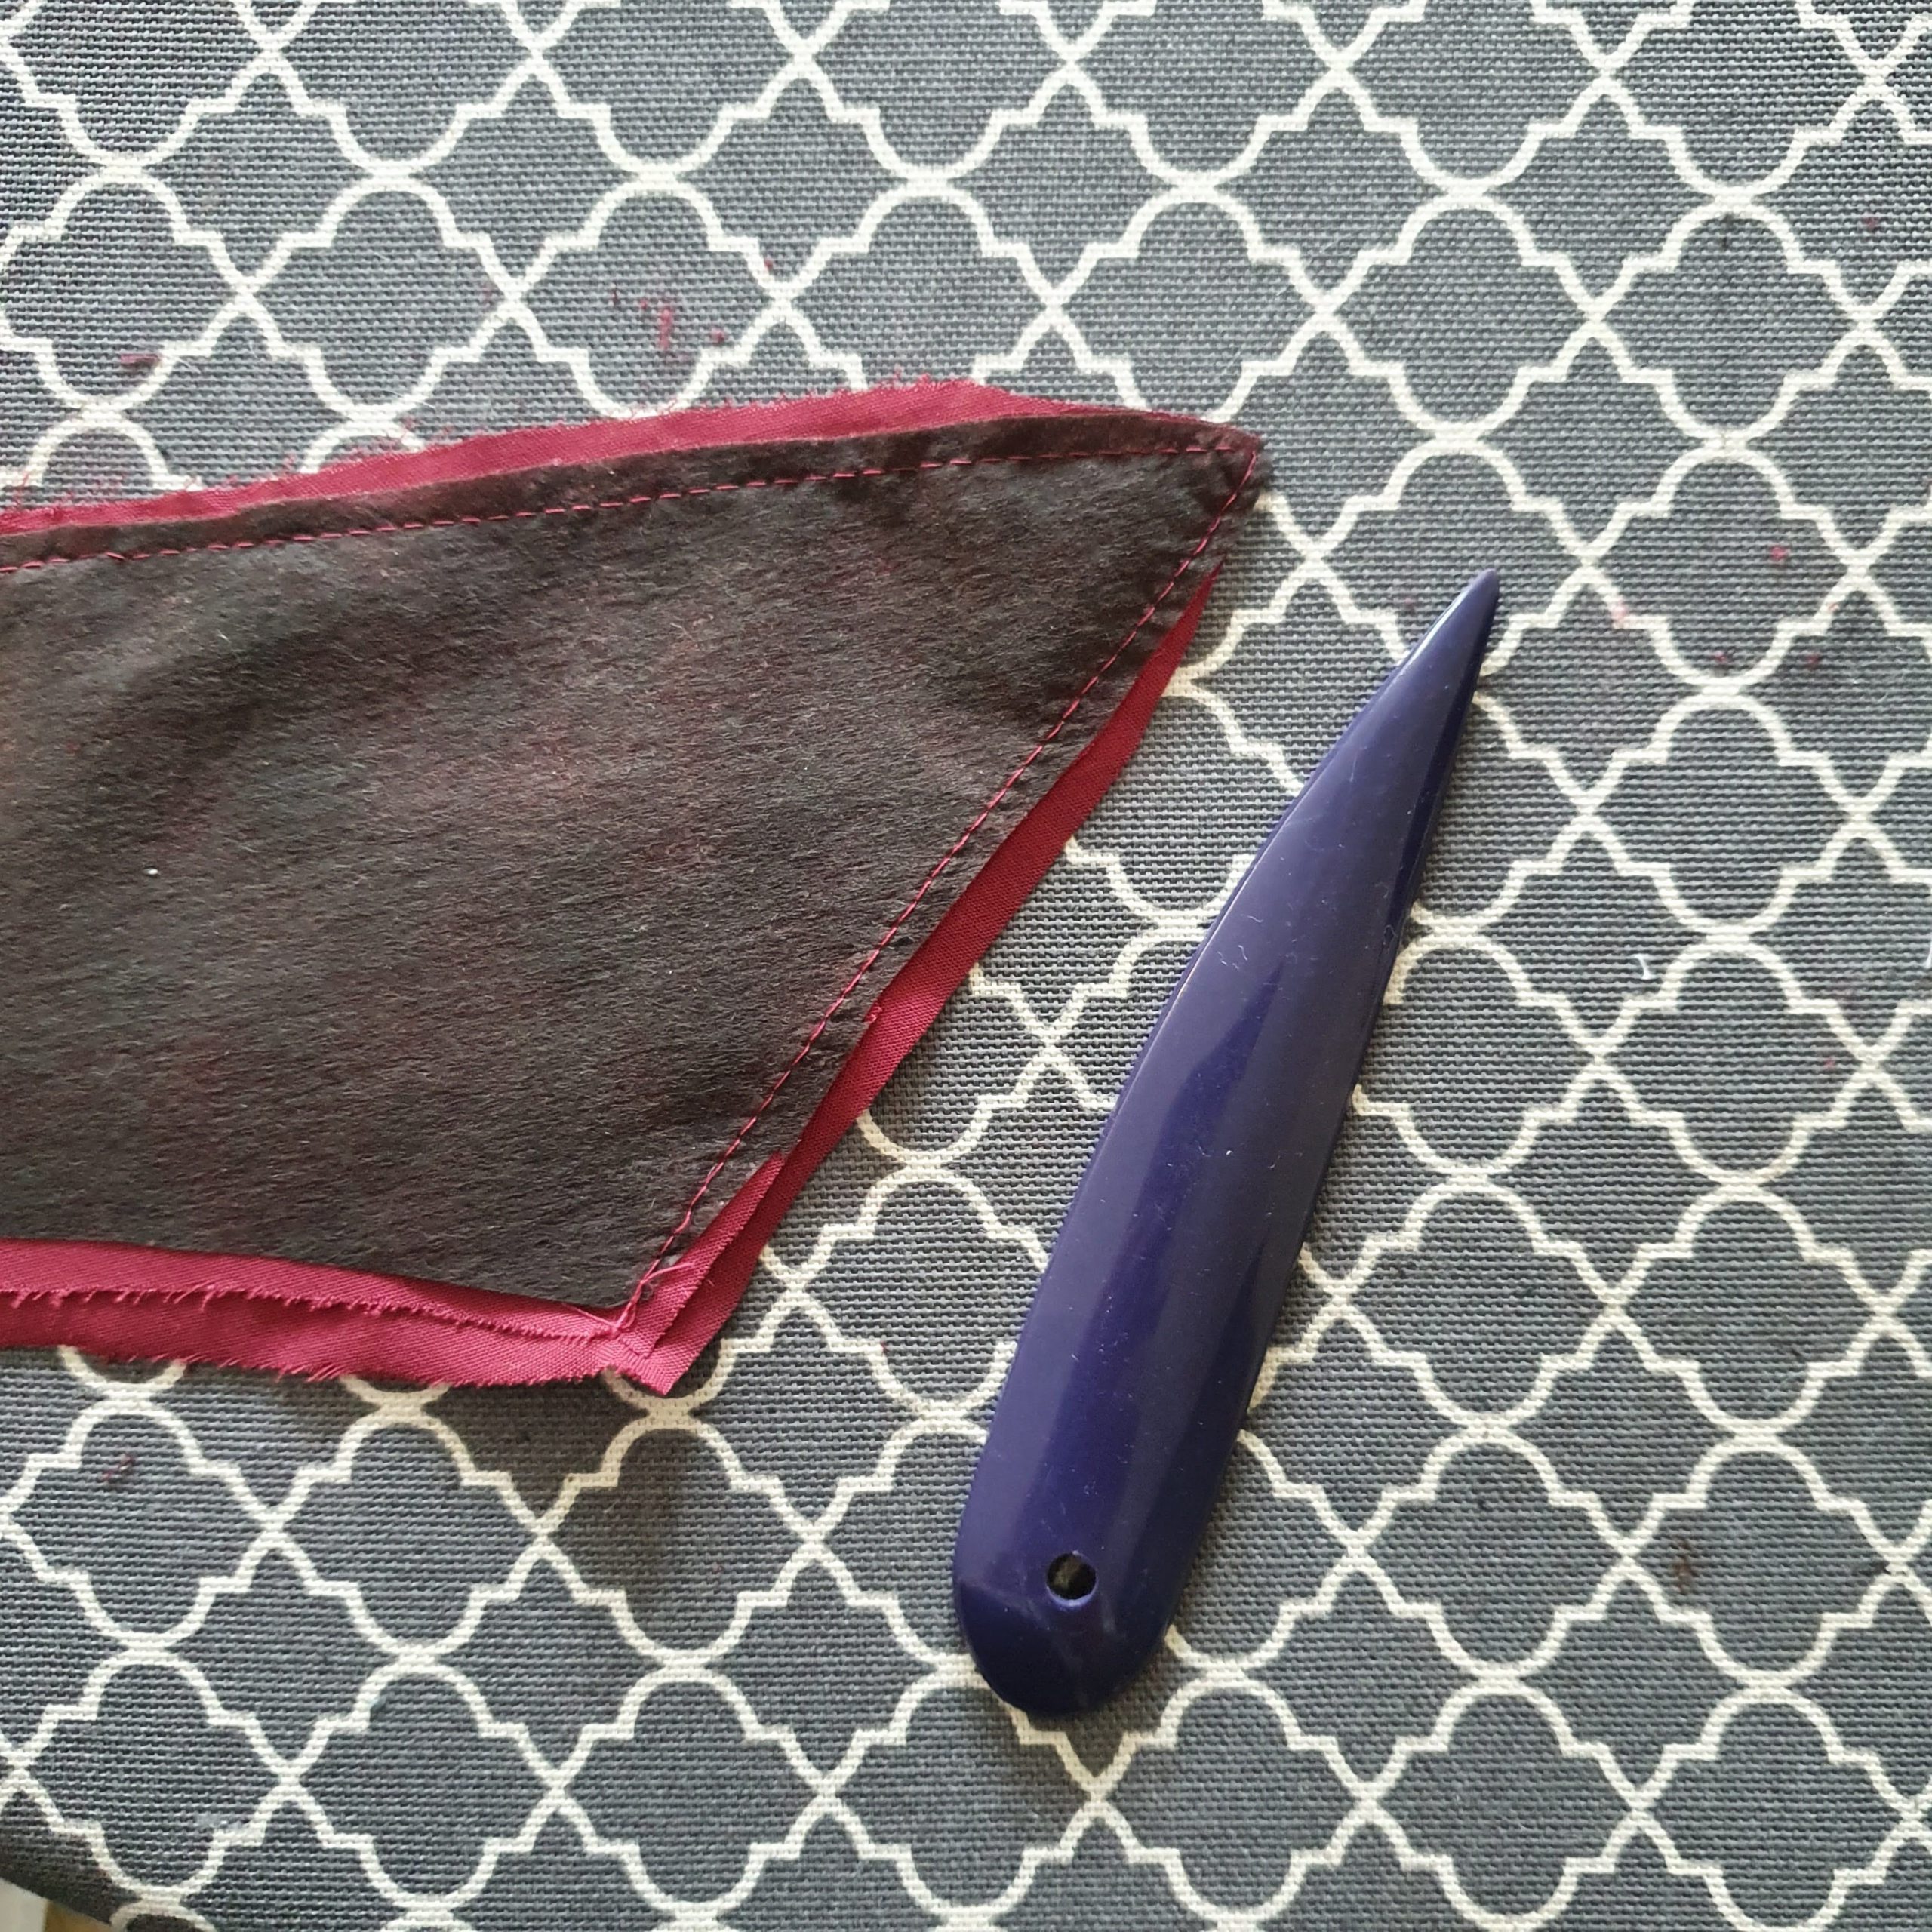
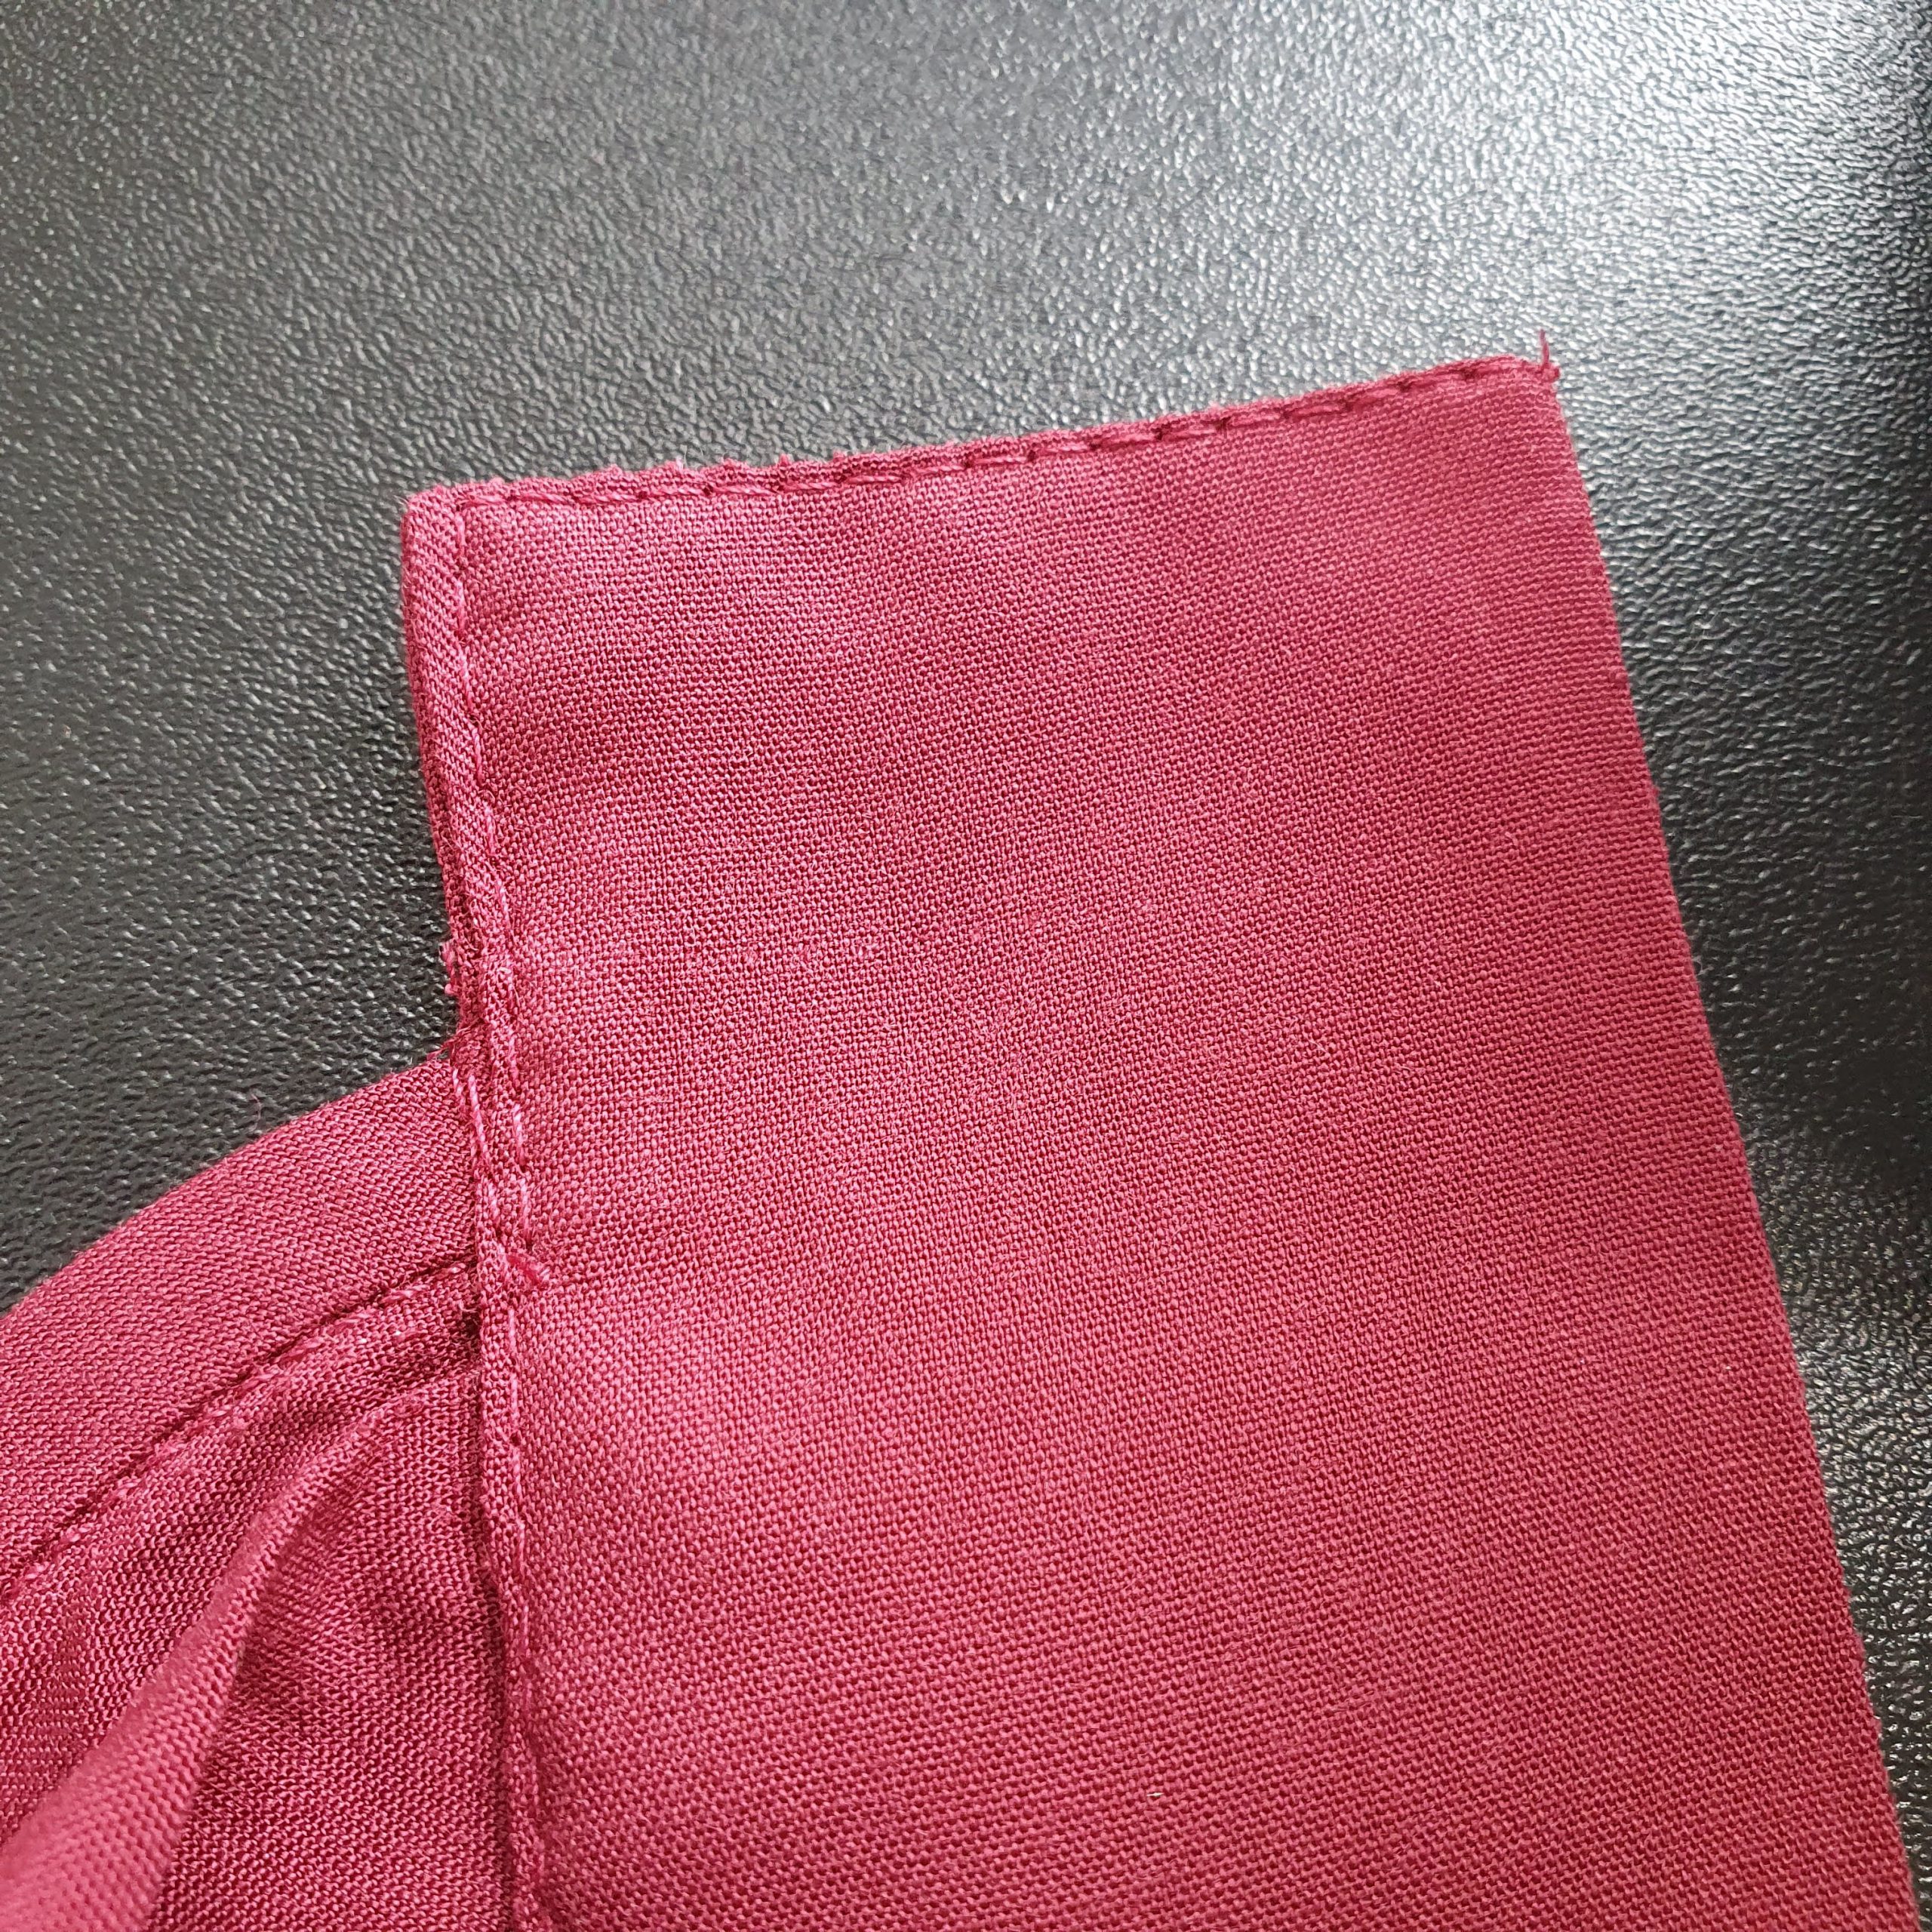
Sew the collar pieces right sides together. Trim the seam allowances and trim the curves. Turn the collar. Carefully press out the corners.
Cut seam allowances narrow
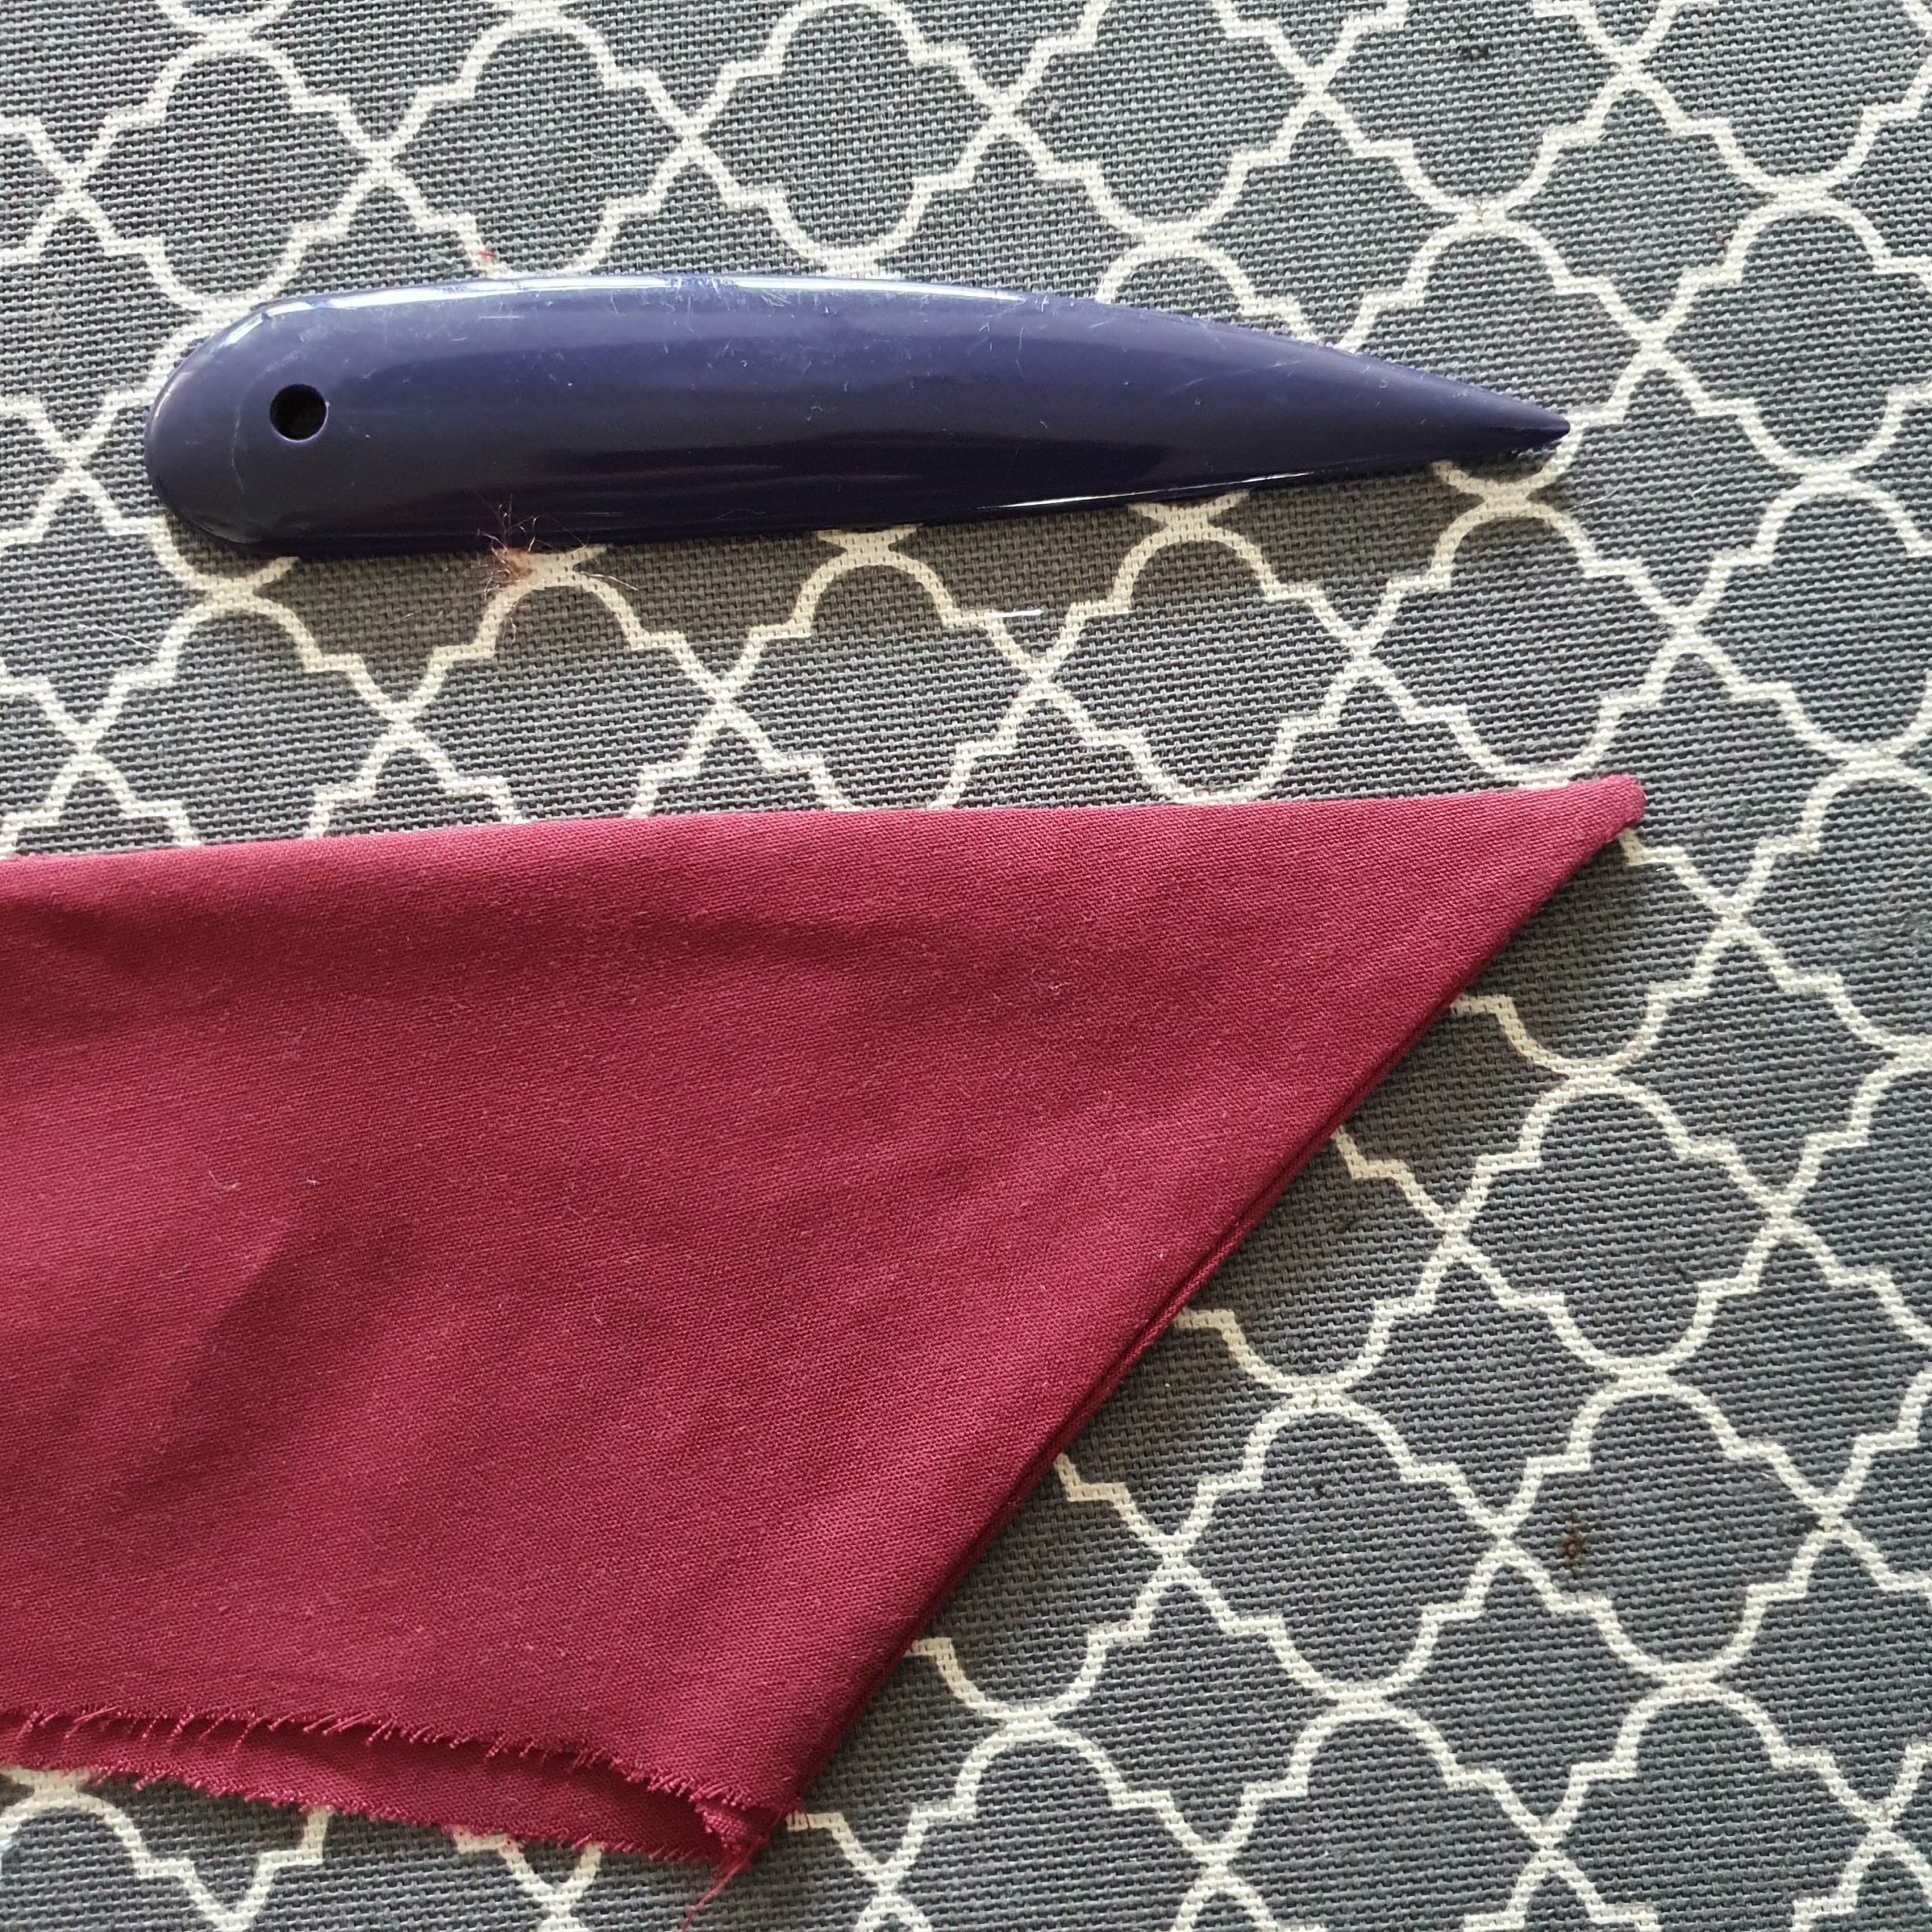
Carefully push out the pointy collar
Tip: If you are working with fast-fraying or delicate fabrics you can reinforce the narrow cut seam allowances in the tip of the collar with a drop of fray stopper.
Iron the collar and pin it again before topstitching it narrow on the side, this will prevent any shifting. When topstitching the collar you can play in the corner with the stitch length. If necessary, make it smaller to end up exactly in the corner.
Pin before topstitching prevent any shifting
Place the collar stands right sides together and place the open edge of the collar between them. The inner stand (reinforced) lies on the top collar (not reinforced). Sew the front and top of the collar stands and at the same time the collar parts.
Collar stand sandwich
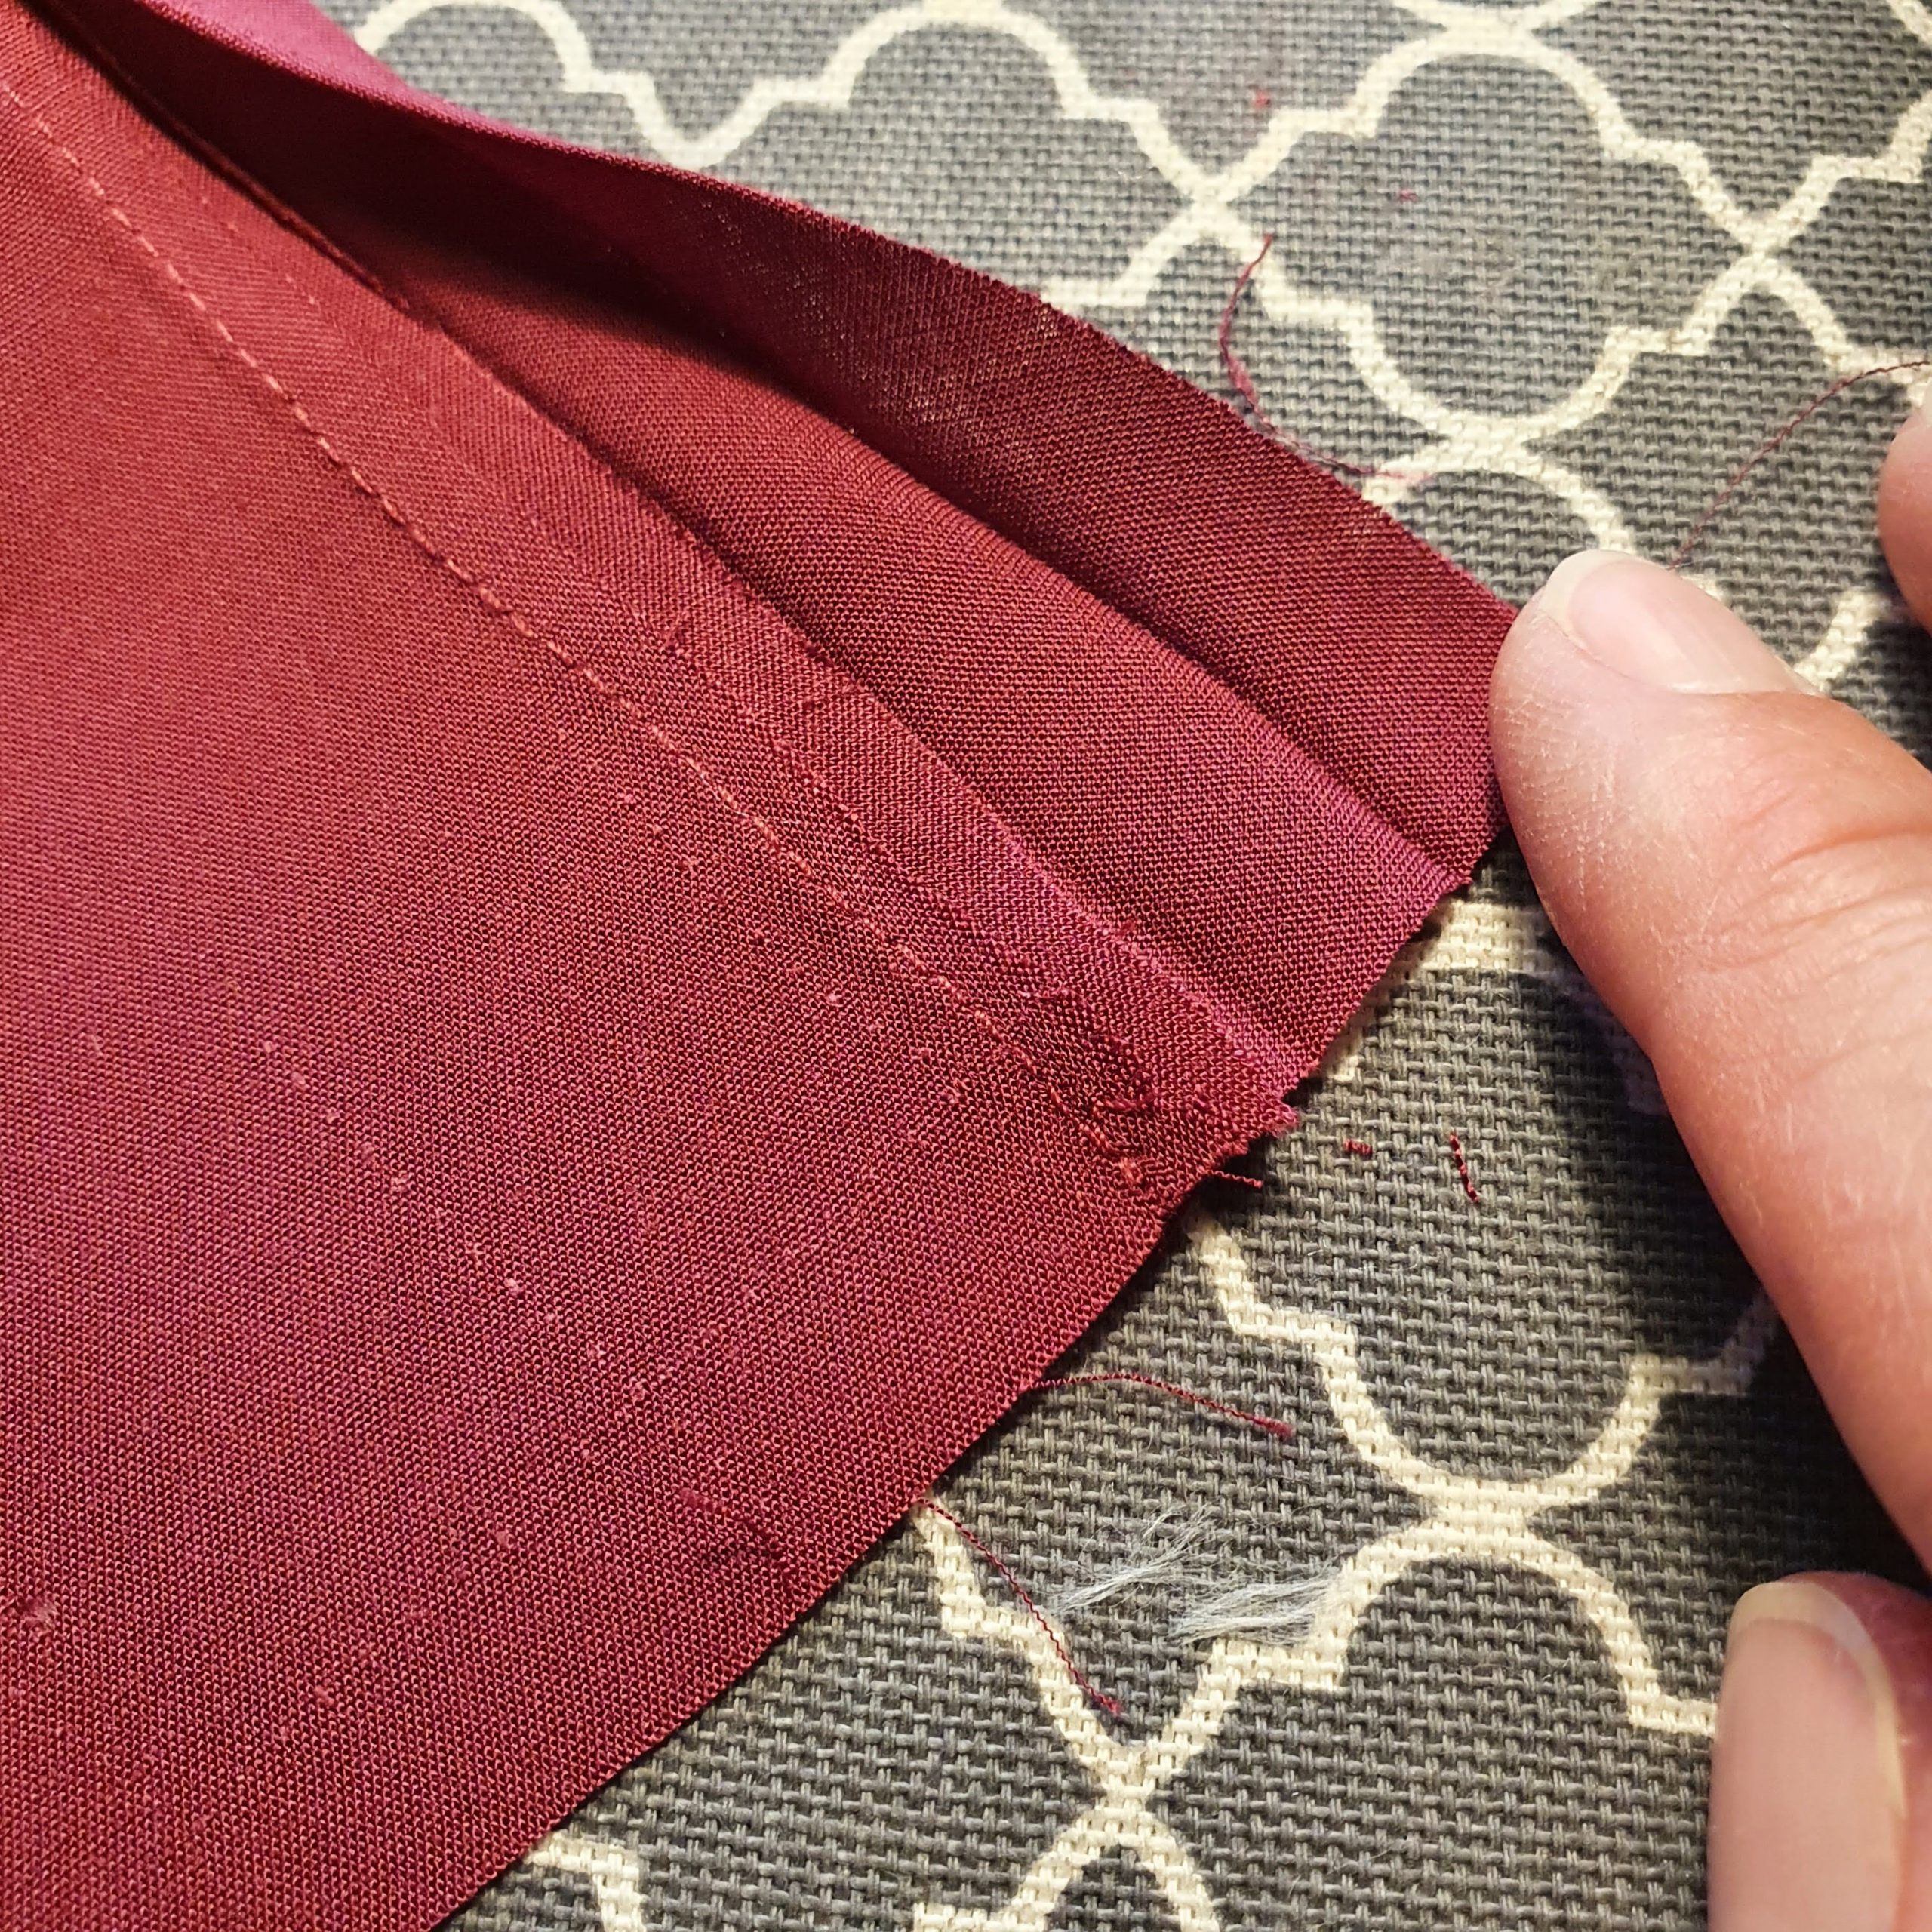
In contrast to what is described in the collar tips, I do NOT cut the seam allowance, but fold and iron inwards. Hold this in the corner again when turning. Et voilà a nice tight corner.
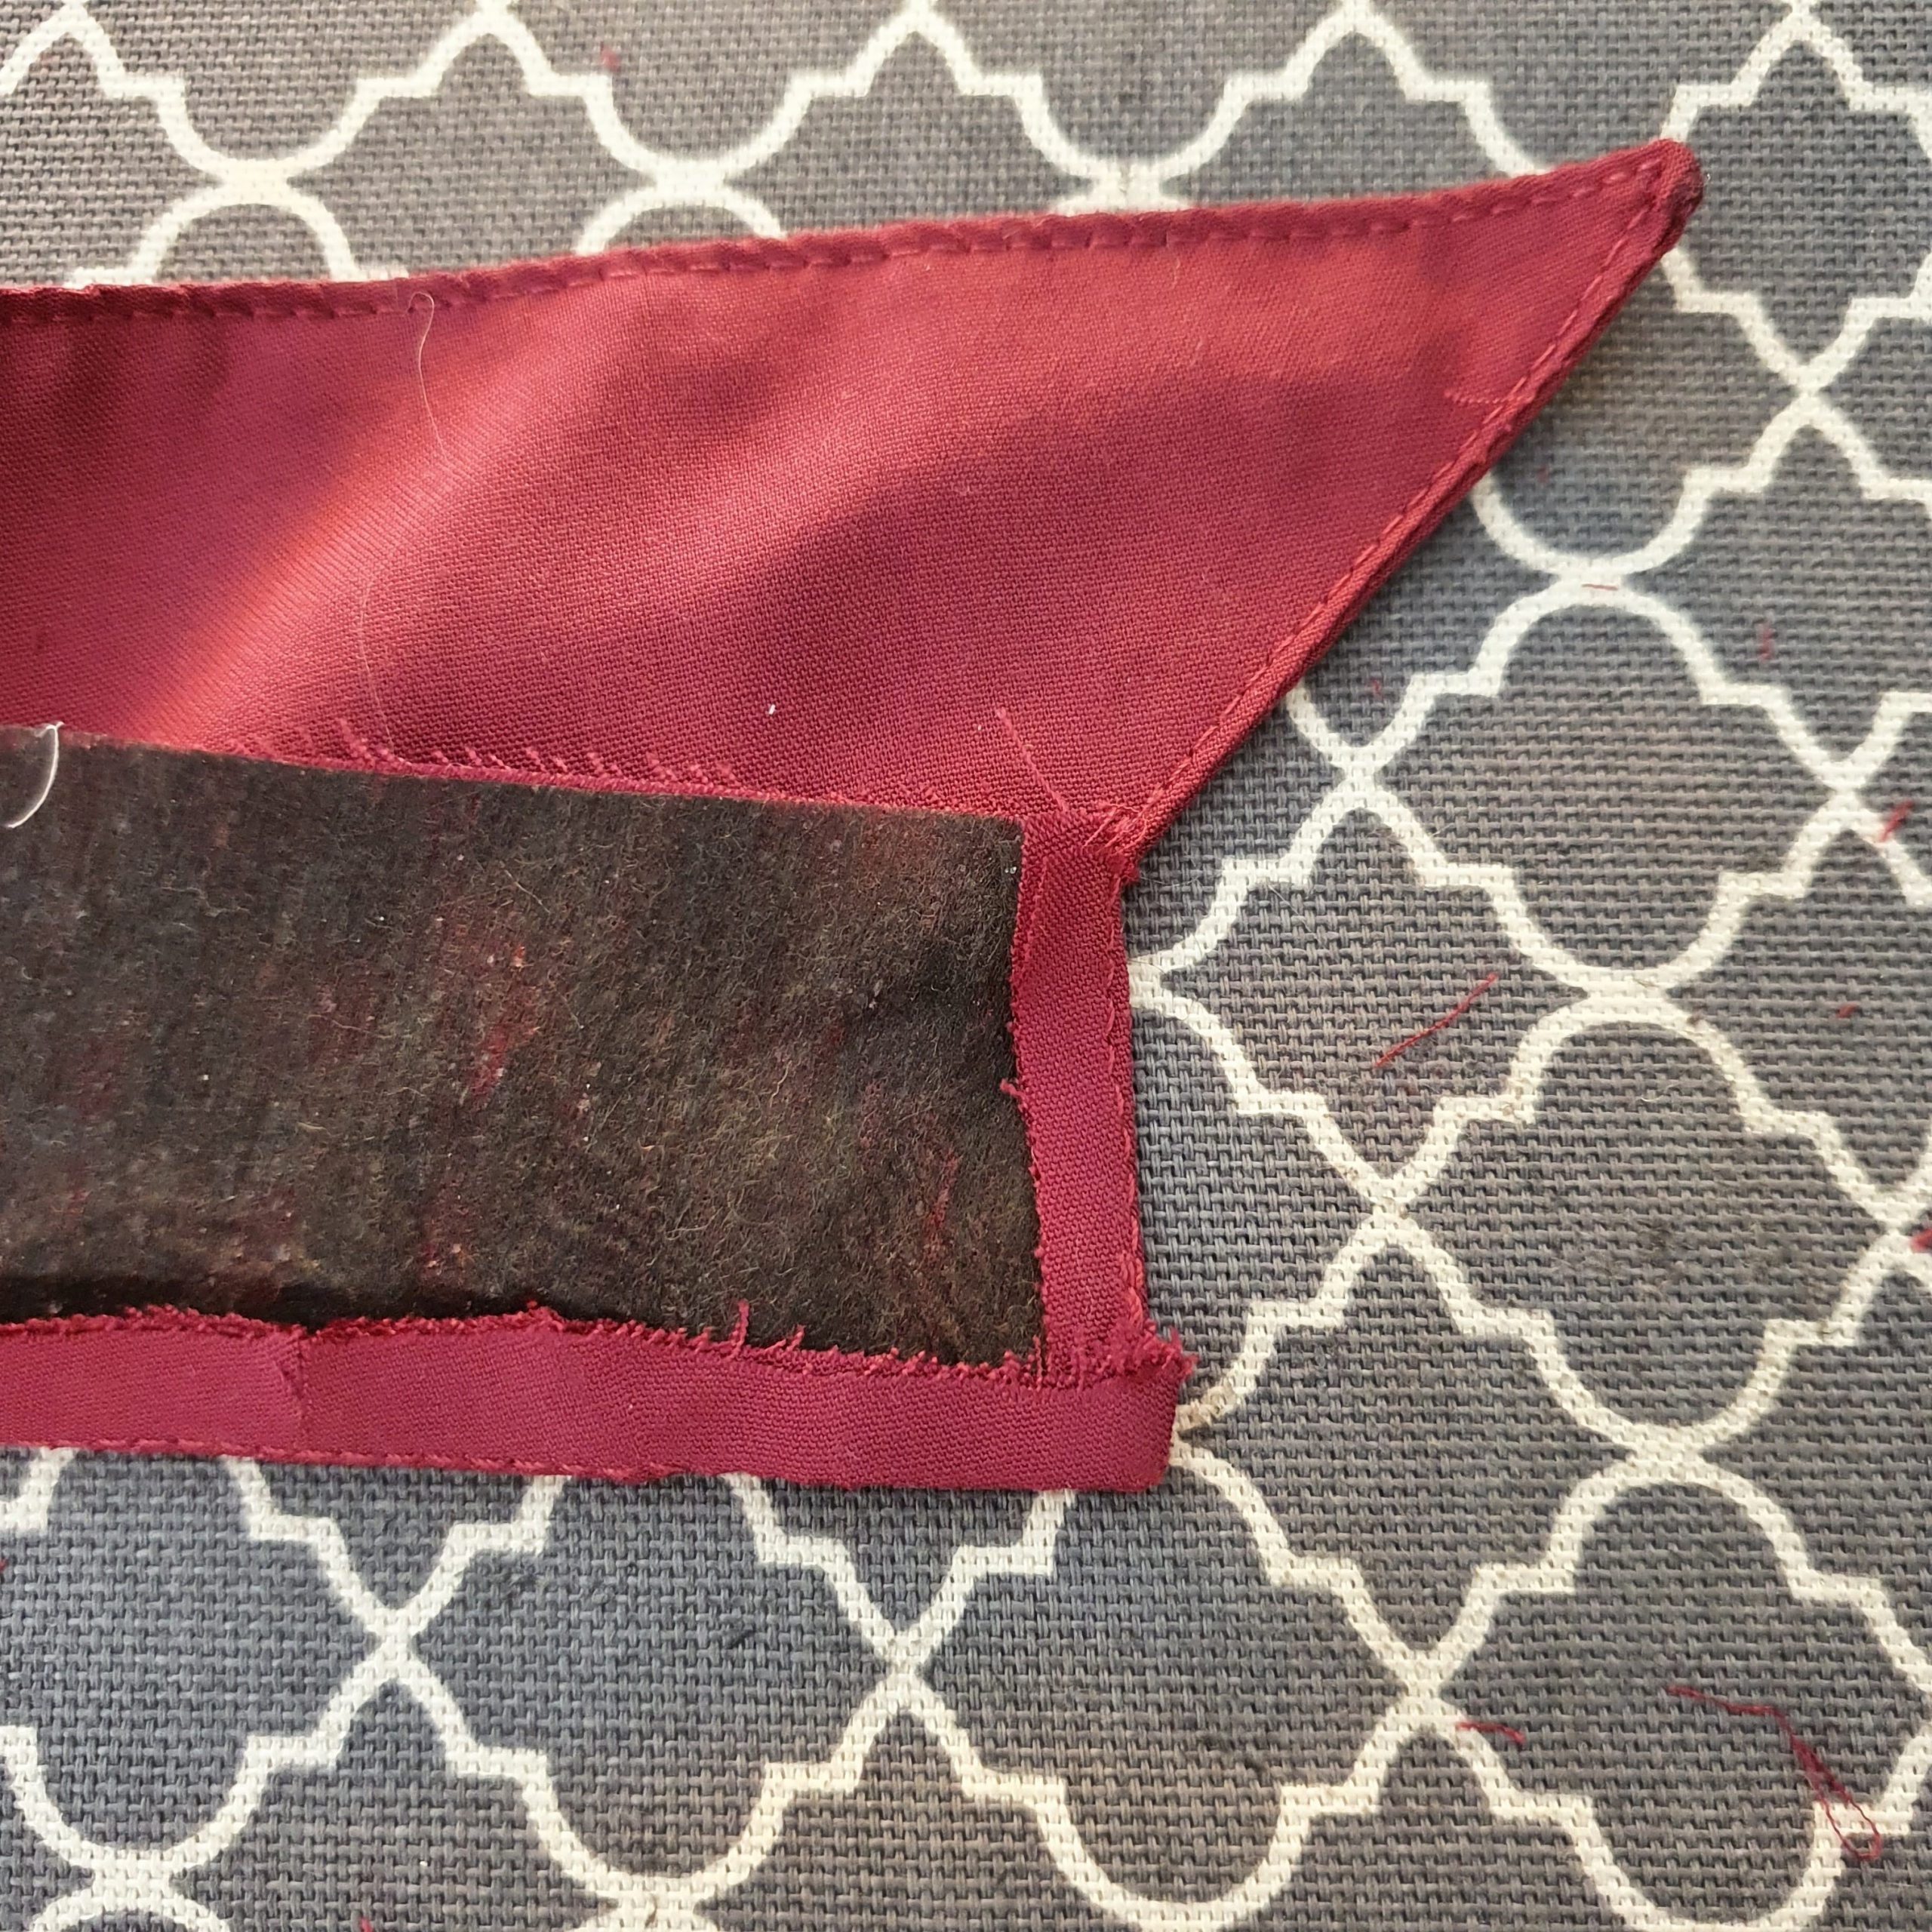
Fold seam allowances inward
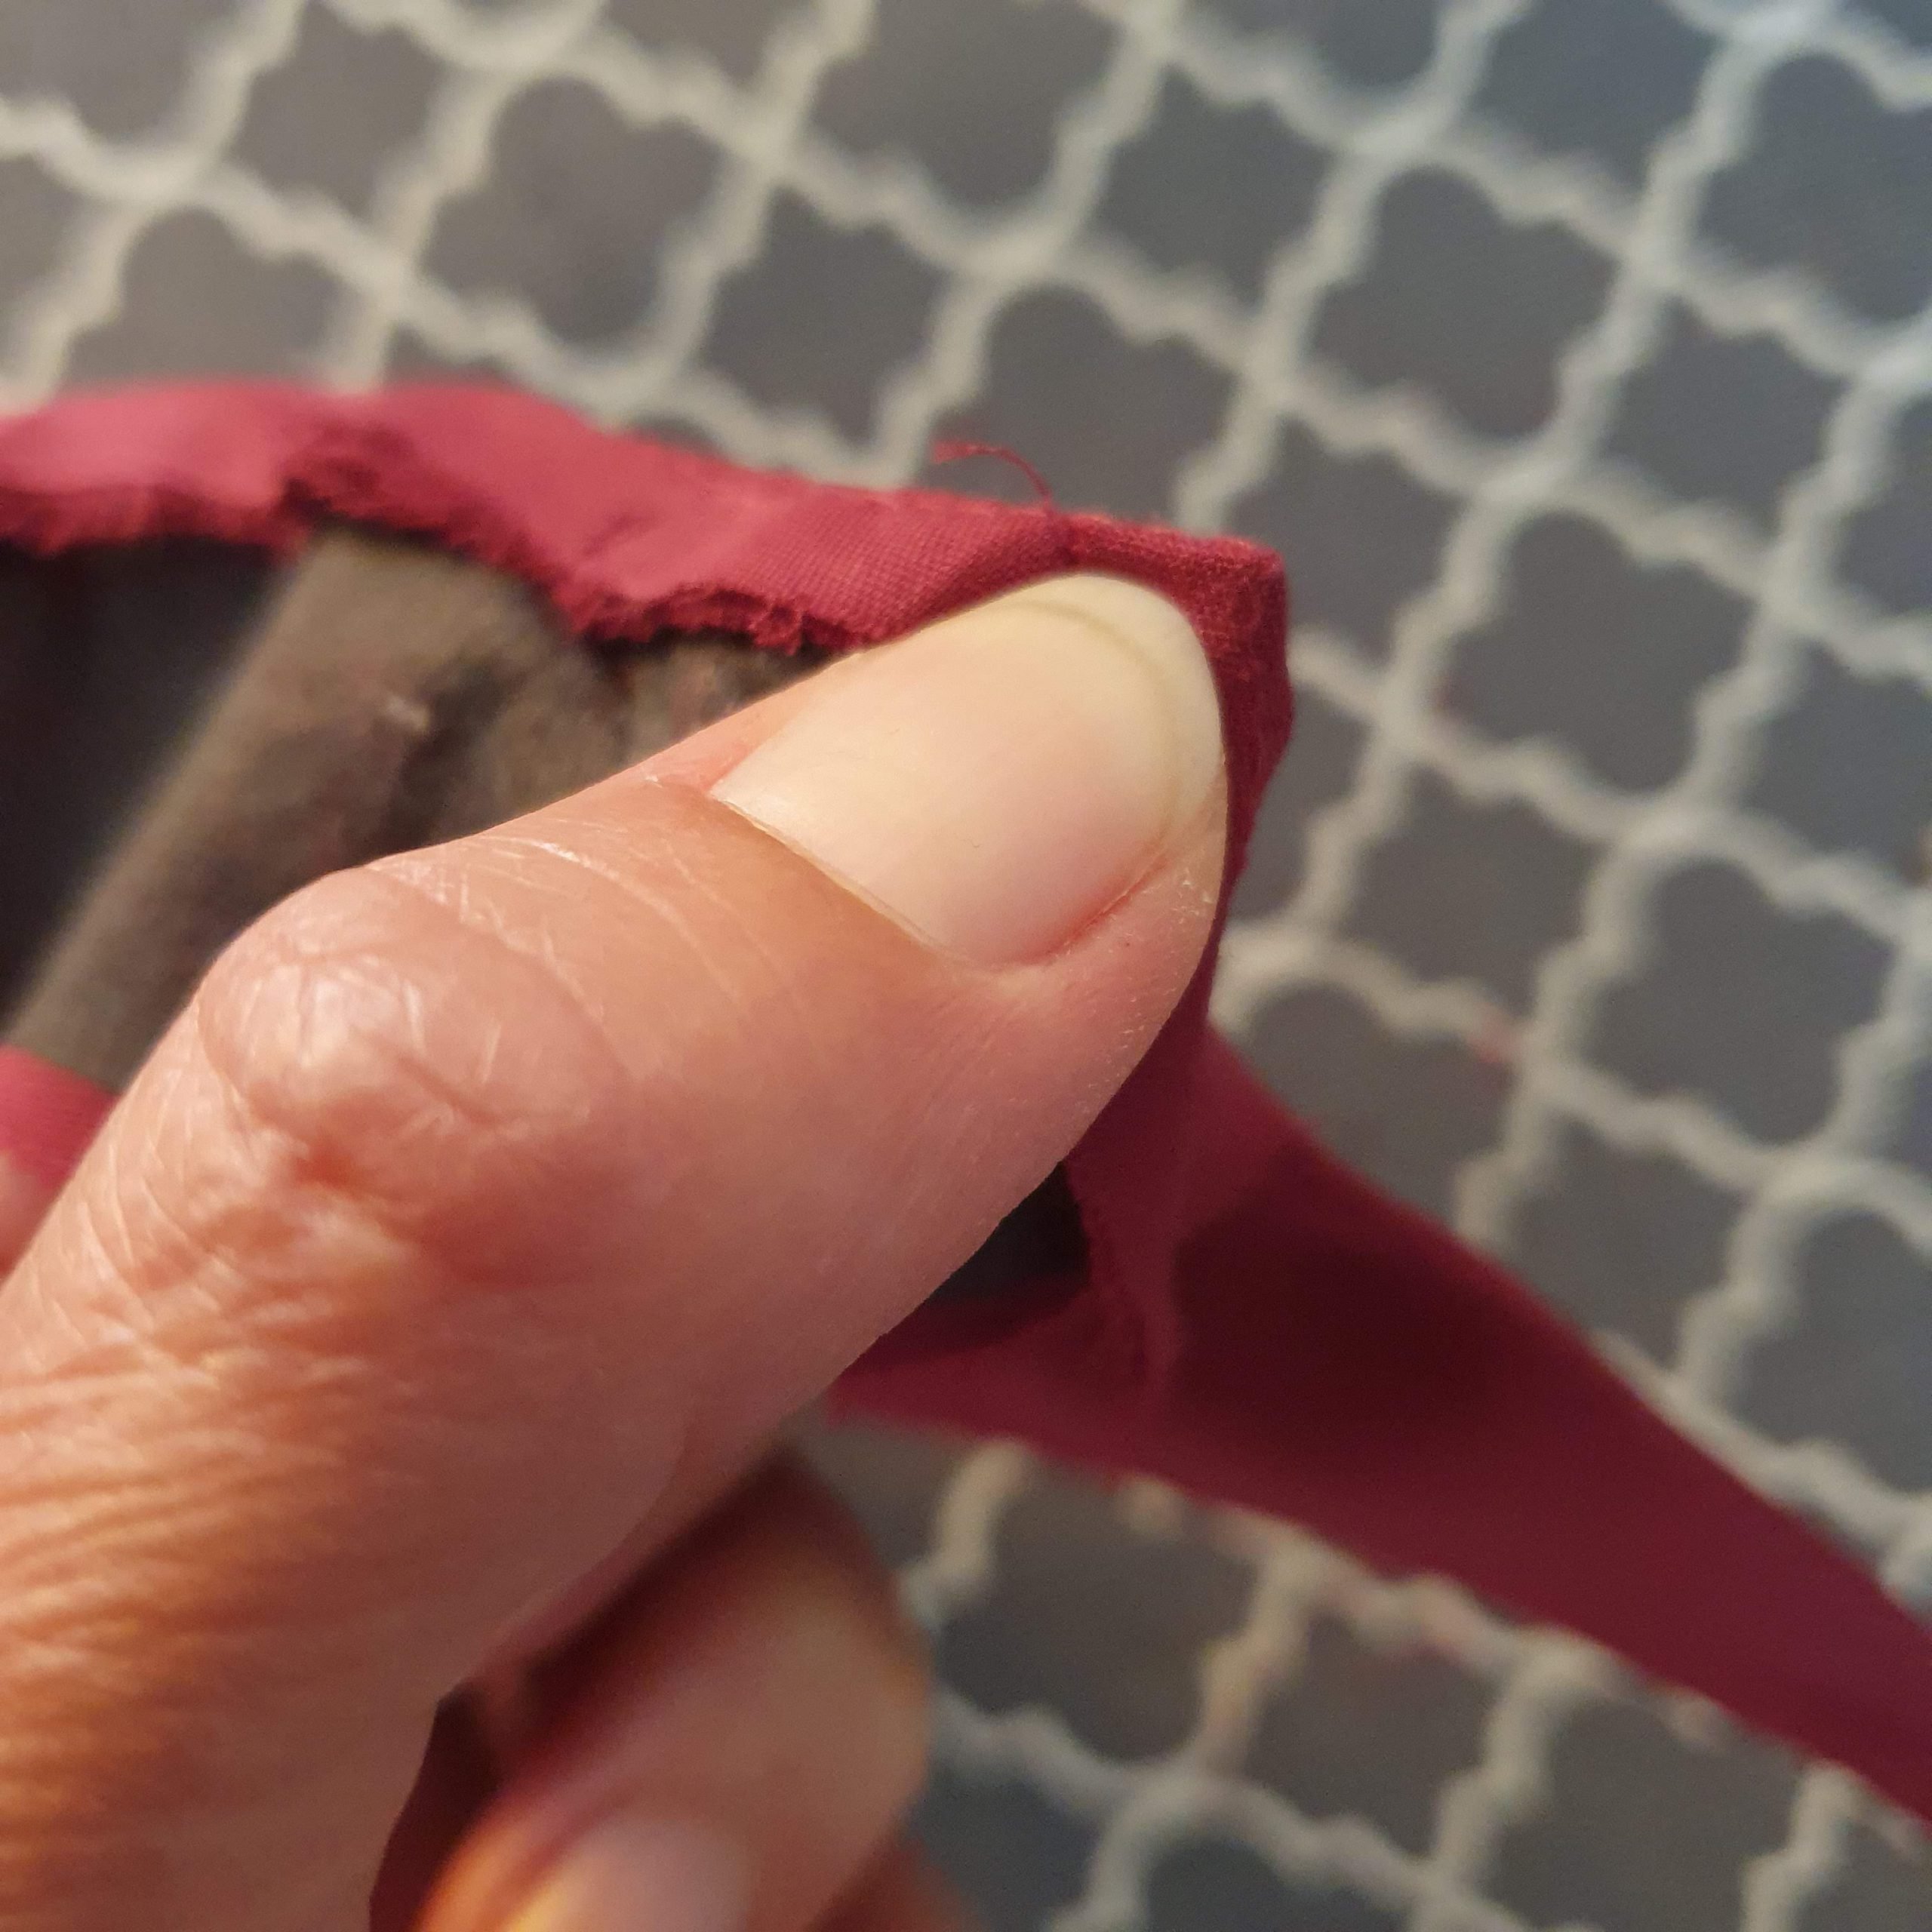
Hold it at the corner when turning
Neat corner

Sneak peek
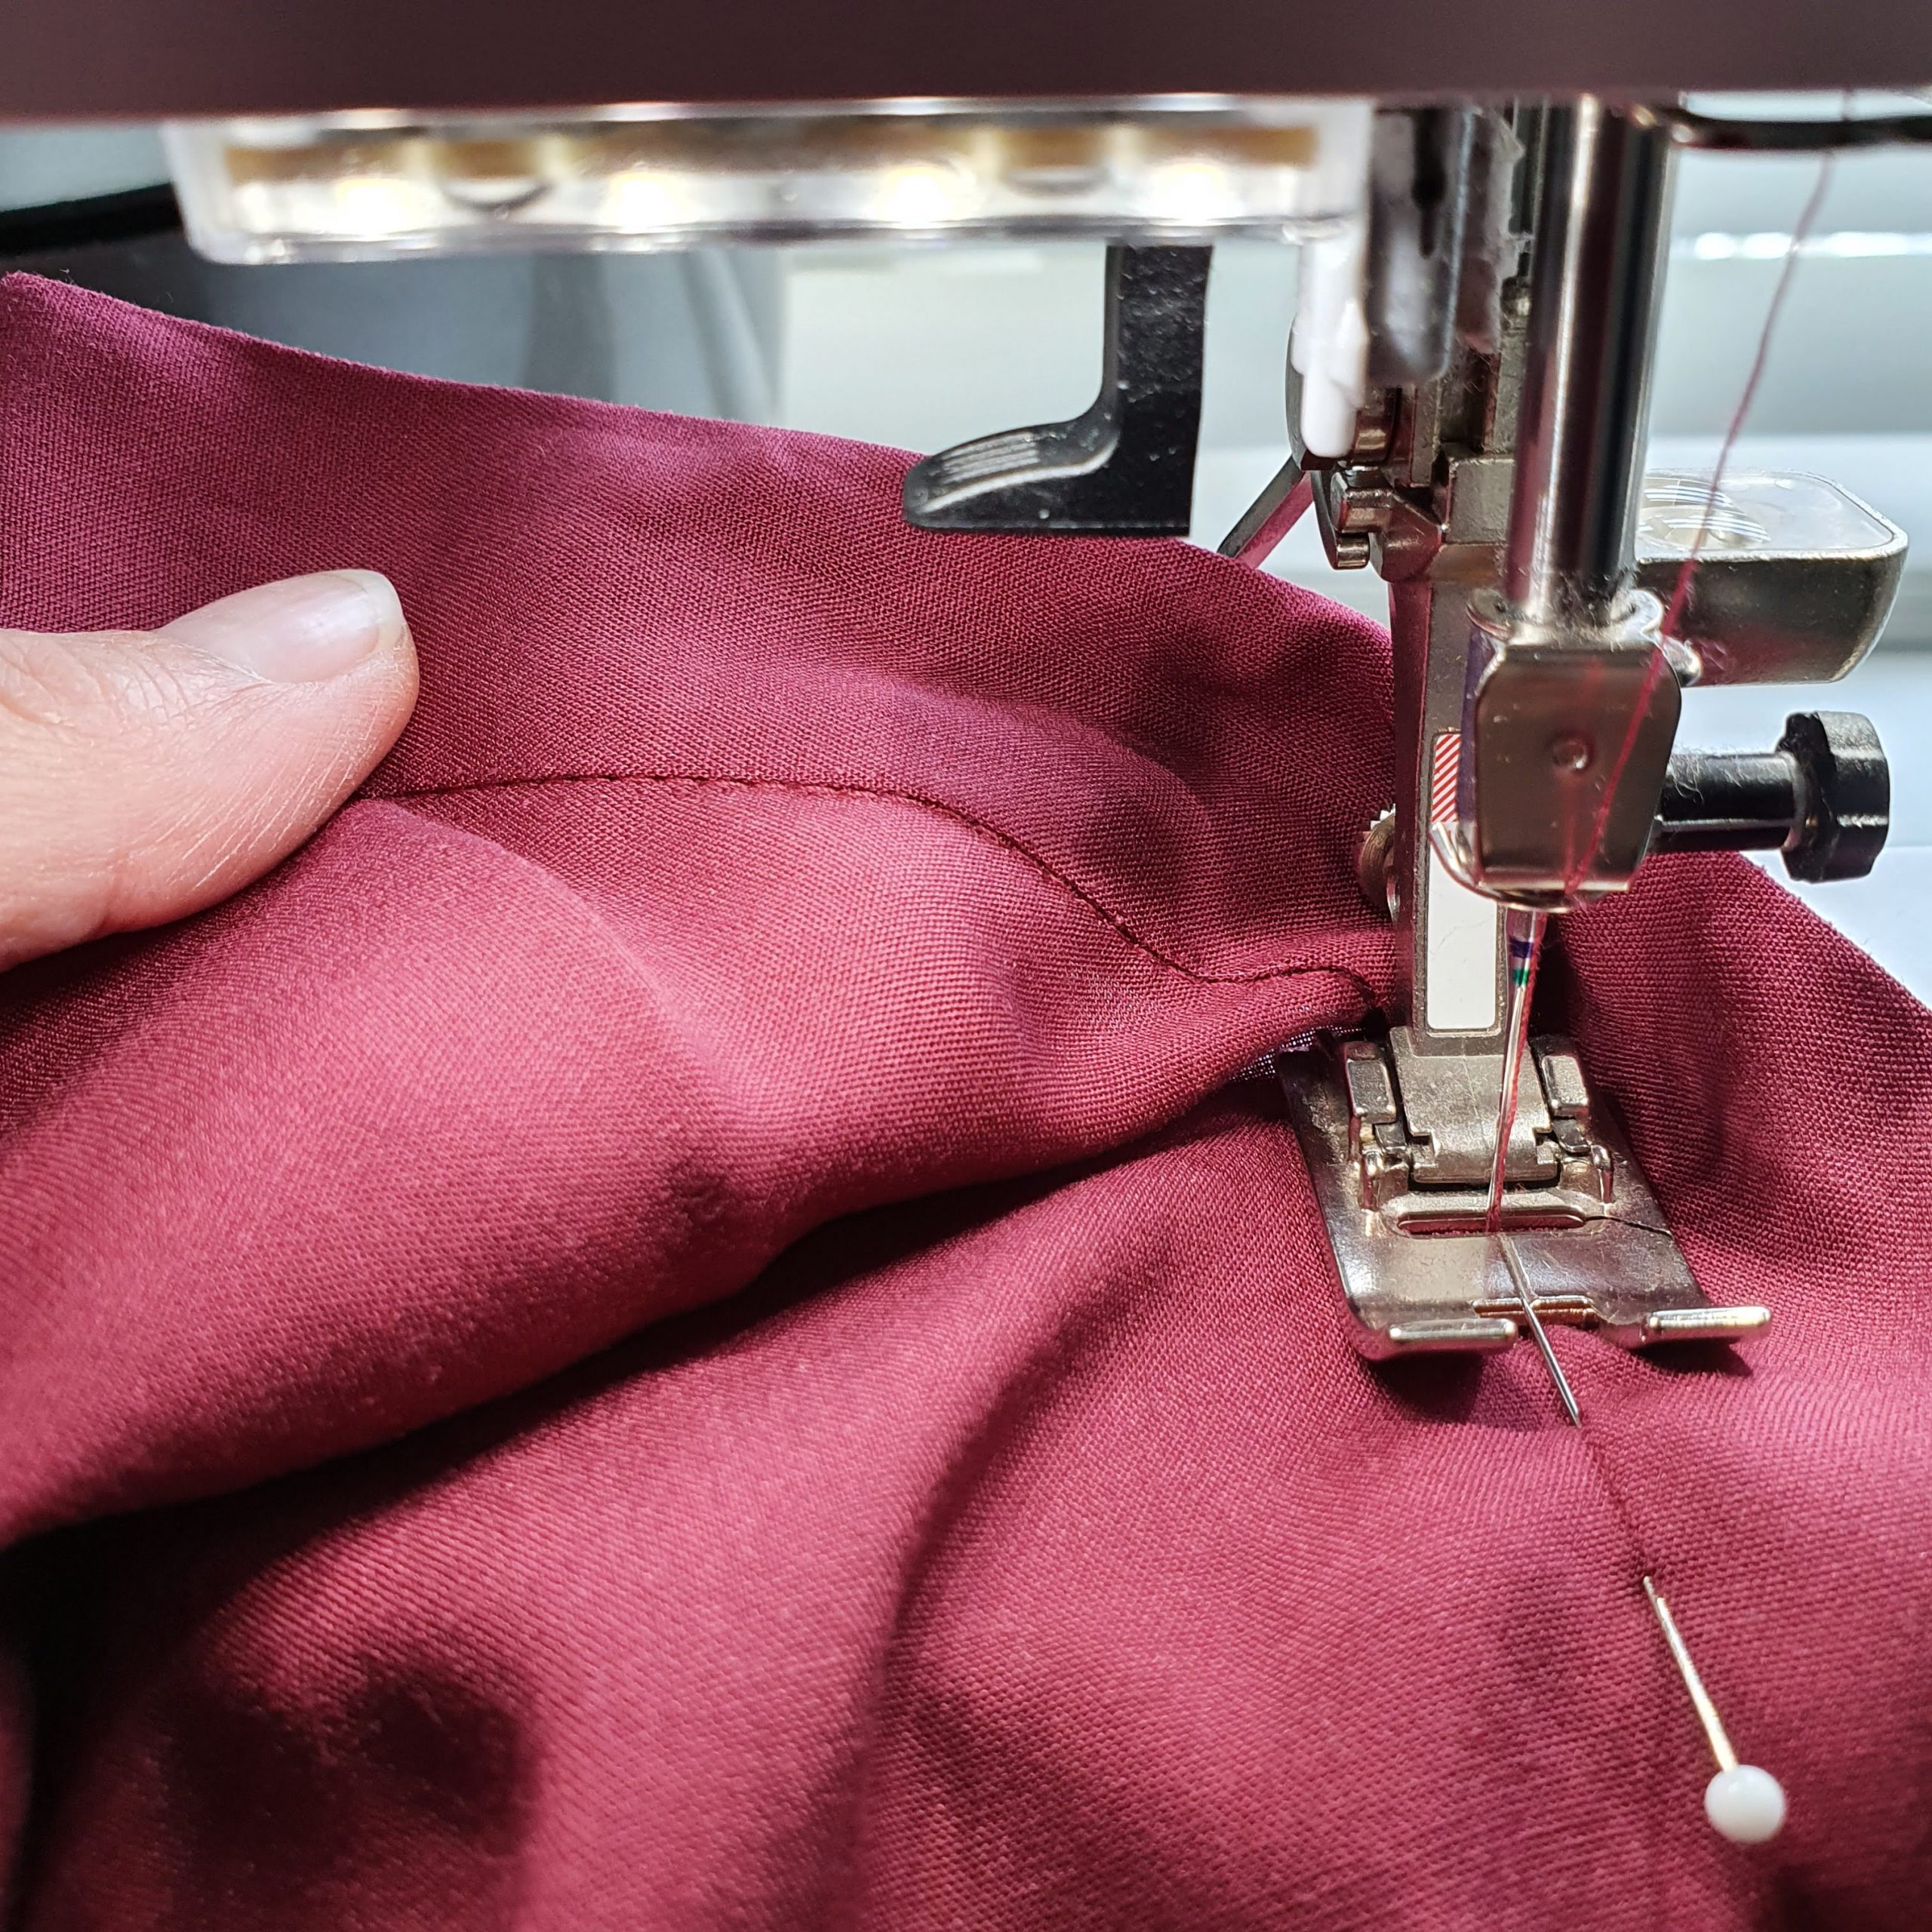
Now fasten the collar to the blouse. First stitch the outside of the collar stand on the right side of the blouse.
Right side outer collar stand on the right side of the blouse
Fold the seam allowance of the inner collar stand inwards, then pin and stitch the collar on the outer side in the ditch.

Pin in the ditch
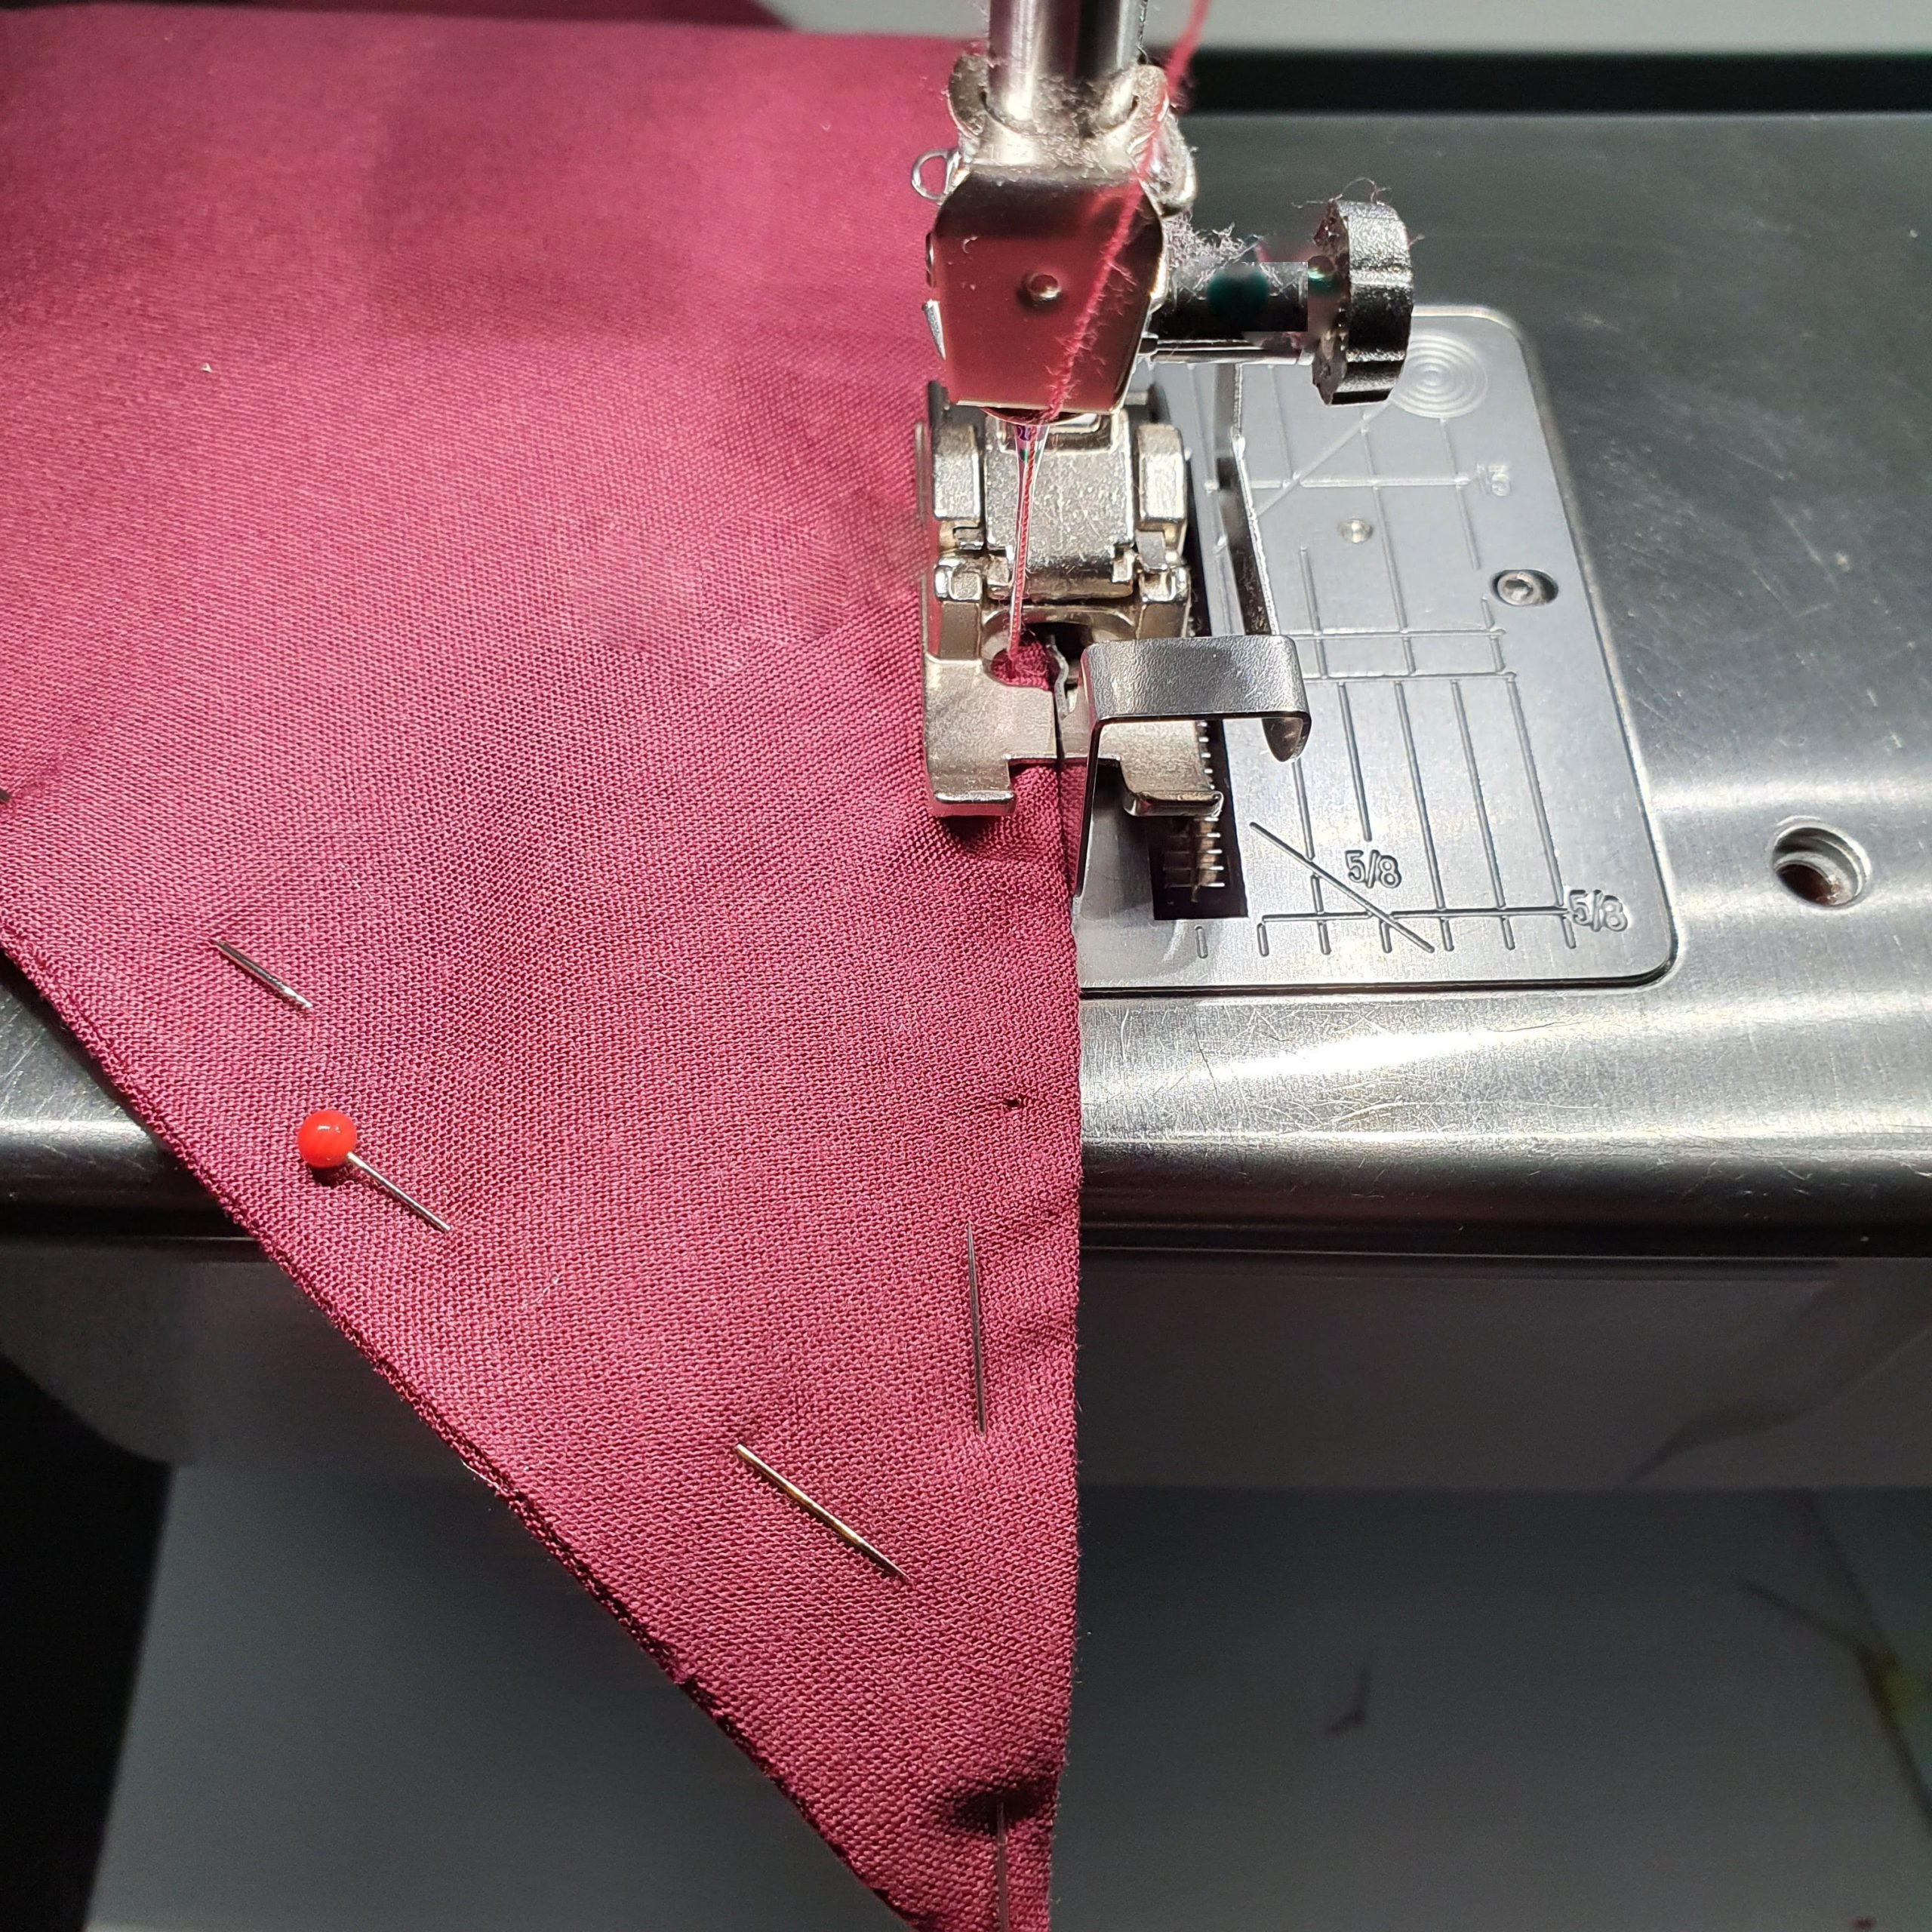
Sleeve
Sew the sleeve split and cuffs as generally described in the tips. In addition, in this third sew-along blog, some additional instructions specifically for the Megan blouse sleeve.
Before cutting the split, you can reinforce the end with a piece of interfacing. Do this if you use fabric that frays easily or is delicate. It’s also helpful if you iron the trim that you fold around the sleeve split first.
Ironed trim

Split and trim
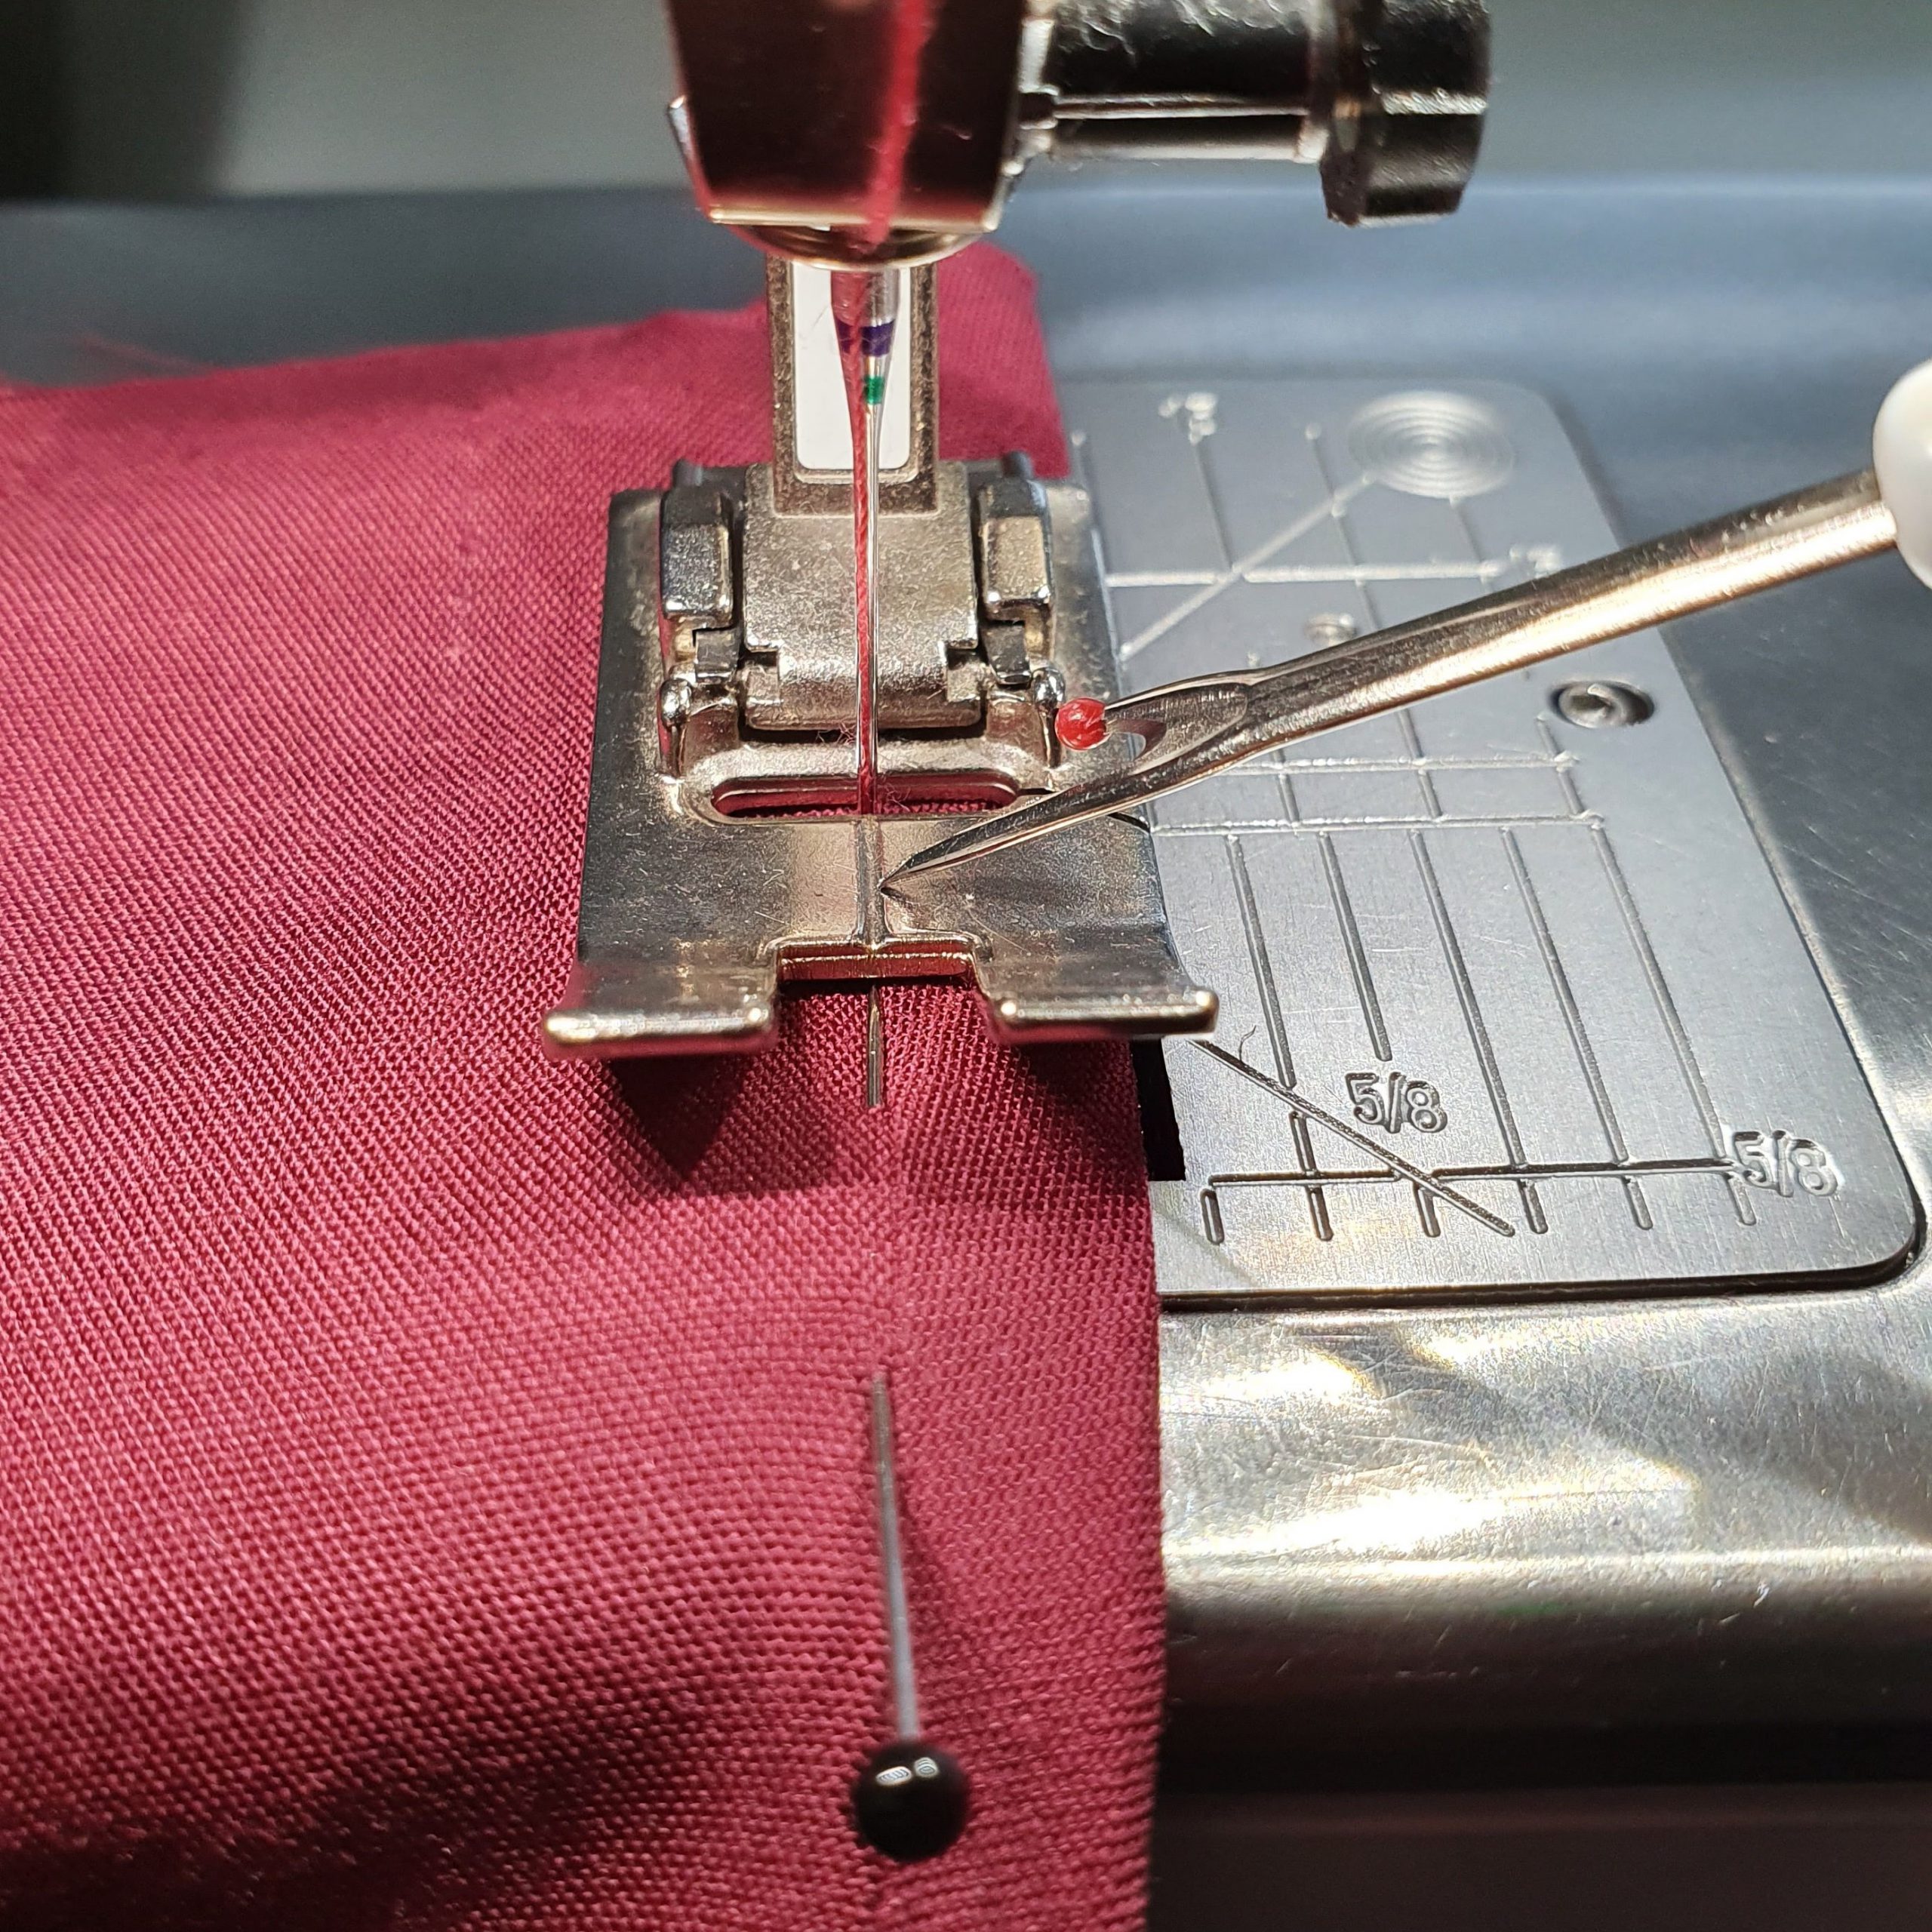
Stitch in the ditch on the right side
After attaching the trim, sew the shown corner.
Corner stitch
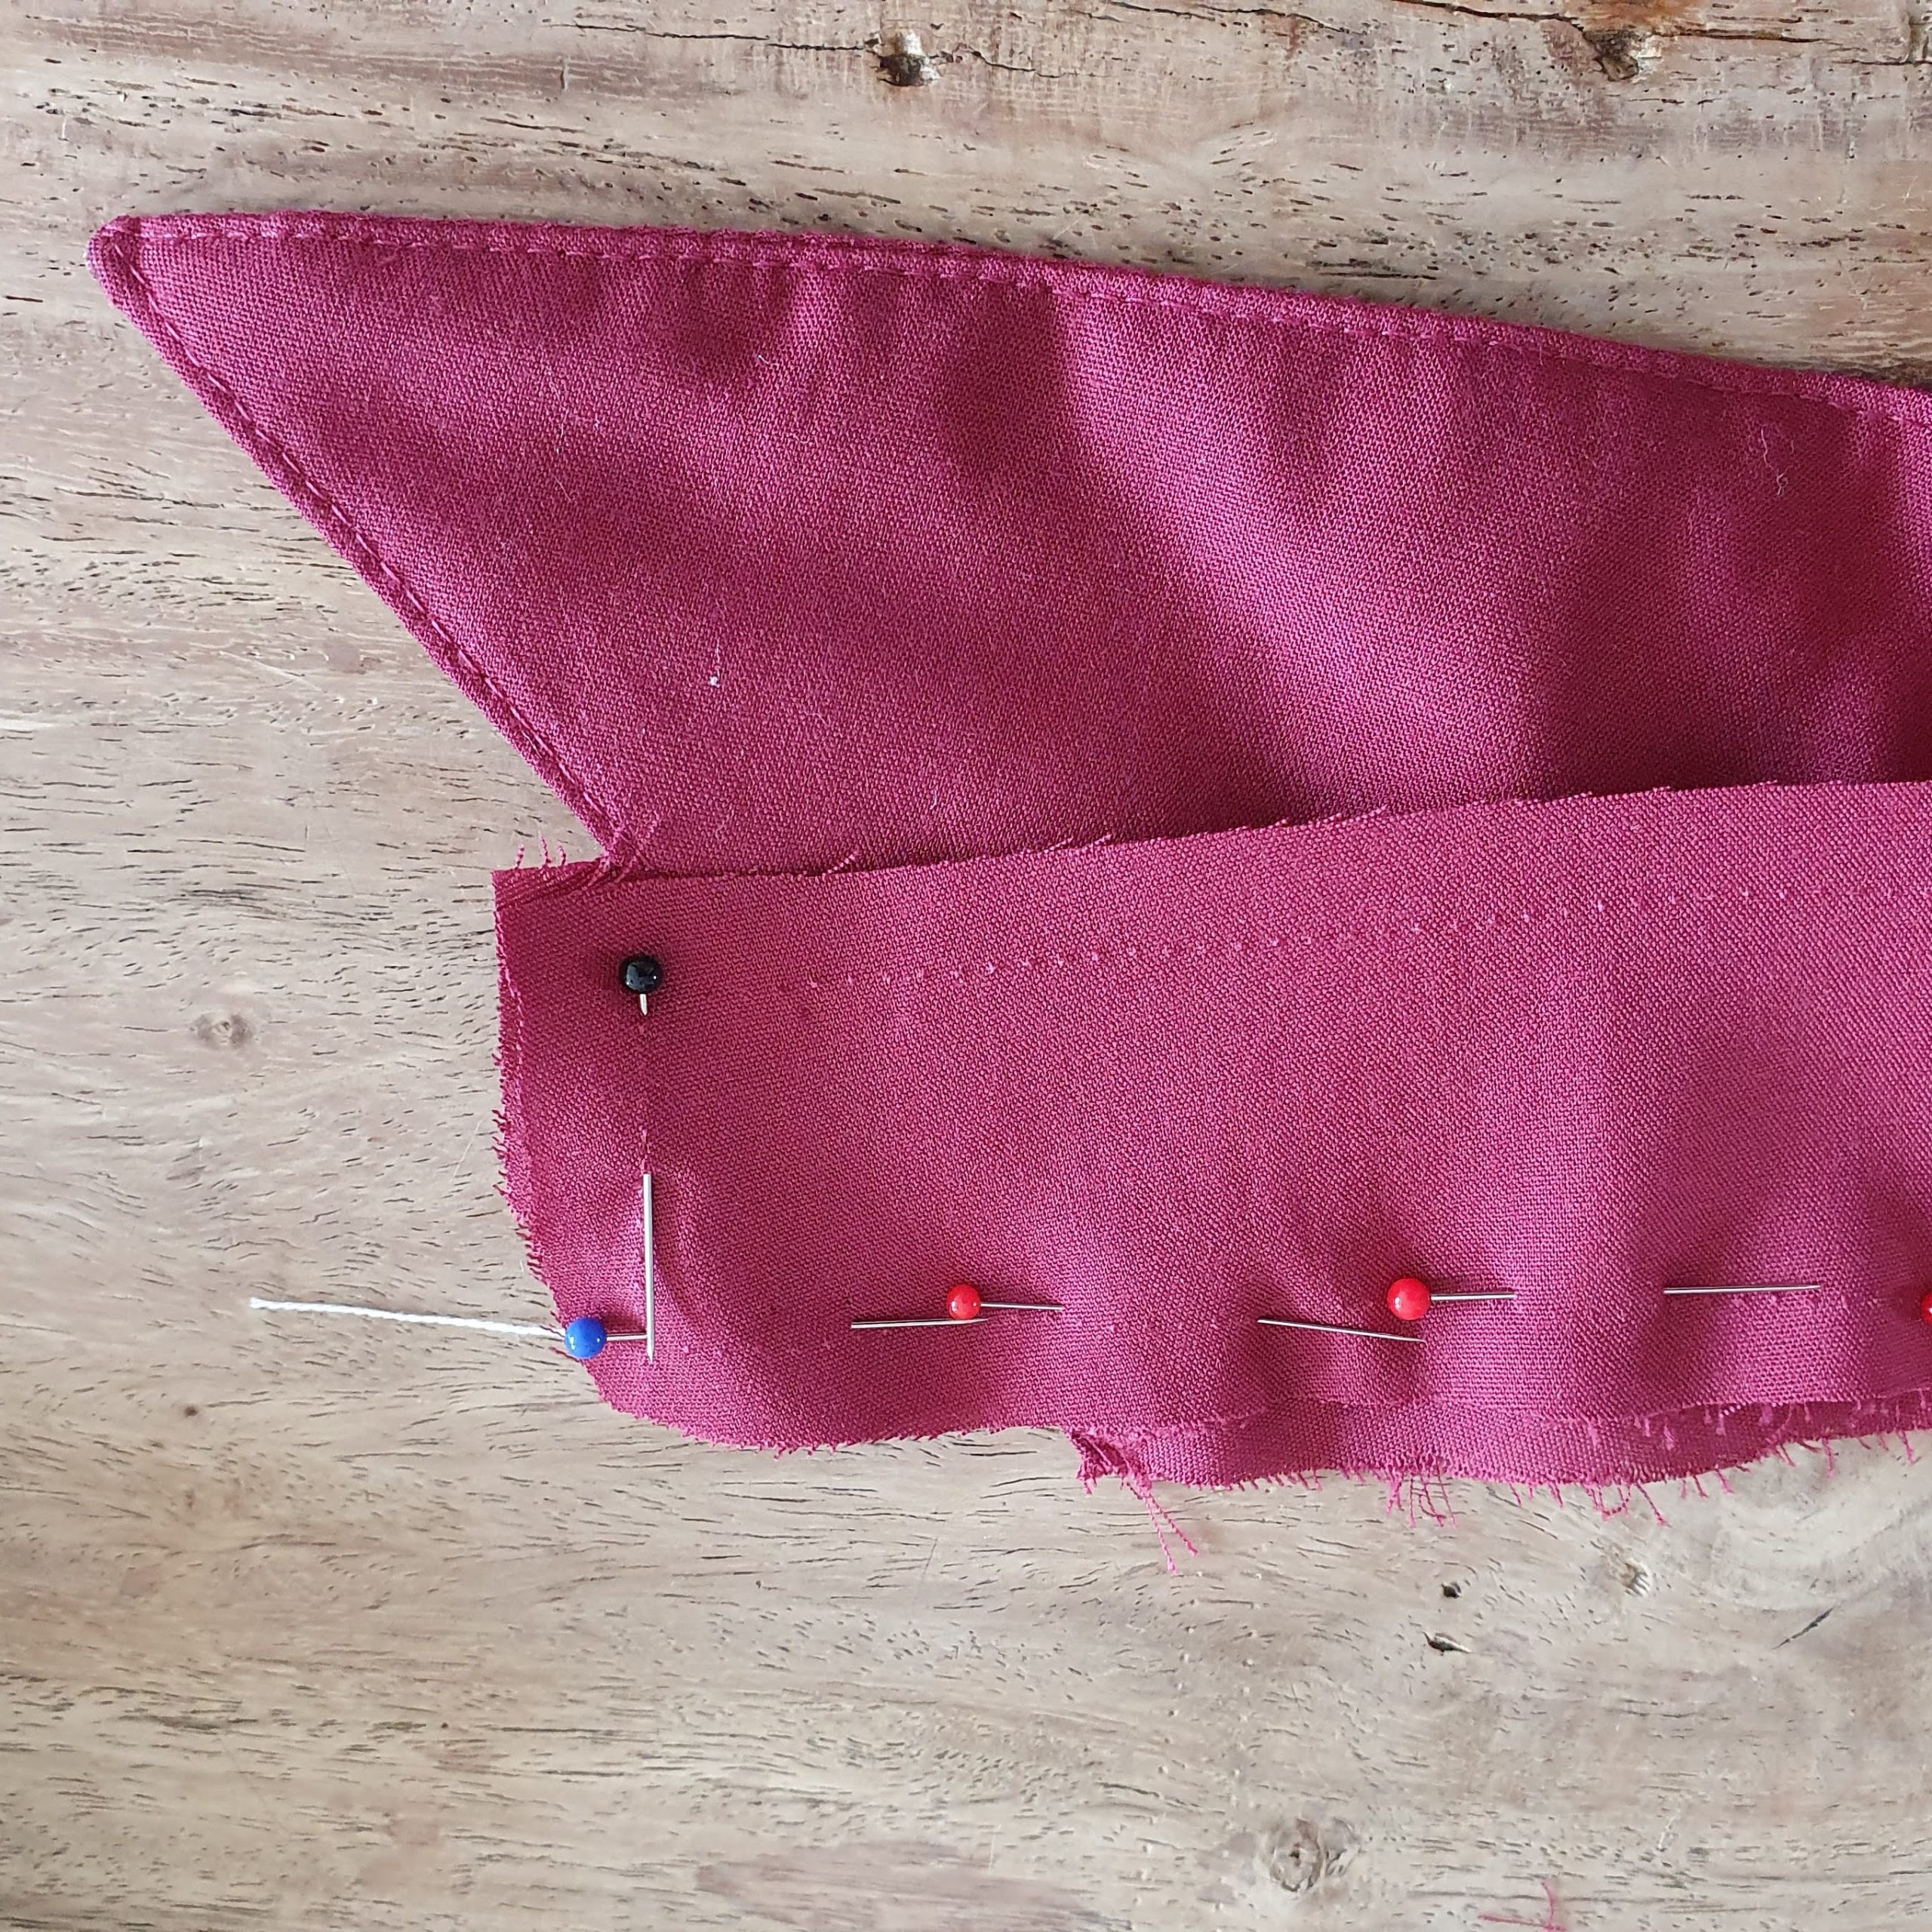
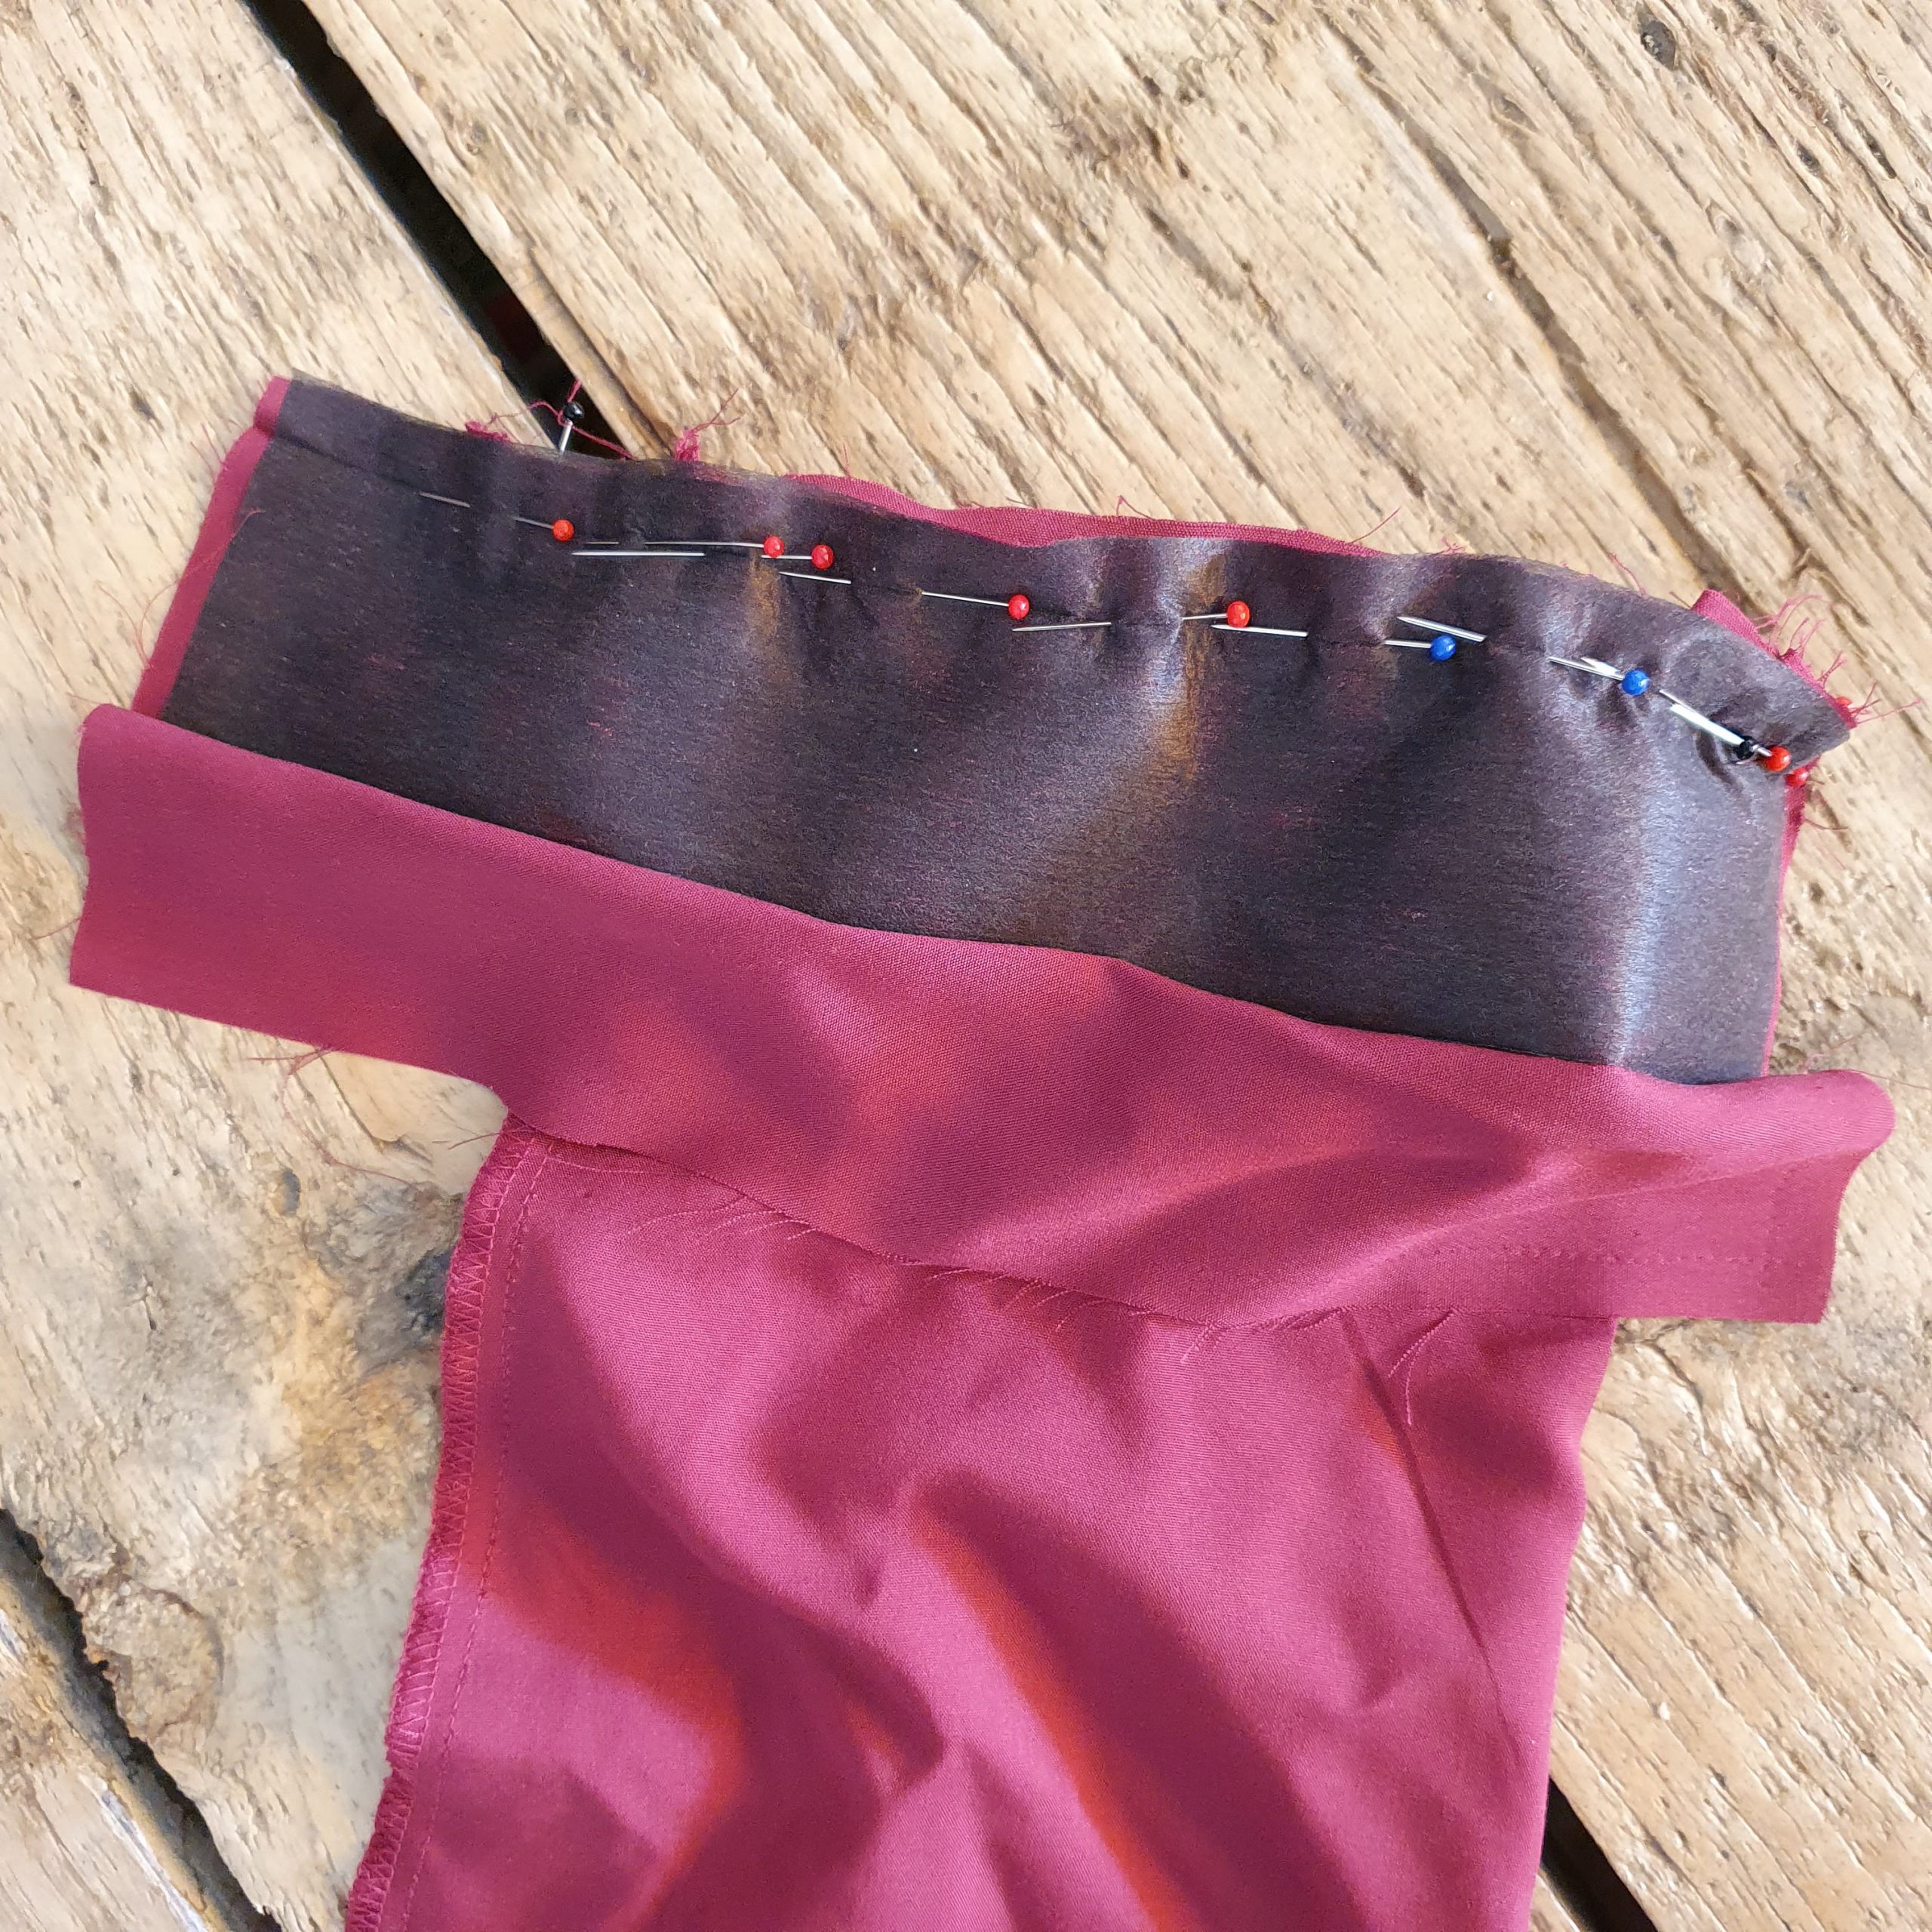
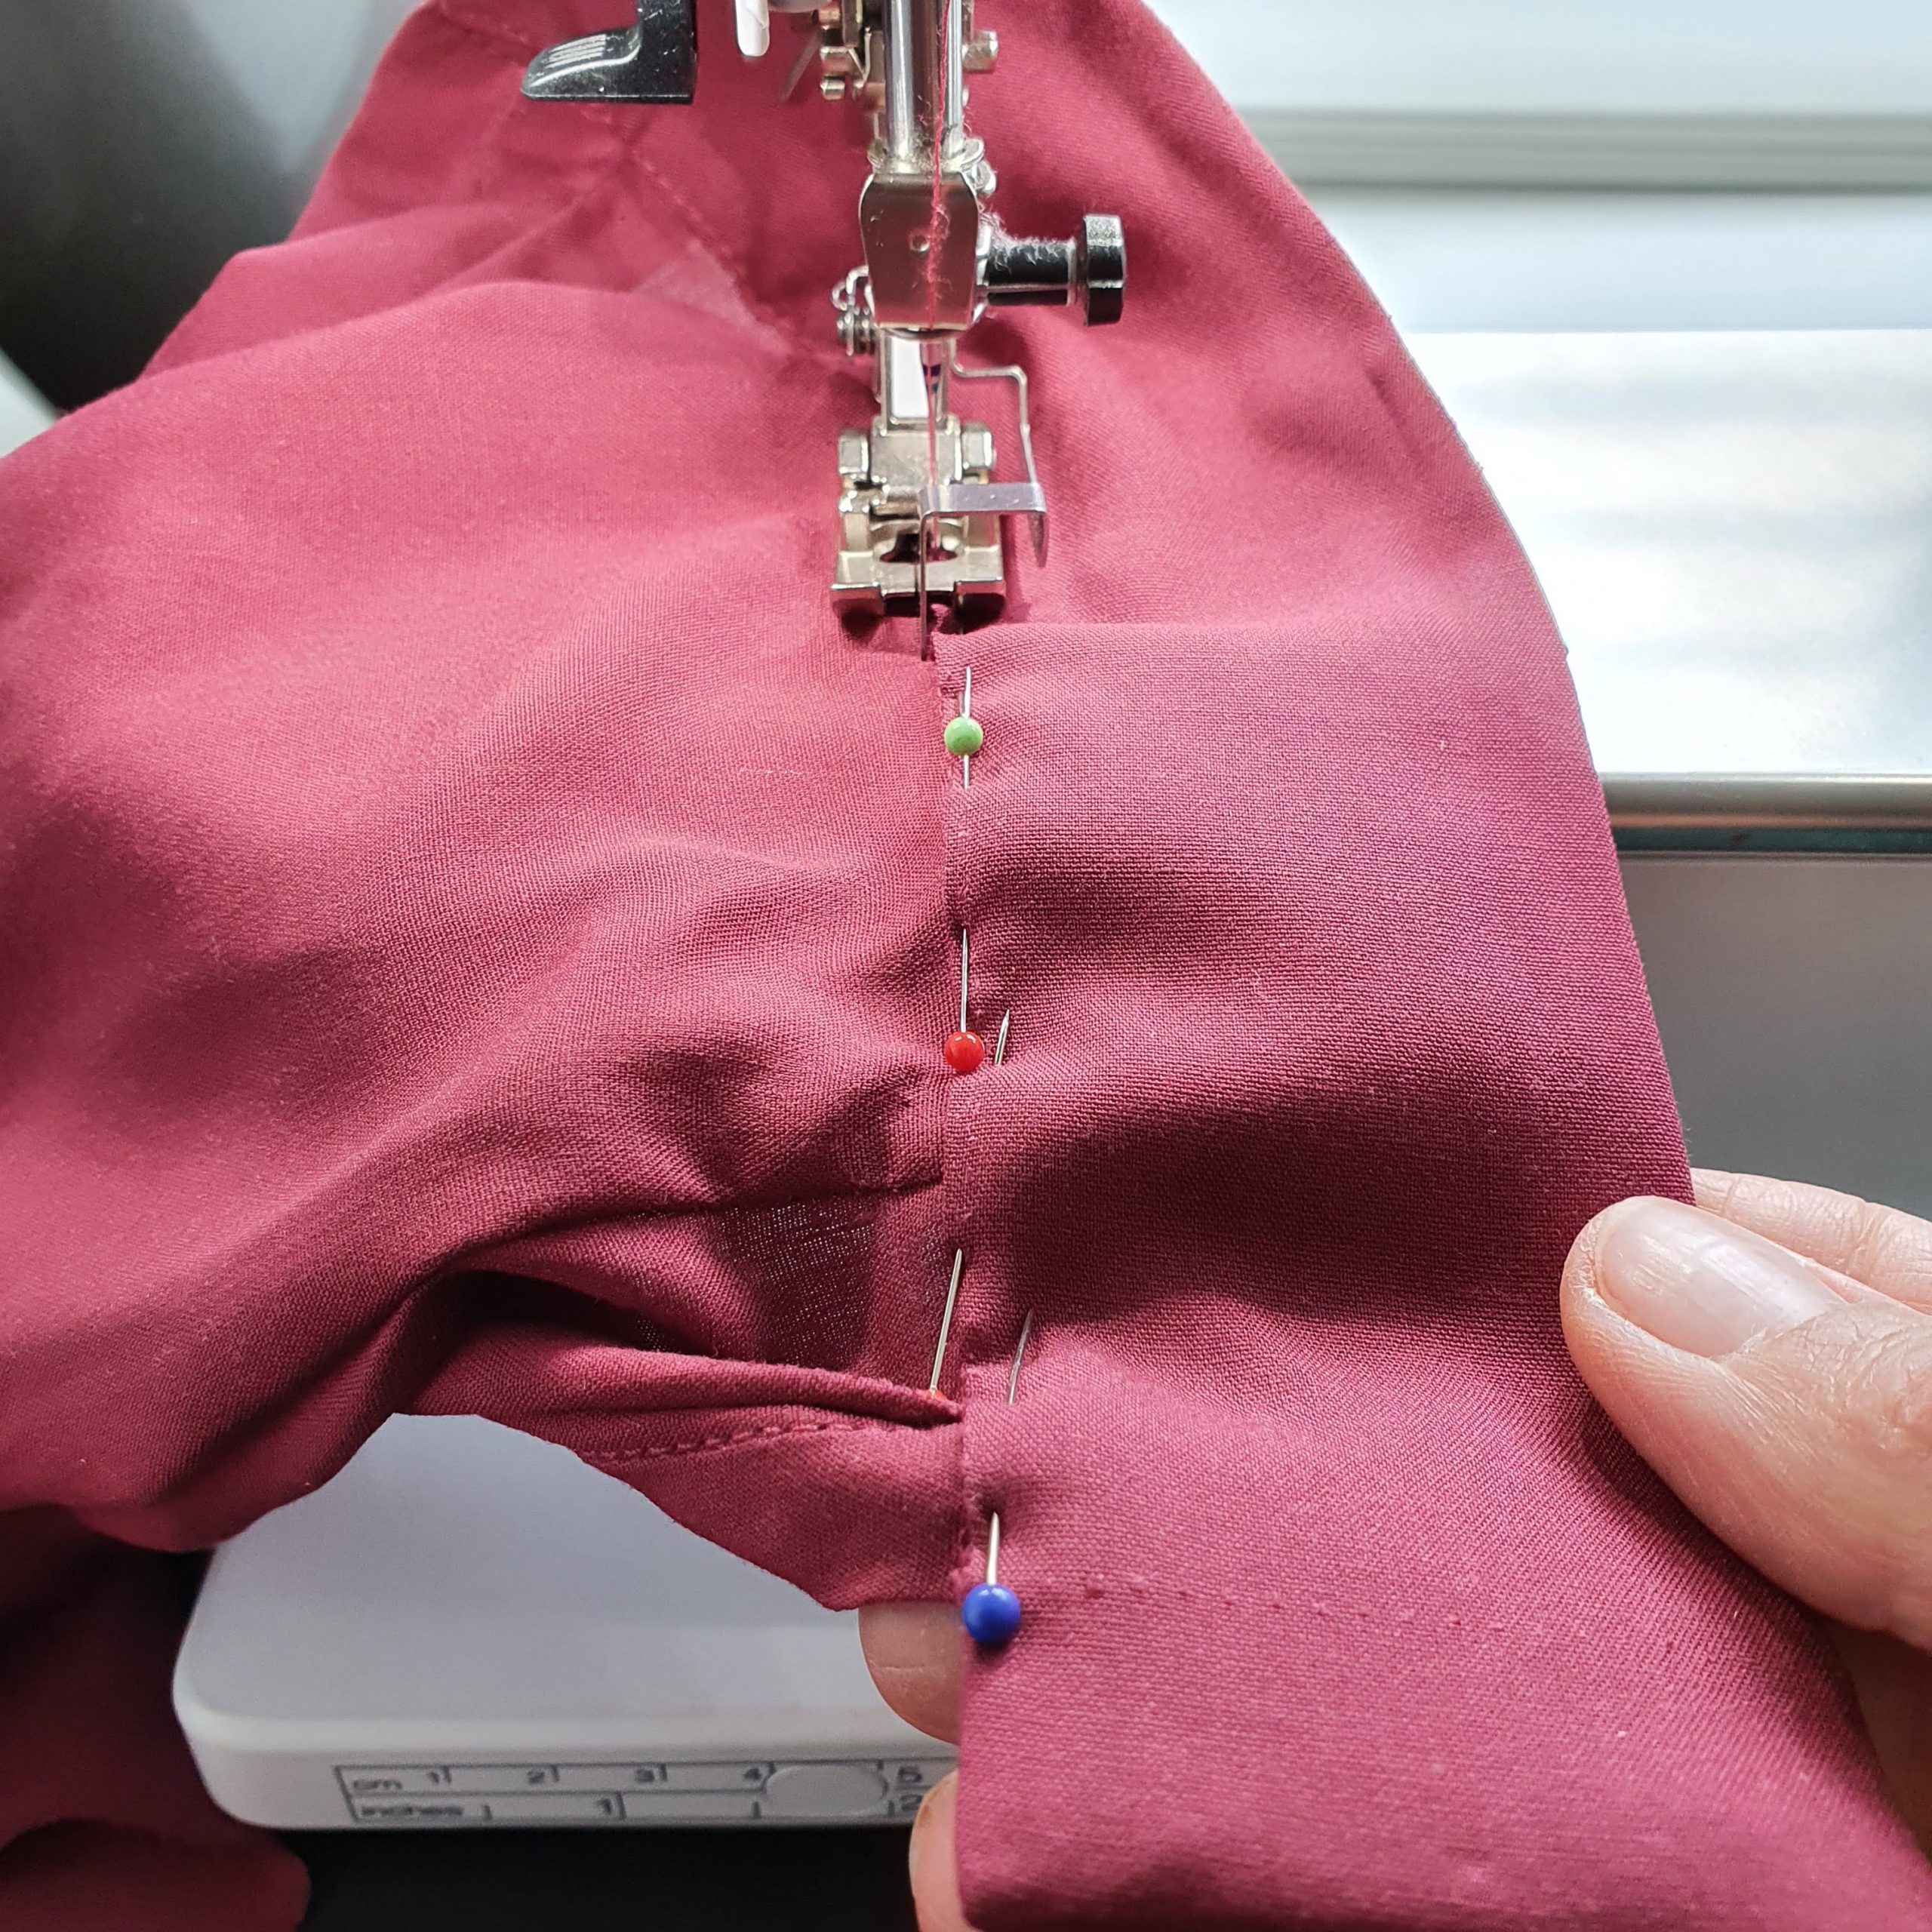
Fold the trim inwards on the side with the two pleats, on the other side the trim is not folded over. Fold the pleats towards the sleeve split, pin or baste. Then close the sleeve.
Sneak peek
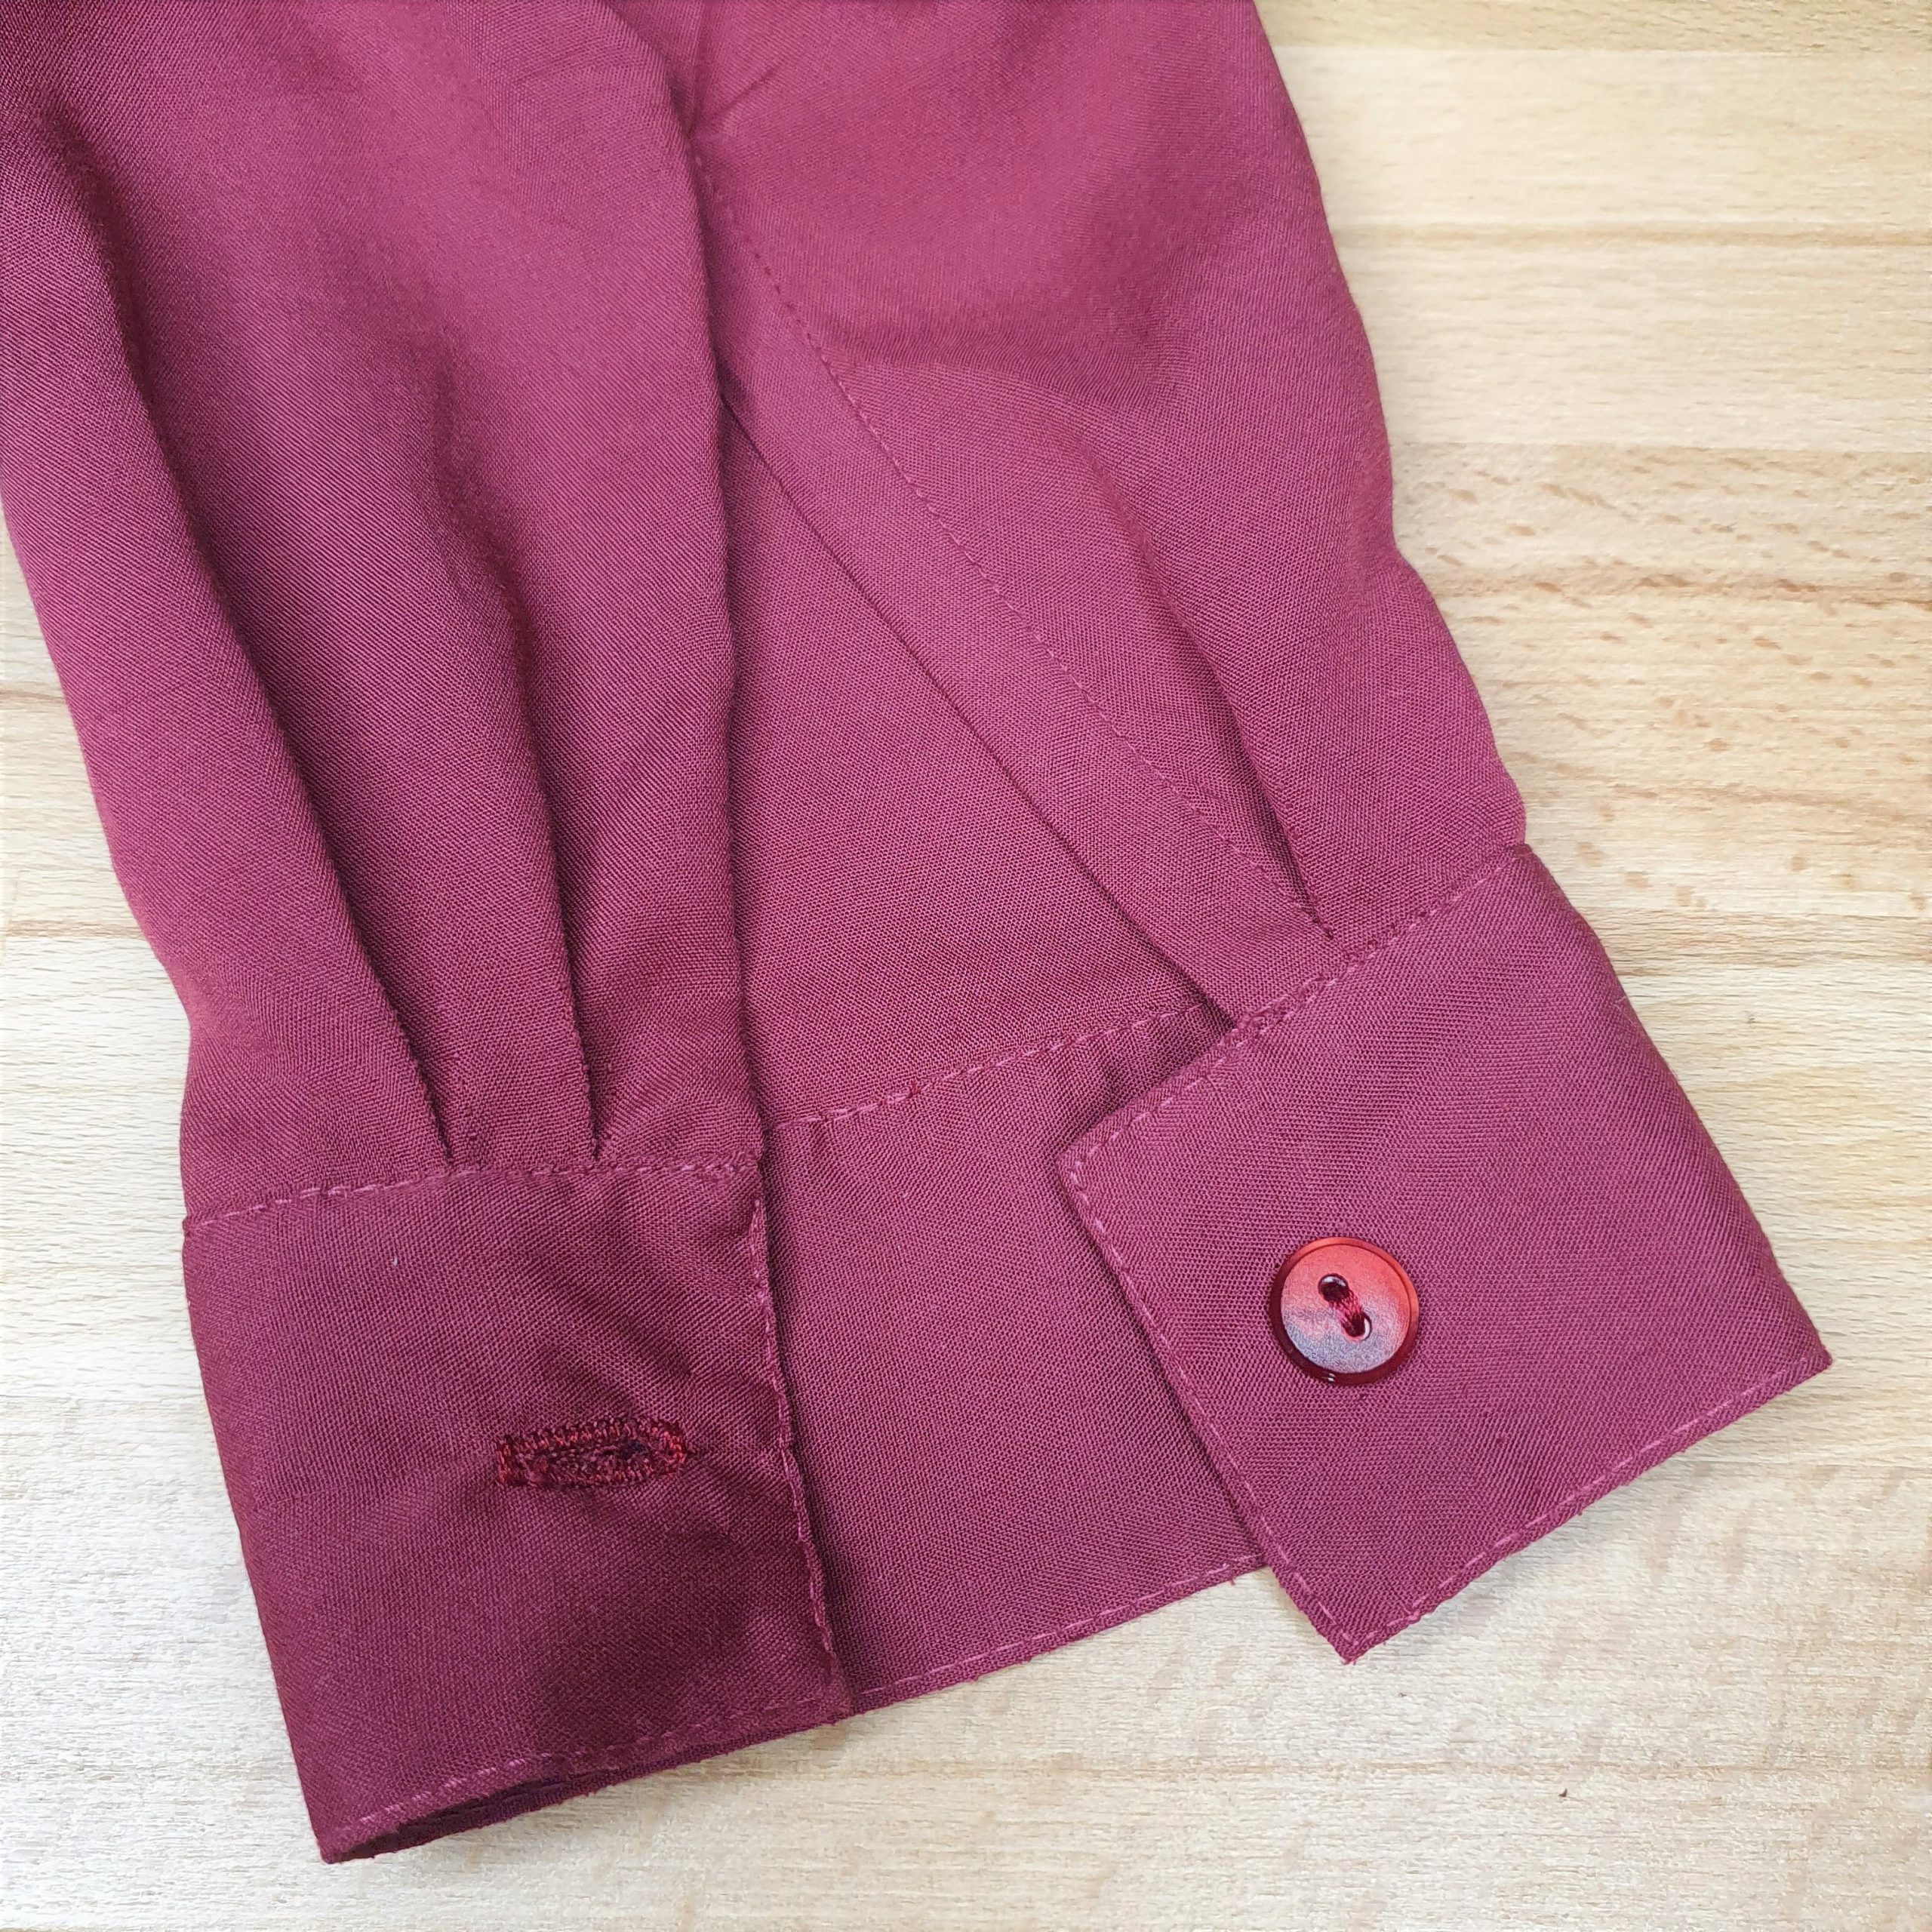
Cuff
Attach the cuff. First pin and stitch the reinforced side of the cuff to the inside of the sleeve. Let the cuff extend on the side with one pleat (button side/underlay). The cuff is flush with the side with the double pleat (buttonhole side/overlay).
Fold the cuff right sides together and close the short edges of the cuff. Fold the seam allowances inwards again and hold in the corner as you turn. Iron the corners and the rest of the cuff. Fold and iron the seam allowance of the non-reinforced side inward. Stitch the cuff on the outside narrowly on the side. You have now sewn on the cuff.

Pin on the outside
Narrow top stitch (blind hem foot 5 or edgestitch foot 10)
Cuff stitched
Put in the sleeves.
Buttons and buttonholes

Sew a buttonhole on the collar. Use buttonhole foot 3A. Also watch this special Megan blouse sew-along video on my Instagram about making buttonholes and sewing on the buttons with the machine.

Mark

Button hole foot 3a

Ta da!
Sew the first buttonhole on the button placket at a distance of 4.5 cm from the top edge. For the second buttonhole, use the buttonhole embroidery pattern if desired. See next Megan blouse blog about embroidery (to be released Oct 22). Sew buttonholes at a distance of 5-8 cm each (depending on the length of your blouse). No further apart to avoid yawning. Better to put on an extra button.
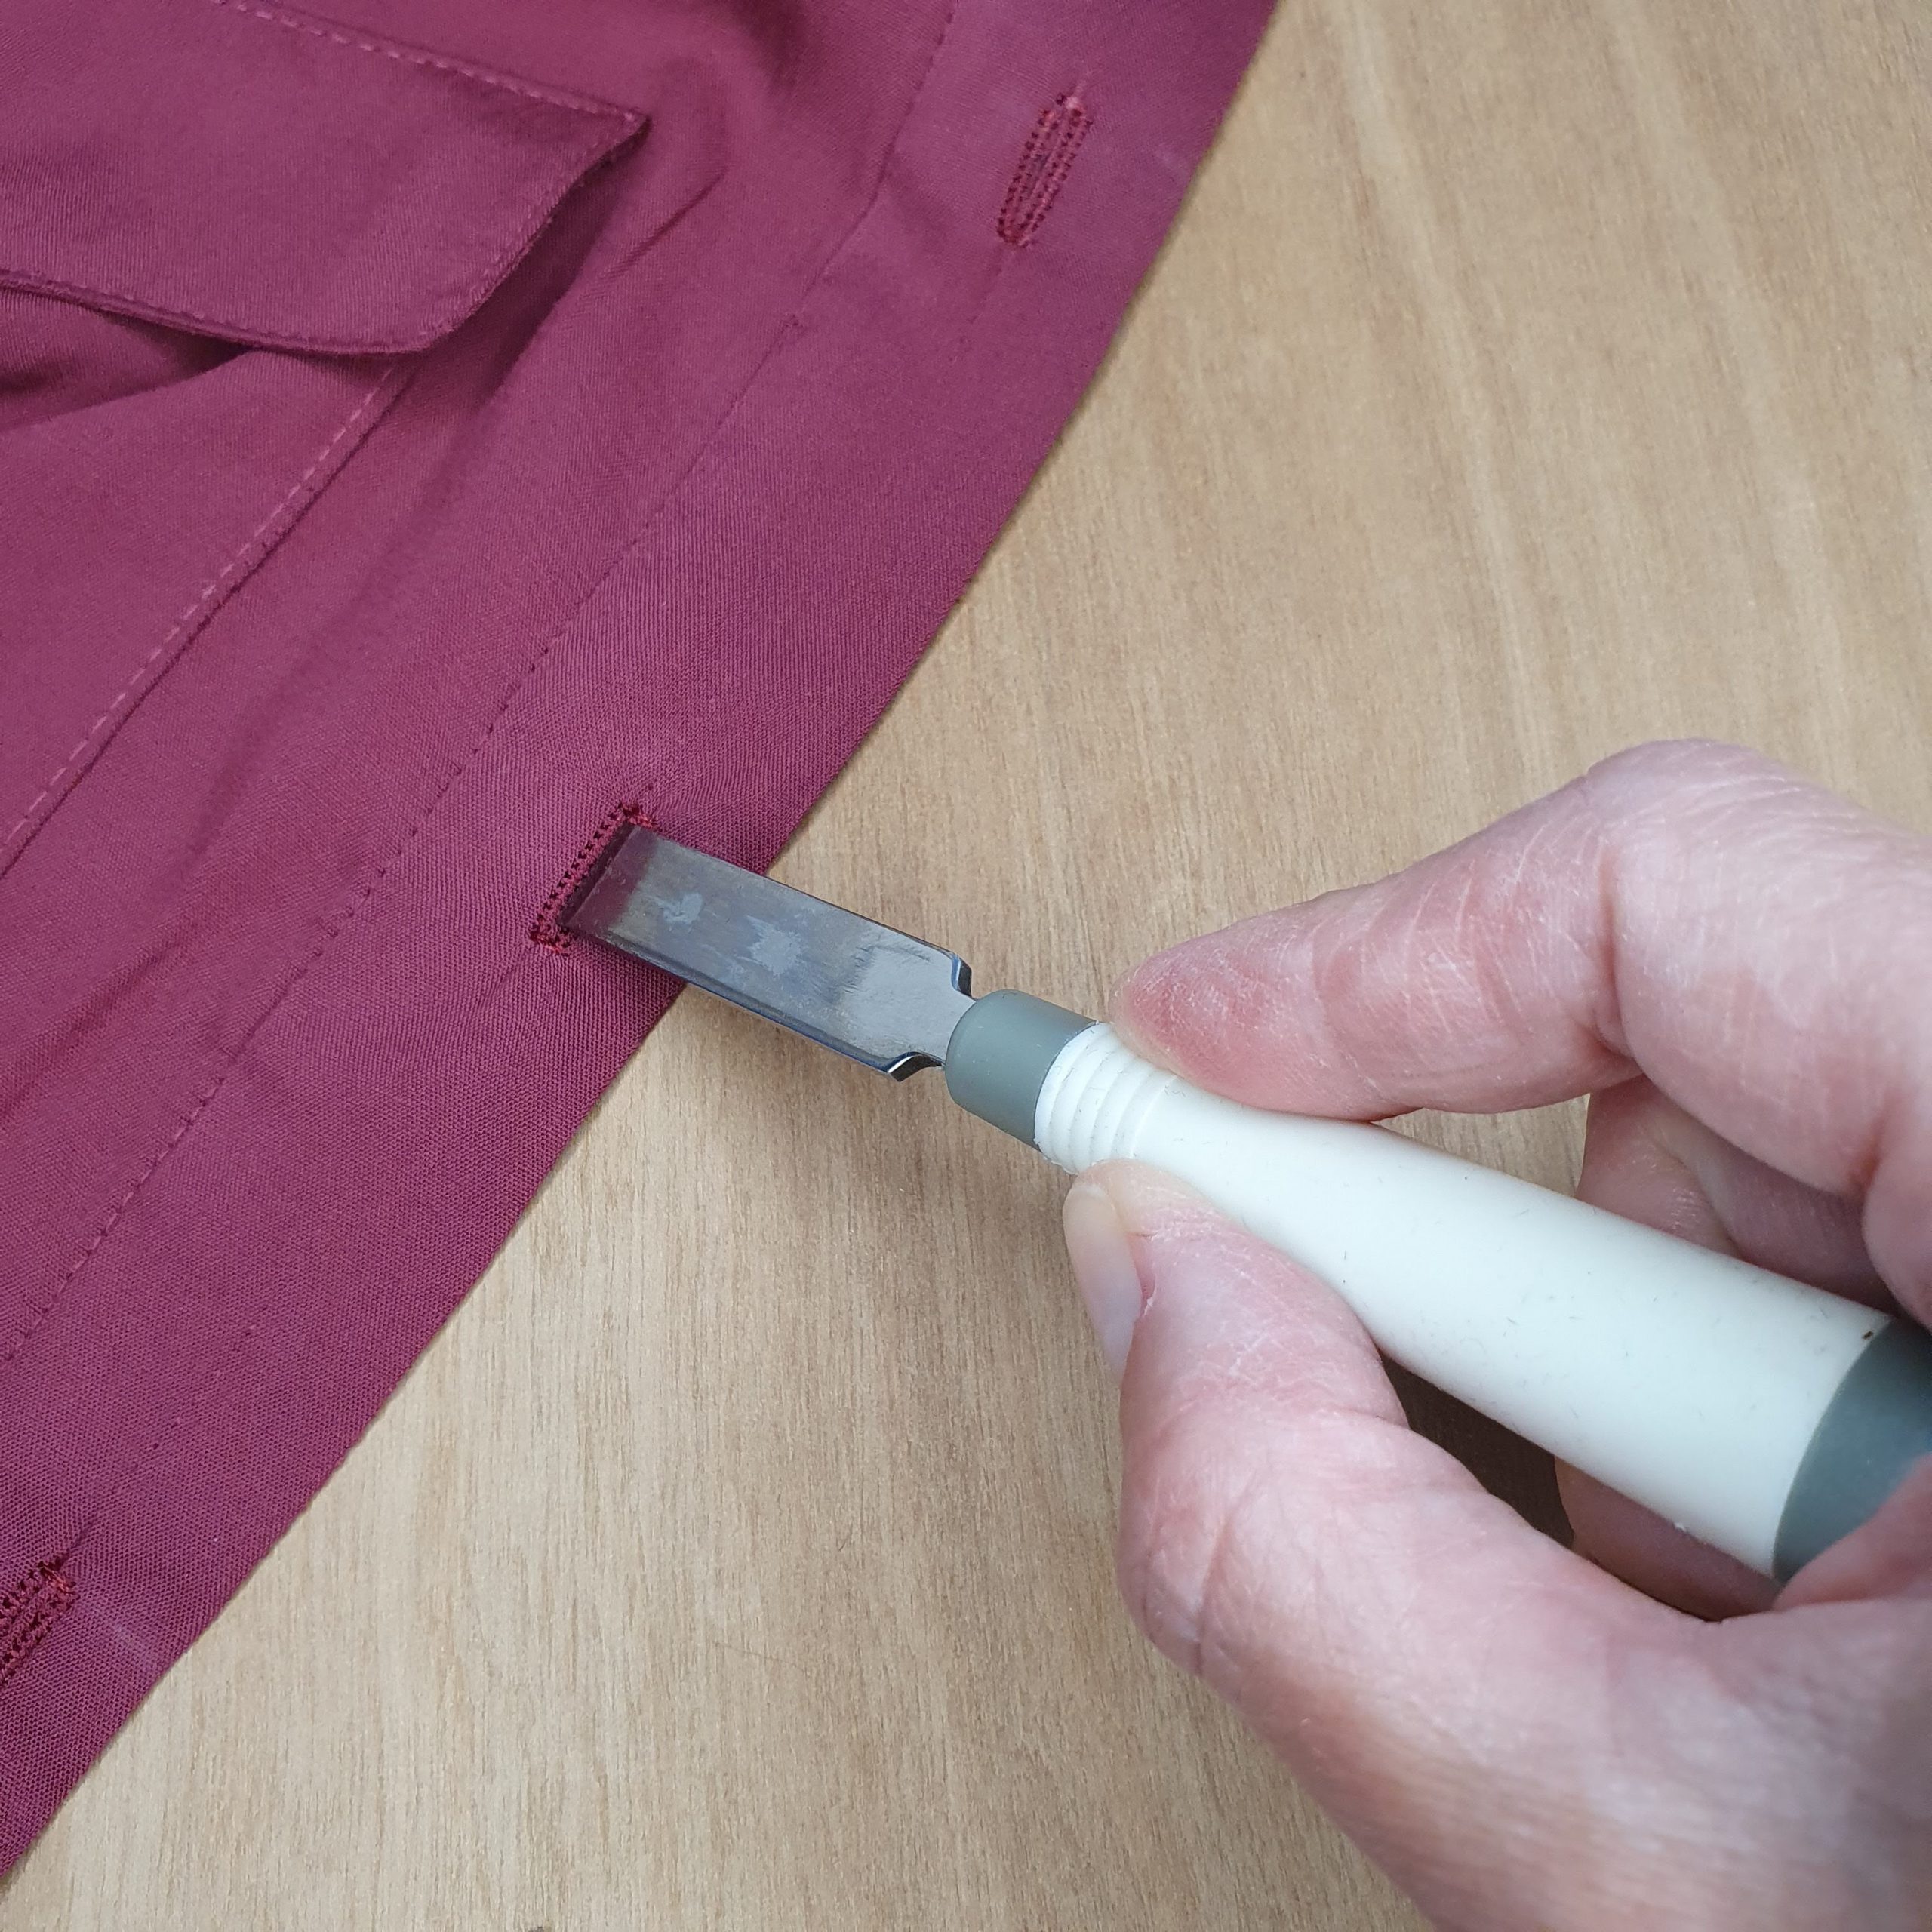
Button hole cutter for a neat finish
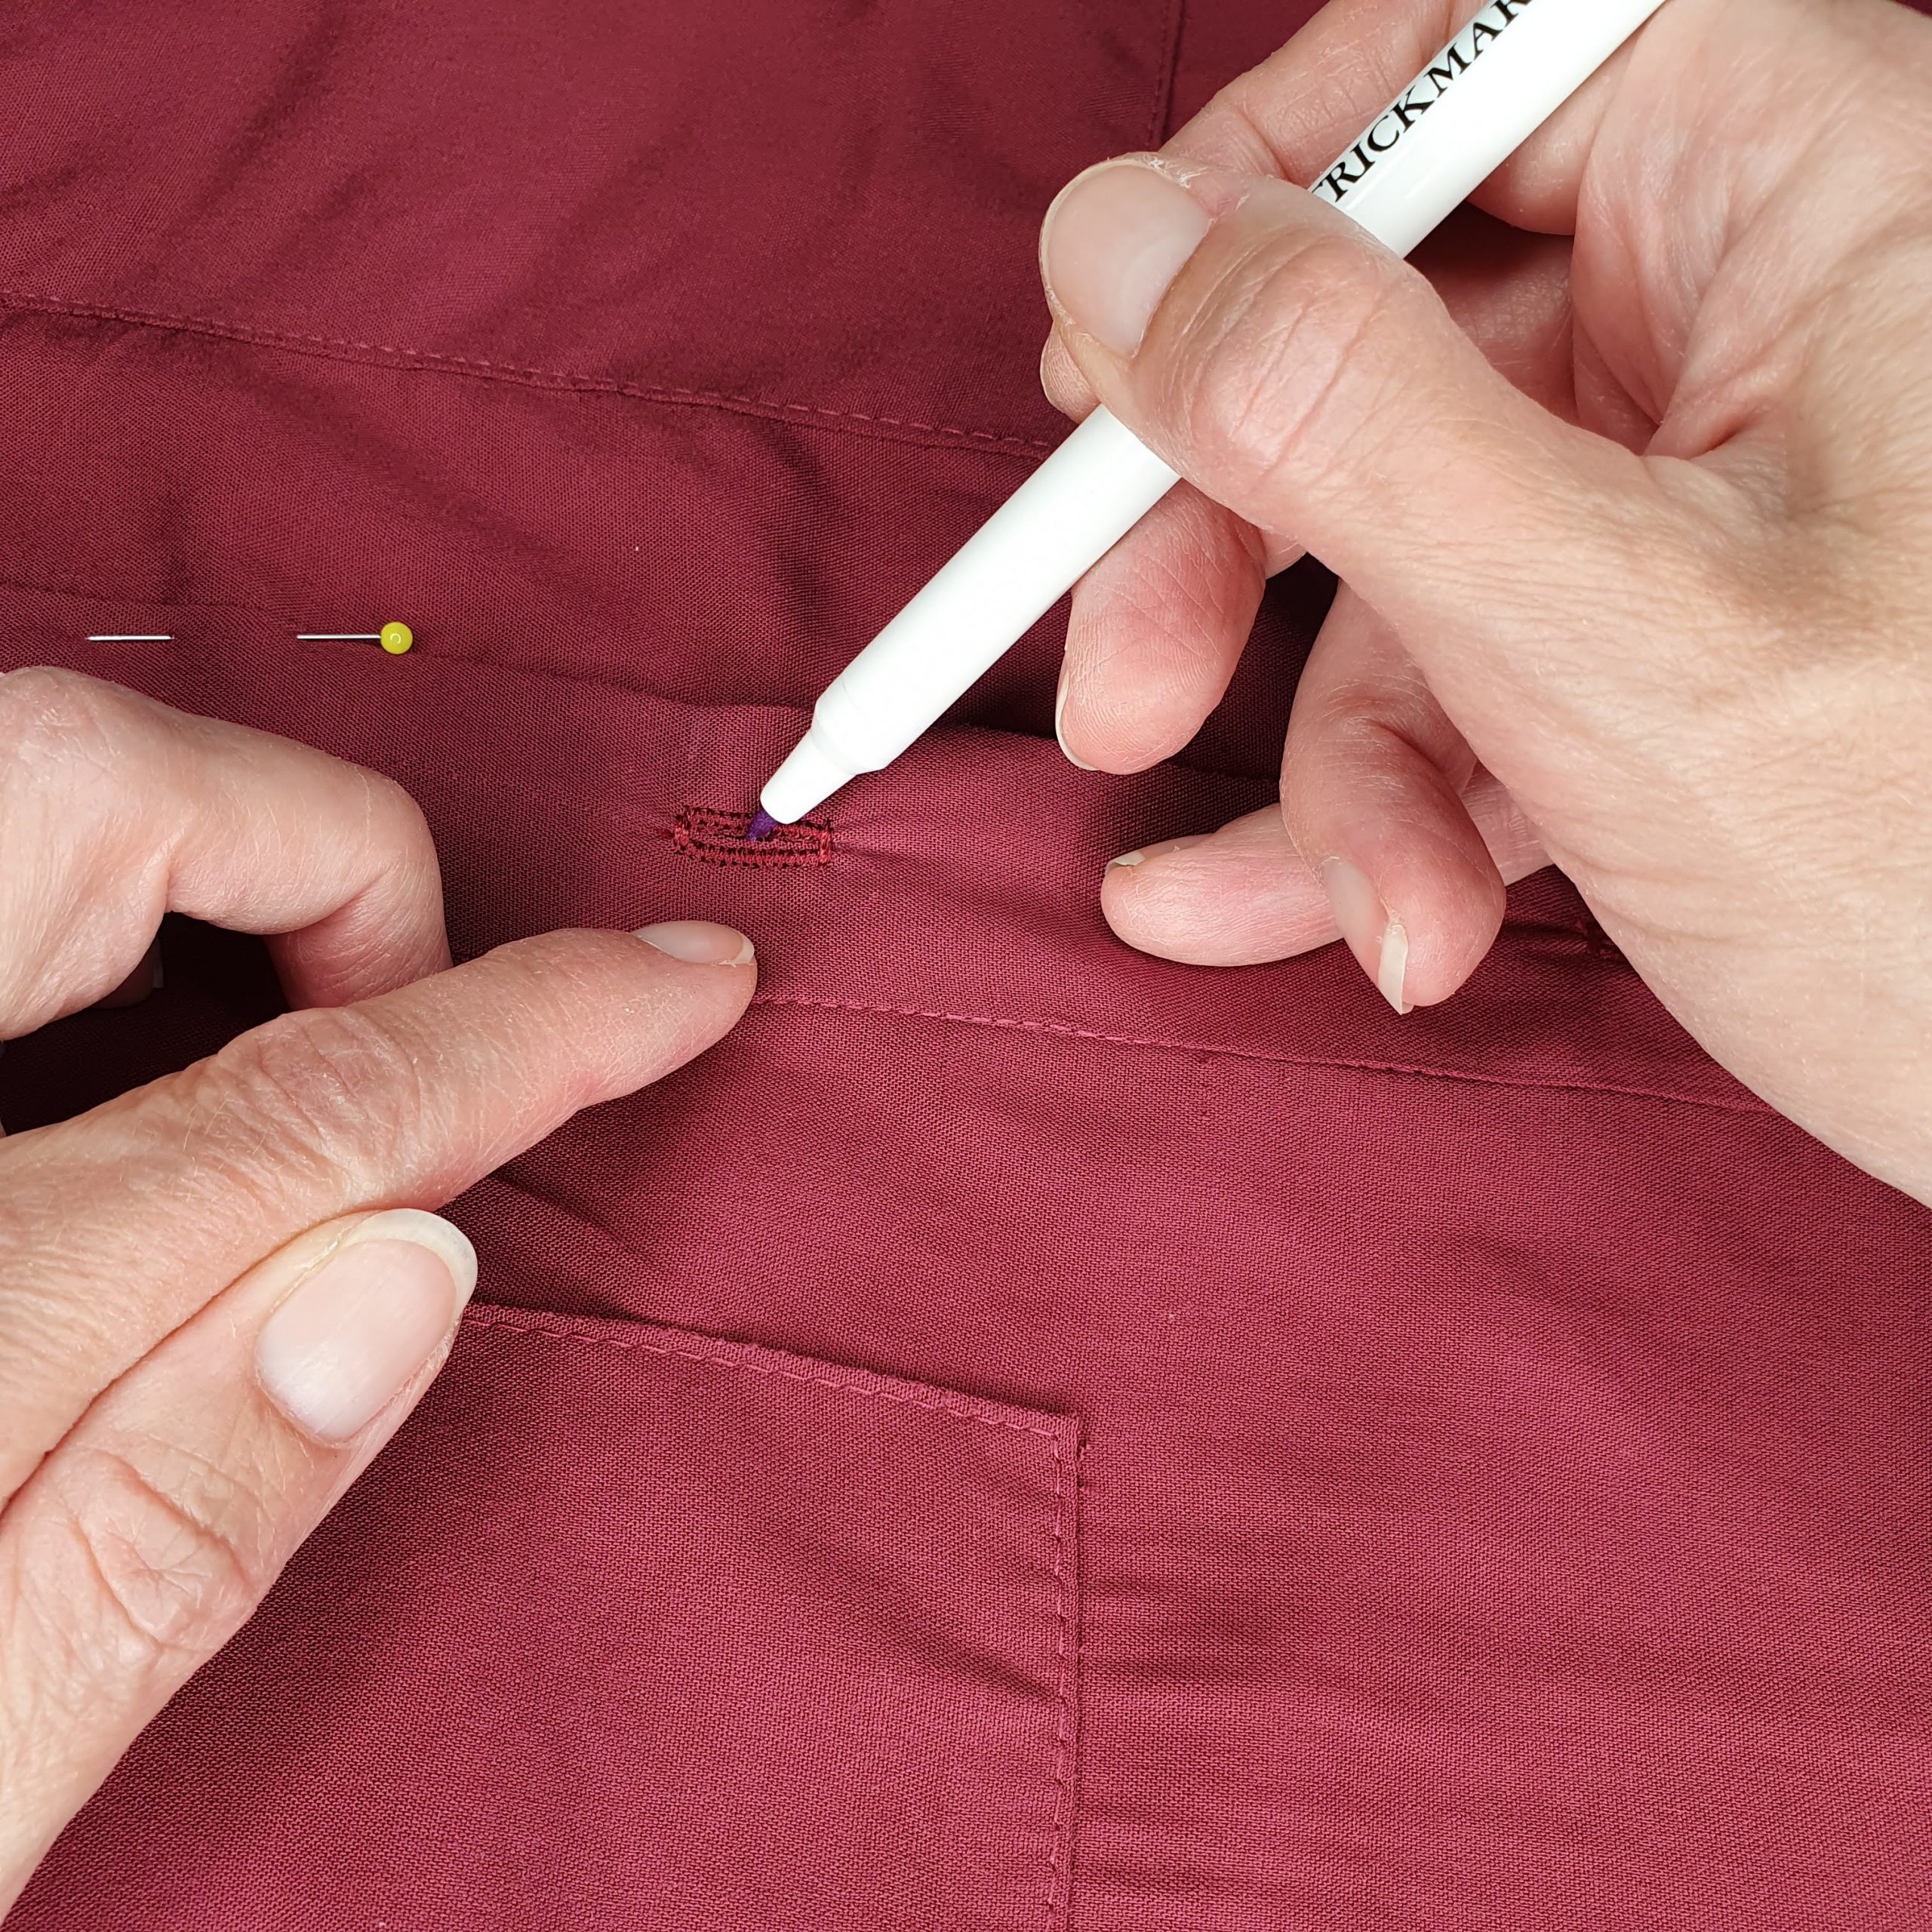
When the buttonholes are made, pin the plackets together to determine the placement of the buttons. Place a pin or a dot with a hidden marker in the centre of the buttonhole on the other placket and sew on the buttons.

Mark button placement
If desired, use foot 18 to sew on the buttons. Place the foot on the marked spot, then raise the foot with the help of the knee lifter and slide the button into place. Sew on the button. Repeat for all buttons. Also those of the cuff and collar.
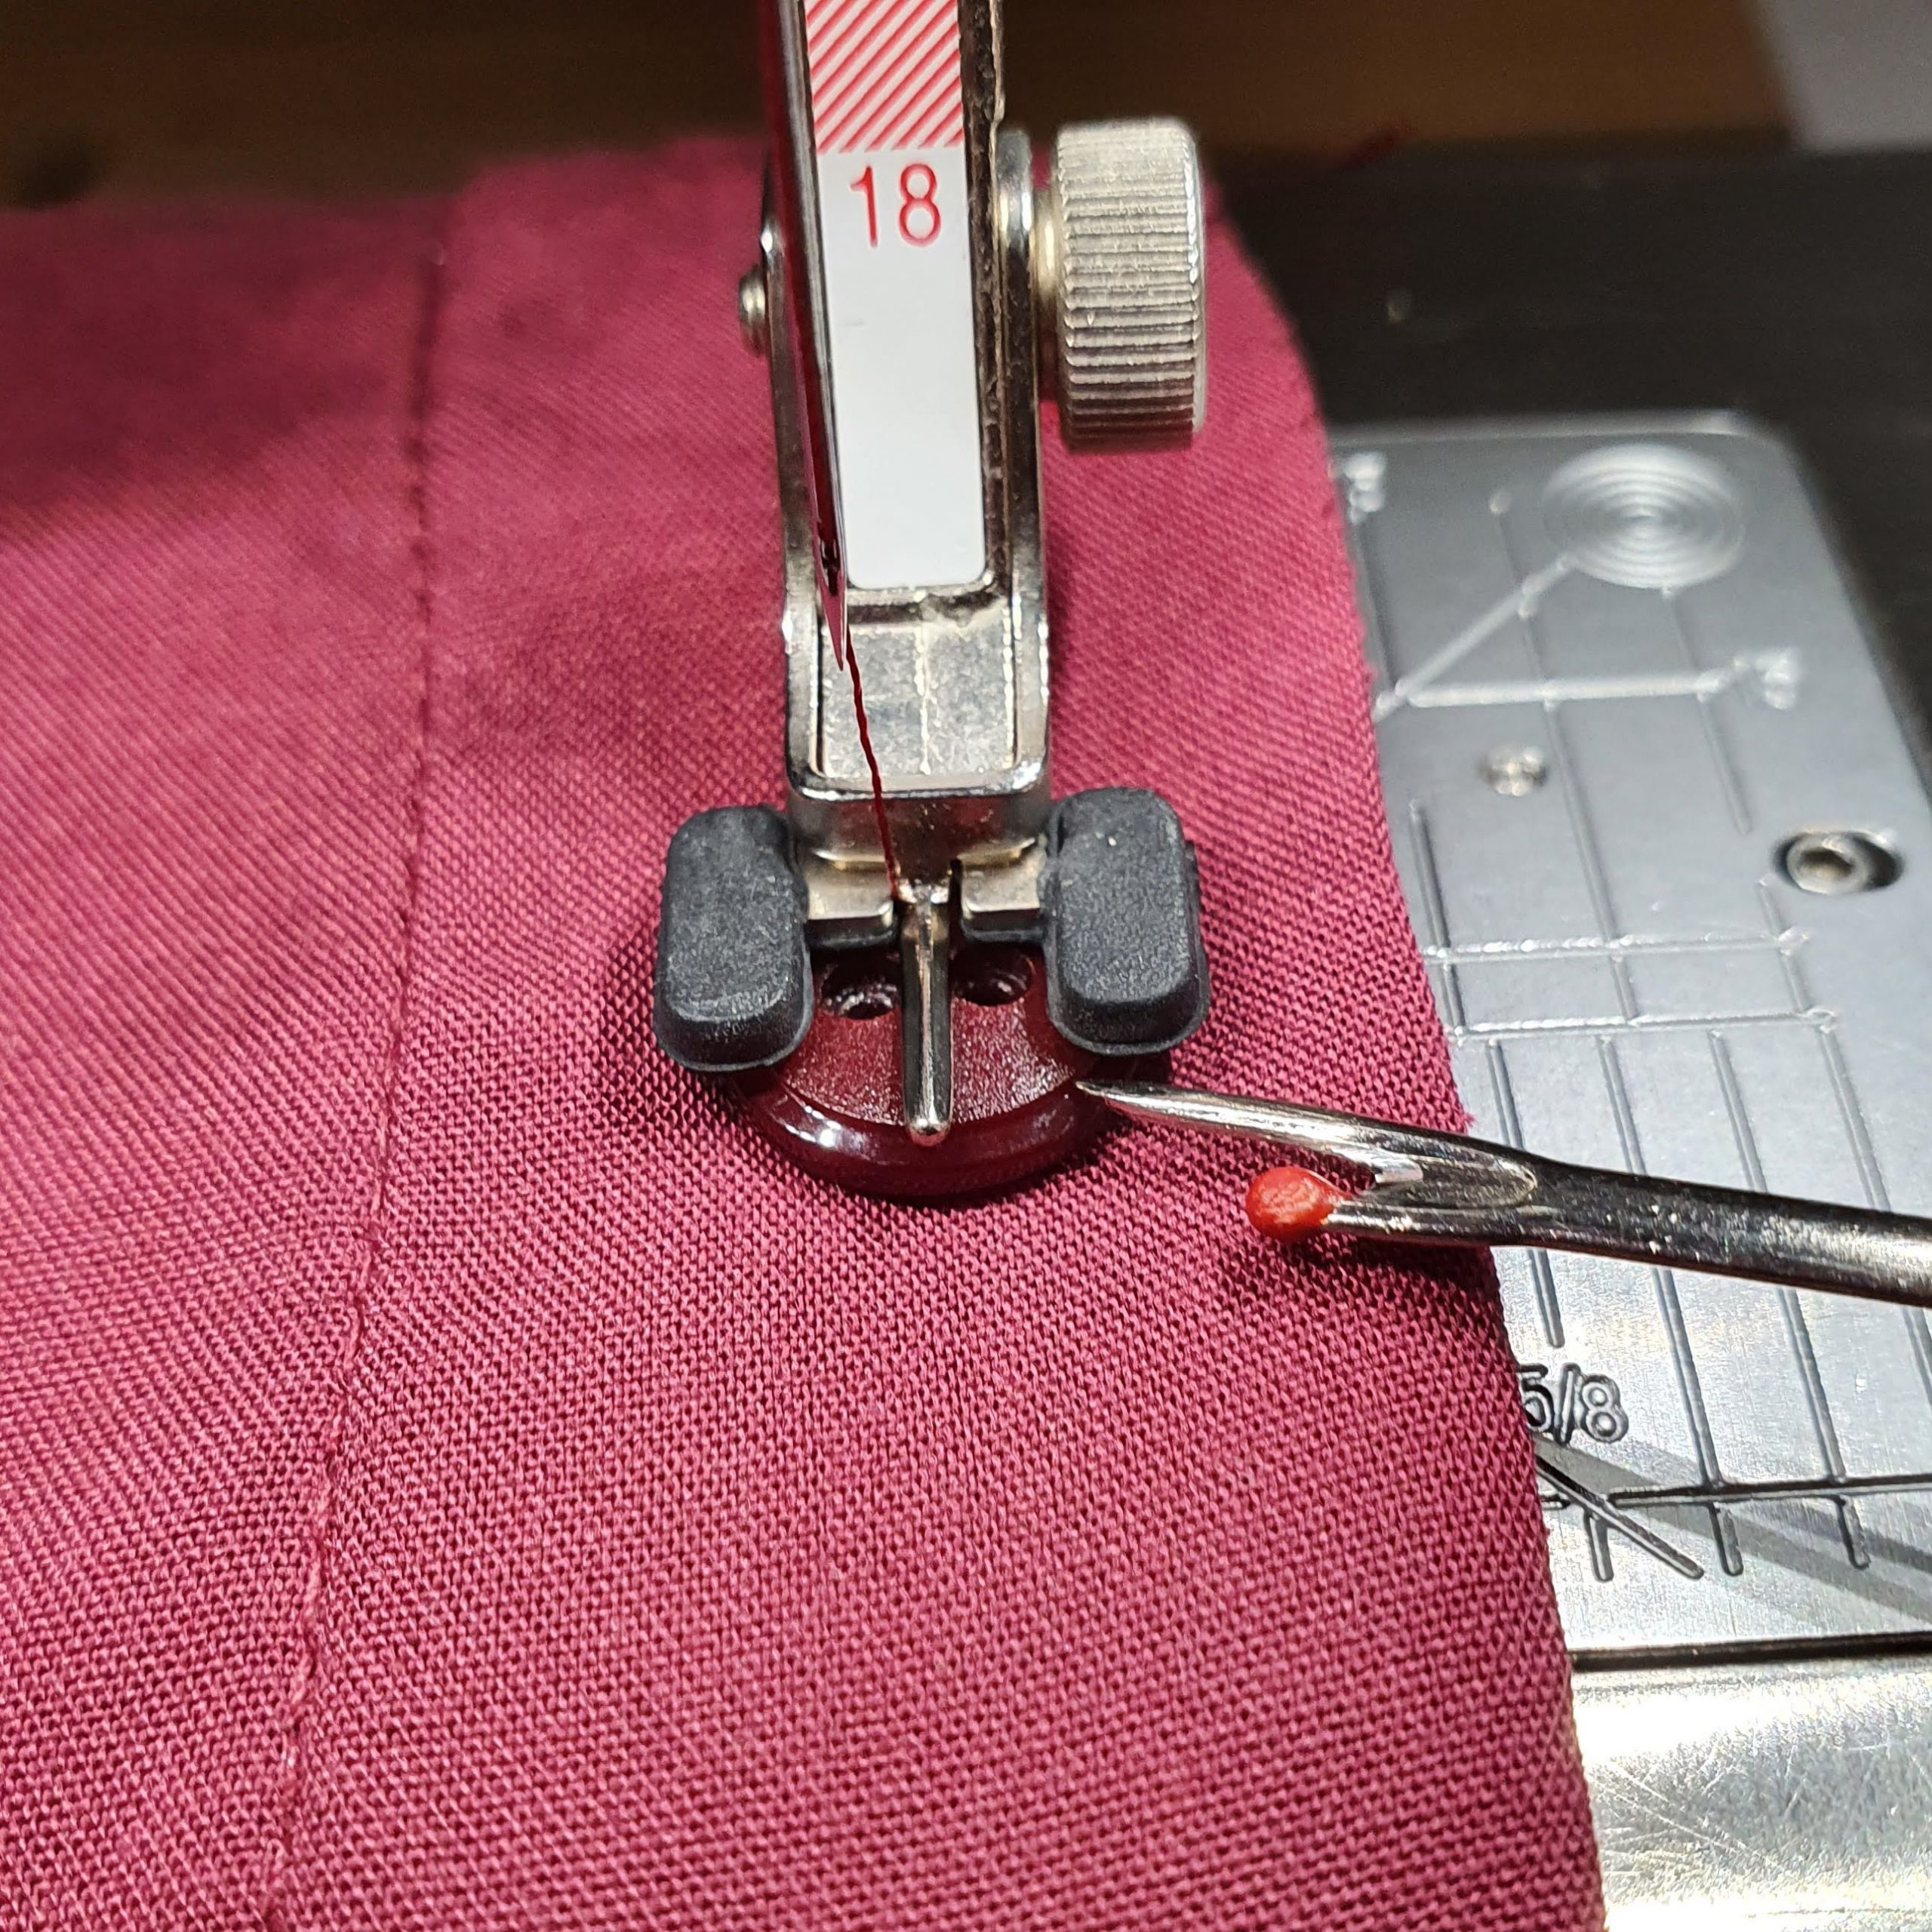
Precise work
Iron the Megan blouse and you’re done!

Next week in the fourth Megan blouse sew-along blog I will take you more extensively into the embroidery options of the Megan blouse. Will I see you then?!
You can download the Megan pattern in the month of October for free. Read how in this blog.
Love,
Marlies


0 Responses