 BERNINA Corporate Blog -
I really want to sew a party dress! It may be a while before I have an occasion to wear it, but as you know, anticipation is the sweetest joy.
I am sure you have all seen the glittering dress designed to go with the current BERNINA Special Edition with the motto “Time to shine”.

The dress is decorated with gorgeous Swarovski crystals. These are included in an exclusive box that comes with each special model. The boxes cannot be purchased separately. I will give my dress a touch of glamour using these sparkling crystals!
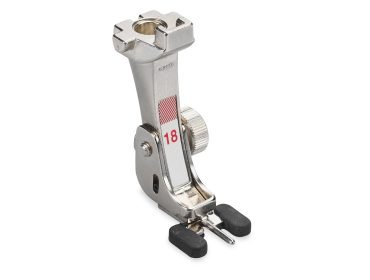
The box also contains two presser feet, which I think are absolute must-haves for your sewing basket! The Edgestitch foot # 10 (it comes in a Dual Feed version corresponding to the machine) allows you to create edgestitched seams and hems precisely and effortlessly every time. You can use the Button-sew-on foot # 18 to sew on lots of buttons with your BERNINA. And what’s more, the box also contains a really great USB stick filled with lots of fantastic embroidery patterns. But more on that another time…!


Do you want to join me in the upcoming posts about sewing the party dress? Altogether, there are five posts for you on these topics:
- Preparing the pattern and selecting your material
- Should I cut out or embroider first?
- Tips on cutting out and sewing the party dress
- The glamorous finish
- The clutch bag to match the dress (these instructions are already available ;-))
We’re starting today with the first part – the selection and preparation of the pattern and materials.
Sewing a party dress | The pattern
You can find the relevant free pattern by clicking this link (button on the right). It consists of three sheets and is in DIN A0 format. You can get it printed out in the relevant size at a copy shop or at an online print shop. This makes the pieces nice and easy to cut out. With so many large pattern pieces, it’s a lot easier than printing out small sheets on your home printer and then sticking them together, which would be very tedious and cumbersome. We would rather spend this precious time sewing!
You can also view and download the sewing instructions and free embroidery designs for the dress at the above link. I will discuss the sewing and cutting out in more detail in Part 3 of this series of posts.
Sewing a party dress | Choosing the fabric
The party dress must be sewn from a stretch fabric. This should have a soft drape to ensure the gathers look good. I decided to use the dance crepe recommended in the instructions. This is a very soft, fine and extremely stretchy fabric. I am sure this fabric will make the pleats and ruffles especially attractive. You can find dance crepe in dance sports stores, for example. As the material has such a high stretch, I will leave out the zip later on.
Sewing a party dress | Embroidery tips
The fact that this soft, lightweight and elastic fabric will be lovely to wear also means that there are a couple of things you need to take into account when embroidering to achieve a great result. Many of you are mindful of embroidering this type of material. But with the right ingredients, you can do it effortlessly!
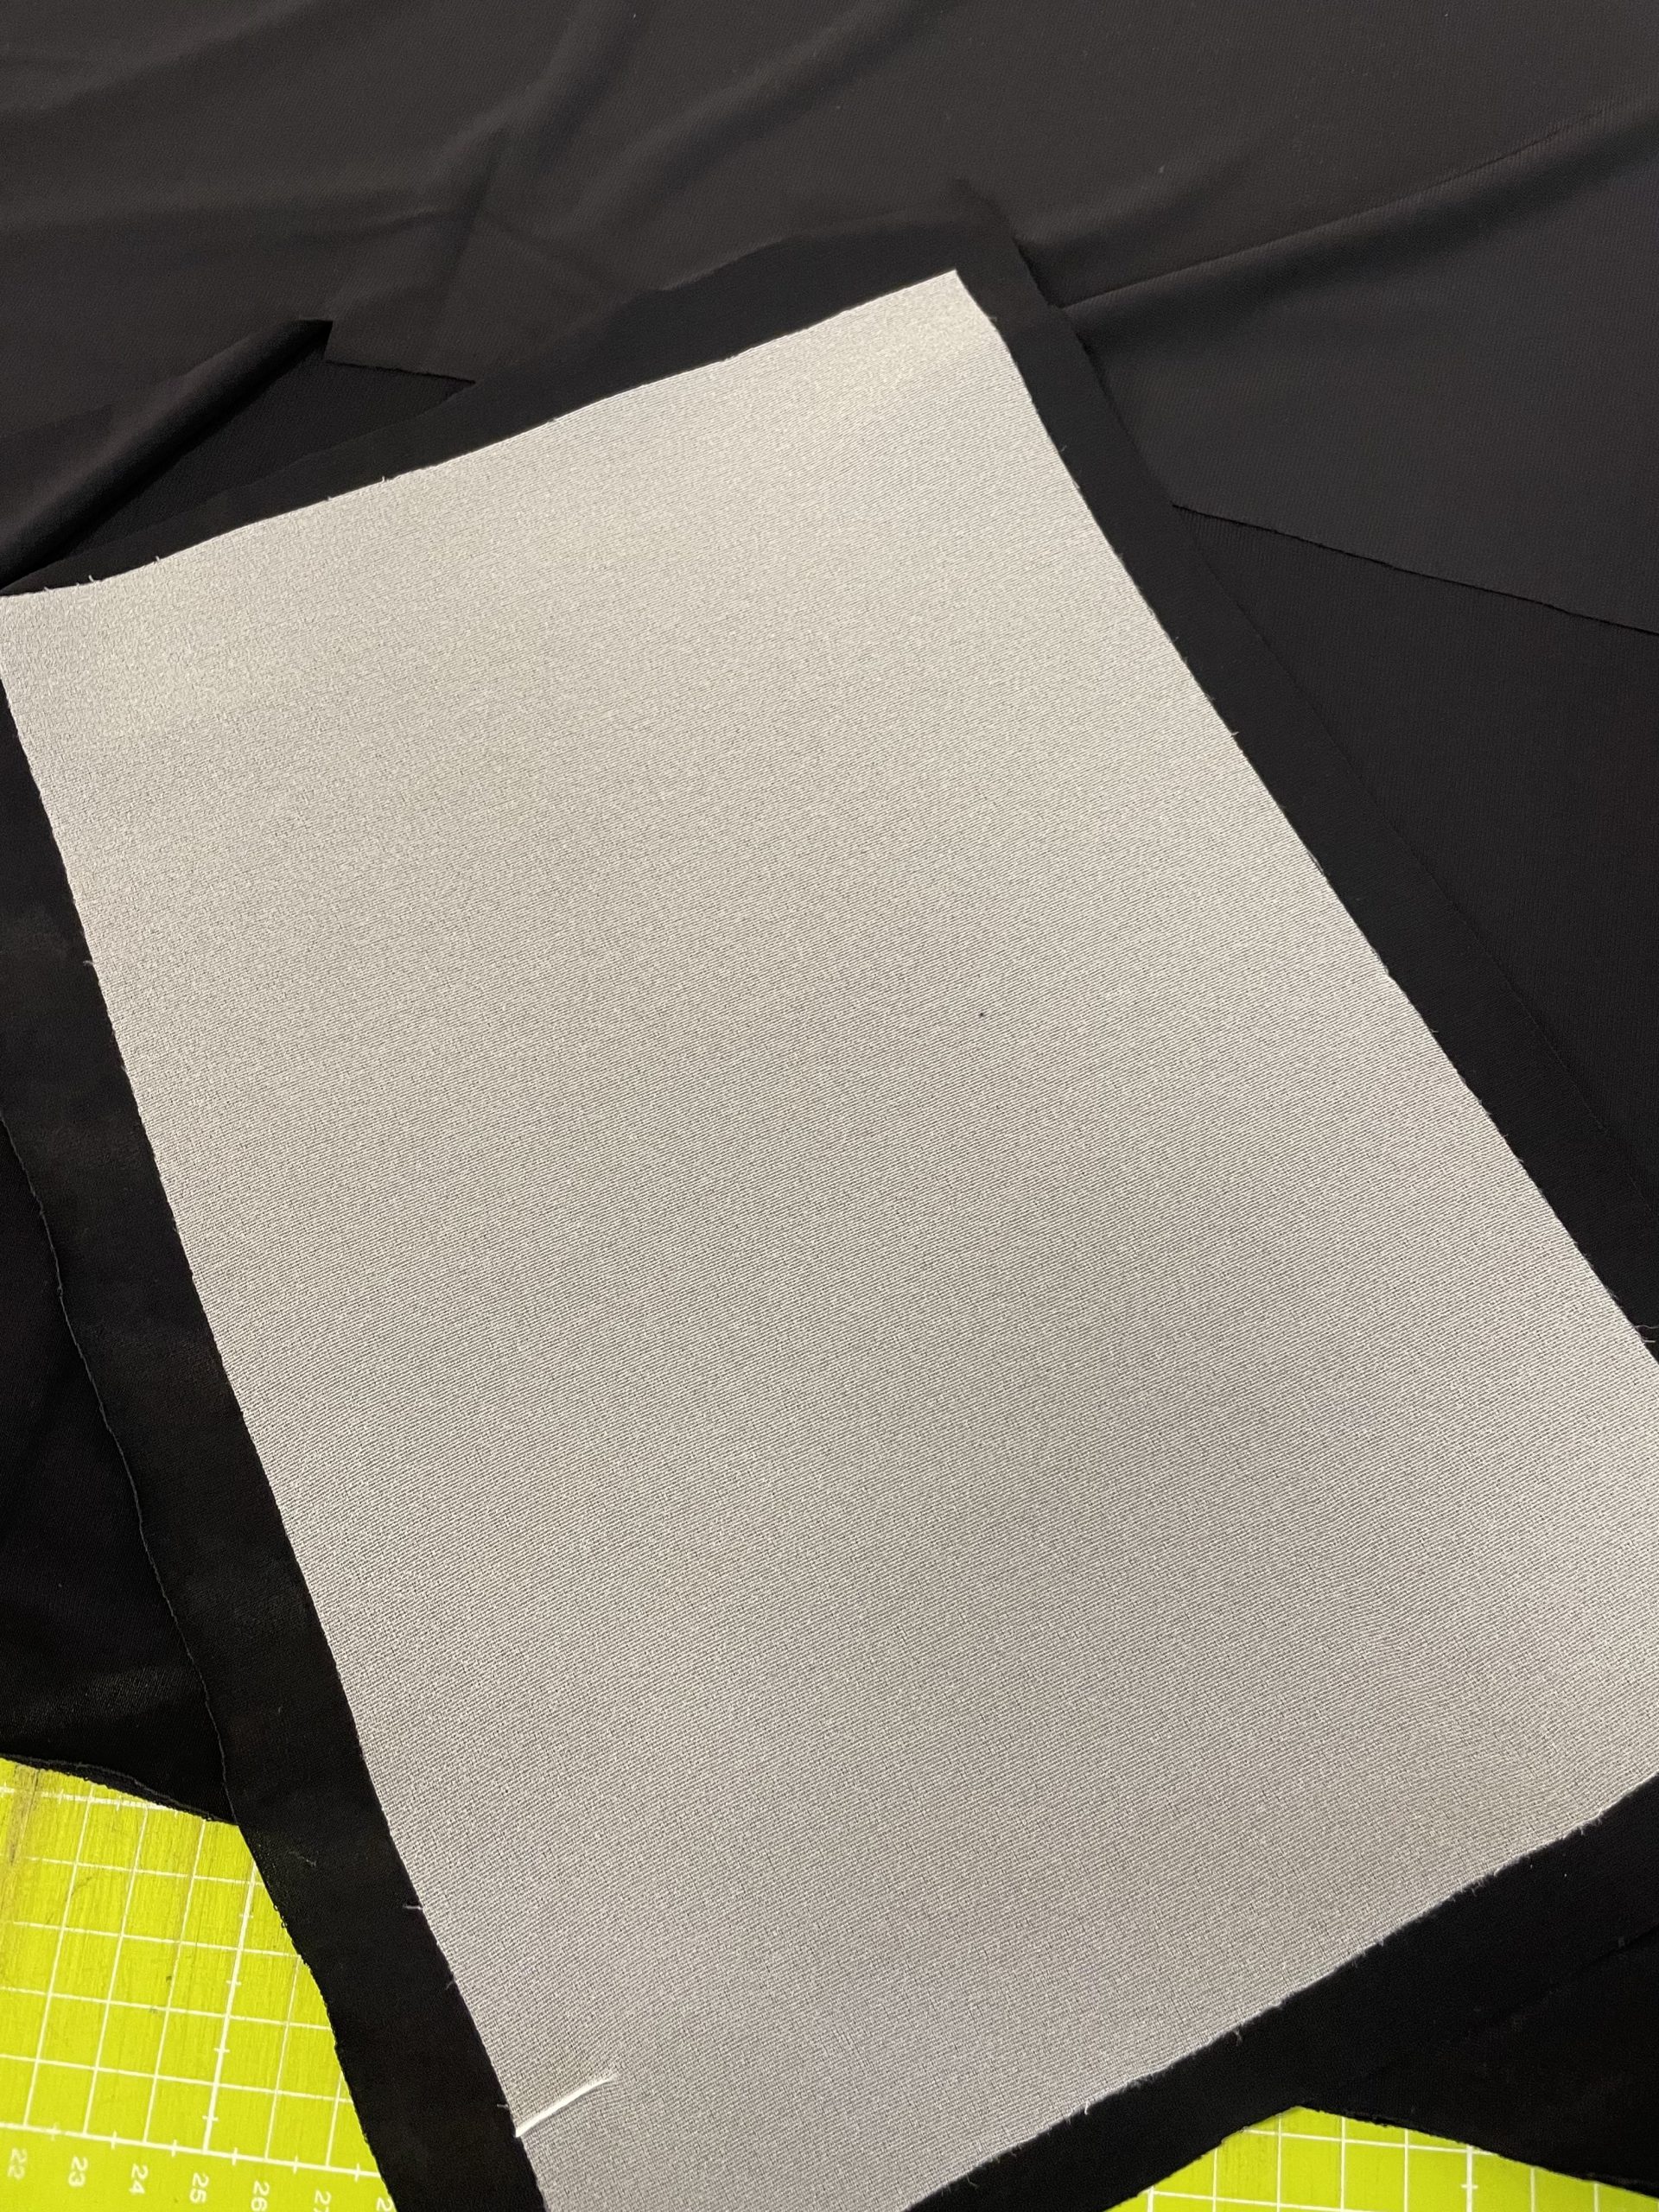
Fusible interlining
I reinforced all the pieces to be embroidered with a stretch interlining. This works very well using H 609 from Freudenberg. This interlining remains on the fabric permanently and is not removed even after embroidering.
Embroidery threads and needle
To prevent the fine fabric from being damaged by the tip of the embroidery needle, I recommend using a fine jersey embroidery needle. For the embroidery, I am using Poly Sheen machine embroidery thread from Mettler as the upper thread, and Bobbinette in black is a good choice for the lower thread.

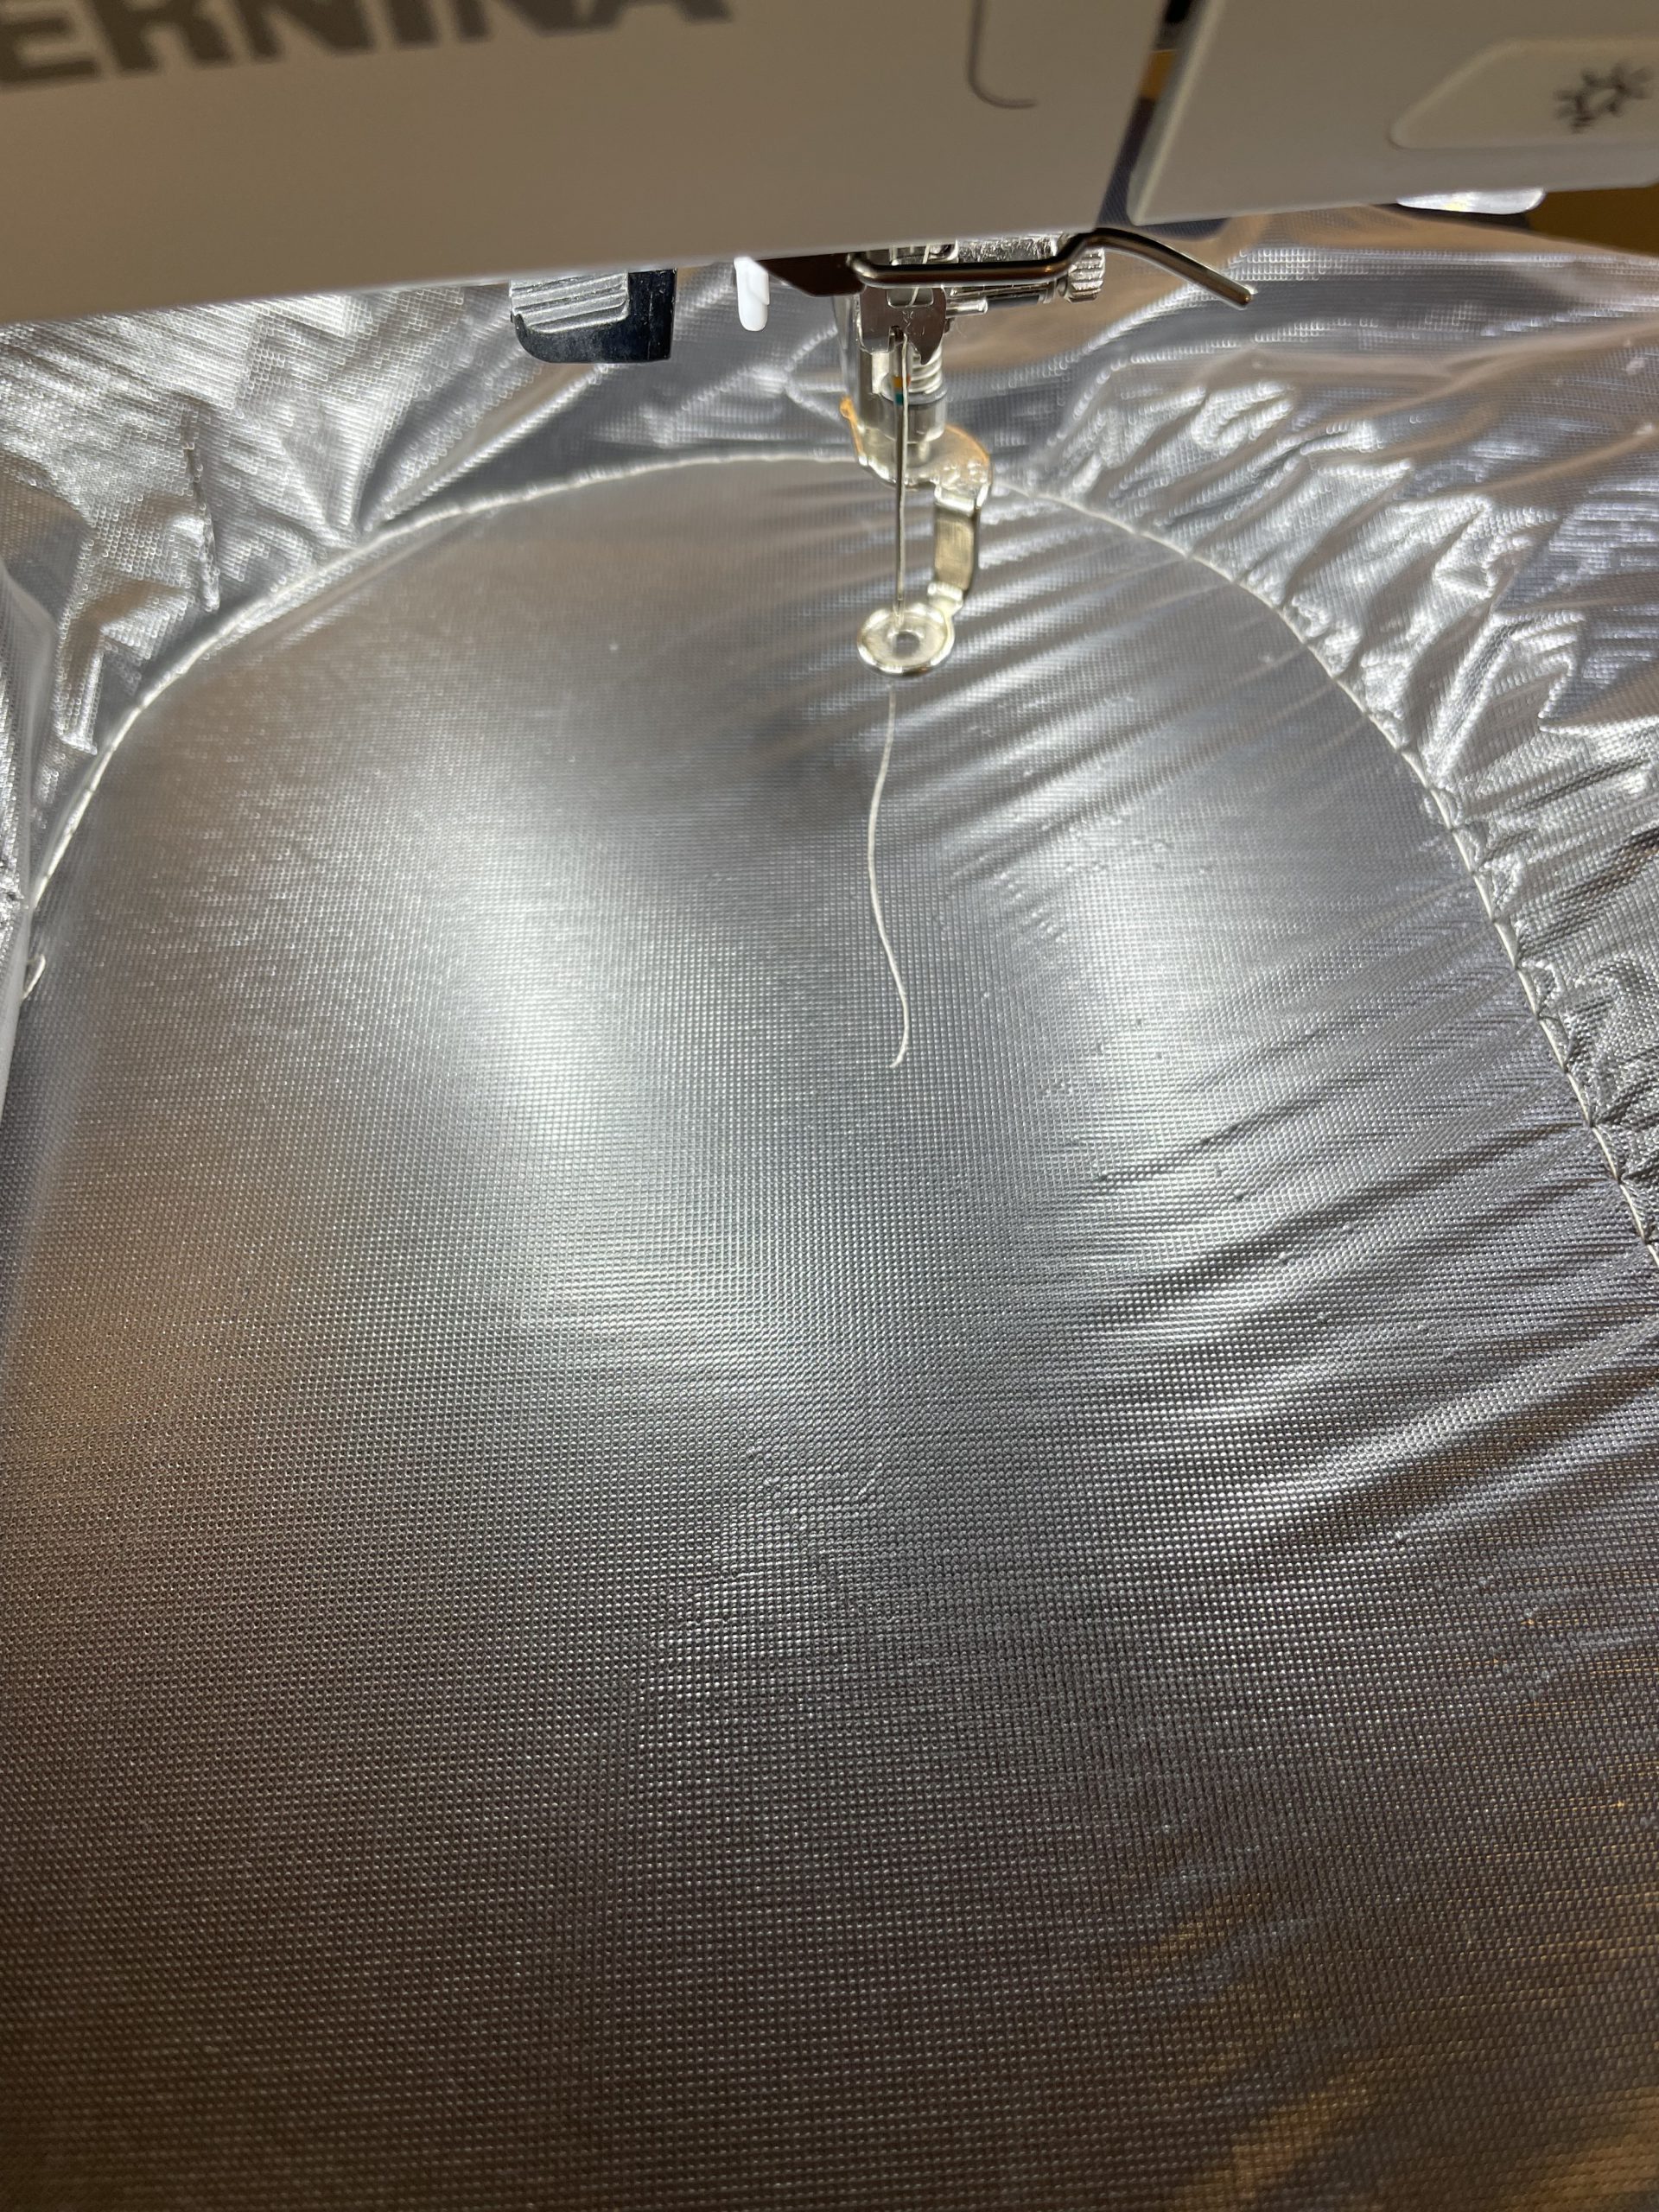
The right stabilizer in the hoop
The stretch fabric is difficult to hoop and can easily become distorted when hooping or embroidering. In the worst case, the hoop can even leave an impression on the fabric. It is therefore essential to use self-adhesive embroidery stabilizer. I recommend a water-soluble version to ensure that no adhesive residue from the stabilizer remains on the dress. After removing the protective film, the fabric can be stuck on and embroidered in the appropriate place.

The right stabilizer on the fabric
To ensure I get a nice even embroidery result on the knitted fabric, I cover the fabric face with a thin, water-soluble stabilizer. There are various ways to attach the stabilizer to the fabric:
- Pins: Place a few pins outside the embroidery area so that they don’t interfere with the embroidery process. They should never be used inside the embroidery area to ensure that the presser foot can move freely and the embroidery needle is not damaged.
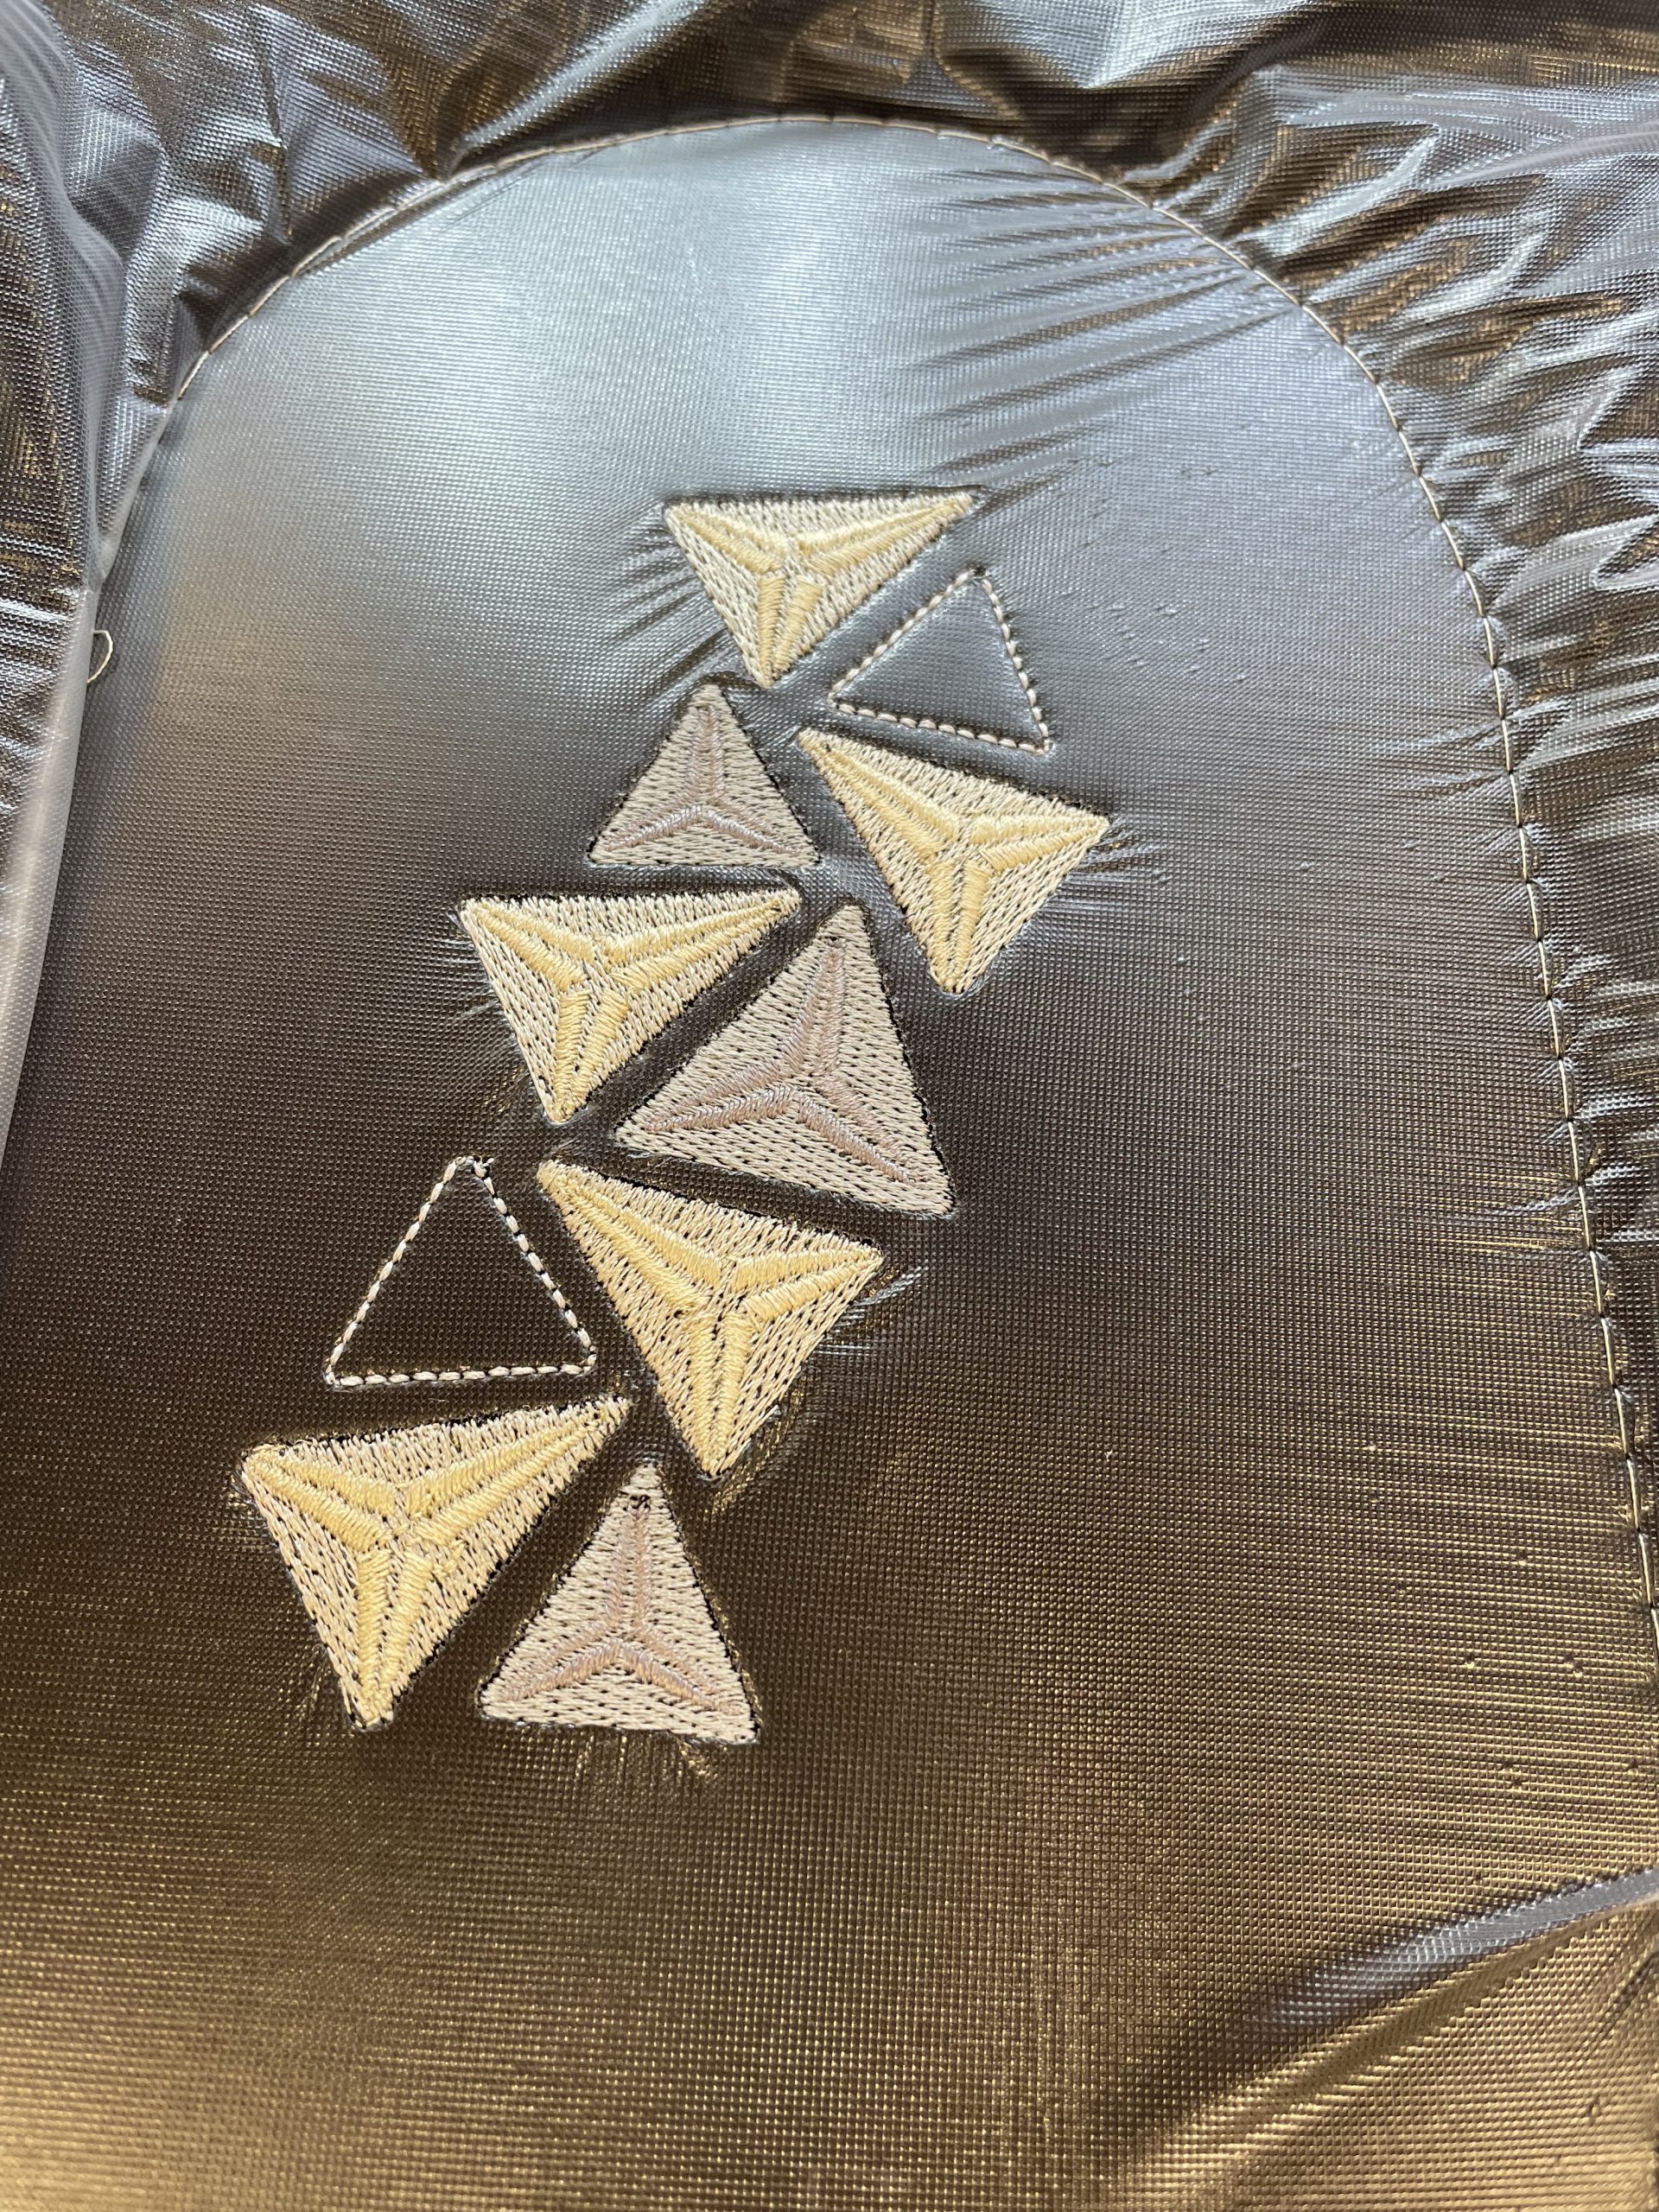
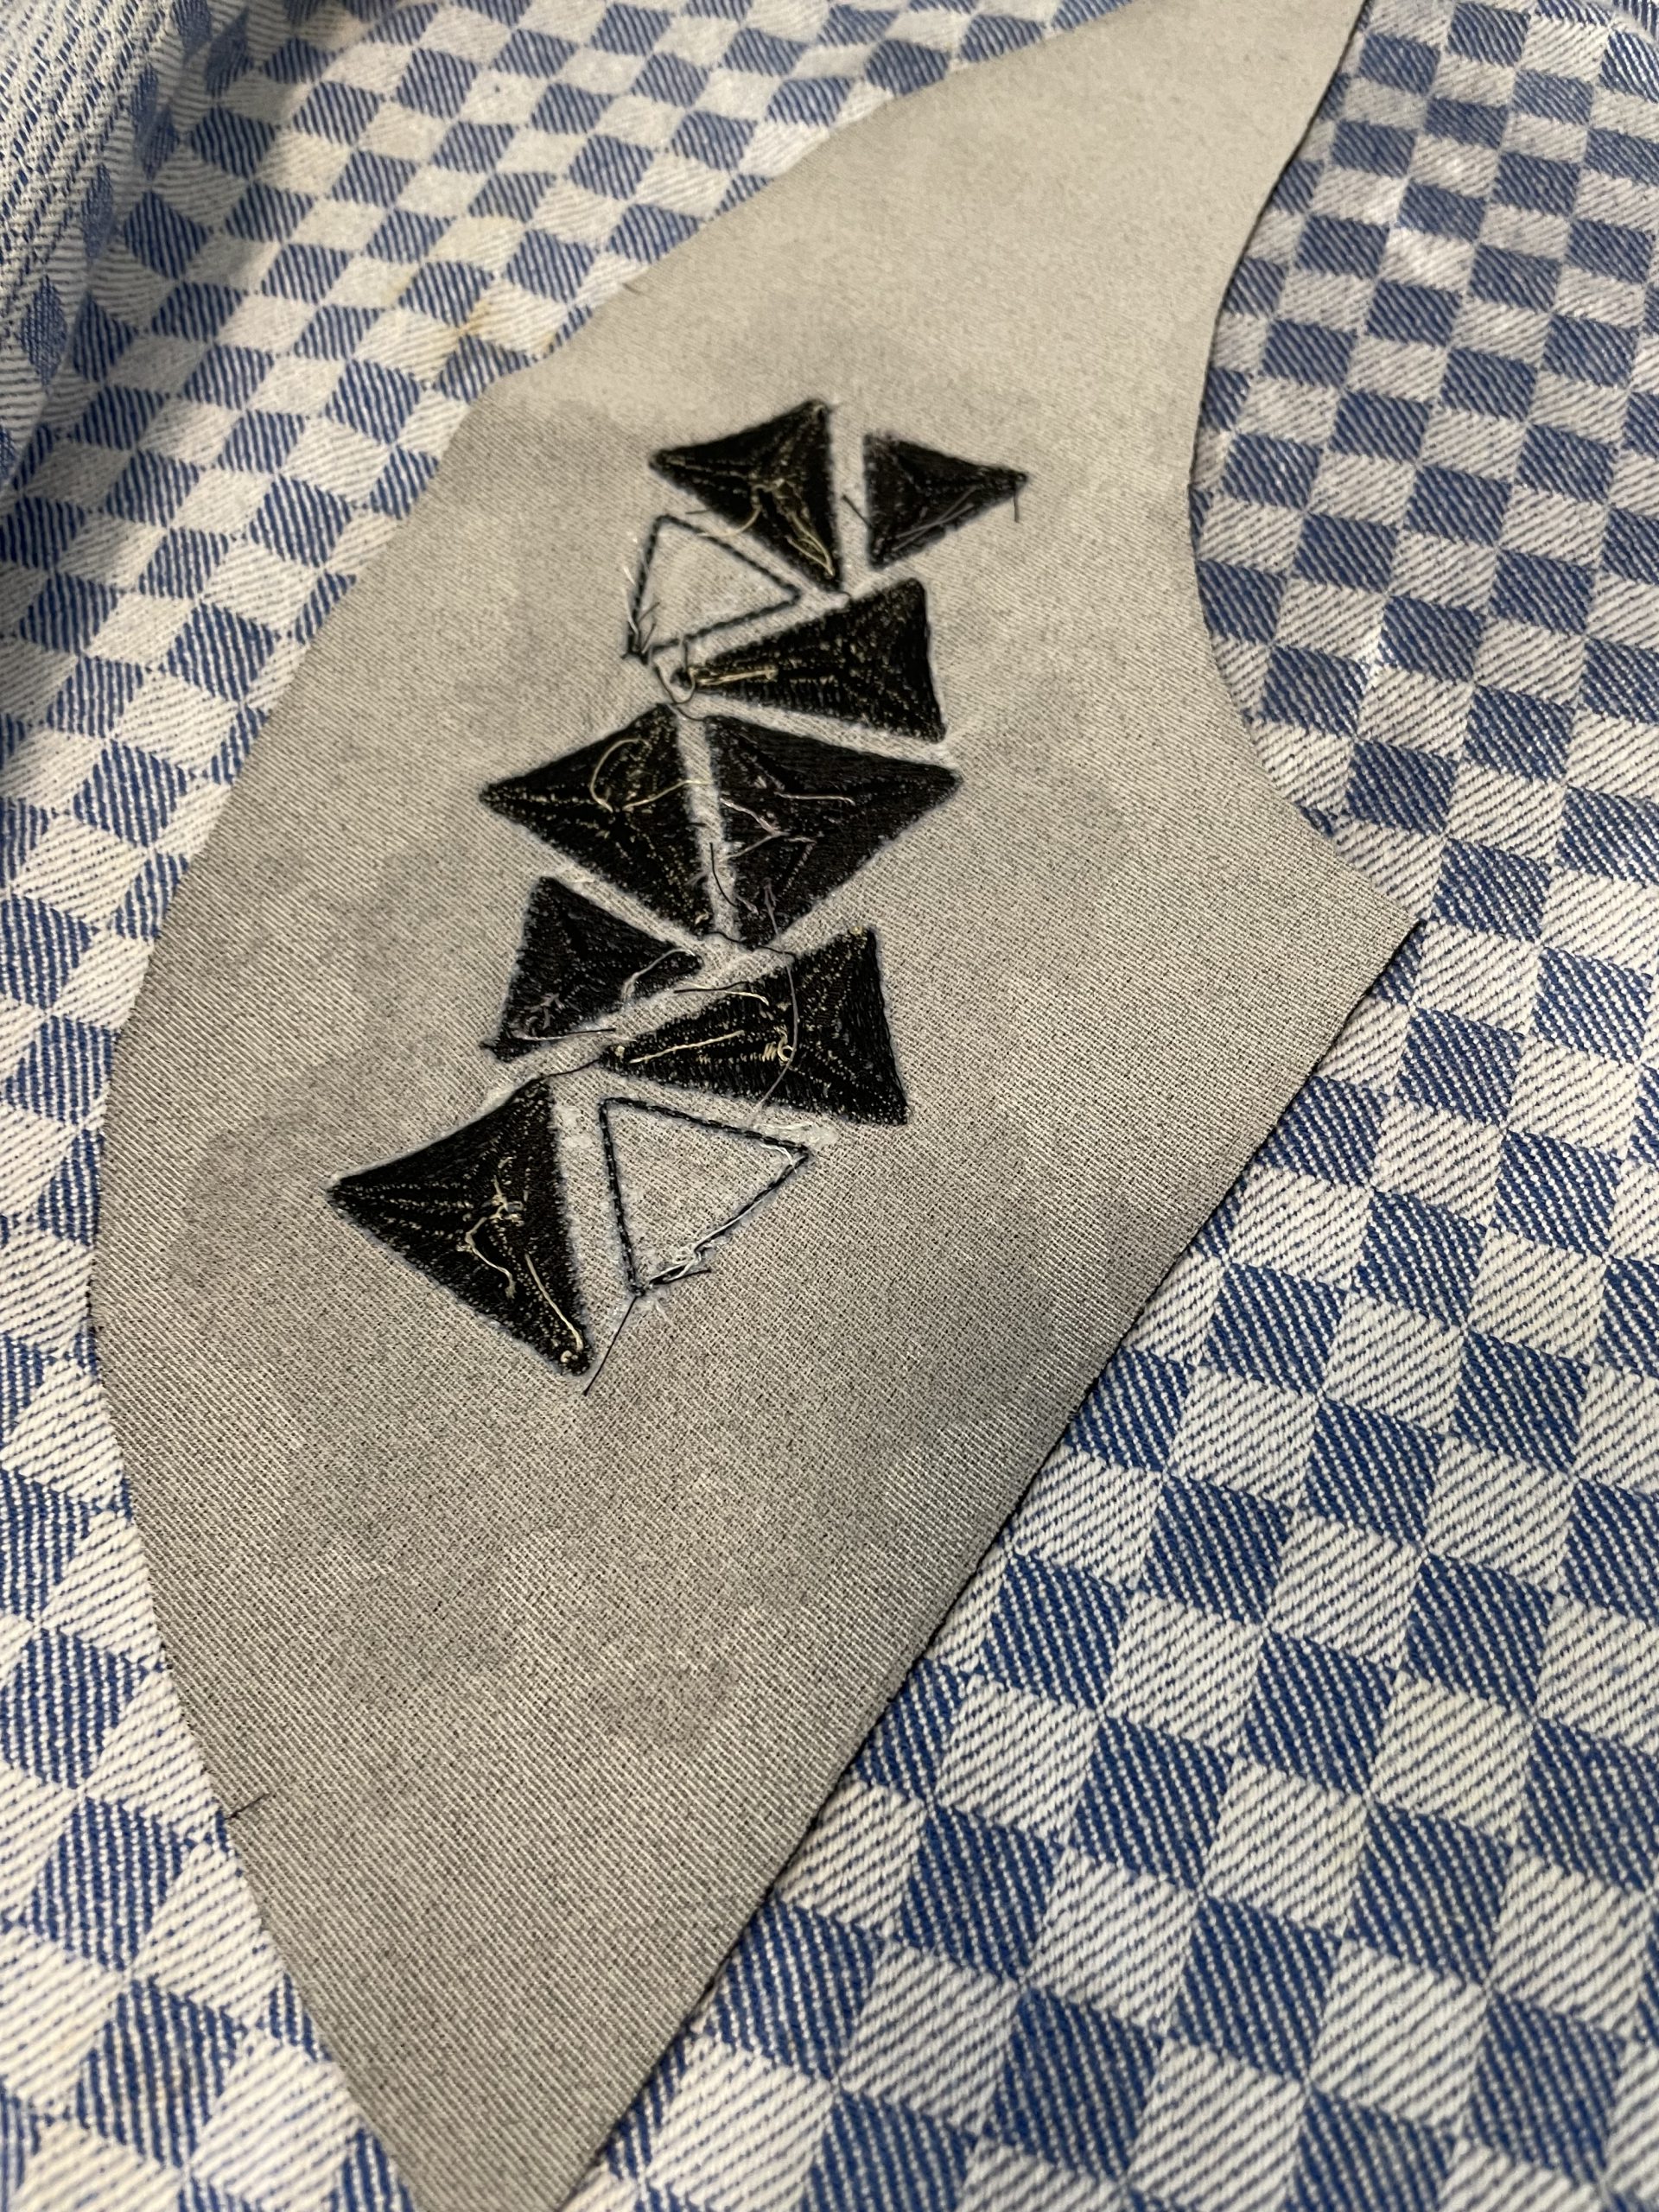
- Adhesive stabilizer & pins: Sometimes you can also use the remaining excess adhesive stabilizer for attaching, as can be seen here in the picture. Pins can be added if necessary.
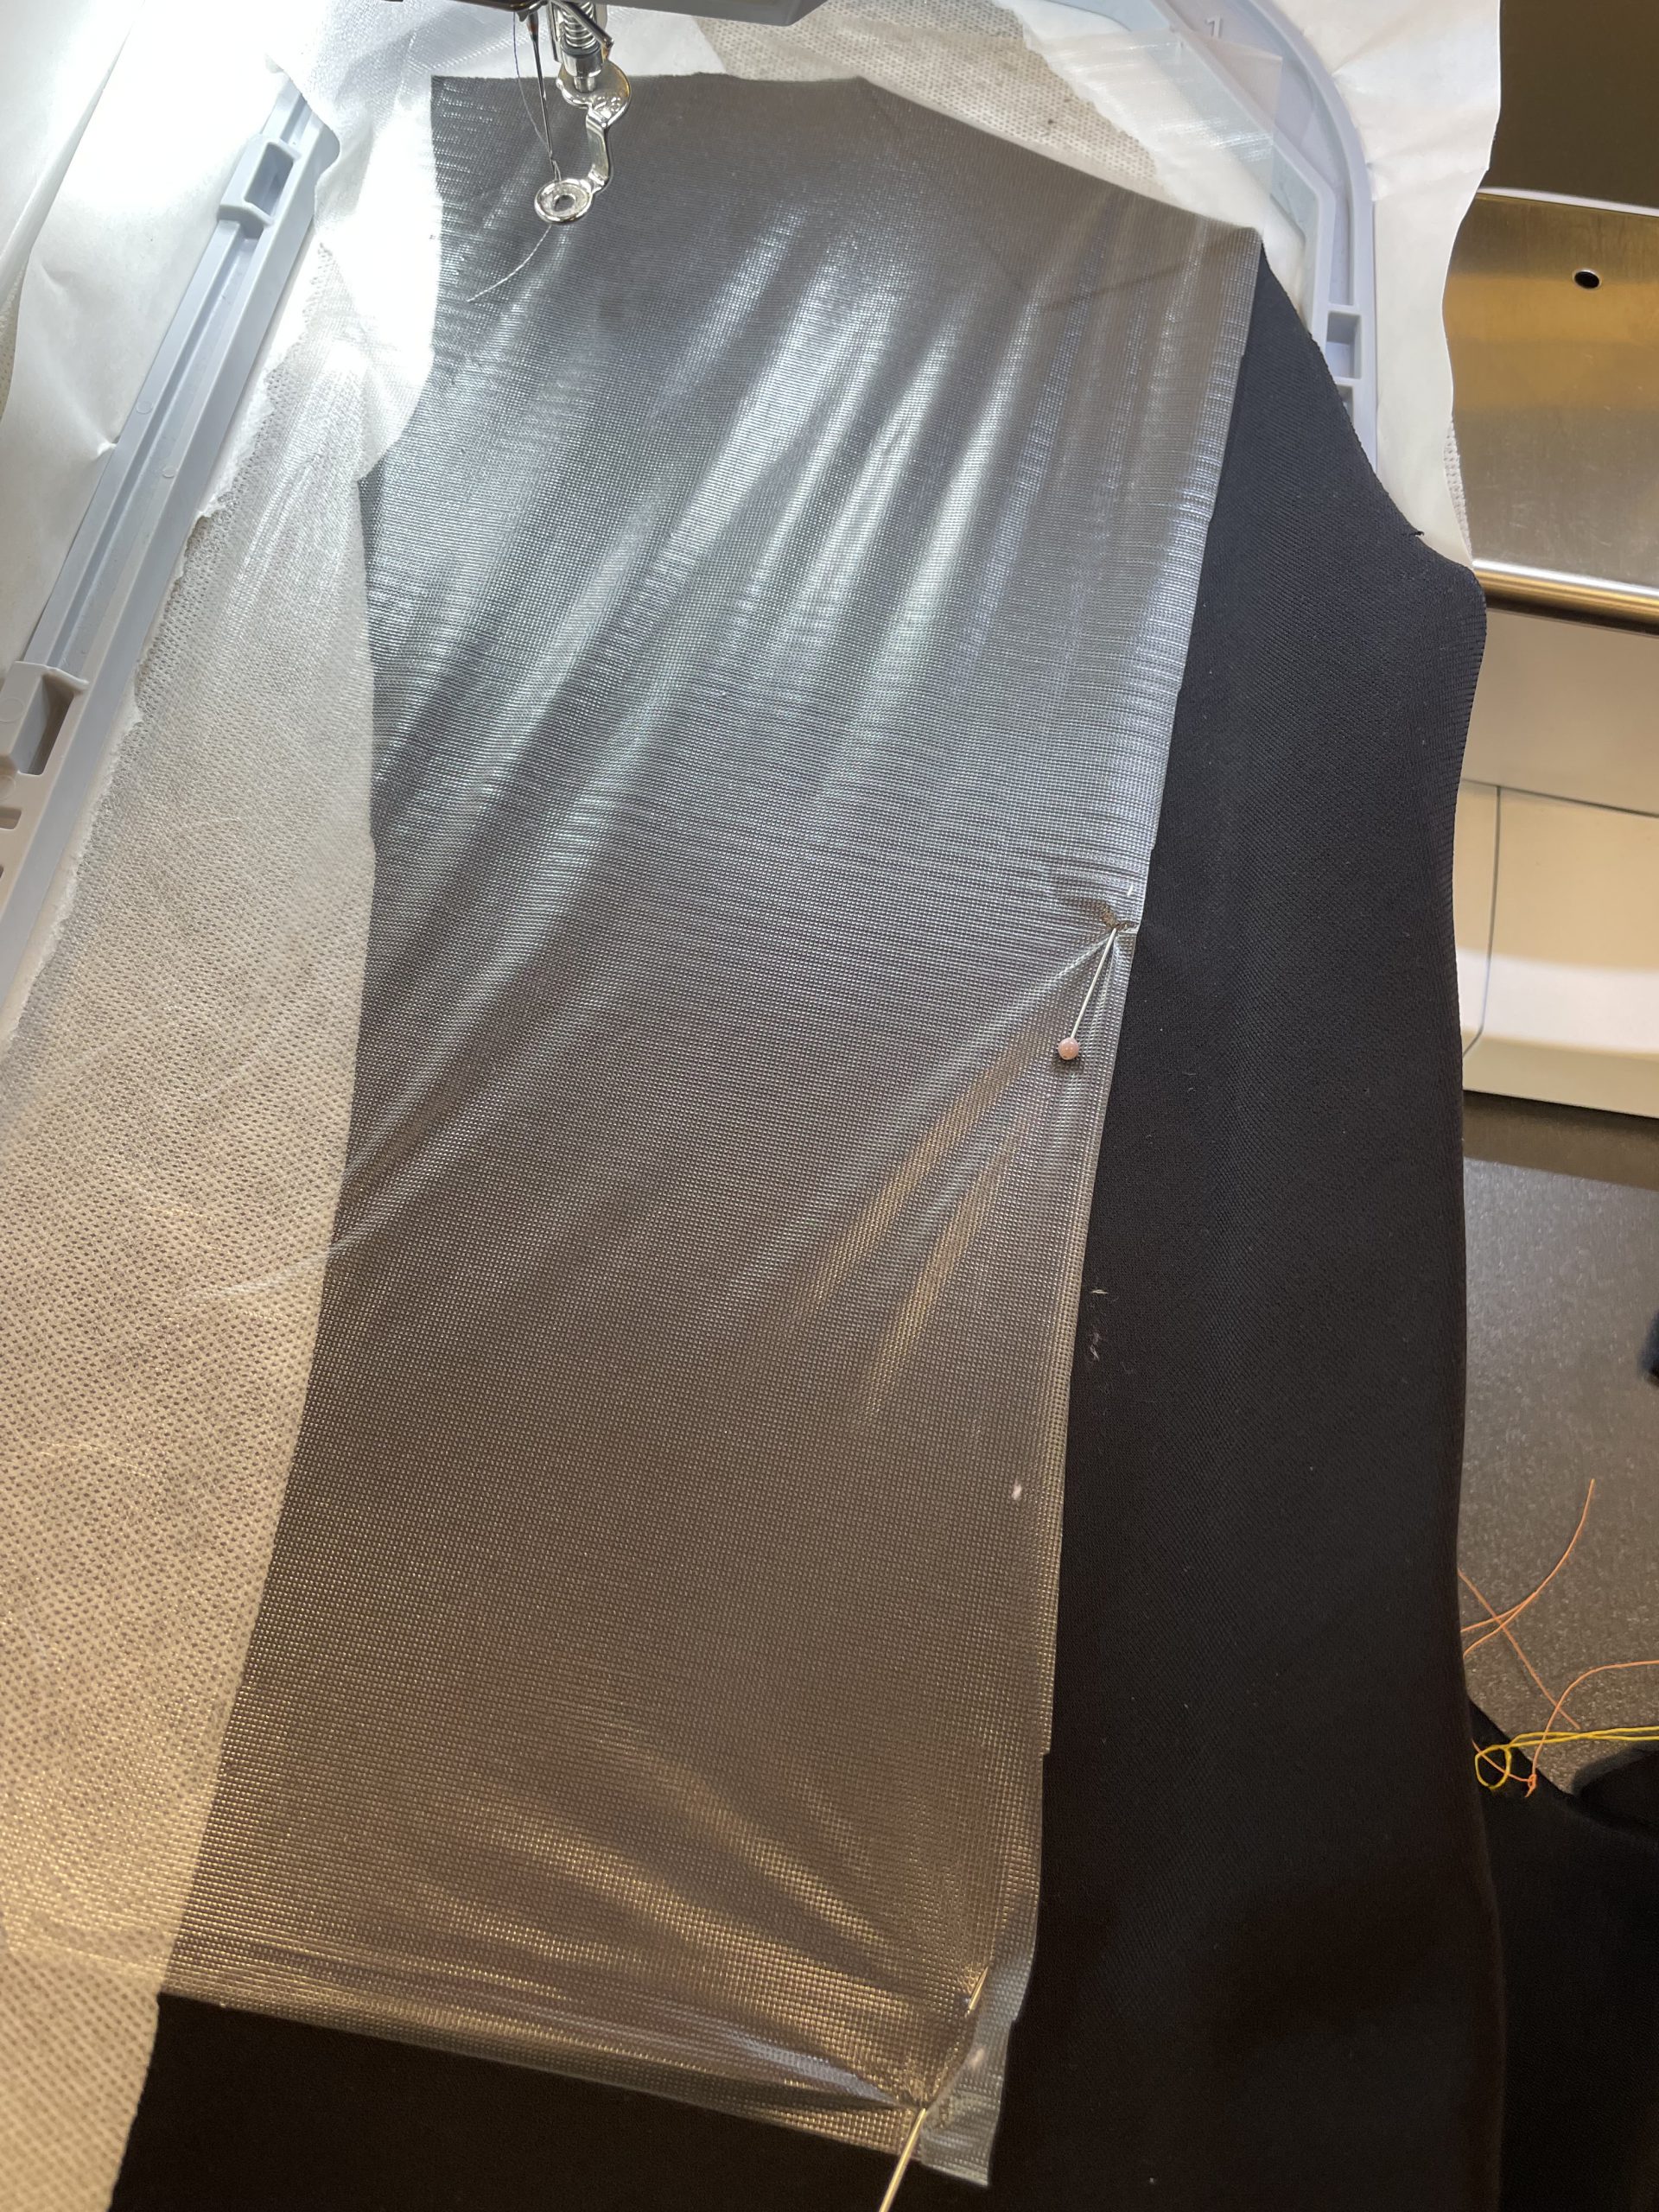
Then embroider…

…and finally remove the excess stabilizer. It is very easy to tear away. Smaller residues can be removed with water.
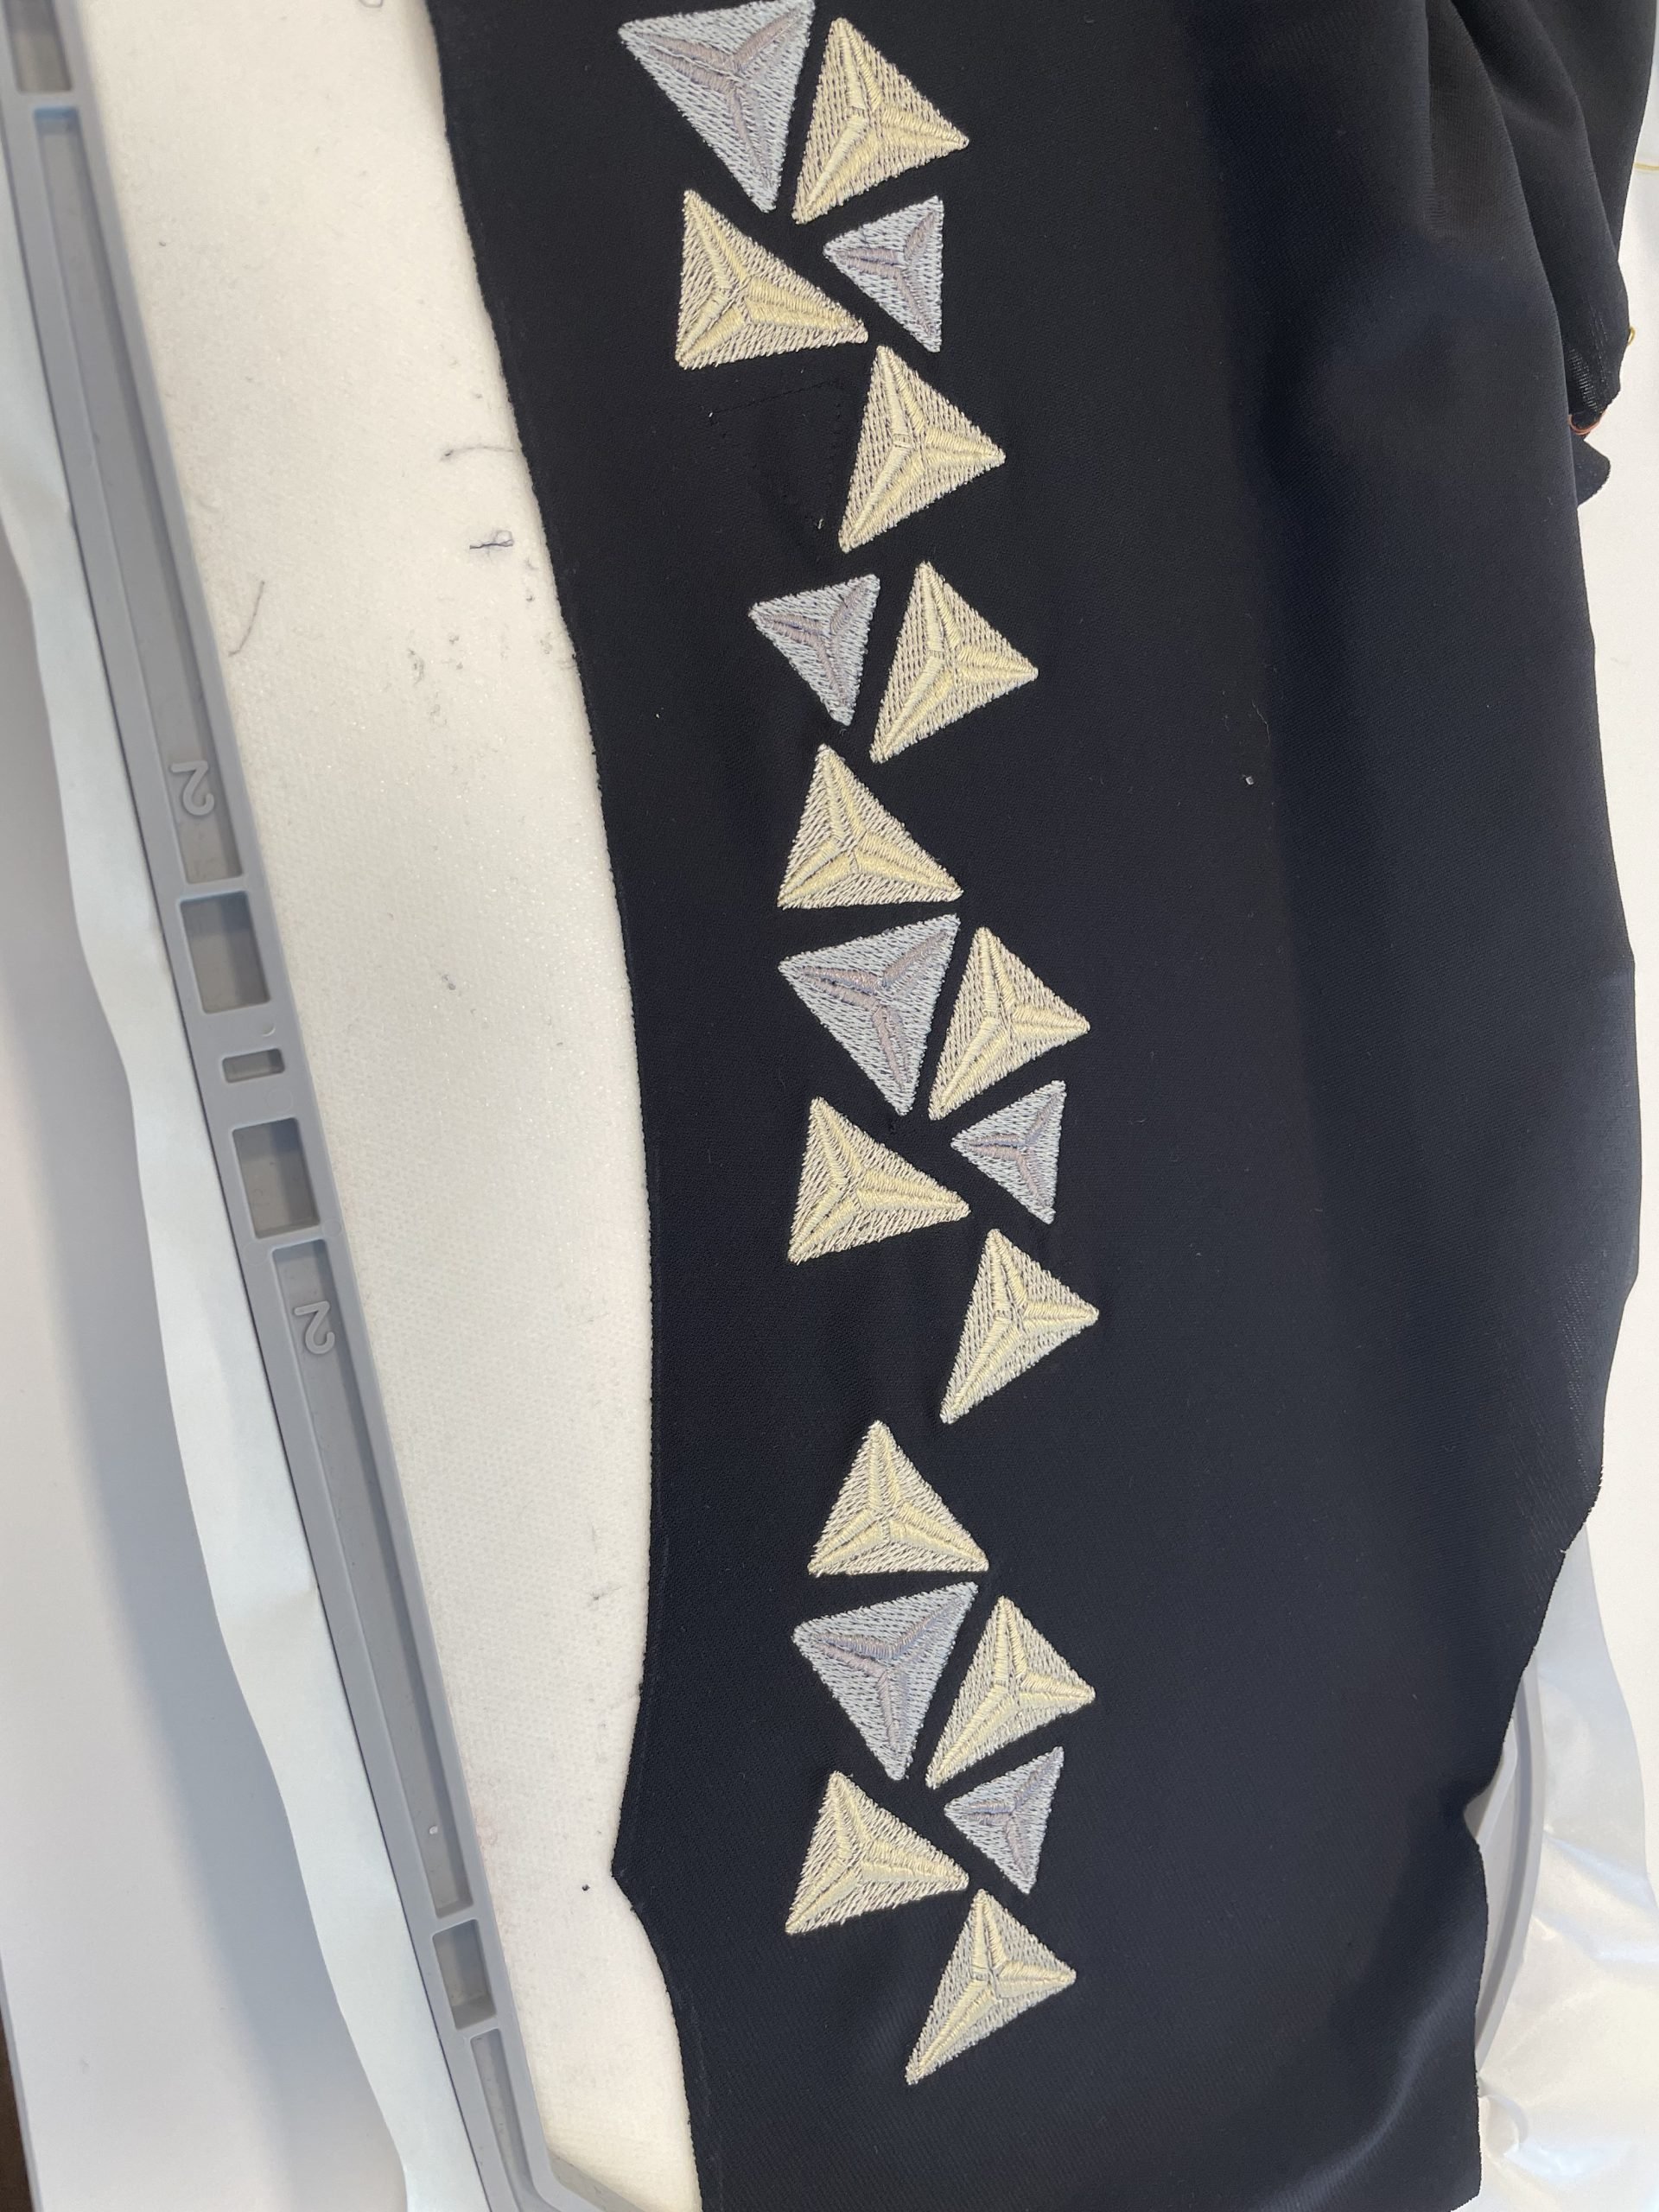
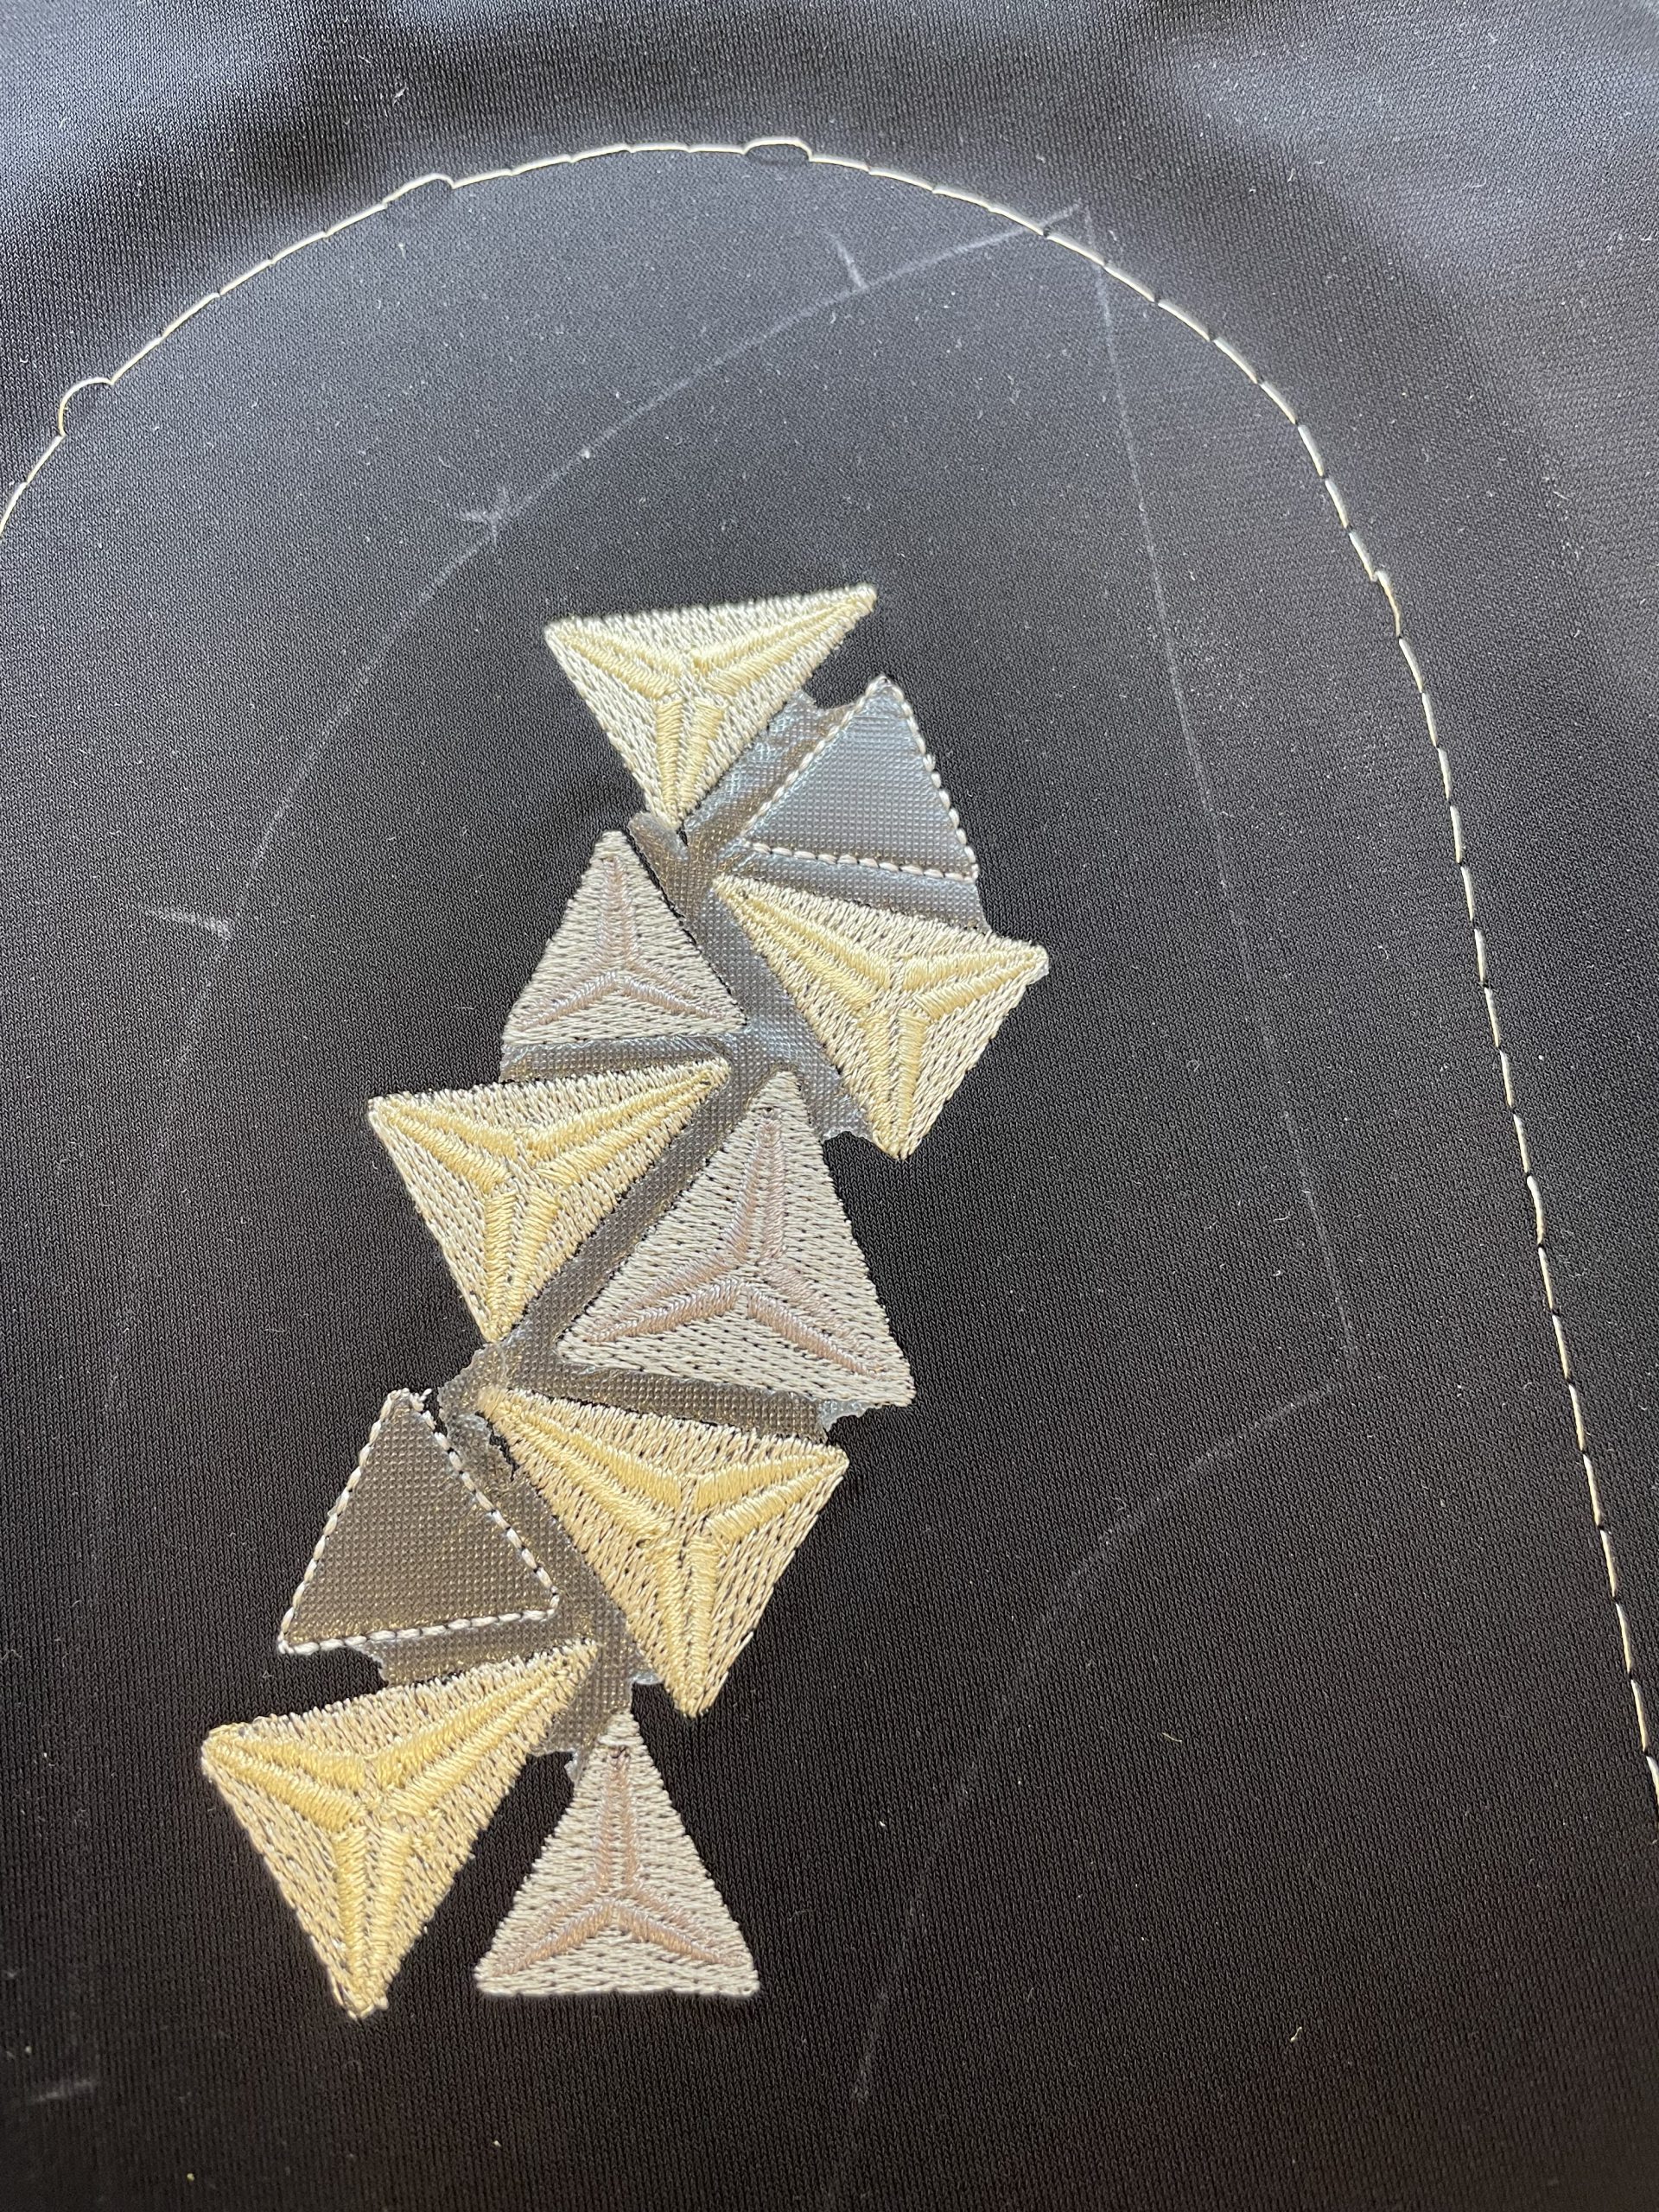
- Basting function: It is very easy to attach the thin, water-soluble stabilizer using the embroidery machine’s basting function. However, I only use this method for pieces that are only cut out after they have been embroidered. As far as possible, the basting lines should be outside the embroidered piece. This means that if I damage the fabric slightly or leave holes behind when unpicking the basting stitches, it will not be too bad. In this case, I basted right around the edge of the embroidery area.
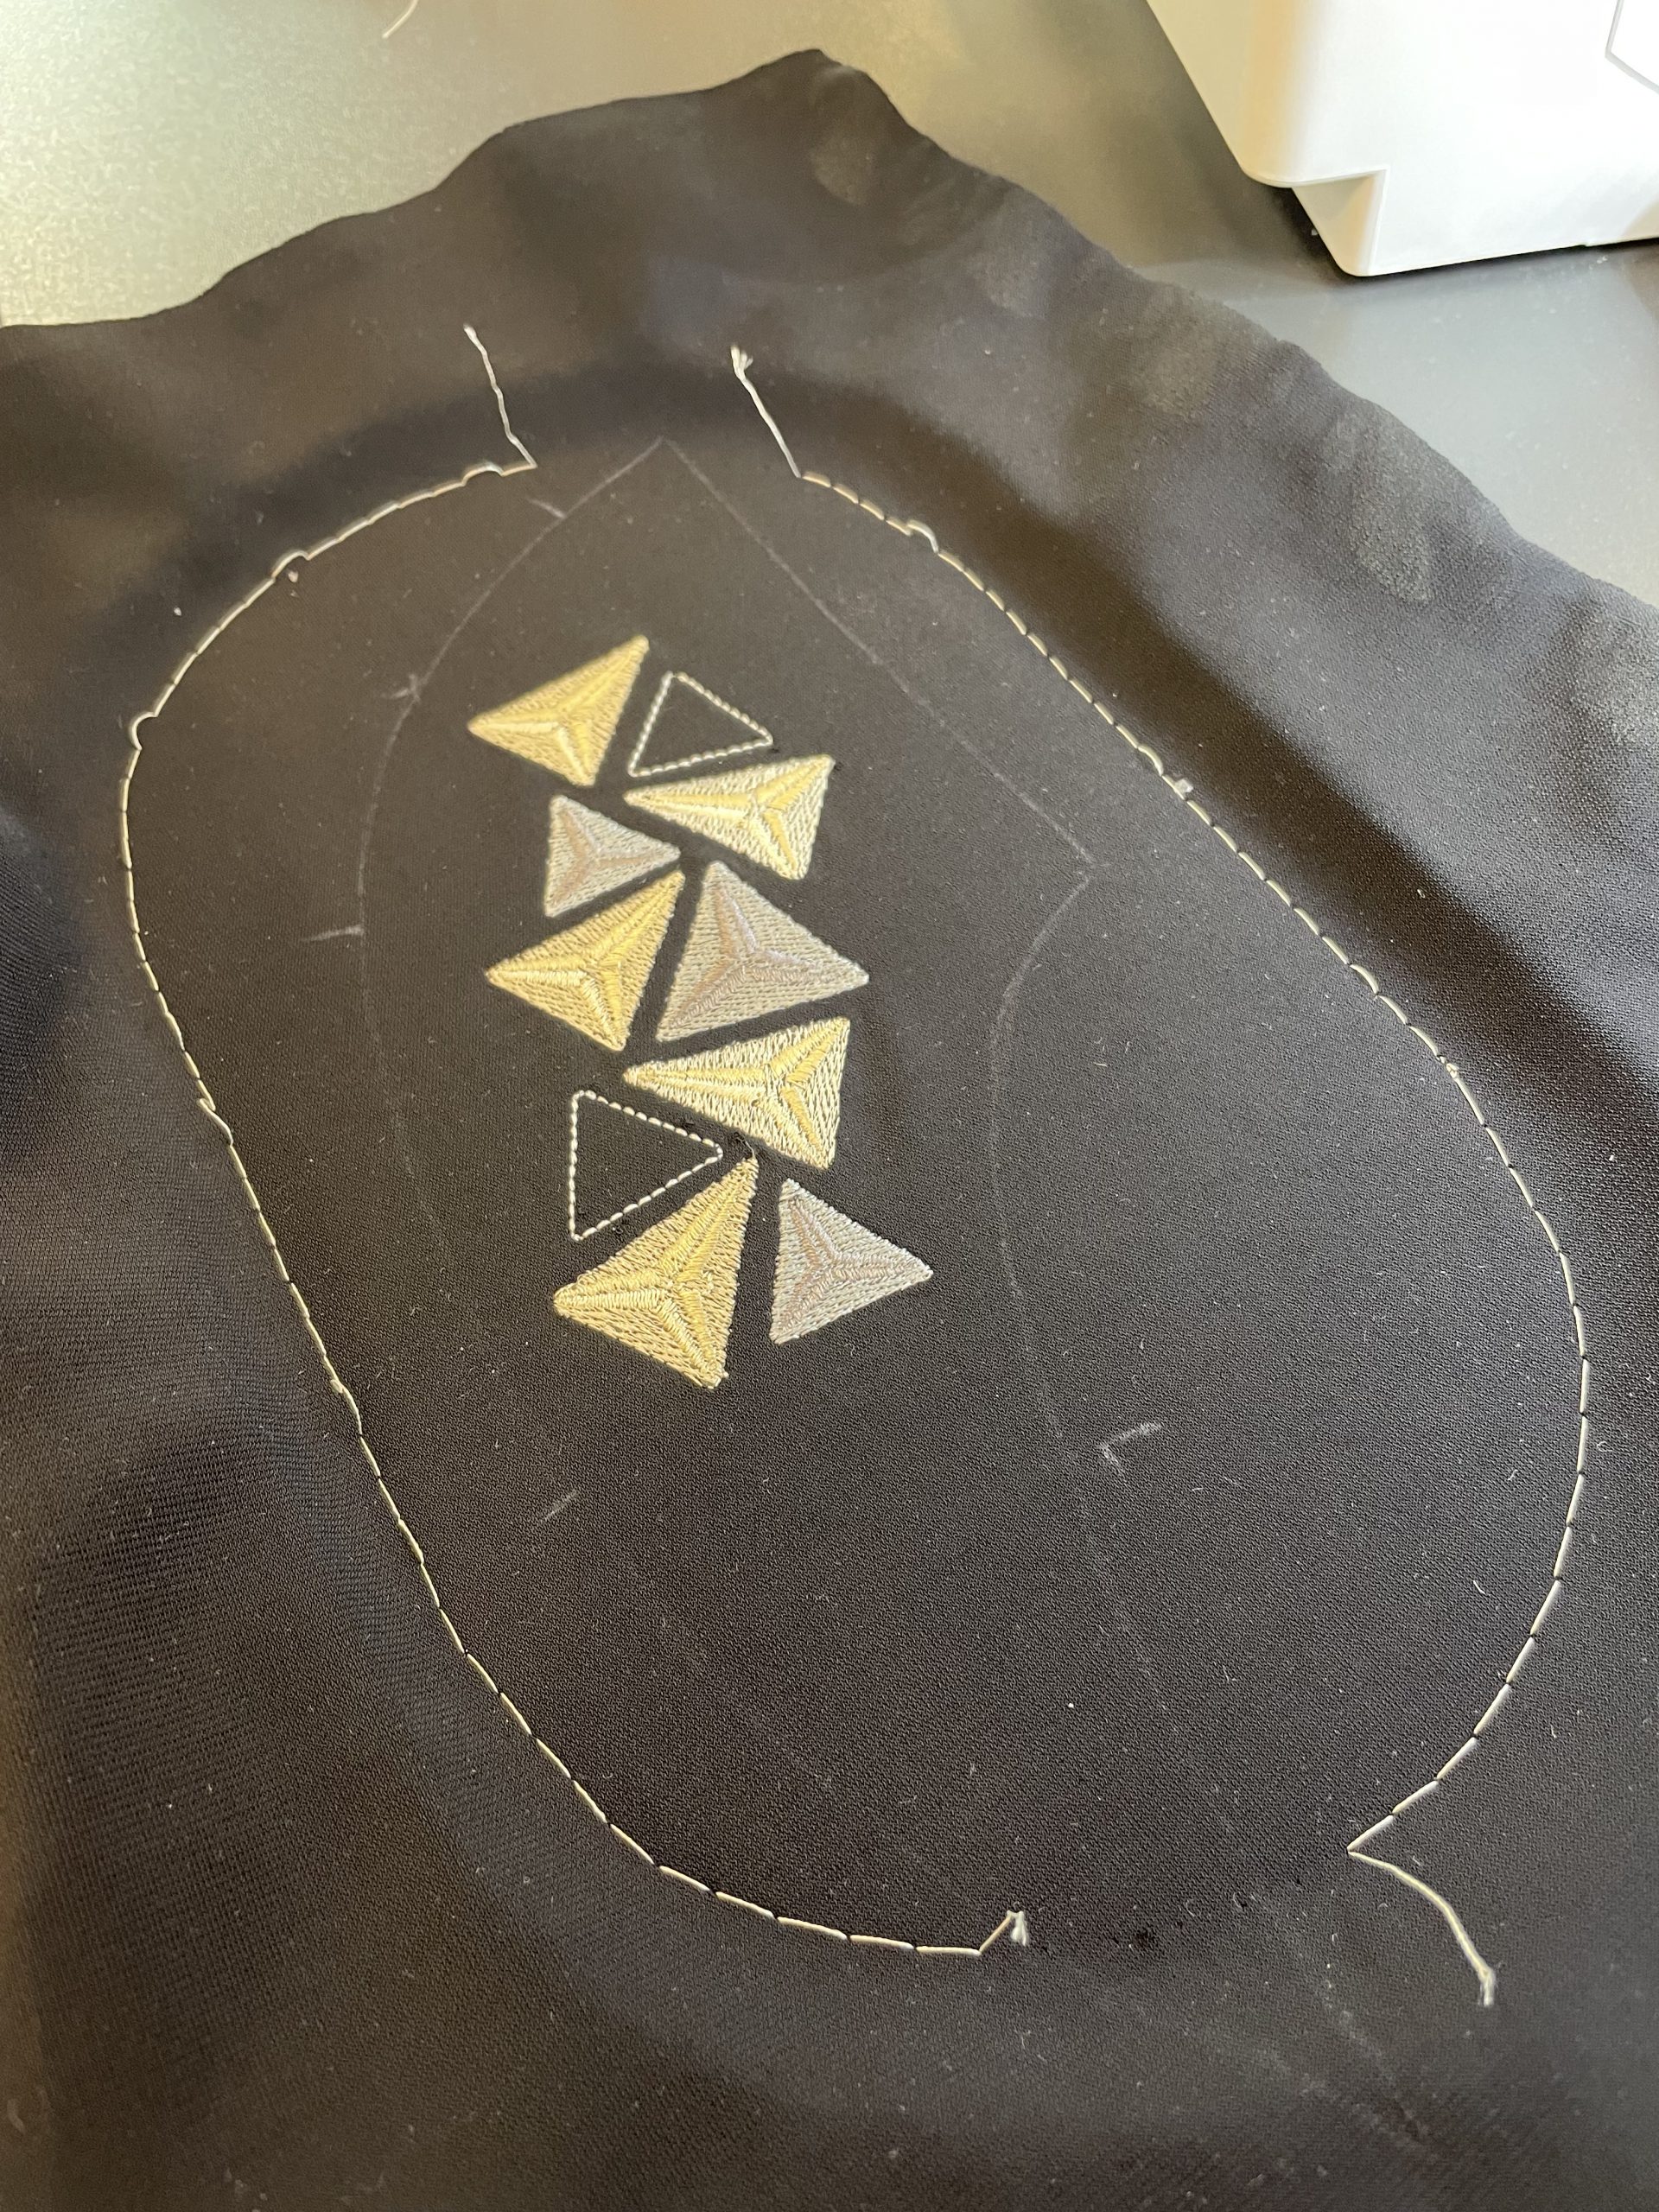
Once the embroidery is finished…
I remove the water-soluble stabilizer on the fabric face. As you can see here, the basting line lies outside the pattern piece… except for the top right corner and the point, but these are almost completely hidden in the seam allowance later on.
Excess adhesive stabilizer on the back of the fabric is simply washed out.
That’s it for today! Next time we’ll talk about whether it makes more sense to embroider the fabric first or cut it out first. This is a question that, in my opinion, does not have a simple clear-cut answer!
Happy sewing!
Claudia


0 Responses