 BERNINA Corporate Blog -
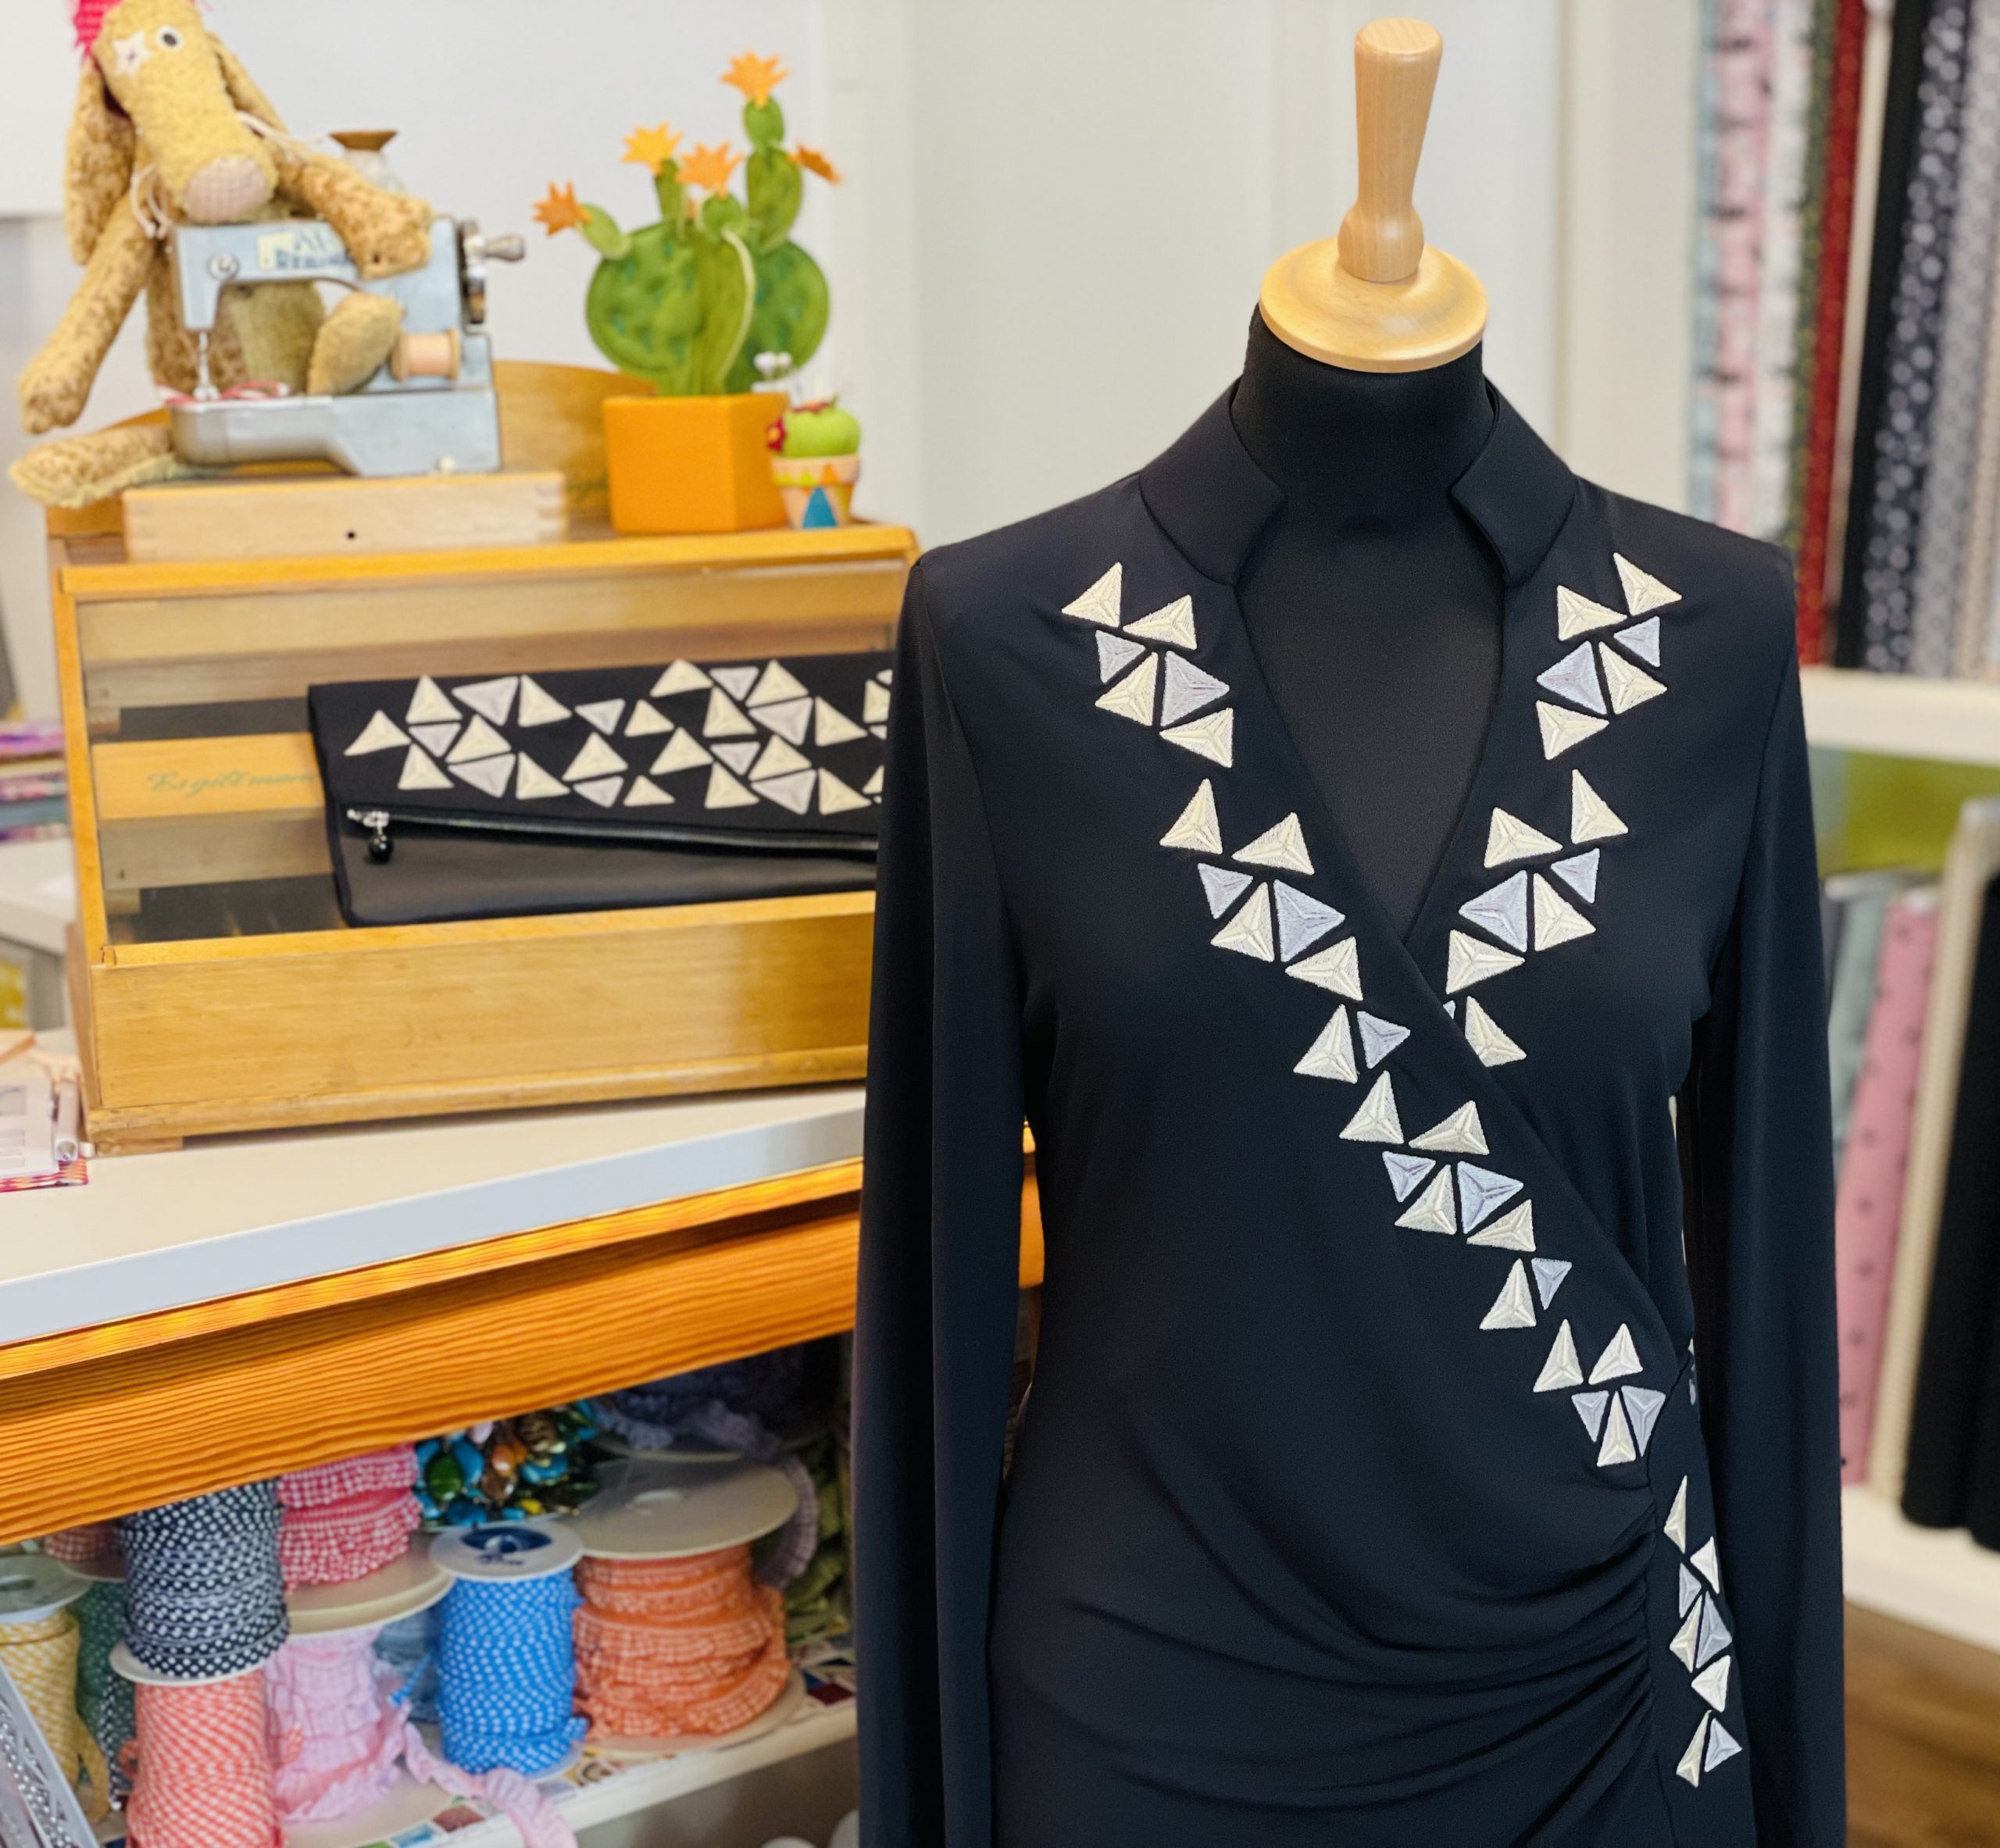
I am currently in the middle of sewing a party dress… Maybe you followed the last two posts and read about how I’m making my fantastic Time to Shine project? If not, you can catch up with the posts here:
Sewing a party dress | Studying the instructions and cutting out
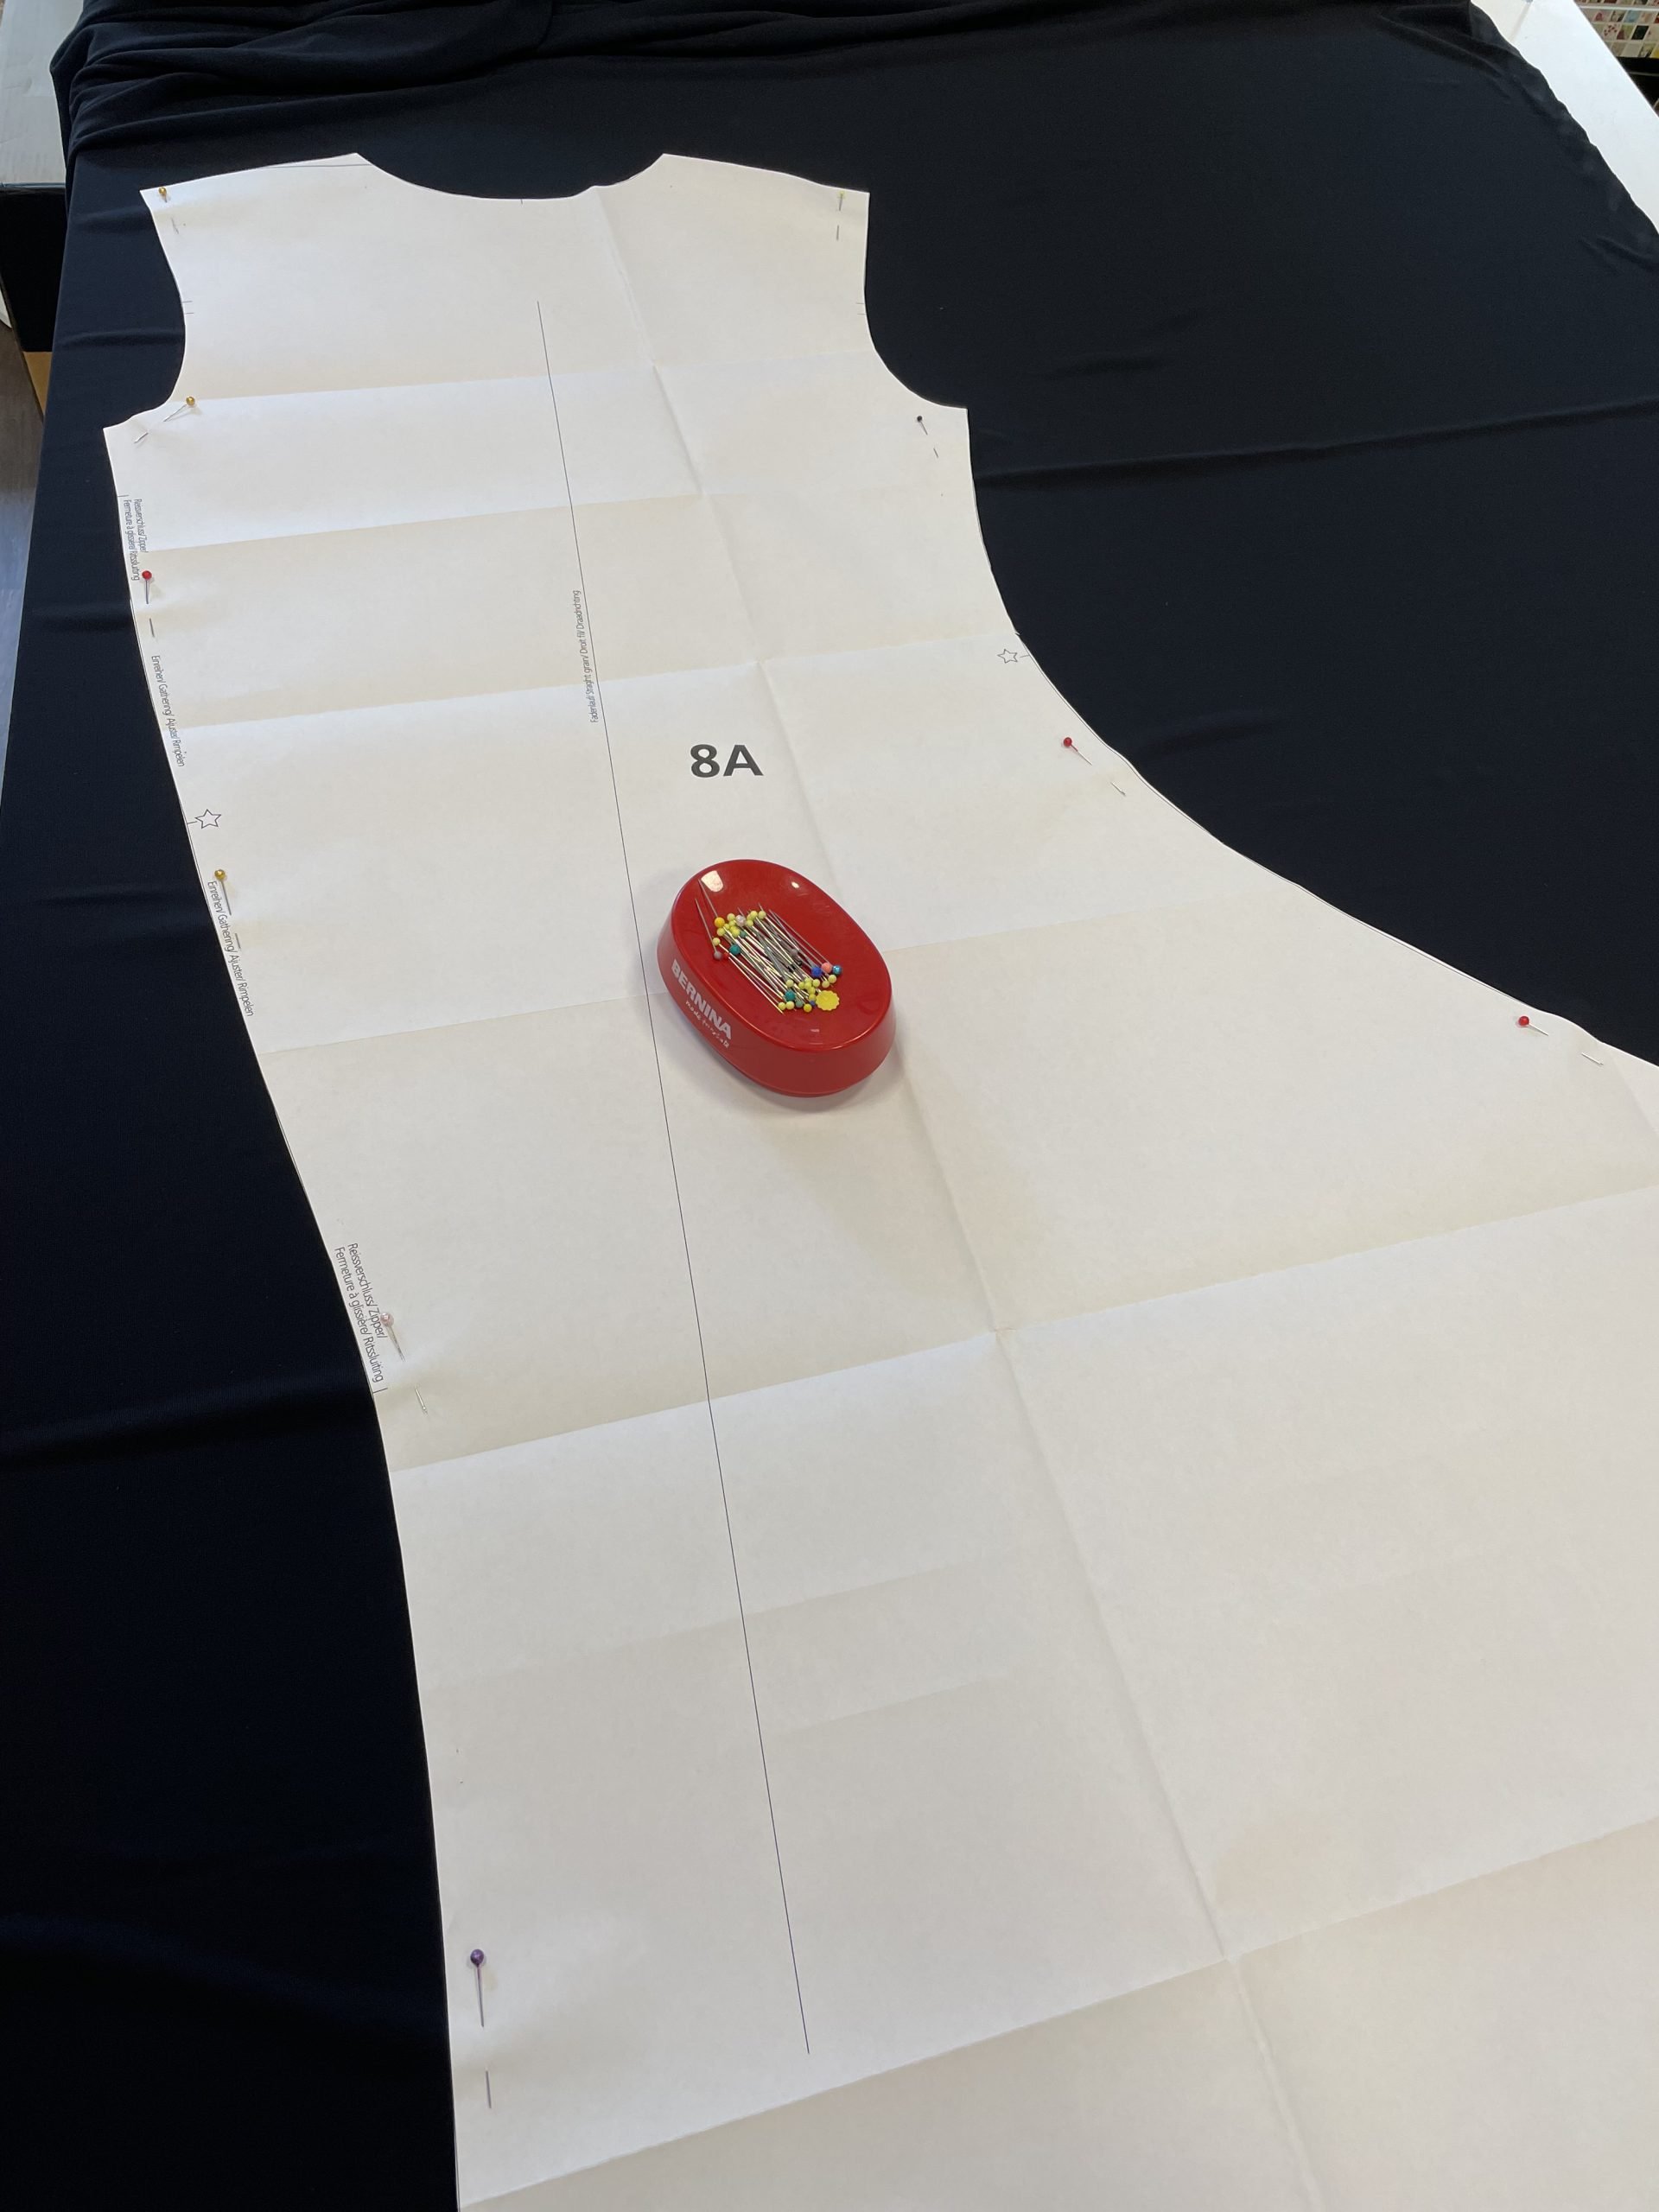
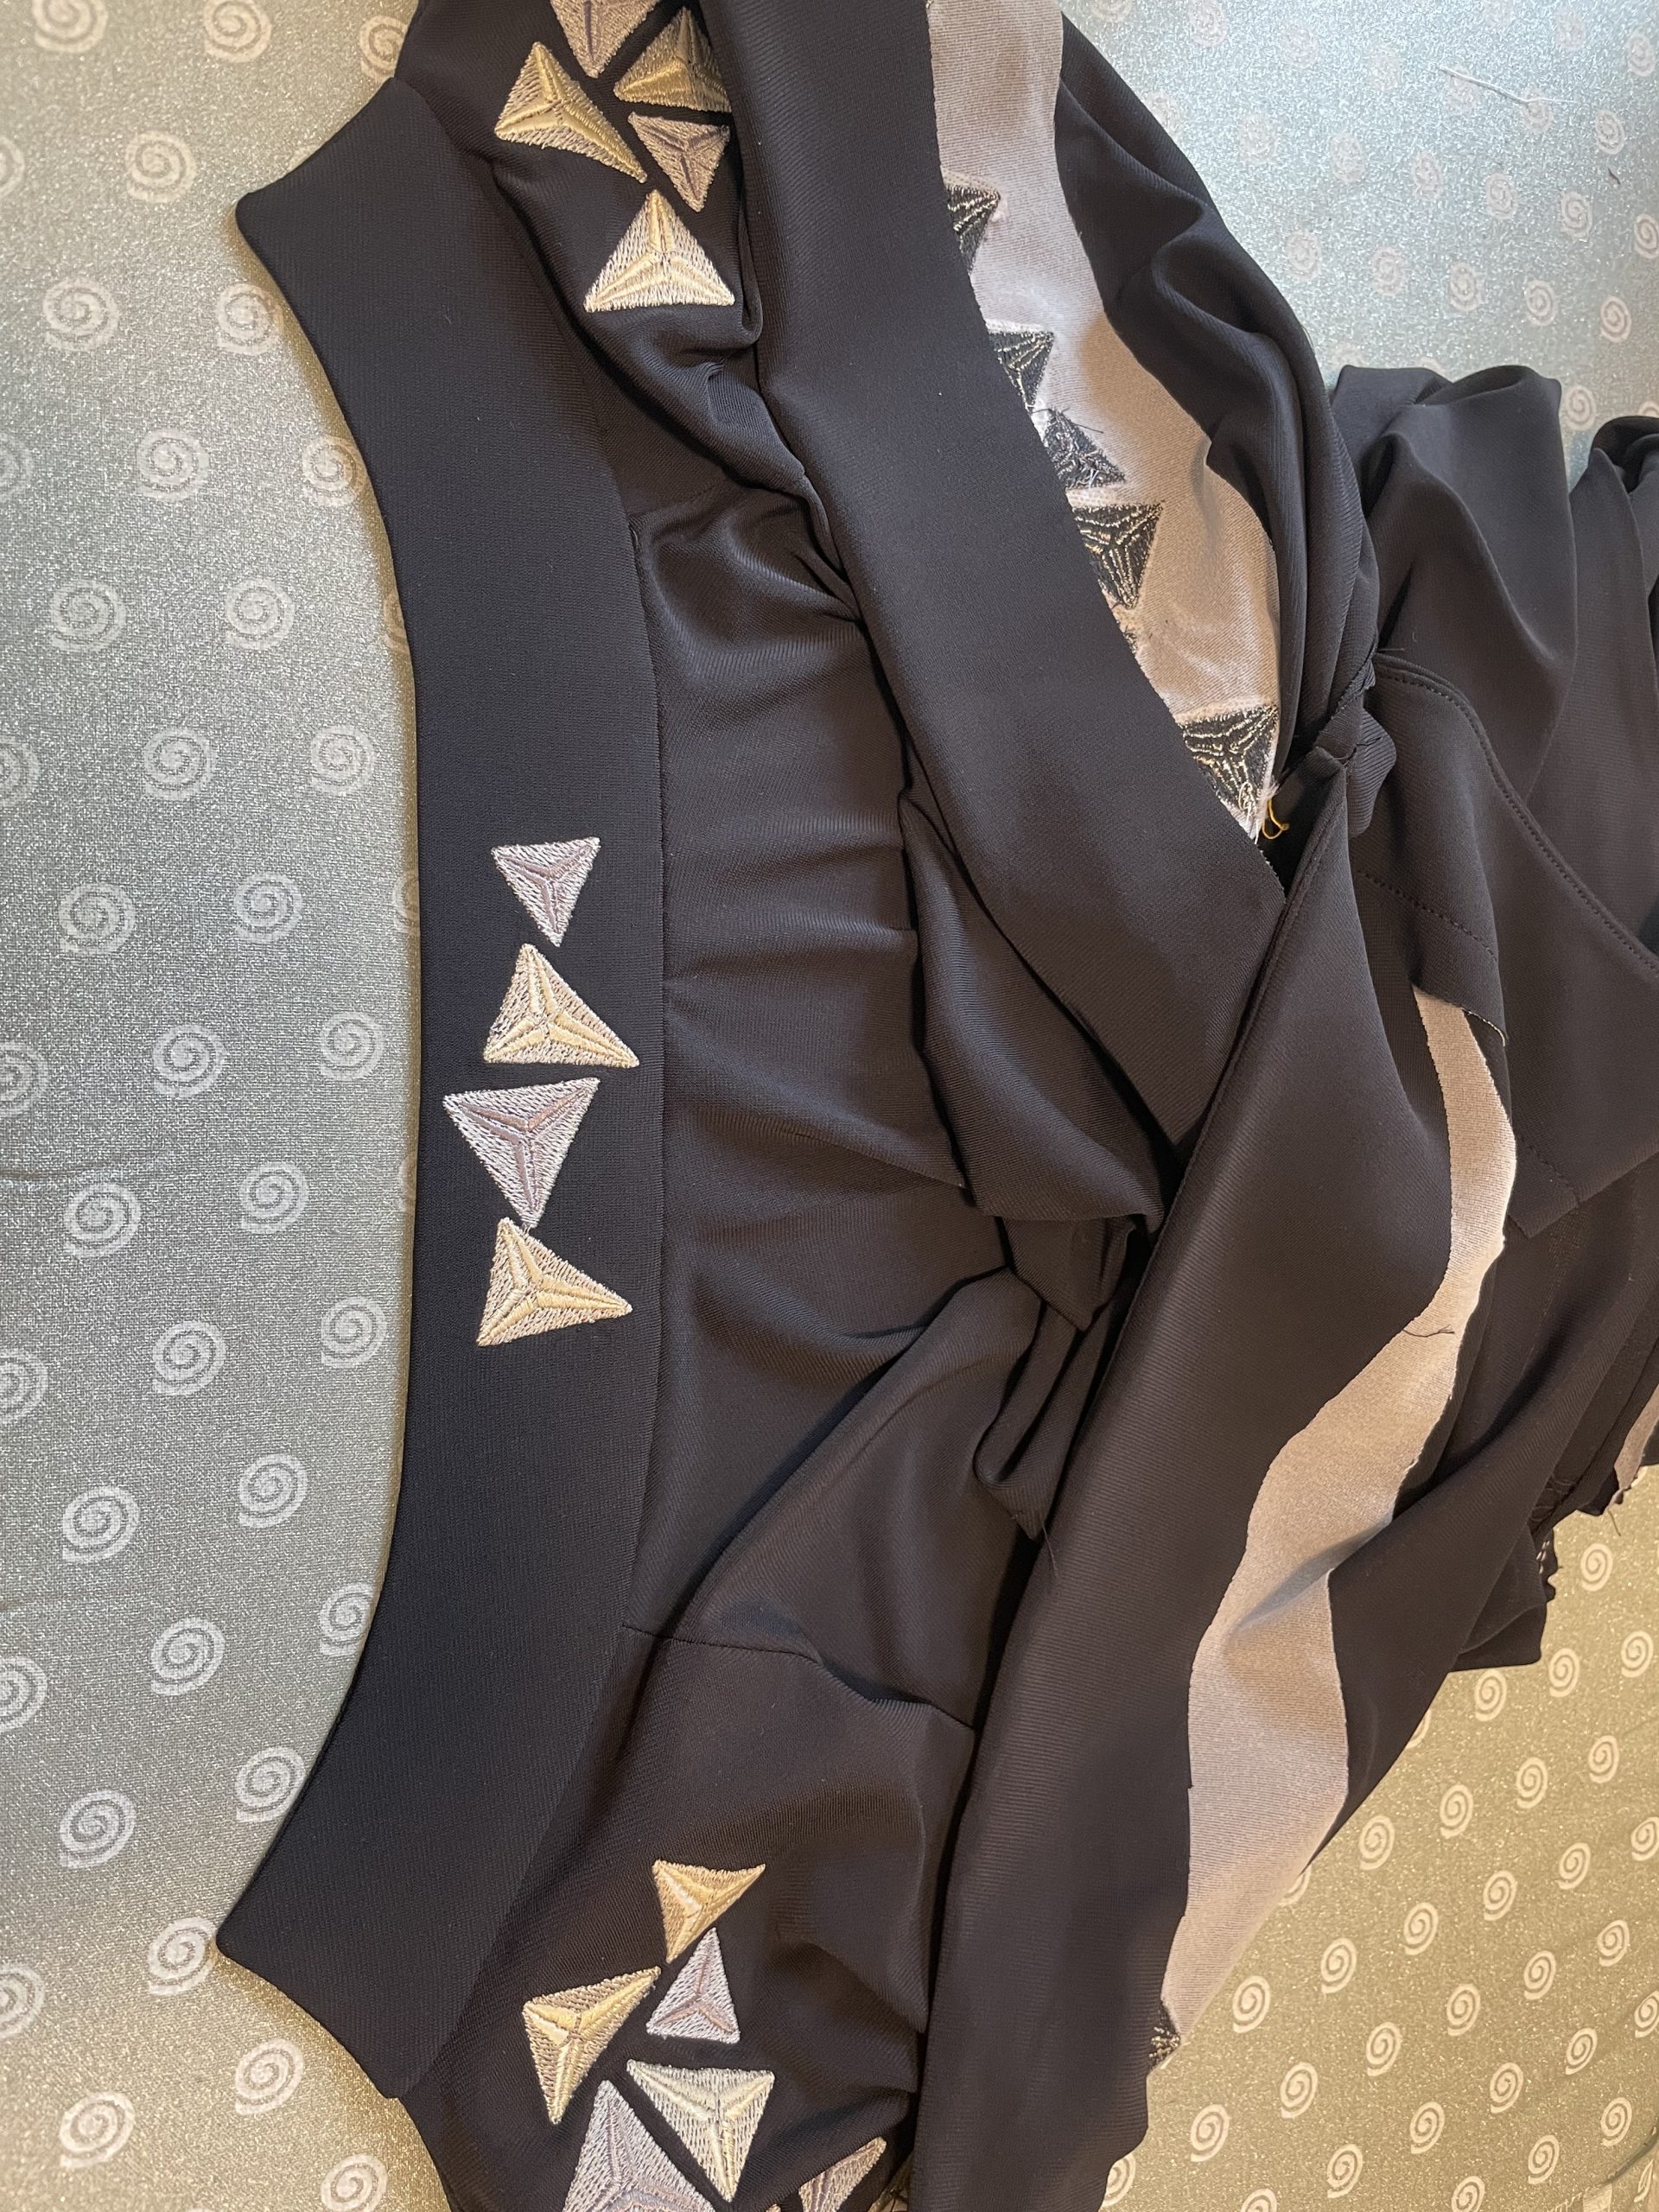
Of course, a couple of the pieces in the pictures below have already been embroidered in the previous post (so we have already cut them out too…), but I would like to discuss the cutting out process again in detail here. Before getting started, it is best to study the instructions carefully. You can find them here for free. Lay out the paper pattern pieces in front of you. As you look at them, try to understand where the markings (heart, diamond, waist, etc.) match up. You will soon notice that the pattern has an elaborate design, but it is not as difficult to make as it might seem at first glance.
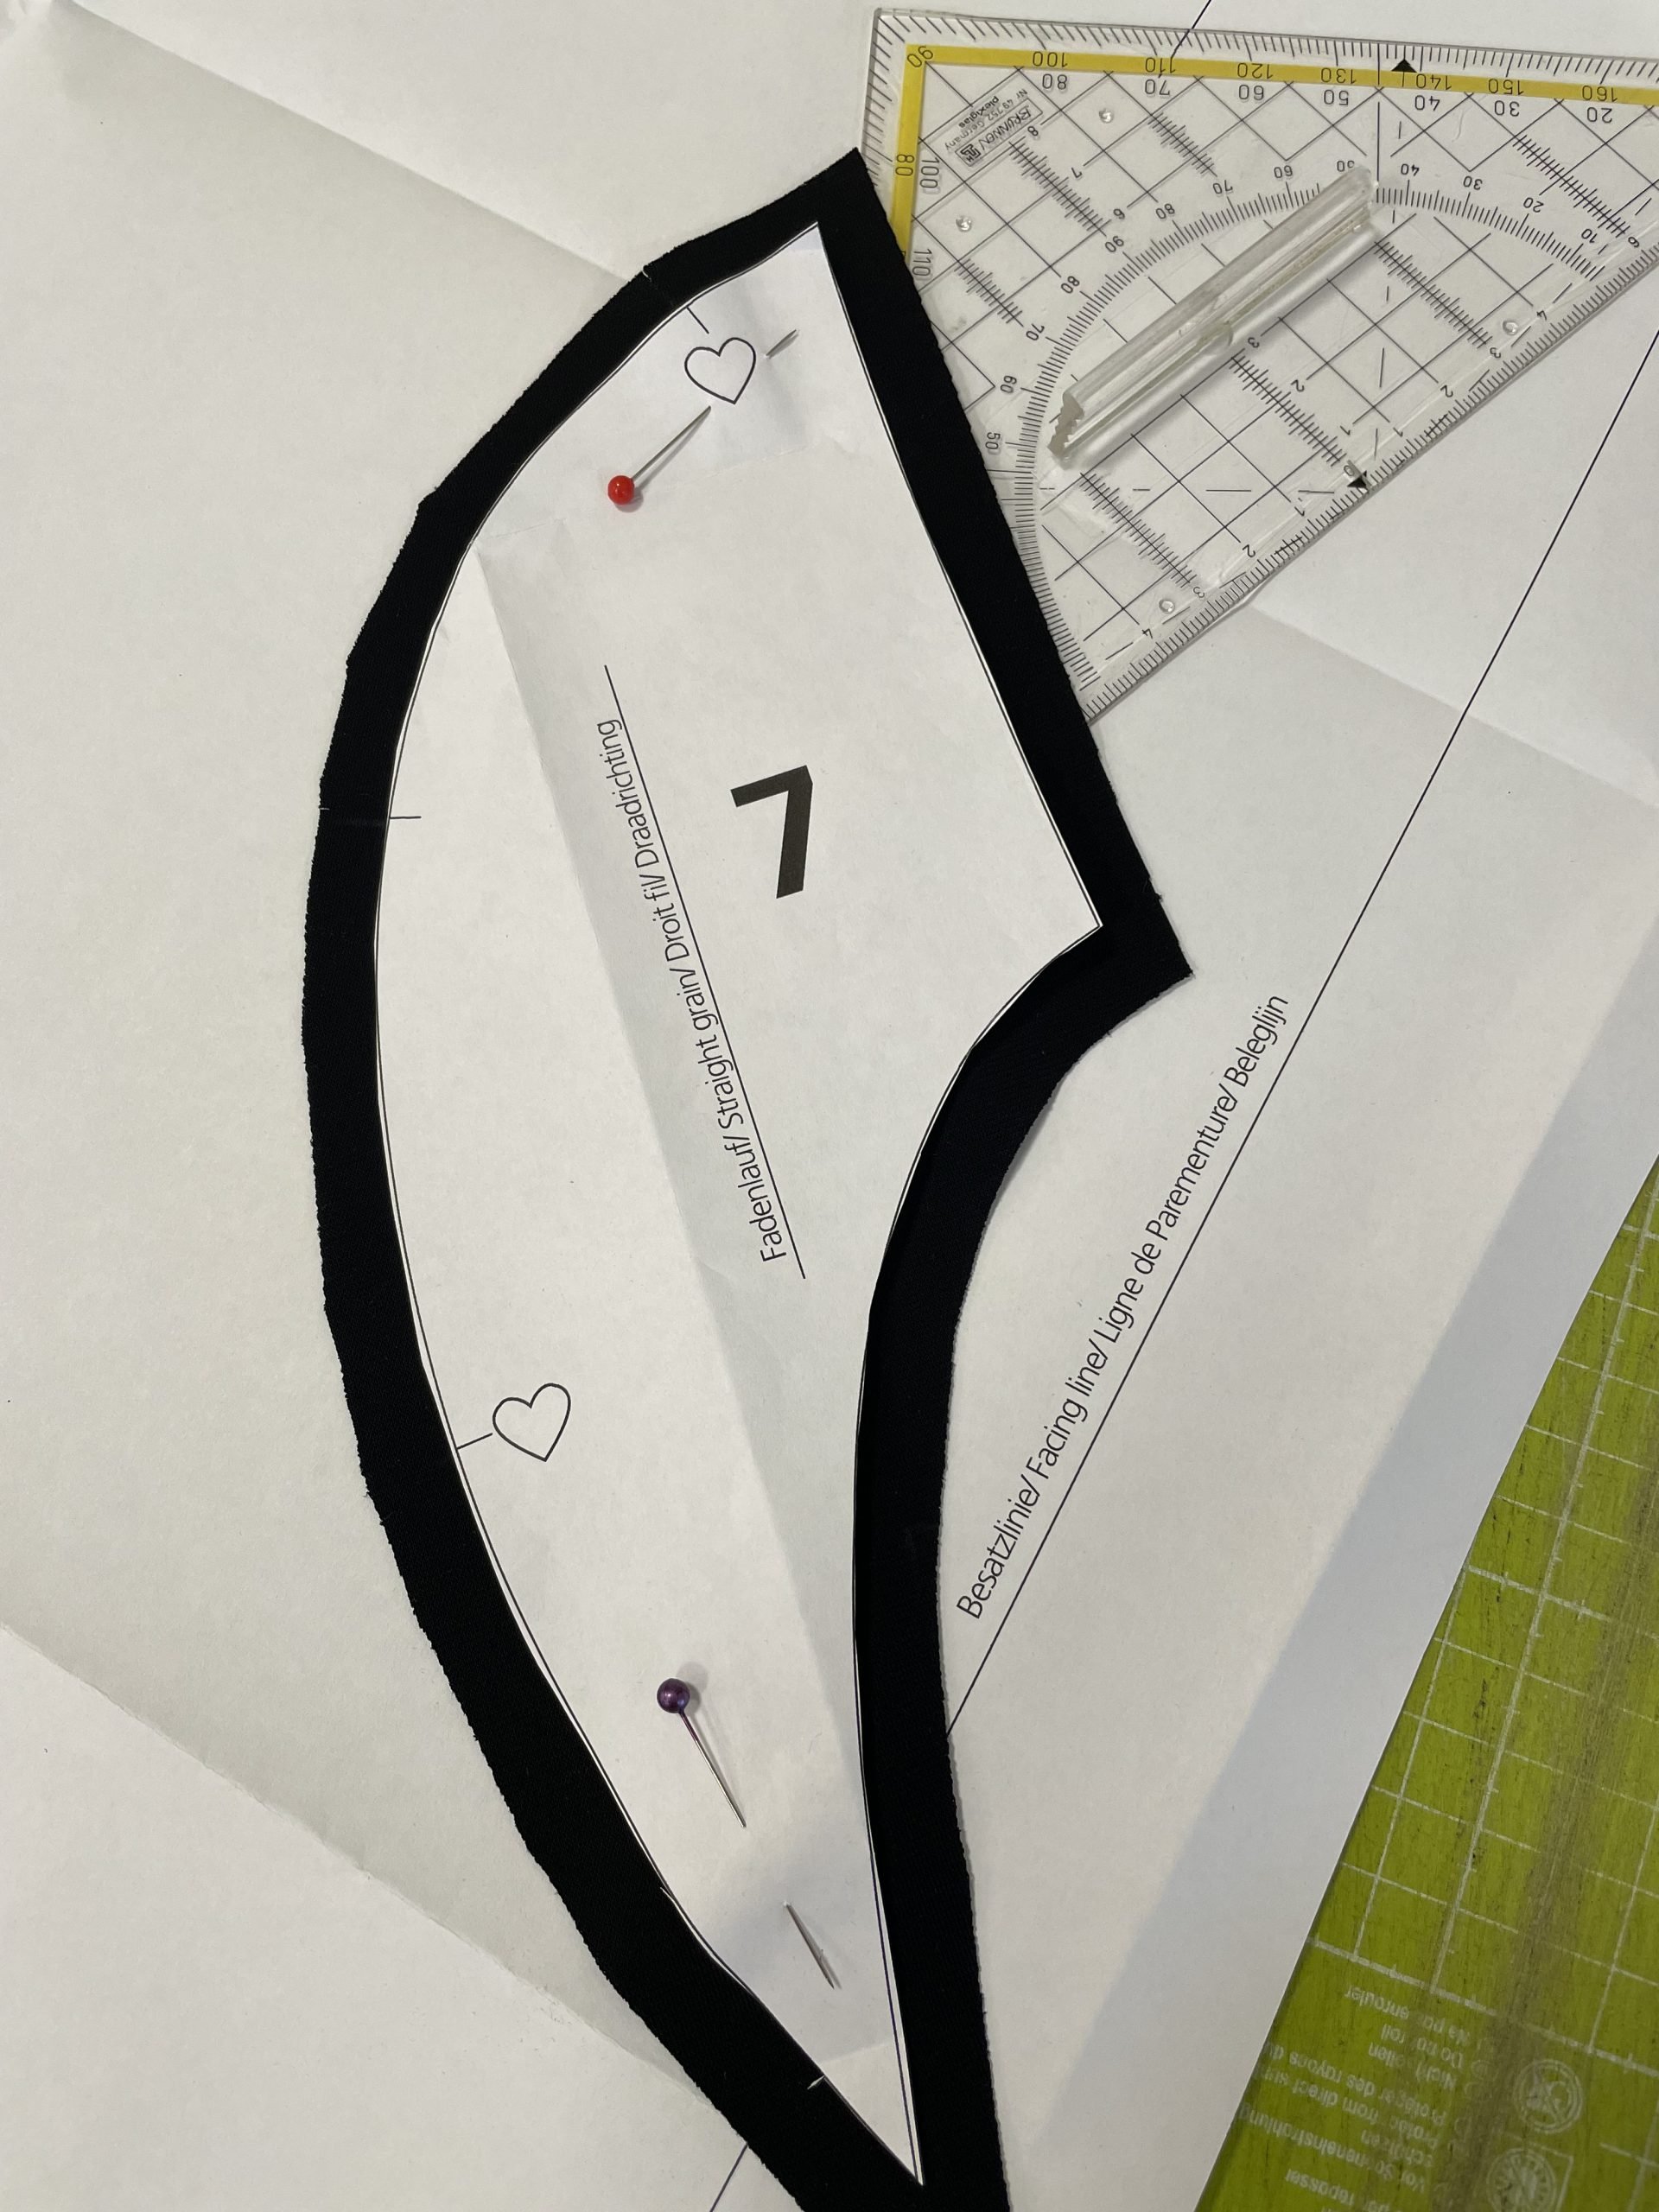
When cutting out, always make sure the grain is running in the right direction.
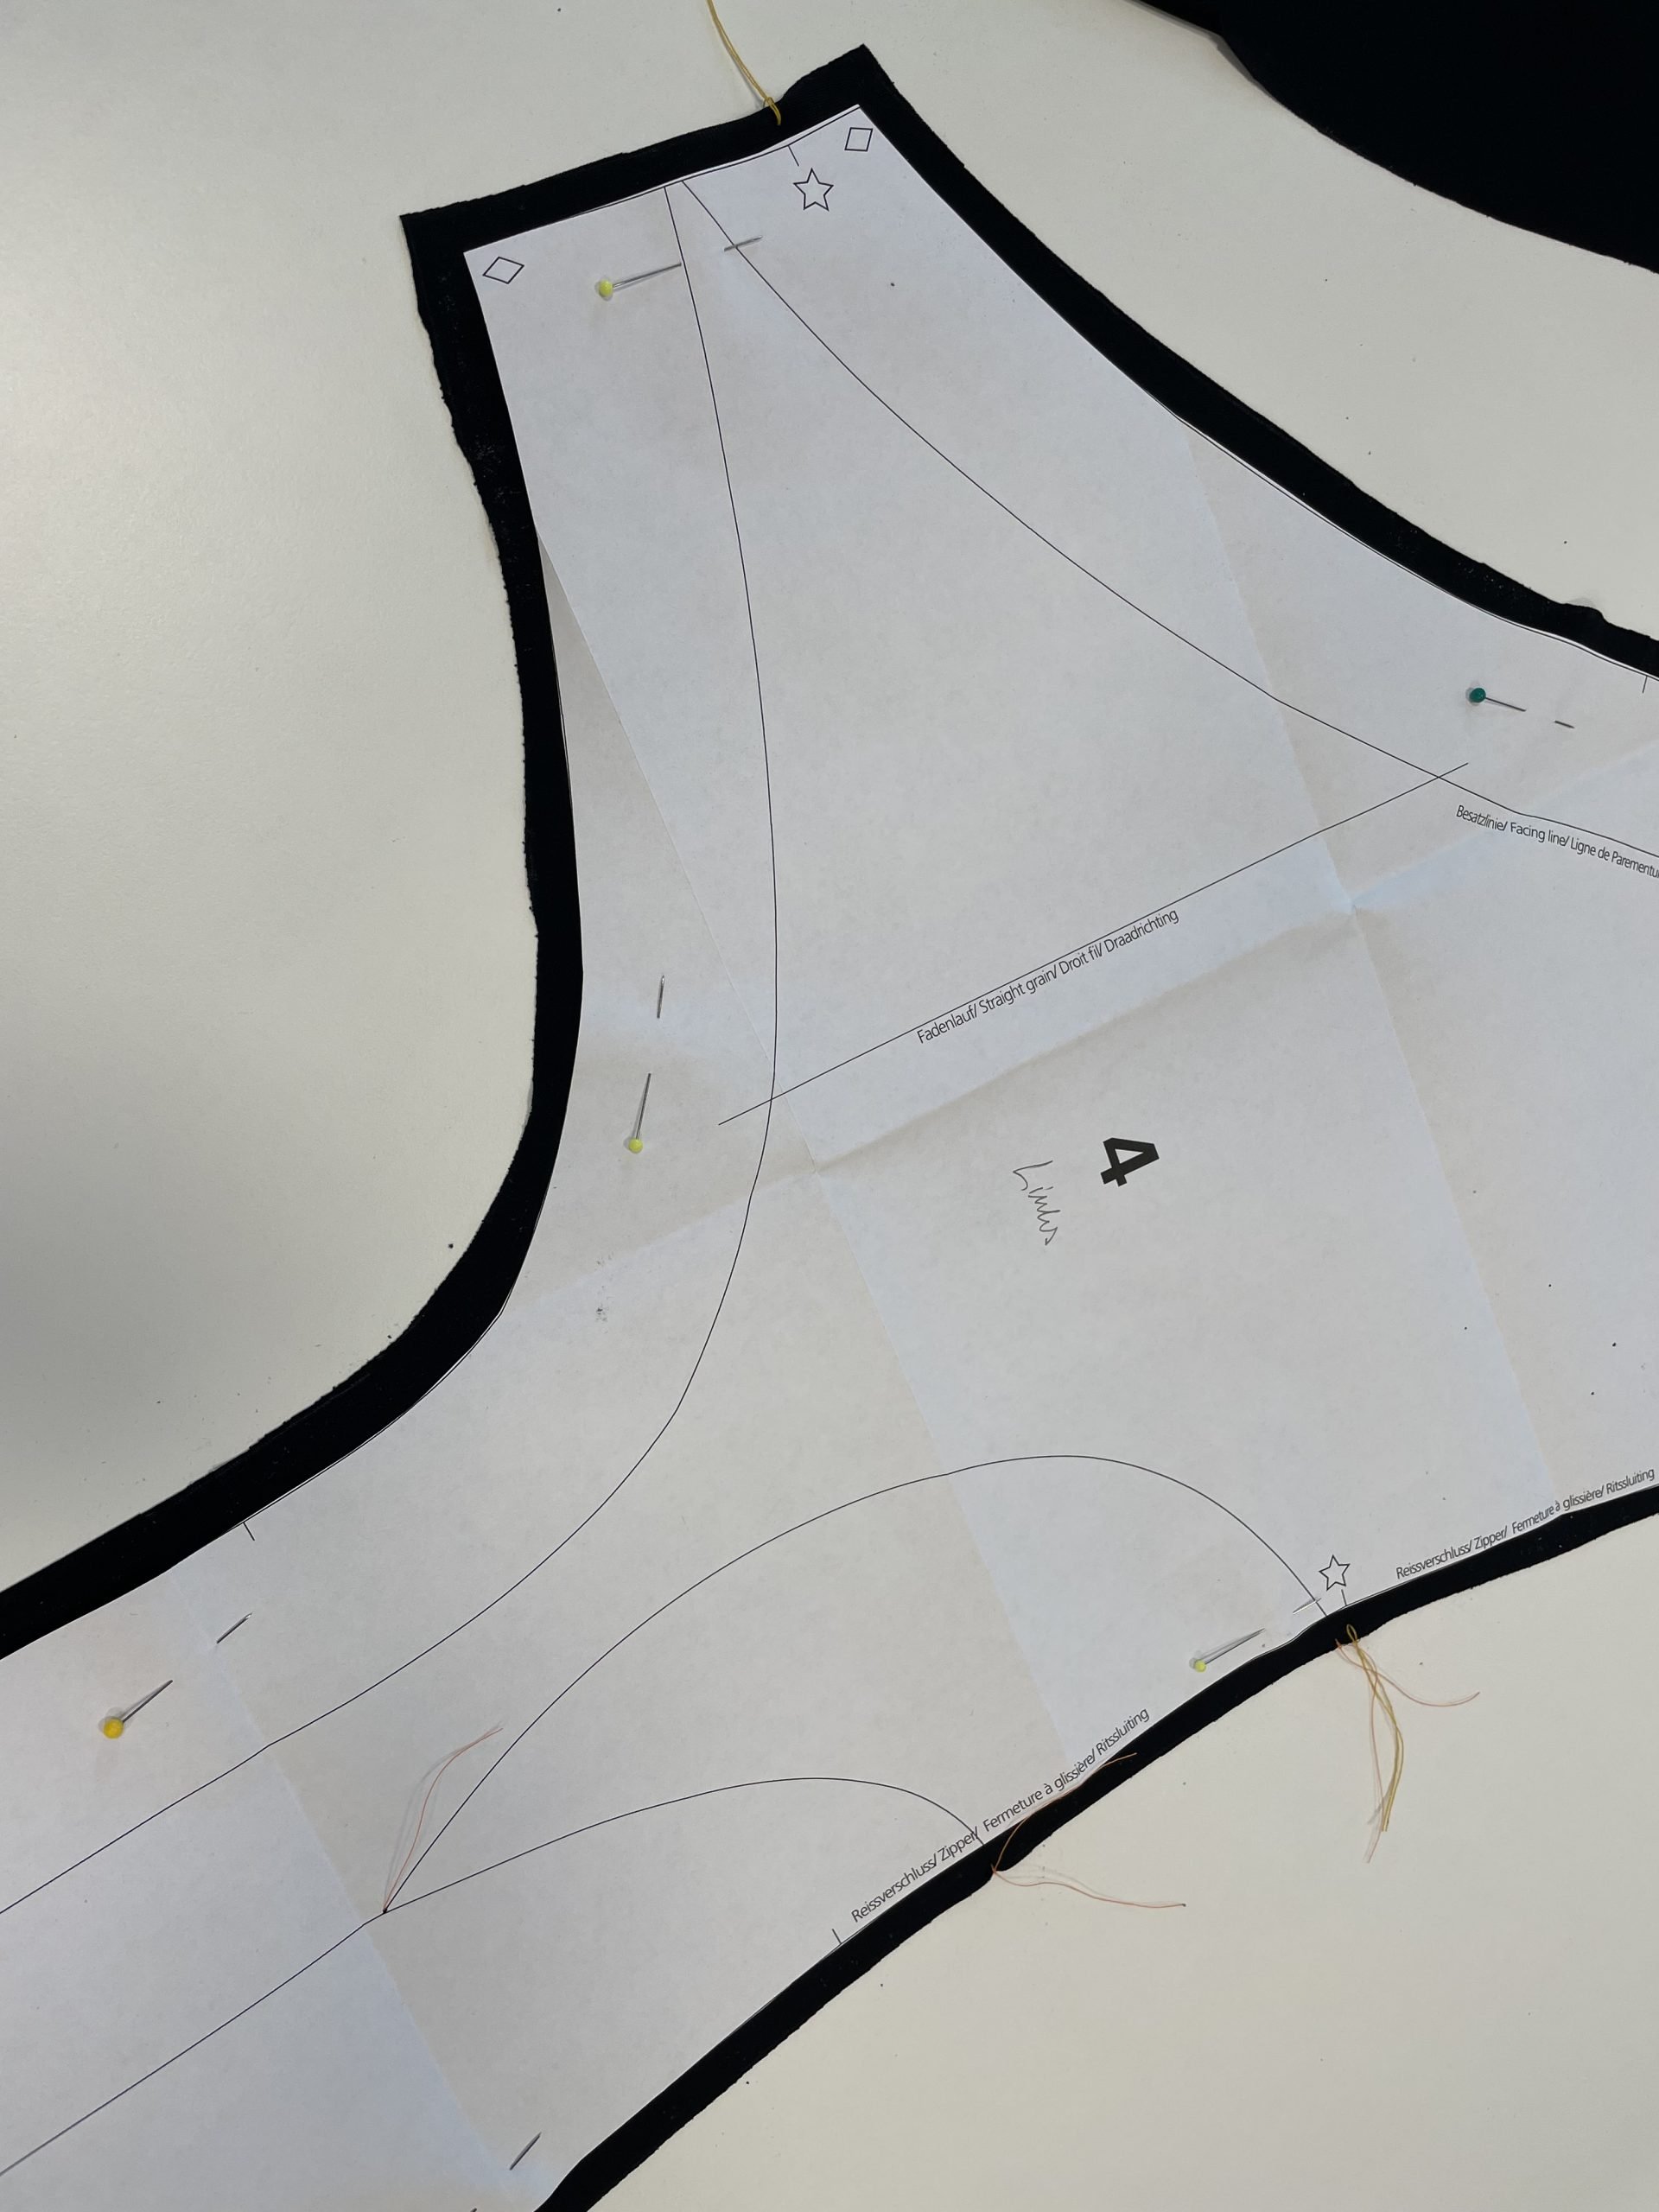
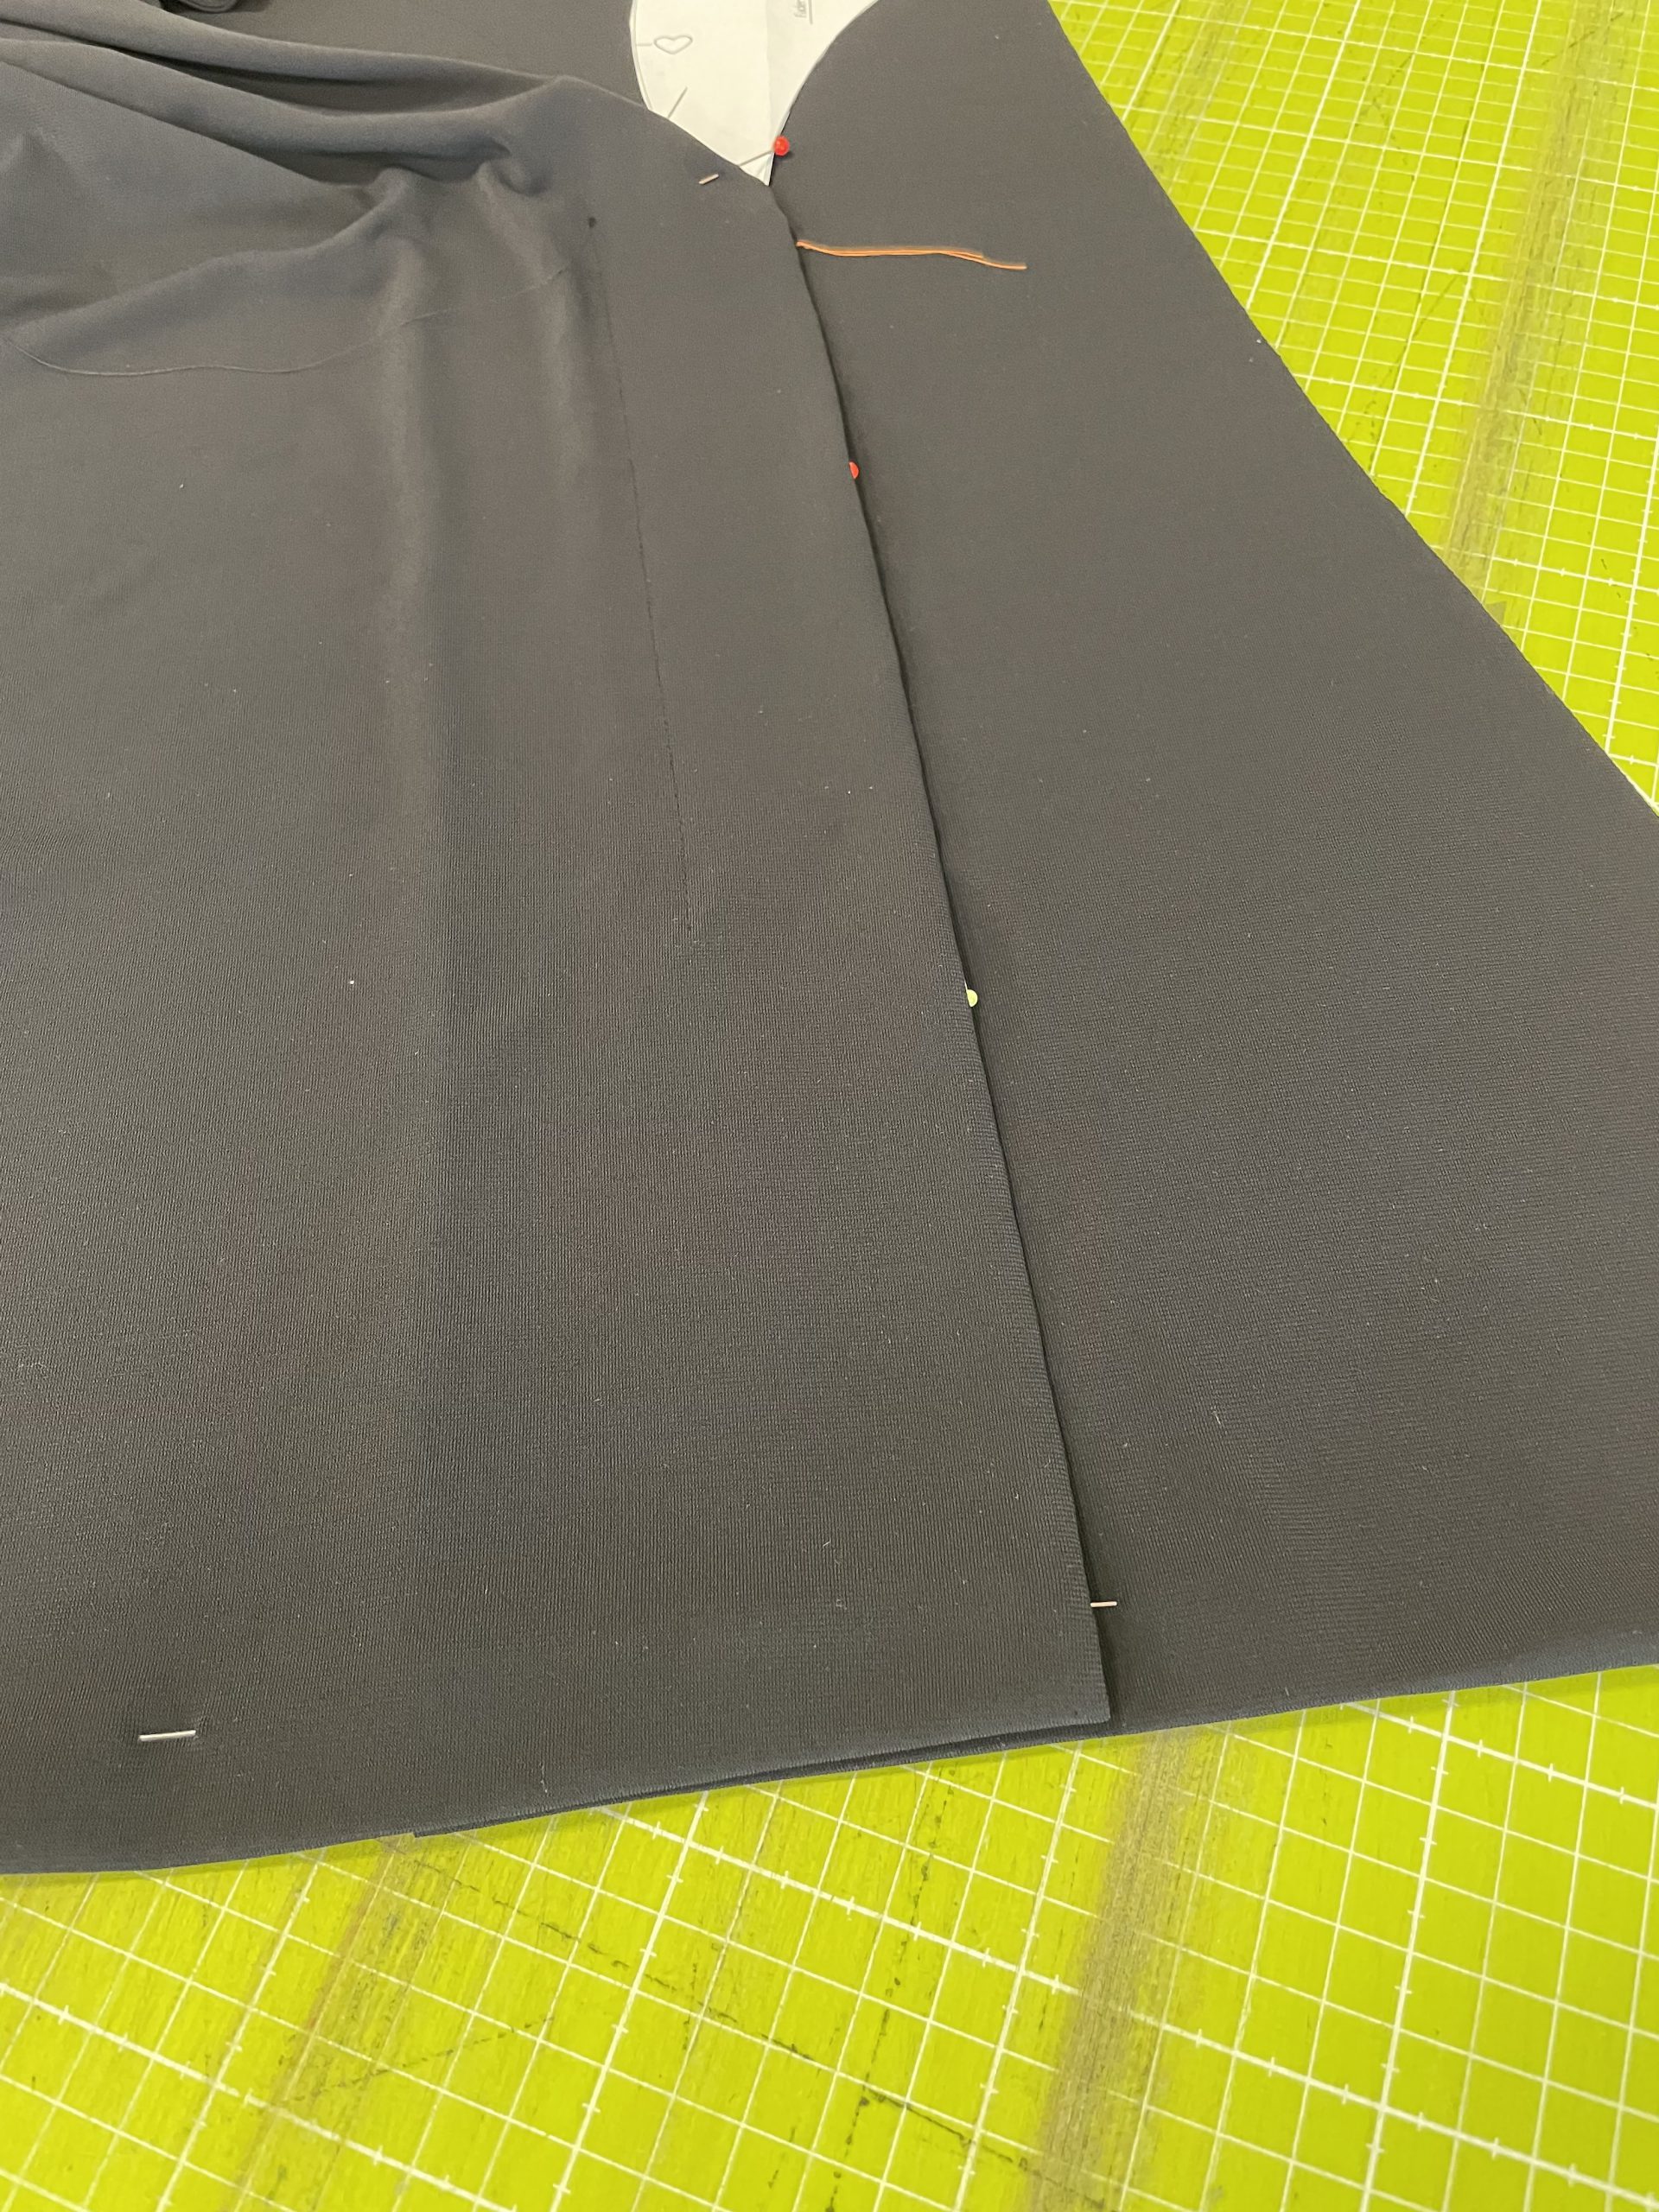
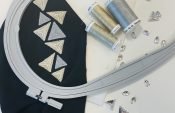
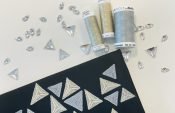
Tailor’s chalk can easily come off smooth materials and fine fabric. This can be remedied by using small notches to transfer relevant markings. However, on this pattern some markings with different meanings are very close to each other, so a good solution is to mark them with matching colored threads.

Sewing a party dress | General tips
The right thread
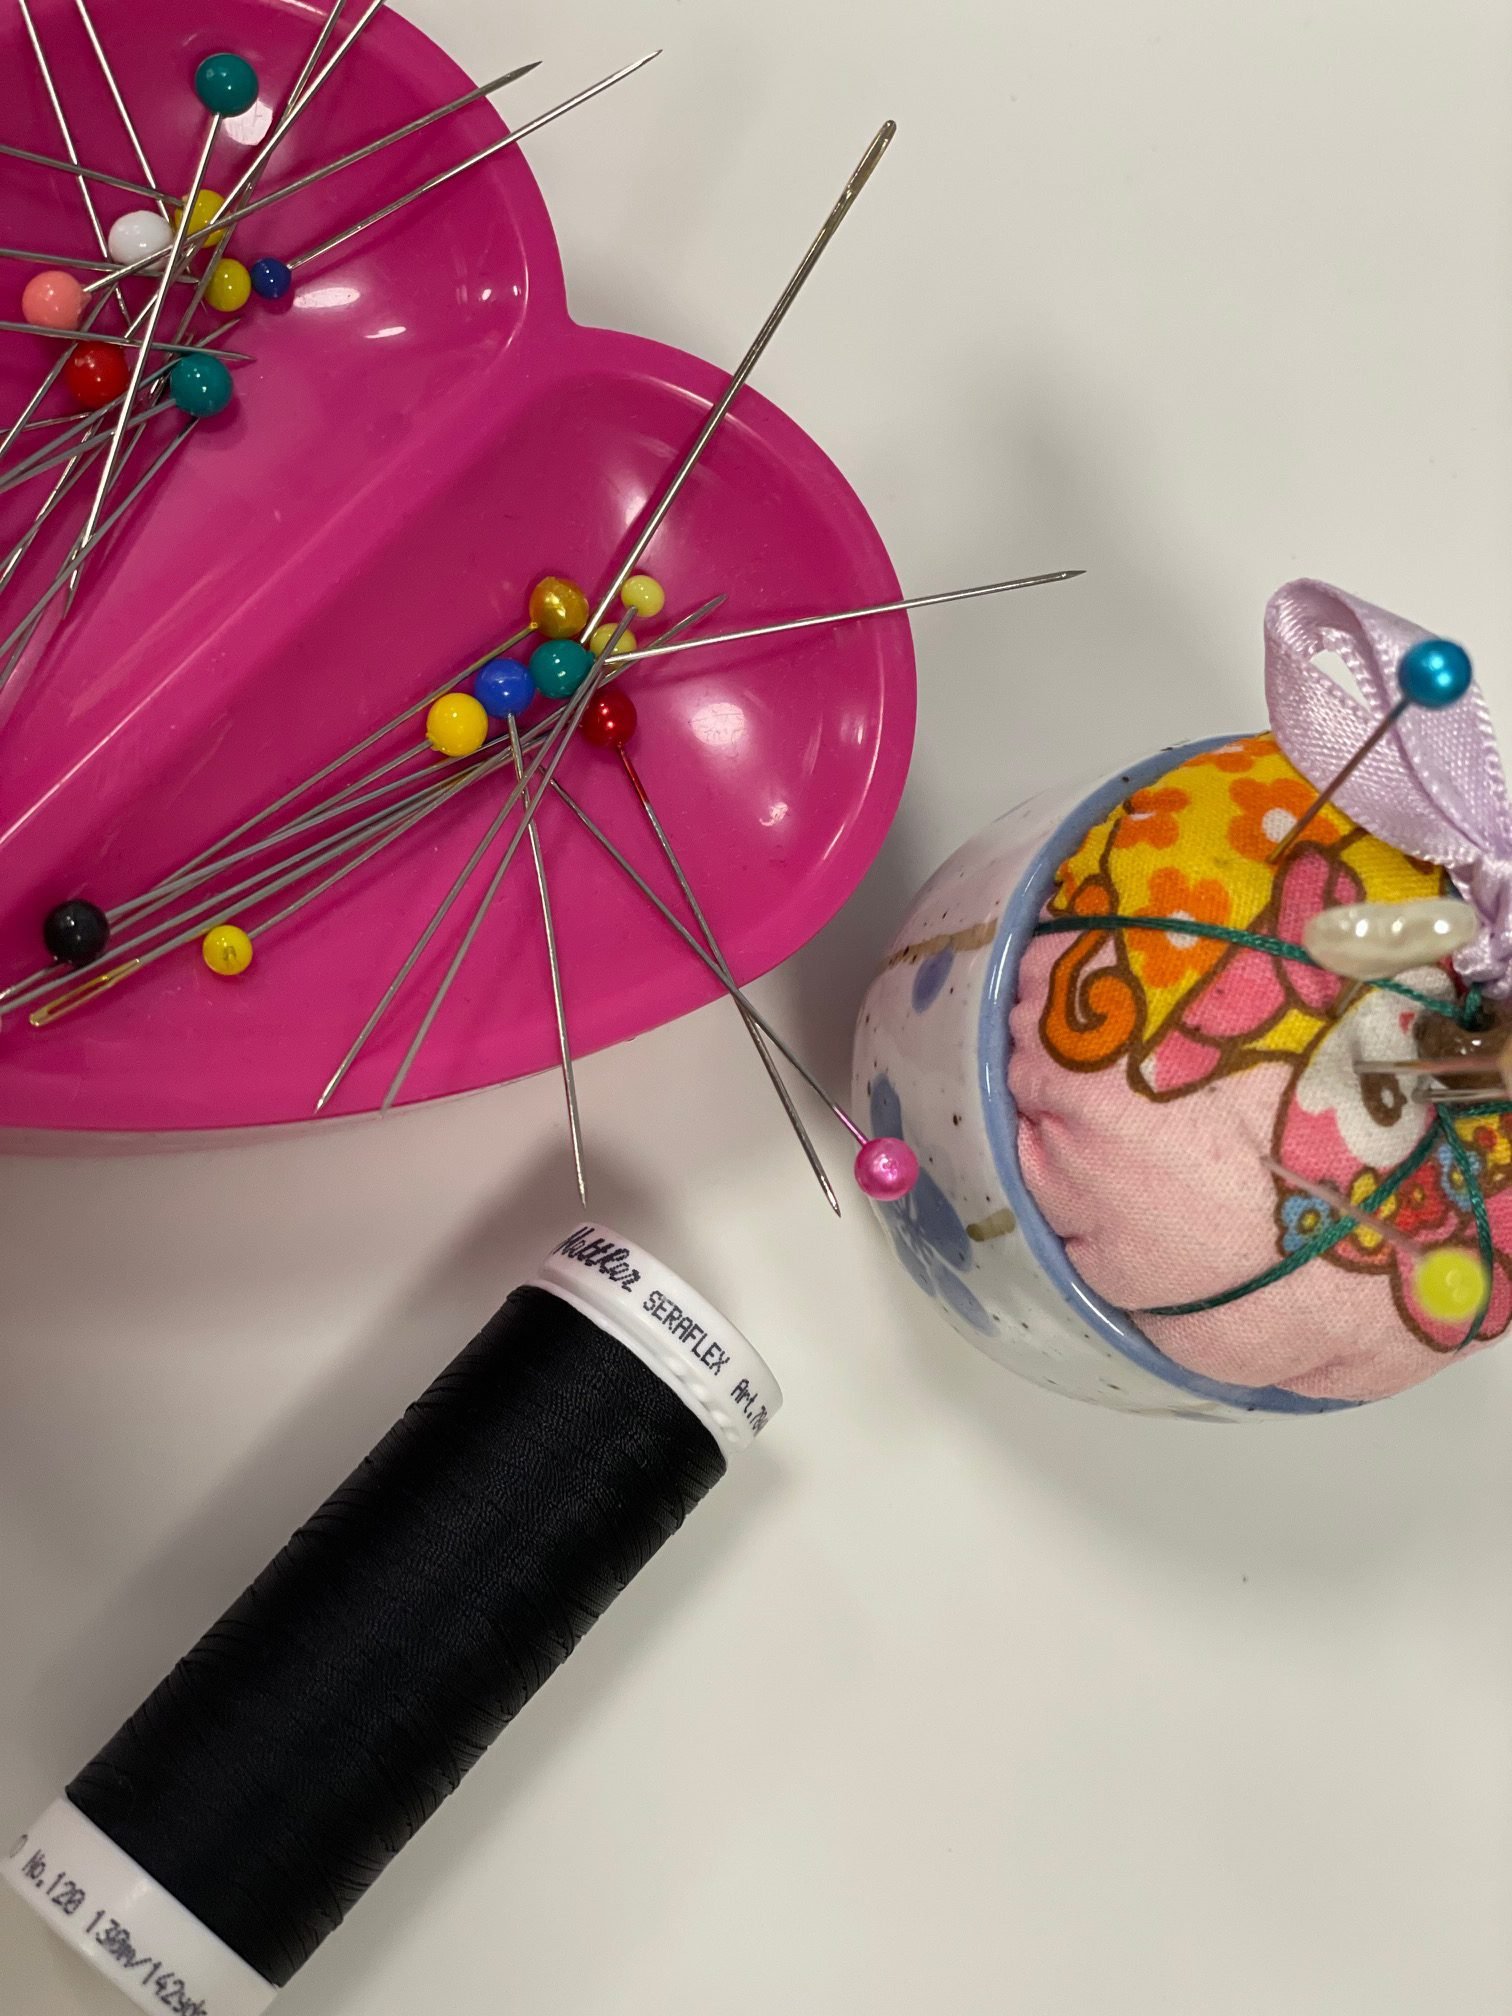
My dress was sewn entirely using SERAFLEX, the elastic thread from Mettler, in a straight stitch.
This is convenient, particularly with a dress like this because it is easier to unpick straight stitch seams than an overlock seam if any adjustments are required.
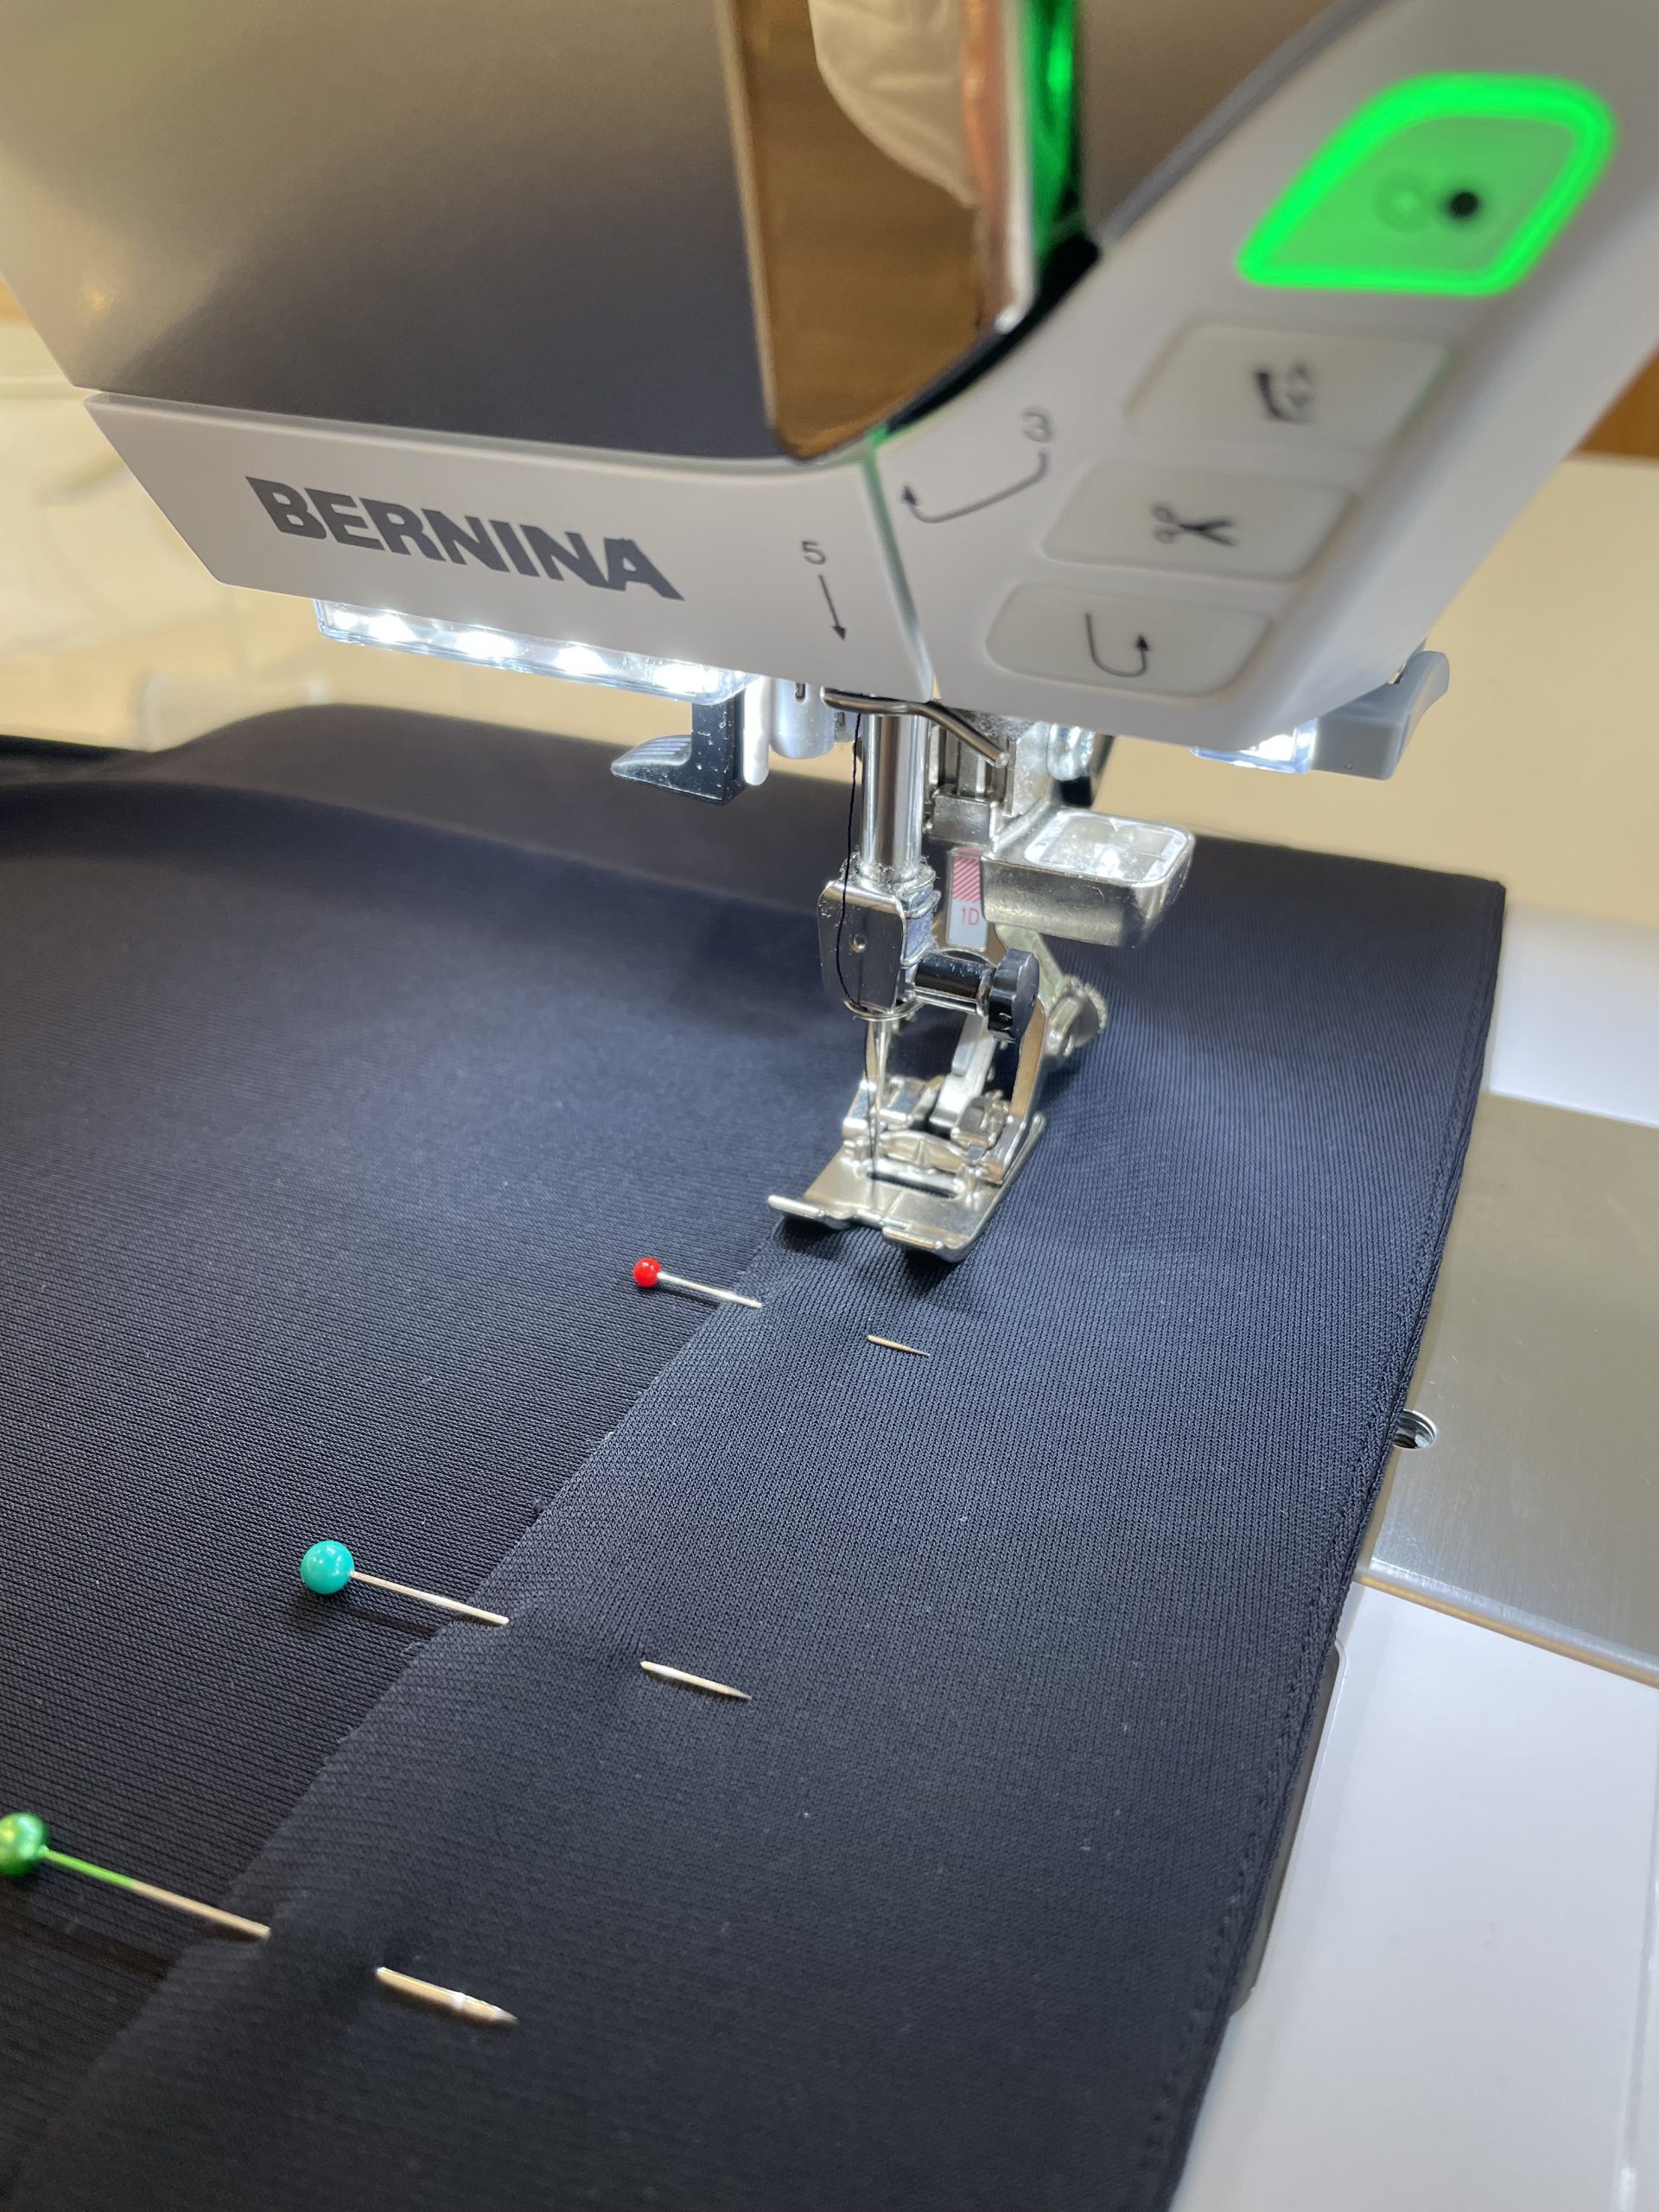
To pin or baste?
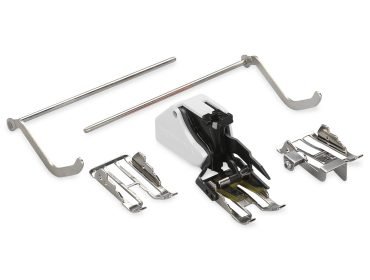
If you place the pins precisely and not too far from each other and use either the Dual Feed or the Walking Foot #50 on your BERNINA, there is no need to baste in my opinion.
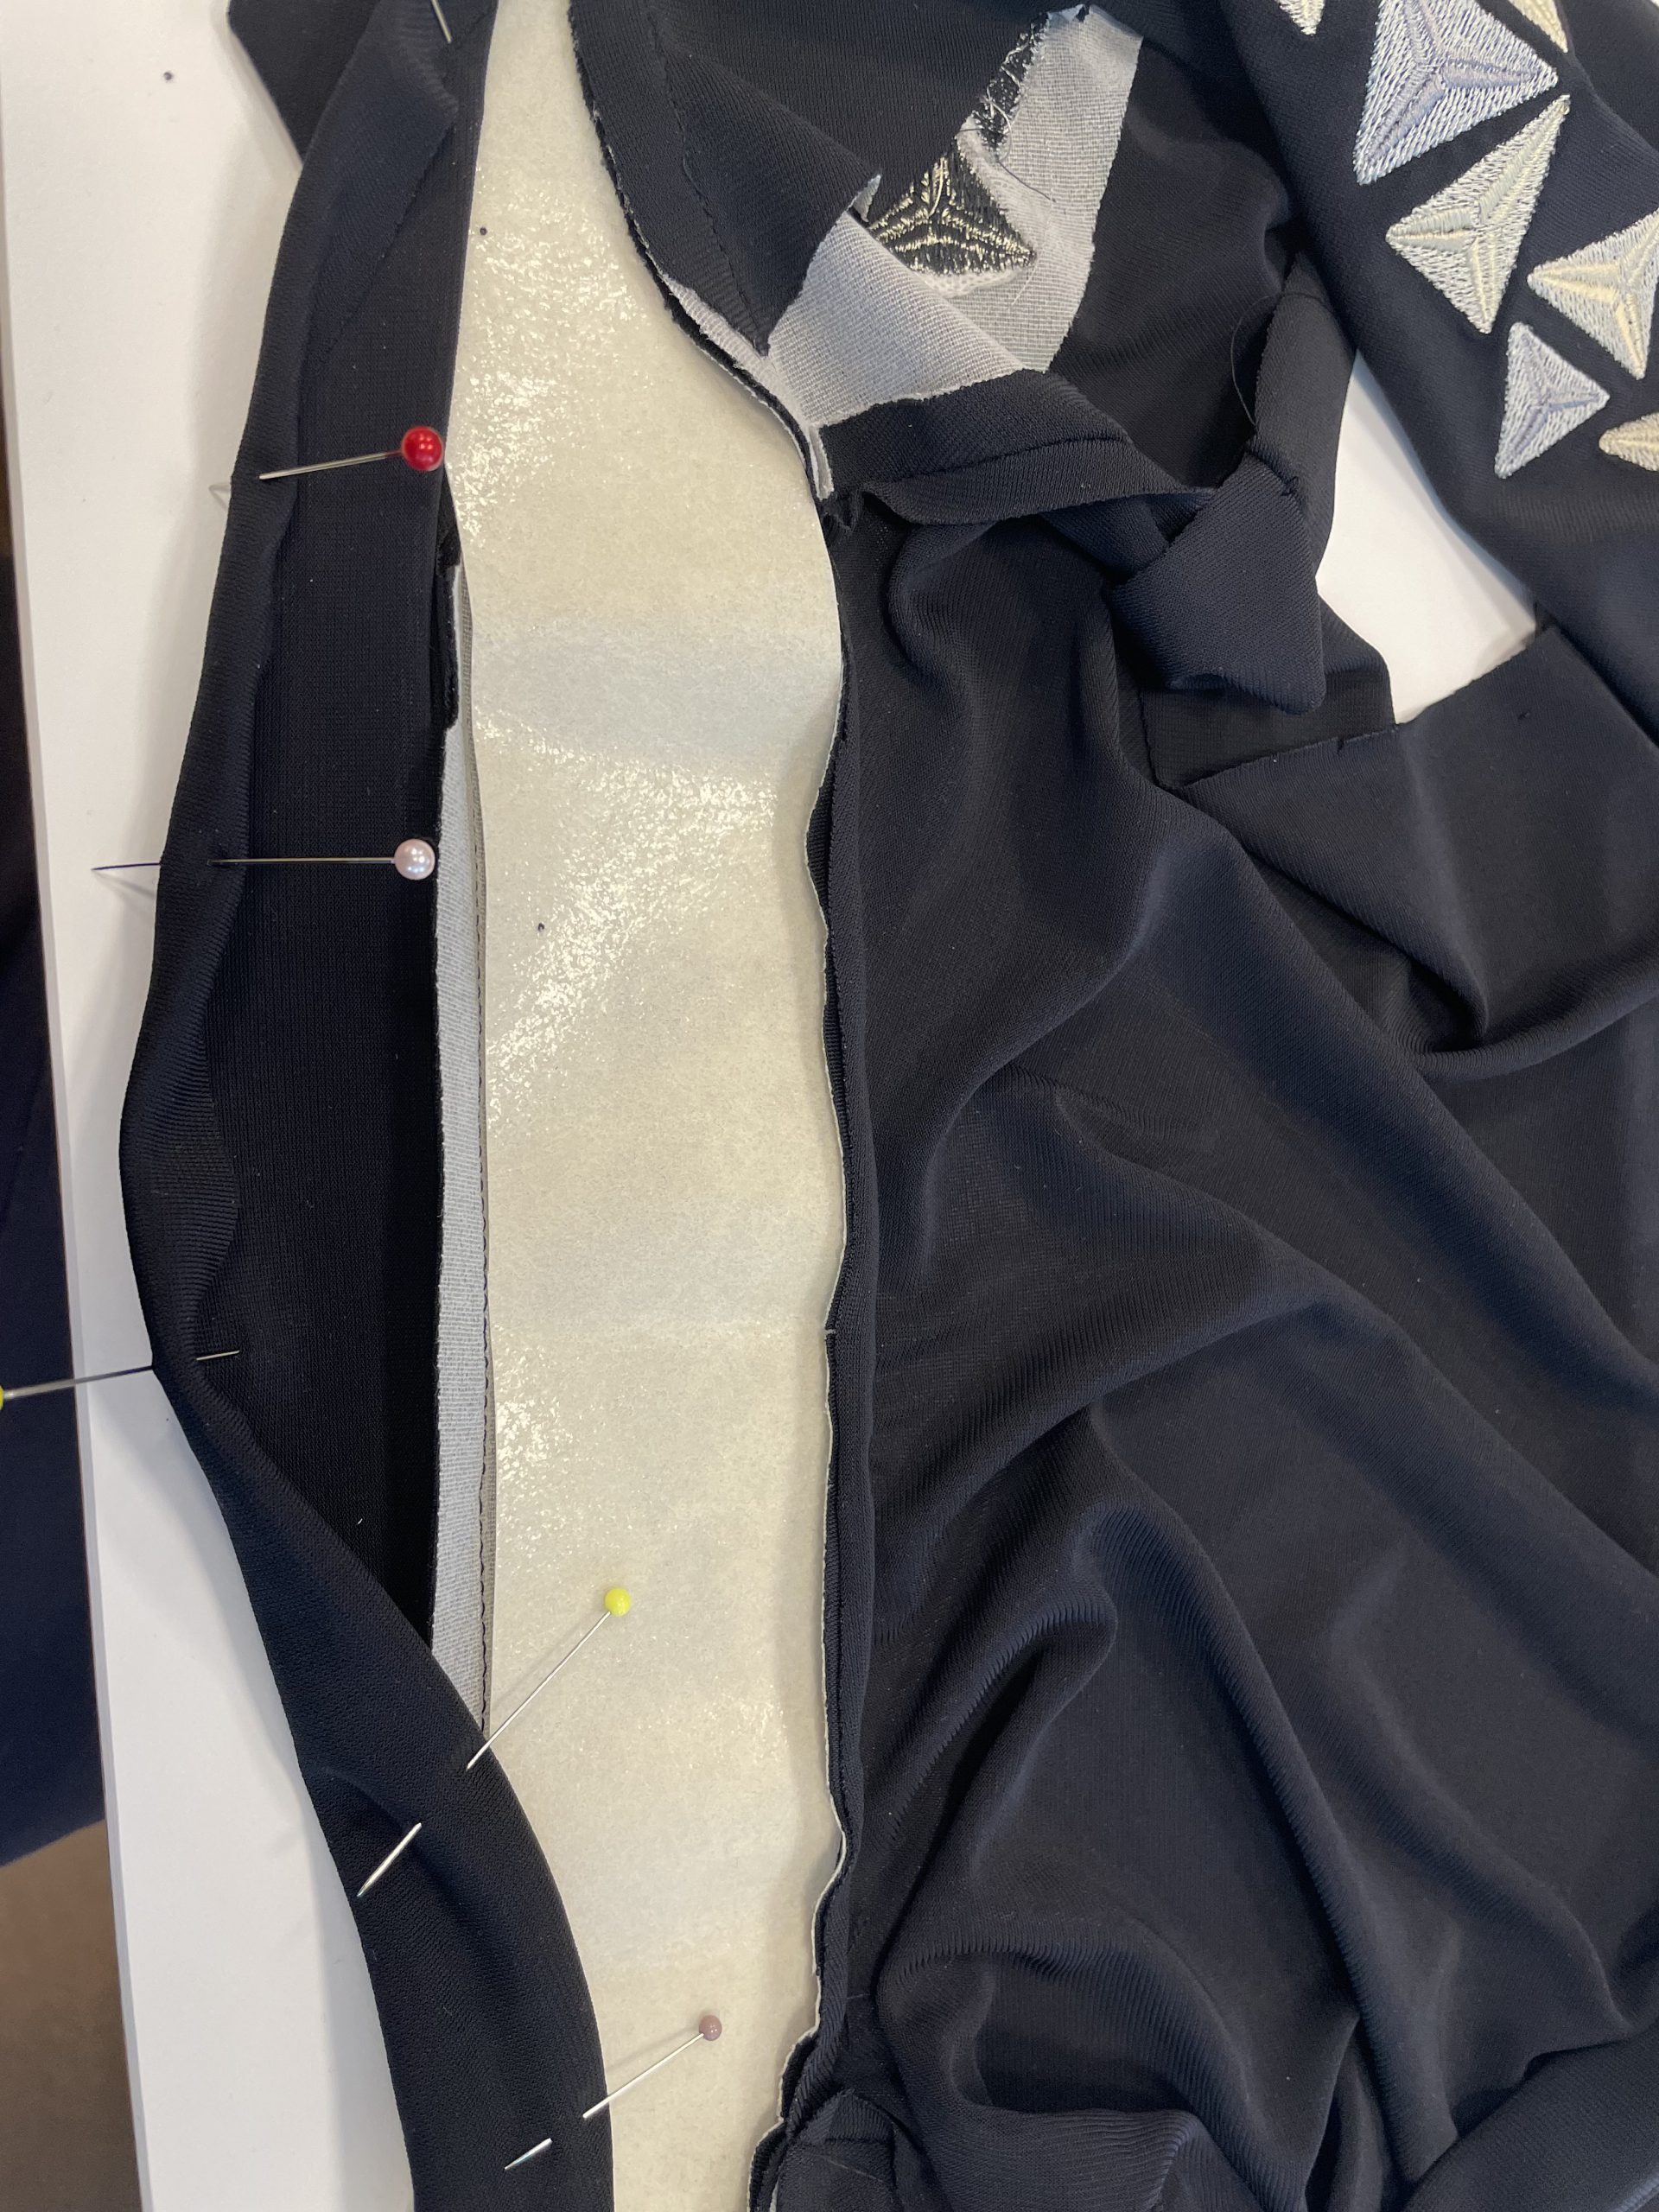
Don’t forget the fusible interlining!
As described in the instructions, all the facings (neckline, slit, sleeves) and a collar piece need to be reinforced with an elastic interlining such as H 609 from Freudenberg.
Sewing a party dress | Making the neckline facing
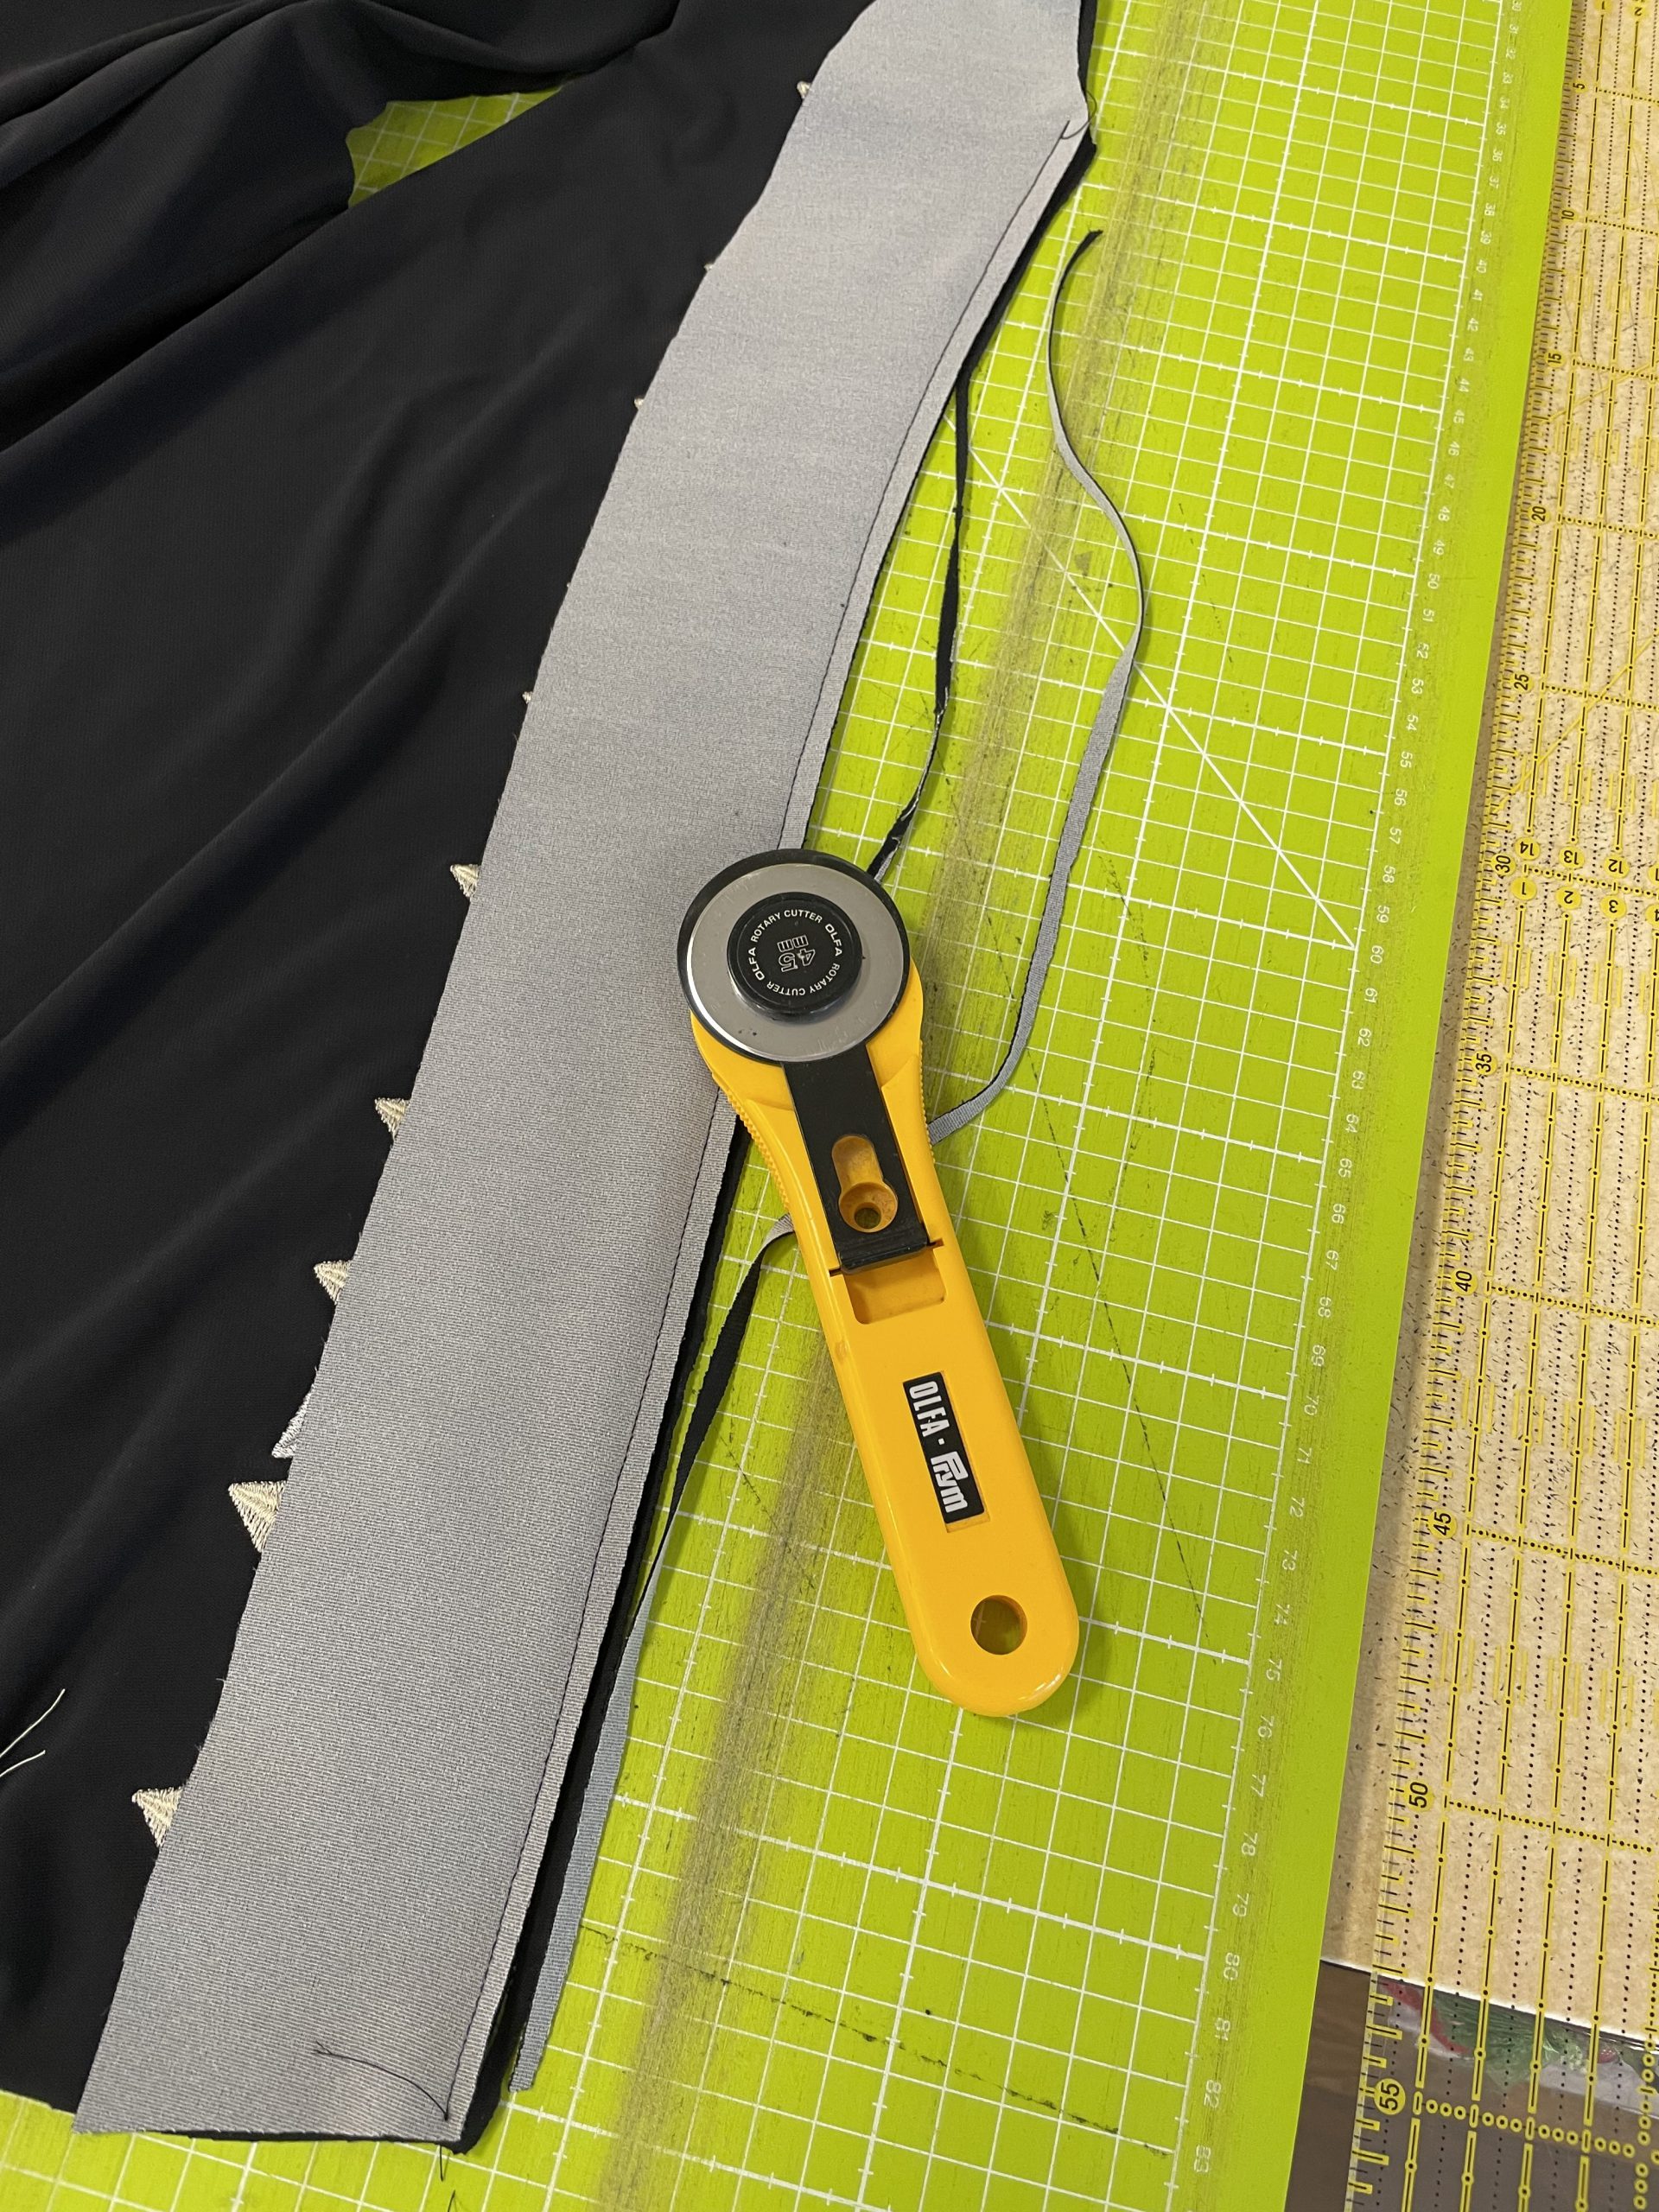
After completing the facings, I trimmed all the seam allowances precisely with a rotary cutter and made notches in the curves using a small pair of scissors.
To ensure the facing sits nicely in the dress, I folded the seam allowances towards the facing and topstitched them close to the edge. This works really well using Edgestitch foot # 10!

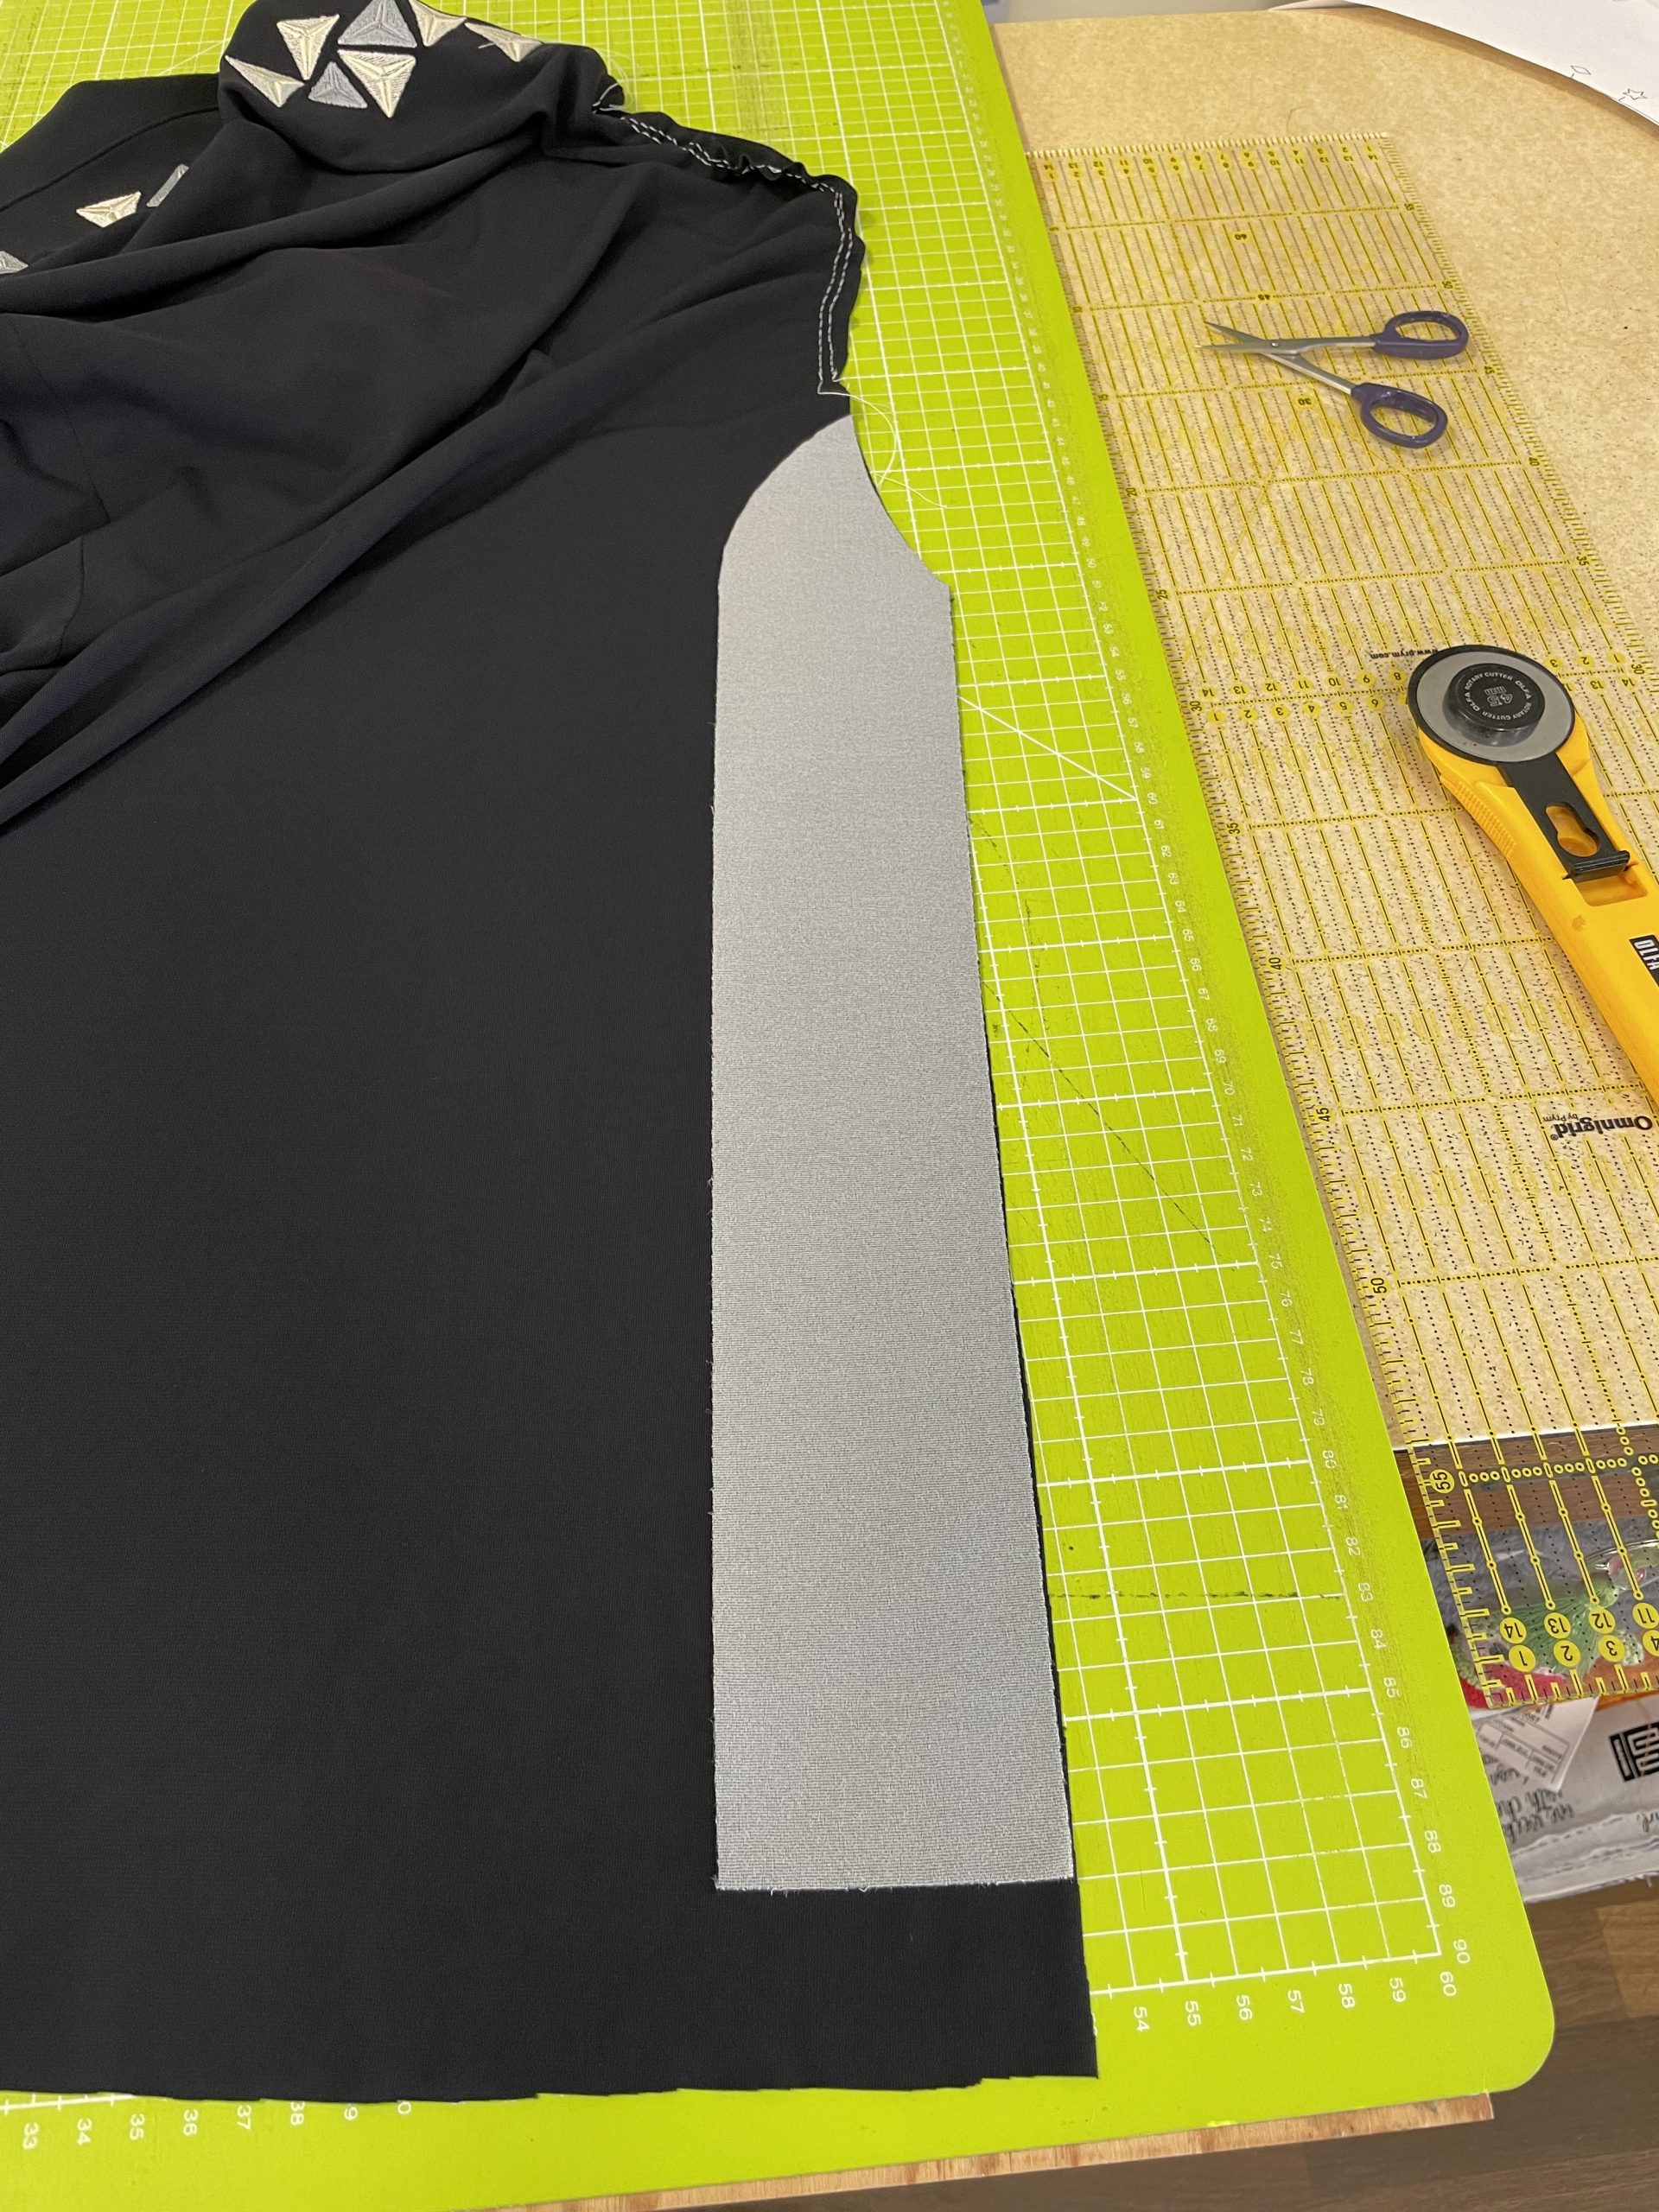
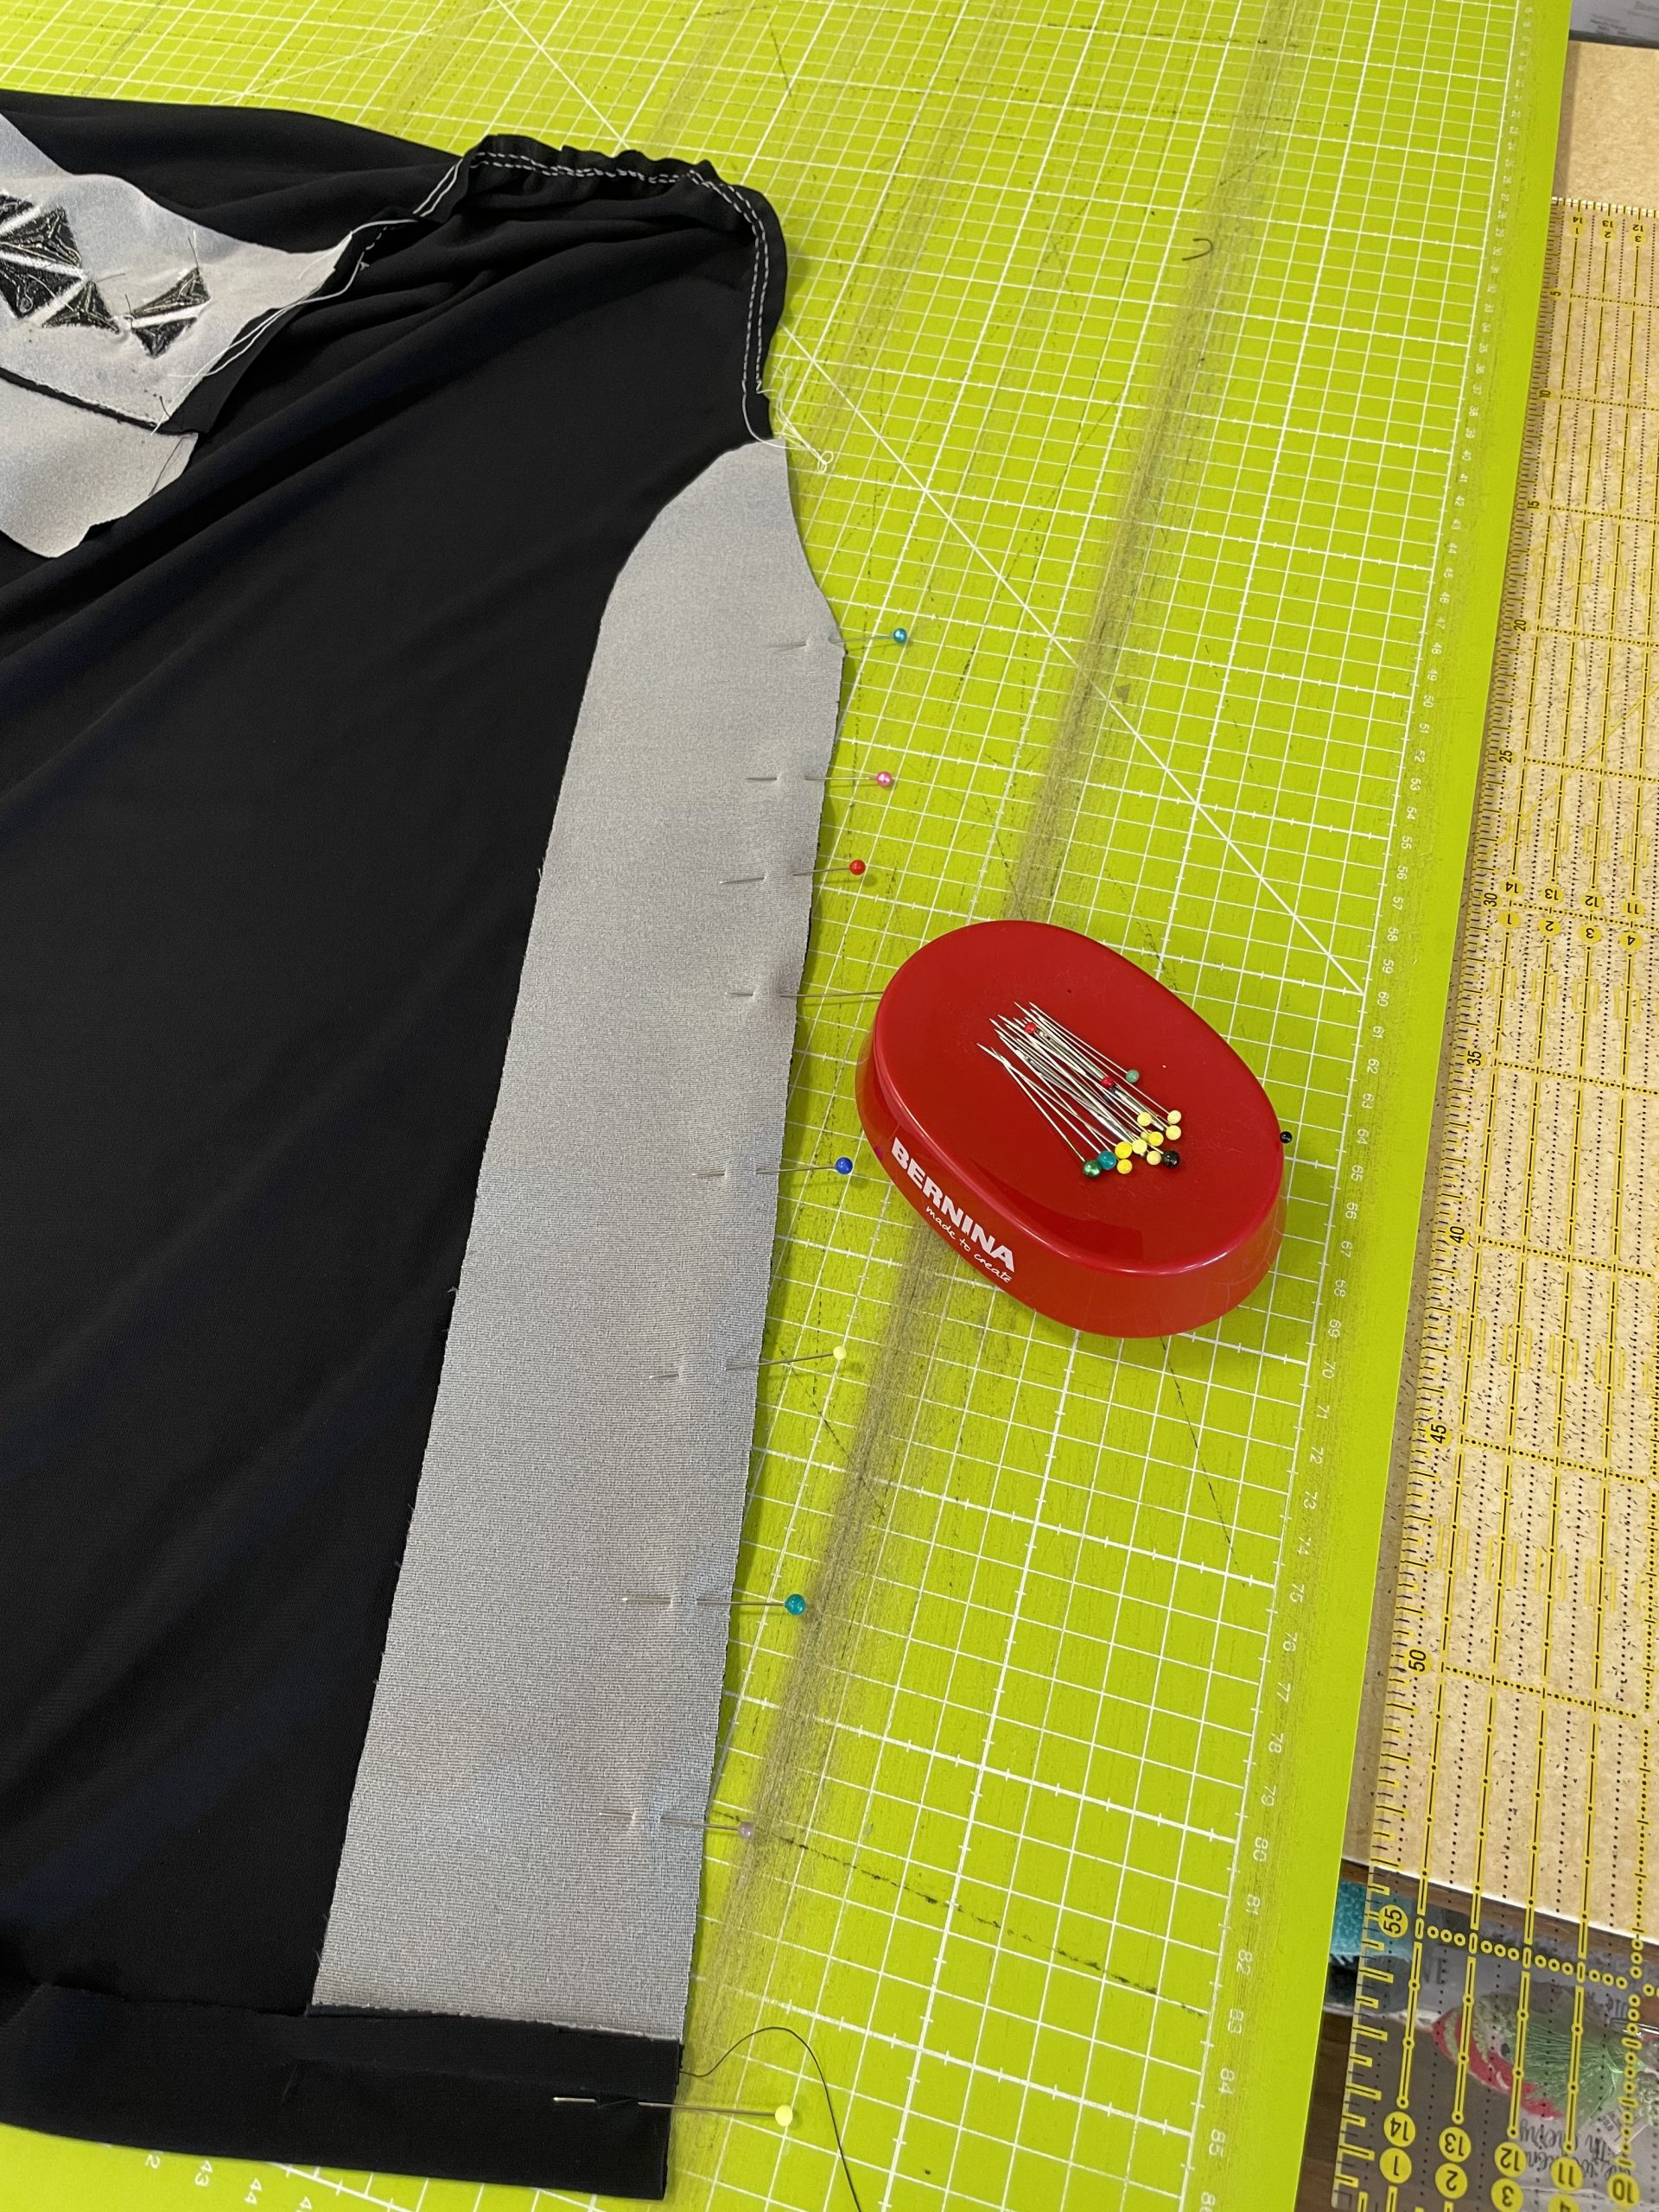
Sewing a party dress | Making the slit facings
I made the two slit facings slightly differently to the way described in the instructions. As you can see here in the photo, my facing is 3 cm shorter than the dress.
First, I sewed together the relevant bottom edge of the dress and the facing along the short side with the right sides together. Then I ironed the seam allowance upwards. If you then pin the facing into place on the dress, it “pulls” the corresponding allowance for the hem upwards automatically, creating a nice corner on the slit when it is turned the right way out. Now all you have to do is close the straight edge with a seam.
Once it is turned the right way out, the corner looks like this:

Carefully iron the allowance on the slit.

Next, I stitched the facing onto the skirt piece.
The facing on the opposite front piece is bigger but is made in the same way.
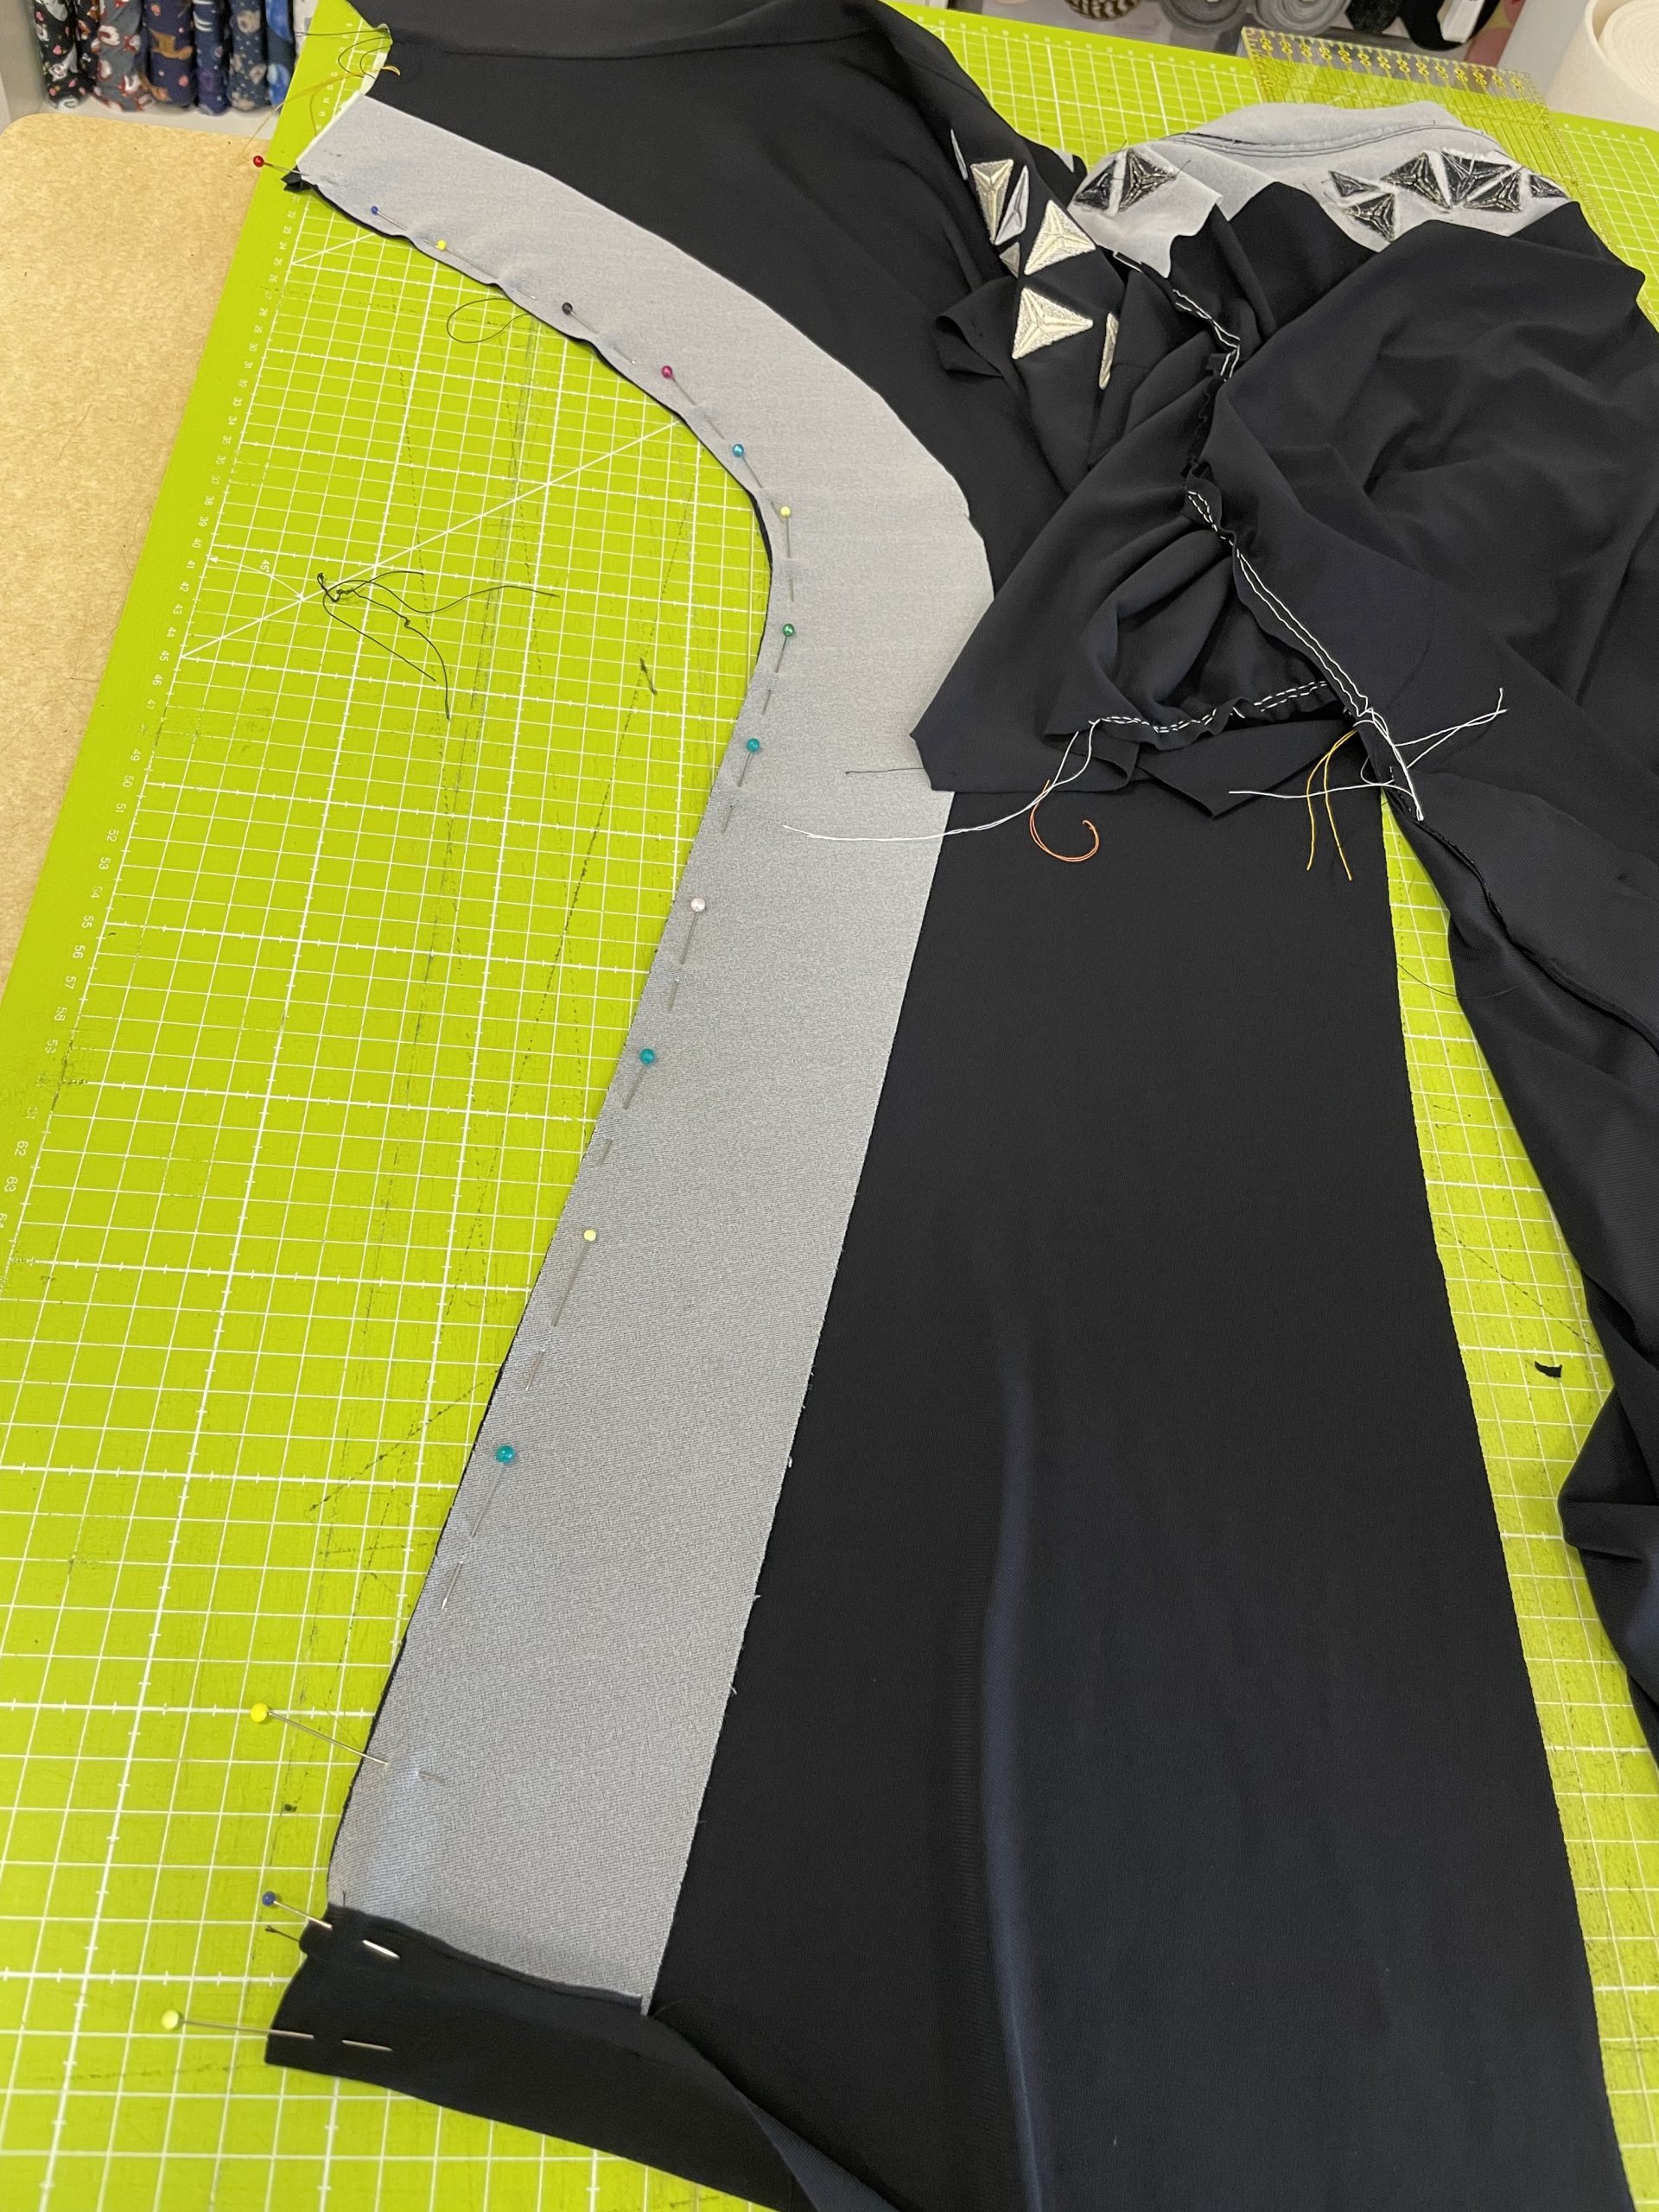
Sewing a party dress | Assembling the front piece, back piece and yoke
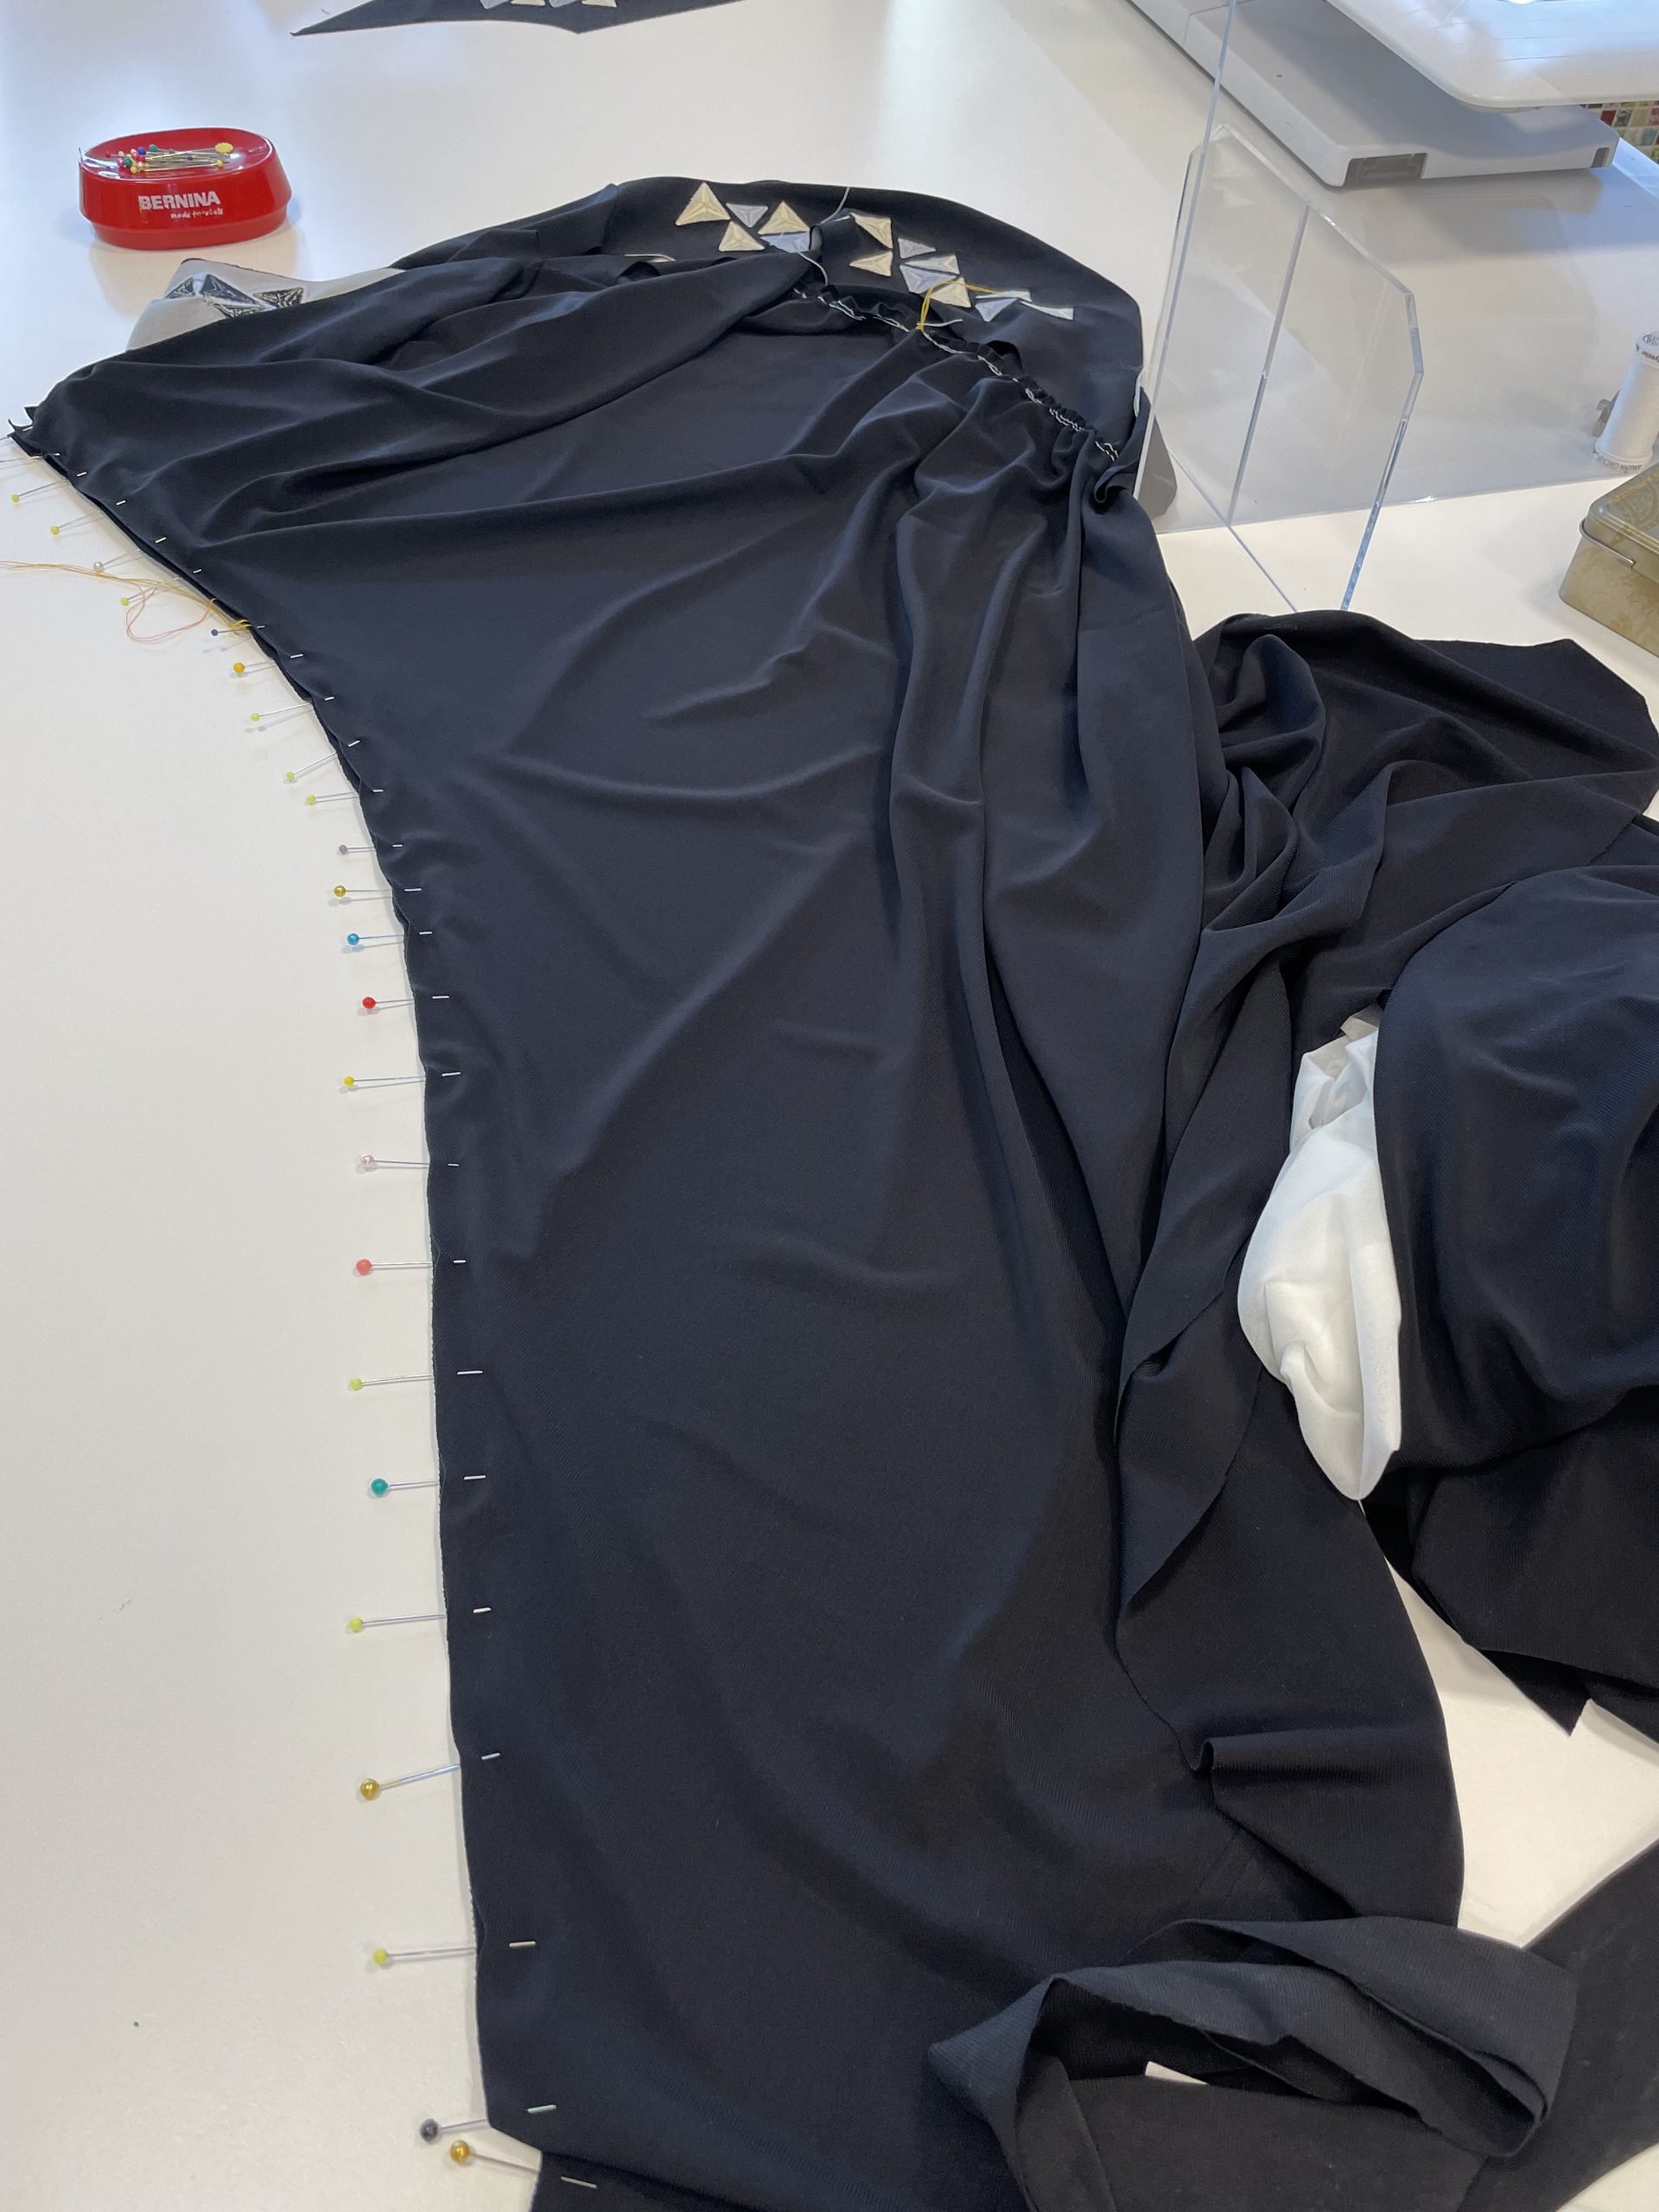
Here, you can clearly see how useful the thread markings in the fabric are. The left front piece is now attached to the seam allowance on the right side.
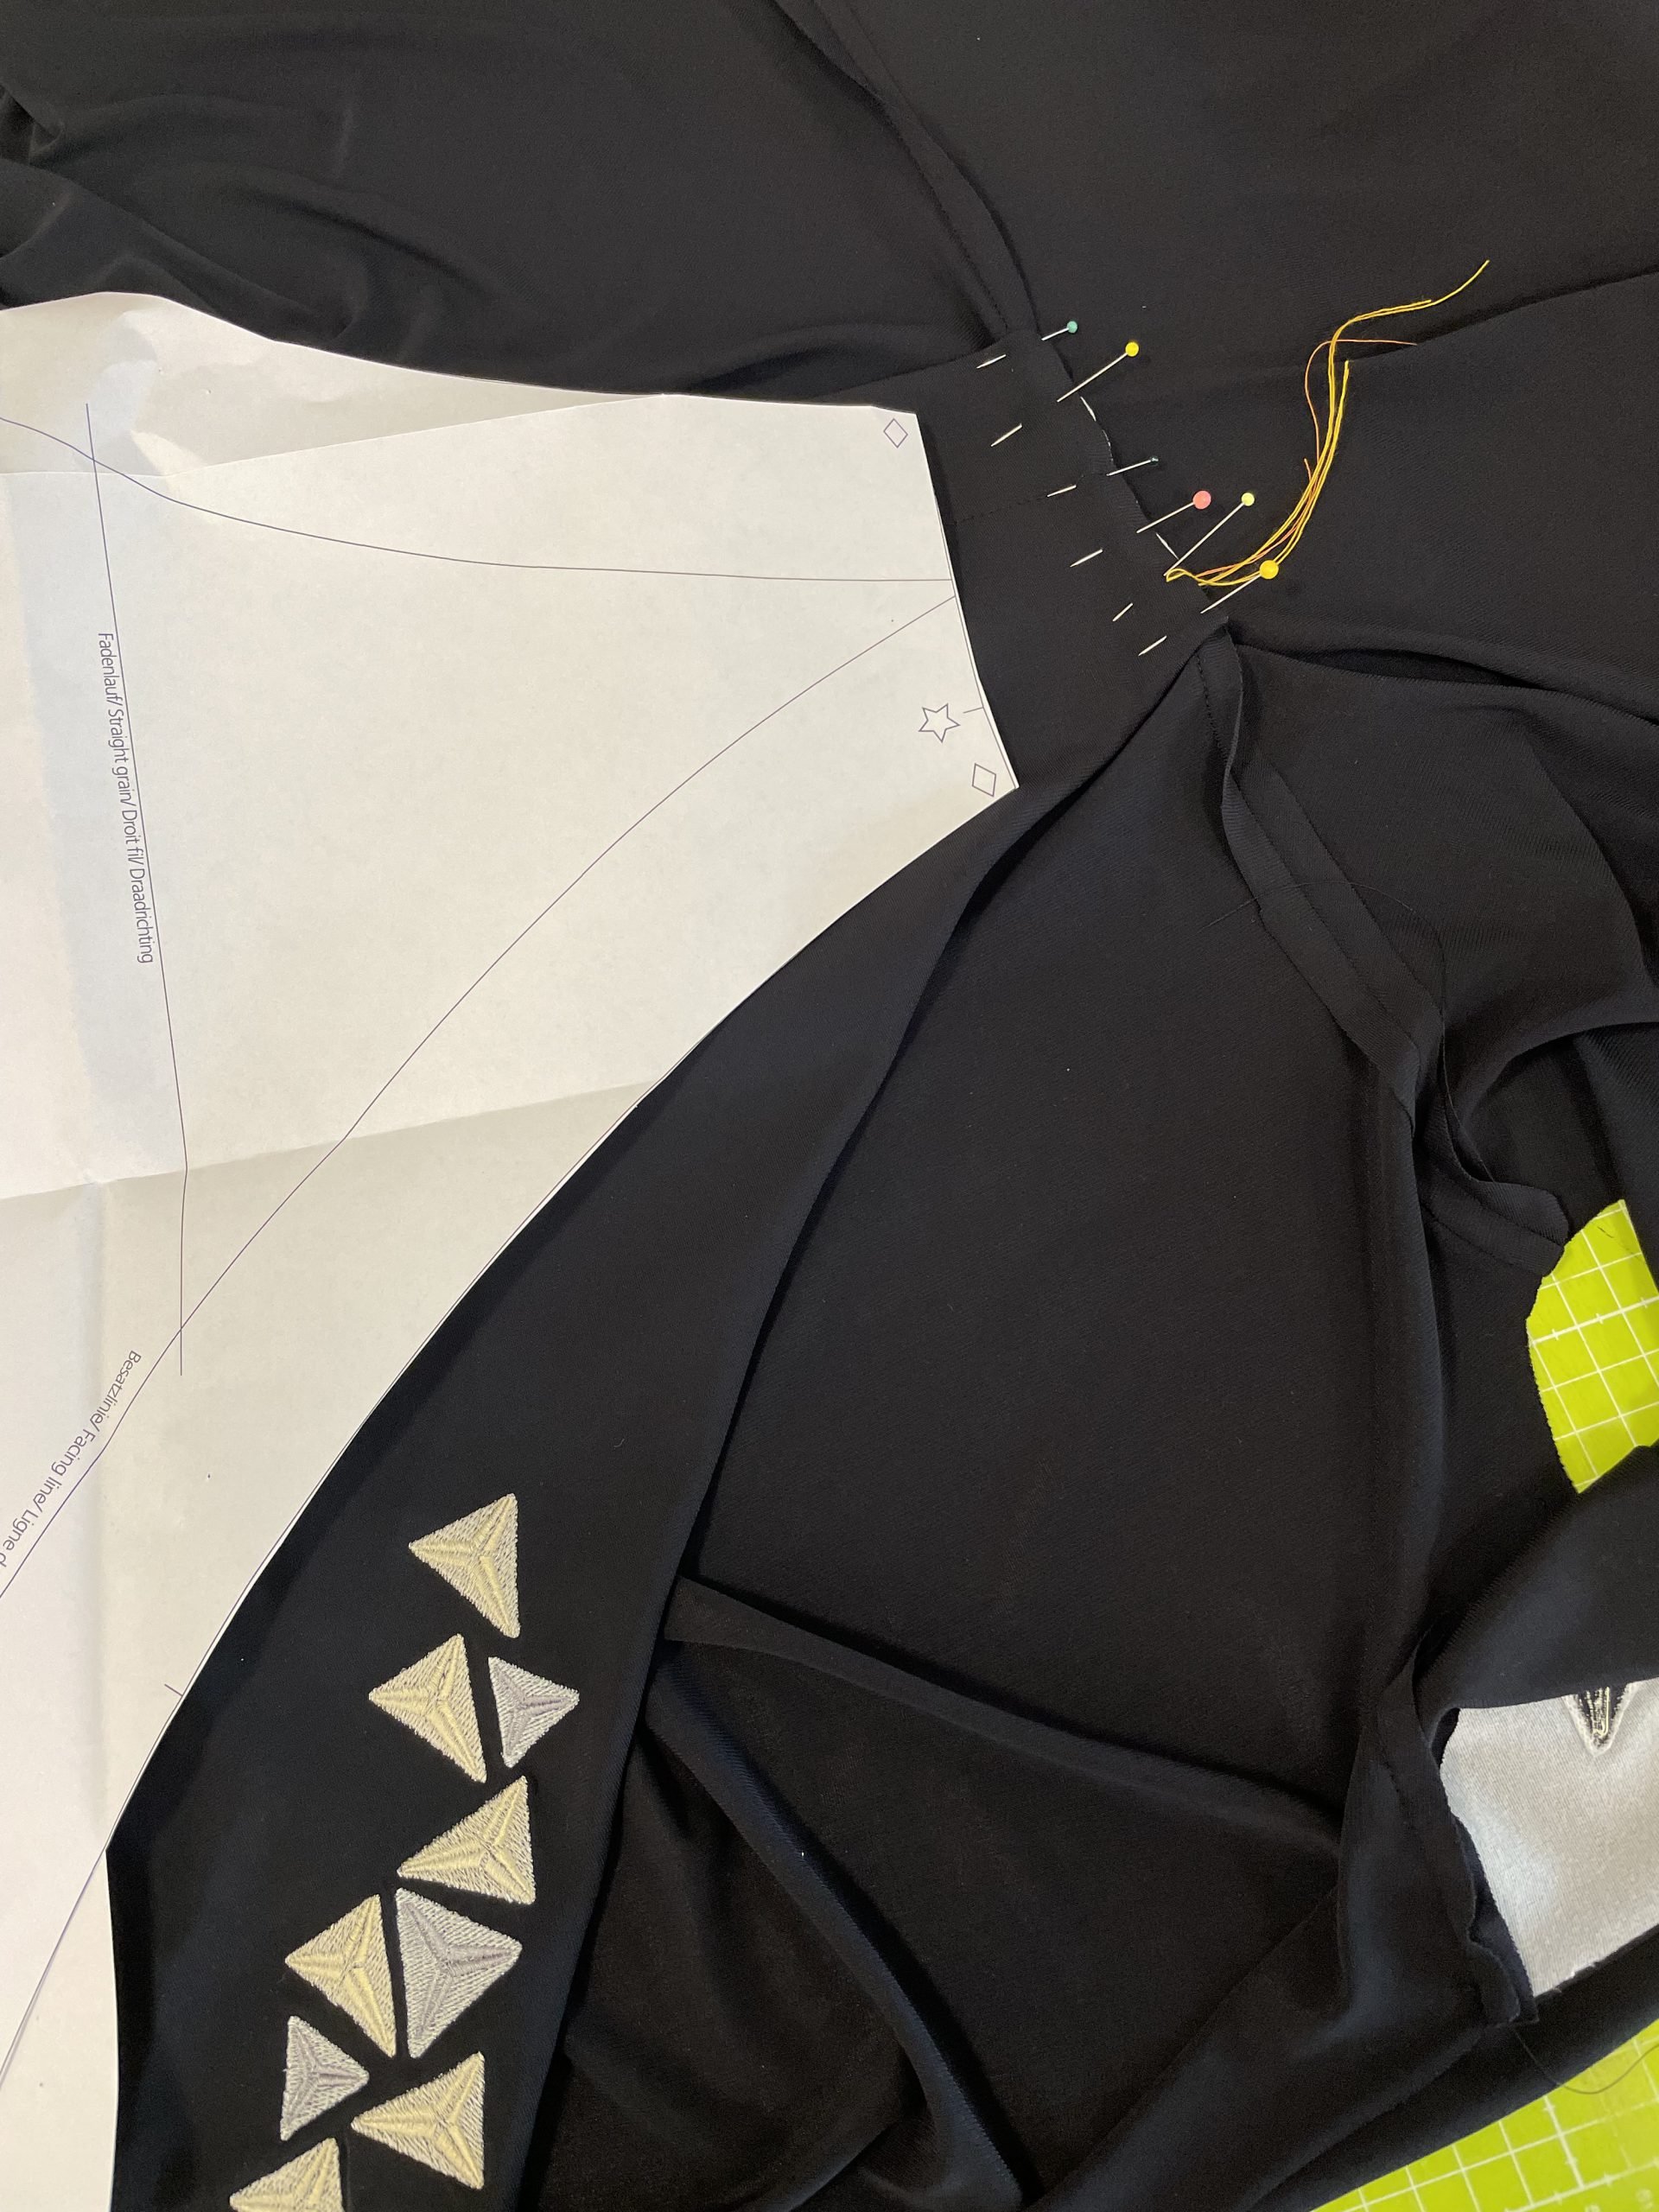
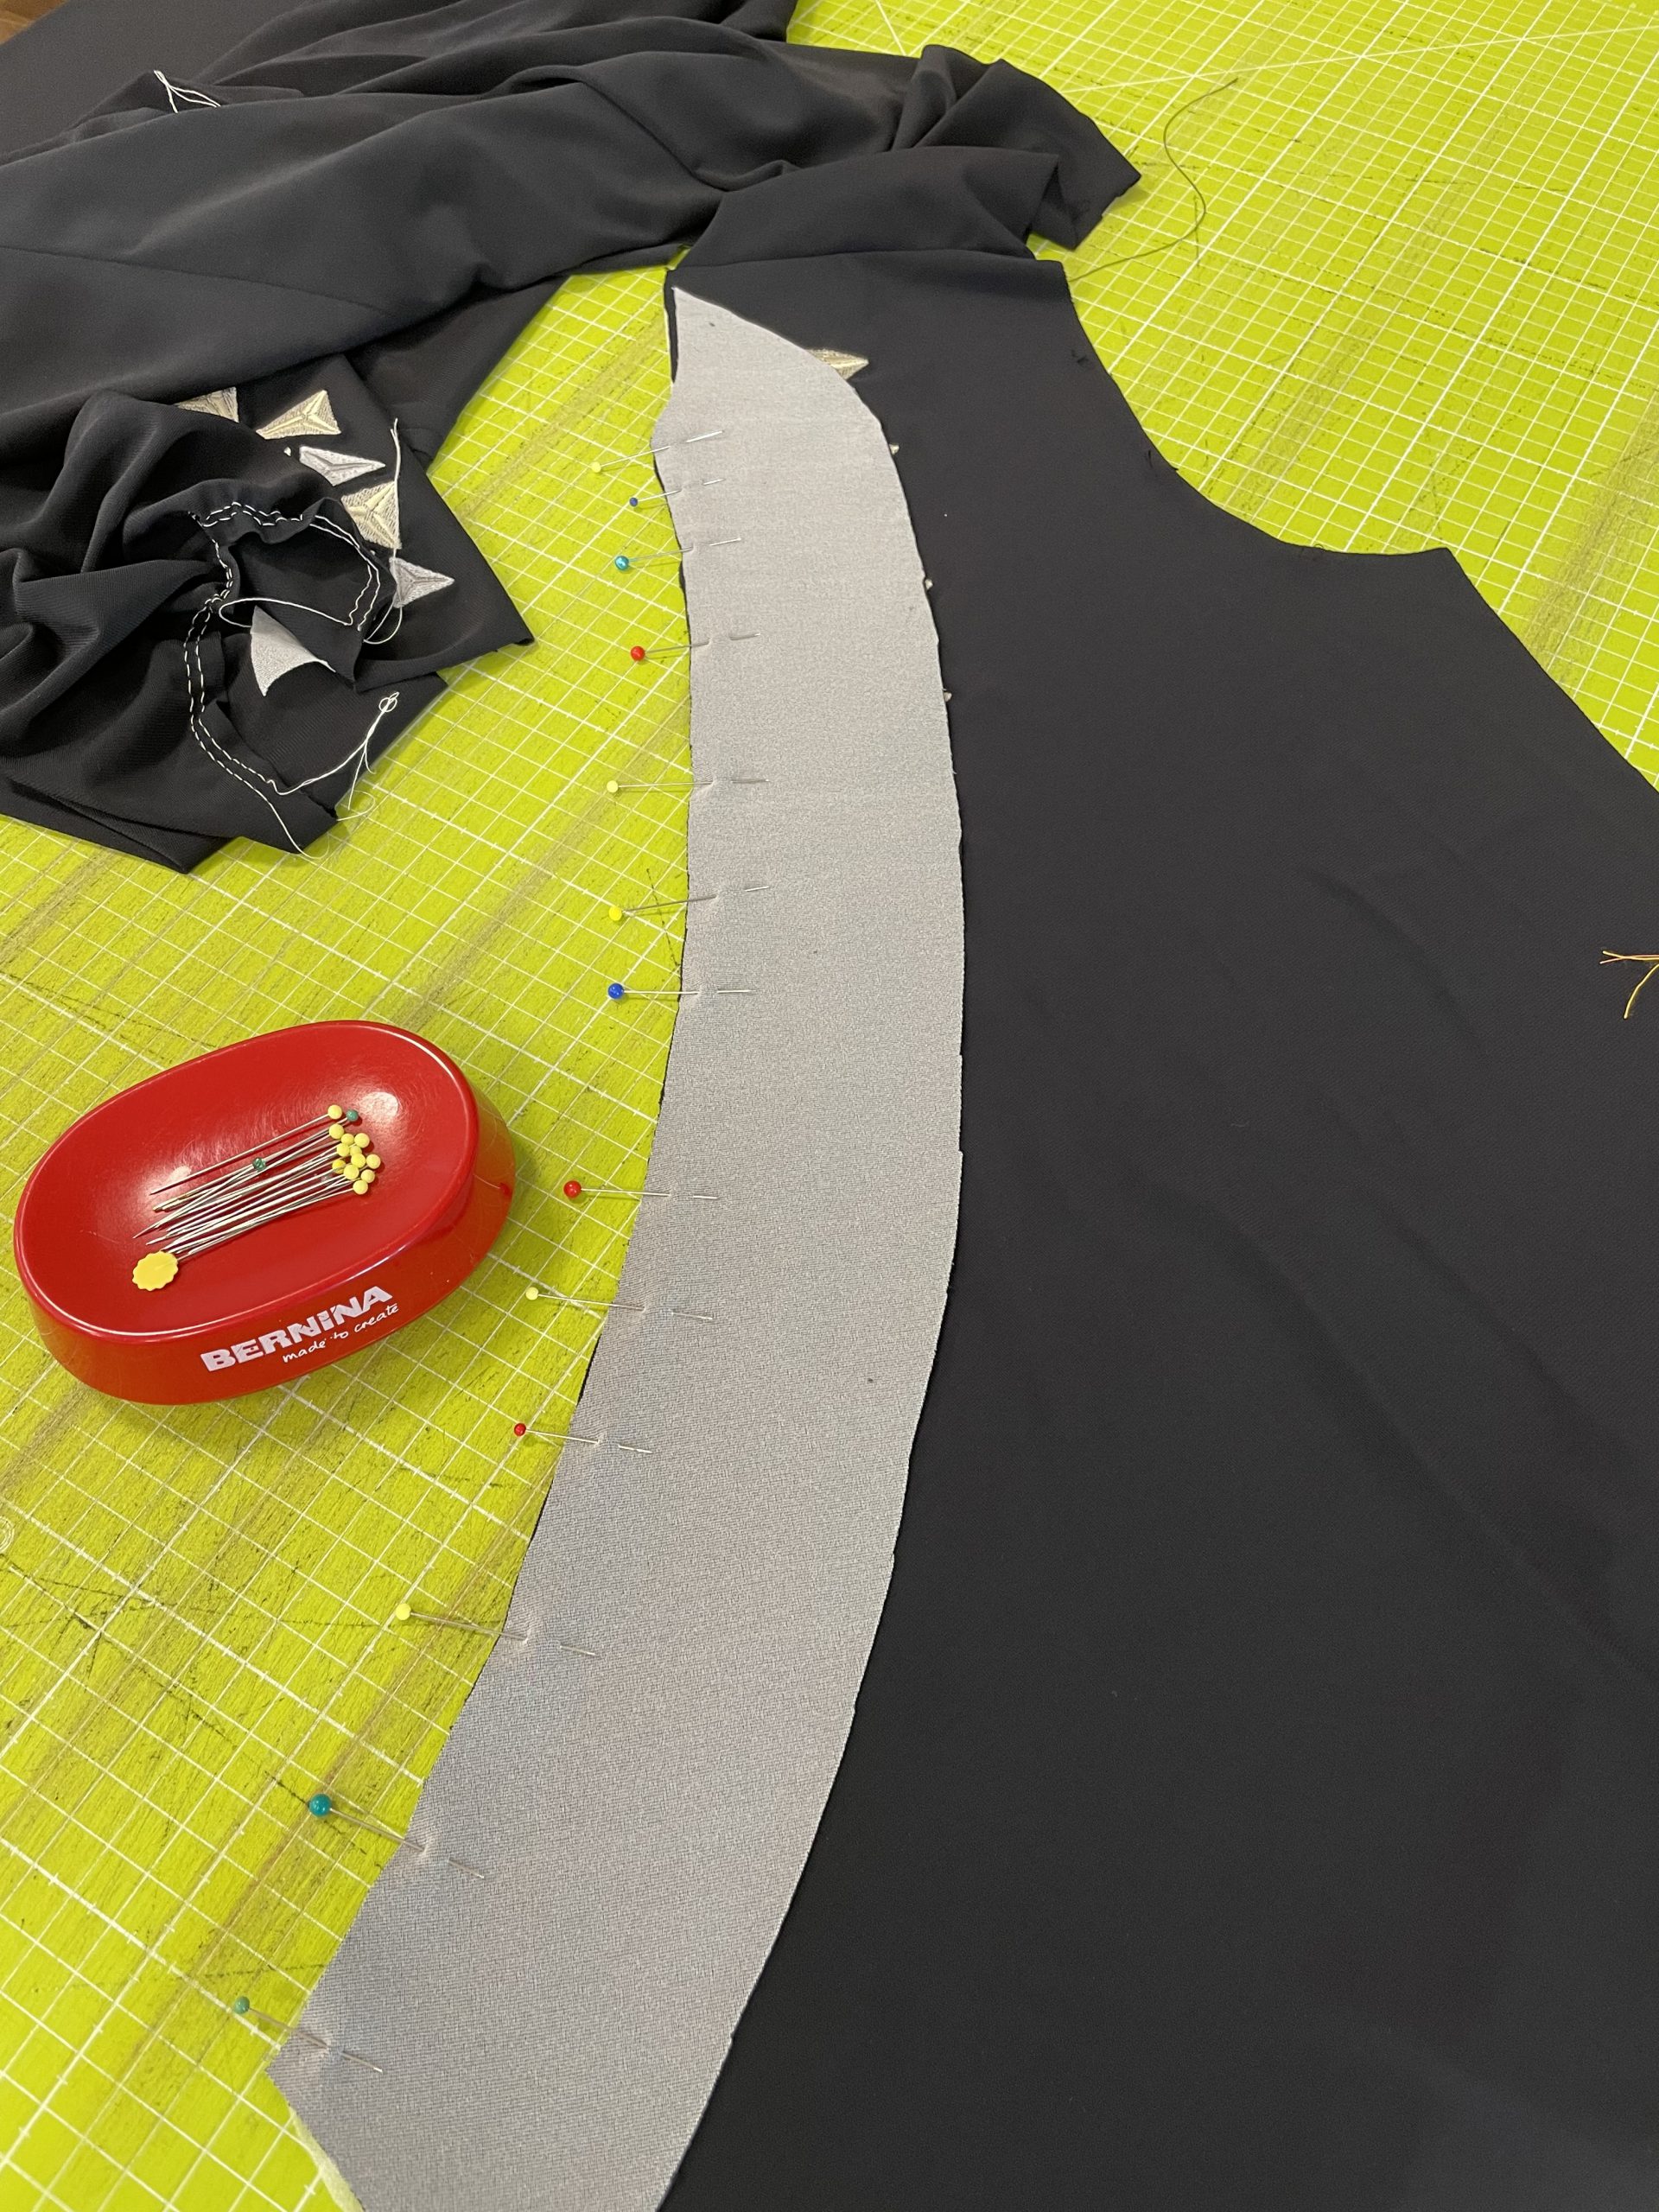
I gathered the right front piece according to the marking on the pattern. It is then attached under the hip yoke on the left side of the dress. Here, I have laid the corresponding paper pattern pieces on top of each other for you. That way you can clearly see how to arrange the pieces.
I laid the paper piece for the yoke onto the front piece as a template and then pinned the gathers around the edge.
After the pieces have been laid on top of each other and sewn, it is very important that the corners on the edge of the slit are level.
I ironed the allowances on the hip yoke over onto the wrong side and secured them with a few basting stitches. On the curve on the left of the picture, it is necessary to make cuts into the seam allowance. The puckers on the curve on the right of the photo…
… are removed by cutting out small triangles. Only by doing this will the yoke lie flat after it is sewn on.

Once everything is correctly positioned and pinned, all the layers are secured with a line of edgestitching. The two front pieces are also sewn at the same time.
Sewing a party dress | The collar
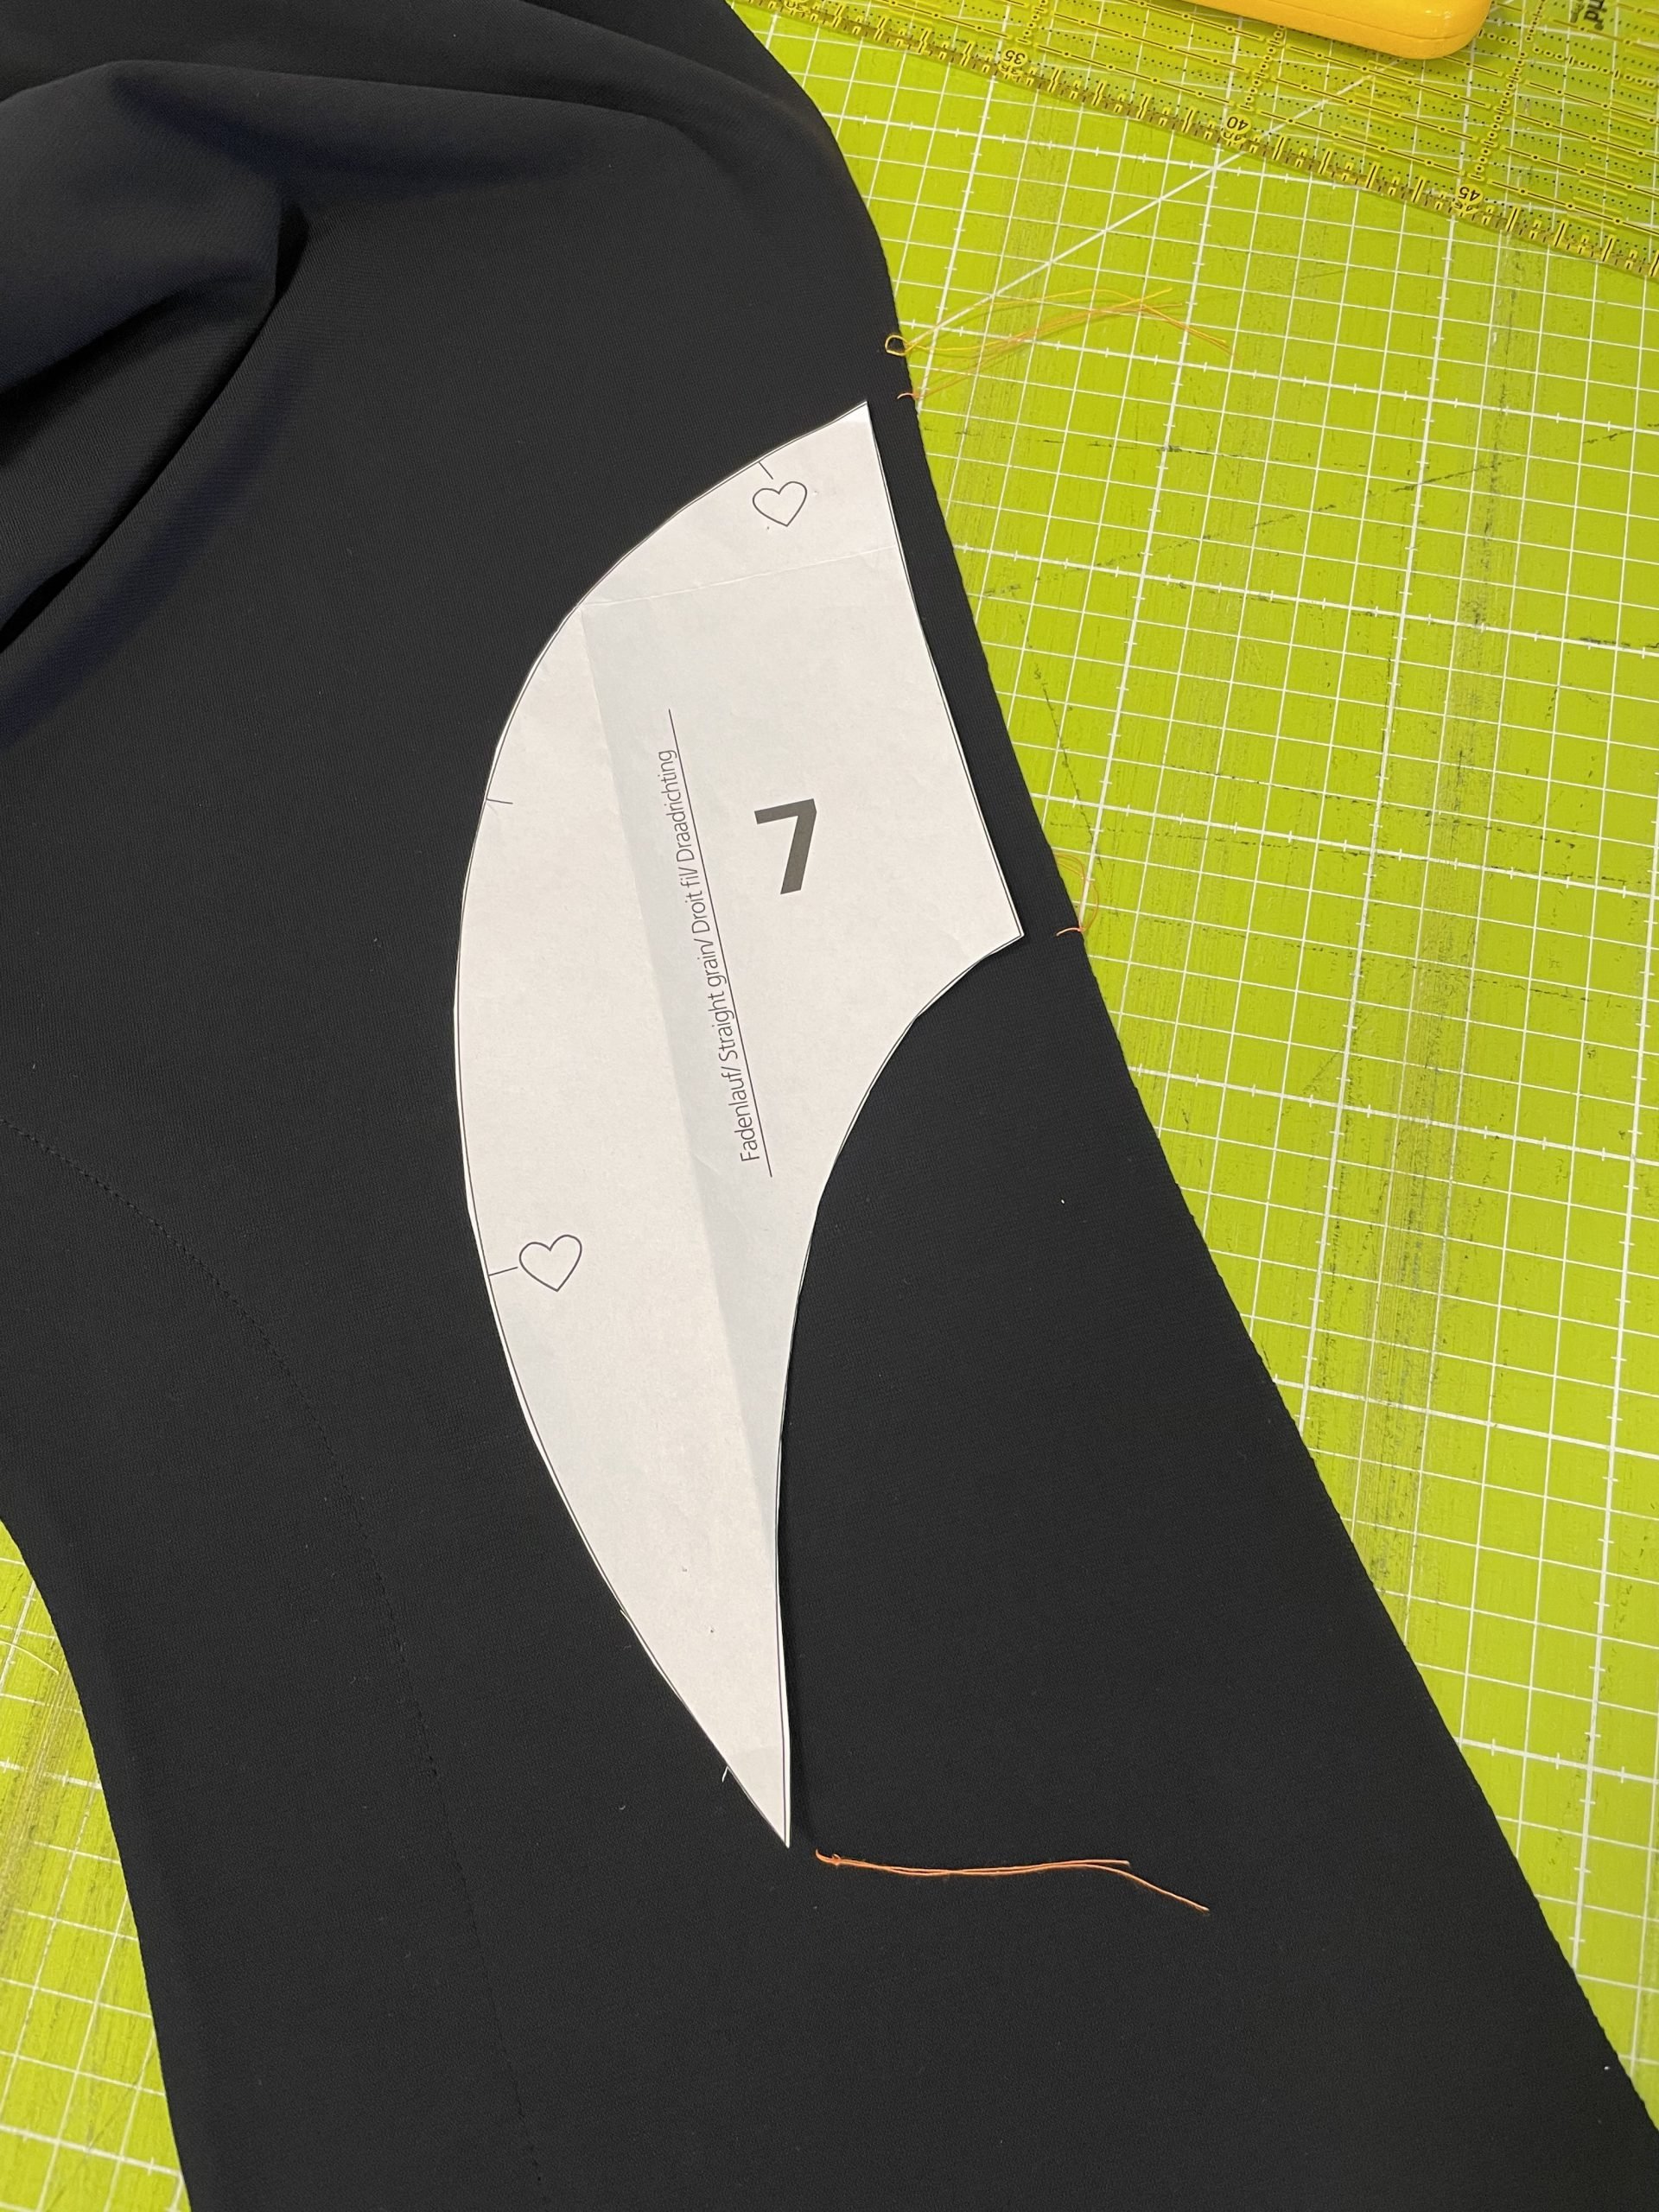
I cut into the curves on the collar as described above.

After the first fitting, the collar seemed too soft to me. I also want to sew on some rhinestones later on. I therefore decided to insert a piece of Decovil light cut to the right shape into the collar before closing it.
To ensure that the seam is not visible from the outside, I closed the inside of the collar by hand using small ladder stitches.
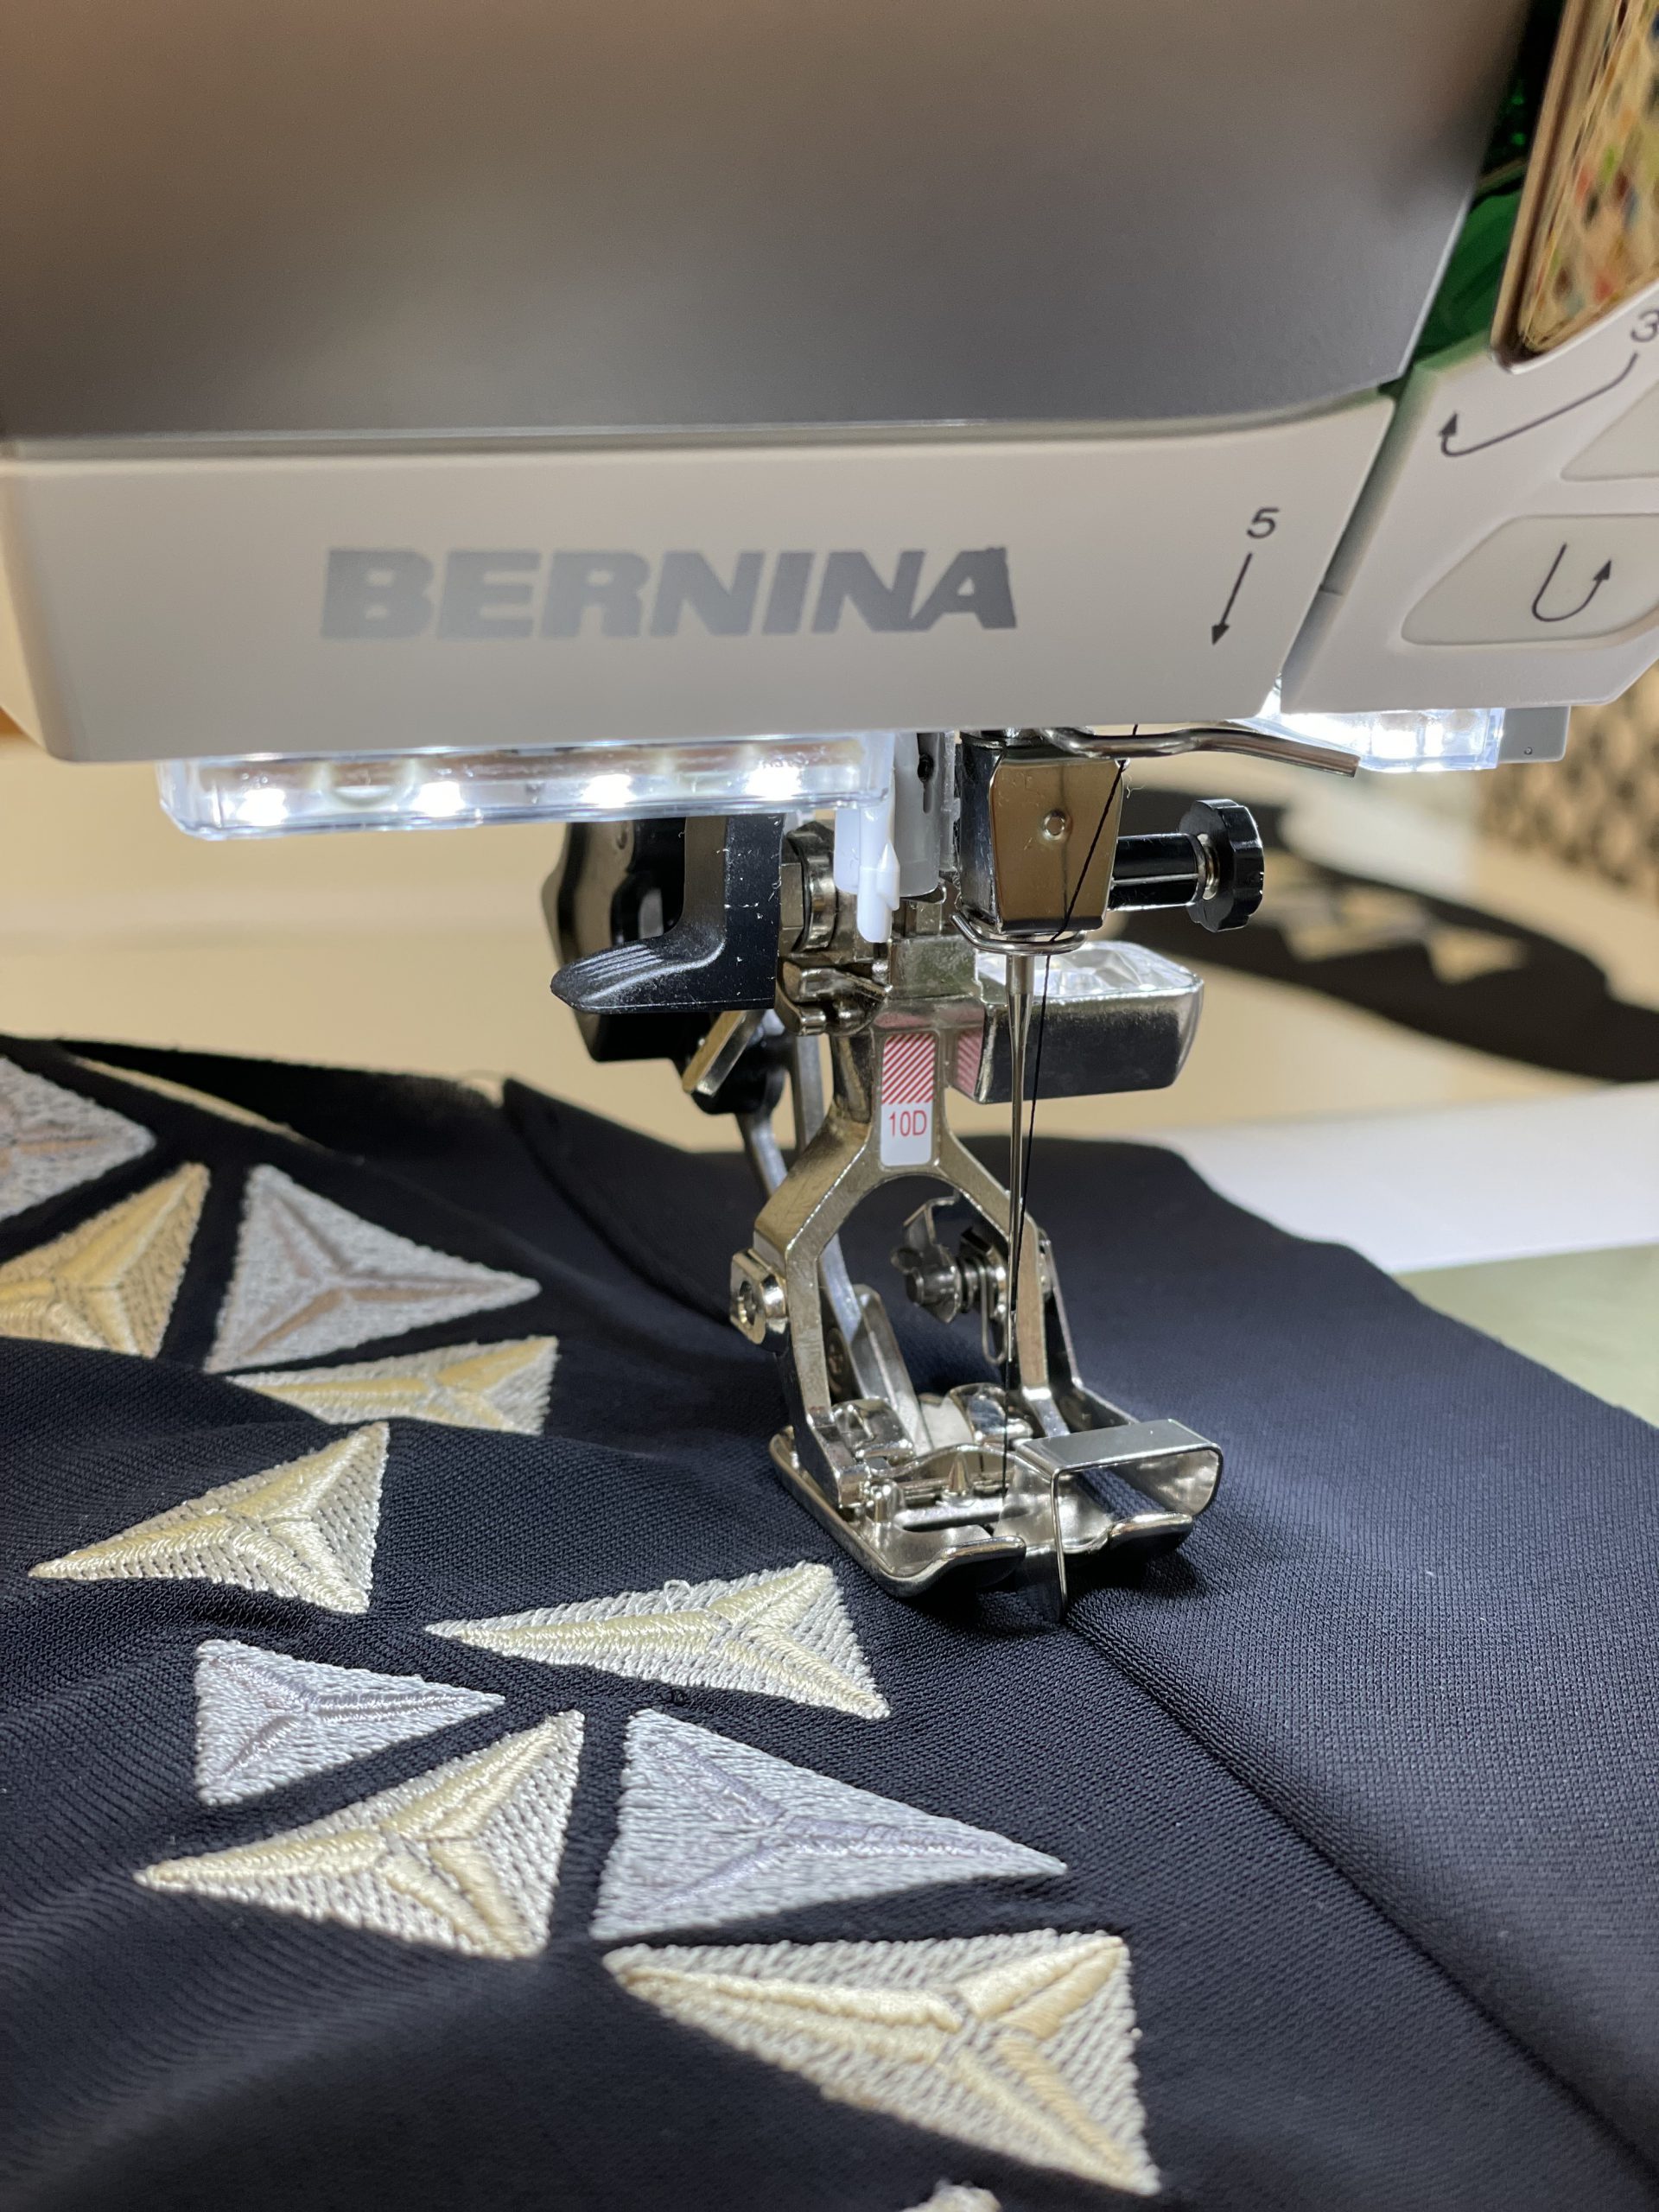
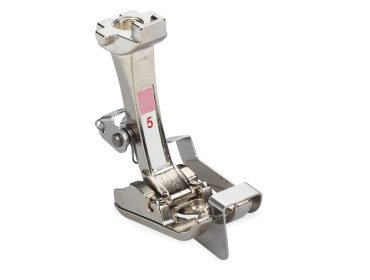
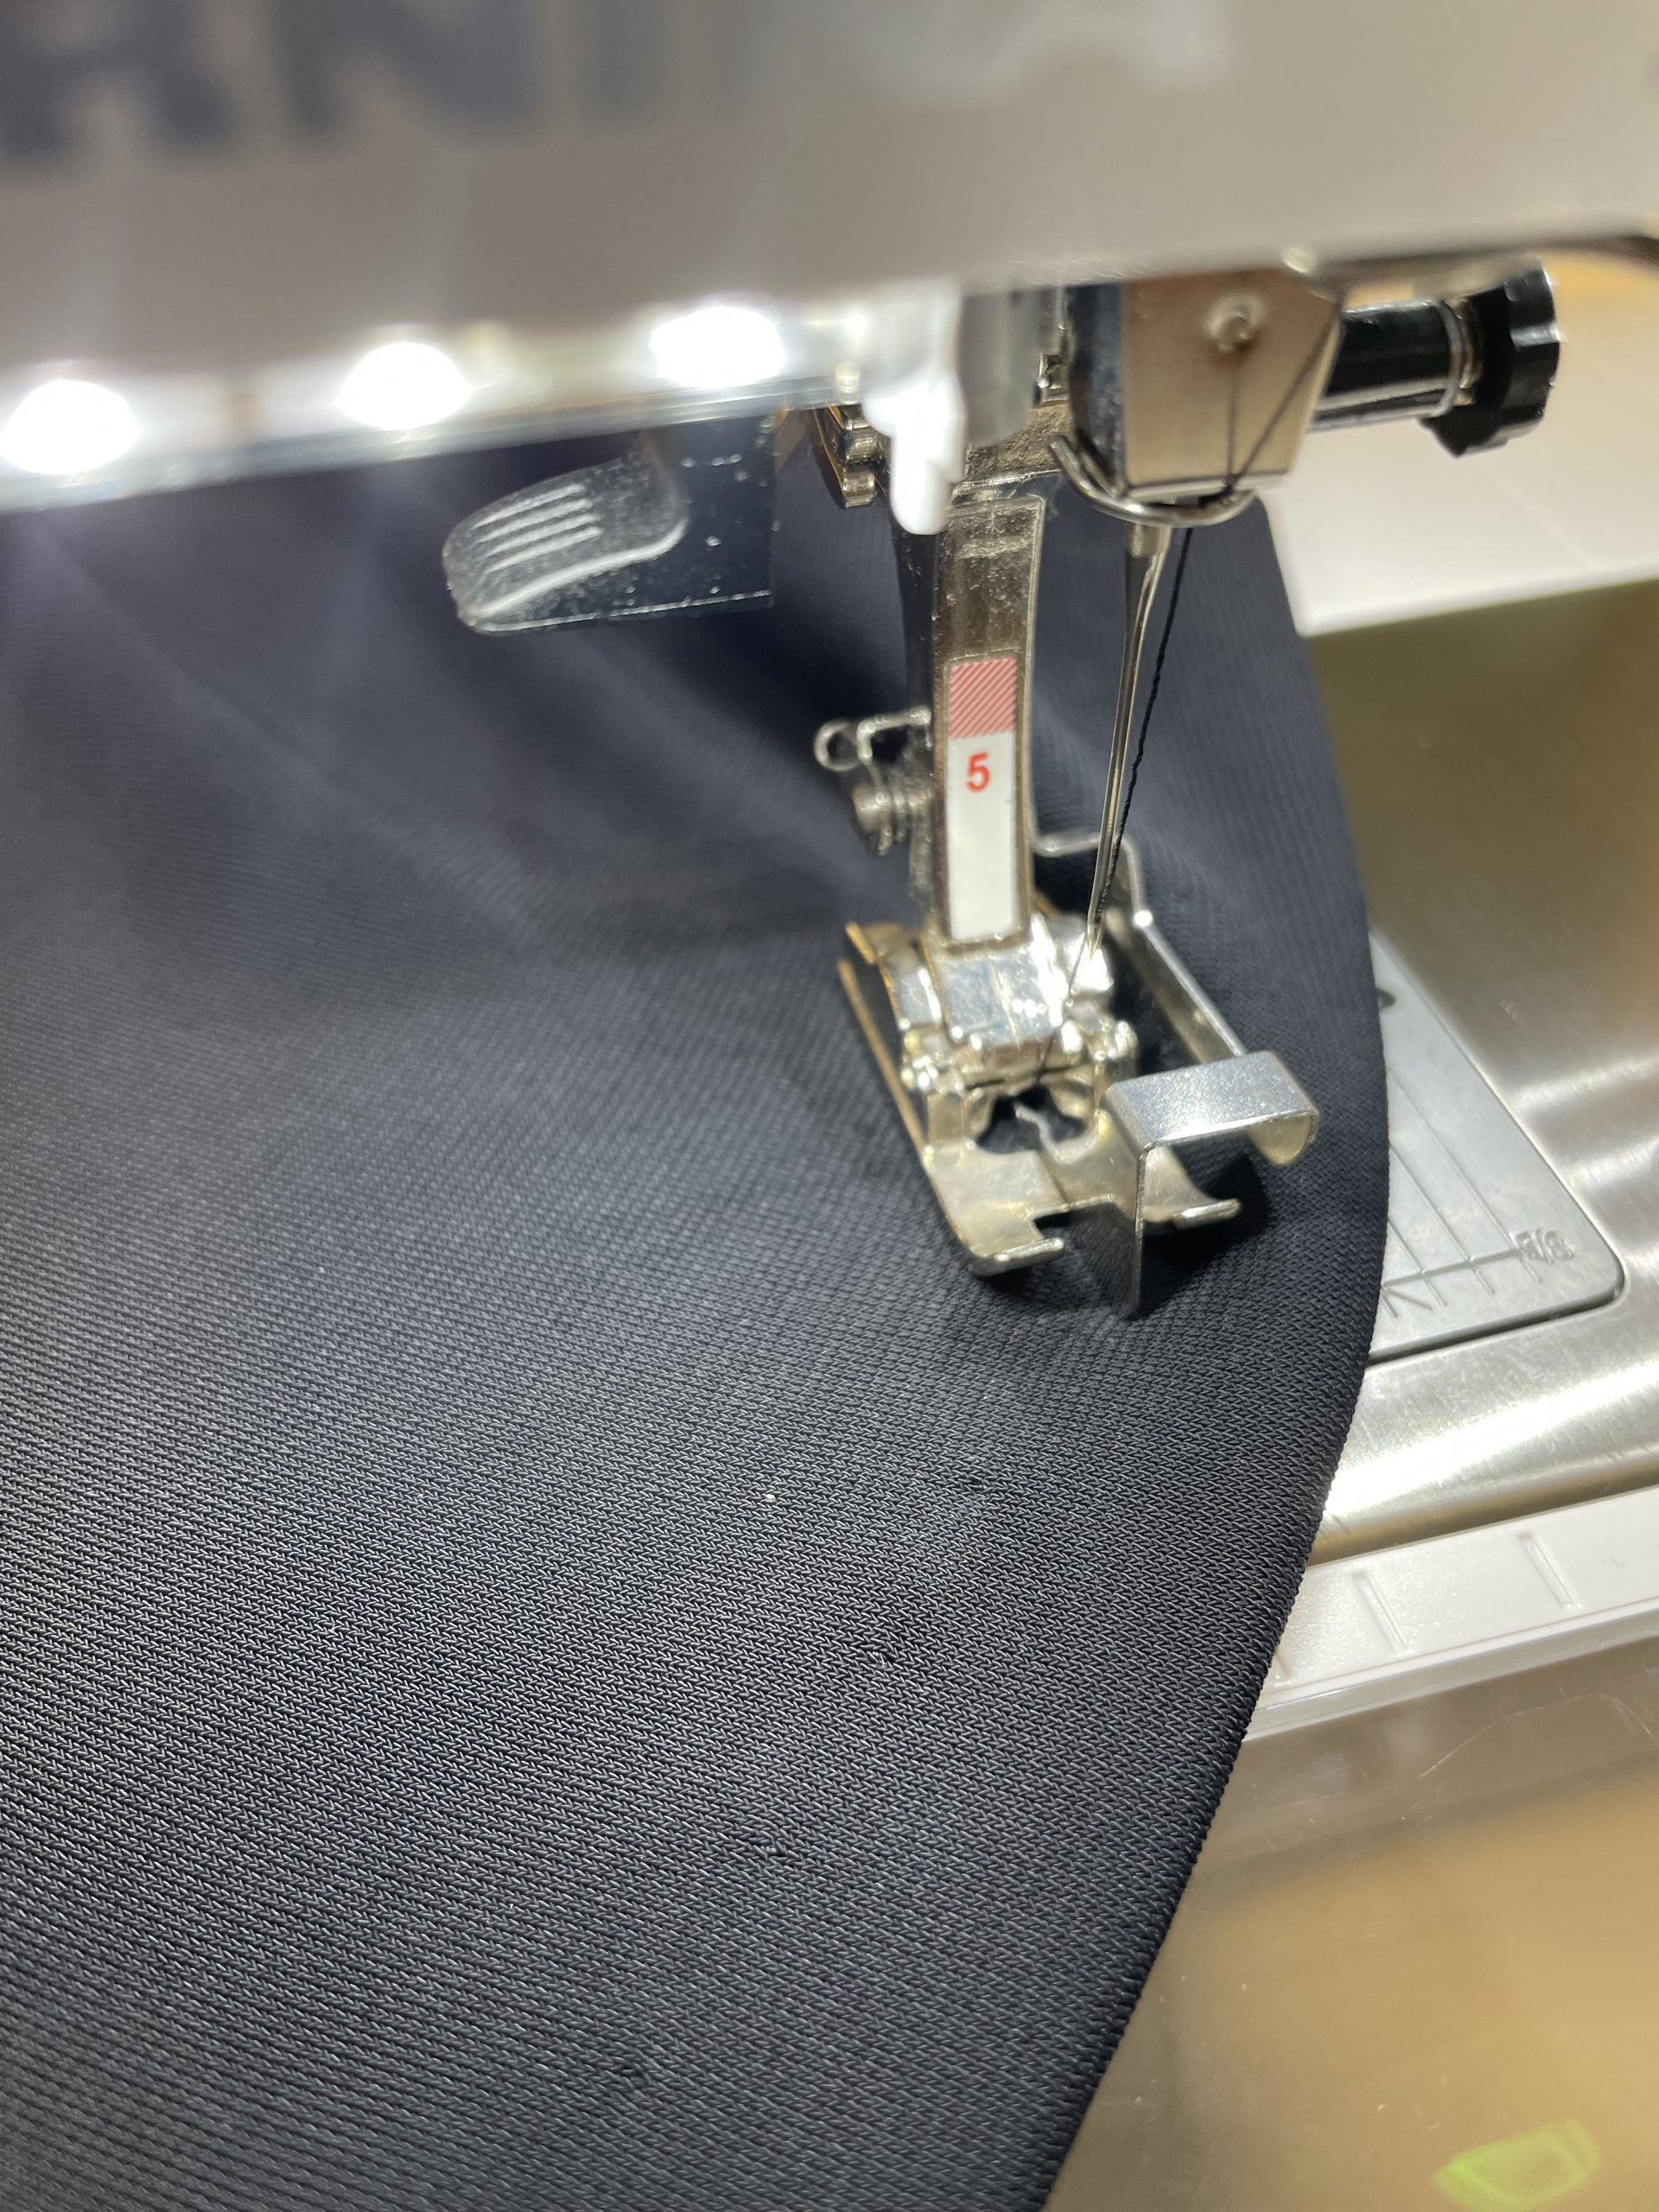
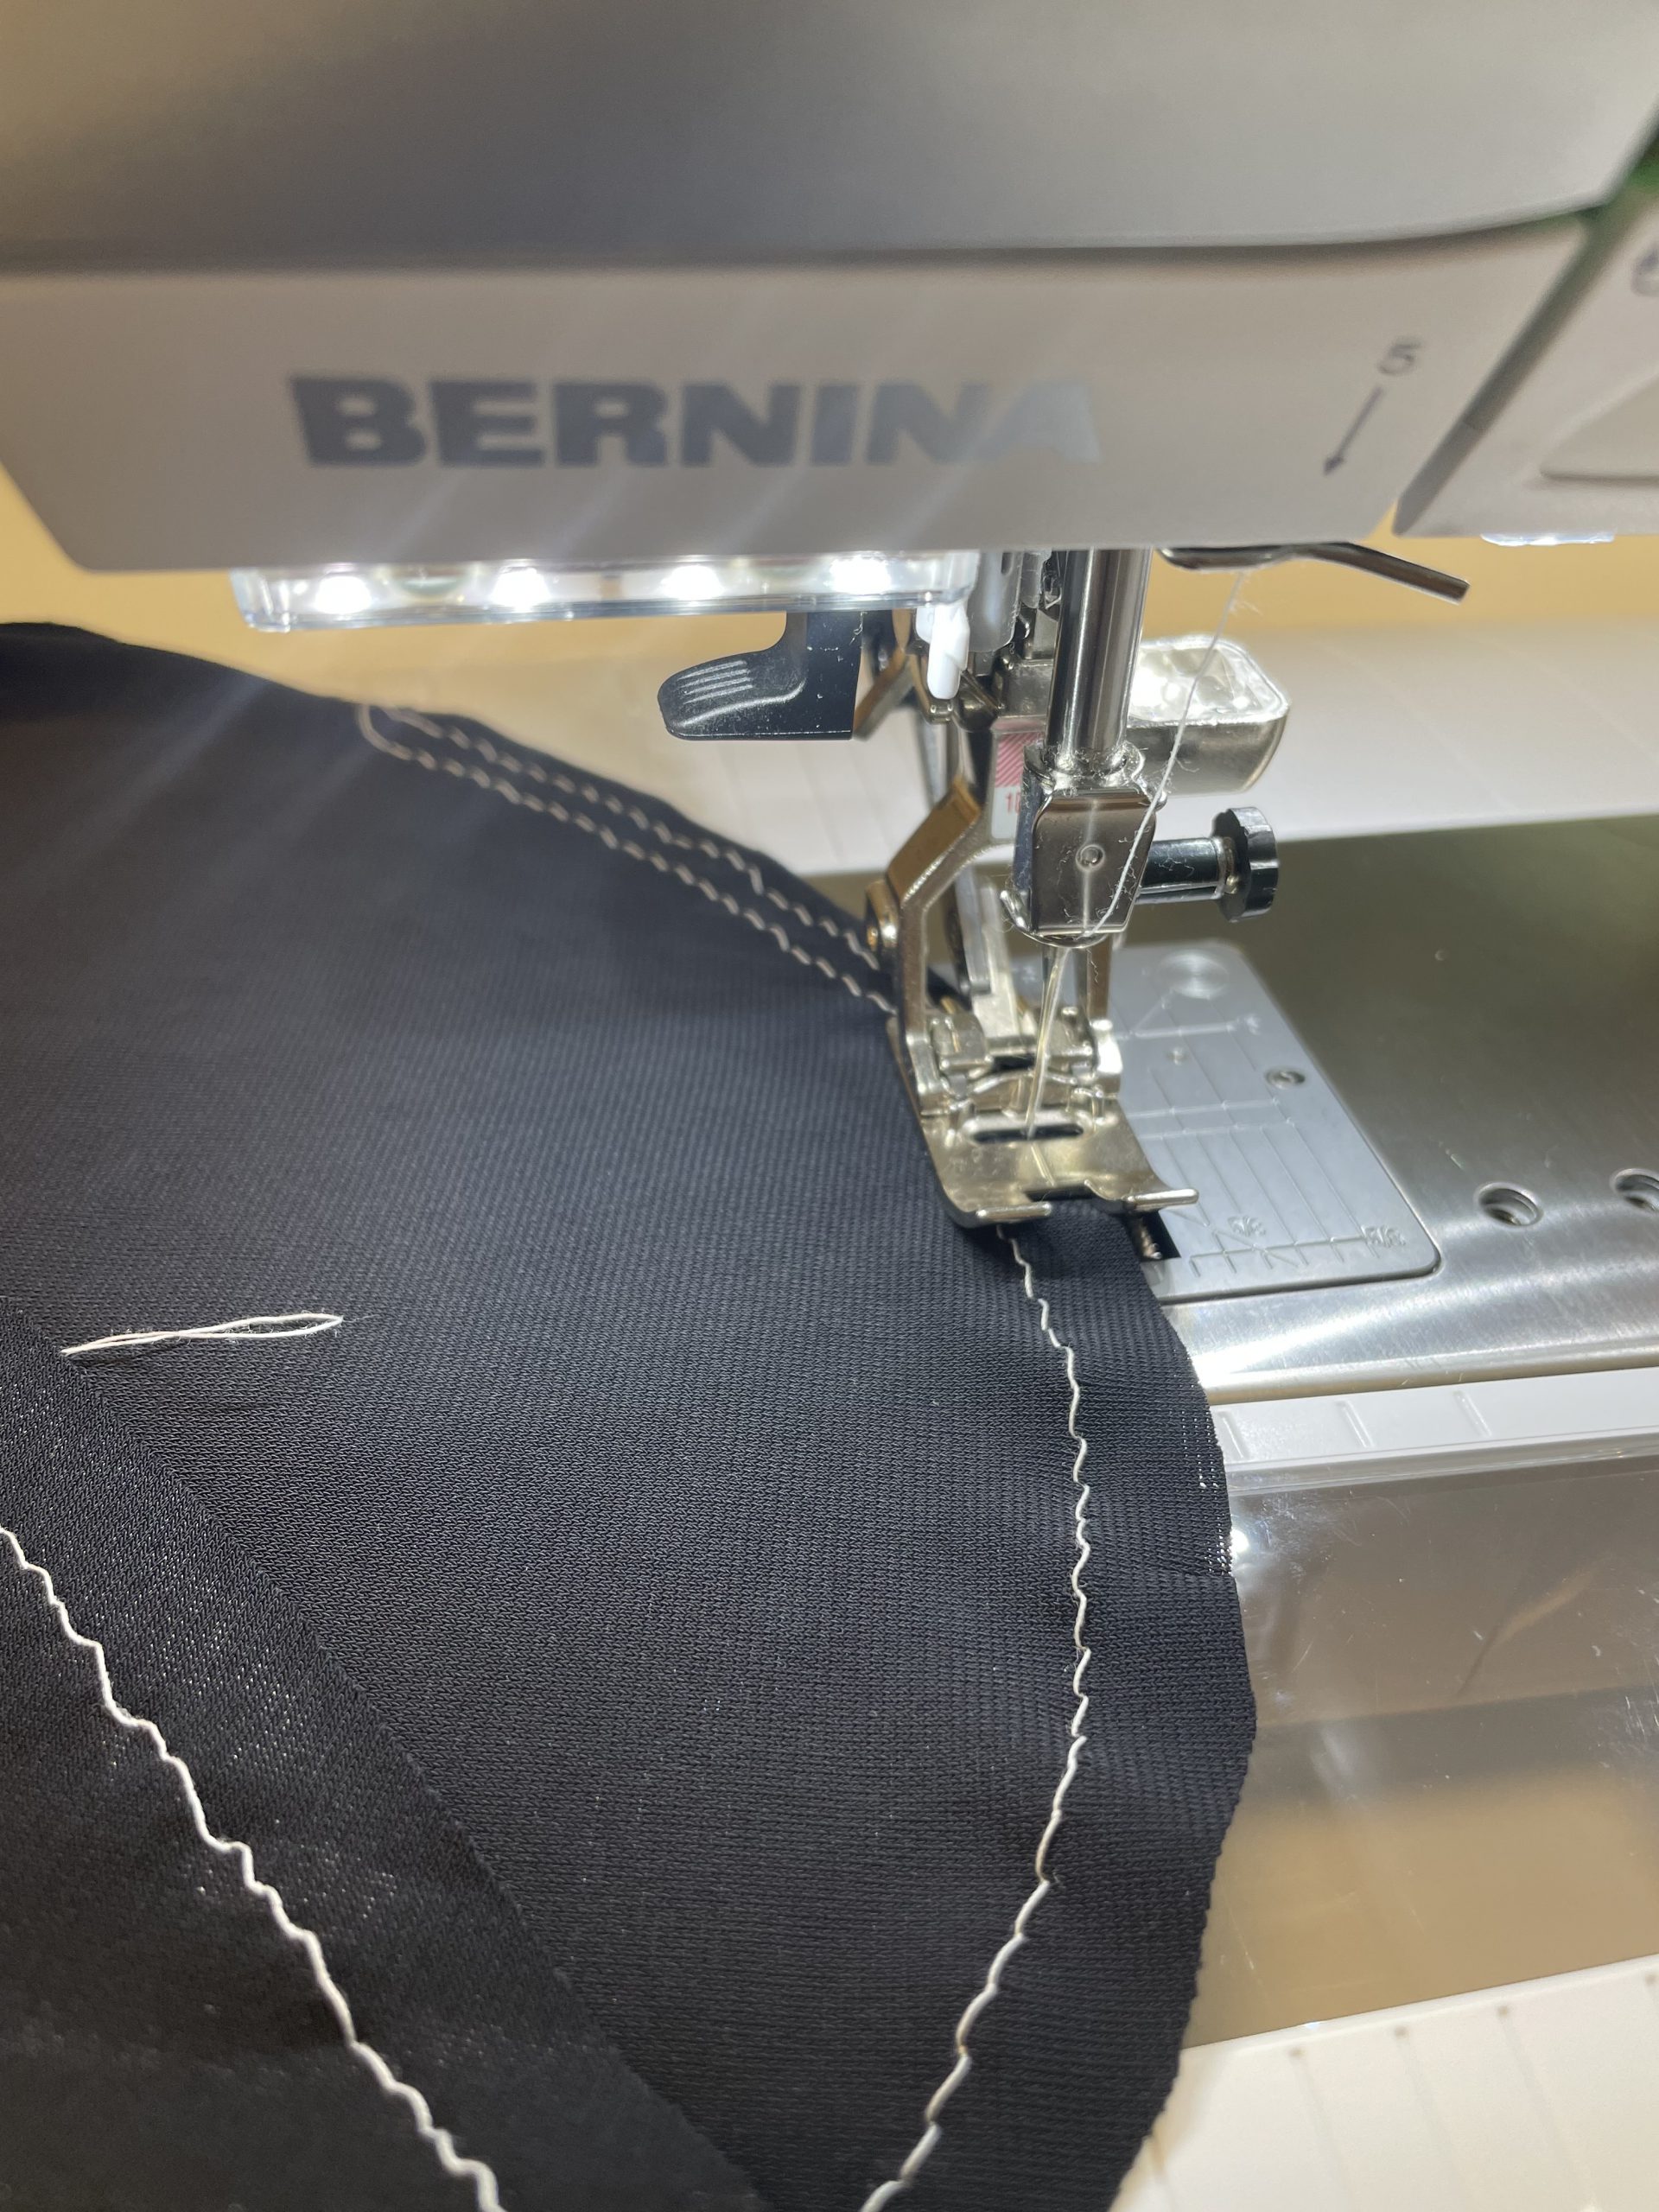
Sewing a party dress | The hem
To sew the hem, I used the blindstitch and Blindstitch foot # 5 on my BERNINA. Take a close look at the image below… despite the very thin material, the stitch is really hard to see and secures the hem perfectly! For the blind stitch, I again used elastic SERAFLEX thread from Mettler.
Sewing a party dress | The sleeves
Last of all, it’s time to insert the sleeves. The top curve should be slightly gathered. The easiest way to do this is to use a long stitch length to sew two parallel seams, which are then pulled to the corresponding length without creating any wrinkles. Then sew between the two gathering seams.
As I did not want to use the shoulder pads recommended in the instructions, the sleeve is a little too wide for my taste. I therefore decided to sew slightly closer in.
So, what else is missing from this home-sewn party dress…?
The next part of this series about sewing a party dress is coming soon!
Best wishes,
Claudia

0 Responses