 BERNINA Corporate Blog -
Time to shine! Timeless suit part 1: The pants
A timeless suit has long been on my to-sew list. Earlier I made jumpsuits and sometimes they exist of two parts (a.k.a faux jumpsuits). Once I upcycled a men’s suit into a suit with a biker jacket, but I’ve never made a real suit with a jacket with a lapel collar and pants before.
Well, come to think of it that’s not entirely true. There is a memade summer suit in my wardrobe, but I never wear it as such. I’ve worn the jacket lots of times, the pants not so much. The fit is not quite right and on hindsight neither is the fabric choice. The biggest challenge for me is: Sewing well-fitting trousers (in the right fabric ;-)).
In this blog I share the most challenging part of the suit. Finding the right pattern and making the pants.
Ga naar de Nederlandse blog

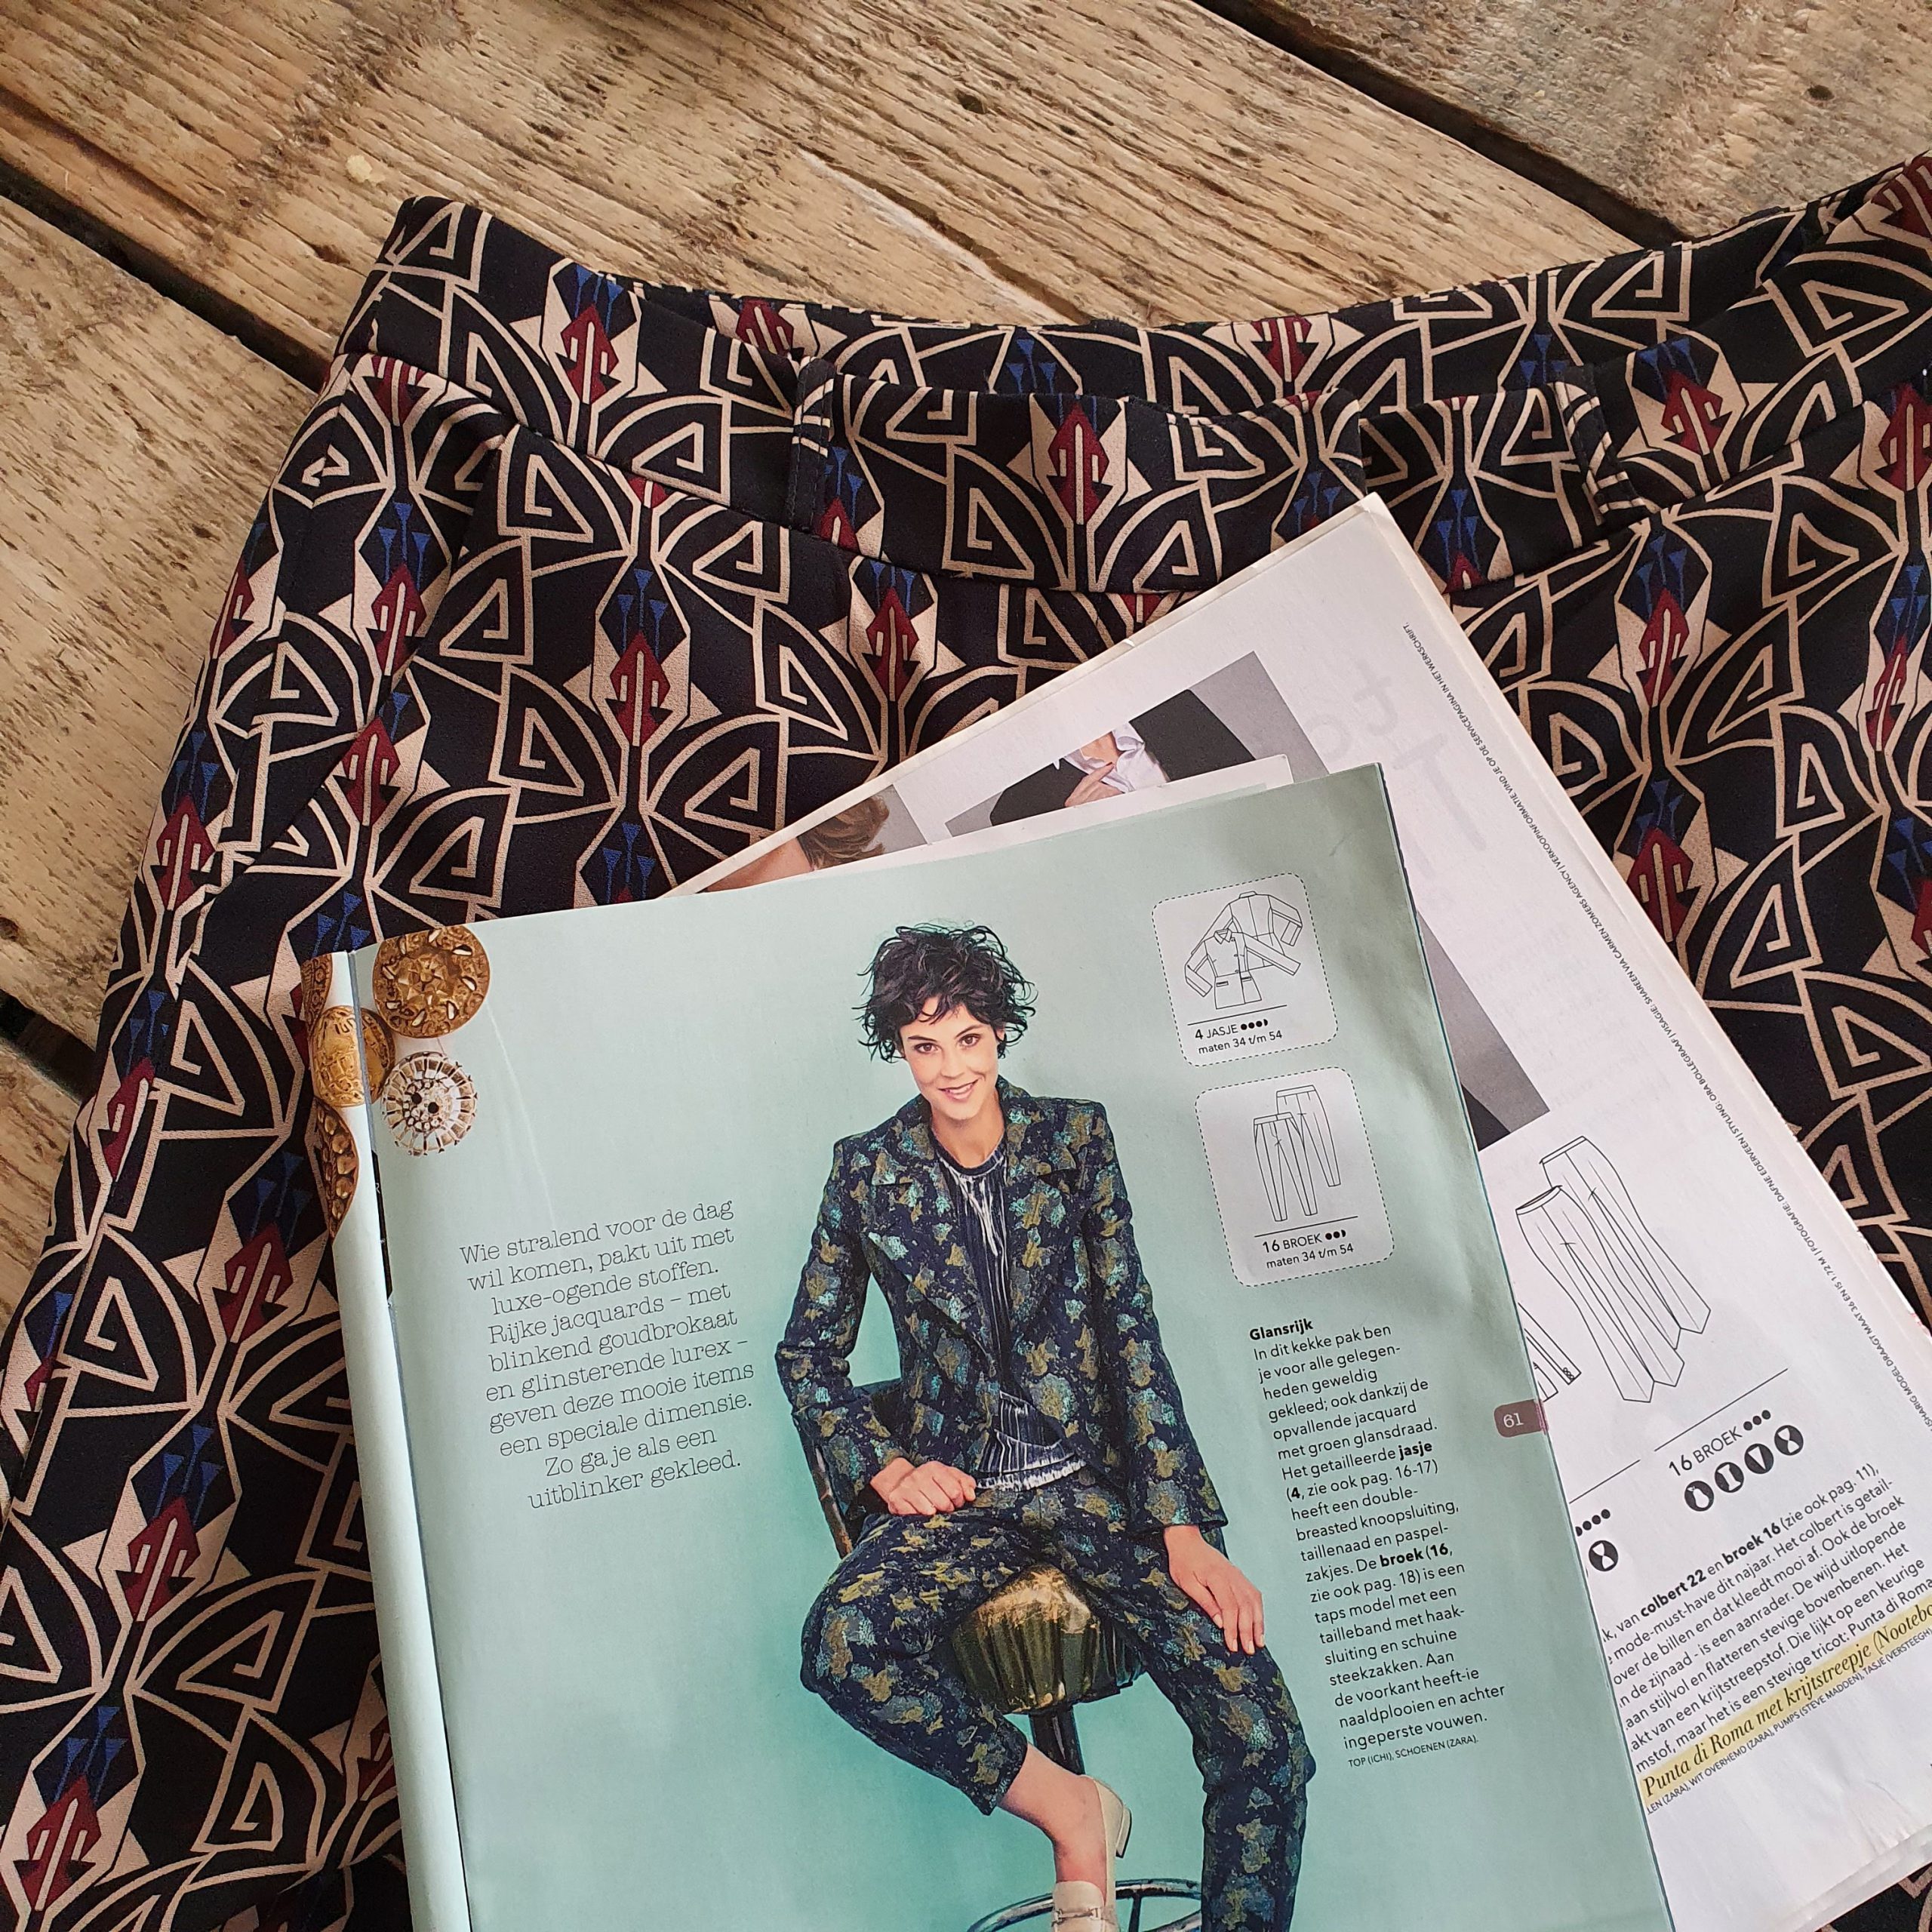
Sneak suit peak
The fabric
The fabric was already in my stash. It’s one of those fabrics that calls out to you when you walk into the fabric store. Holding the fabric you think of all kinds of projects that you can make of it, but you came for something else…and you leave the fabric in the store. Until you get home and it’s stuck in your head (would’ve, could’ve, should’ve). Fortunately, the fabric store has a website and you can order it the same day. Perfect for this project. No regrets.
The fabric is a slightly thicker scuba crepe with some stretch, which I like for pants and also for a blazer. The stretch makes it comfortable to wear and the thickness of the fabric hides the imperfections.
The pattern

In my search for the perfect pattern I dived into my own pants file folder. That’s where I keep patterns that I made before that were relatively good. The ultimate pattern is not yet in there, so it again became a mix of two.
Pattern mix
From pattern A (Pants 16, Knipmode 11/2017) I like the fly closure. Furthermore it has a slightly wider waistband and pockets. The pants I made before with this pattern fits me just fine. For the silhouette of the suit I had a slightly wider leg in mind , somewhat of a bell bottom. Like pattern B (Pants 16, Knipmode 11/2019). I also sewed these pants before. What I took from that experience was that I liked the leg and length, but how the pants fits me around the waist and belly area wasn’t a success. I had to tweak a lot. In conclusion for the perfect pants it had to be a a mix of these two patterns: the top part of A and the bottom of B.
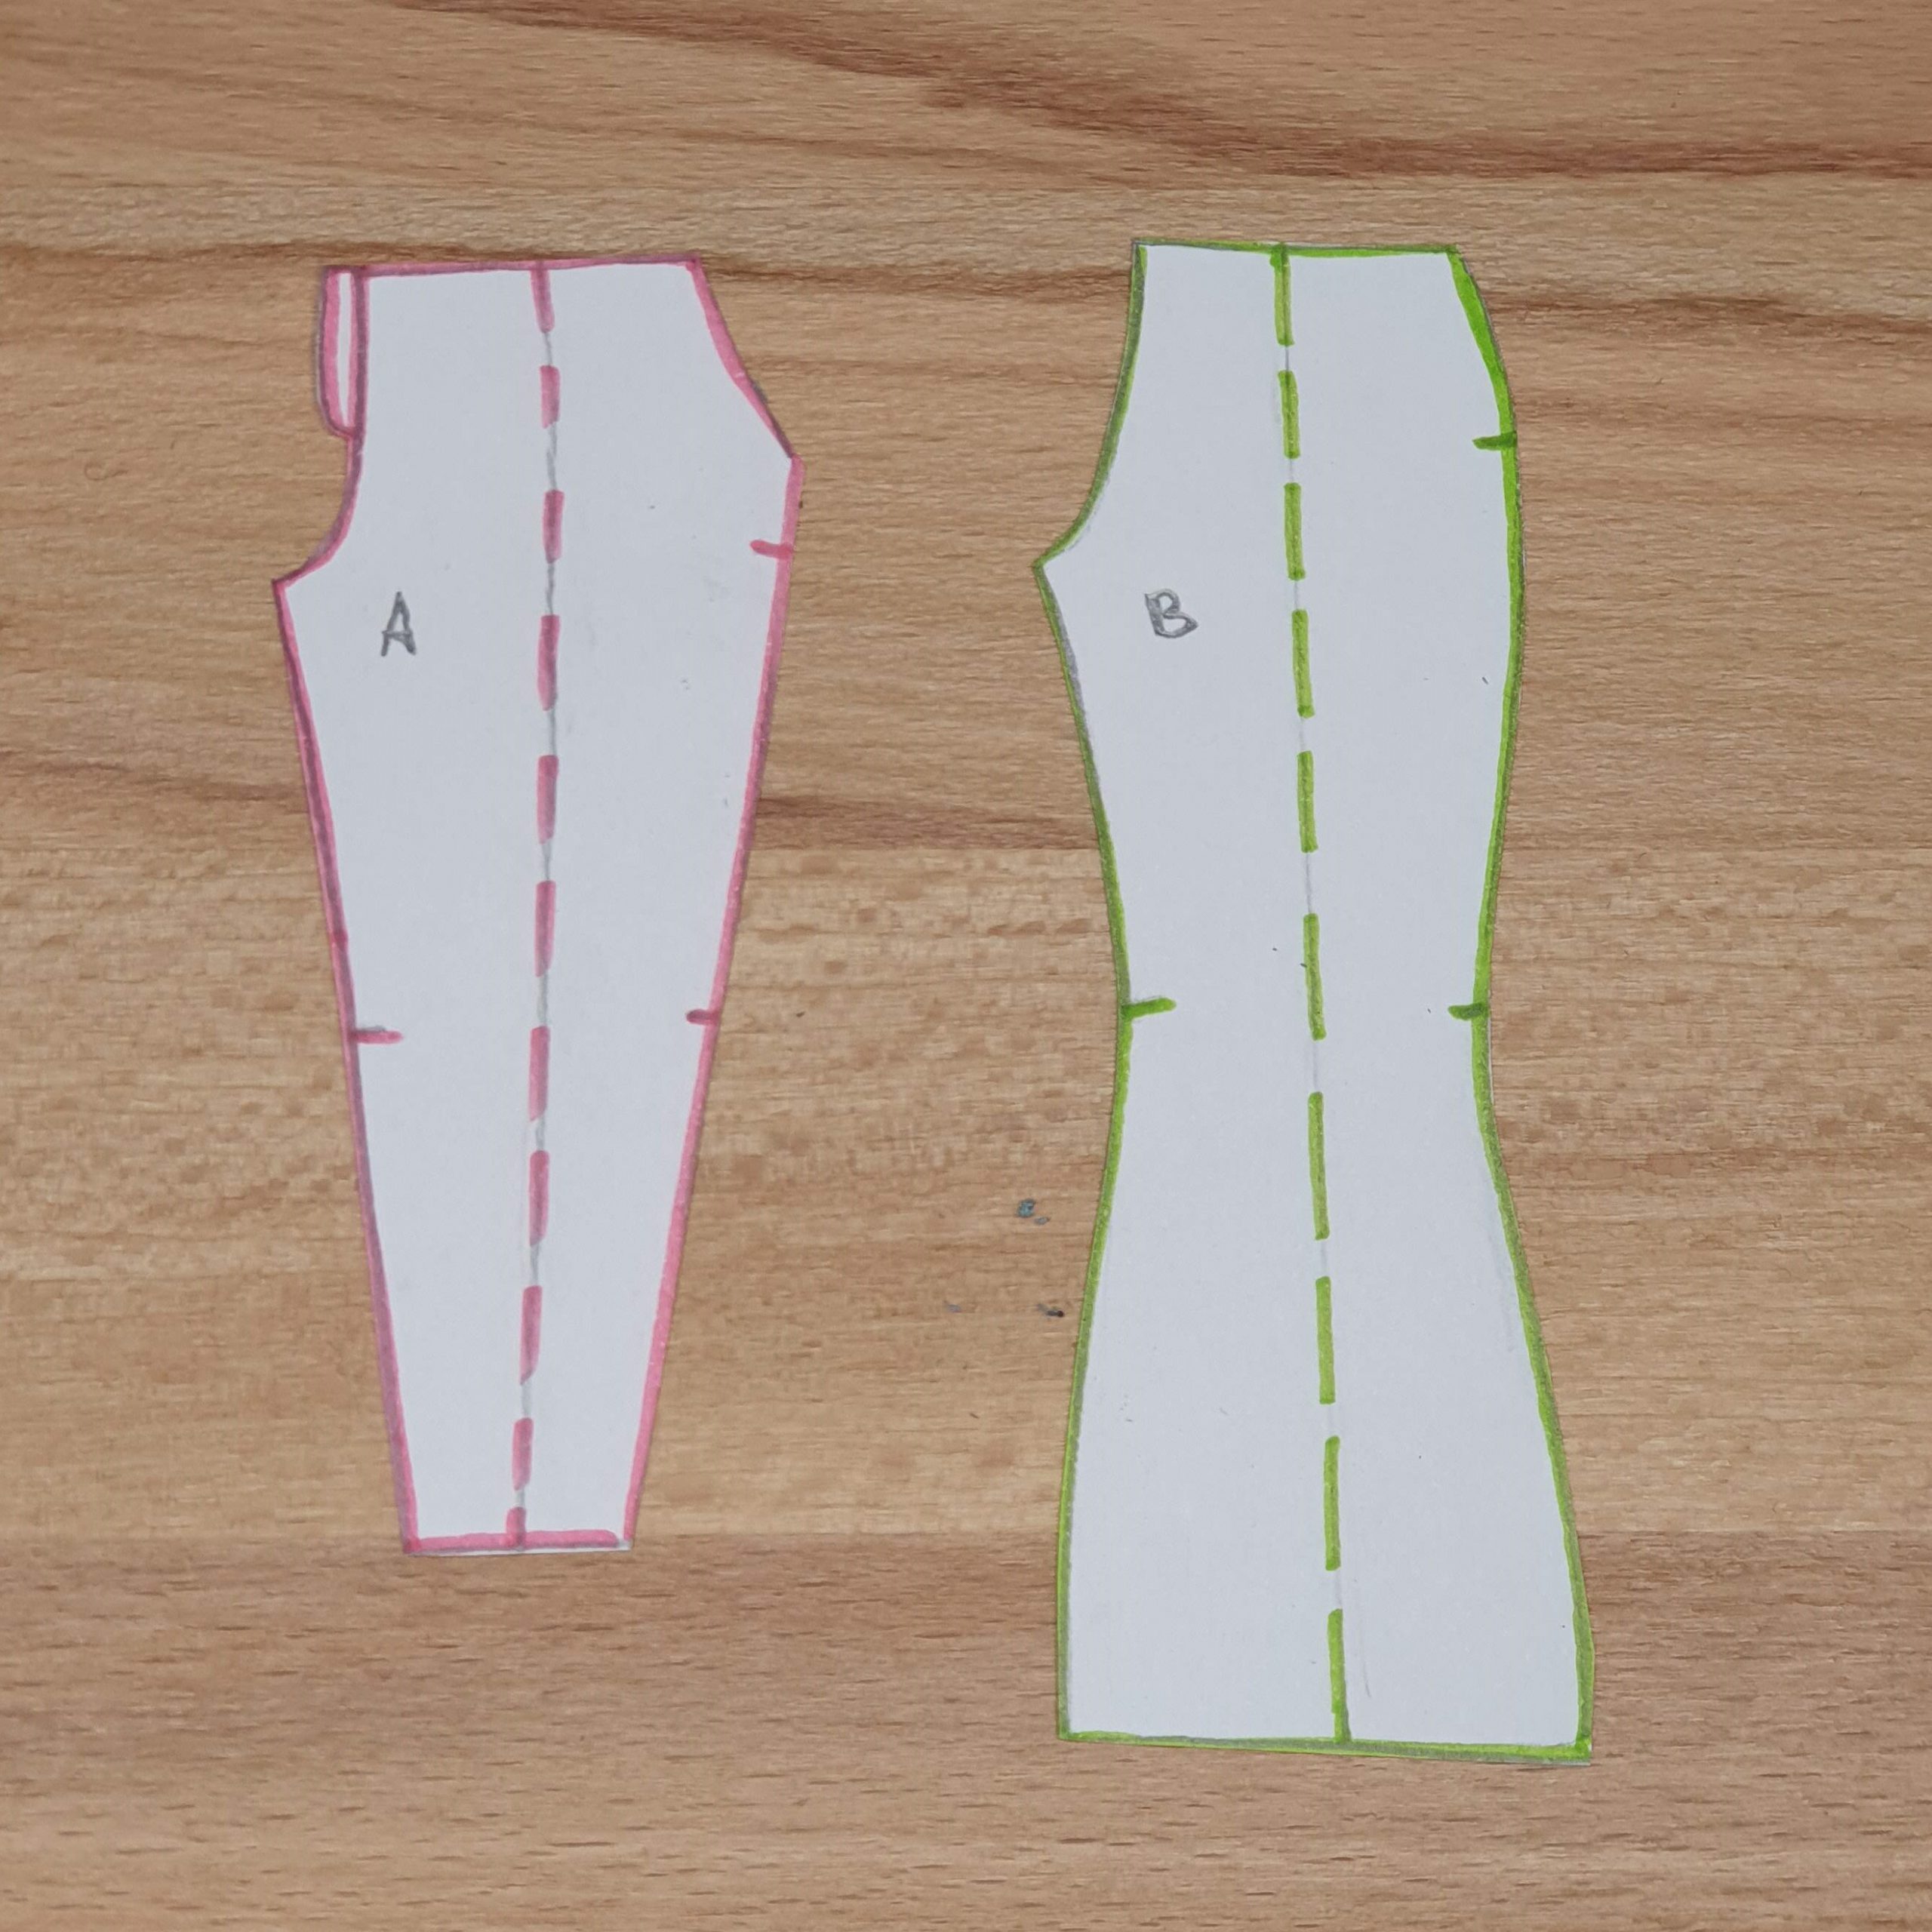
Pattern A en B
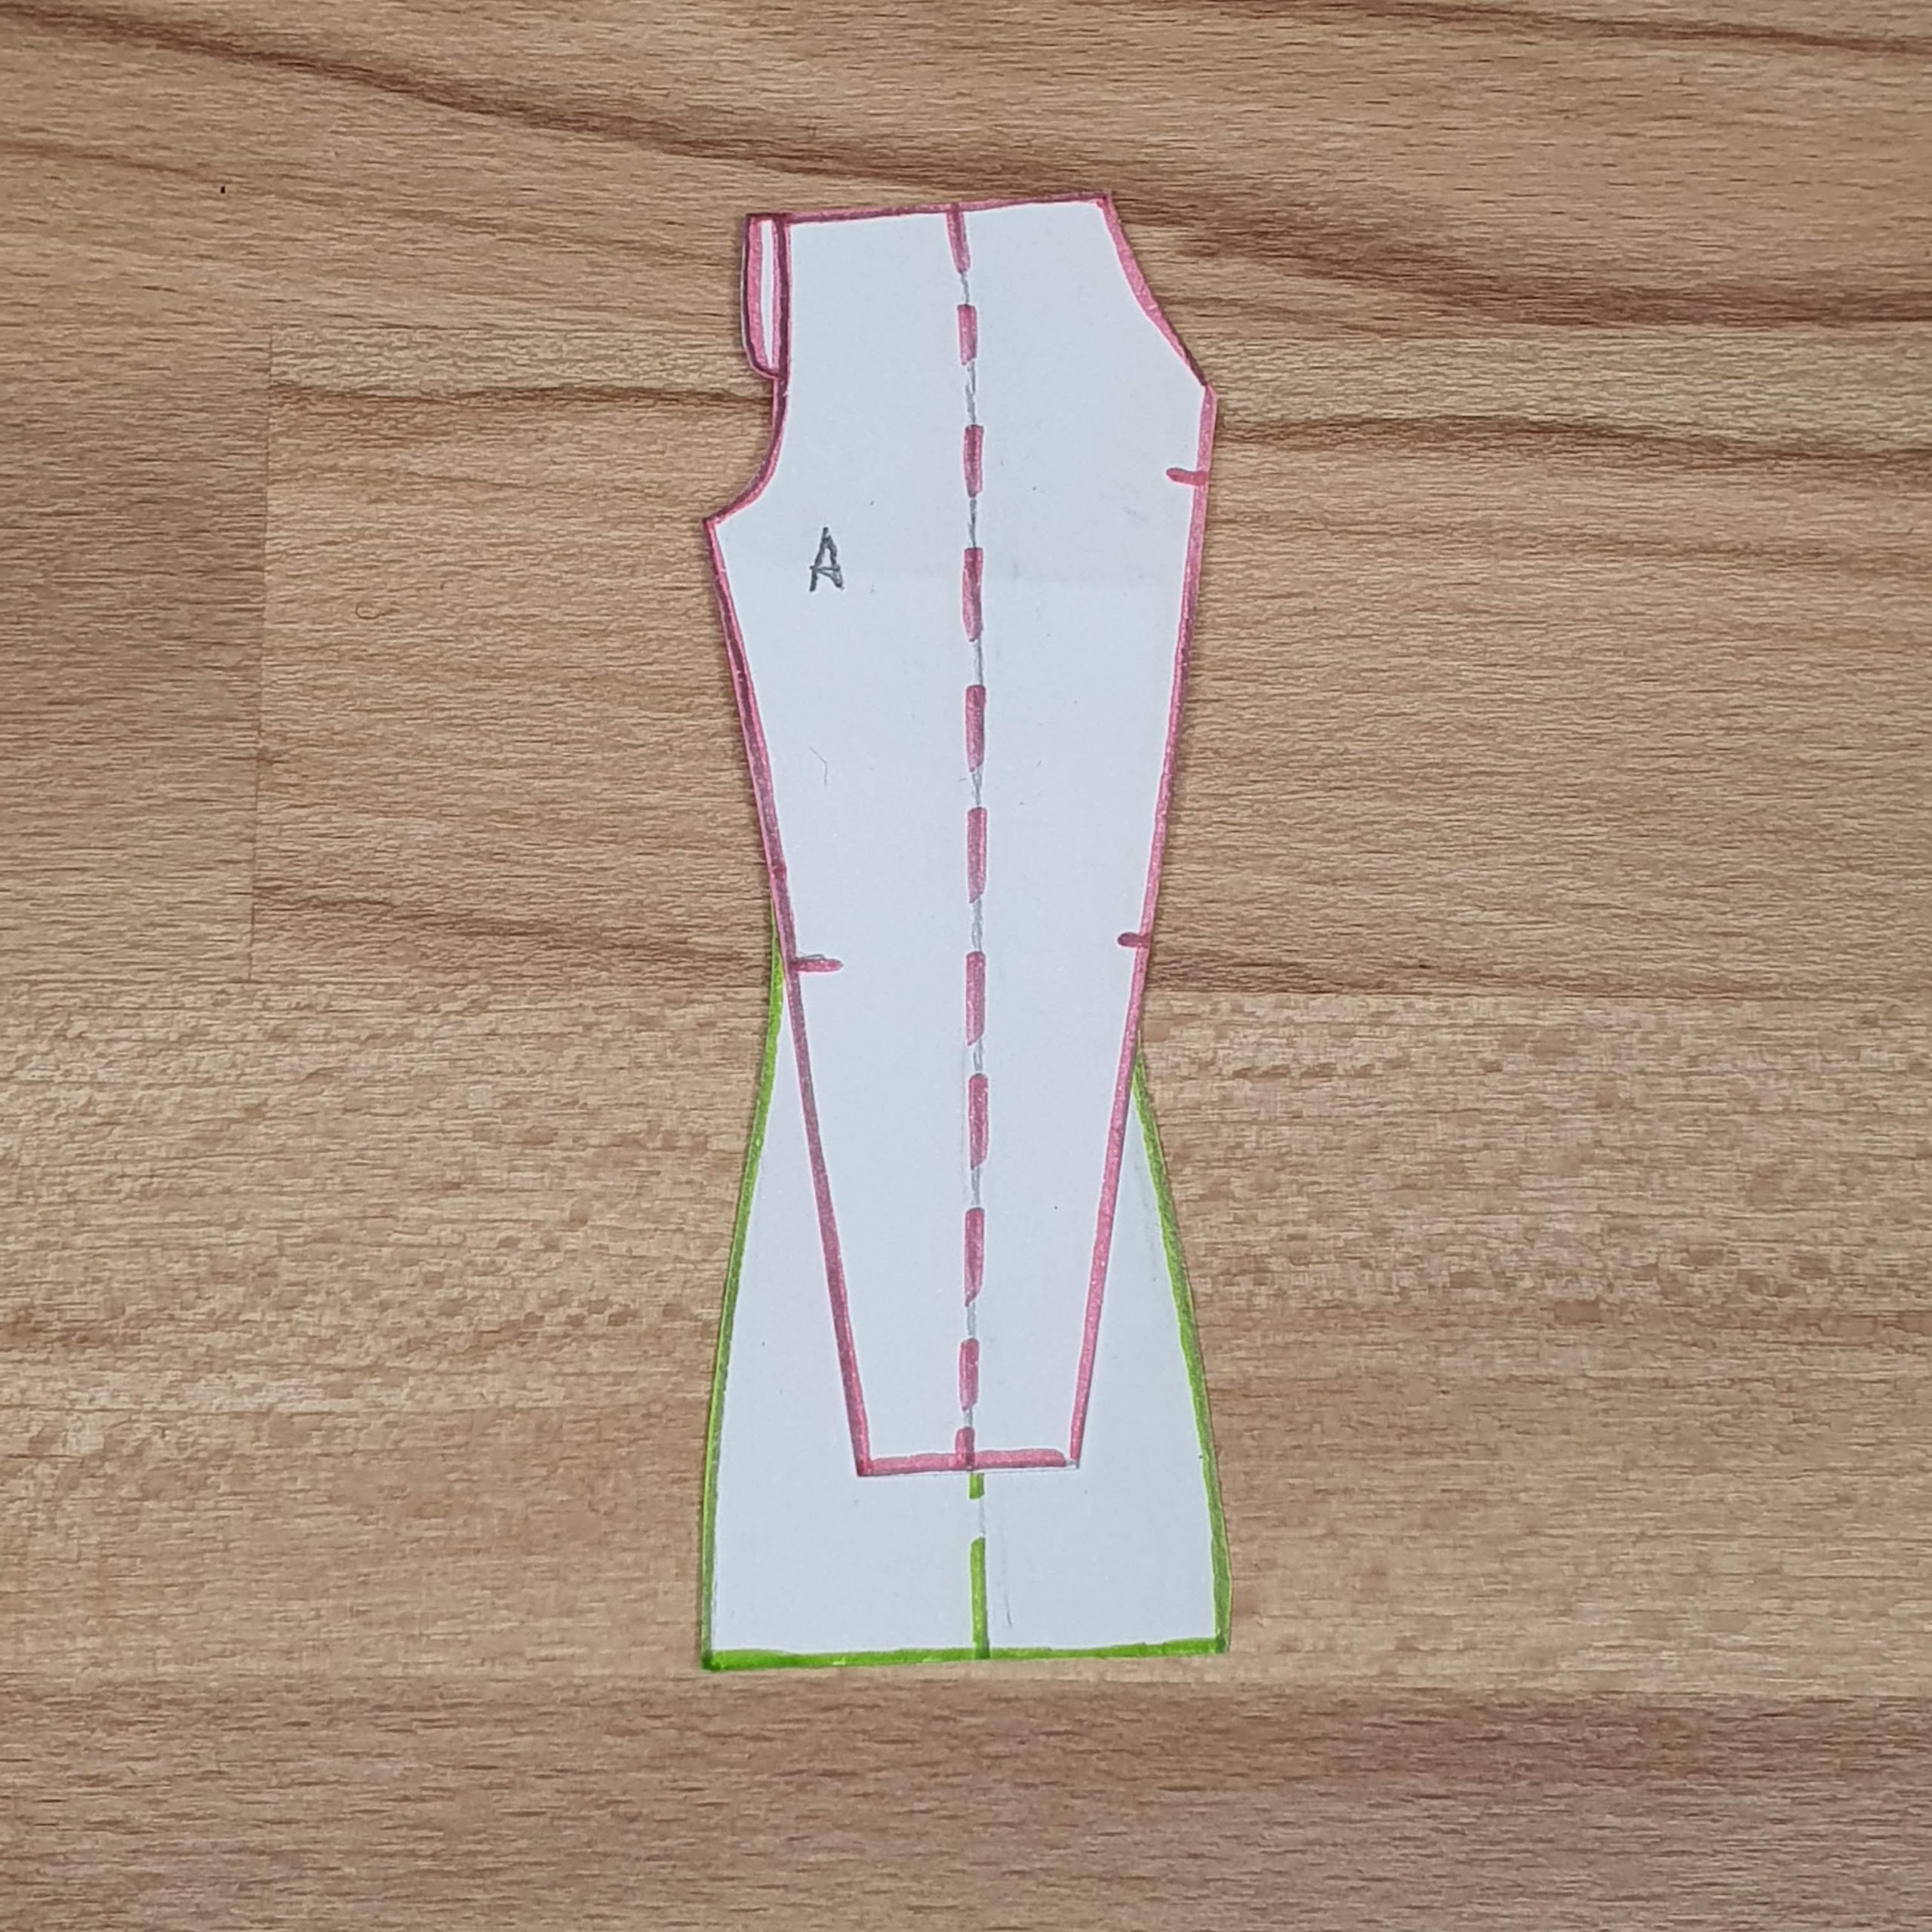
Mix!
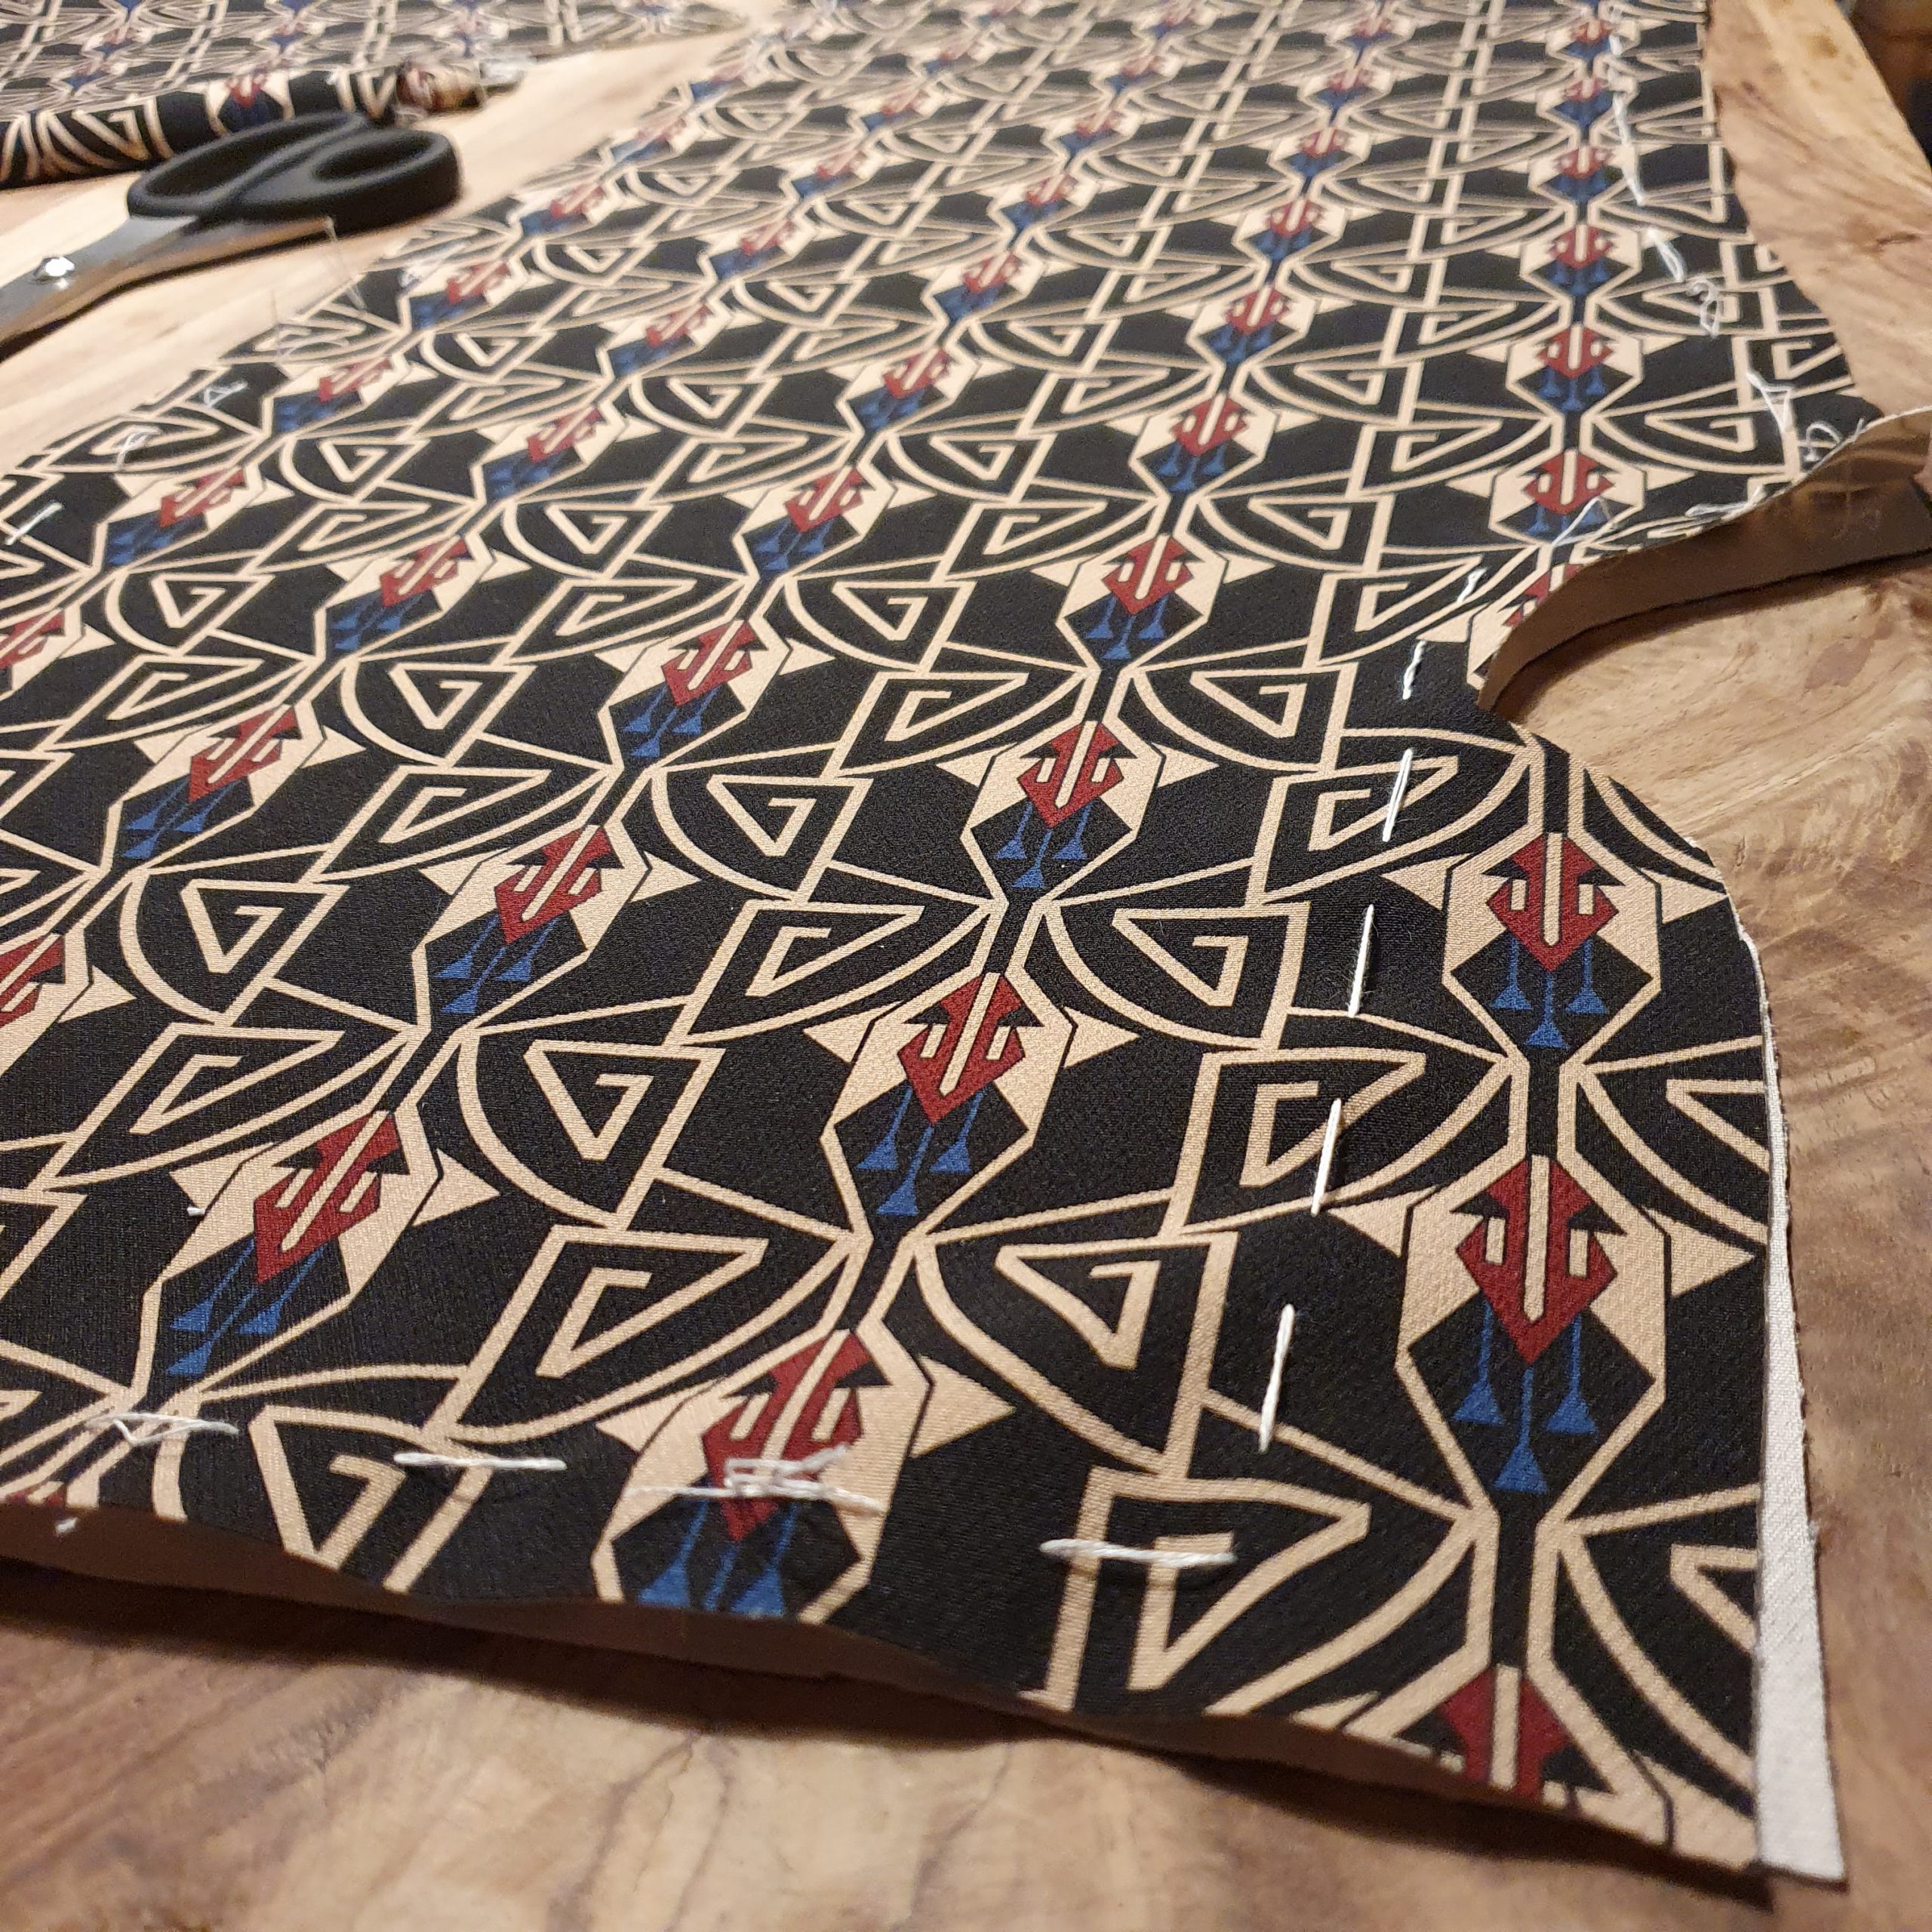
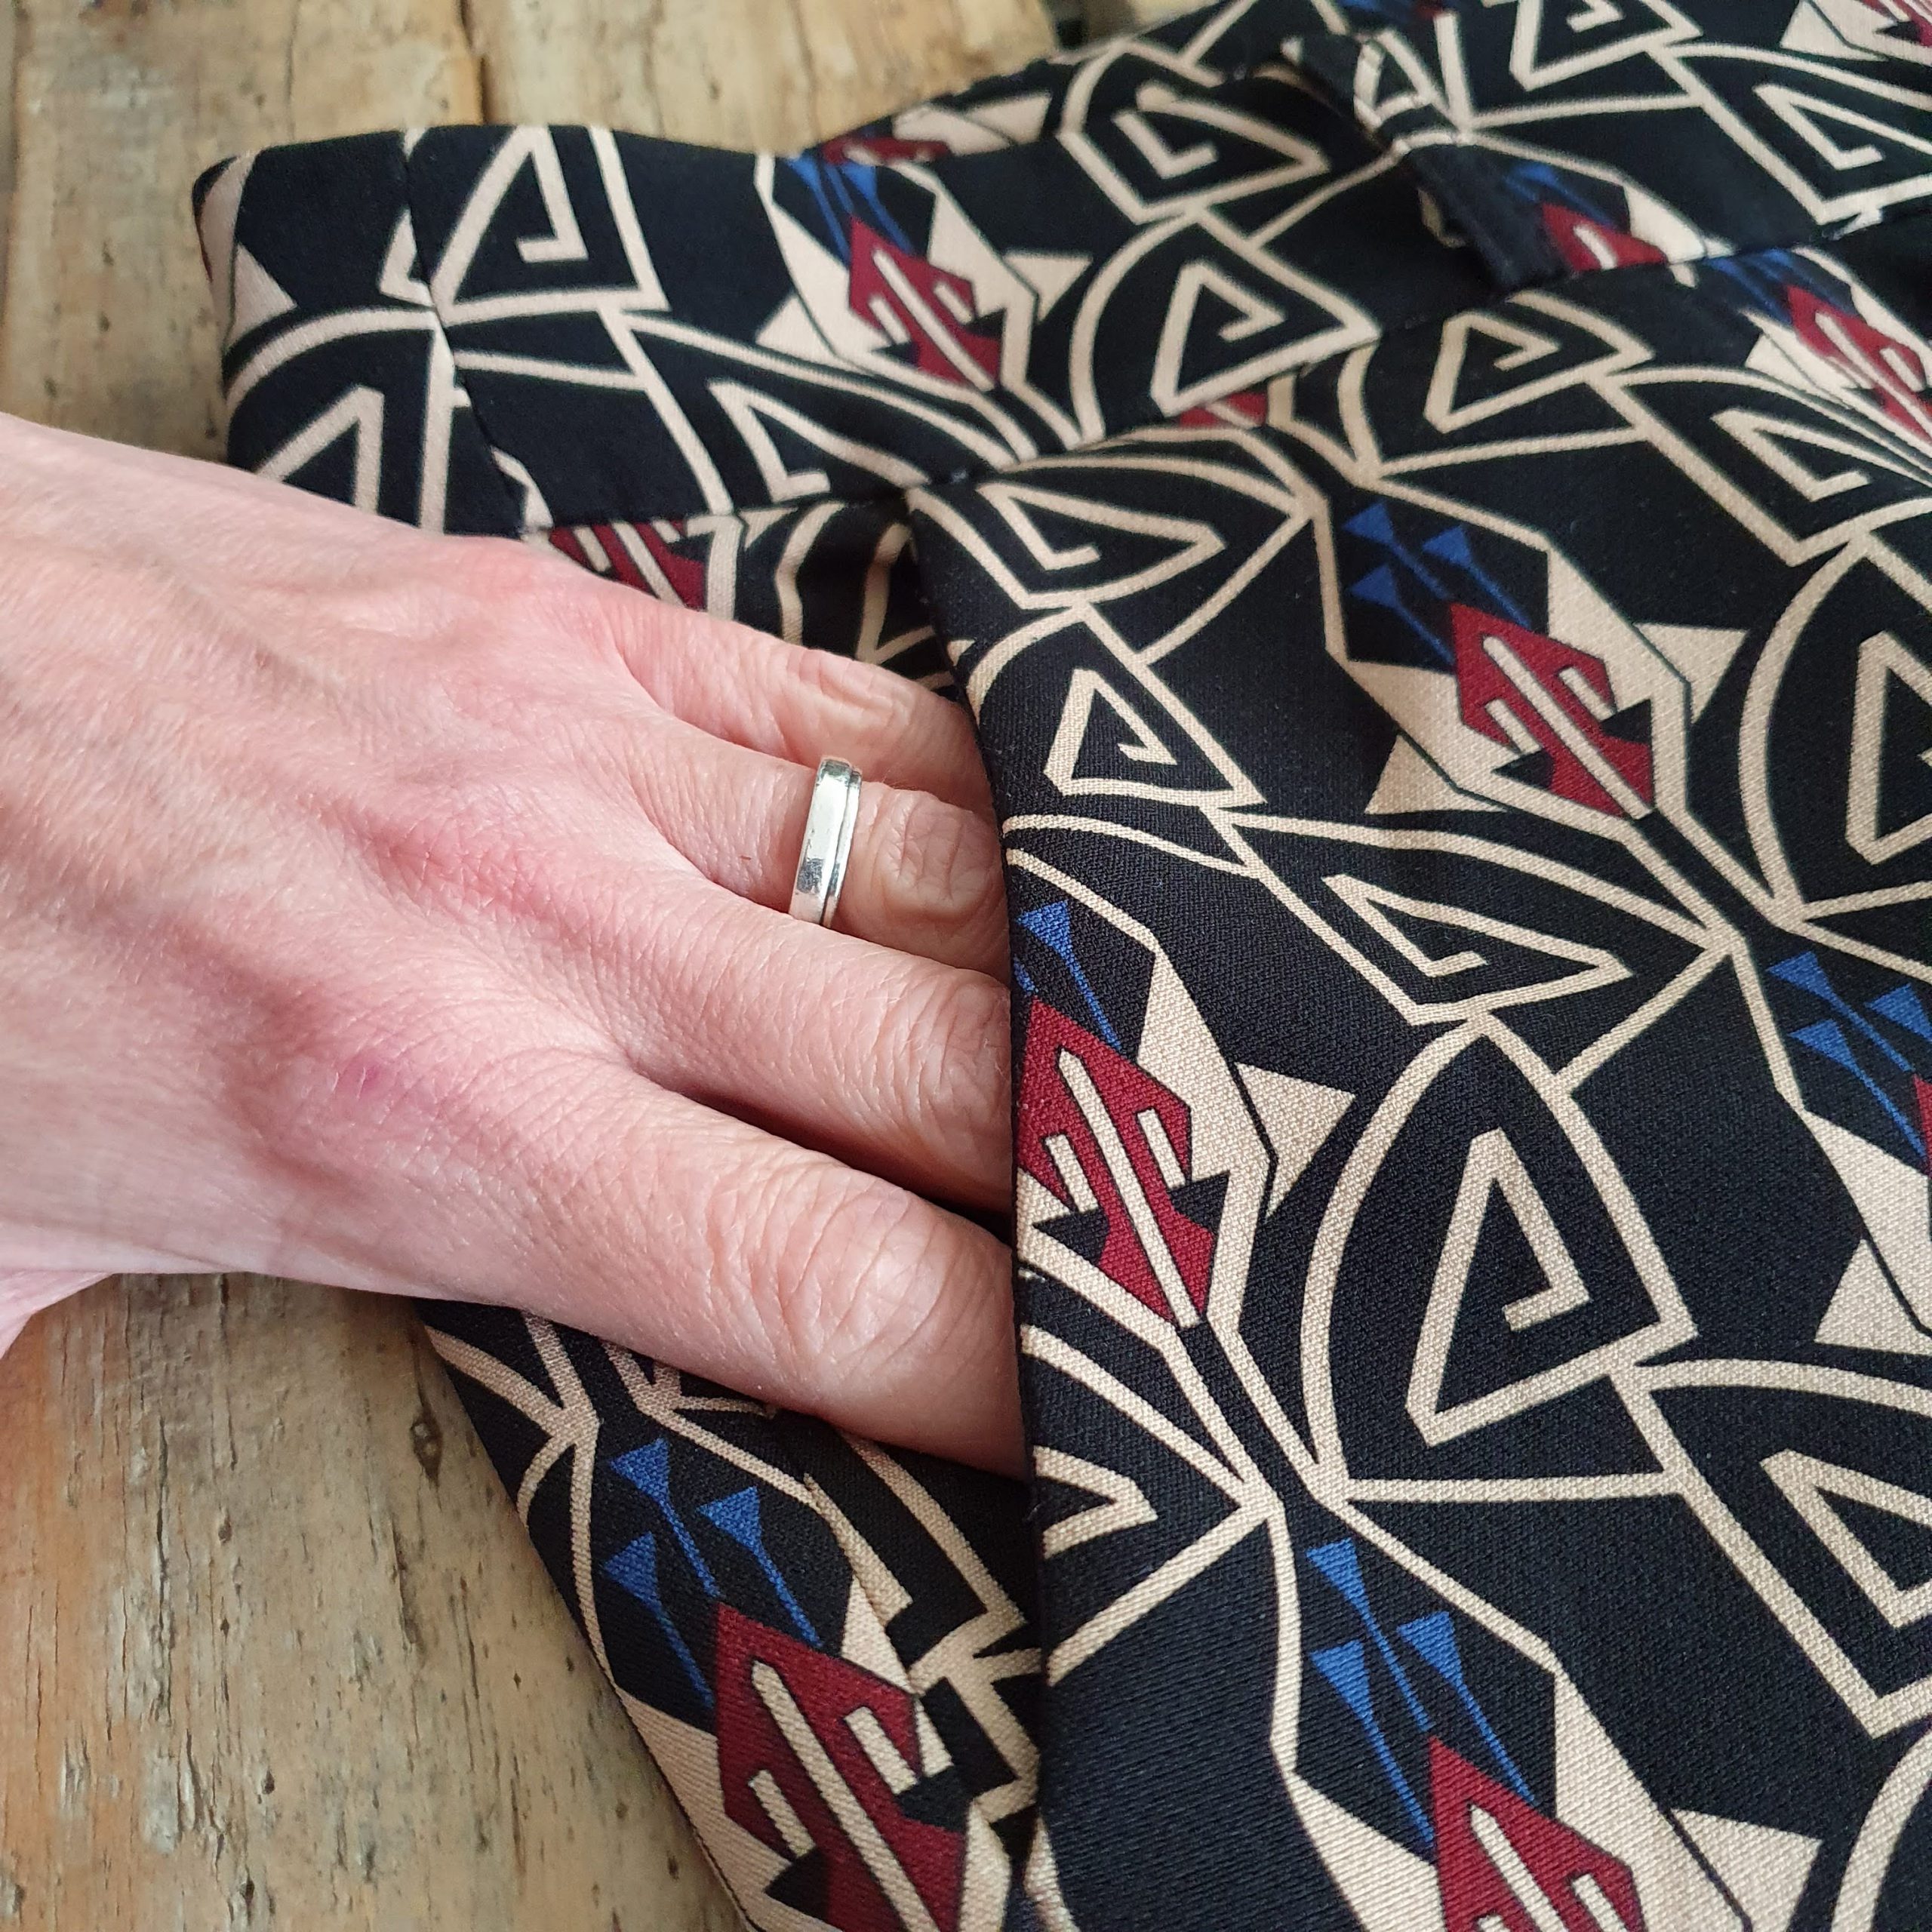
Cut and prepare
When making a suit, cut all the parts at the same time. Pants and blazer. This way you get the most out of your fabric by playing pattern Tetris with all the pieces. And there are a lot of pattern pieces to put together. Sort it well, so you don’t lose anything.
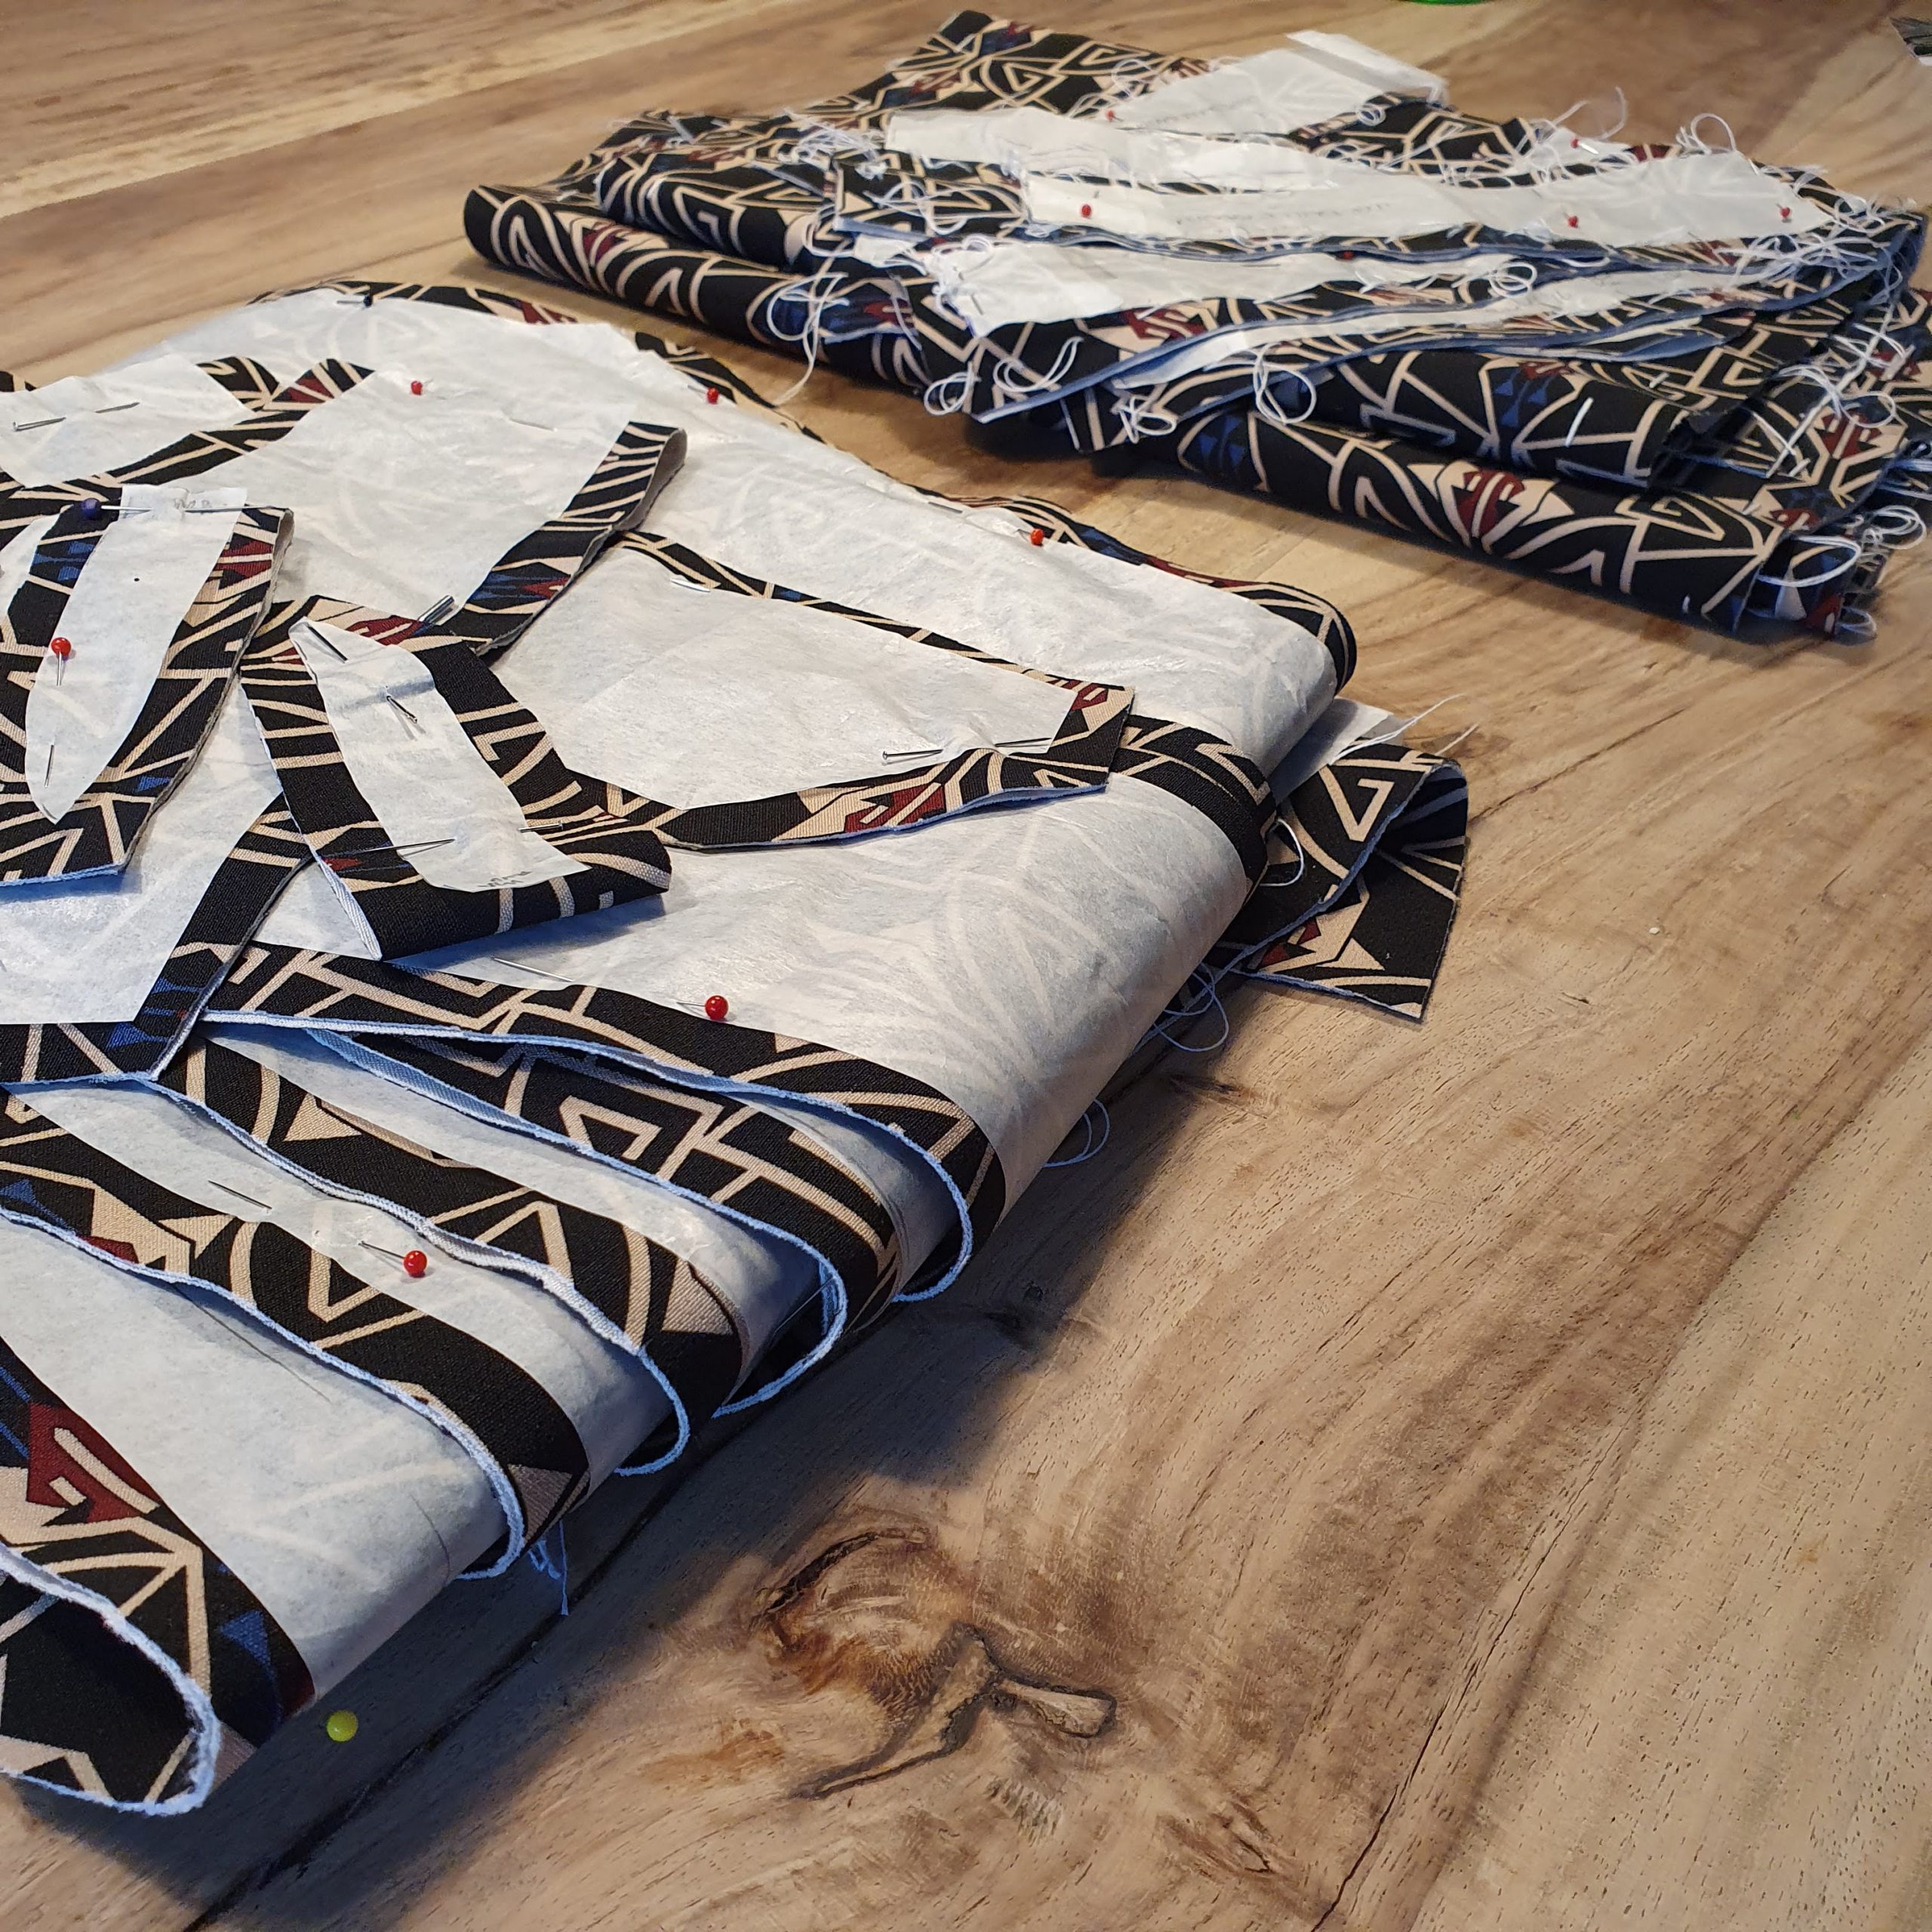
Sorted
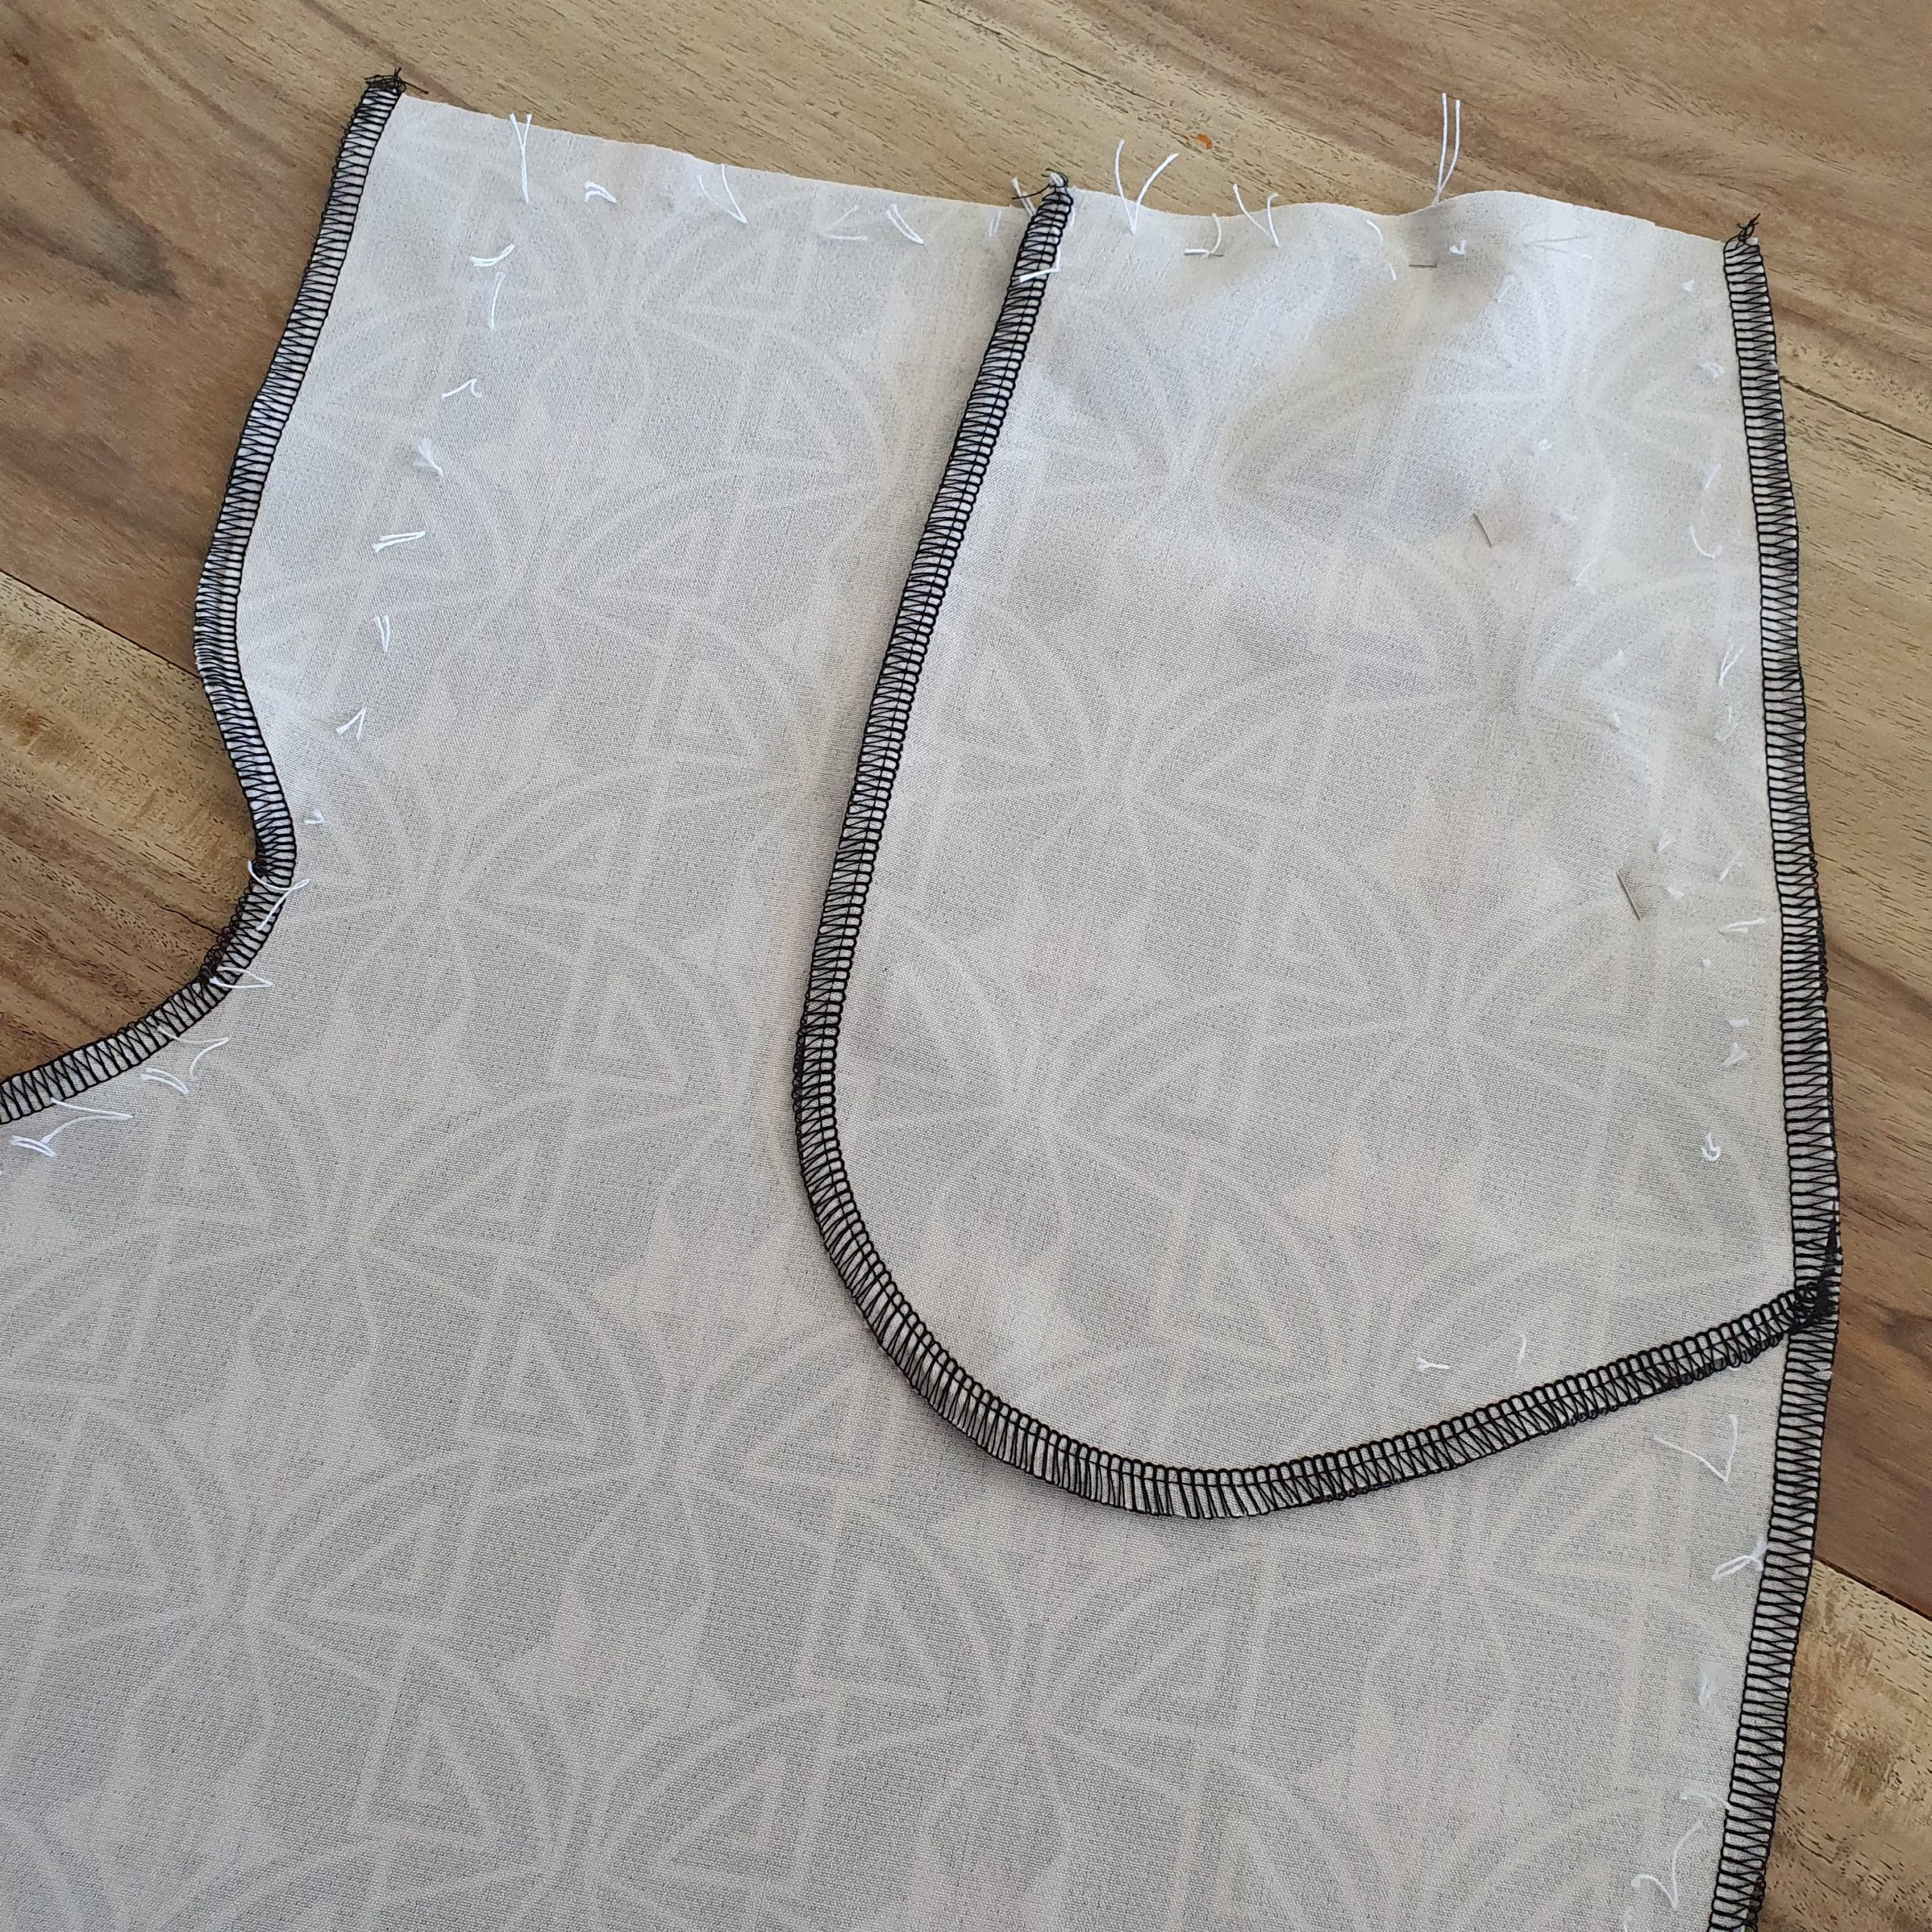
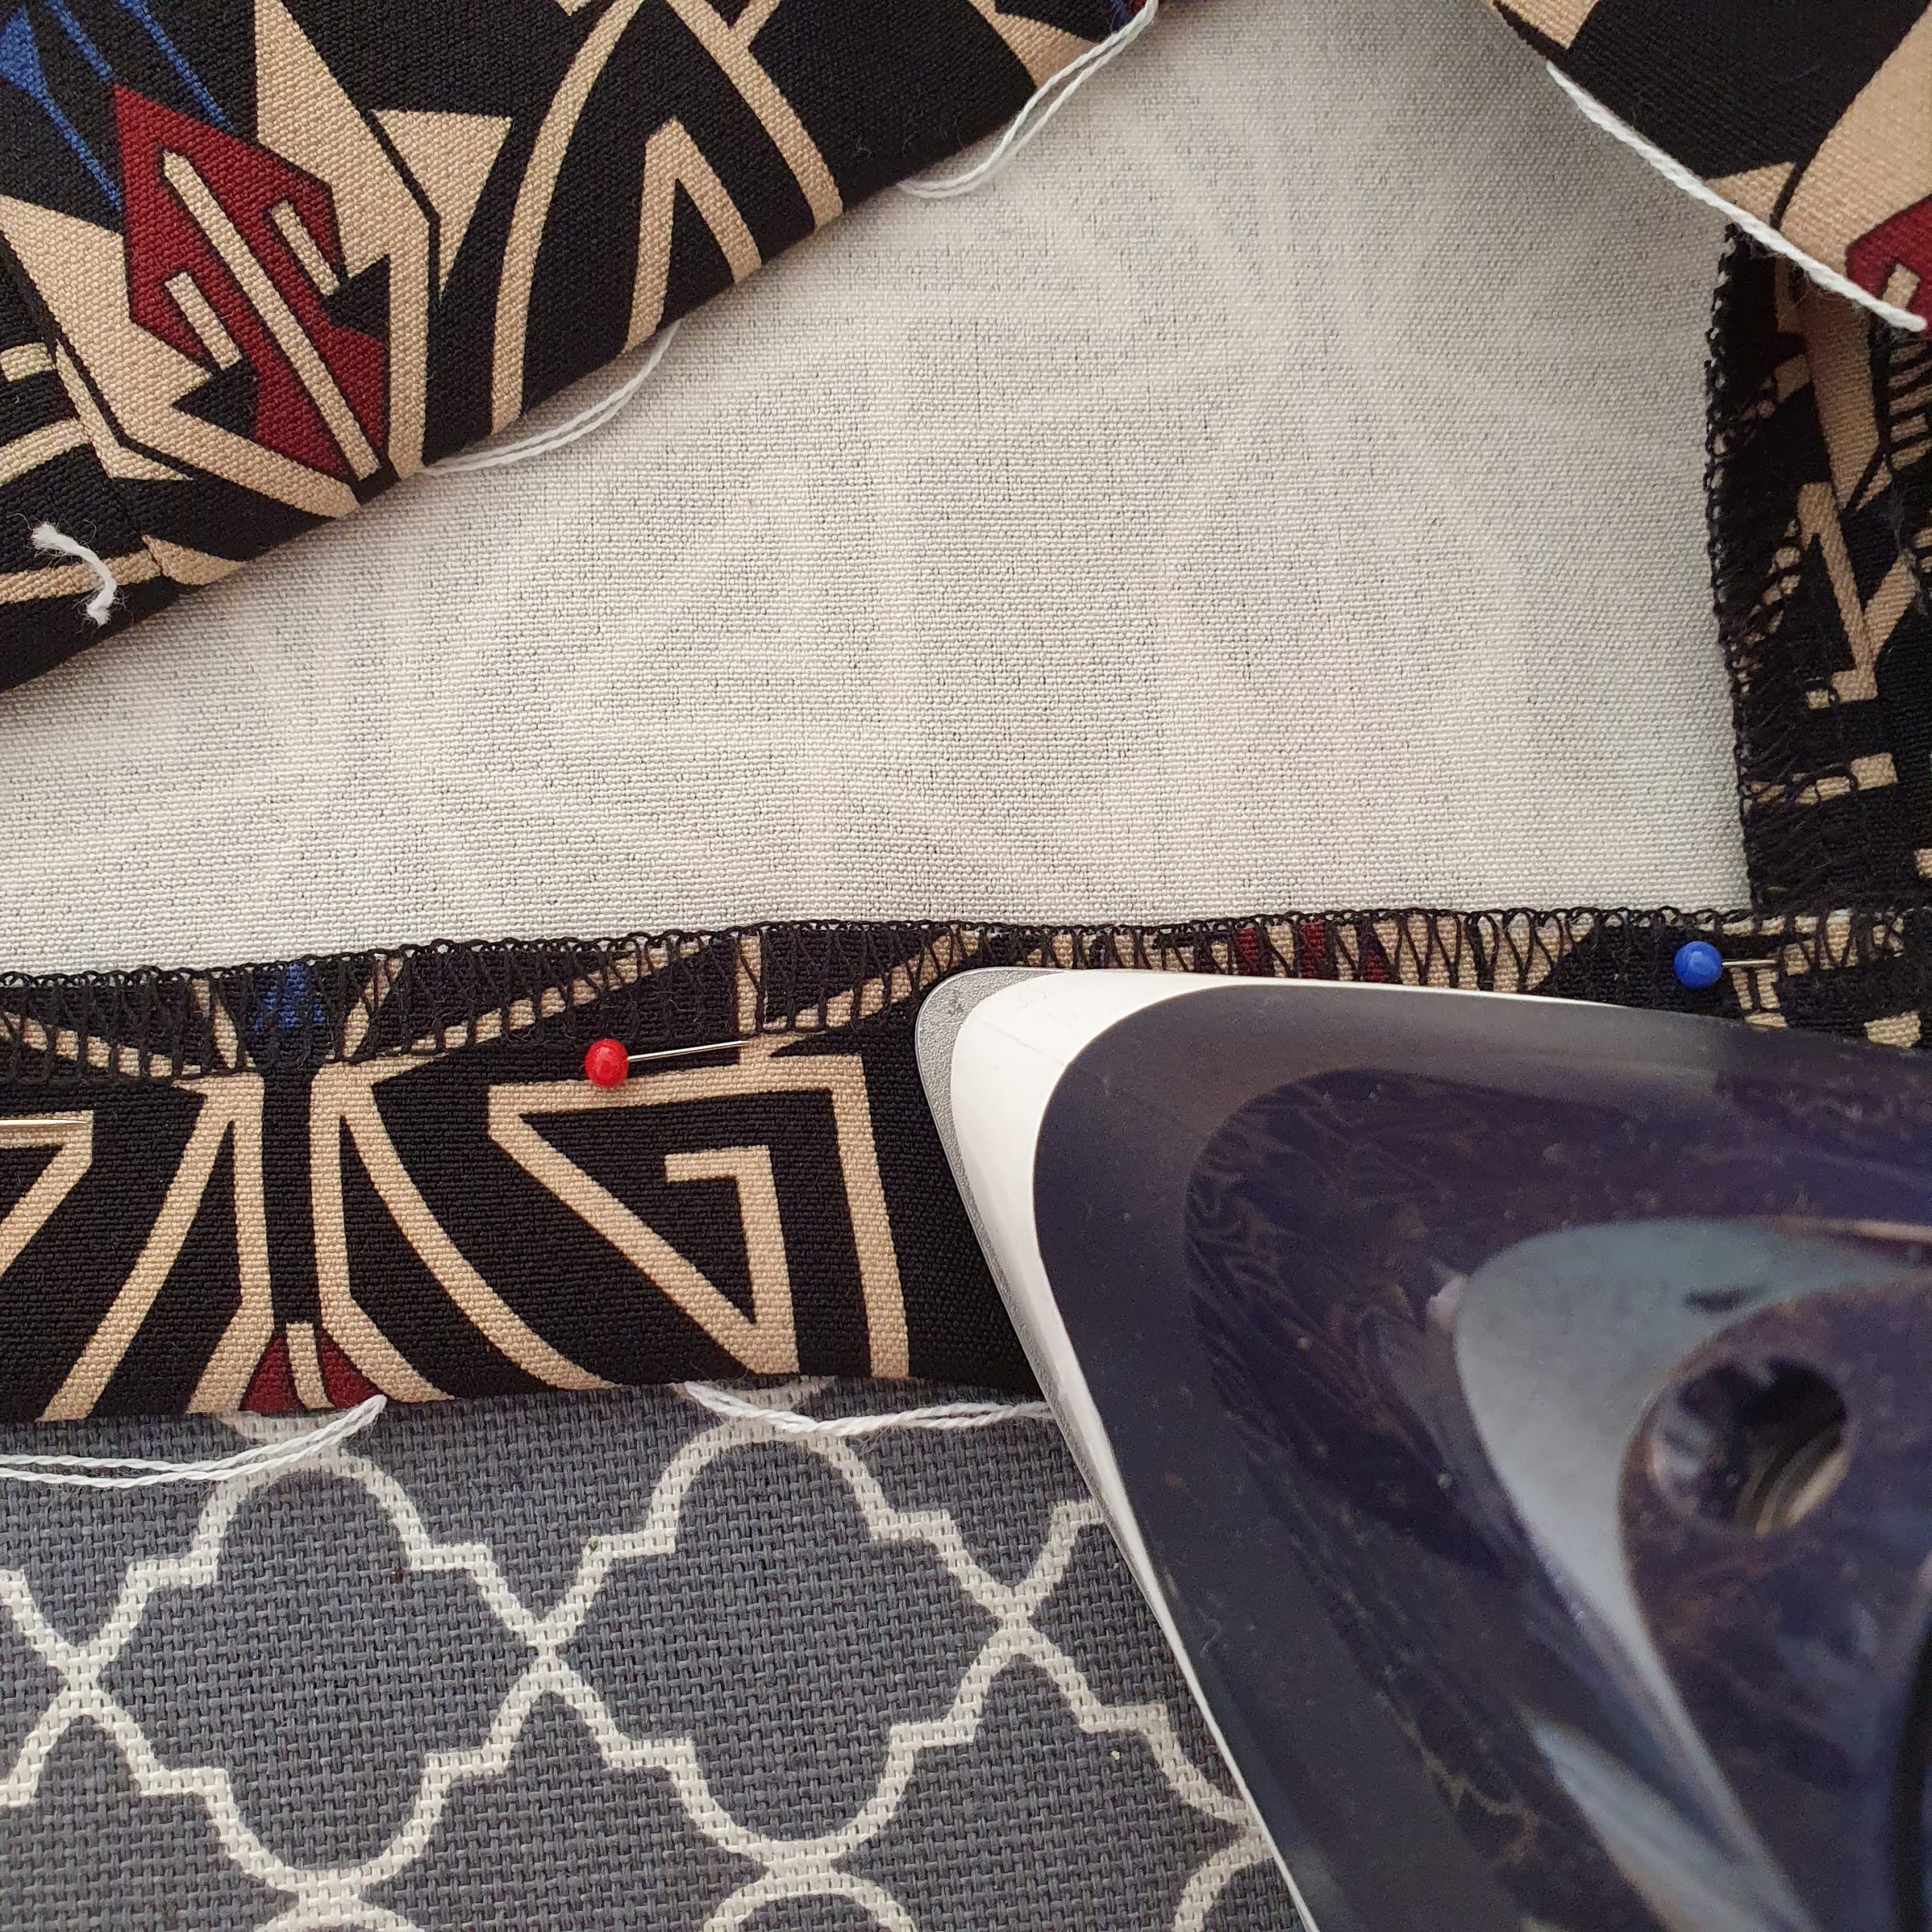
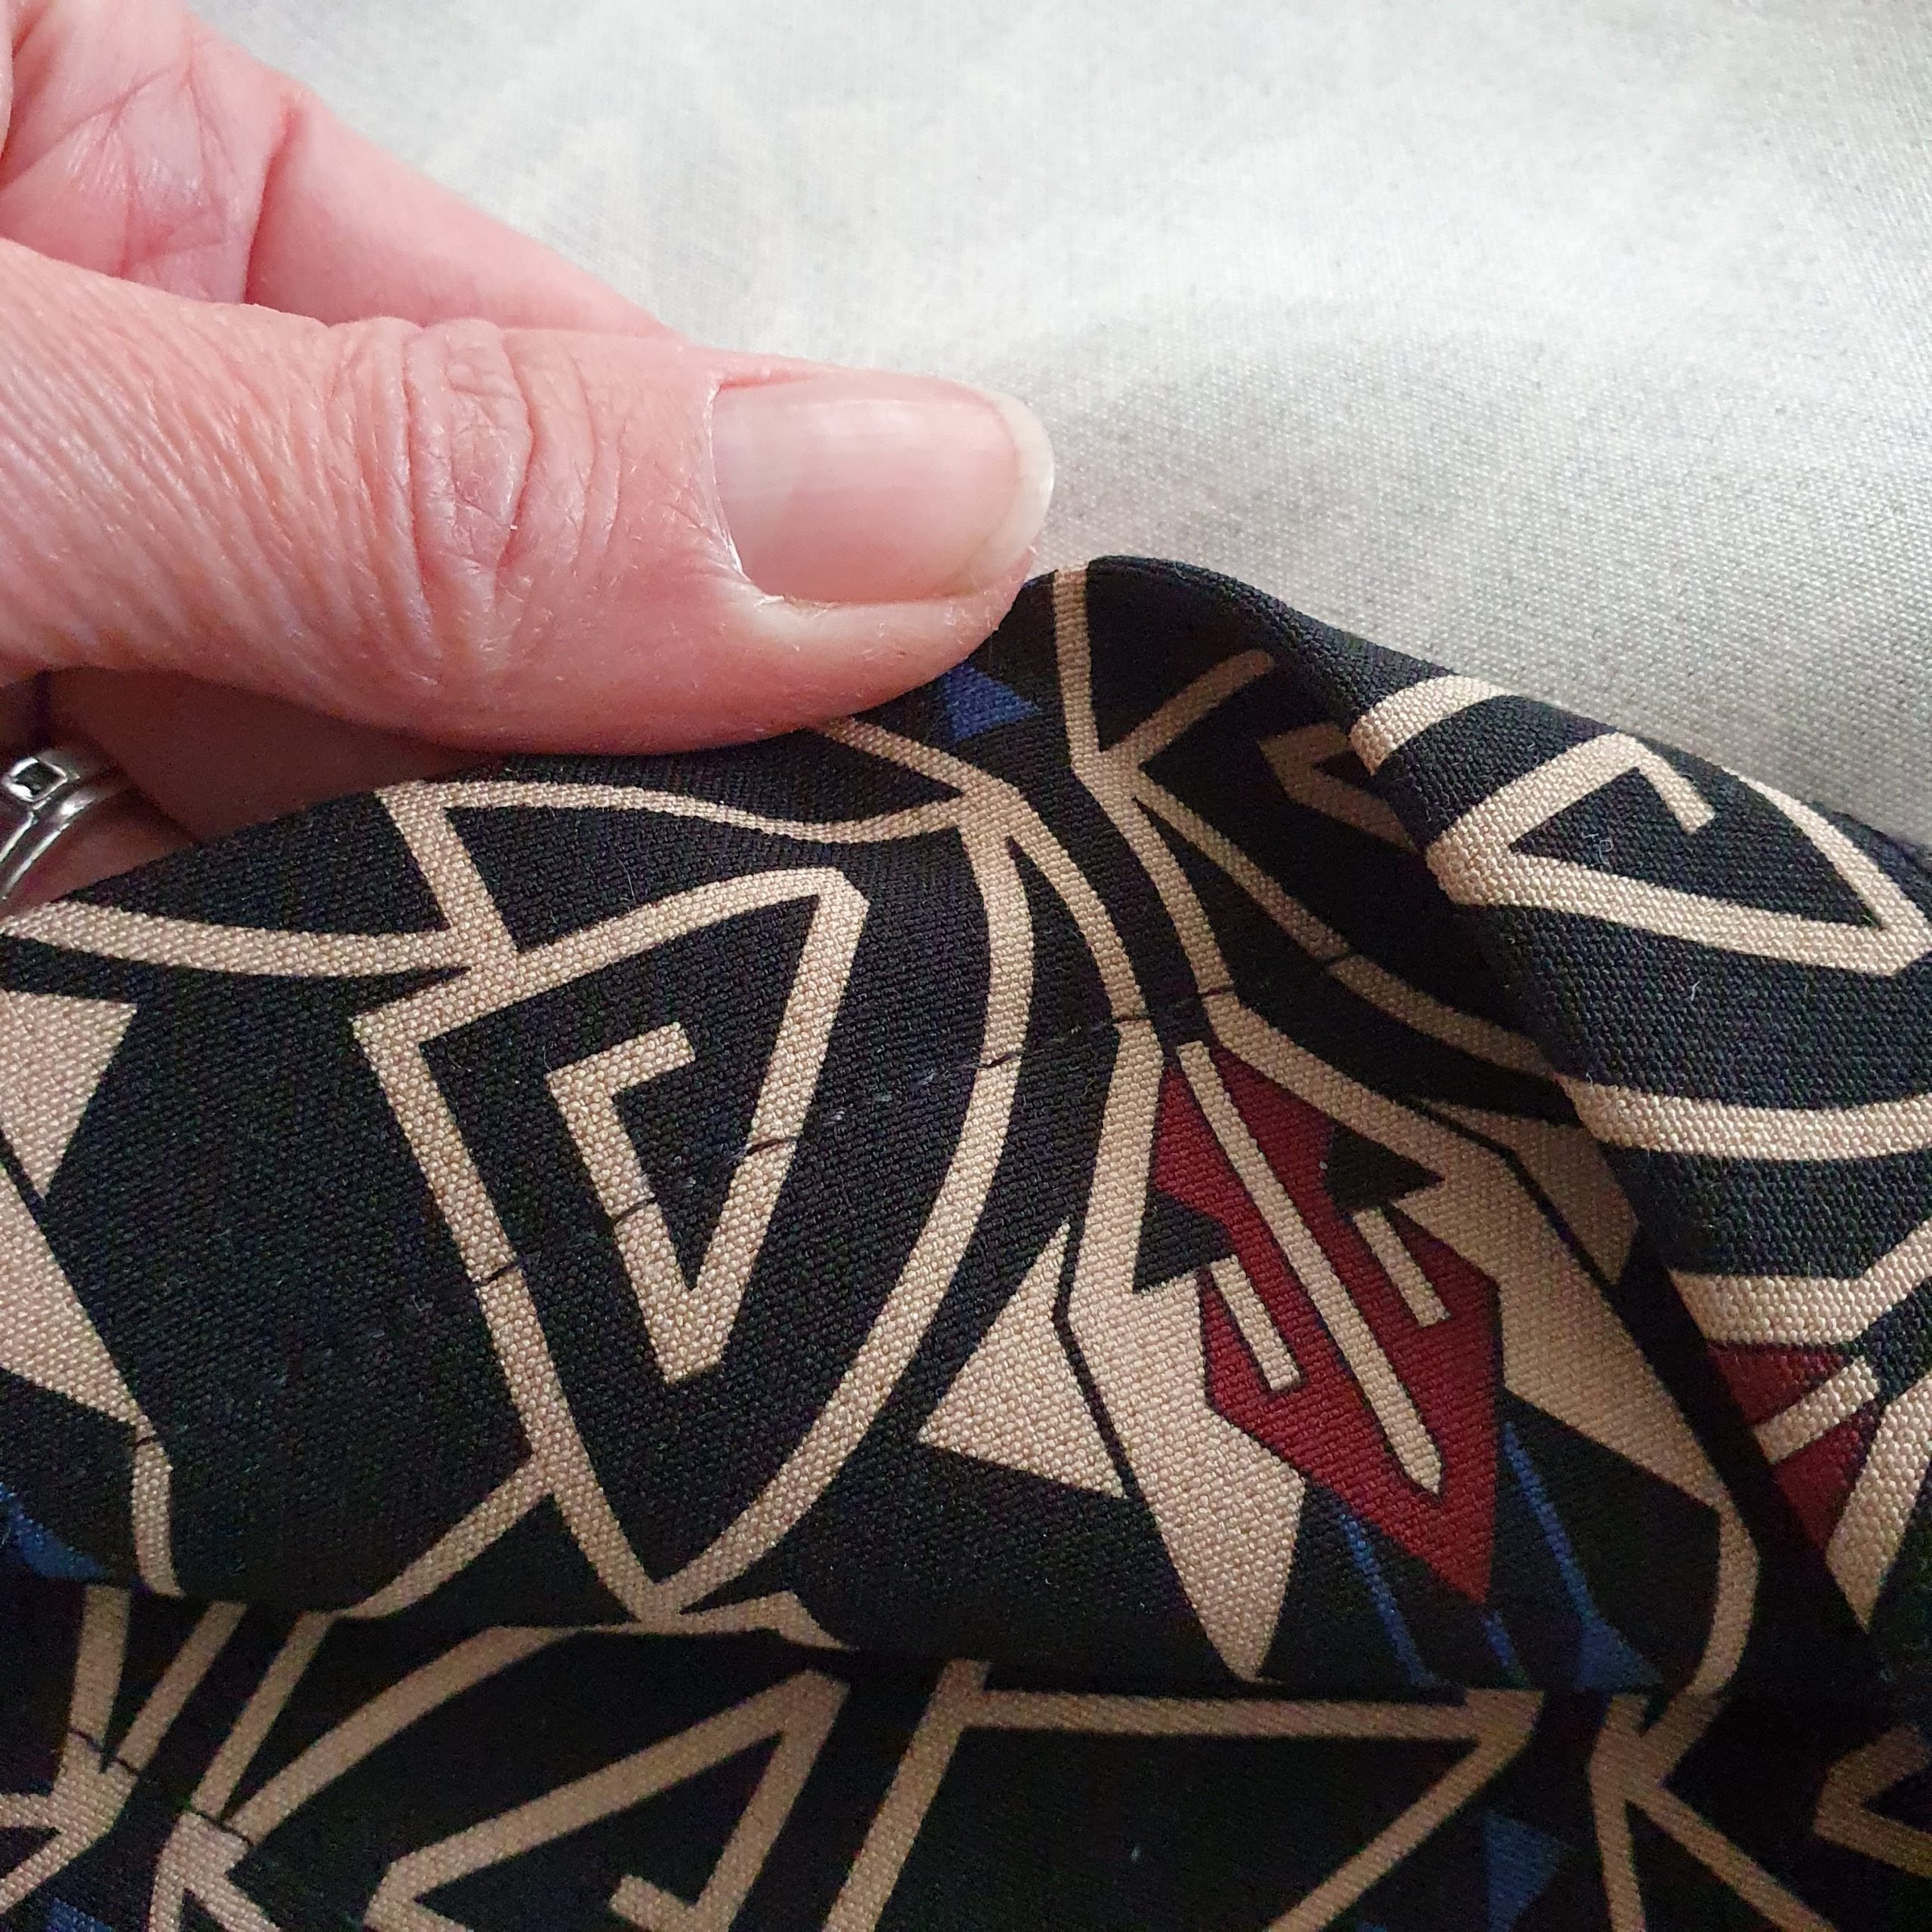
After cutting, I baste all the important markings. Followed by interfacing the parts needed and overlock or zigzag all the side seams of the back piece and only the inside seam of the front piece. The outer seam of the front is finished after attaching the pockets.
Front leg
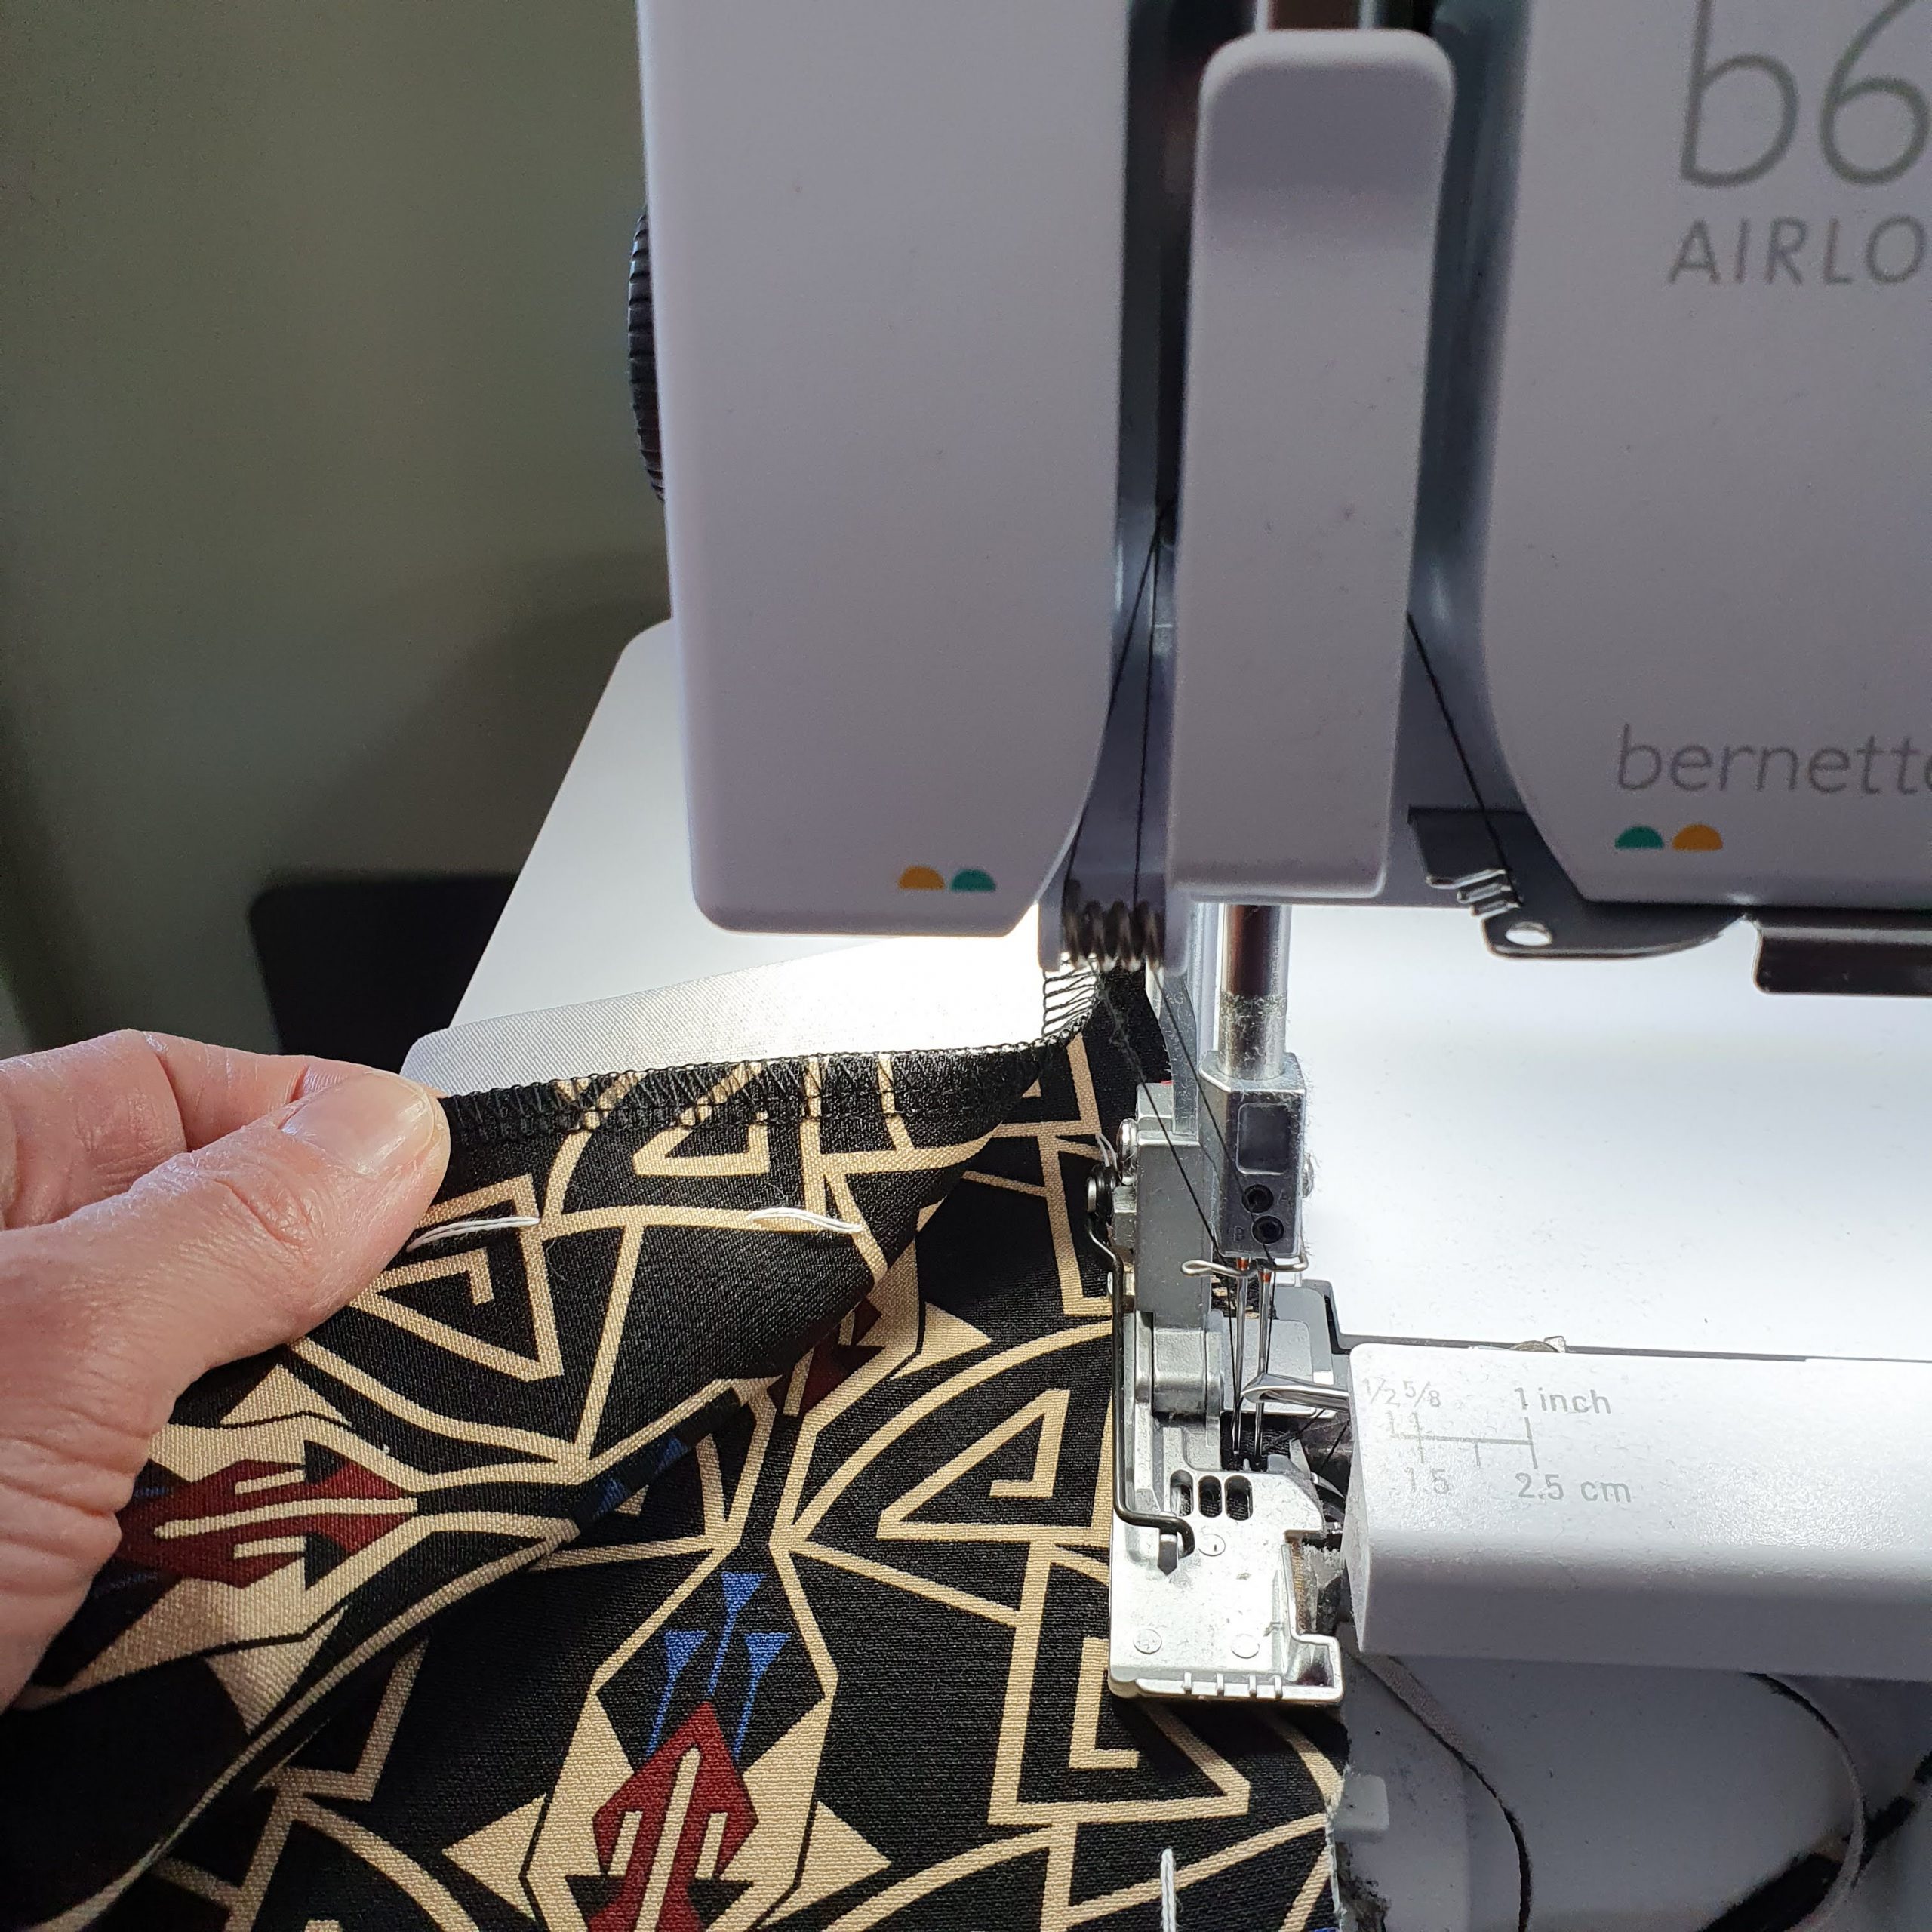
Overlock
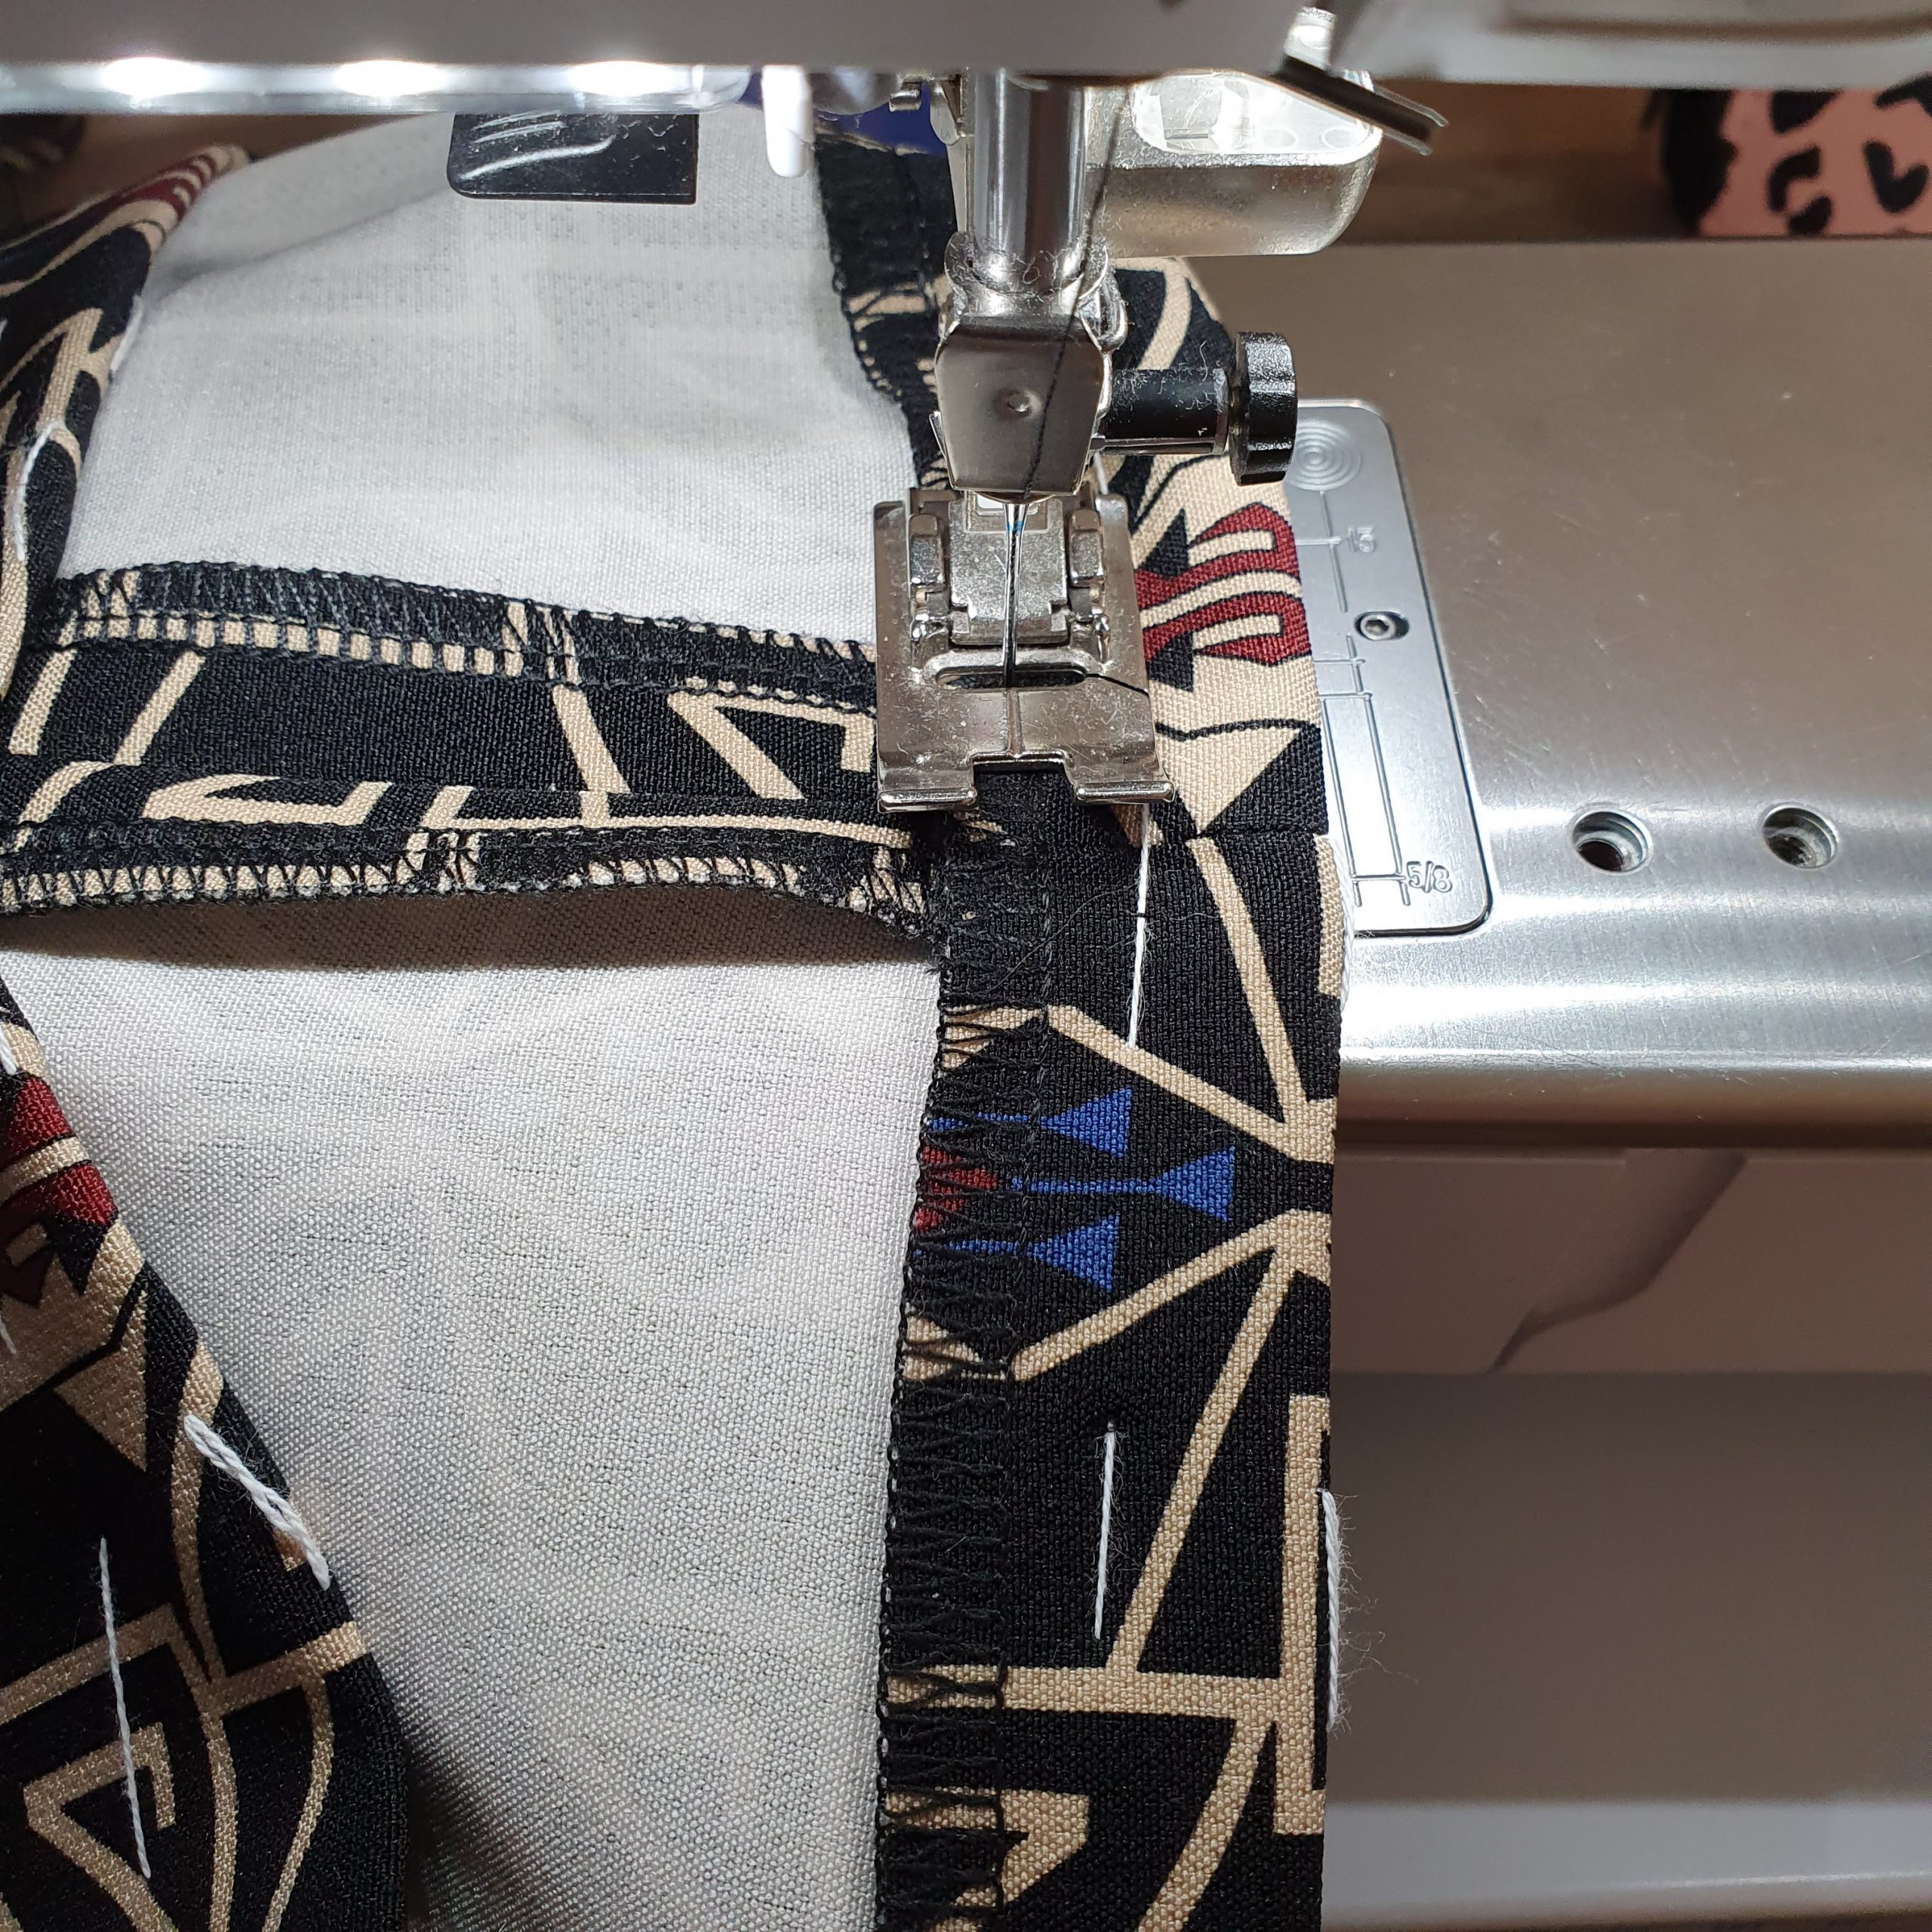
Before inserting the zipper, you insert the pockets first. As an upper pocket I often use lining with stretch (even when the fabric for the pants has no stretch). Personally, I find this so much more comfortable to wear. When you have attached the upper pocket to the pocket opening, don’t forget to stitch the lining narrow on the side. Sew the outside edge of the pocket and finish with an overlock or zigzag stitch. Then finish the outside seam of the front leg.
Finished seams
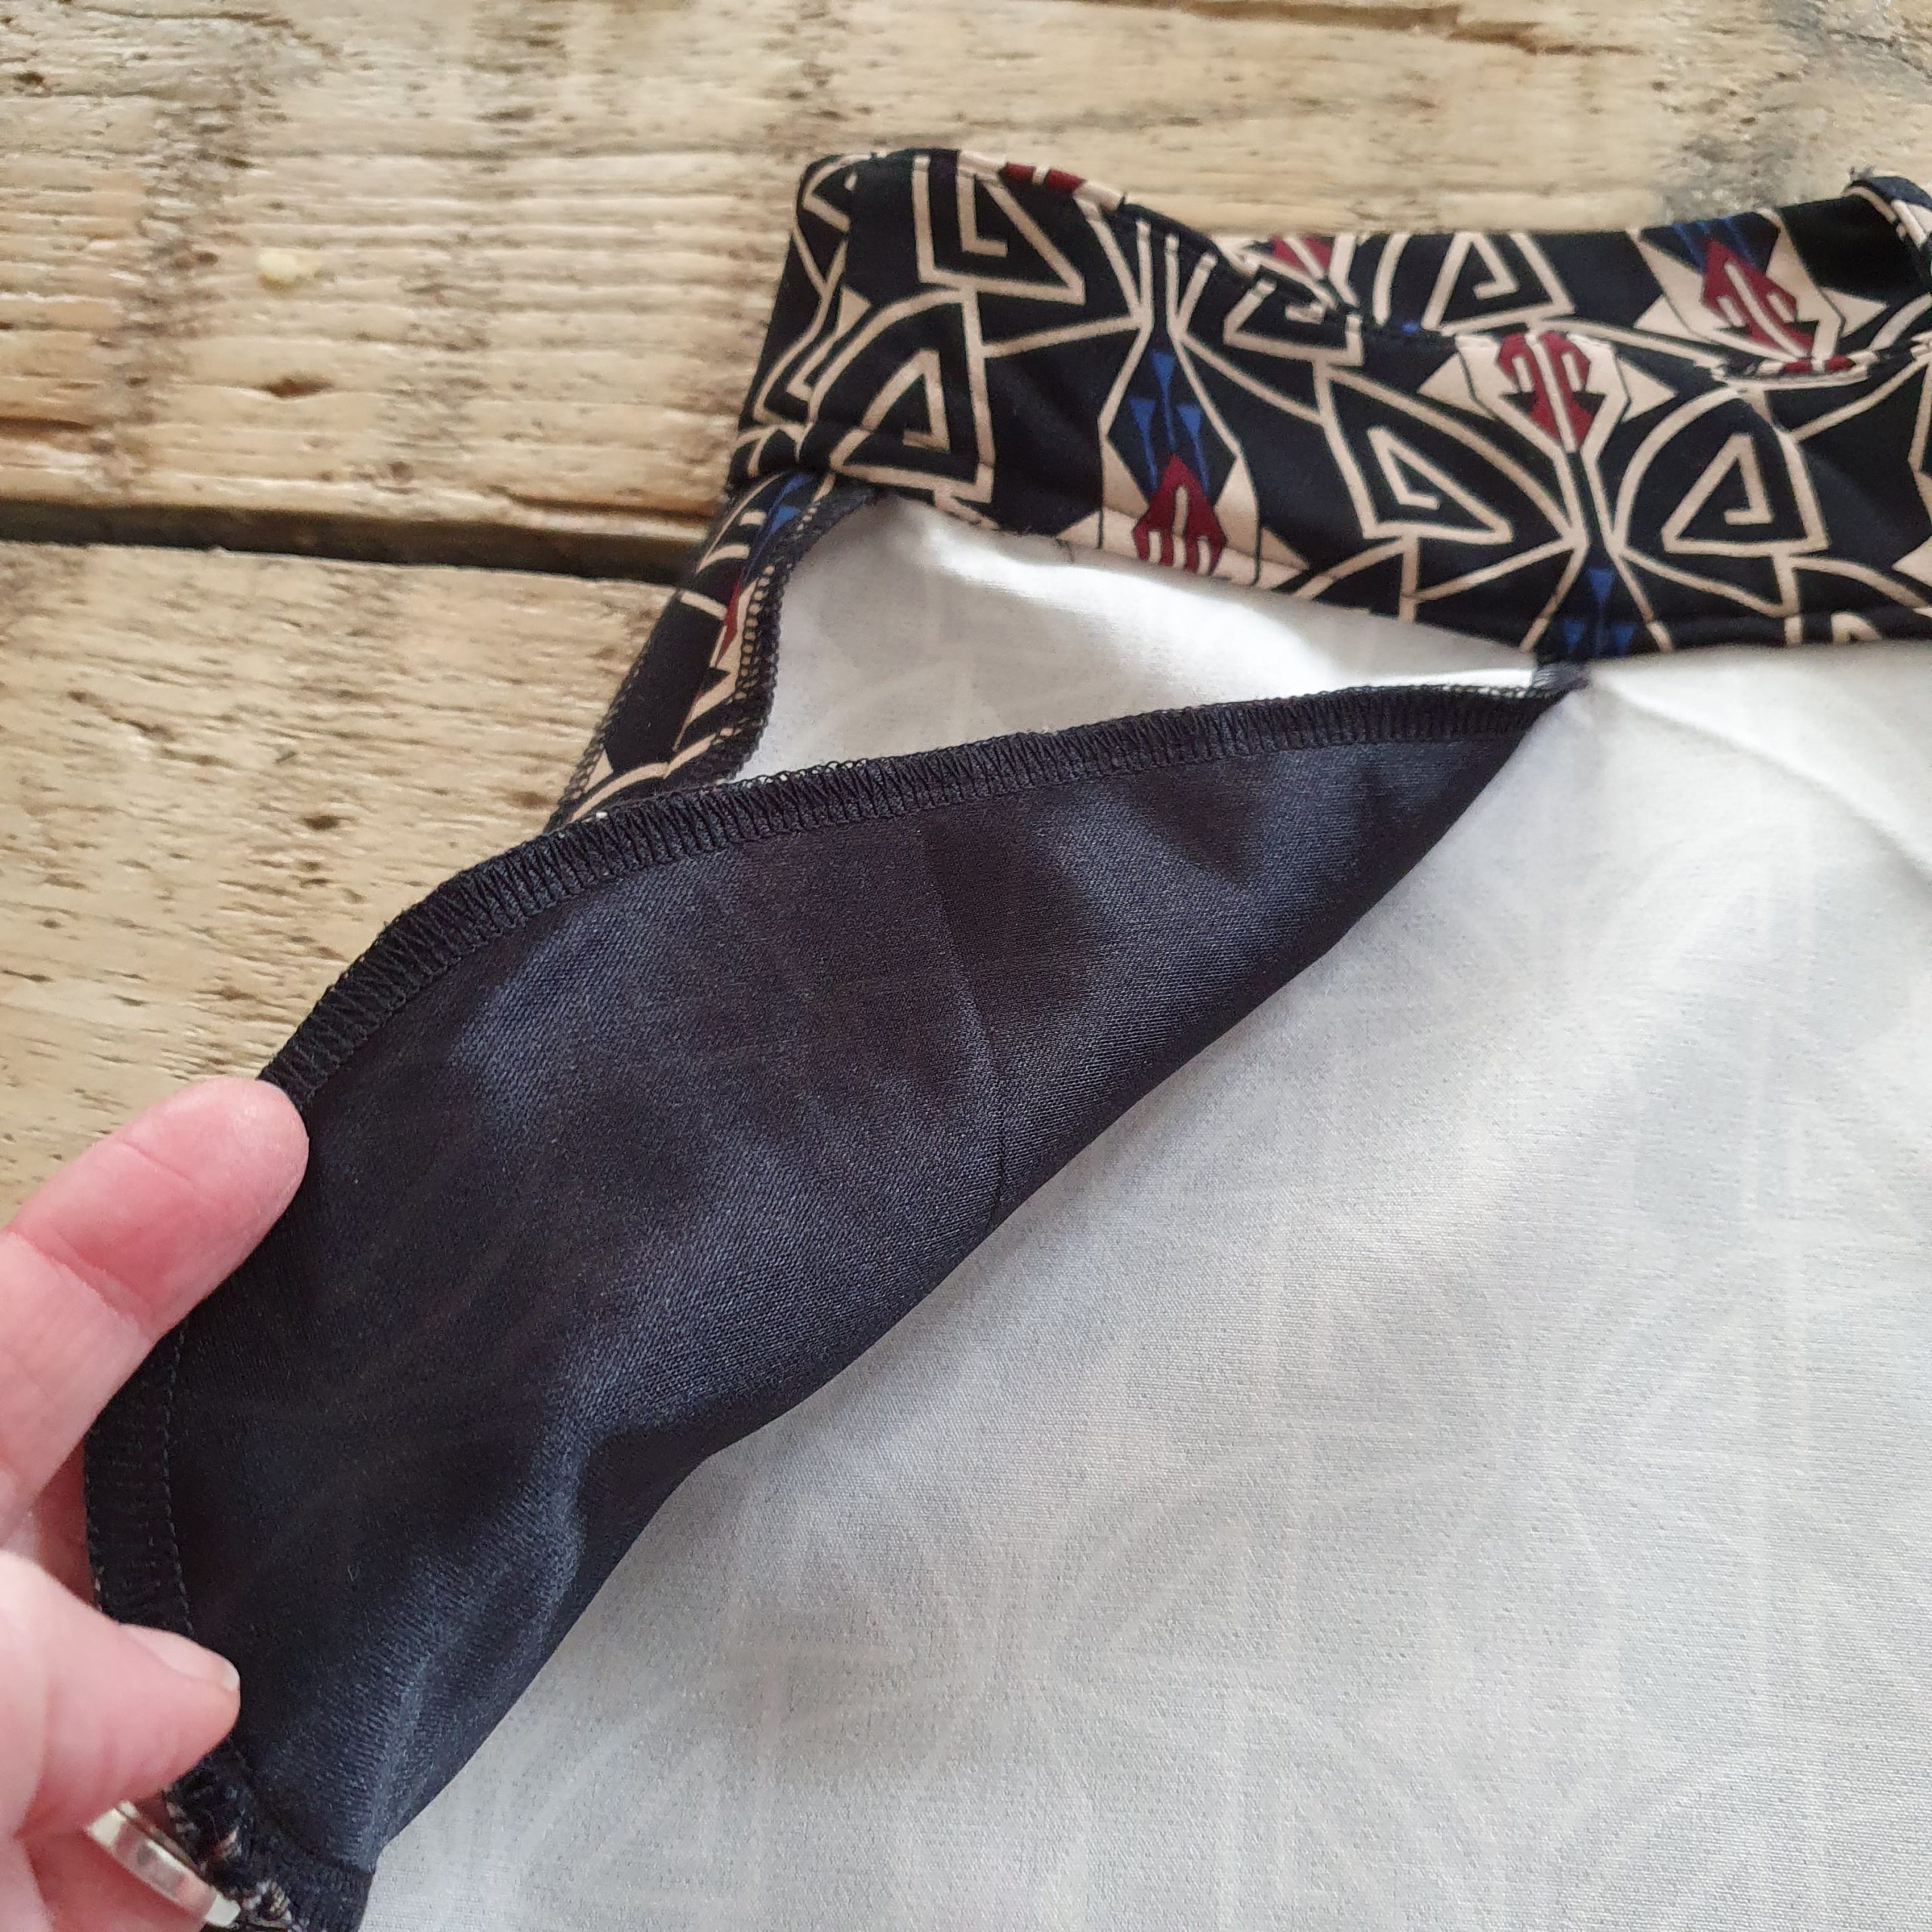
Stretch lining

Closures
For the pants I used an invisible zipper that is processed like a normal zipper in the fly with underlay.
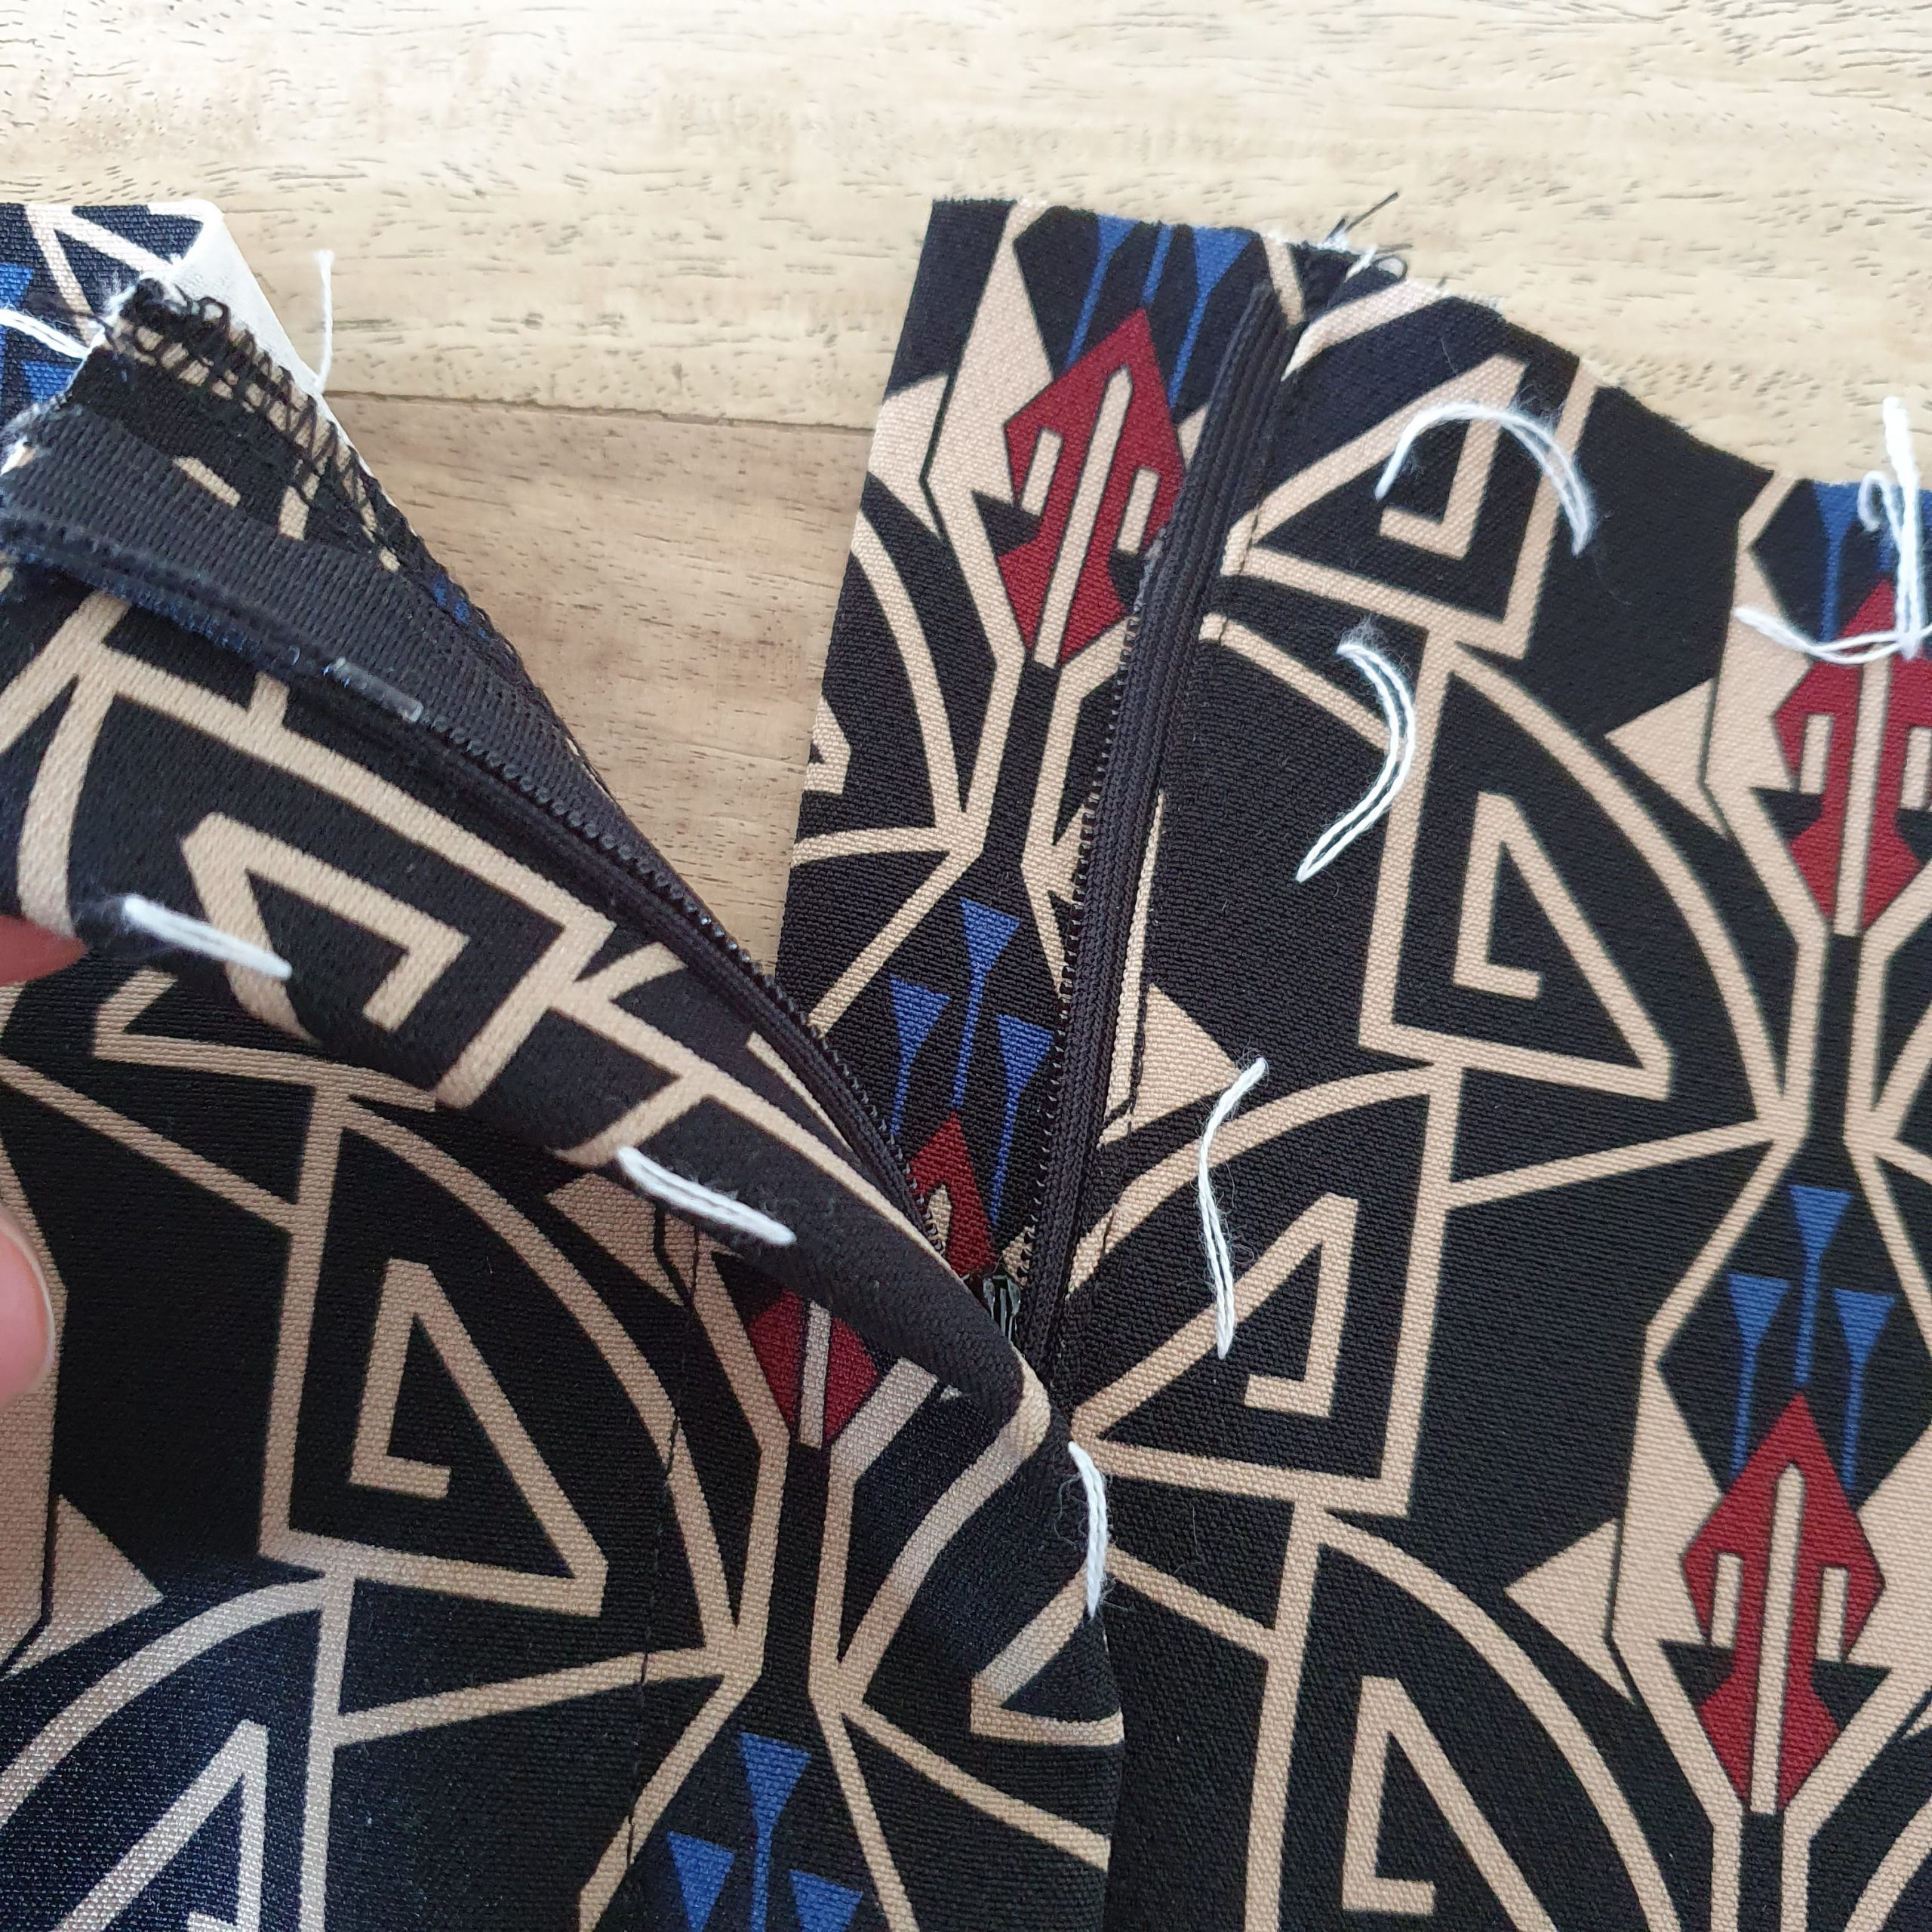
Invisible zipper
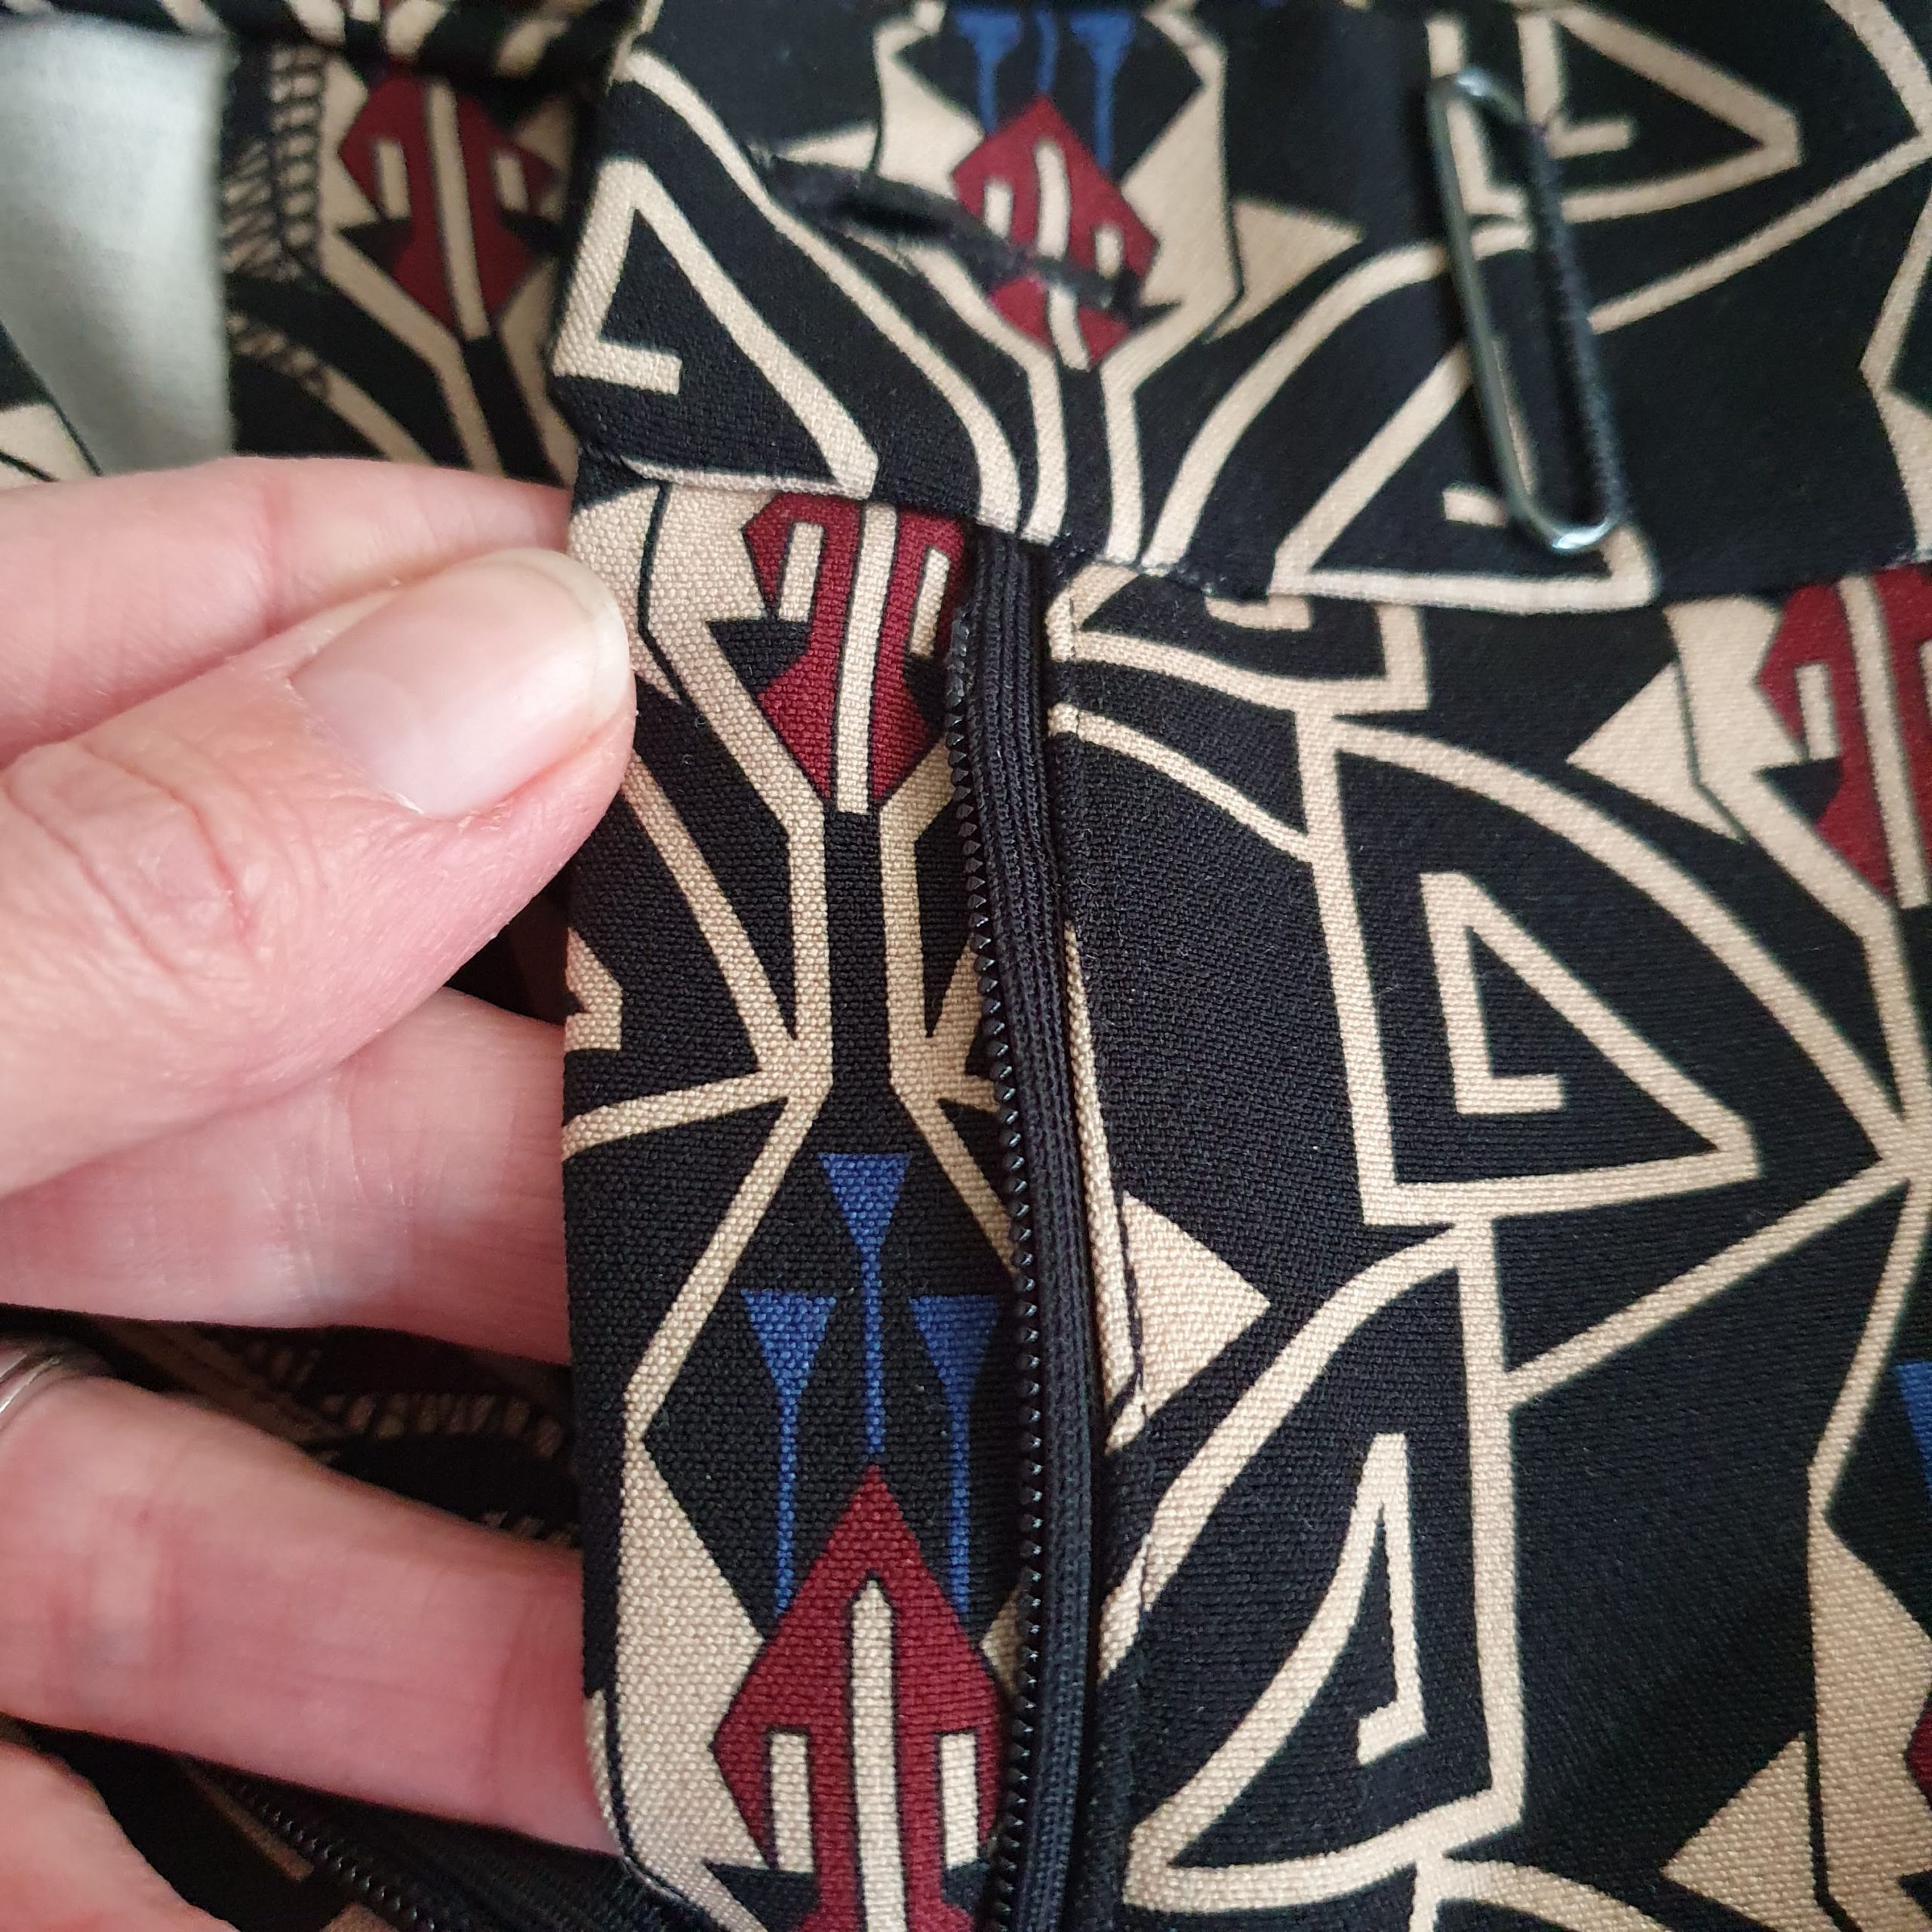
Zipper and underlay

Topstitched
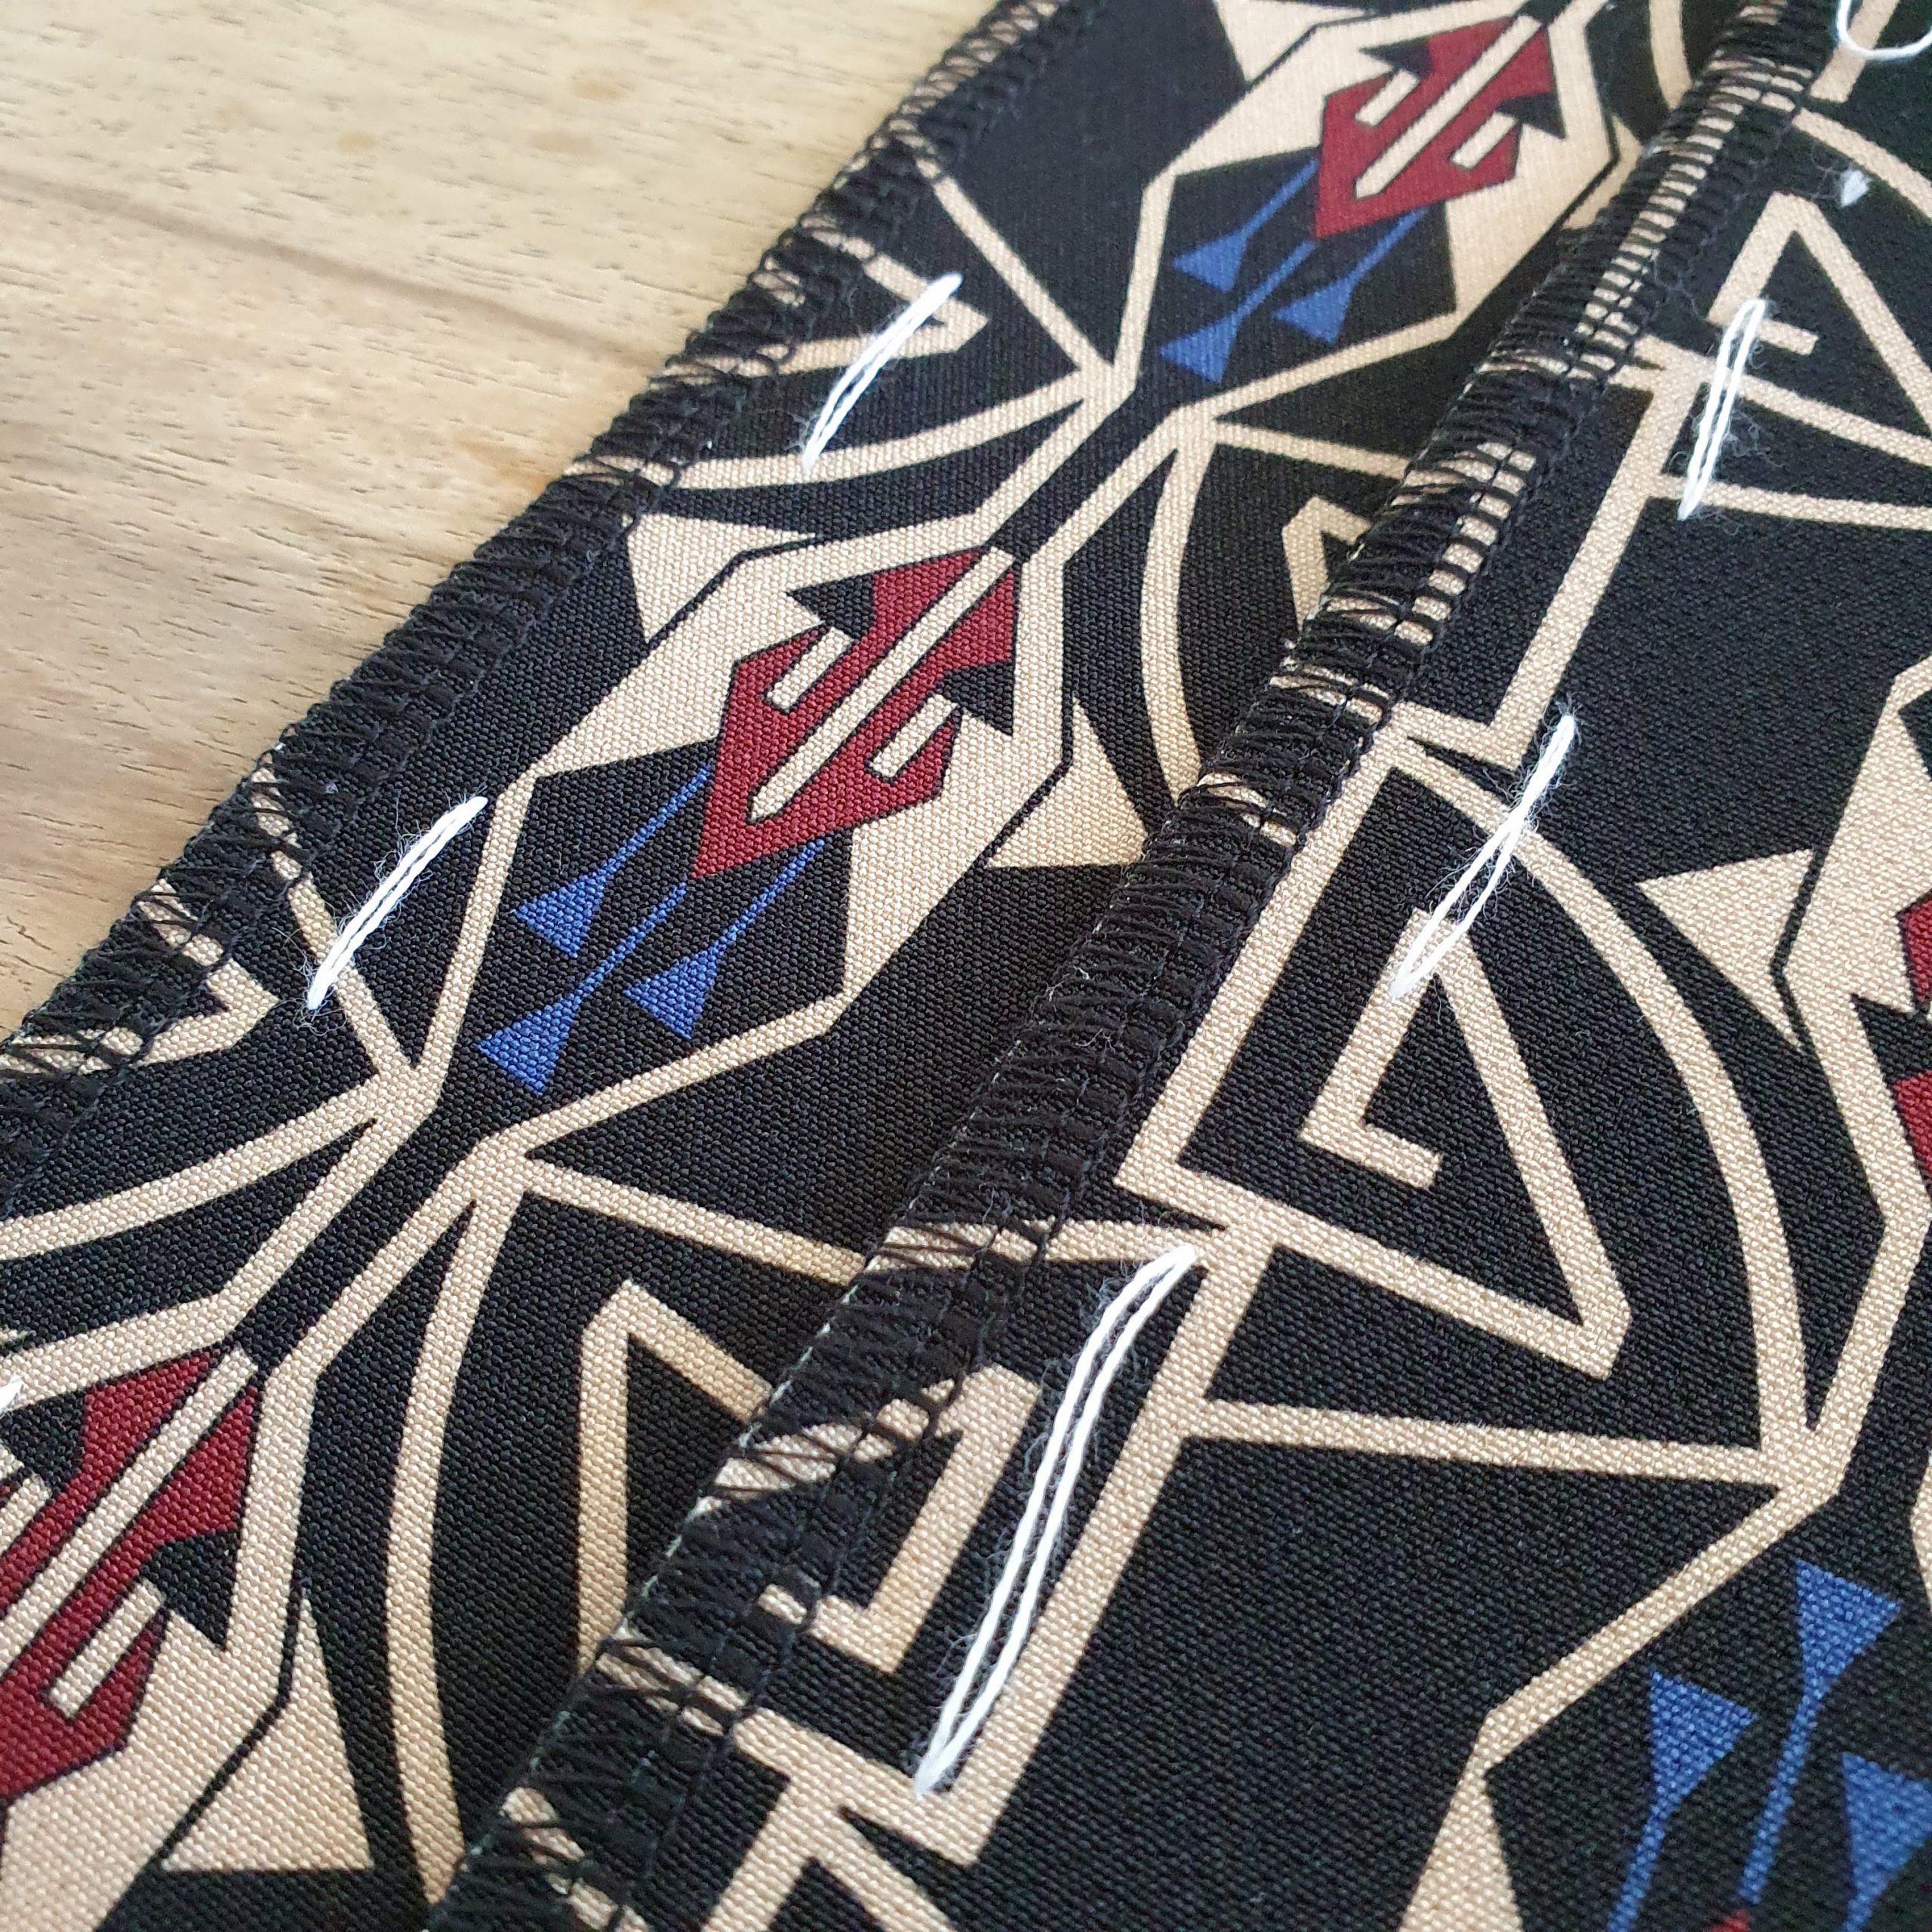
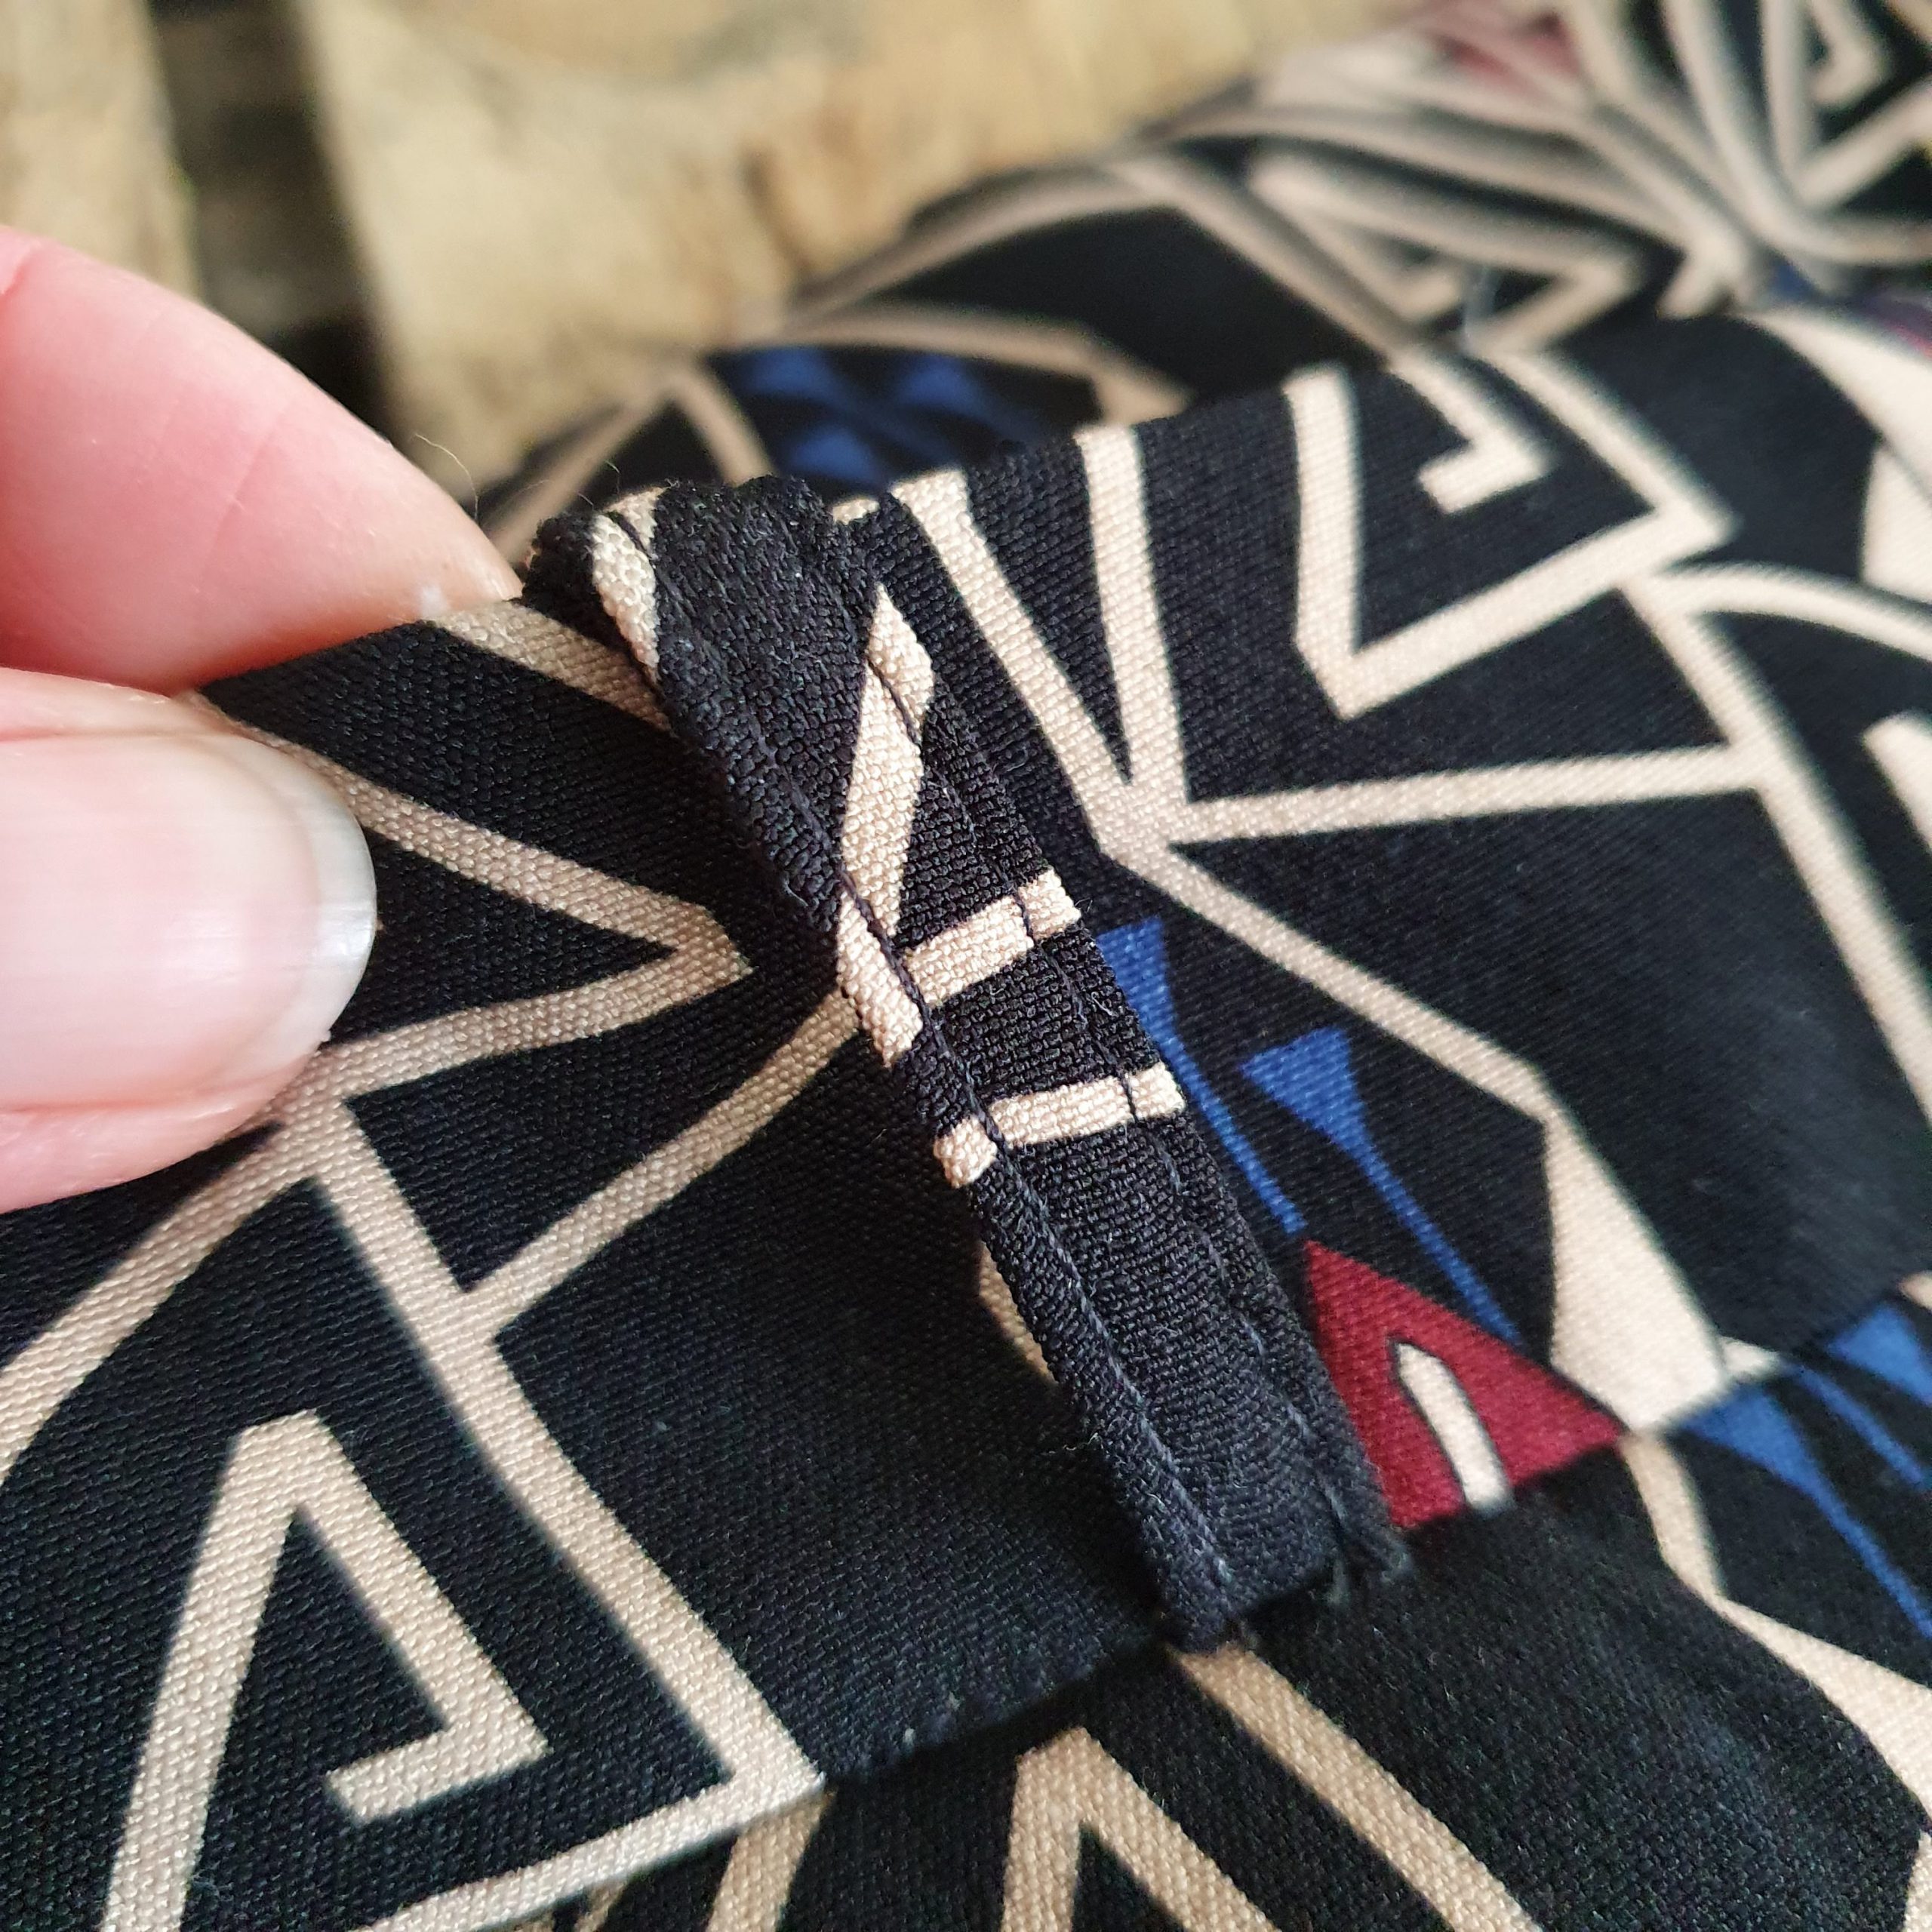
The pants in this timeless suit have a fairly wide waistband with loops. These loops are already attached to the outside waistband before attaching the band to the pants. After attaching the band, the inner waist band is attached by stitching in the ditch on the outside.
Looped

Inner waistband pinned on the outside
Stitch in the ditch
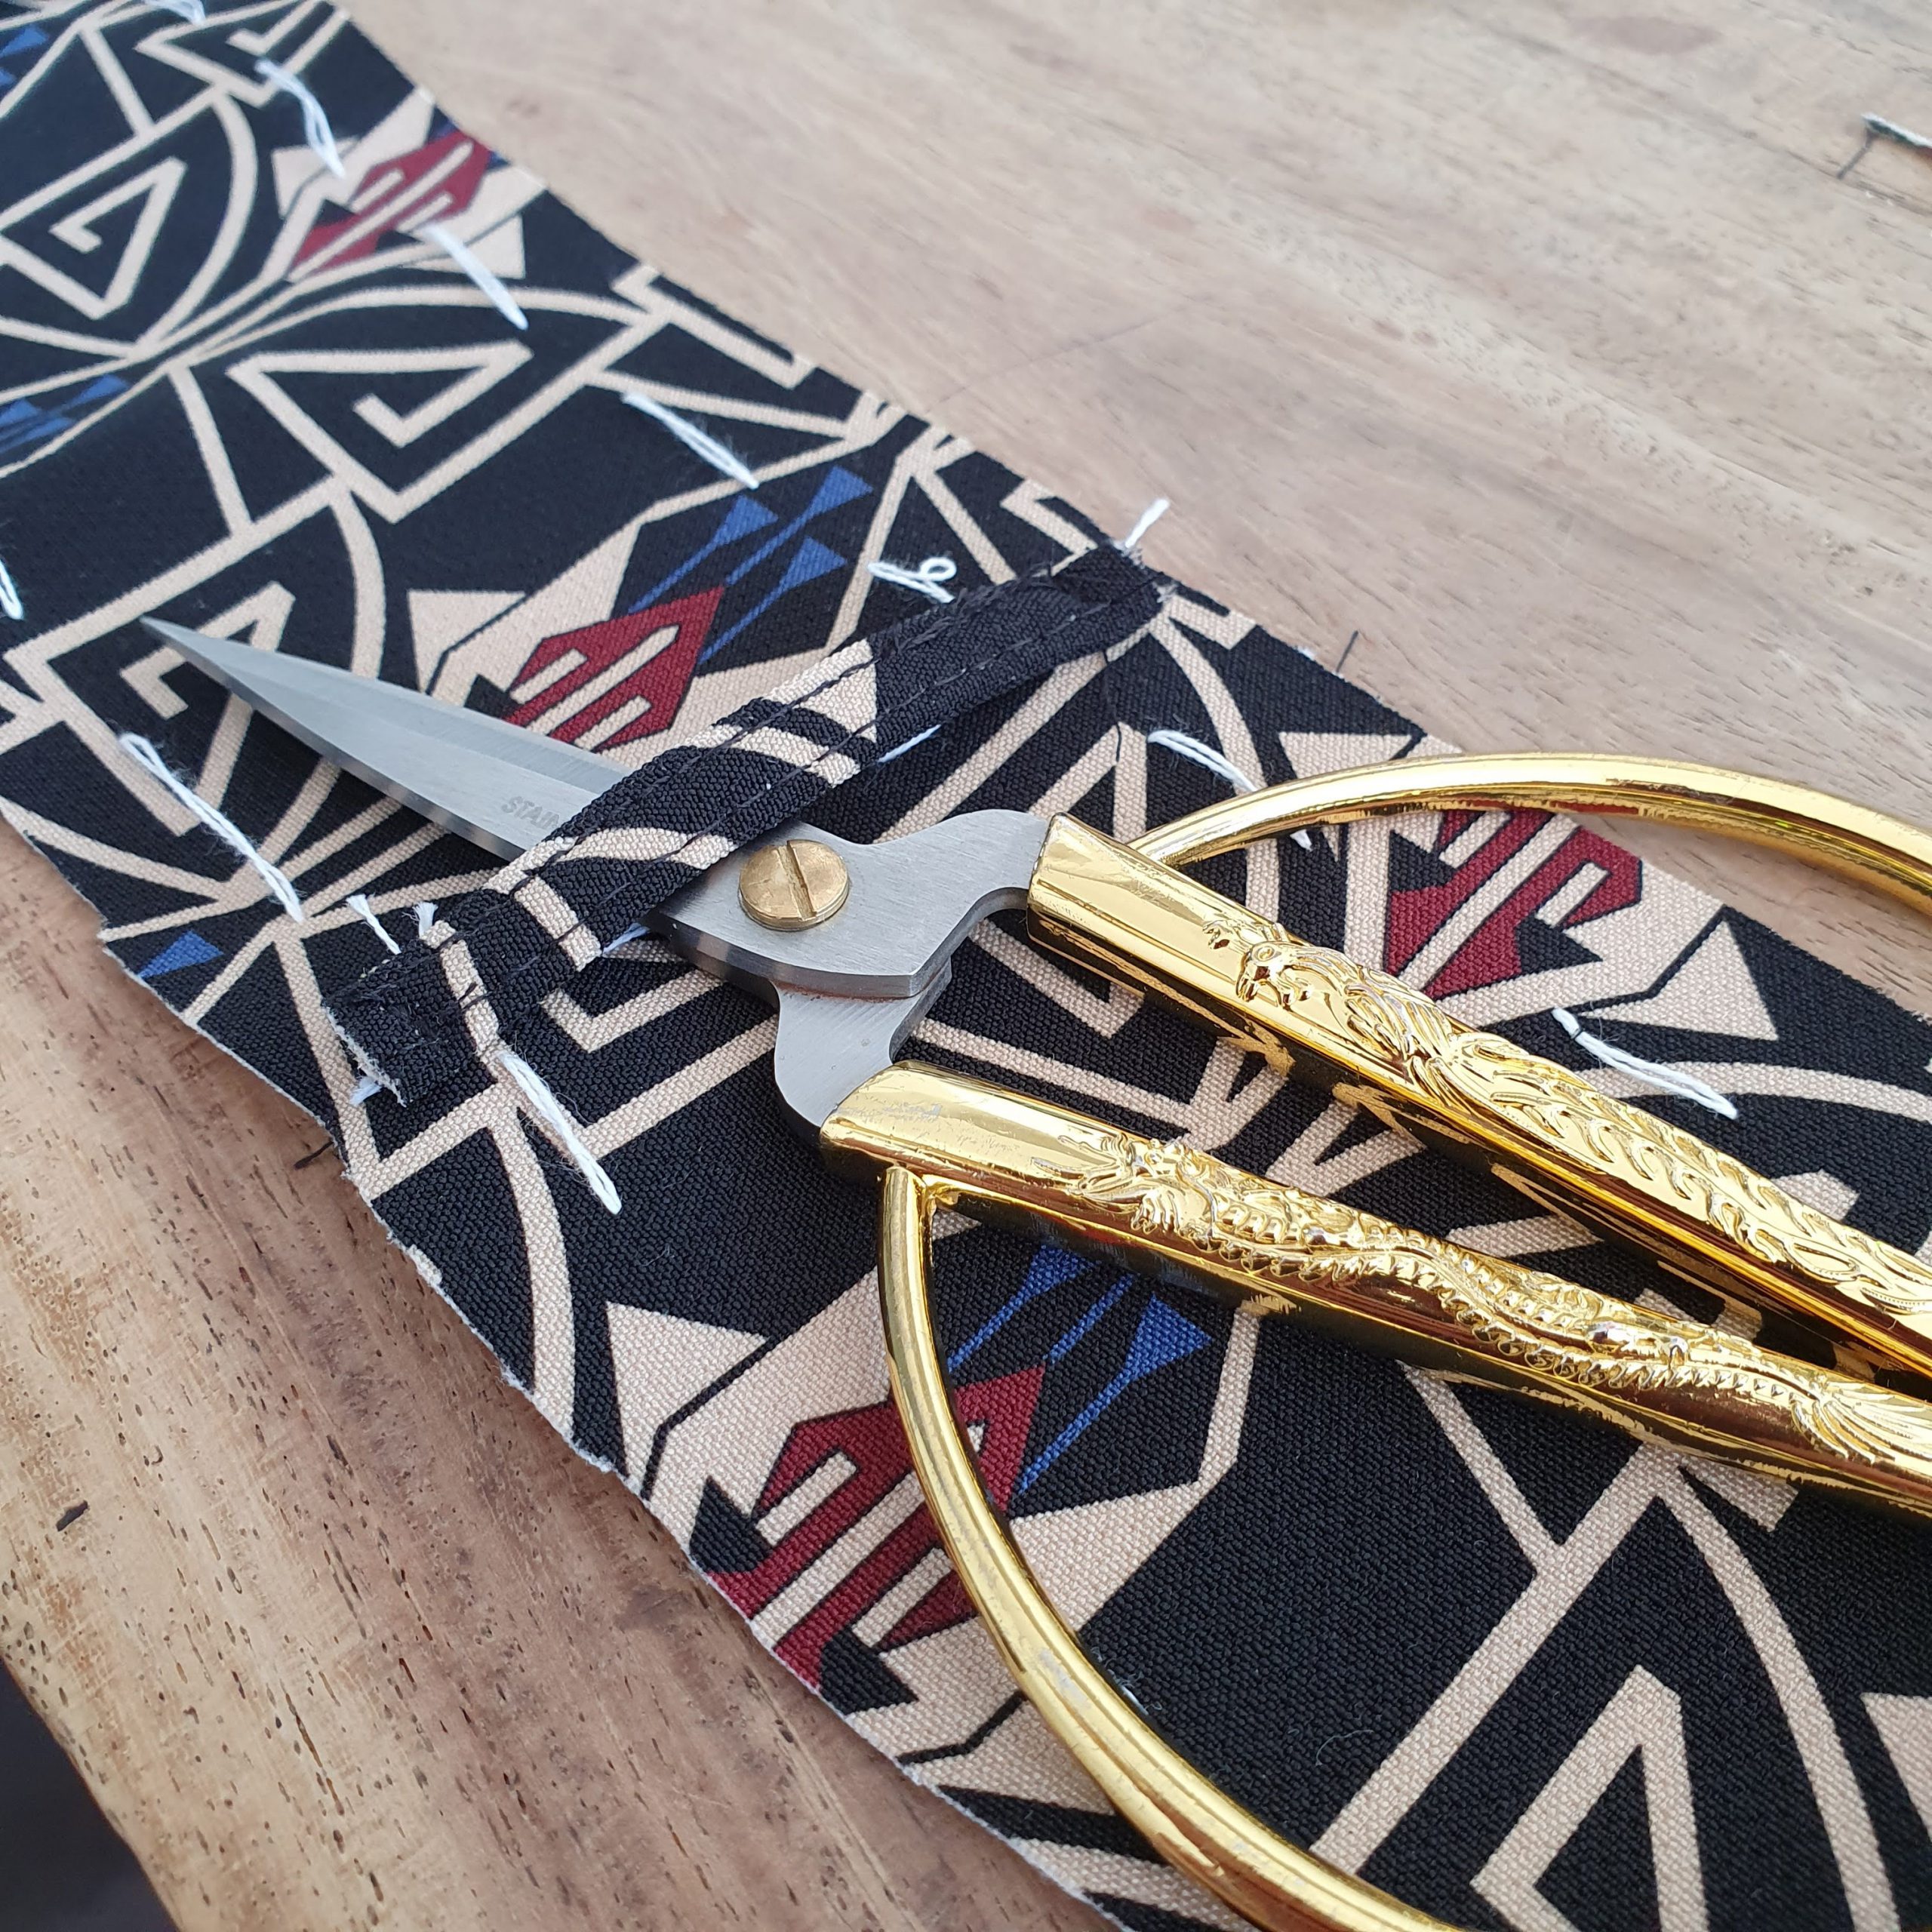
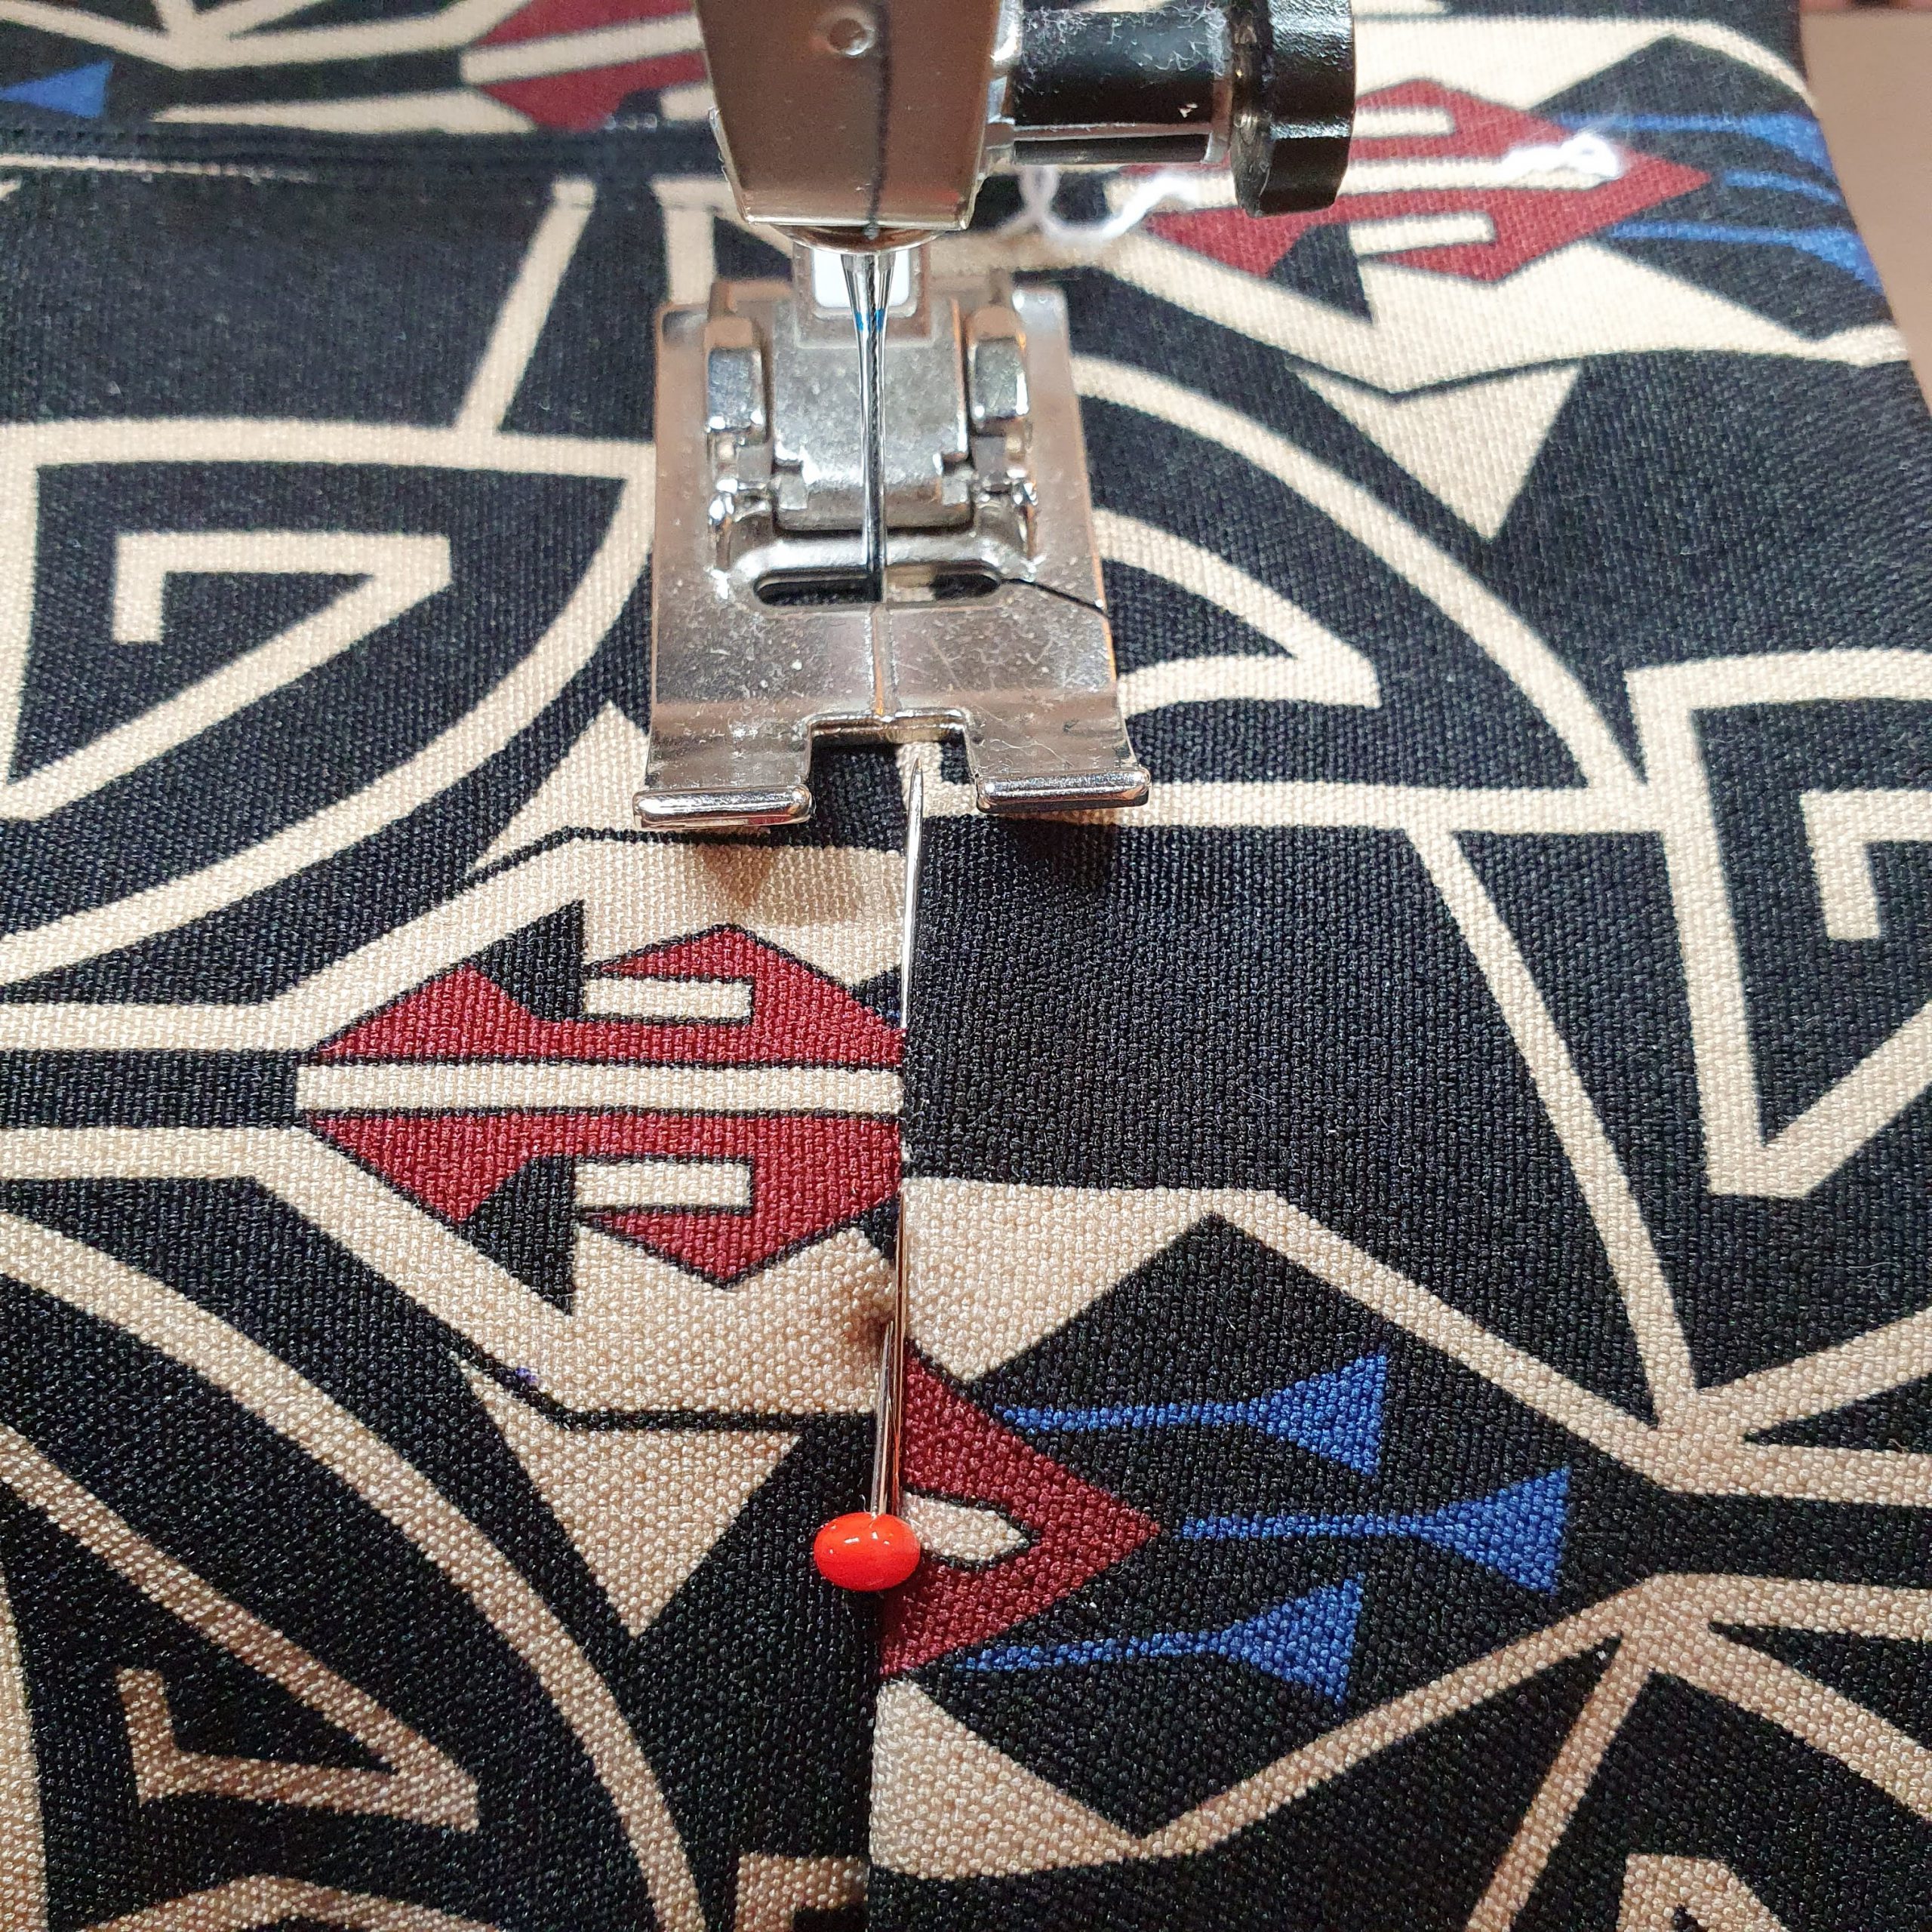
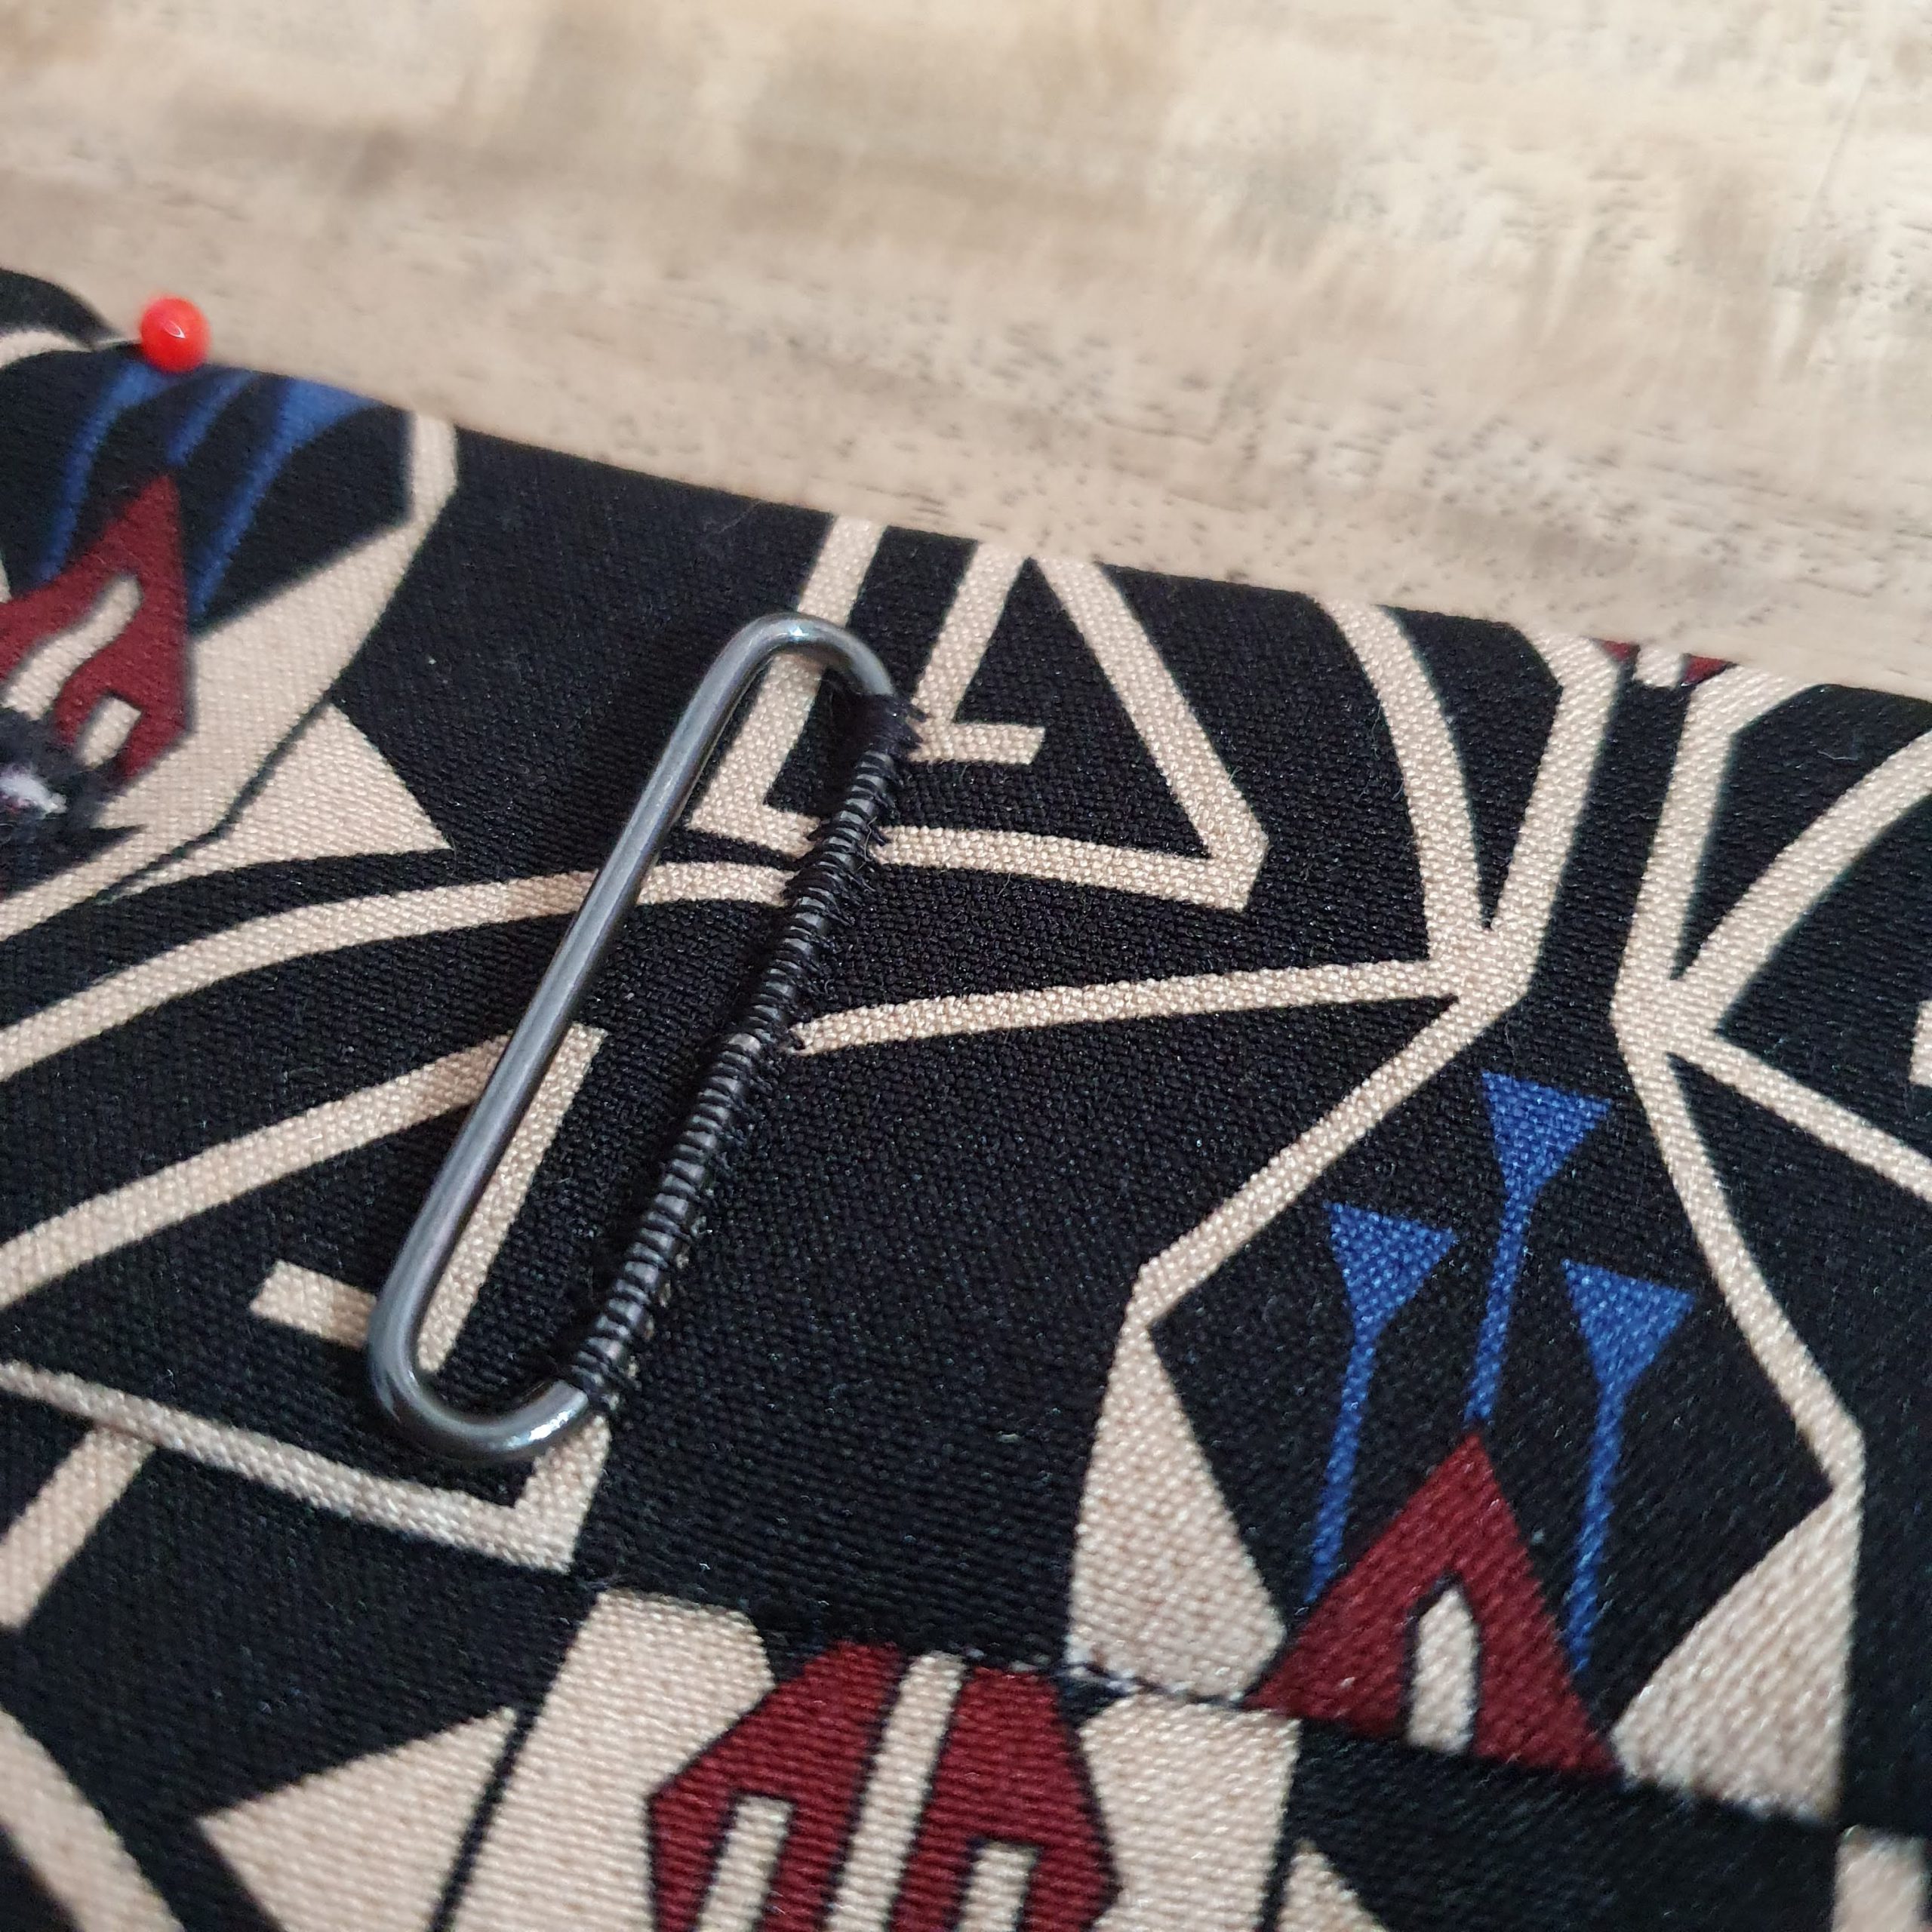
The waistband has an overlap. This overlap closes double with a button/buttonhole and a hook and eyelet closure. The hook and button are attached by hand to the overlay. Make a buttonhole in the underlaying part of the waistband and attach the eyelet, both with the machine. After you have baste the eyelet you can easily secure the eyelet with a zigzag stitch.
Vintage and timeless 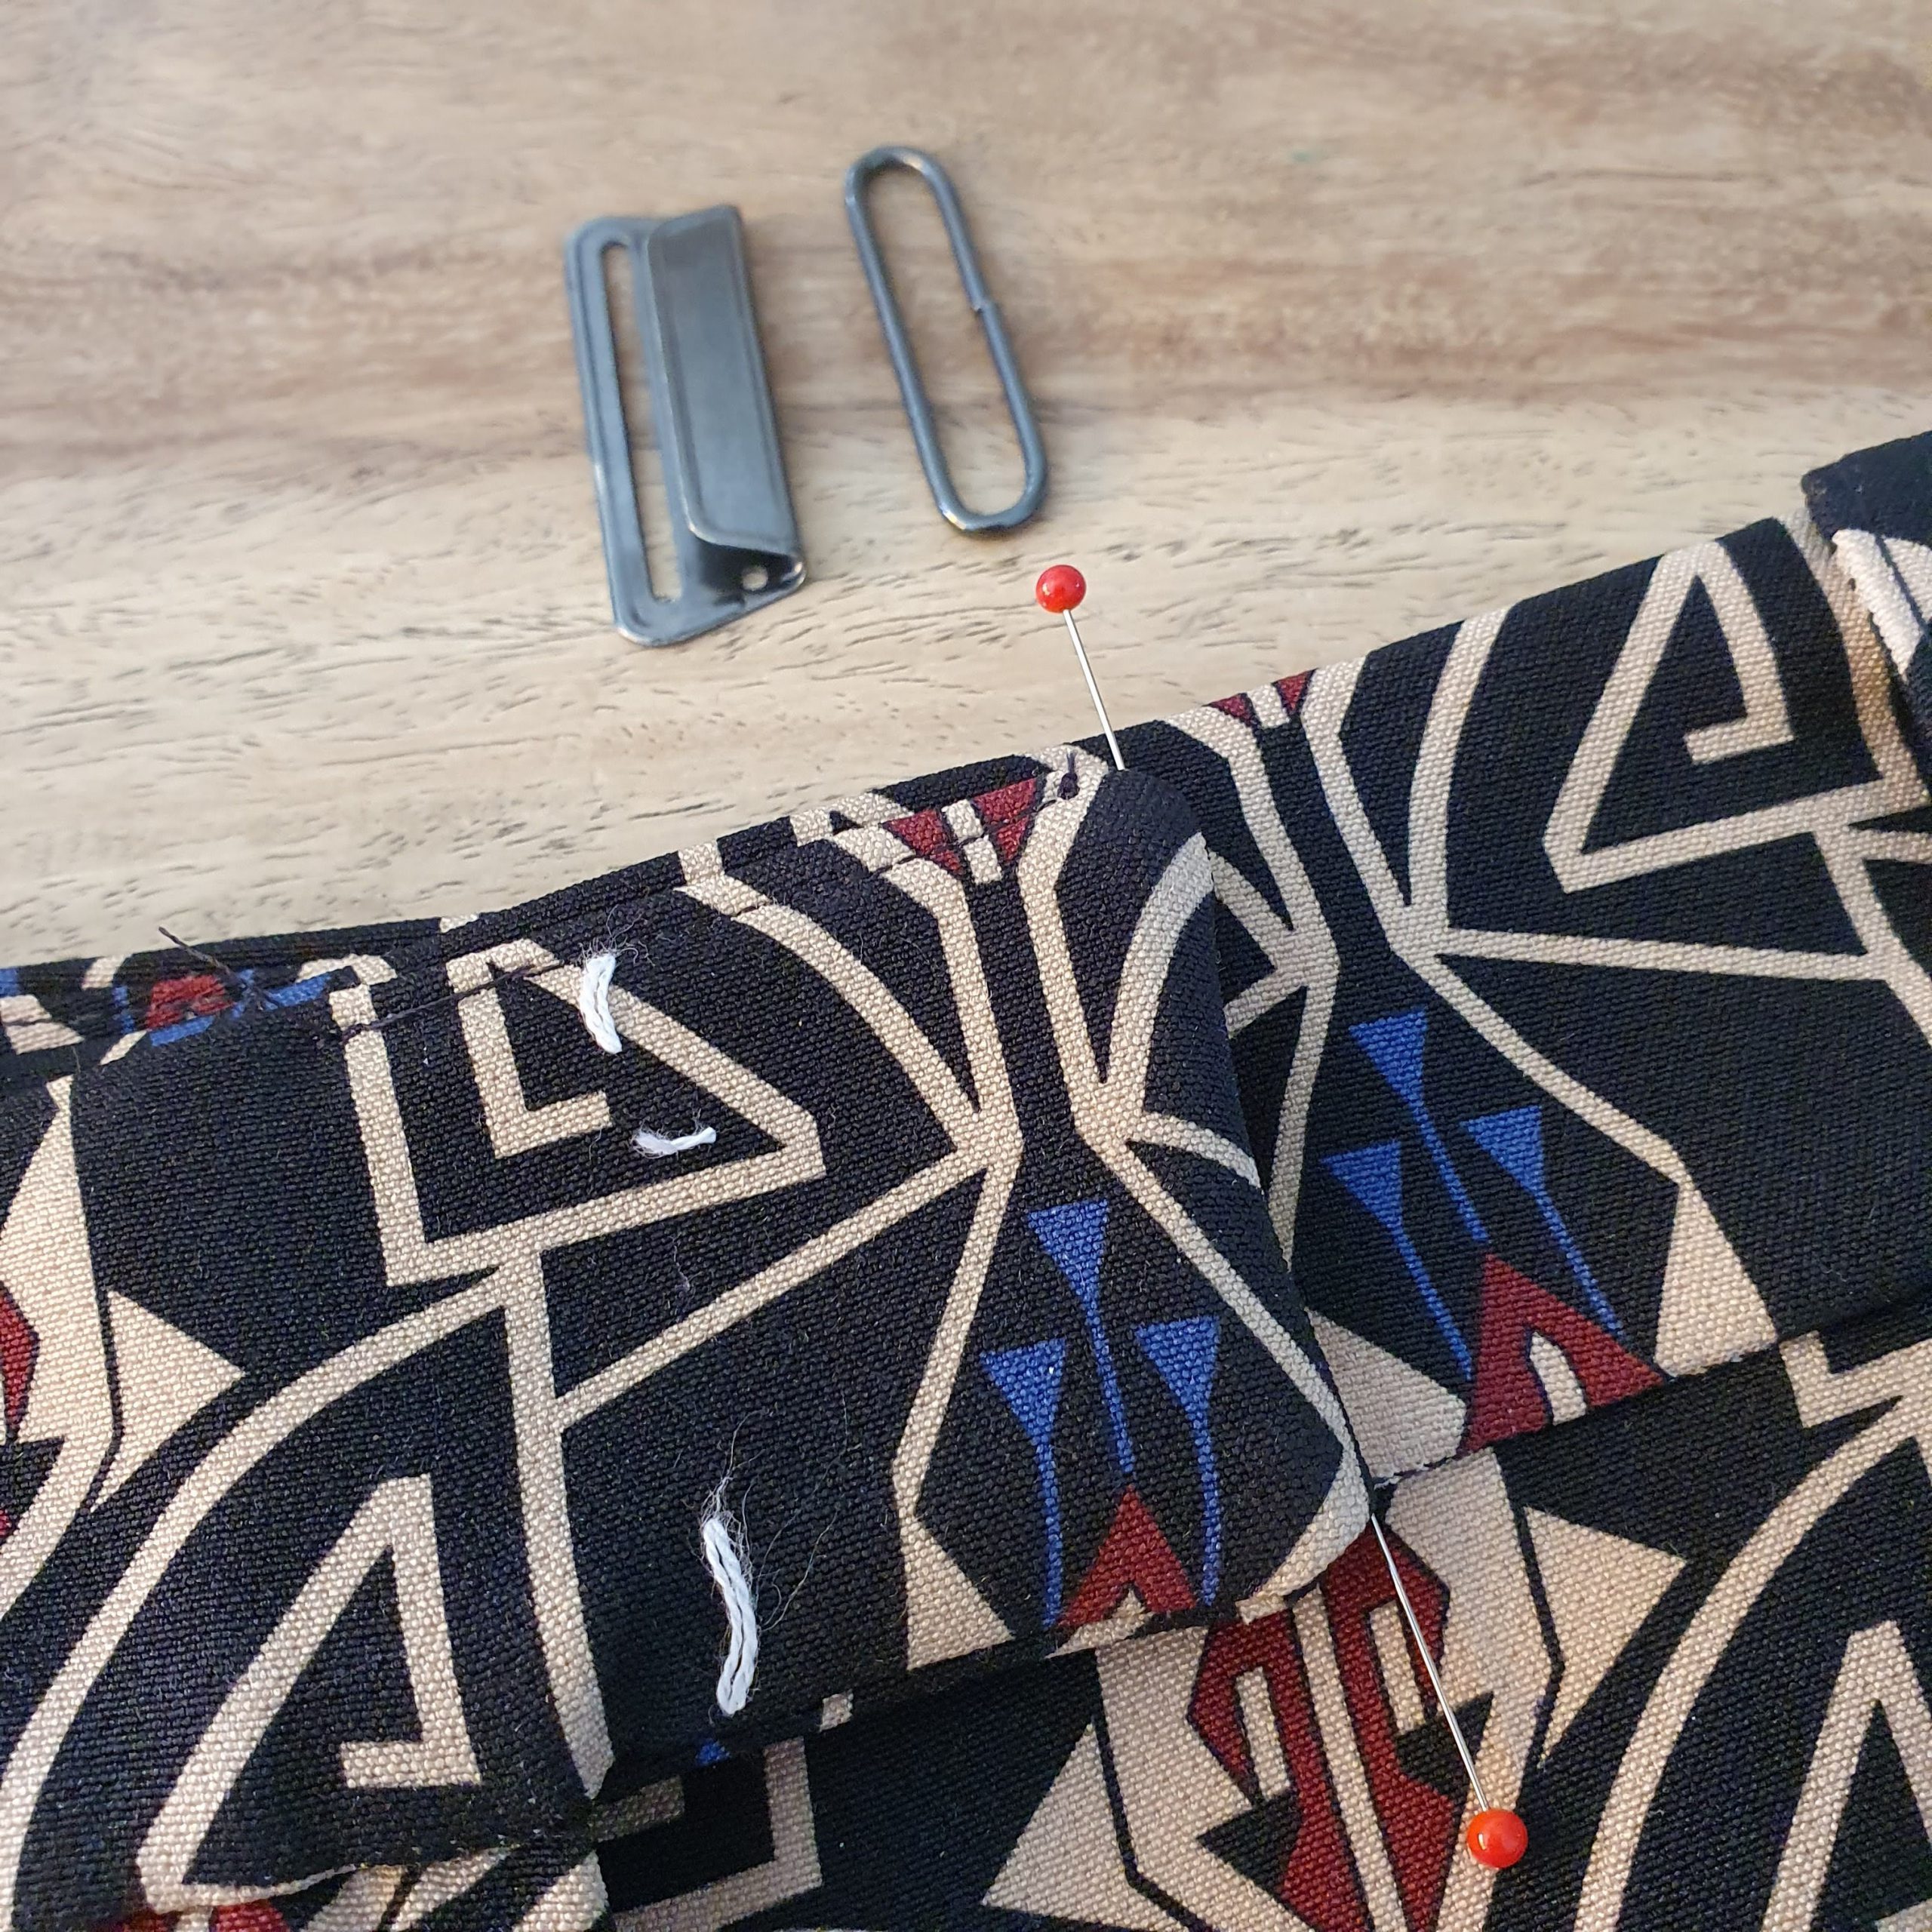 Determine placing
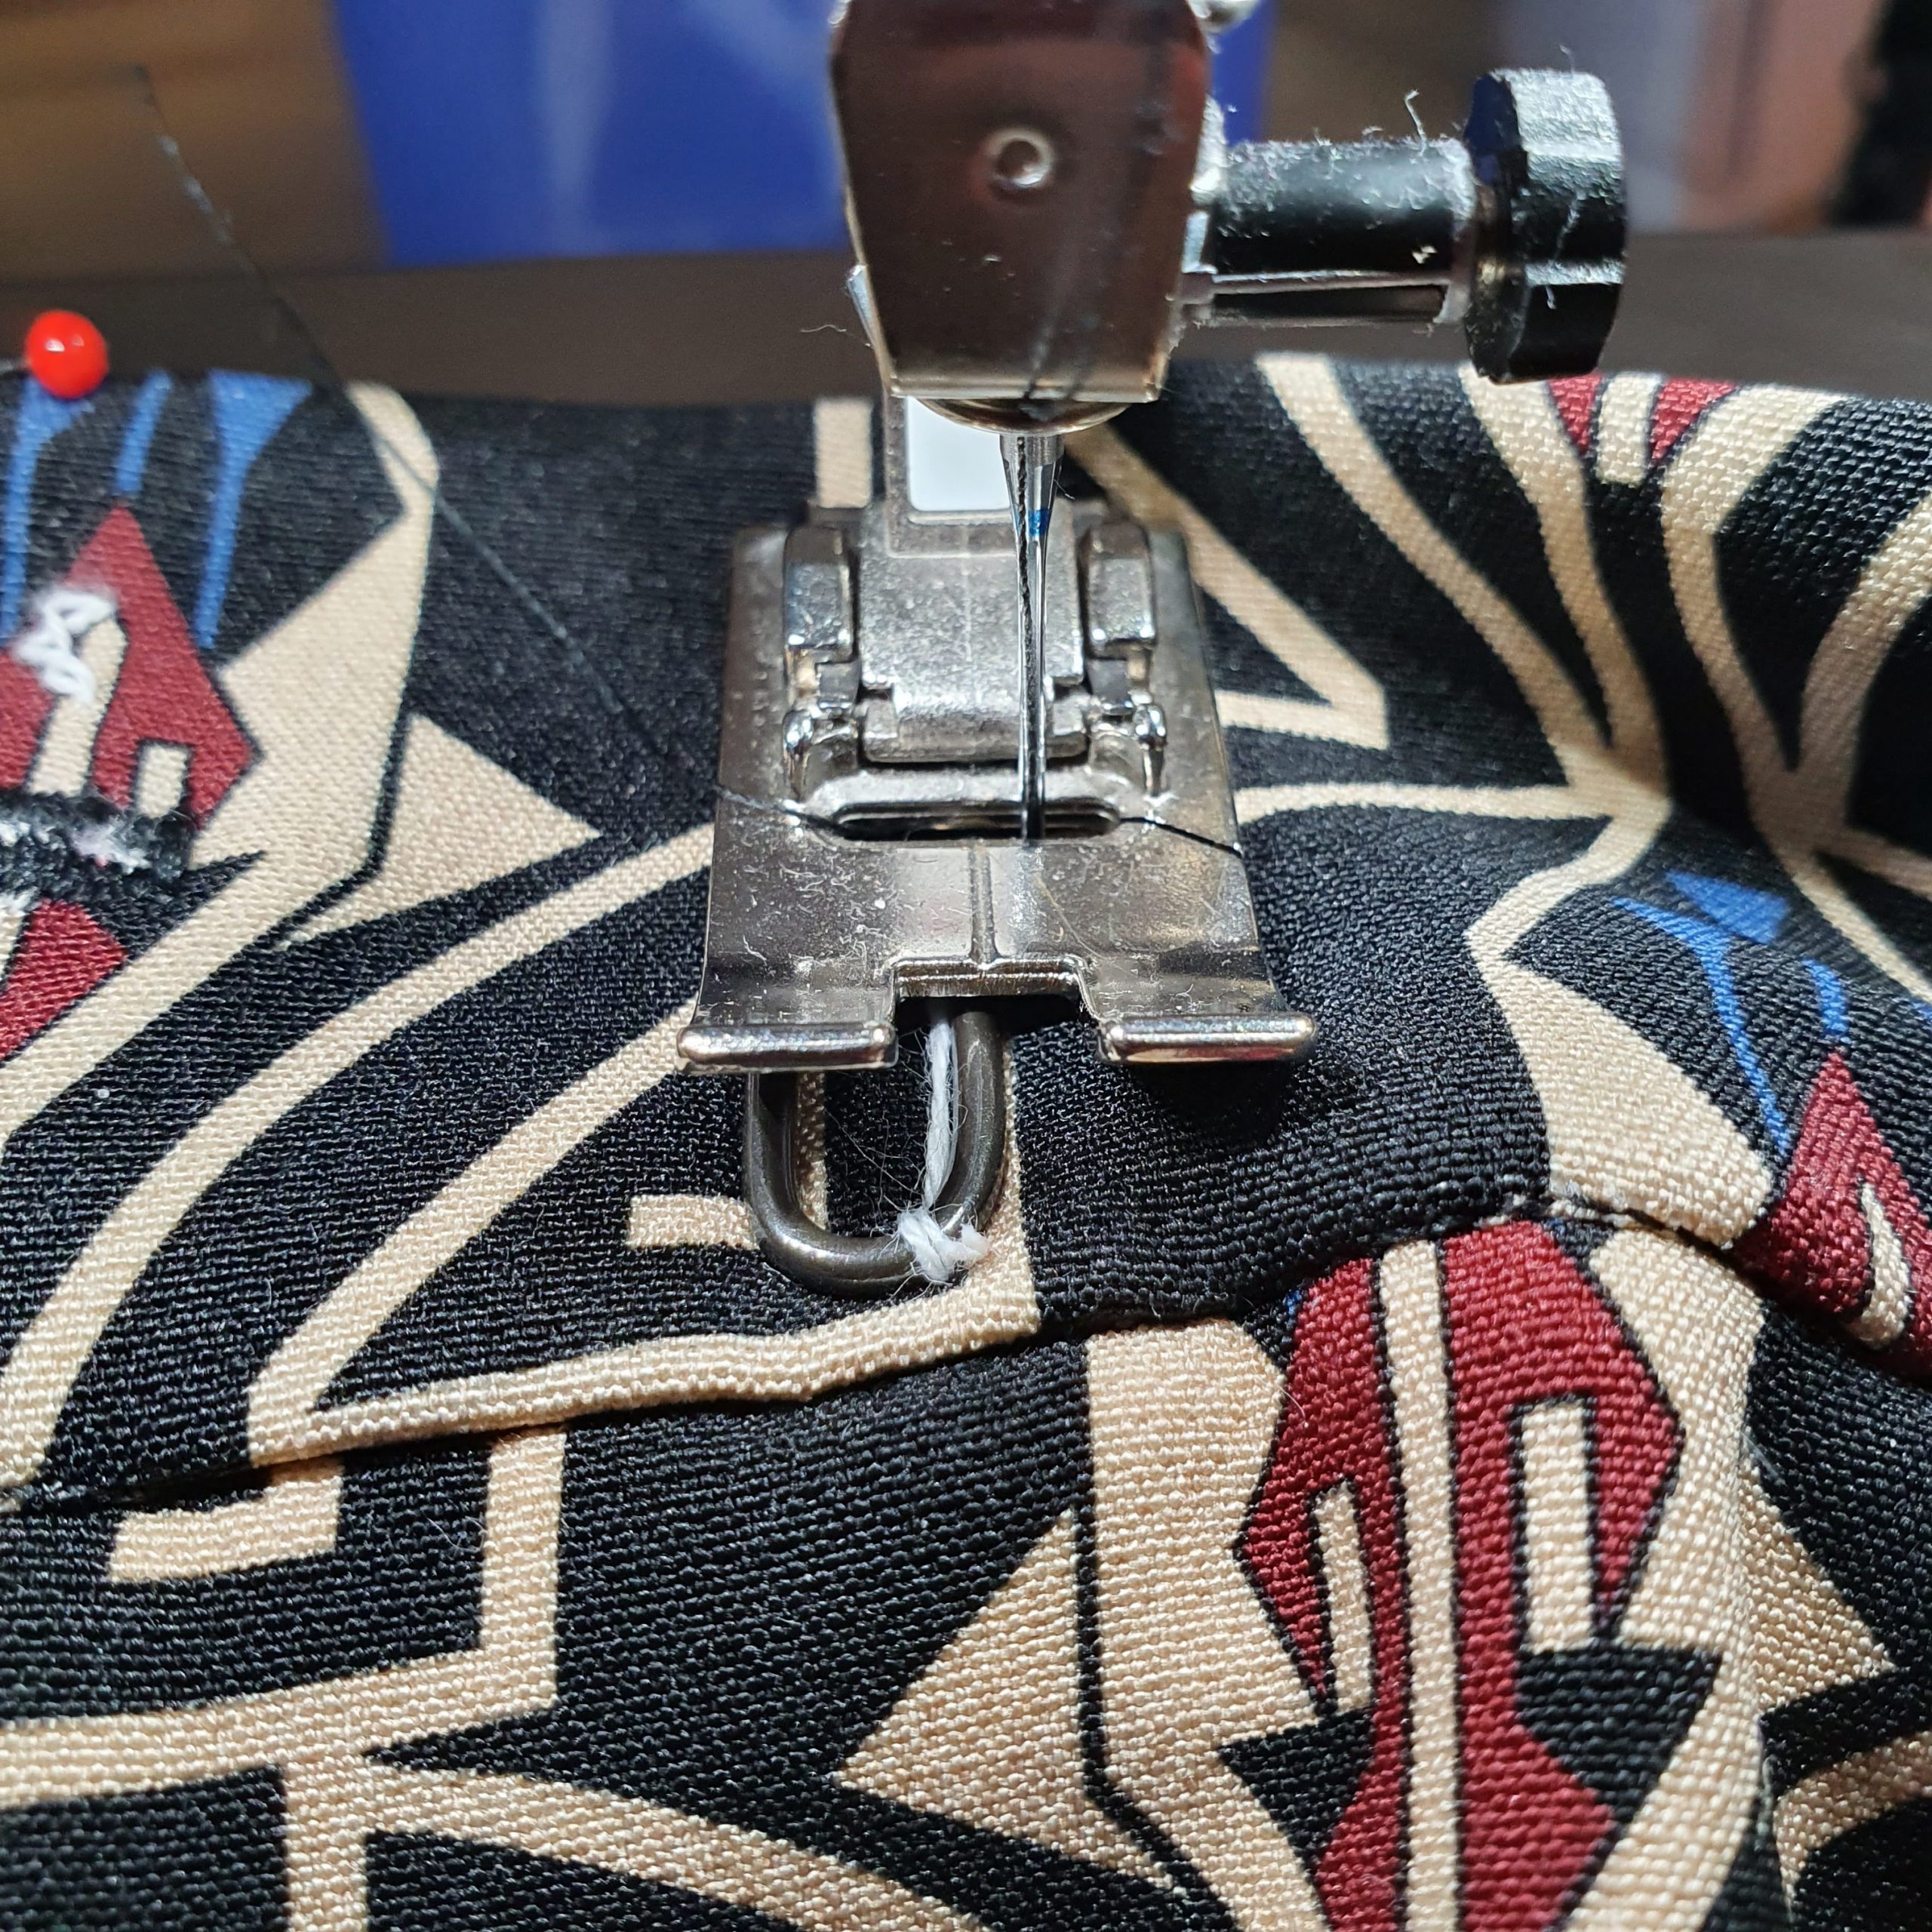
Zigzag the eyelet
Firm

Buttonhole and eyelet
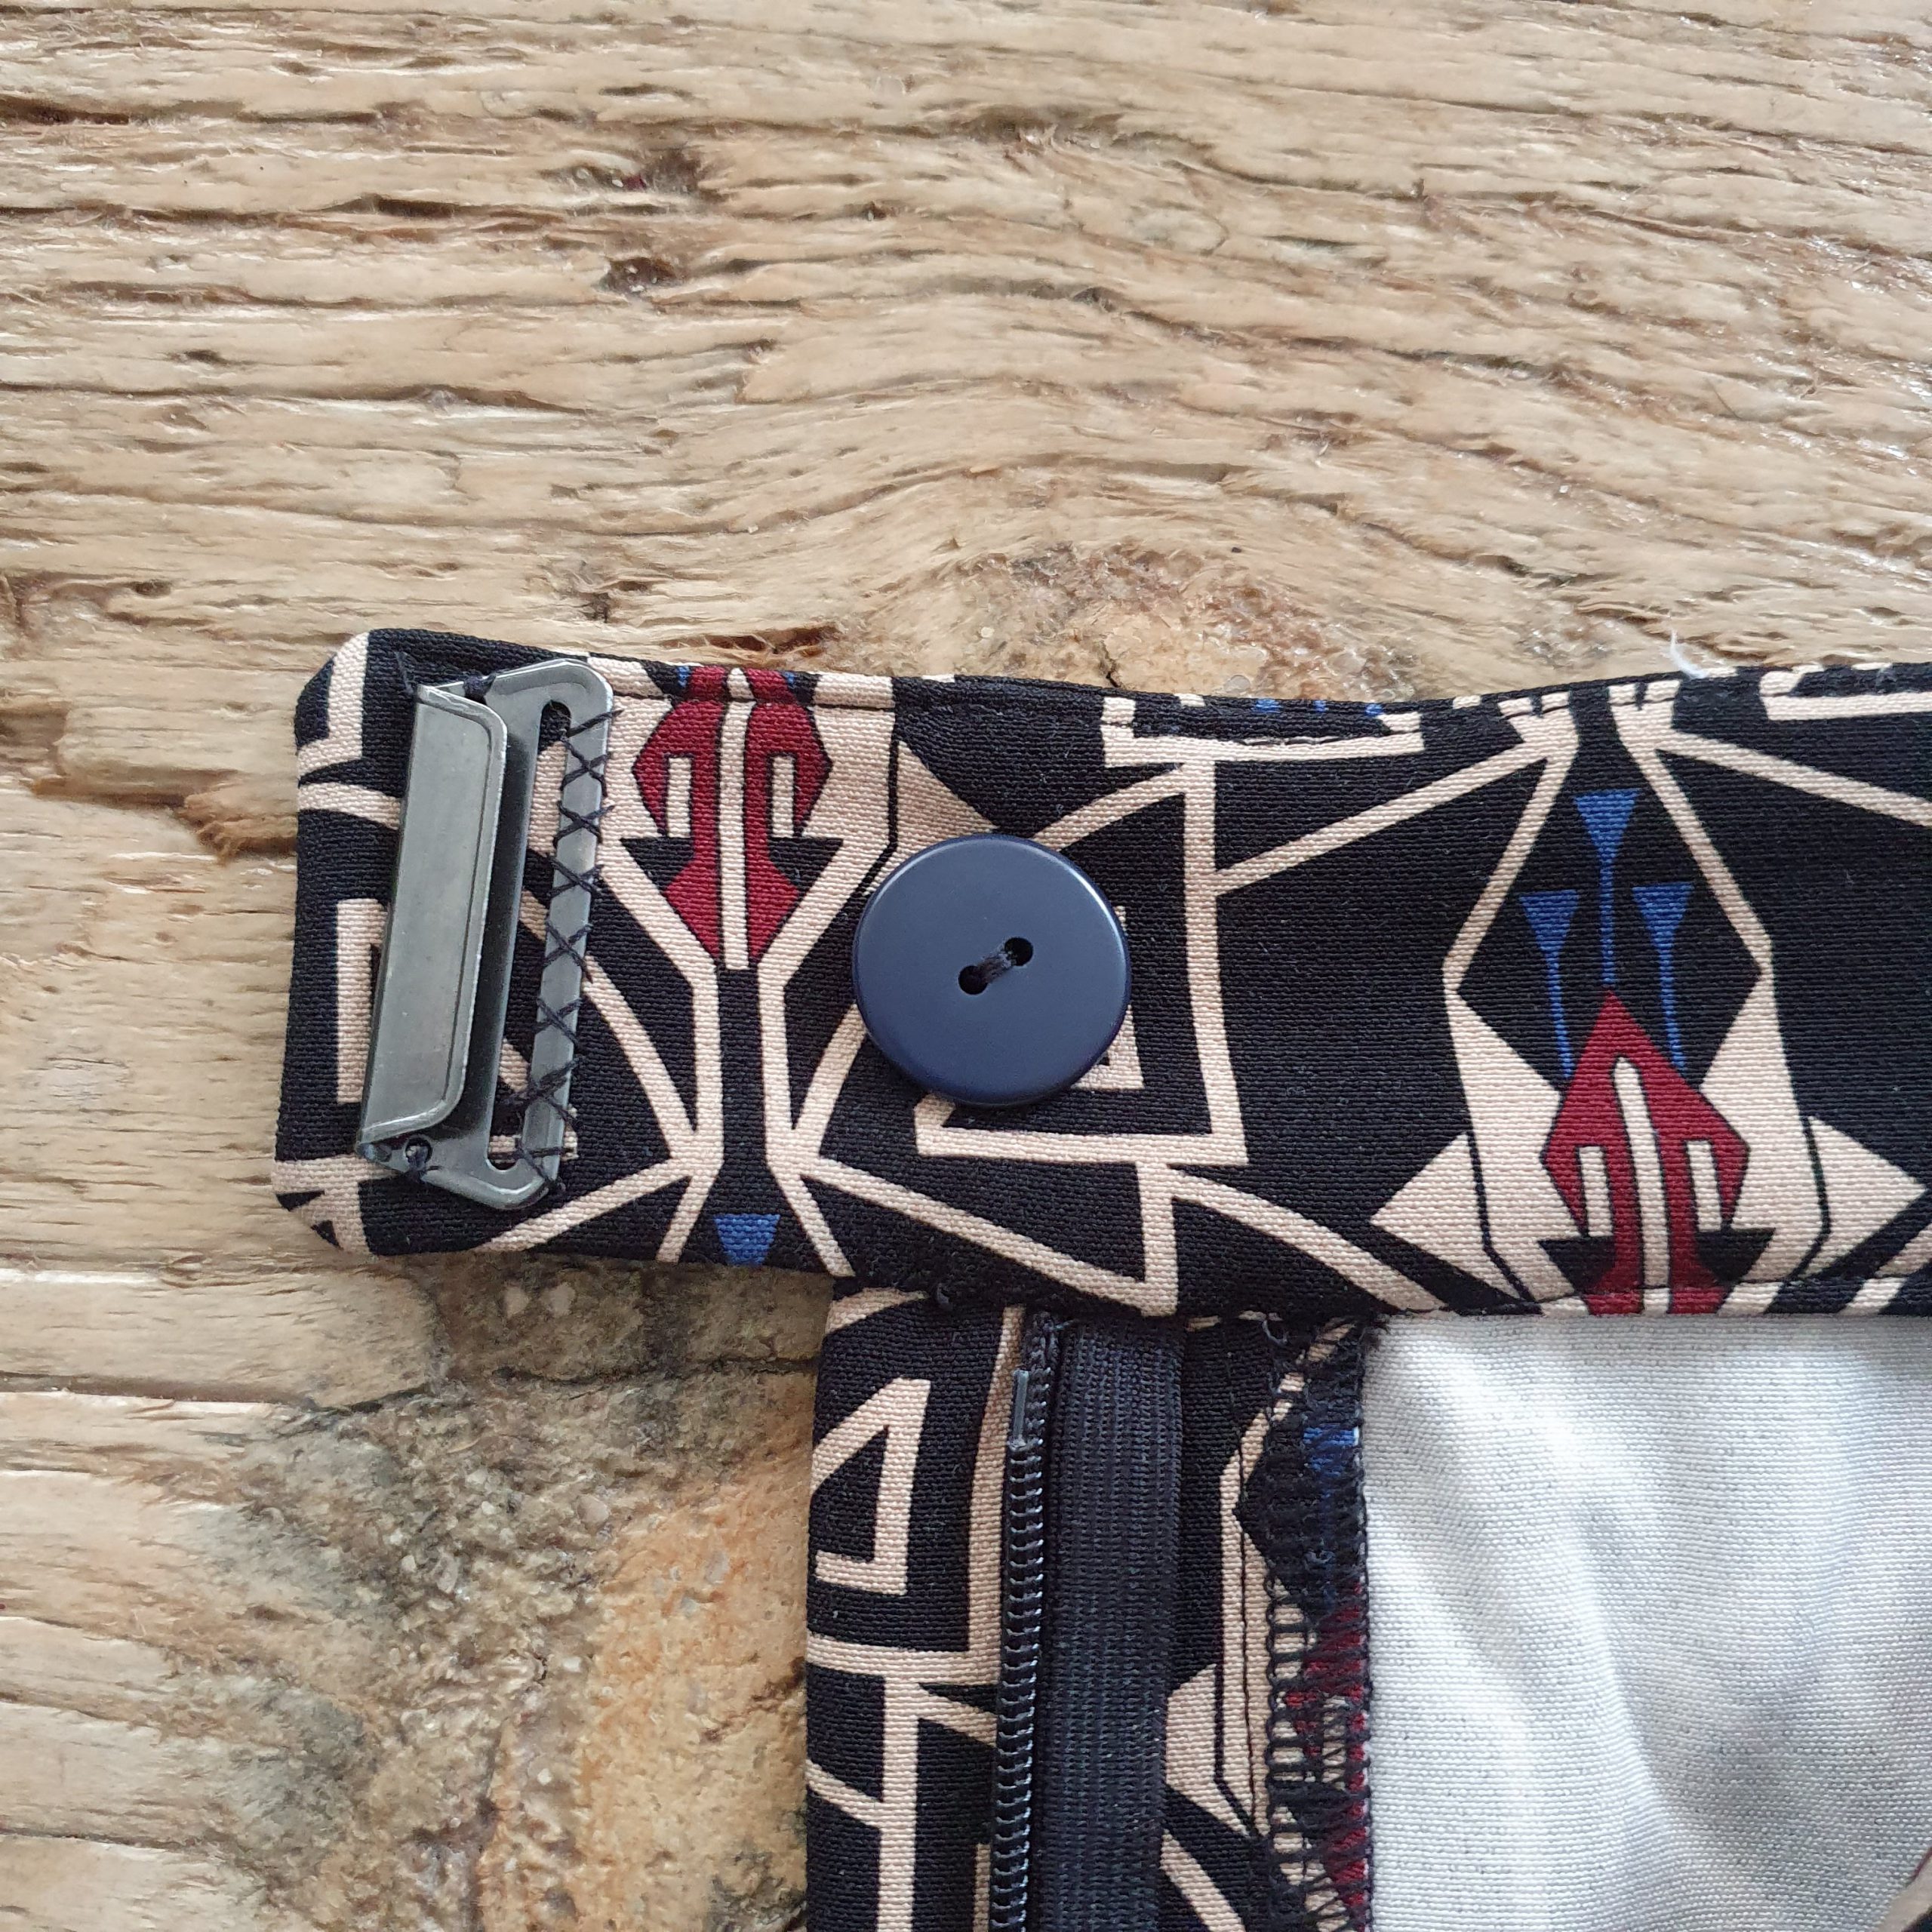
Hook and button
Hem
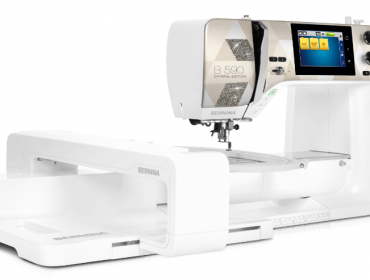
Before stitching the hem, I first iron it and temporarily fasten it with basting thread. Then sewing is easier. I’m stitching it on the inside, because I’m sure the bottom stitching with the BERNINA 590 Crystal Edition is just as beautiful.
Iron hem
Stitch on the inside
Neatly sewn outside
And here’s the result of part one of a timeless suit. The pants: a mix of two patterns. I’ve already worn these pants more than those of the summer suit. Yes! In the next blog I will share my tips and experience of making the blazer. Until then.

Love,
Marlies


0 Responses