 BERNINA Corporate Blog -

Please read instructions re thread choices carefully before choosing which design to use. These are zipped files.
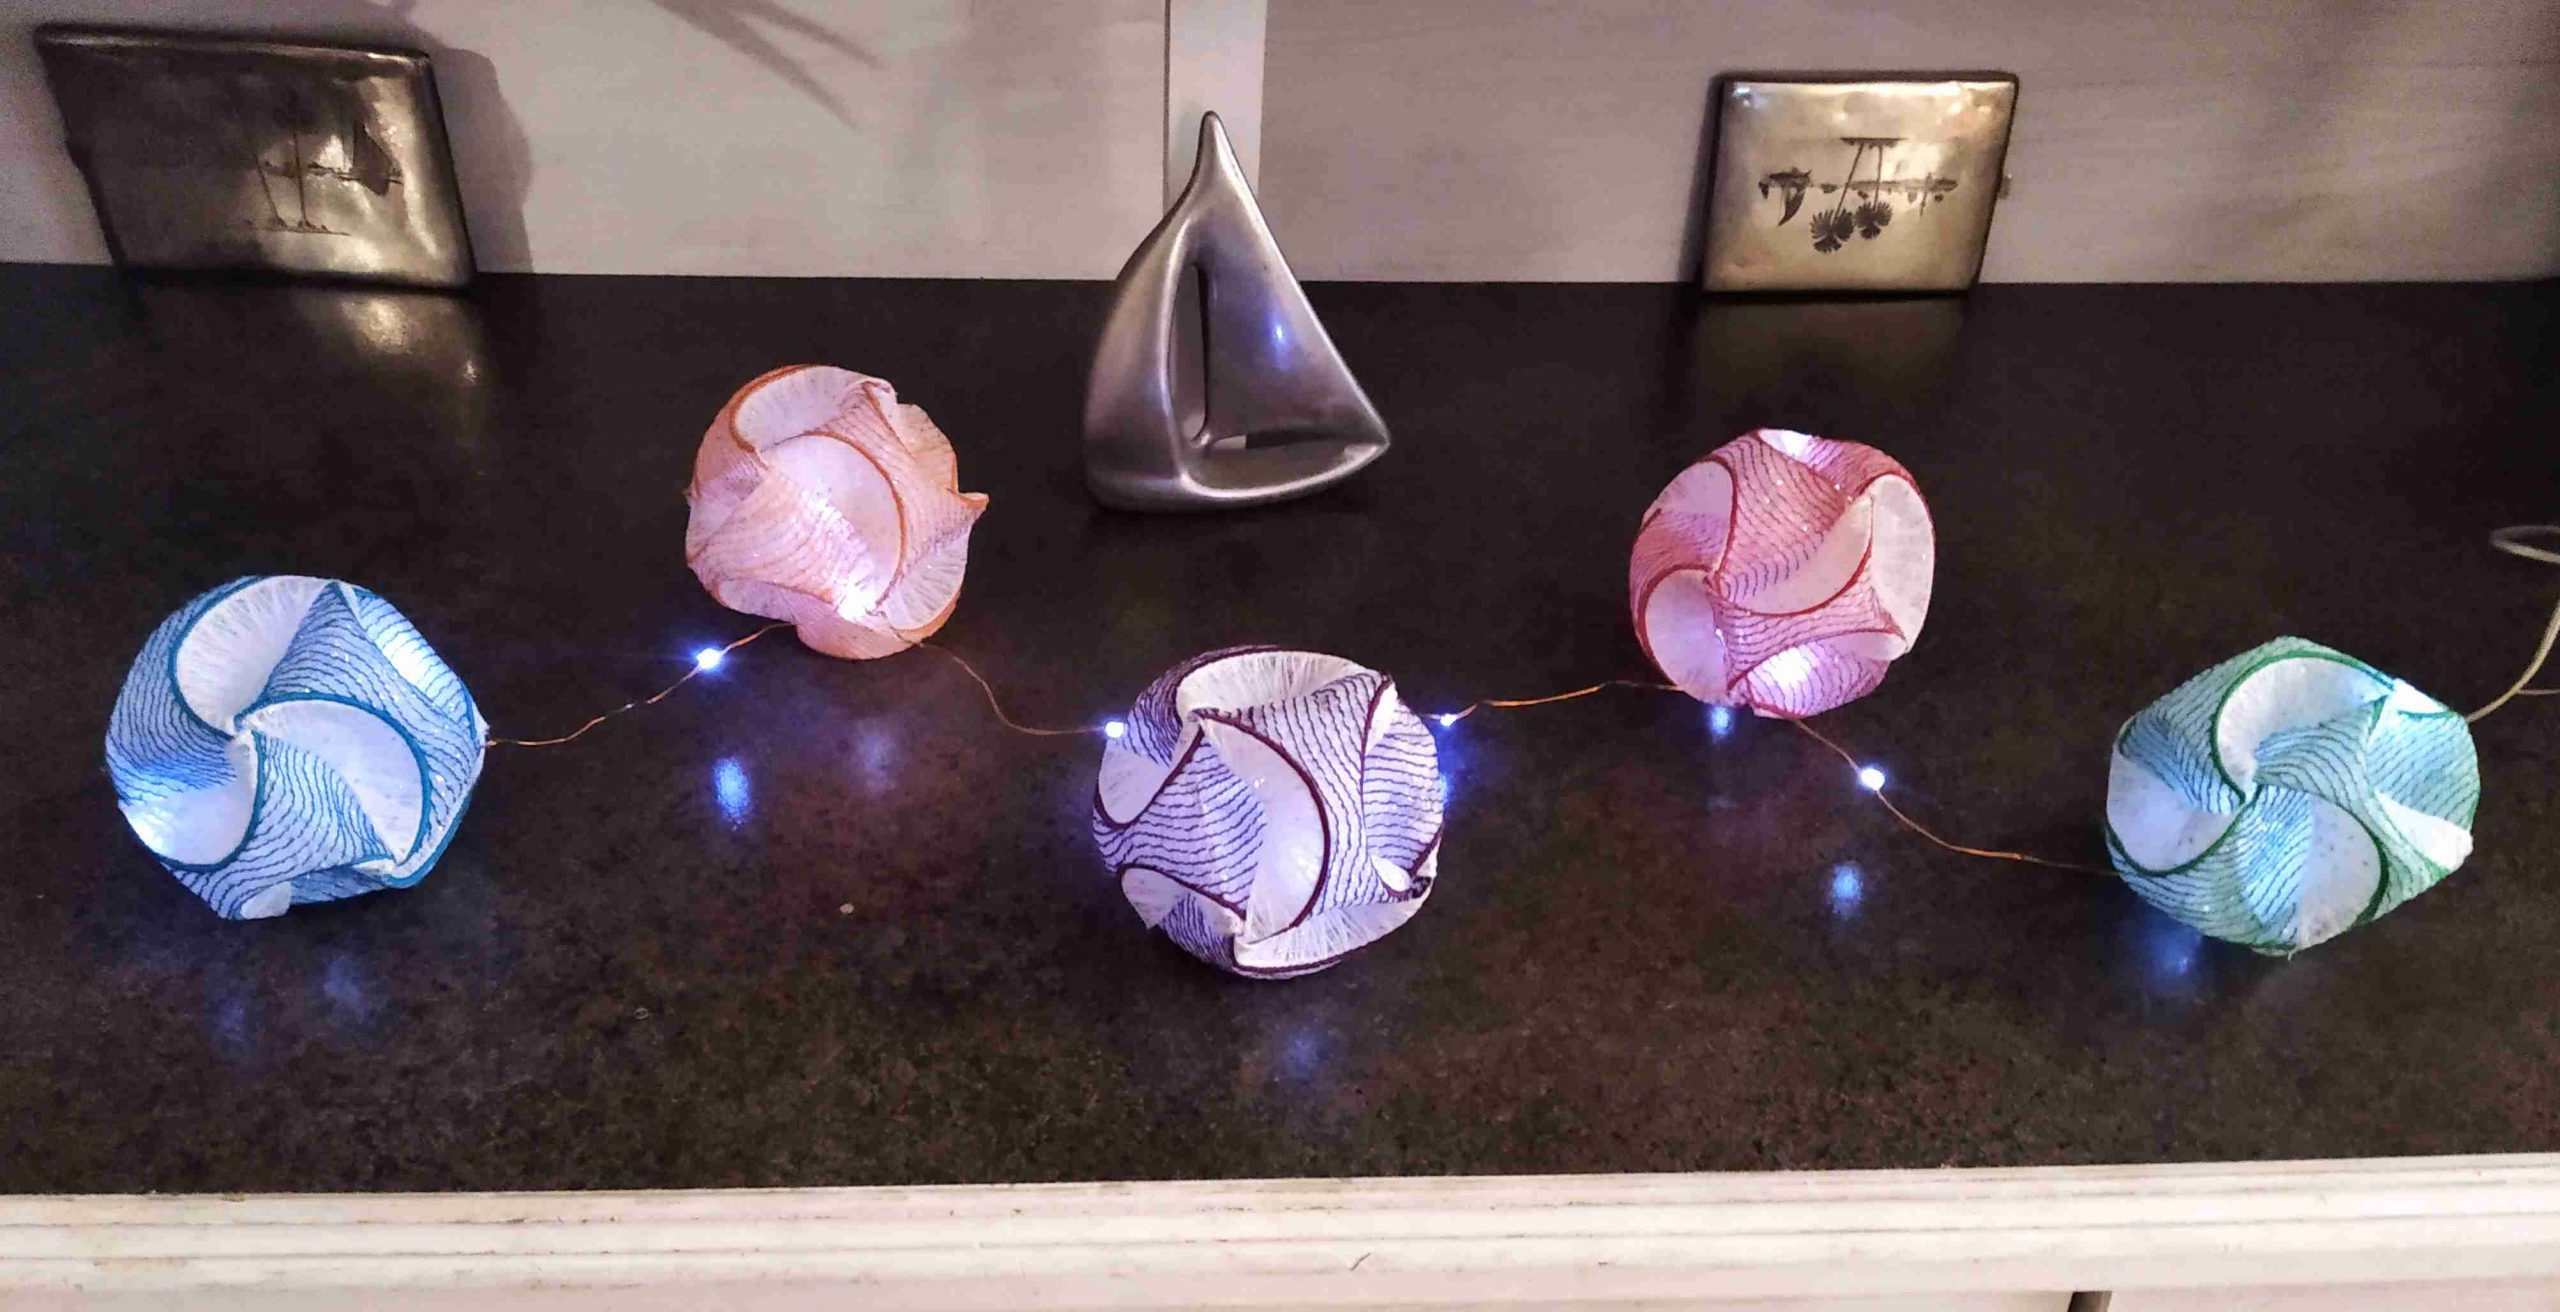
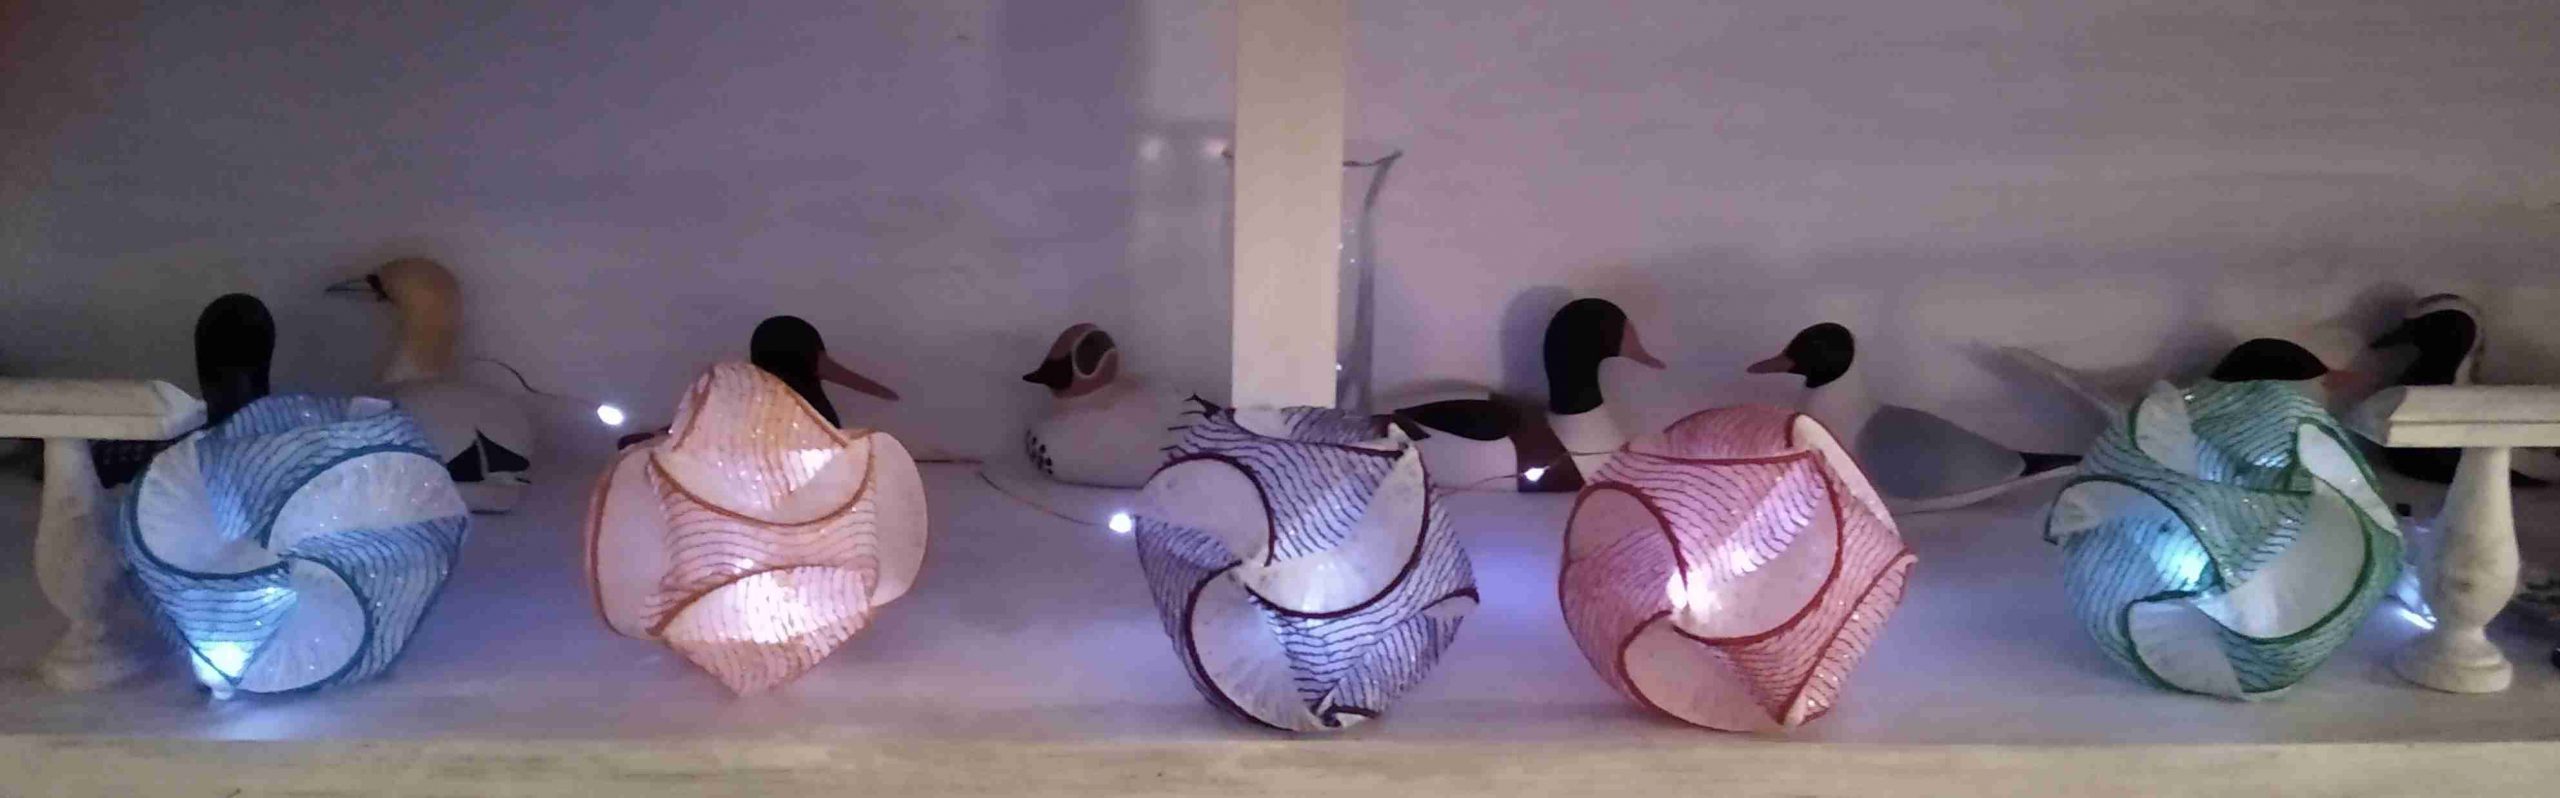
Line of Orbs with tiny lights
Inspiration Time to Shine.
My imagination was really sparked when I saw the idea for these Orbs made out of paper on a site called ‘Creative in Chicago’. I loved the idea for taking a flat object and ending up with a 3 dimensional object that challenged peoples imagination. It seemed a perfect project to use transparent fabrics and embroidery to create an illusion of lightness yet solidness and adding the small lights made it really shine.
However, the real shining star in this project is not just the shiny fabric with the embroidery, or the little lights, but the BERNINA Embroidery Software Version 8 as the whole project ,including the actual stitch patterns used. were created from scratch in the software. I imported only the outline drawing of the template.
To help with the final stages of folding these panels into the correct shape,which was very difficult to photograph, I recommend reading the free tutorial Easy DIY Craft Paper Orb Tutorial (creativeinchicago.com) There are also some videos on YouTube.
Hoop size Large Oval Hoop 255 x 145. This design is therefore suitable for all Bernina embroidery machines.
Materials
Thread
Normal 40 wt embroidery thread. 2 0r 3 colours.
Alternatively for the centre ‘wavy line’ panel a 12 wt embroidery thread.
I have provided 2 designs, one for 40 wt embroidery thread where the wavy lines stitch twice using the double run feature in the software to give the thread more definition.
The second design uses 12 wt thread so the wavy lines stitches only once. 12 weight embroidery thread is widely available but I suspect very little used. For line designs it gives a wonderful effect. You need a size 80 or 90 topstitch needle to use with it. I strongly recommend trying this thread weight. Remember that you may need to reduce upper thread tension a little.
Base fabric
Polyester fabric called ‘Lutradur’ or fine organza or organdie.
I experimented with some slightly unusual materials as another of my passions is to show that machine embroidery does not restrict us and indeed can open doors to using other creative materials.
I used a polyester fabric called Lutradur which is available in a number of different weights from fine 30gms, medium 70gms and heavy 100gms. It is wonderfully stable fabric to to embroider on and has an inbuilt crispness. It is available in white and black, UK supplier listed below, and in France where I live I often see it in fabric shops in a range of colours. For this project you need a certain amount of stiffness to aid the final folding of the Orb
I used a single layer of Lutradur 30gms
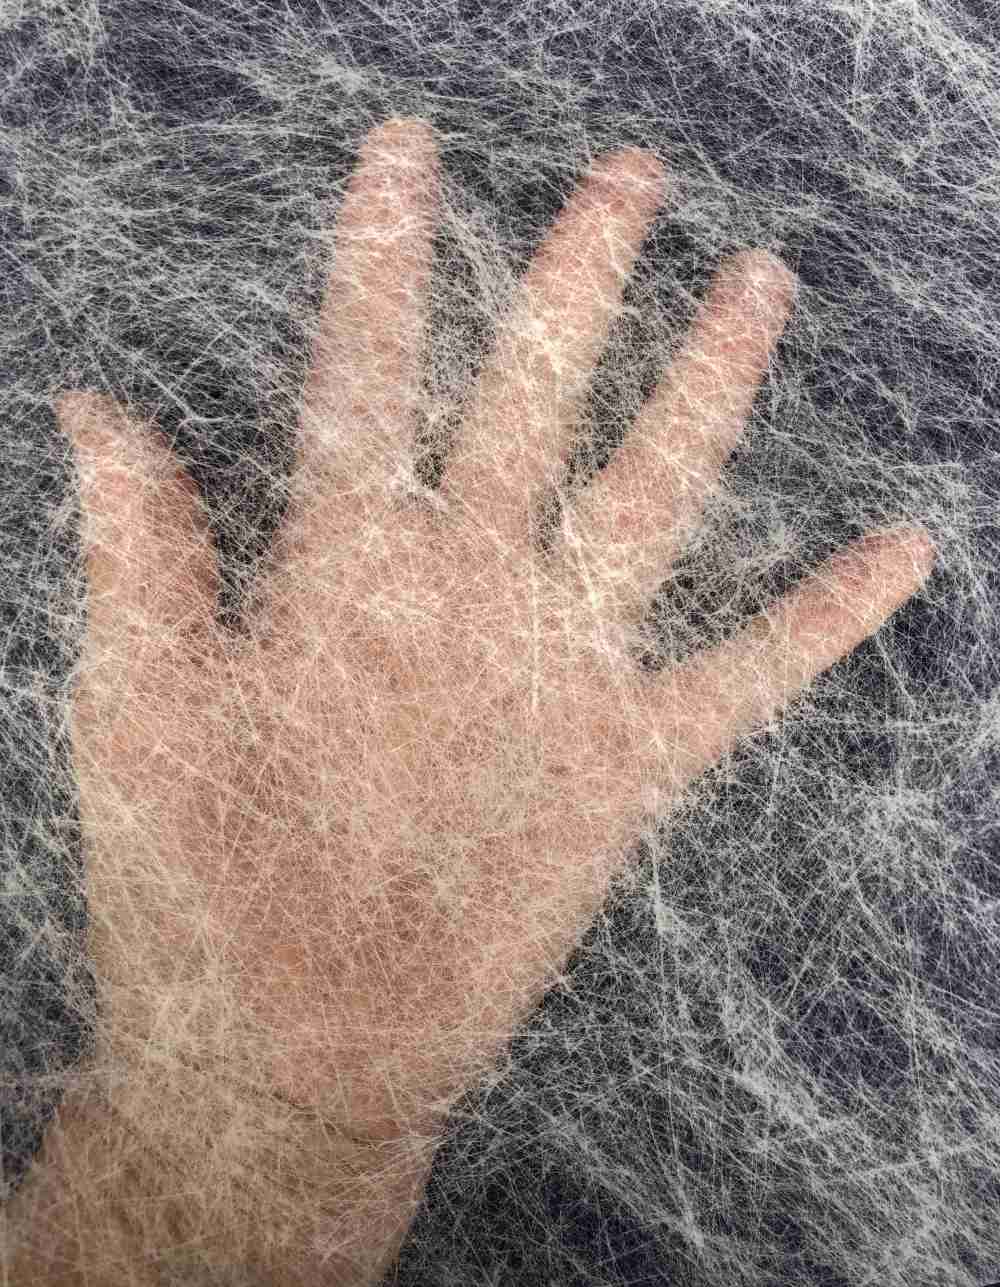
Lutradur 30gms
If you do not have this use a fine organza fabric instead. Silk Organdie which has a natural stiffness is another option or any fine transparent fabric. The stabiliser used is water soluble which if not washed out completely it helps to stiffen the fabric. If after washing out the stabiliser the panel feels very soft, simply dissolve some scraps of water-soluble stabiliser in water and paint it onto the back of the panel and allow it to dry.
Sparkle Fabric
Sparkly organzas, sparkly net fabric or any fine fabric with a sparkle.
To create the sparkle I added on top of the Lutradur 30gms a layer of fine organdie with a silver sparkly pattern which is normally used for table decoration. I also experimented with sparkly nets for this layer and they worked equally well.

Sparkling Organza
Stabiliser
Water soluble stabiliser.
Tip: To use less stabiliser, cut a piece of stabiliser the necessary height for the 255 x 145 hoop but much wider so that you can move the stabiliser in the hoop as in the photo. This does not harm the embroidery.
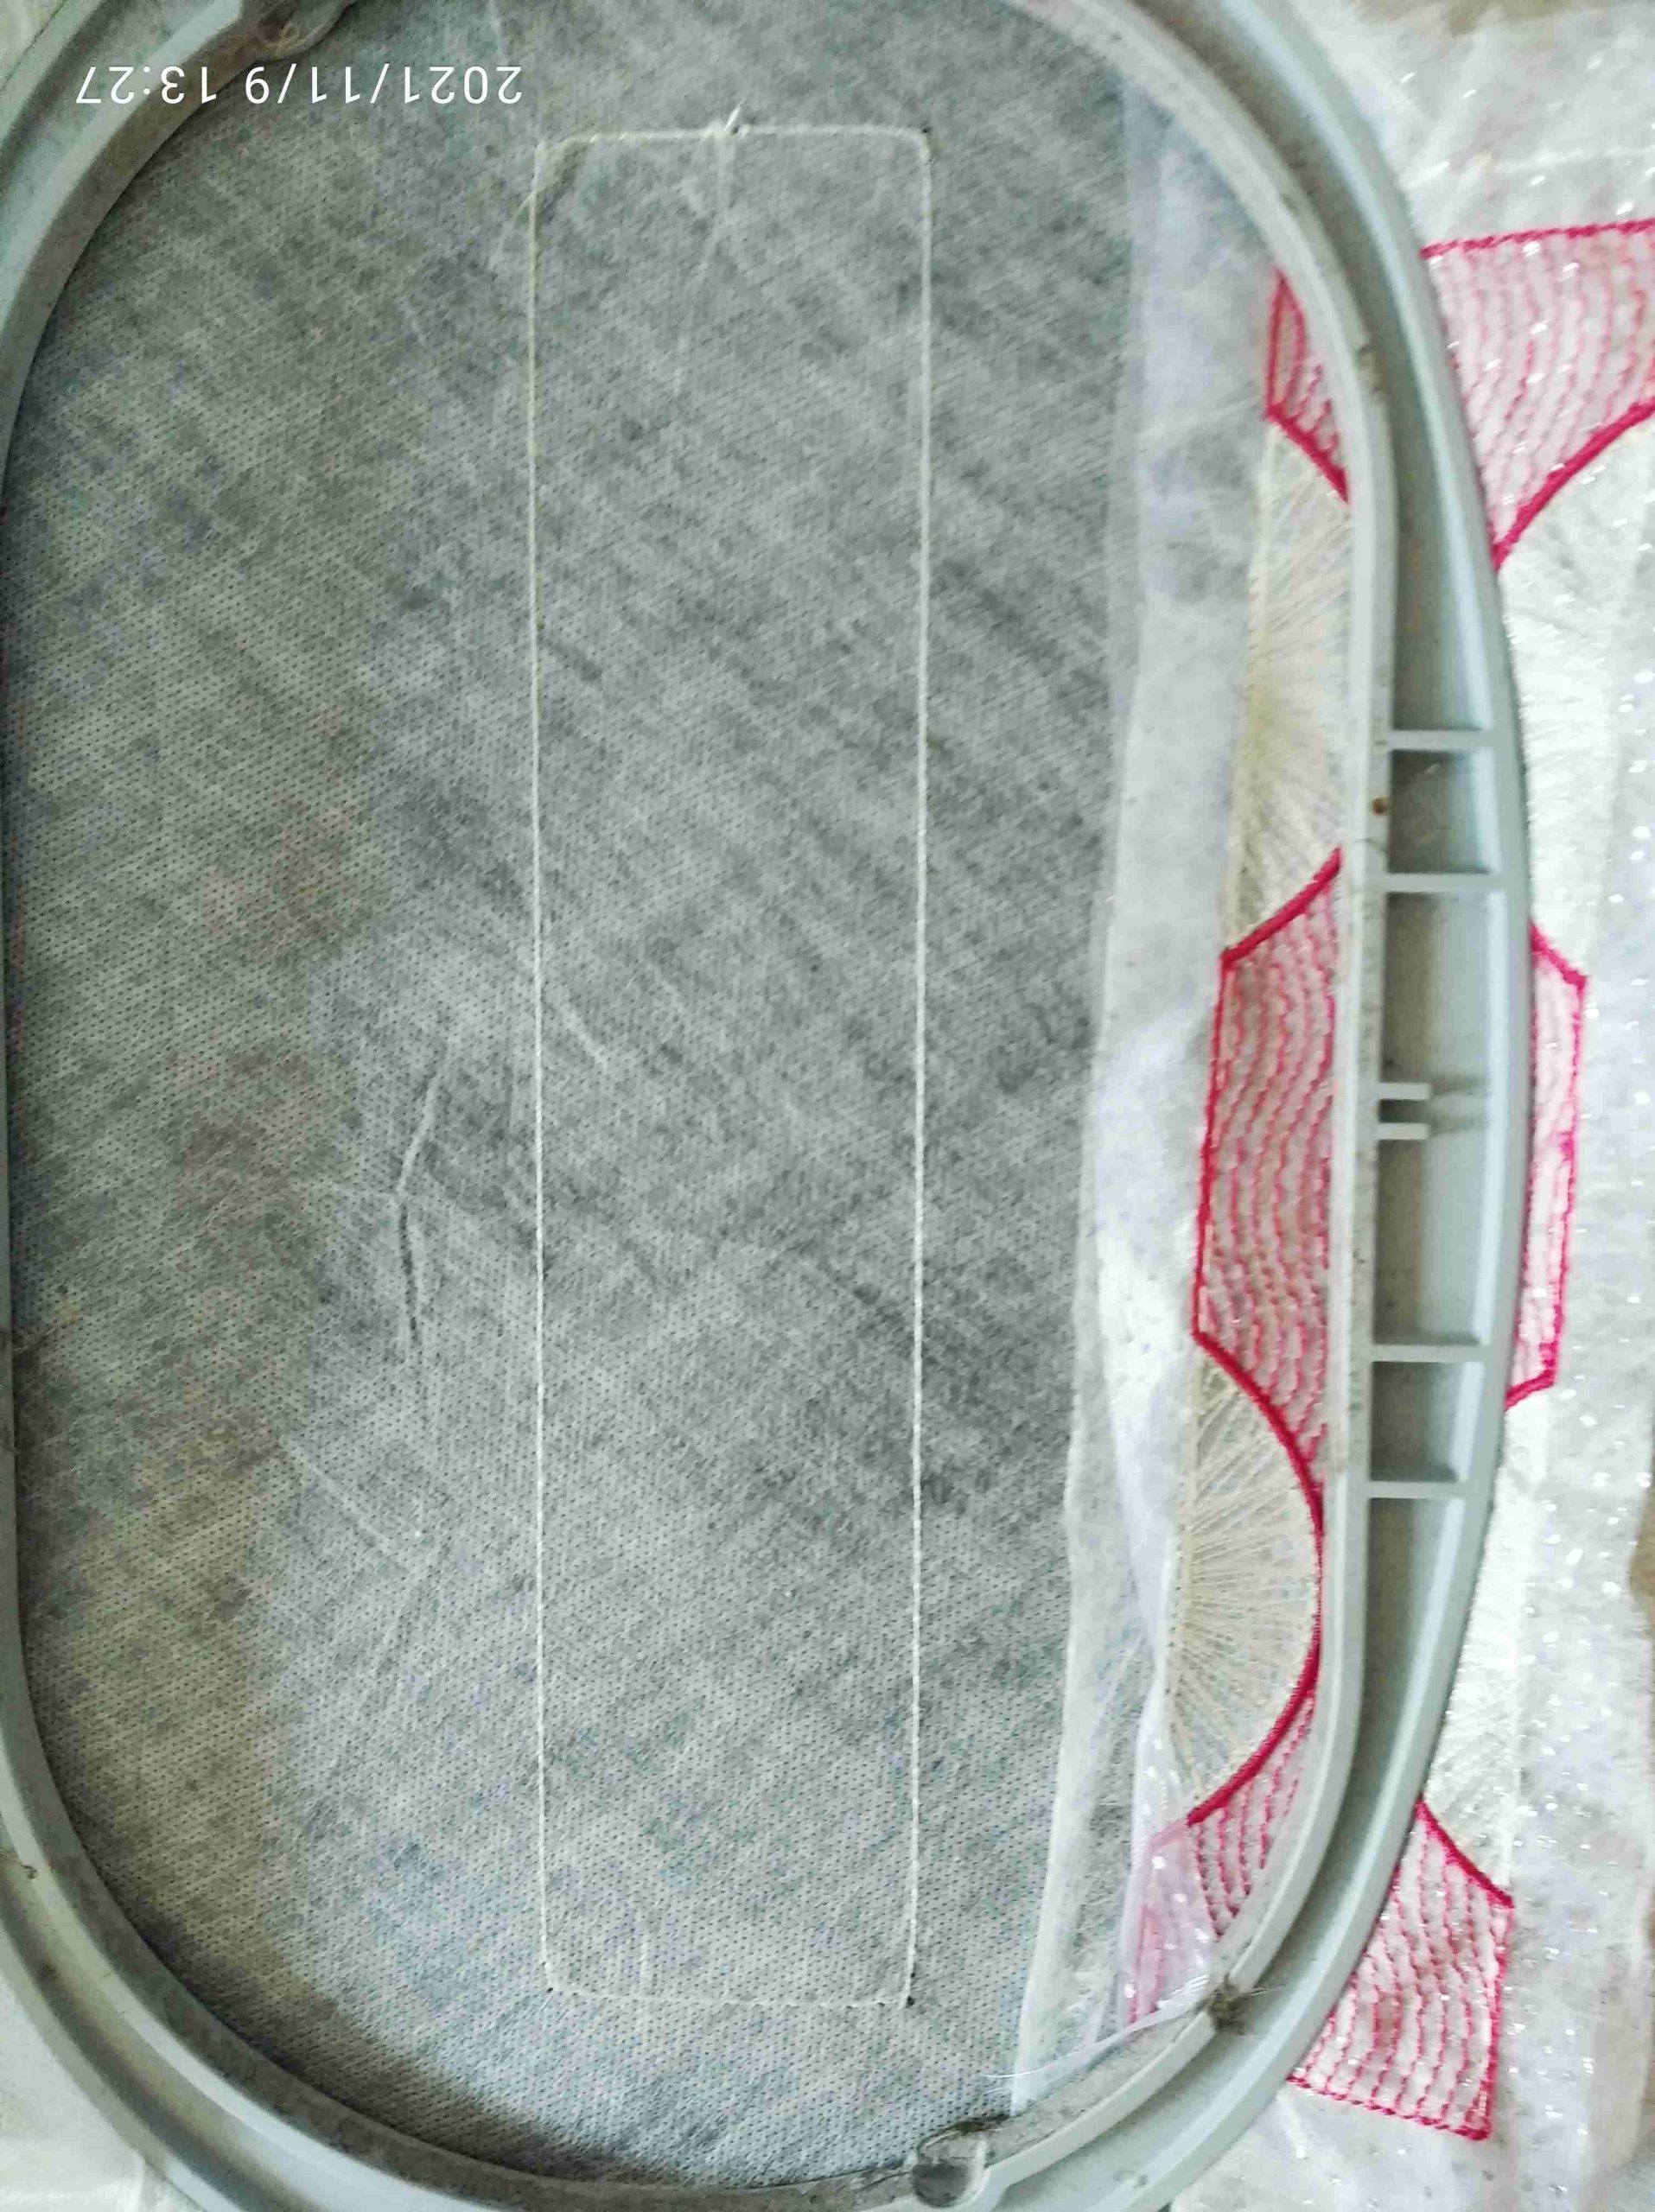
Tip to save stabiliser
I also moved the design as far to the side in the hoop as possible to conserve stabiliser.

Design moved to side to conserve stabiliser.
Instructions
Download the embroidery design choosing the design for 40wt thread if using all 40 wt thread.
If using 12 wt thread for the central panel choose the design marked 12 wt thread.
- For each Orb cut 3 pieces of base fabric and 3 pieces of sparkly fabric to 27cms long x 9cms wide.
2. Hoop water-soluble stabiliser and stitch placement line.

Placement line
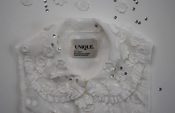
3. Over the placement line lay one piece of base fabric and one piece of sparkly fabric on top. Use scotch tape to hold in place.
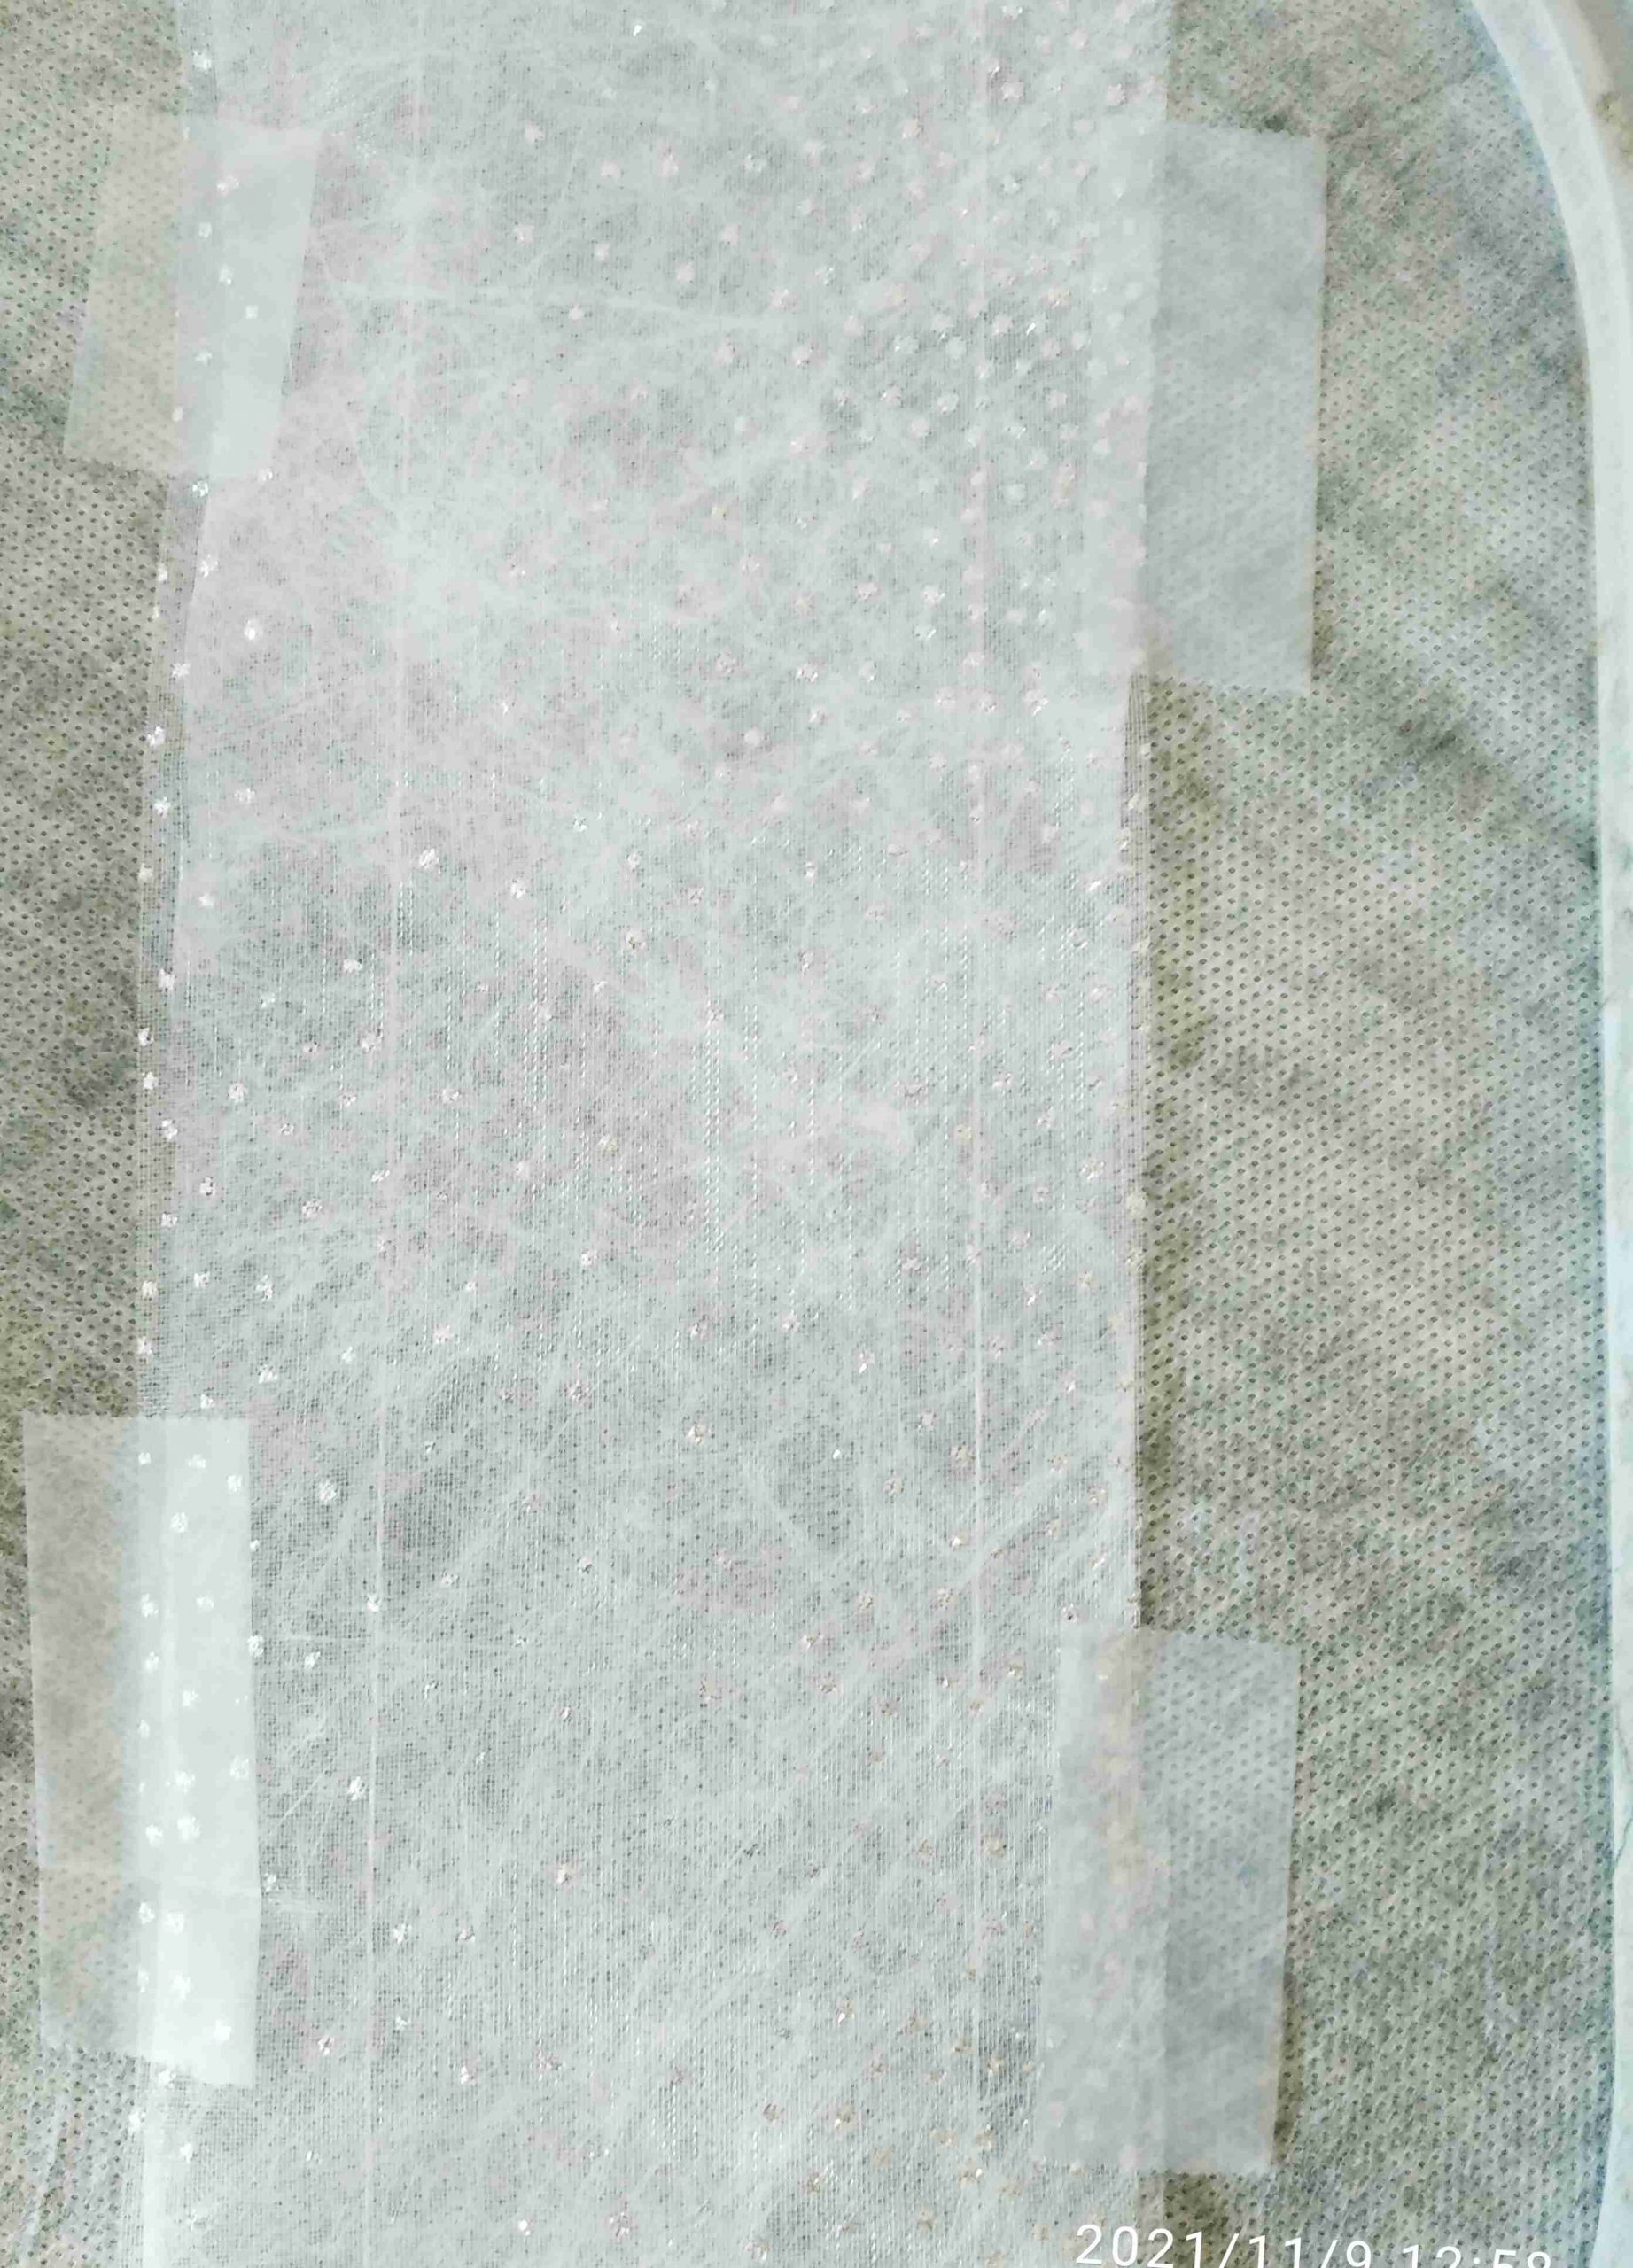
Fabrics held in place with scotch tape.
4. Stitch Tack Down line.

Tack down line stitched
5. Using 40 wt embroidery thread embroider the semi- circular shapes.
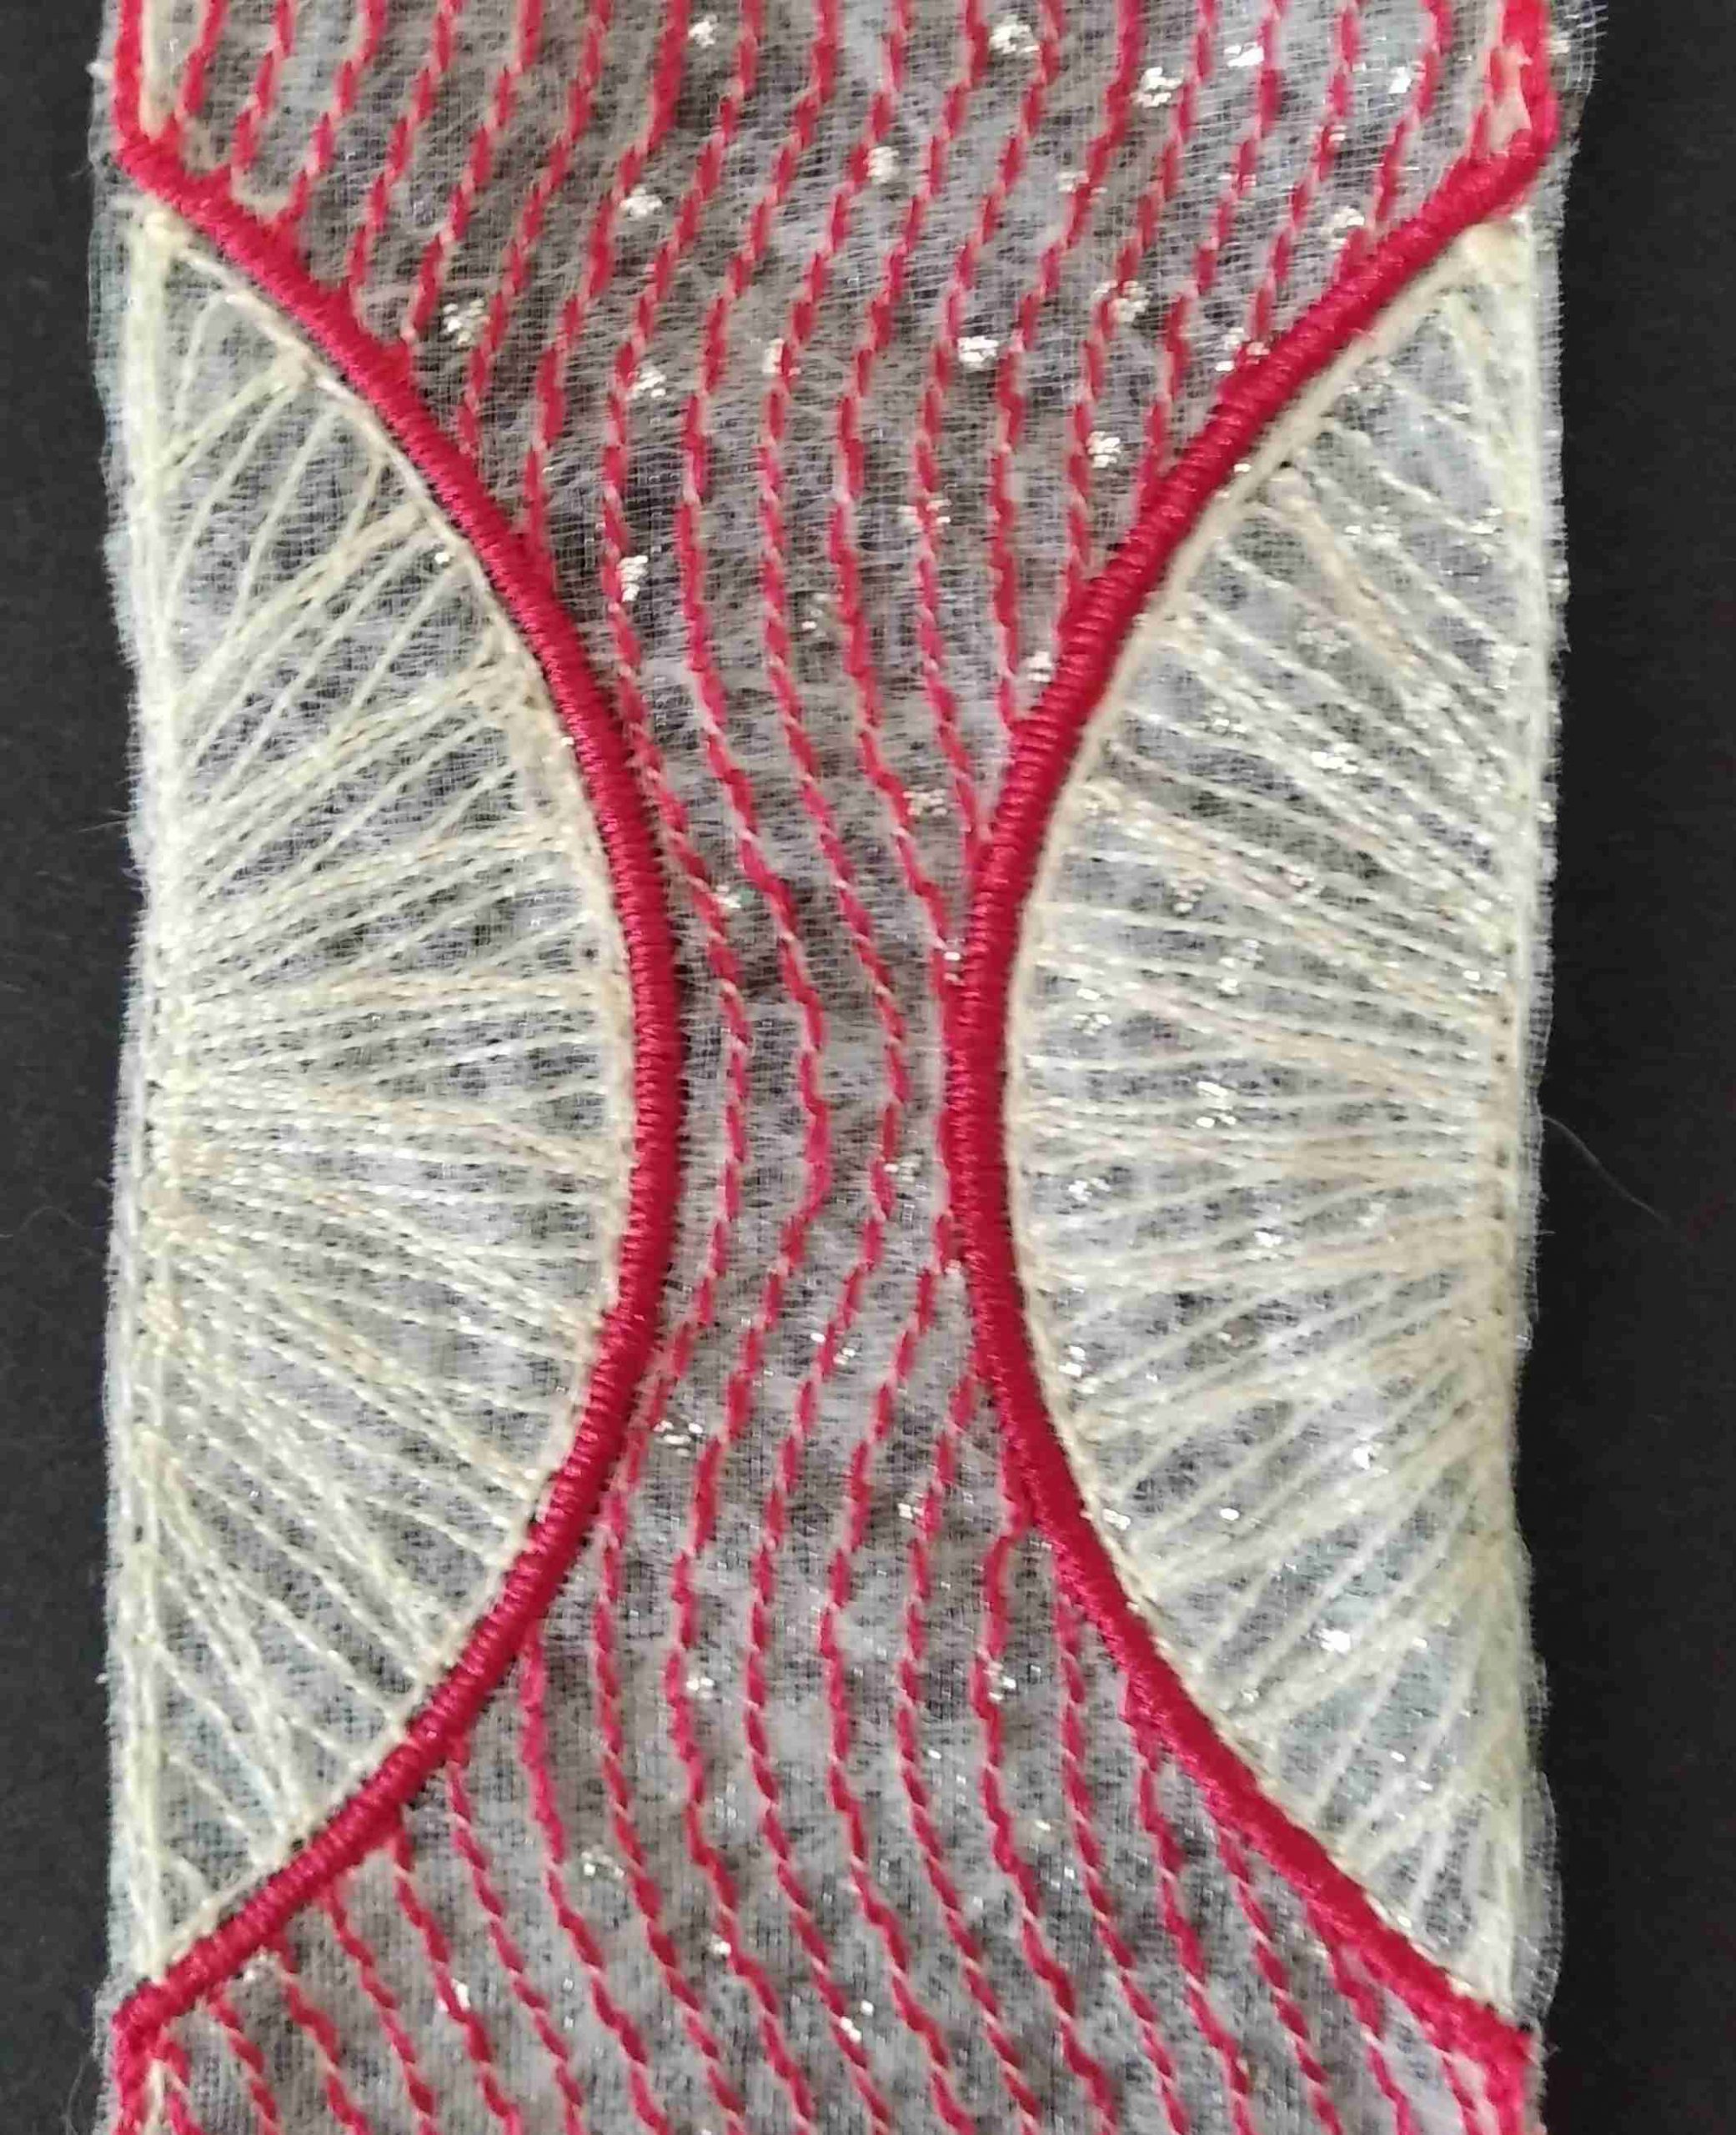
semi circles stitched
6. Using 40wt thread or 12 wt embroidery thread stitch the wavy line central panel.
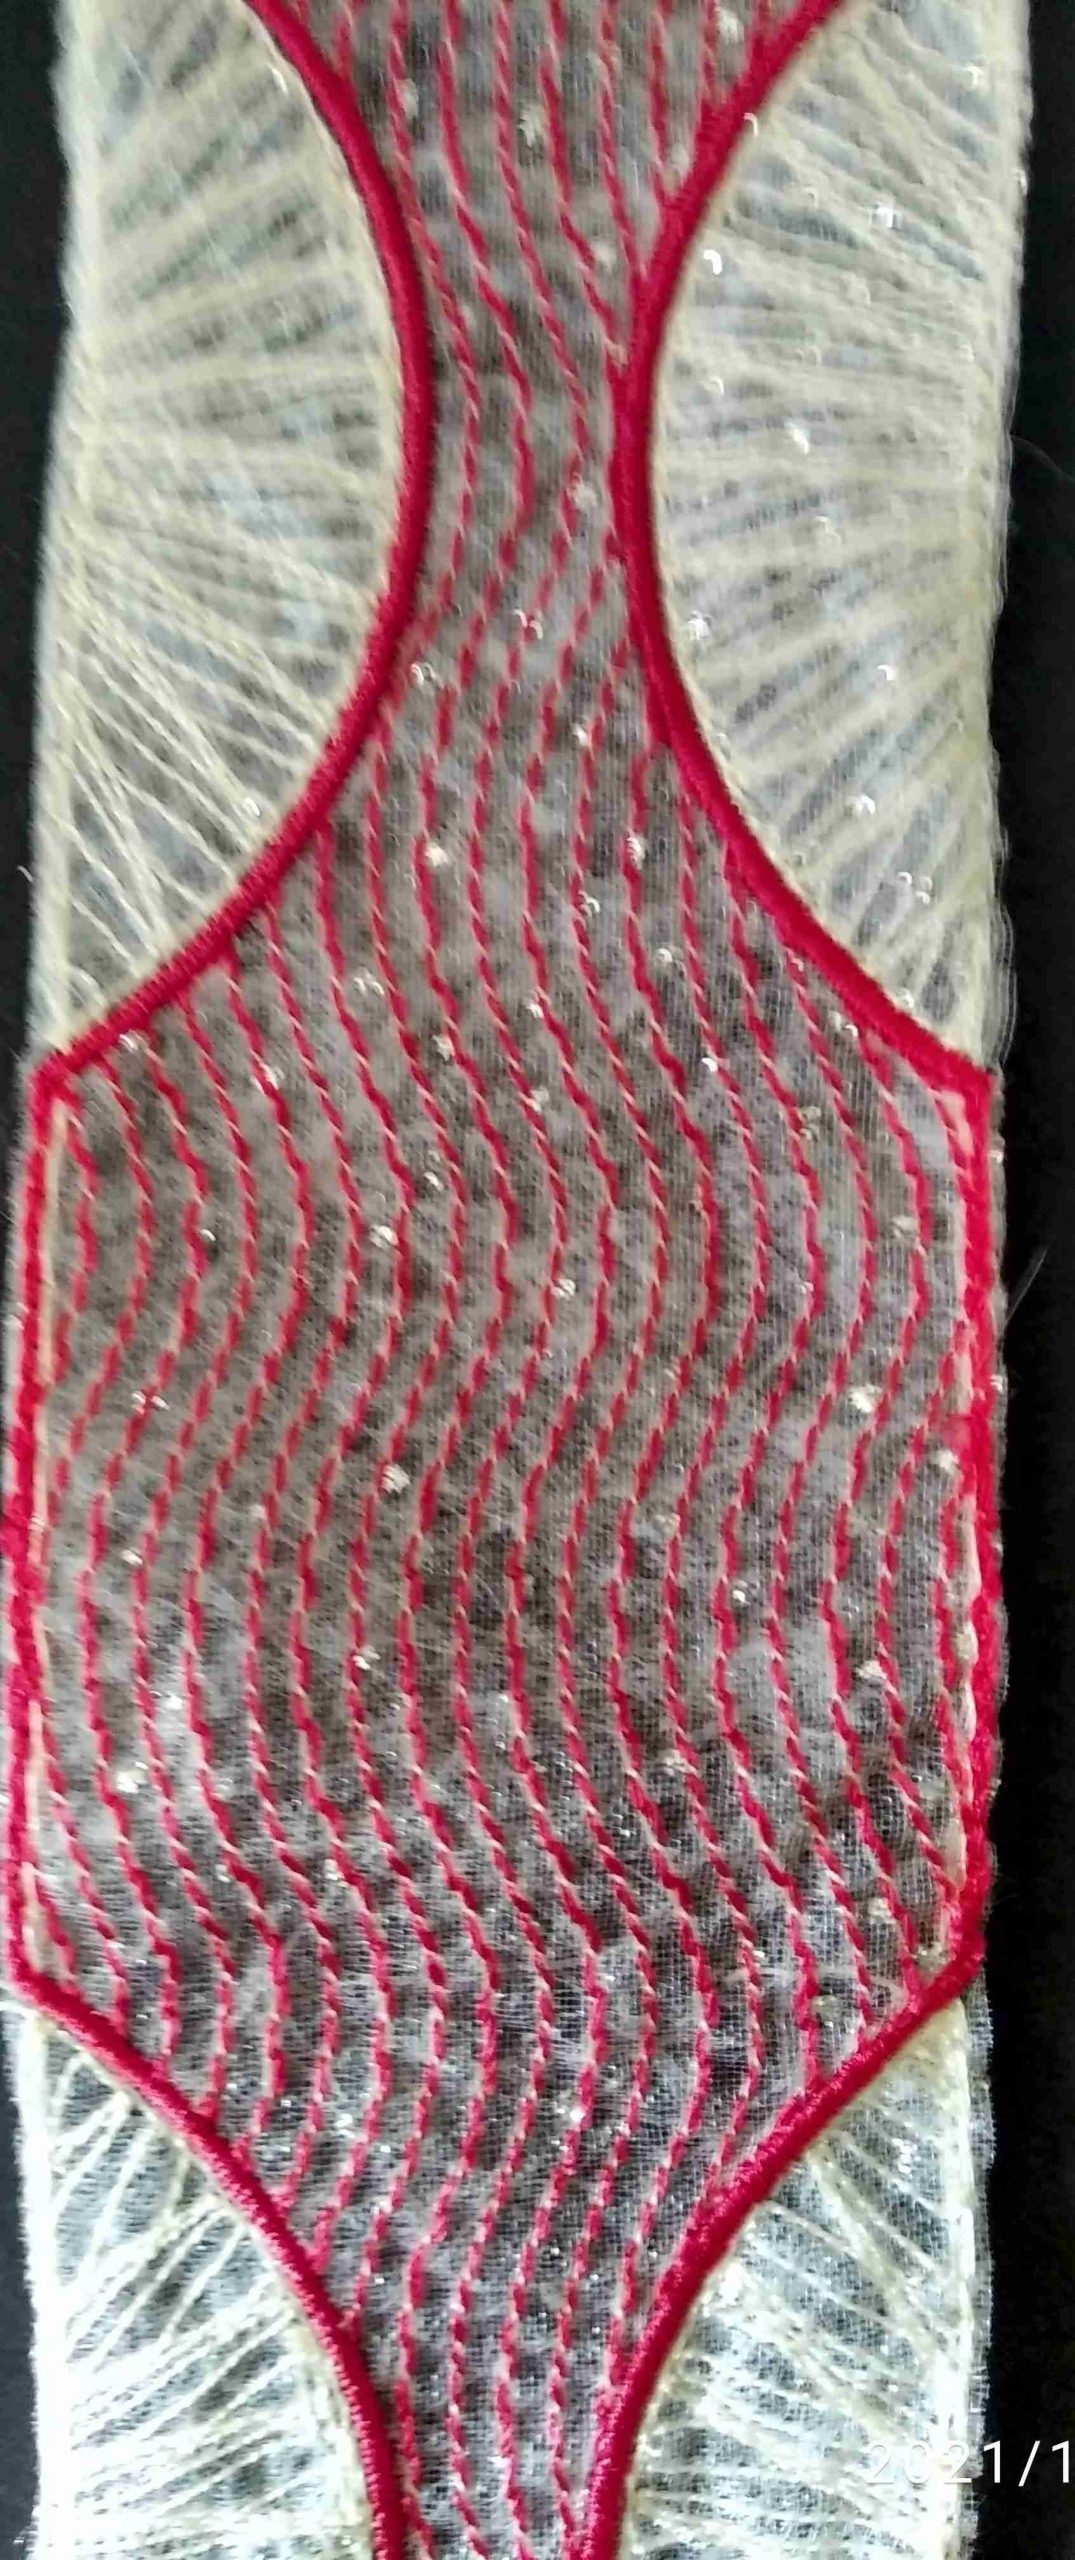
Pink wavy lines in 40 wt or 12 thread
7. Stitch using 40 wt thread the satin outline of each semi-circle. This can be a matching colour, as I have used, or a contrasting colour.
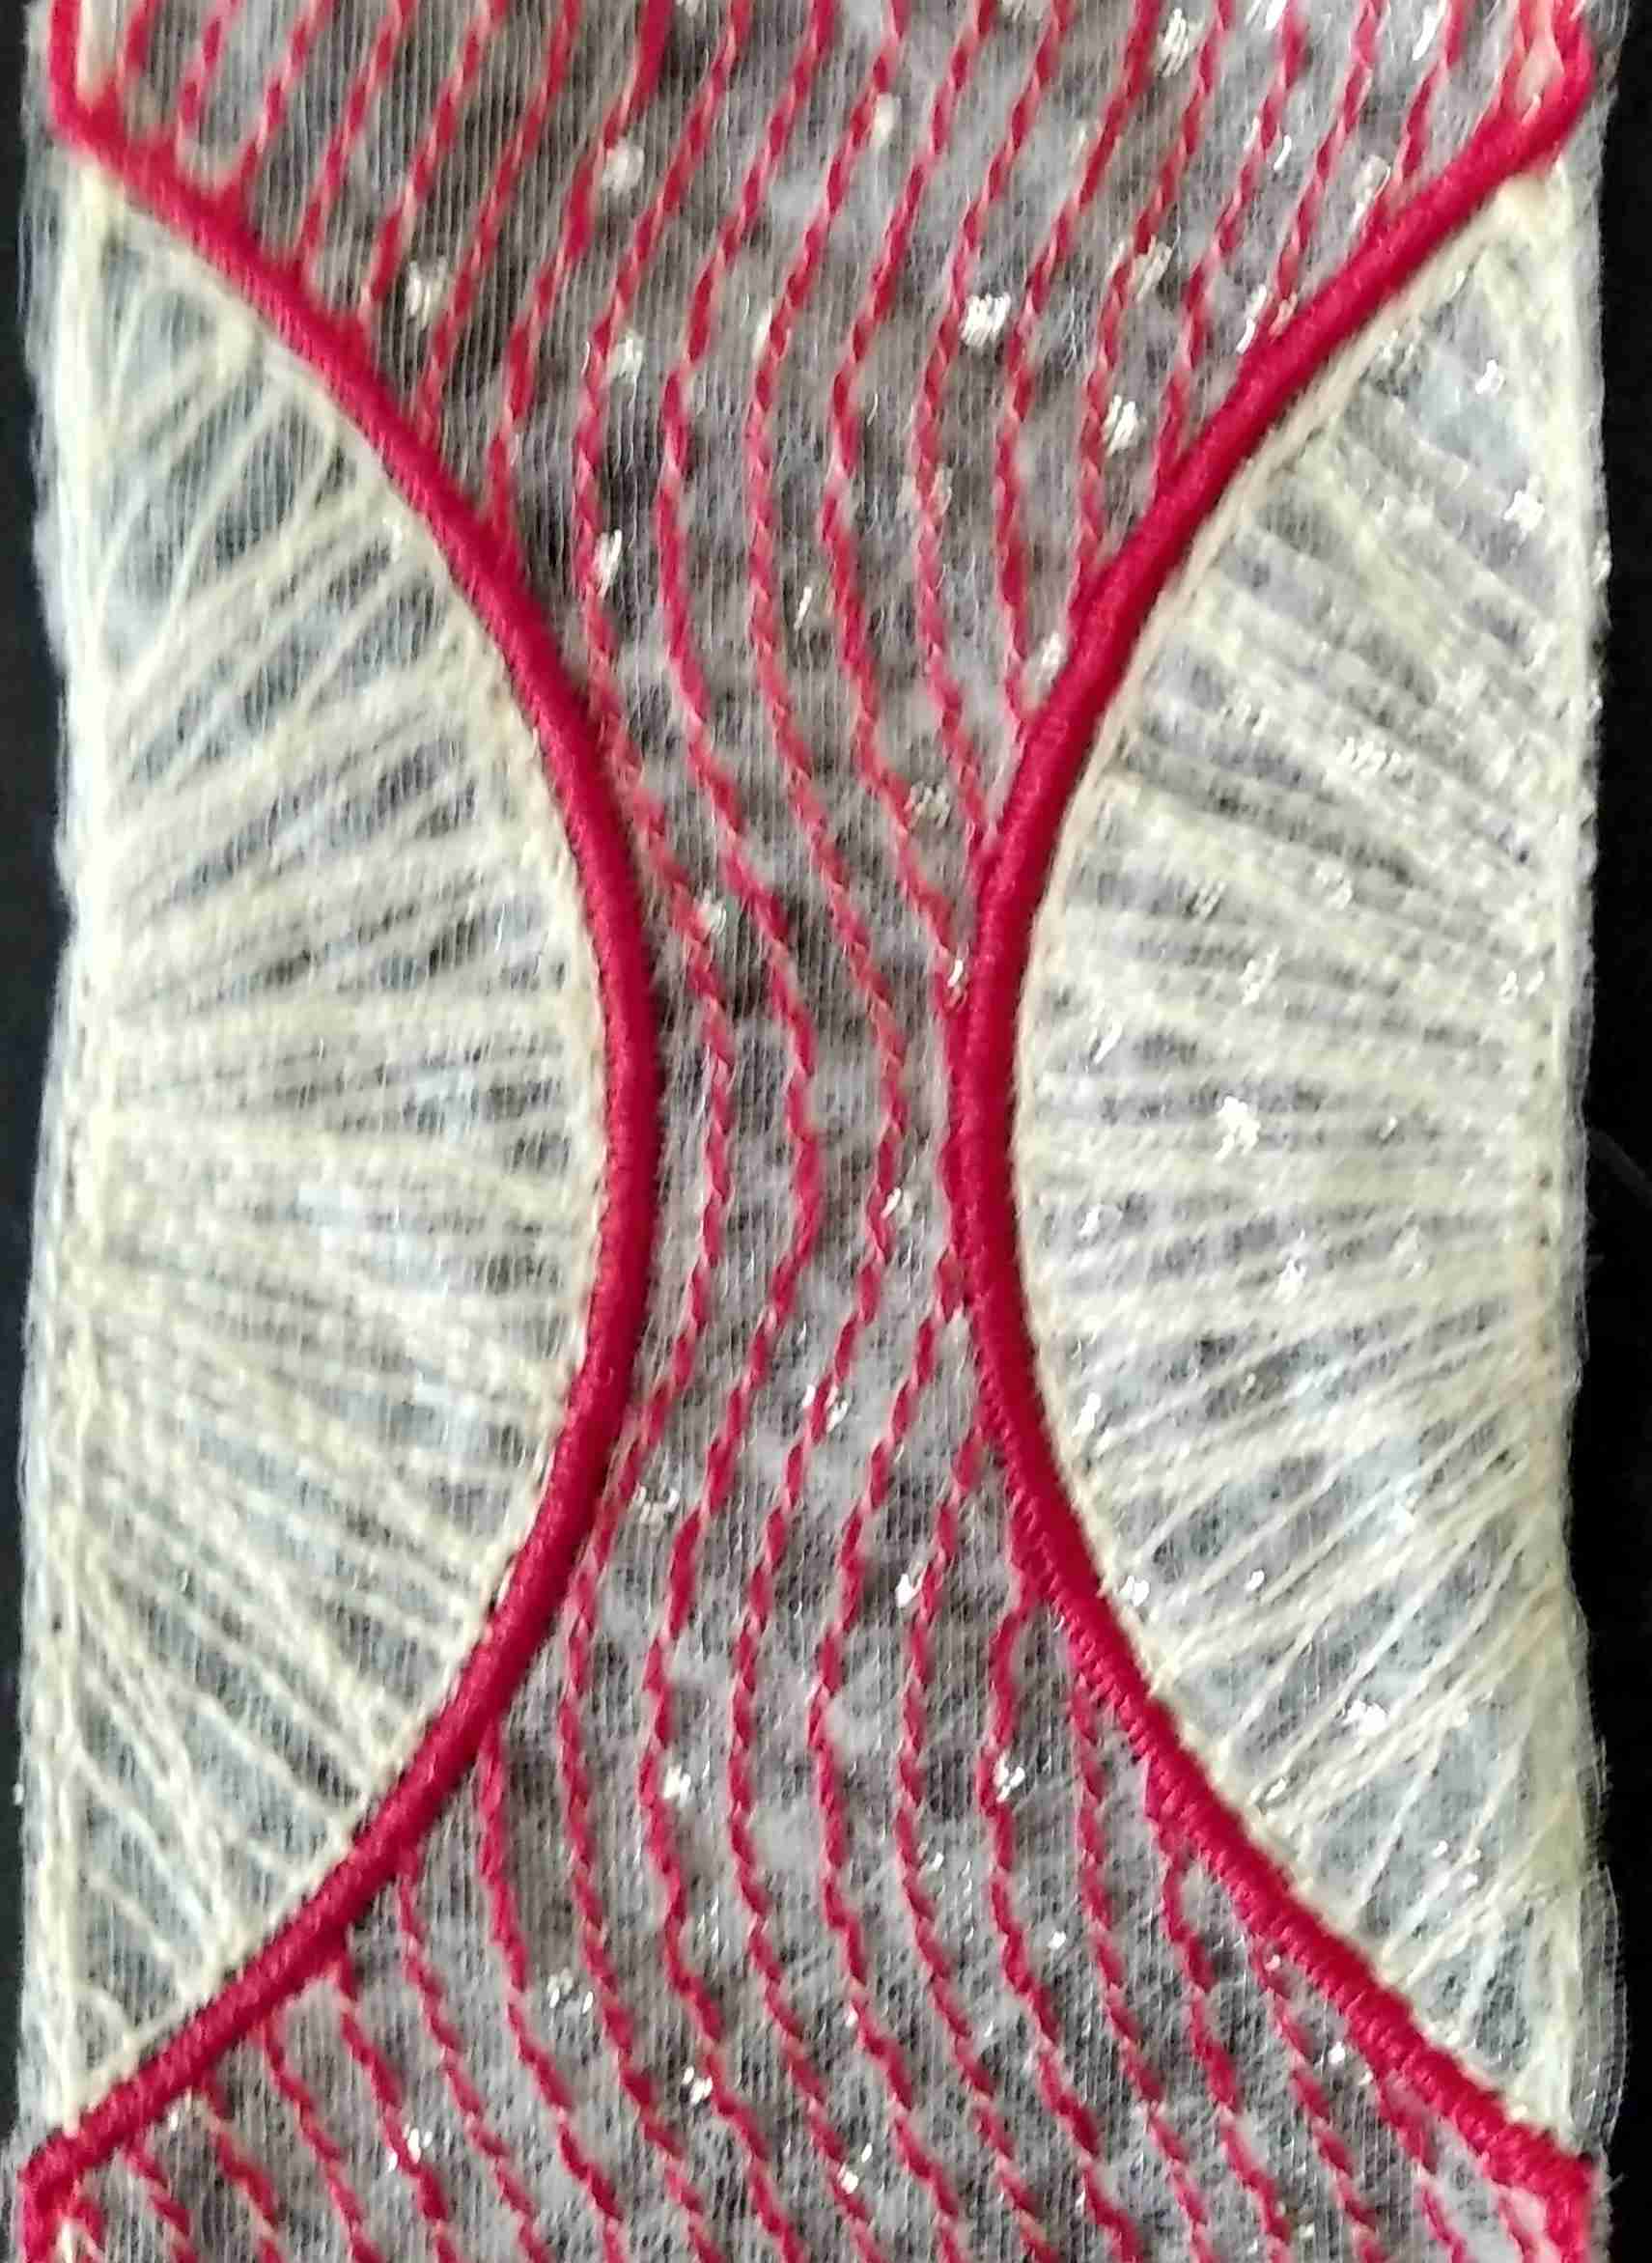
satin stitch outline of semi circles
8. Trim the embroidered panel close to the stitching being very careful not to cut any stitches, or to cut off the overlap at the top of the panel. Yes I did that on one of my trials!!!

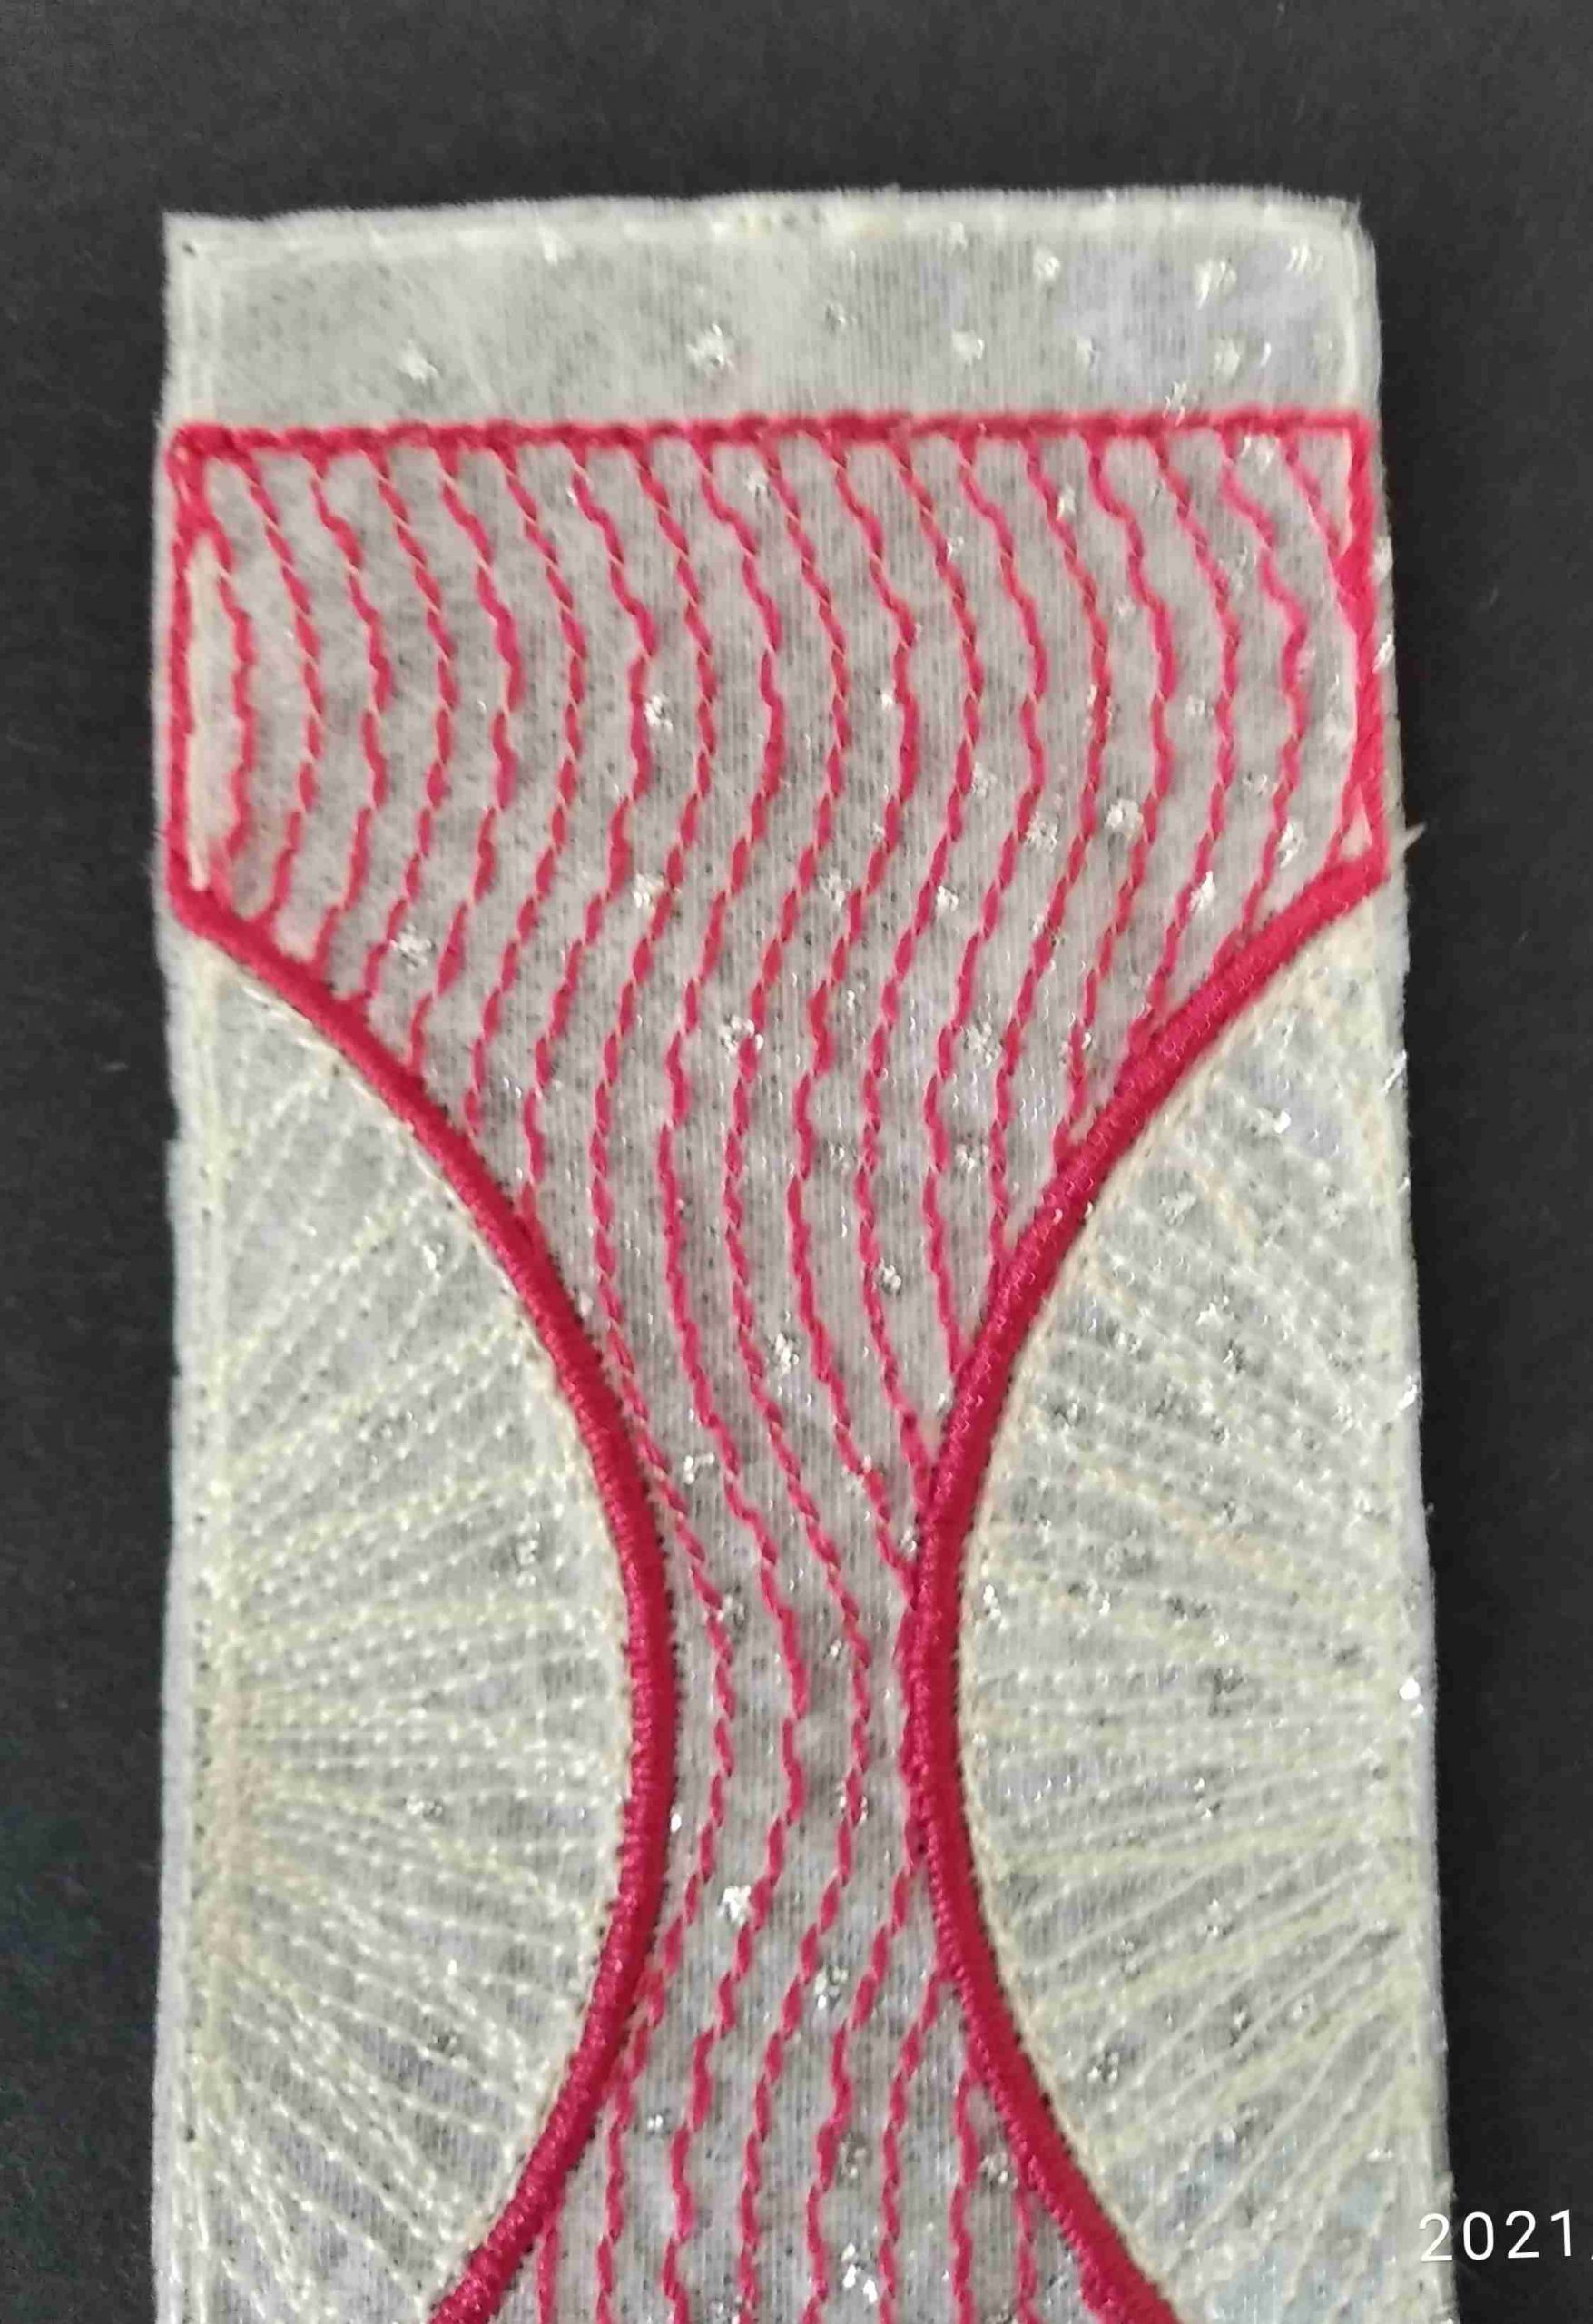
Overlap
9. Place the end of the band with no overlap on top of the overlap and sew in place to create a circular band. You can use double sided tape but I found that when manipulating the Orb it did not always hold strongly enough.
Panel sewn together to form circle
10 Repeat for a second panel.
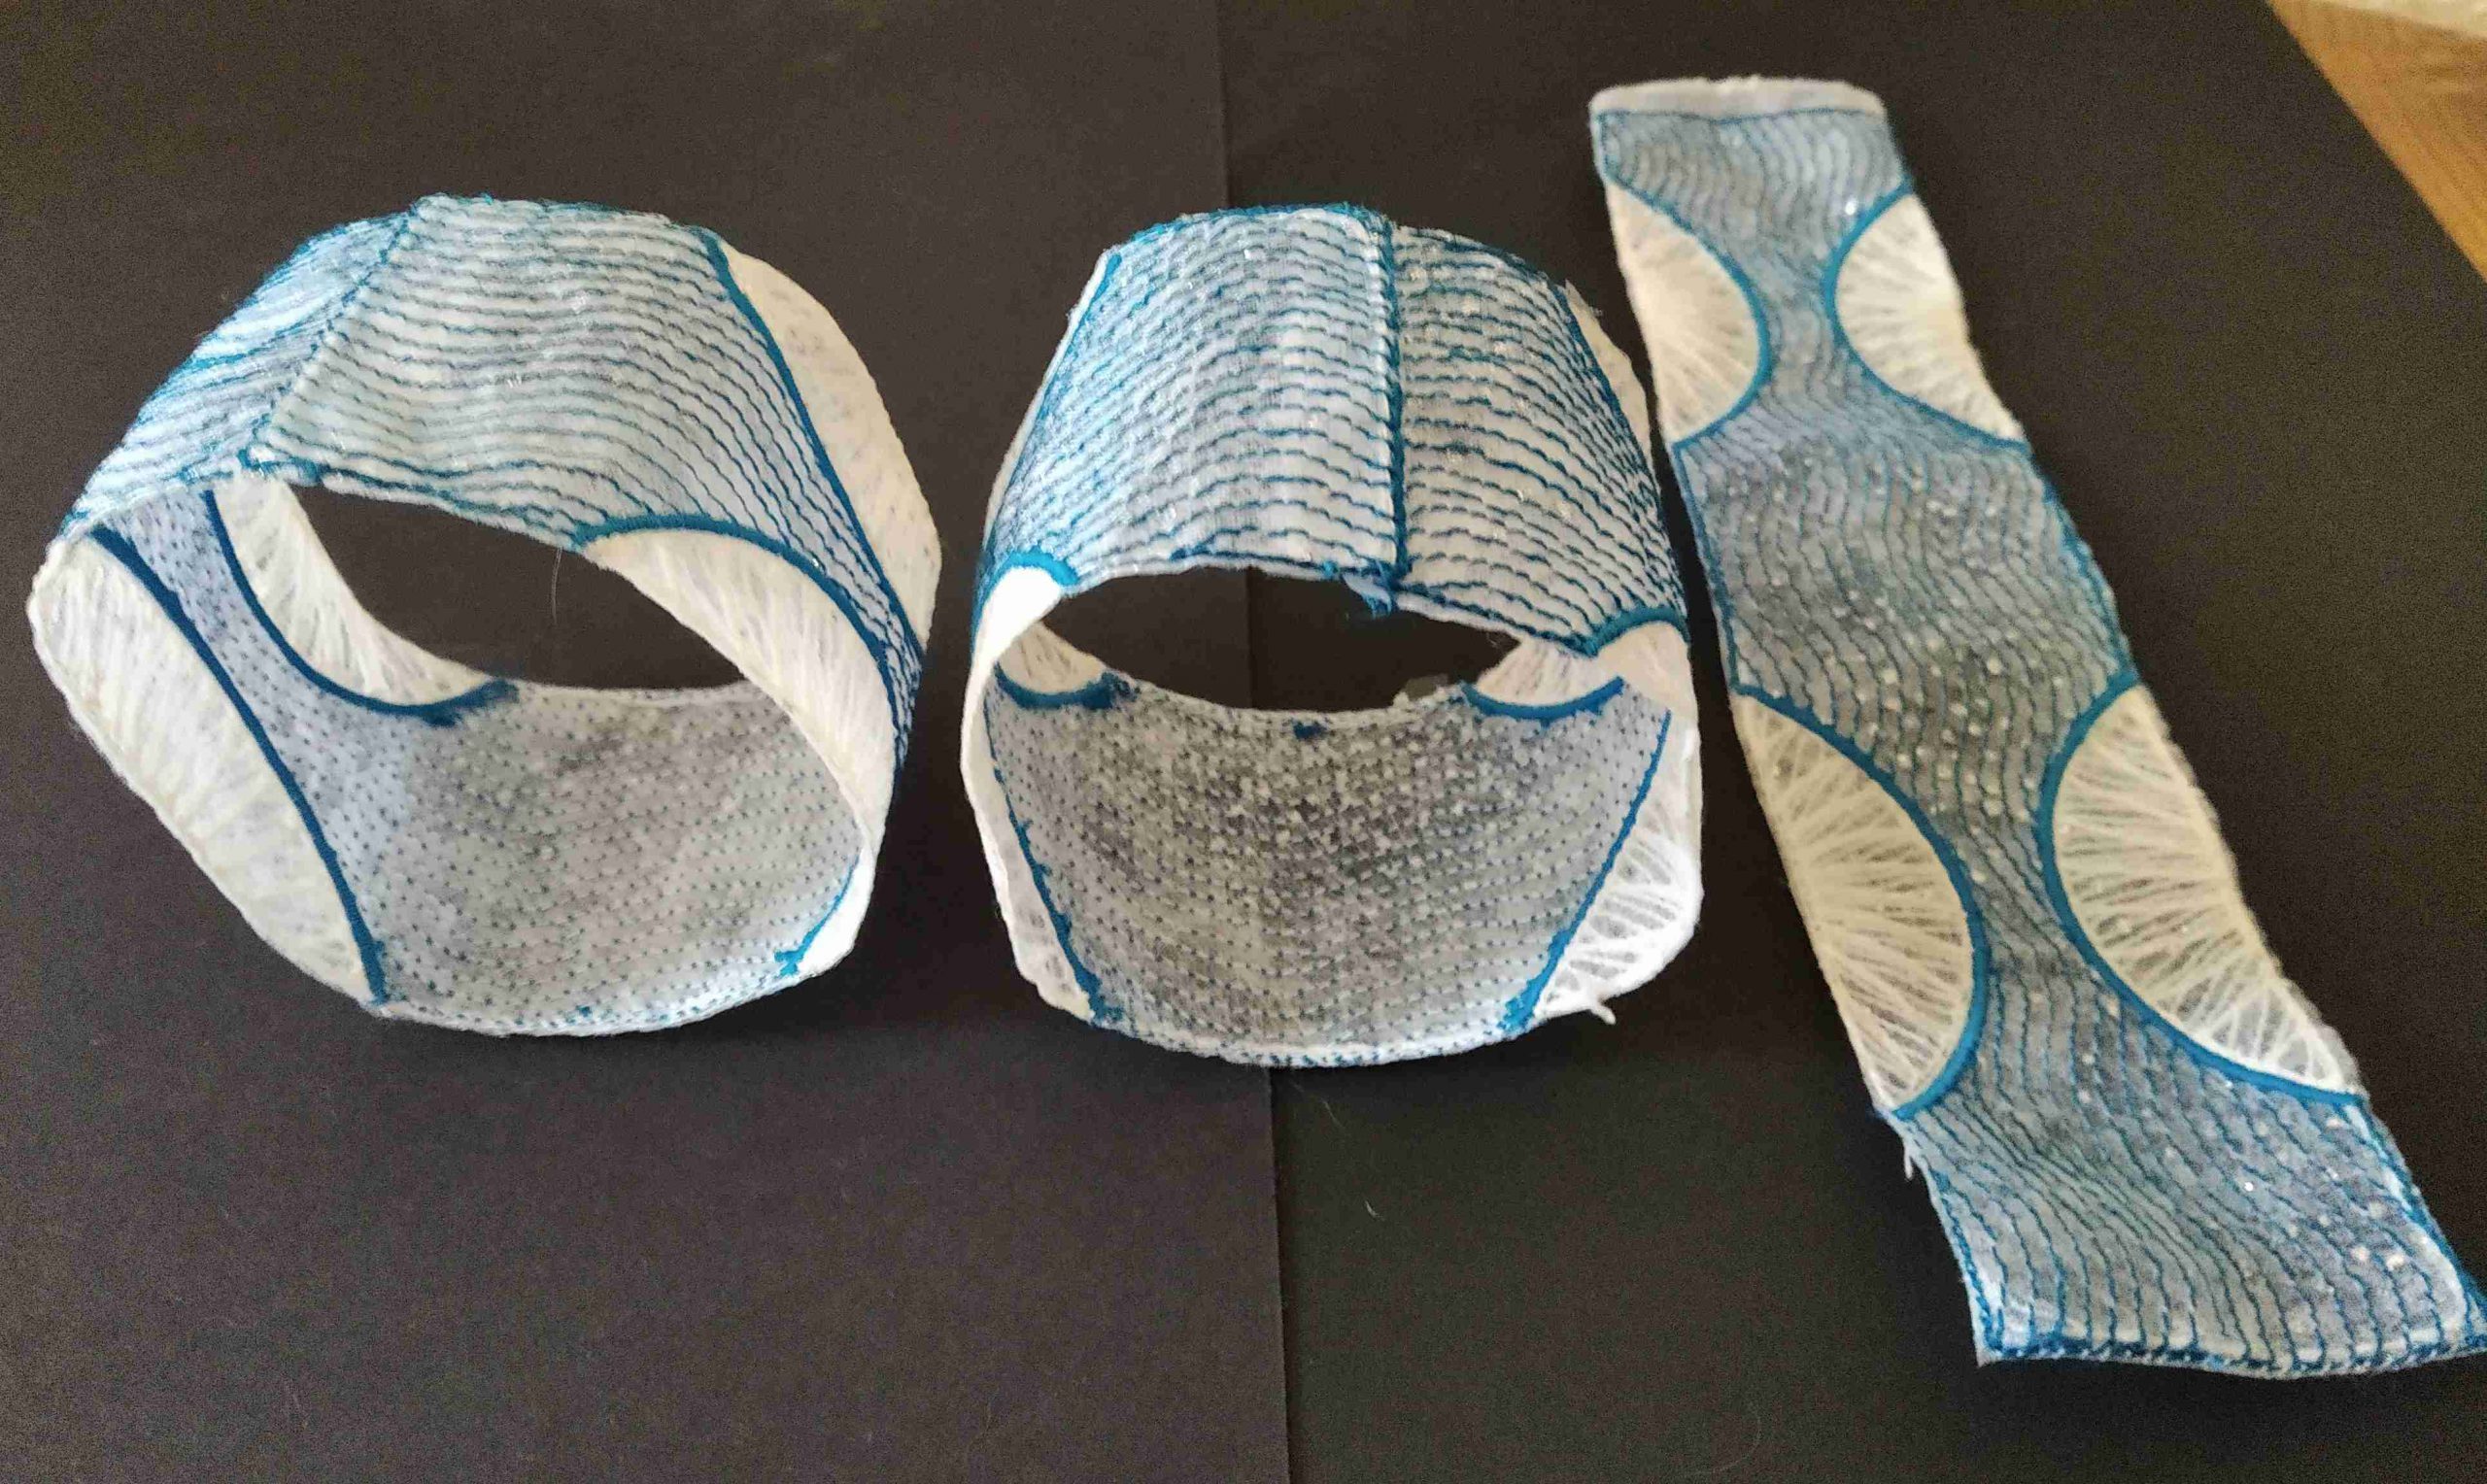
2 panel sewn
11. Place one circular panel inside the other, matching corners of semi-circles.

2 panels matching corners of semi circles
12. Take the unsewn panel and place as shown in photo.
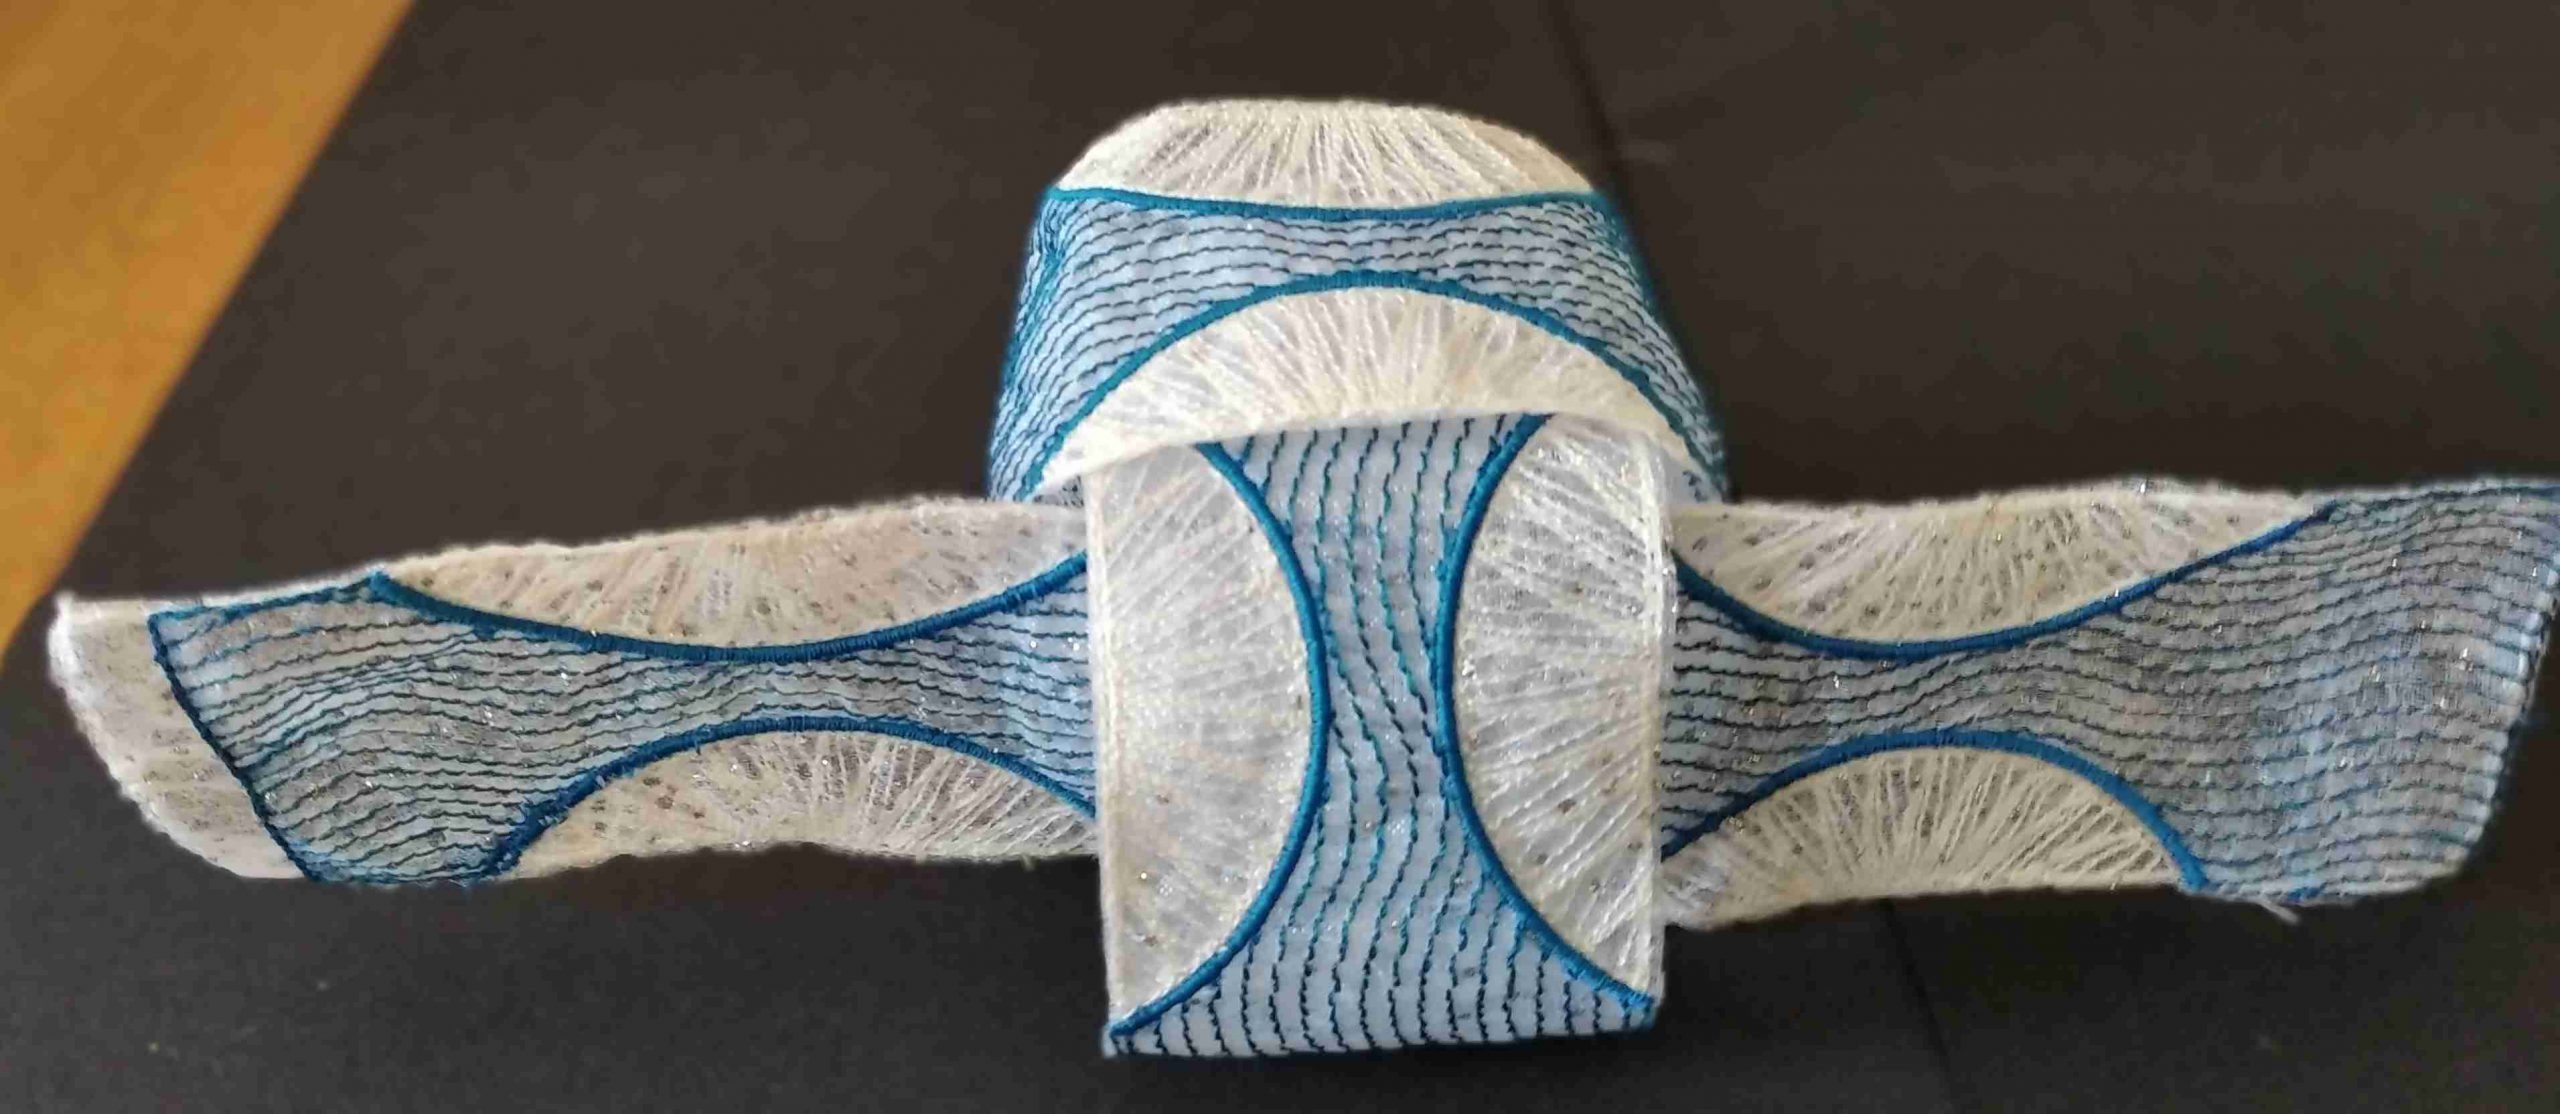
13 Take ends to opposite side passing over them over and under and pin together before sewing. This is very difficult to explain and photograph so I recommend you follow this link to an excellent tutorial Easy DIY Craft Paper Orb Tutorial (creativeinchicago.com).
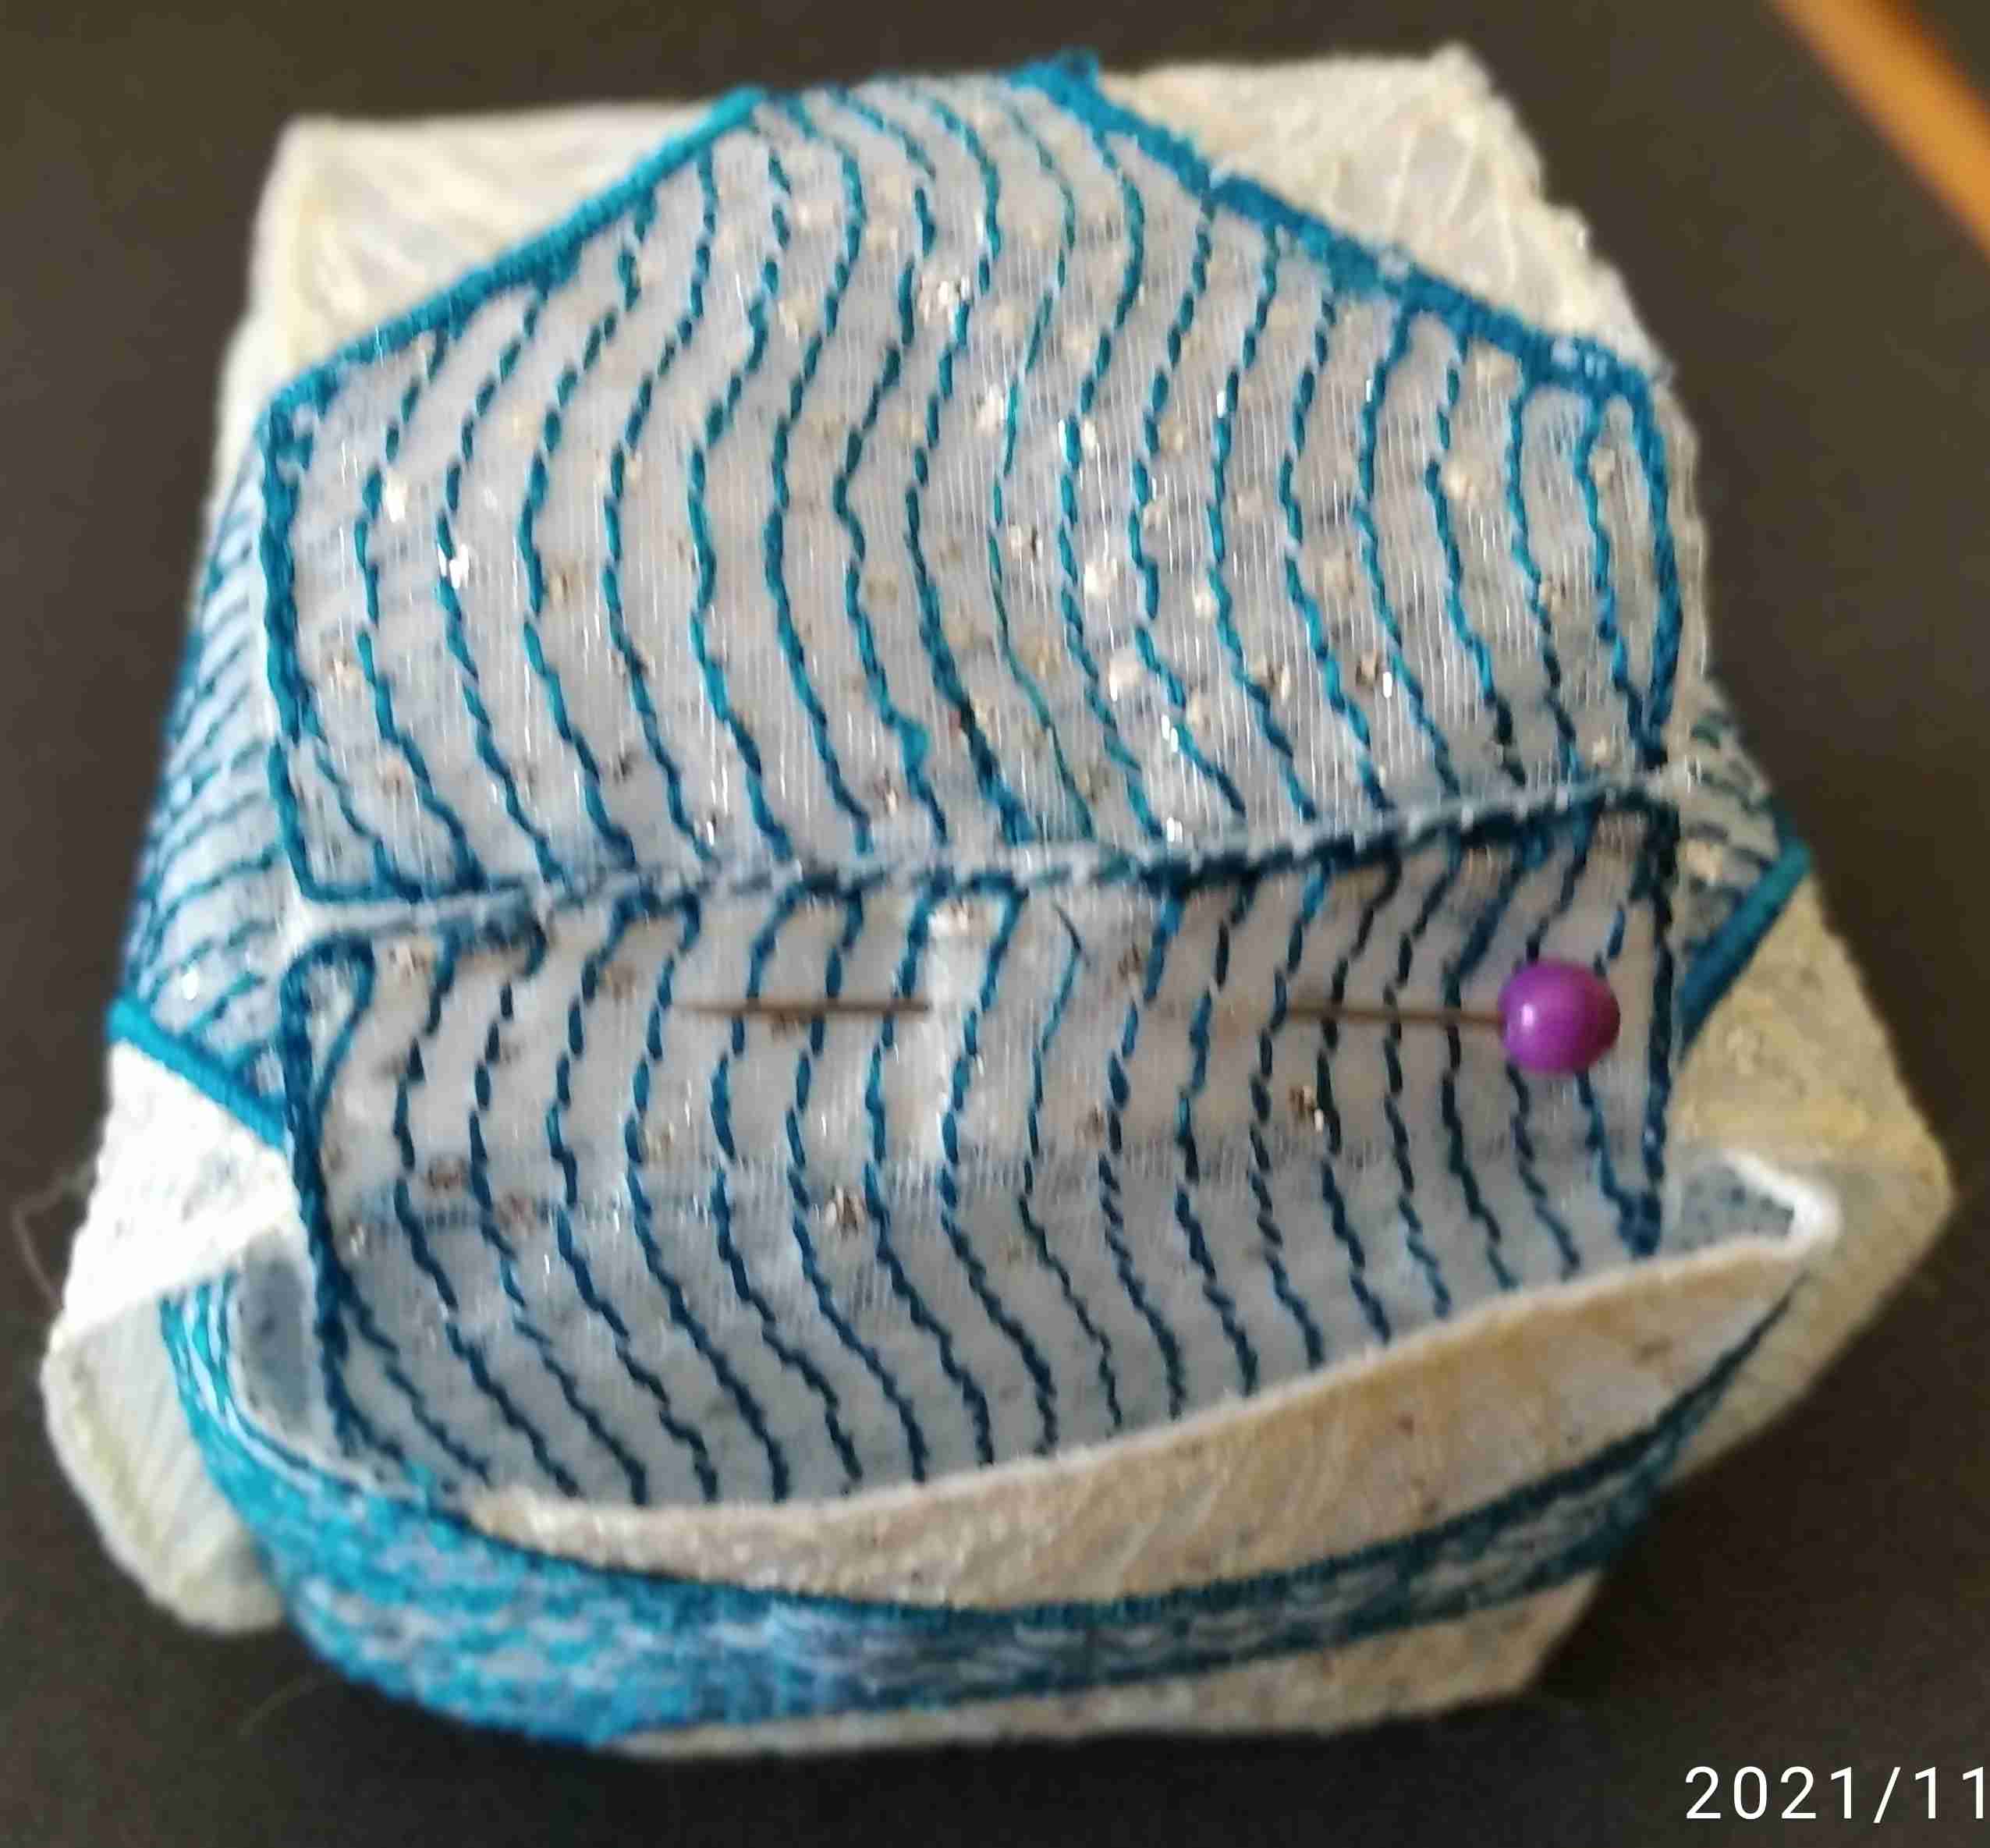
Ends passed and pinned together
14. Adjust the positioning of the bands so that all sewn ends are hidden and position the corners of the semi-circles to touch.

bands and corners of semi circles positioned correctly
15. To form the shapes fold between fingers the semi-circular shapes towards the middle of each band. I find it easier to start at the narrowest point of the pink wavy line band and place a finger on either side and gently fold the curved shape in, pinching along the satin stitch line.. I then work towards the corner of each shape. Be patient it takes time and a little manipulation to get the correct shape.

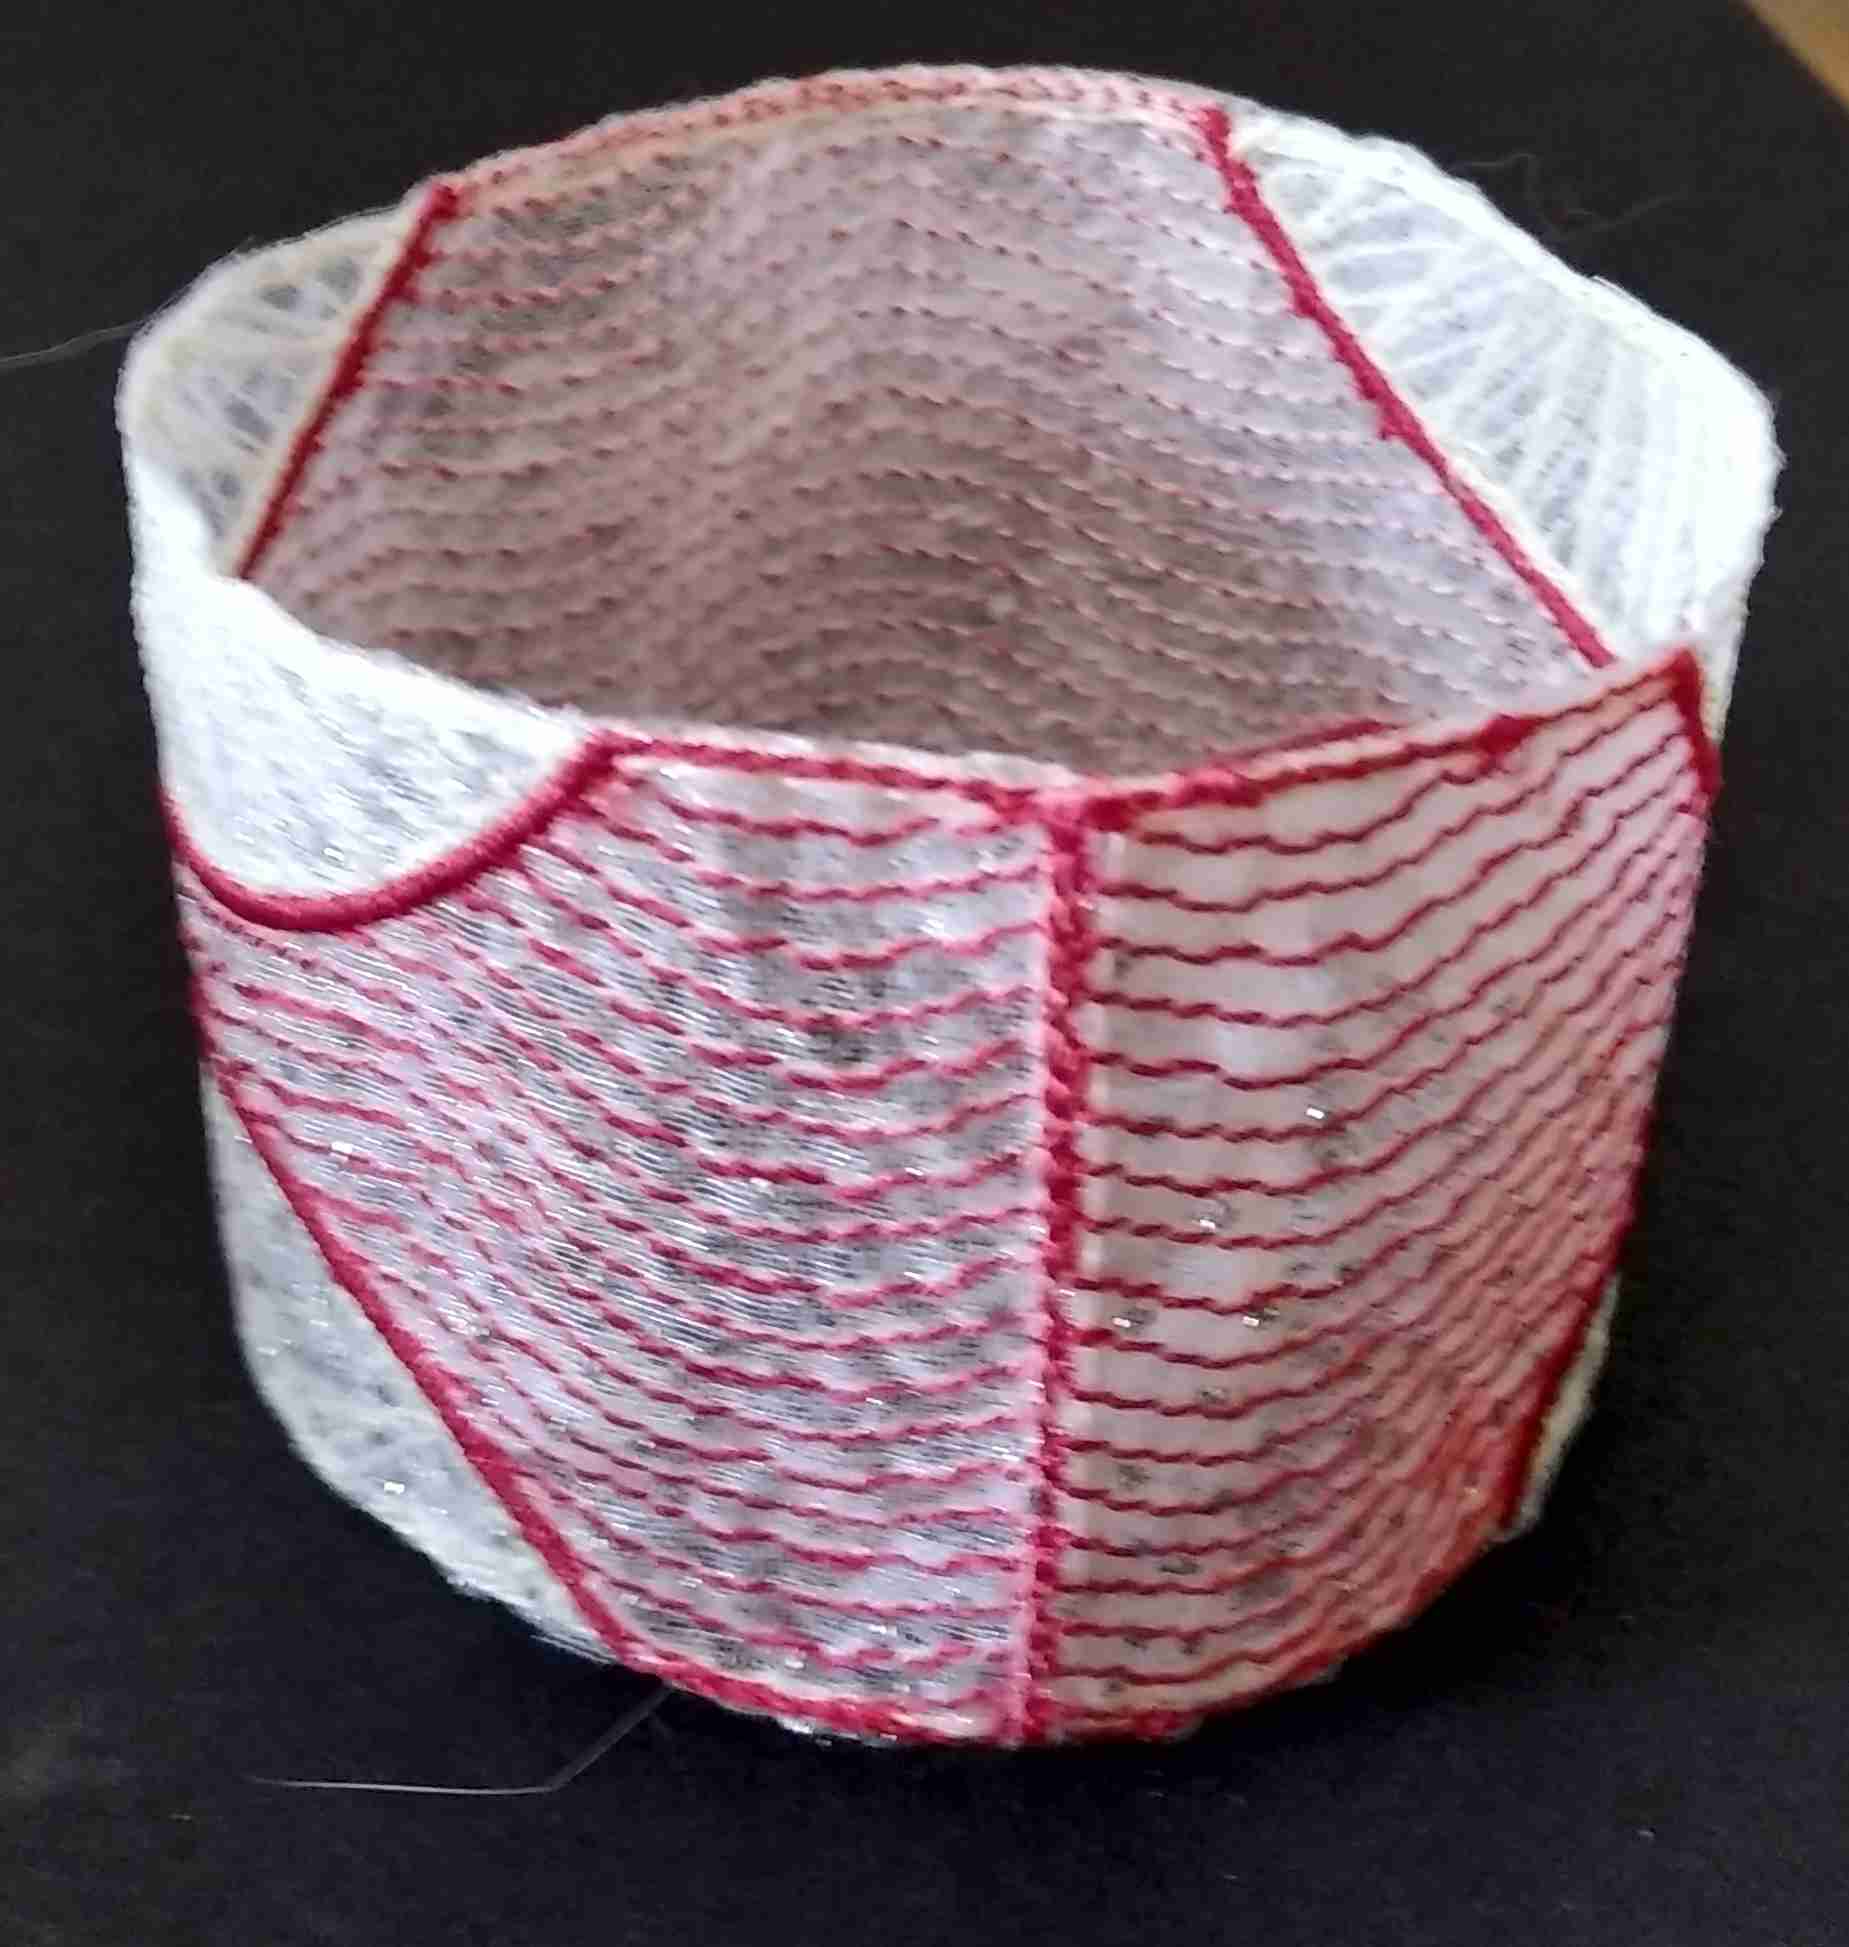
Finished Orb
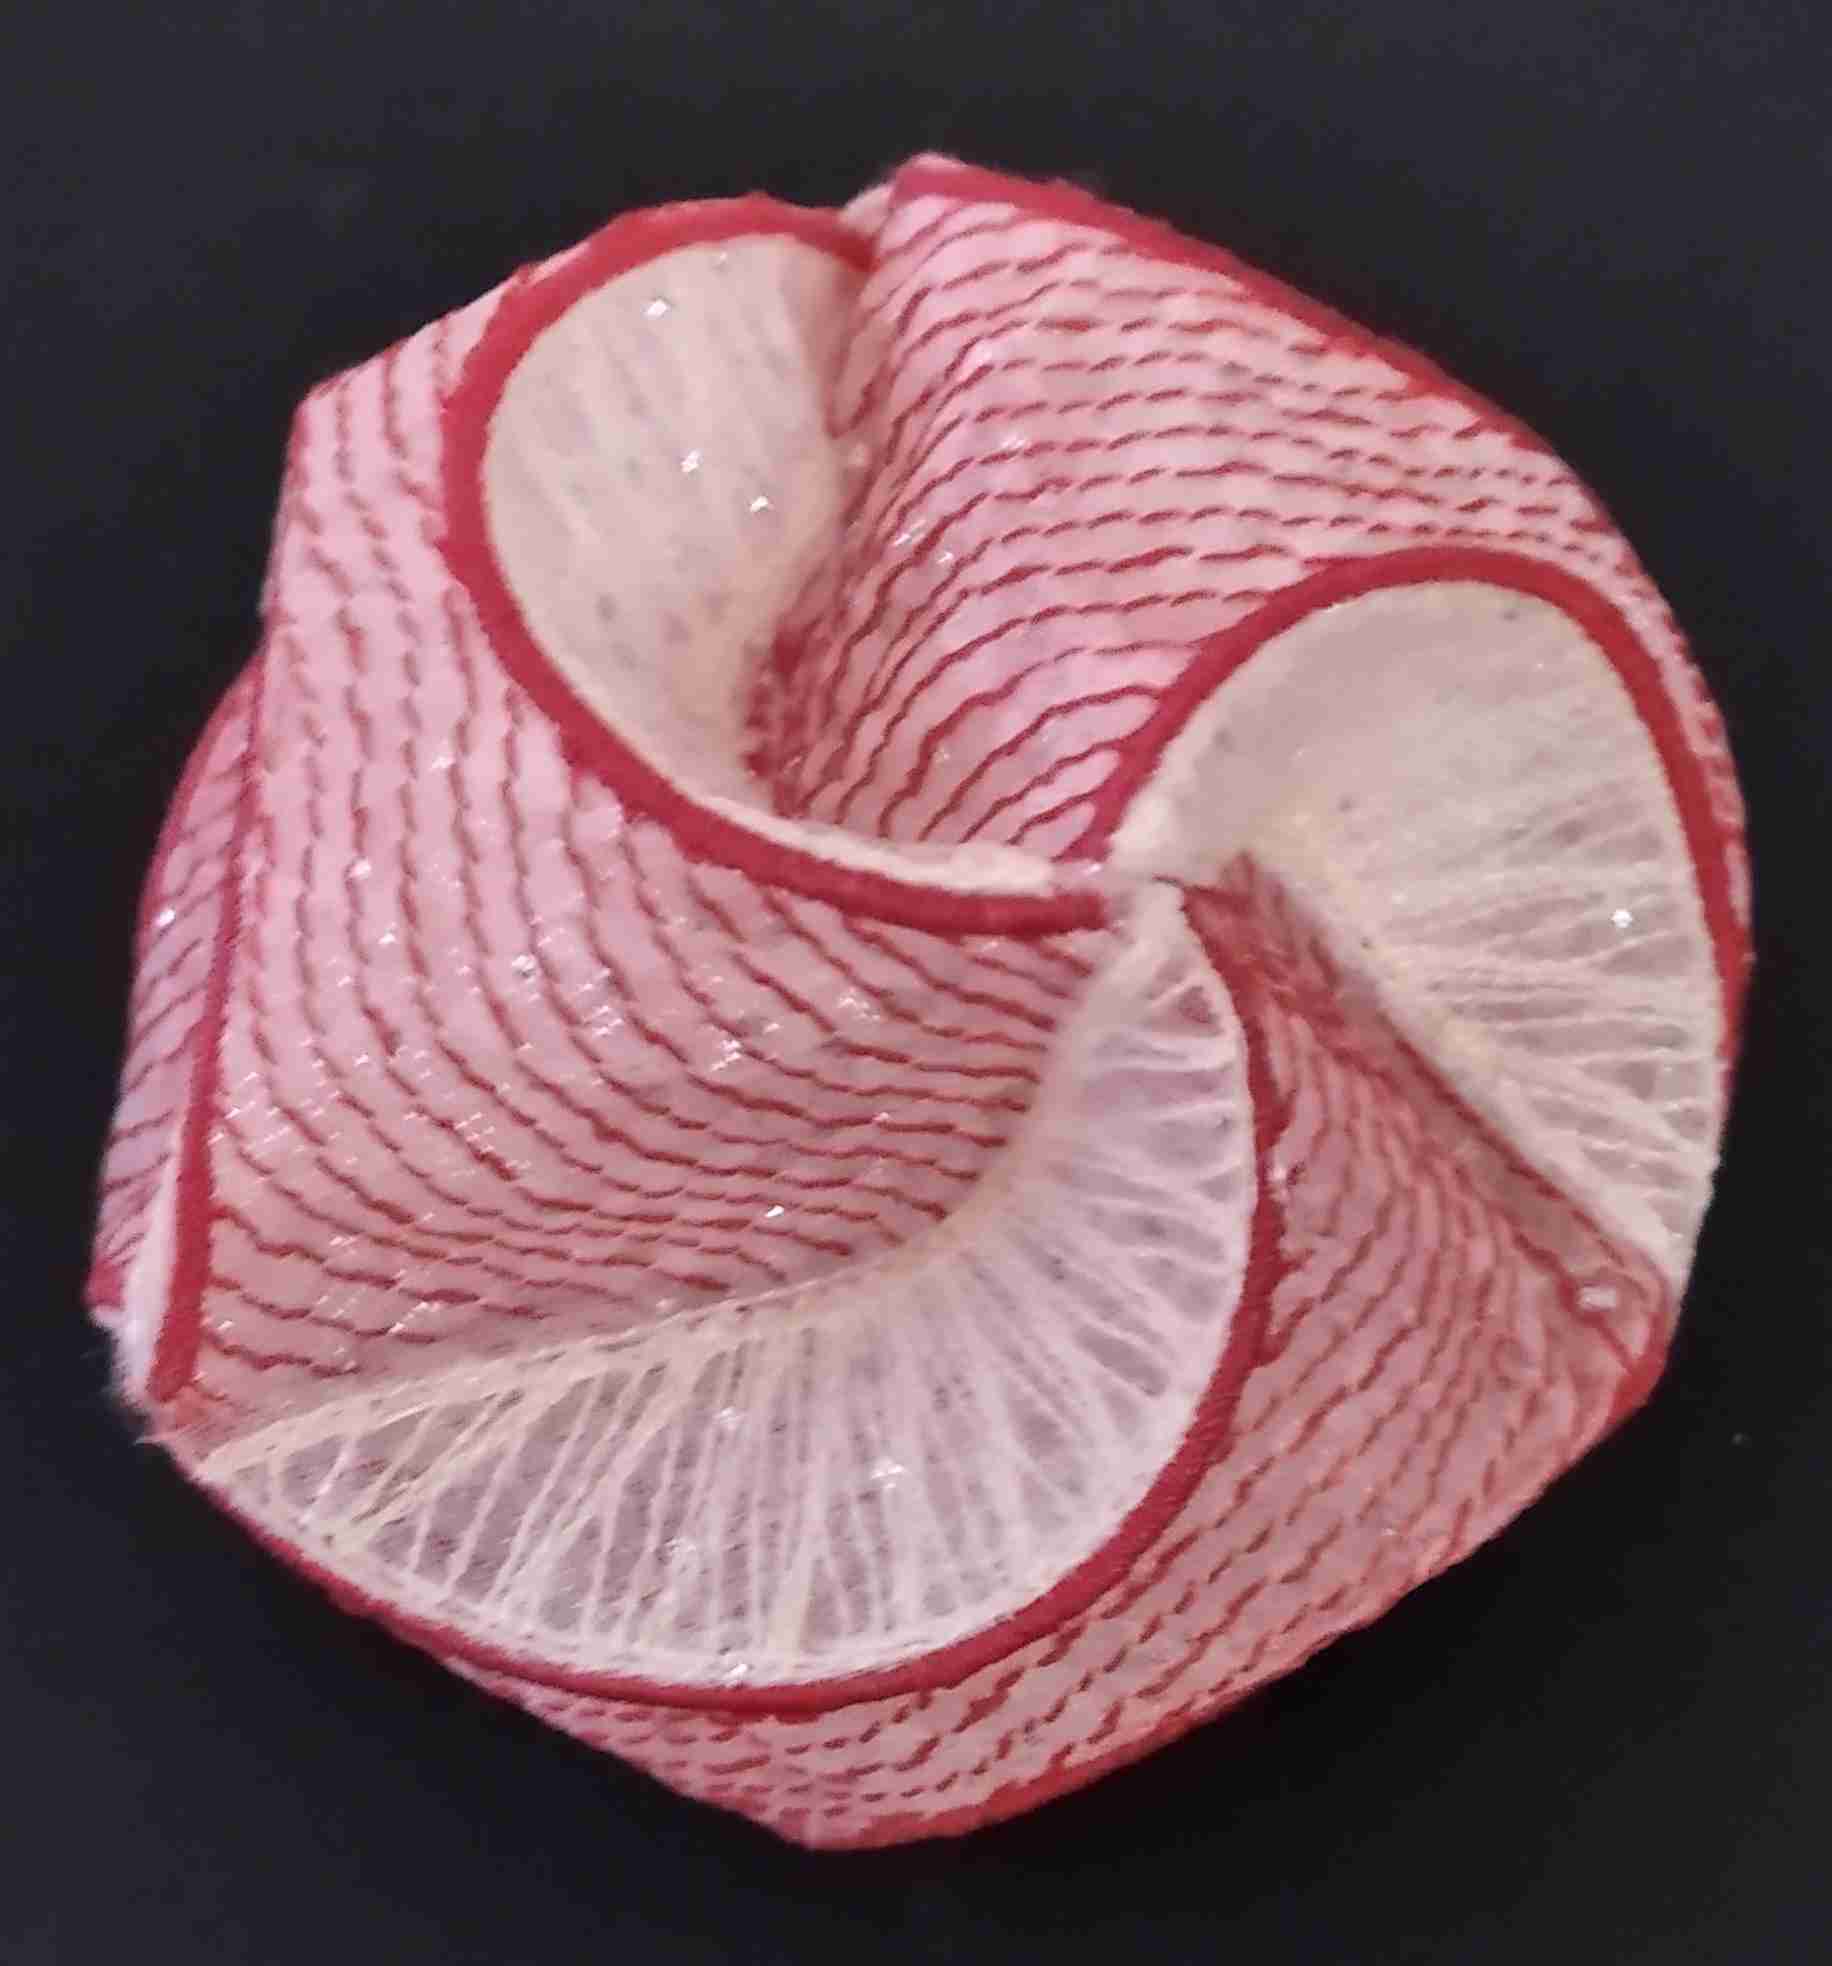
another photo of finished Orb
Now you just have to decide how to use these Orbs. You could hang individual Orbs with a fine thread as ornaments or use some small lights with them as I did.
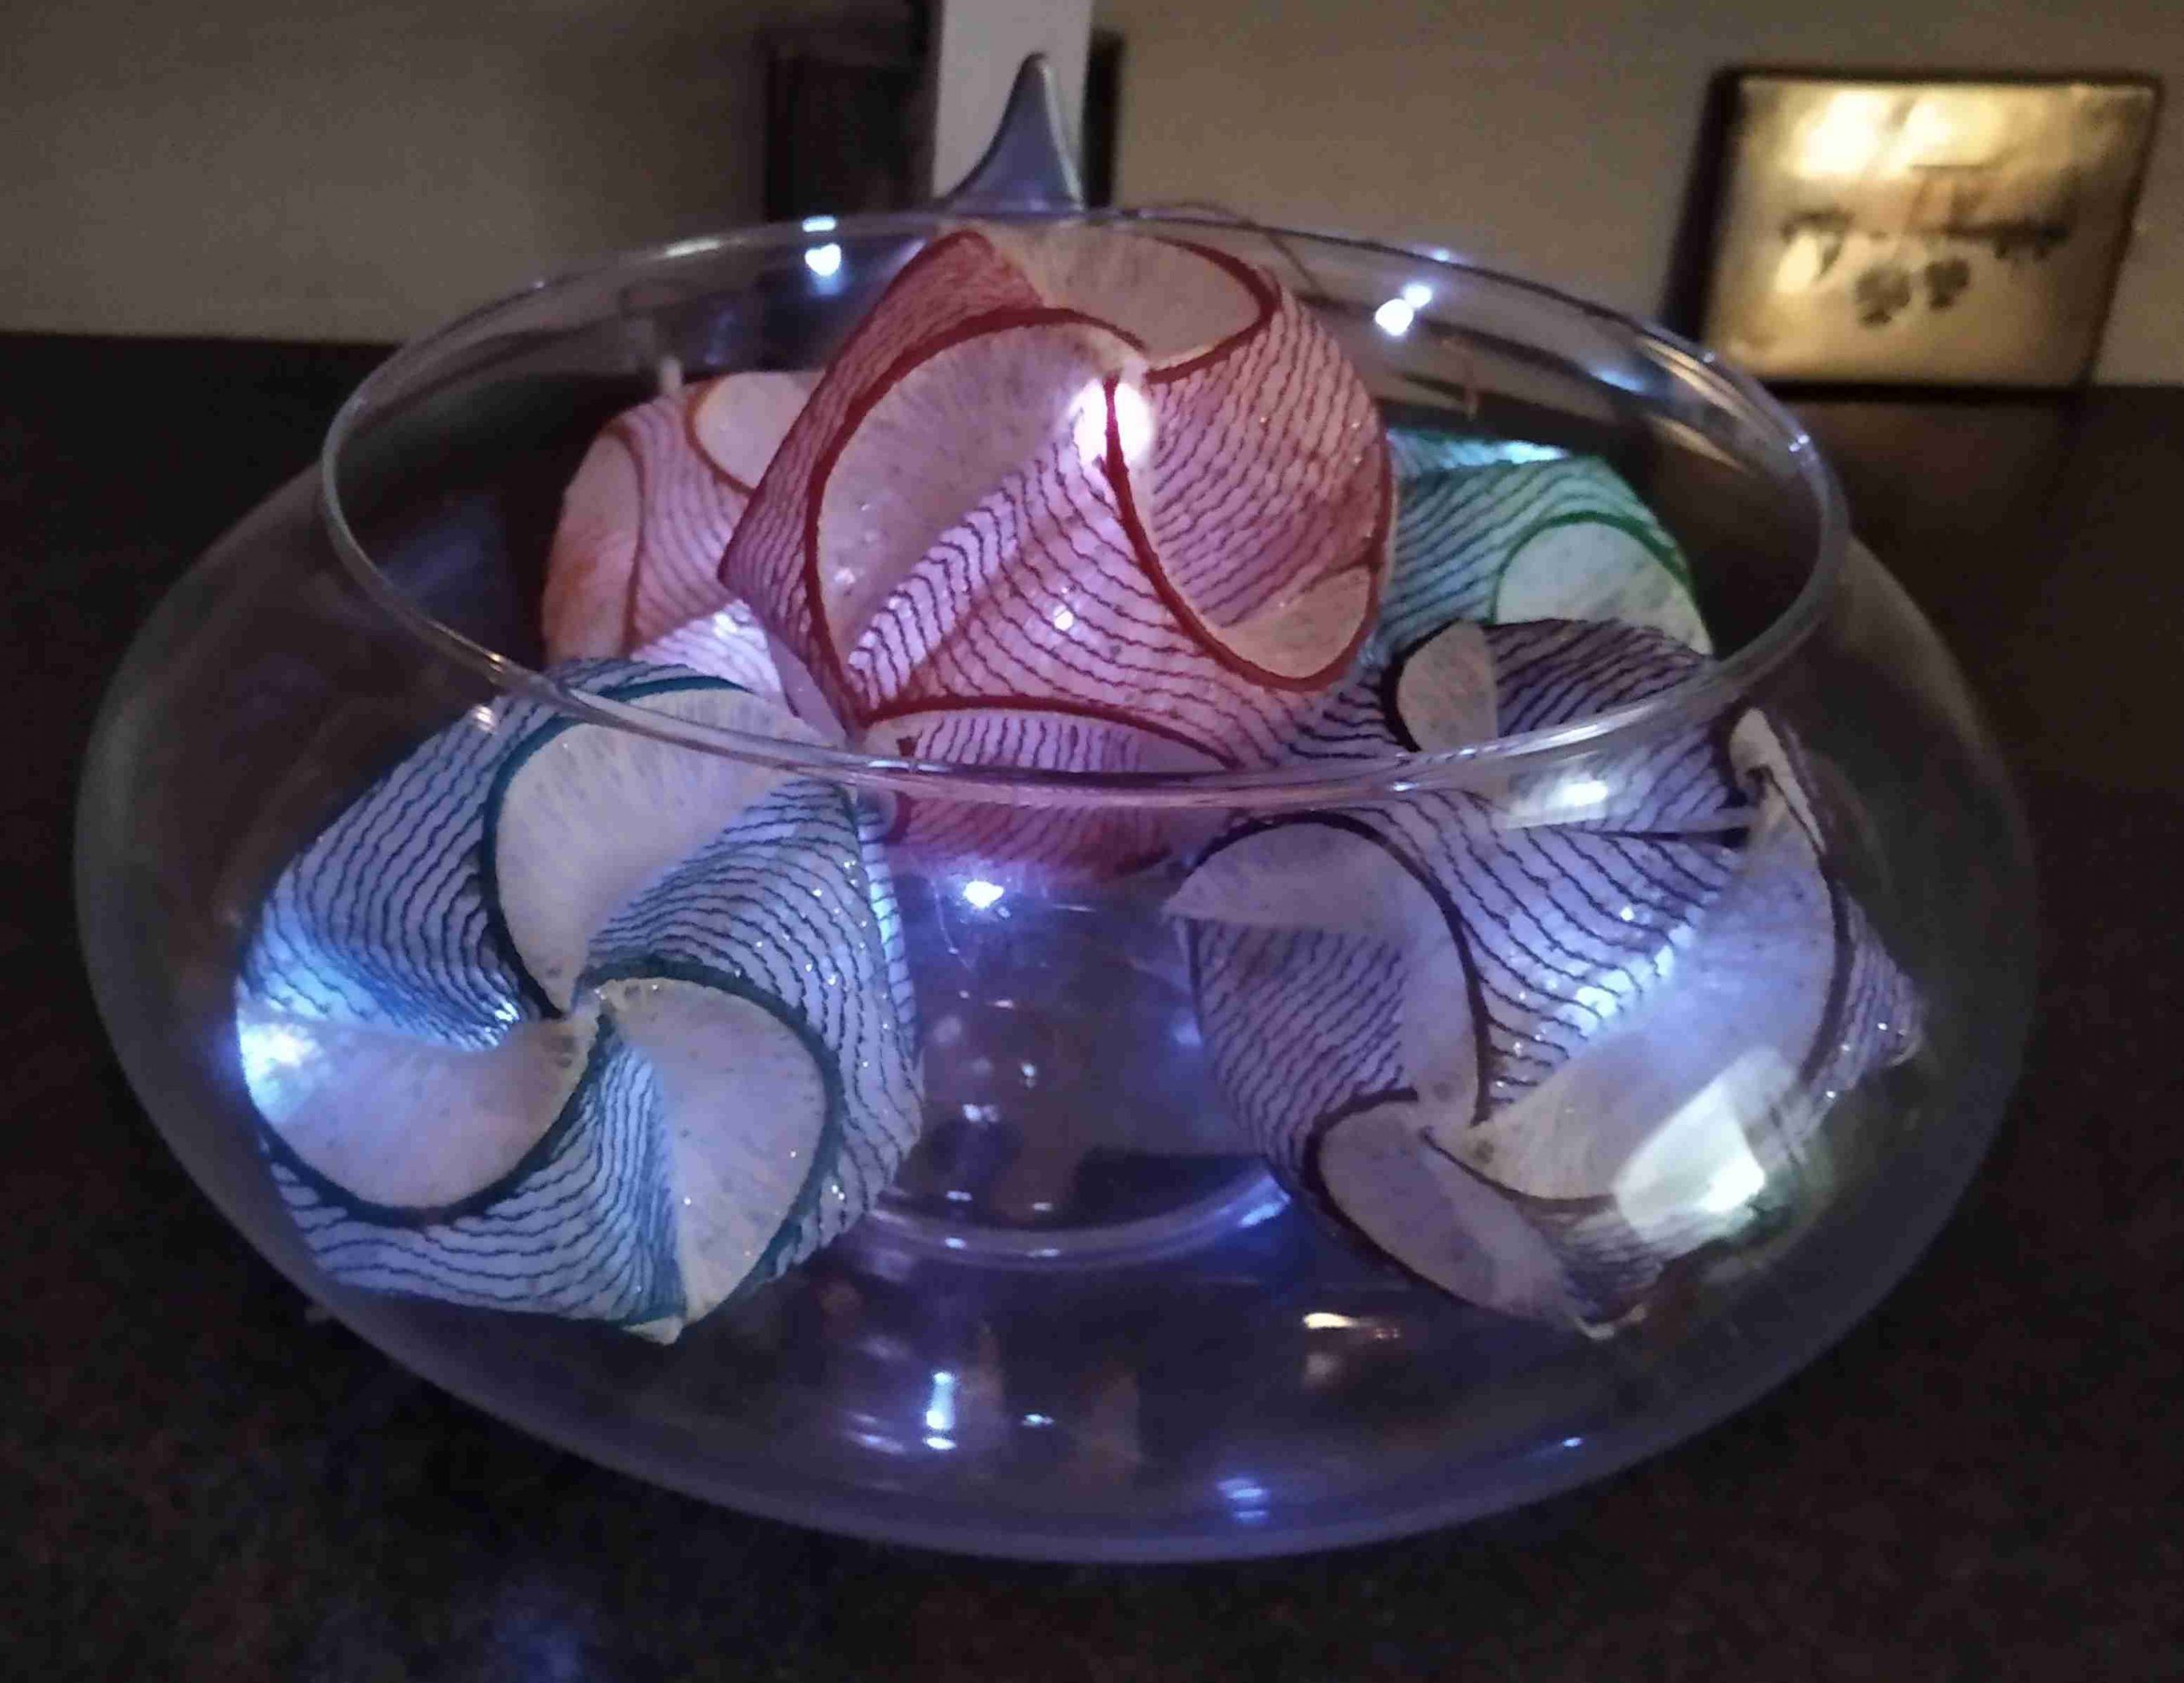
Orbs with lights in a bowl
I had a line of 20 very fine battery operated lights on a wire and gently pushed 3-4 lights into each Orb.
Lutradur supplier Spunart | Lutradur, Evolon and Zeelon textiles for artists and designers

Thank you! This is the most original and new idea I have seen for Christmas decorations this year.
Thank you Carolyn I enjoy making your projects. The decorations are lovely.
Wow, what a fabulous project. These are really lovely. Thank you.