 BERNINA Corporate Blog -
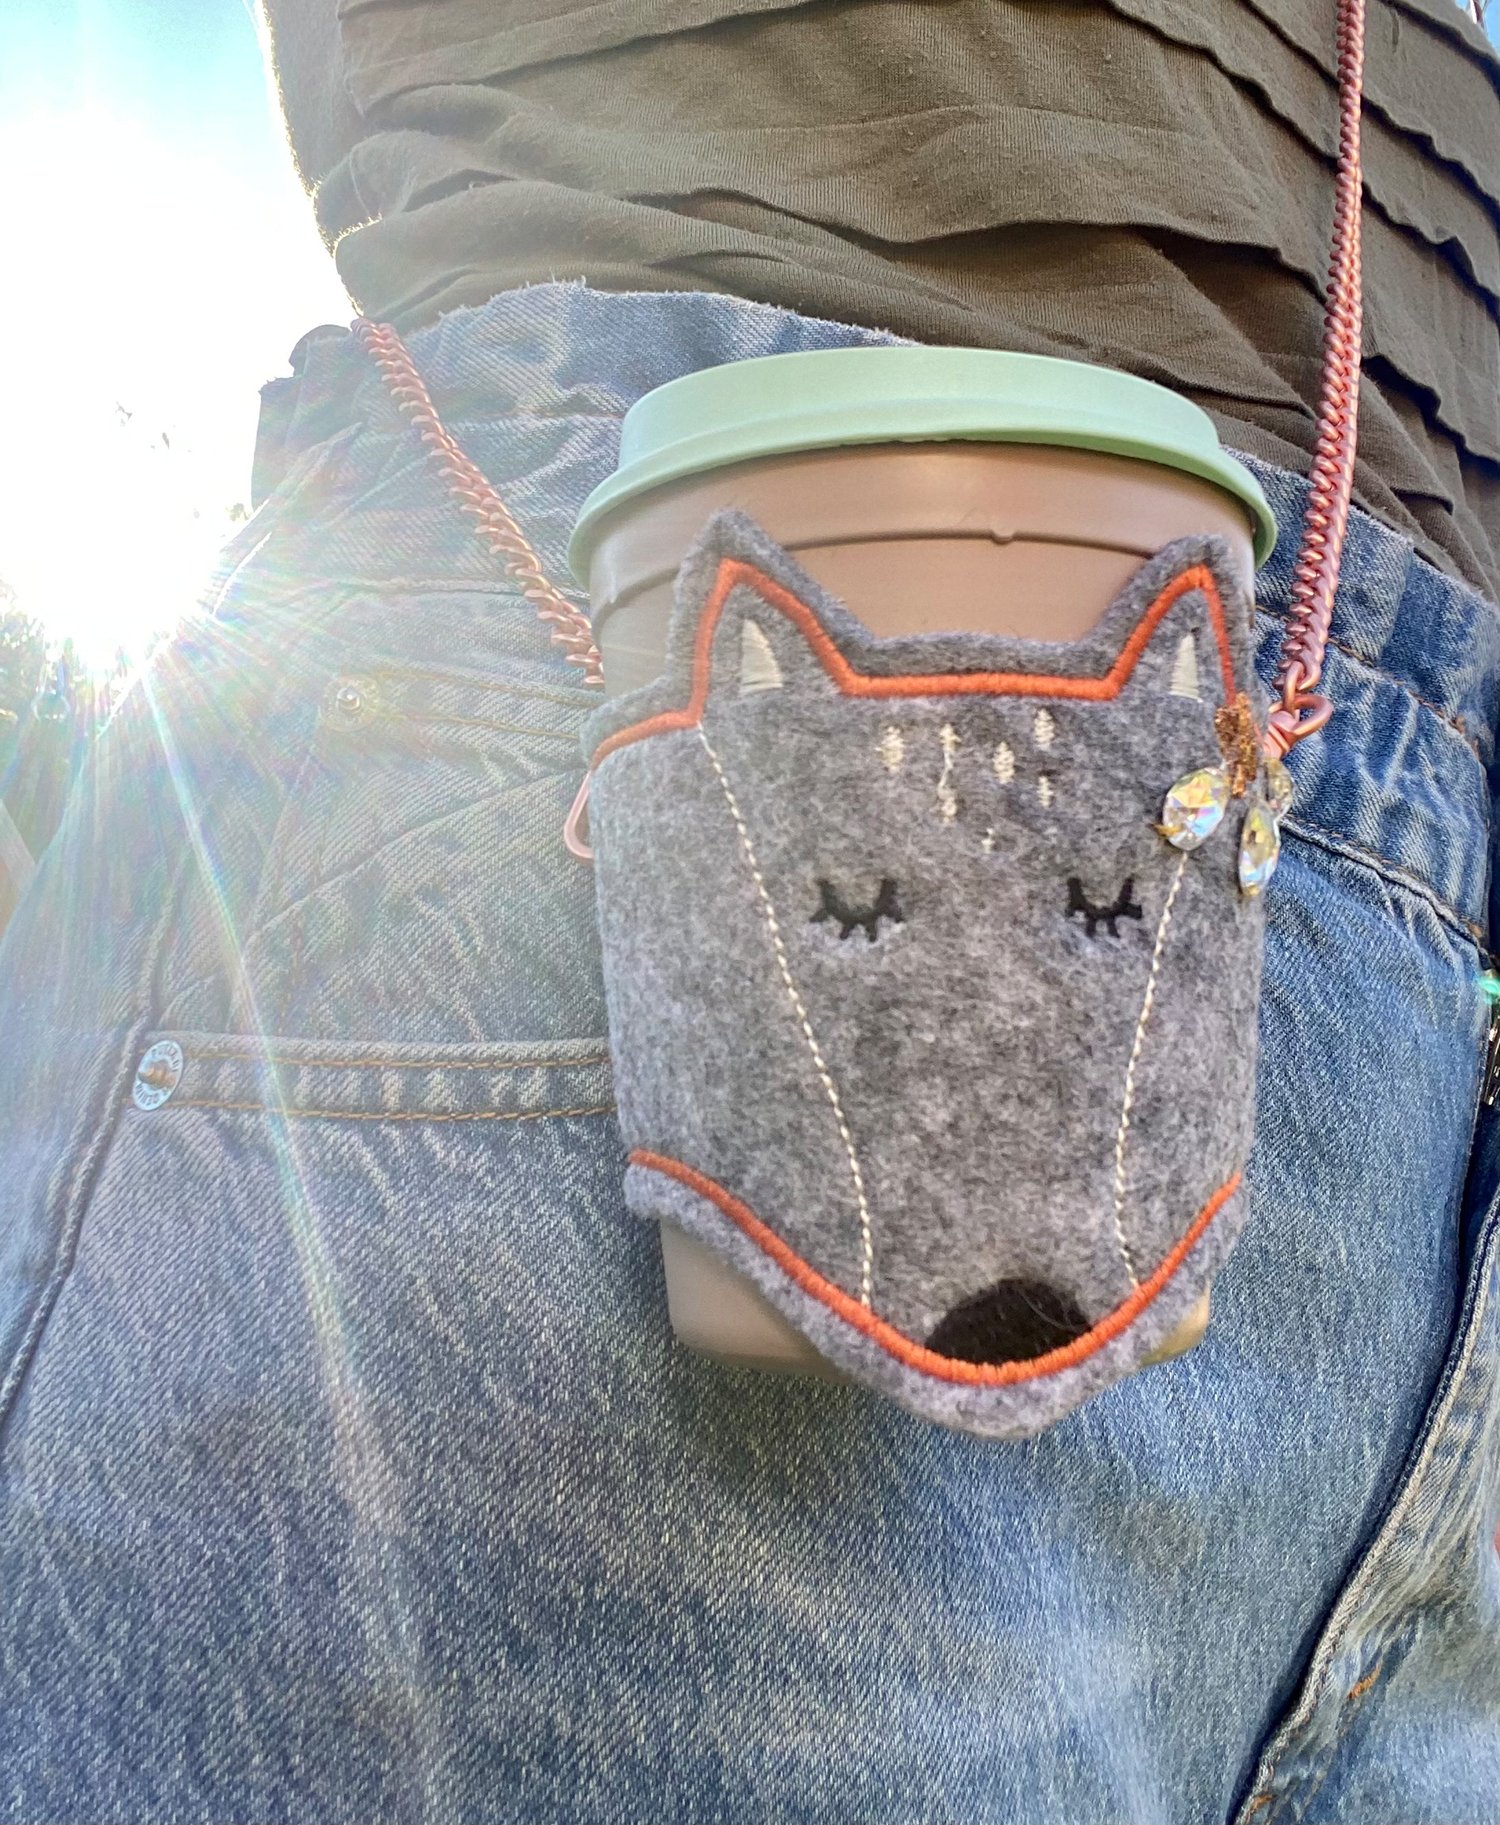
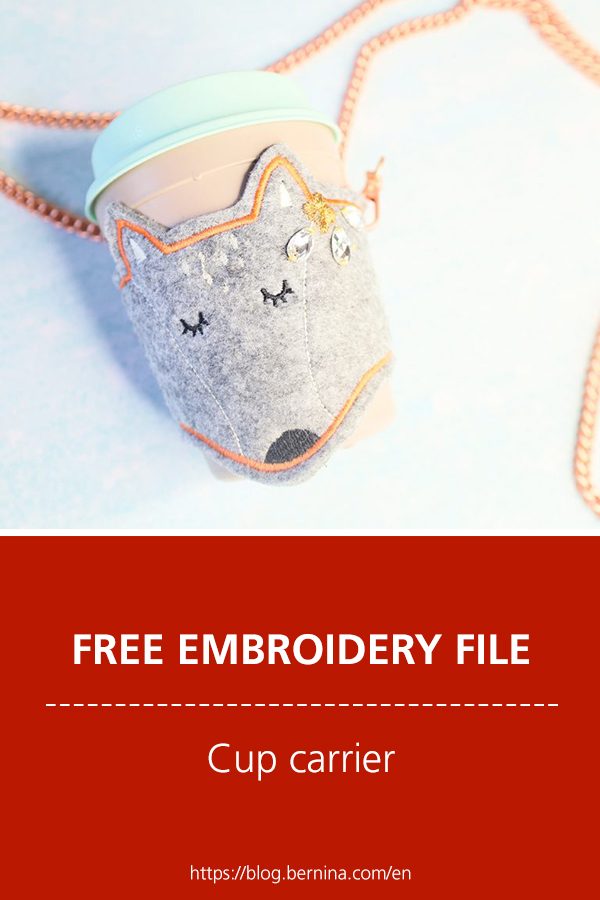
Hi everyone, I’m Stephi from the Frollein Tausendschön label and for me it’s all about sewing, embroidery and plotting. You can visit me at instagram.com/frollein_tausendschoen or on my YouTube channel. In keeping with the “Time to Shine” theme of the blog Advent calendar, today I have brought you some embroidery instructions with a subtle bling factor! We are embroidering a stylish carrier for to-go cups. This will allow you to have a leisurely stroll around the Christmas market. Or you can embroider the cup holder as a gift for a loved one who sometimes has both hands full and could do with a carrying aid ;).
Free ITH embroidery file and instructions for a cup carrier
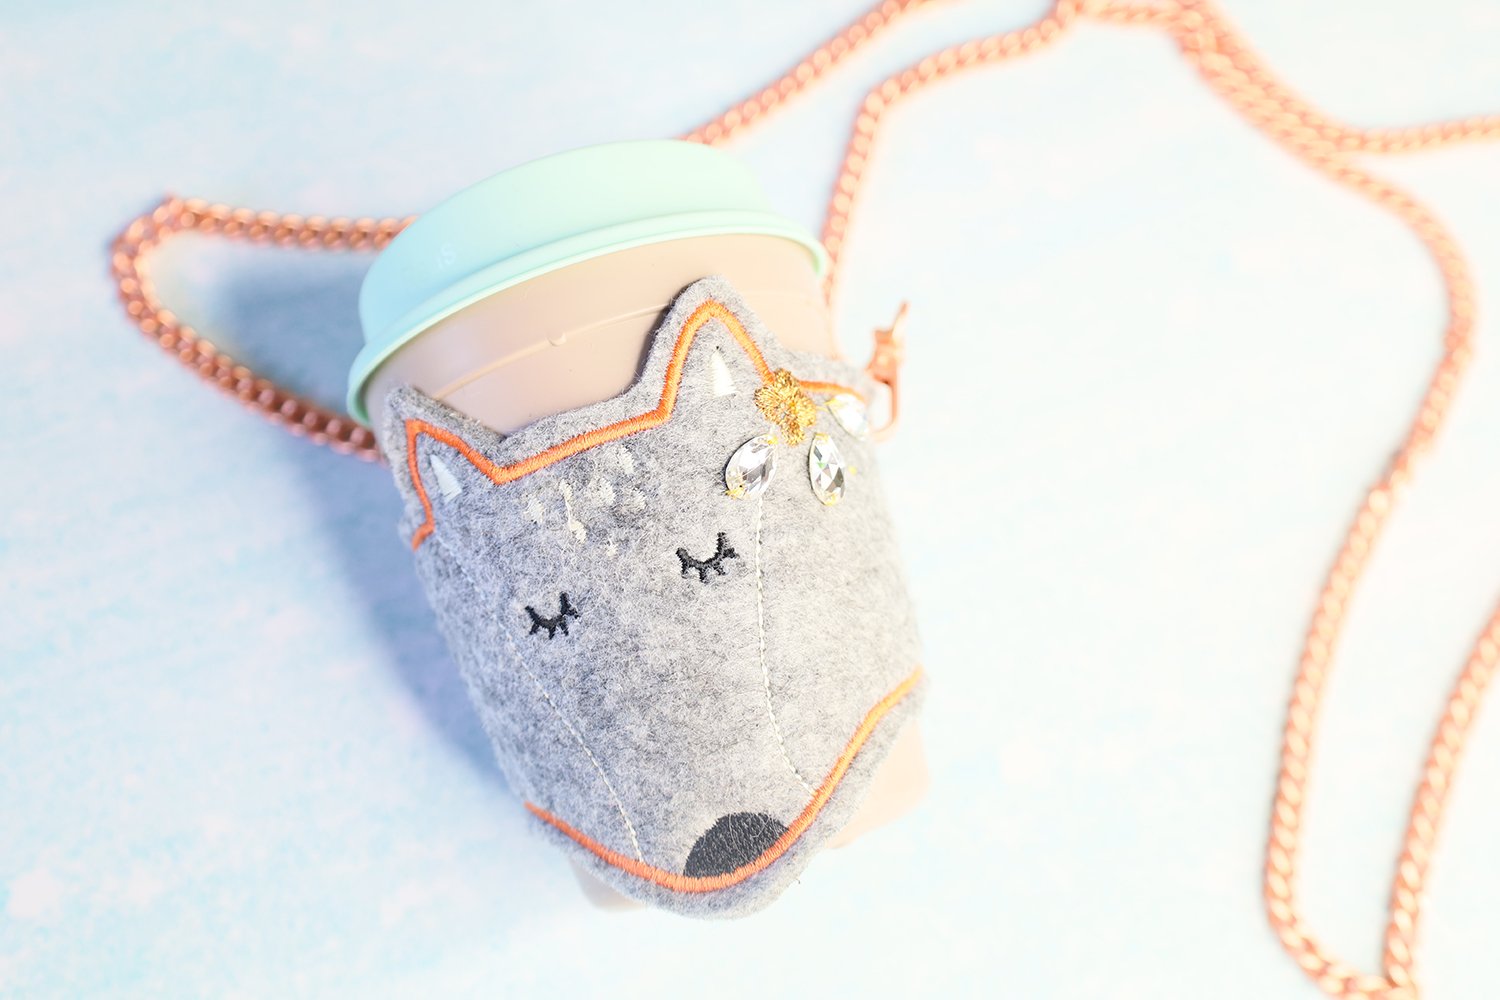
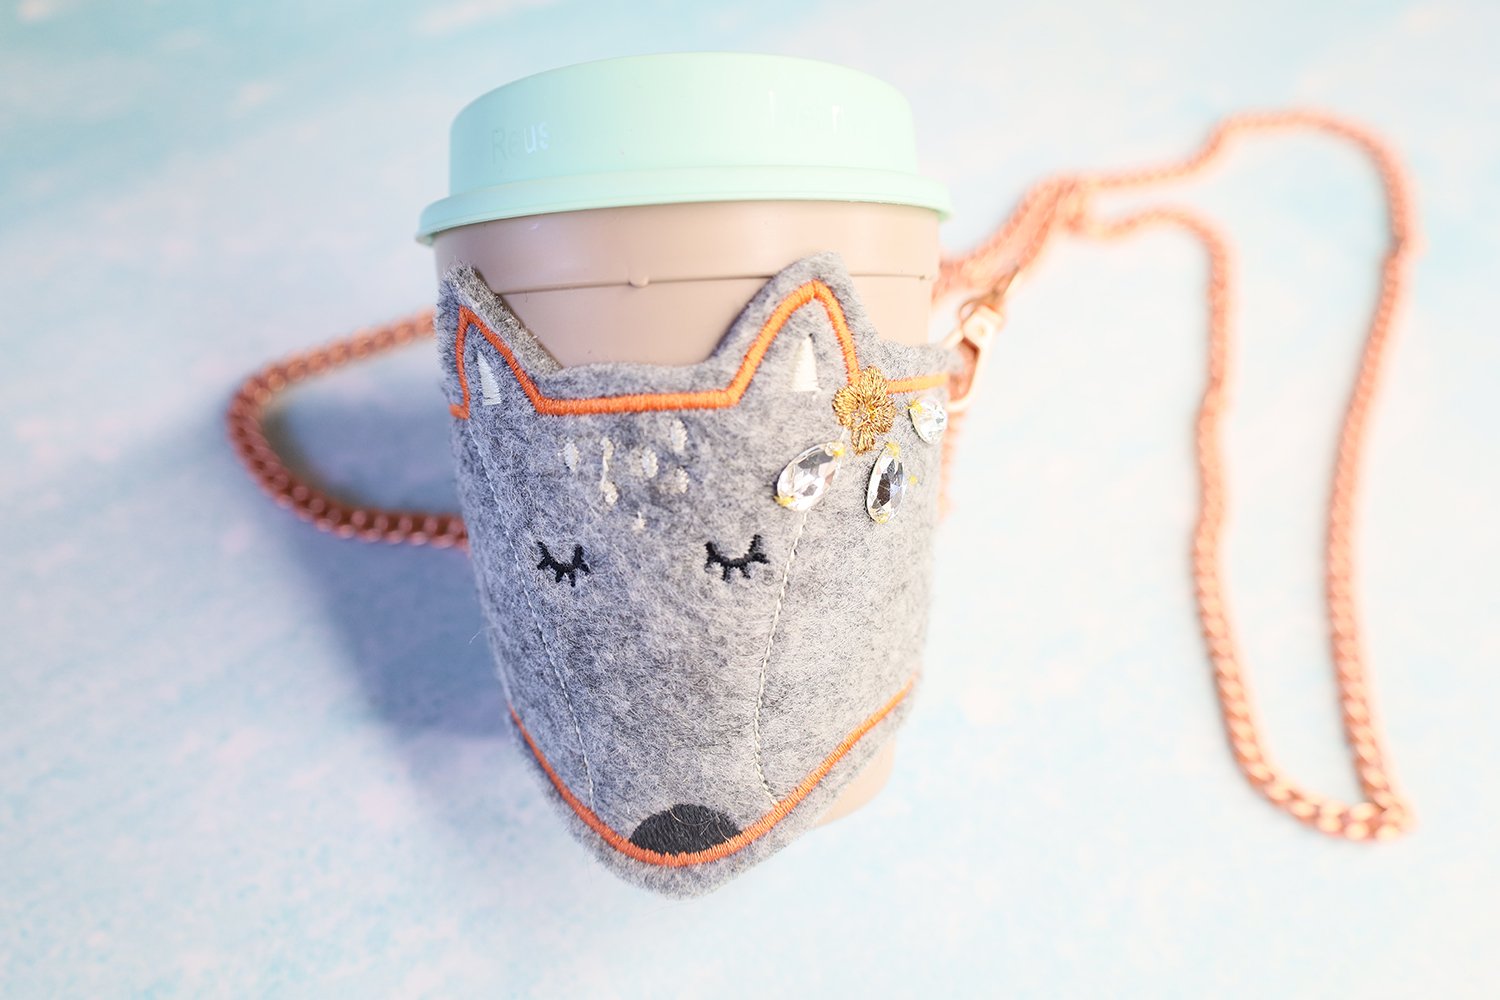
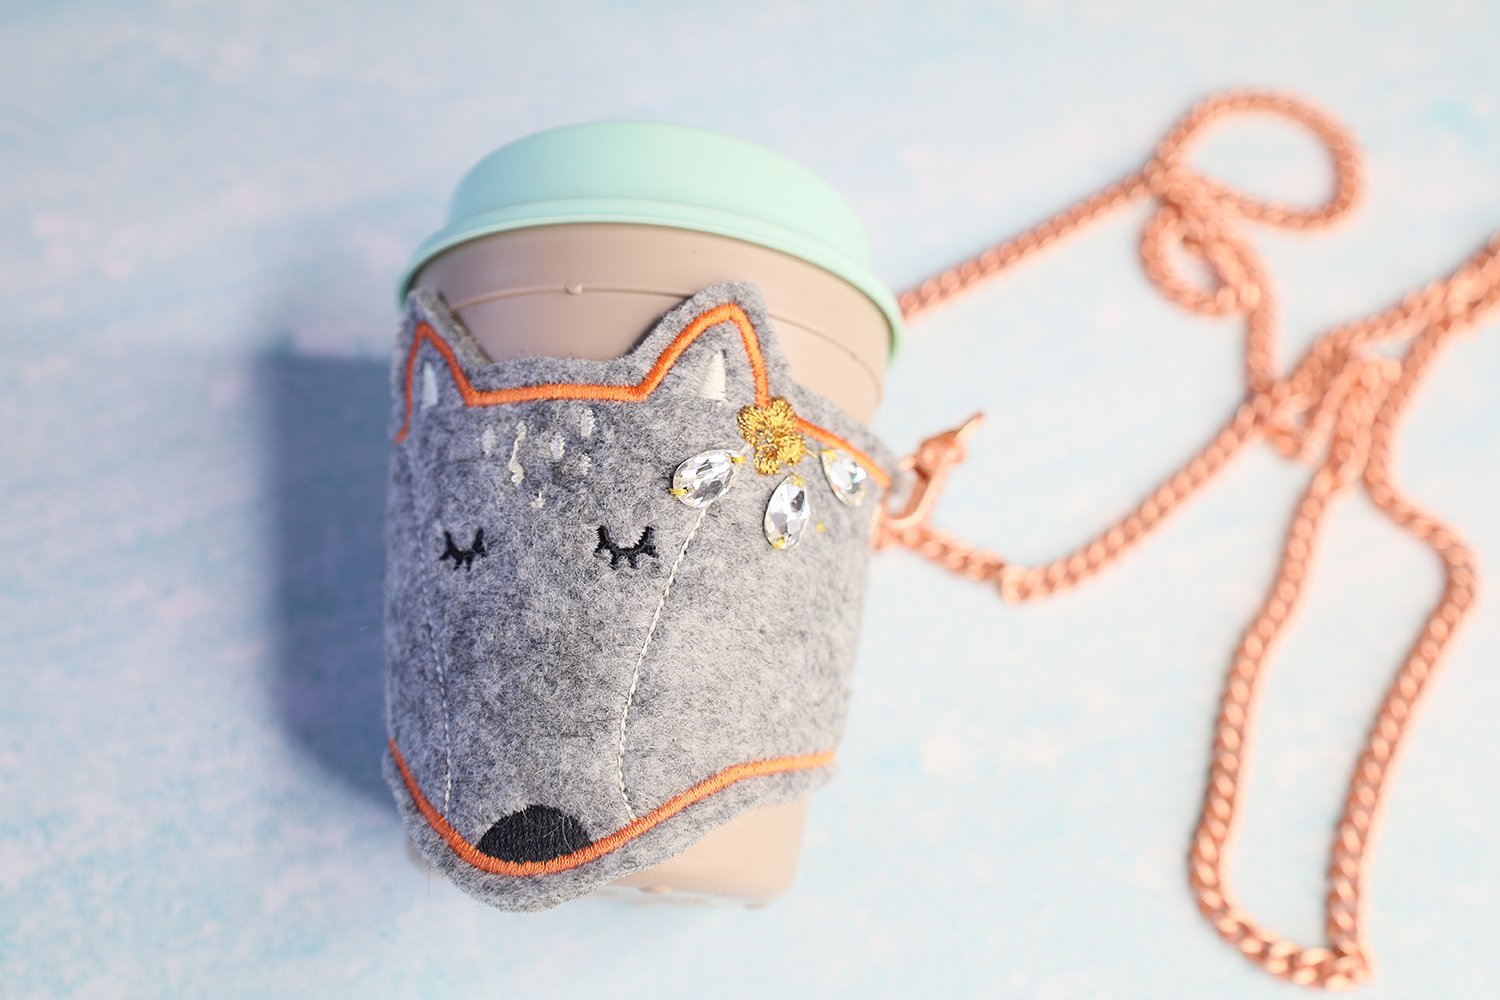
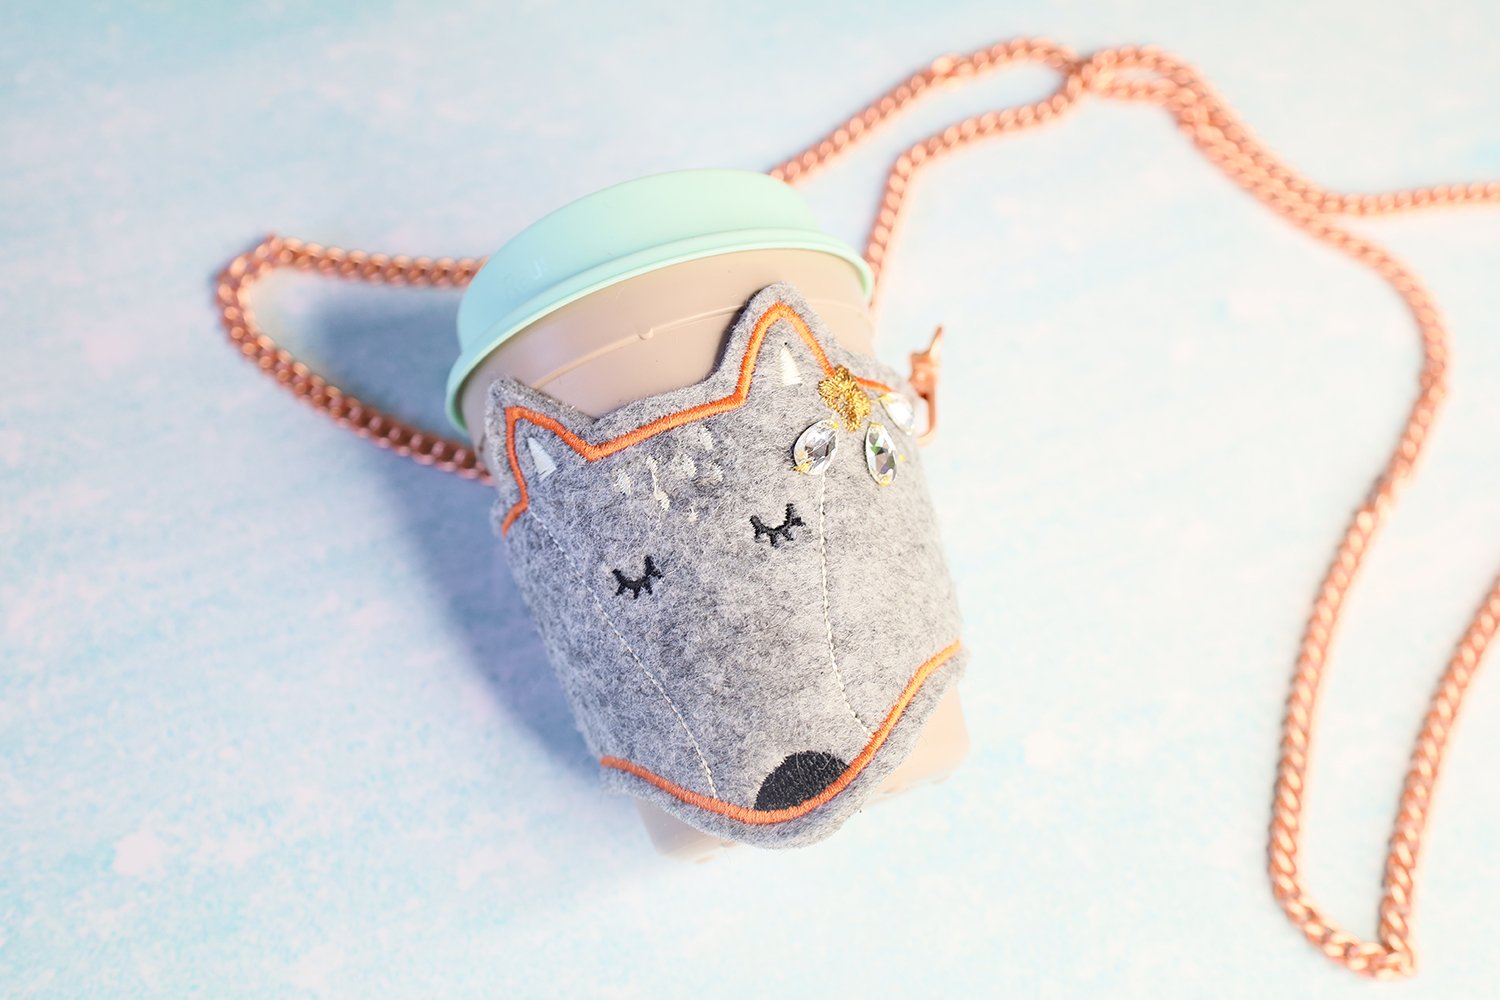
Are you familiar with this situation? You are out and about and get yourself a coffee to go, but then sometimes it would be useful to have your hands free. In this blog post, I am providing you with a perfect and very sweet solution – the “Fox” cup holder. Using the ITH embroidery file for the cup holder, which you will receive as a freebie, you can create a practical and stylish accessory. The file is embroidered entirely in the hoop and then made into a cup holder using binding screws, eyelets and a stylish bag chain.

You can find the free ITH embroidery file for the cup holder at the very end of this post.
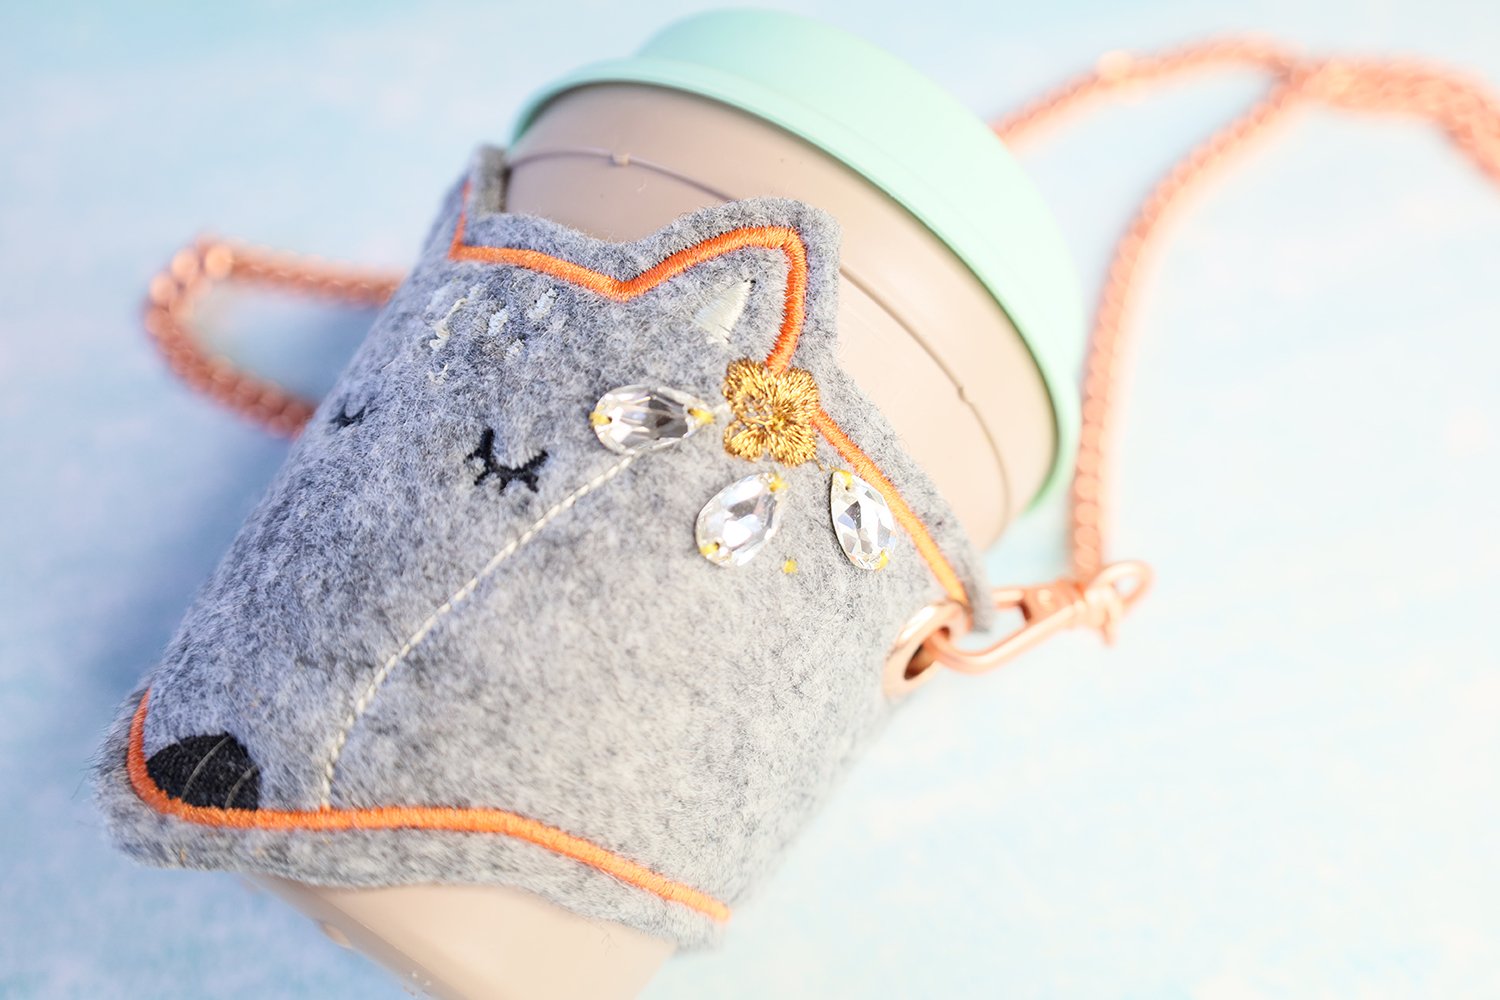
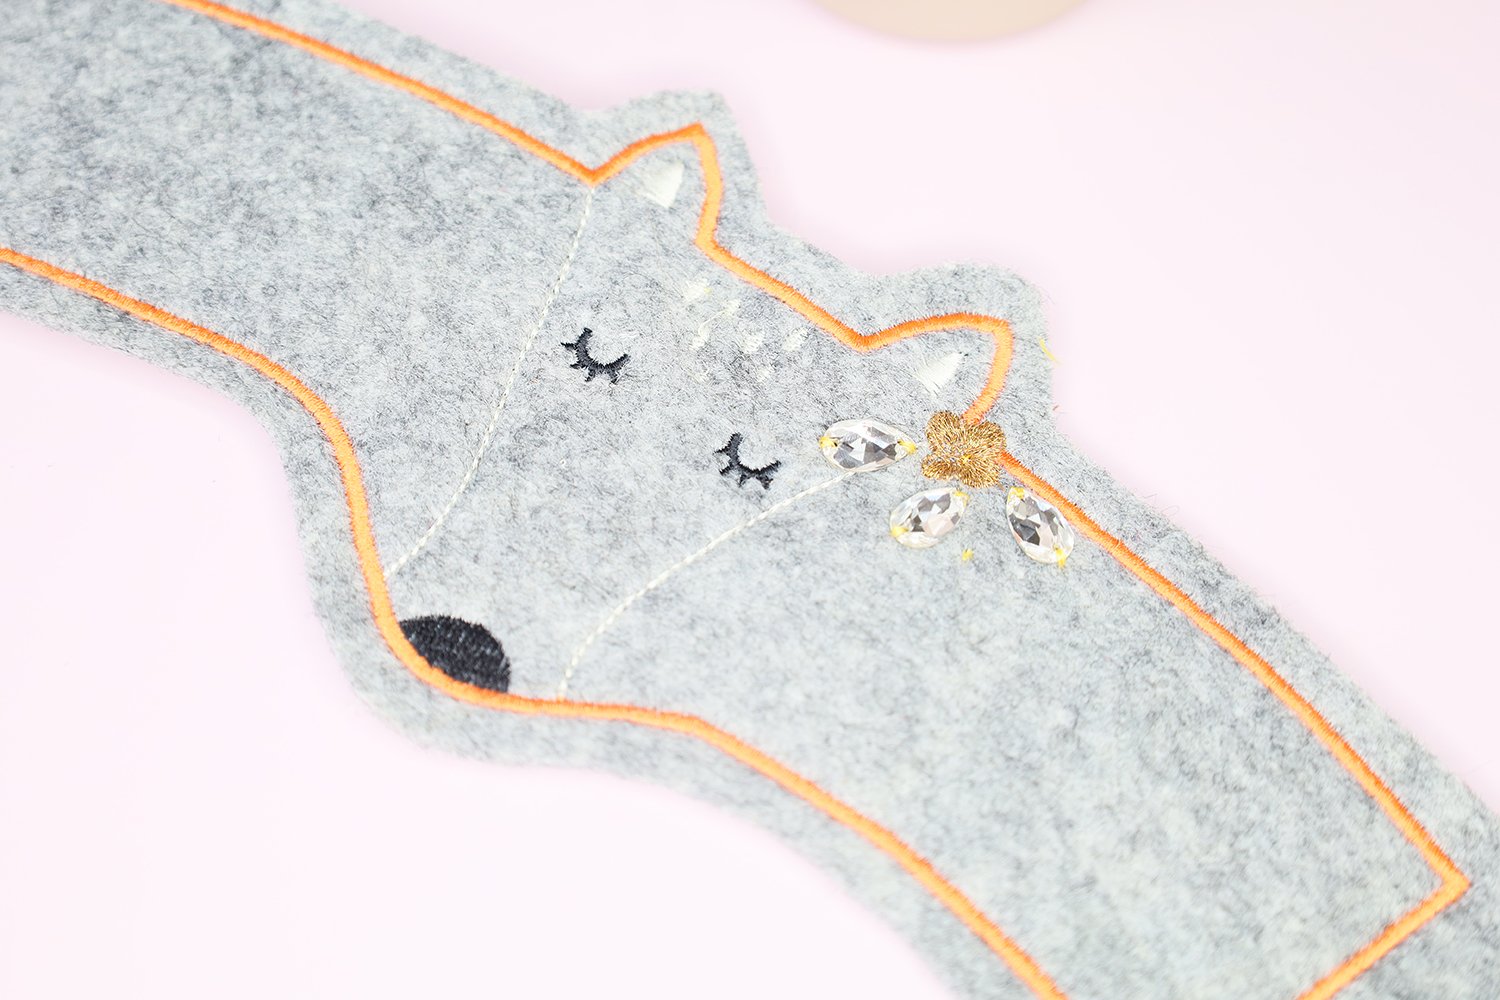
I have added a bit of sparkle to my little fox: I embroidered the flower using metallic thread and added a few elegant Swarovski crystals from the Inspiration Kit. The Inspiration Kit is an accessory for the special Crystal Edition models and is not available separately. You can also find suitable rhinestones for your project at specialist retailers. If you want a bit more sparkle, you can embroider the entire fox in different colors of metallic thread.
Embroidering the “Fox” cup holder – Materials:
I made my cup holder out of 3 mm embroidery felt. You can also use other materials. The only important thing is that these should not fray because the edges are only trimmed. Suitable materials include synthetic leather or SnapPap, for example. However, the material should under no circumstances be elastic. If you are using thinner artificial leather, I recommend that you embroider it together with a layer of thin embroidery felt as a second layer. This makes the whole thing more stable.
For embroidering with metallic thread, in addition to using high-quality thread, I definitely recommend the Thread Lubrication Unit. This BERNINA accessory makes it easy to embroider with metallic threads.
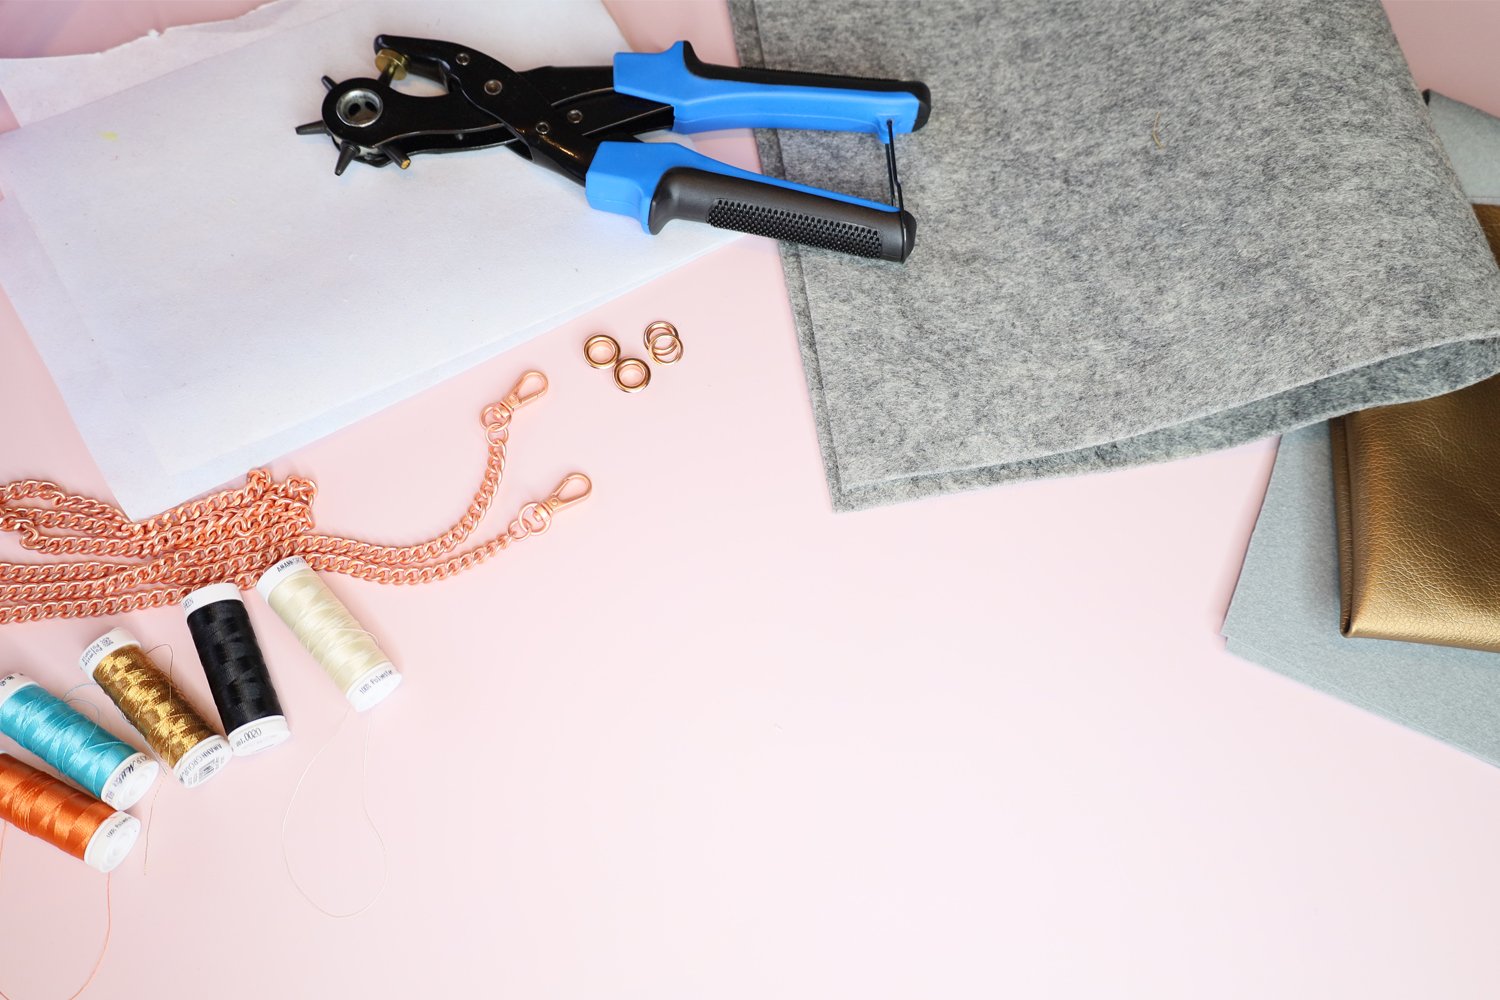
For our project today, you will need:
- Embroidery felt, synthetic leather or similar (non-fraying and non-elastic) approx. 30 x 20 cm
- Tear-away stabilizer
- Embroidery thread in different colors (I used PolySheen from Mettler)
- Metallic embroidery thread for the details (or for the whole fox if you want more bling)
- Swarovski crystals to sew or stick on
- Bag chain with carabiner hook (I found mine on Snaply like all the hardware)
- 2 binding screws with a height of 5 mm (for my 3 mm embroidery felt)
- 2 eyelets
- Punch pliers and Vario pliers for attaching the eyelets
- Stylefix (double-sided tape for sewing)
ITH cup holder: Preparing the embroidery hoop and the machine
I worked the cup holder on my BERNINA 570 QE in the Midi Hoop.
If you reduce the ITH embroidery file on the machine to 96%, you can also embroider it in the large oval embroidery hoop, and it is still the right size for a standard to-go cup. Otherwise, you should not make any other changes to the embroidery file. Transfer it to your machine and switch to the HTTBC bobbin case if necessary (I always achieve wonderfully reliable results with this). Decide on the appropriate needle for you, depending on whether you are working with normal or metallic embroidery thread.

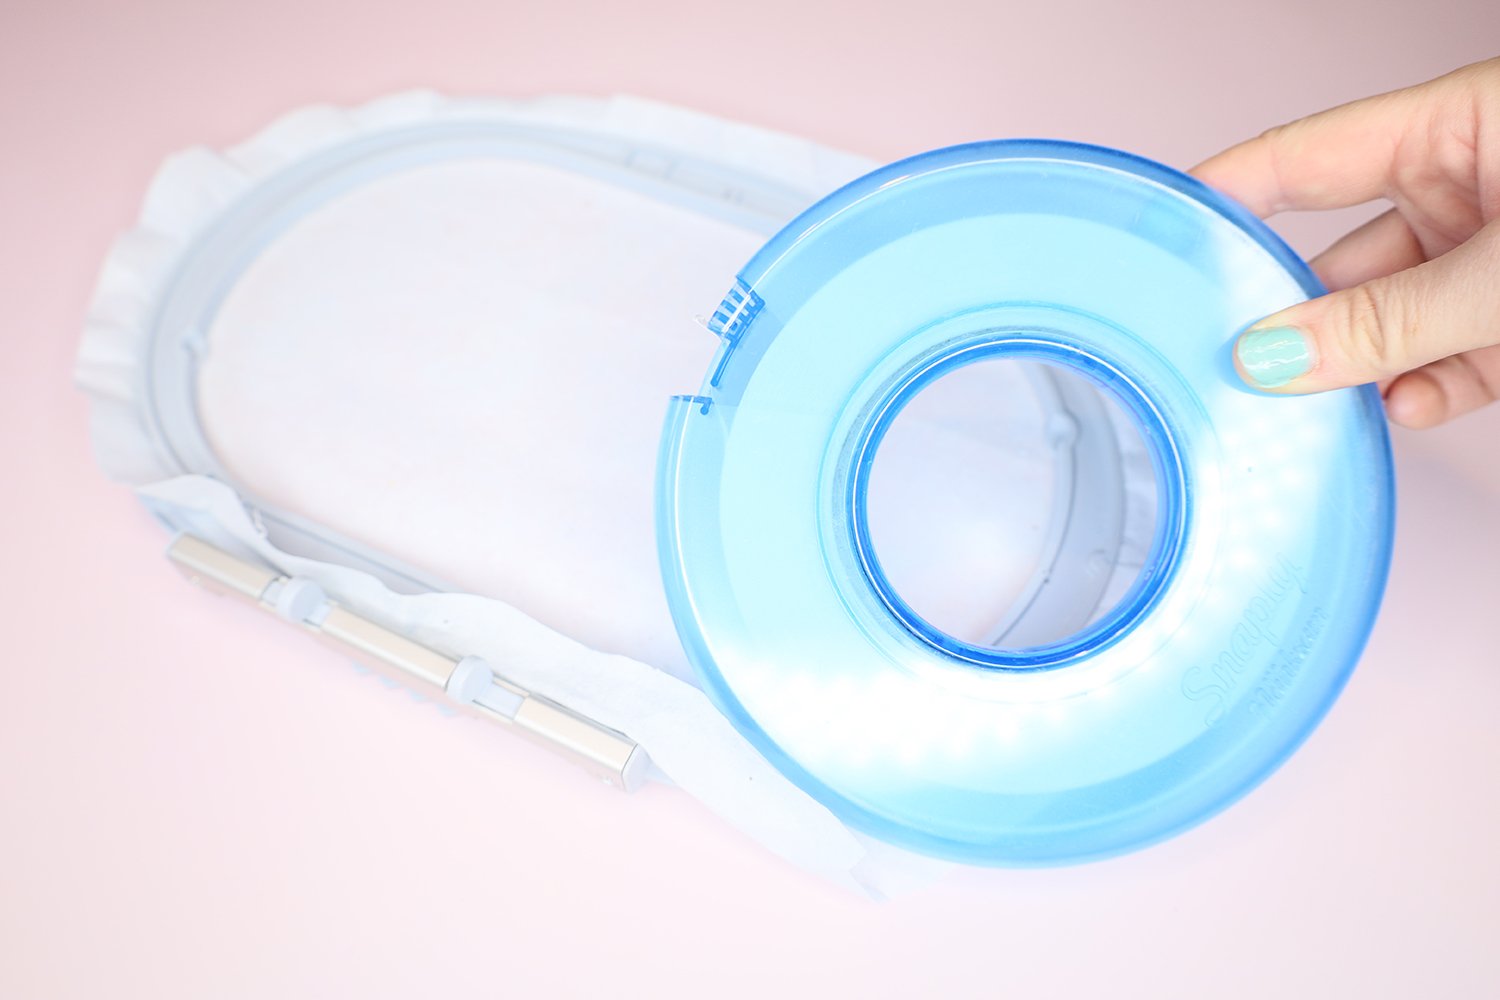
Preparing the hoop:
First, hoop a layer of tear-away embroidery stabilizer into your hoop and make it drum-tight (it should make a knocking noise when you tap it with your knuckle).
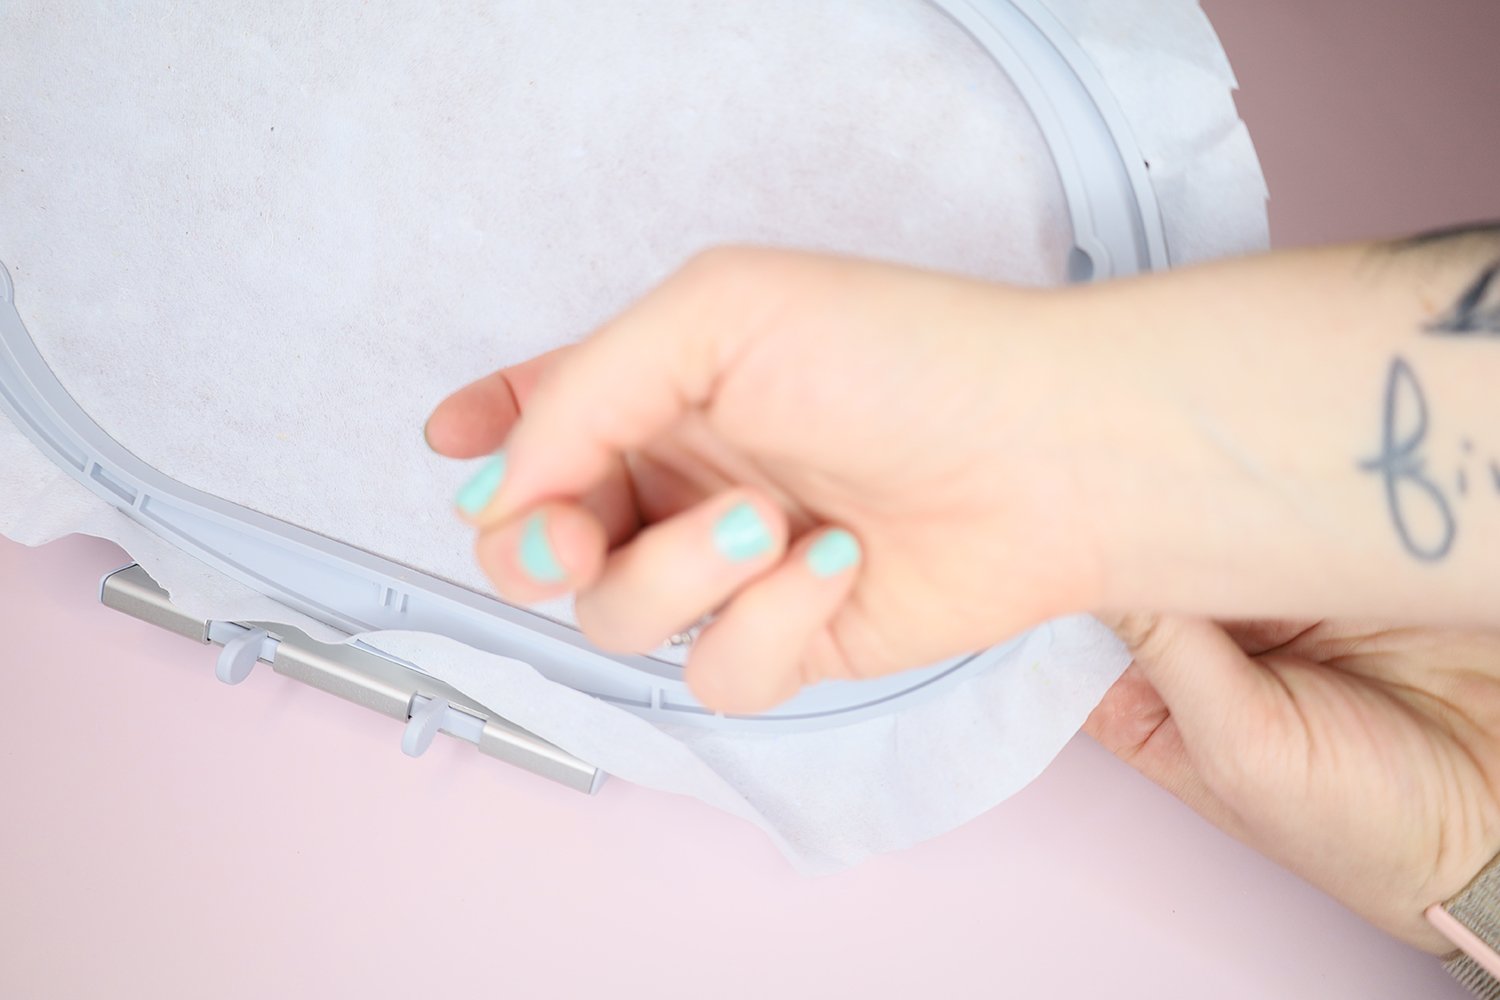
Next, you will need some Stylefix, which is a type of double-sided adhesive tape for sewing. Attach a few strips of this to the stabilizer. Make sure that the Stylefix is only attached at the edge, i.e. outside the area to be embroidered. Otherwise, the needle could get stuck, which is very annoying.

Next comes your material for the cup holder. Peel off the backing from the Stylefix and stick the wrong side of your material onto the stabilizer. The face of the fabric is now facing upwards.
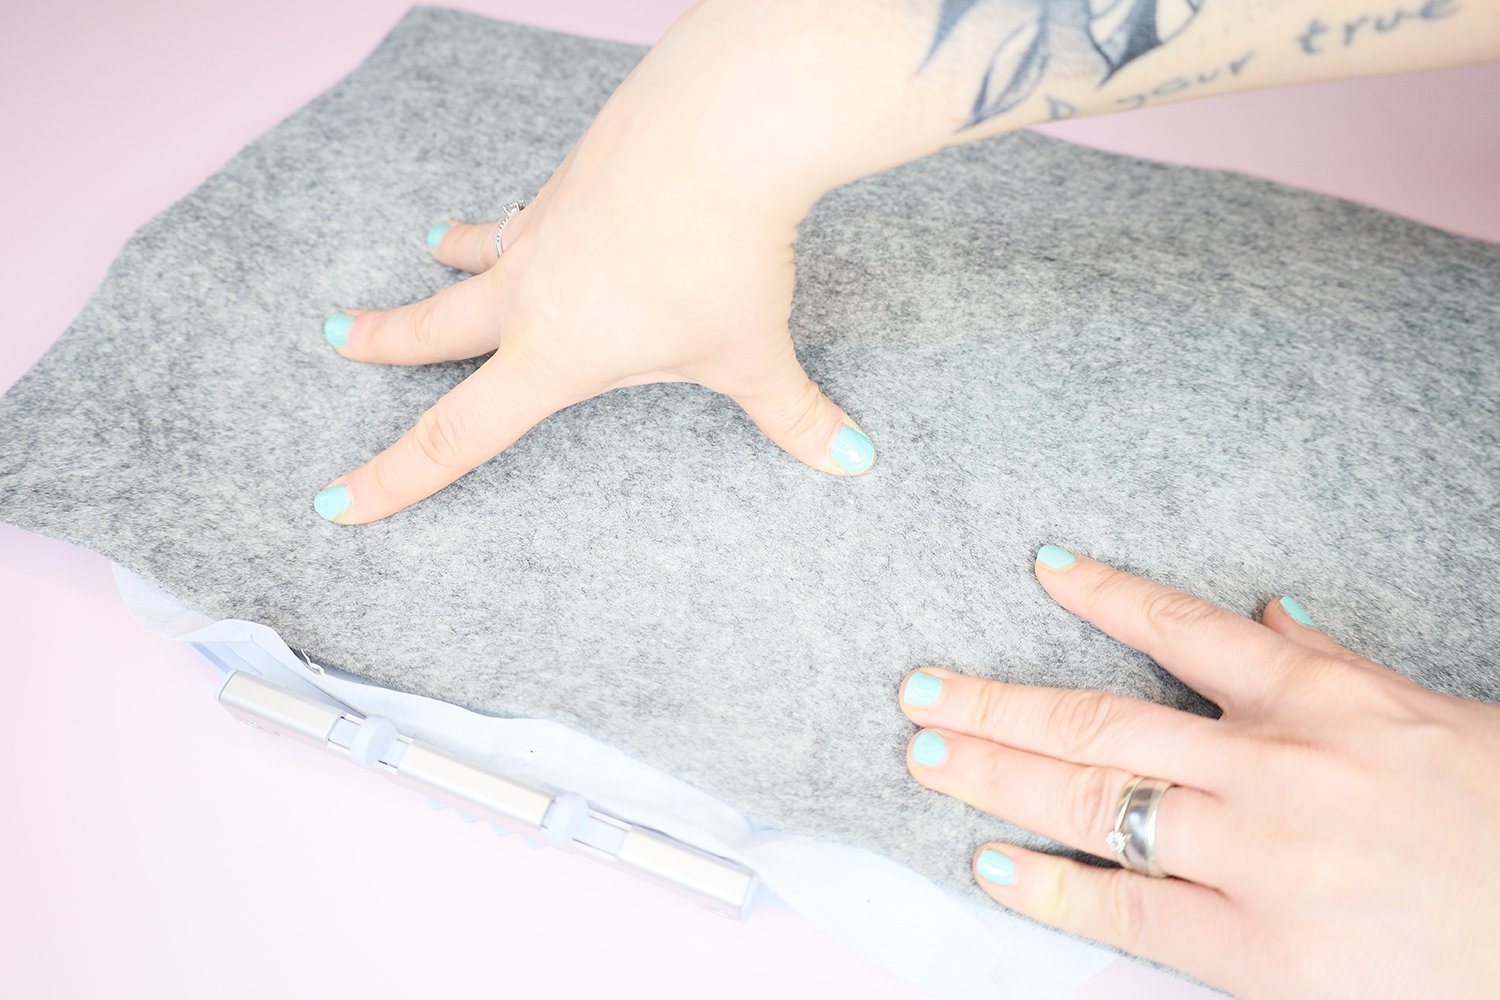
It is a good idea to press the material down firmly. This will prevent it from slipping when the ITH embroidery file is being stitched out.
It’s now time to go to your embroidery machine.
ITH cup holder: Stitching out
You have already loaded the file onto the machine and prepared the hoop. Now insert the hoop into the machine and start the first sequence.
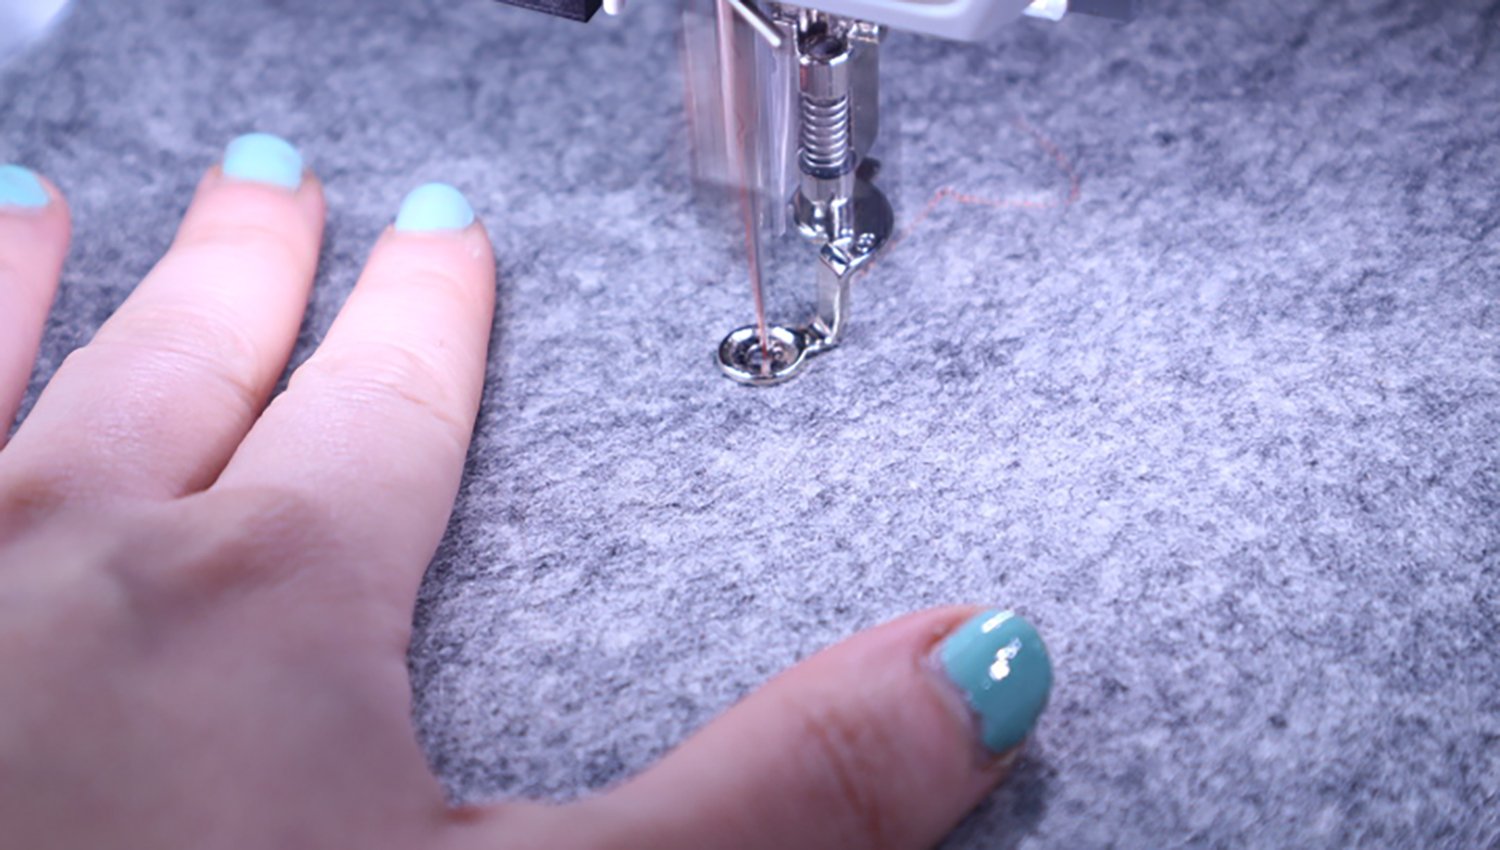
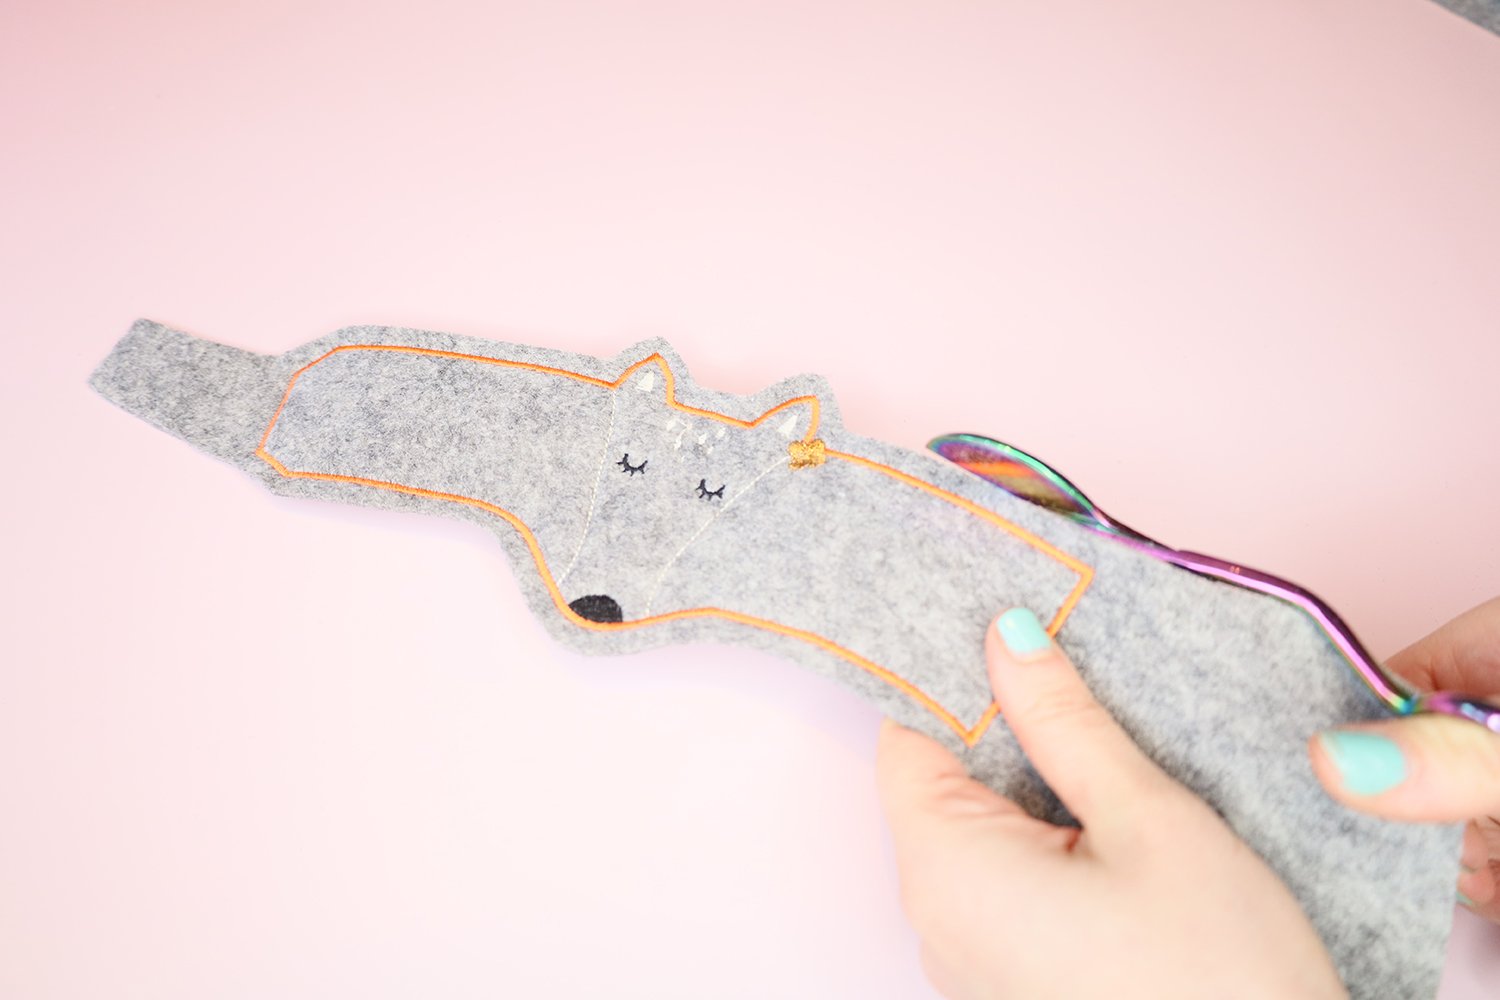
First, the border of the cup holder is embroidered using an outline stitch. This joins the material and the stabilizer together nice and securely. It is a good idea to secure the material with your hands a little during this first sequence so that nothing slips out of place.
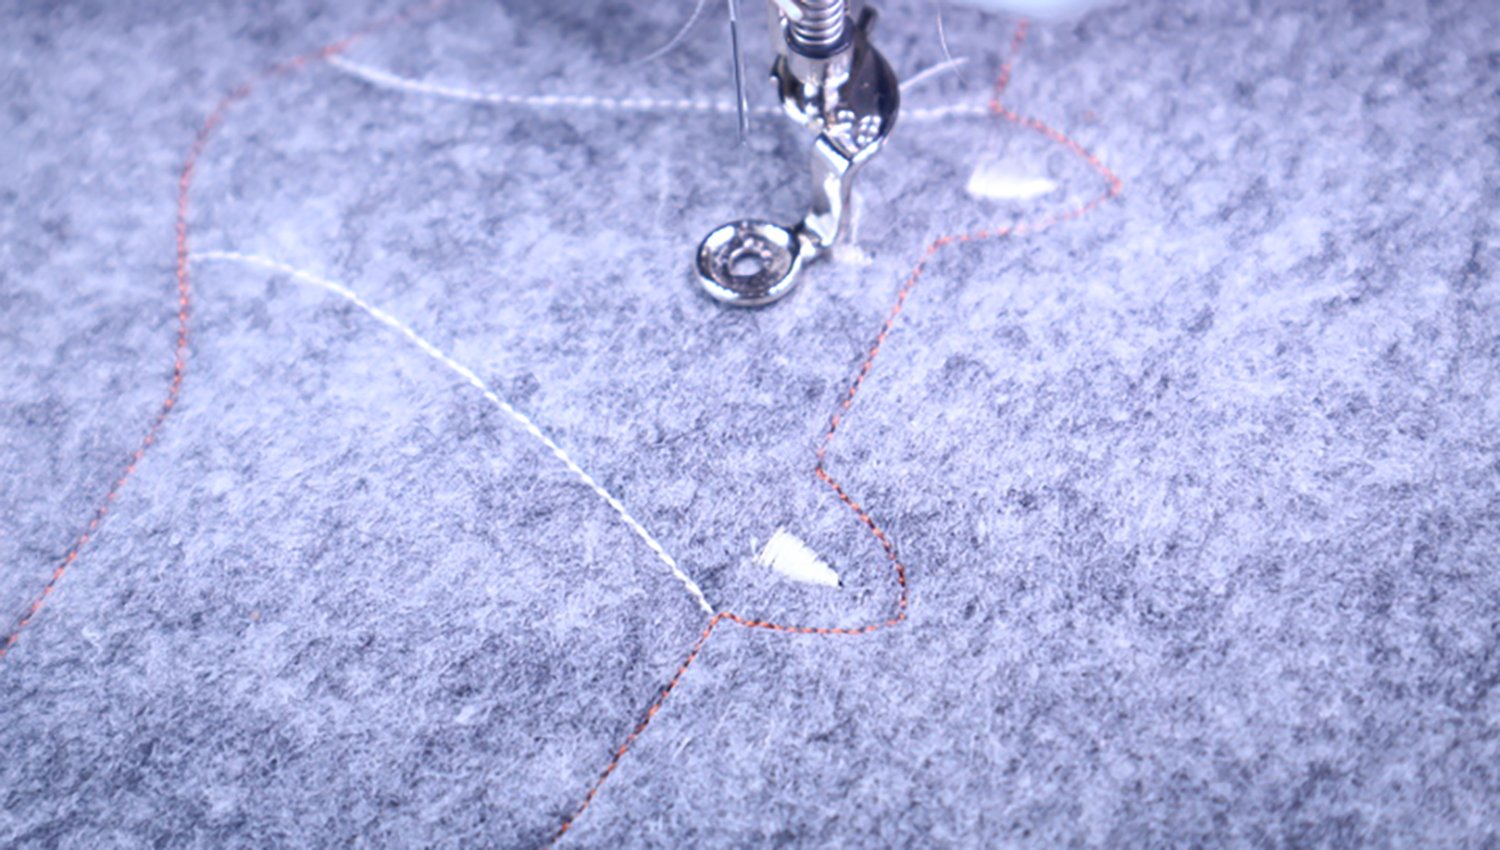
Then stitch out the various sequences according to the embroidery file.
Metallic embroidery on the cup holder:
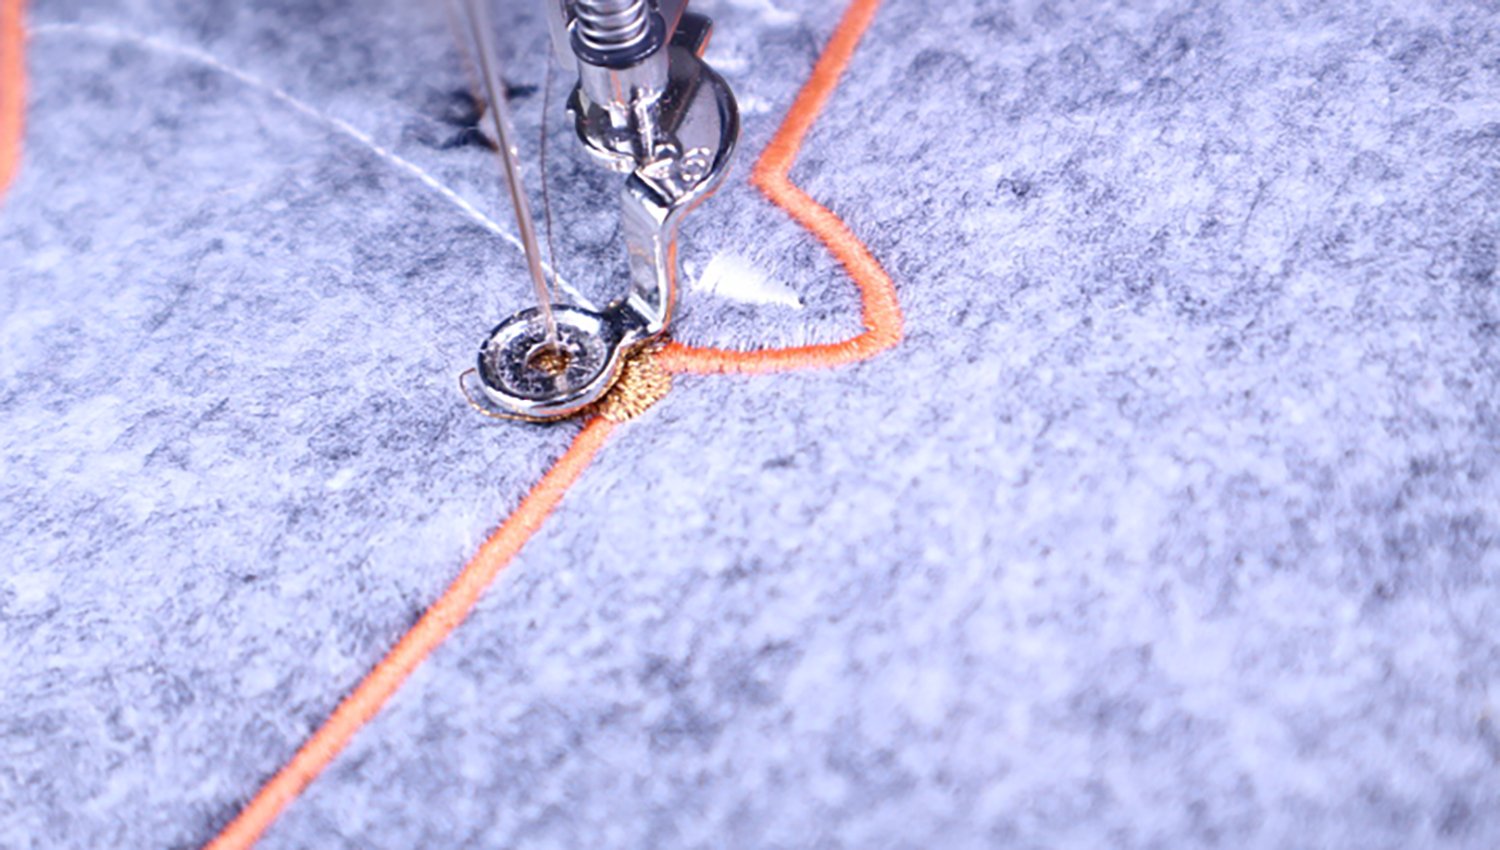
As I’ve already mentioned, you can of course also embroider all the sequences of the ITH embroidery file using metallic thread. I decided on a slightly more subtle sparkling effect and only embroidered the flower using metallic thread. For this, I used the Thread Lubrication Unit.
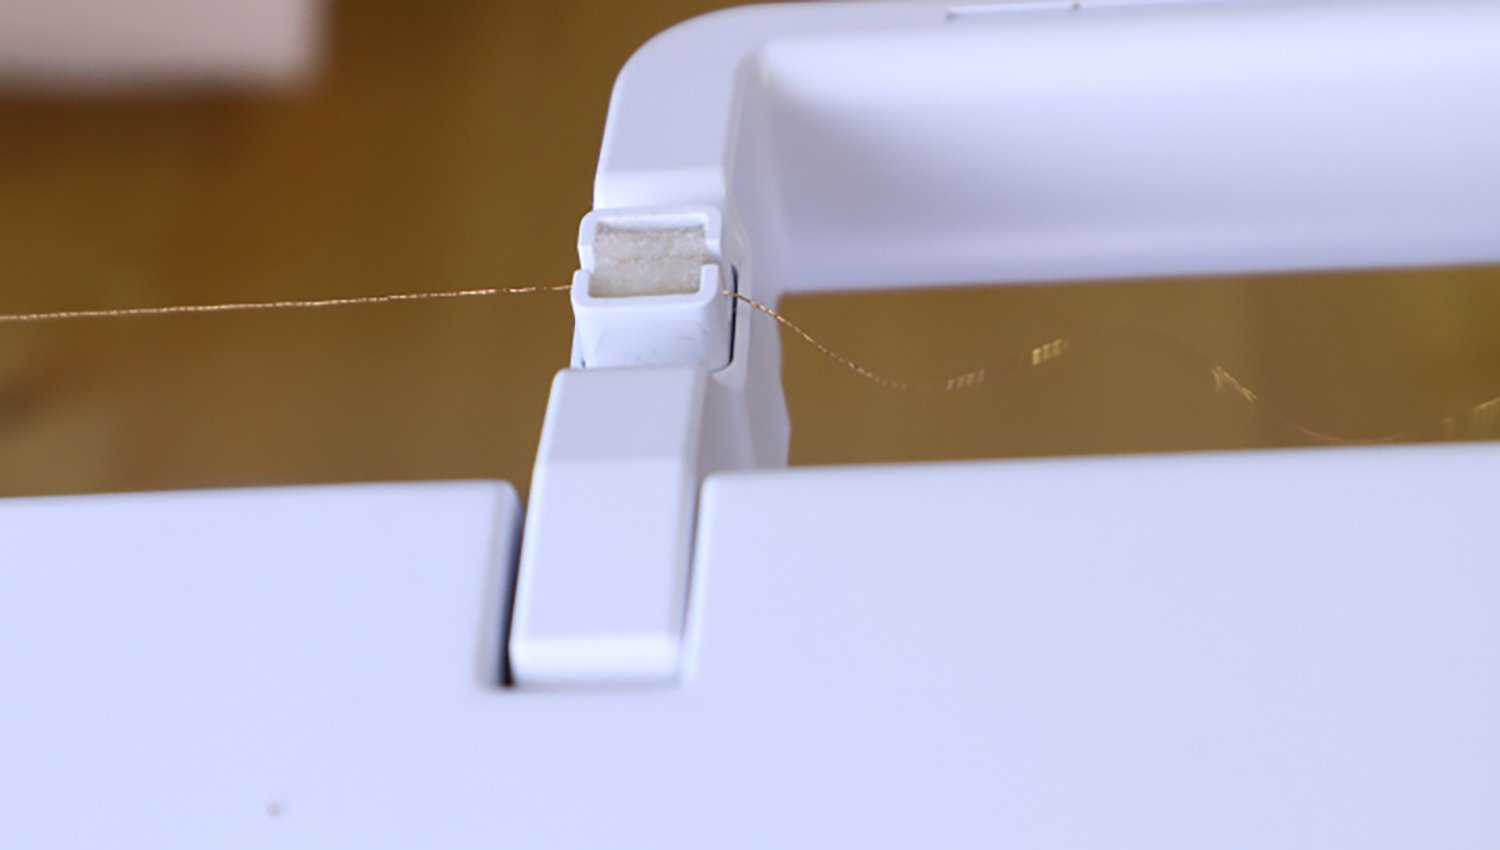
If you have one of these, you can now attach it to the machine and moisten it with the silicone fluid. Then feed the metallic thread through the lubrication unit so it runs through smoothly. For metallic threads, it is also recommended to use an embroidery needle.
Now you’re all set to embroider the element with metallic thread. Just to be on the safe side, I always reduce the speed of my machine when I’m embroidering with these threads.
ITH cup holder: Finishing the cup holder
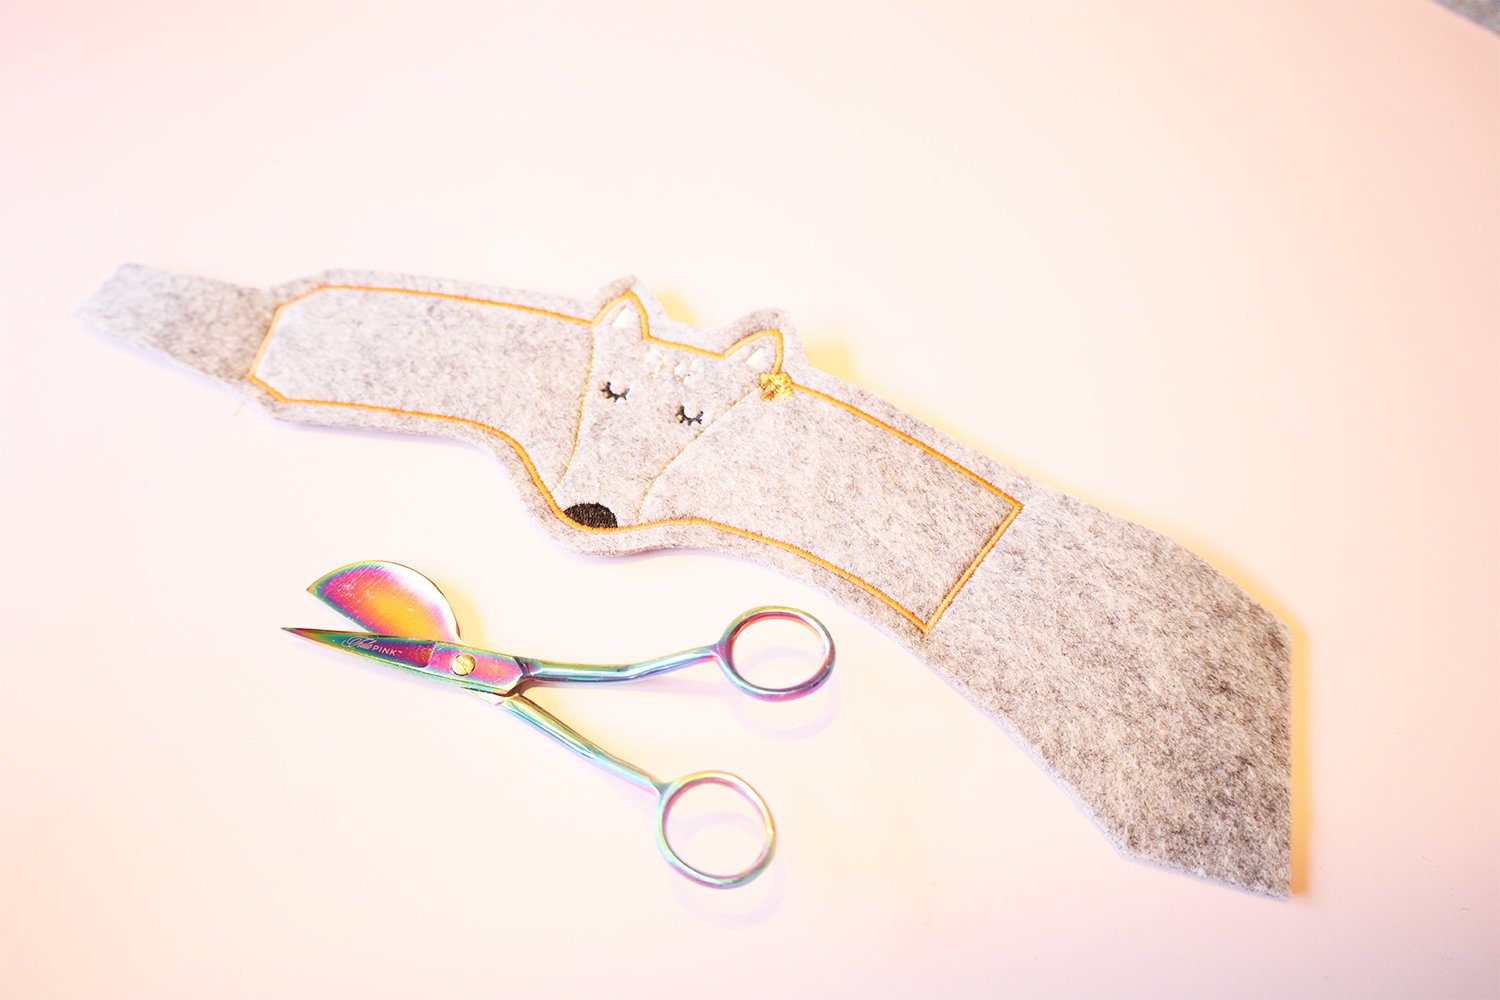
First, take the material out of the machine and remove the stabilizer from the back. You can trim off any loose threads and, if necessary, burn them off with a lighter. This will give you a clean back.
Then you will need a pair of good fabric scissors or even better, appliqué scissors. Trim the material around the embroidery. I left about 0.5 cm of material around the edge, which gives it a nice border.
Note: I did not trim the material at the ends until I was making the final size adjustments.
Attach the crystals:
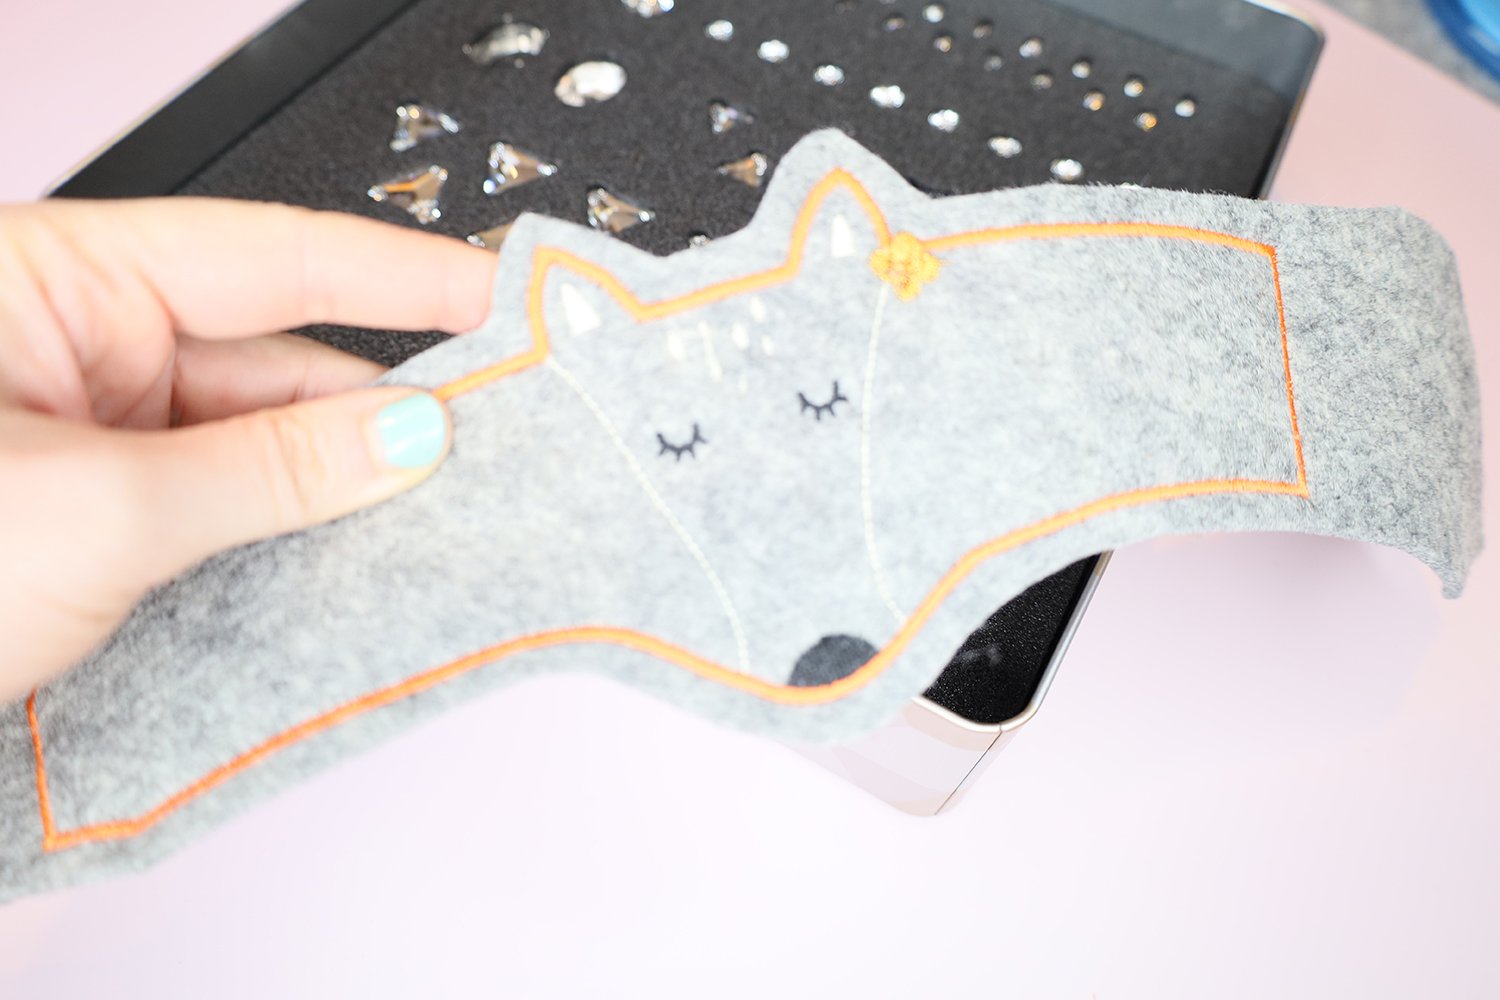
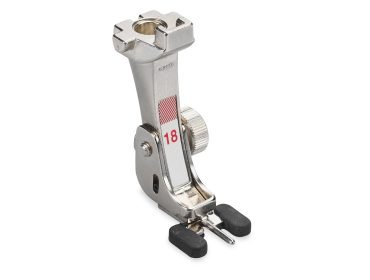
I decided to add a bit more bling. If you want to make your cup holder really eye-catching, you can attach sparkling rhinestones to the flower or around the outside. I simply sewed mine on by hand. But there are also stick-on varieties and ones that can be sewn on like buttons using the Button-sew-on foot # 18. 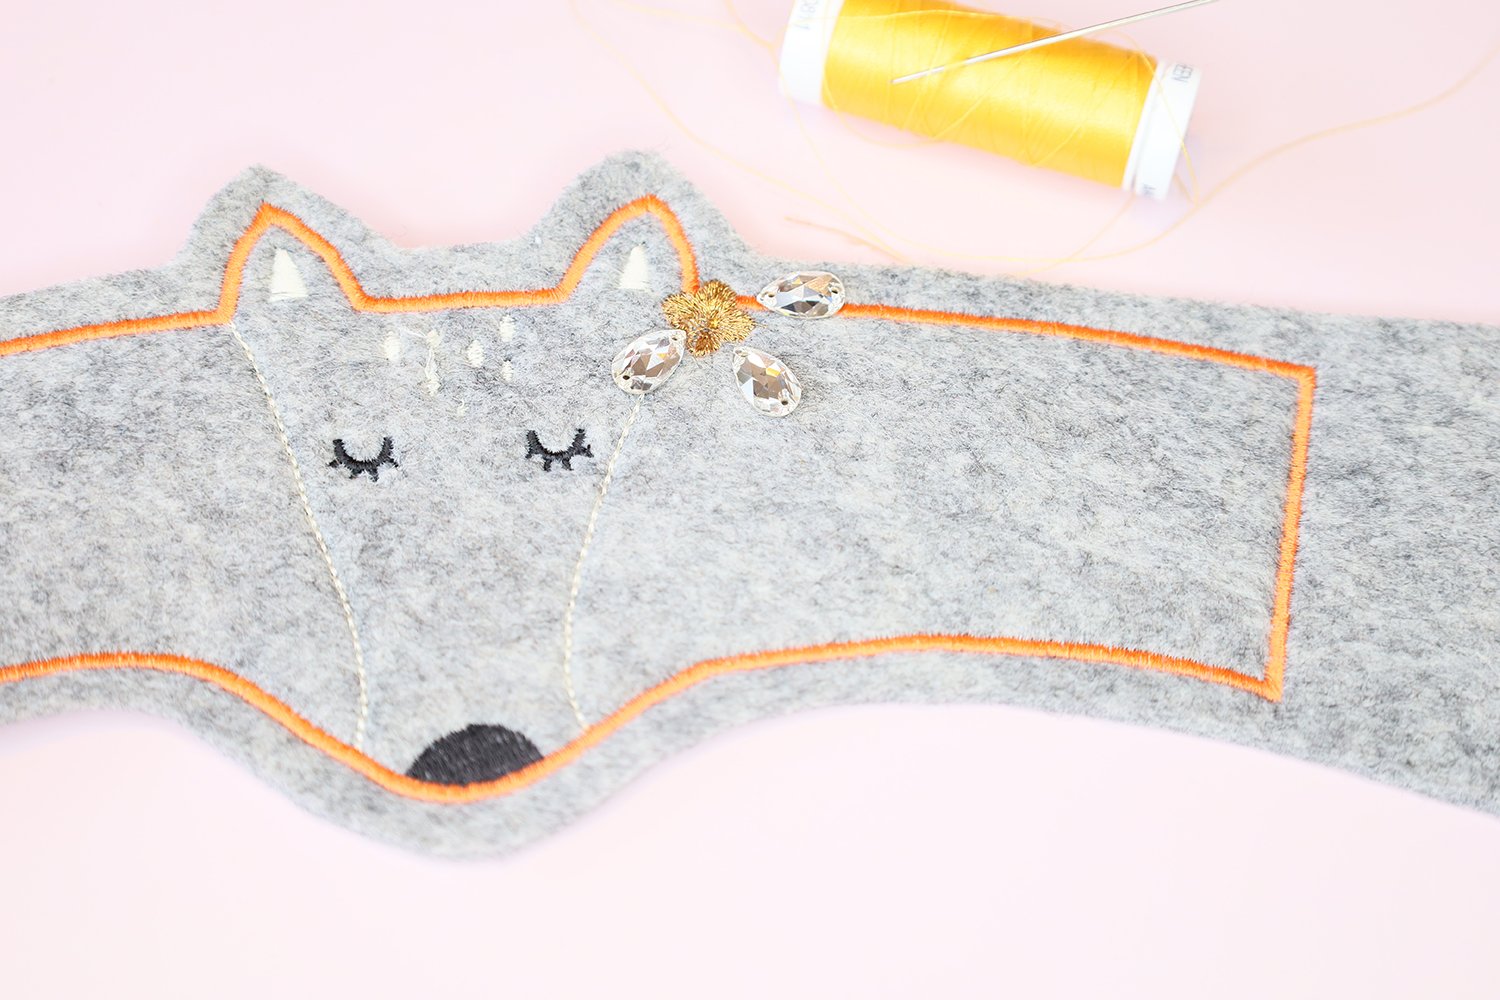
Adjust the size of the cup holder:
The ITH embroidery file for the cup holder is designed for “standard” to-go cups. But you can adjust the size. That’s why we left some spare material at the ends. Now take the cup you are going to use. I stuck with the standard size and used my reusable returnable cup ;).
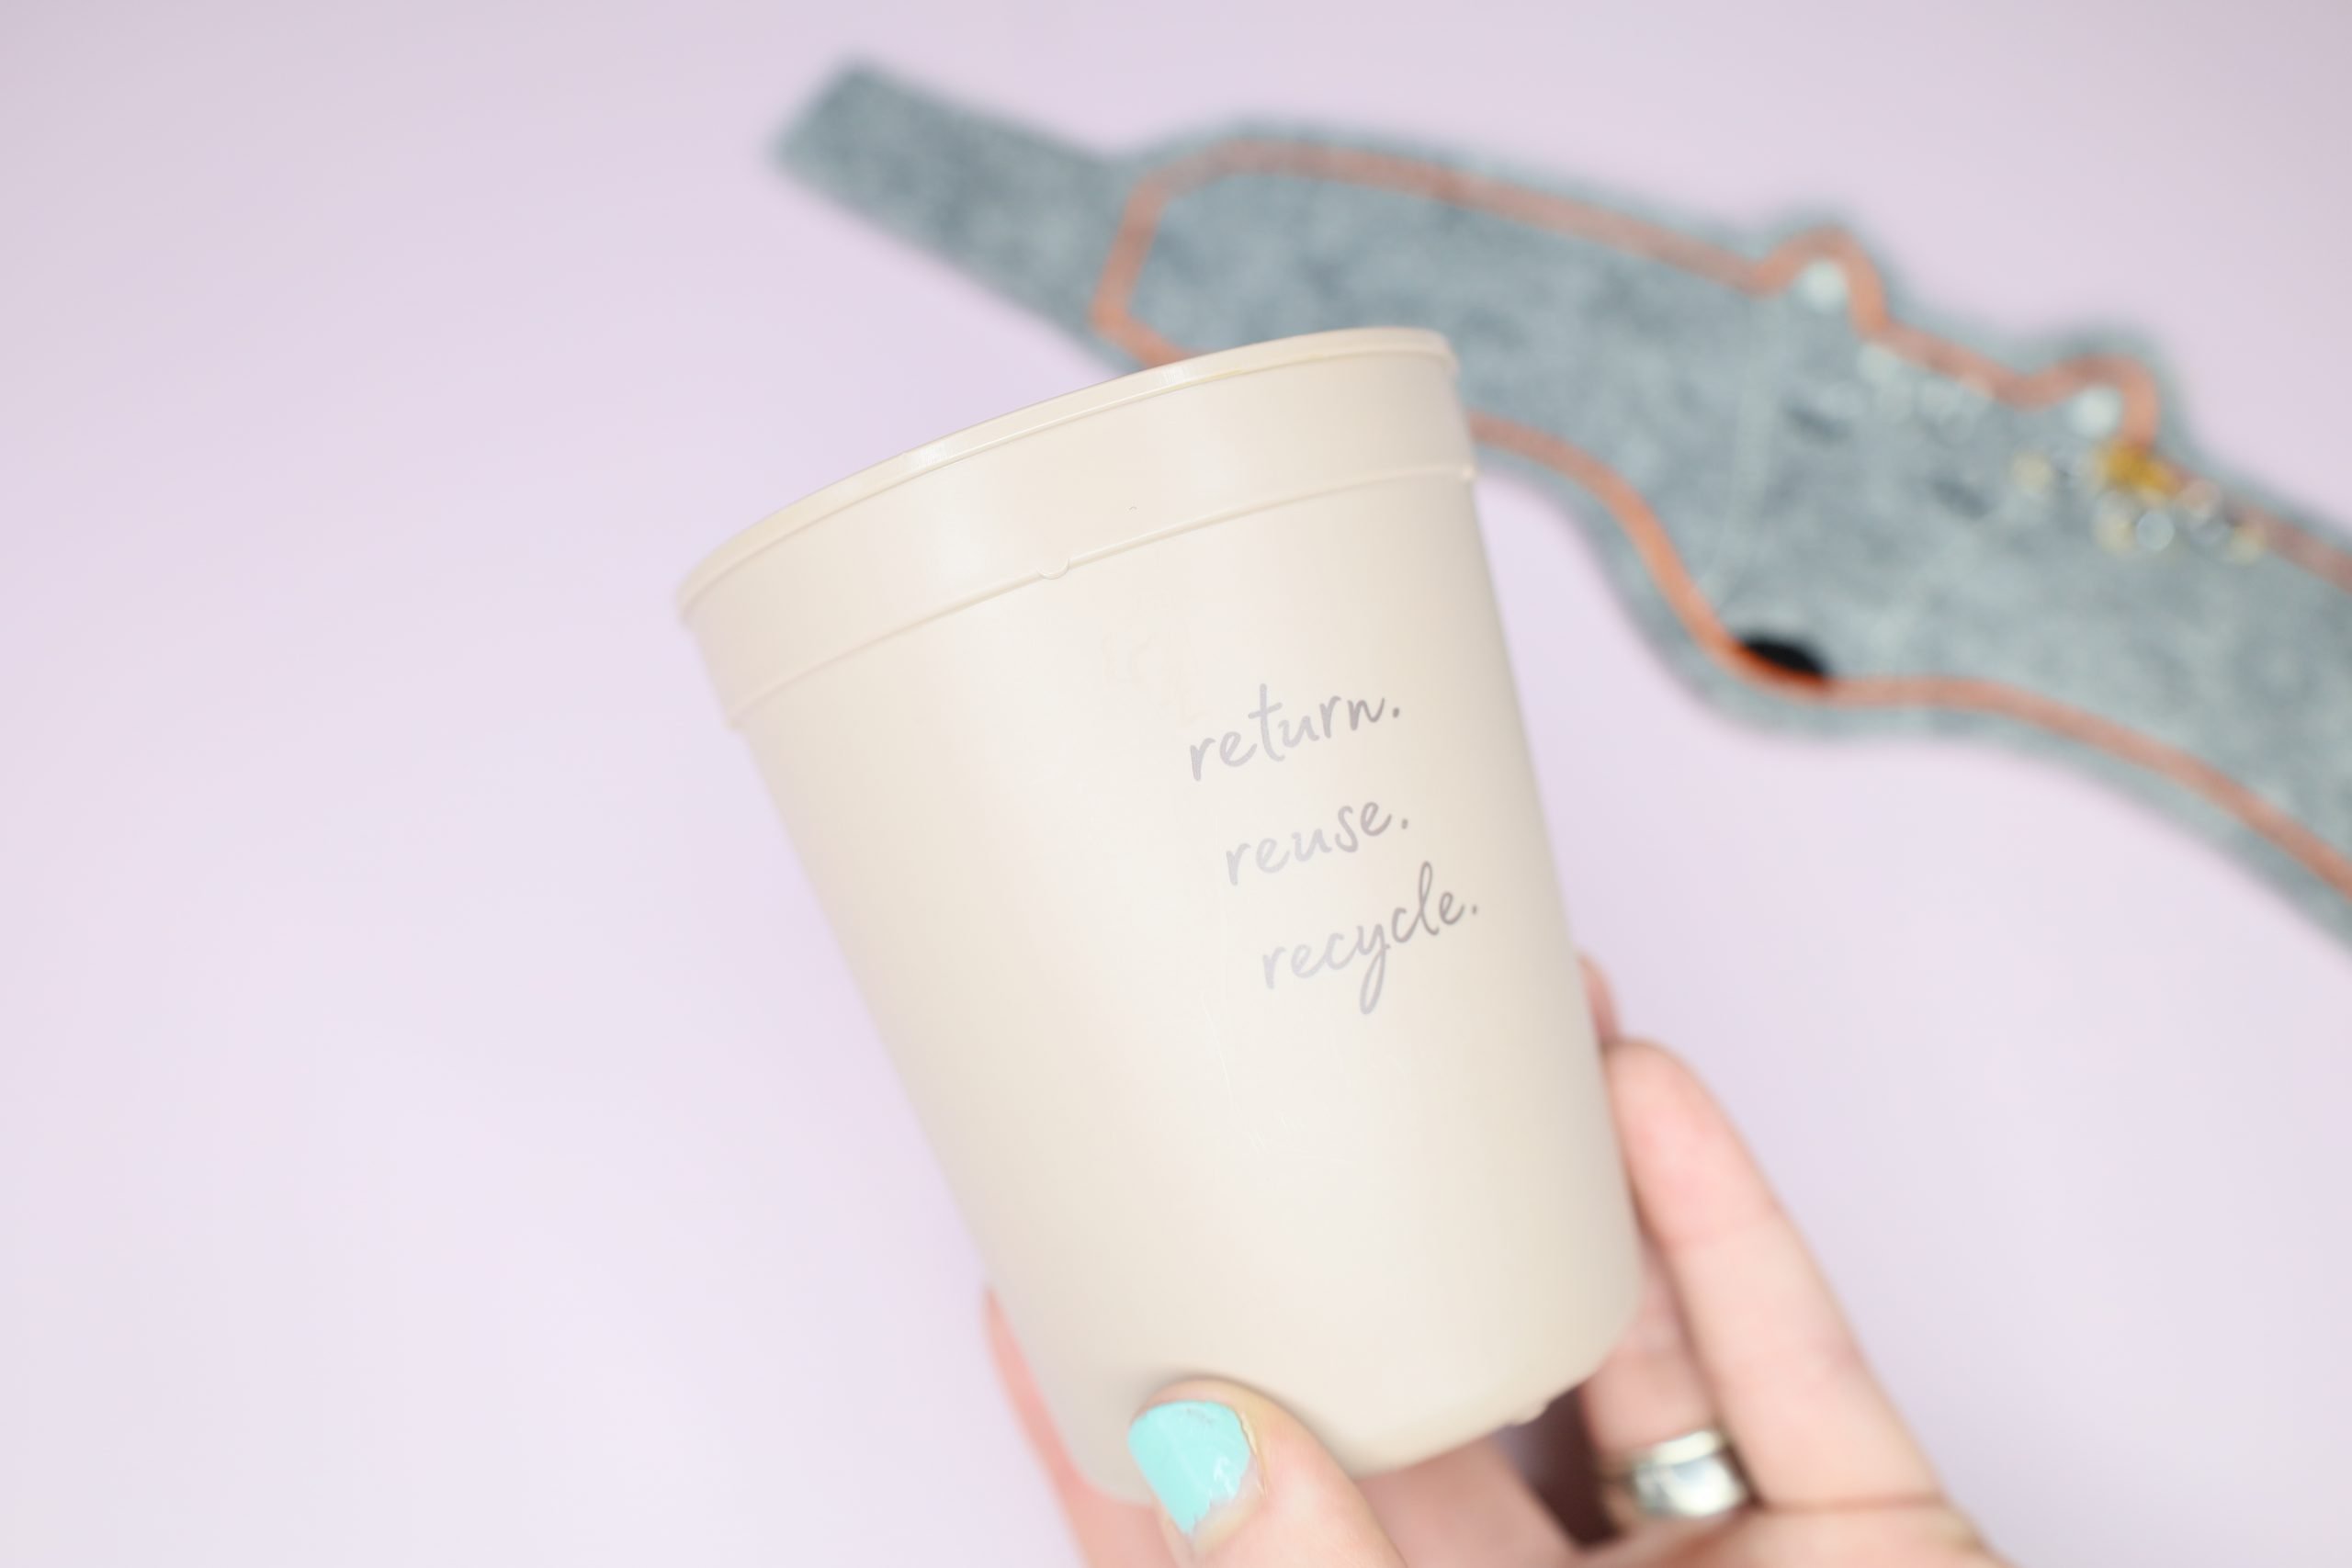
Then wrap your cup holder tightly around the cup. It should not slip out later on. Also make sure that the cup is narrower at the bottom than at the top, as this prevents it from slipping through. This is the case with traditional to-go cups.
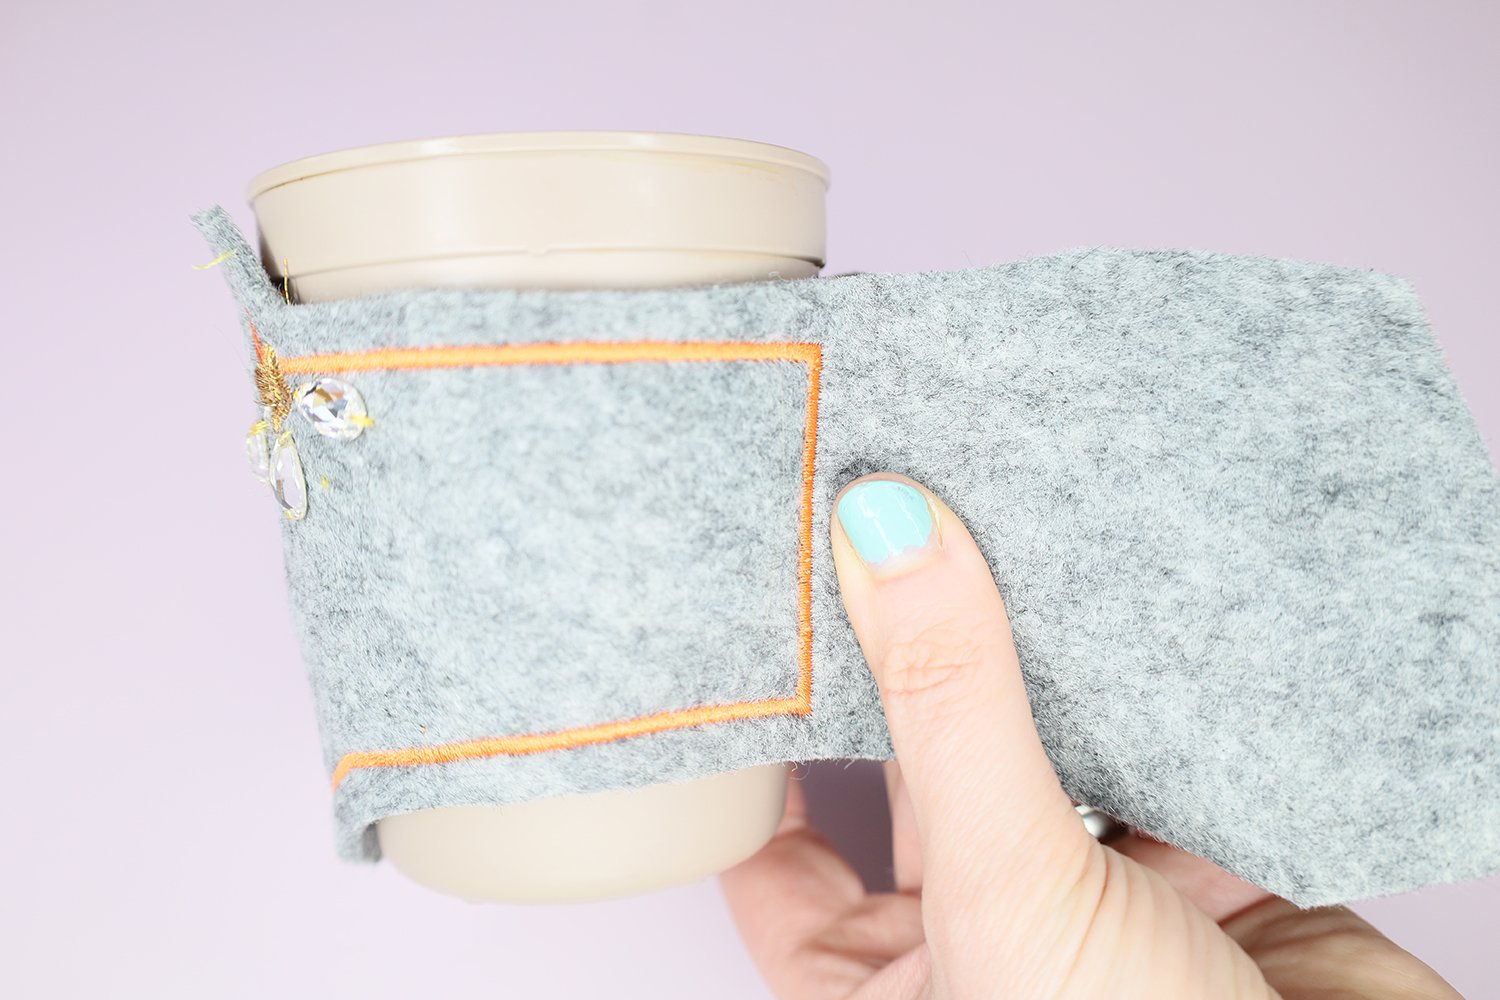
Lay the ends one on top of the other. The wider end goes underneath, the narrower end on top. Place the ends on top of each other like this and trim the spare material to the desired length.
Note: The ends should overlap far enough so that the binding screws can be attached easily later on.

Fix the whole thing in place with a pin to check it is secure.
Attach the binding screws:
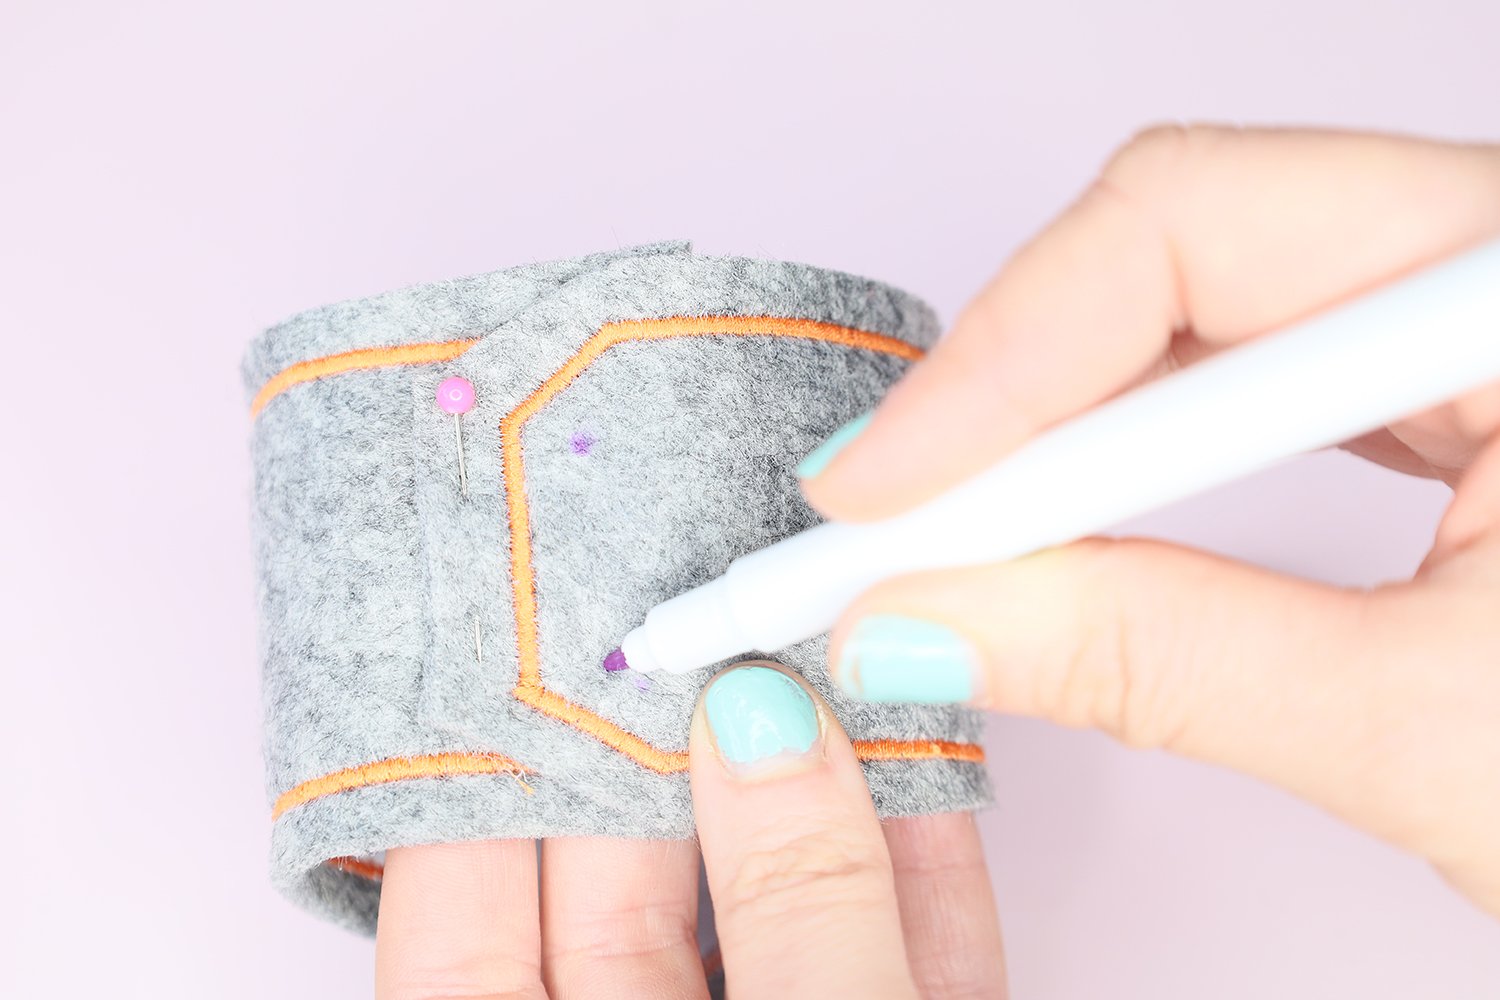
Now it’s time for the binding screws. Mark two points on the top overlap for the screws.

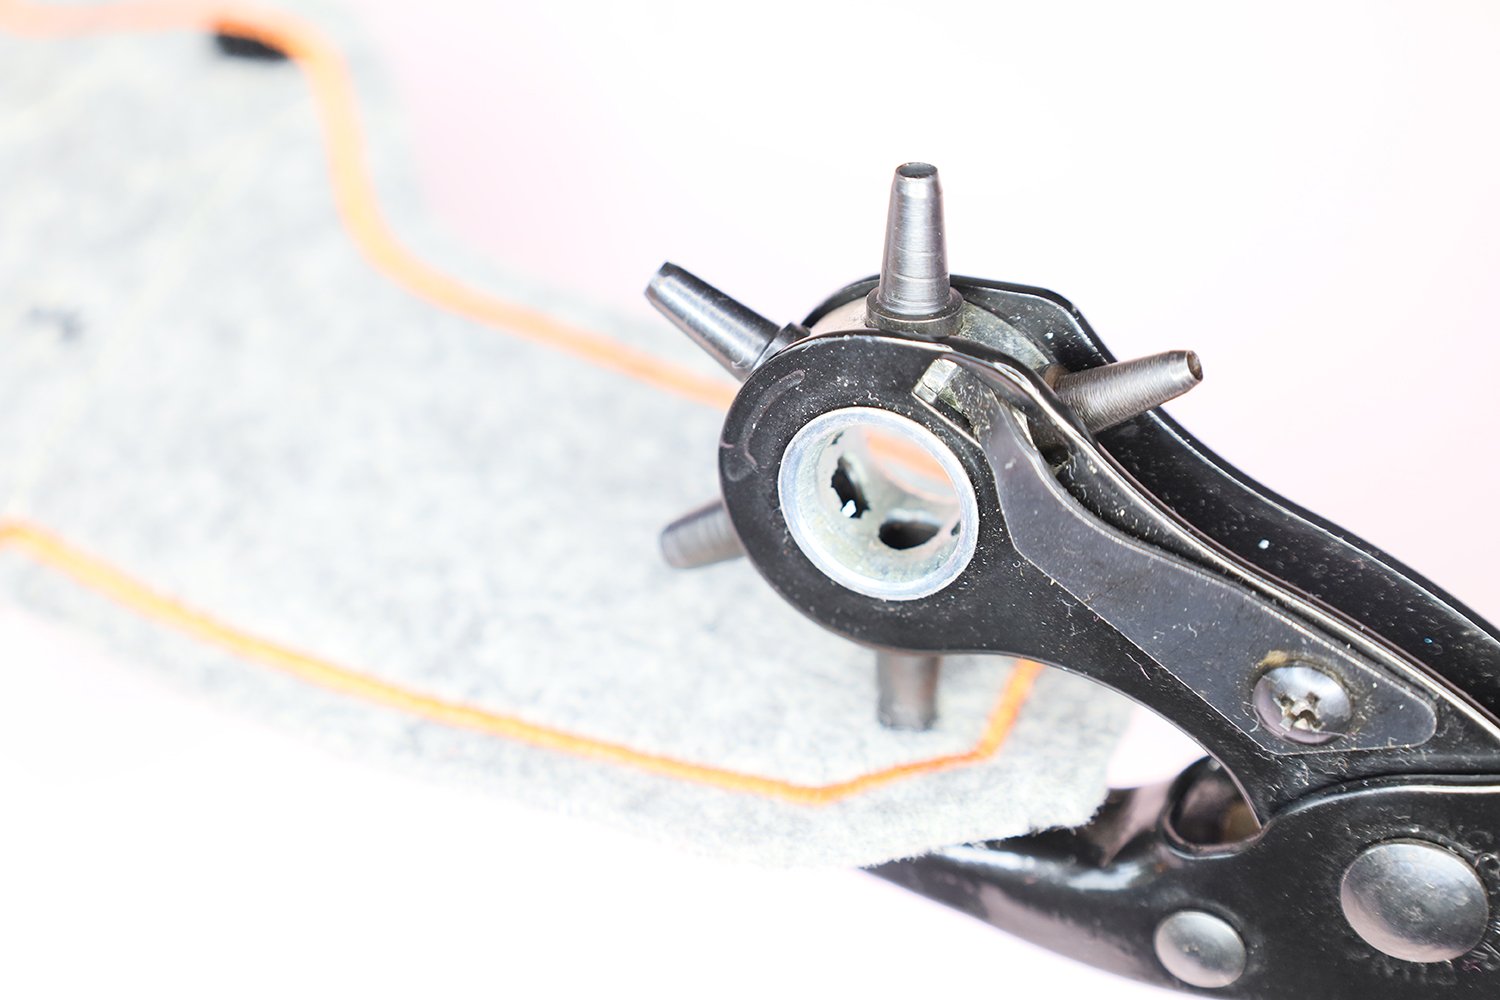
Next, punch the holes in the top layer in the appropriate size for your binding screws using the hole punch.
You can now make the markings for the binding screws on the bottom layer of the fabric through these punched holes.

Now push the binding screws through the holes and fasten them – and your cup holder is now closed!

Attach the eyelets to the cup holder:
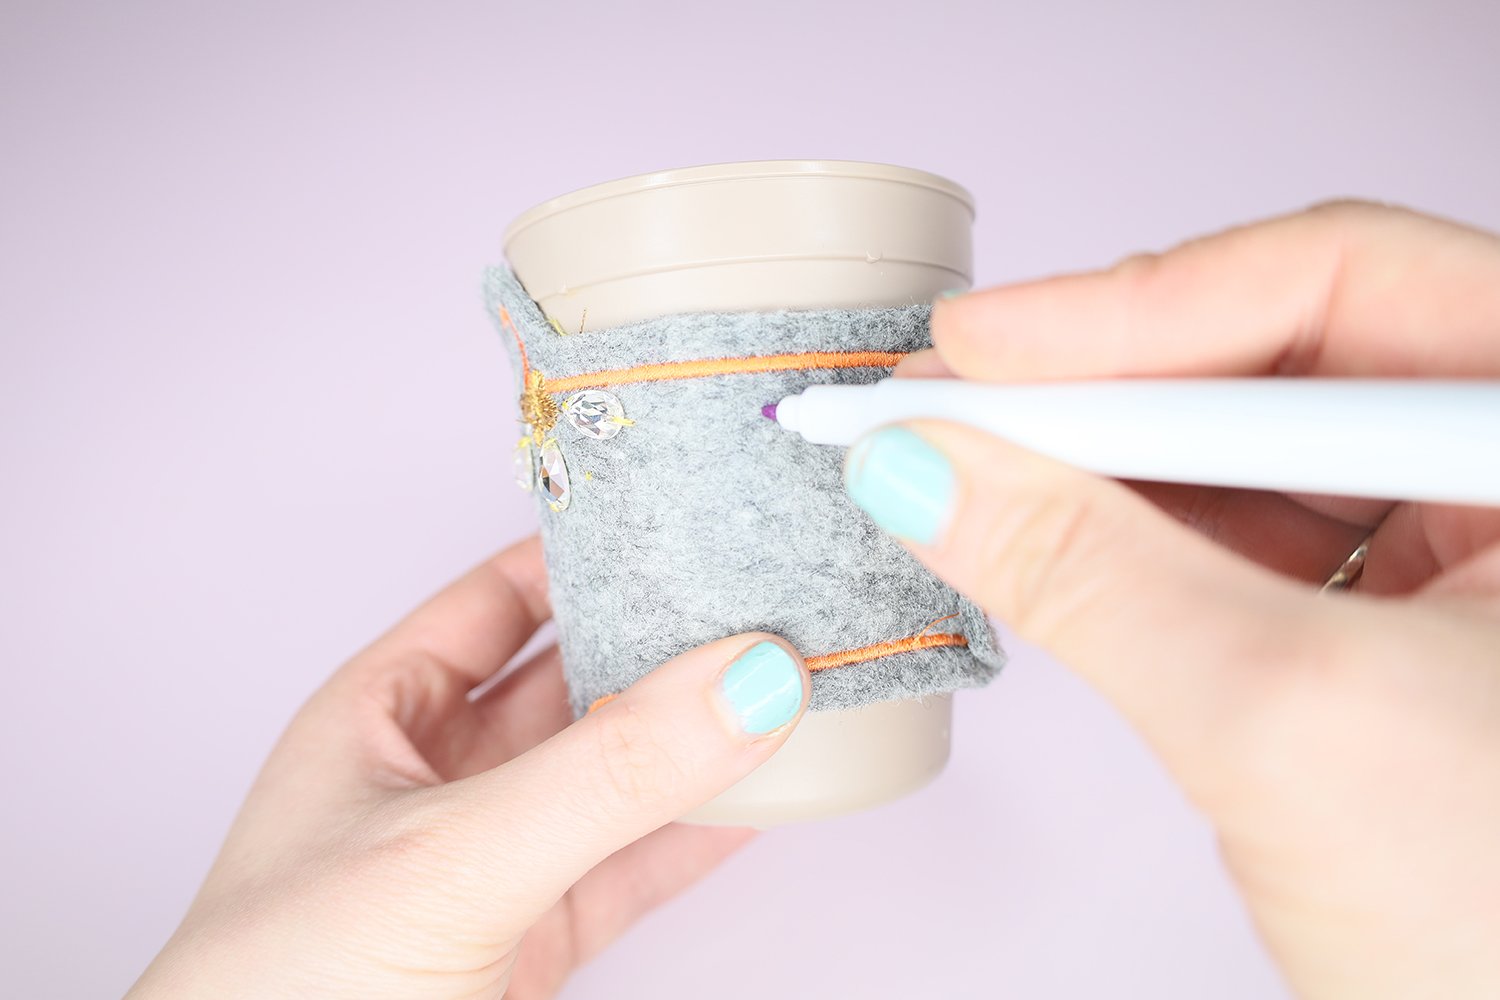
You’re almost done! Now all you have to do is attach eyelets to your cup holder. To do this, make a mark using chalk or a trick marker in the middle on the side of the cup holder.
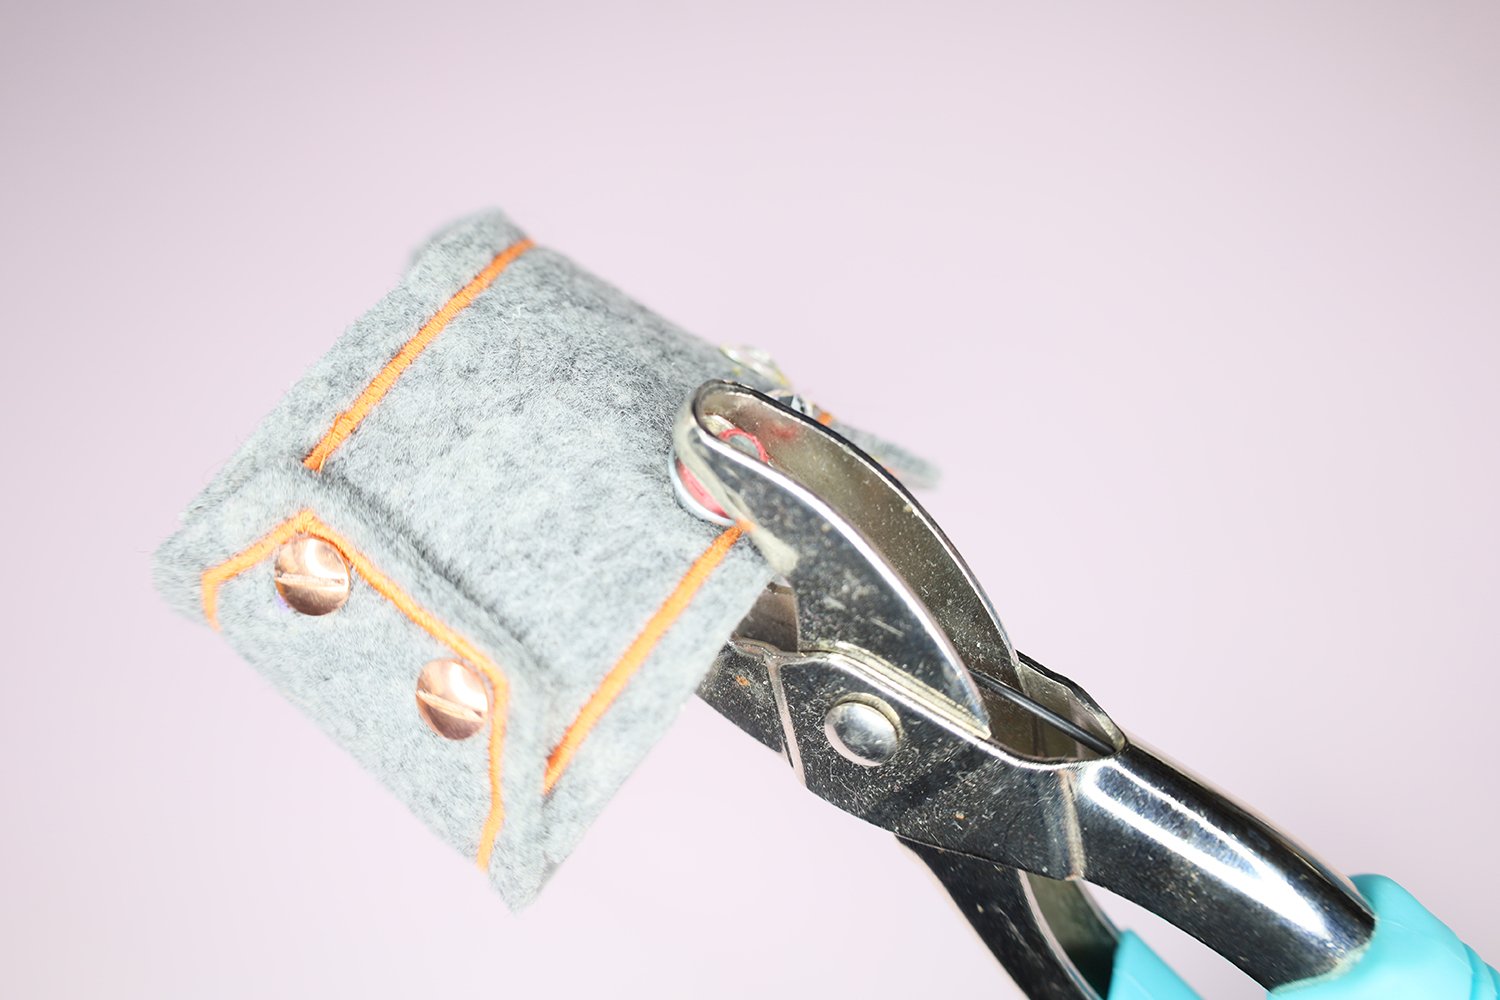
Then attach the eyelets according to the instructions using the Vario pliers or the appropriate tool. Make sure to measure the distance from the top edge so you’ll be able hook your carabiner in place later on.
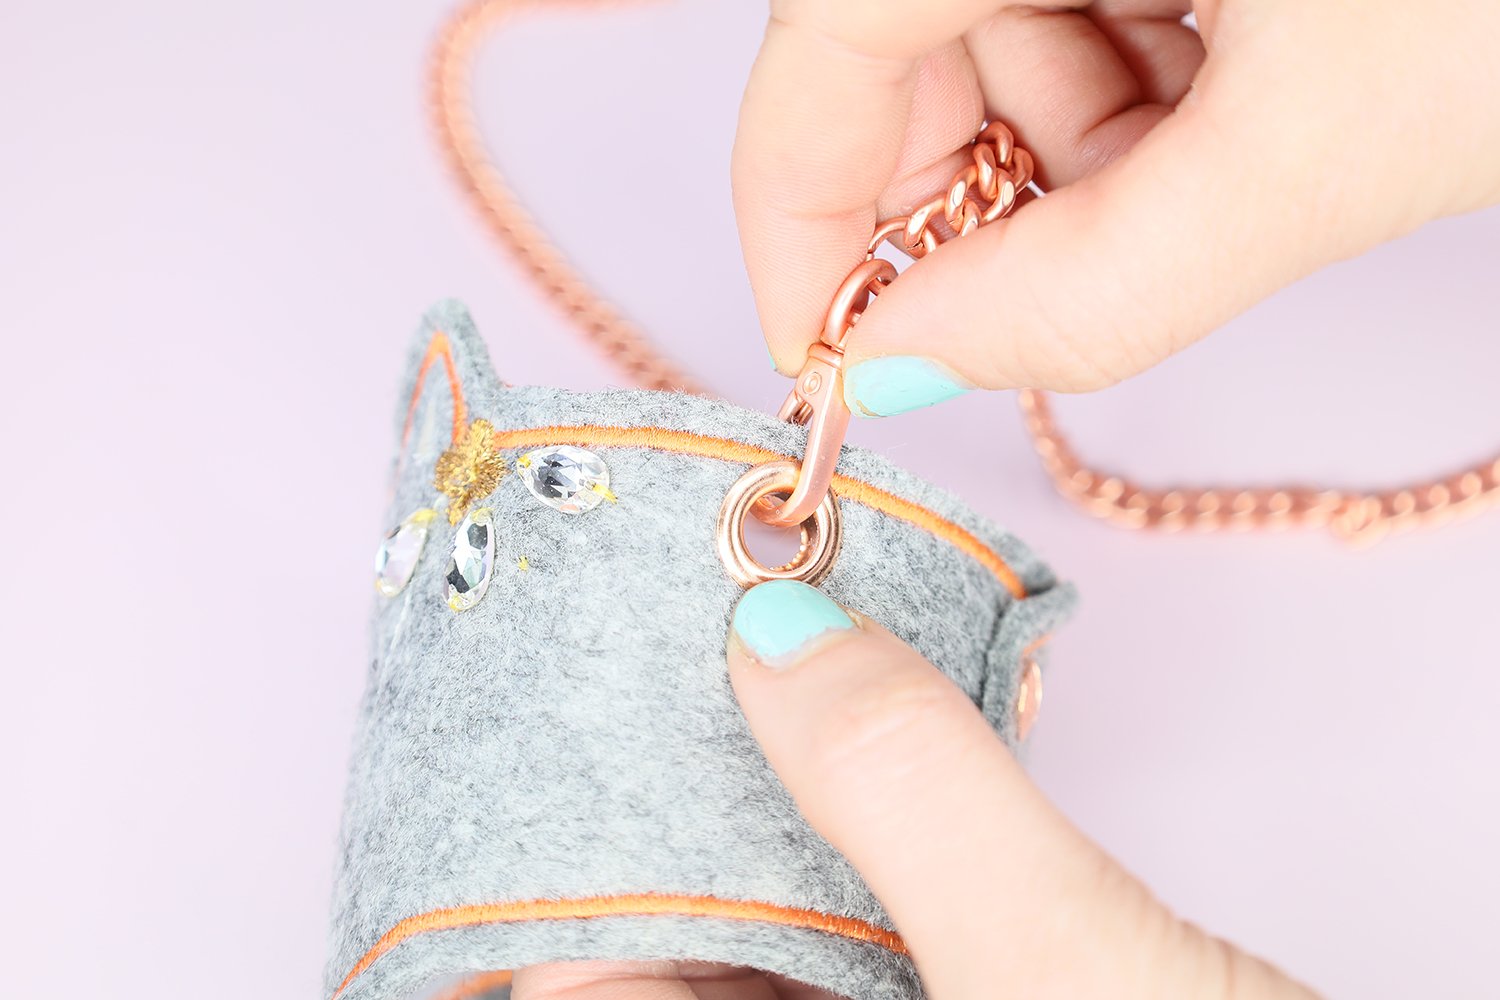
Attach the chain to the cup holder:
Yeah! That’s it. Now you just have to attach the bag chain to your cup holder and you’re ready to go. Alternatively, you could also thread a cord through the eyelets and knot it on the outside.
And you’re done!
Free embroidery file for the cup holder:
Below I’ve provided you with the free ITH embroidery file to download so that you can get started right away:
Fox cup holder – free ITH embroidery file
And now all that’s left is to have fun making it!


i would love the cup holder done in an Alaskan Klee Kai design. I
yes
Where do I find the design download for the “fox” cup holder. I cannot find it!
Hi Rita, you can find the Download file at the end of the article ☺️