 BERNINA Corporate Blog -
Hi everyone! It has been quite a while since you’ve heard of me. I was not idle though, and spent some time dying my own bramaking supplies.
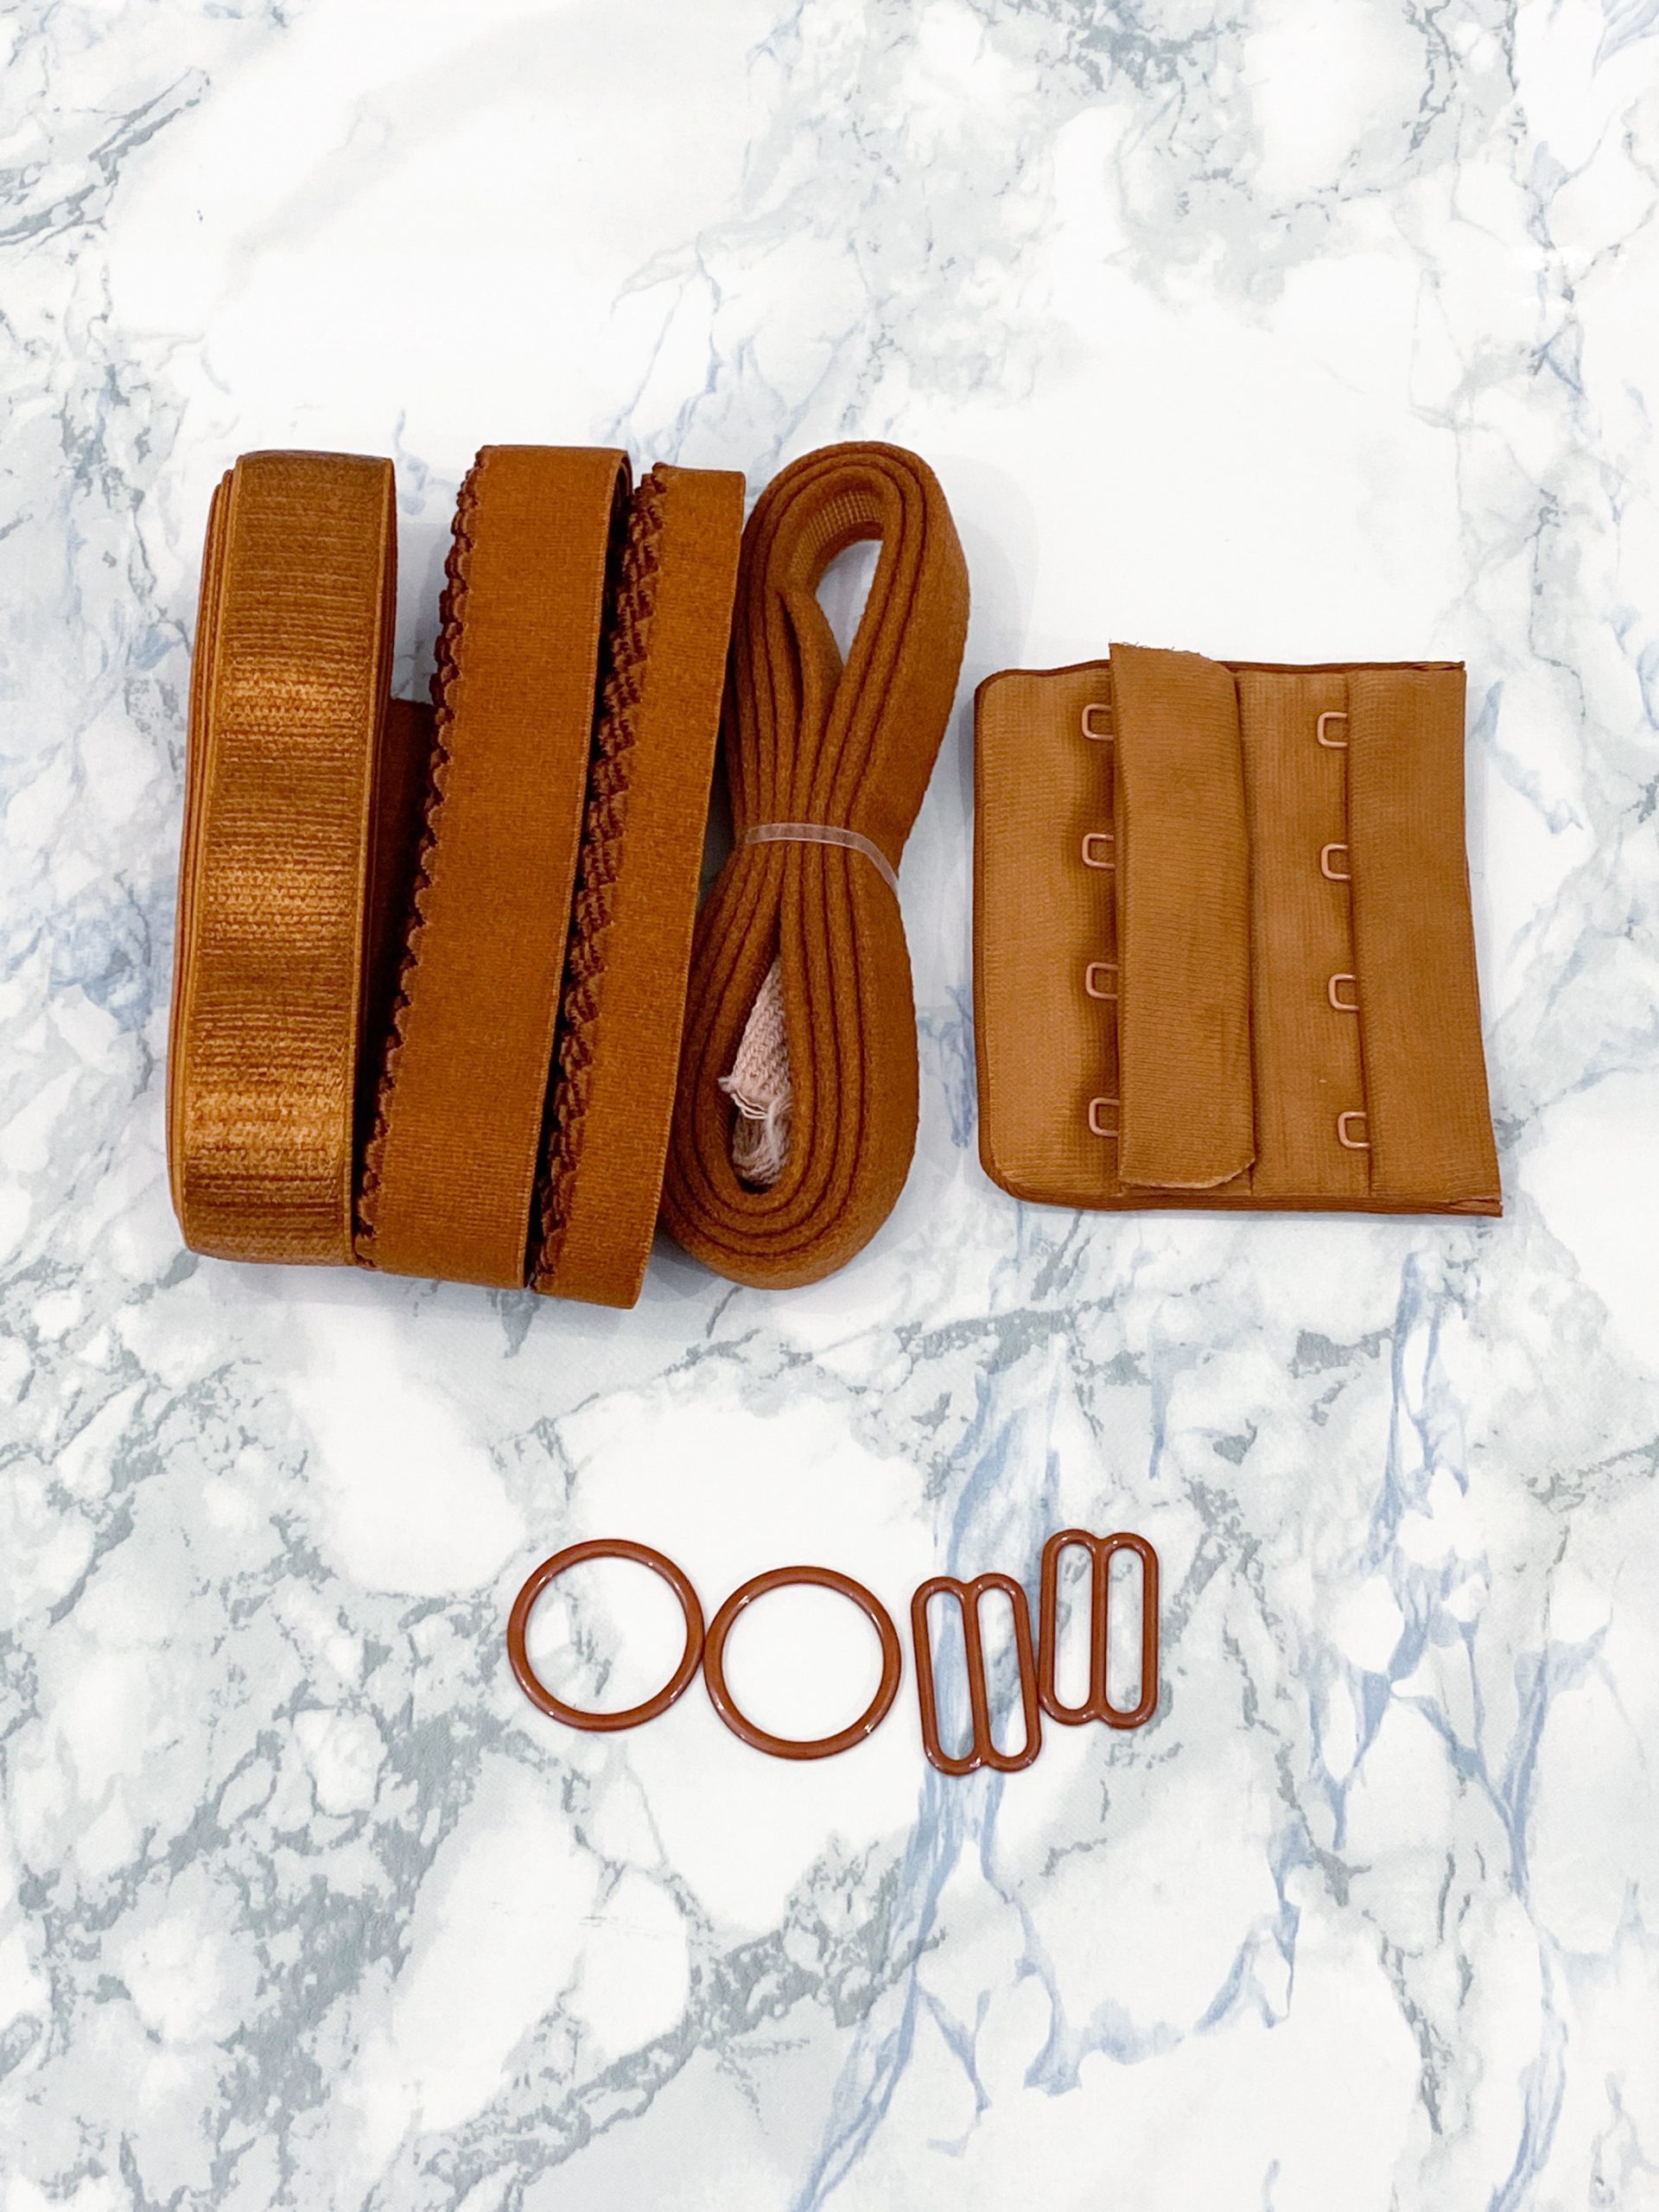
This is a pre-dyed kit from Brabuilders.
We all know the feeling of having found the perfect lace but none of the findings we own are the right shade, don’t match each other etc. One solution would be to buy findings kits in your preferred color, so at least the different findings match each other. If you want to coordinate your bramaking supplies to a T you can either contact a bramaking supplies seller with a picture (or better yet a sample) and ask them for help. I know that BWear in Sweden is very helpful in helping picking matching colors and Brabuilders in the US even dye findings to match your product, if you contact them. also try to dye your findings.
Just a quick heads-up! This is just the way I like to dye my findings as of December 2021. I used Dharma Acid Dyes I bought from webetante.de.
When to dye
Personally, I like to dye the fabric before I sew it up. I prewash the fabric I intend to dye to remove all the finishes, invisible grease stains etc. In theory you can dye a bra after you’ve sewn it up but bear in mind that polyester thread will not catch the dye, so either you use the targeted color thread from the start or you’ll have to live with visible stitching. But either way, if you mess up the dye job on an already finished product you will definitely kick yourself for not doing it the other way around.
What to dye
The dyes I use work well for wool, silk, protein fibers and nylon. So, for my bramaking supplies I make sure, that my goods have a high nylon content or it won’t dye well. Polyester will not dye well and you’ll need specialty dyes (I have bought Jacquard iPoly dyes in the past for polyester and it worked well; the smell though, yuk). Most fabric shops and haberdasheries will provide you with details of their fabric’s content. If in doubt, test test test!
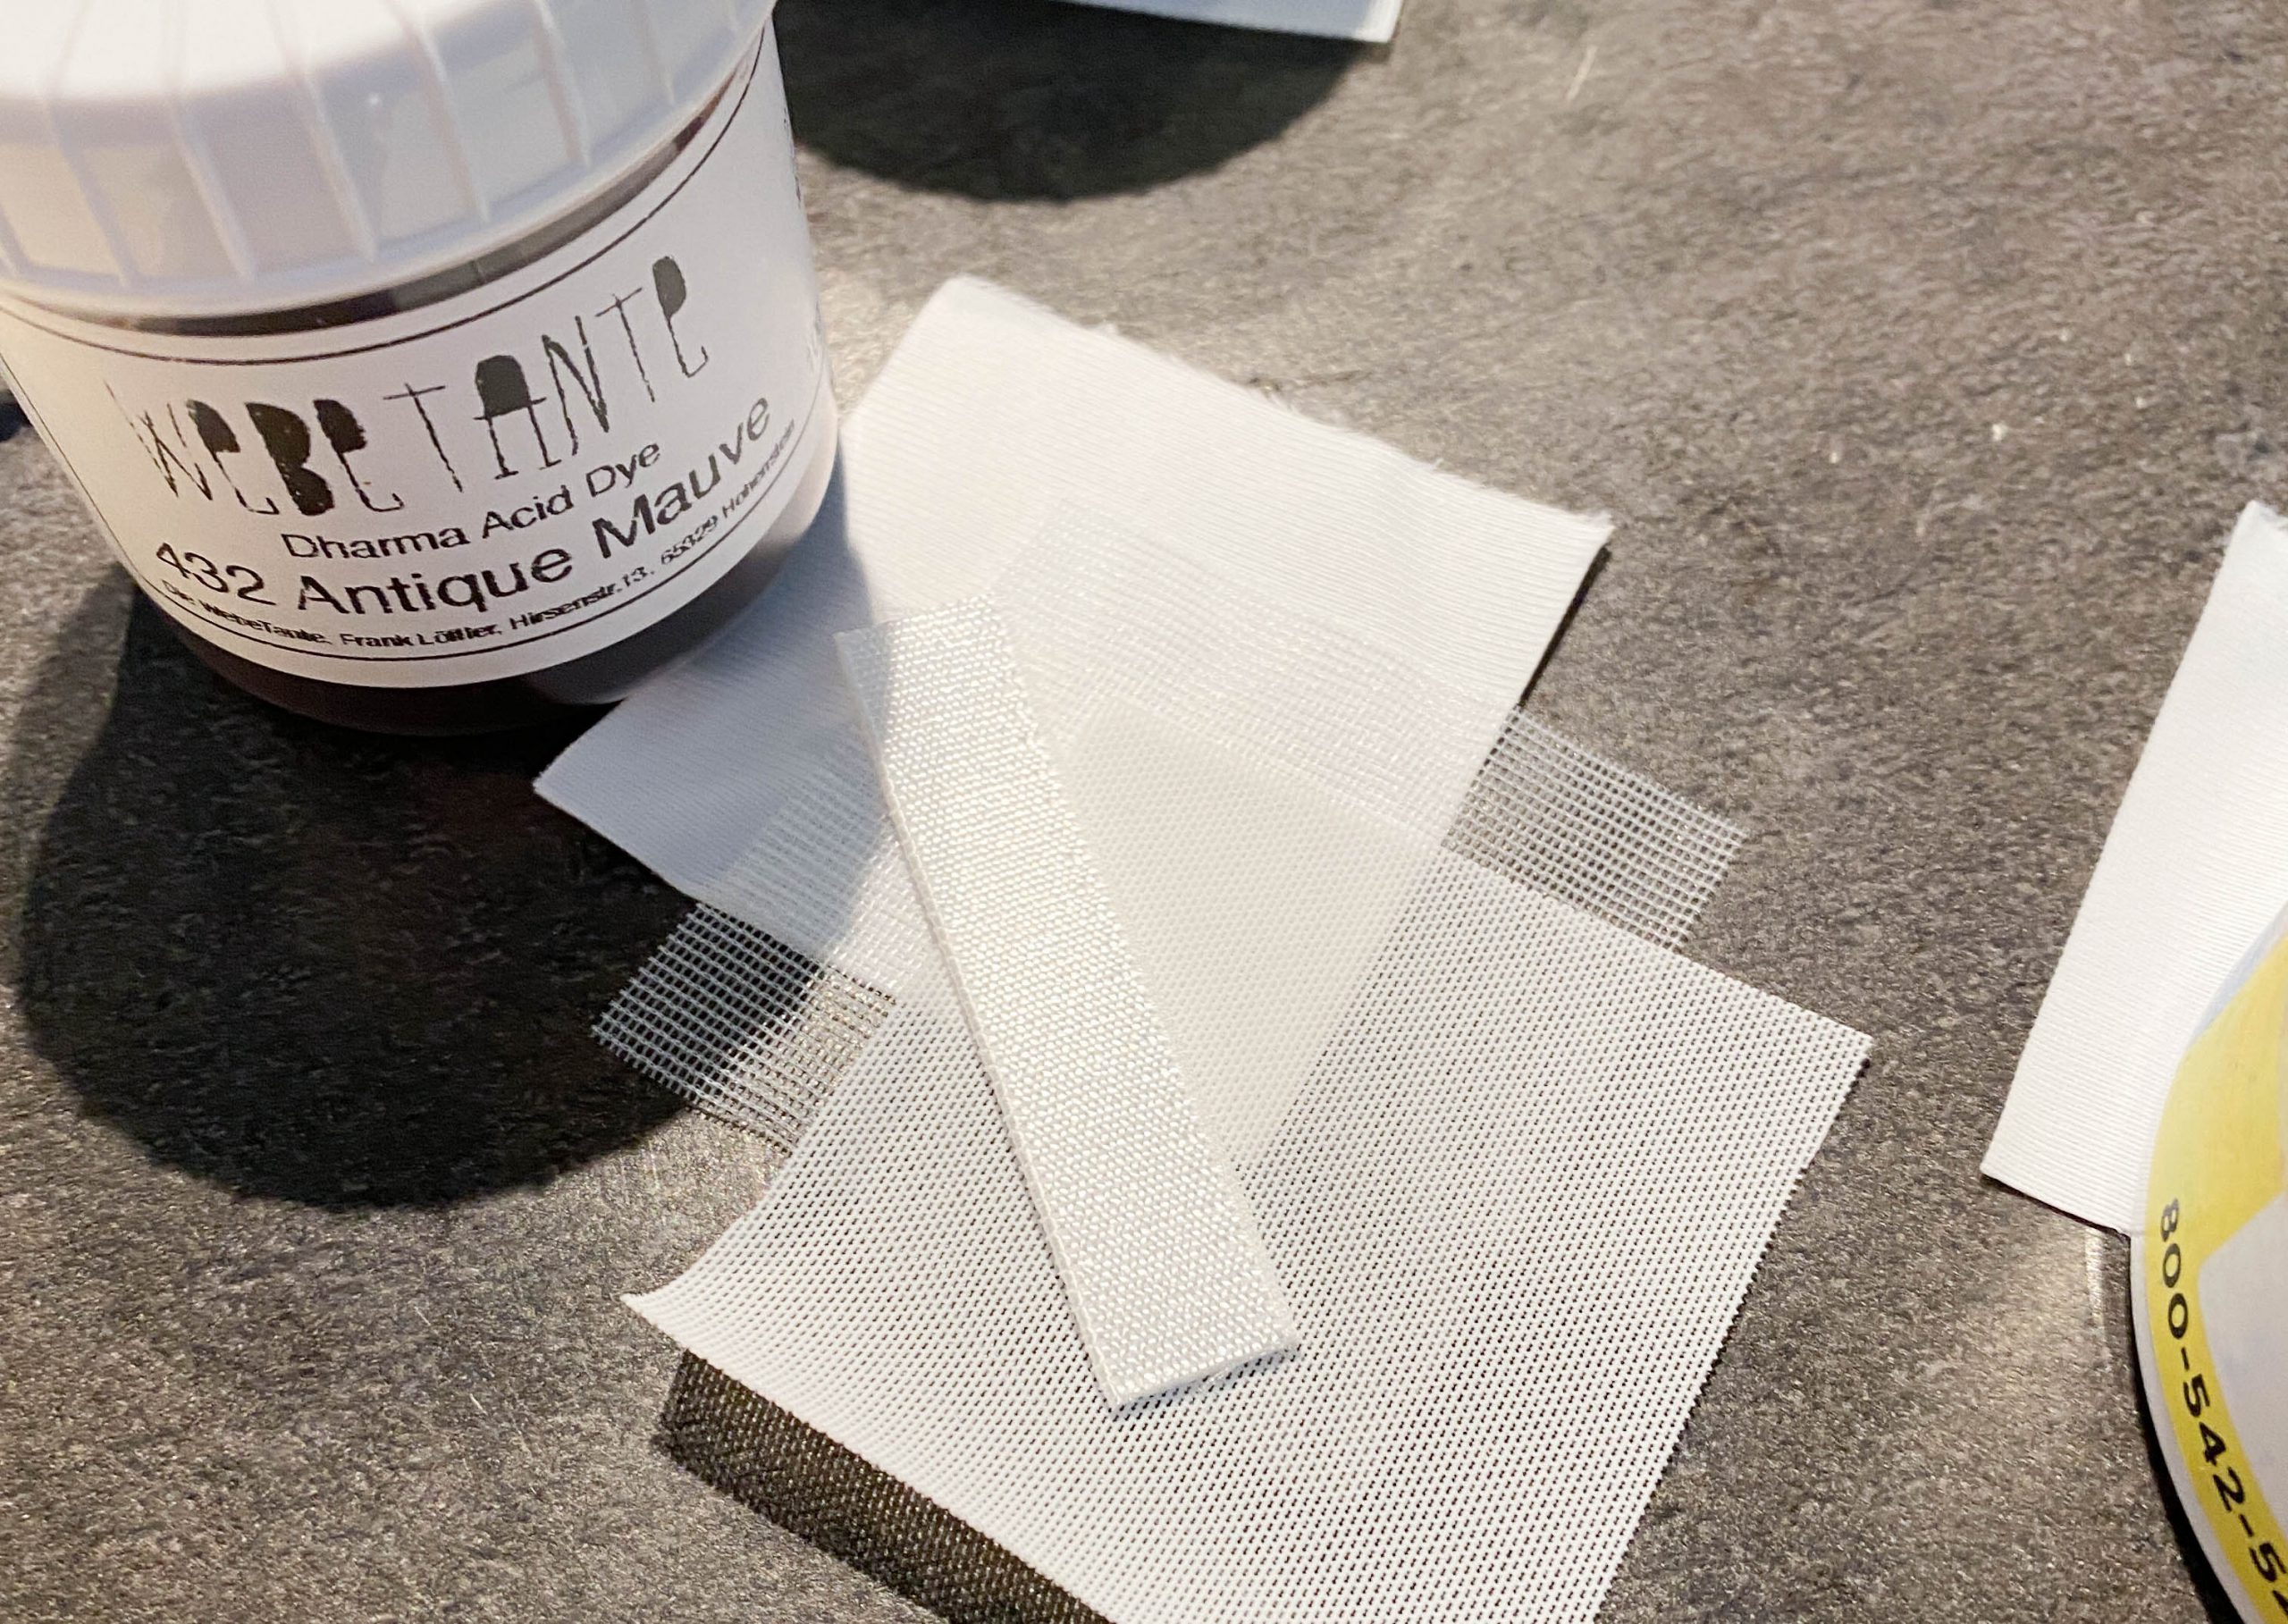
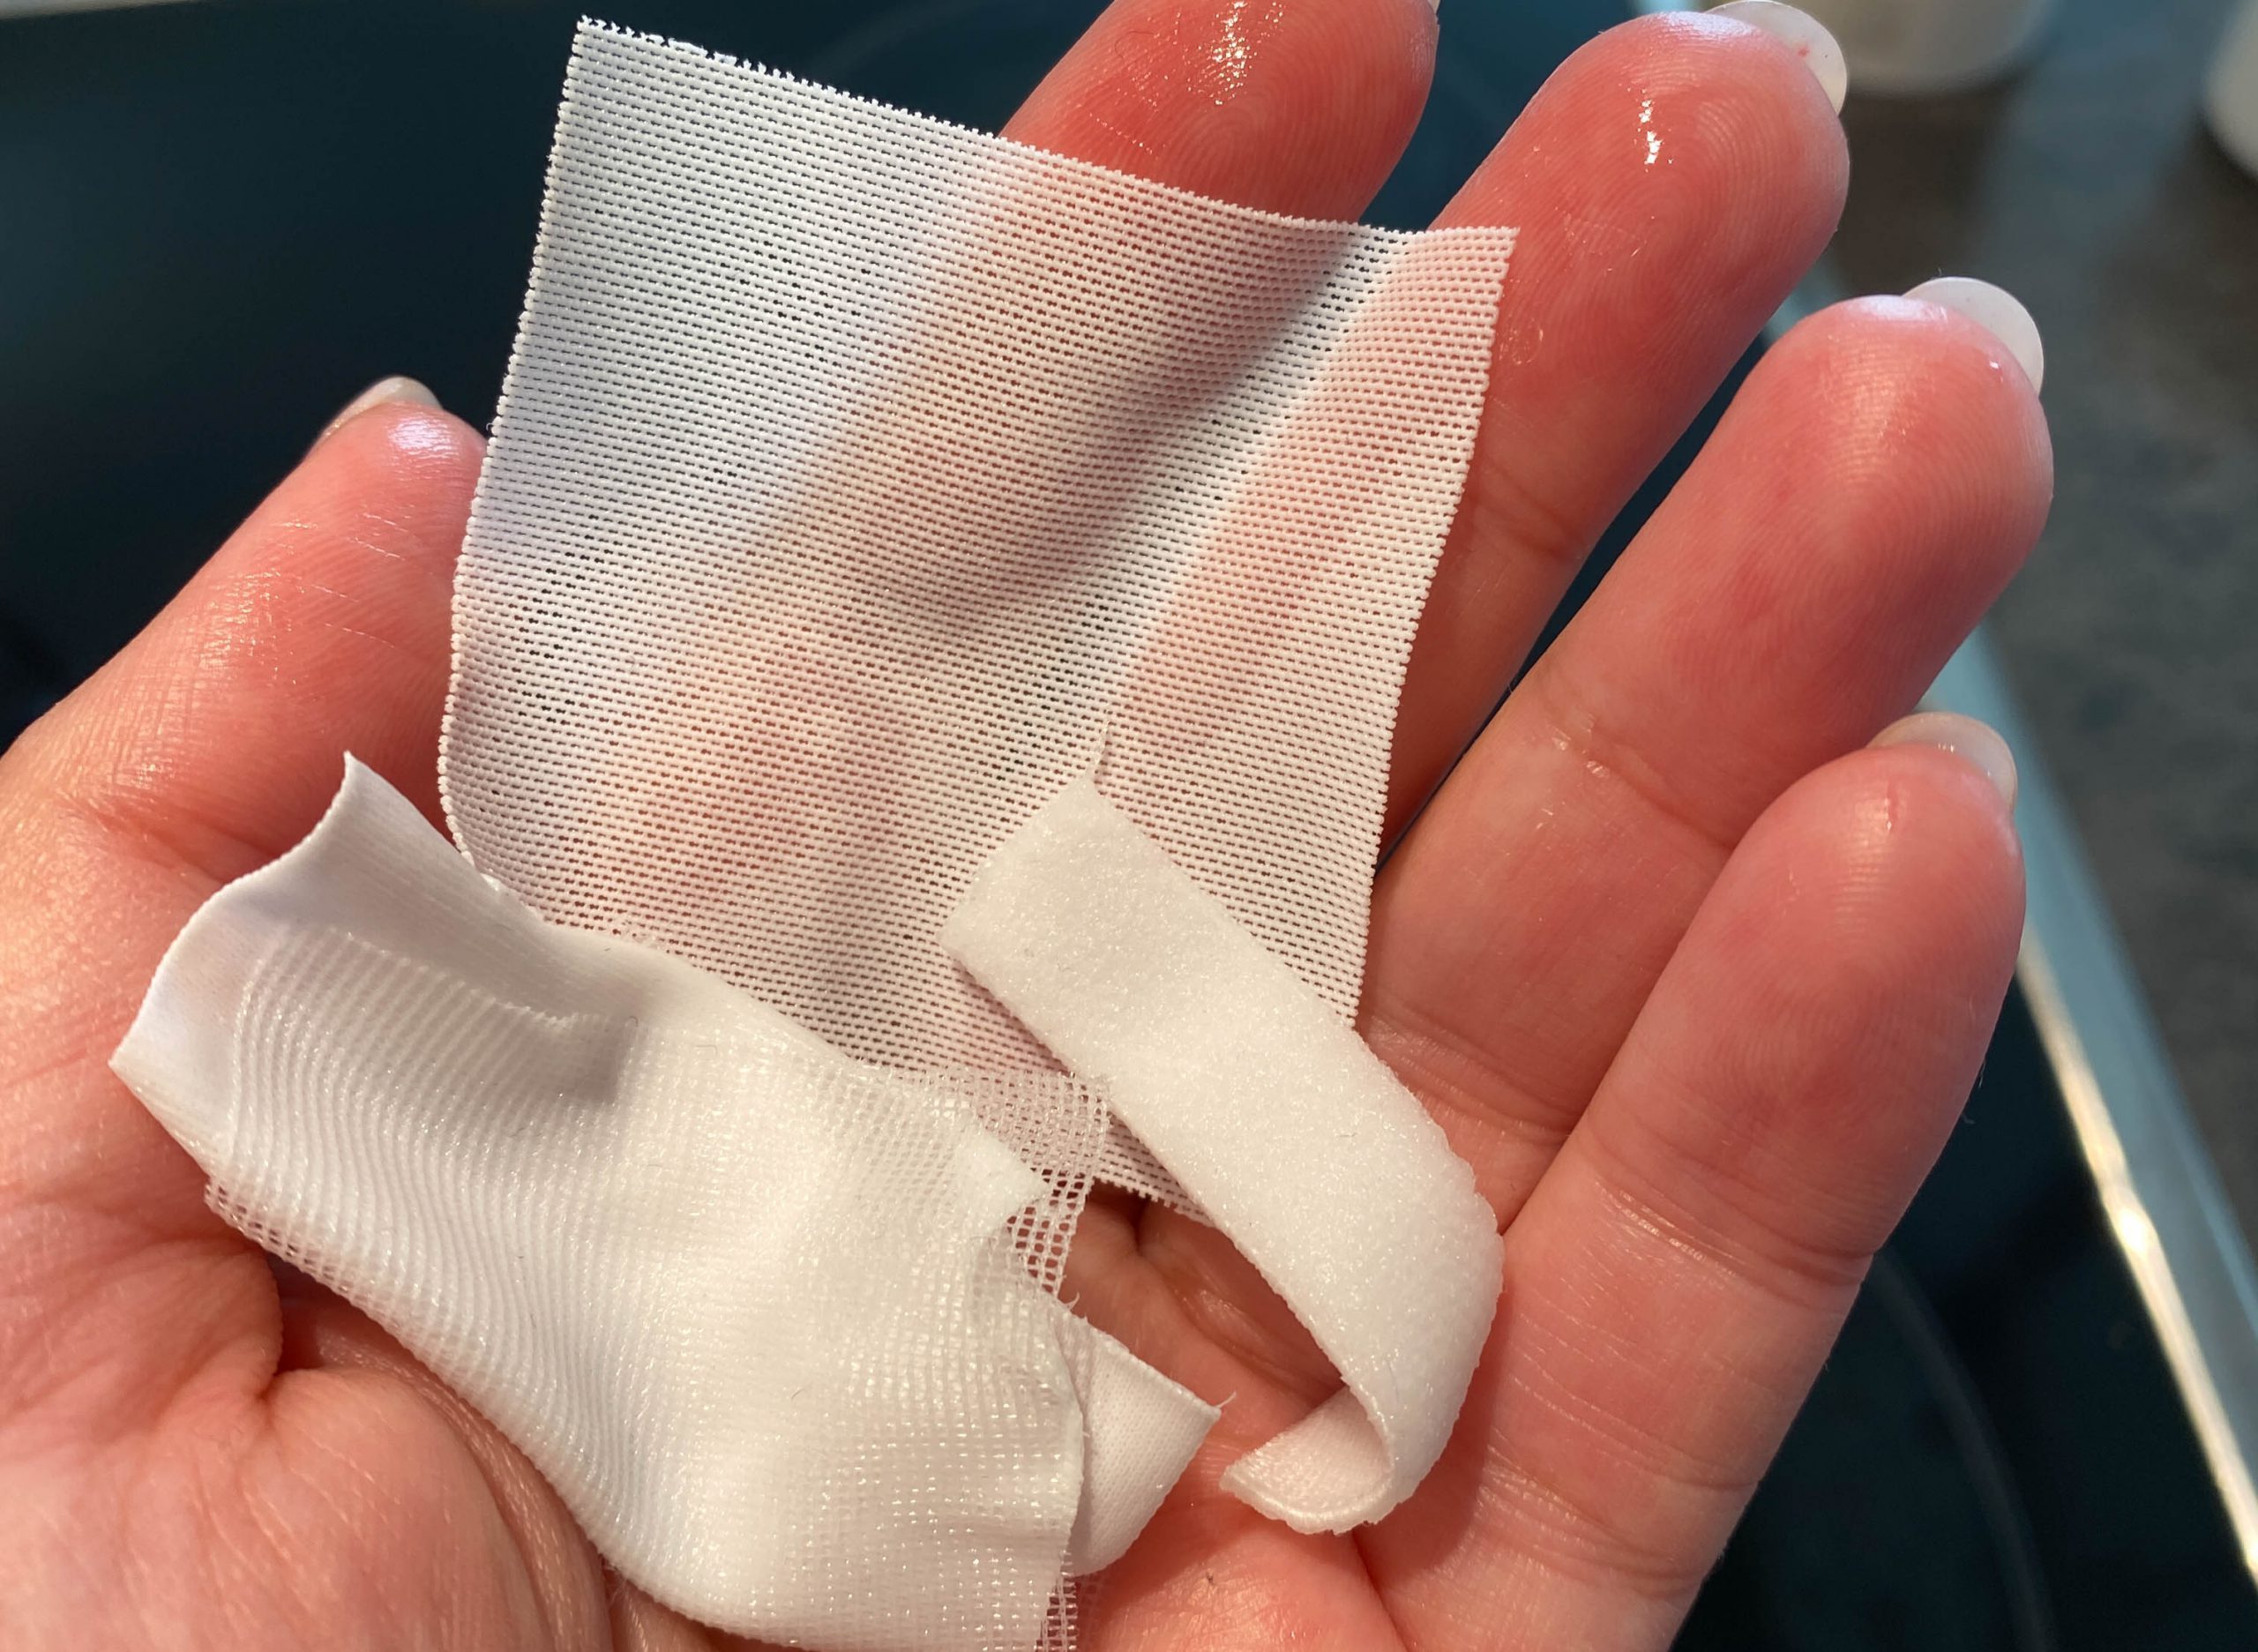
I dyed microduoplex, sheer cup lining, powernet and some strap elastic. All are made out of nylon. The strap does not have a high nylon content.
How to dye
Safety first
I have seen people dyeing without any safety measures which you can. But personally, I like to use an apron, gloves that are heat resistant and a mask. Some people wear safety googles as well.
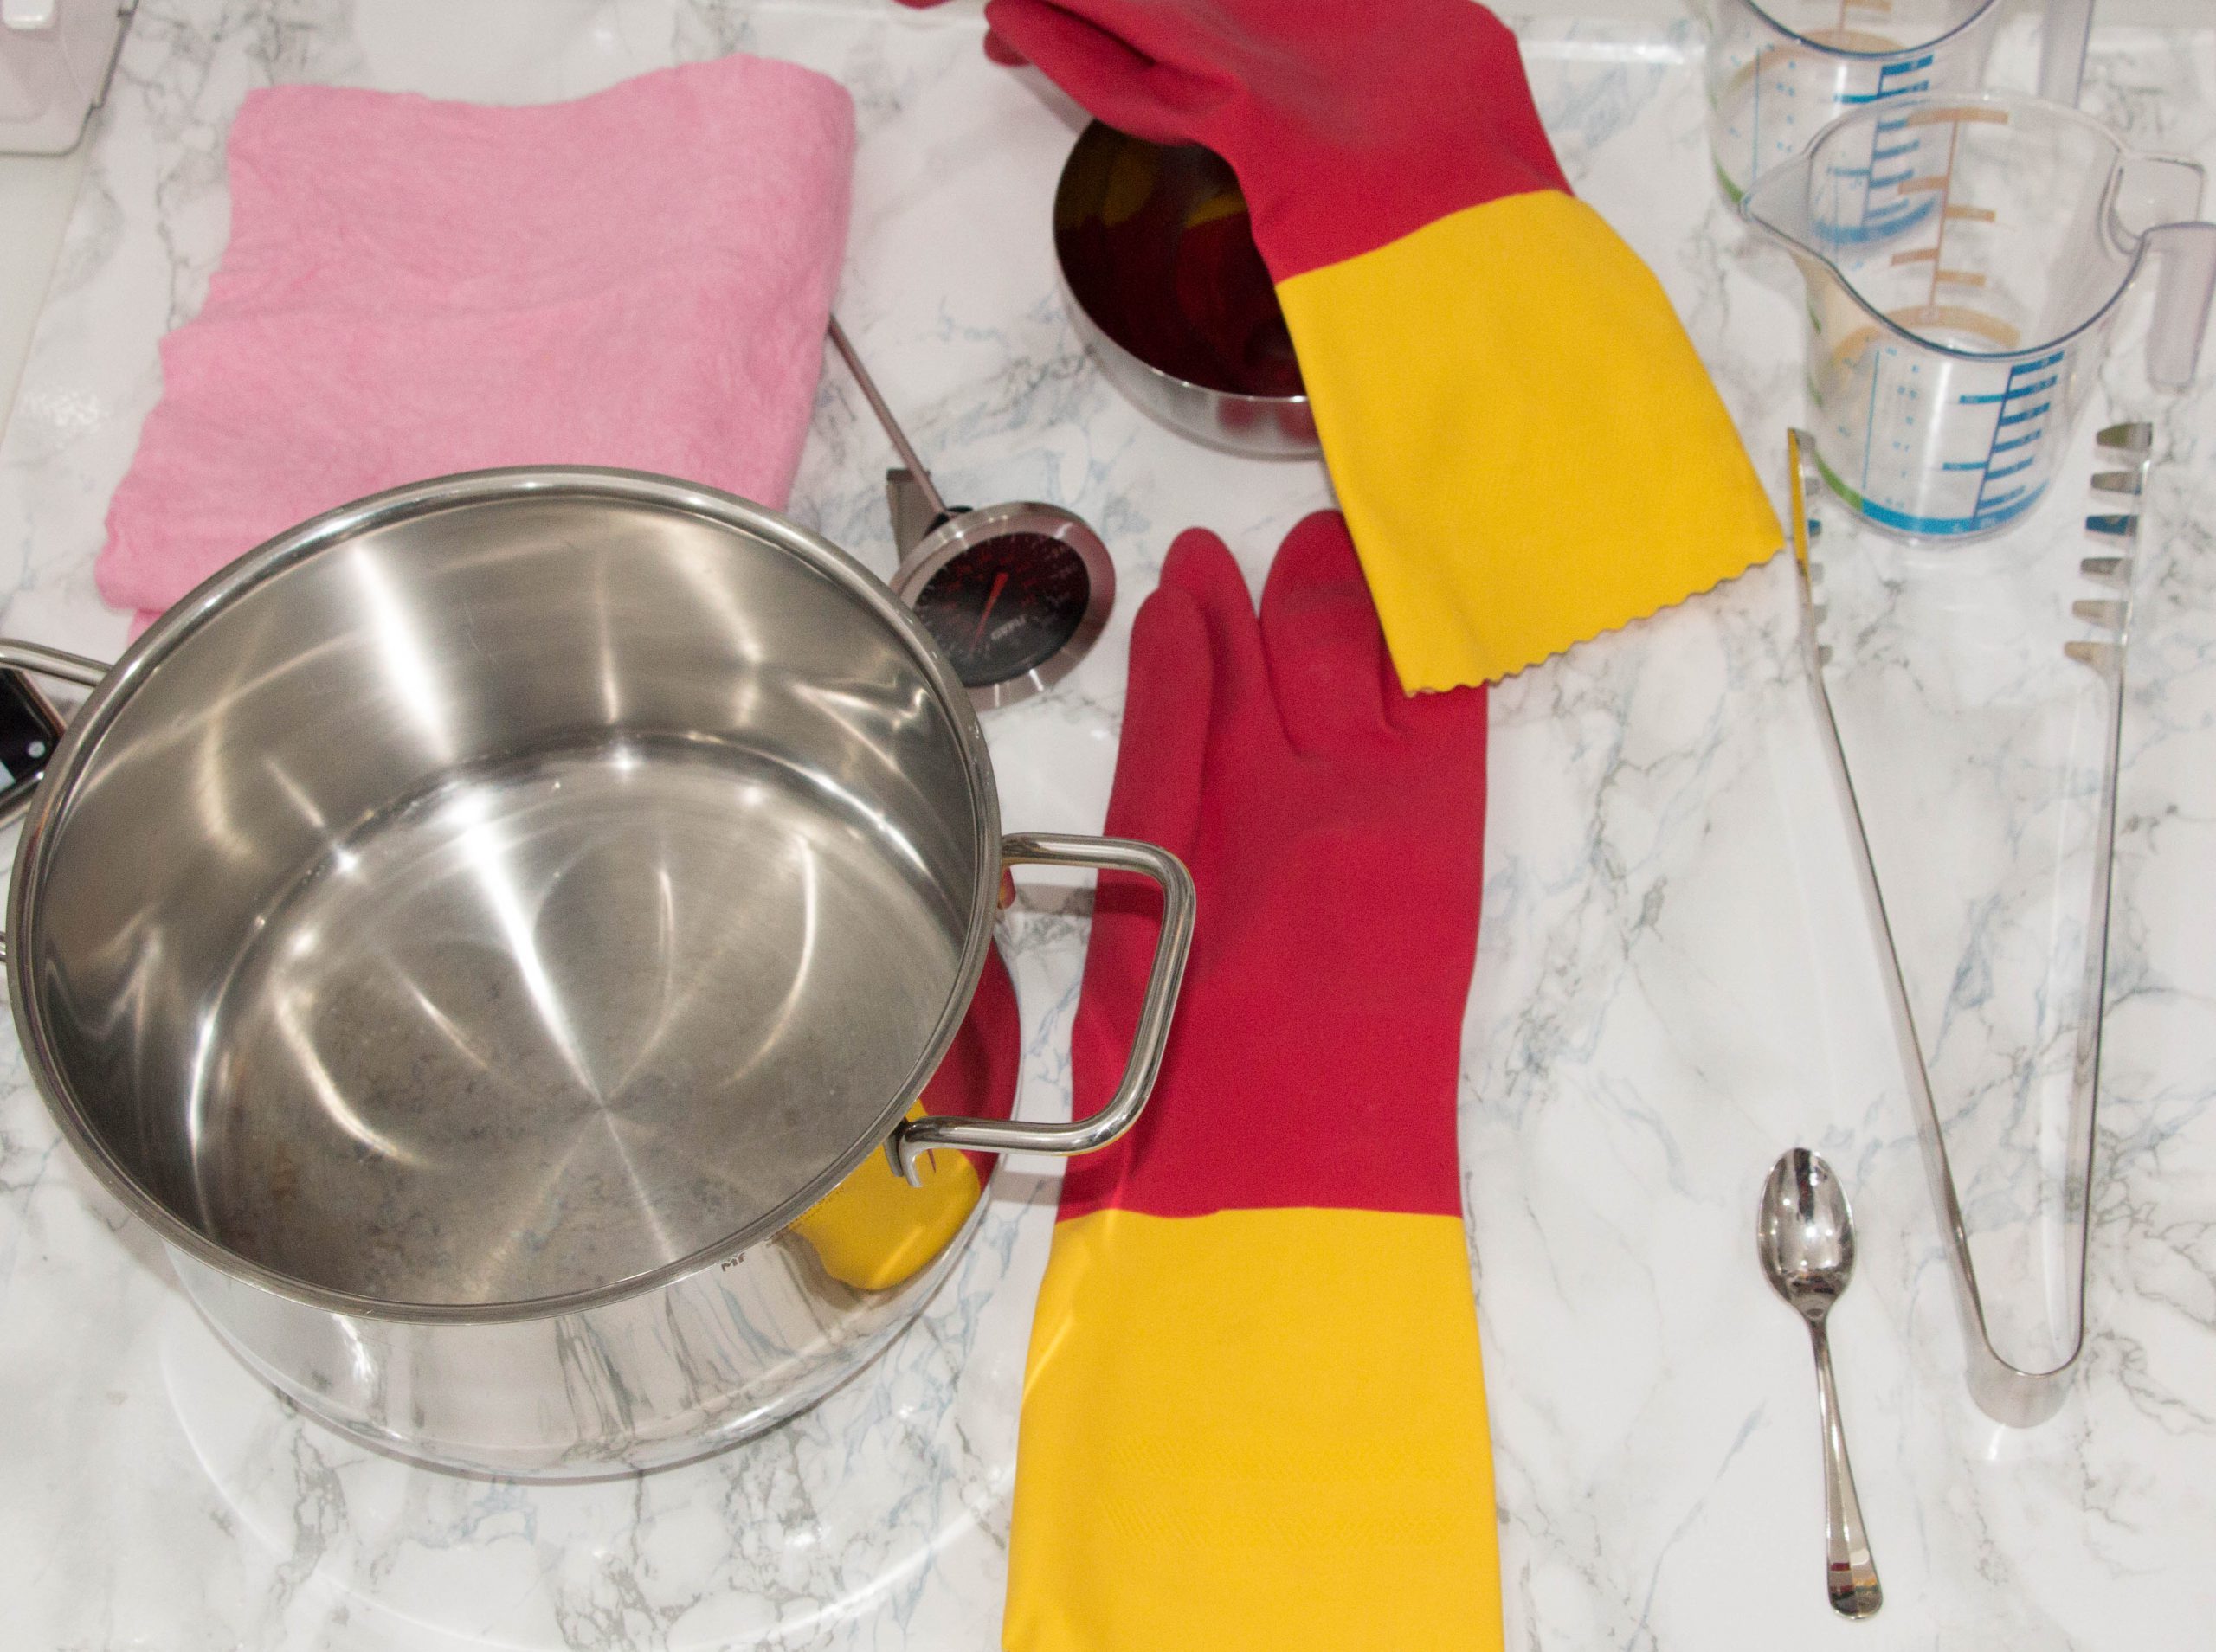
What you need
I went to goodwill and bought a large enough pan. The fabric (or yarn) needs to be able to move freely in the pot. If you crowd it, you will get an uneven result. Also, at the goodwill, I picked up some long tongs to help me move the product around the pan, and some small containers (like a beaker), small bowls and even an immersable thermometer. You can buy everything new of course but since you can’t use the same items to dye as you use for cooking the good will just seems the perfect option.
Step by step (for Dharma Acid Dyes)
- Wash your fabric in a solution of fabric detergent to get all the fixing agents and greases out. I just let the fabric sit in this “washing bath” until my dye is ready.
Dissolve about 1.5% to 2% of your dyeable goods (dry) of color in hot water. I found that the water being hot really helps the dye powder to dissolve. Take your time dissolving your color.

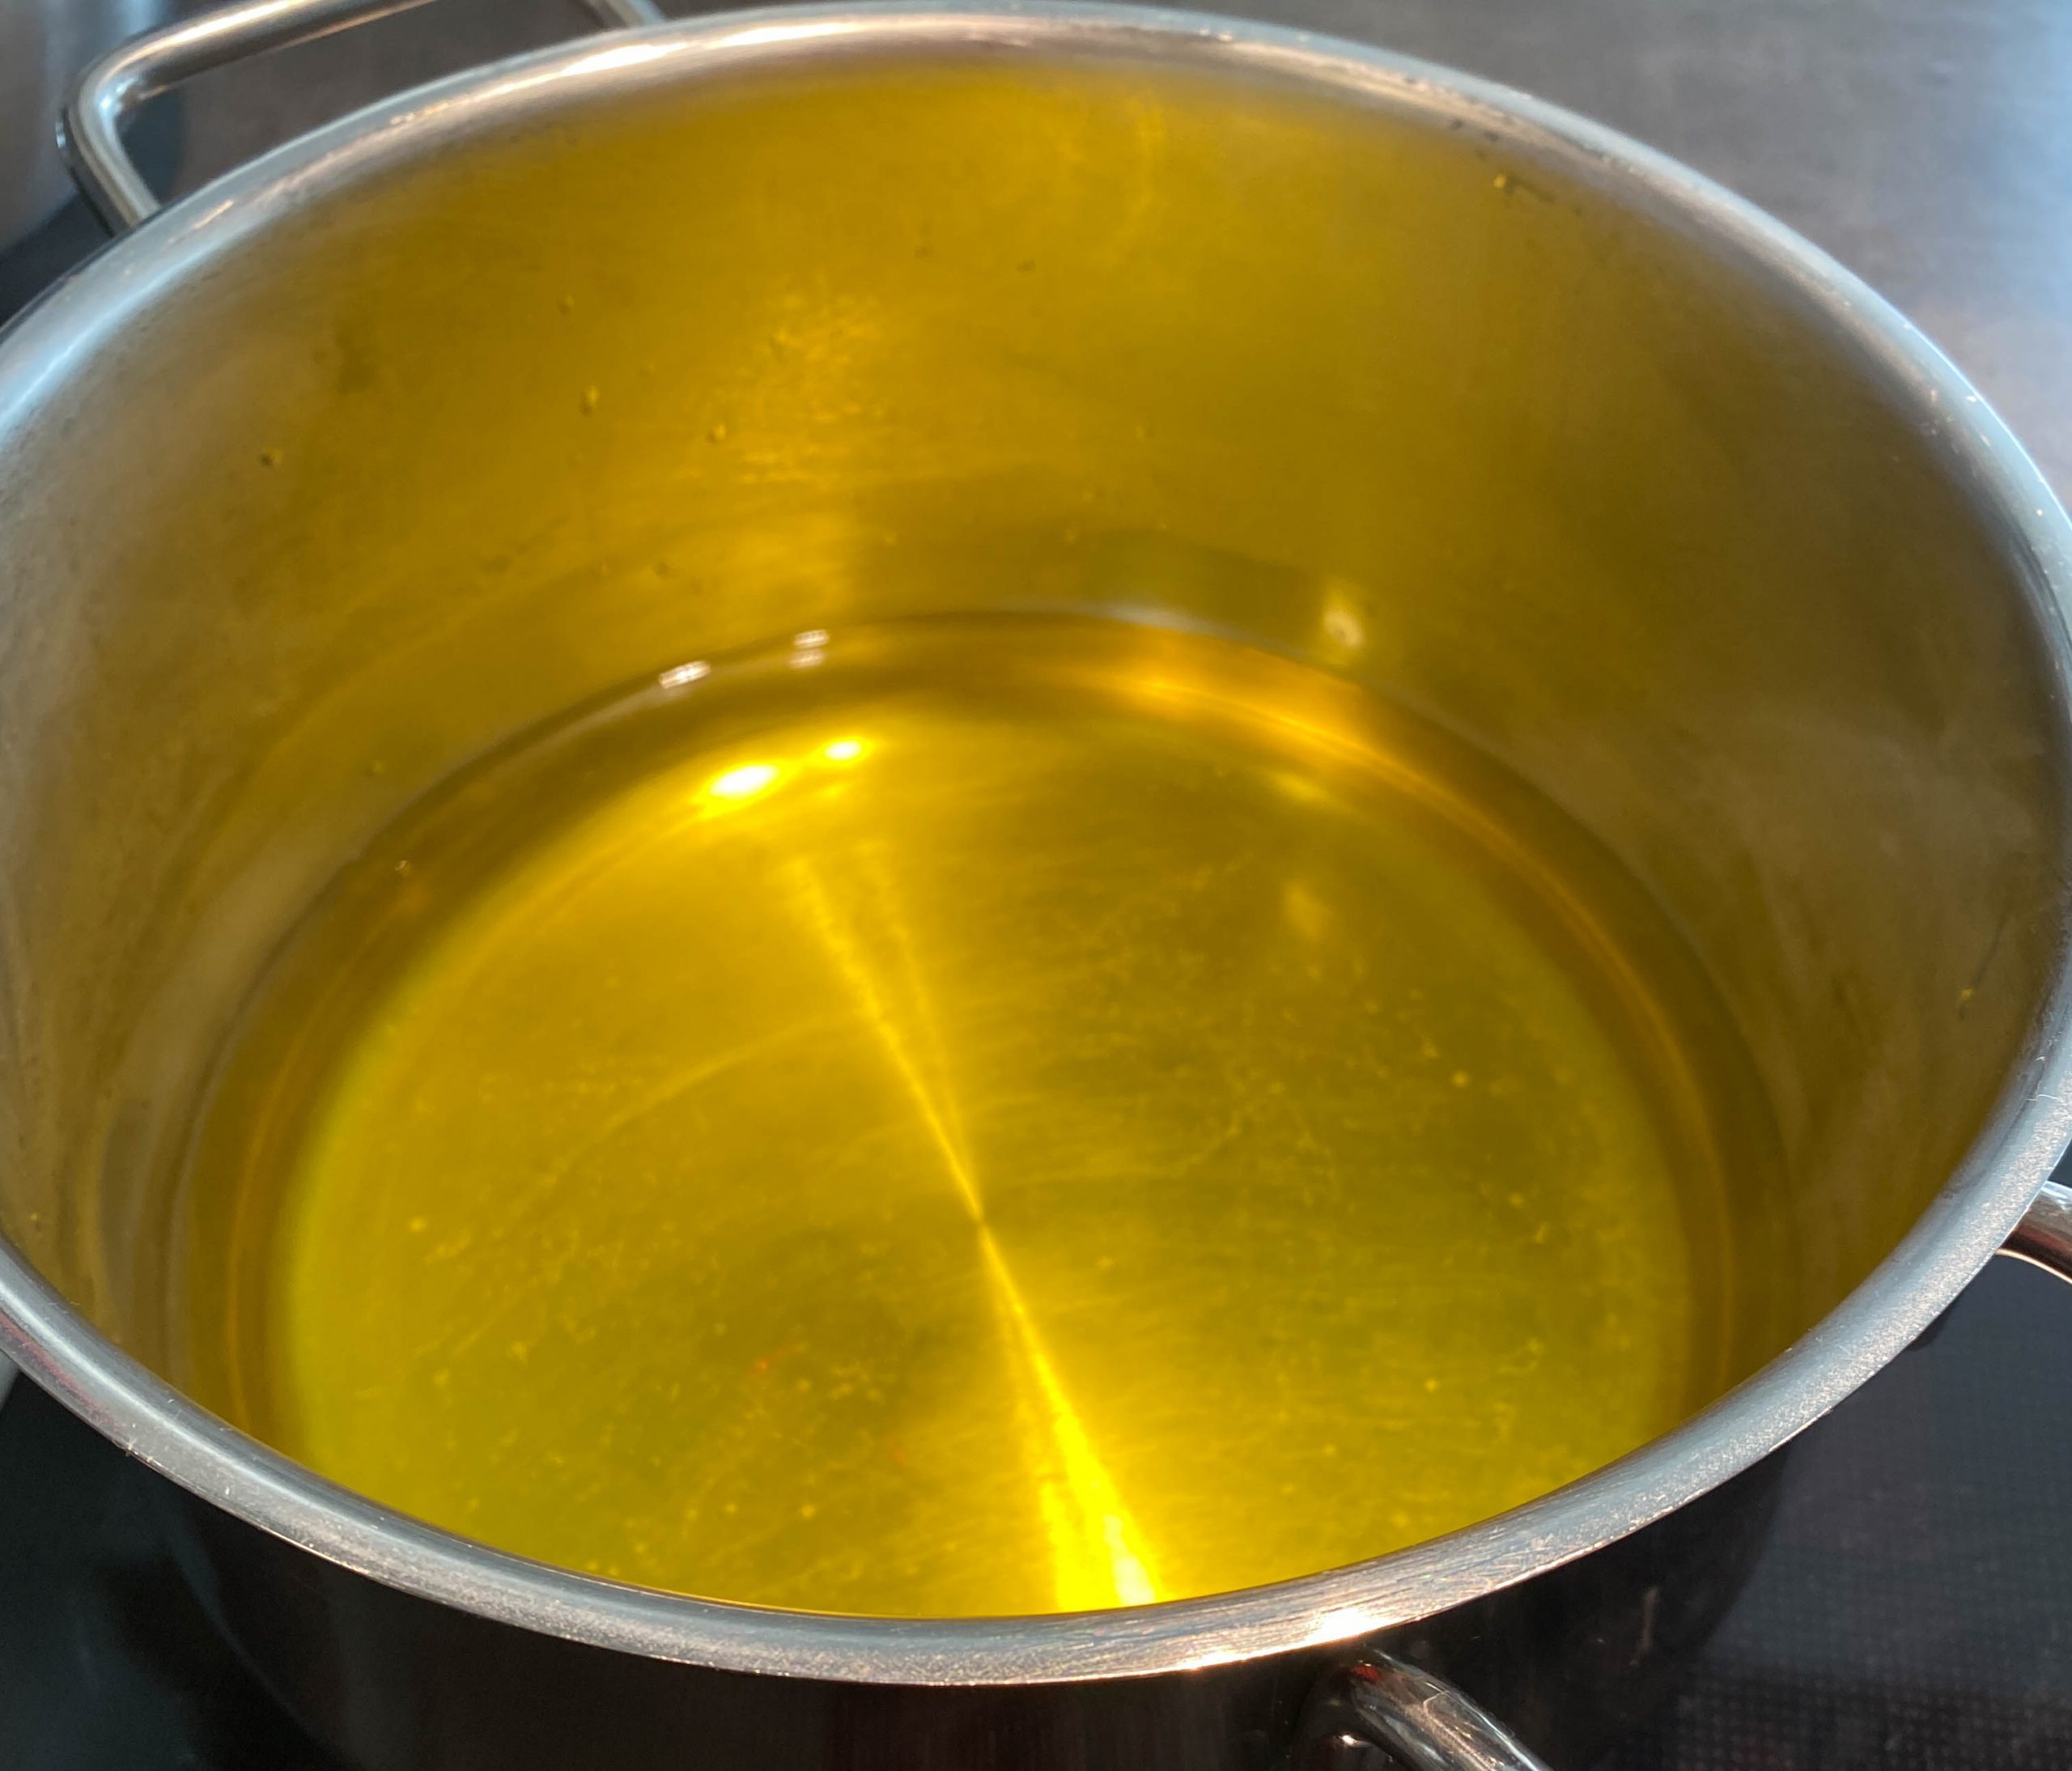
Heat up some water in your pan. I like to bring the water to about 85°C.
Add in your color. I like to take my time and stir for a minute to make sure that I have an even dye mix.
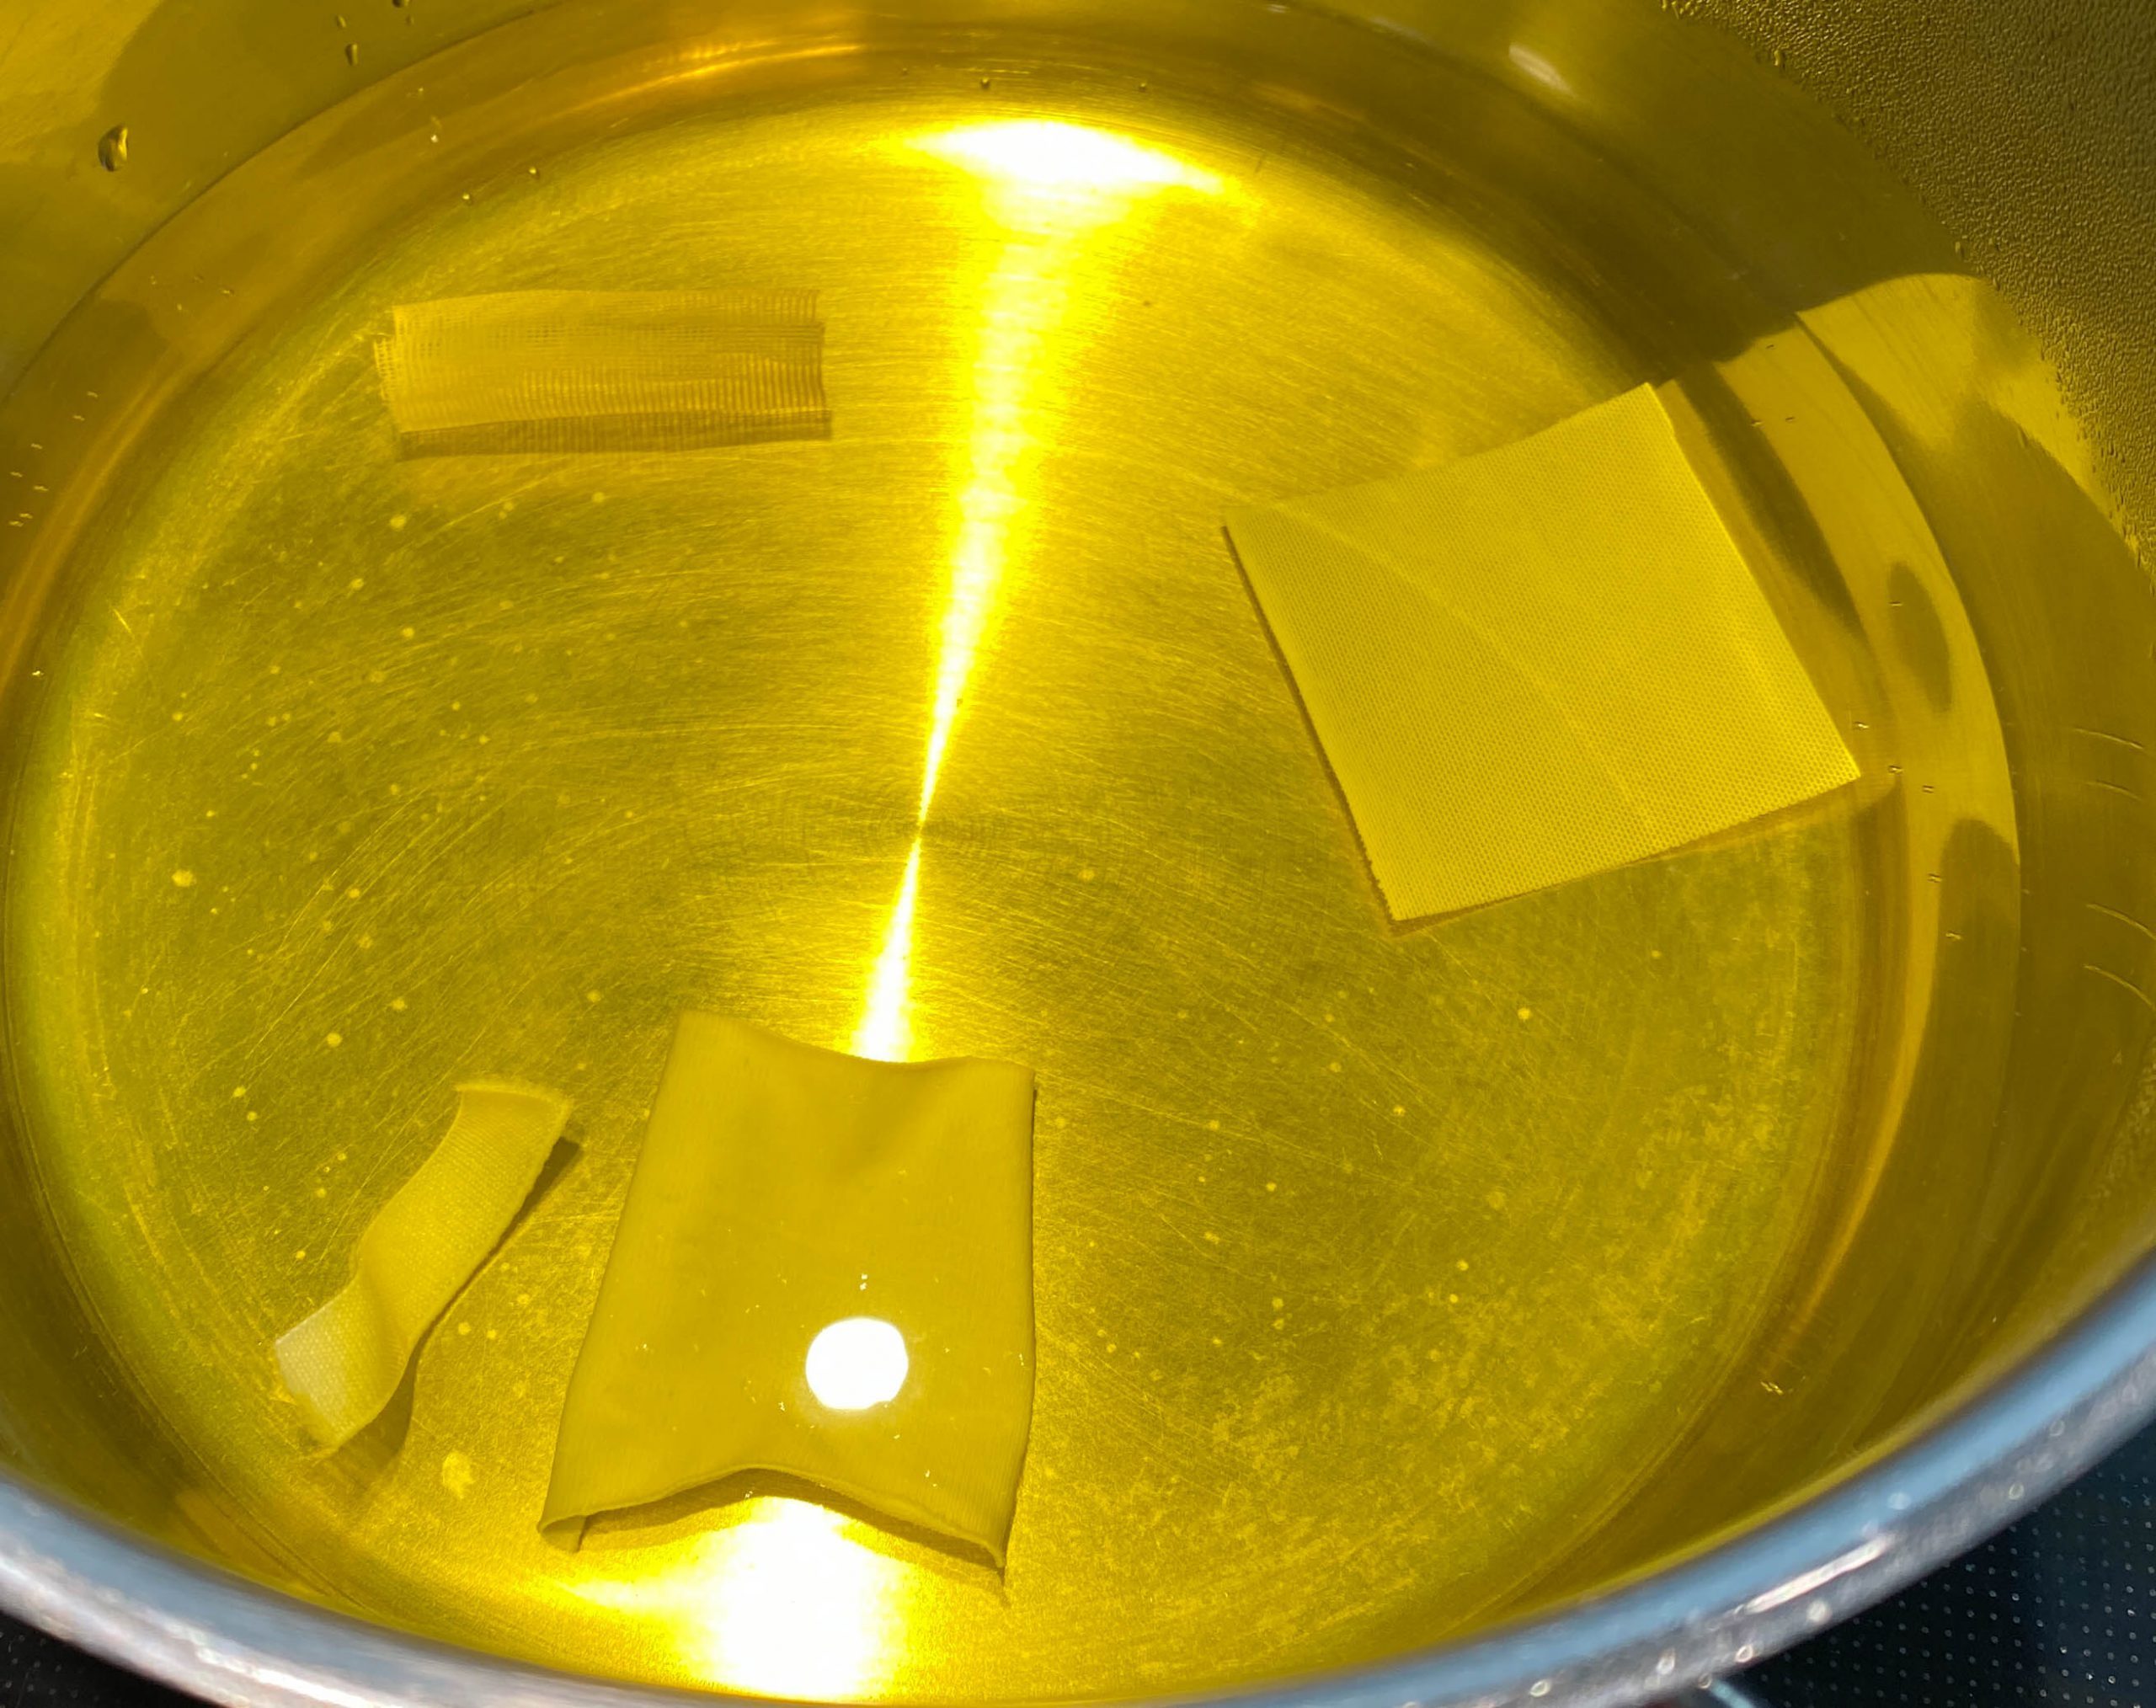
Now I add all the goods into my pot. And I stir until I get the desired color result.
Add your vinegar (about 1 TS) or citric acid. Do not pour the vinegar onto the fabric.
You want to exhaust your dye as much as possible. This means the fabric will absorb all the dye that’s in the water. You can add some more vinegar to the mix to exhaust the dye more fully.
If your satisfied with the result take out your goods and wash them in some warm water and some fabric detergent. Some people let their product cool in the pan. I have never tried this.
Common Mistakes
Using a small pot
The fabric needs to be able to move around freely or you will get an uneven result.
Not dissolving the dye properly beforehand
This will result in freckles.
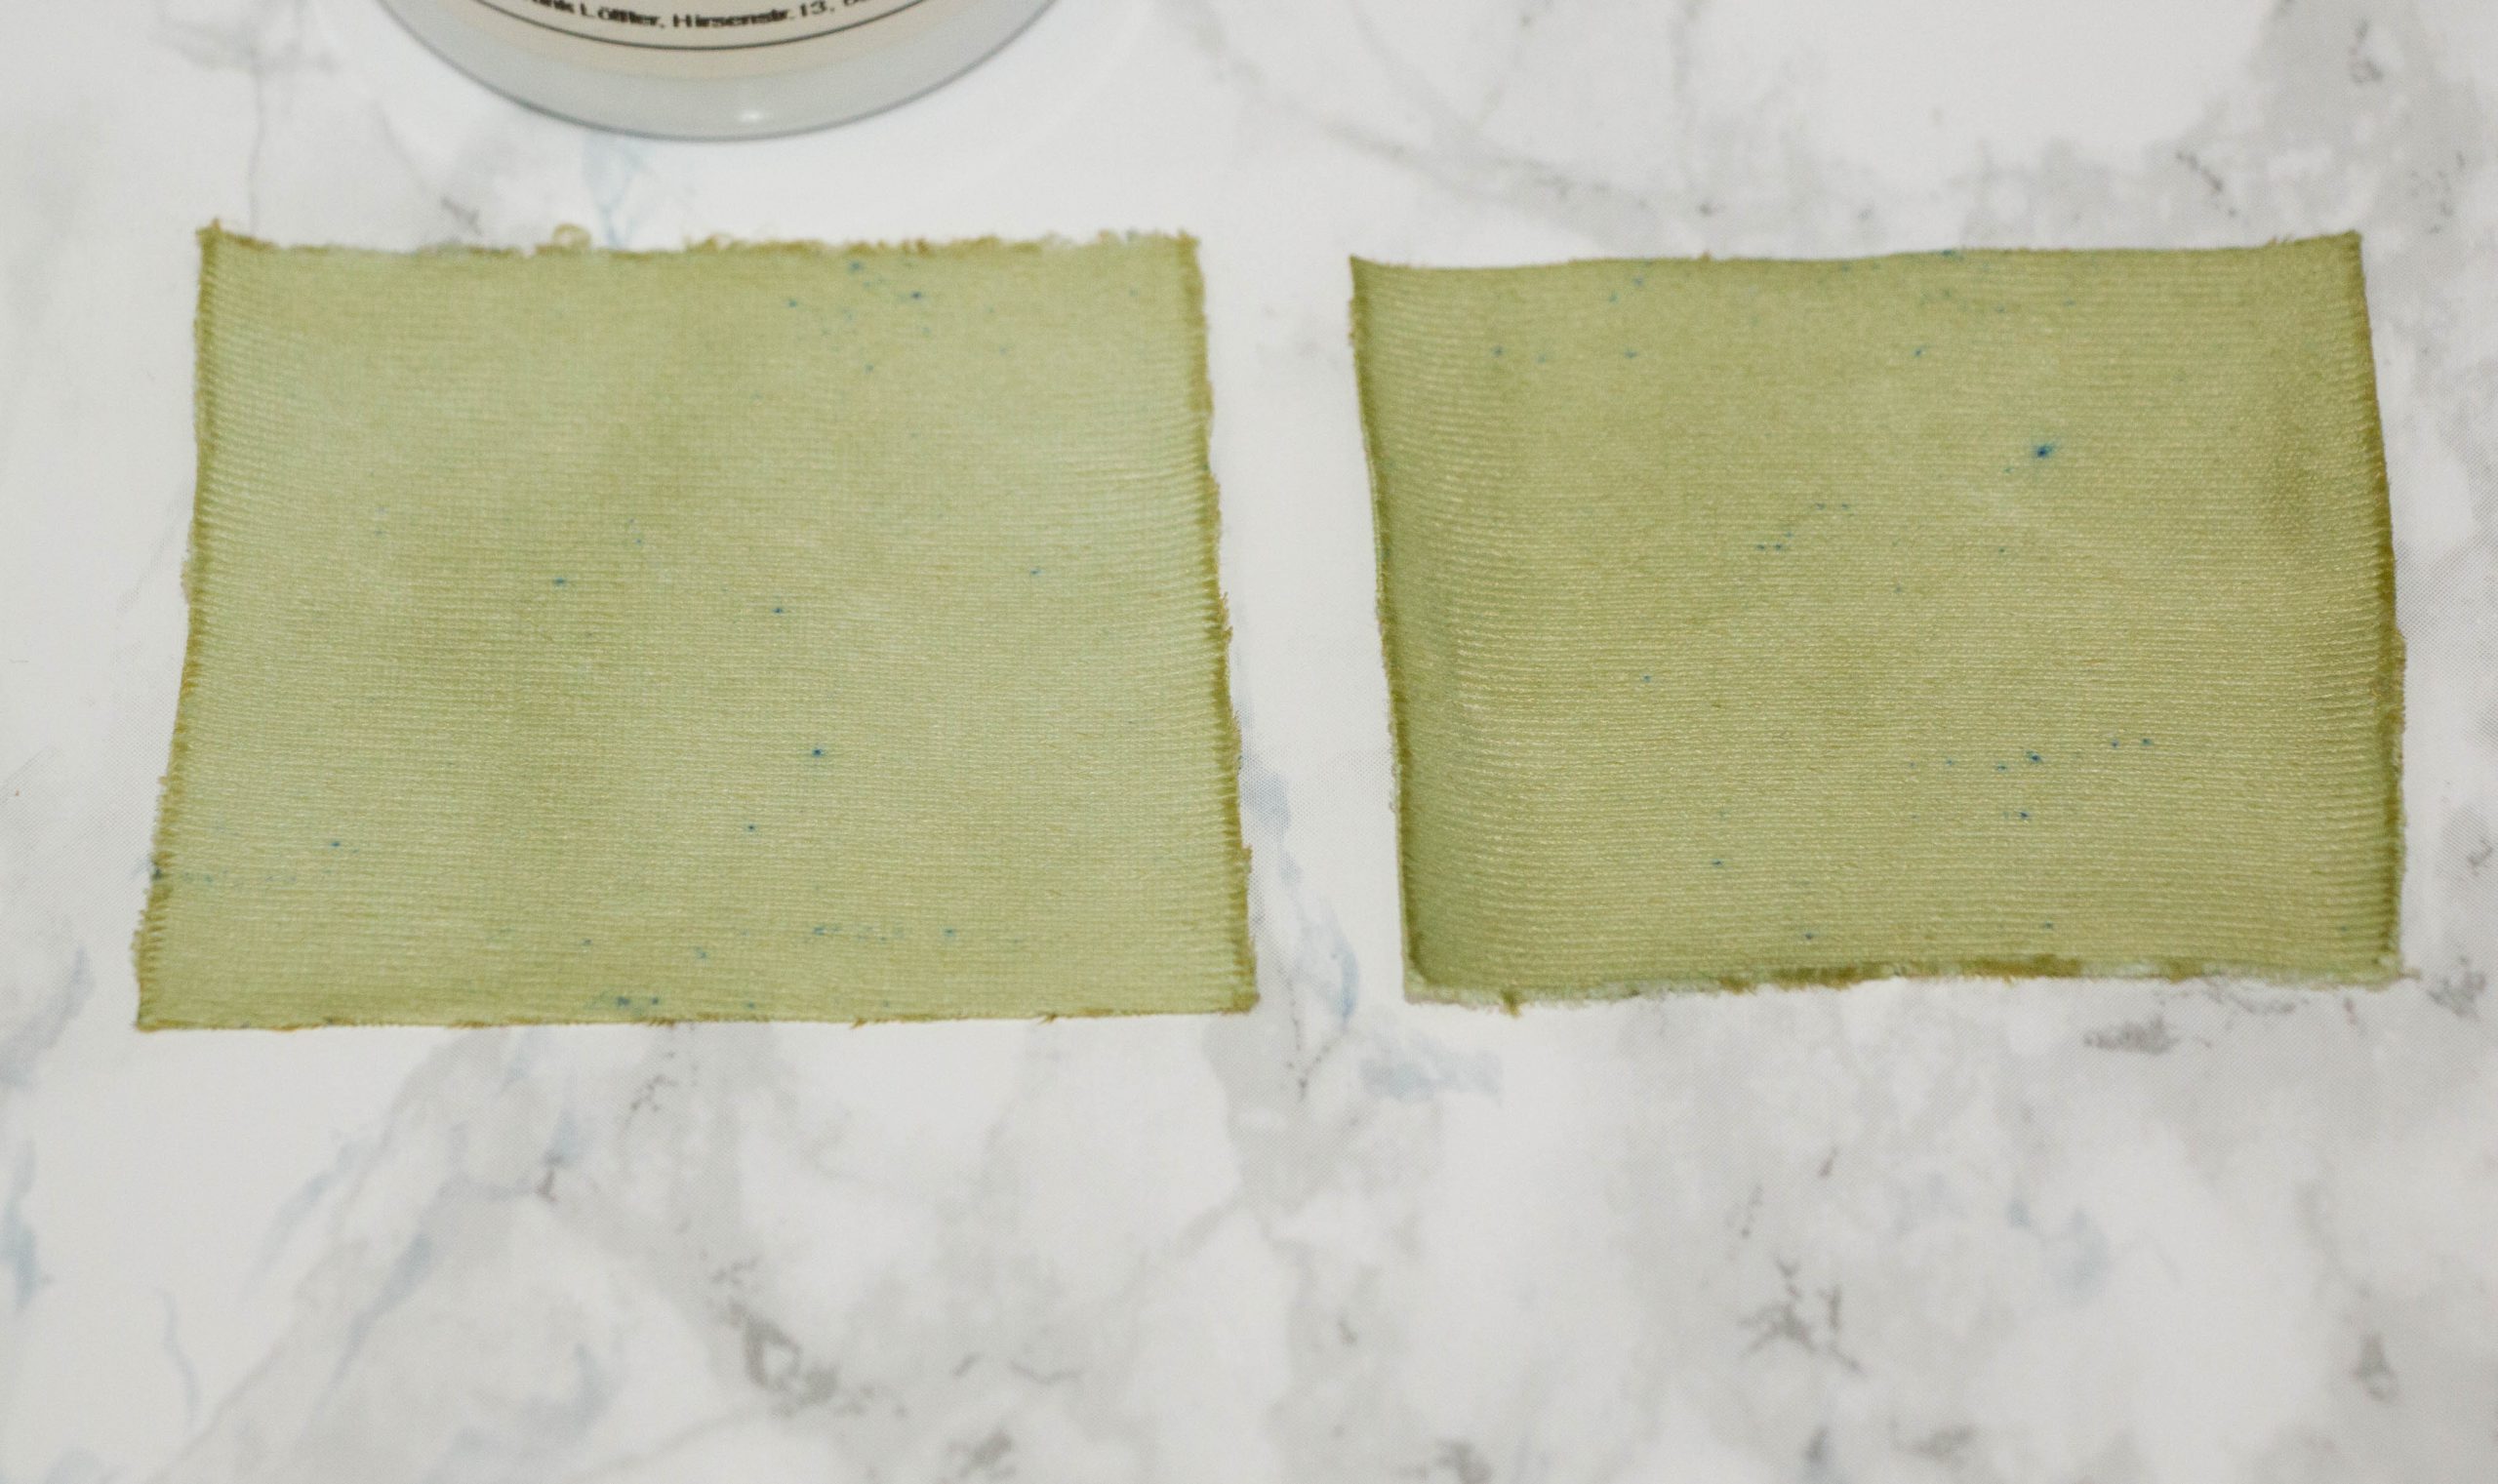
You can see that the fabric swatches are freckled with blue spots. Those spots were barely visible in the pot.
The dye is not dissolved properly yet.
Not stirring.
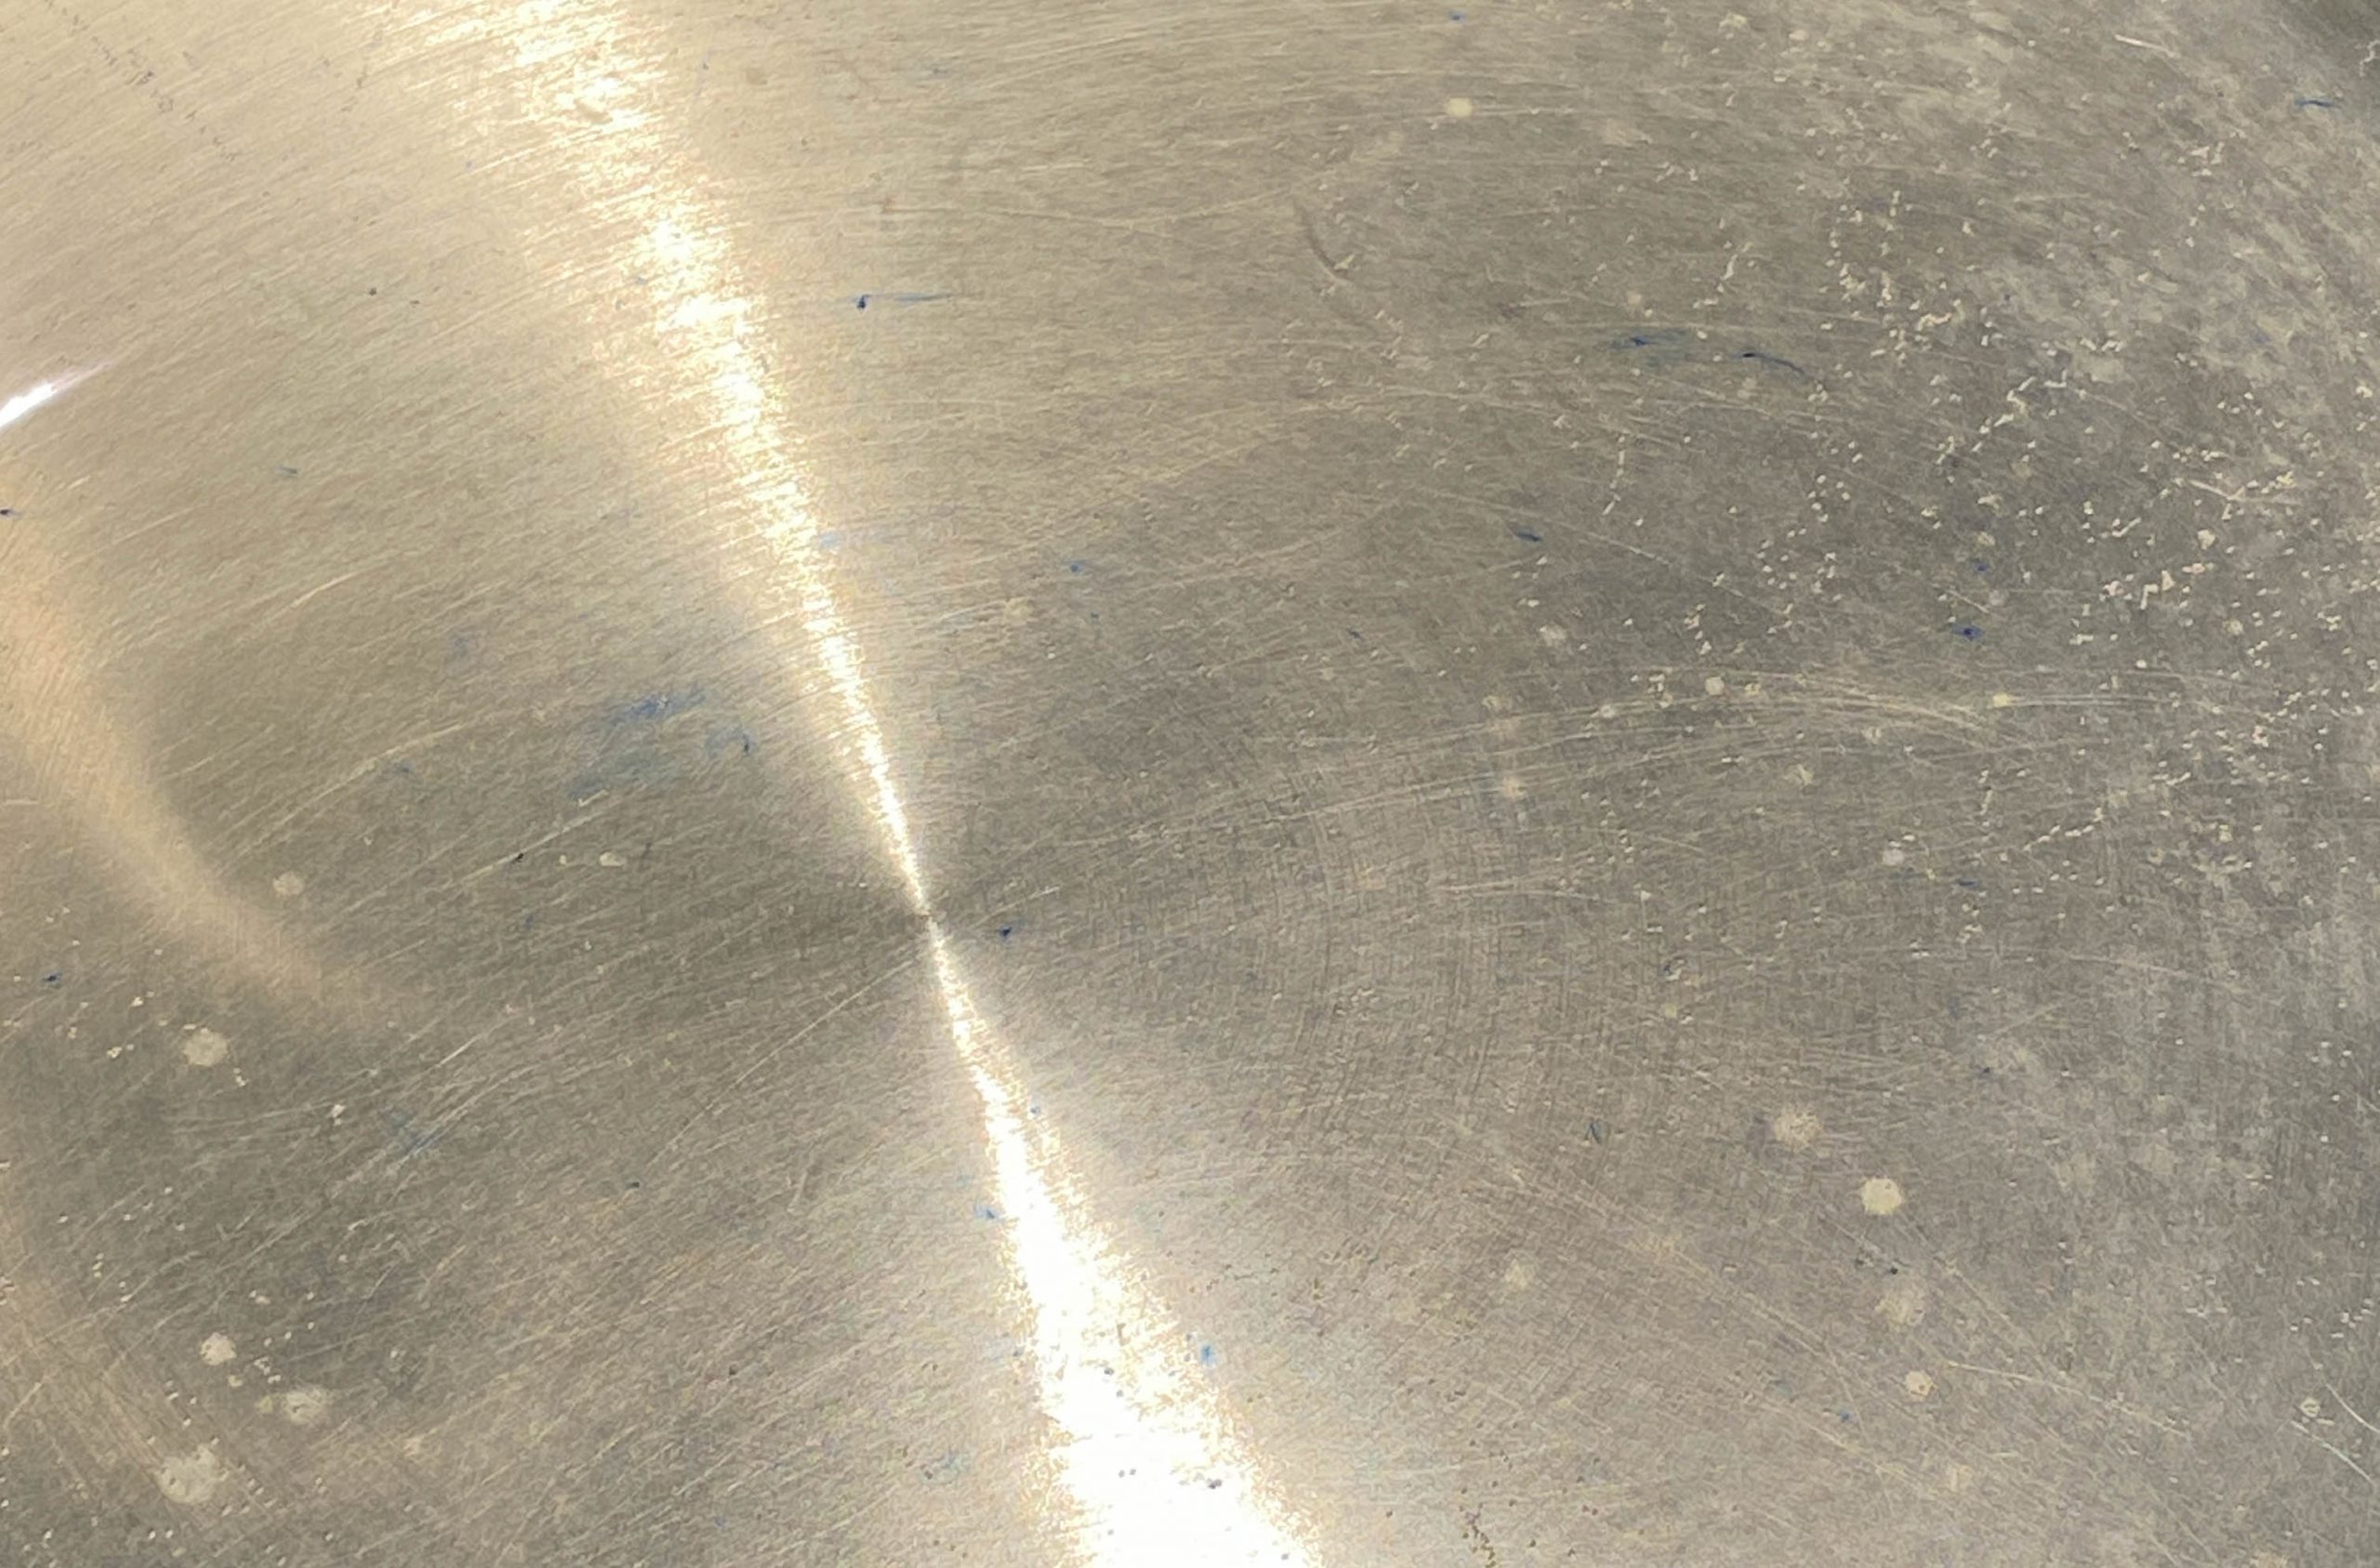
This will result in an uneven color. Where the water is warmer (toward the bottom of the pan) the dye will react quicker. So, stirring is key.
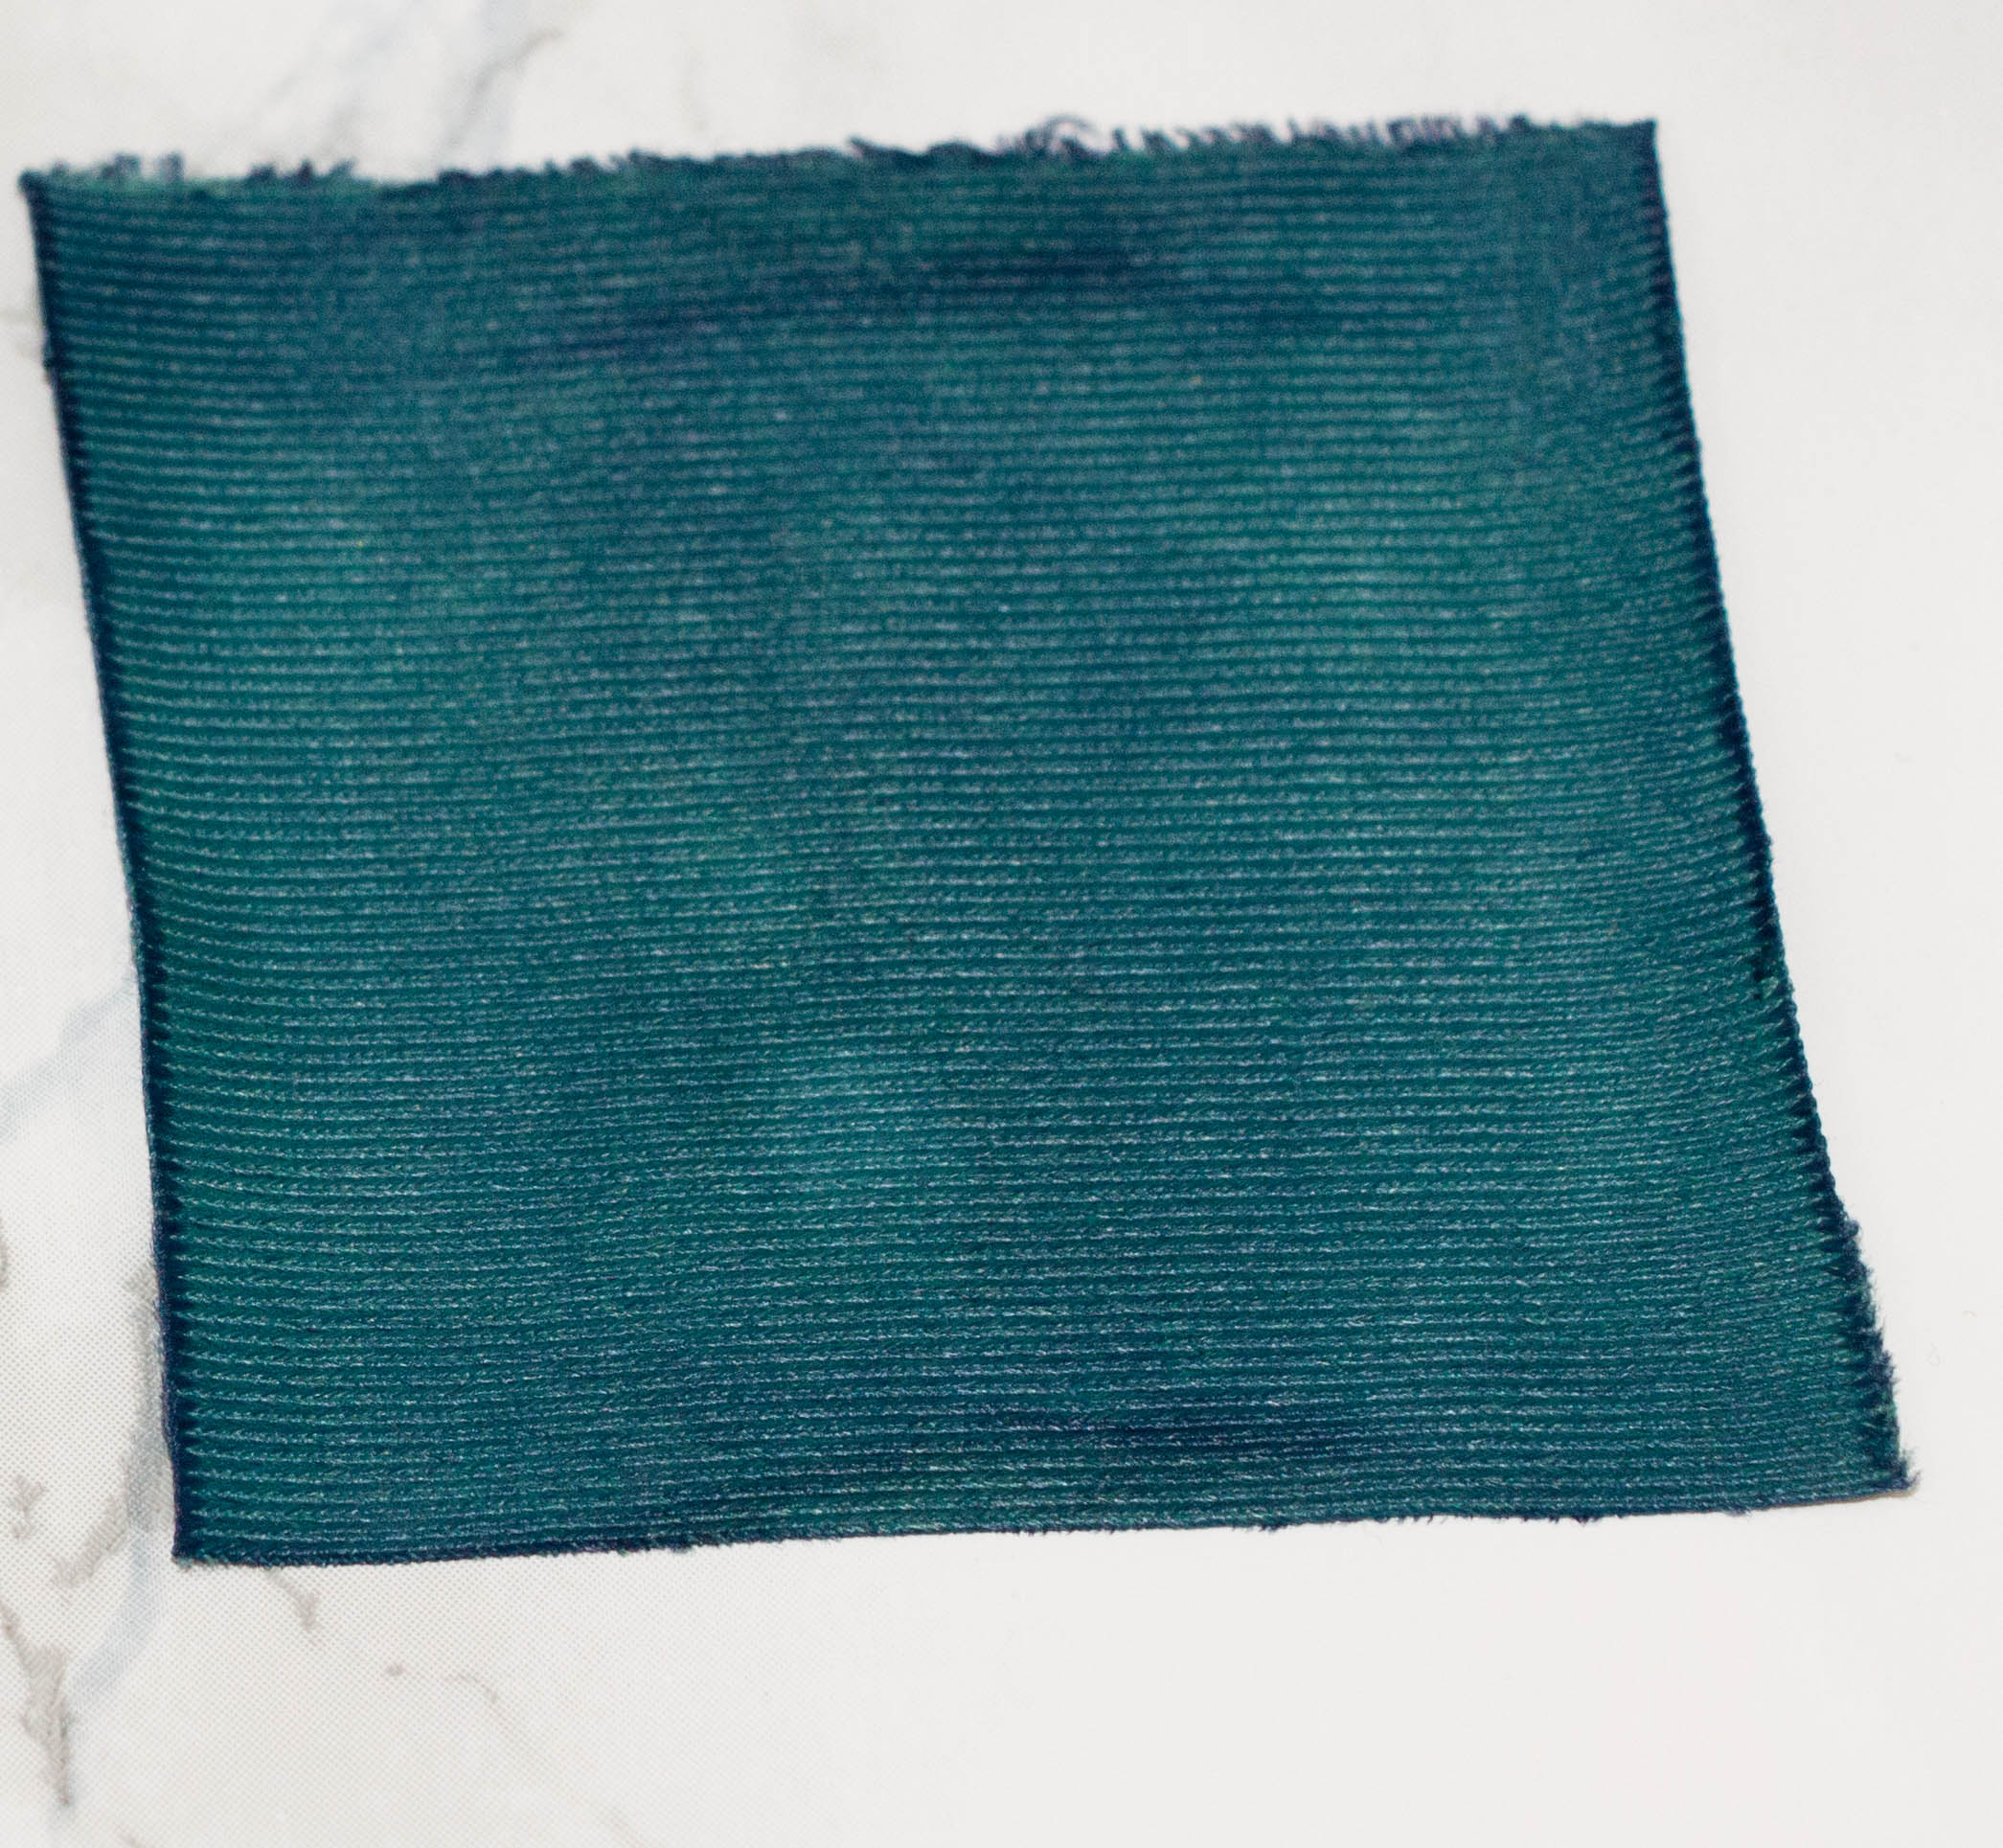
You can see that the result here is streaky. I did not stir.
Water not at right temperature
The dye reacts quicker when the water is at the perfect temperature (about 85°C). Too cool and the dye will not attach properly, too hot and the dye might break or your fabric might not like it as well.
Pouring the vinegar onto the dyed goods.
This will give you a splotchy result. The vinegar will set the dye.

Adding dye when the fabric is already in
Just don’t. Your result will be uneven. If you need to add more dye, take all the goods out, add our dye, stir, and then add your goods back in.
Not considering your material or dye
Not all your material will take the dye the same way. So you want to test beforehand which substrates take up the dye faster than other. I found that powernet and nylon coated rings and slides take longer to dye than sheer cup lining, which is very fast. If you take out everything at the same time, not all your goods might have the same color intensity.
I have learned all of these things the hard way. This December though, I tested every color I had on the most common fabrics I use under the same conditions to be able to guestimate dosage, duration and saturation in my future dyeing adventures.
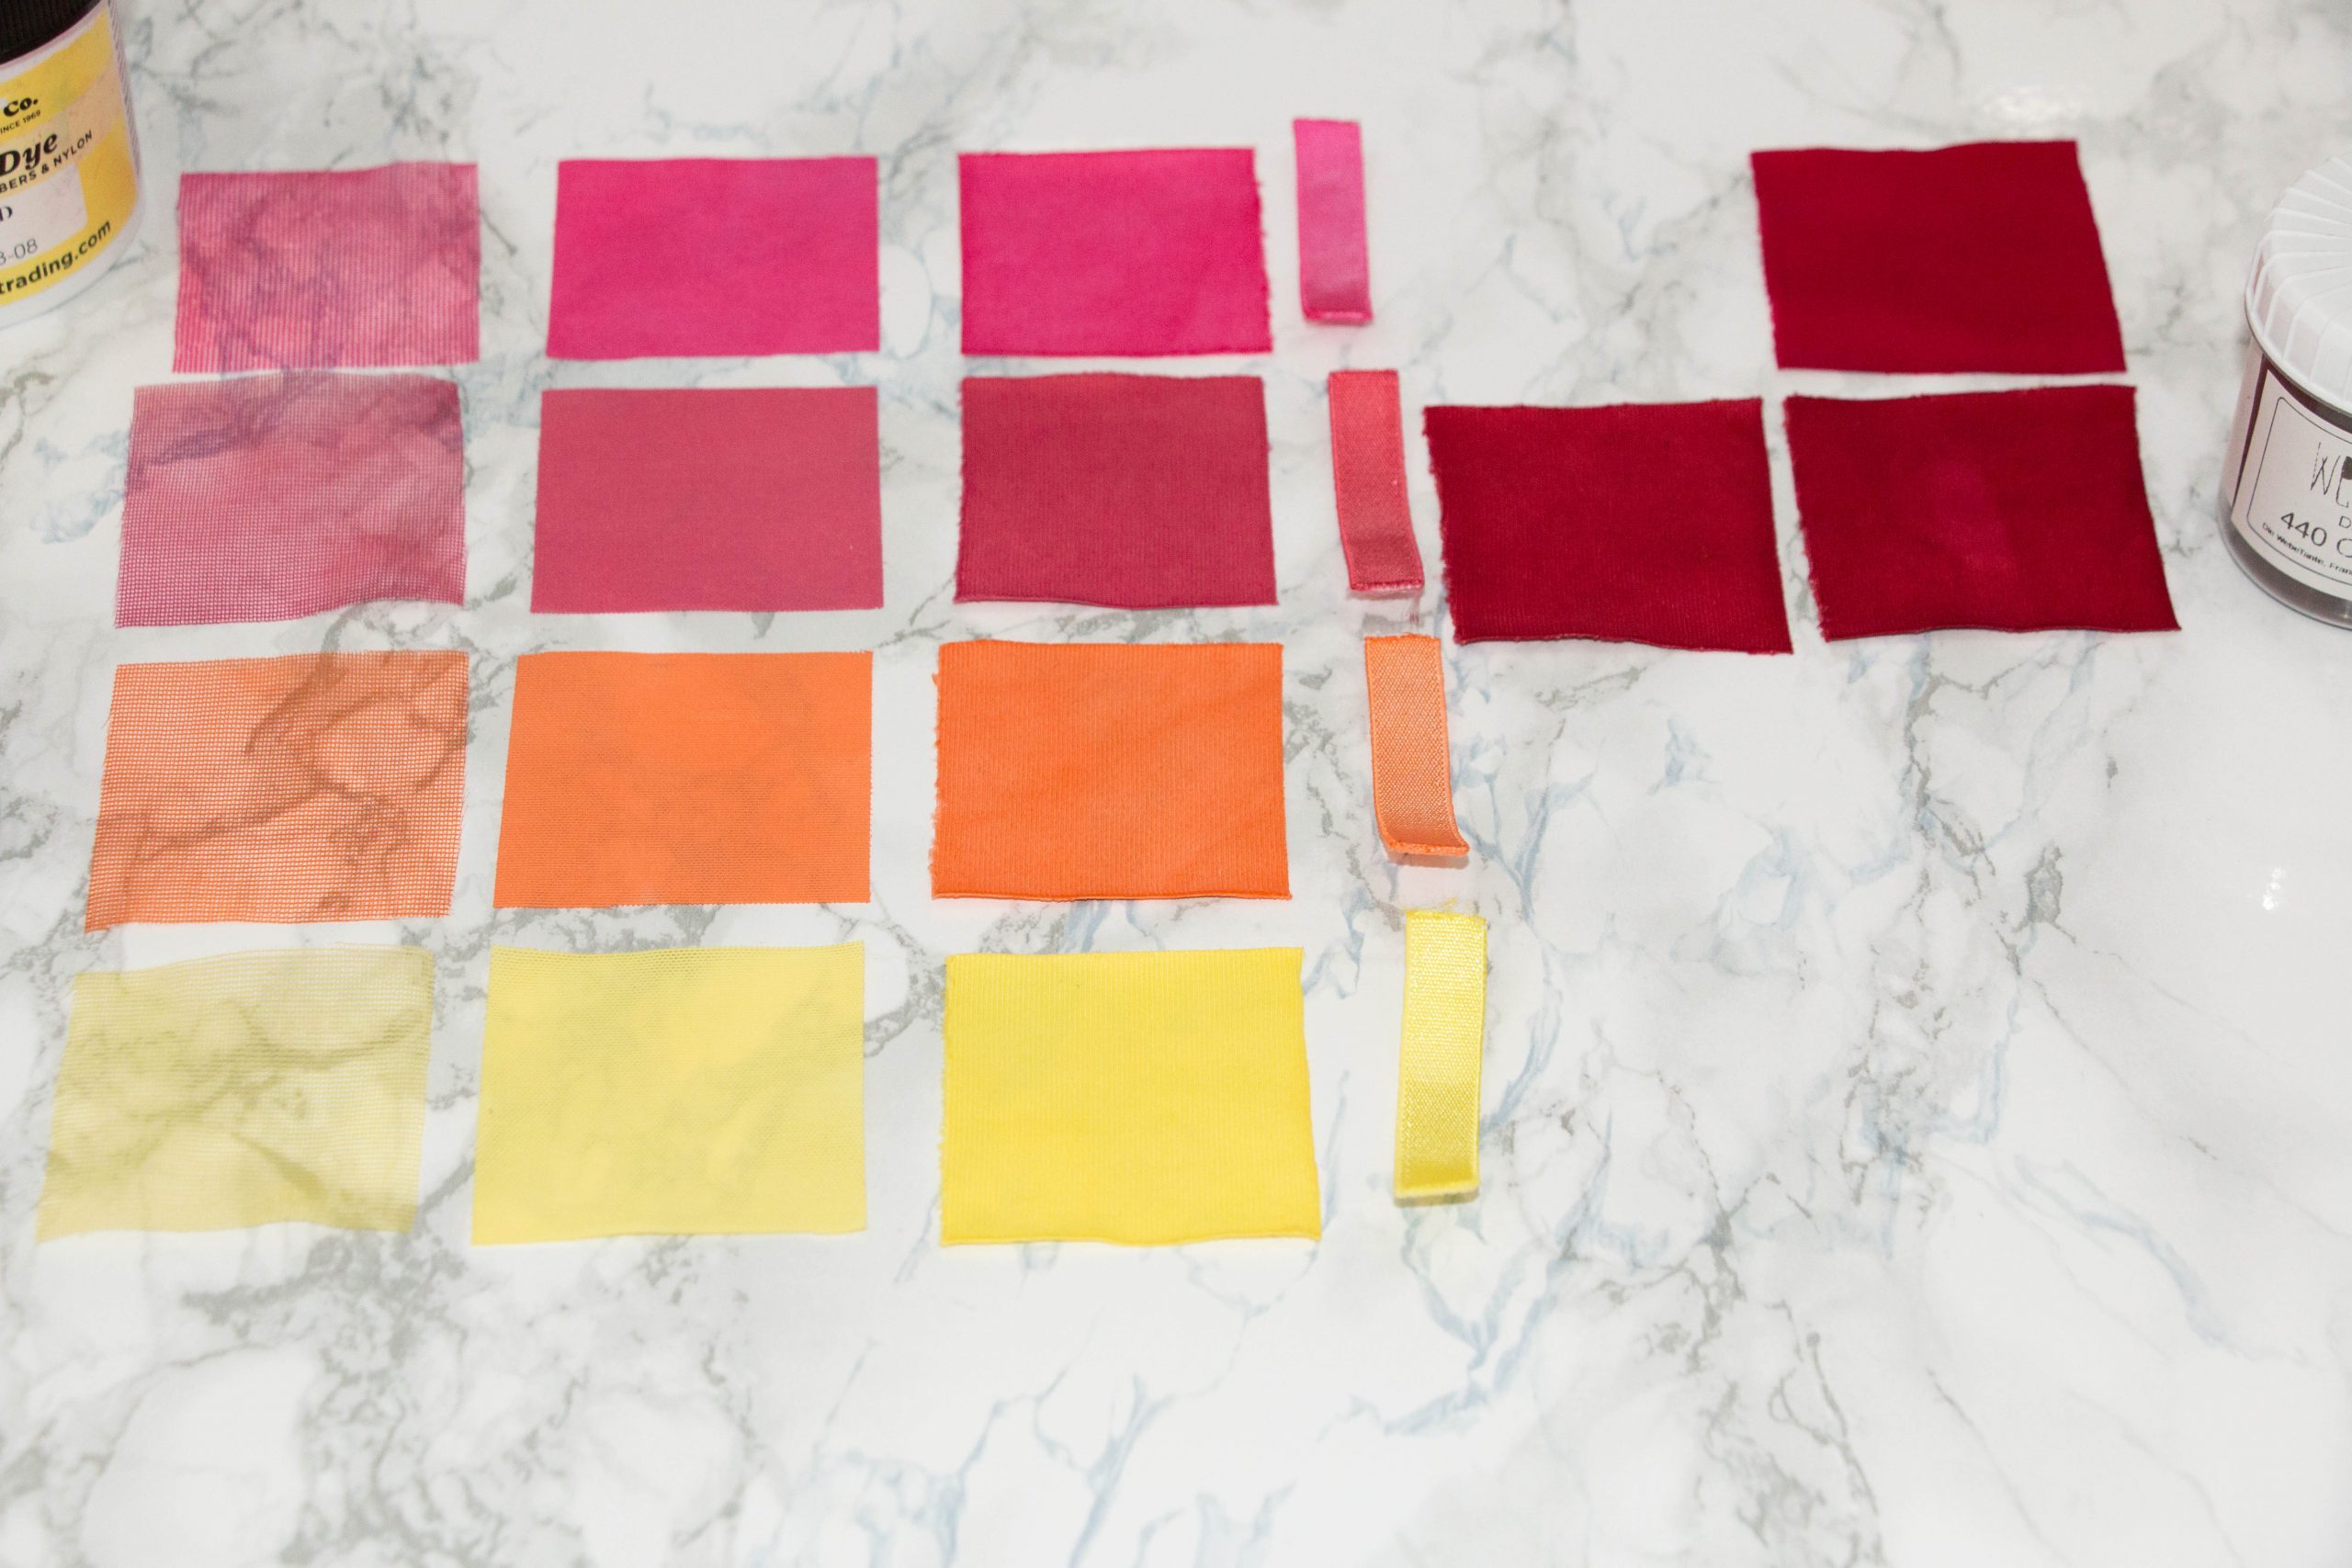
The colors I tried in the red/orange spectrum.
If you want to know more about all the colors I tried you can check out my post on my blog over on heartpleat.ch
Happy sewing (and dyeing)
Nadine
Love you article. This is helping me to understand the dyeing process.
Few dye questions: I bought varies RIT dyes and I wanted to die a few things I bought since I couldn’t find clothes or silk flowers and Misc in colors I want or need or I got a good deal on cute clothes or silk flowers but I want to change the colors to colors I like better on clothes or need certain colored flowers for seasonal crafts.Like I bought clearance tops but I want to dye some to be other colors. And like I cant find different blue & green tones to match a house perfectly so I bought the blue & green and white hoping to dye them to match. As in the silk flowers, do I have to wash them & dry them and then die them or just take the batch and just dye them? I guess I must take apart the plastic stamps & pistons and only dye the fabric? I bought a few RIT for Synthetic since different Green and blue shades, i want variety in the blue & green floral wreath. Do I just dip & dye & dry out or fo I have to rise w cold water? Same with clothes. I got $1.00 clearance new 20 yellow tanks and 20 light blue of another style, I planned on dying a few of each in different colors. Like blue w be various Blues and even dom green but could be purple using my fav pink dye?Finally…Since I bought liquid bottle RIT dye, I assume I dilute w water and looks like like warm temps in old pan on stove. After I’m done, can I store the liquid in bottles and save for later projects? Will it mold or do I need to store in fridge or can I just do on shelf w other stuff like various craft paints. Thx for any answers, much appreciated!!
Hi Ivana
Different substates dye differently. So if you have silk flowers the plastic stems etc. might or might not (or just in part) take the dye. I have only ever dyed bramaking supplies I knew the fibrecontent of, so I knew I would get a good result.
I would dye the silk when still wet you only have to wash them to get textile additives out. The colors I use require me to wash out the color “left overs” and then I dry my goods. Since you’re using RIT dyes I recommend following the instructions of those dyes (a quick internet search might help as well). The liquid dyes are usually diluted with water. The undiluted dye in the container can be stored and used later.
I hope this was helpful. Sorry I couldn’t be more specific.
Best
Nadine