 BERNINA Corporate Blog -
In this post, I will show you how to embroider a sparkling dream catcher. This project is also suitable for embroidery beginners!
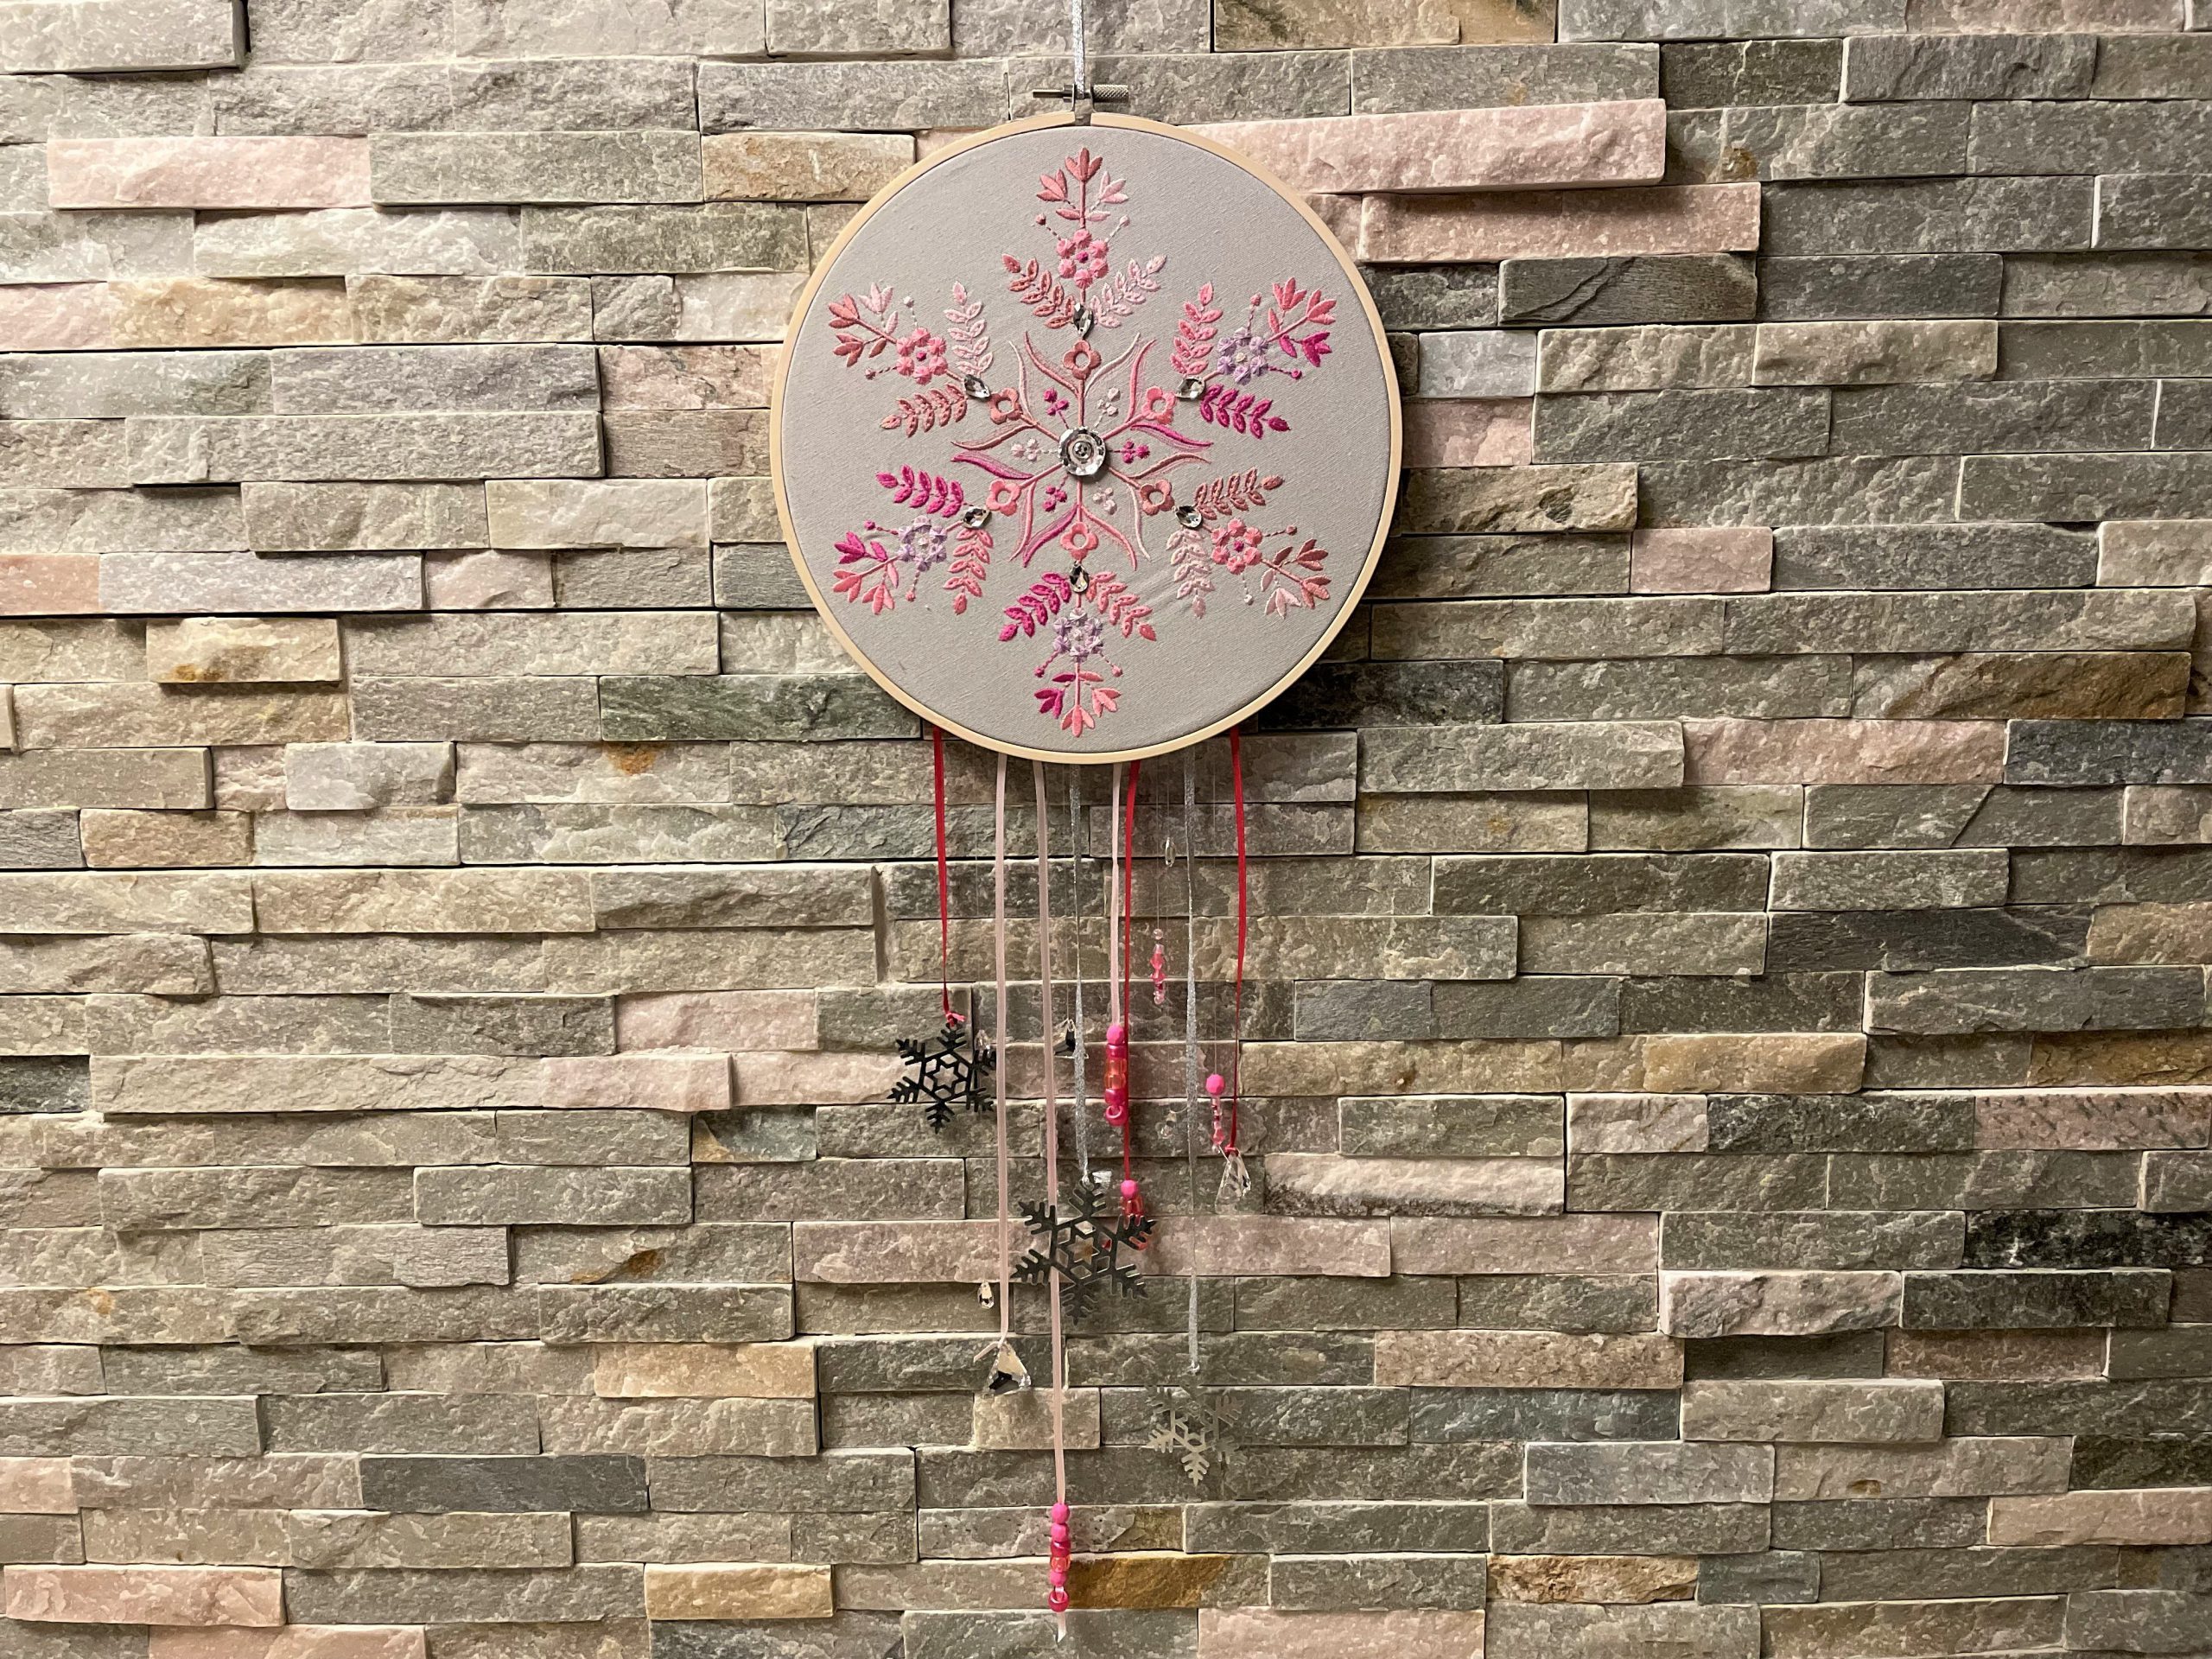
Are you familiar with dream catchers? According to Native American mythology, dream catchers capture any bad dreams during the night. In their original form, they usually consist of a net in a willow hoop which is then decorated with personal or sacred items. According to believers, the dream catcher is said to aid sleep. Since I bought a dream catcher like this in the United States, I have had a keen interest in this topic. I am going to show you how to embroider a “Time to Shine” dream catcher – in keeping with this year’s theme of the blog Advent calendar.
Embroidering a dream catcher – Tutorial
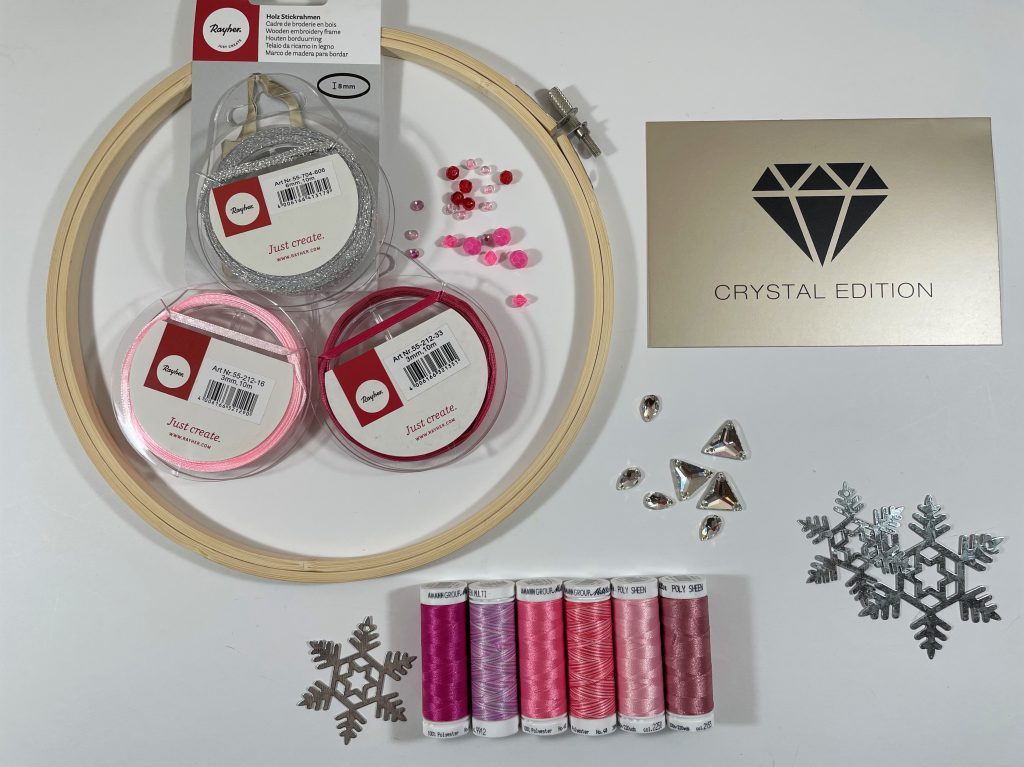
Embroidering a dream catcher – Materials
- 40×40 cm linen/cotton blend fabric, plain light gray
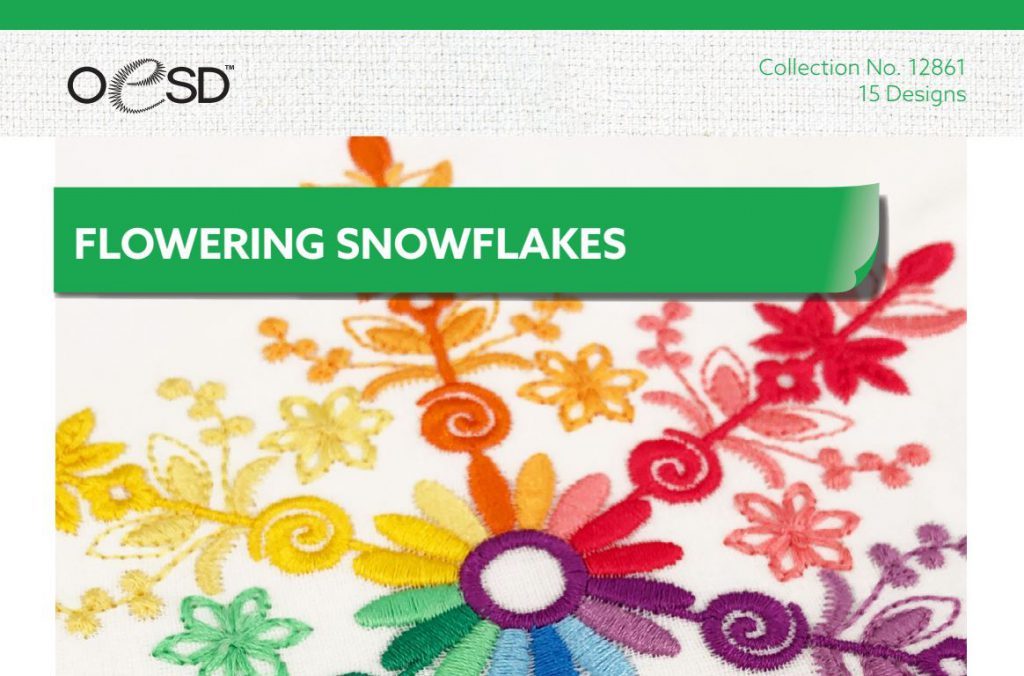
- Flowering Snowflakes embroidery file from EmbroideryOnline by OESD
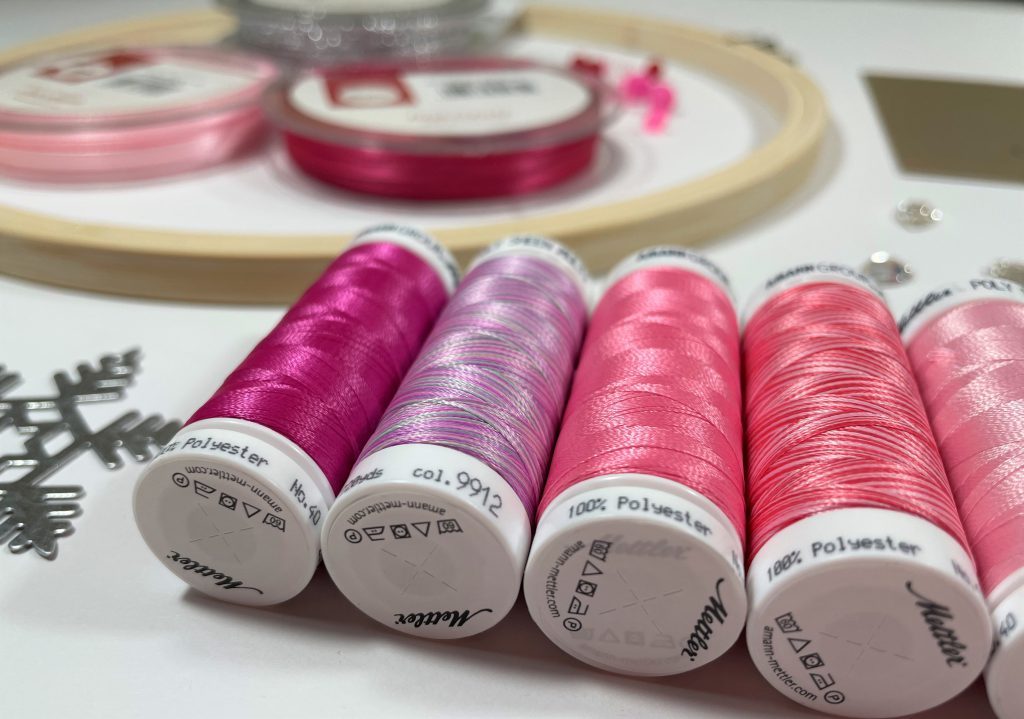
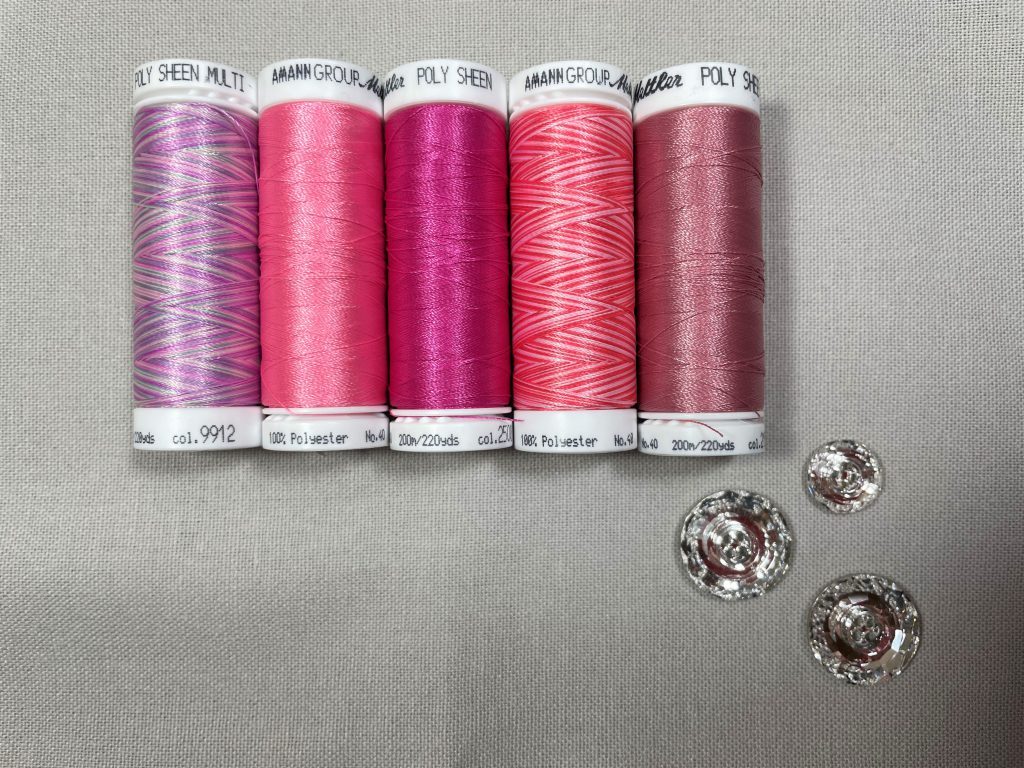
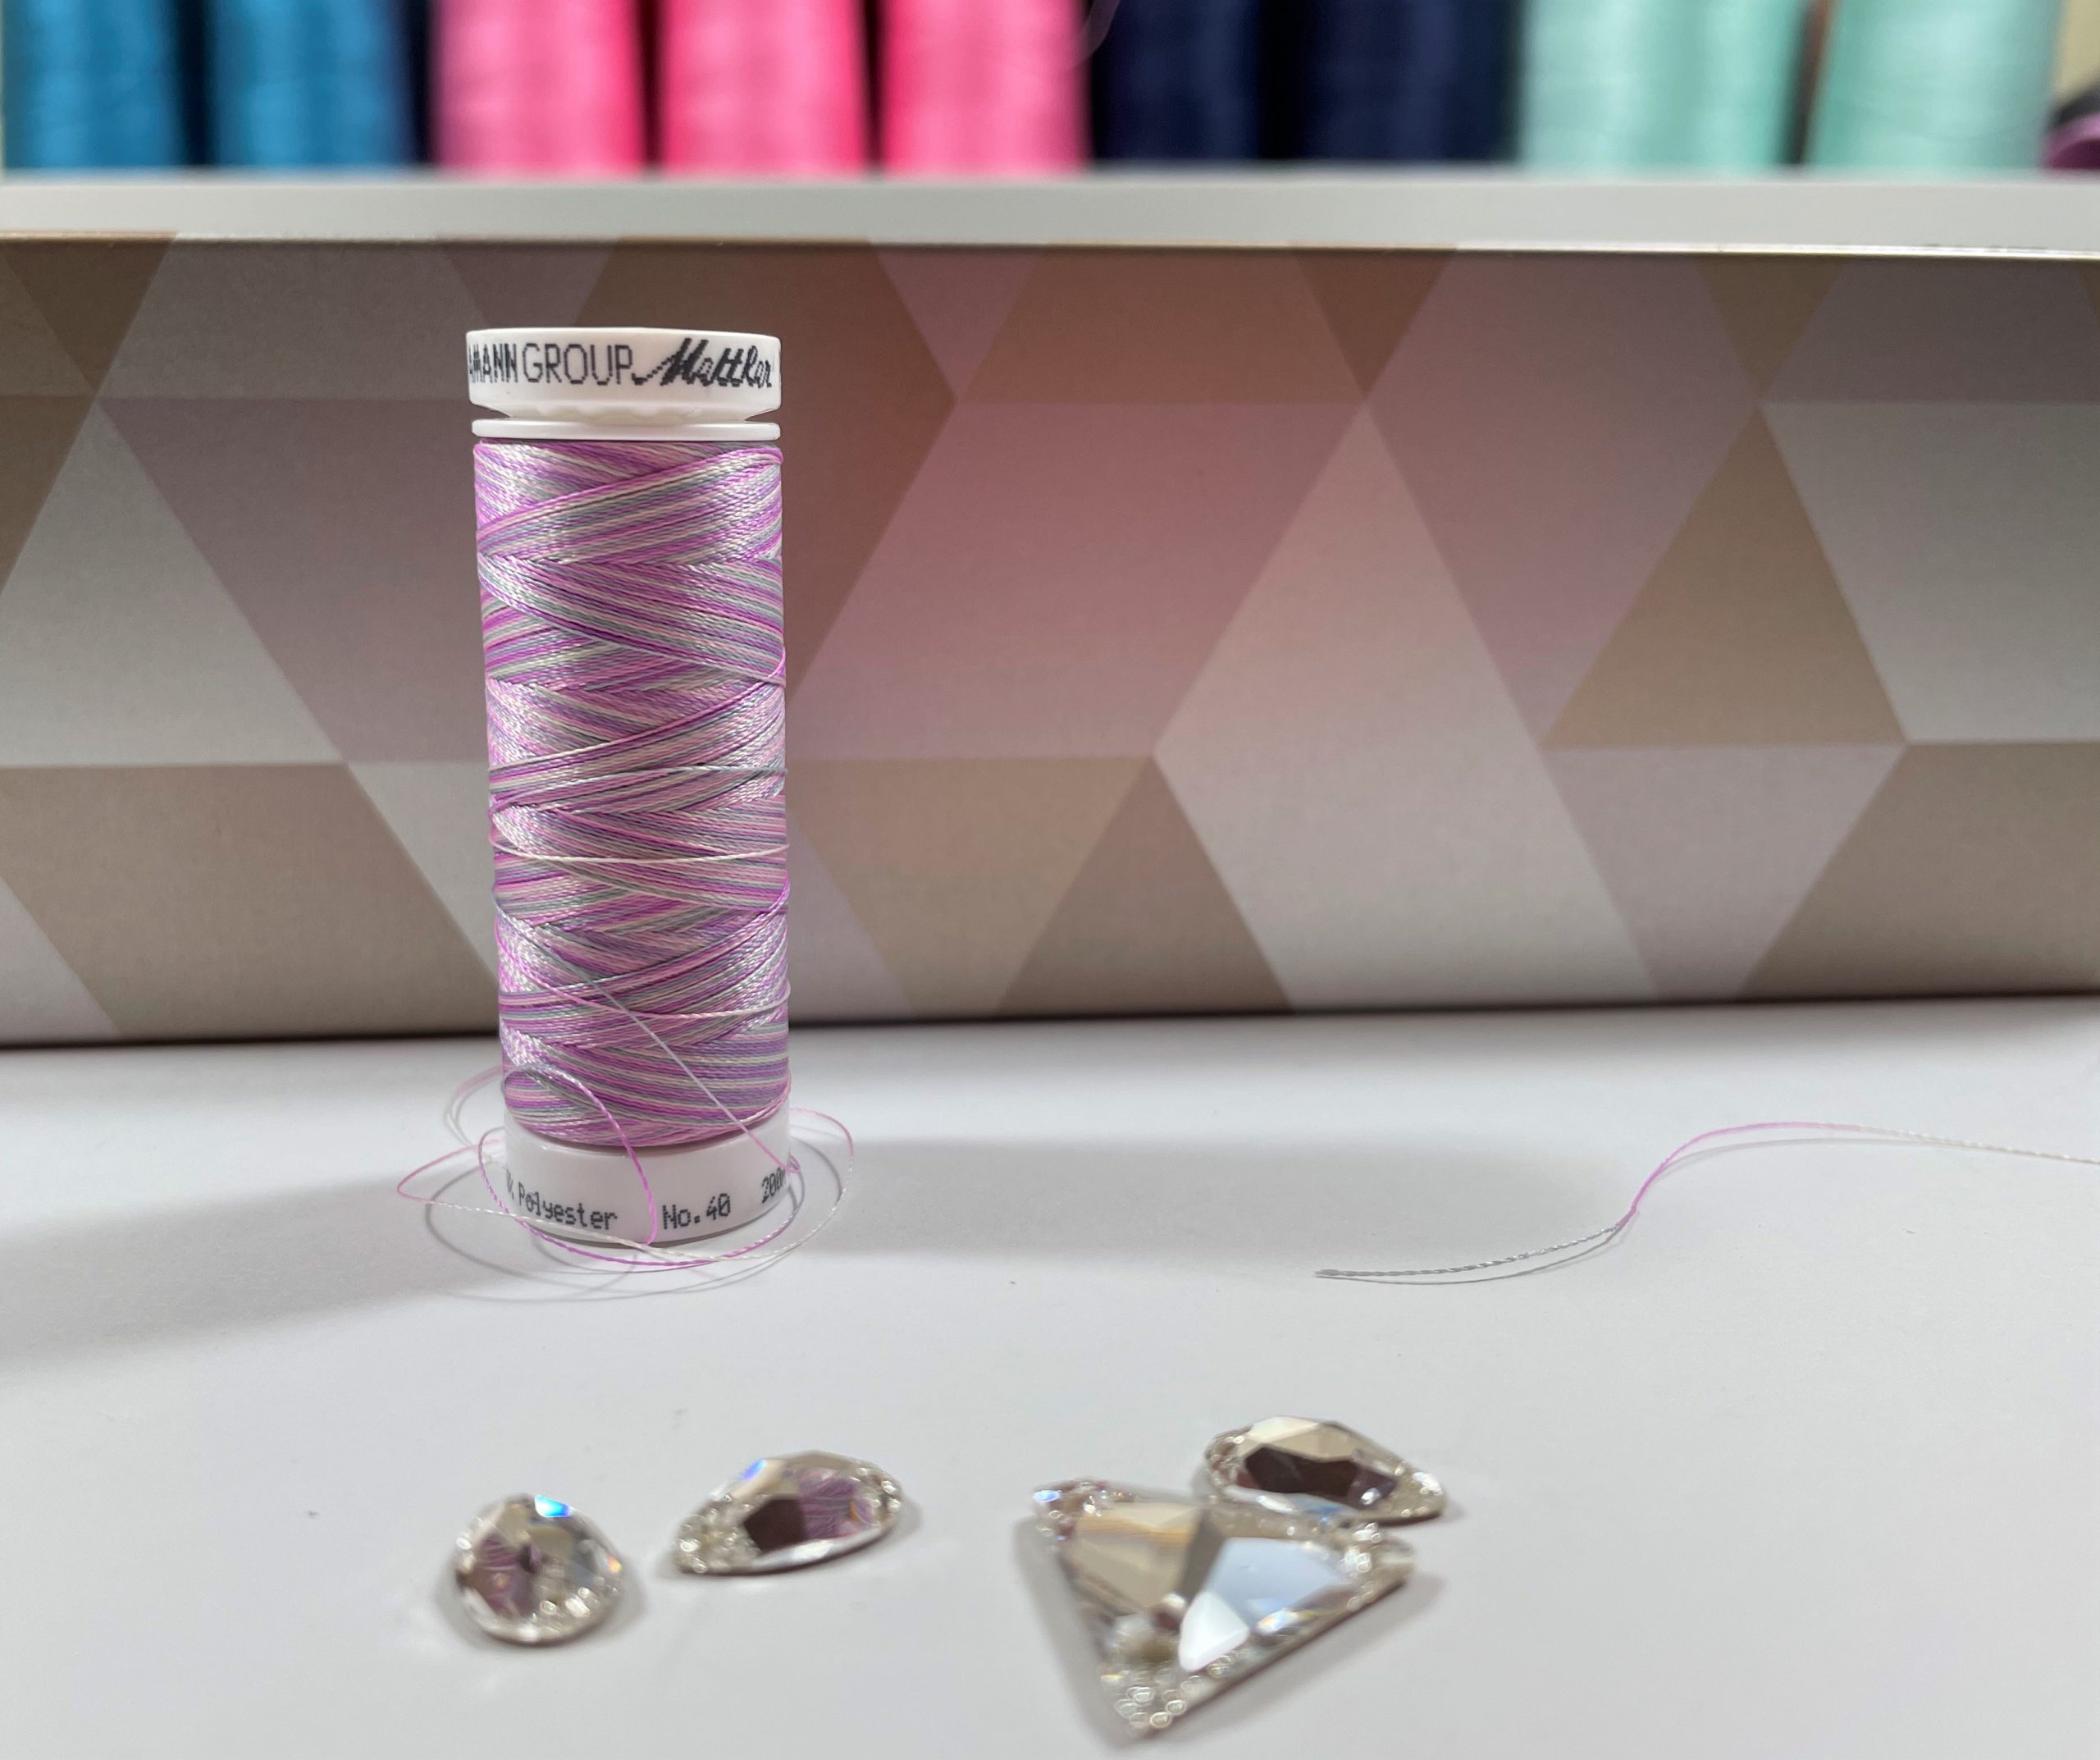
- Embroidery thread from Amann Mettler (Poly Sheen 2250/2153/2530/2508 and Poly Sheen Multi 9912 Plum Pourri)
- Wooden embroidery hoop (diameter 23 cm)
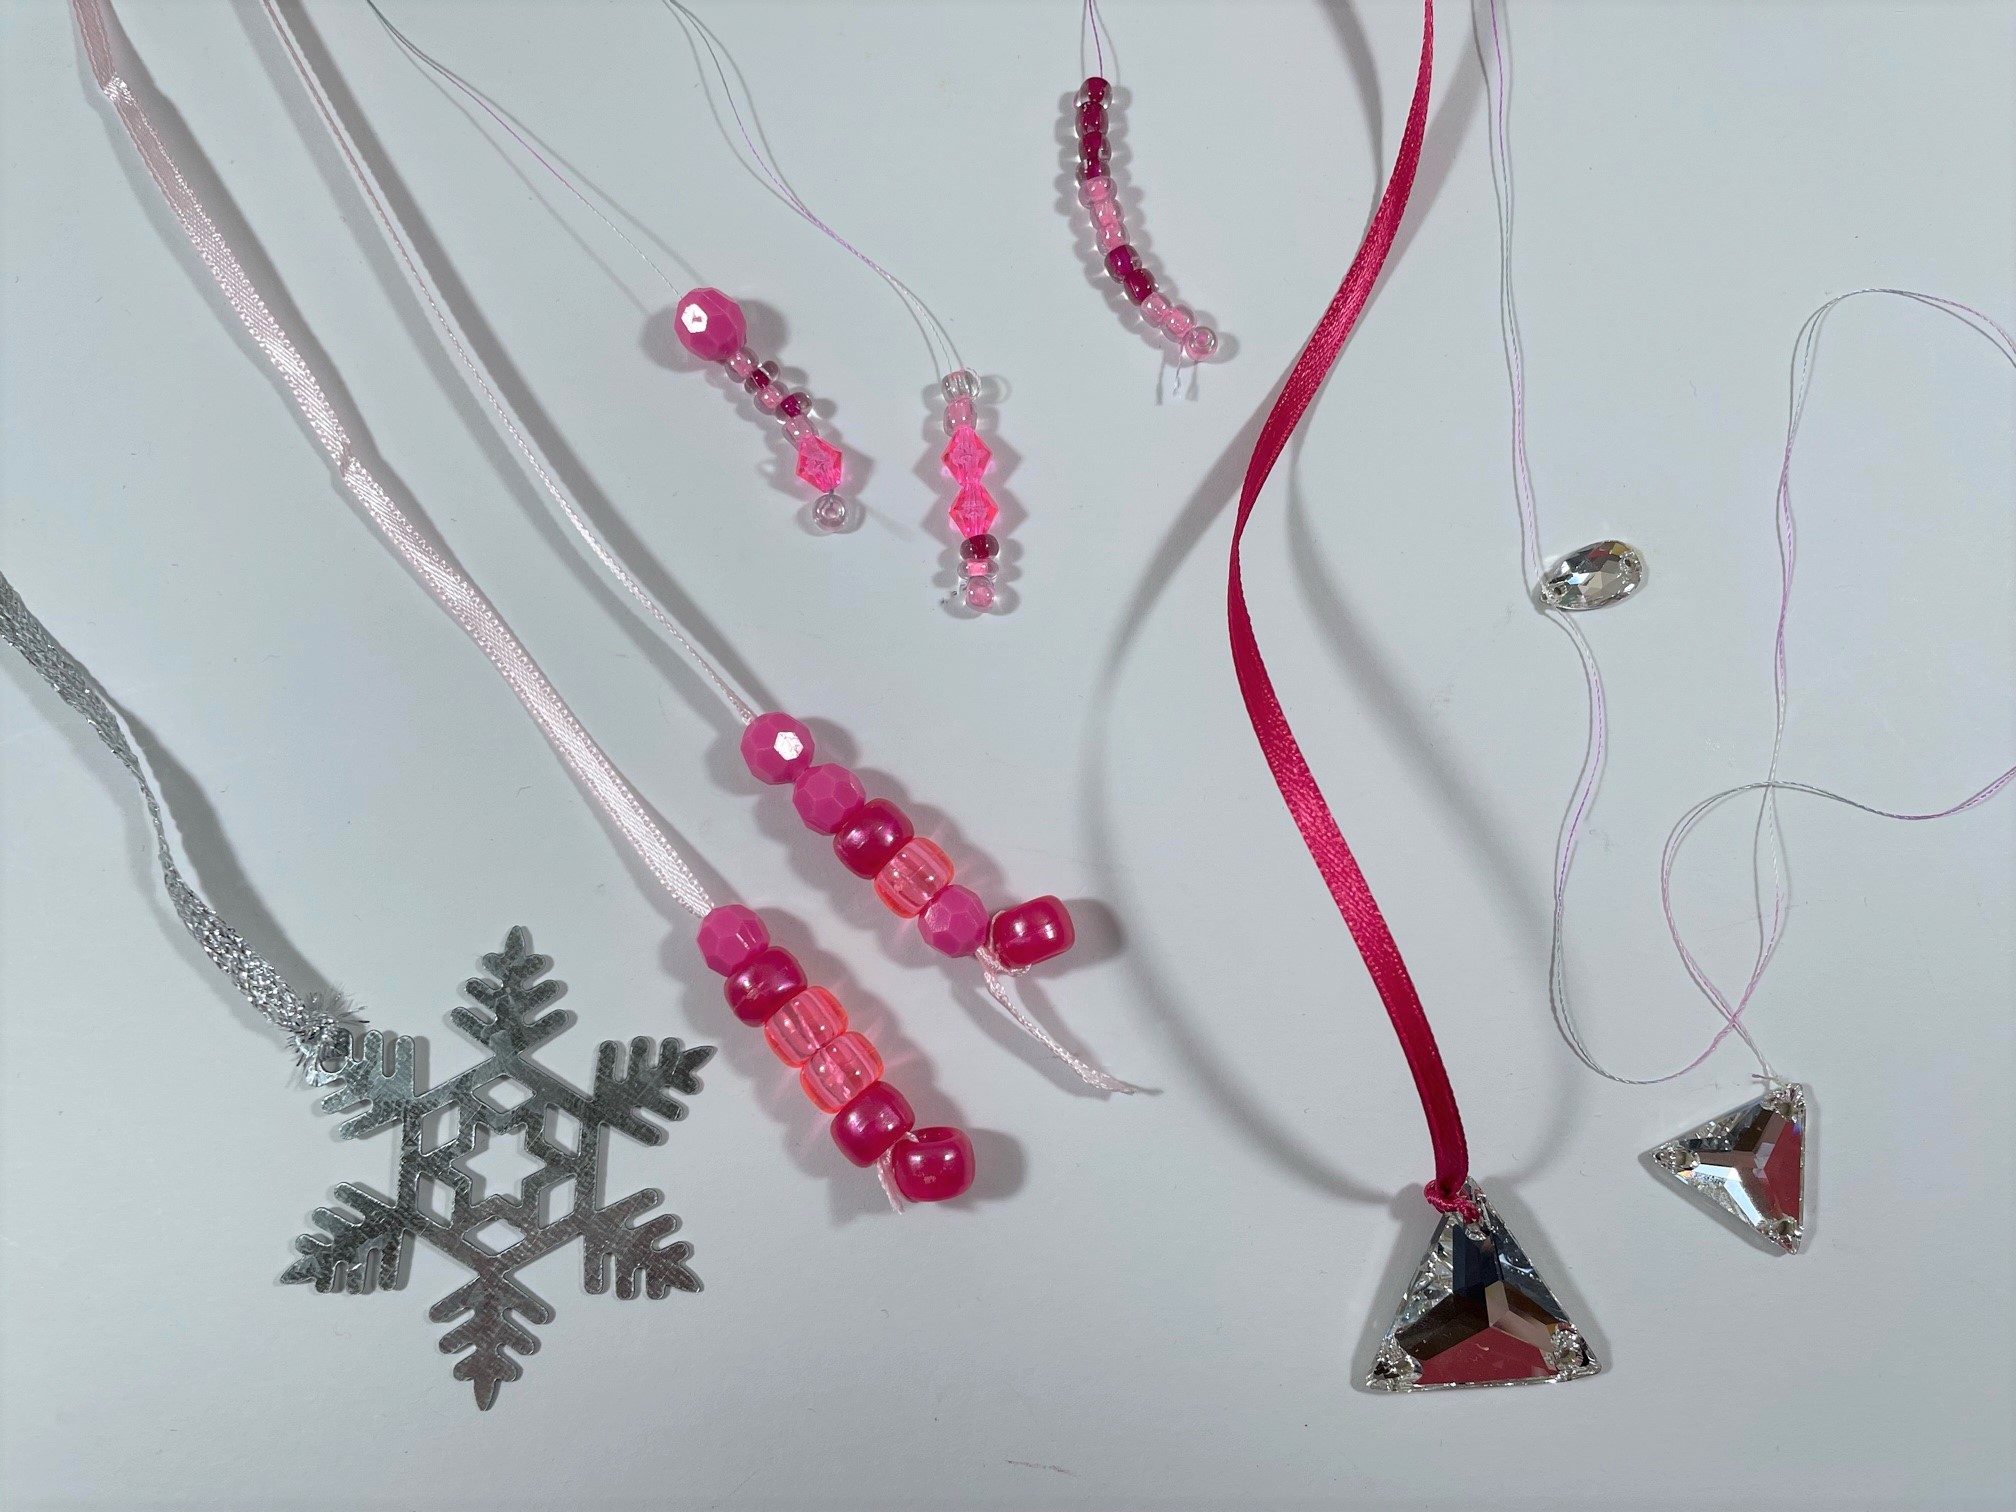
- Satin ribbon, metal snowflake decorations, glitter ribbon and beads
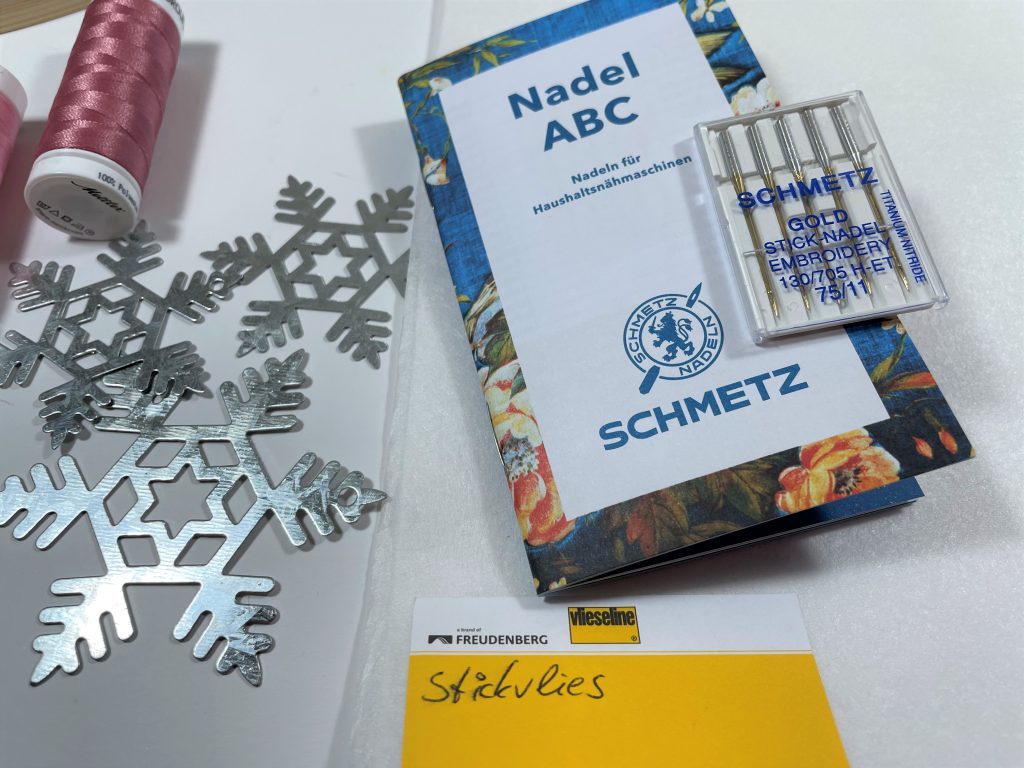
- Gold Embroidery sewing needle 75/11
- Embroidery stabilizer
- HT2 textile glue
- Sewing needle and thread
- and your embroidery machine!
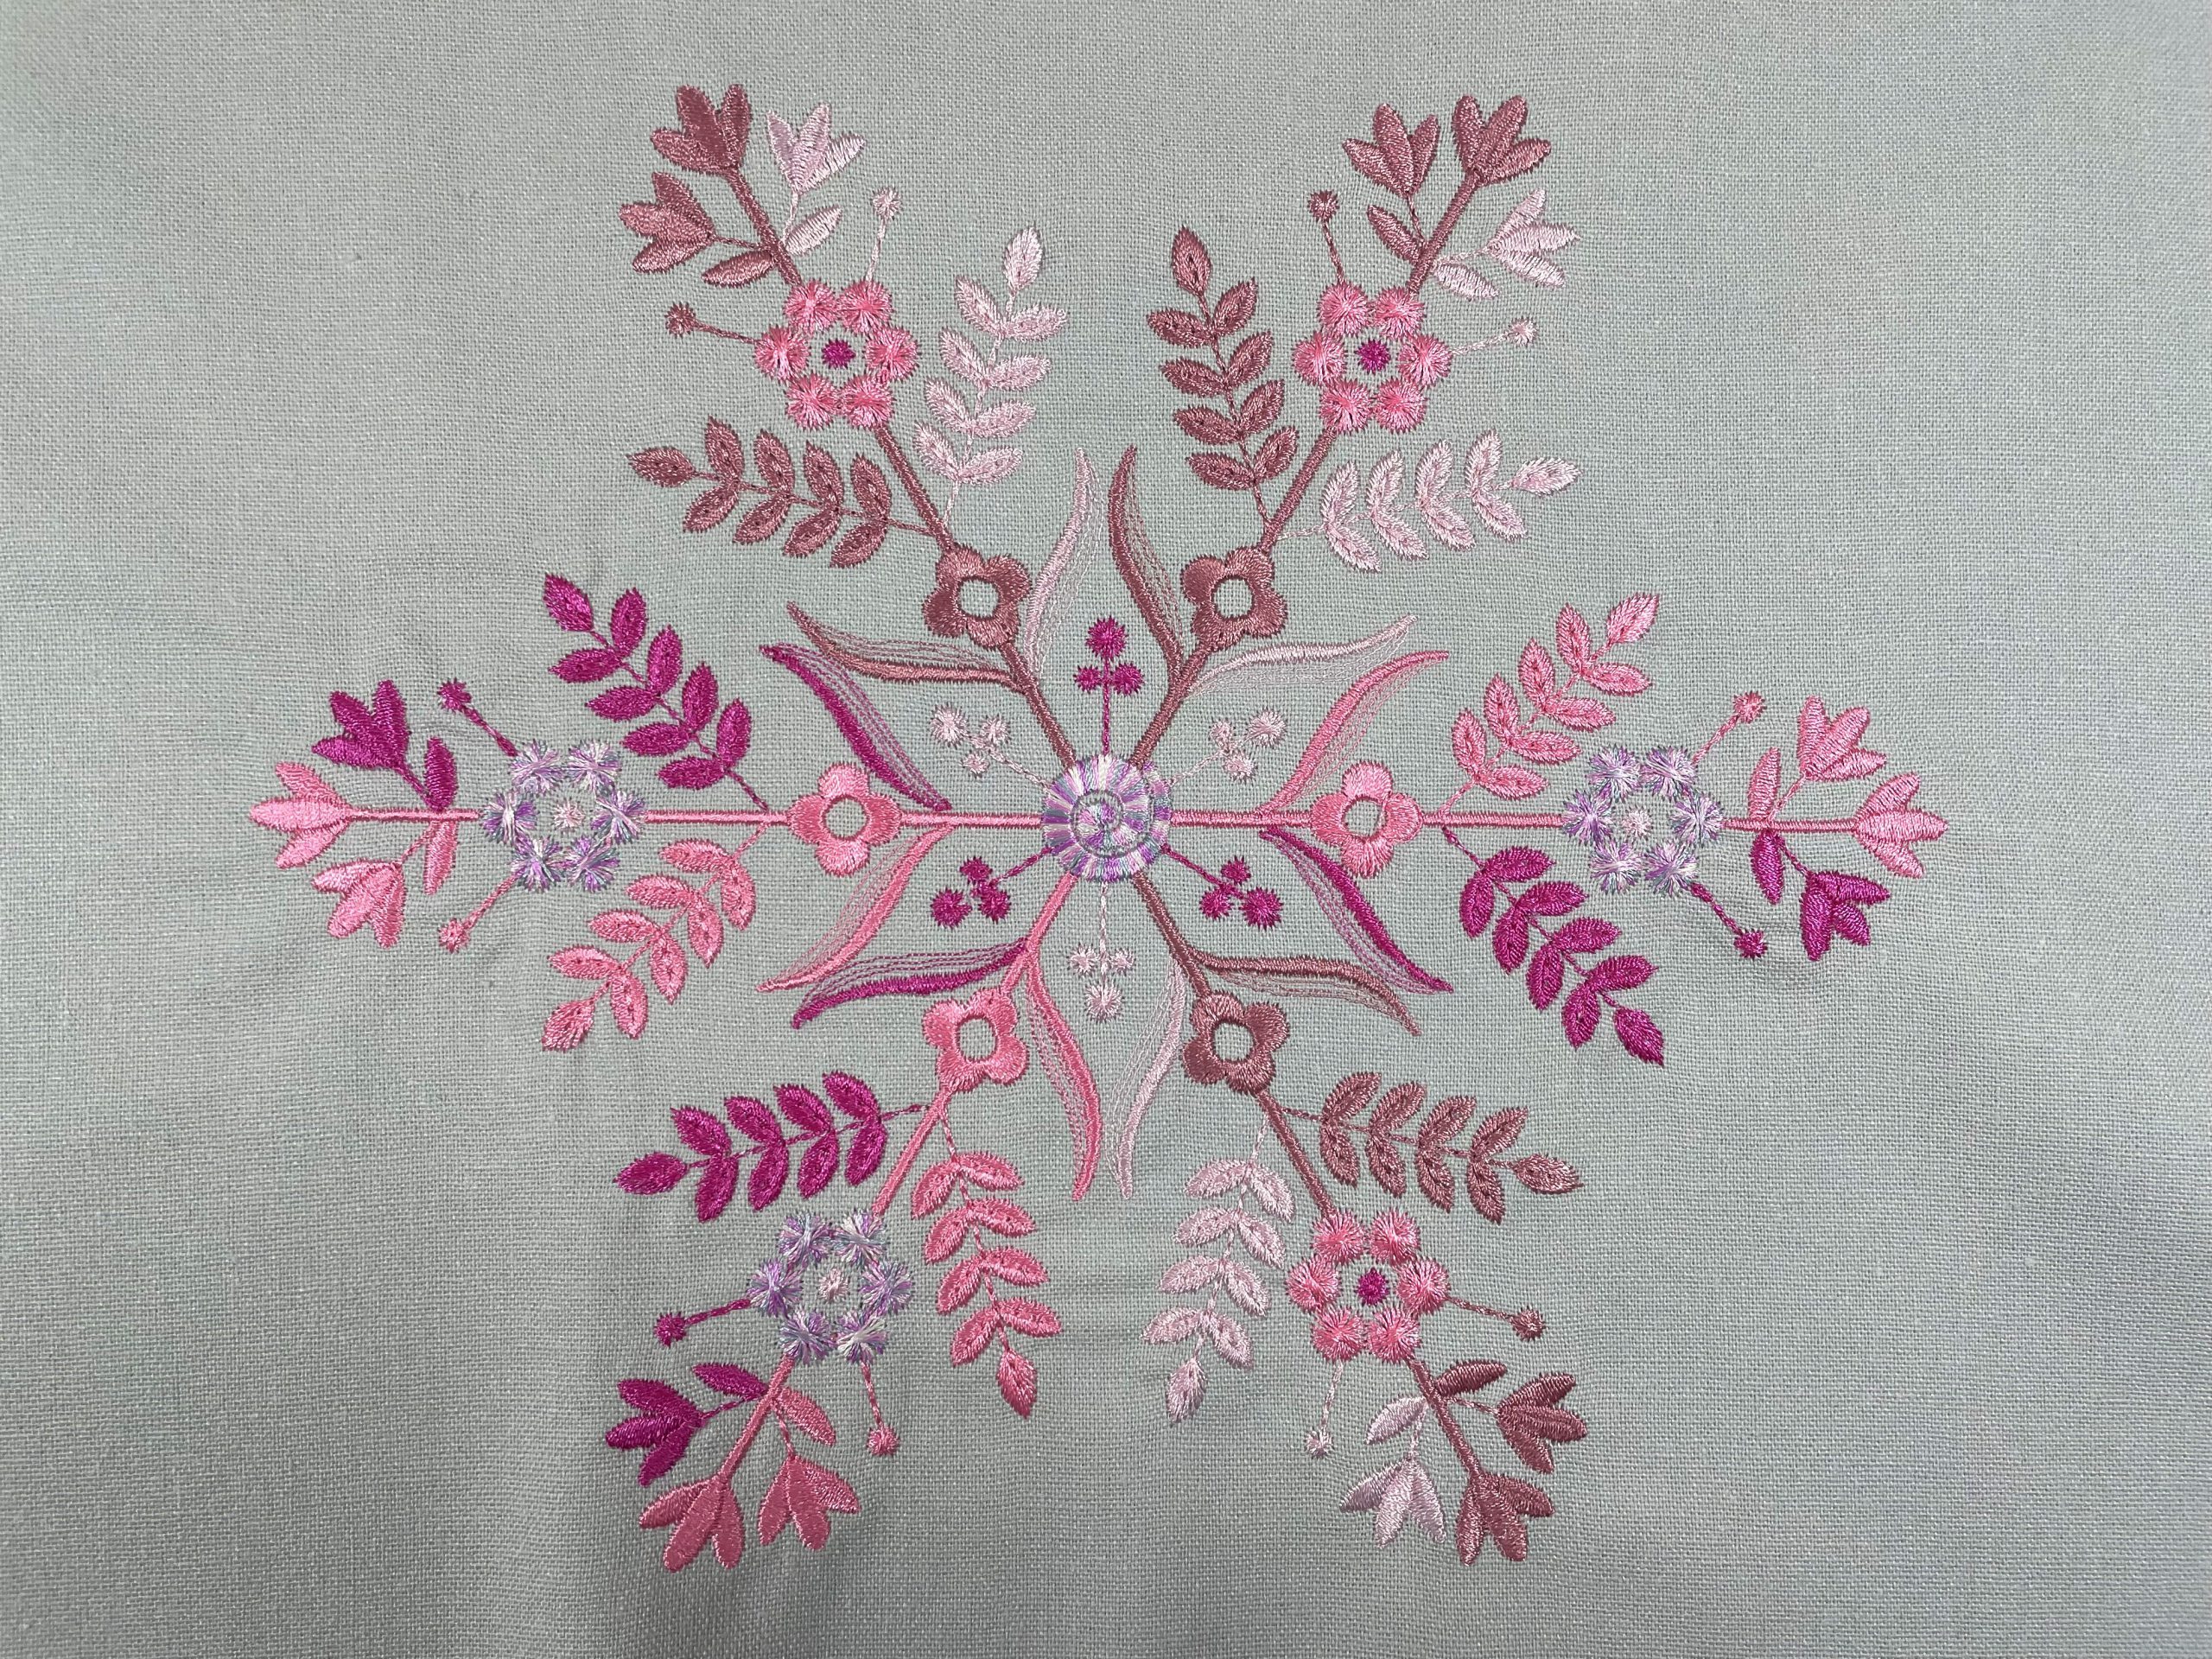
I chose an embroidery motif from EmbroideryOnline by OESD. There, you can easily download entire embroidery collections like the Flowering Snowflakes or individual files onto your USB stick and transfer them to your embroidery machine.
For my dream catcher, I decided on the “Snowflake 2” mandala snowflake: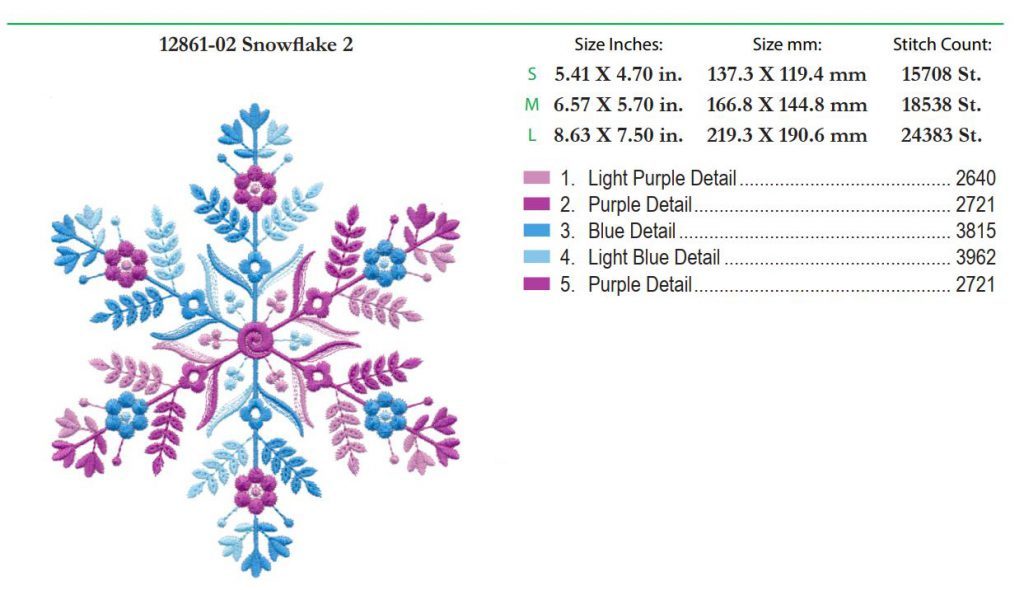
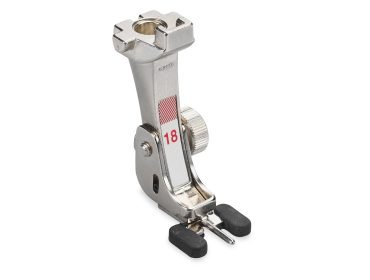
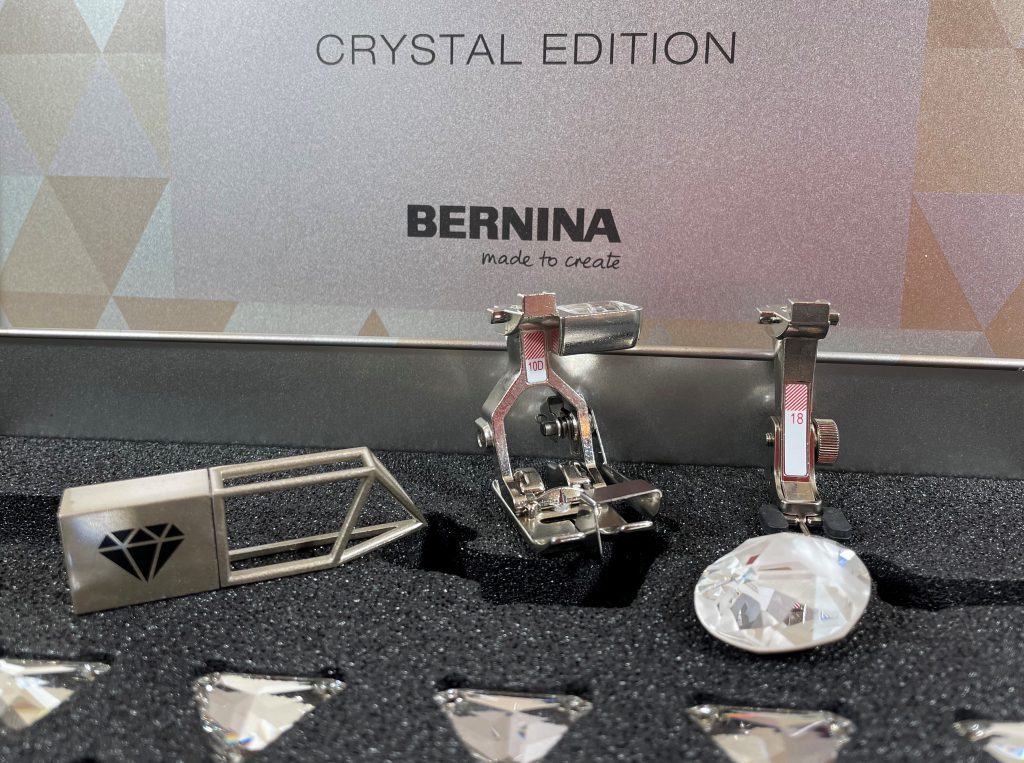
To give my dream catcher a touch of glitz, I am working with the Inspiration Kit from BERNINA’s Crystal Edition machines. The Inspiration Kit includes a large selection of sew-on Swarovski crystals. The elegant metal box also includes the Edgestitch foot # 10, the Button-sew-on foot # 18 and a USB stick with over 300 embroidery designs, including 35 exclusive Crystal Edition designs. It comes as an accessory with the B 790 PLUS Crystal Edition and B 590 Crystal Edition and is not available separately.

You can also find Swarovski crystals and other sew-on rhinestones online or at specialist retailers, so you can create the sparkling dream catcher even without the Inspiration Kit.
Preparation
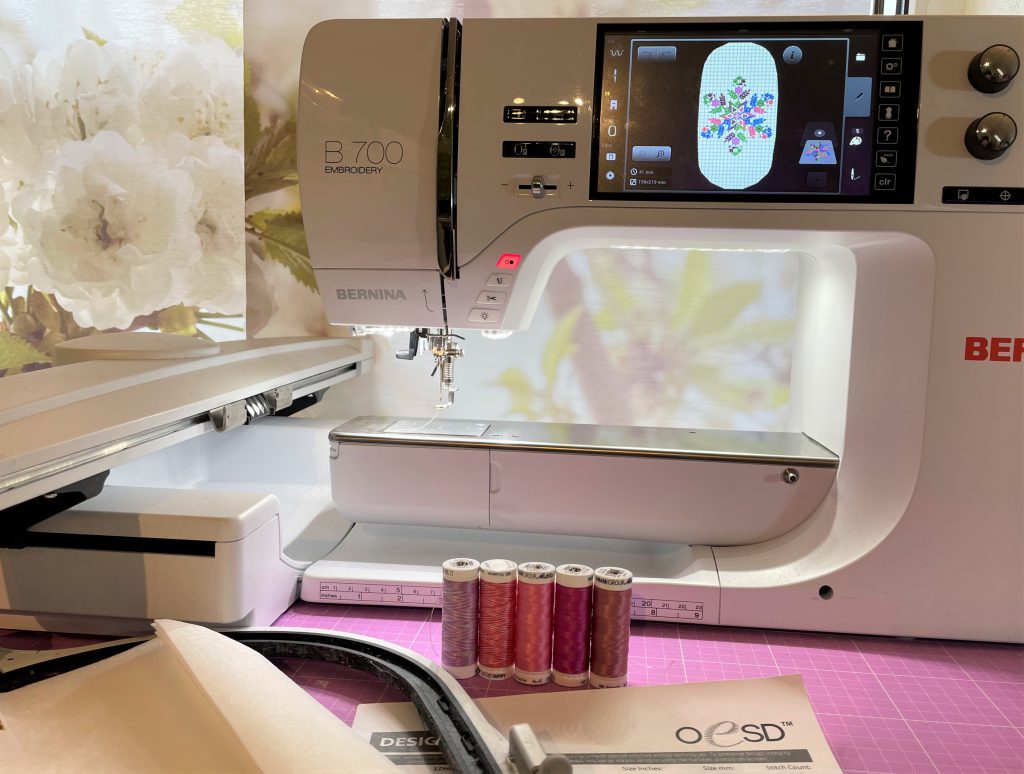
Cut out the stabilizer and the fabric to fit the size of your embroidery hoop and hoop them both together drum-tight. For the large snowflake (there are 3 sizes), I used the Maxi Hoop, the largest hoop that fits my BERNINA 700.
Embroidering the dream catcher
Now prepare the embroidery machine. Has it been oiled, does it have enough bobbin thread on the bobbin and is the embroidery design saved on the USB stick?
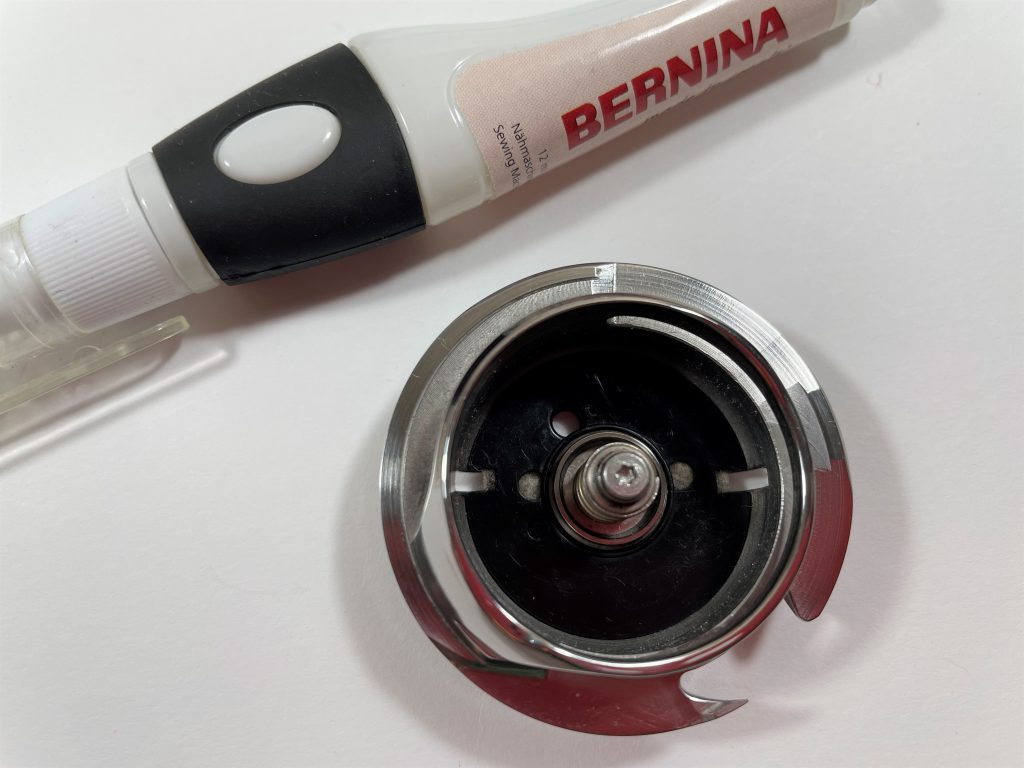
As you can see, the felts of my hook are very dry. Here you can find tricks and tips on how to oil your sewing and embroidery machine!
Which colors go best with my fabric?
Now it’s time to start embroidering!

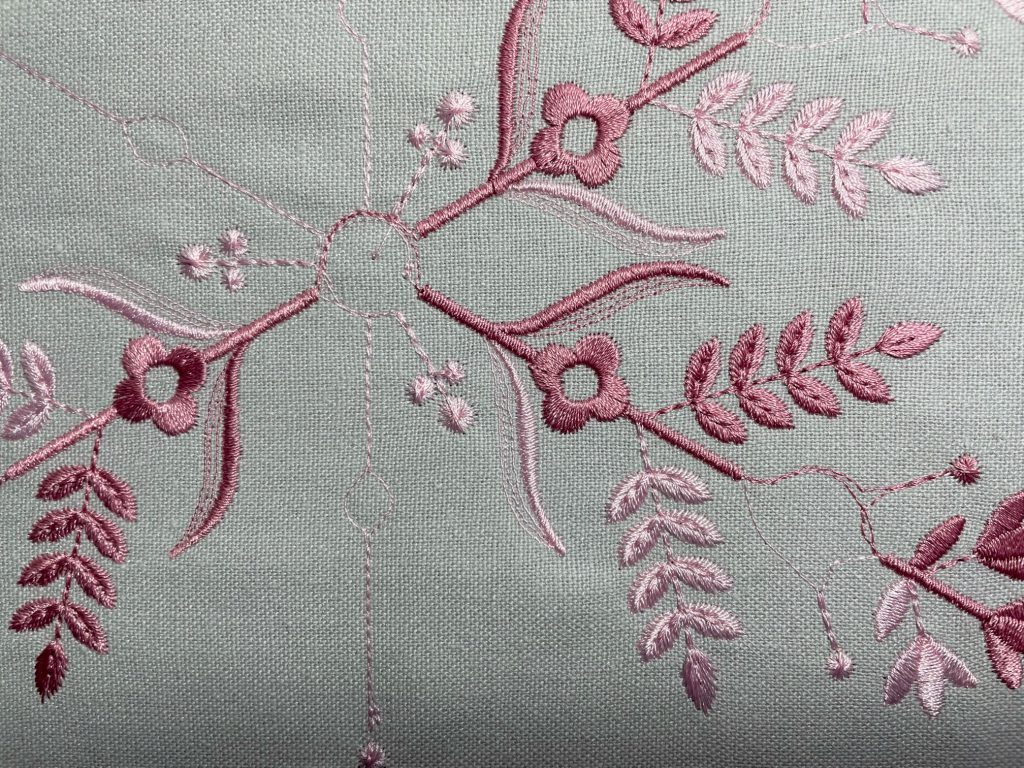
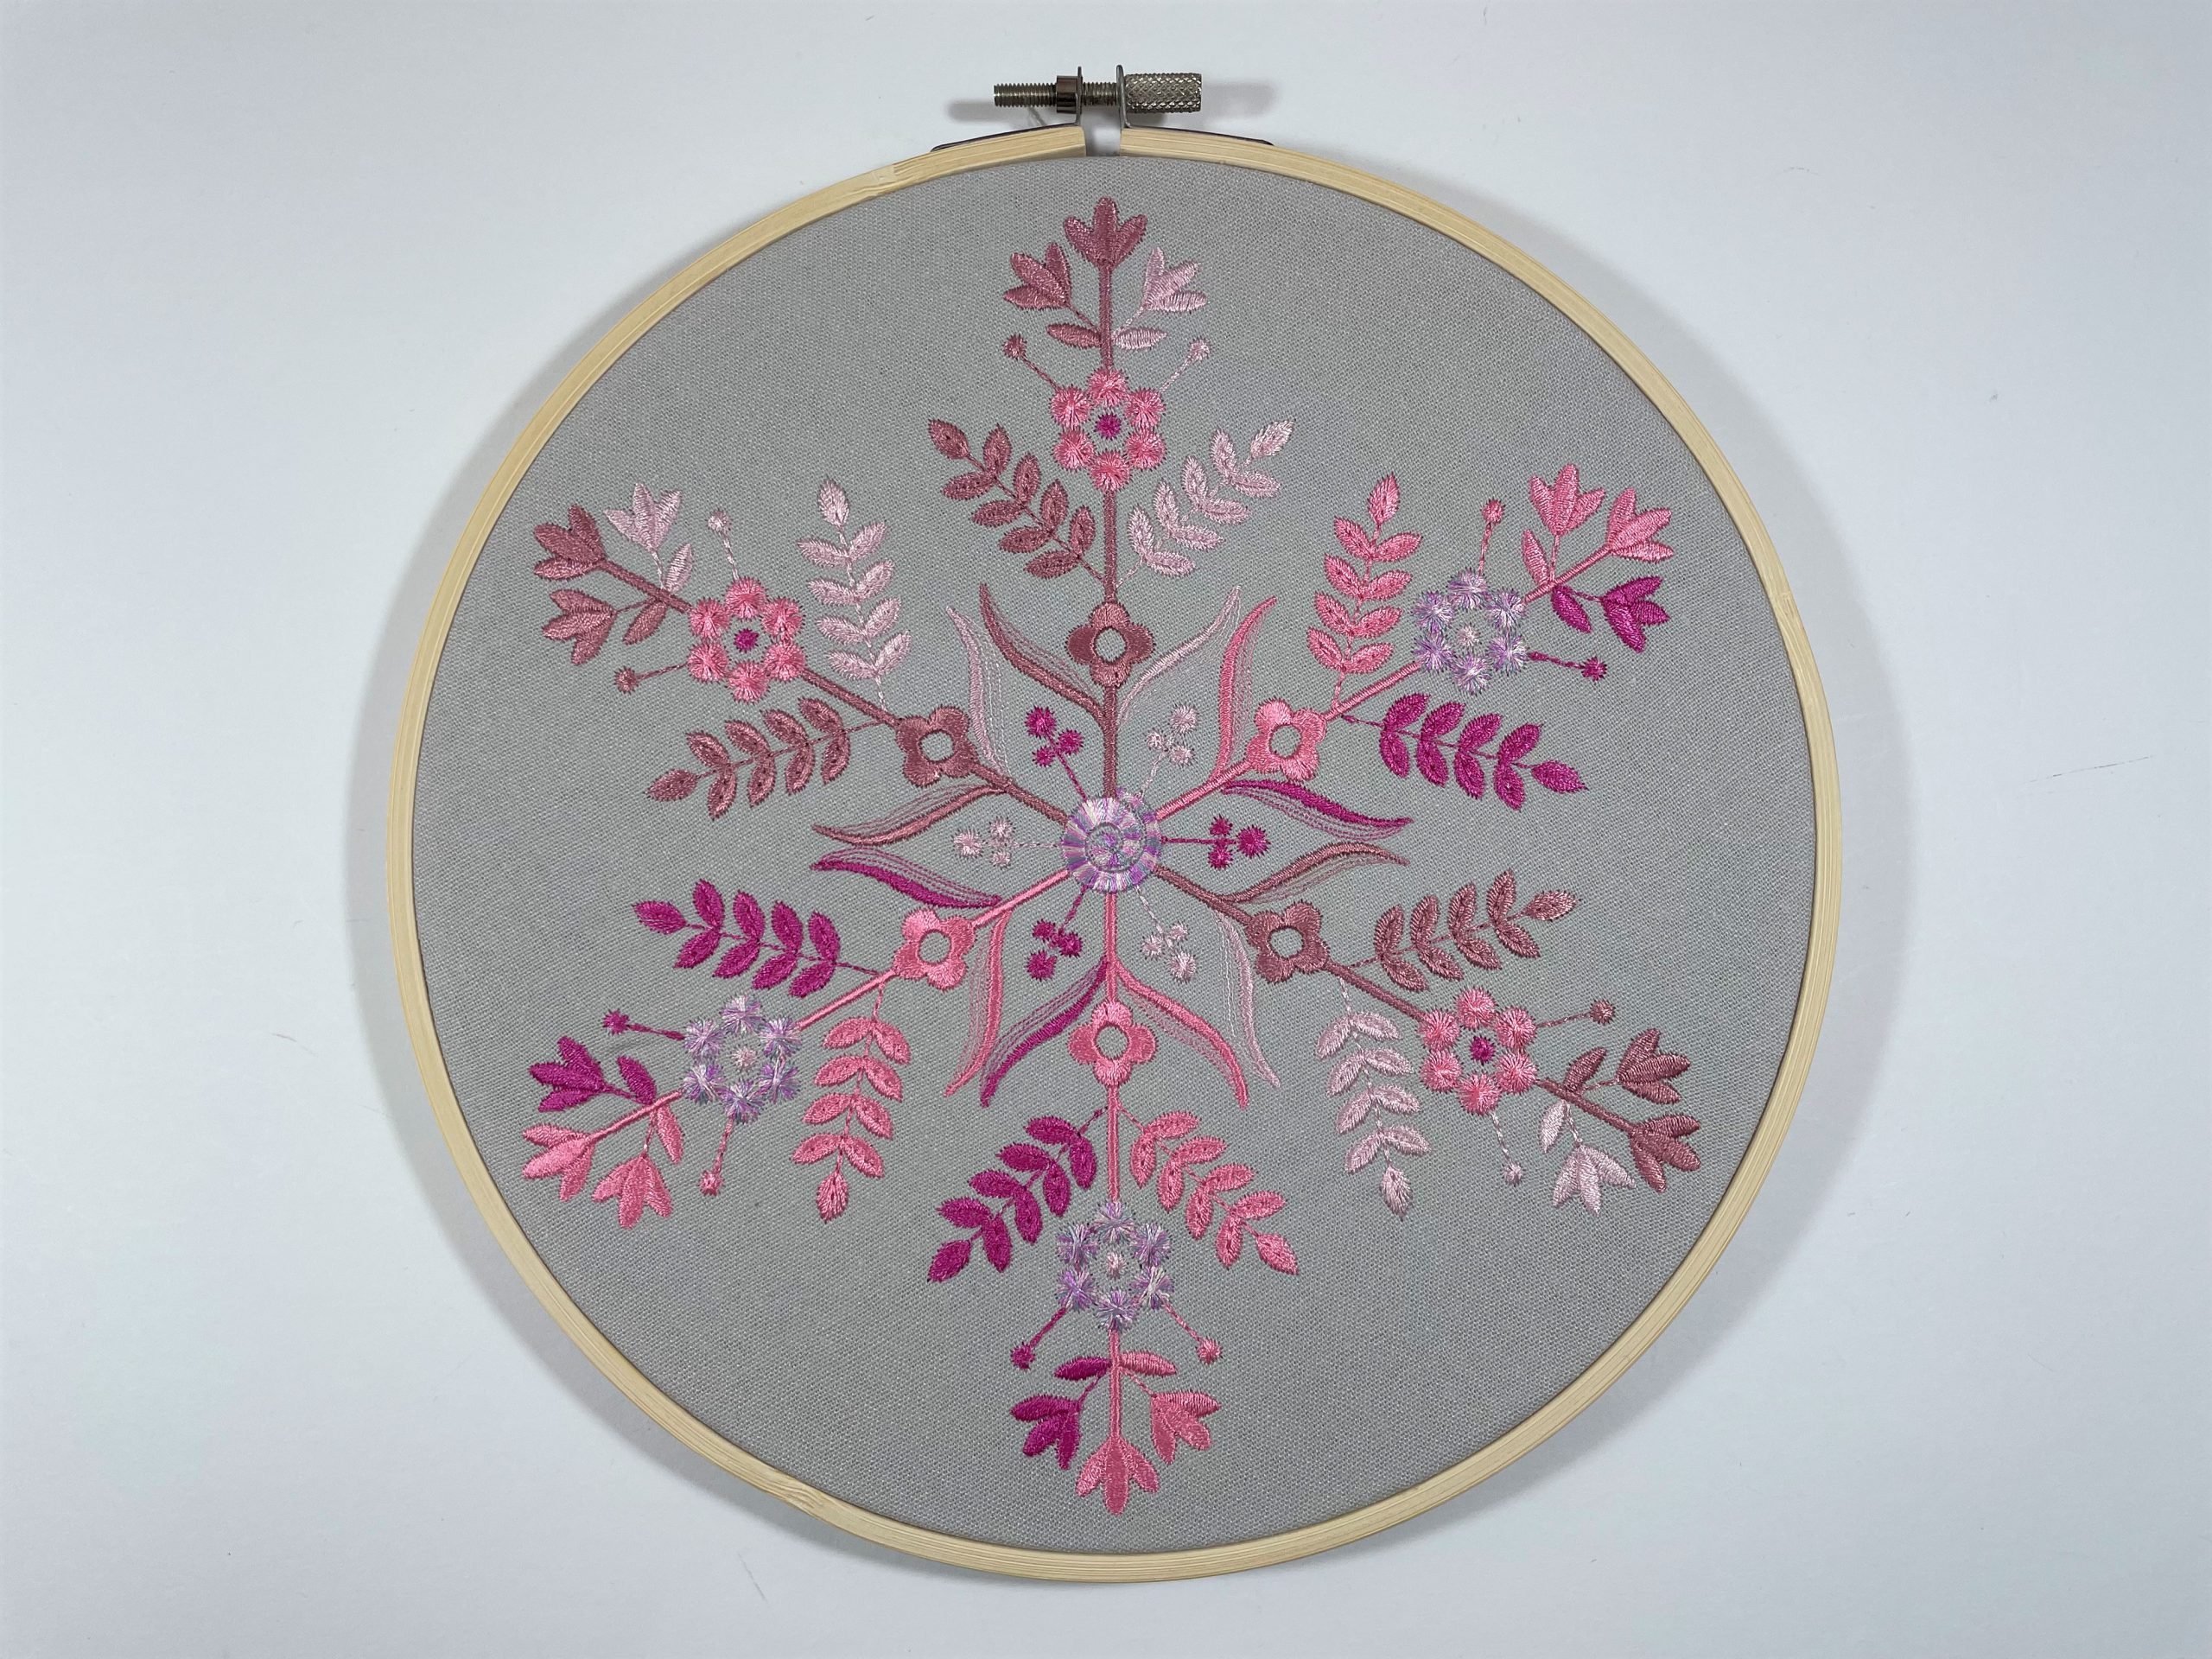
All done!
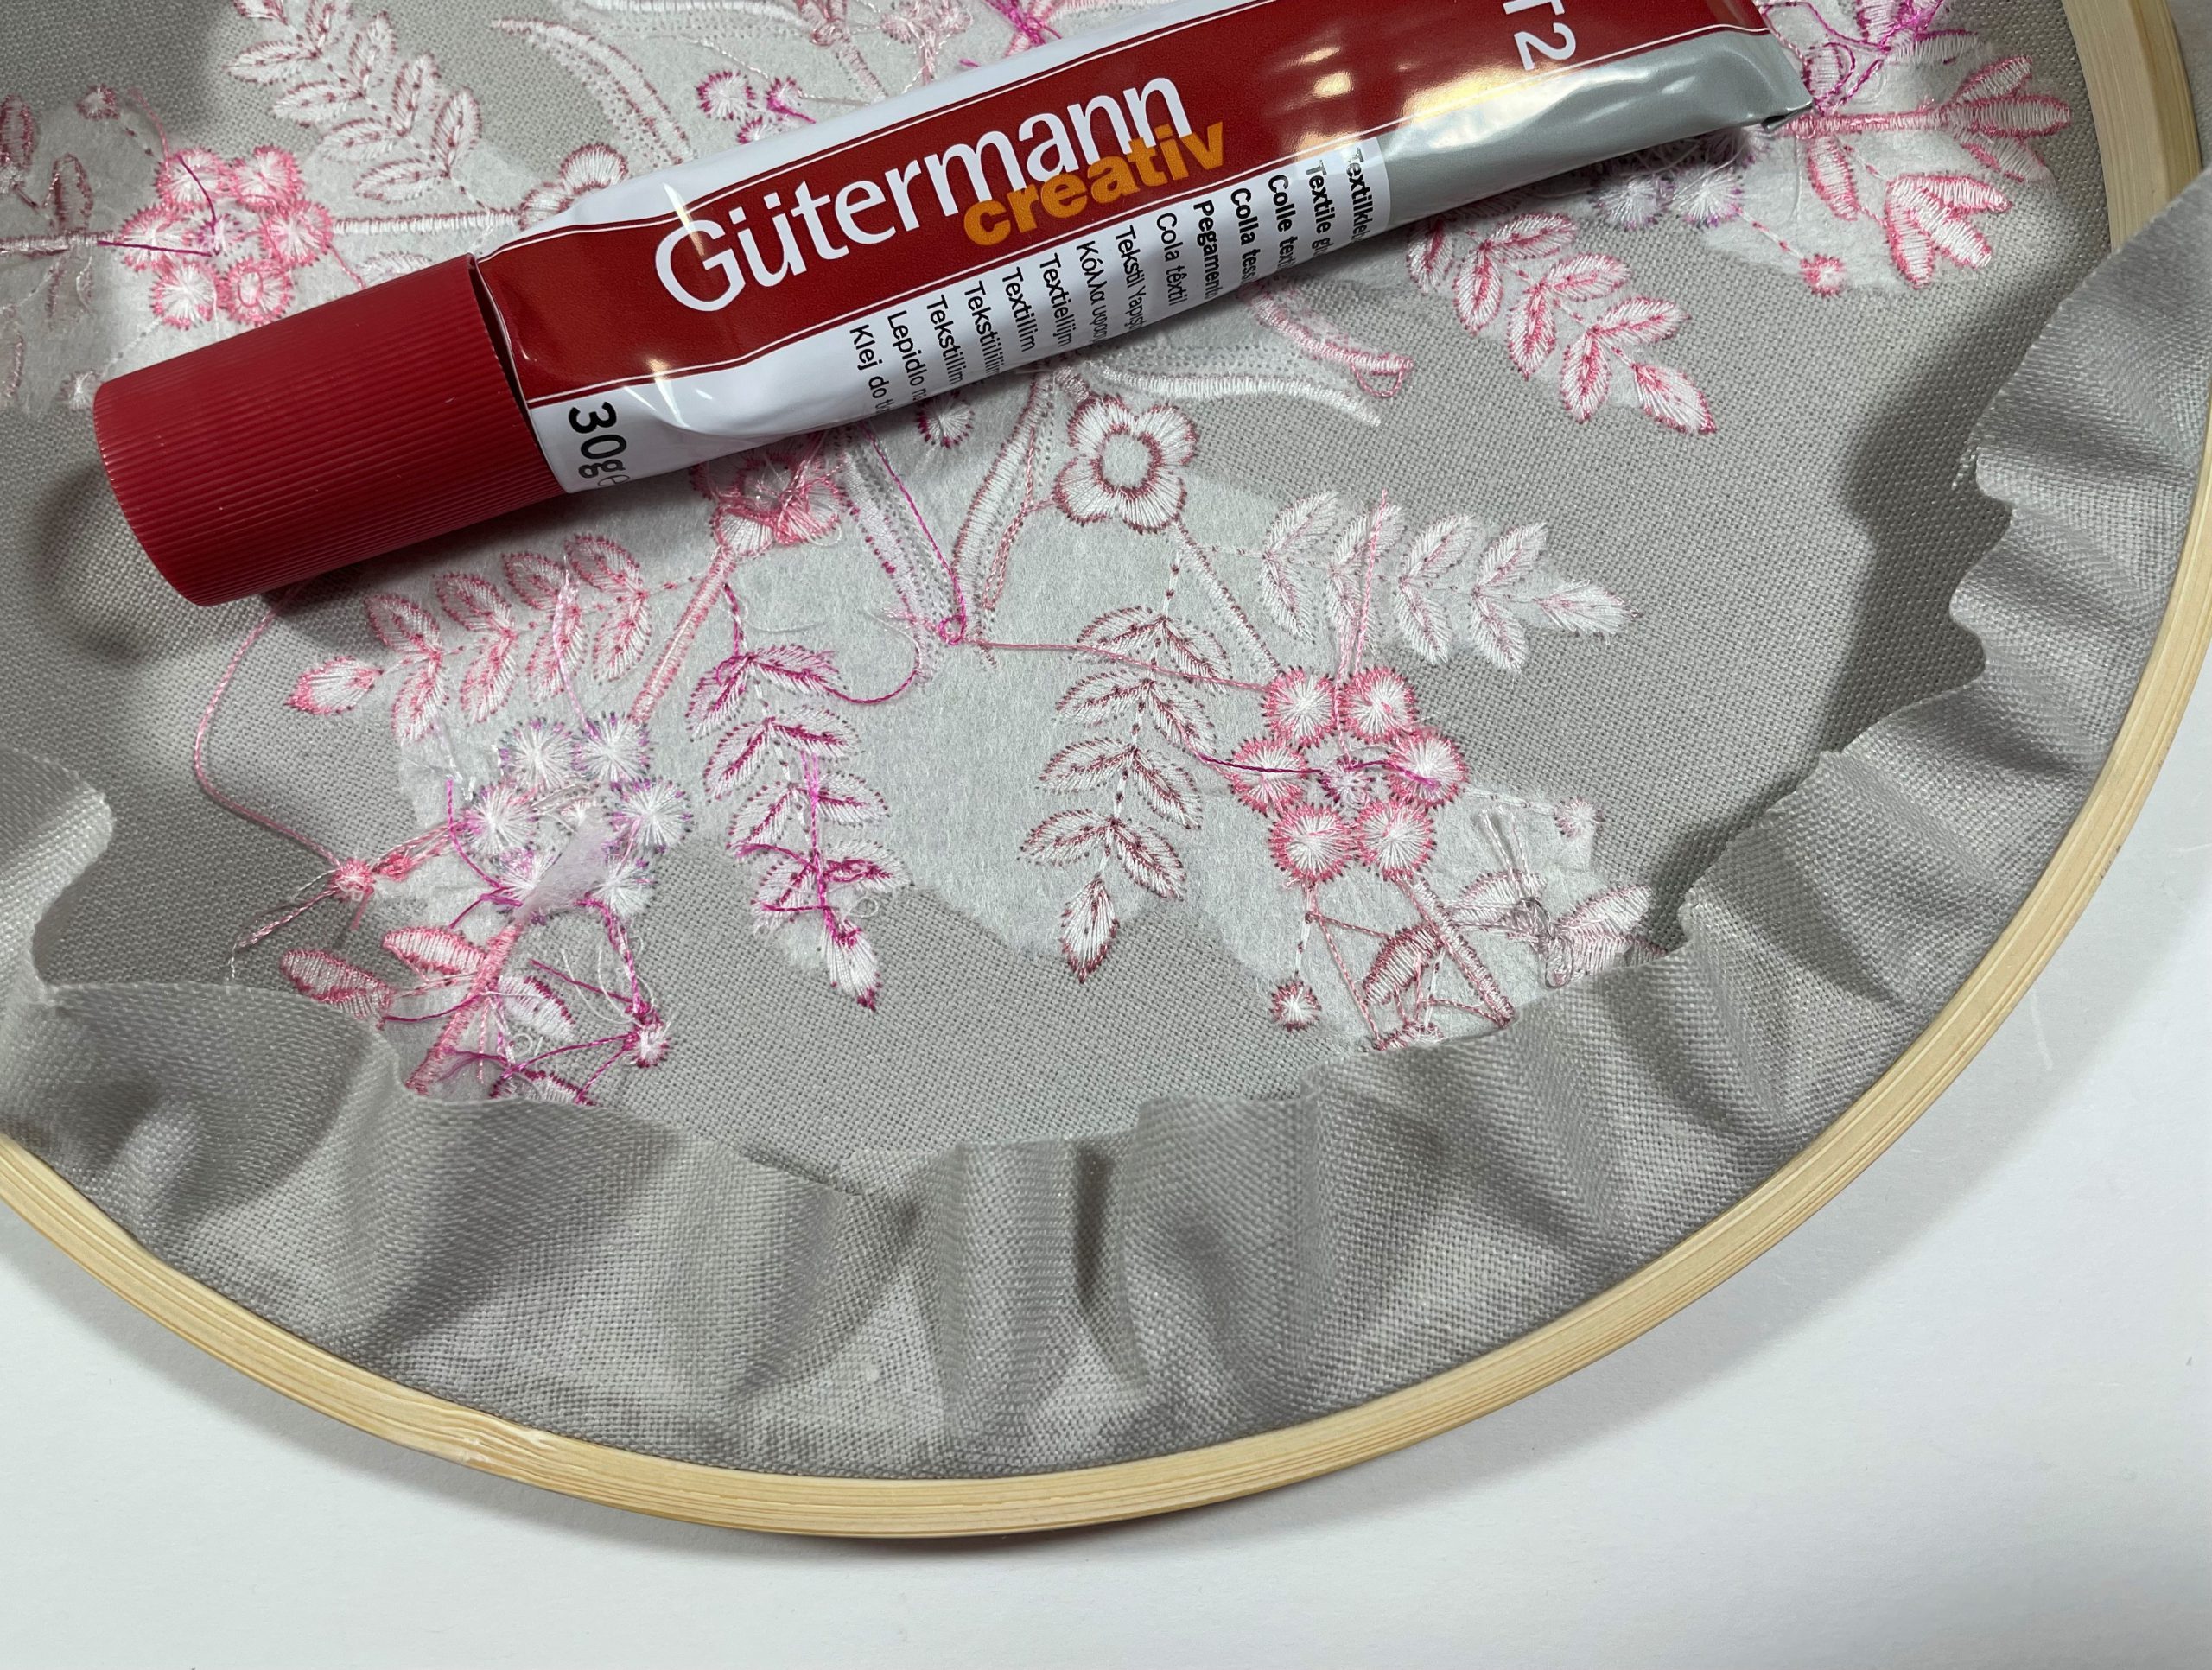
Take the finished embroidered design out of the hoop, remove the stabilizer and insert it into the wooden embroidery hoop. Trim the fabric on the back and secure the edge to the wooden frame with textile glue. Allow it to dry.
Embroidering a dream catcher – Making the ribbons
I took inspiration from all the beautiful materials: snowflakes with glitter ribbon, satin ribbons with lots of beads…

… embroidery thread with crystals.
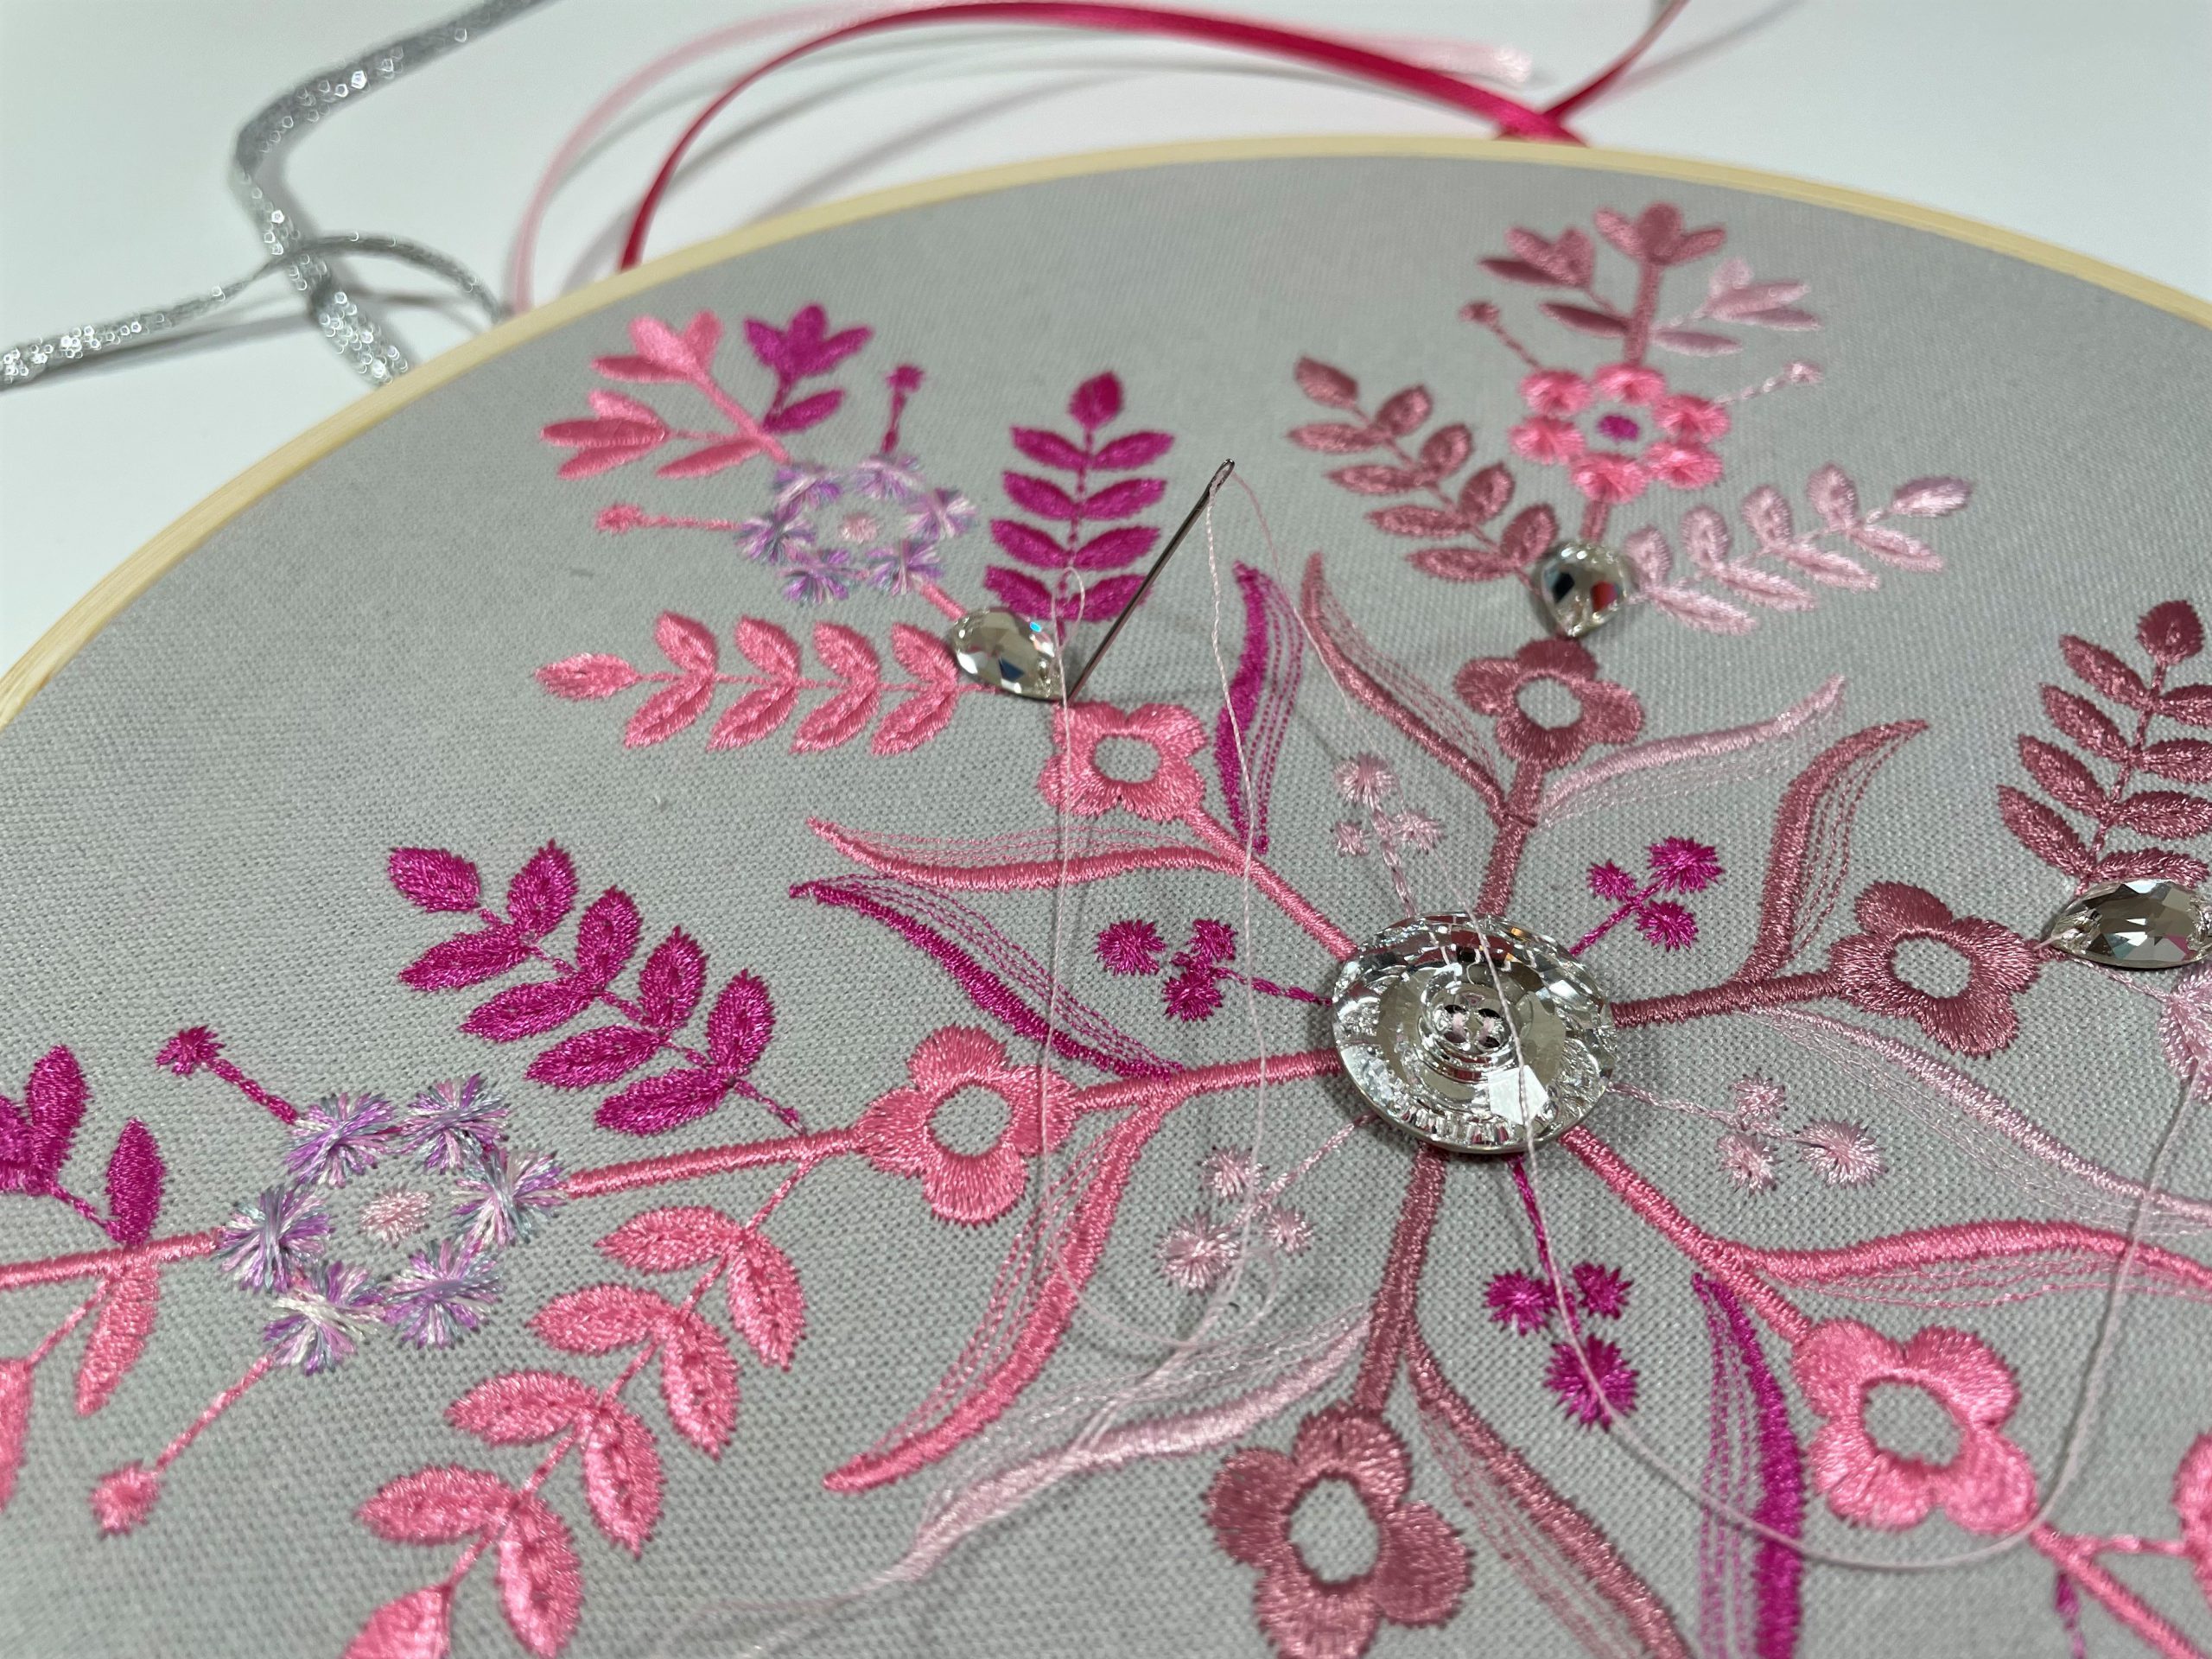
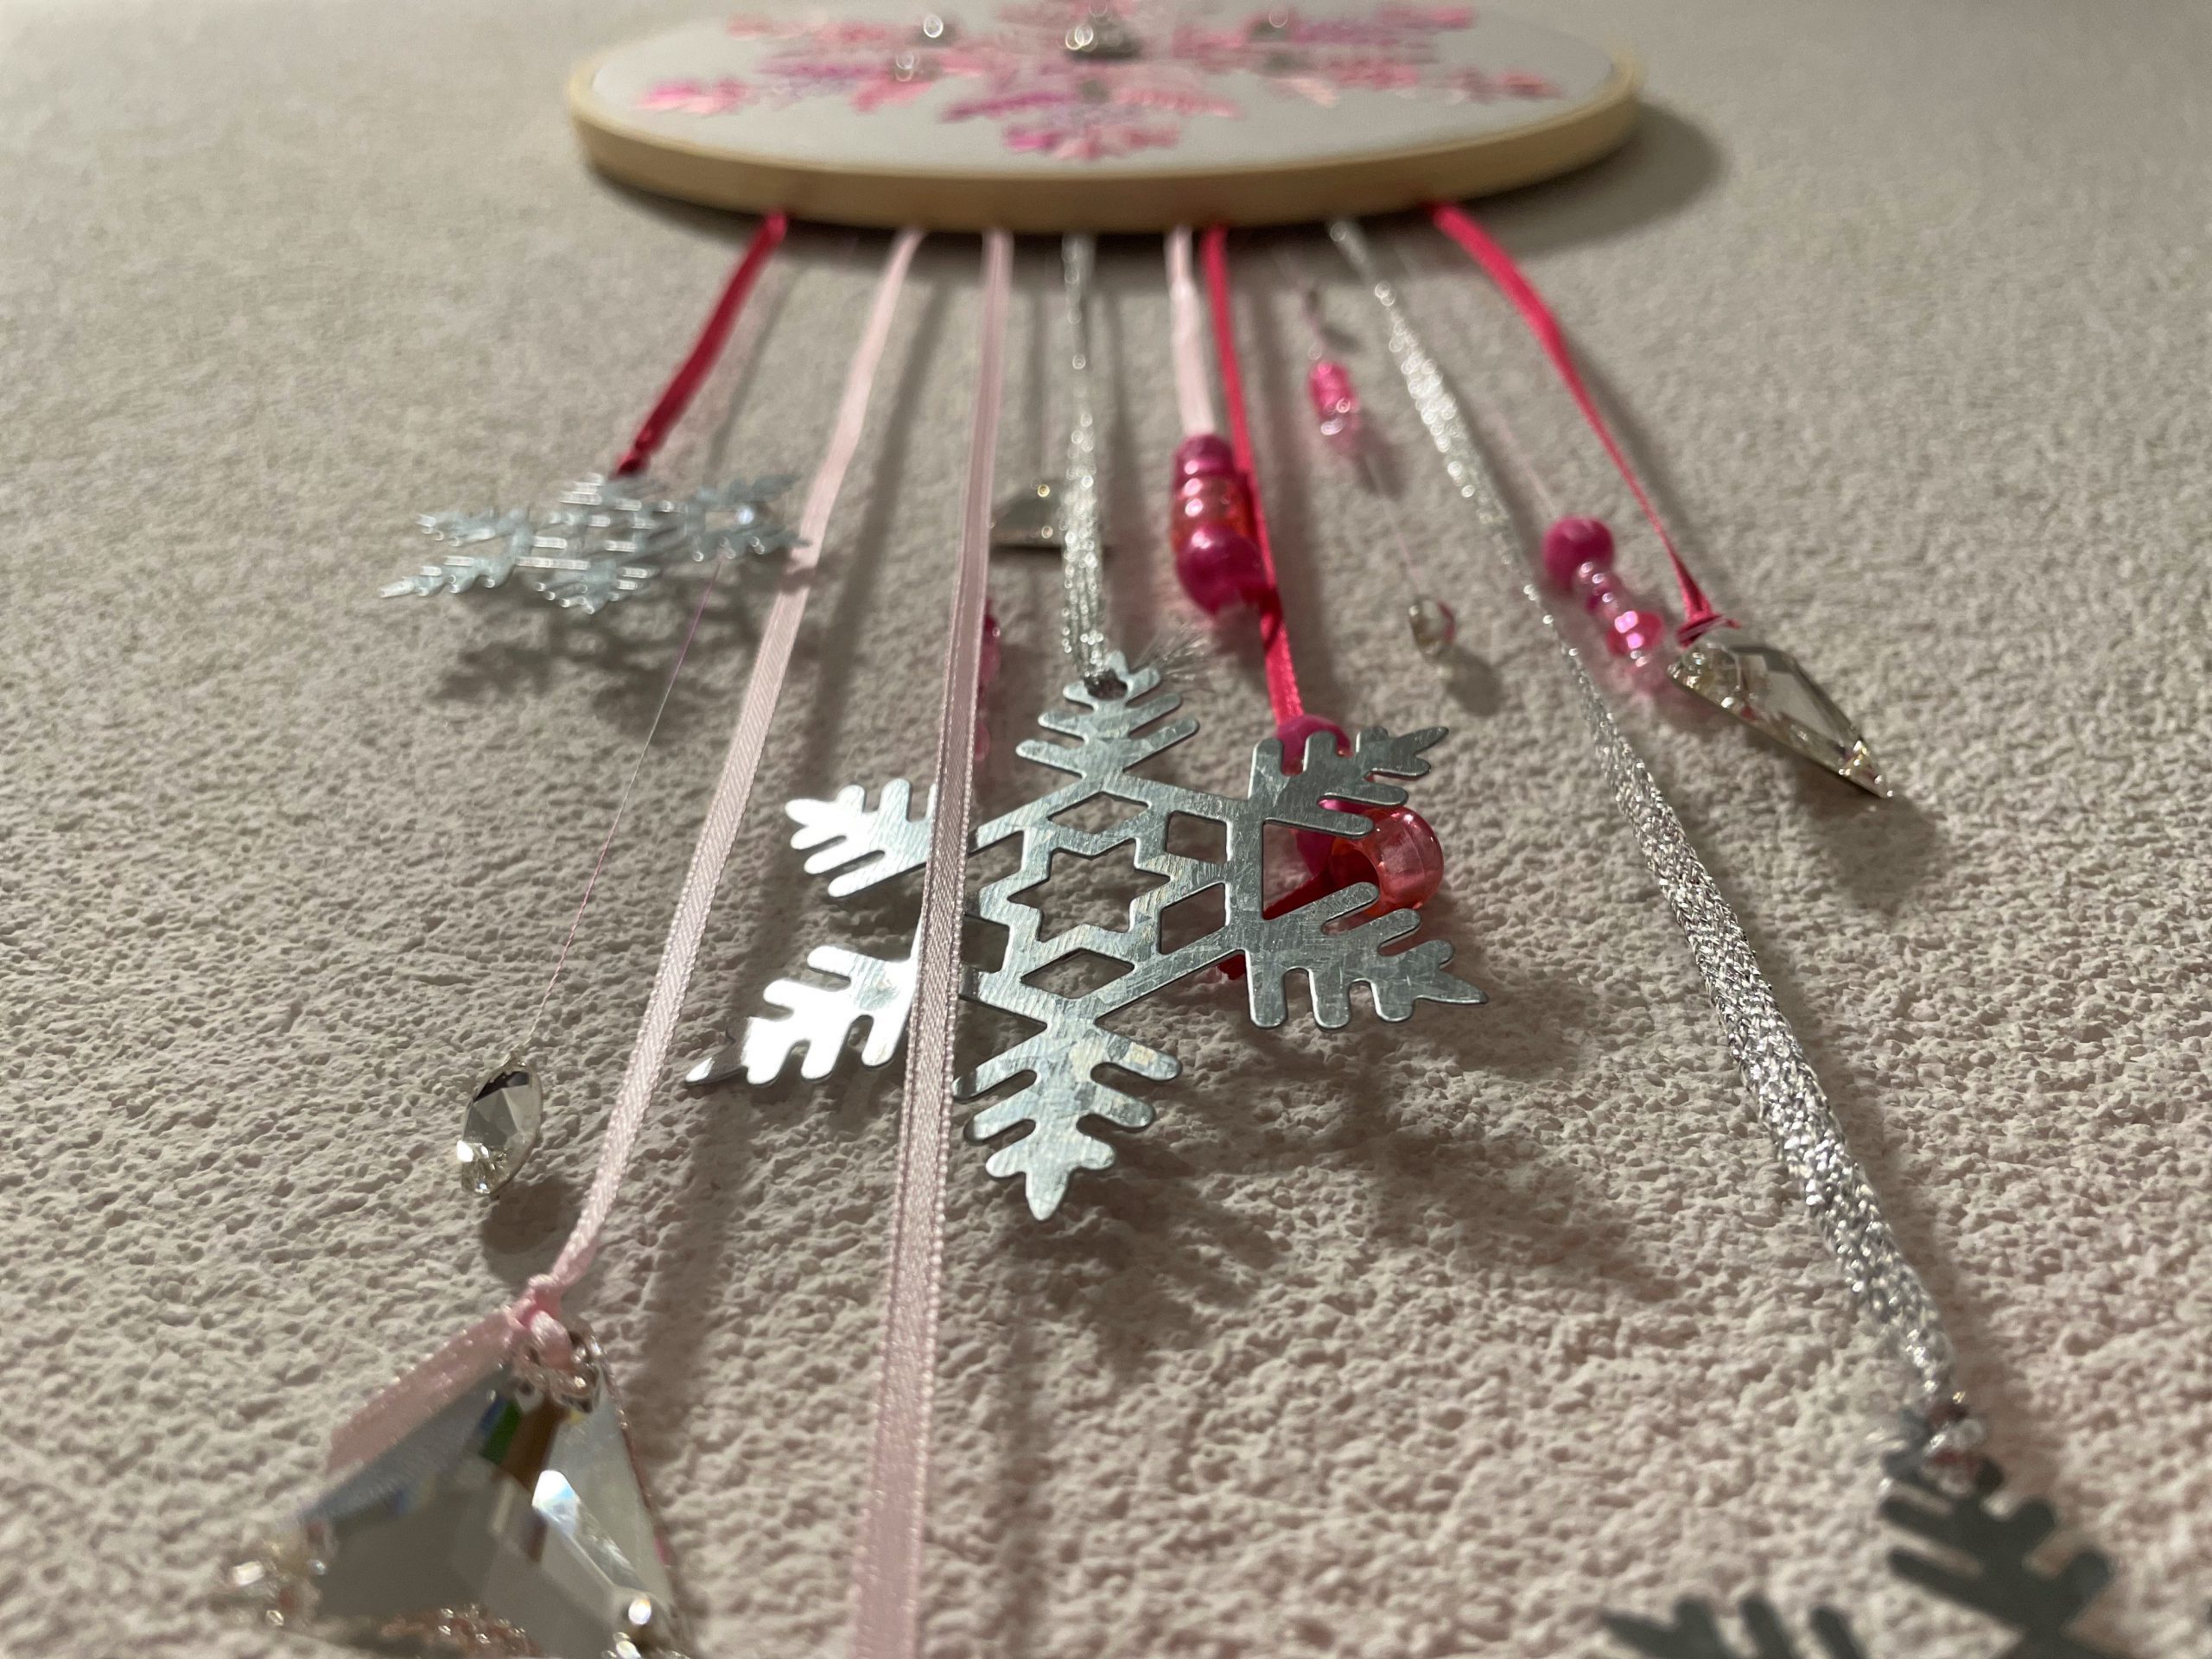
I stuck the ribbons onto the hoop with textile glue and sewed the thread onto the fabric. I also sewed on crystals.
And now my dream catcher is finished!


I wish you sweet dreams, a relaxed Advent season, a wonderful Christmas and, above all, good health!
Best wishes,
Stefanie from glückshäkelei.de

0 Responses