 BERNINA Corporate Blog -
Surprise! Here is the first blog posts with a pattern for the new Sugaridoo BERNINA quilt along.
Do you also have a hard time waiting for the One Two TREE QAL to start? I just can’t wait for it to begin. So today, I have something for you. I’m sharing the pattern for the backing of the quilt. So you can go ahead and start preparing that already.
One Two TREE Quilt Along
This blog post is part of the One Two TREE Quilt Along. This is a free QAL where you will learn to confidently quilt your own quilts with free motion quilting and rulerwork quilting.

On January the 12th we will start sewing trees. Those trees we will use as a canvas to quilt a different pattern in each of them. We’ll take it slow and start with the very basics. Want to join in? Start here and read more about the Quilt Along and the Fabrics and Materials. There you’ll also see the quilt that we’re making.
There are fabric kits available for the QAL in the Sugaridoo webshop. But you’re also free to join in with your own fabrics of course.
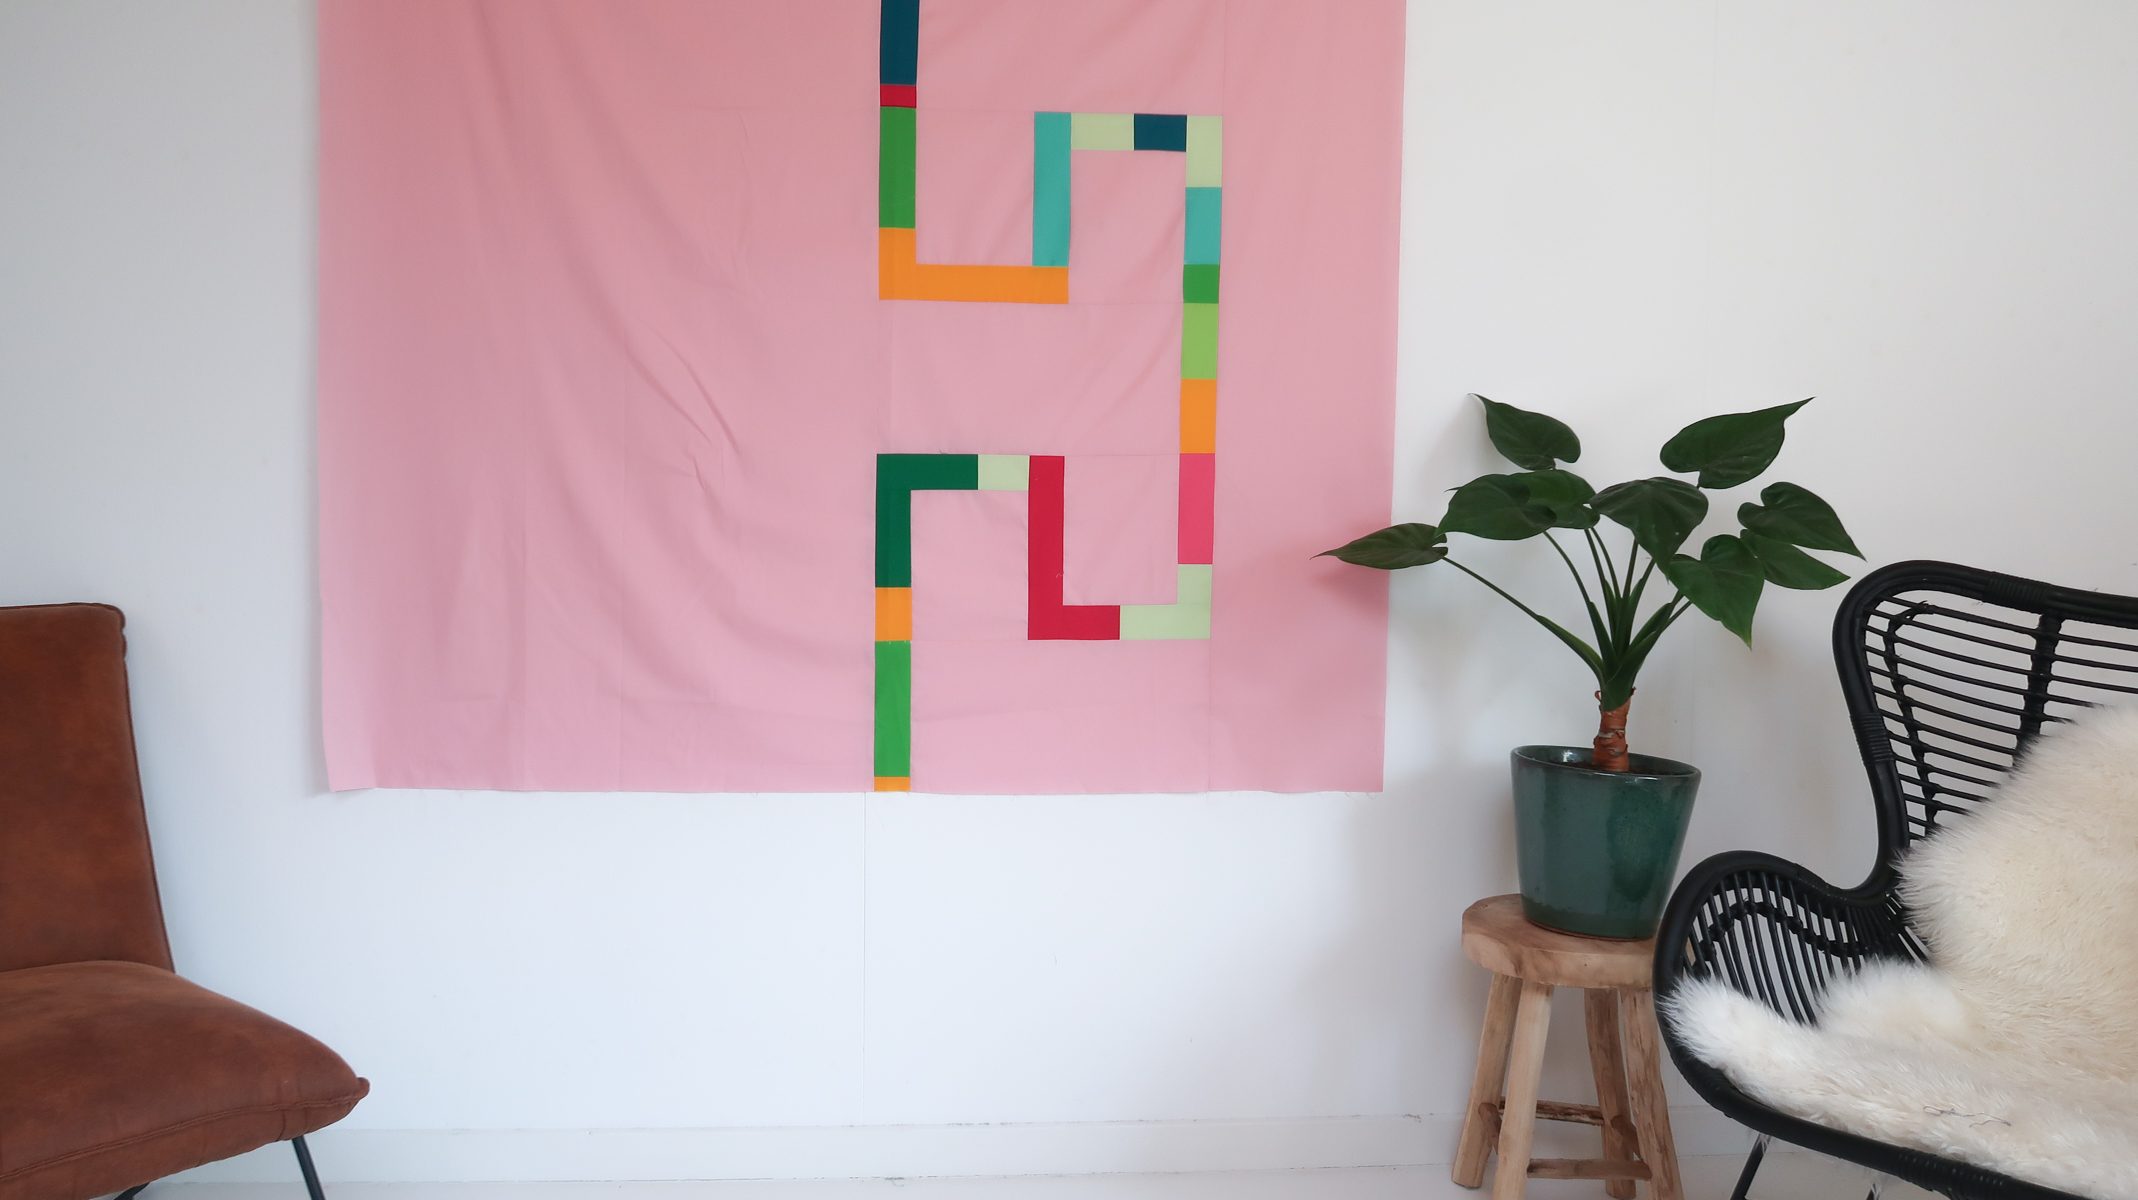
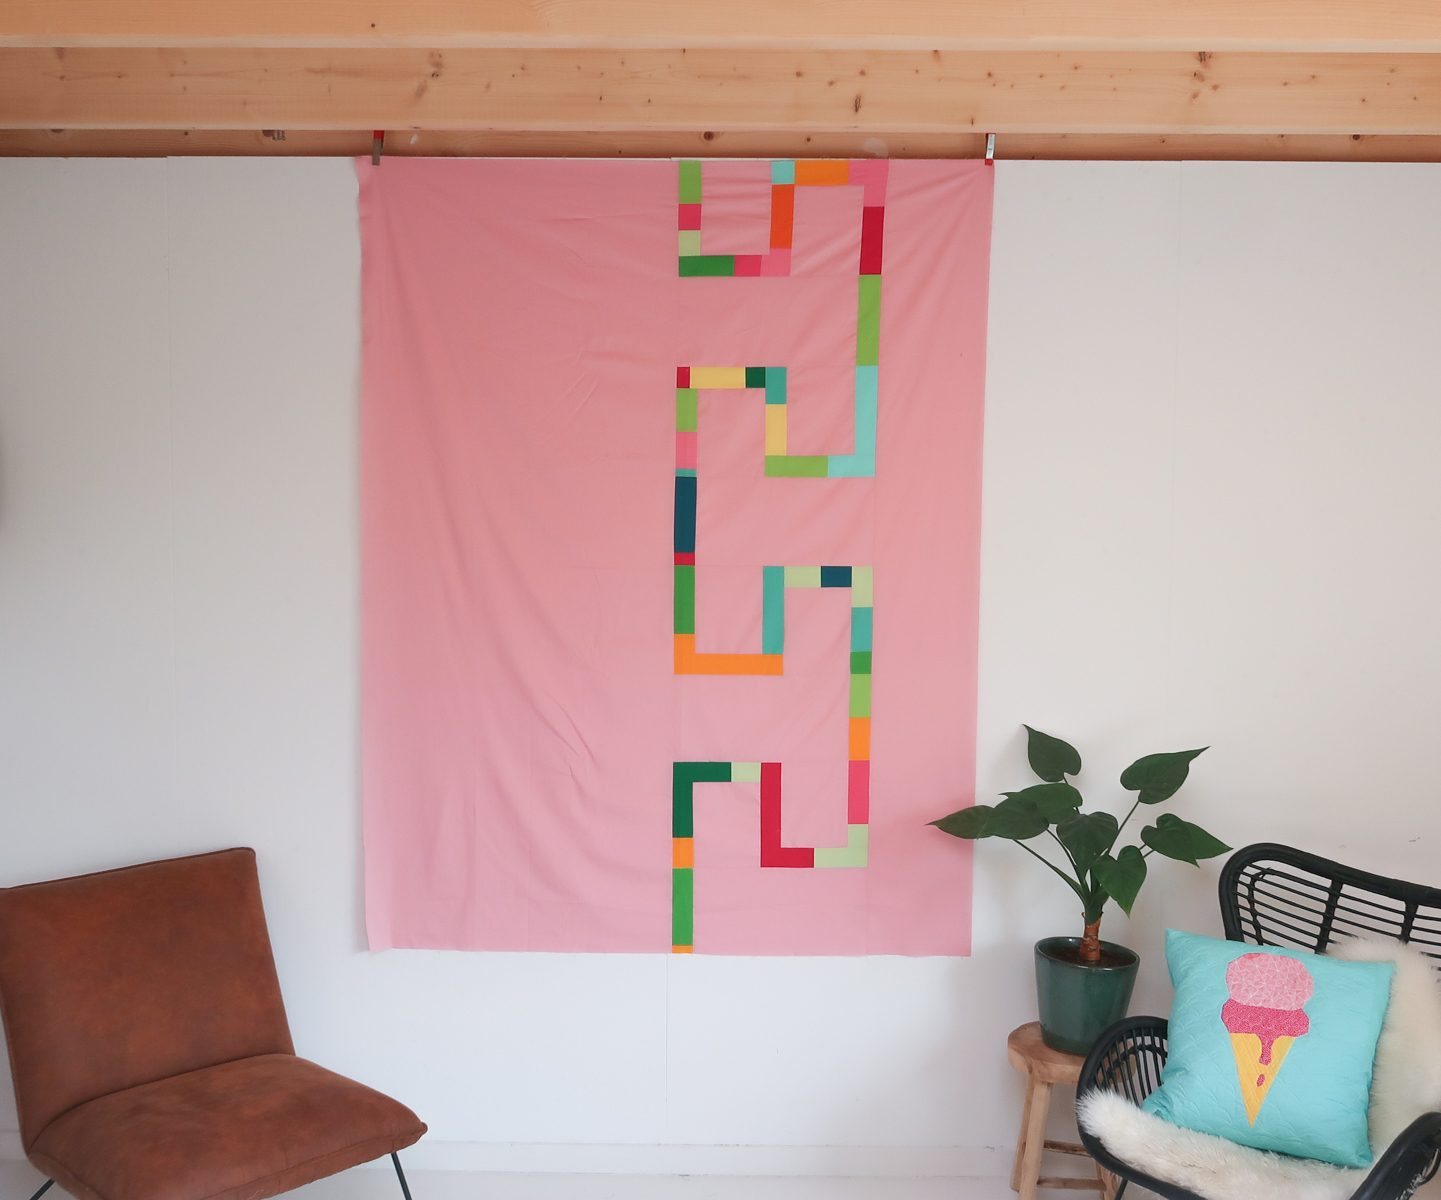
Quilt backing
This backing pattern is optional. It’s perfectly fine to use one large piece of fabric for the back of the quilt. But I thought it would be fun to piece together a Happy Scrappy backing.
The finished QAL quilt top measures 51 1/2 x 68 1/2. The batting and backing of the quilt need to be a little big bigger. The Happy Scrappy backing measures 59 1/2 x 76 1/2 inch. Here is how to make it. All measurements include 1/4″ seam allowance.
There are kits available for this backing if you’re interested.
(I ship world wide, the fabric kits and ruler sets are still in stock and ship every week.)
Scrappy strip
If you’re sewing with a backing kit, you will find 2 1/2″ strips in there. From these strips you’ll make the scrappy backing and the scrappy binding.
From the 2 1/2 inch strips, cut pieces varying between 3 and 8 inch (or as short or as long as you like). Sew these into one long scrappy strip that measures about 200 inch.
Please note: Feel free to start with a shorter scrappy strip and add pieces to it along the way. When you read the whole pattern before you start, you’ll see that we won’t need that 200 inch strip in one piece 😉 It’s just an indication of how much scrappy fabric you’ll need.
If you’re making this quilt with your own fabrics, you can dive in to your scrap box and cut 2 1/2″ wide strips from your scrap fabrics.
Backing fabric
For this backing you will need 3 meter (3 1/4 yard) of background fabric.
Cut the following pieces from the background fabric.
- A: 4 times 17 1/2 x 9″
- B: 8 times 7 x 9″
- C: 30 1/2 x 76 1/2″
- D: 10 1/2 x 76 1/2″
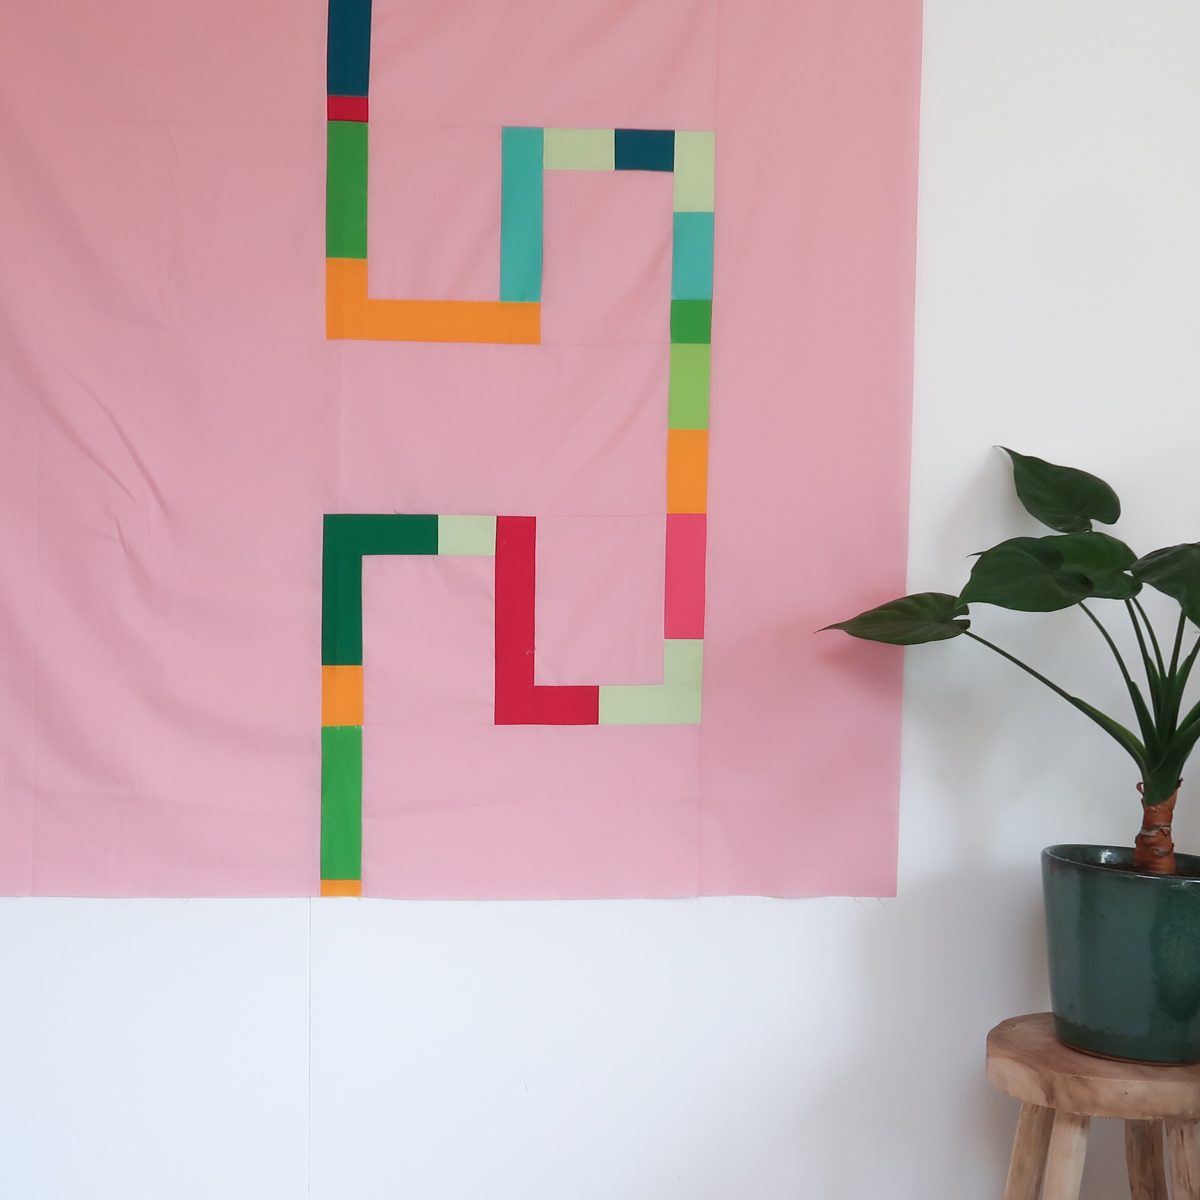
Sewing A blocks
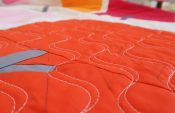
Now we can start sewing. We will start with our scrappy strip and four A pieces. Sew pieces of the scrappy strip along the 9″ side of the rectangles.

Sewing B blocks
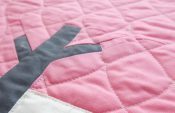
Take two B pieces and sew a piece of scrappy strip to the 7″ side and then a piece of scrappy strip to the longer side, like in the image below.
Let’s call these B-left.

Then take two B pieces and sew first a piece of scrappy strip to the 7″ side and then a piece of scrappy strip to the other longer side, like in the image below.
Let’s call these blocks B-right

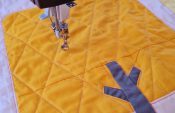
Take the other four B pieces and sew a piece of scrappy strip to the 7″ side. After that you’ll sew a piece of scrappy strip to both longer sides.
We’ll call these blocks B-double.

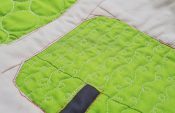
Now we will combine the B-left and B-double blocks into the block you see below. Make two of these.

And combine the B-right and B-double blocks into the block you see below. Also make two of these.

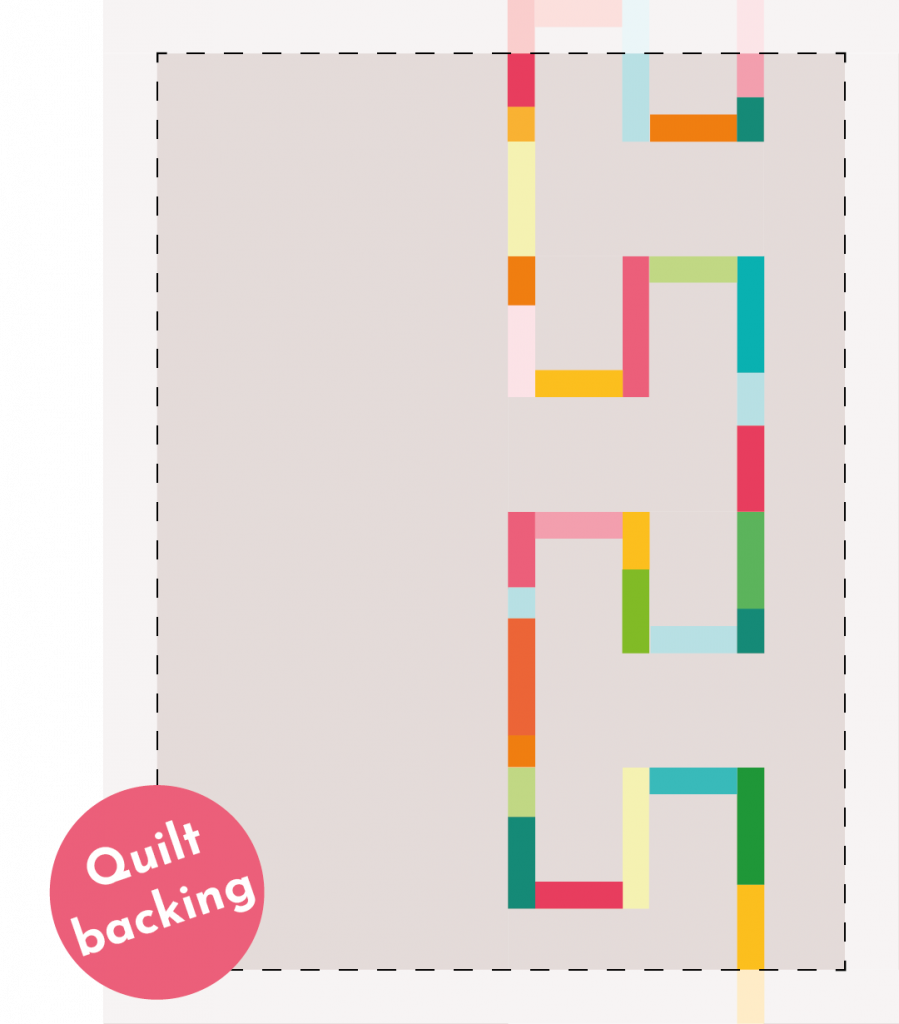
Assembling the quilt
All the building blocks are in place for our Happy Scrappy quilt backing. We’re almost there!
Sew the A and B blocks together, alternating like you see in the figure below. Then add piece C and D, and you’re done.


There you have the first part in place for the upcoming One Two TREE Quilt Along.
Are you going to make a special backing? Or will you use one piece of fabric?
See you in a few weeks for the first tree pattern!
Hugs, Irene
I just finished the back of my quilt, and I am so excited to learn free motion quilting… this is much fun. Go Irene!
Love this backing! Will the scraps from our tree fabrics be enough to make the strips?
Fabric was selected from stash: a rainbow of trees in the snow.Thanks for the first session! I have paper pieced a lot but not with freezer paper, which can be reused.First four trees are made.
I finished the backing just in time for the QAL to start today! Yay!
Yay! So exciting that we finally get to start sewing.
I bought 2 kits so I could mix more colors. How do I get the pattern and access to the FB blogs?Thanks Bonie Loiselle
Hi Bonnie, if you have trouble entering the FB group you best send an email to [email protected], then I can help you there. Thank you! Irene
I am ready to start! My kit got off that ship in the harbor!! Lol
Hello Irene!I am so looking forward to this. I want to thank you for sending out the second shipment! it seems to really be going to arrive! If the lost one ever does I will let you know. I am sorry you have had so much to deal with with the horrors of the covid inflicted affect.
Thank you so much, very happy to hear that this kit is well on it’s way. Happy quilting!
Hi I have looked all over for my information to join the Facebook page. I bought 2 kits back in November and want to know if you could let me know where to find the codes to join? Please help. Also, will there be a special link for the live quilt along. I am a first timer at this . (quilt a long)Thank You Bonie Loiselle Clarkdale Arizona. USA
Thank you Irene for this One-Two-Tree Quilt-along. I’m looking forward learning new skills and developing them, thus improving my confidence in freehand machine quilting.Valerie J GarrisonMoline, Illinois USA (About a 3 hour drive West of Chicago.)
Bonjour, je suis contente du dos de la courtepointe One Two Tree.I’m happy with the back of the quilt One Two Tree.
That backing looks wonderful!
Are the scrappy strips above cut from the fabric requirements posted back in November? I am using my own fabric.
Hi Jill, no they are cut from extra fabric. I think there will be fabric left over from those fabric requirements, but not enough to make the whole scrappy strip for the back.
This was fun, but the mistake I made was to use some fat quarters that seemed thinner than the others.
looks nice well done am still playing around with design kind regards claire NSW
This is a fun back, I will work on this during this next week…THANK YOU so much for teaching me, FMQ scares me so much….but I’m up for the challenge since I finished all other projects.
Thank you for joining! Yay for learning new things! 😀
I found a small typo in your instructions- your bulleted list for cutting reads ABAD; I think it’s supposed to be ABCD. Small error, but I had to look twice. ;)Merry Christmas!
thanks for picking that up now it makes sense
I’m ready to get going on this! Thanks for getting us started
Finished scrappy Back. Don’t stretch your fabric to fit. My mistake.
thanks for tip oxo
Great idea. Can be adapted to other projects.
Thank you Tricia! Yes, I think this would look great as a backing on other quilts as well.
Why is it not translated into French?
Dear Sarah,
The different languages of the BERNINA Blog are handled by different organizations. Since the Blogs do not have the same authors, each Blog decides on their own if they want to translate the content of authors who dont write in their language or not. Please contact BERNINA France to let them know you would love to see the articles on the French BERNINA Blog as well.
Kind regards, Ramona from BERNINA International
This should be fun…lets get started!
Does anyone know how much backing fabric is used besides the 2.5″ strips?
The pattern said 3.5 yards I believe
Dear Marguerite,
For this backing you will need 3 meter (3 1/4 yard) of background fabric in order to cut all the pieces A, B, C and D.
Kind regards, Ramona
I think that there is a typo – Under ‘ Cut the following pieces…’, the third entry should be ‘C’ 30 1/2″ x 76 1/2 “.
Dear Sharon,
Thank you for spotting this, I changed it accordingly!
Kind regards, Ramona from BERNINA International