 BERNINA Corporate Blog -
Hi there! I am super happy to share with you a way to make the most of those old men’s shirts that you may have at home or that you can easily find for next to nothing in a second hand shop.
I run sustainability community workshops here in New Zealand and I focus in teaching women waste minimization strategies.
This year I run a repurposing workshop in which we took a few garments and we repurposed them into usable and valuable objects that we could sell and profit from.
In this tutorial I will show you how you can make 3 drawstring bags from different parts of a man’s shirt.

Materials and equipment
- Sewing machine (I use 475 QE)
- Man’s shirt (or any shirt)
- Cord
- Applique (optional)
- Rotary cutter
- Fabric scissors
- Cutting mat
Step 1
The first step is to place your shirt on top of your working surface.

Make the first cut 1 cm below the armholes as shown in the photo below.
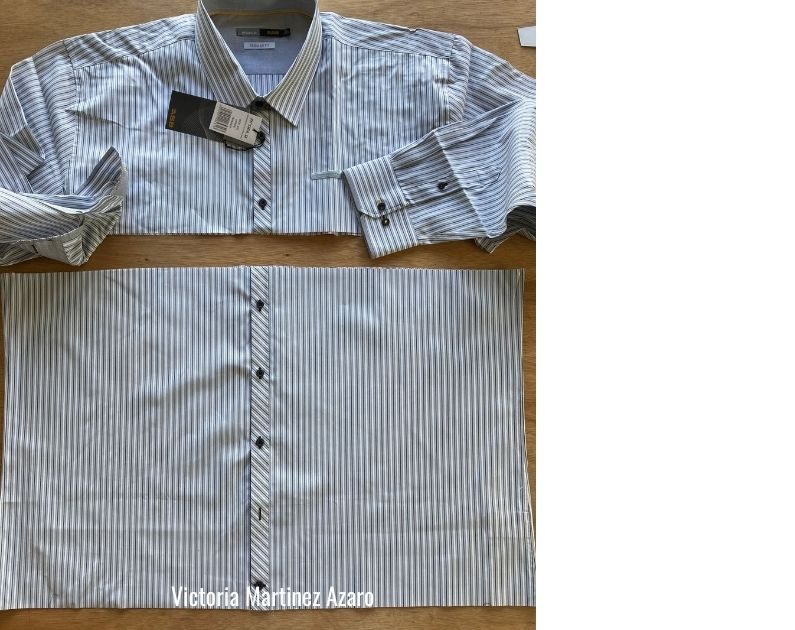
Cut the sleeves away from the top body and open them flat.
Using a cutting mat and a rotary cutter make sure that the fabric is on the straight grain and that you end up with a rectangle with 90 degree angles.
Each sleeve will be transformed into a bag.
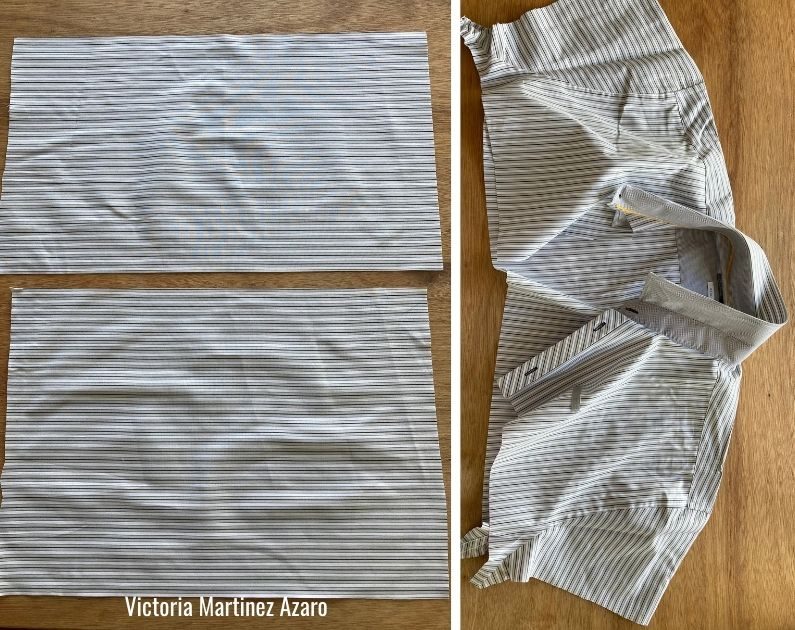
The photo below shows you the top back of the shirt. I removed the neck and cut a straight line across the back yoke.
Those pleats are the back pleats of the shirt which are very handy to make bags because it allows us to have some nice detail and some extra volume.
This back piece will be transformed into a bag. This is the piece that I have documented during the workshop and the photos below come from this back piece.
Step 2
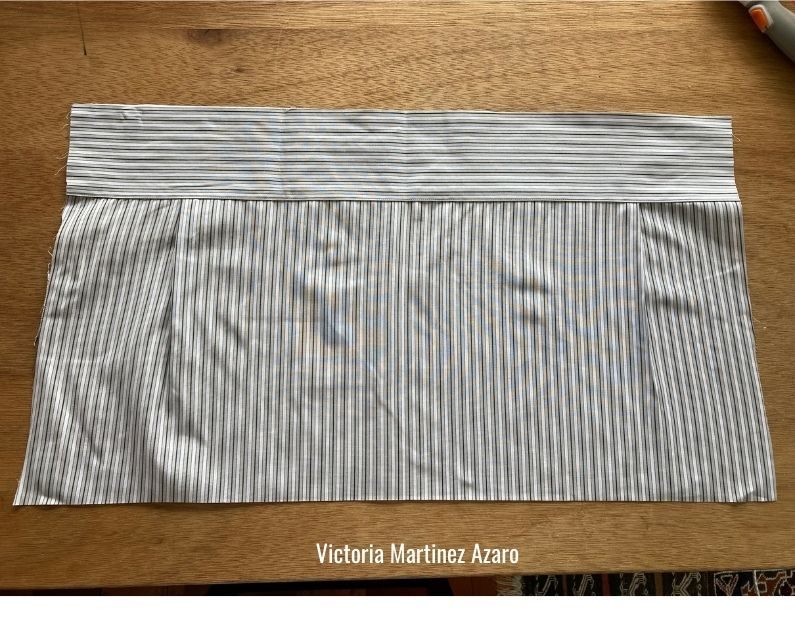
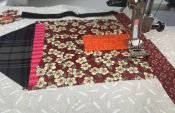
If you have an overlocker/serger machine run a seam around the edges of the rectangle piece. If not, run a zig zag stitch.
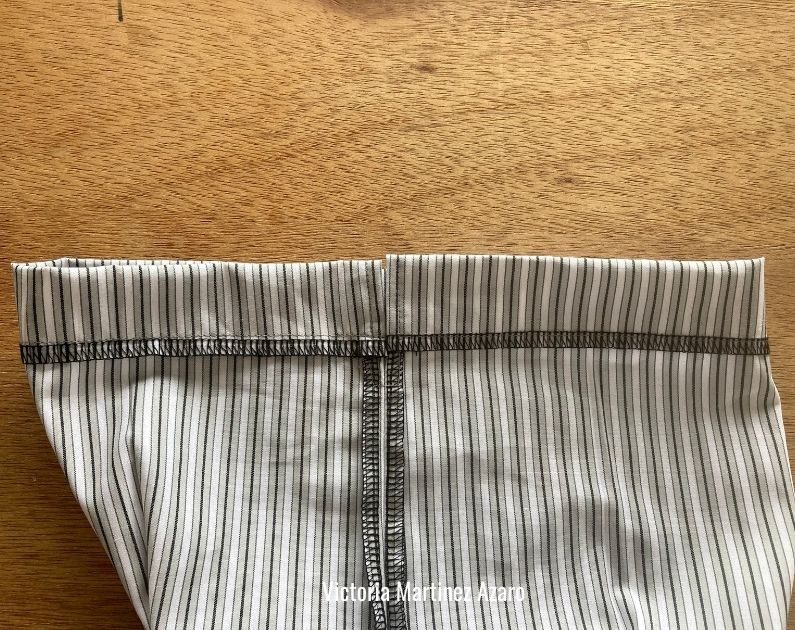
Fold the rectangle in half and sew the side leaving a 8 cm from the opening at the top.
Sew the bottom of the bag. Make sure that the part of the rectangle that has the yoke and the pleats remain the bottom of your bag.
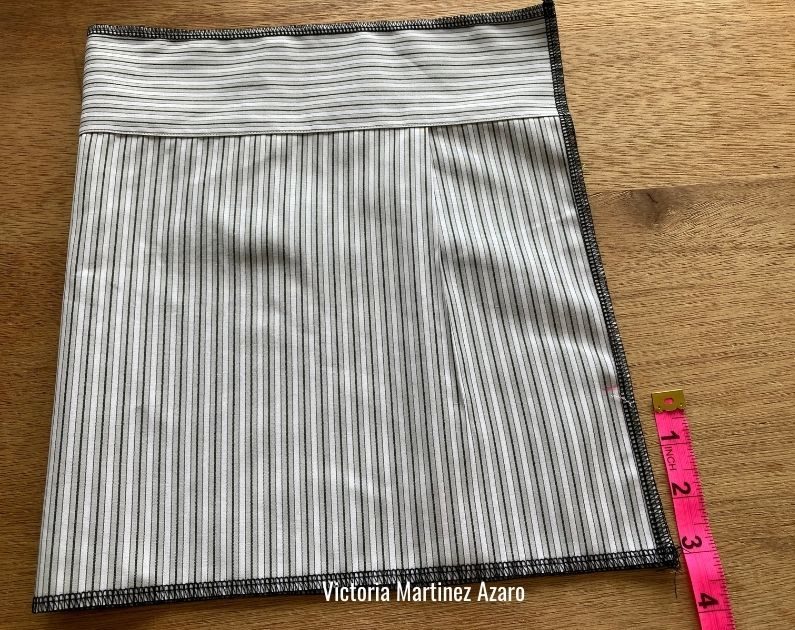
Fold the top edge toward the inside of the bag. Sew a line to create this top hem as shown in the picture below.
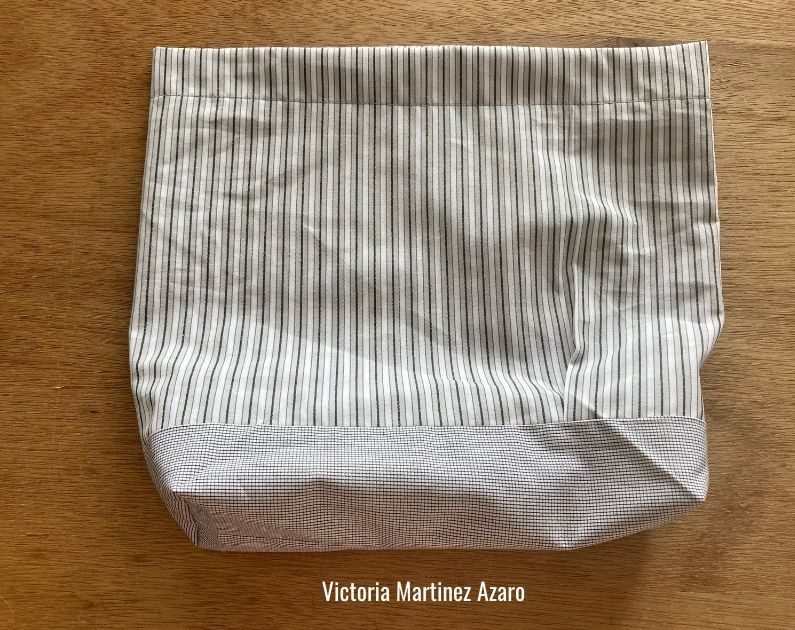
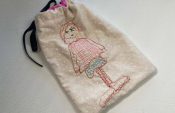
This is your finished bag.
Repeat the same process with the 2 sleeve pieces. Be aware that they may be different sizes depending on how big those sleeves were.
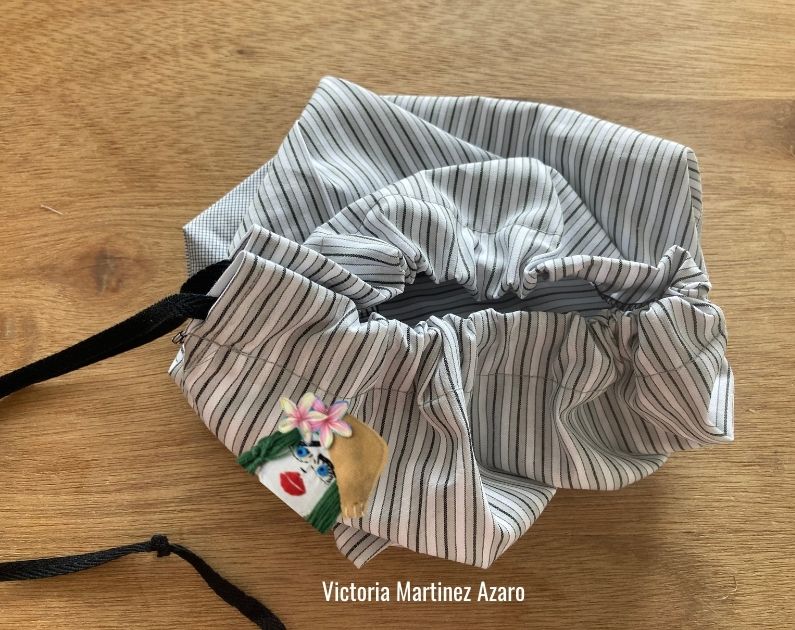
The last thing you need to do is feed a piece of cord or string through the hem opening at the top. Do this with the help of a safety pin.
Pull the string and close the bag.

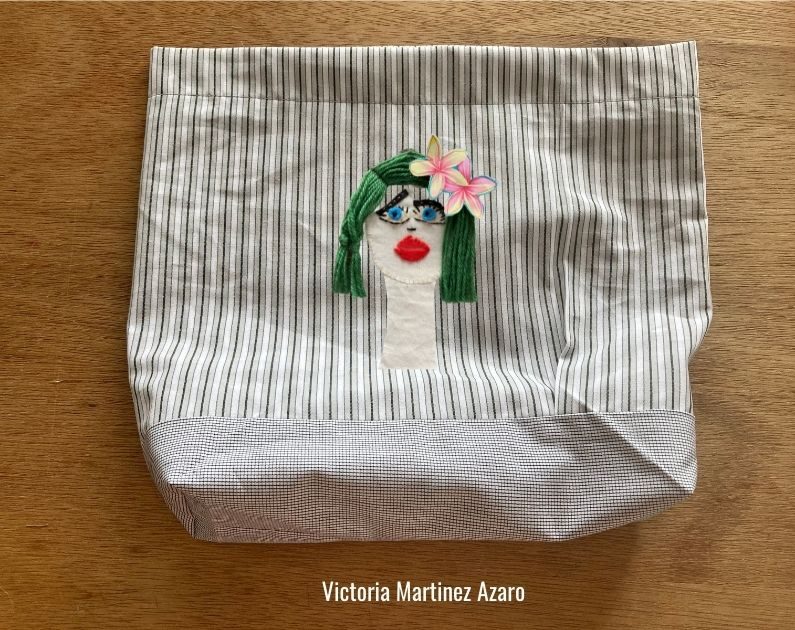
This is an optional step. You can also sew applique before you sew the bag. You can add fabric details or you can do free motion quilting on the shirt fabric after you cut the fabric pieces away from the shirt.


0 Responses