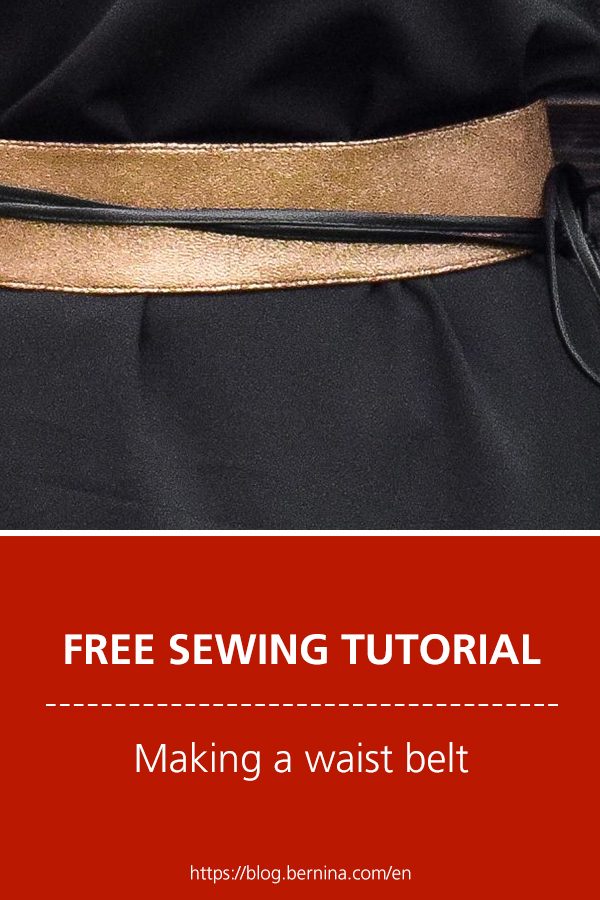
Today we’re opening Door Number 14 of the advent calendar – exciting! Behind it are hiding the tutorial and free pattern for a beautiful waist belt! You can download the pattern for this belt free of charge through 25 December, 2021.
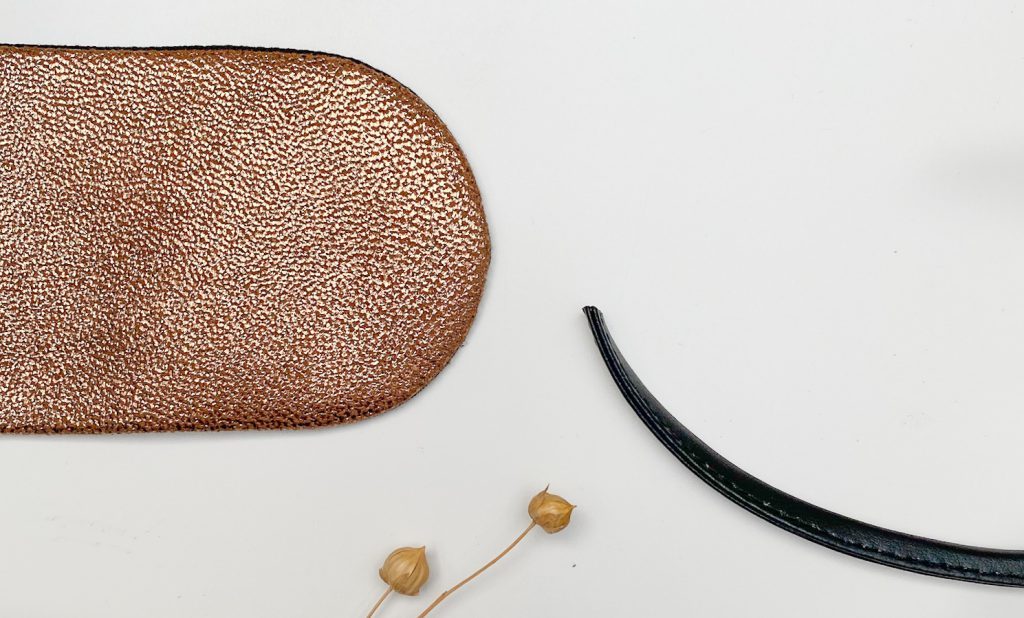
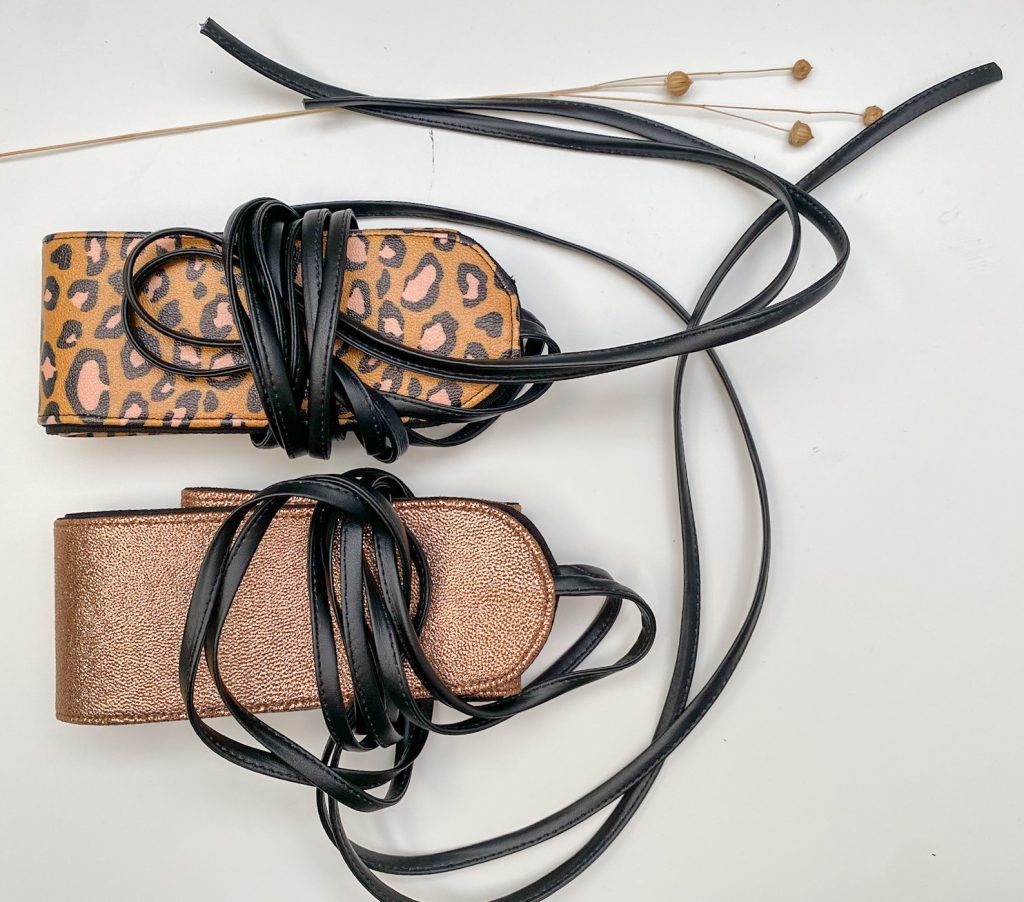
Use a bling bling fabric and transform your outfit into a party outfit with this belt. It’s as easy as 1, 2, 3!
Making a waist belt – Materials
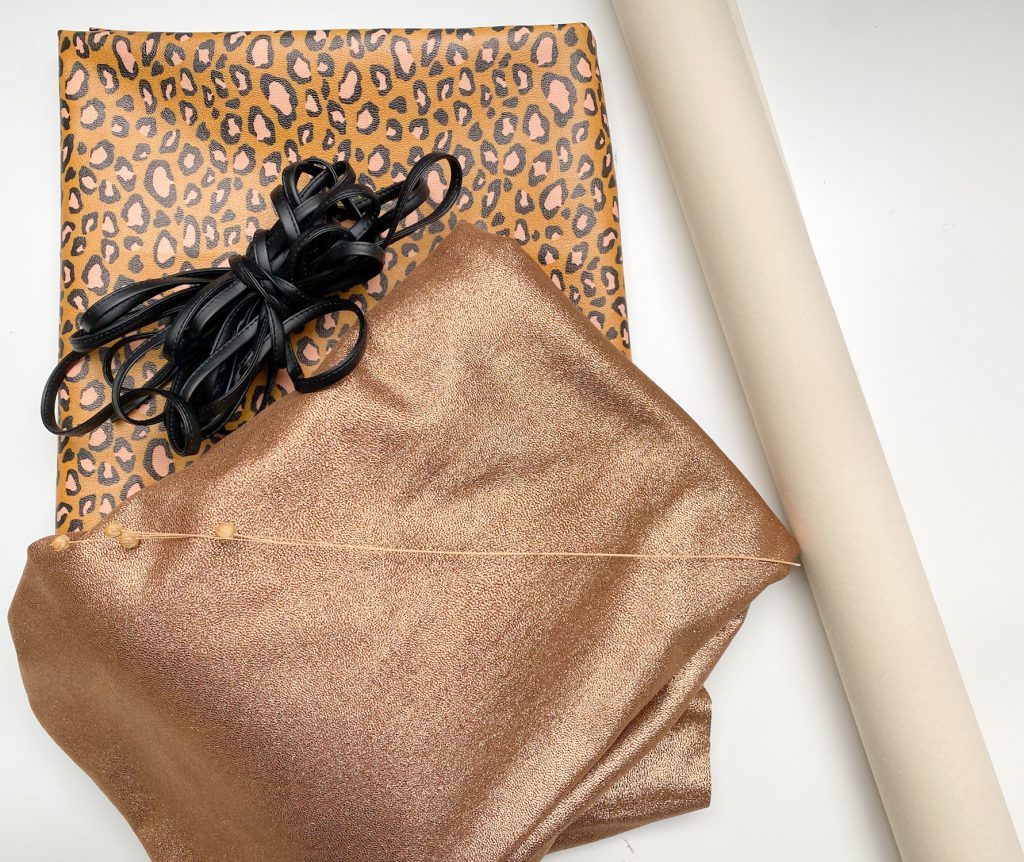
- Outer fabric – 20 cm (it’s best to choose a non-elastic material, or one that’s not very elastic)
- Liner- 20 cm (it’s best to choose a thinner, non-elastic material)
- Decovil light stabiliser – 15 cm
- Faux leather (or other material) ribbons, 5 mm to 1 cm wide – 2 x 1.5 m
- Belt pattern
Making a belt – Sewing instructions
1. Cut out pattern parts
- Cut the belt out 1x from the outer fabric and 1x from the liner.
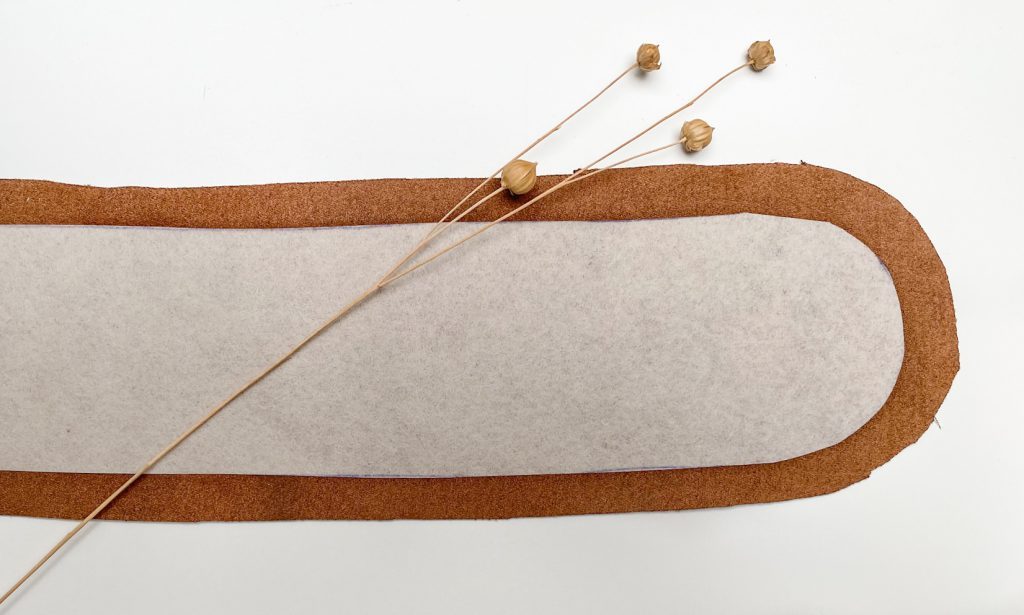
- Cut the belt out 1 x from decovil light, be careful to use the pattern part without seam allowances for this.
2. Stabilise outer fabric pattern part
- Iron the decovil light stabiliser onto the wrong side of the outer fabric.
- To do this, lay the shiny side of the stabiliser on the wrong side of your outer fabric.
- Tip: lay baking paper over it to protect your fabric.
- Press your iron down firmly for +/- 10 seconds, piece by piece, until the whole stabilizer is well attached.
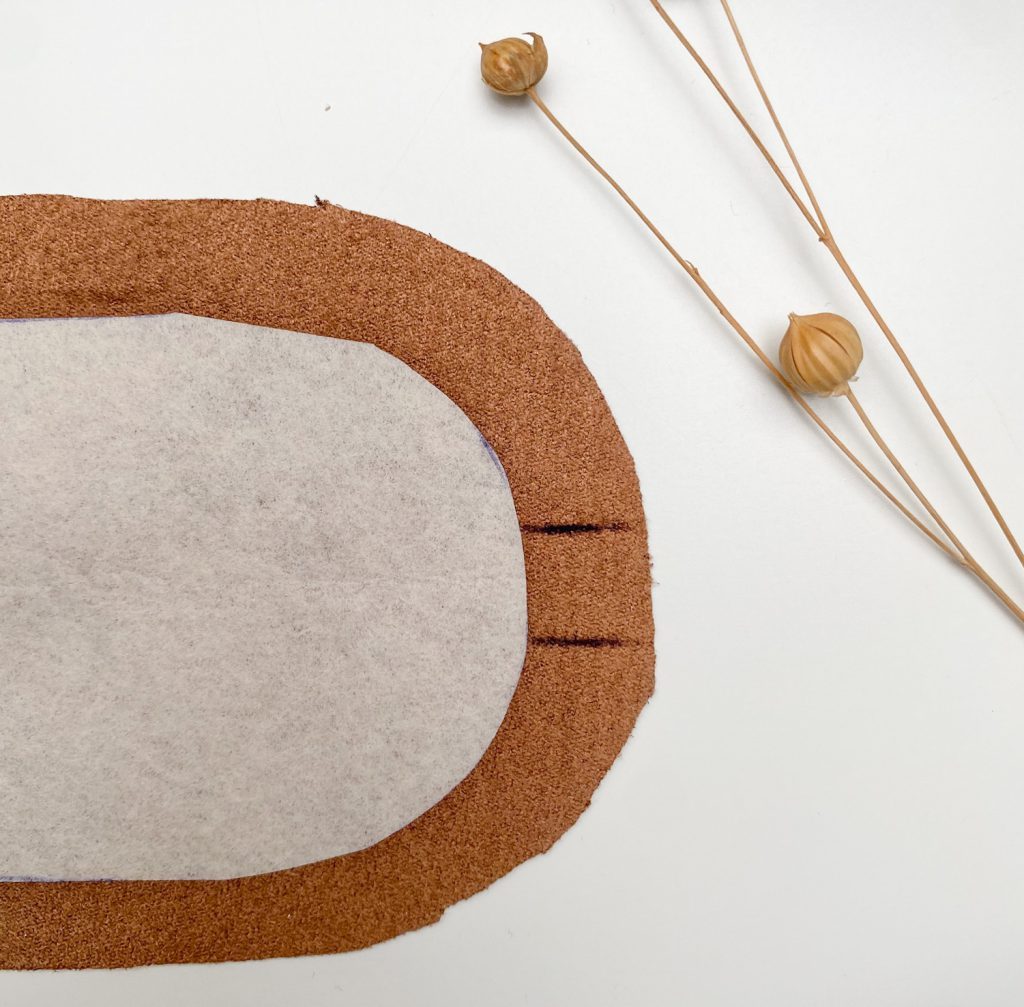
Also indicate the marks of the turning hole and the openings for attaching your ribbons.
3. Sew outer fabric and liner together
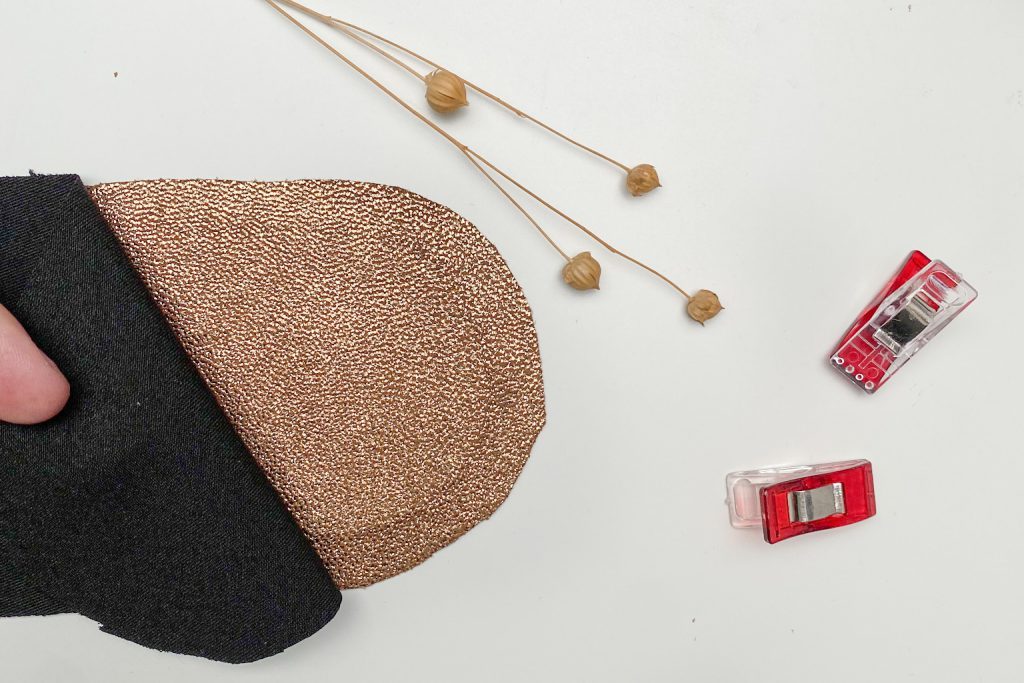
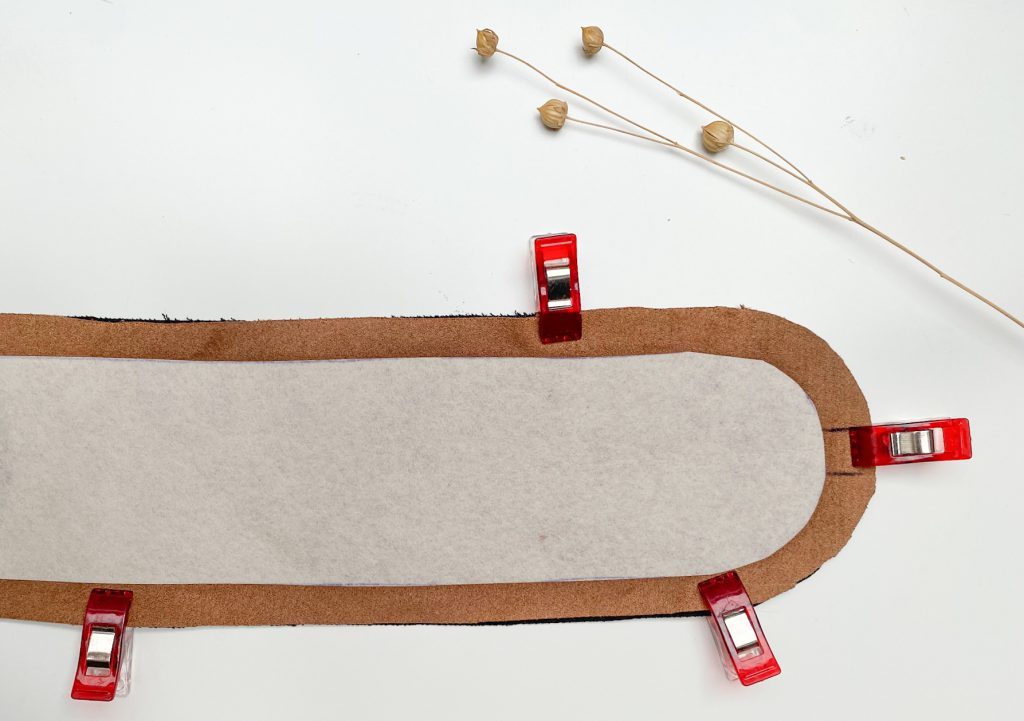
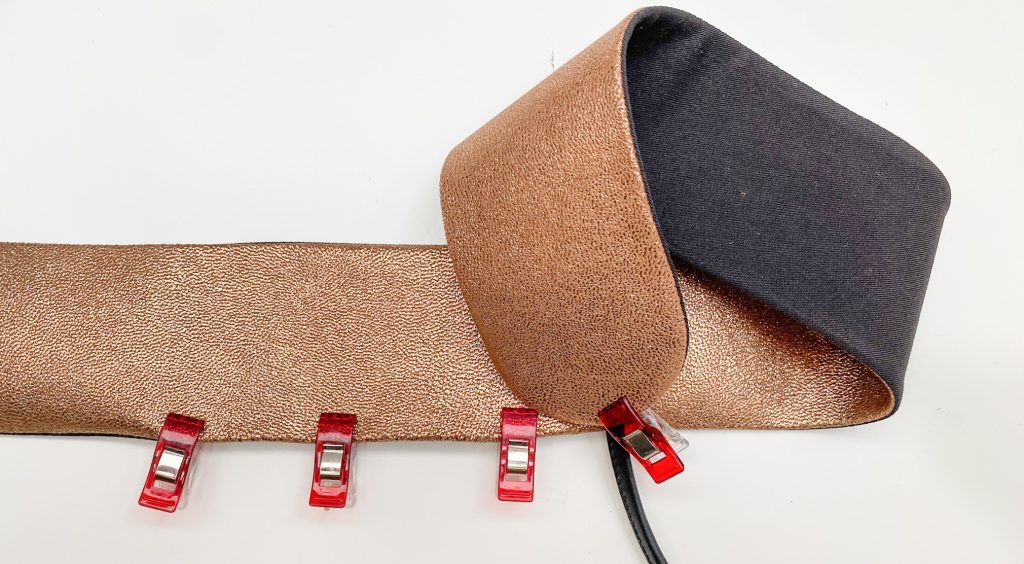
Lay the outer fabric and liner with the good sides facing each other. Since my coated suèdine is hard to pin, I use wonder clips for this step.
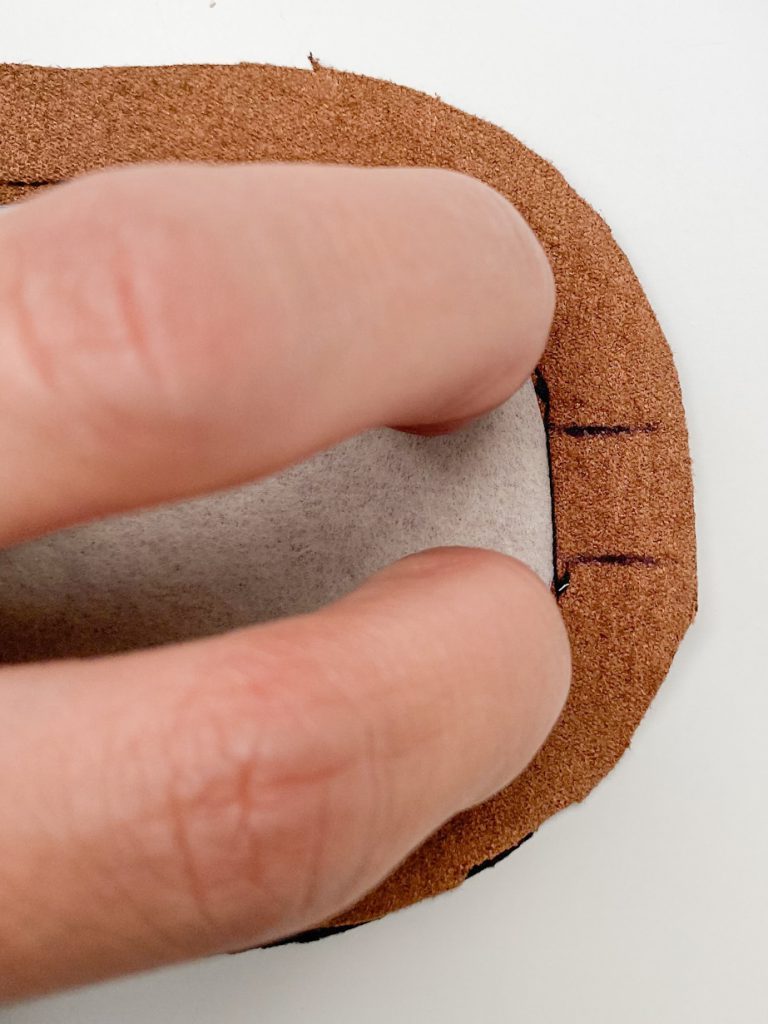
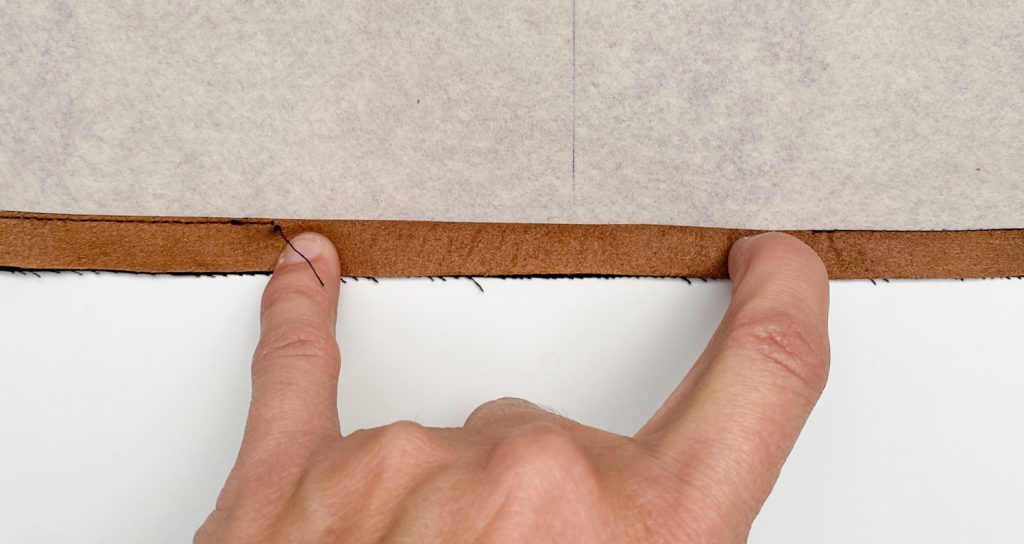
Stitch them together at 1 cm from the edge. Do not stitch into the stabiliser but next to it. Do not forget to leave open the turning hole and the openings for the ribbons.
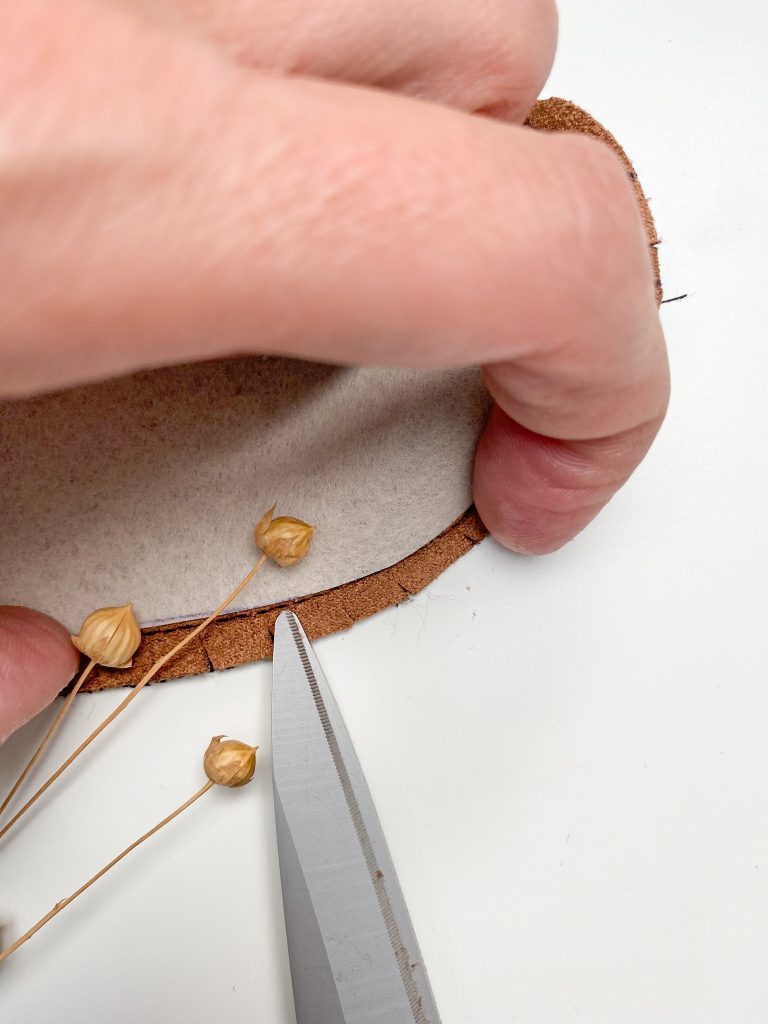
Trim the seam allowances to 0.5 cm and make notches in the curves. This will make the belt nicely finished after turning. I myself do not trim the seam allowance at the turning hole, I find it easier to top stitch the belt on the outside, this is a personal choice.
After that turn the good side of the belt out through the turning hole. Take your time doing this, the somewhat thicker stabiliser may make it go less smoothly, but it can certainly be done.
Iron the belt nicely smooth.
4. Attach ribbons and top stitch belt
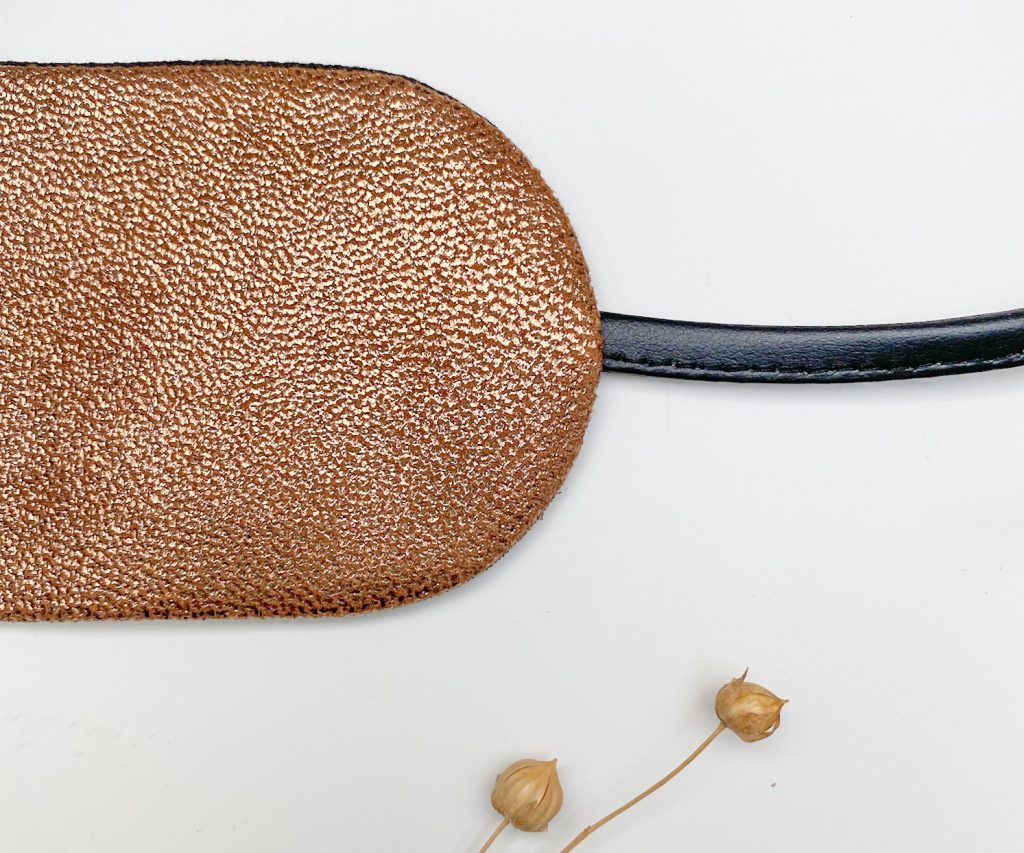
- Stick your ribbon through the opening that you left on both sides of the belt
- Insert the ribbon about 1 cm deep.
- Top stitch around the ribbon at 2 to 3 mm from the edge.
- Pin the seam allowances at the turning hole neatly together.
To attach the ribbons more firmly you can stitch them one more time backwards and then forwards again.
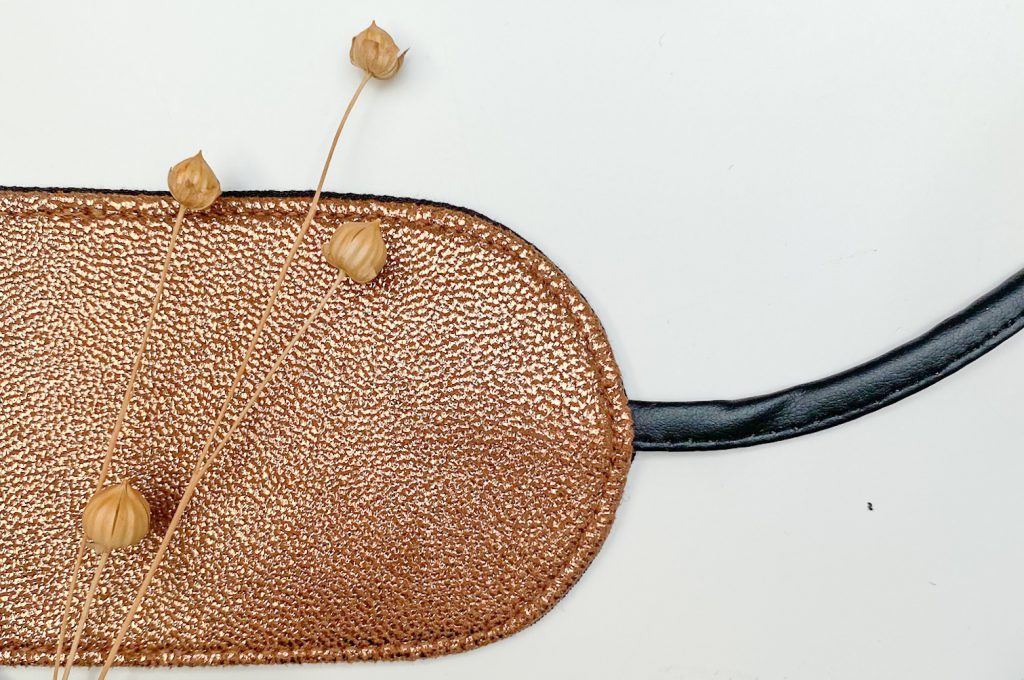
Making a waist belt – Your belt is ready!
Have fun ‘pimping’ your outfit! For more inspiration you are always welcome on our instagram page: @_beletoile_
Best, Isabel
 BERNINA Corporate Blog -





0 Responses