 BERNINA Corporate Blog -
Today is 21 December, so it’s time for Door 21!
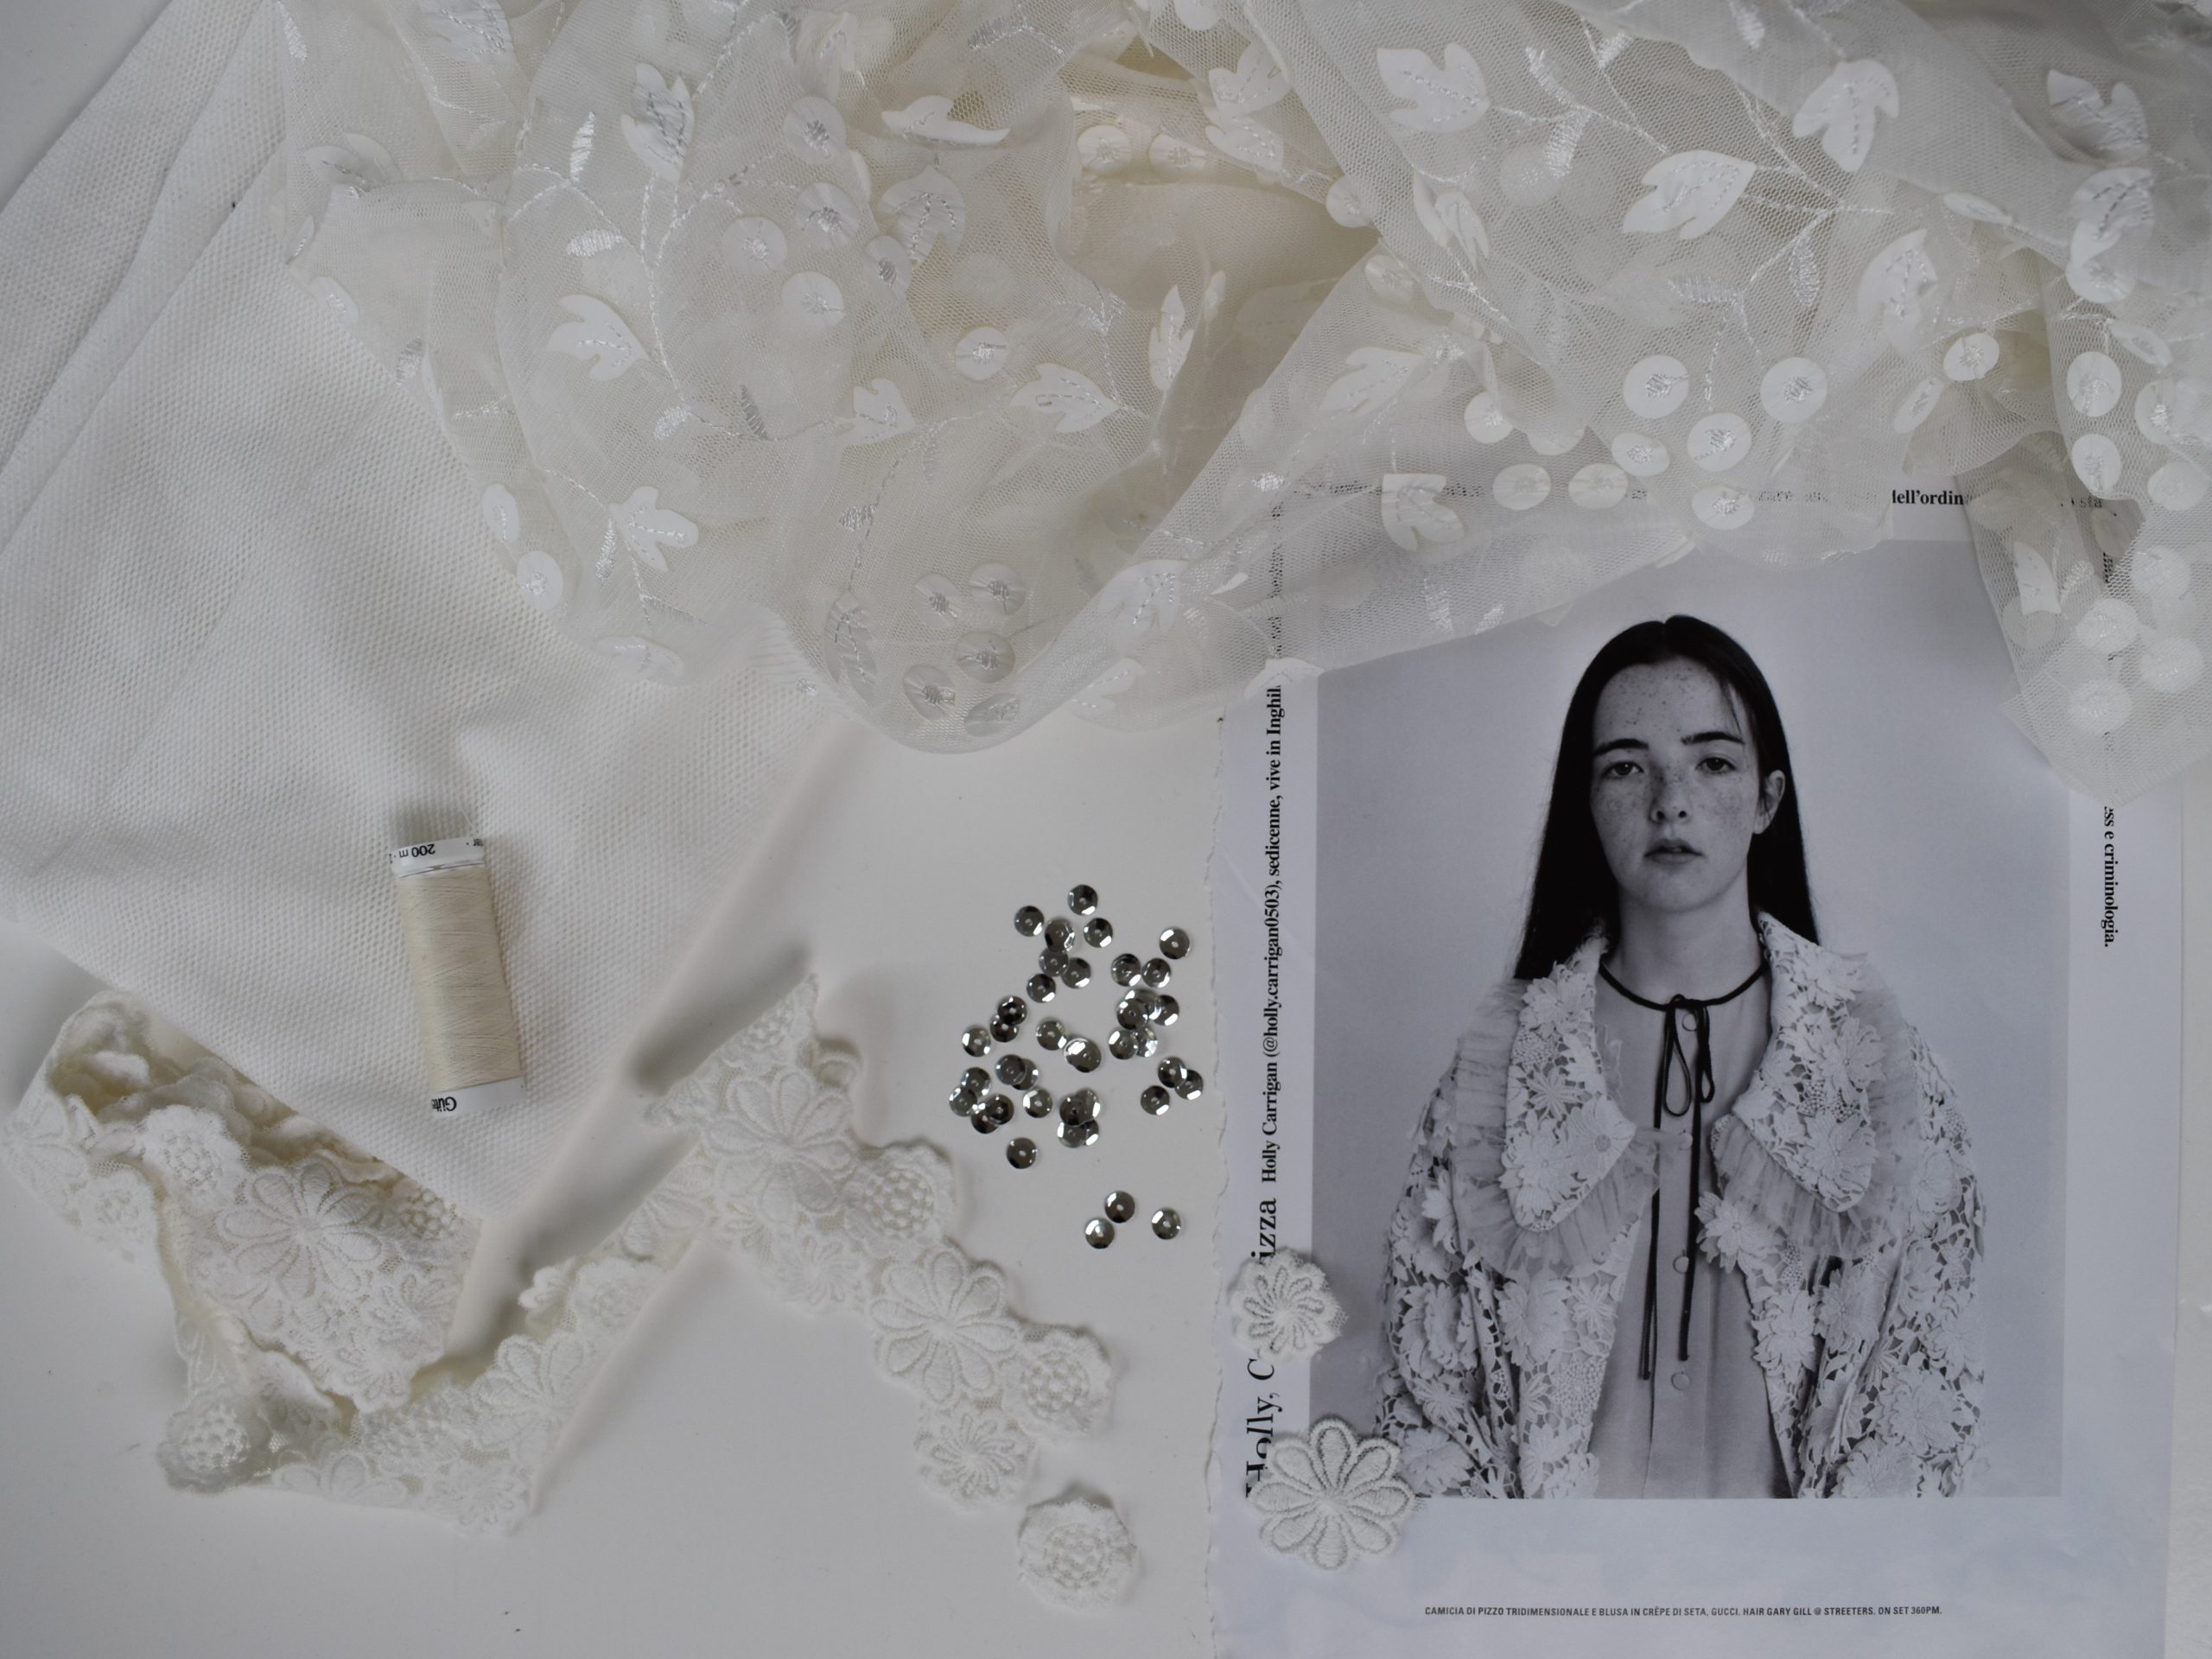
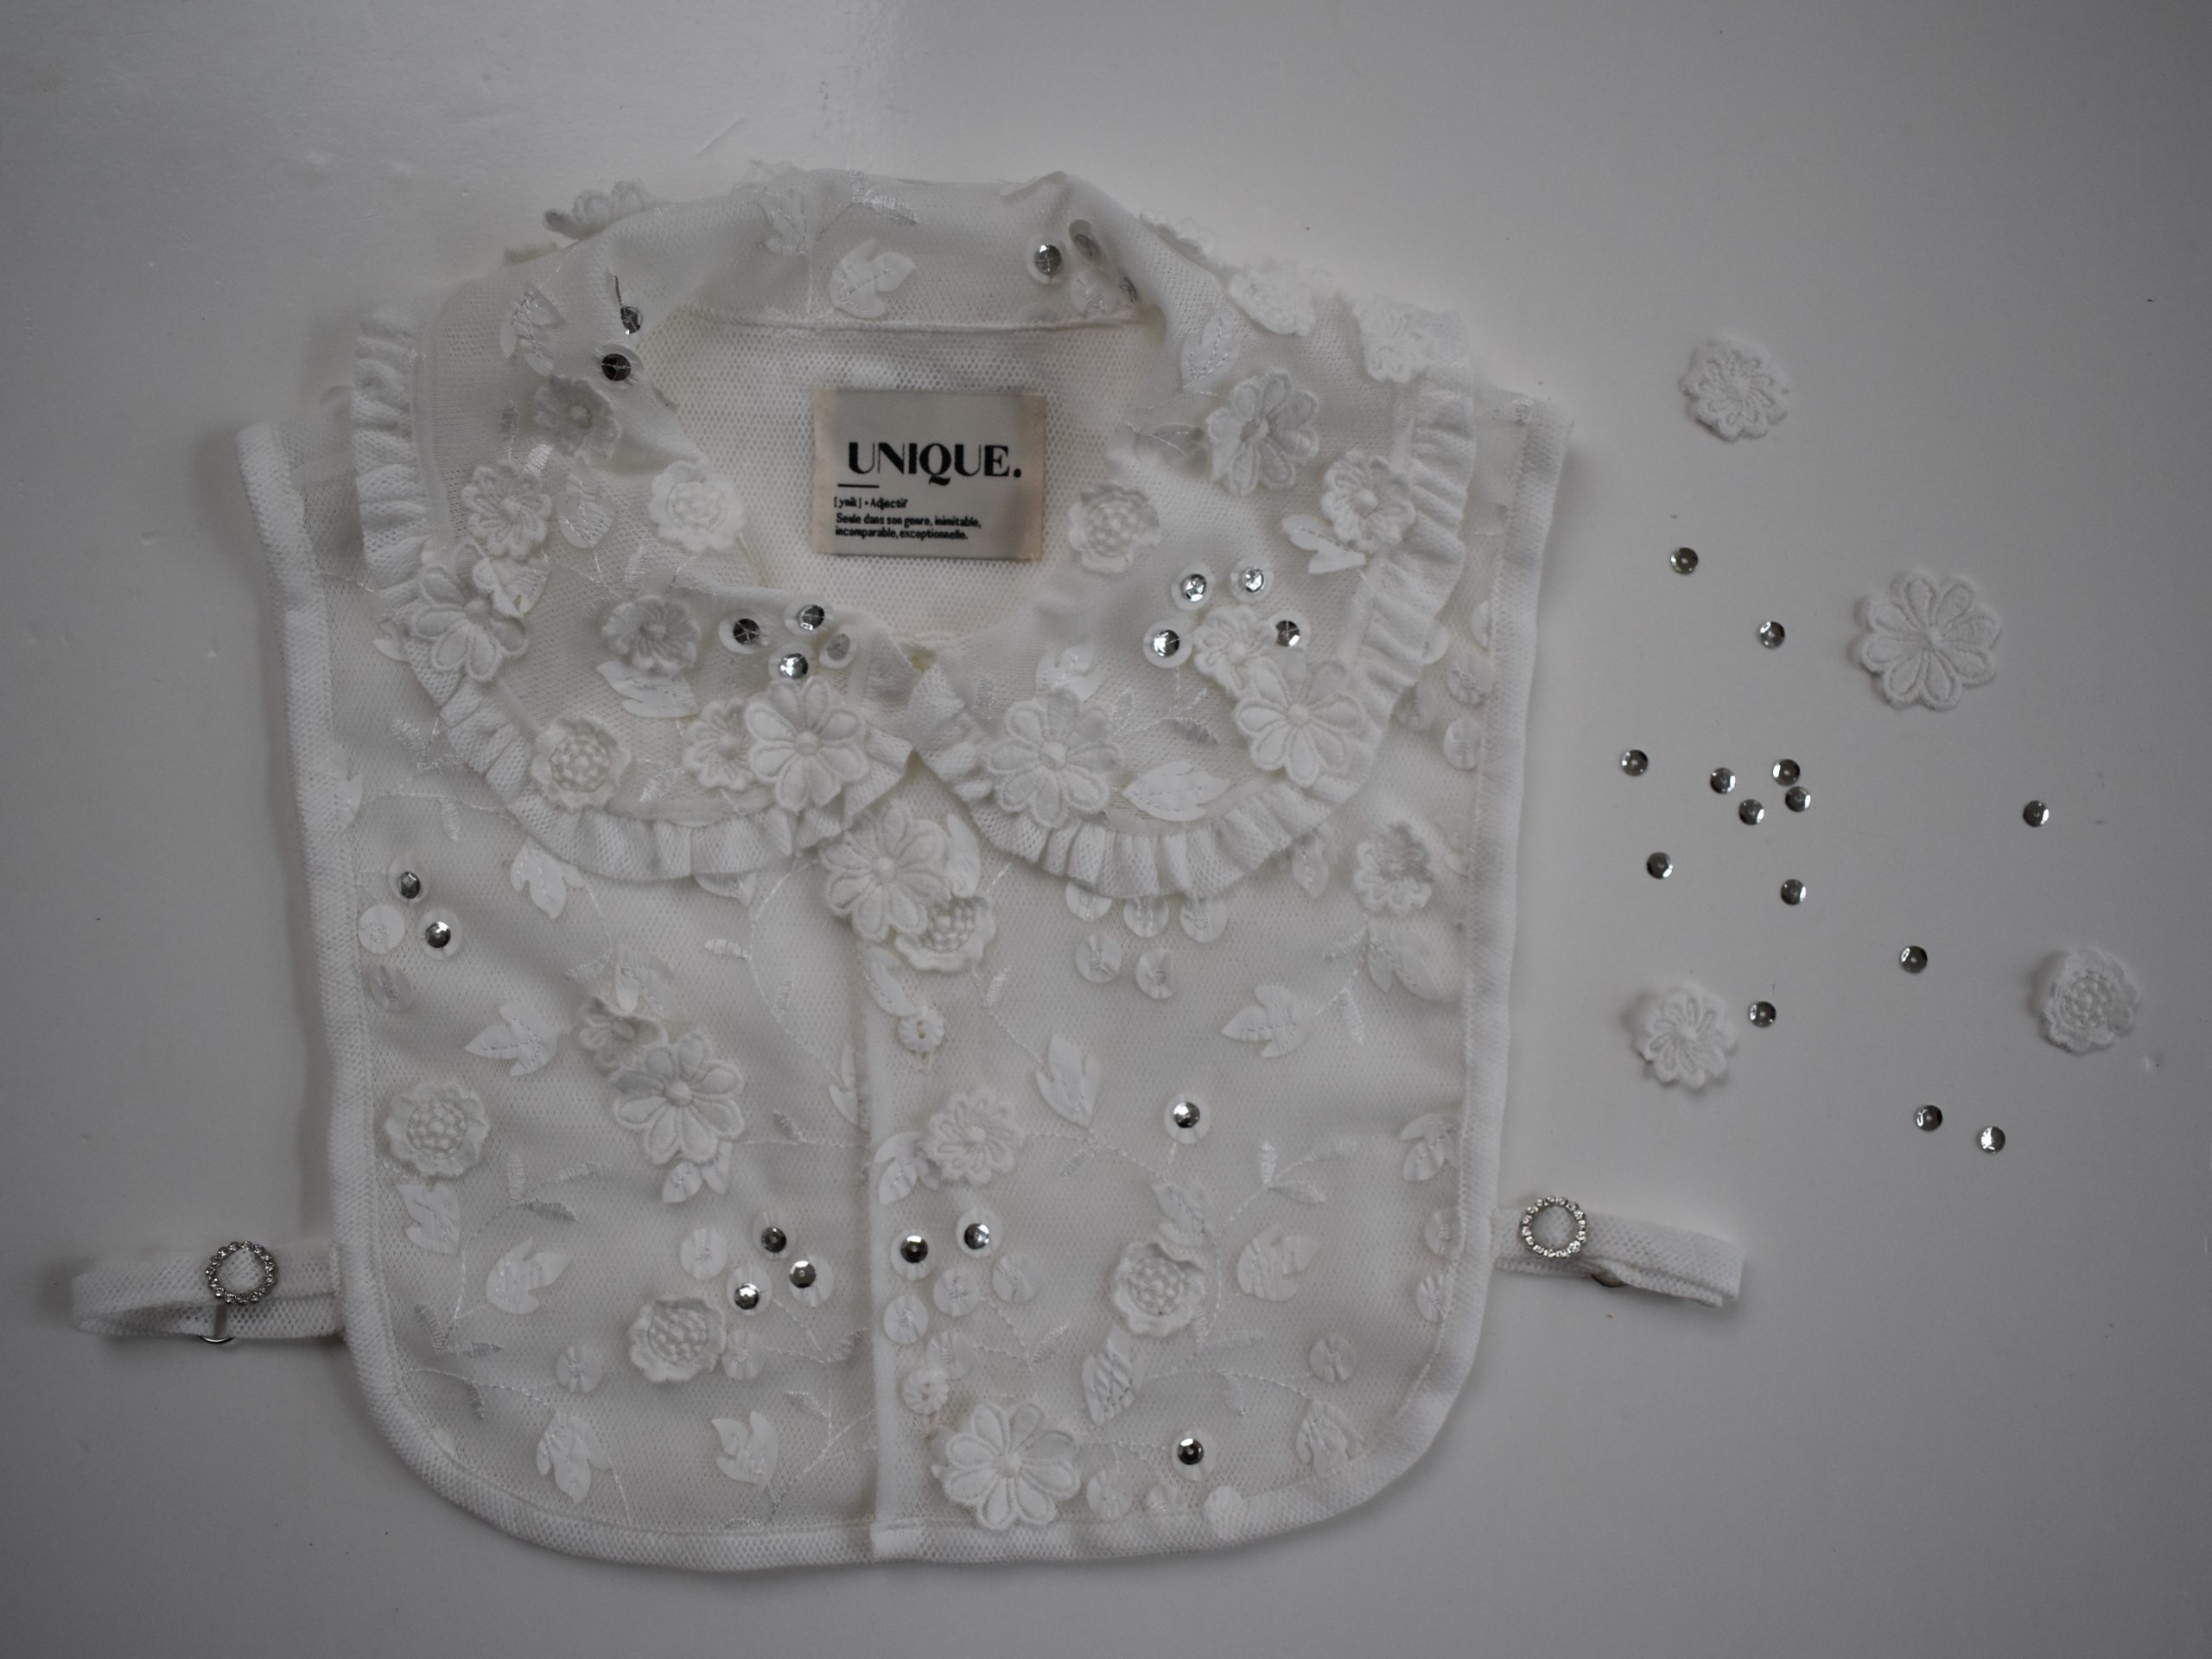
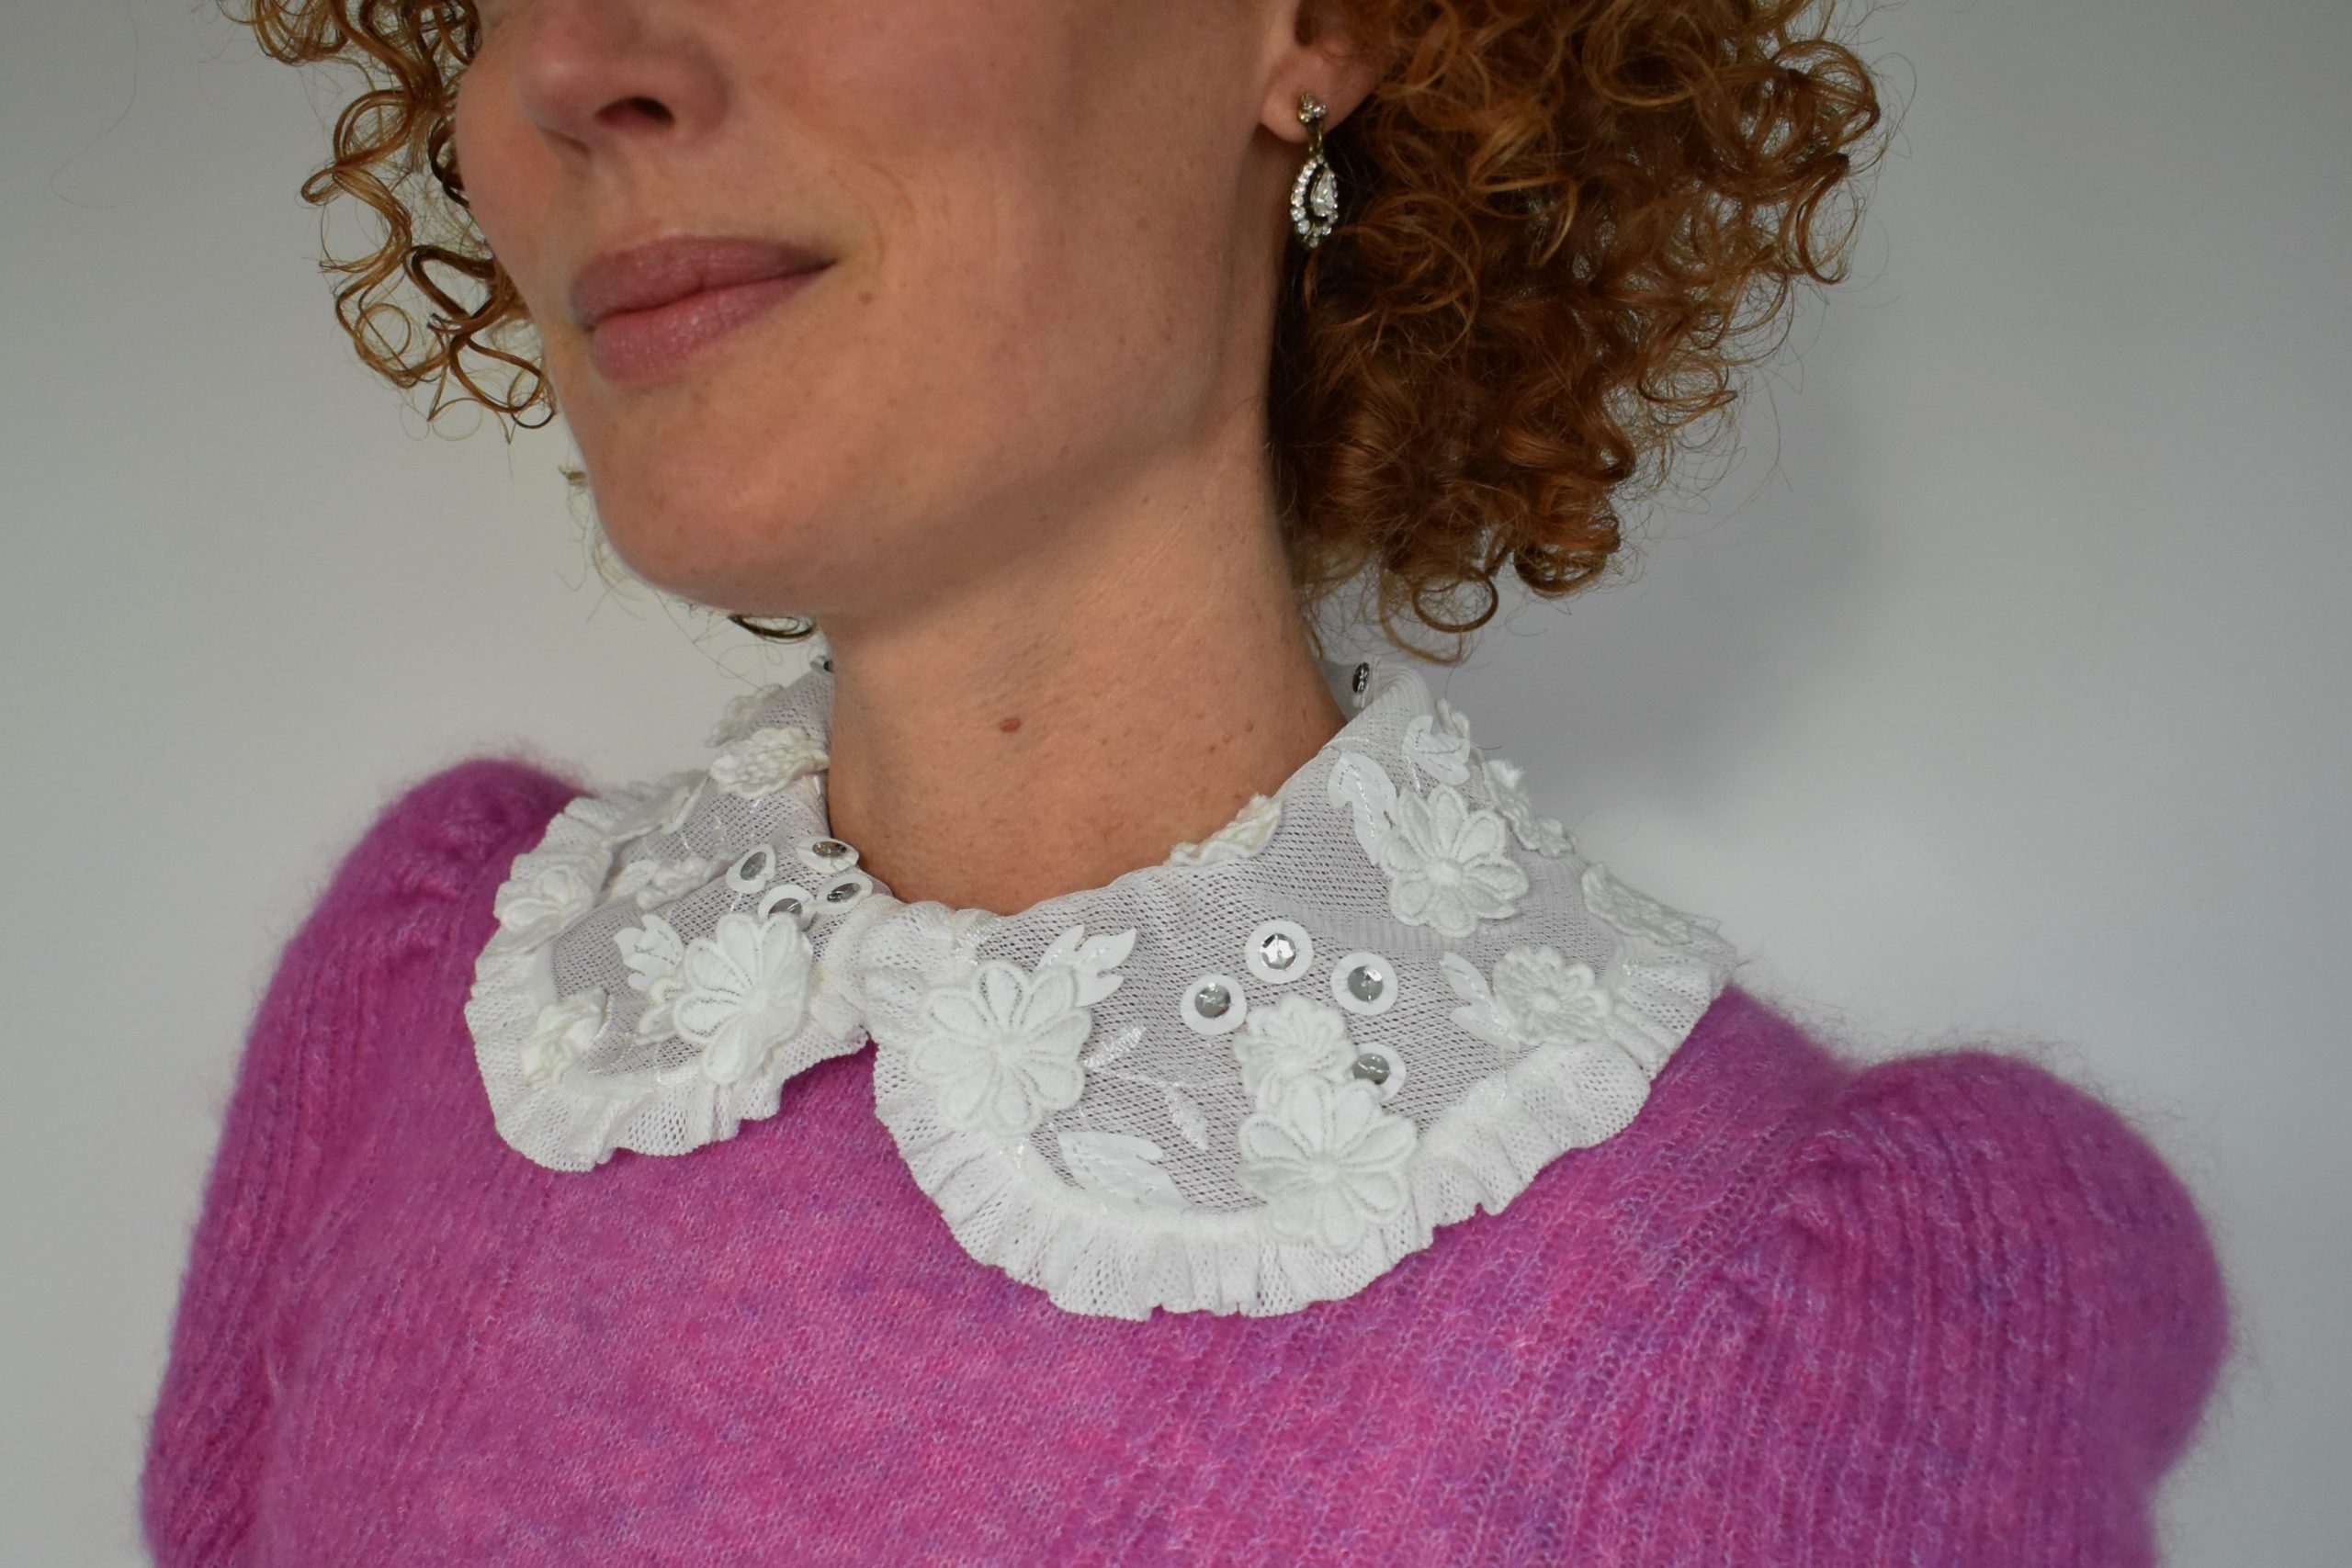
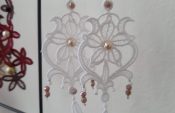
This lovely advent calendar is called “Time to Shine” so I have added some extra bling to my sewing project. I myself am not really the bling bling type, but with some small silver sequins here and there I created a really nice collar with some bling.

The embroidered tulle with extra embroidered flowers and silver sequins sewn on gives me a real Christmas angel feeling. Look, you can see a photo below with my source of inspiration, a photo from the Italian Vogue, and the fabrics and trimmings that I used to make a special ‘Time to Shine’ Christmas collar.
Sewing a collar – Materials
- Pattern: Harriet collars package (link is still to come, pattern launch December 15)
- Embroidered tulle
- Extra embroidered flowers
- Plain tulle for the lining
- Matching thread
- Microtex needle 60 or 70
- Buttons
- Tearaway stabiliser
- Sequins
The embroidered tulle I used is something that I had left over from Minerva, I bought the embroidered floral ribbon long ago at Lace Lindsey on Etsy, I bought the tulle lining & buttons at Ansje handmade, and you can find the rest of the materials on the market.
You can find embroidered tulle in many exclusive fabric stores. It is often a bit more expensive, but you don’t need much fabric for a collar. I bought the embroidered ribbon via Etsy, but you can also find this sort of ribbon in many trimmings stores and on the market.
Working with tulle
The Harriet collars pattern was written for woven fabrics like cotton or viscose. You can reinforce these fabrics with interfacing, but that is not an option with tulle. Tulle is also difficult to cut on the bias, because there is some stretch on all sides.
The advantage of tulle is that it does not fray and you can can cut the seams very narrow. I would recommend cutting the seams so that they are narrow anyway, because all seams are visible due to the transparent nature of tulle.
In this blog I will provide tips and trips for working with tulle during the various steps. I have chosen to line the collar and bodice with beautiful soft cotton tulle from Ansje handmade. In this way you don’t need to finish the collar with a bias tape, but you stitch the collar between two layers.
Sewing a collar – Preparations
The Harriet pattern works with a facing at the button placket, but I’m going to be lining the bodice, so I don’t need a facing. Therefore I have folded the facing away towards the back at the facing line.
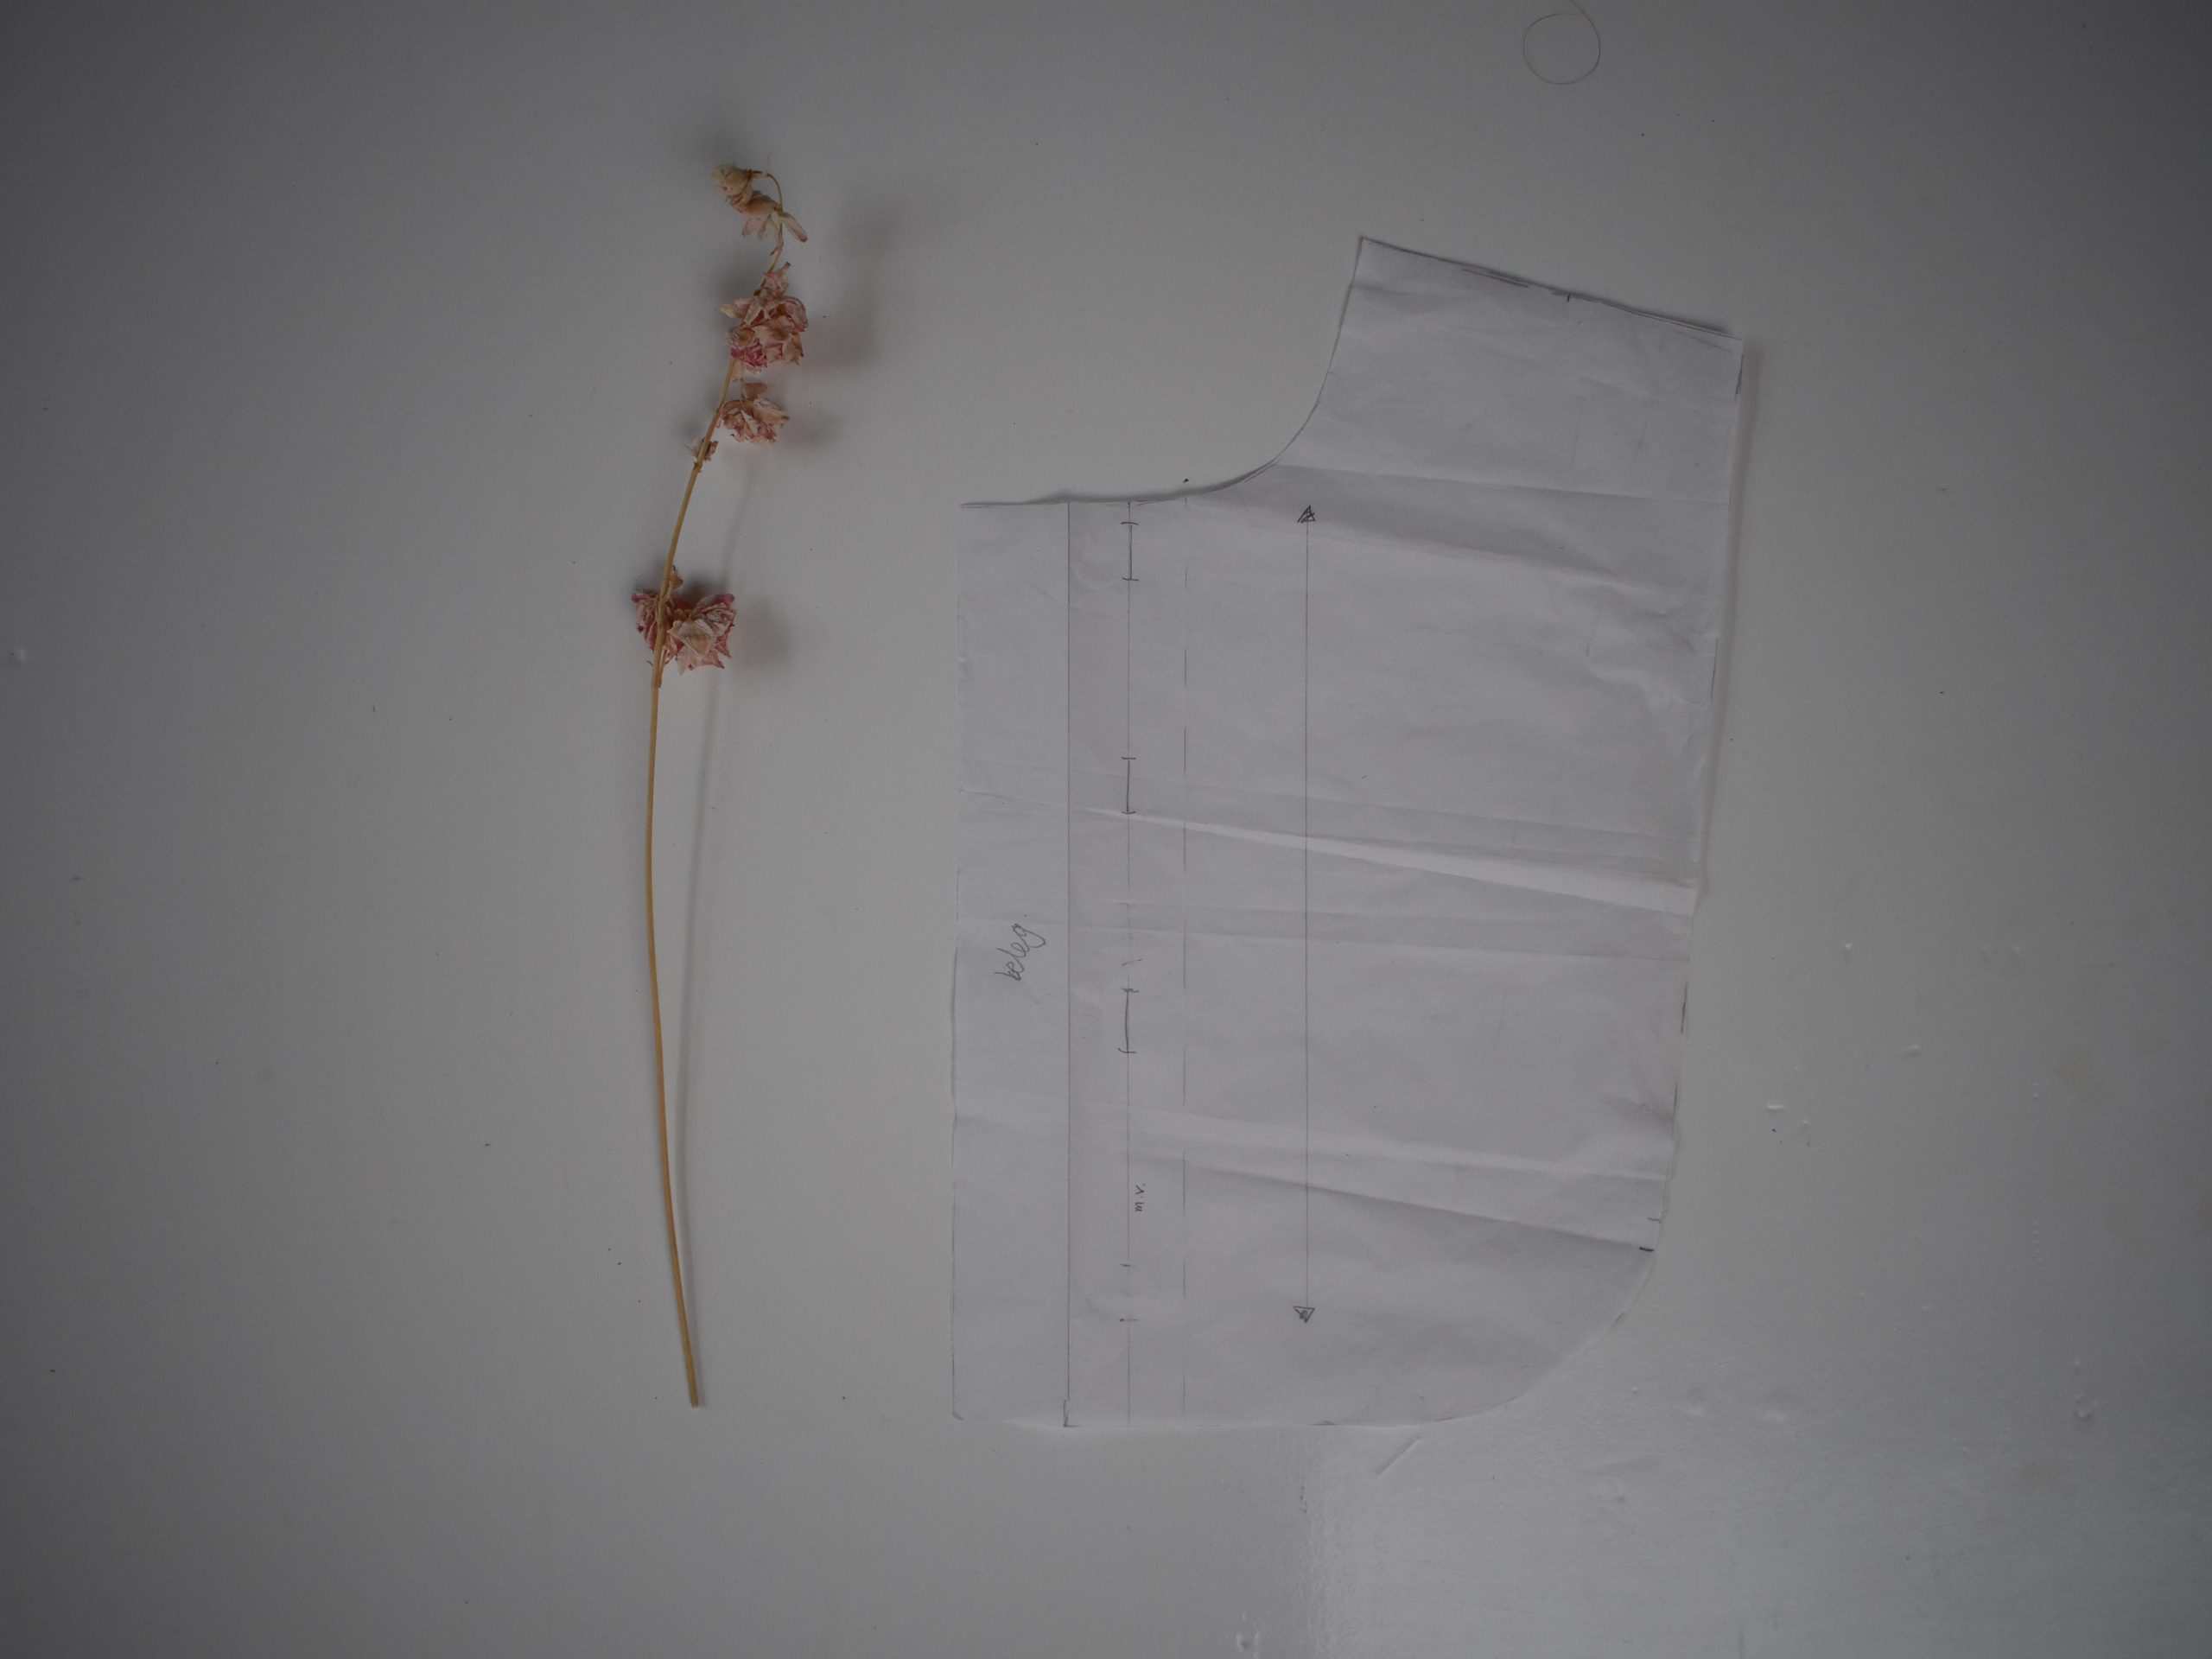
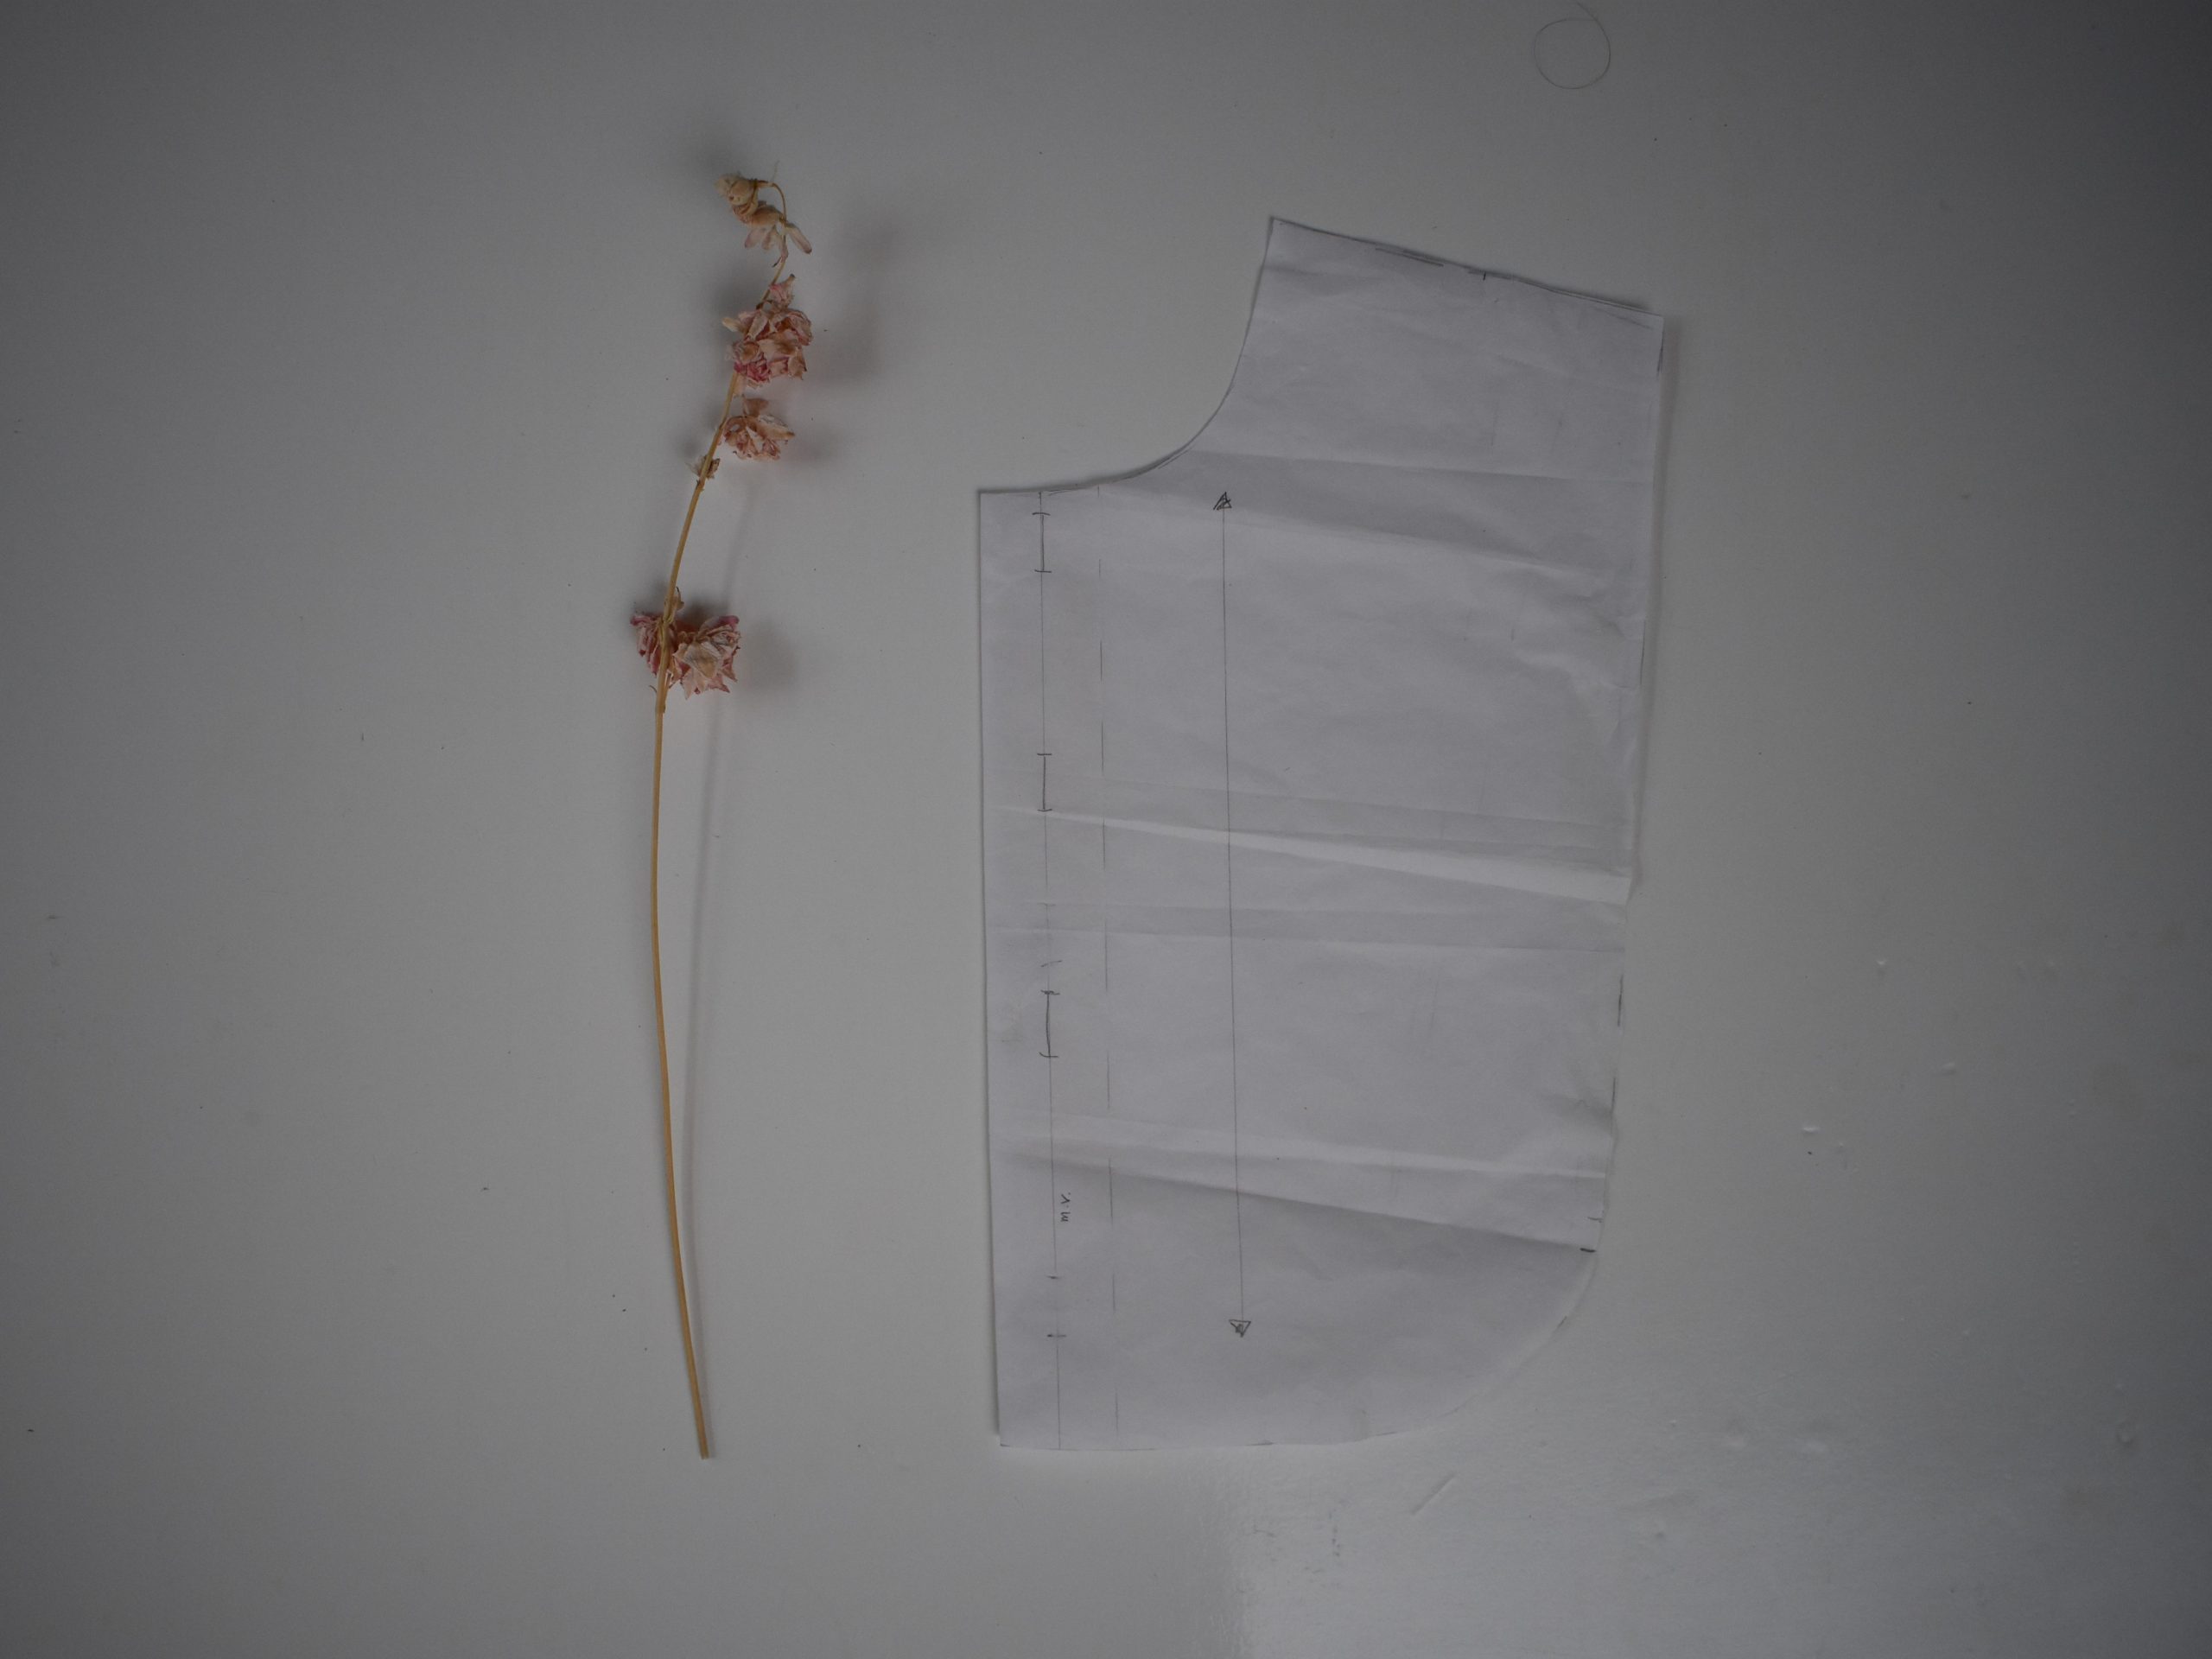
Tip: Don’t forget to add 1 cm seam to the folded facing line!
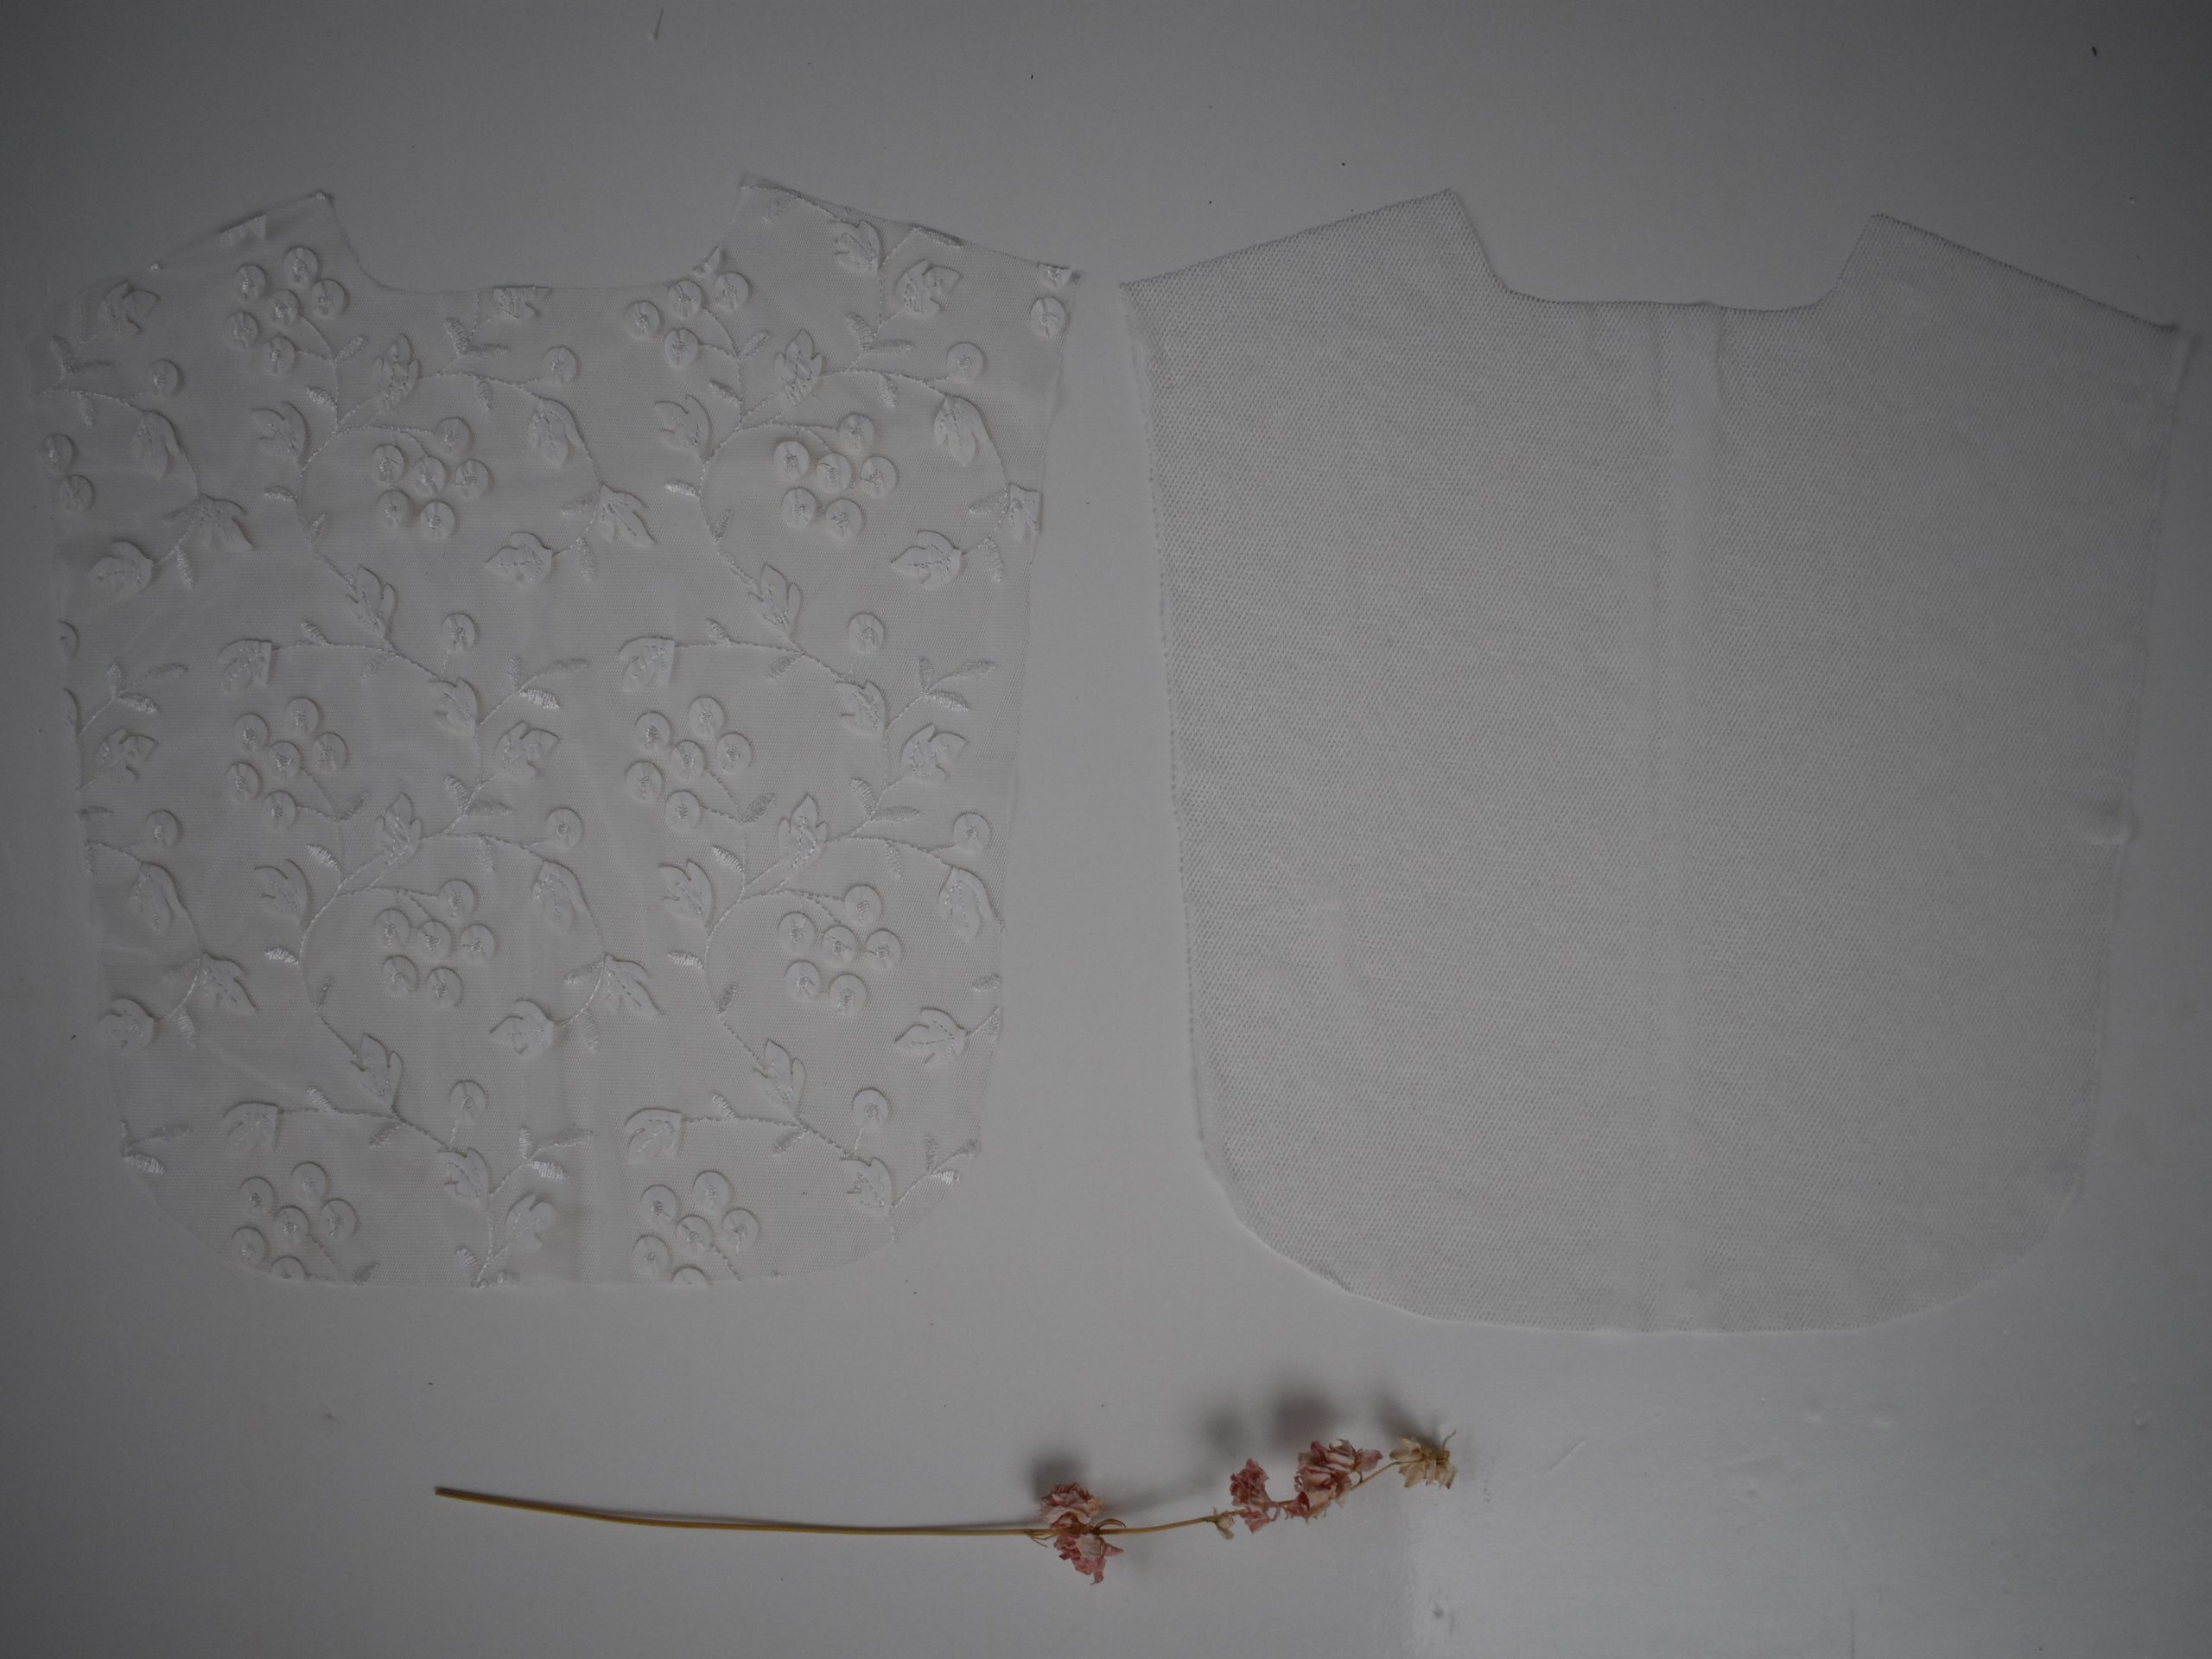
After that I cut out the front panel twice in a mirror image from the embroidered tulle, and twice in a mirror image from the plain tulle
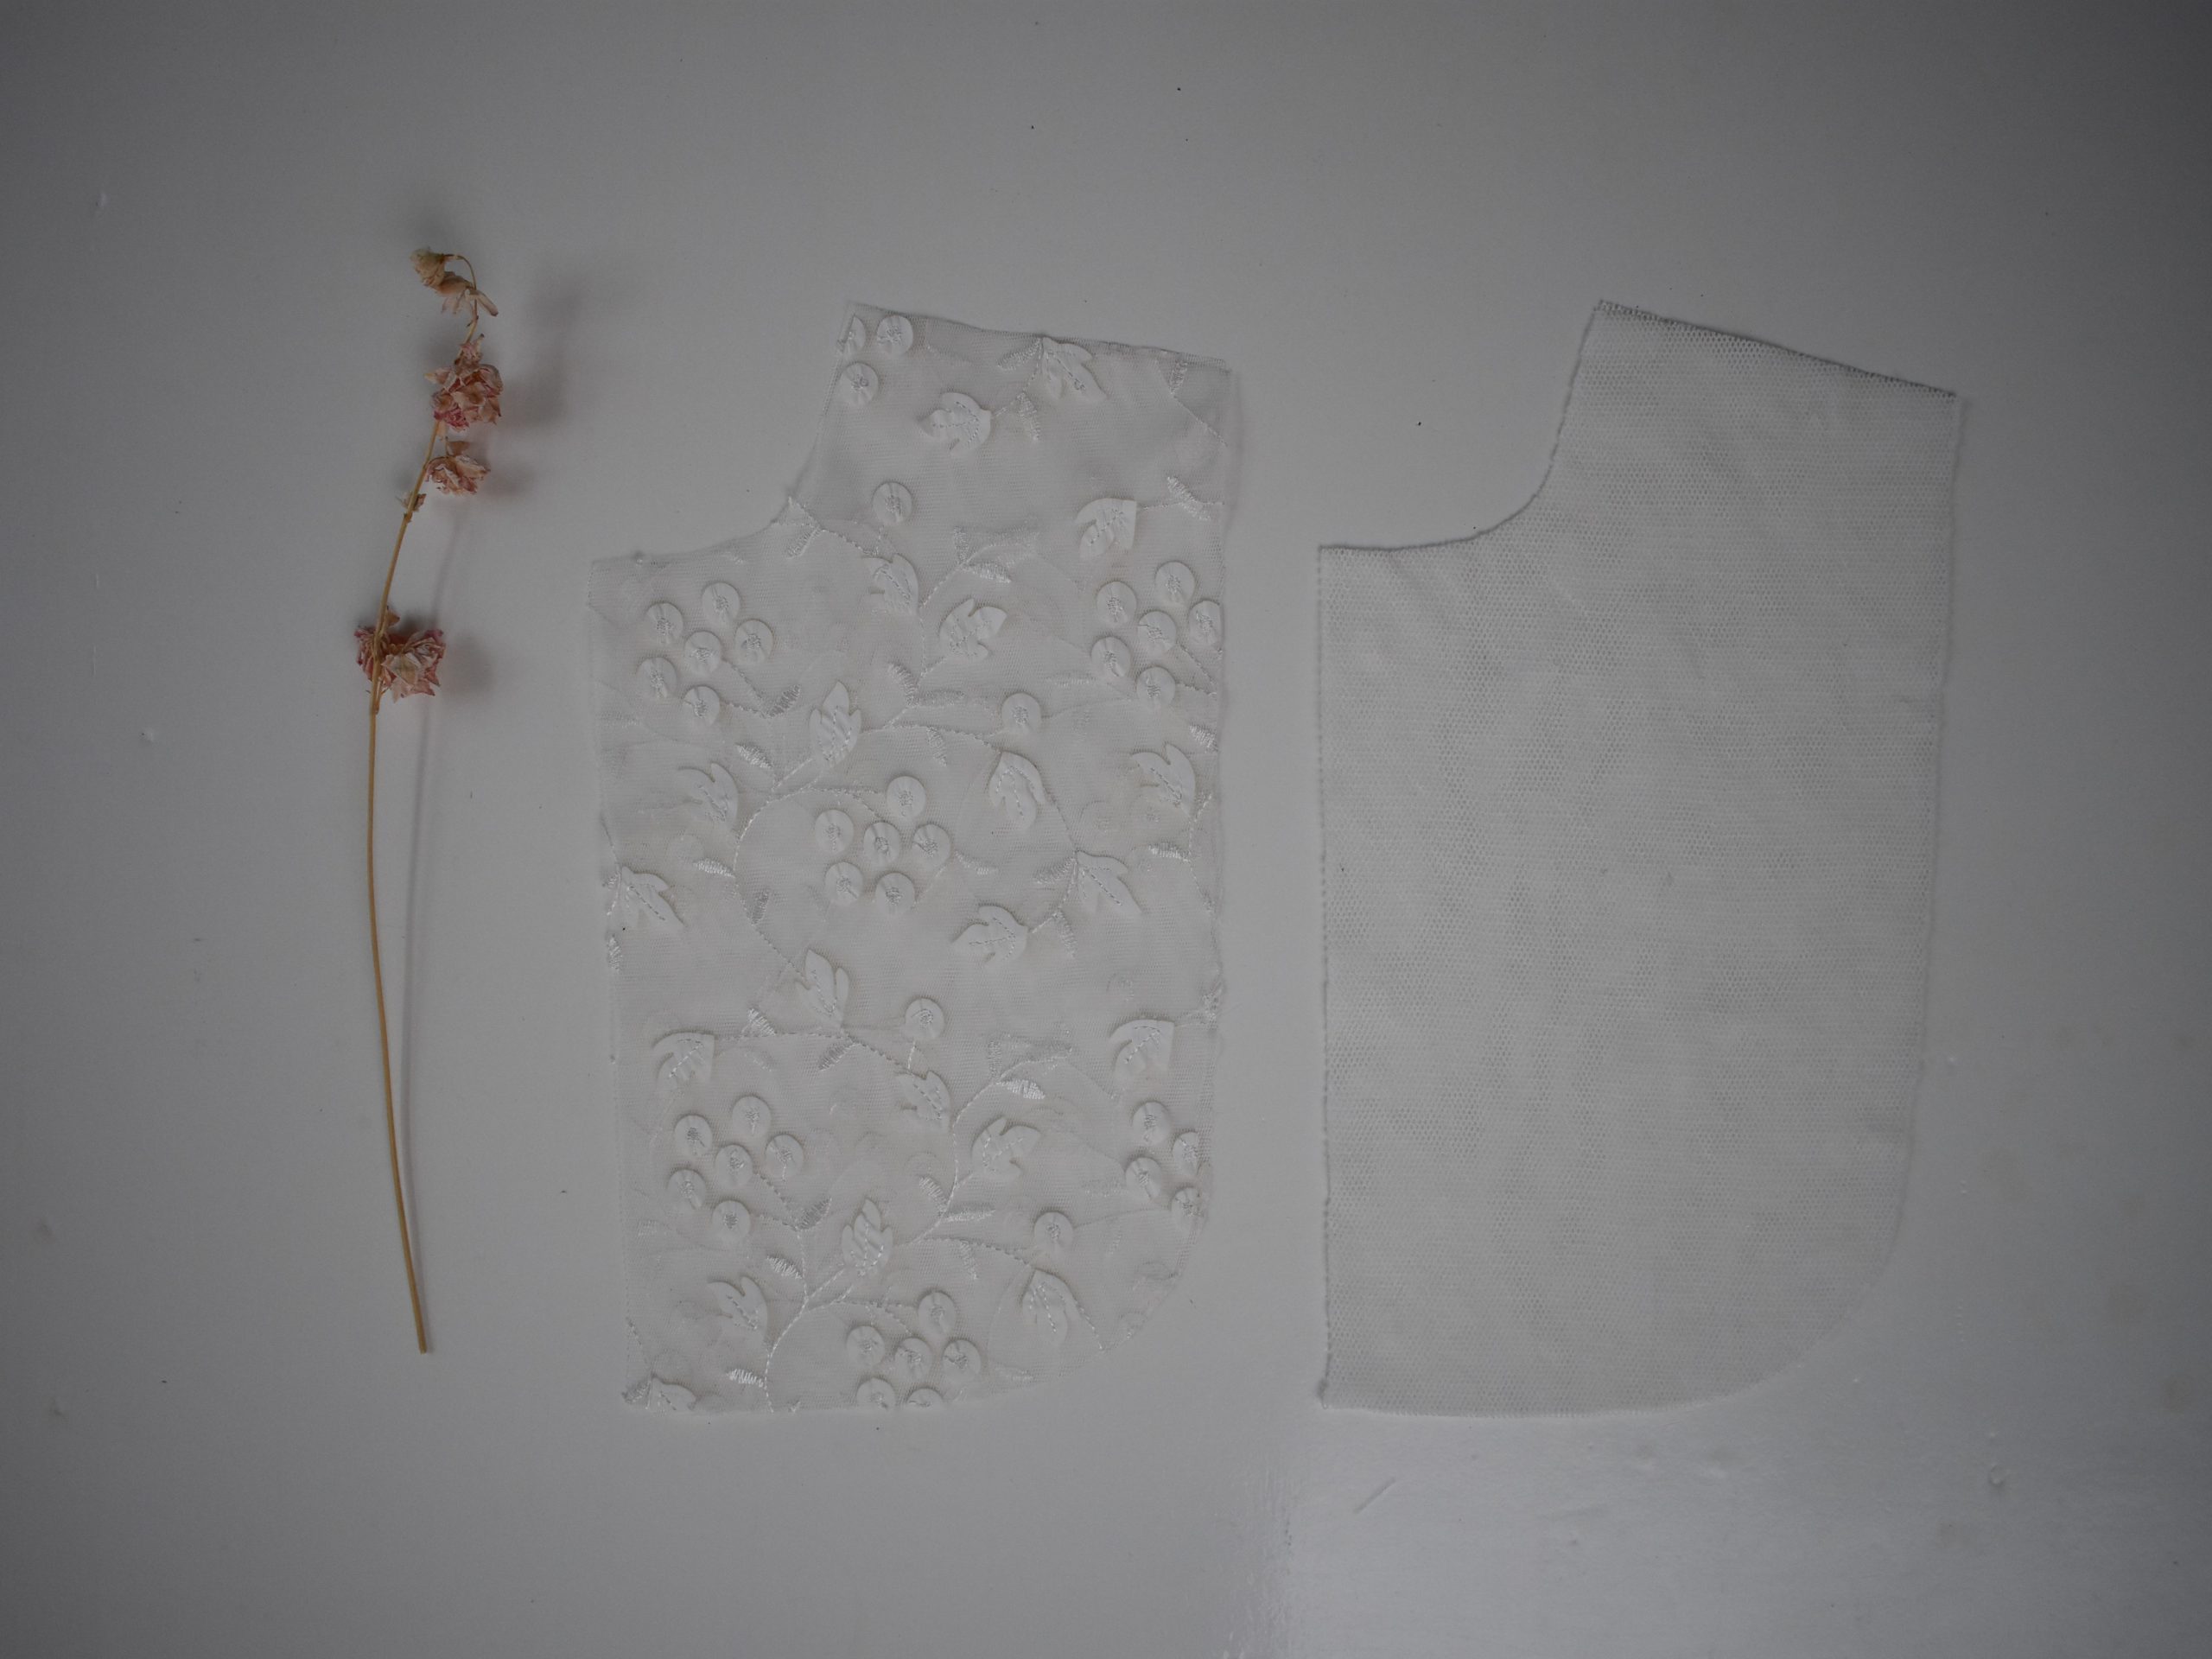
I cut the back panel once at the fabric fold from the embroidered tulle fabric and once at the fabric fold of the plain tulle fabric.
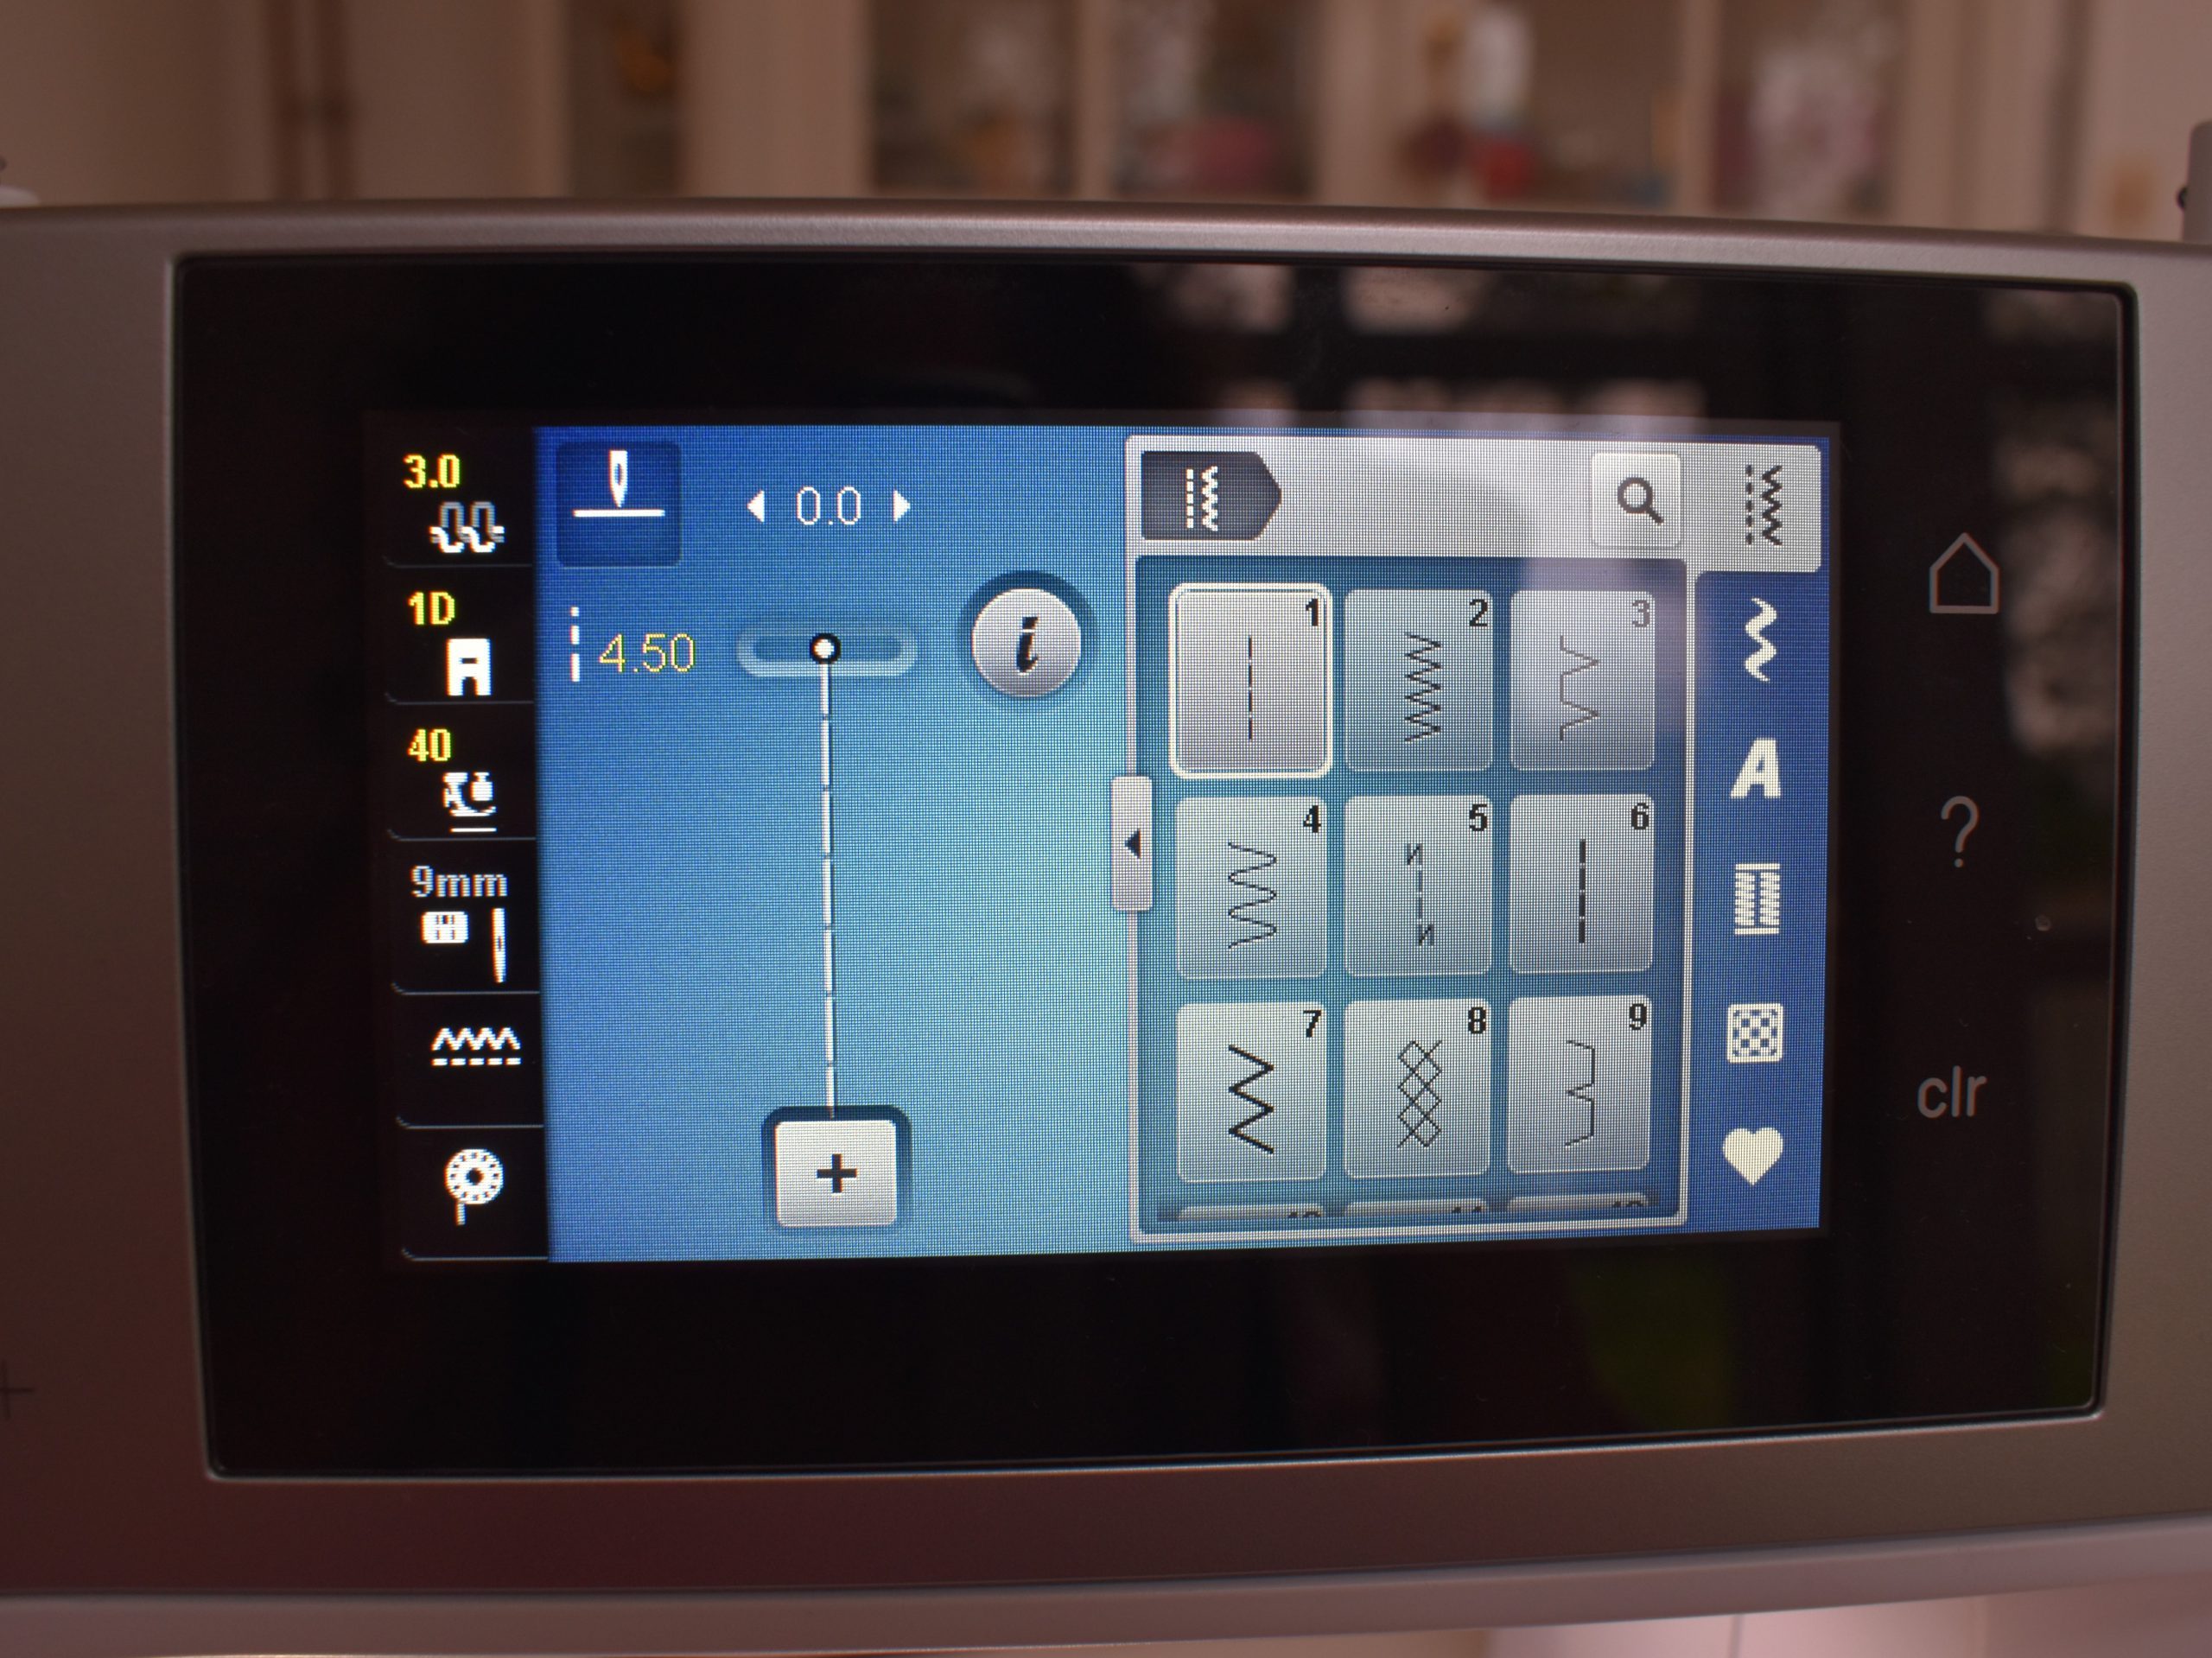
Machine settings for sewing with tulle
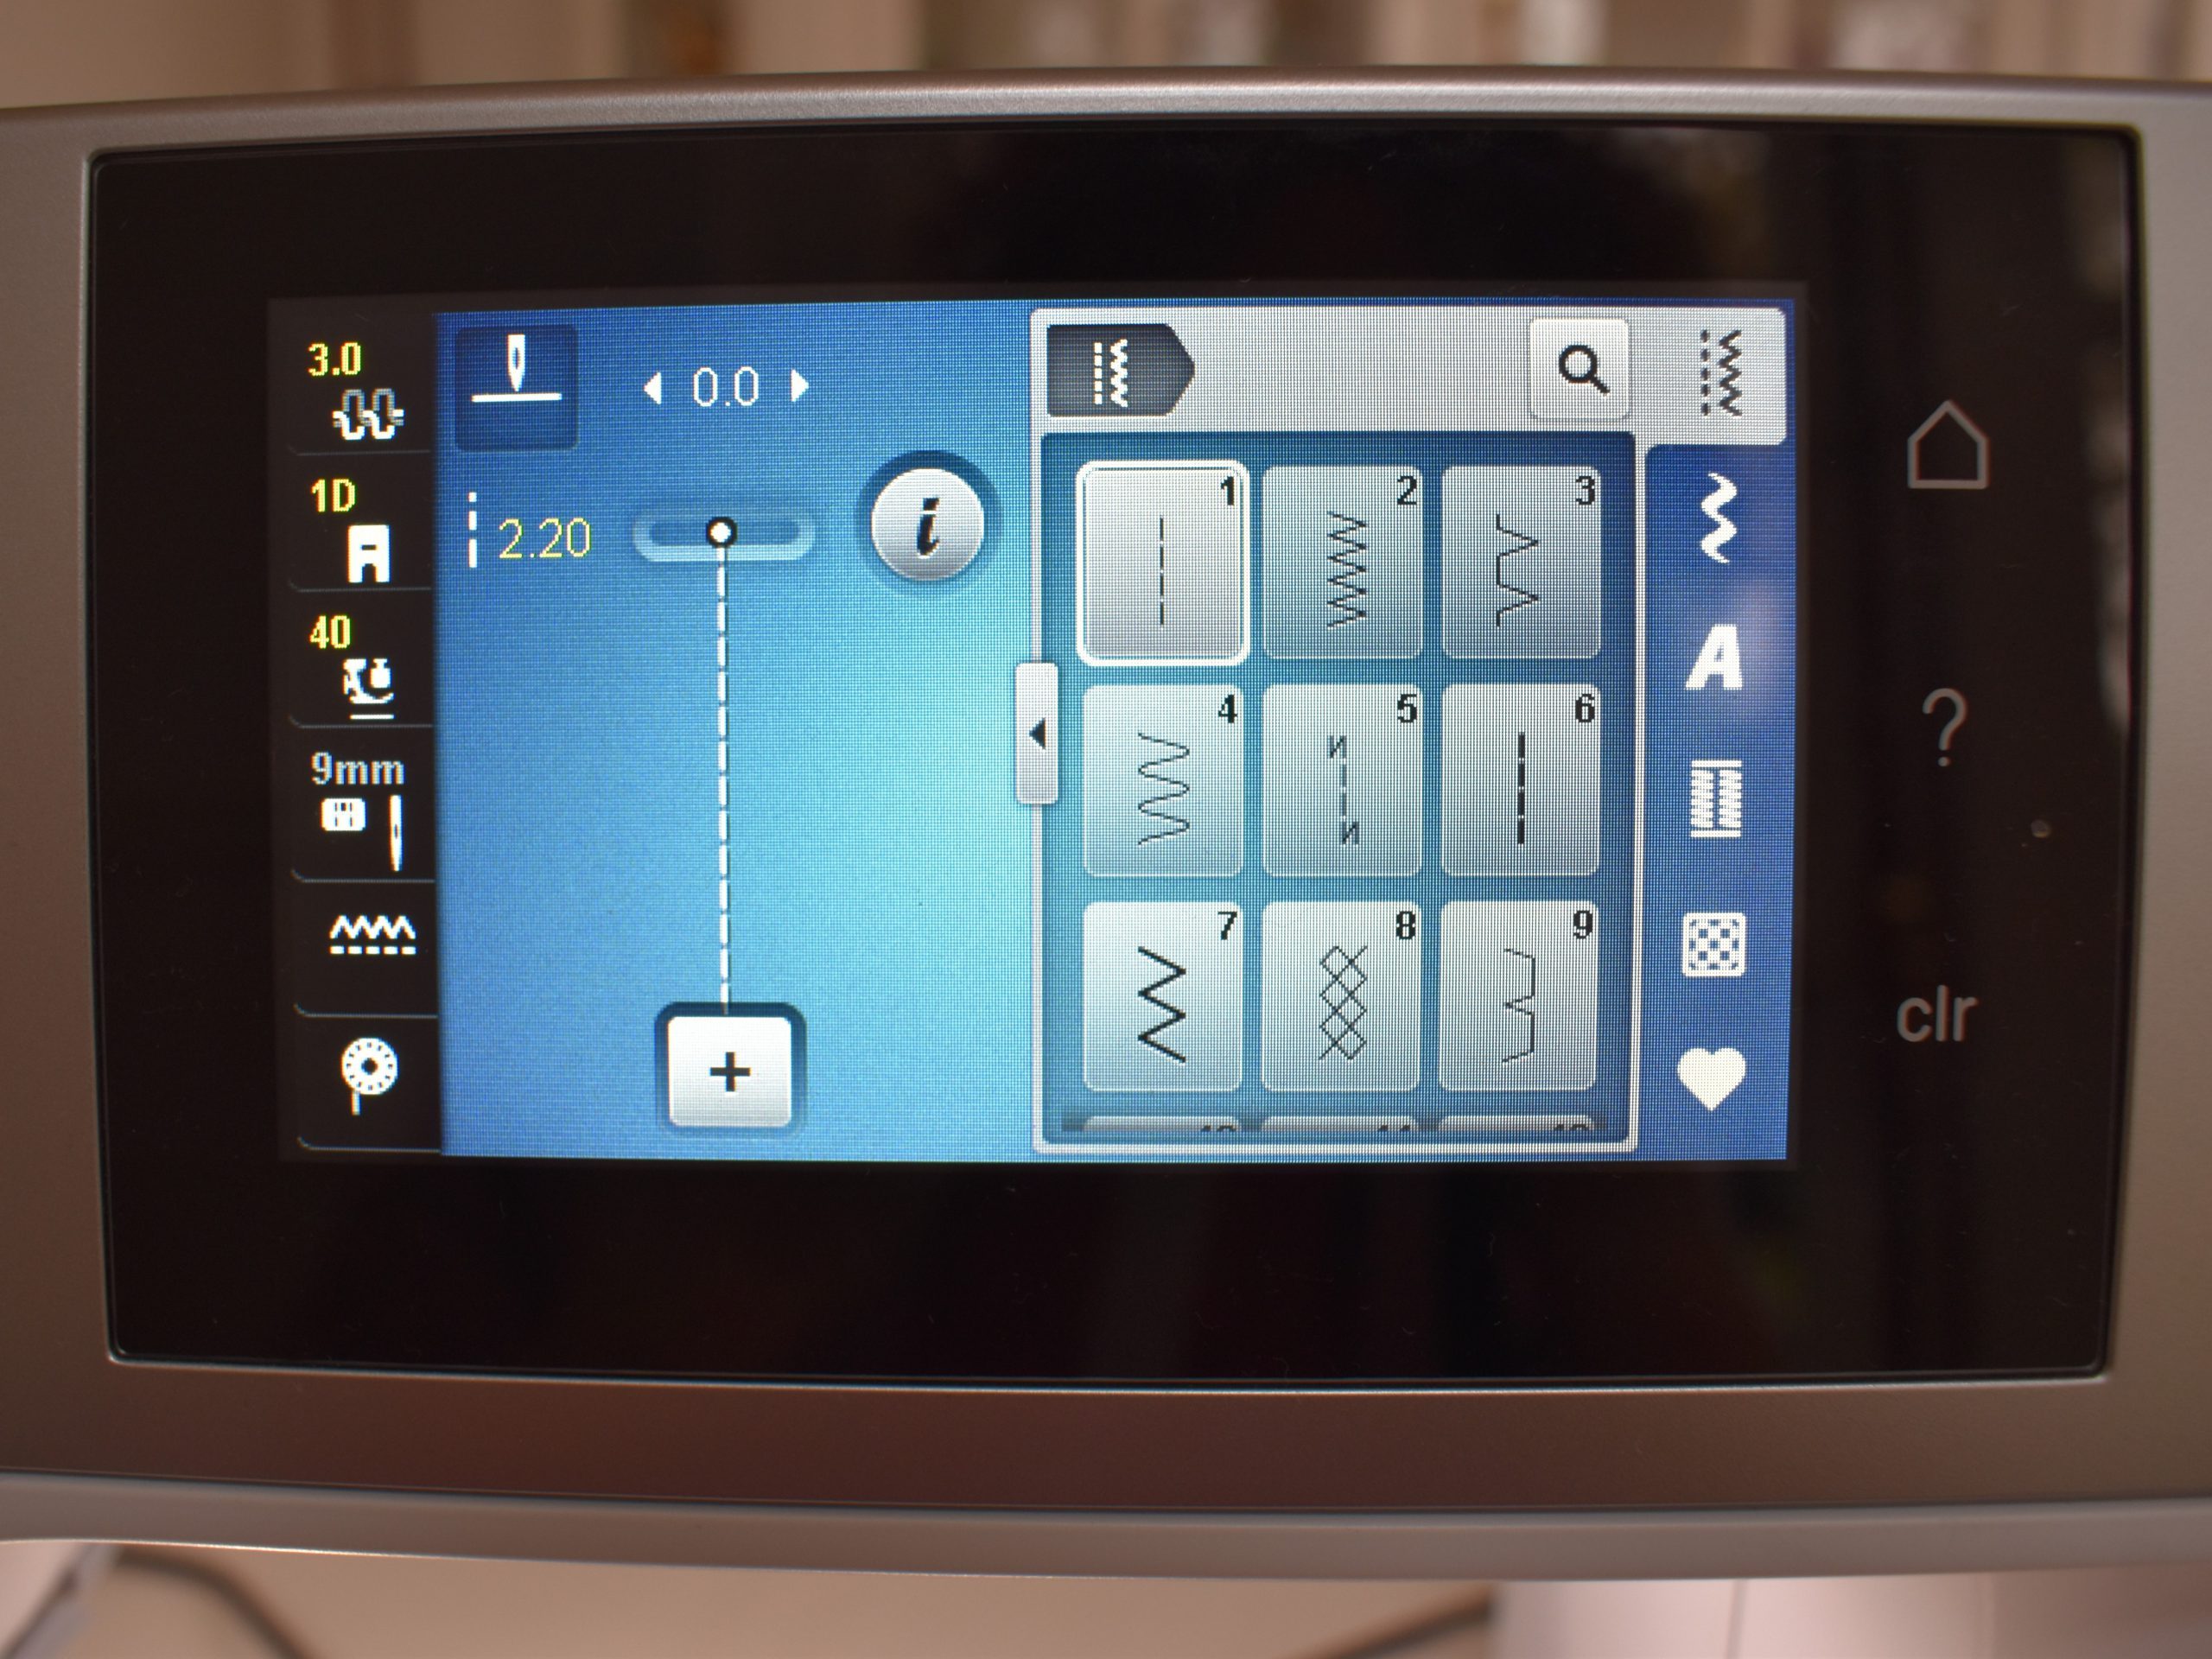
I always like to sew with a microtex 60 or 70 needle. I make the settings in the following way on my BERNINA 570 QE:
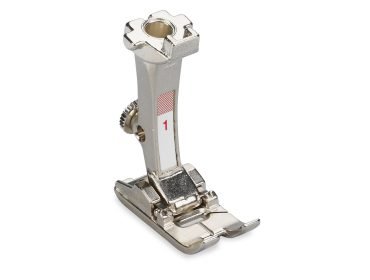
- I use the Reverse Pattern Foot #1D foot, and choose a stitch length of 2.2 cm.
- Set the pressure somewhat lower at 40 and the top tension at 3.
This will be different for every machine, so always try a few seams on a scrap of fabric to see if your machine sews the tulle nicely.
Sewing with tulle
The shoulder seams of the Harriet collars are sewn with a 1.5 cm seam, because English seams are used. So trim the seam to about 0.3 cm. Do the same with the plain tulle parts!
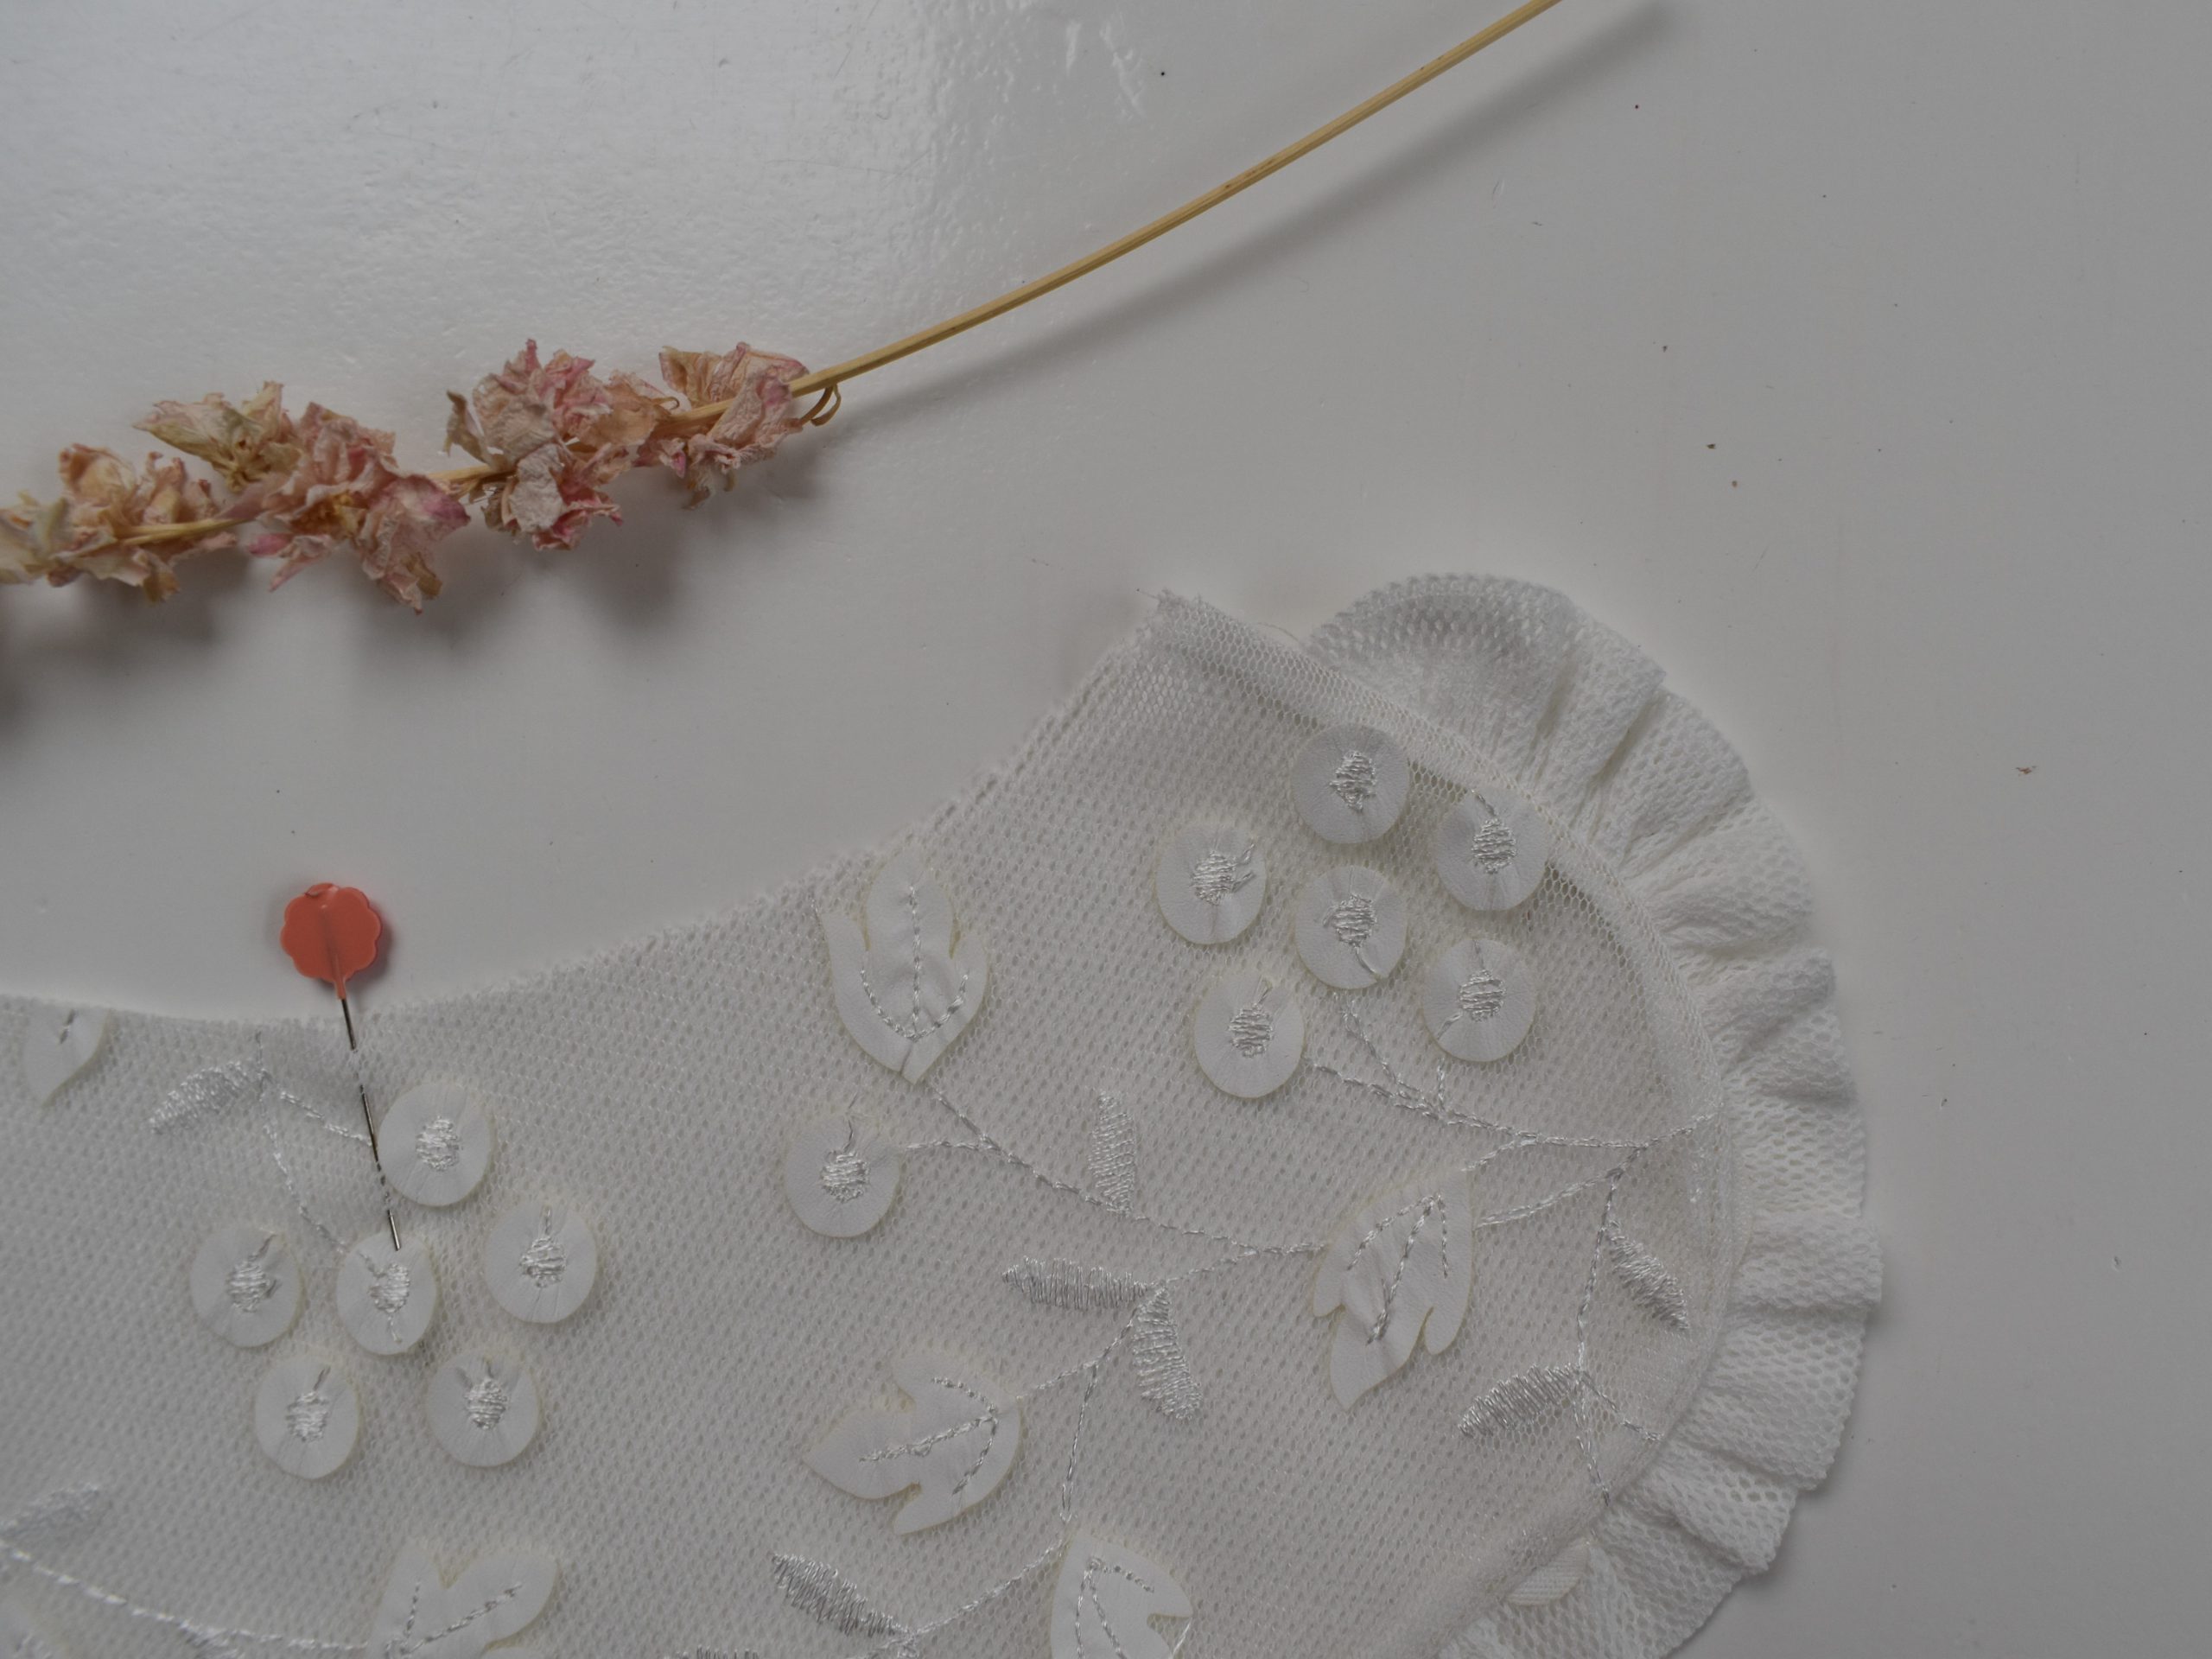
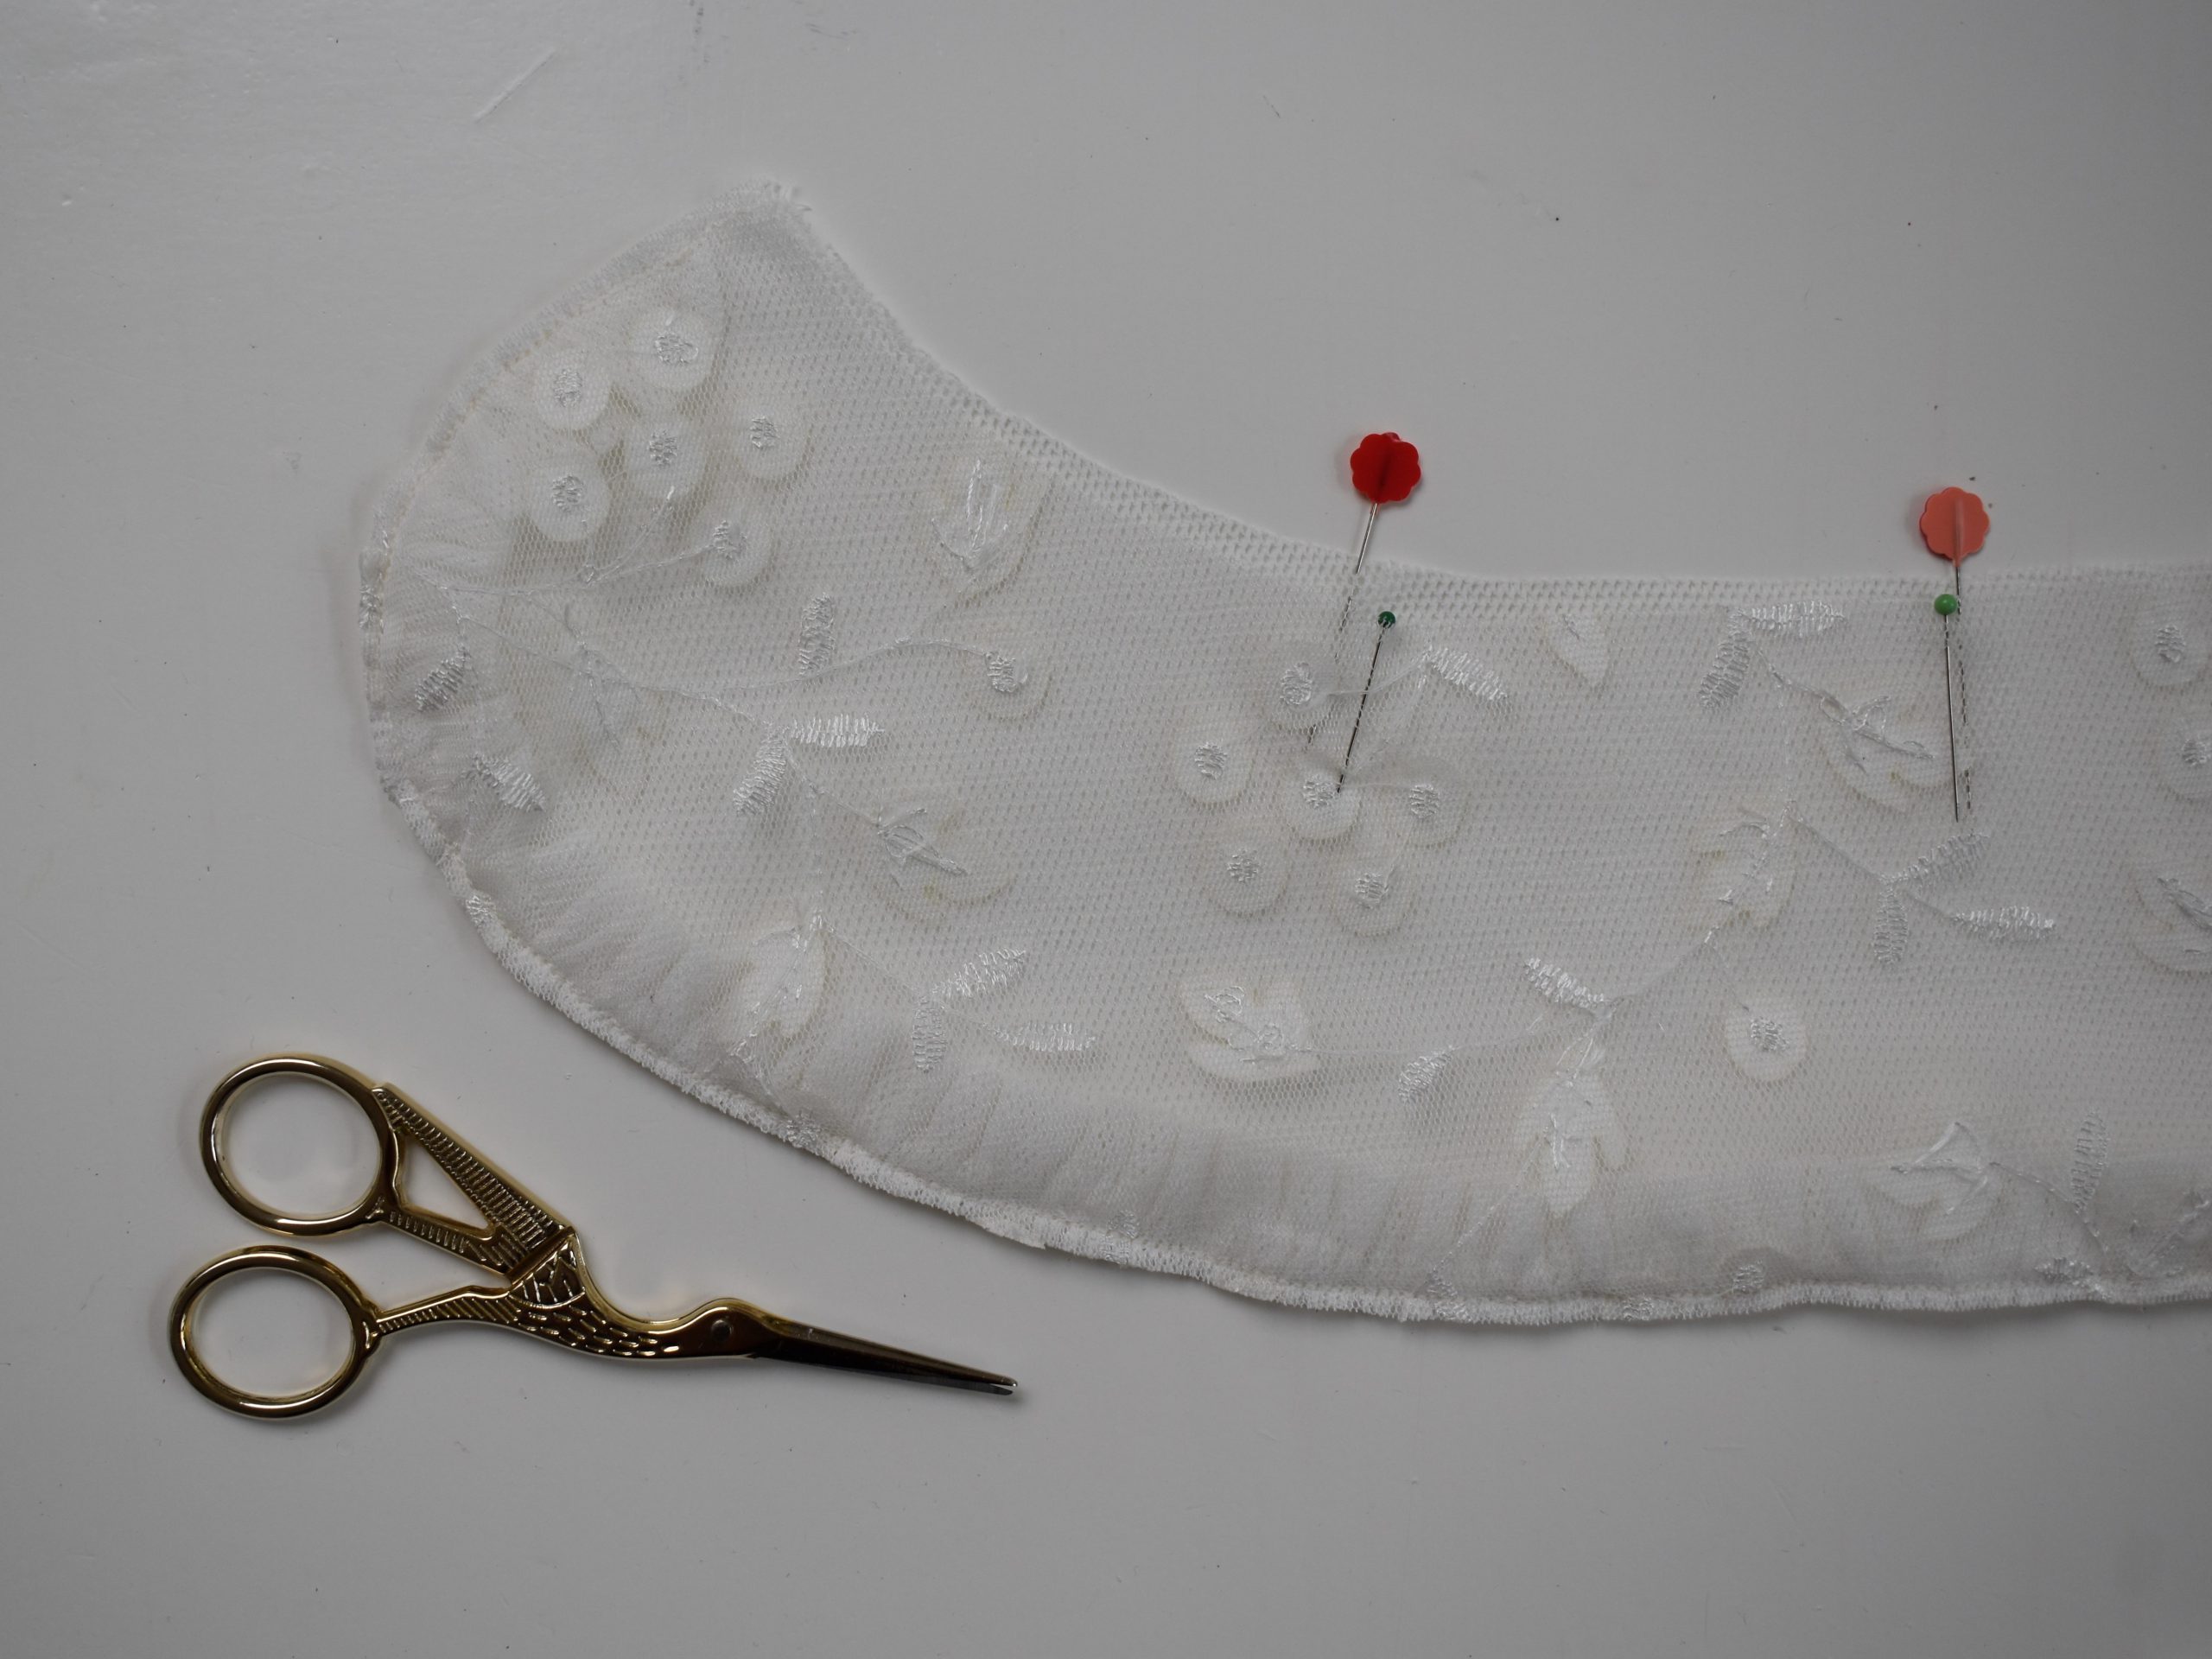
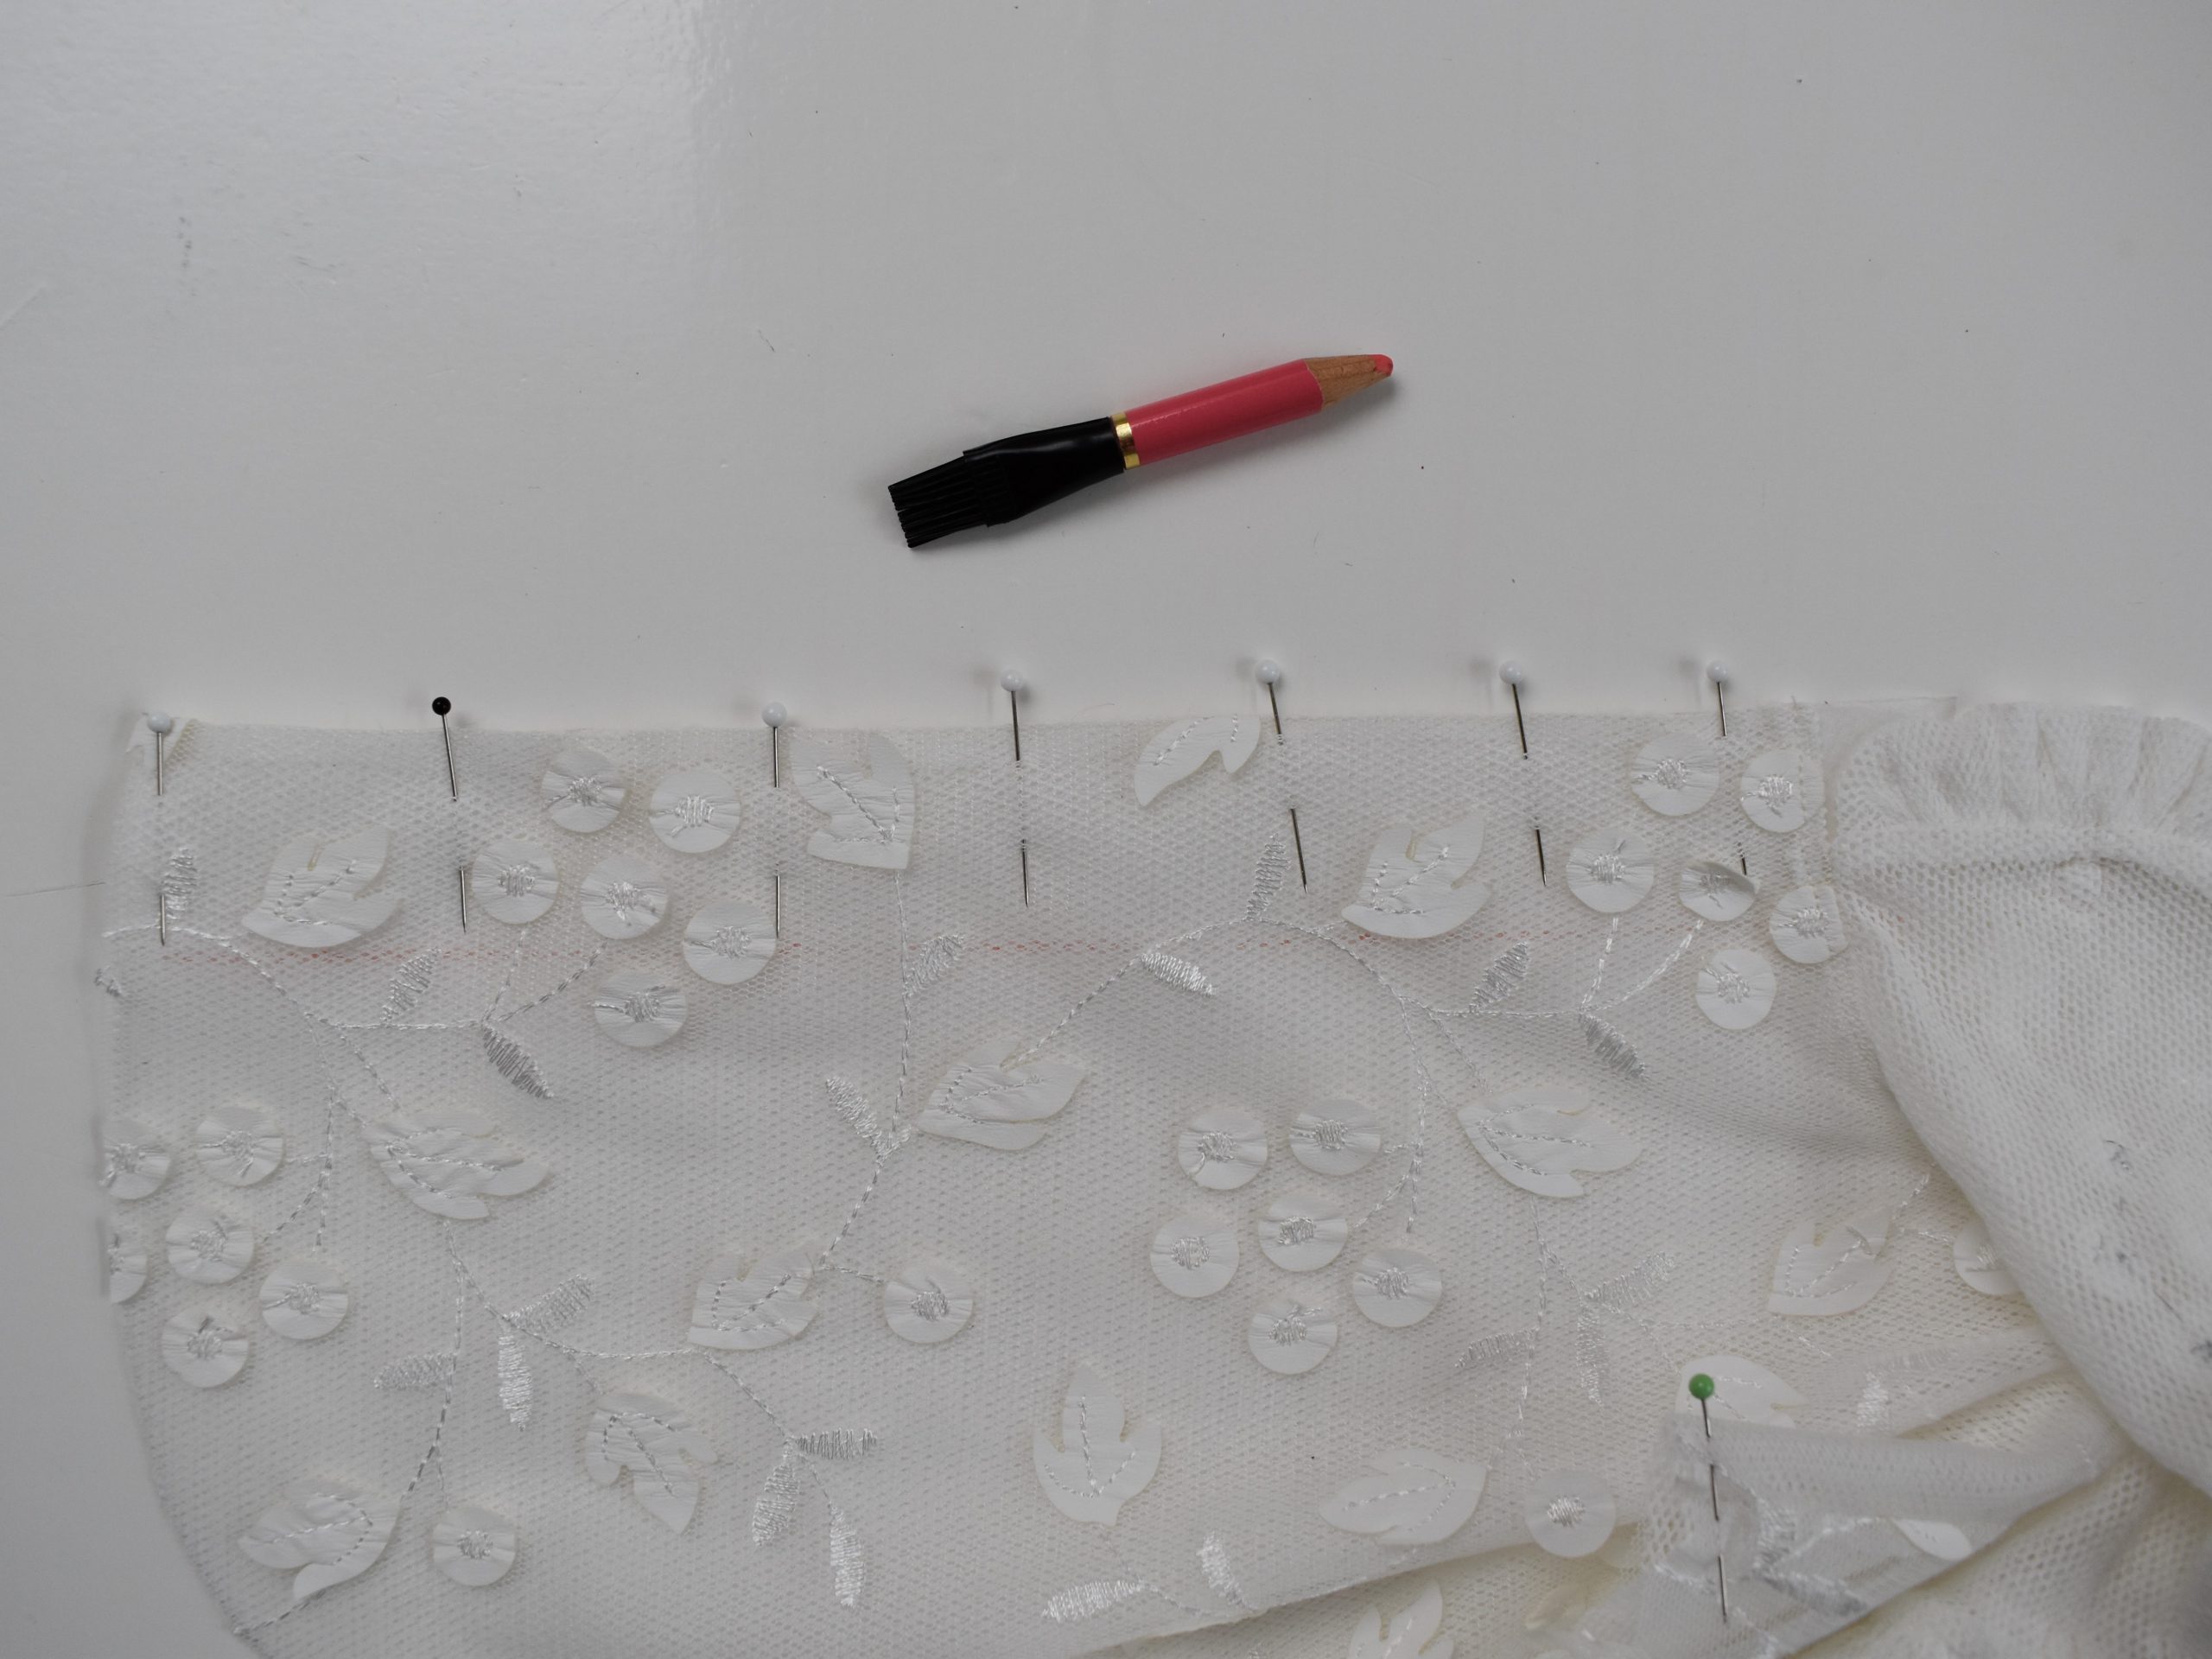
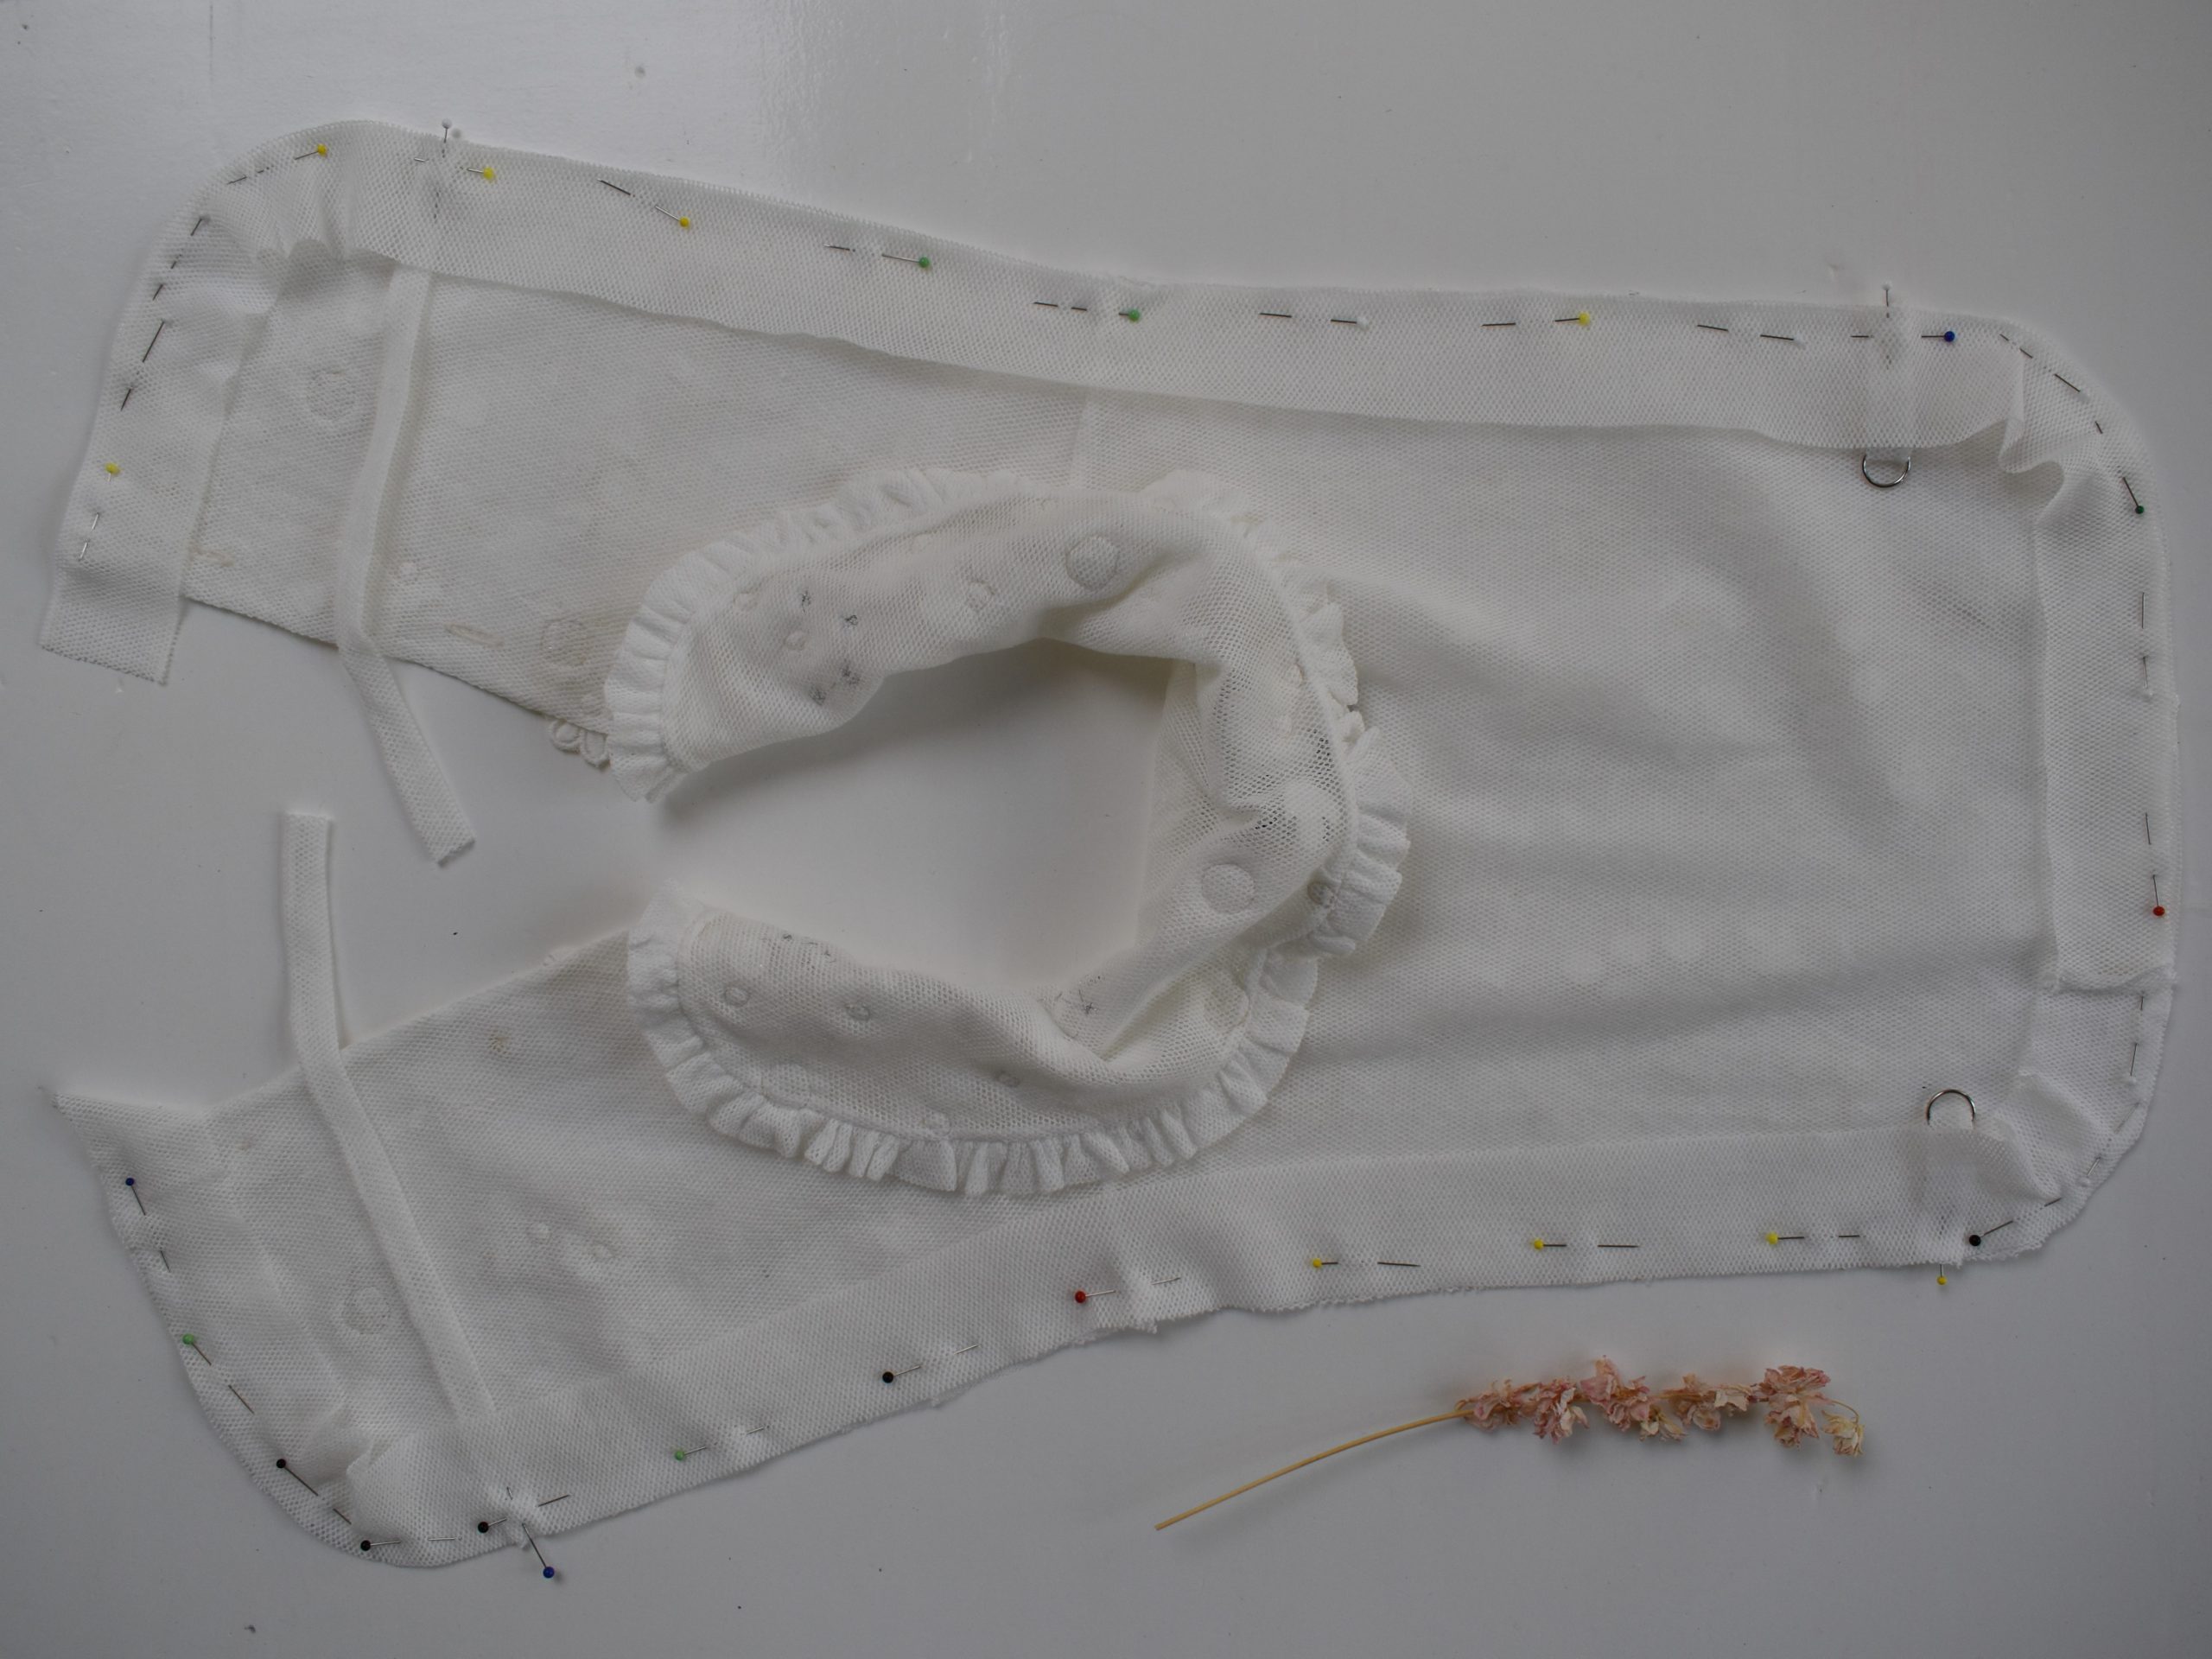
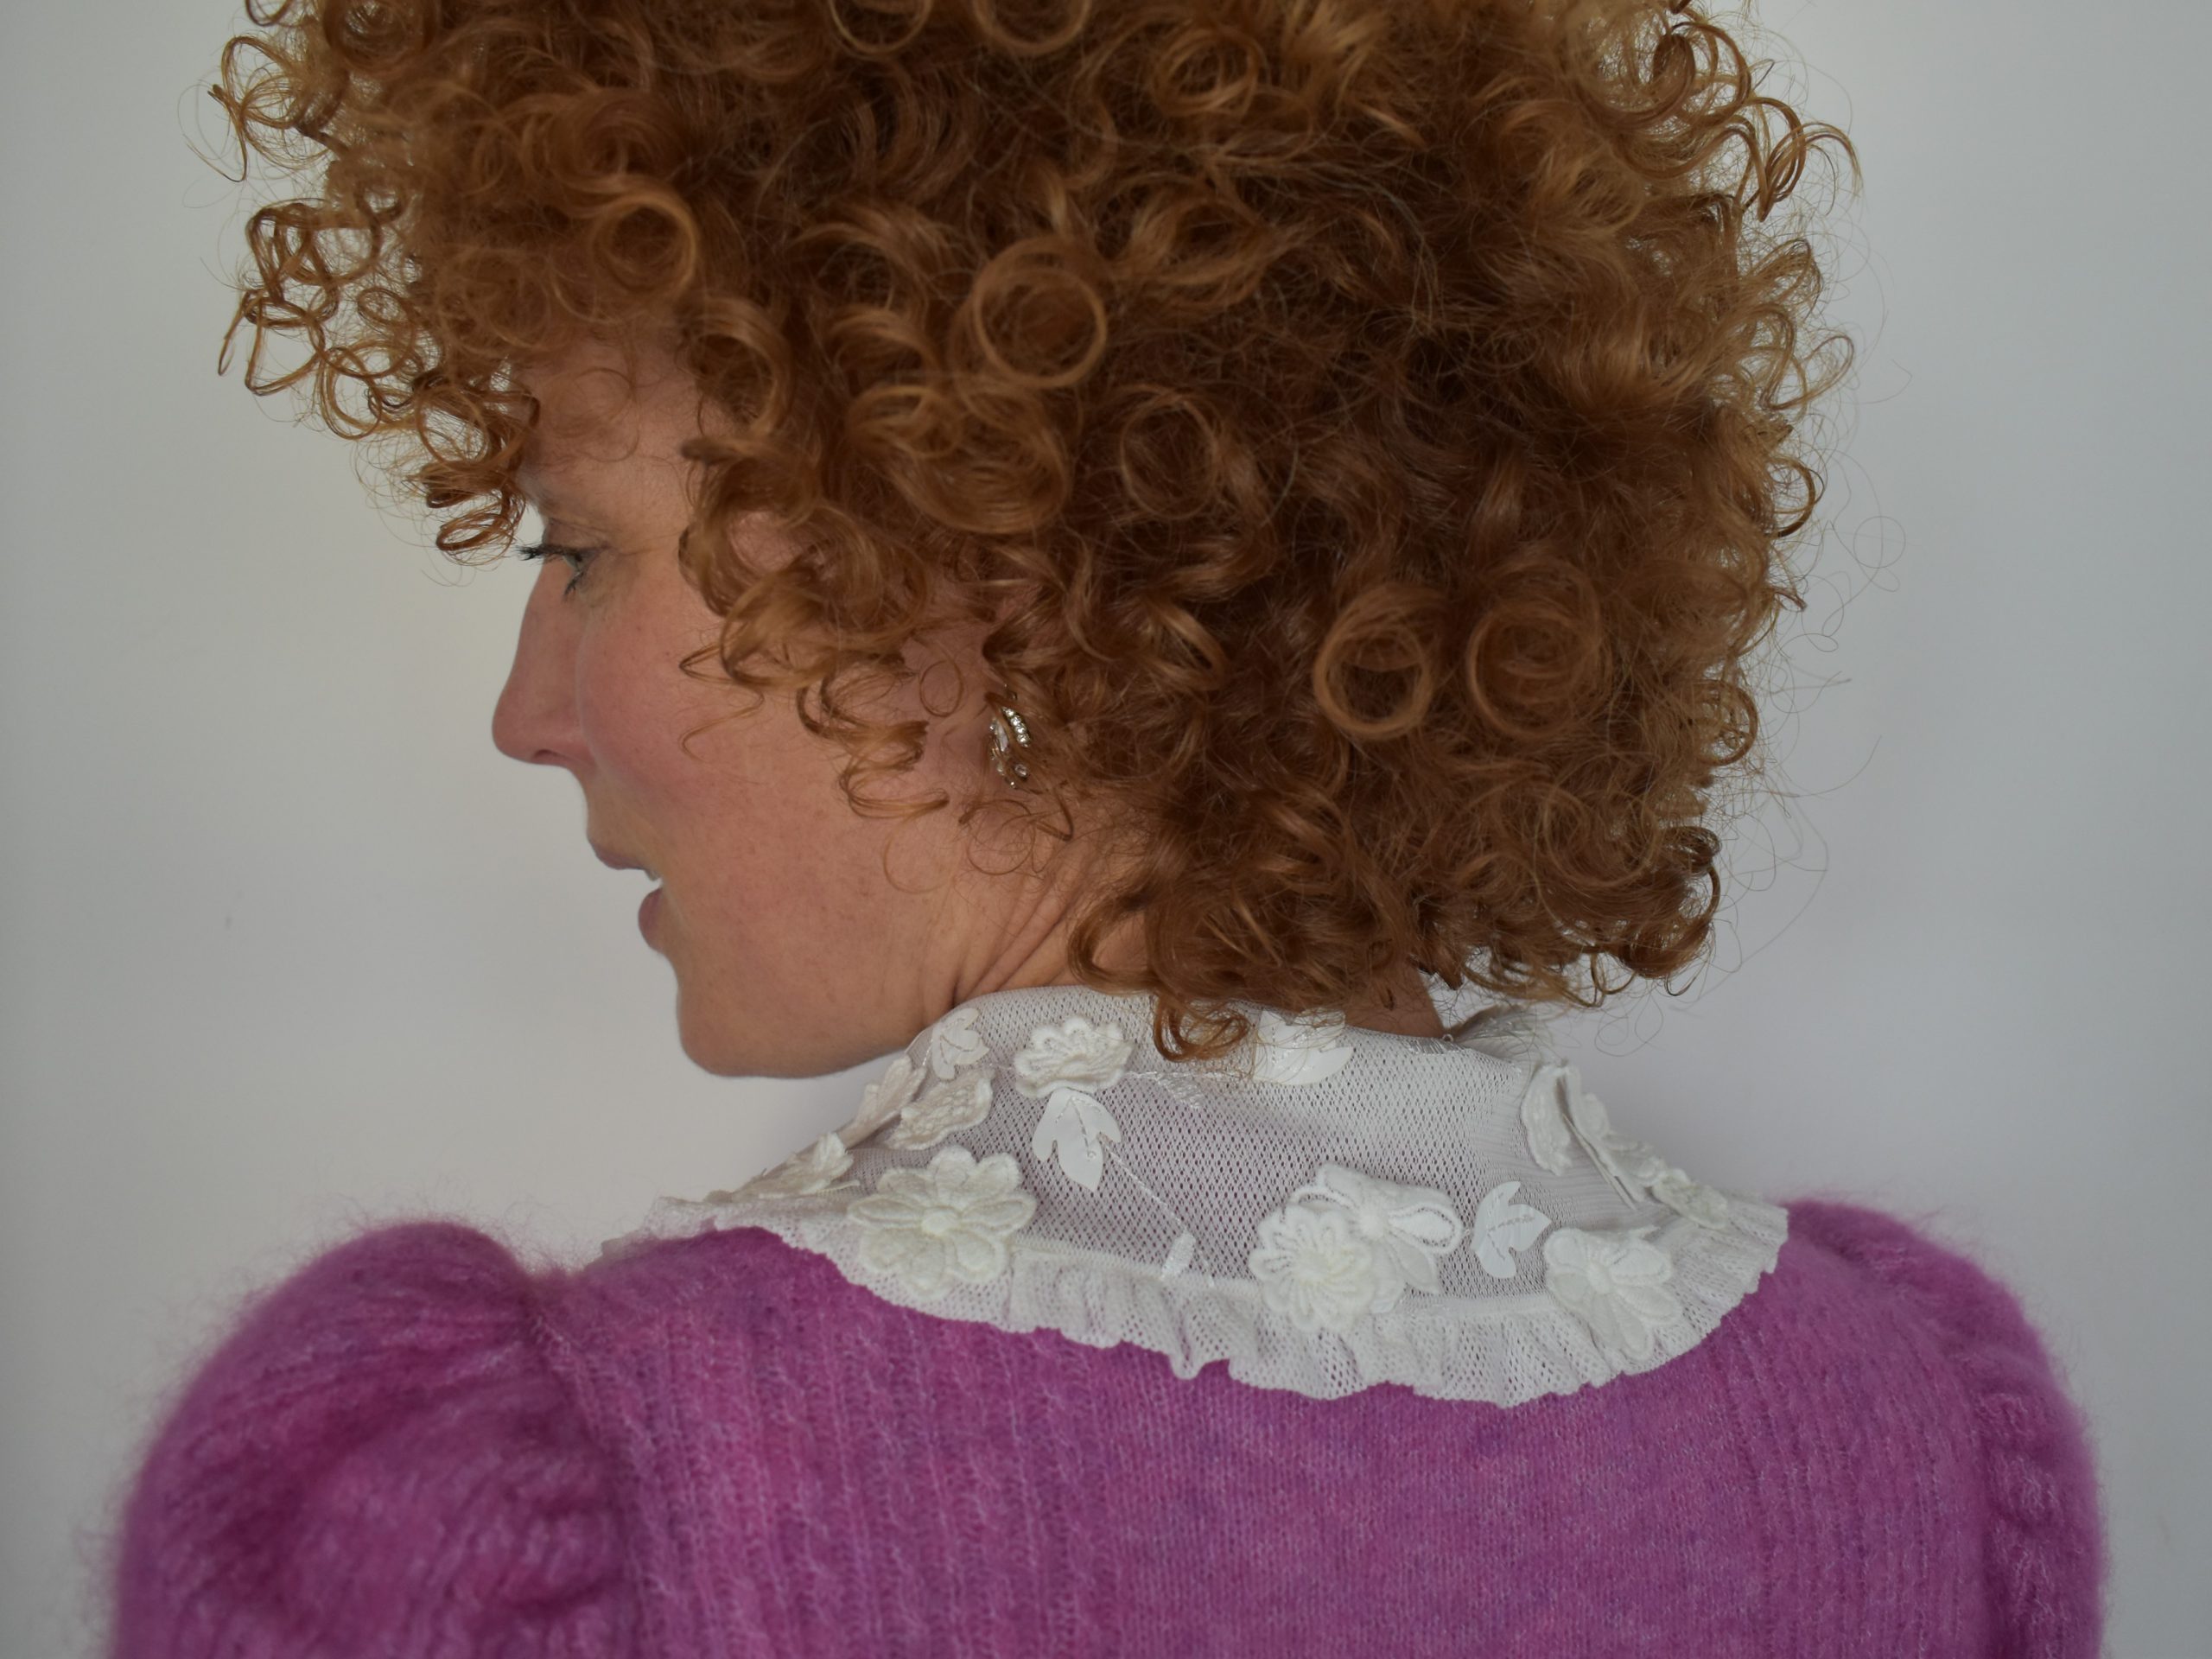
After the shoulder seams are sewn, it’s time for the collar. I chose a ruffle. Since it’s difficult to iron tulle, it is smart to pin the edge that has to be gathered, firmly together.
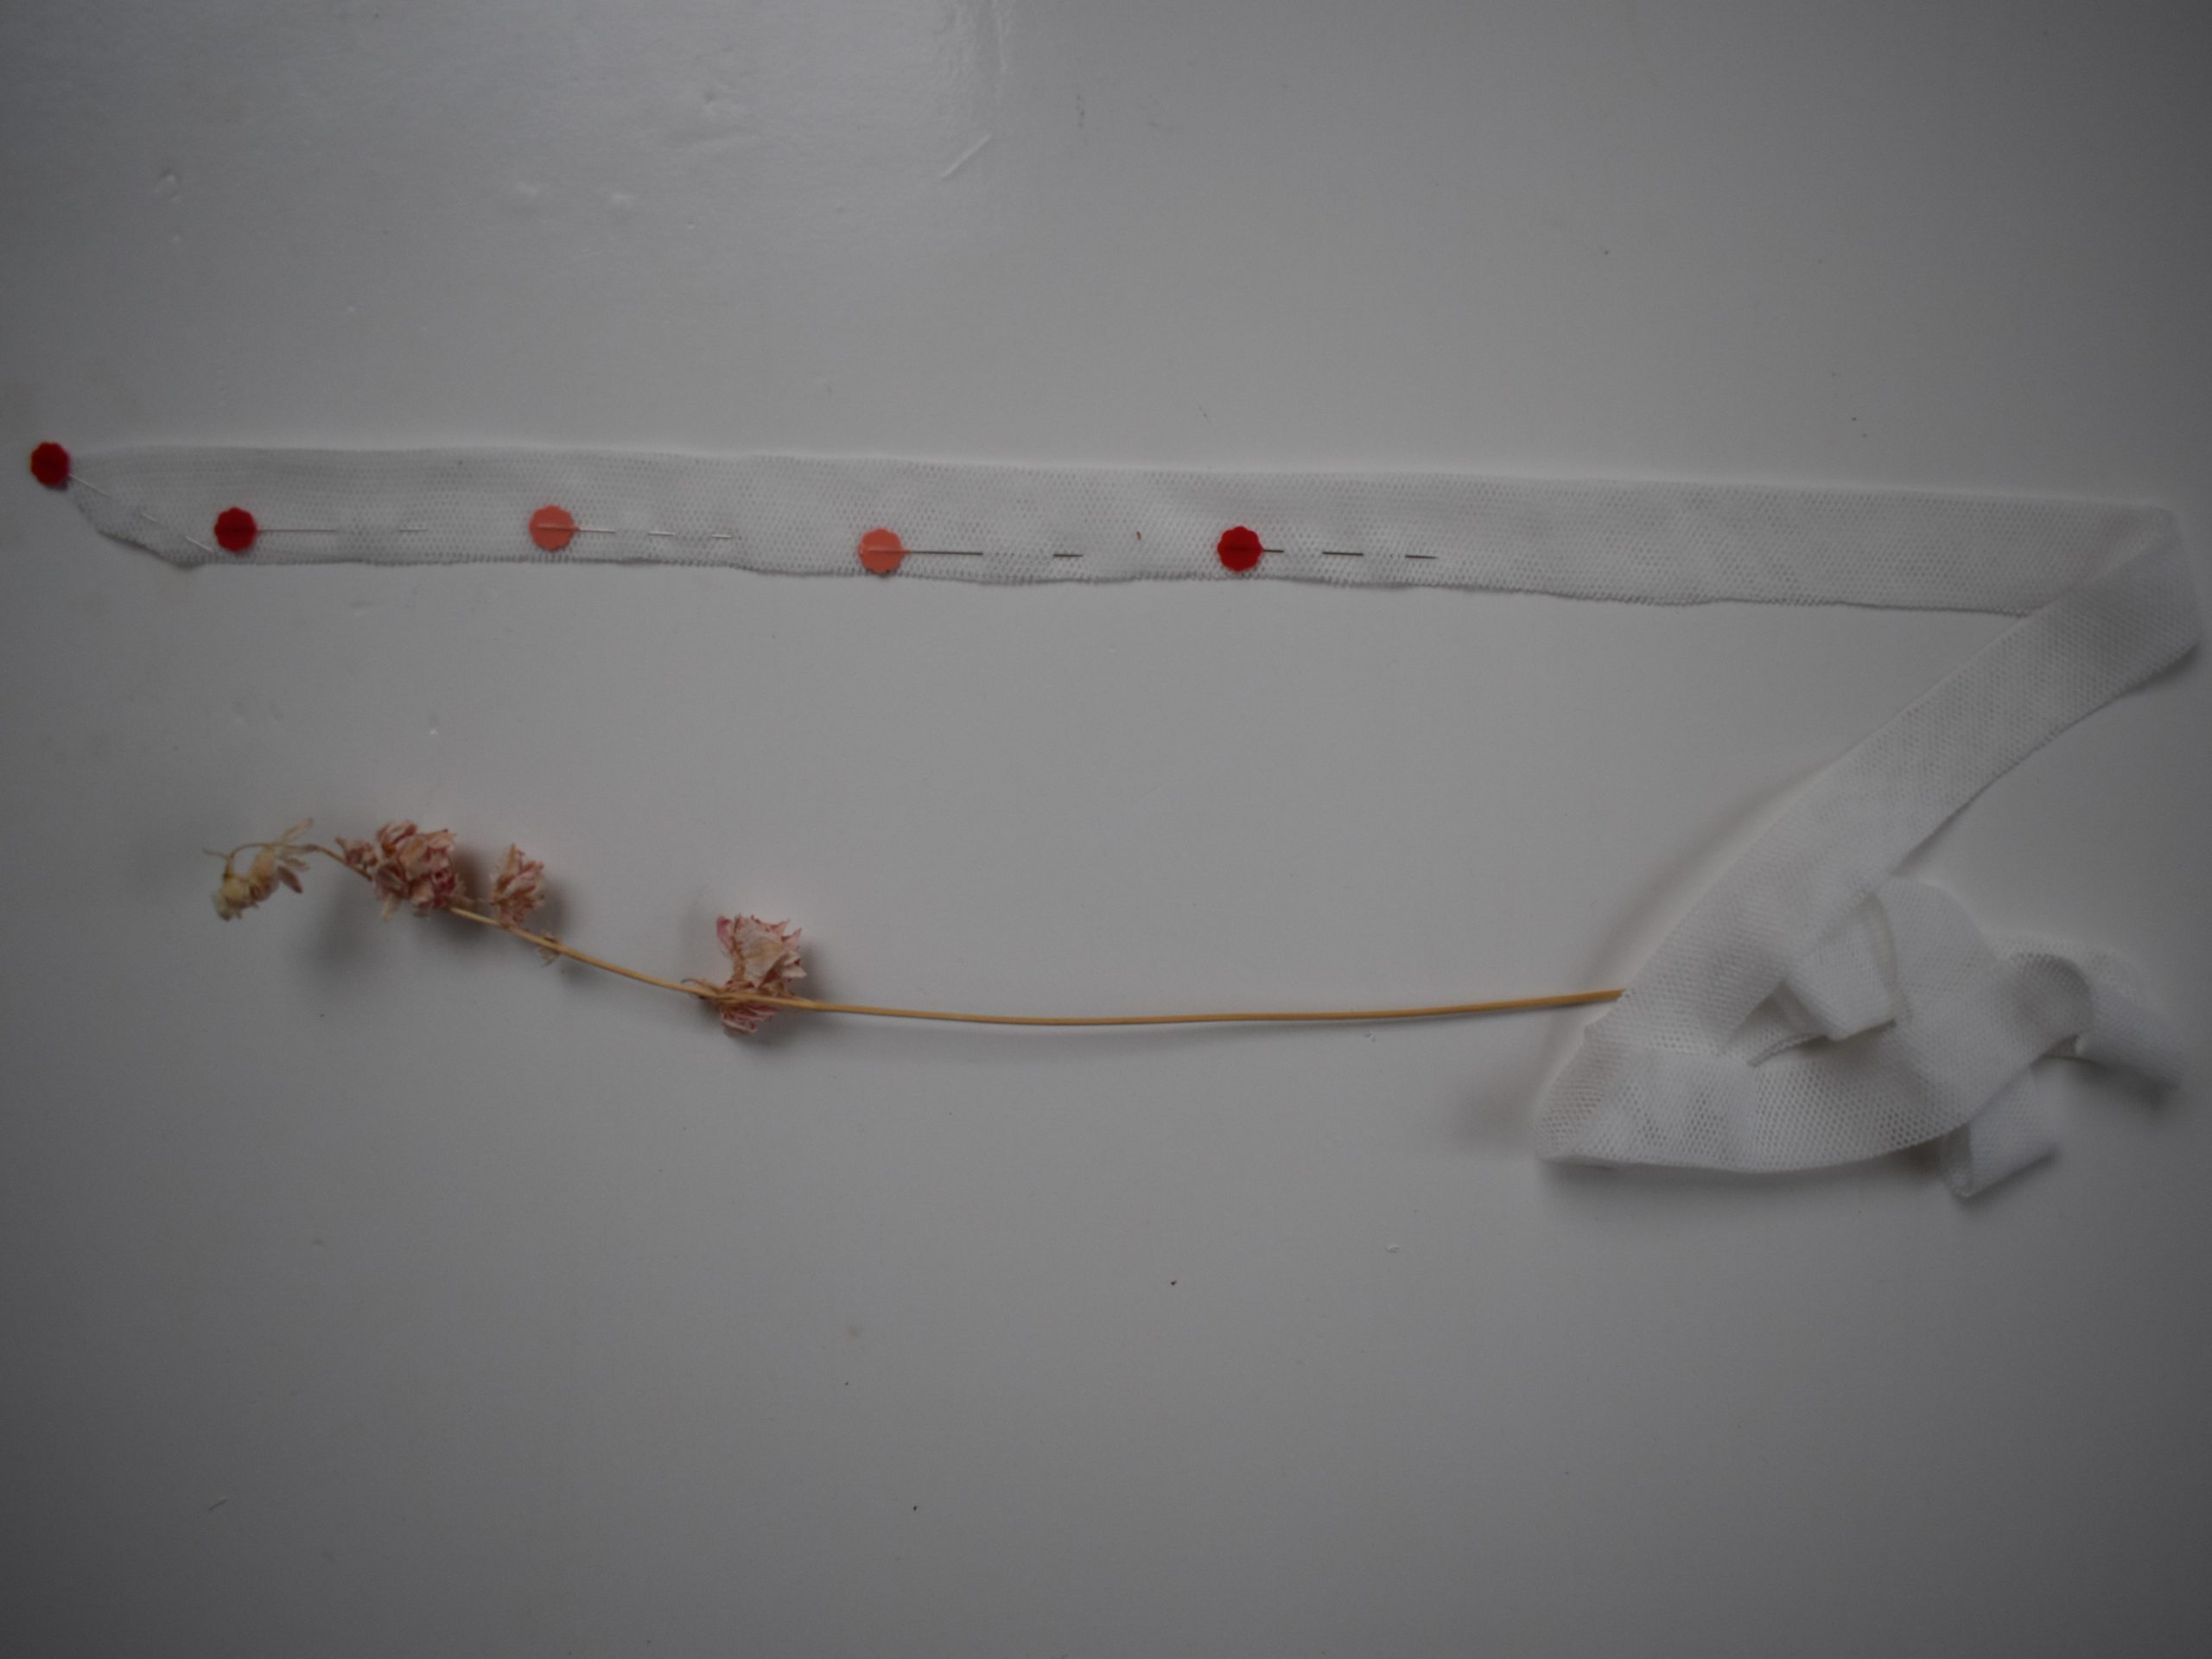
I set up the machine as follows for gathering the tulle ruffle.
Tip: Don’t use an overly large stitch length here, because tulle gathers easily and if you use an overly large stitch length, the ruffles will be too large.
Tip: When stitching the two gathering threads, hold the tulle on the back side and pull very gently. Otherwise it wrinkles up during stitching and you can’t make two nice gathering stitches next to each other.
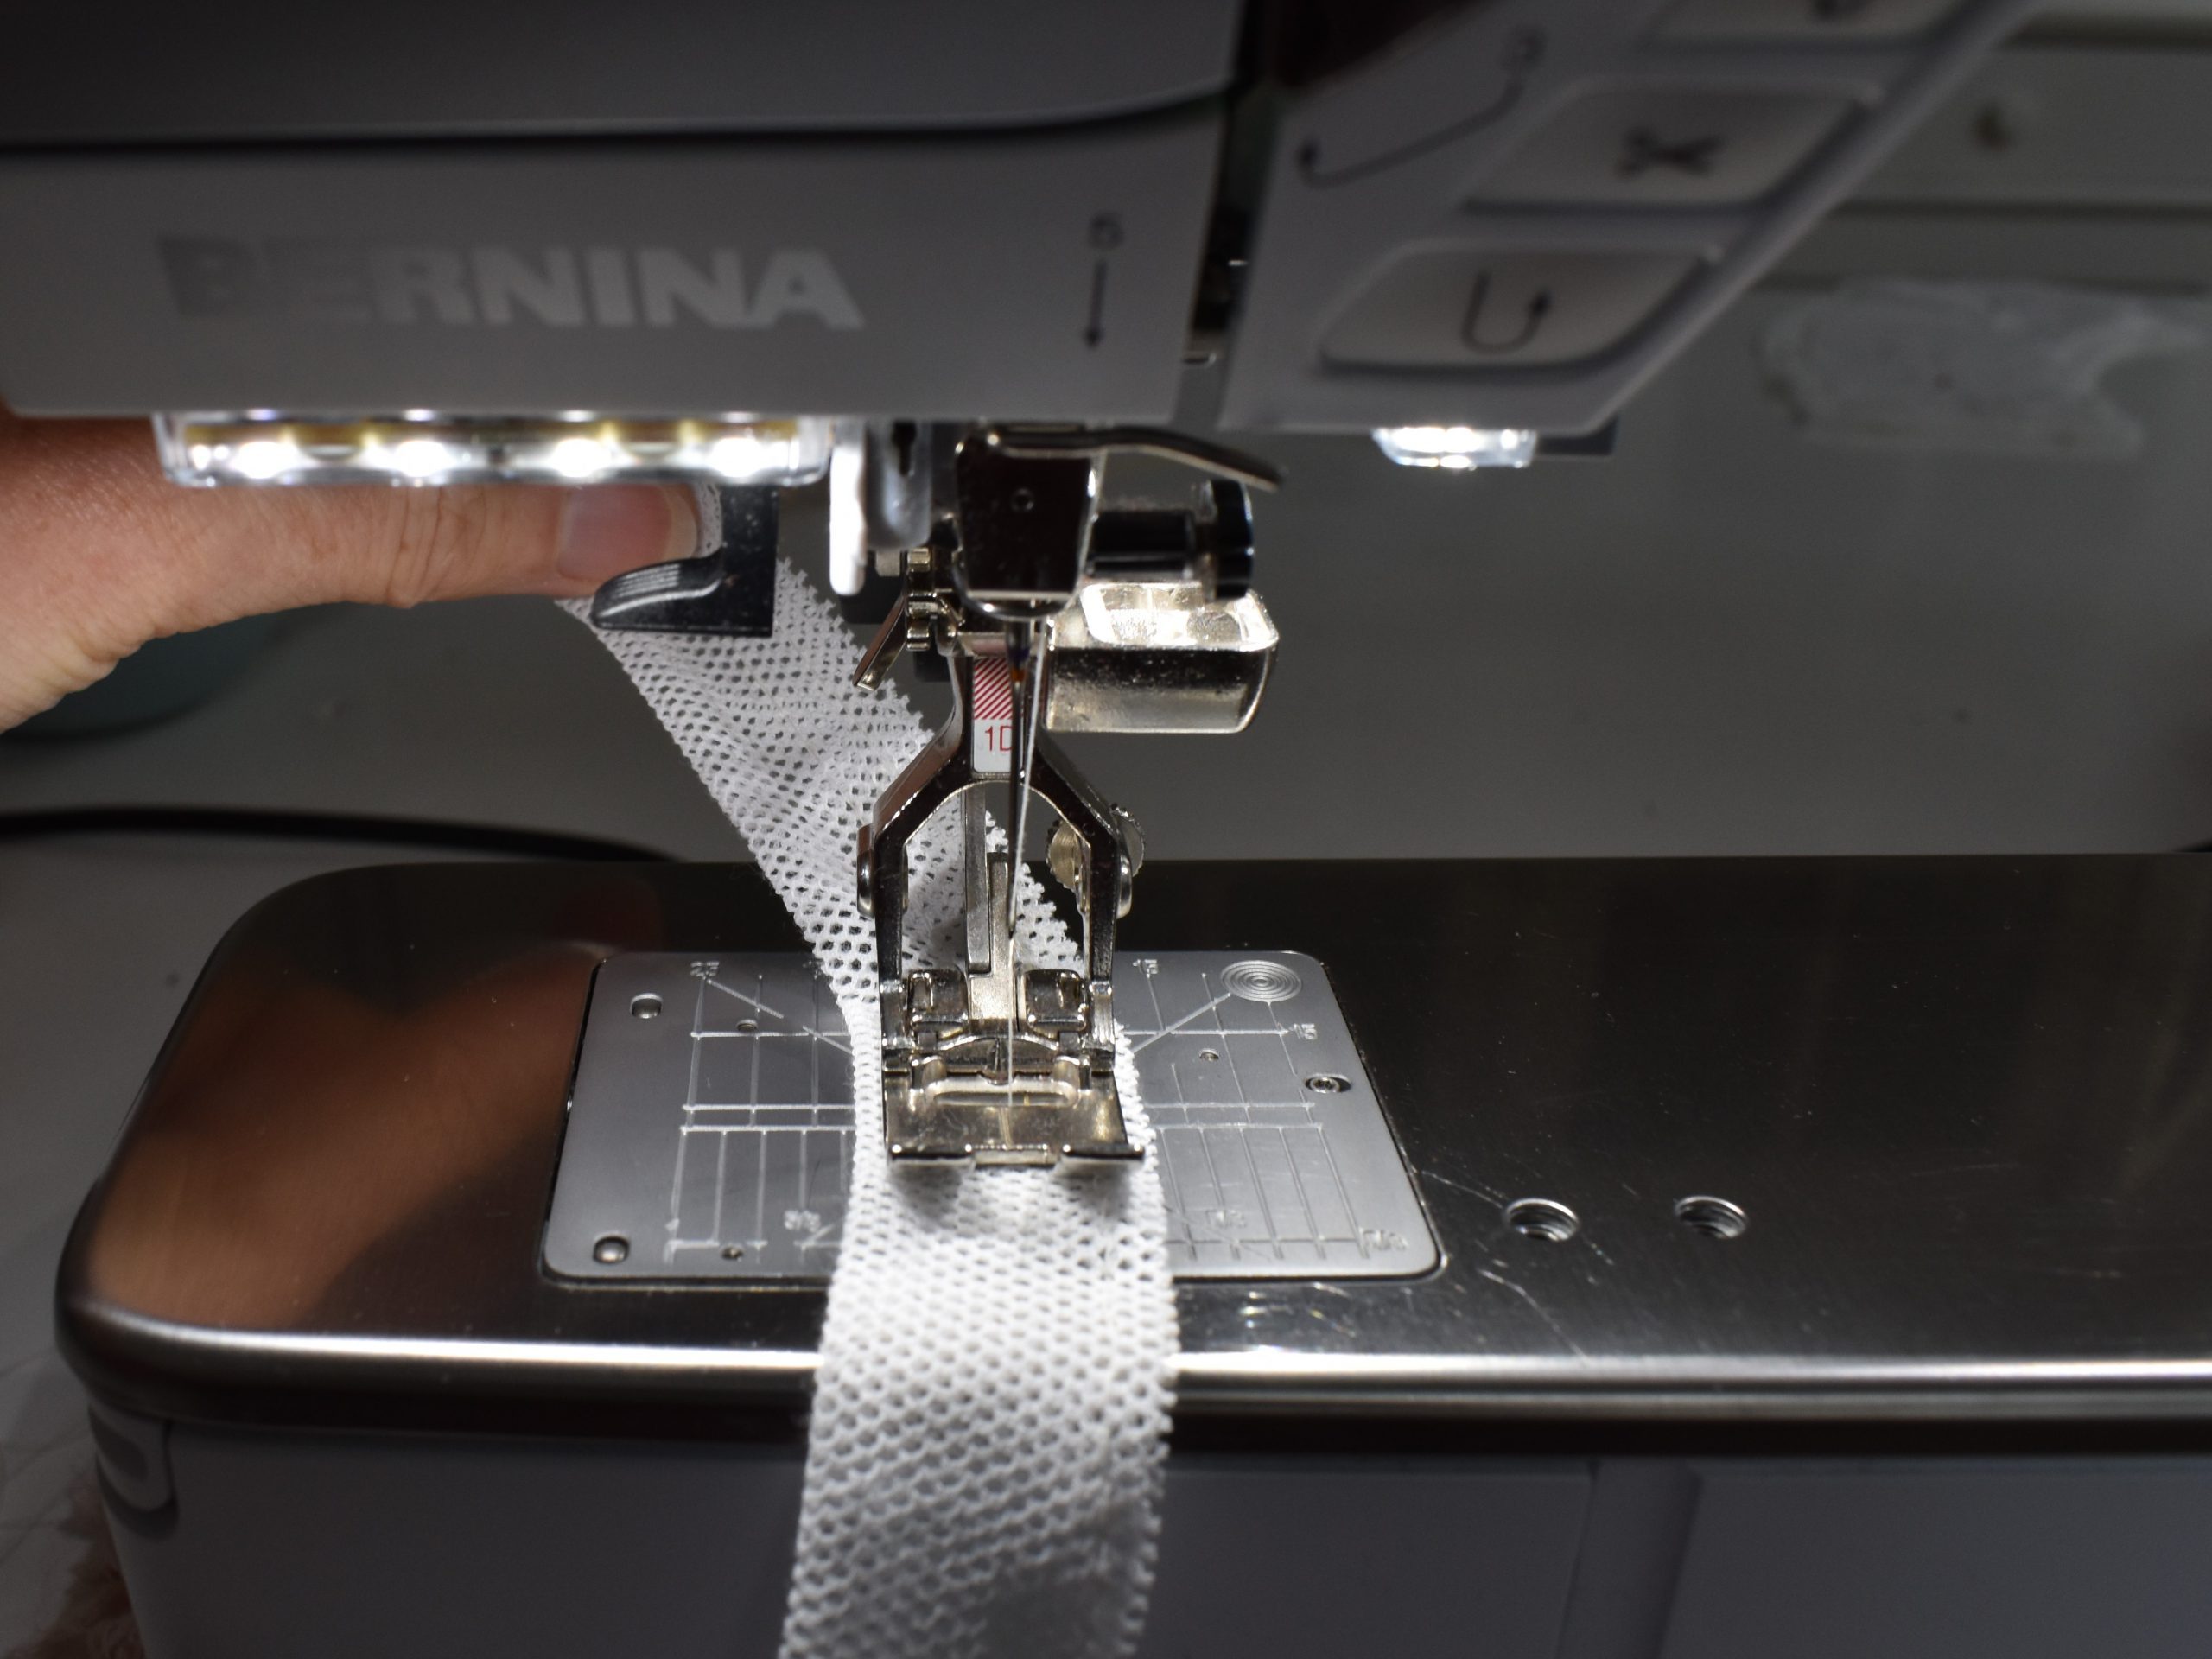
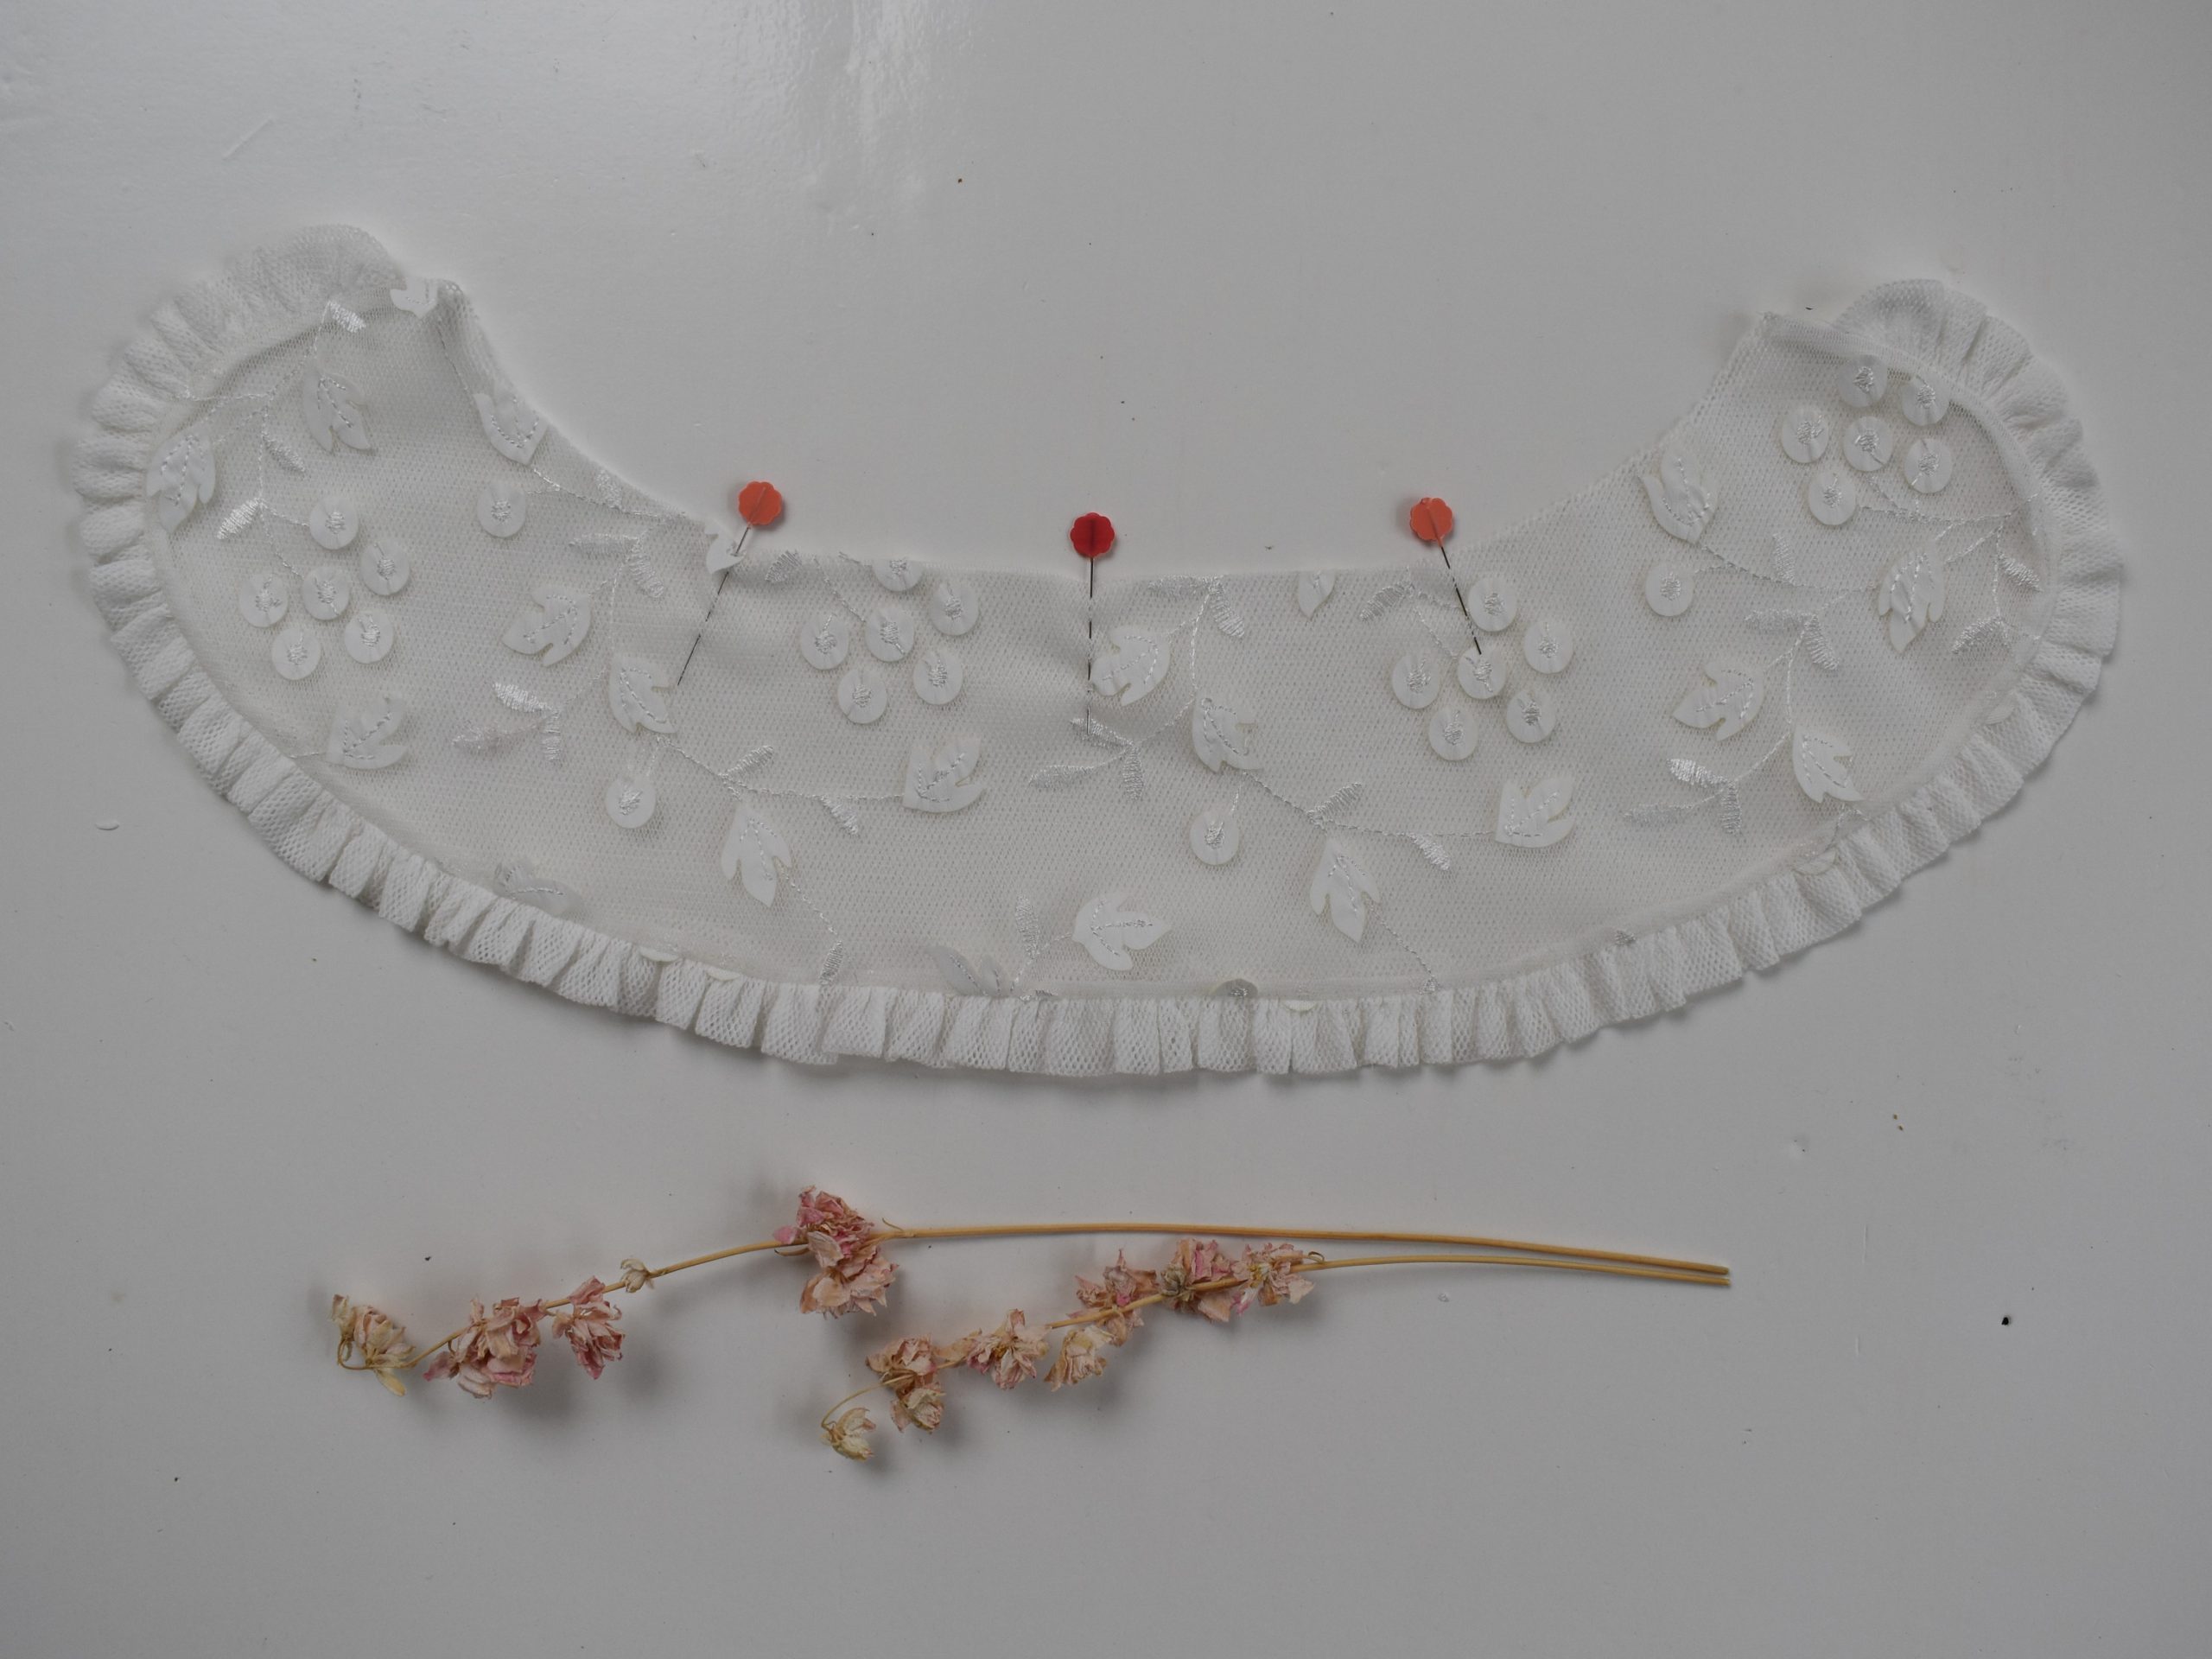
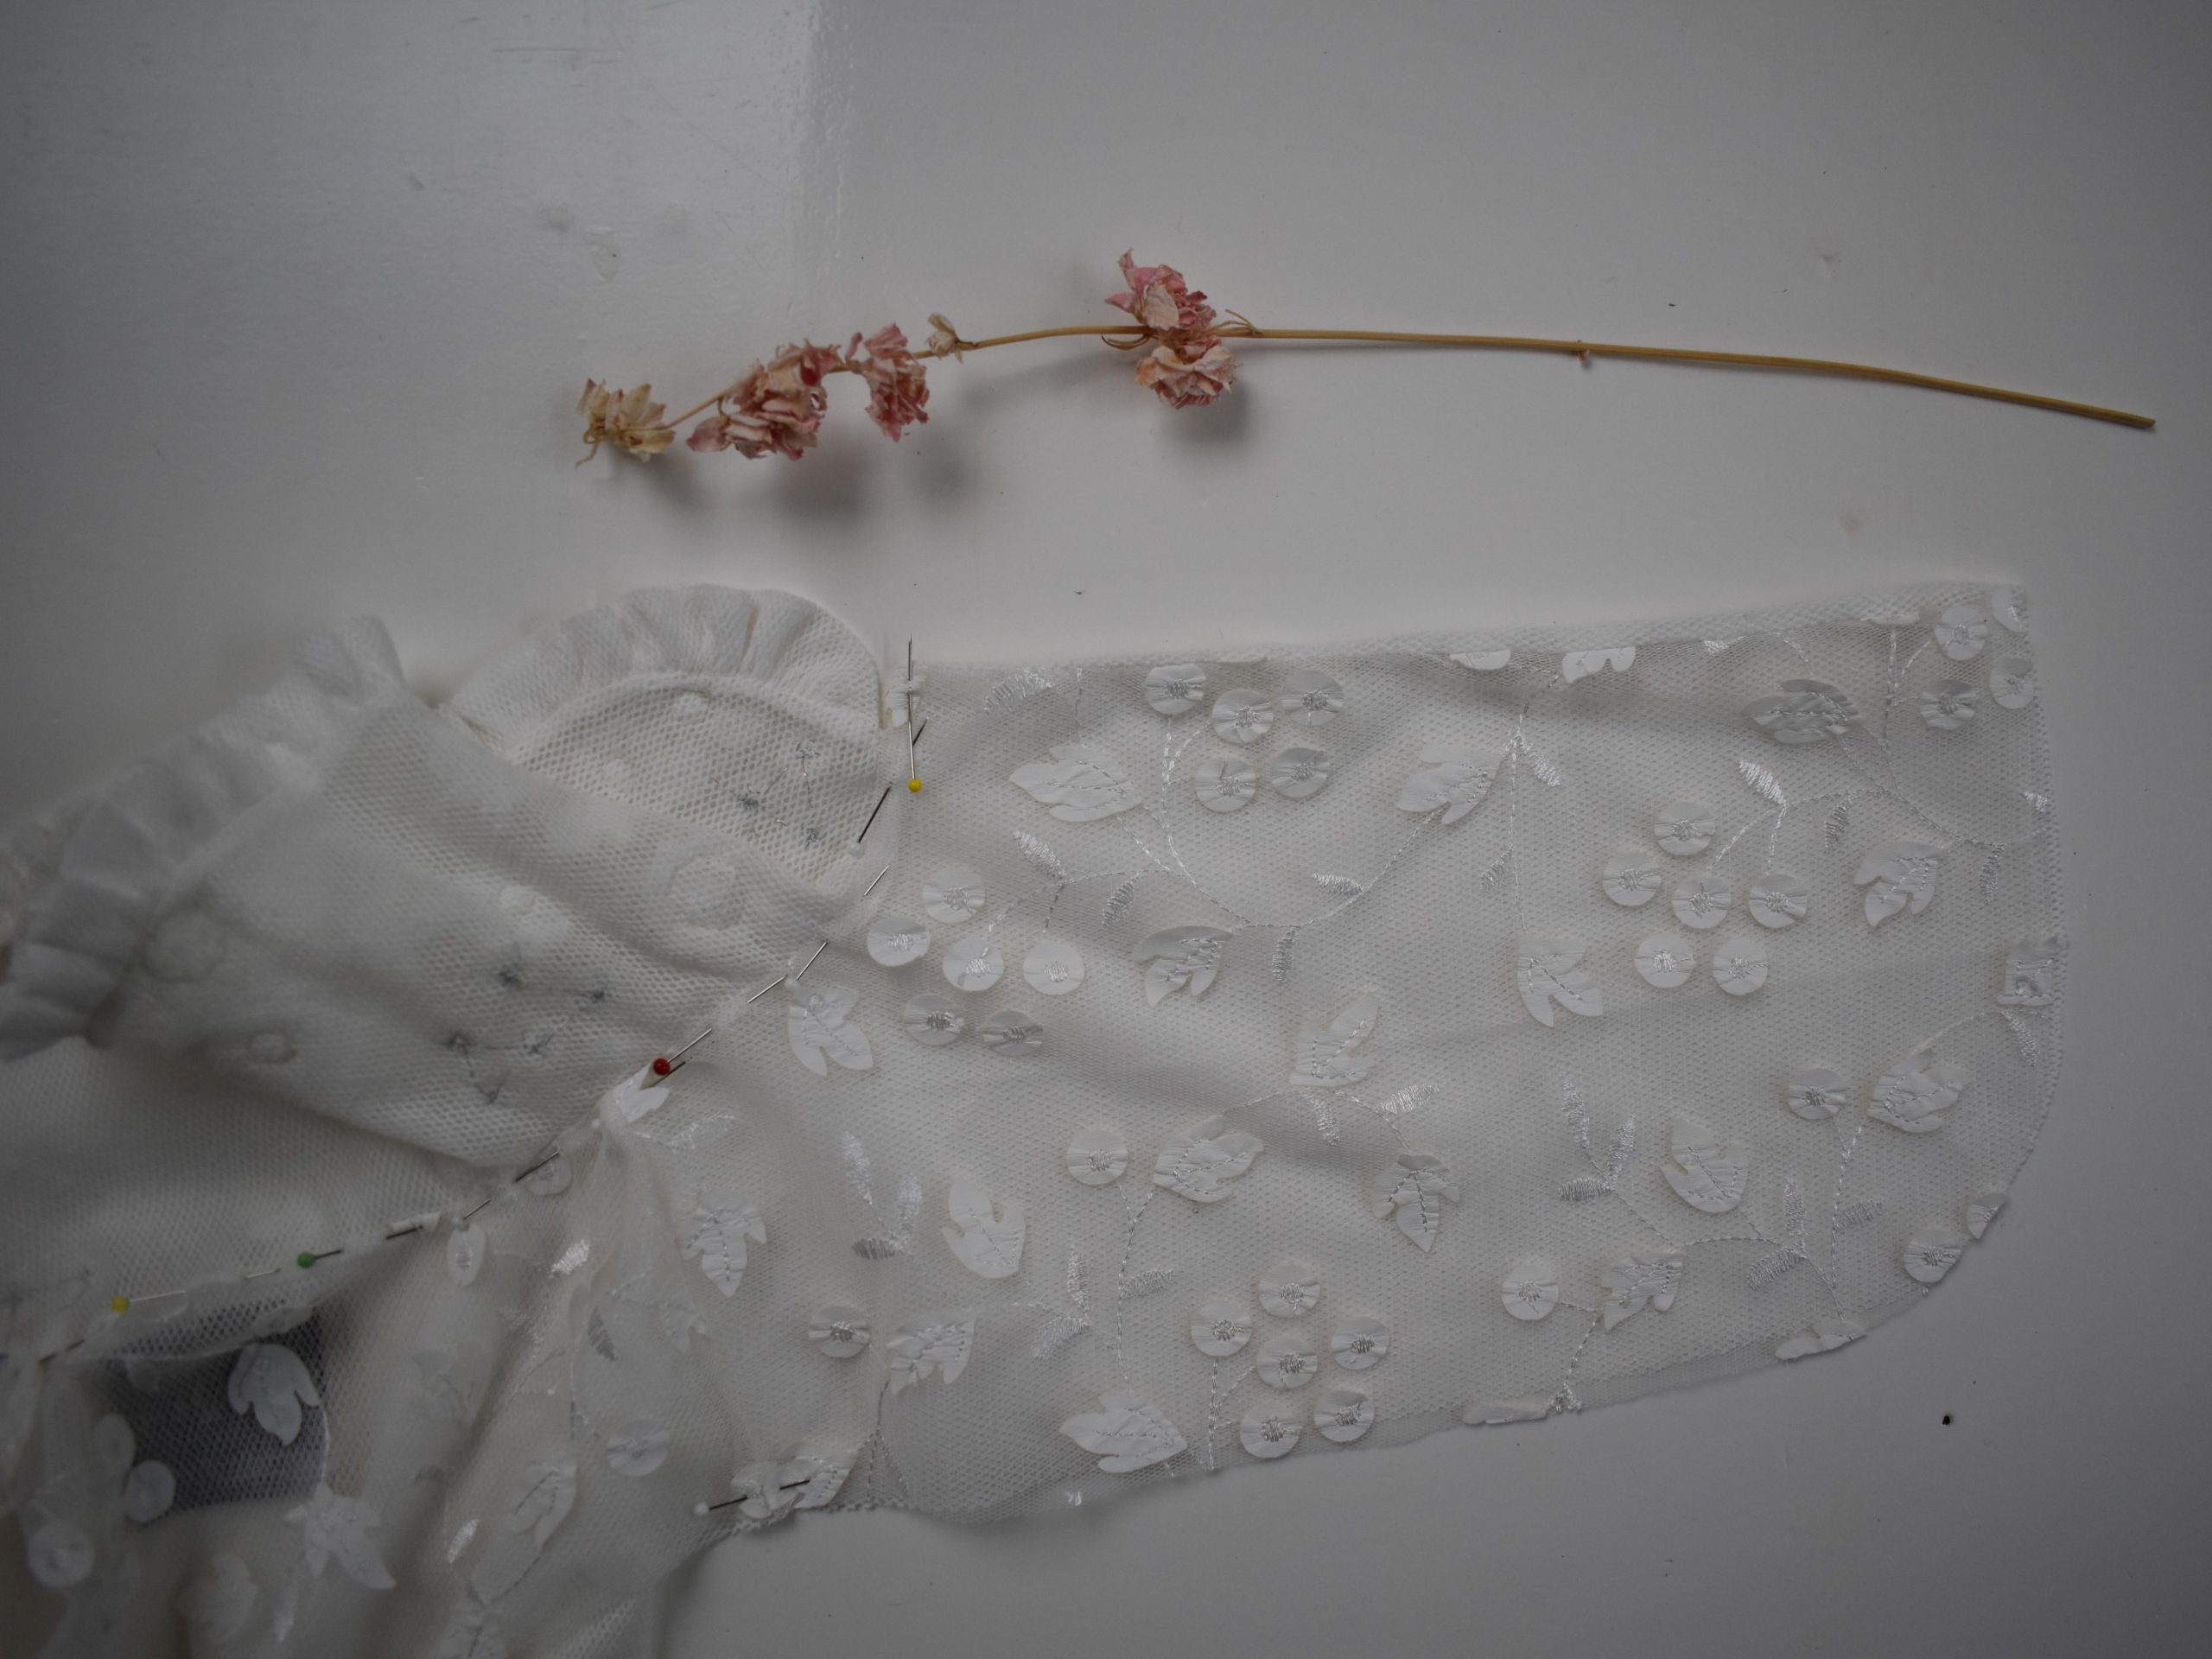
Now you can gather the ruffles nicely and pin them to the good side of your outer collar according to the instructions.
Tip: Use a lot of pins.
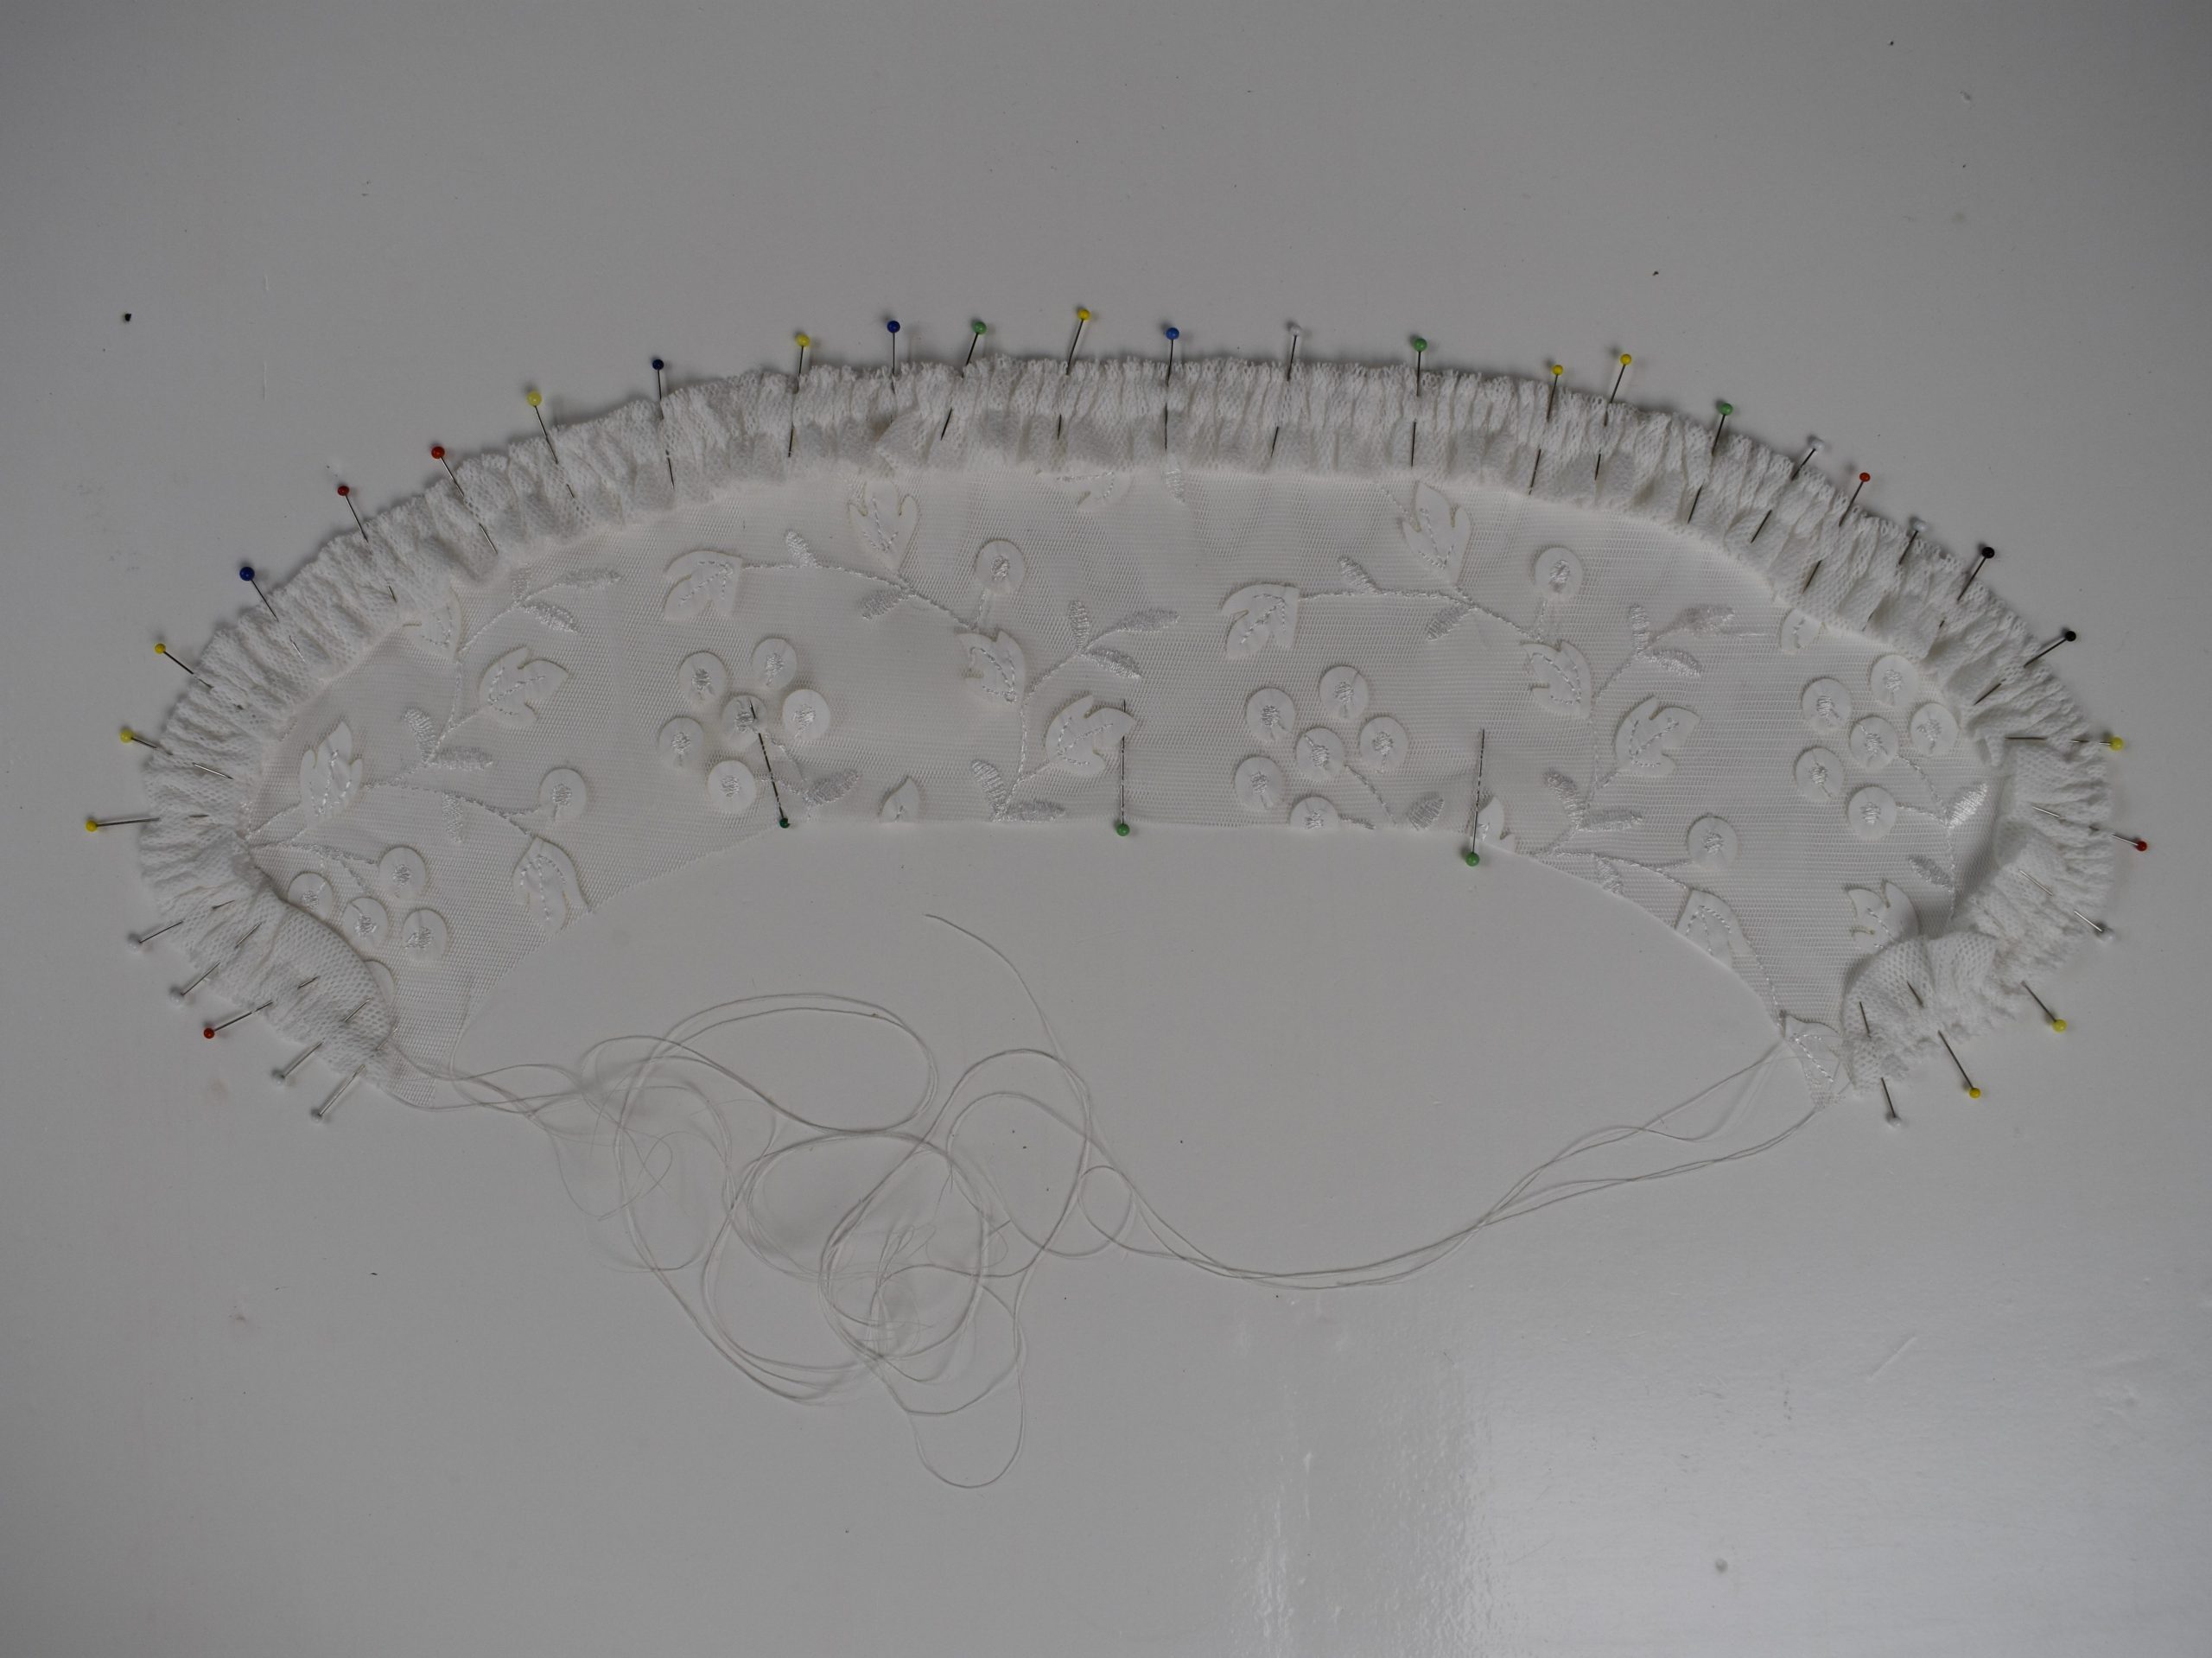
When sewing the ruffle to the outer edge, I press the gathers into place at each pin that I come to, so that it does not roll up or be sewed flat.
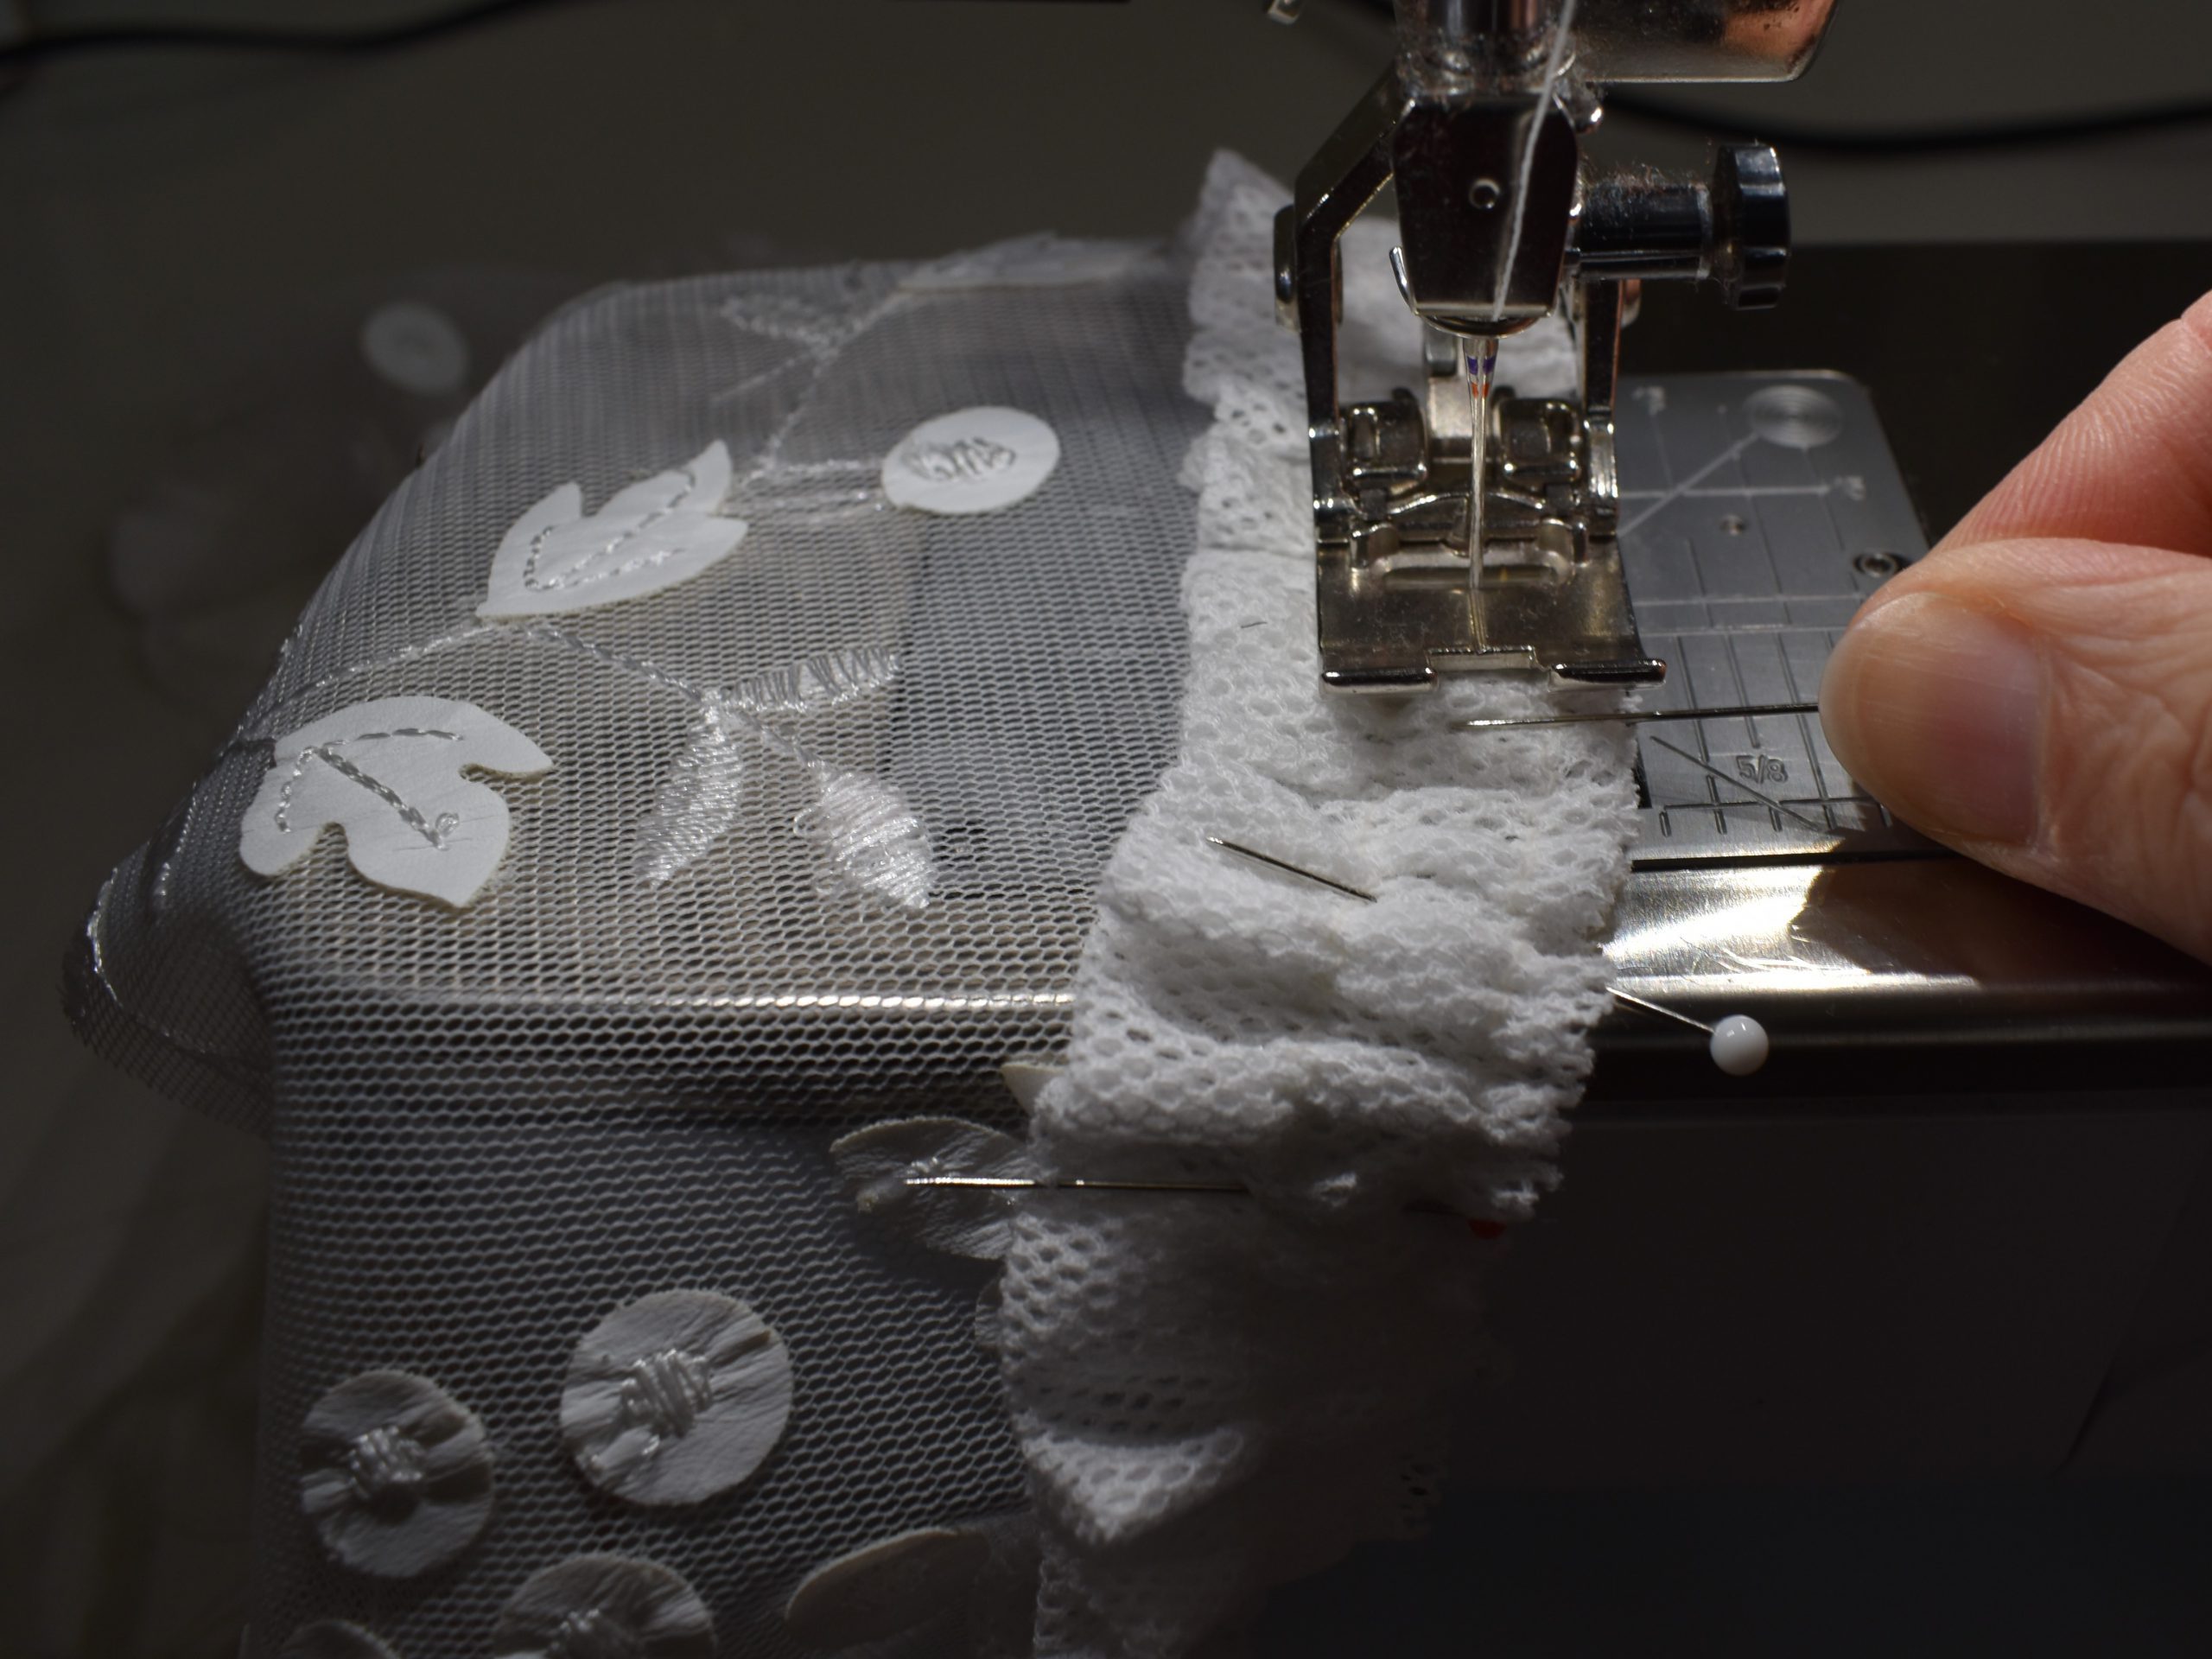
Tip: For this, use the function on your sewing machine where your needle stays in the fabric and the foot is raised slightly when you stop sewing. Ideal for this!

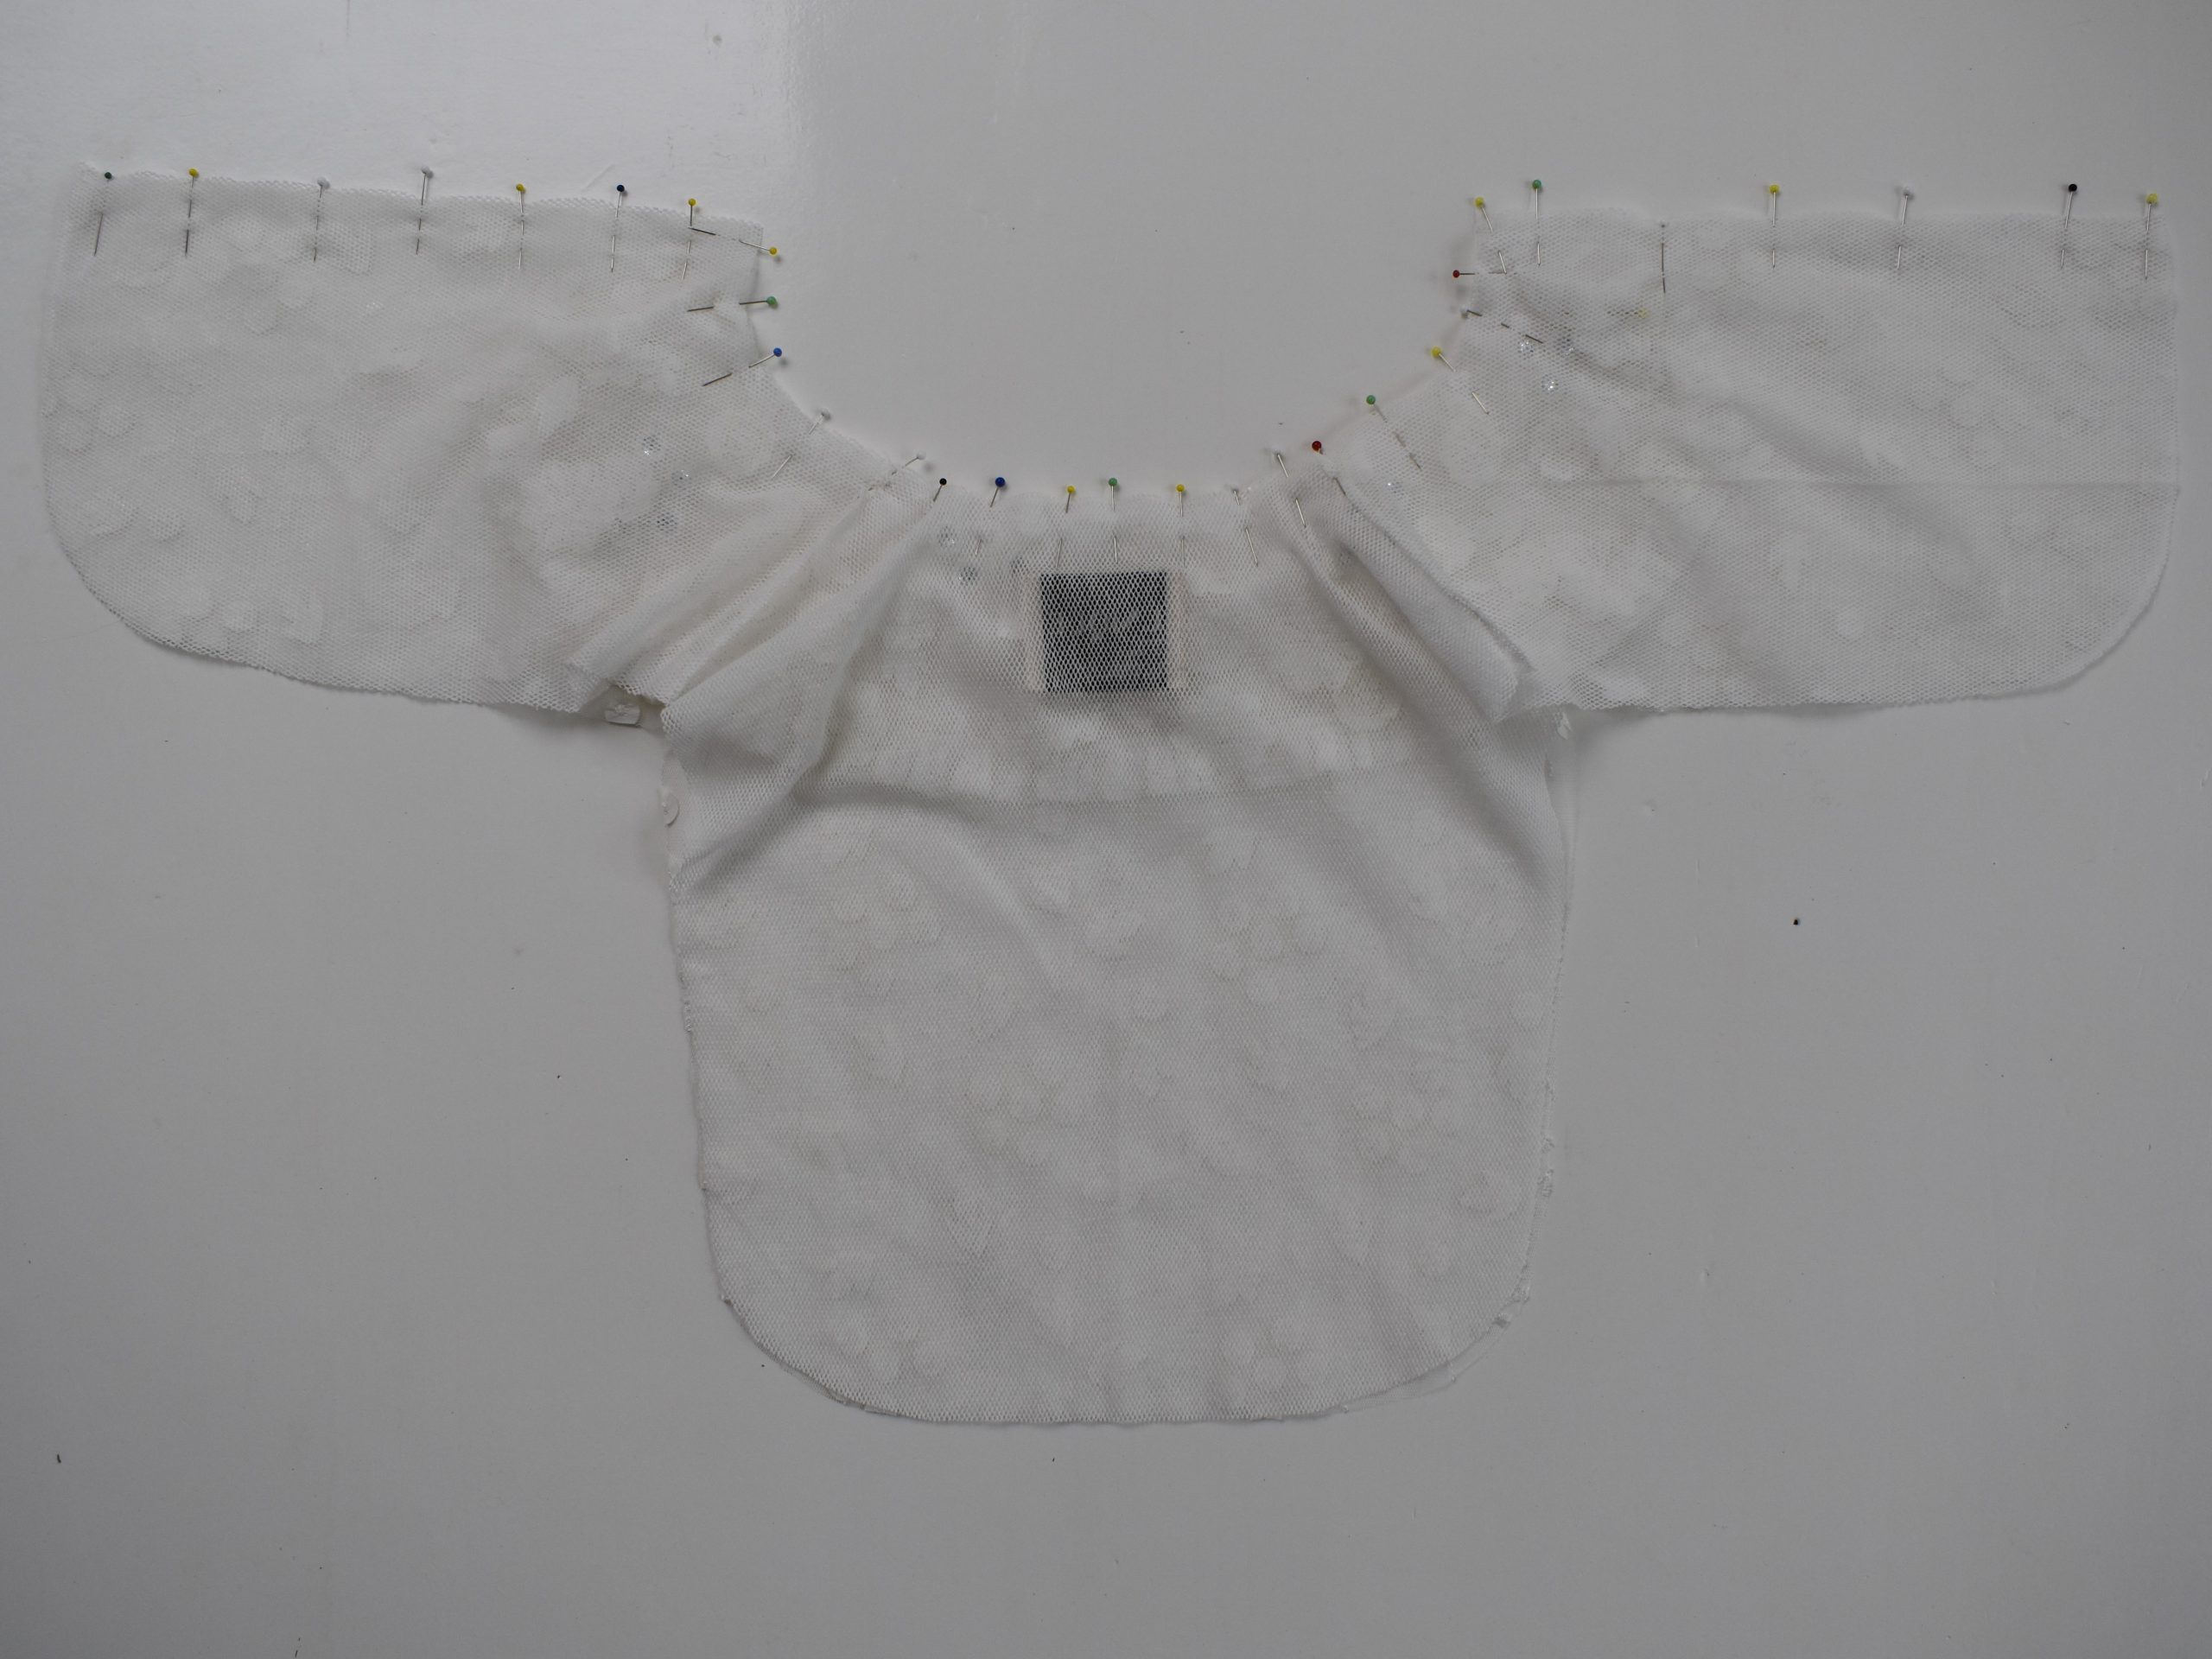
With tulle you cannot stabilise the under collar with adhesive interfacing, as the pattern instructions state. First of all you would melt the tulle with the iron and secondly it wouldn’t look nice because tulle is transparent. That is why I chose not to stabilise the pieces. Since it is sometimes difficult to chalk sewing marks, I often use pins to indicate the sewing marks, such as mid front and mid back.
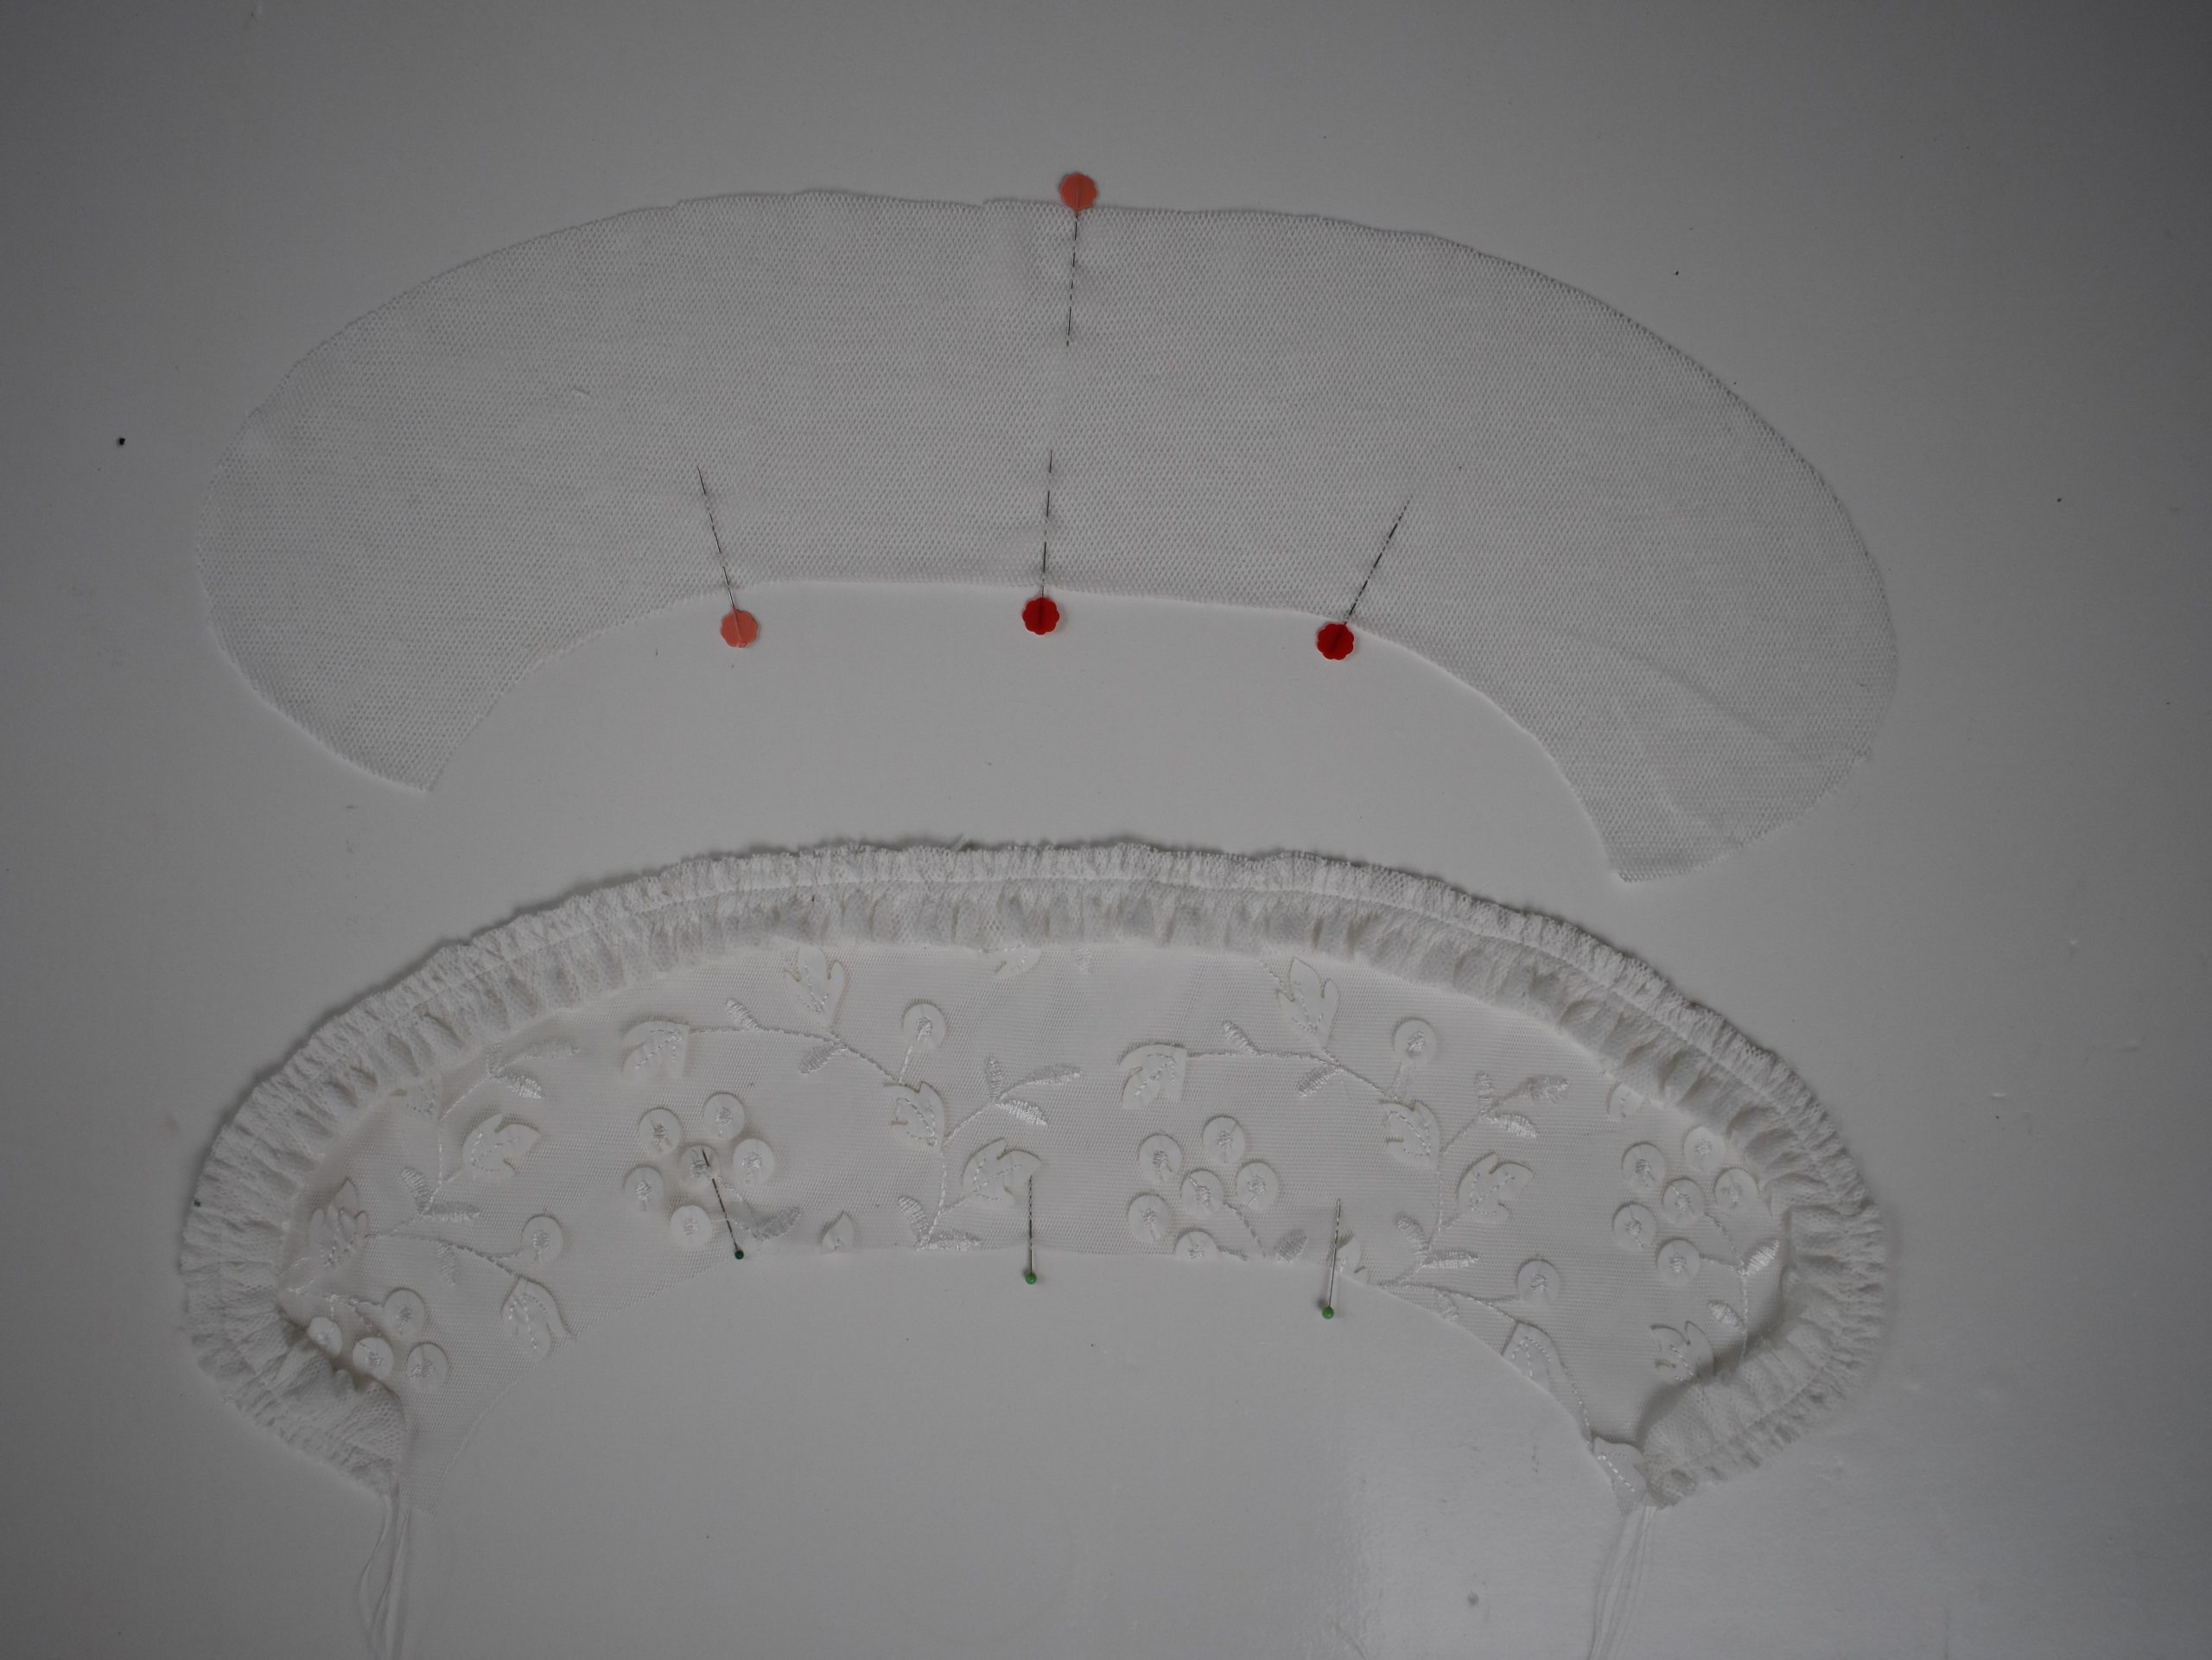
Also use a lot of pins when sewing the inner collar to the outer collar.
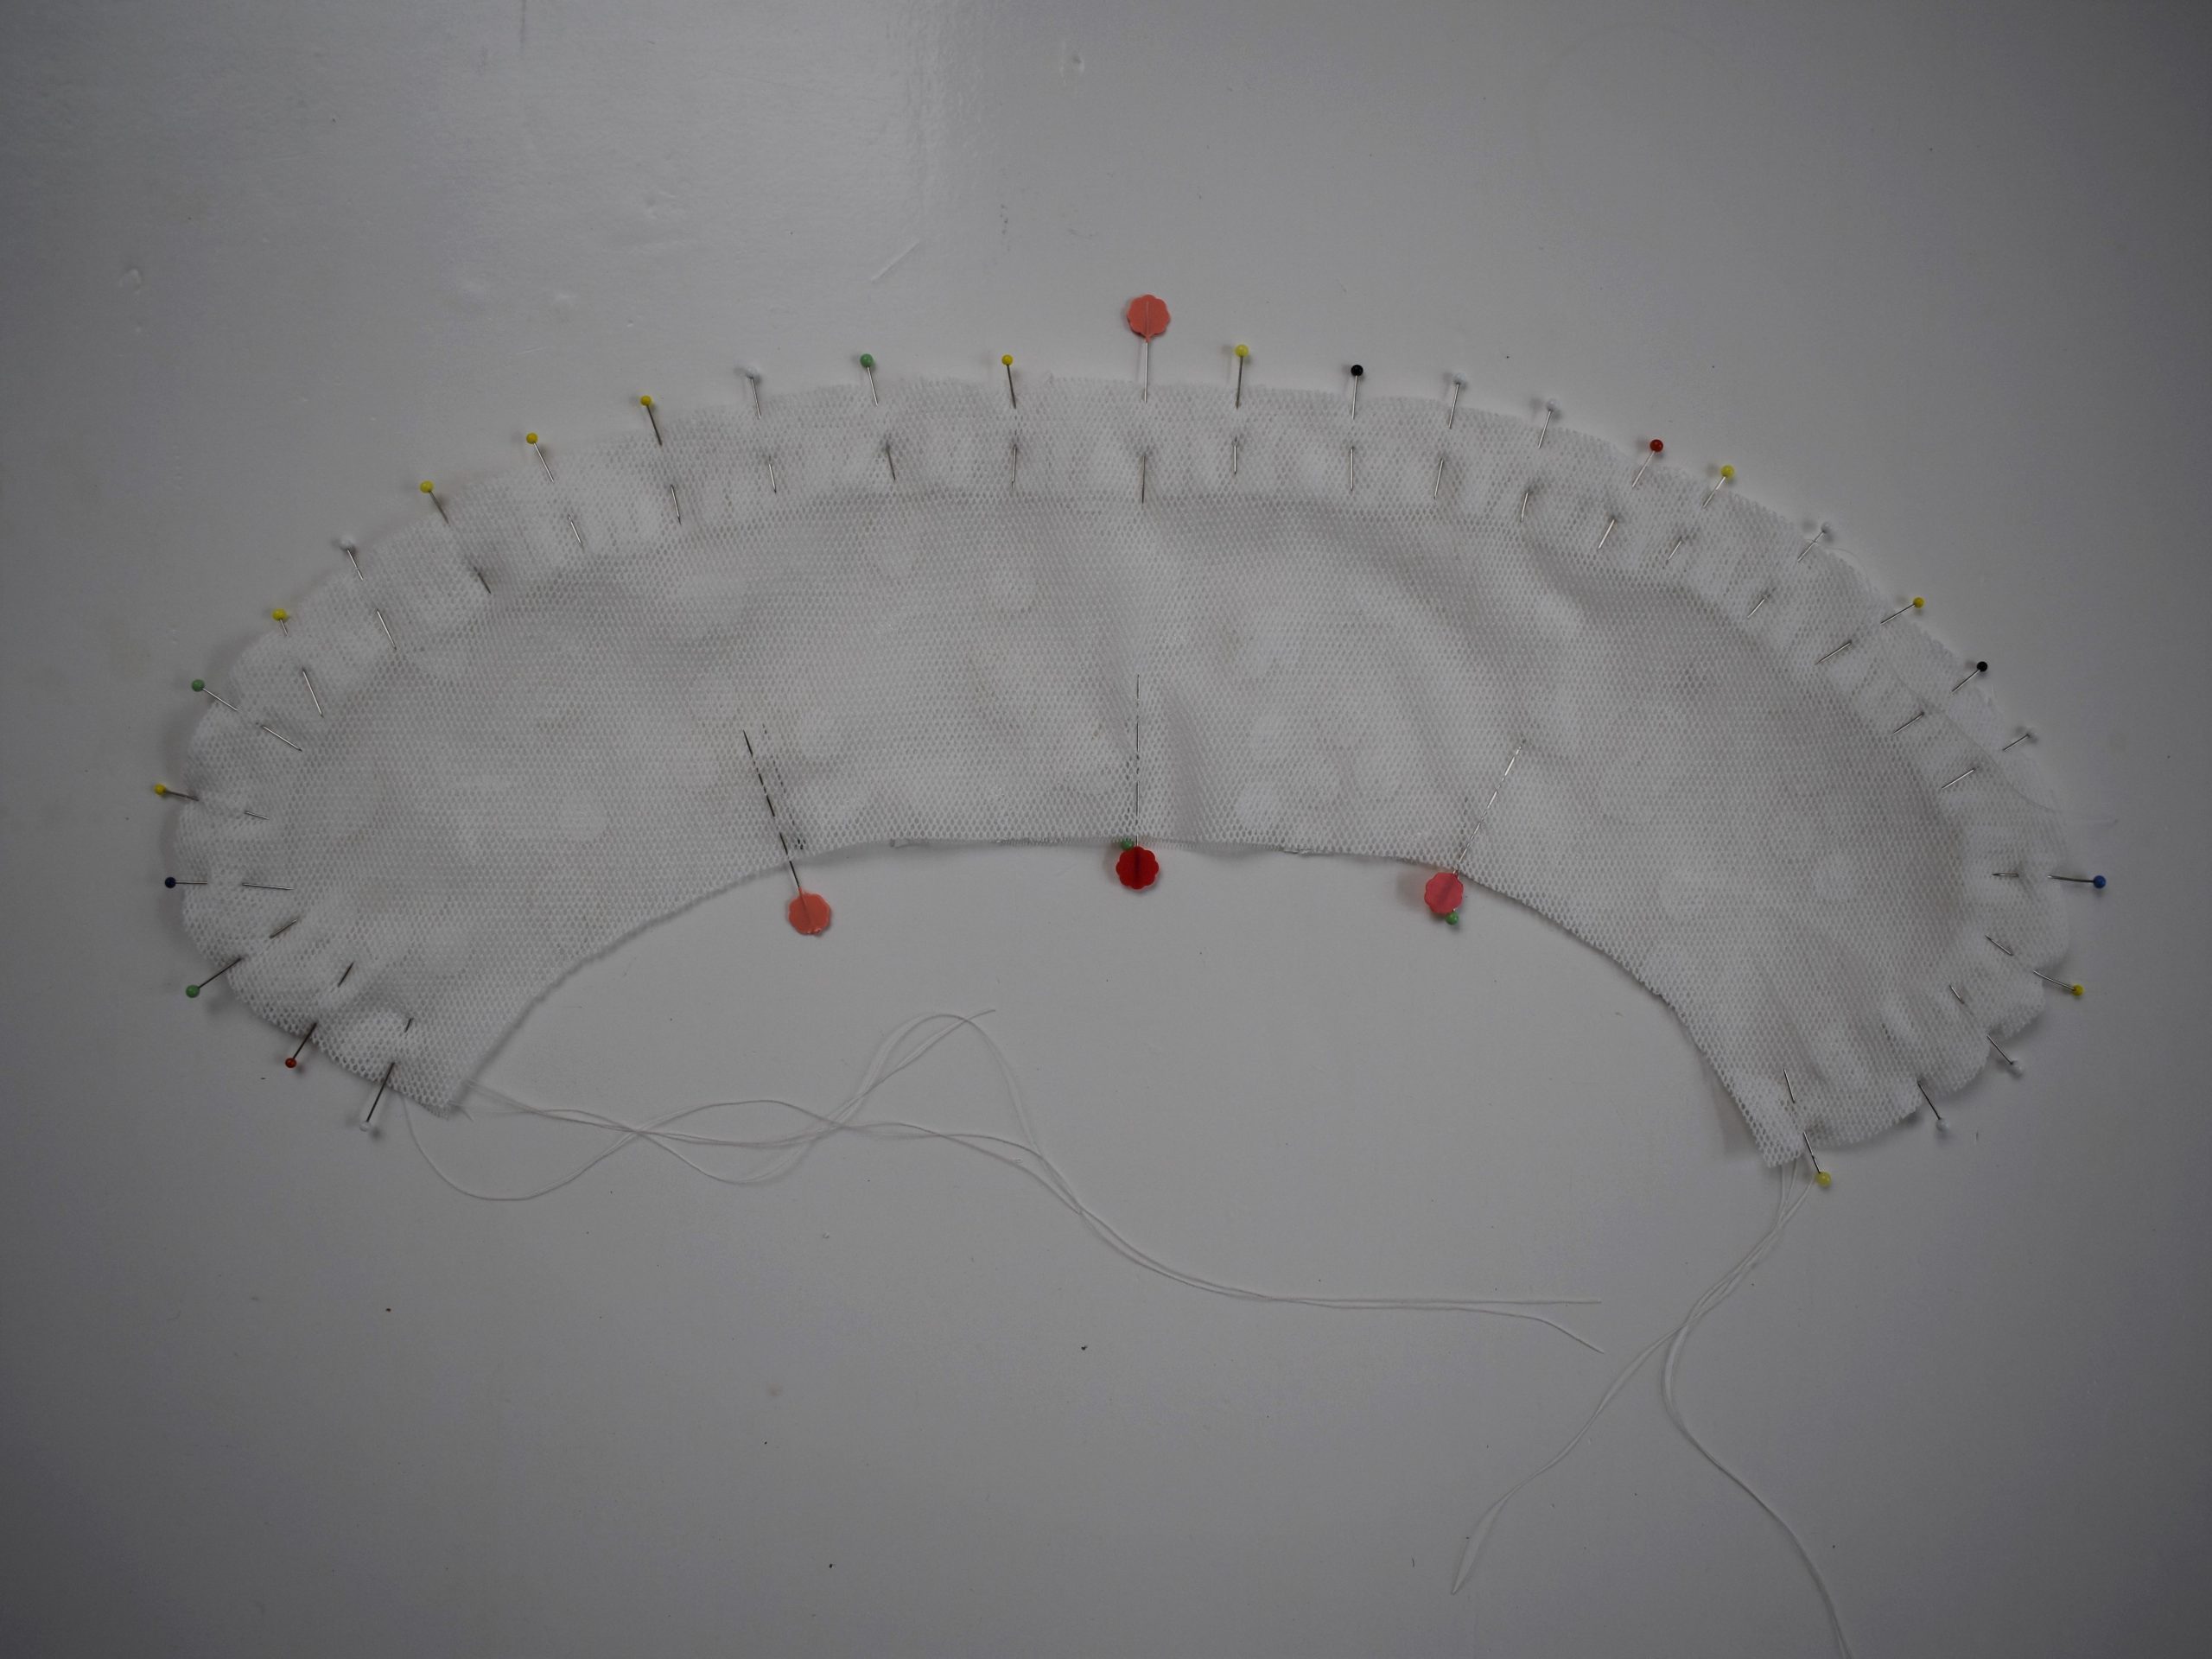
And flip the seams very carefully at about 0.3 cm.
Tip: Do this carefully because your seams are visible due to the transparent character of the tulle.
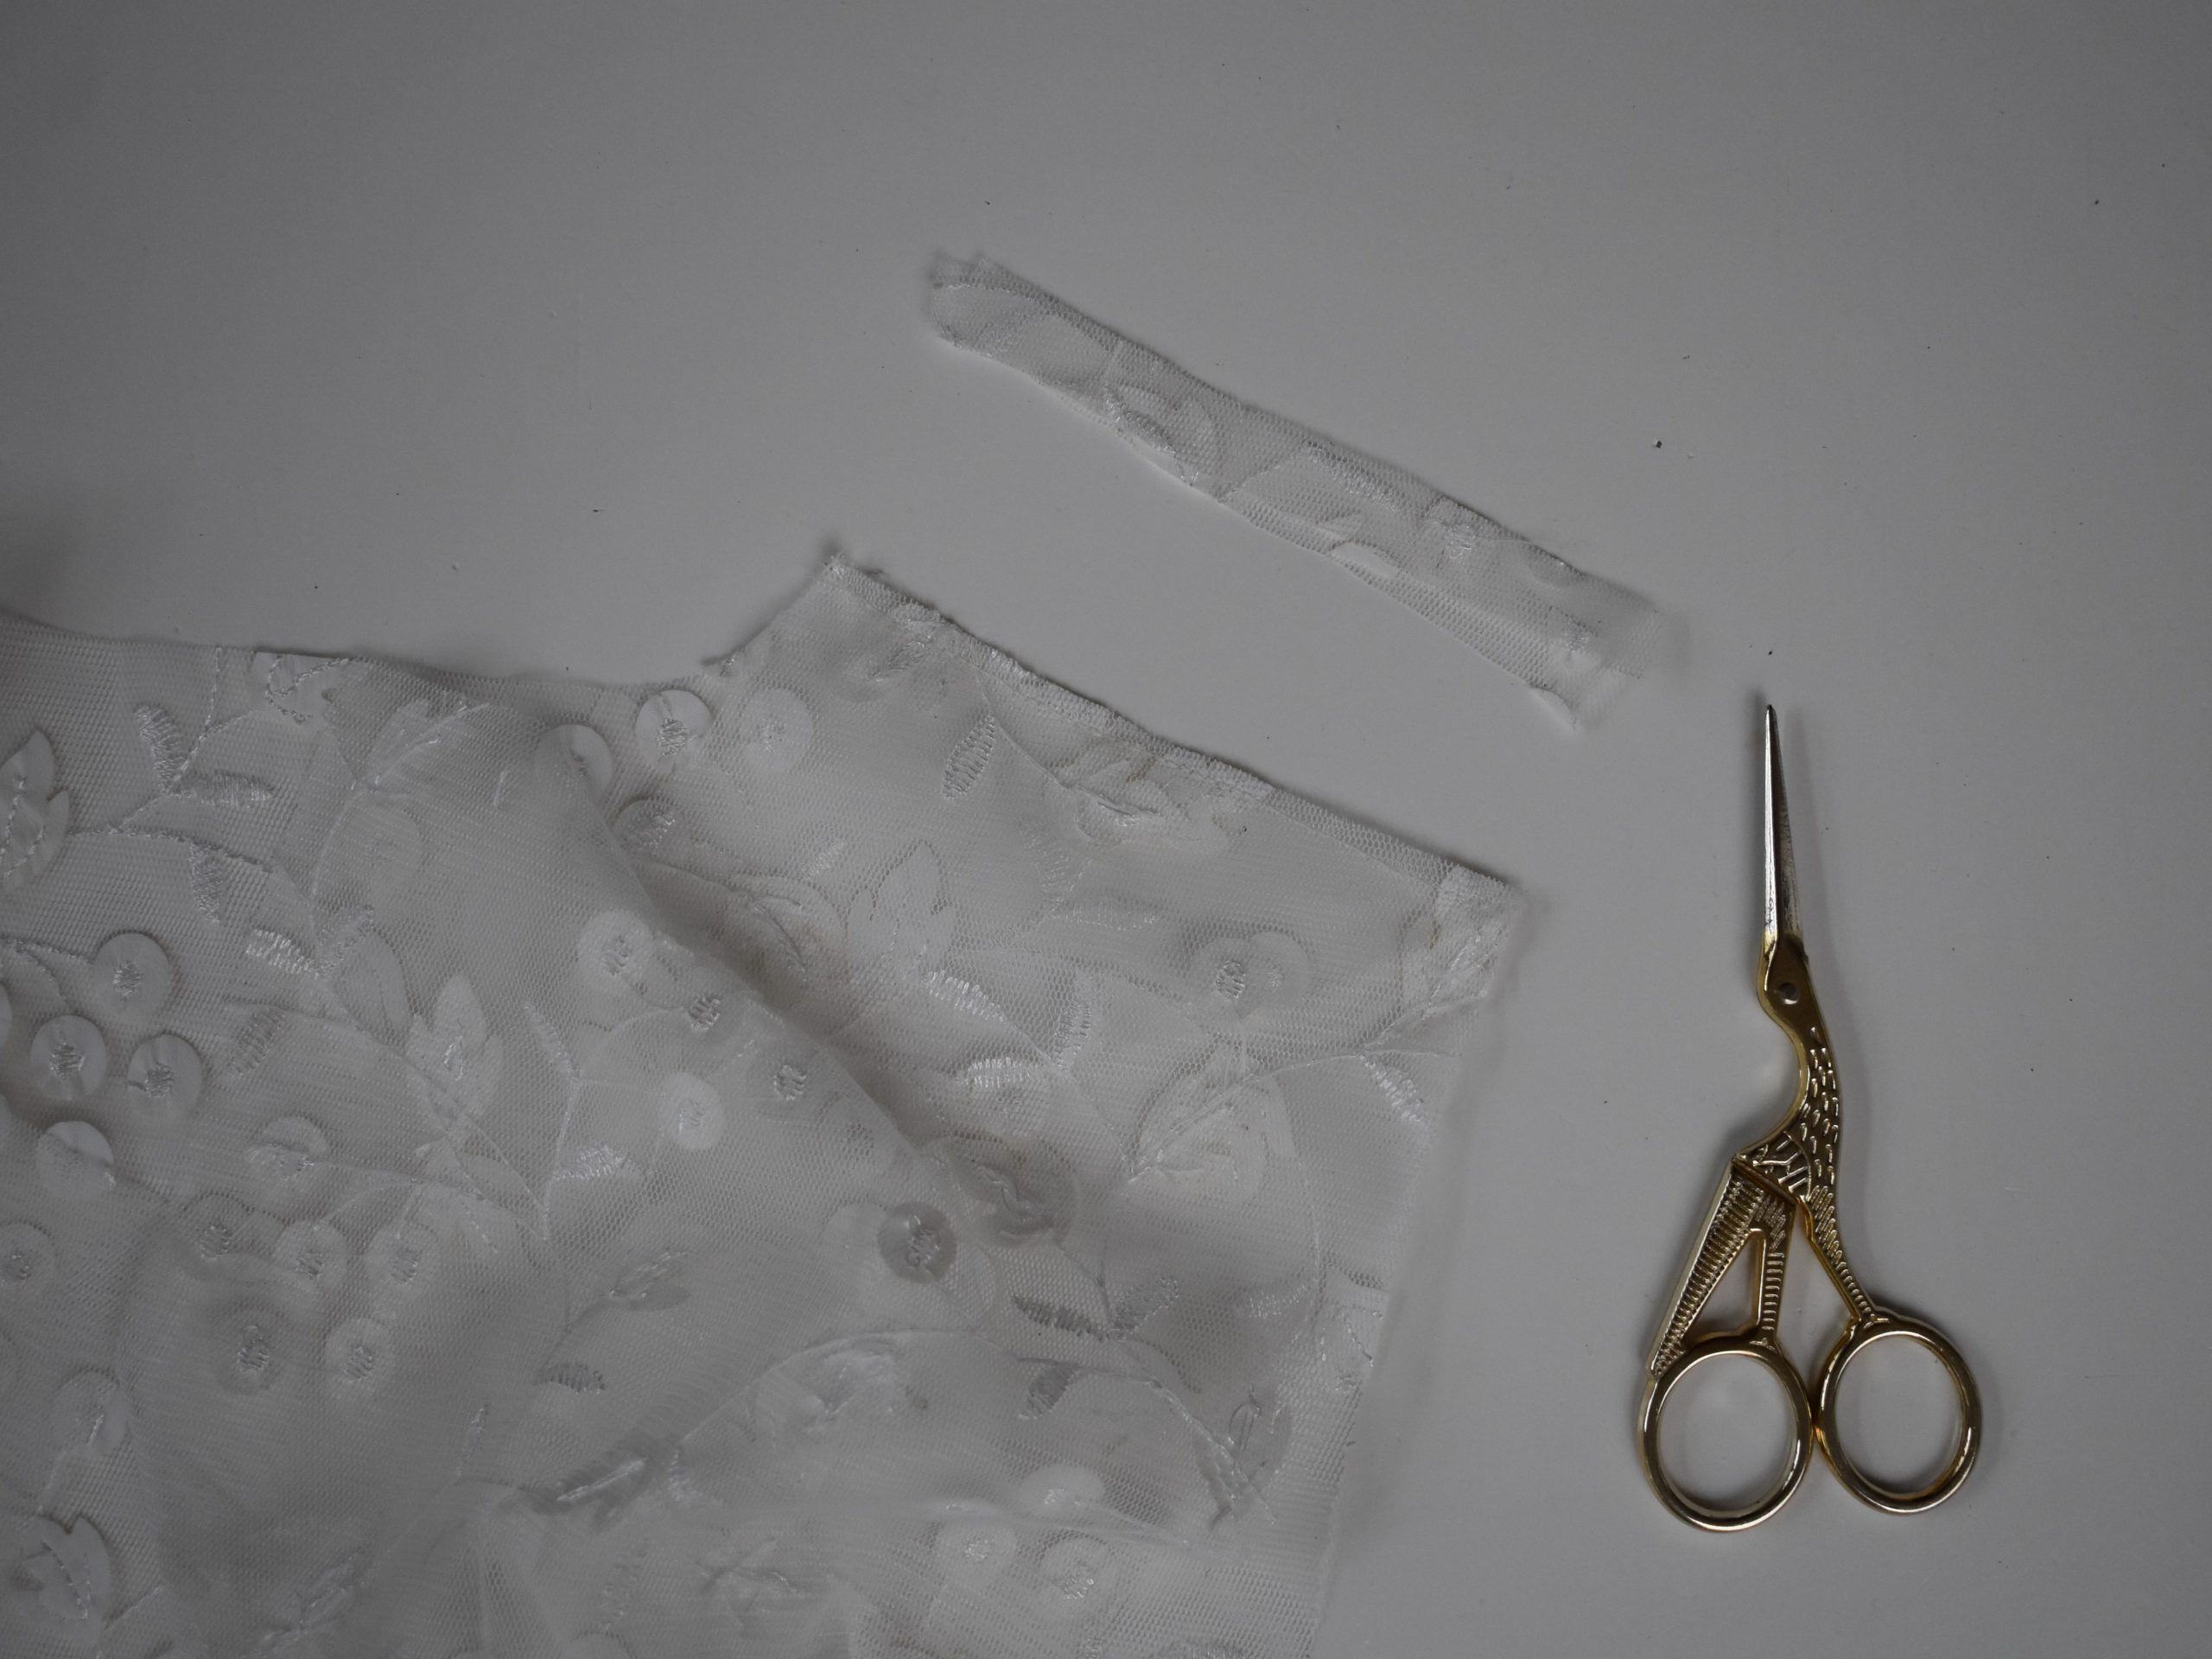
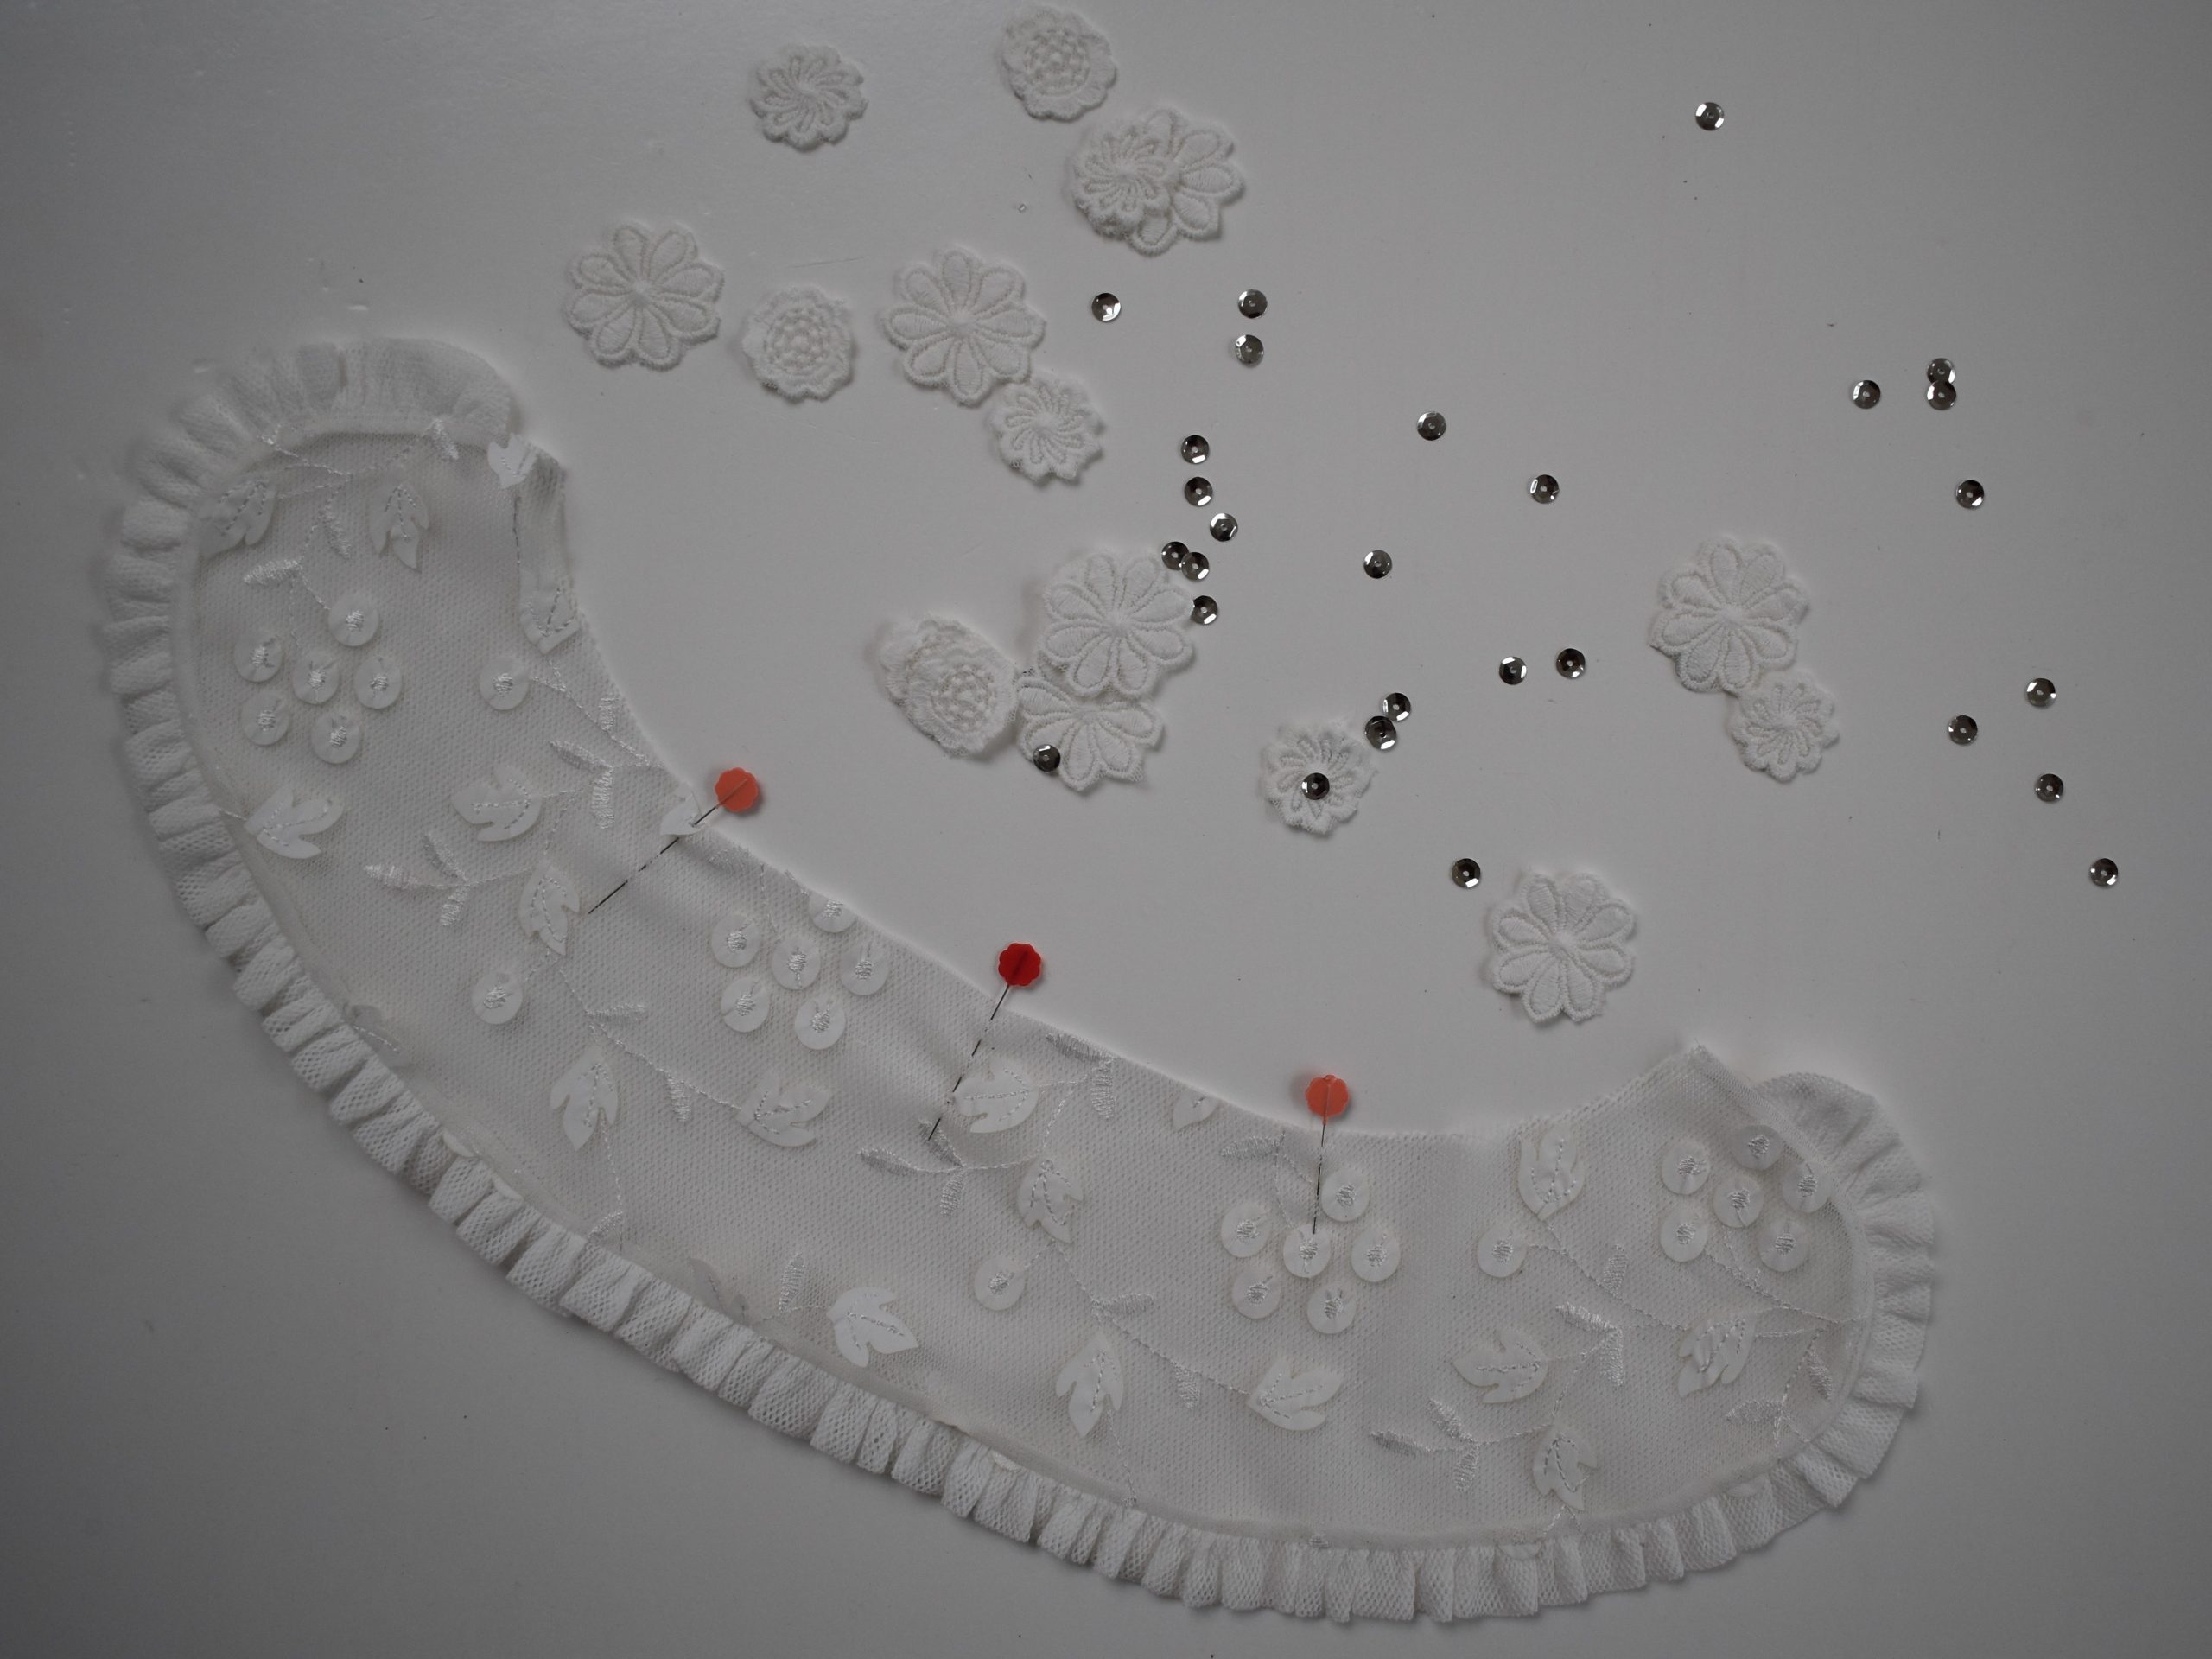
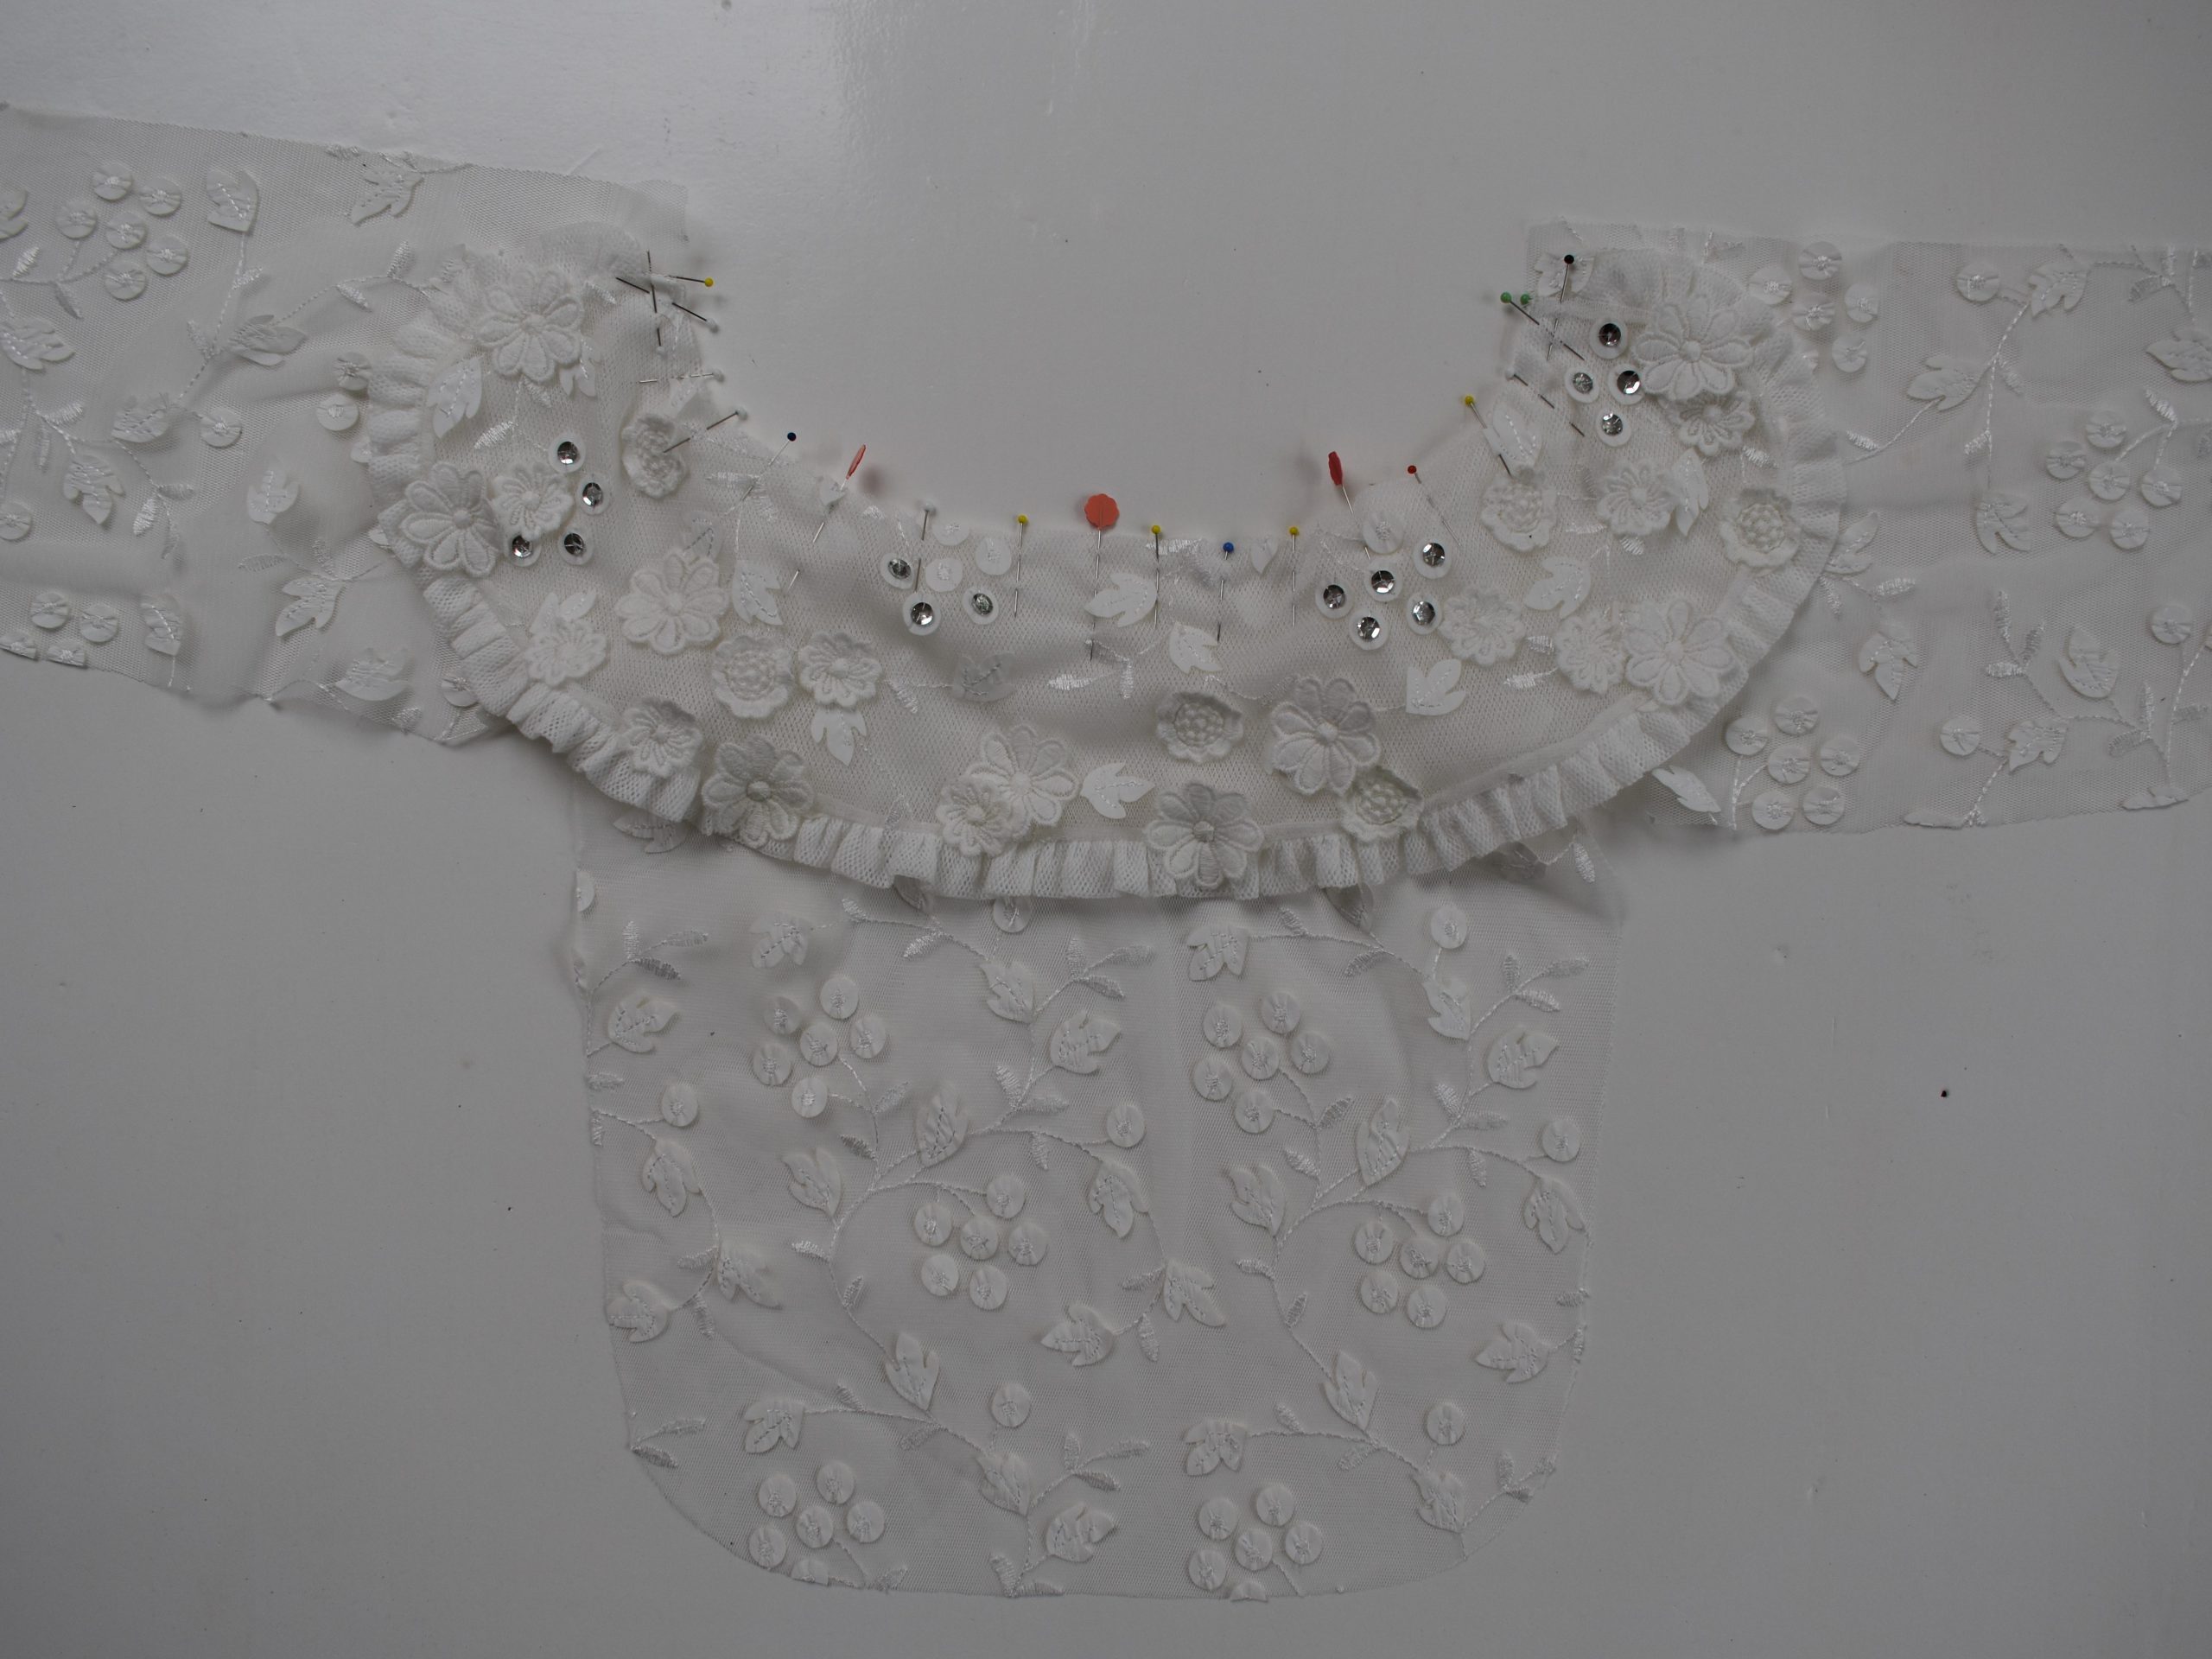
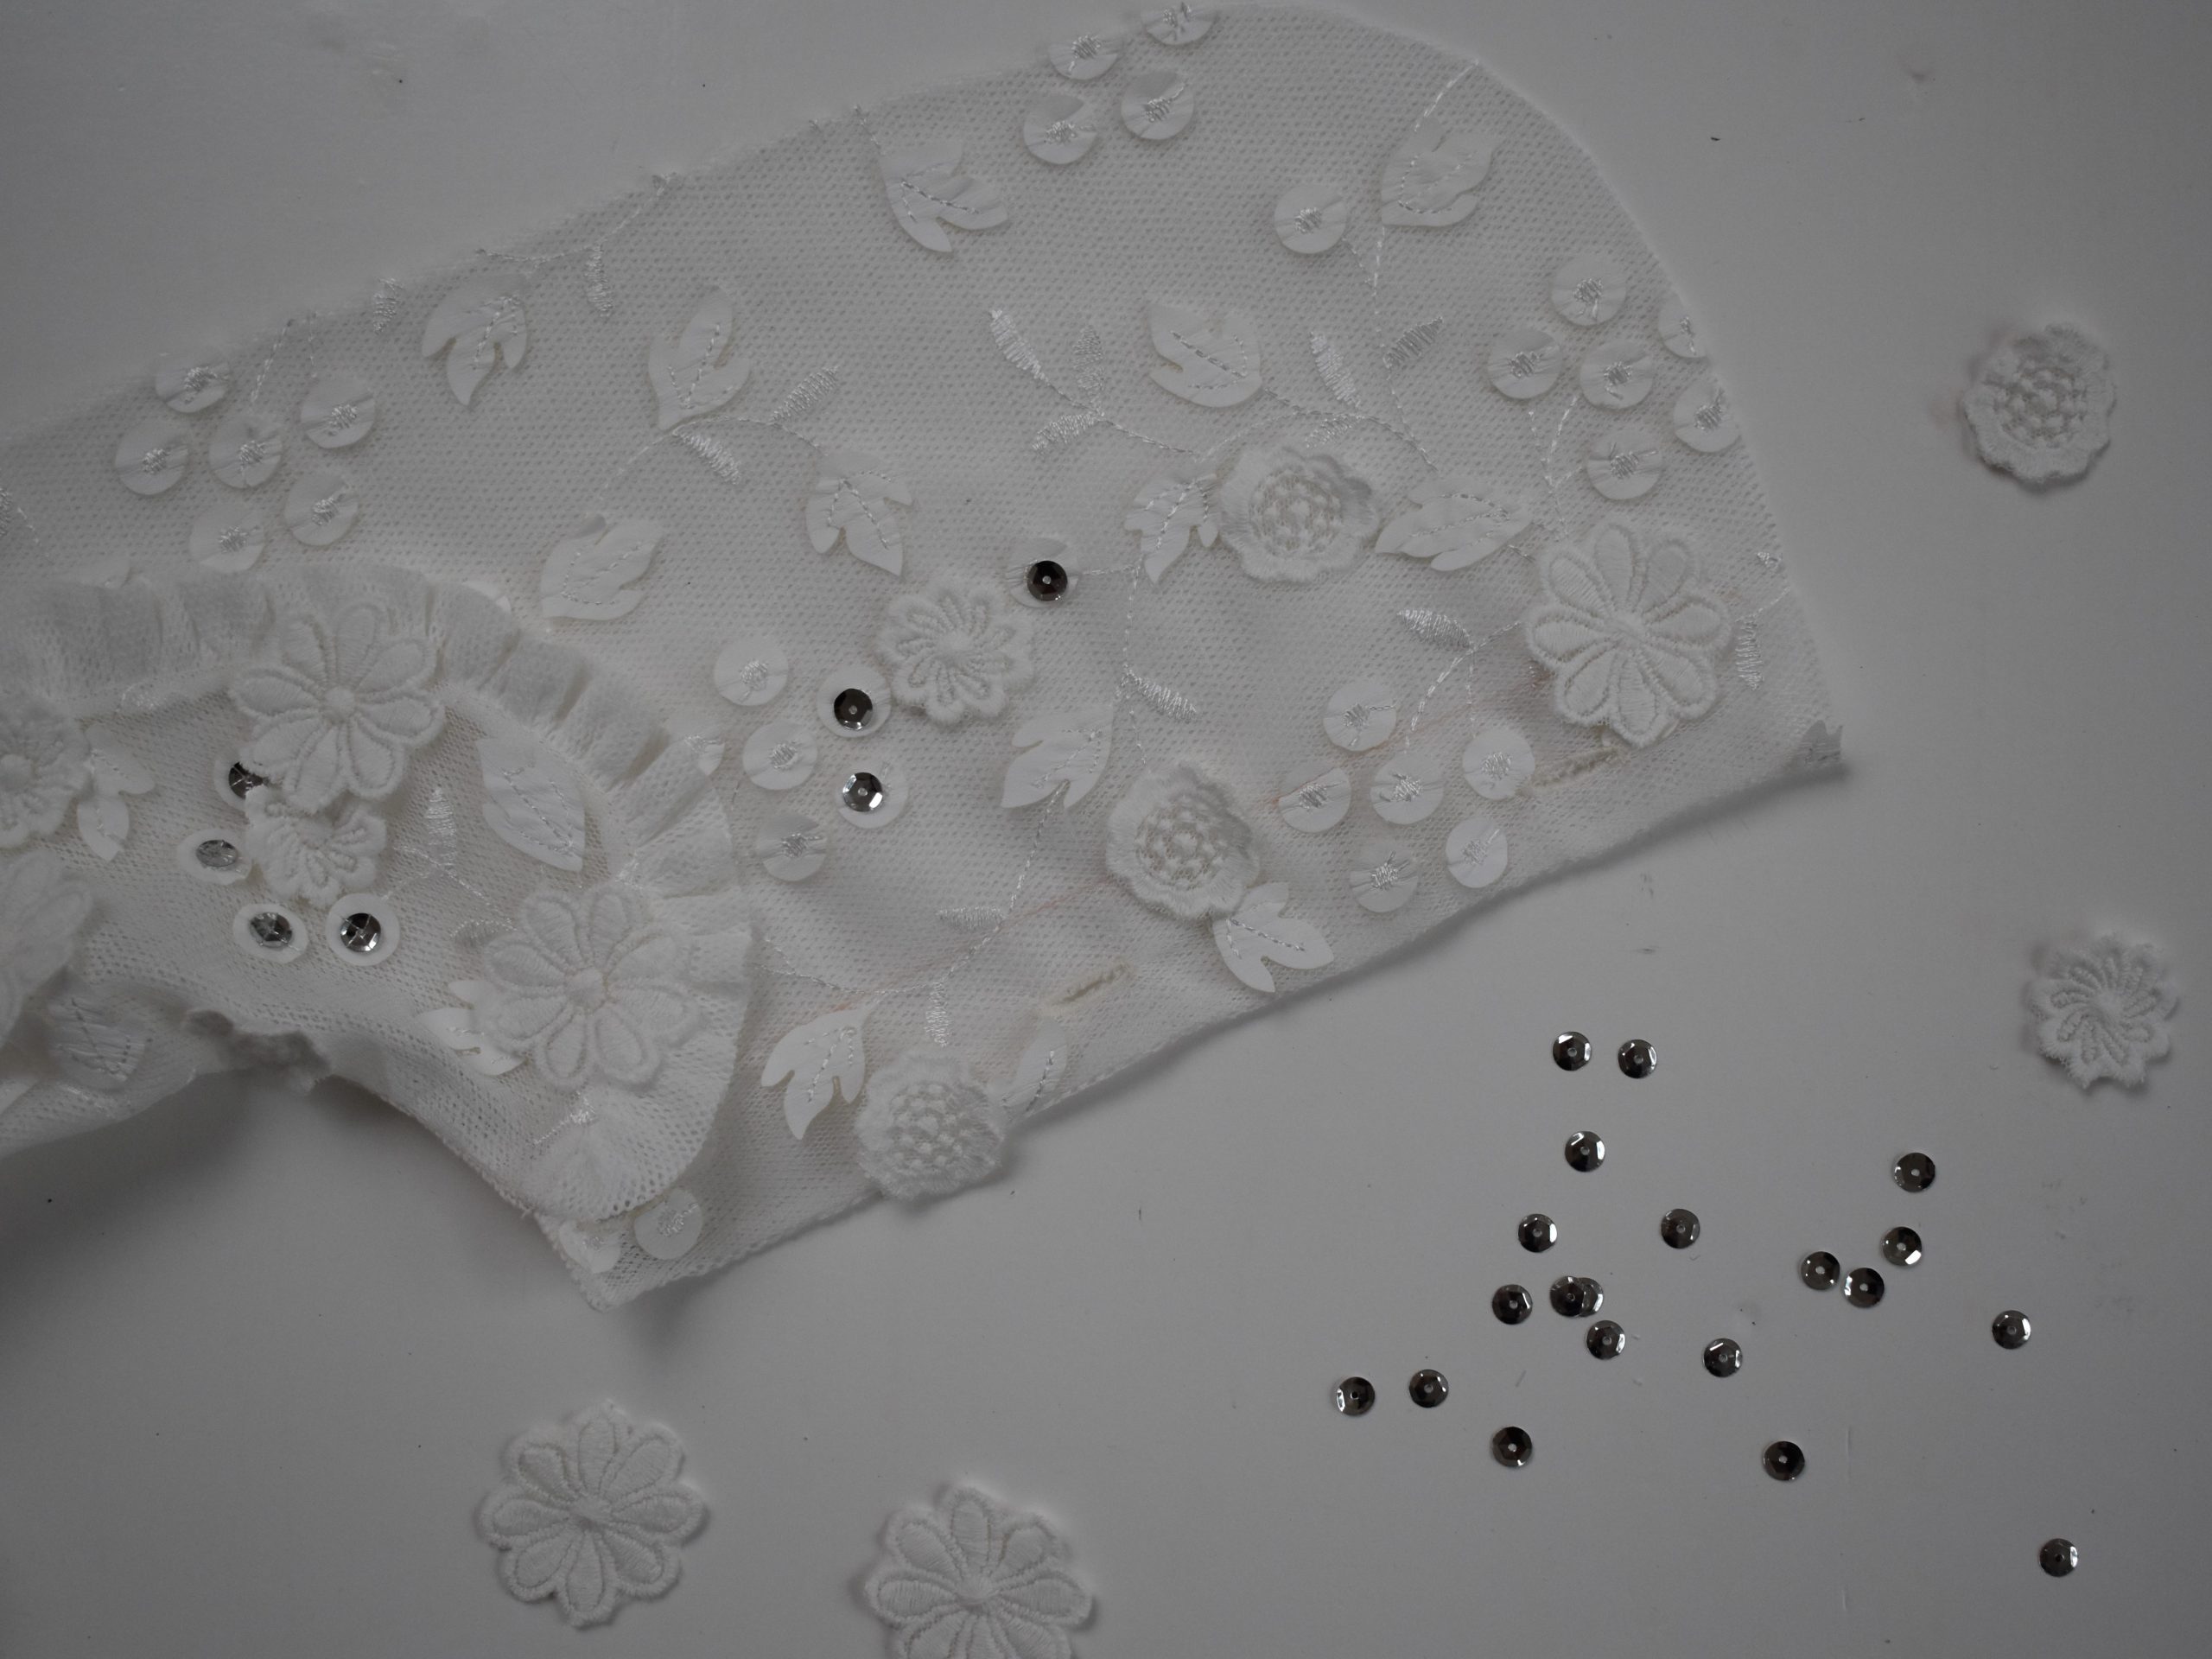
Decorating the collar
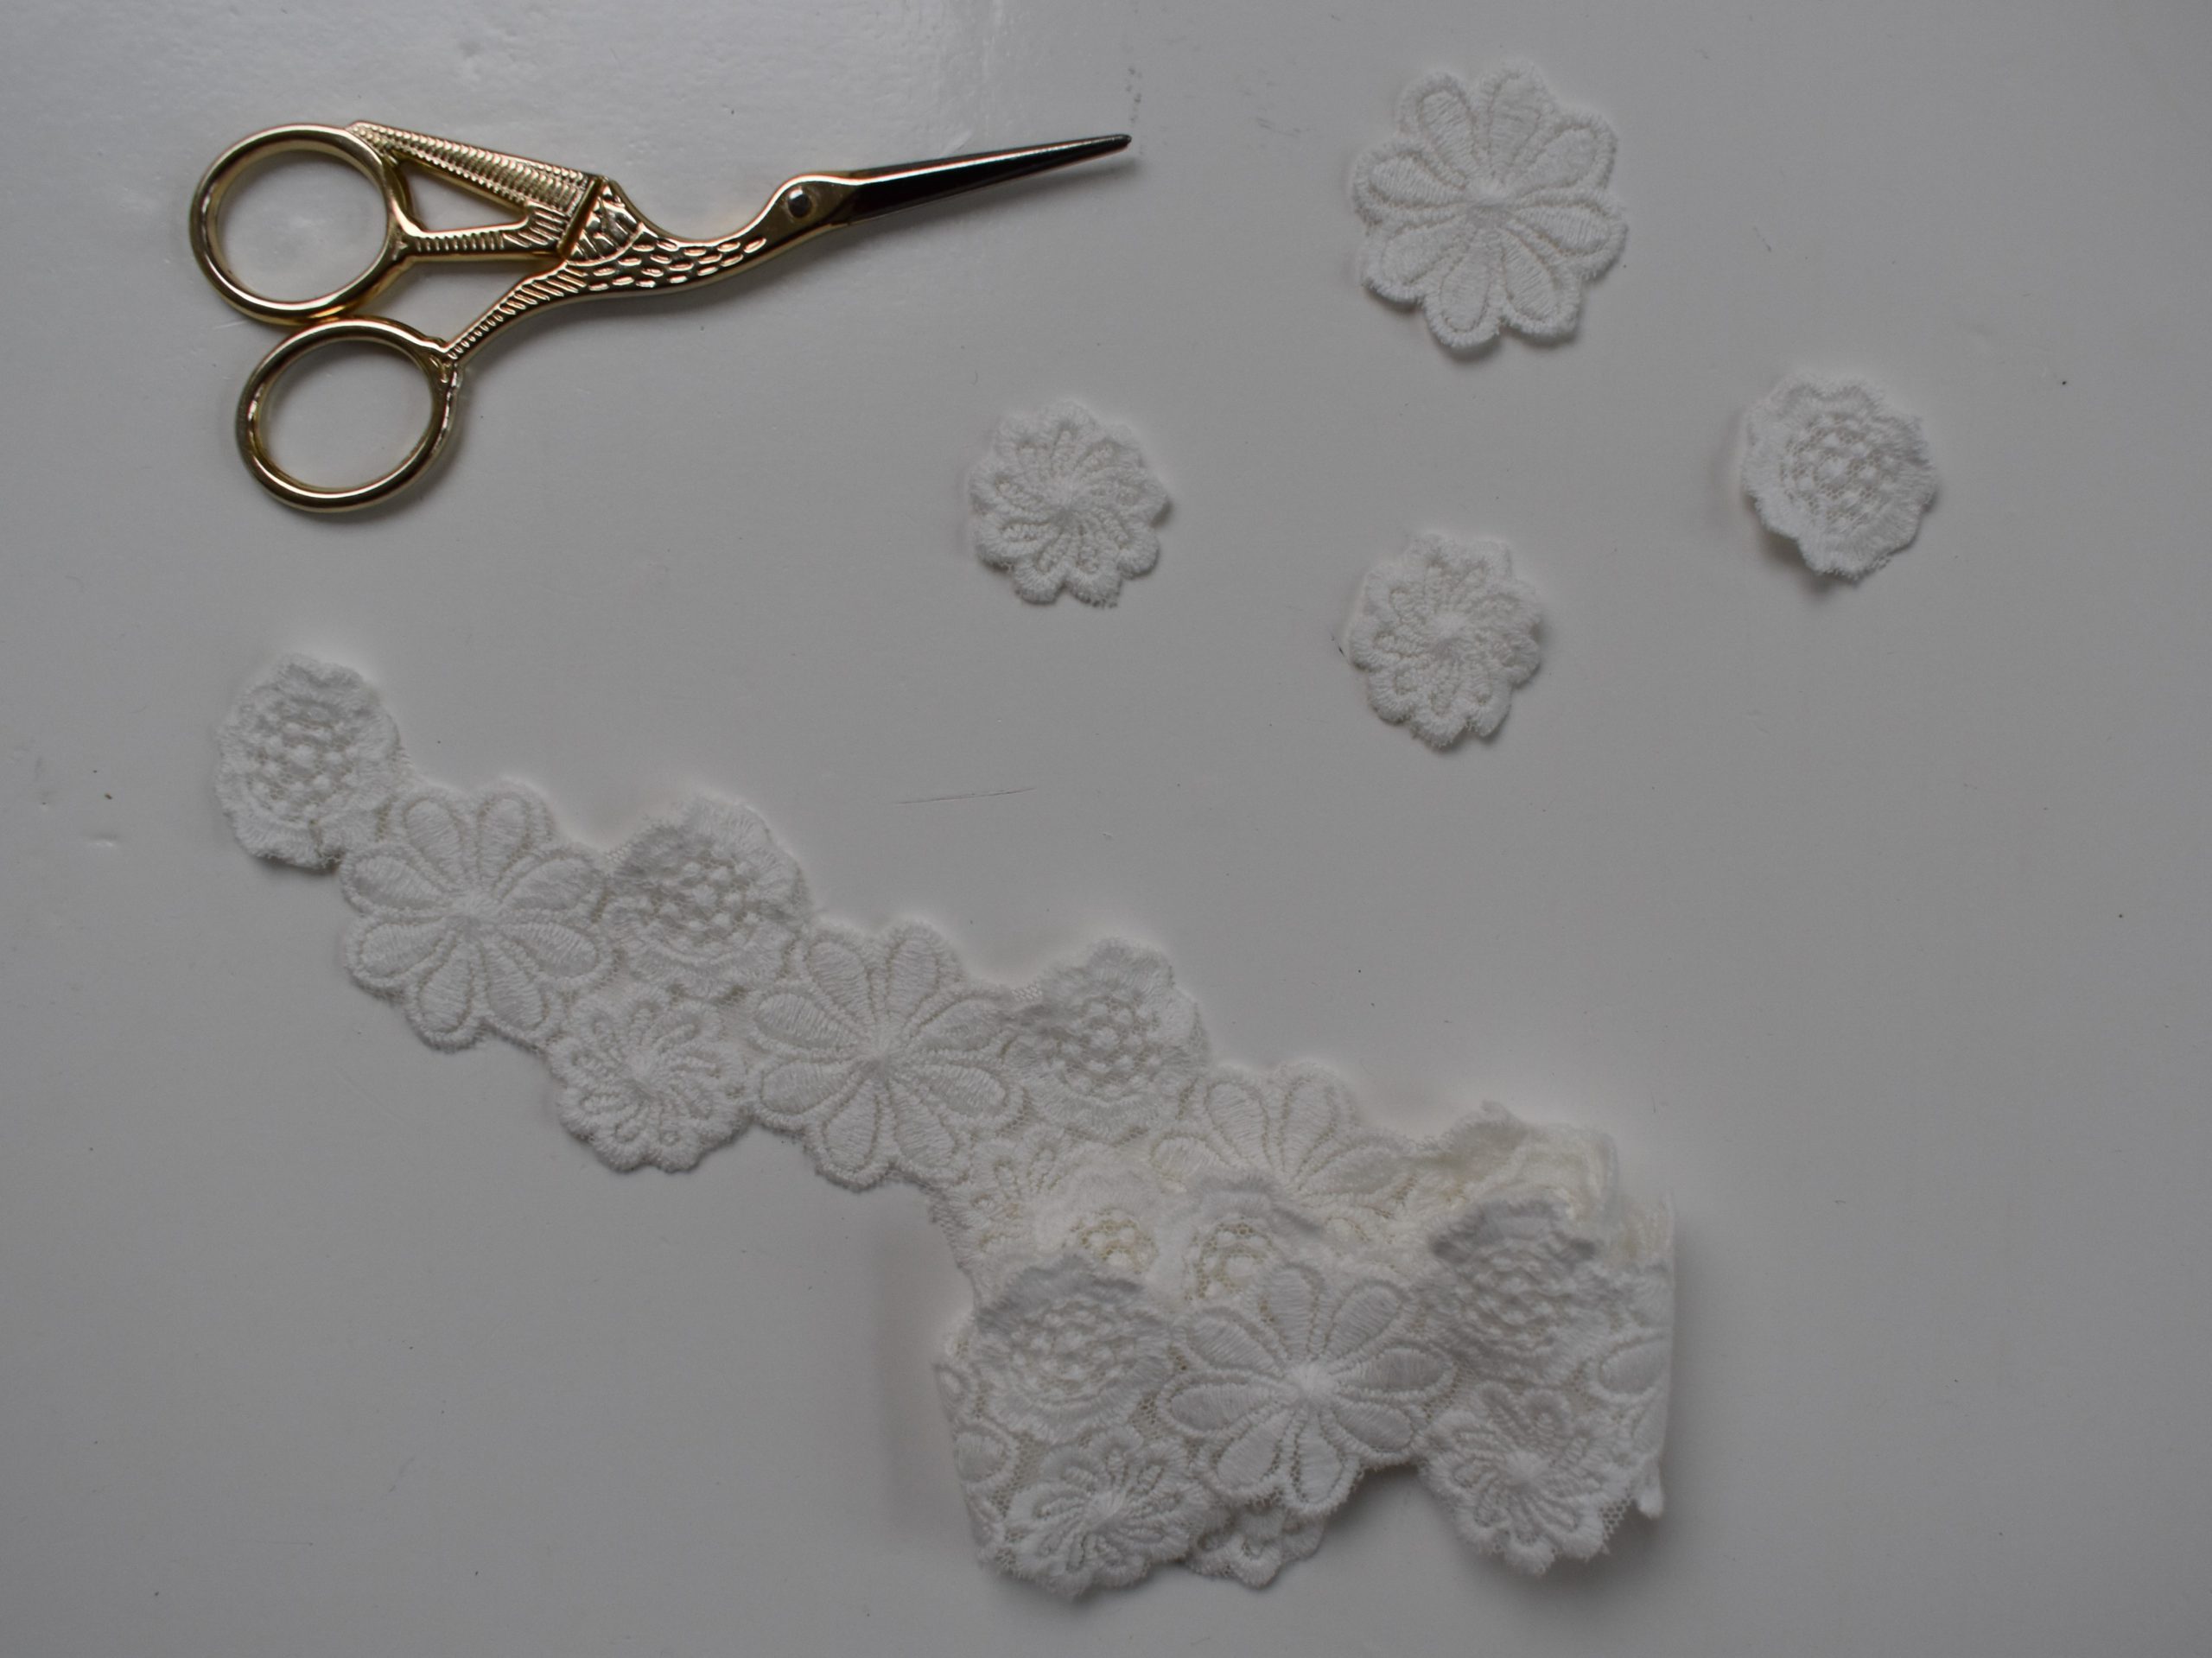
To make the collar even more beautiful and festive, I added extra flowers and sequins.
I cut the flowers out of a beautiful embroidered ribbon that I had lying around. I bought the ribbon from Lace Lindsey on Etsy. The ribbon I used is sold out, but you can also find beautiful things like it on Etsy and on the market or in your favourite haberdashery shop.
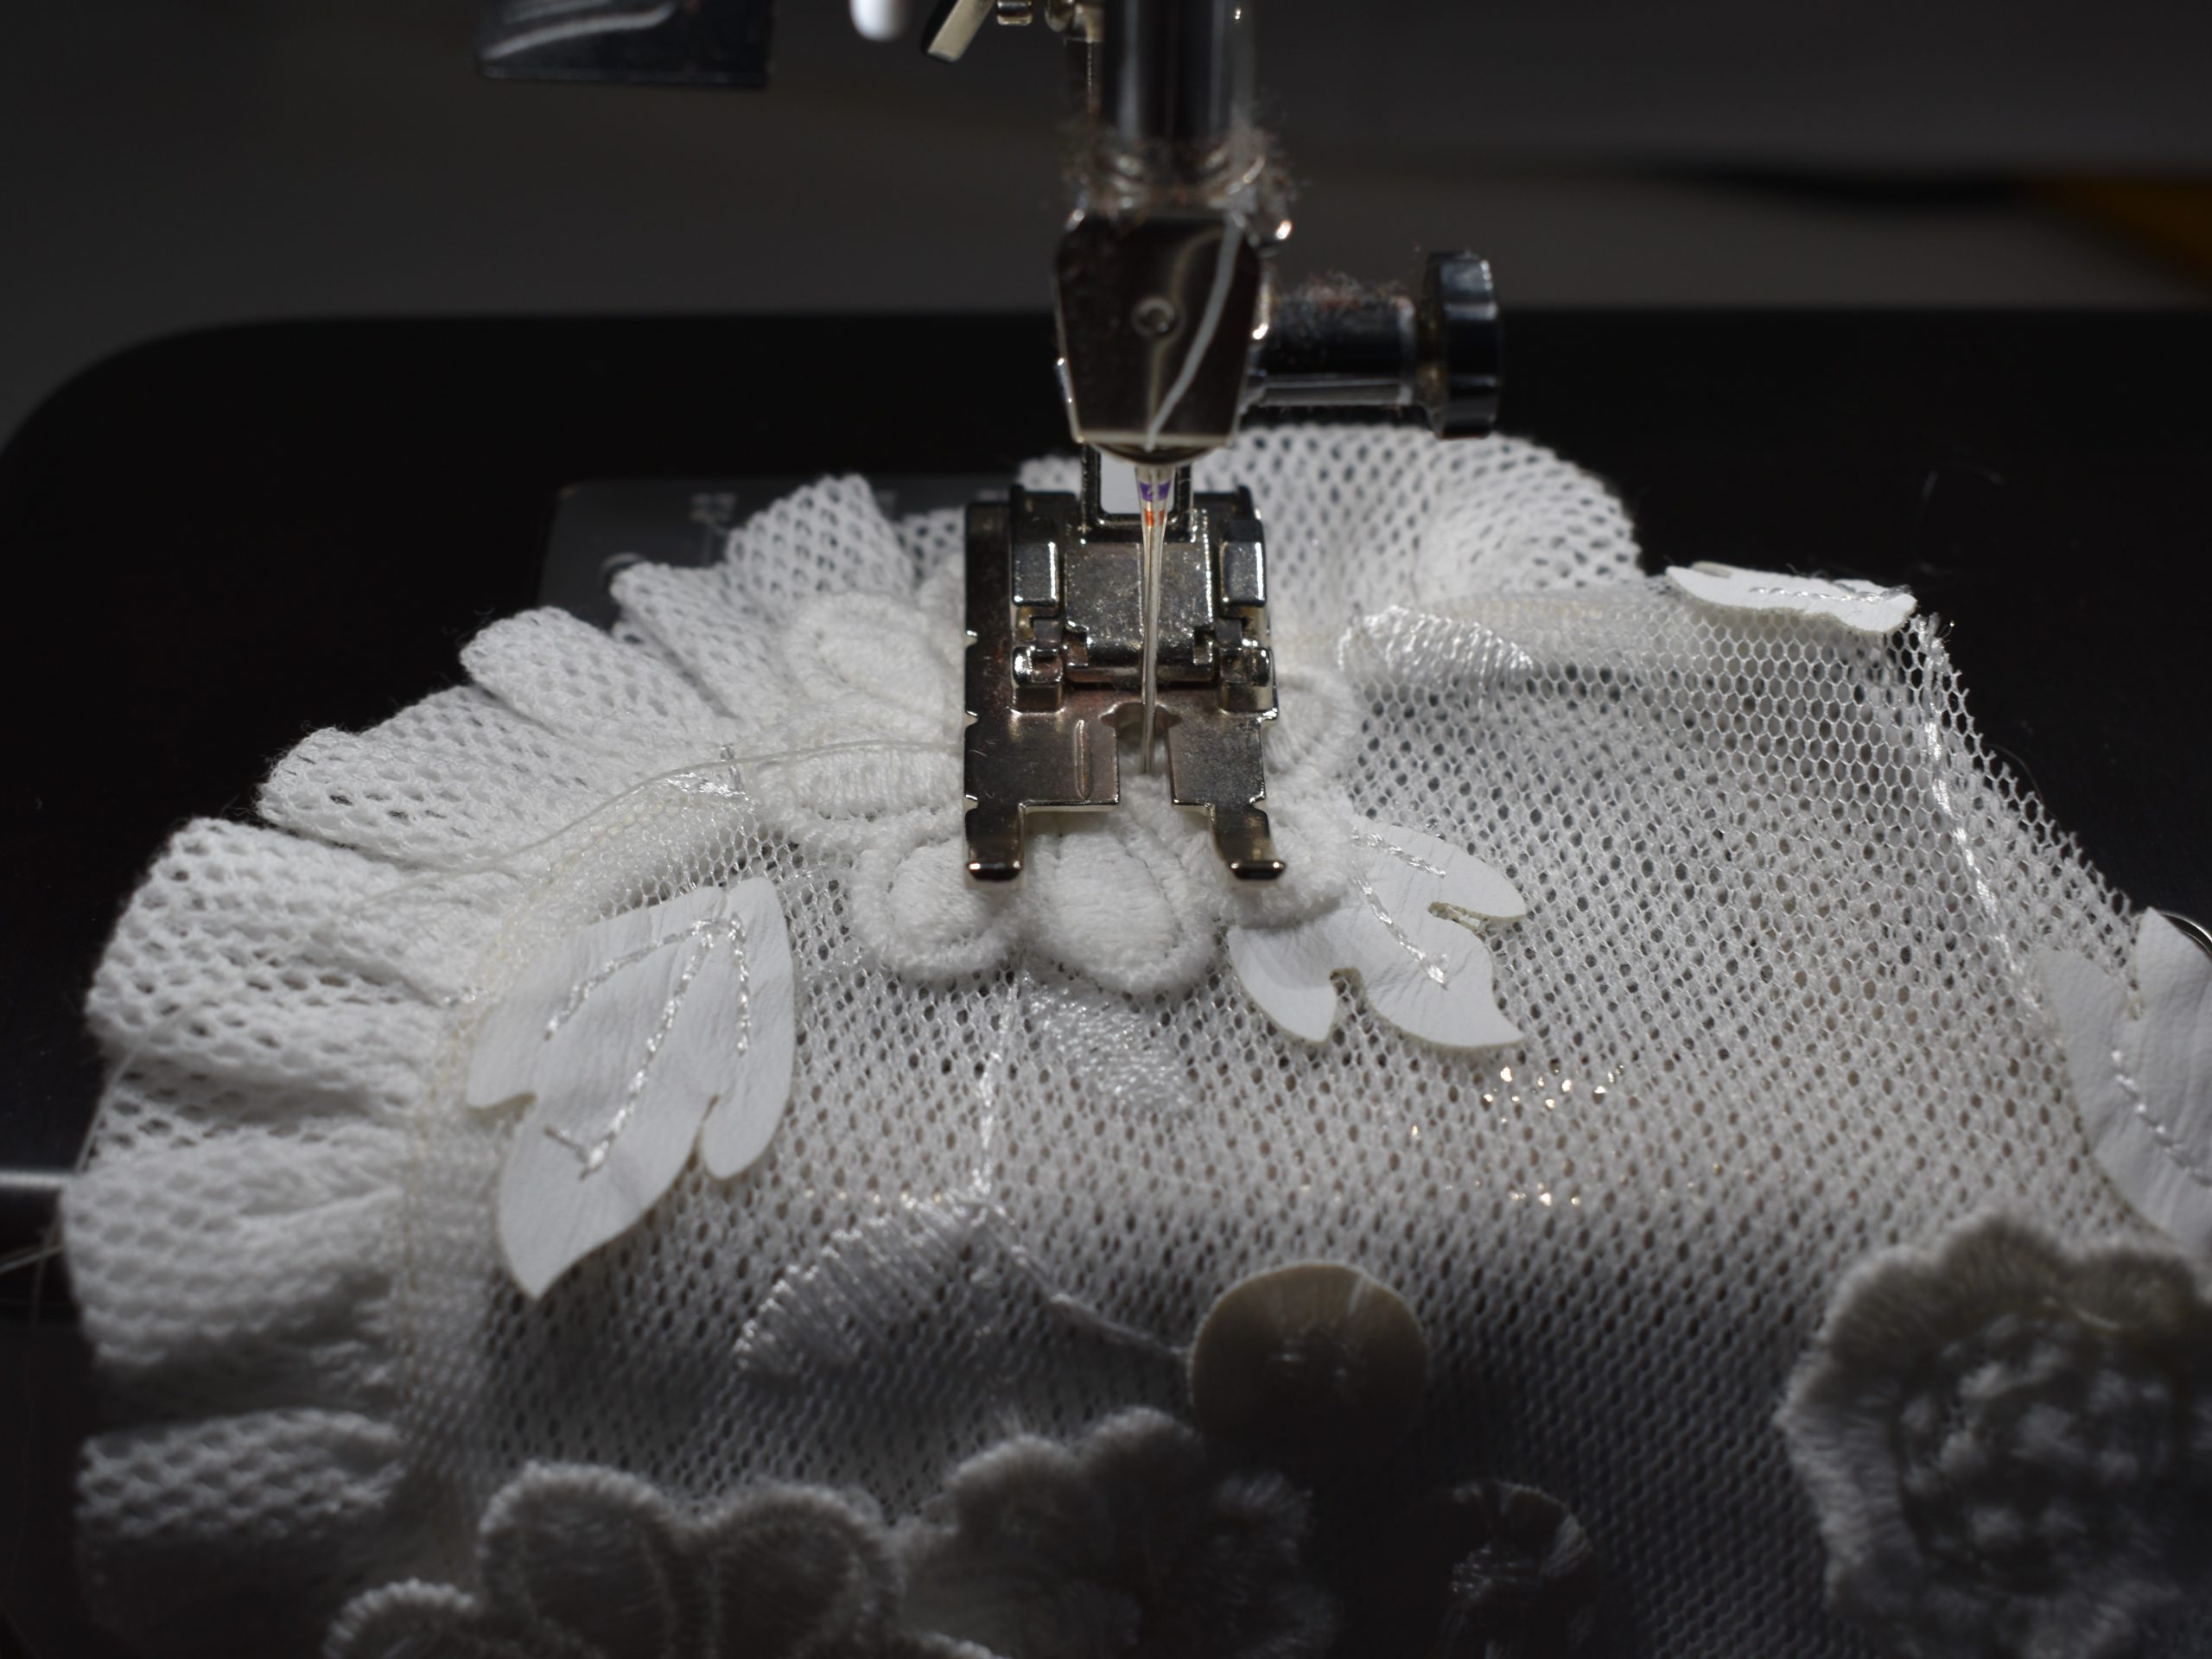
I pinned the flowers on the collar to sew them on with the machine.
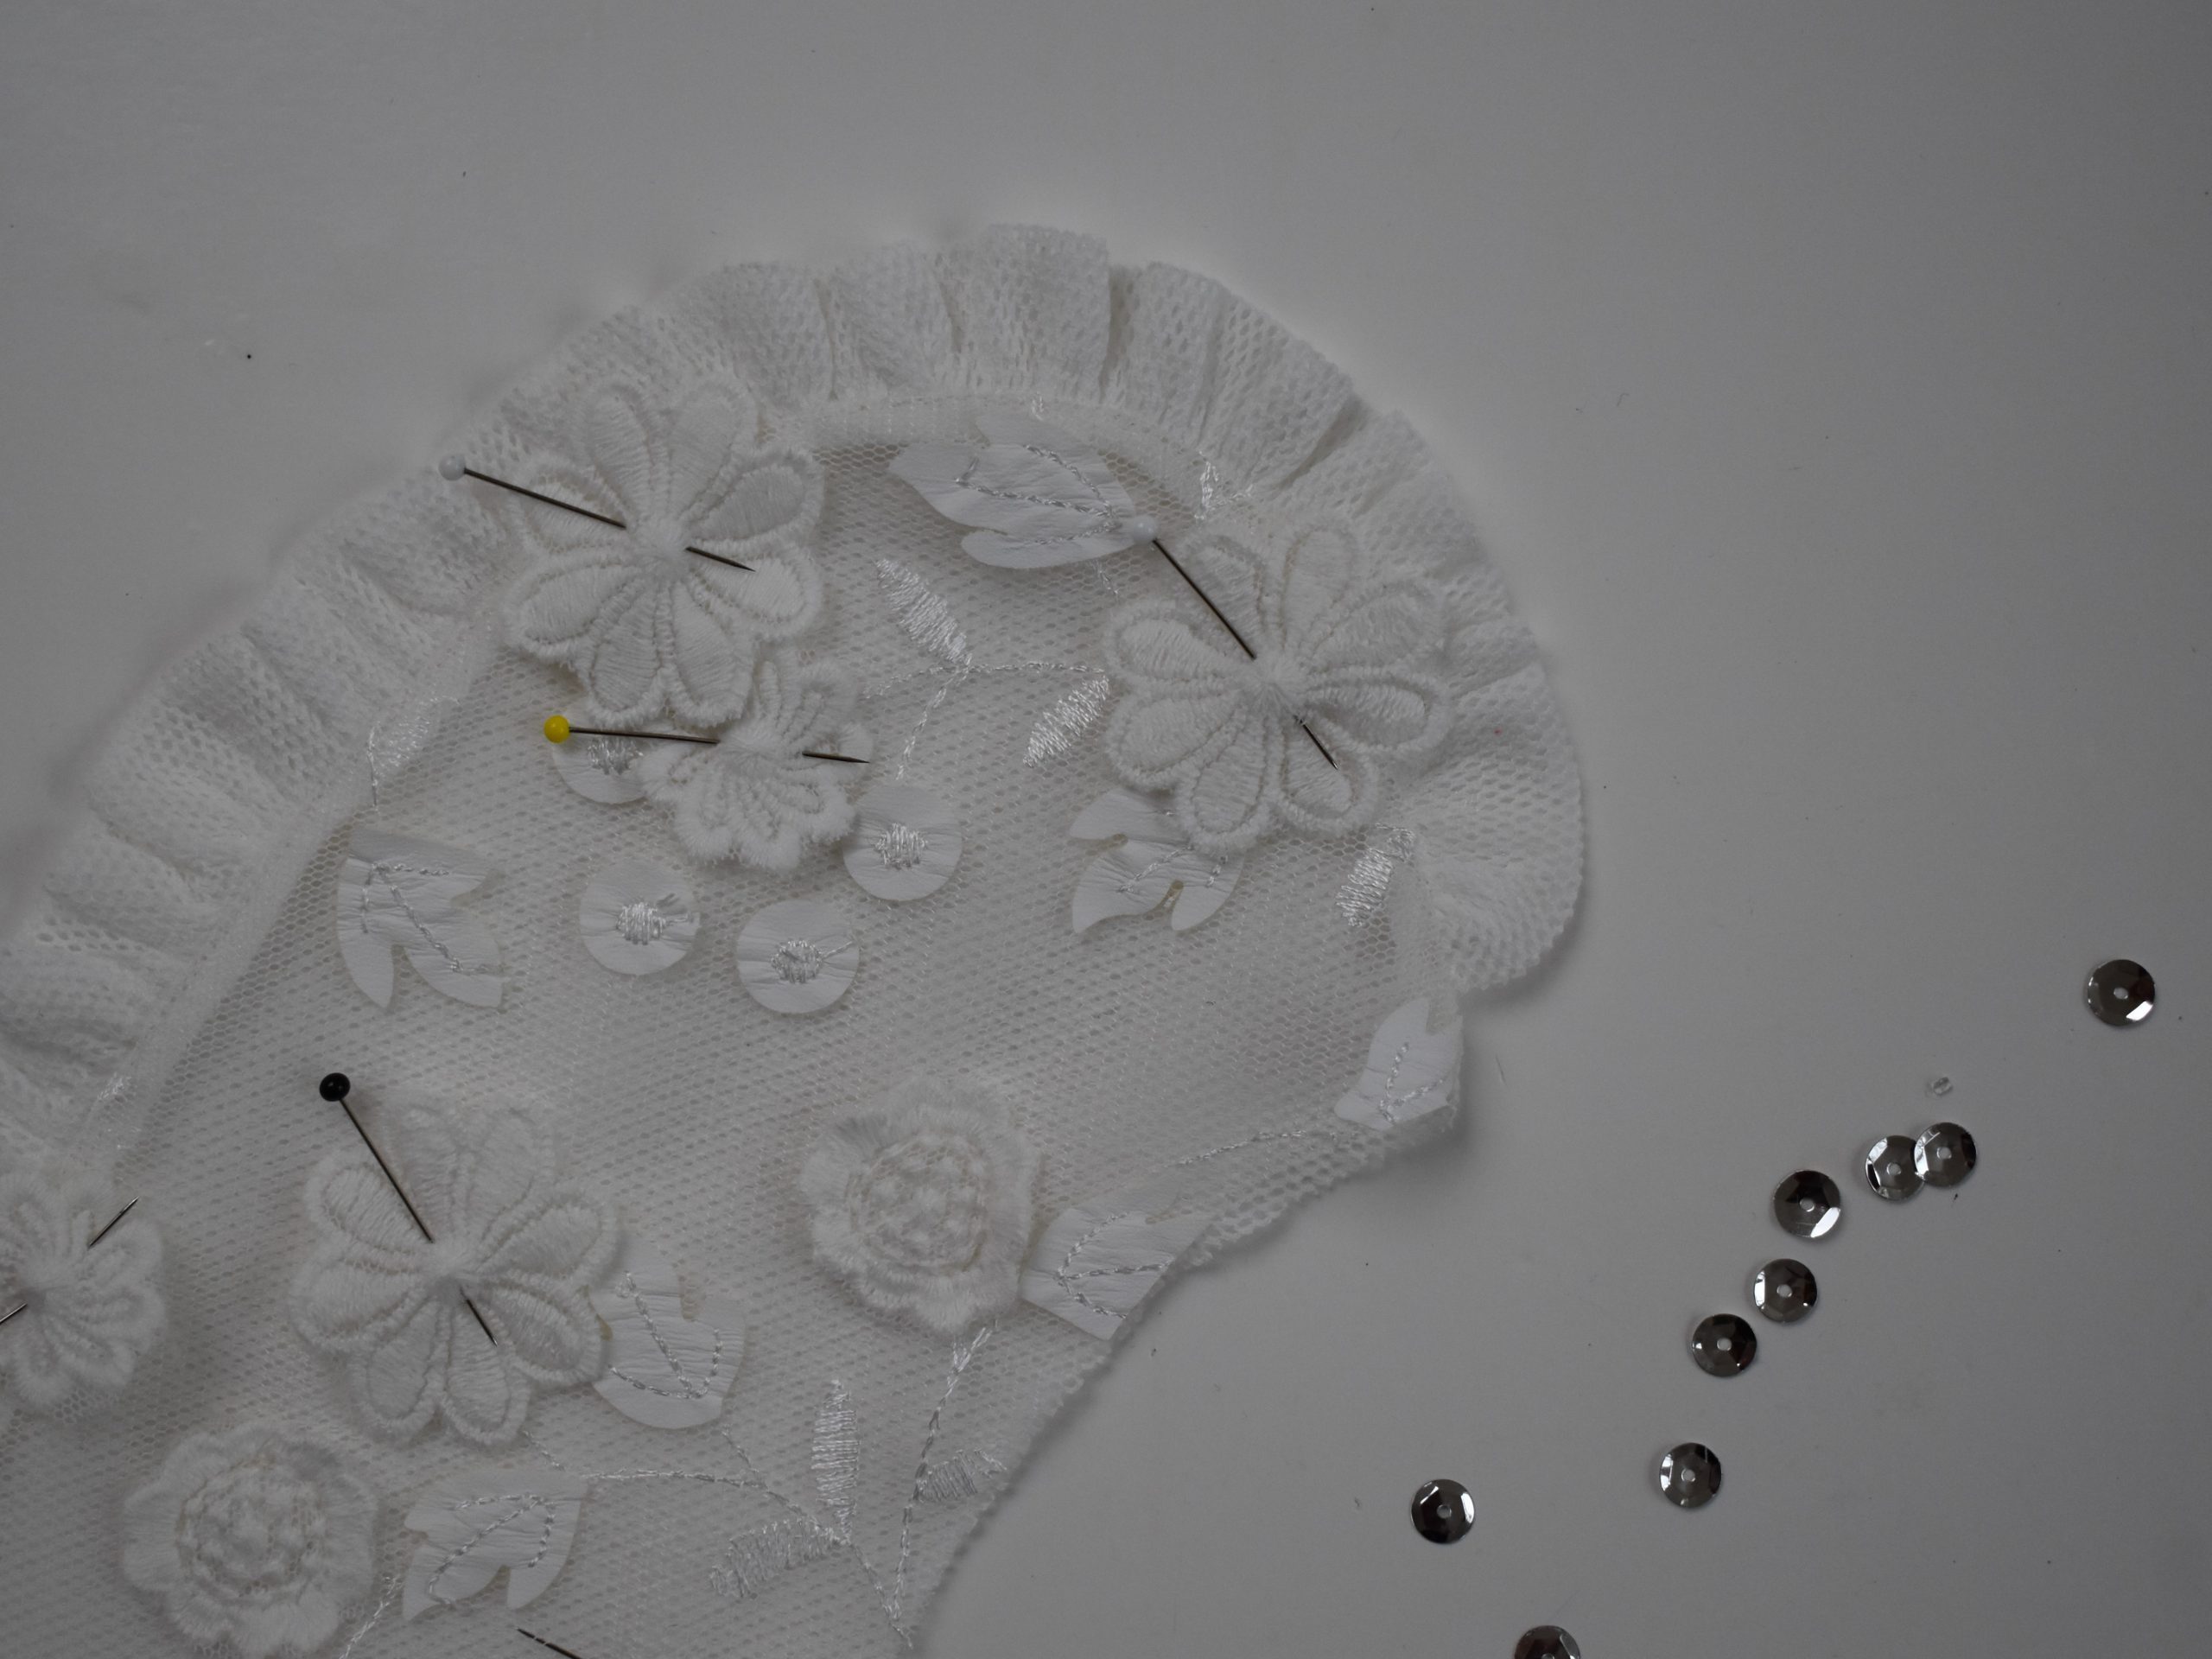
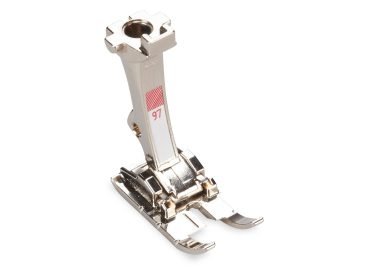
For this I used Patchwork foot #97. And again, I used the setting of the machine that raises the foot while leaving the needle still in your work when you stop sewing, as I described earlier. In this way you can turn corners while the needle stays in place. I also set my stitch length back to 2 mm.
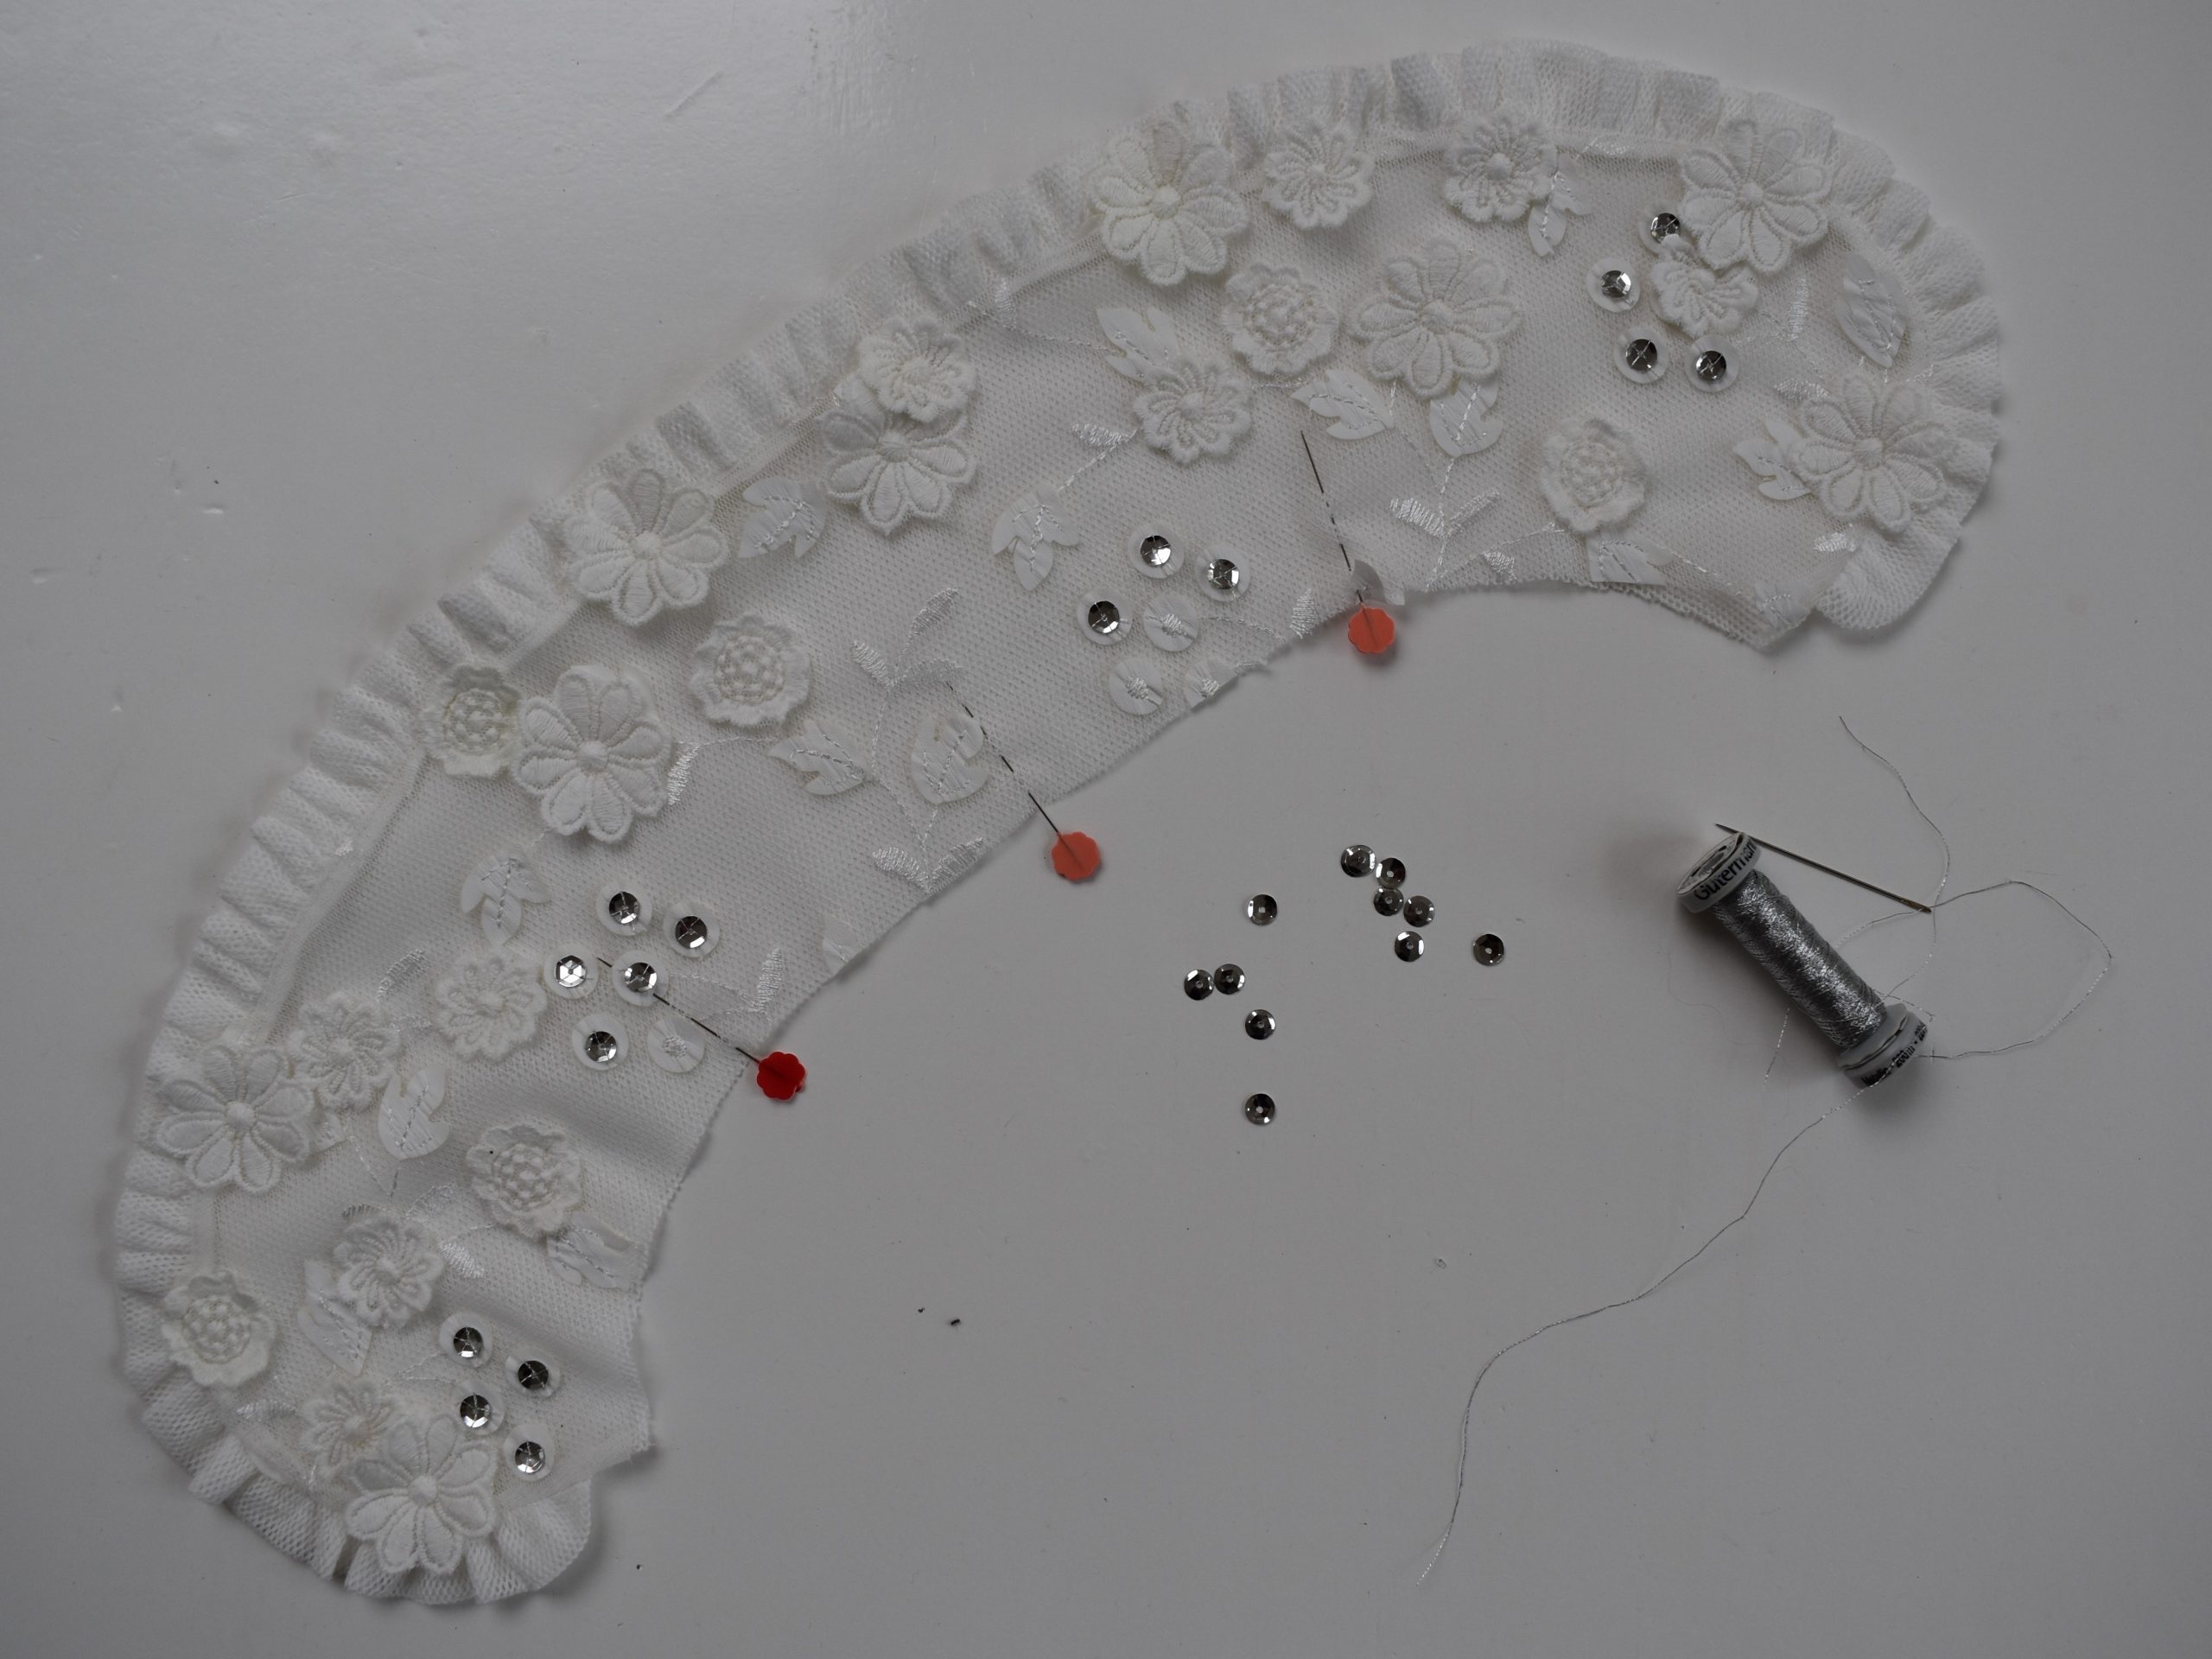
After that I sewed the silver sequins on by hand, with silver thread.
Sewing the collar to bodice
Now sew the collar to the bodice as described in the instructions for the Harriet collar package. Use a lot of pins again.
When you have sewed the collar on, lay the lining with the wrong side down on the collar and the front panel. Pin the neck seam and front seam together and stitch with a seam allowance of 1 cm.
Now cut the seam allowance back to 0.3 cm.
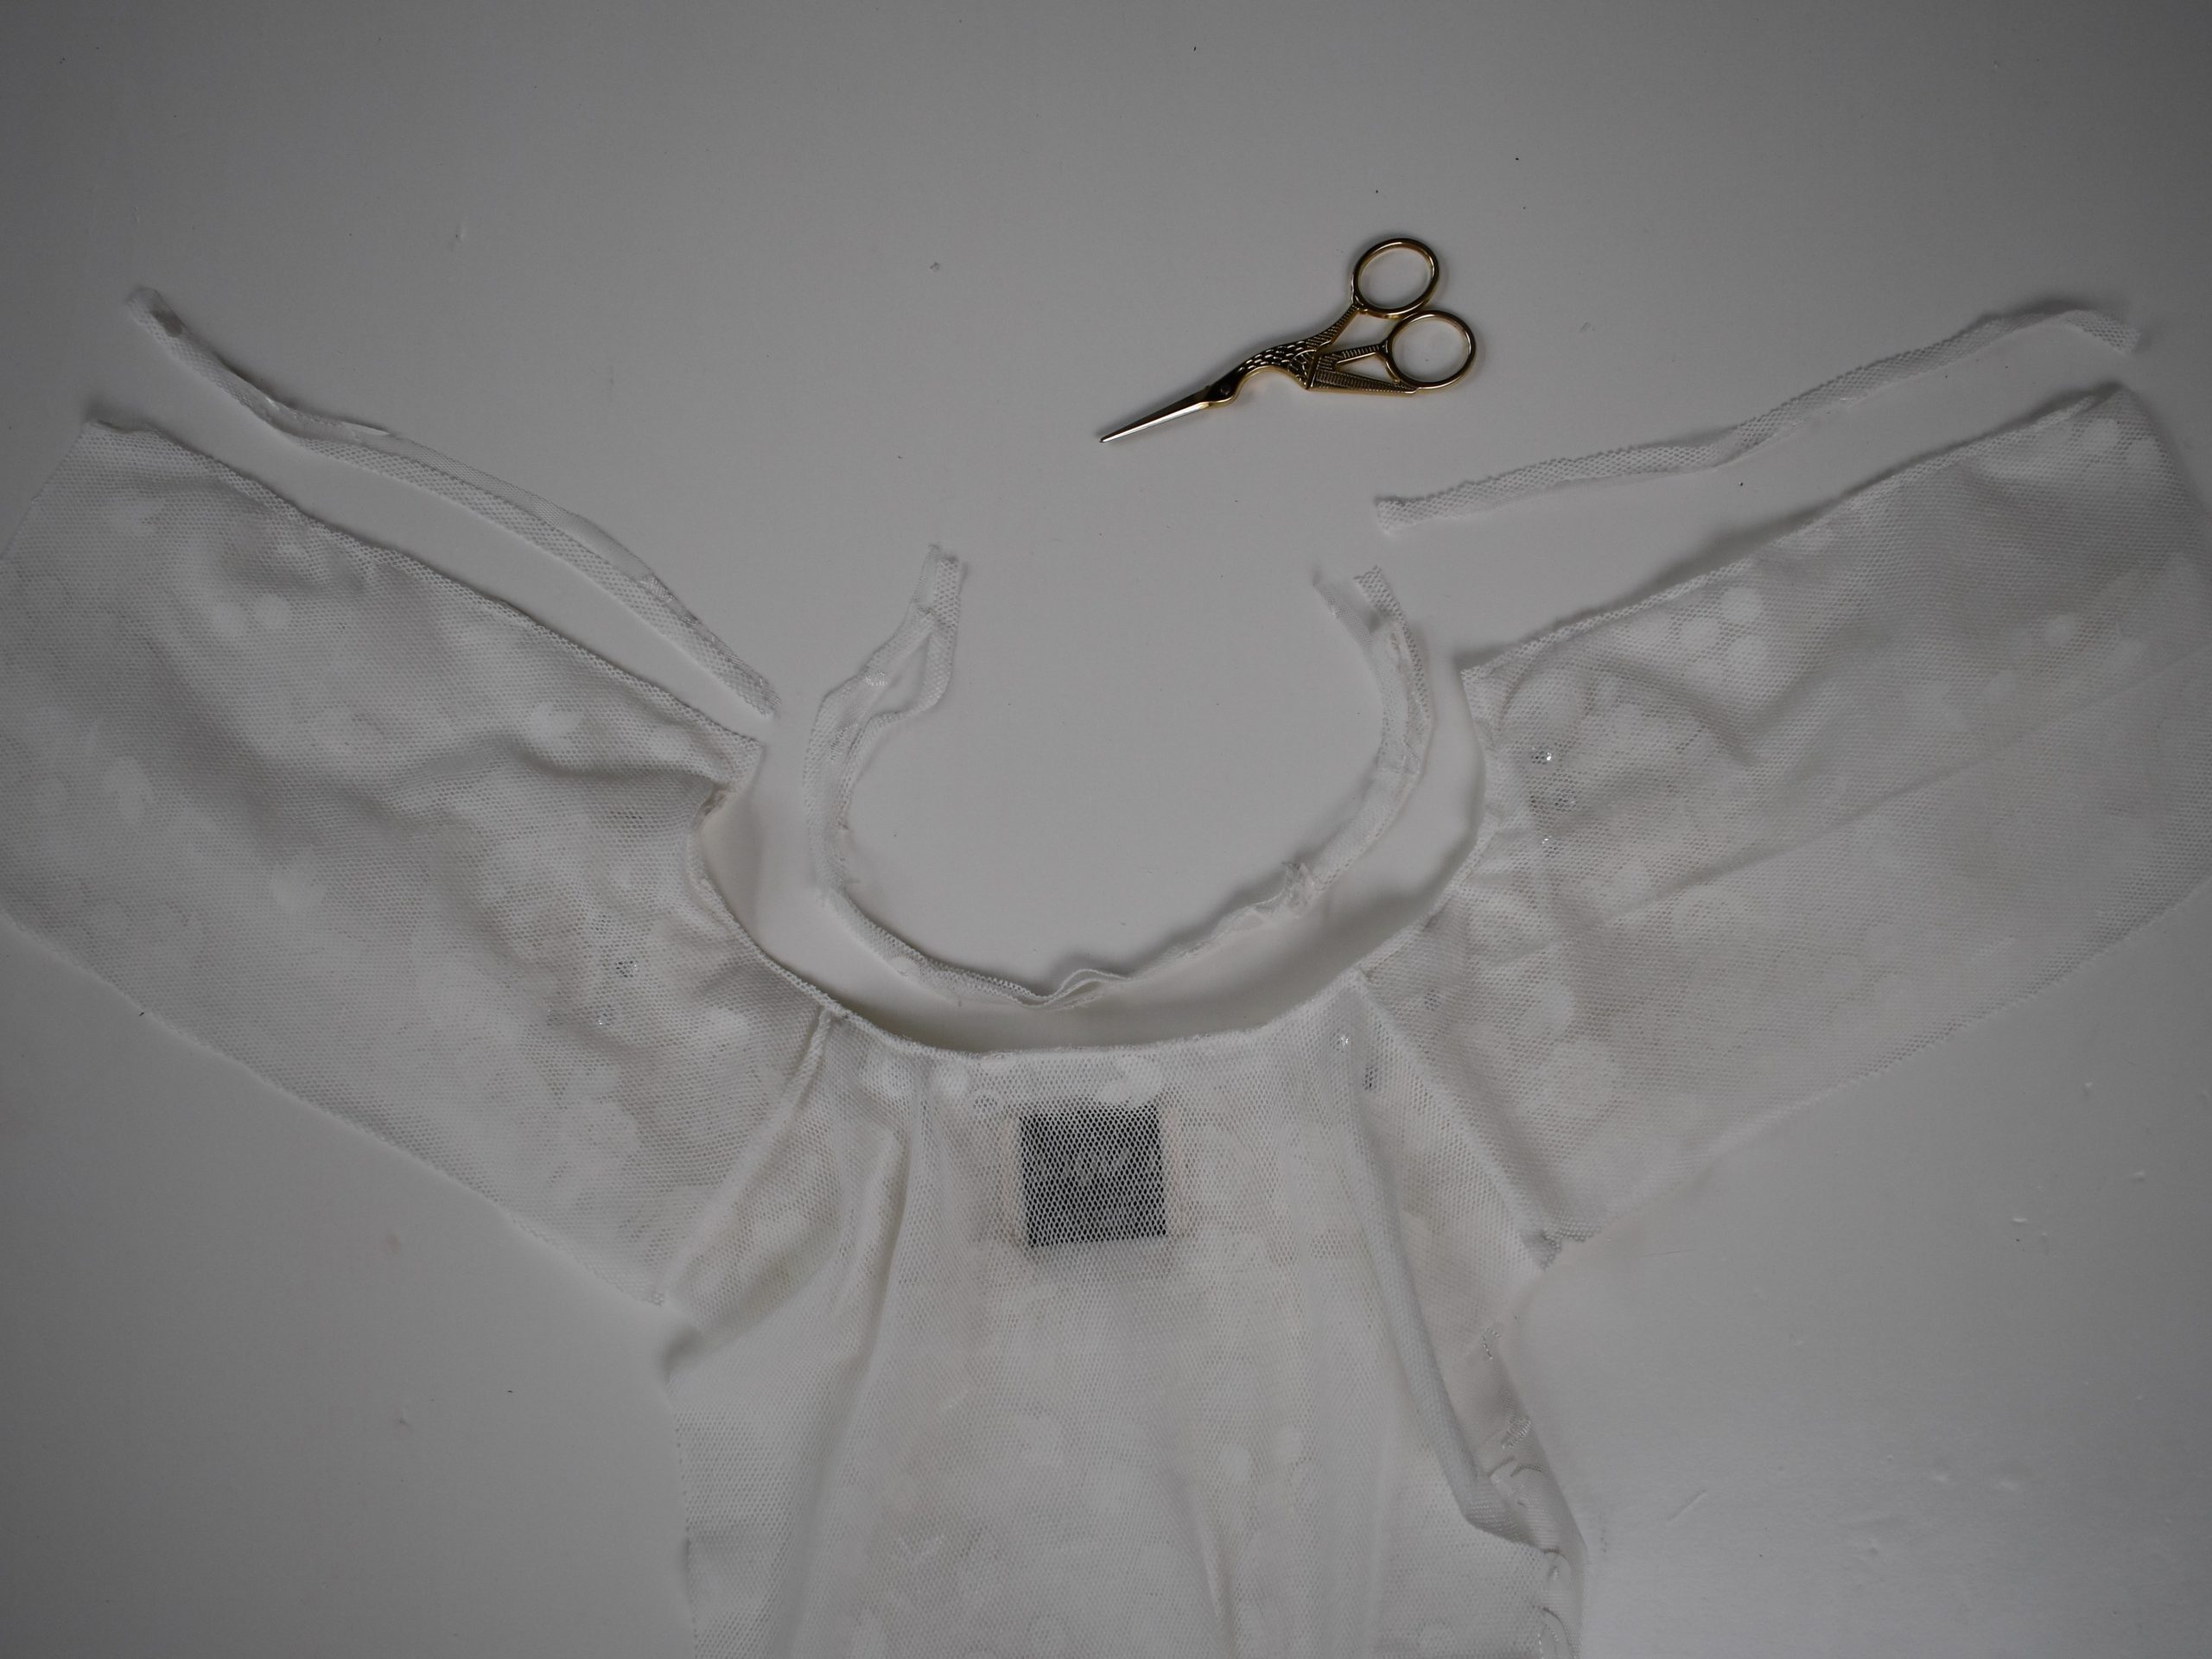
Fold the panels back to the good side and stitch the neck seam close to the edge on the good side of the fabric.
Sew button placket
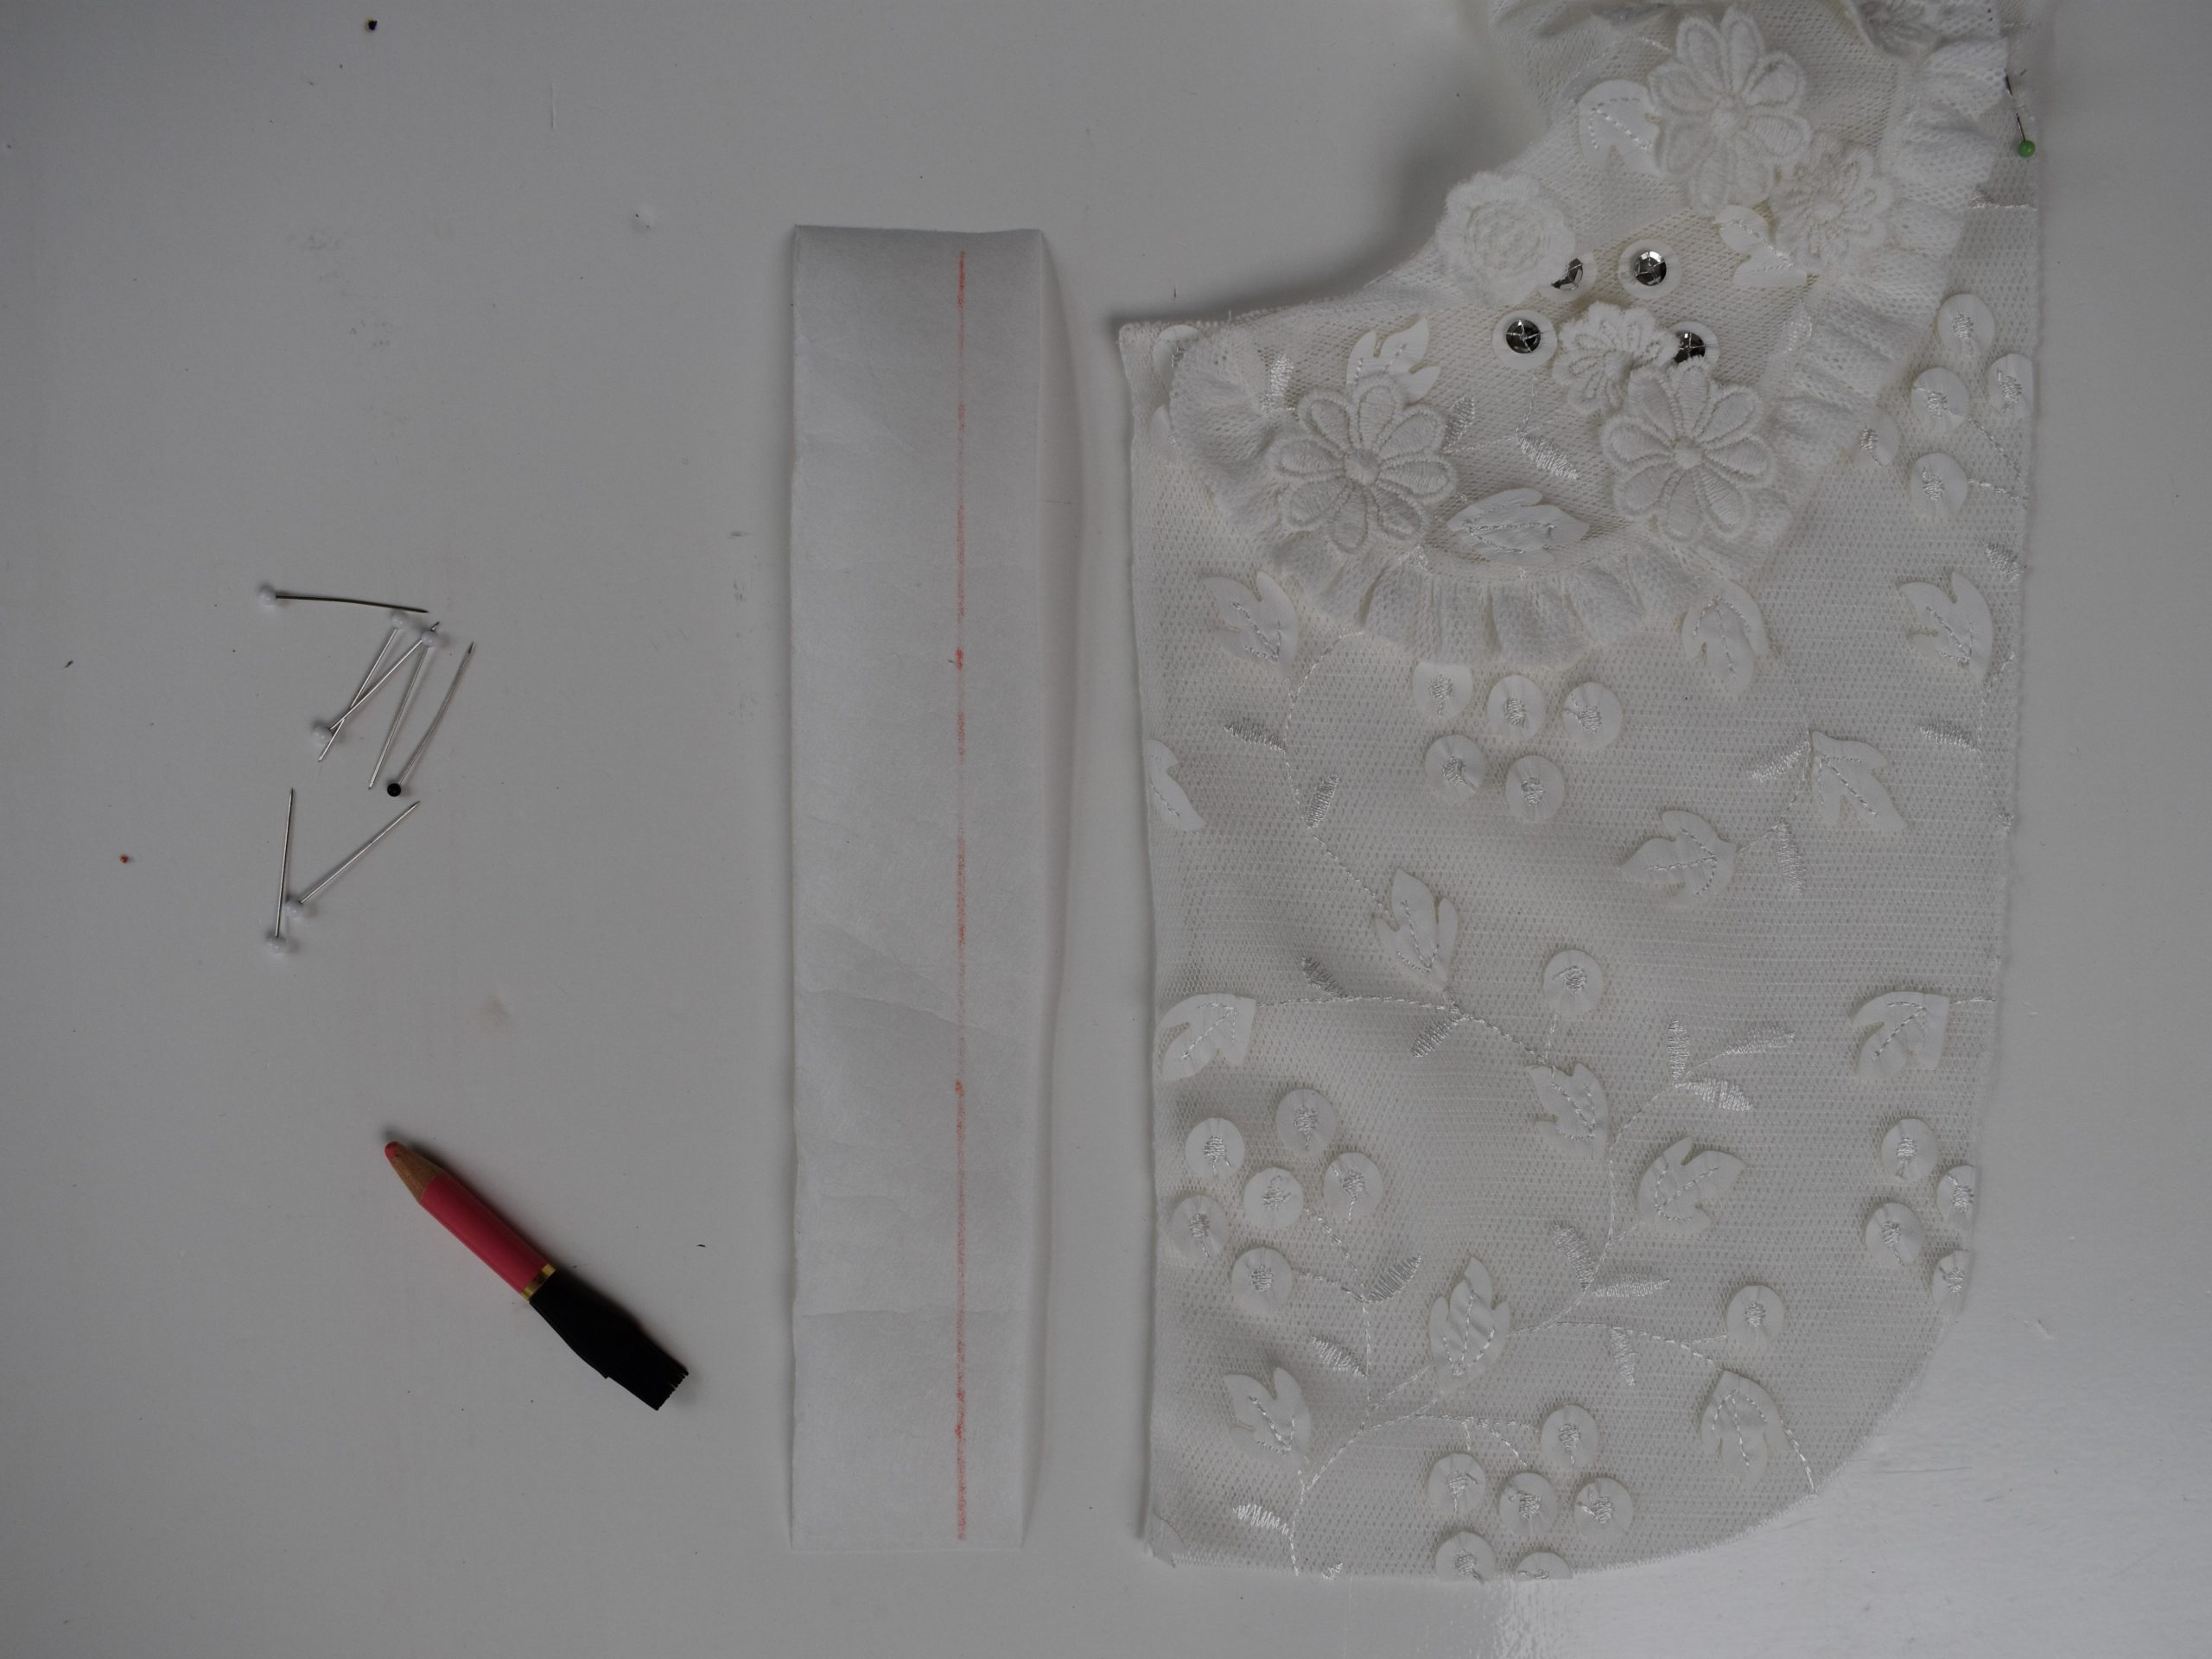
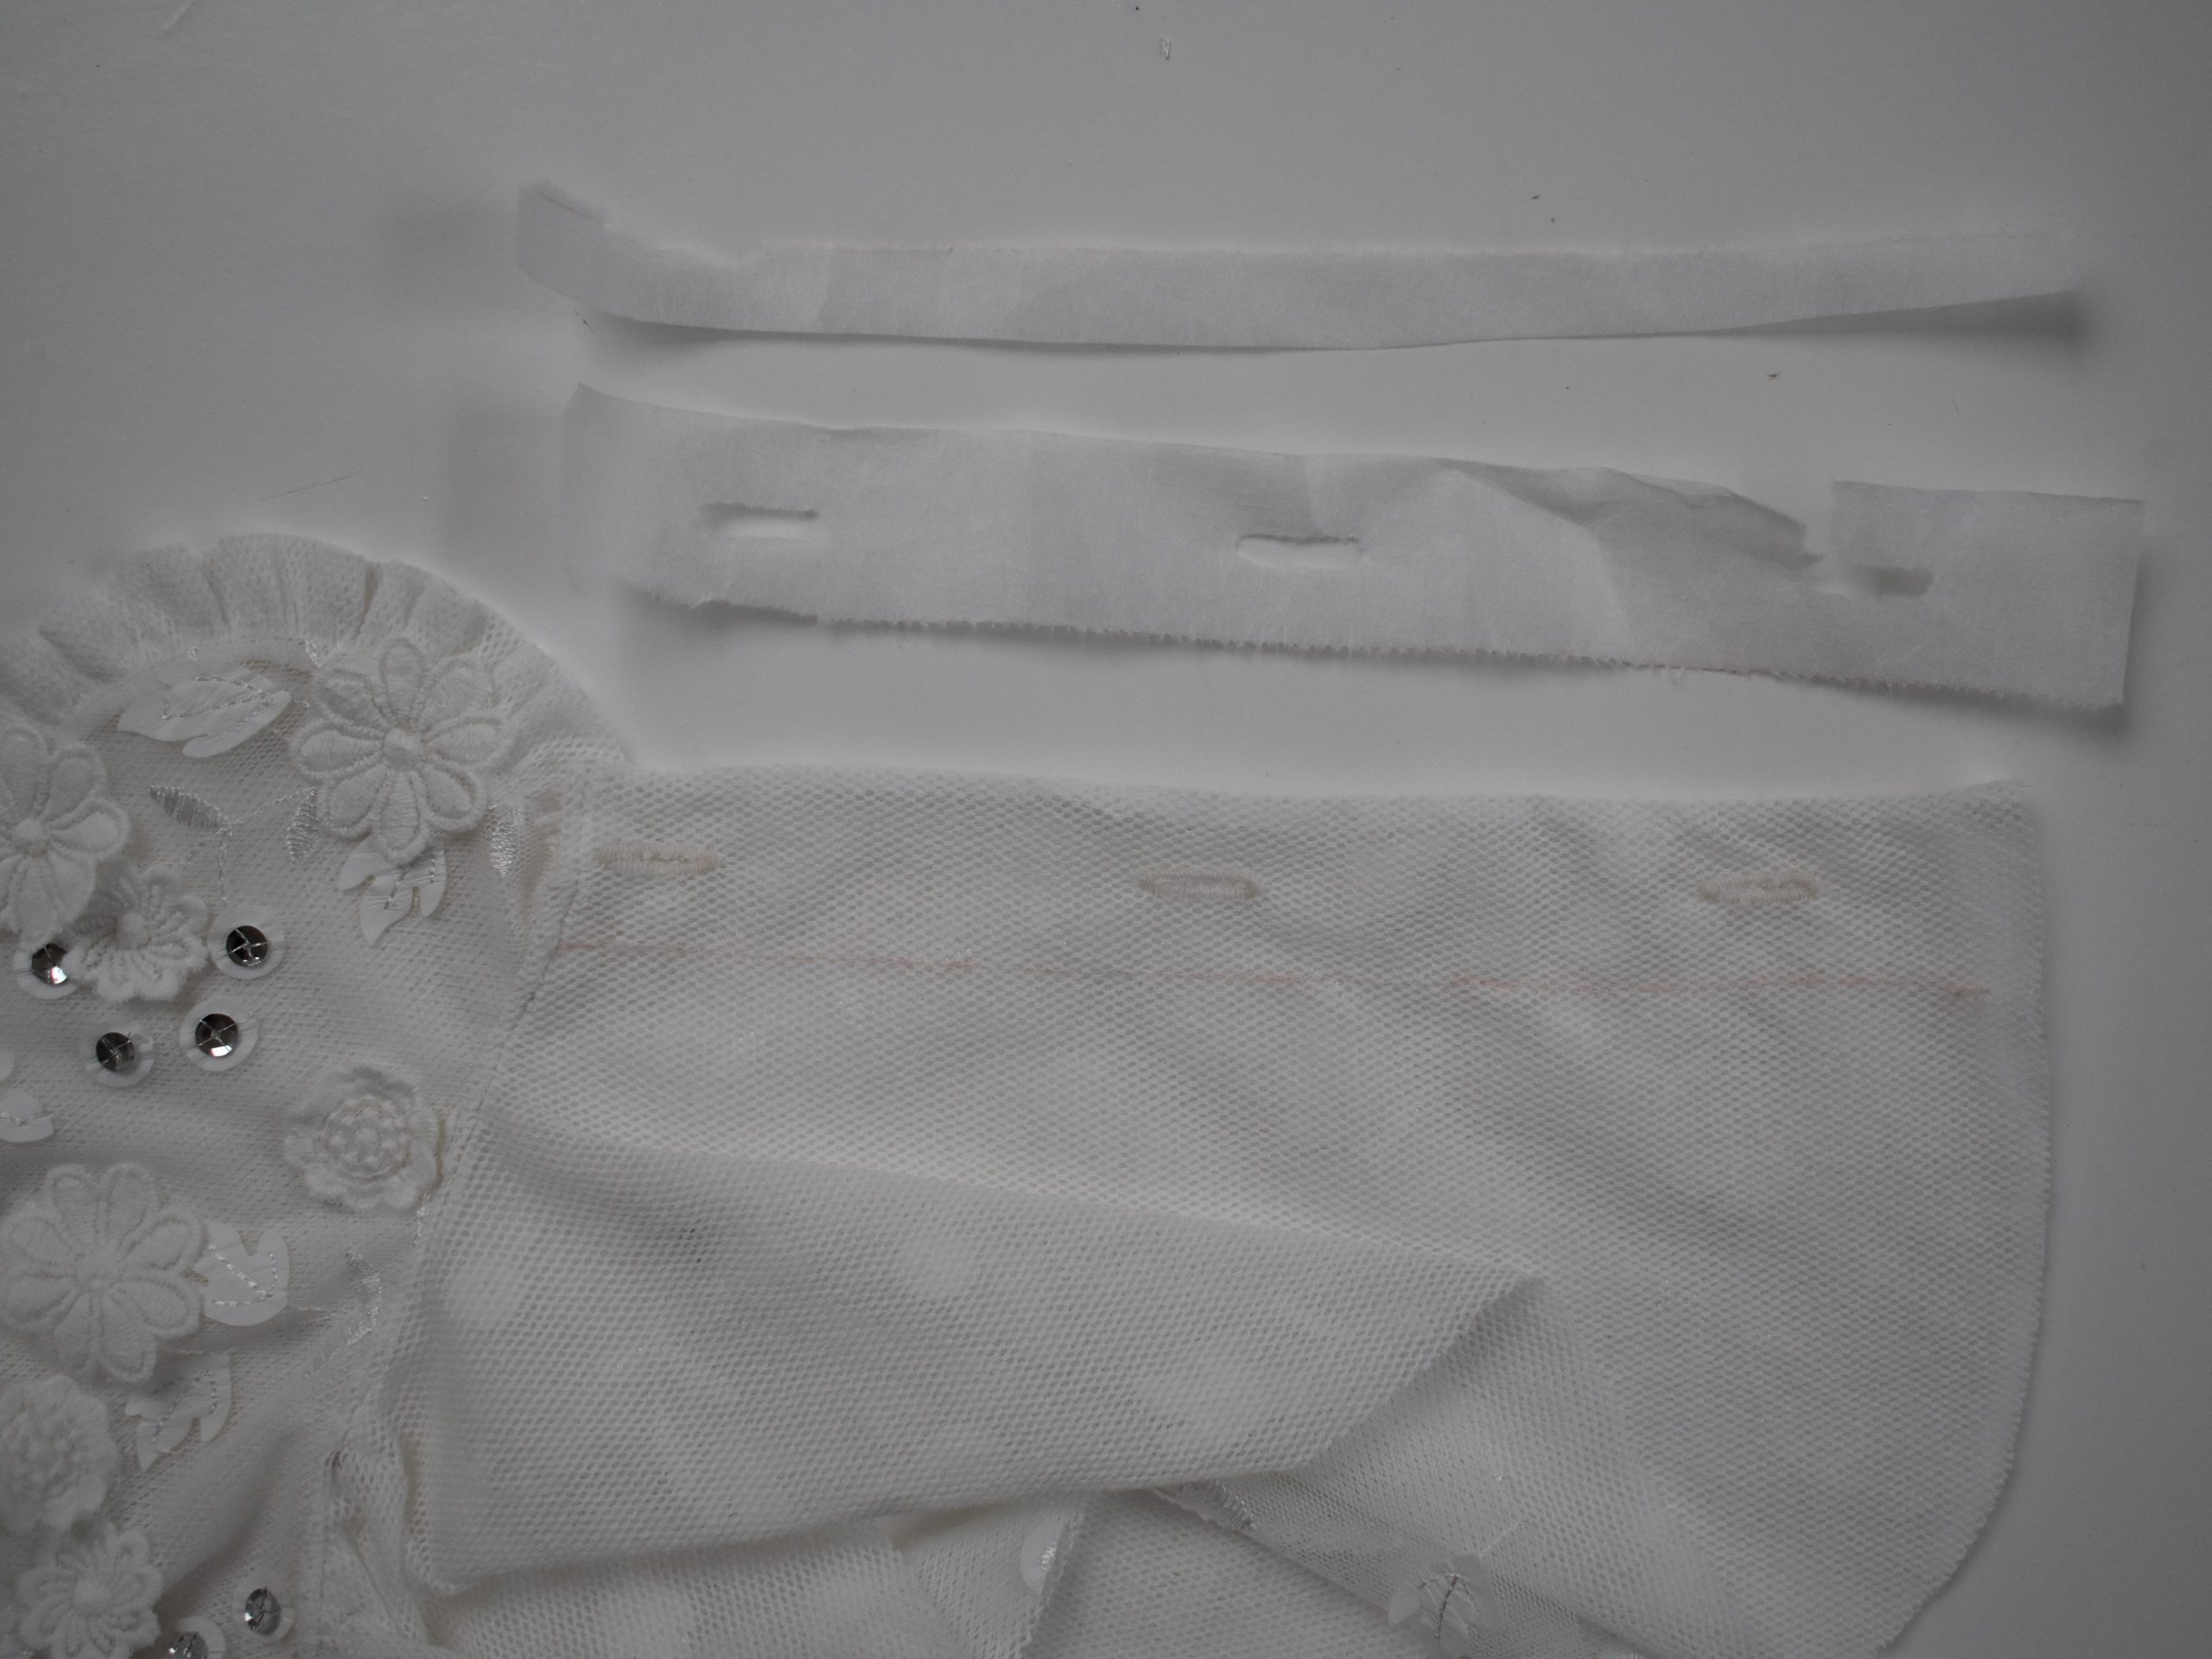
With tulle you cannot stabilise the button placket with adhesive interfacing, as the pattern instructions state. First of all you would melt the tulle with the iron and secondly it wouldn’t look nice because tulle is transparent. So I chose to work with tear away interfacing. This is a stiff interfacing that does not have an adhesive layer and you can tear it away easily. You can buy it on the market or at fabric and haberdashery shops.
Cut out a rectangular piece of tear away interfacing, a little larger than the button placket

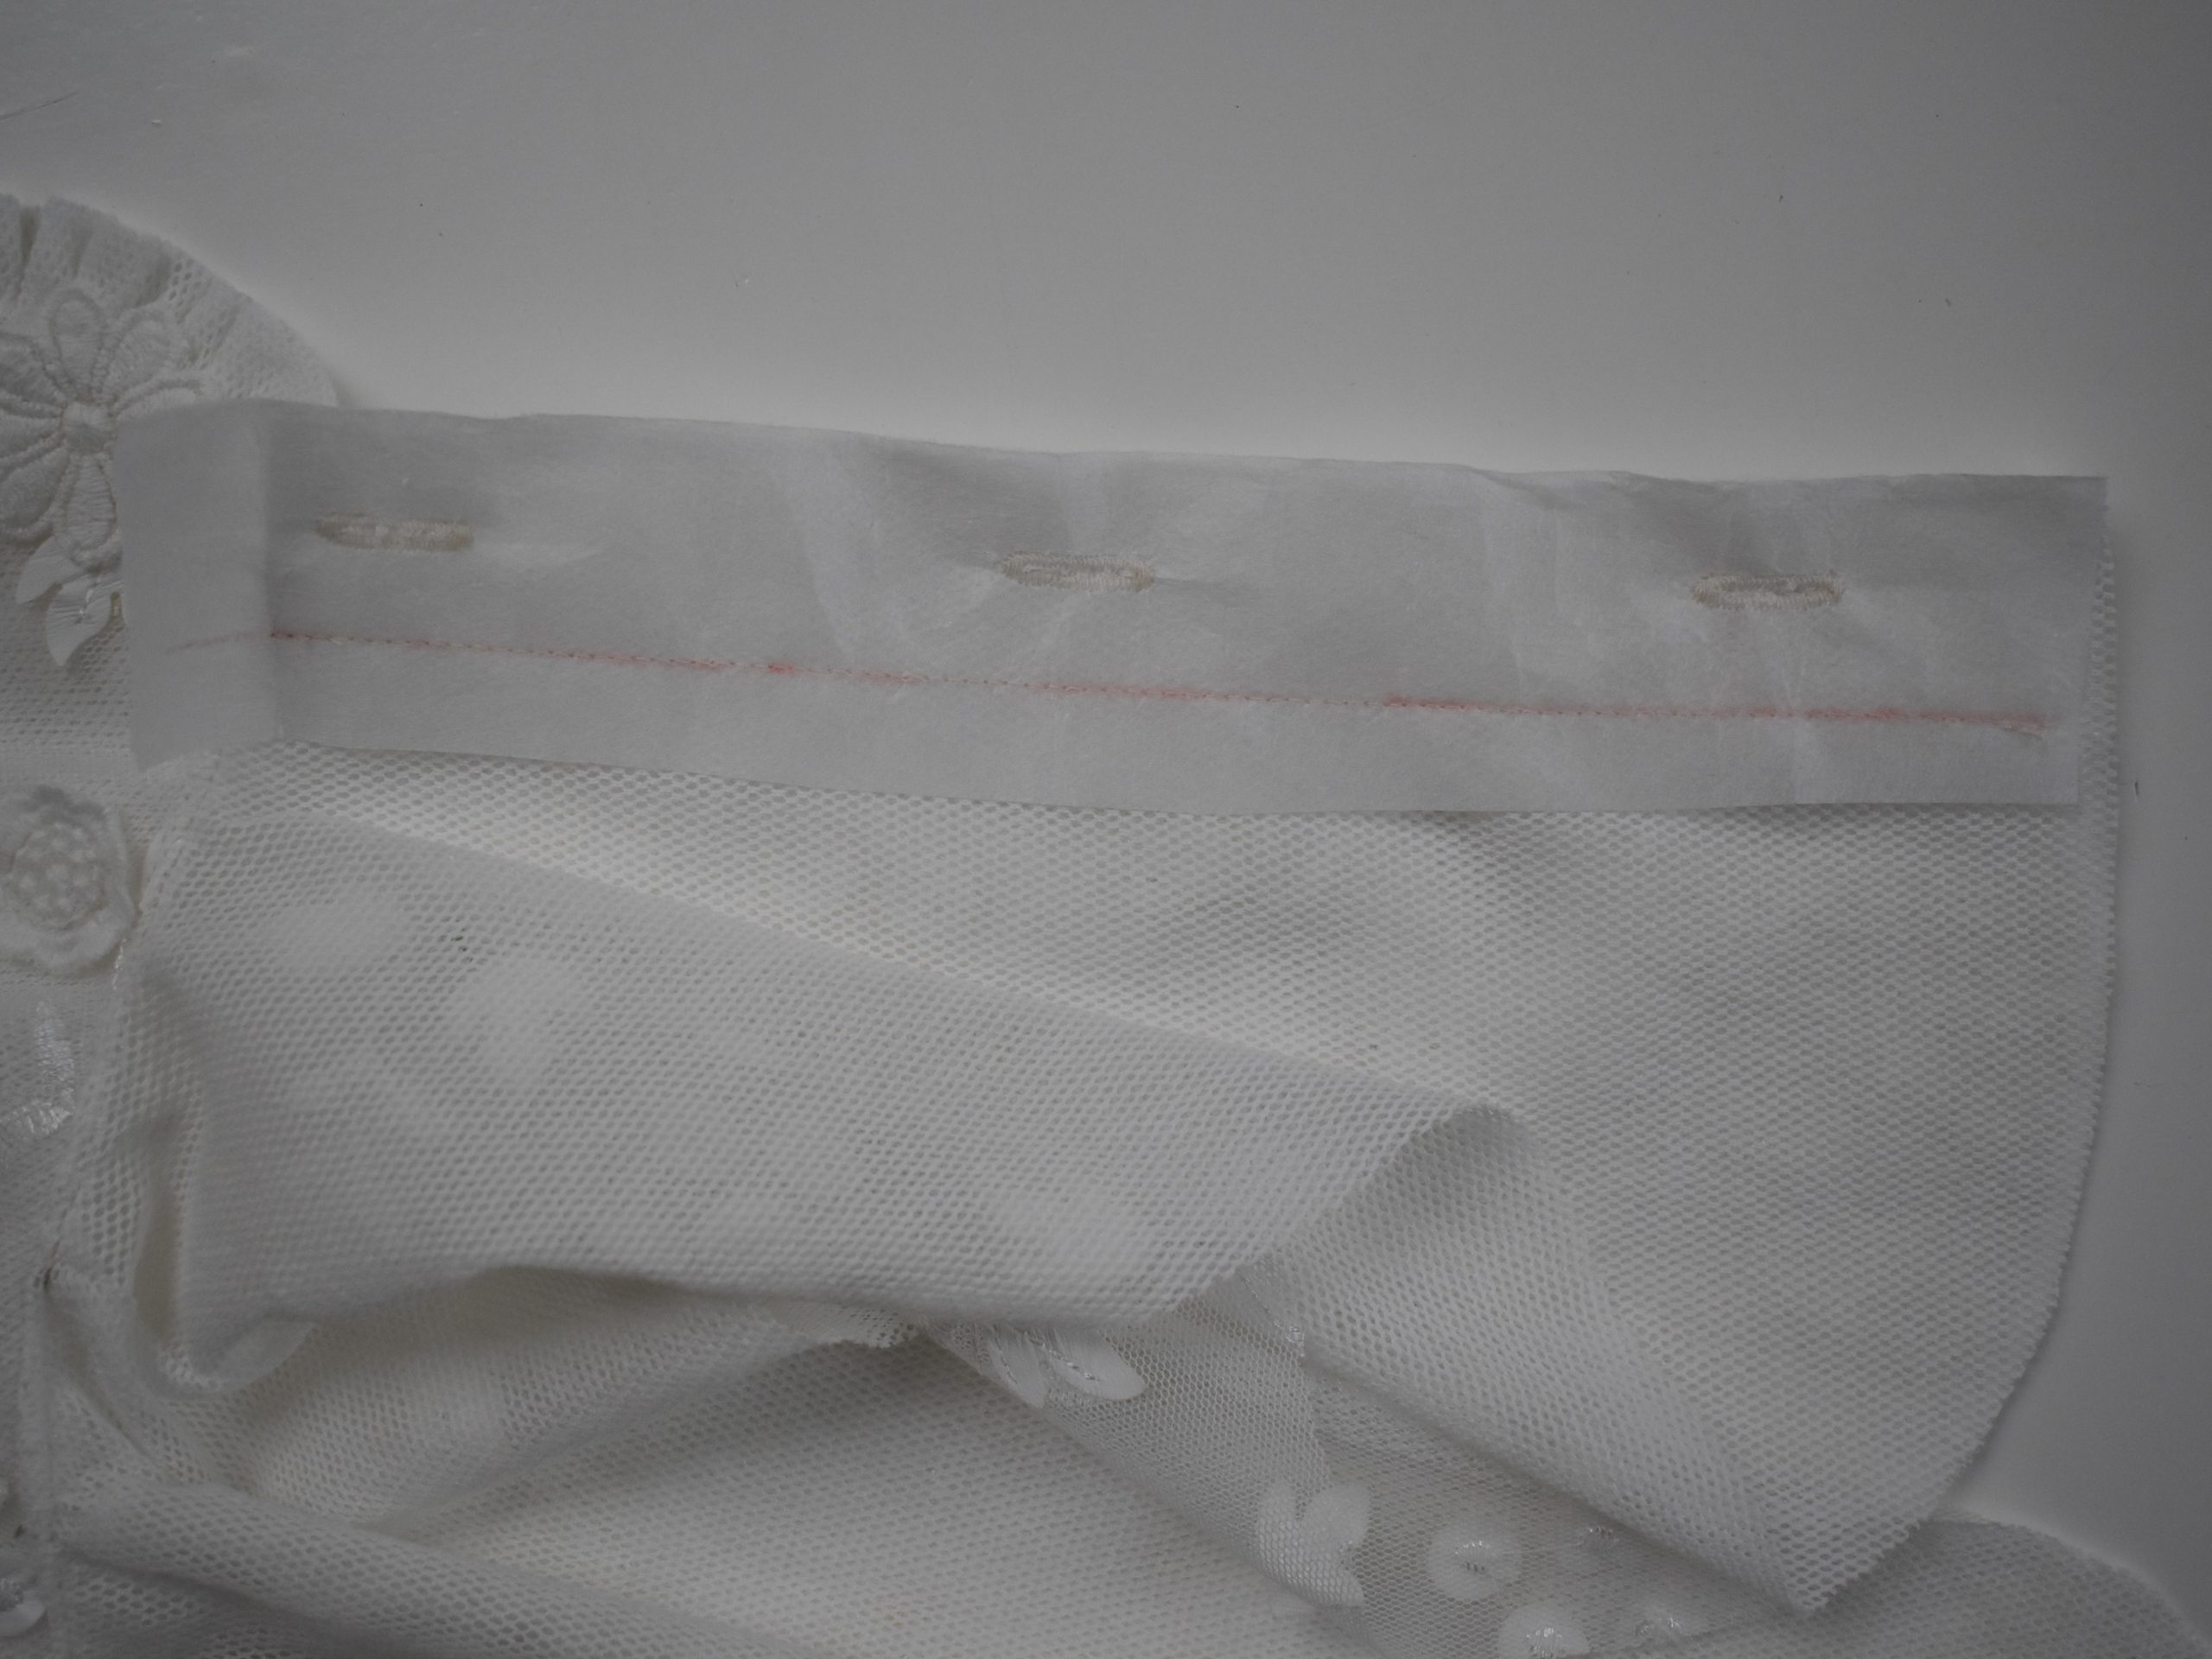
Draw a line at a distance of 3 cm from the edge. This is your top stitch line for the button placket as described in the pattern instructions.
Pin the interfacing carefully to the back of your button placket. As you see on the photo, the chalked line shows through the tulle. You can follow this line to top stitch the button placket.
Leave the interfacing on the back when you have stitched the line. I forgot to take a photo of the top stitched front panel… Sorry 😉
Sew buttonholes
With the interfacing still on the back, mark the points where the buttonholes come and sew the buttonholes on the button placket very slowly.

I used the following settings on my sewing machine.

If everything goes well, your buttonholes will now look like this:
The back looks like this:
Now you can very carefully pull away the interfacing. Be very careful doing this, because otherwise you will pull out the stitches and that would be a shame.
I also put the buttons on before I removed the interfacing. I did that by hand.
More Christmas ornaments
Since I’m already in the Christmas spirit, I added more ornaments to the front panel. You don’t really see this because you only wear this collar under a sweater, but I did it mainly for myself 🙂
Sewing a collar – Finishing
According to the pattern instructions you finish the bodice with a bias tape. Since tulle stretches a little by itself, I didn’t do that but just cut off a strip about 4 cm wide and then finished the bodice according to the instructions.
Ta da!!! A wonderful angel collar for your Christmas!
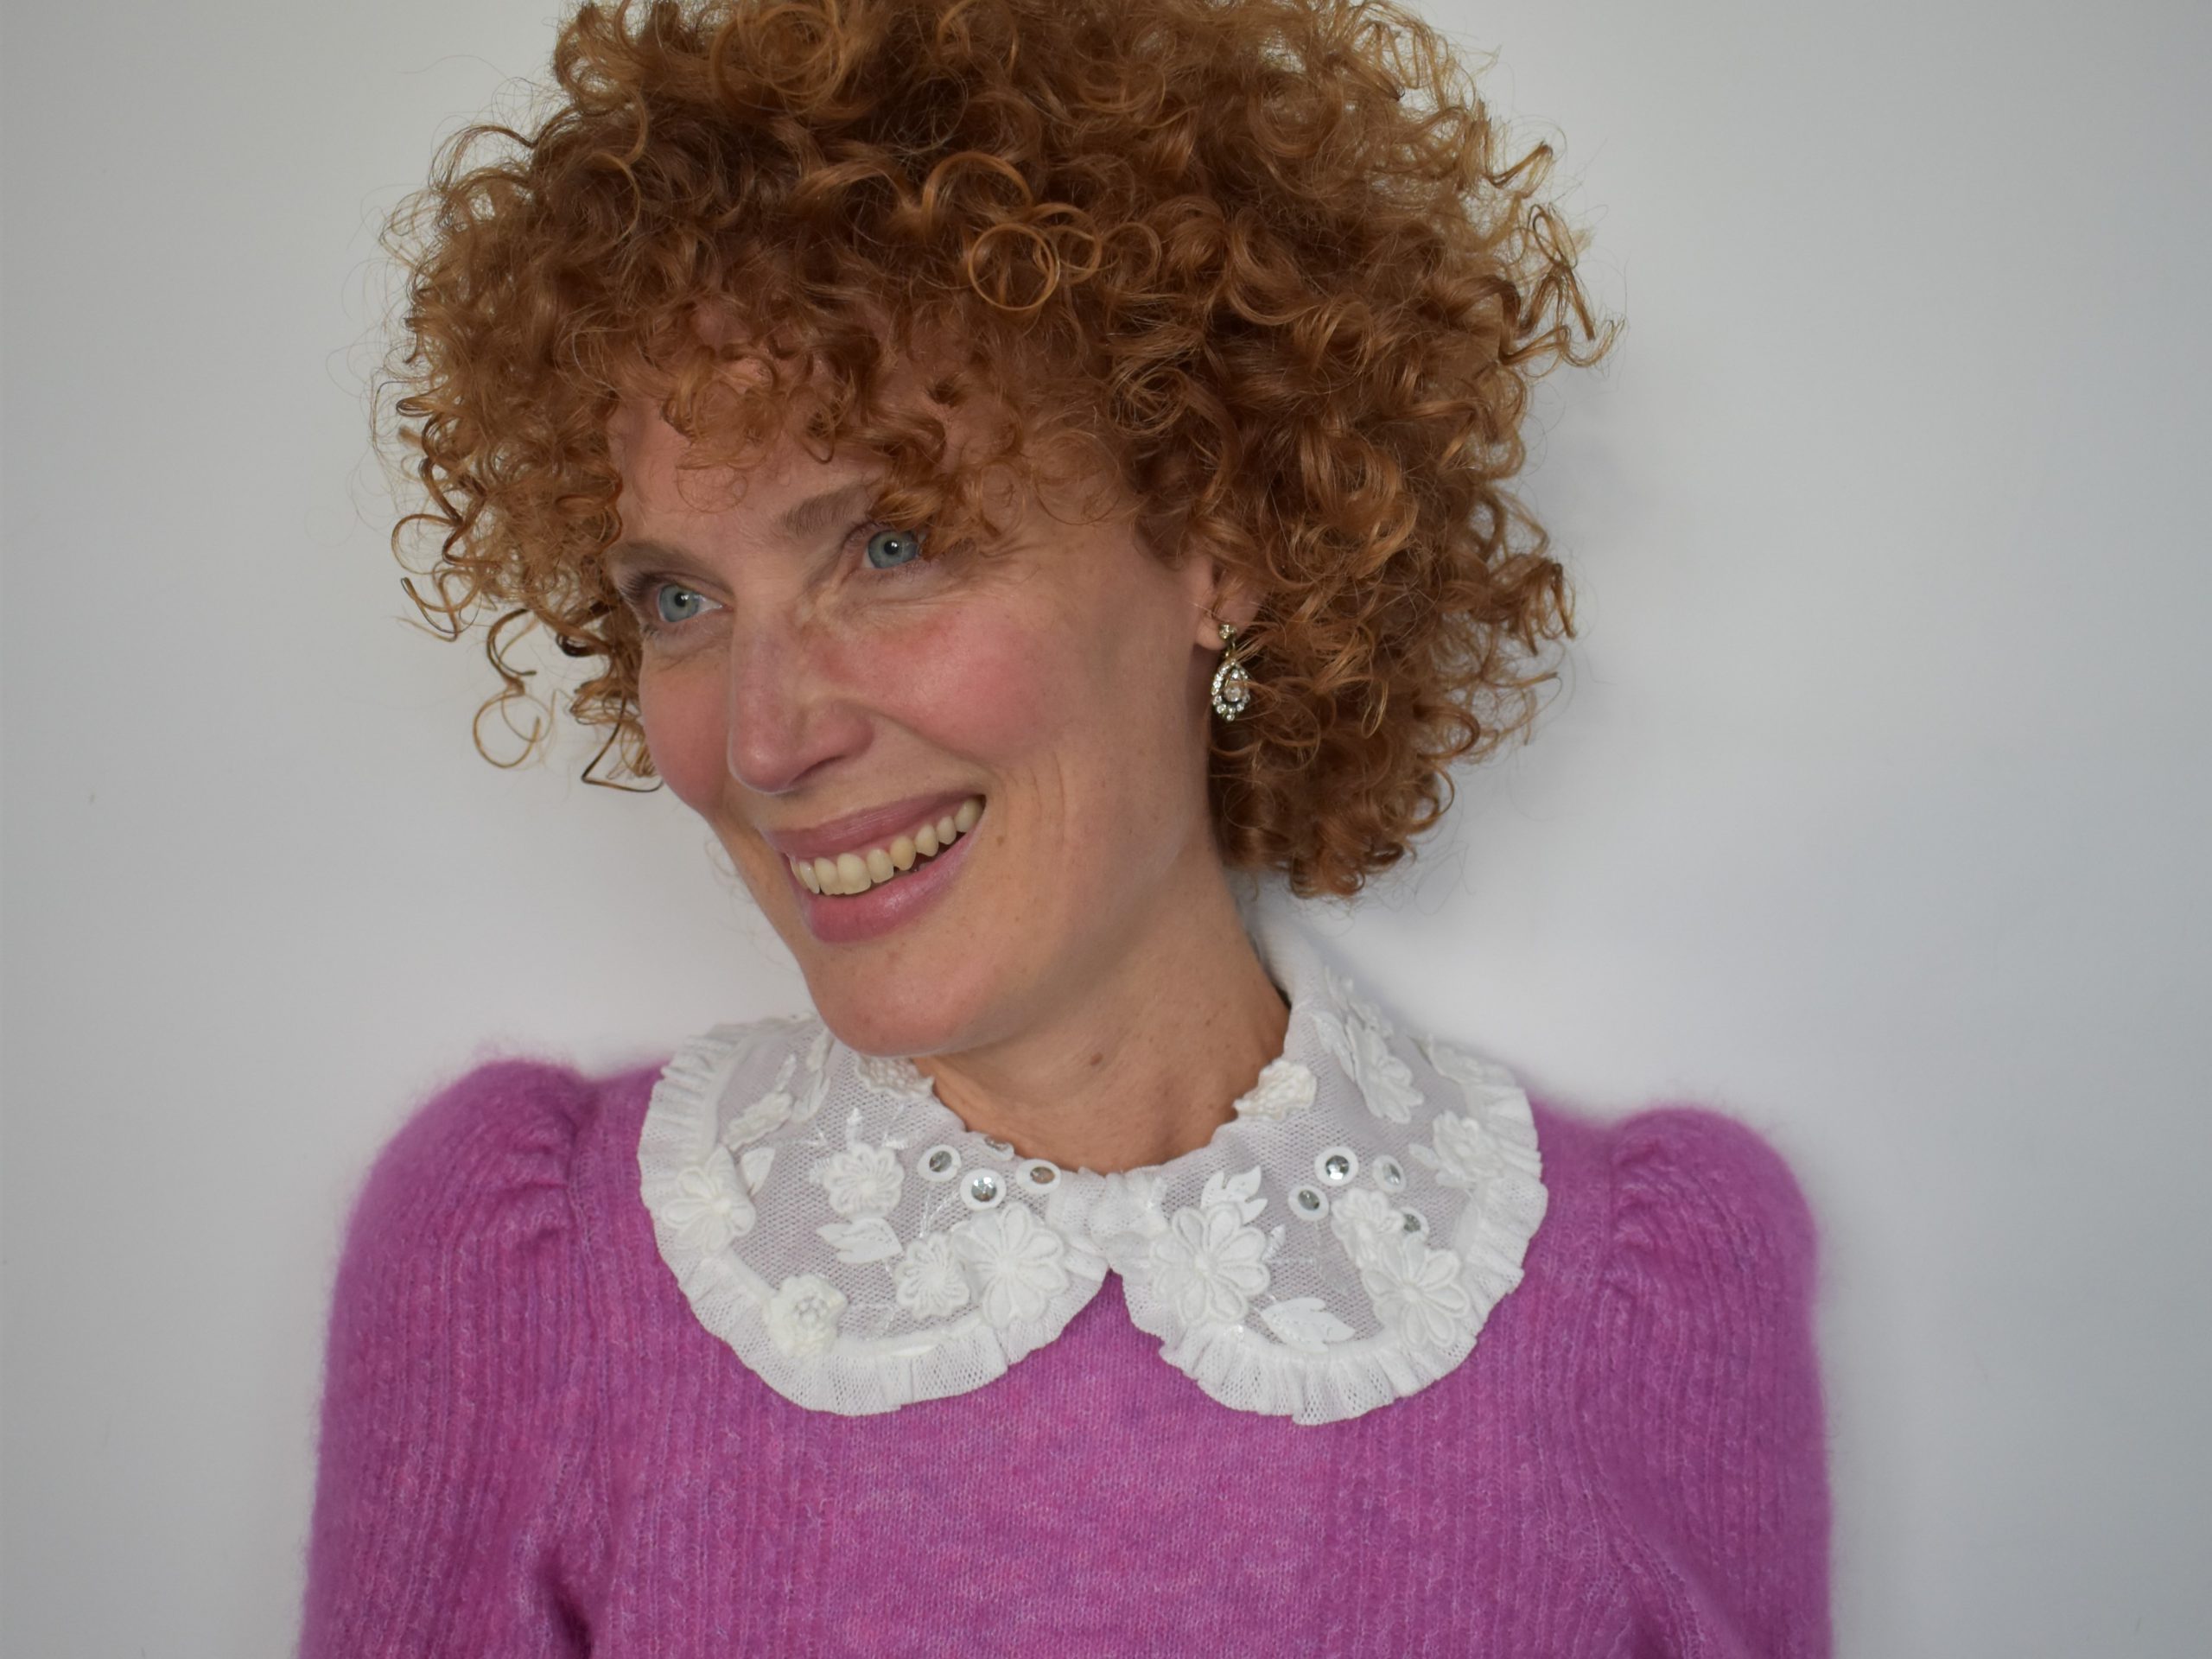
I hope you enjoy this advent calendar!
Merry Christmas!
Best,
Mijke
@sewitcurly
0 Responses