 BERNINA Corporate Blog -
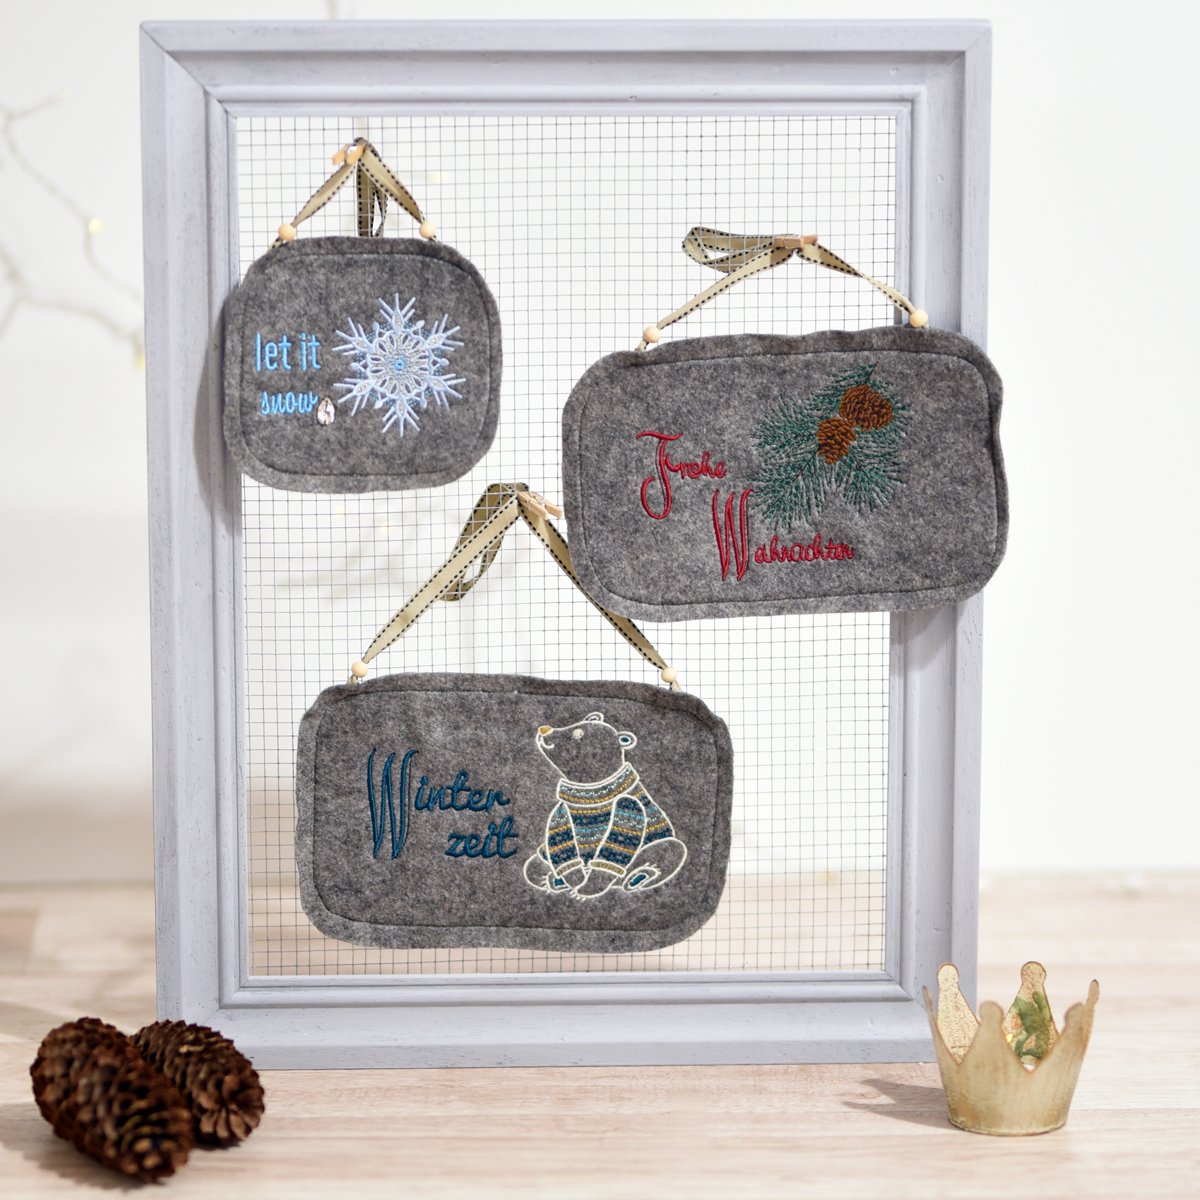
Hello lovely people! For the sixth window, today we are embroidering and sewing Christmas signs together. These are not only a lovely gift idea because they are great for customizing, they also make a nice decorative piece for your own home to hang on doors, etc.
Would you like to make a Christmas decoration like this yourself? I will show you how to prepare the designs and how to embroider and sew the Christmas signs. And psst, at the bottom of the post you will find a “sparkling idea” for St. Nicholas Day, which is today, in keeping with our Advent calendar theme “Time to Shine”.
To compile the embroidery files, I used the USB stick containing lots of embroidery files from the Inspiration Kit, which you get with the Crystal Edition machines, and BERNINA Toolbox. If you don’t want to buy this, you can try it out for free for 30 days. It will last until Christmas in any event.
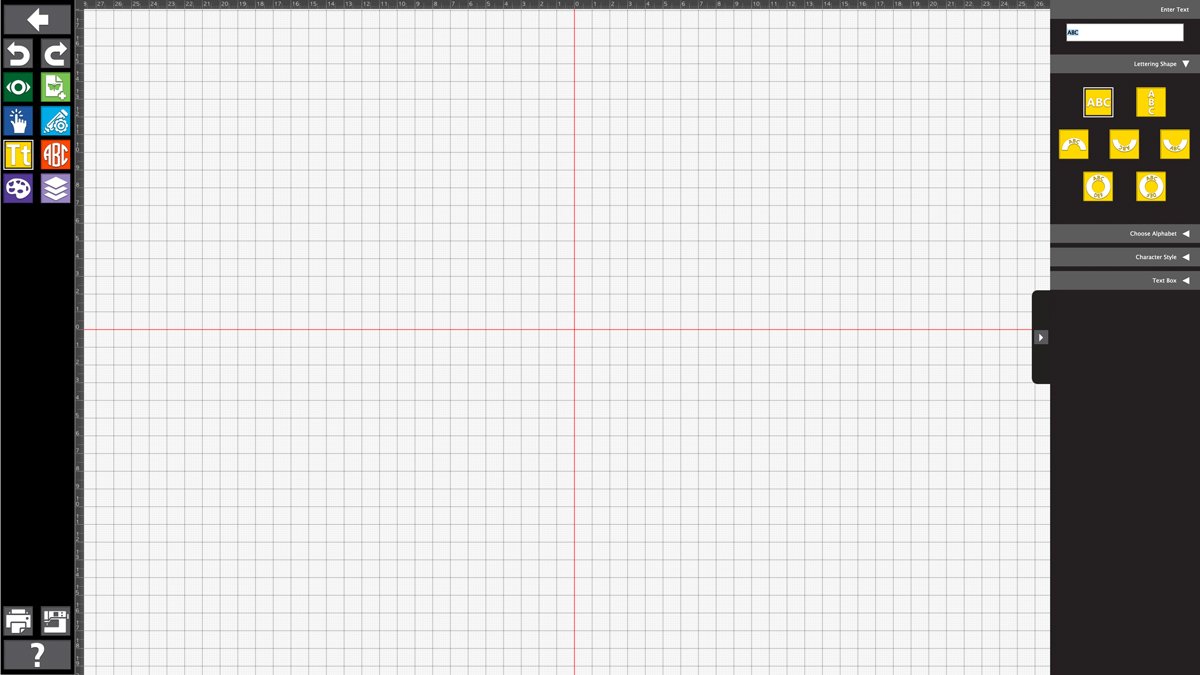
Preparing embroidery files with Toolbox
Open a new file in Toolbox.
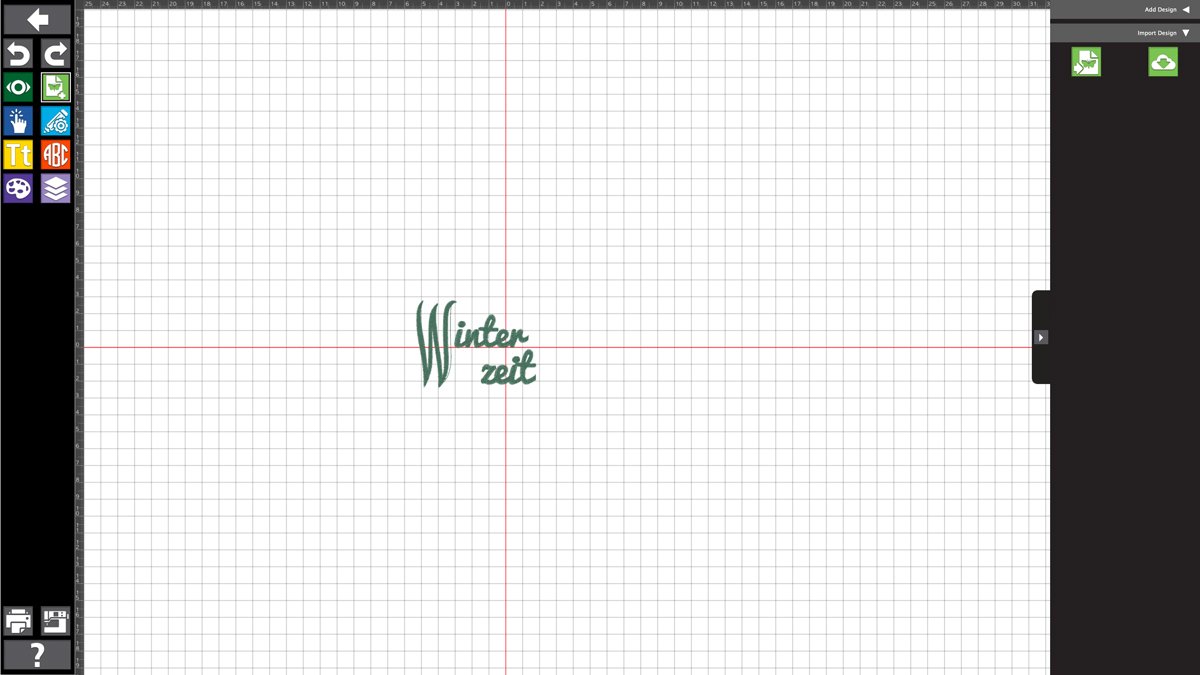
Then insert your lettering using the yellow text button.
I added the ornate “W” from the Time to Shine collection later on, so this is missing from the word here.
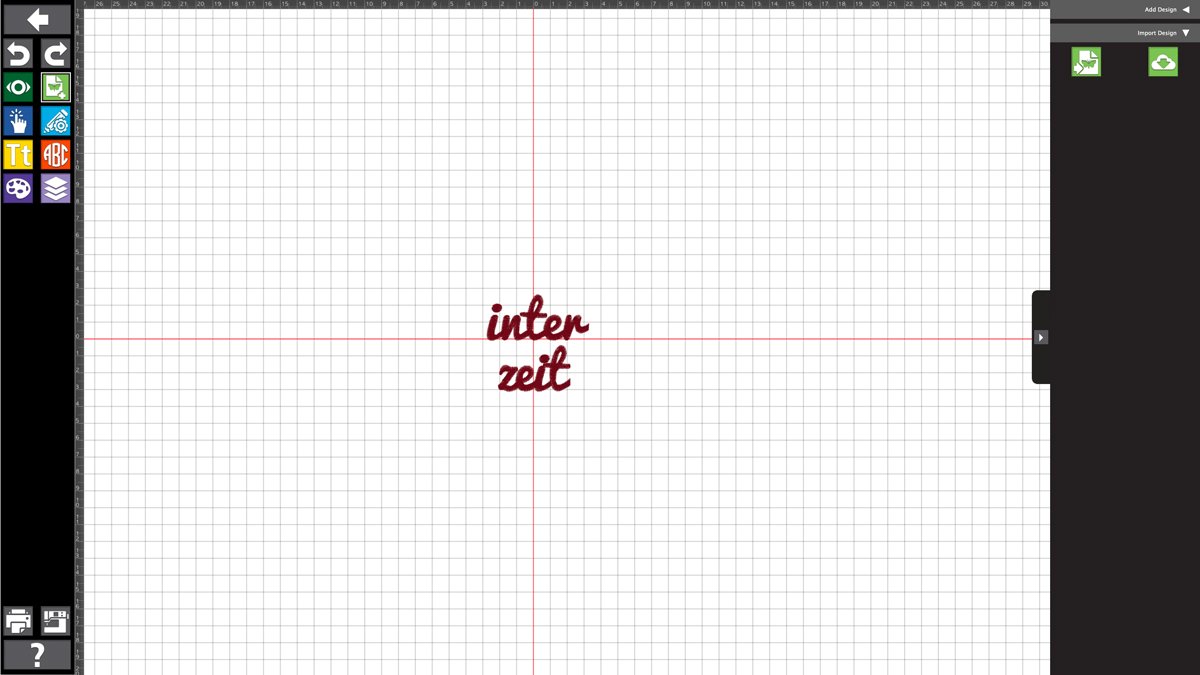
Then add the “W” using the light green button (12719-49). Now we have to change the color of the lettering, otherwise it will be embroidered in one go with an element from the other embroidery file. And I want to avoid that.
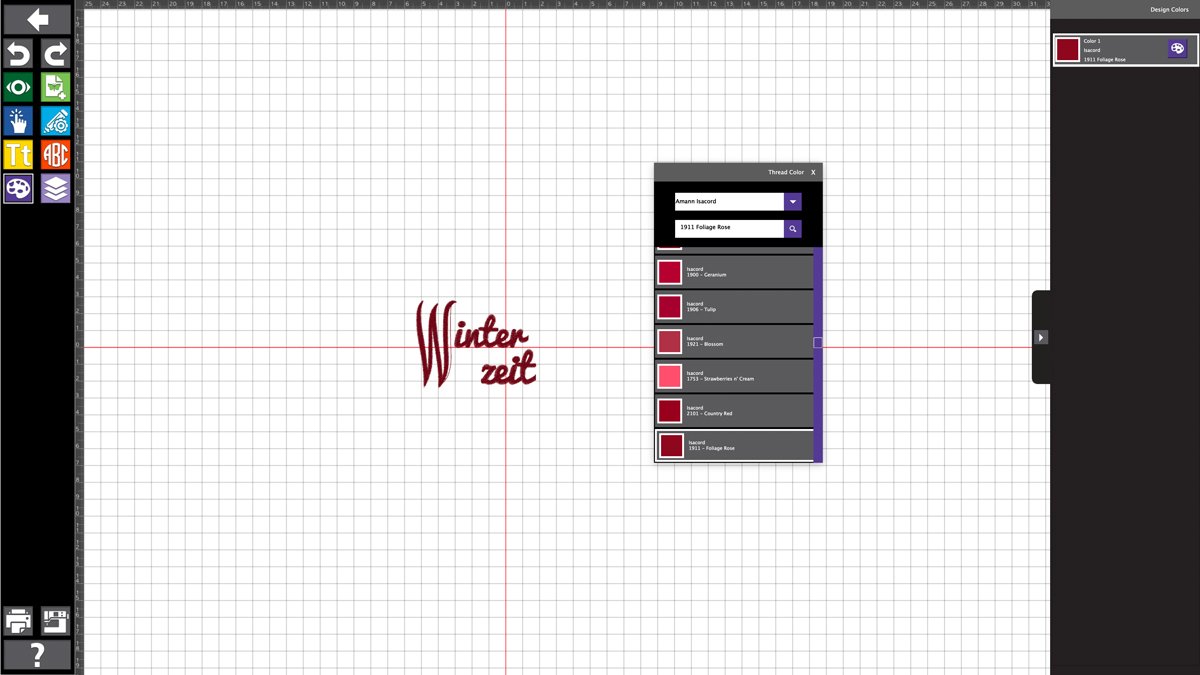
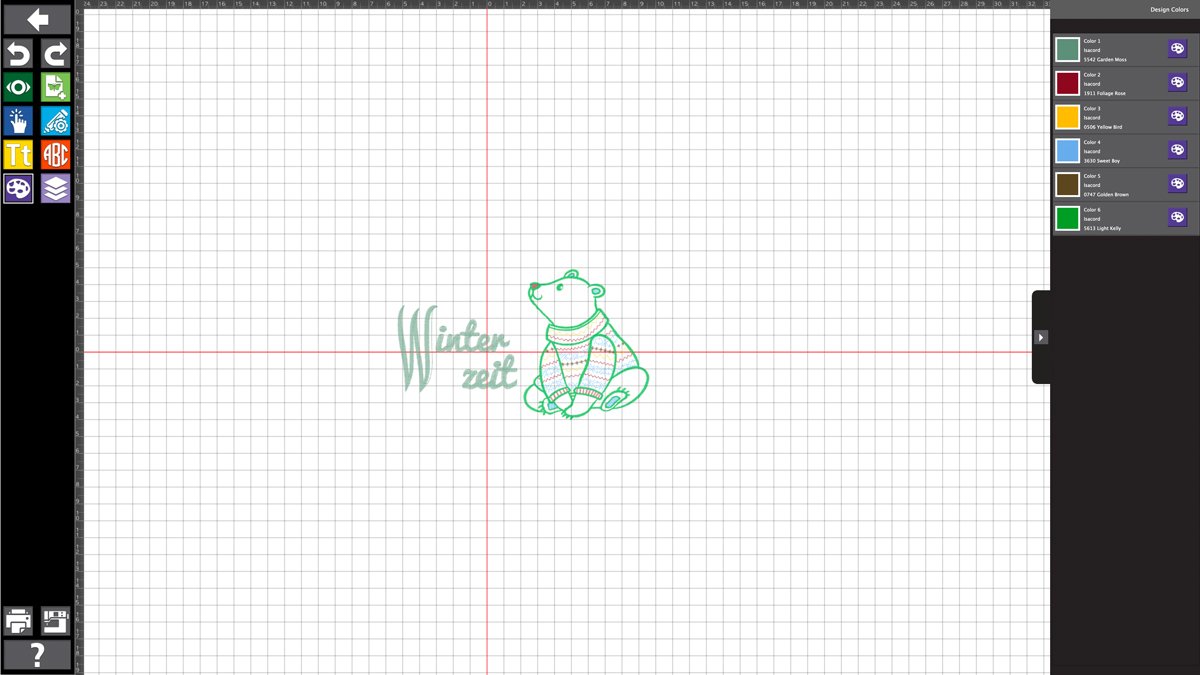
You can then add another embroidery file using the light green button.
For my boys, I decided on the polar bear (51214-02). On the color palette, I made sure that the color of the lettering does not appear on the bear.
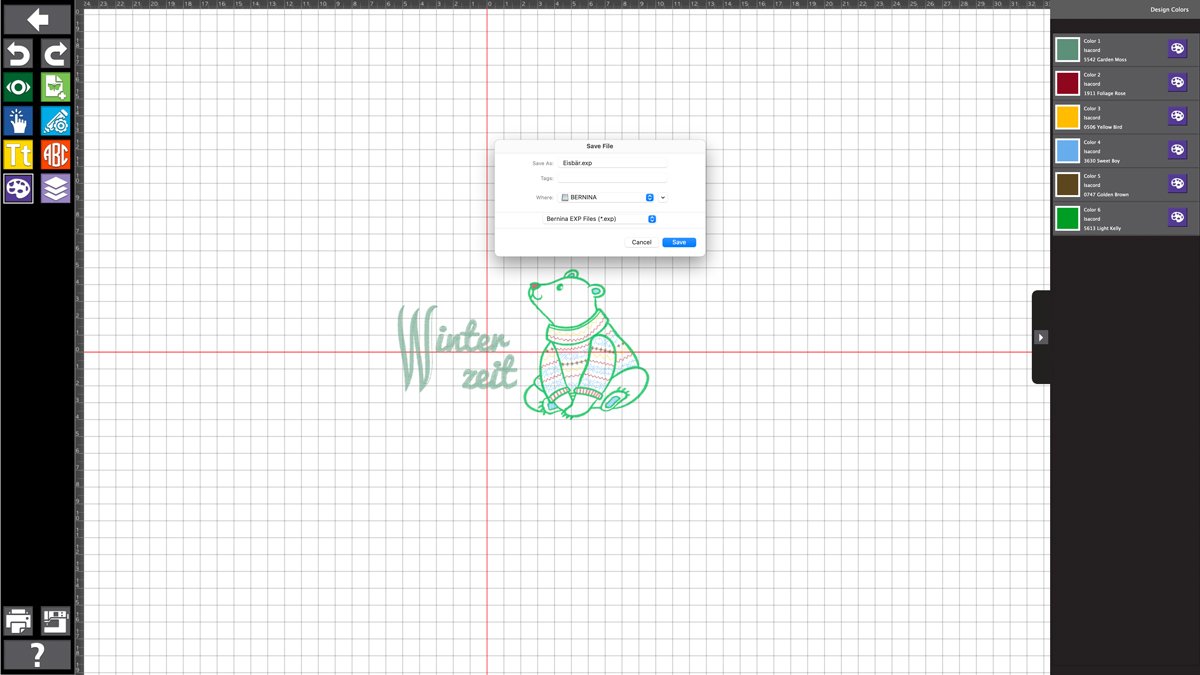
Once you’re done, you can now save the compiled embroidery file to your BERNINA USB stick for your embroidery machine. I created two more files, which you can find at the bottom of the post. You can also find the file names there if you want to embroider the same ones.
Embroidering Christmas signs
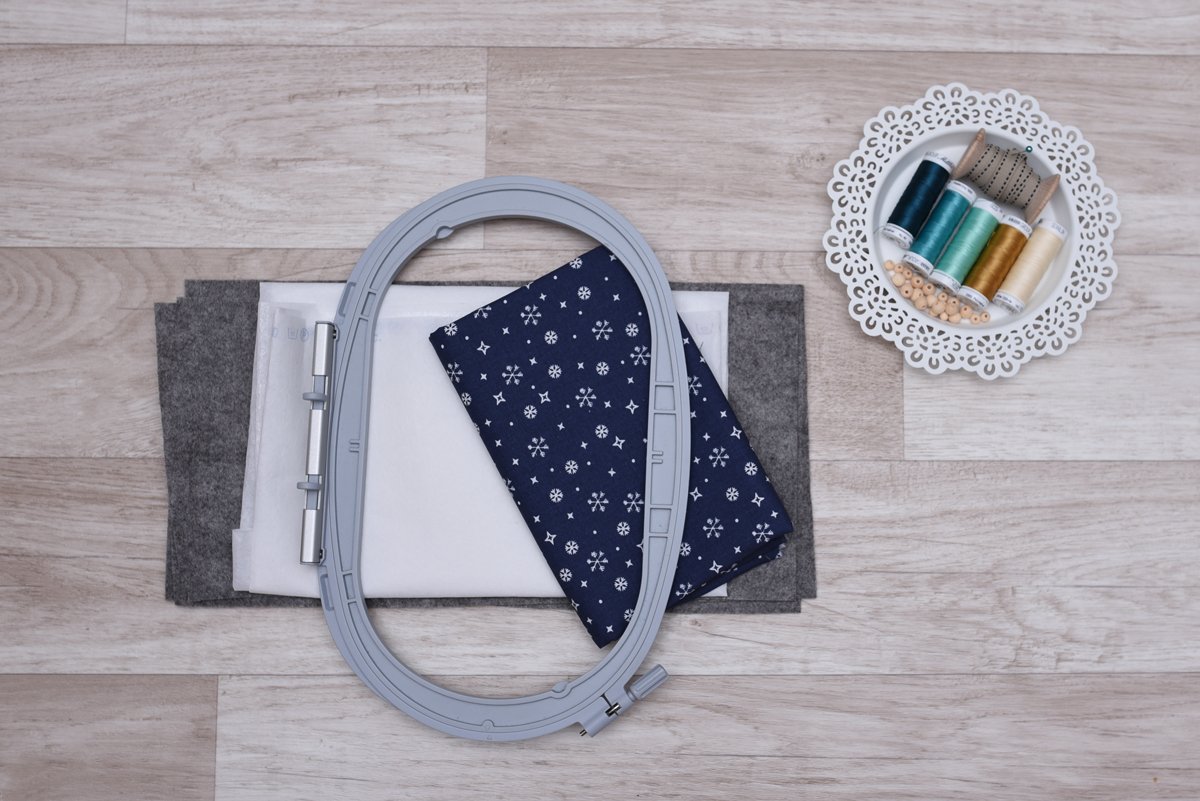
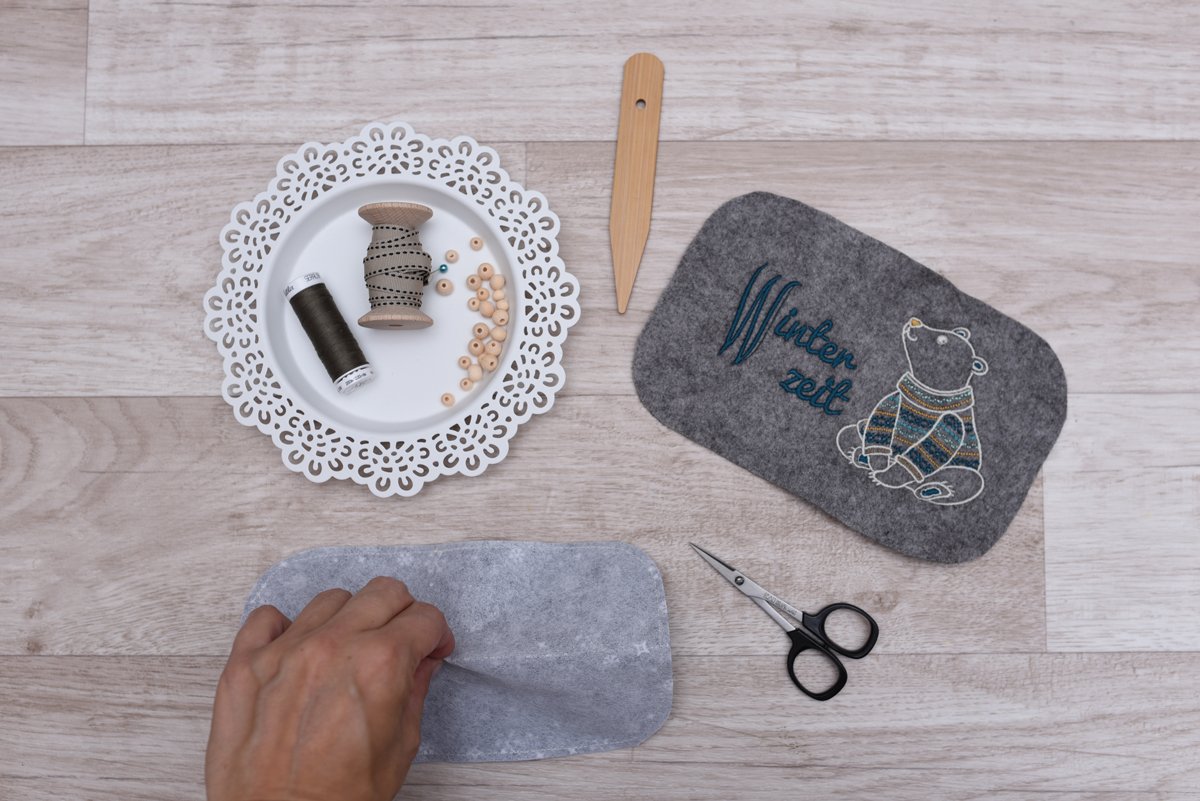
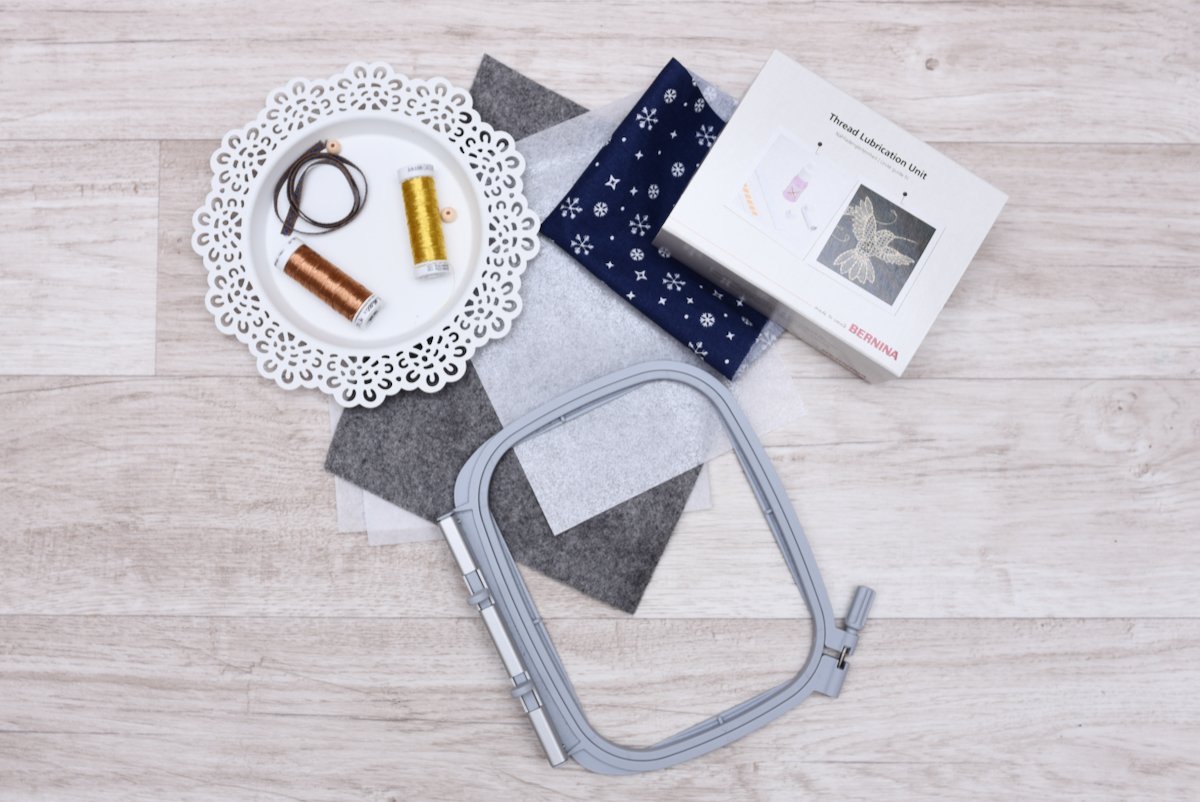
You will need:
- The right size hoop – depending on the size of your file
- Felt (in my case: 3 mm thick)
- Stitch ‘n’ Tear stabilizer
- Vilene H250
- Cotton fabric
- Thread (in my case: Poly Sheen by Amann Mettler)
- Woven tape
- A few wooden beads if required
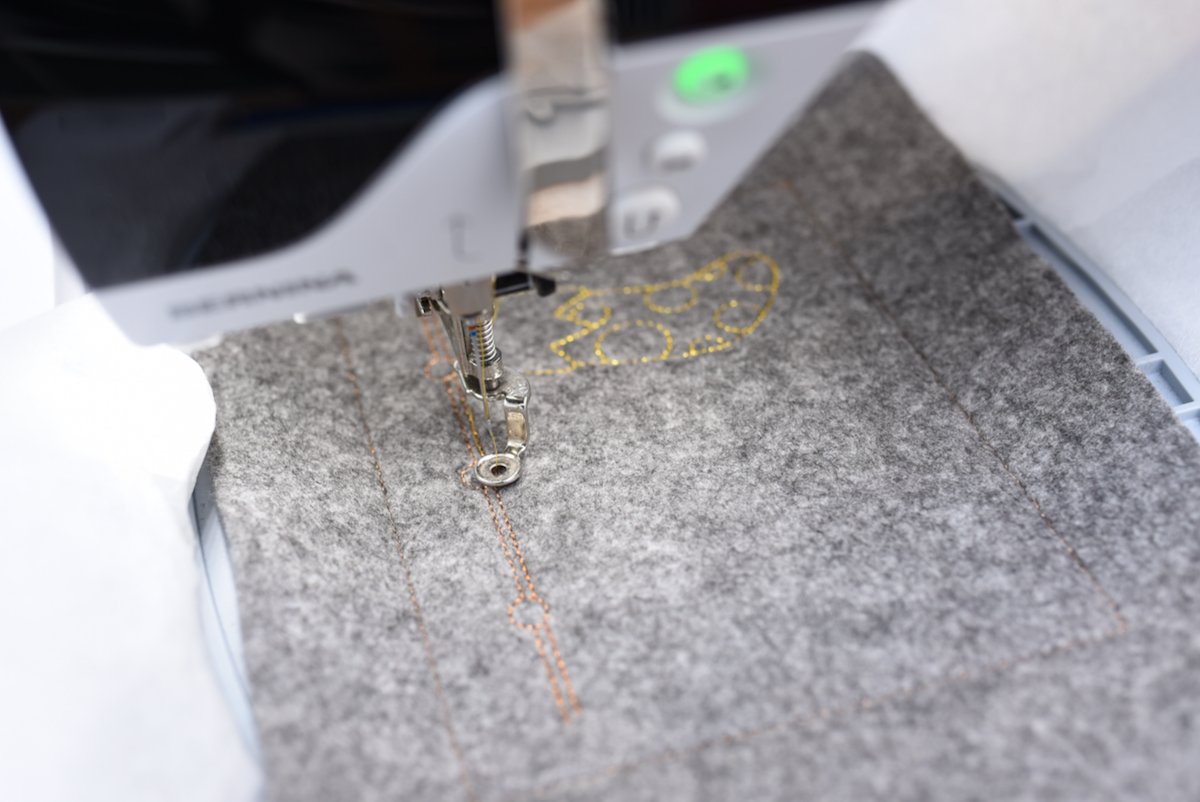
Hoop the tear-away stabilizer drum-tight into the hoop and place the felt on top. First attach this on the machine using a basting stitch so that nothing can slip out of place.
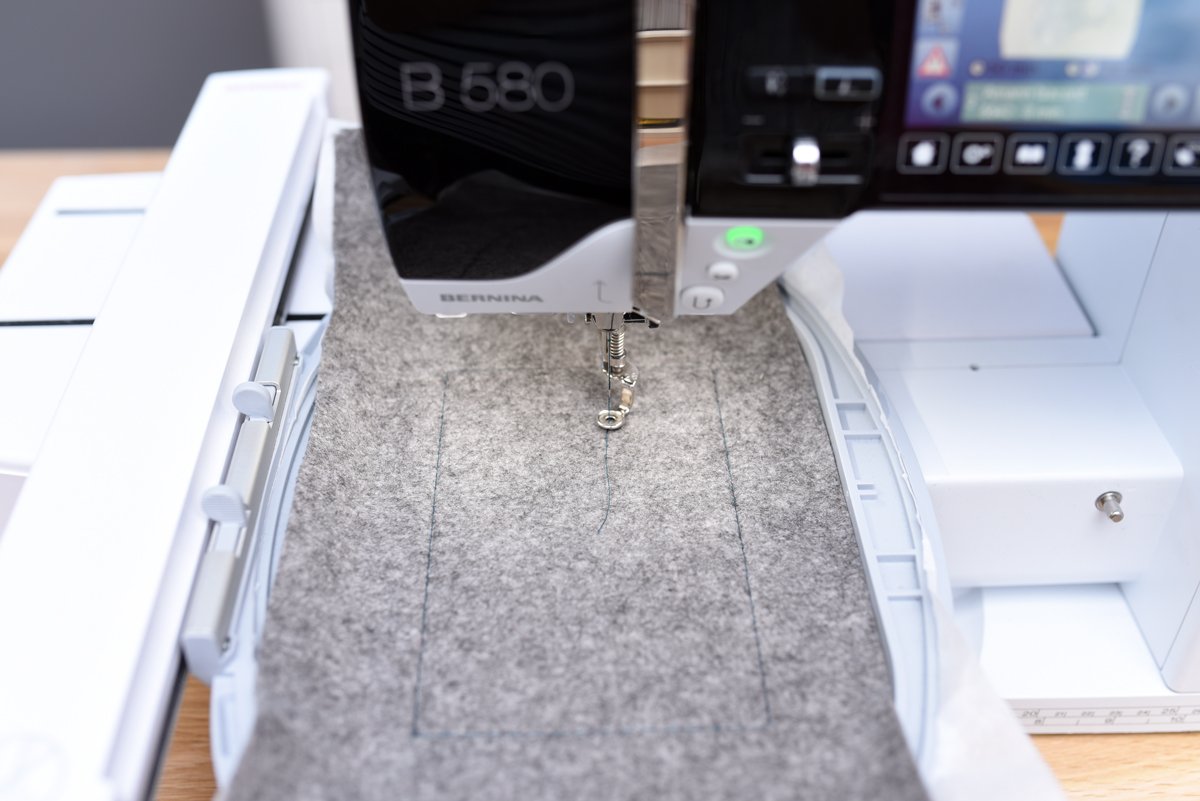
Then follow the color sequence on your machine. In my case, the lettering was embroidered first and then – because I changed the color in Toolbox beforehand – the machine stopped so that I could select a new thread color.
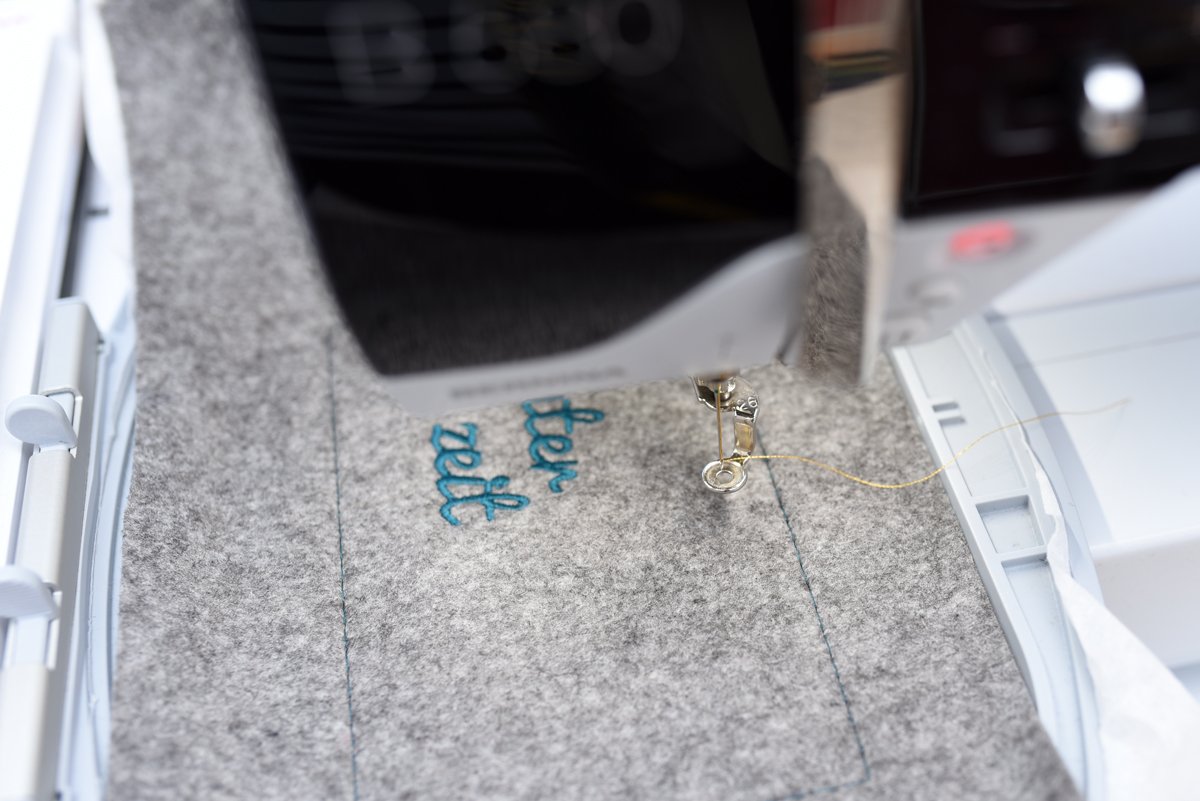
Do this until your machine has embroidered the whole design. Finally, take the embroidery out of the hoop, remove the connecting threads and the basting thread with a sharp pair of scissors and some tweezers. Then carefully tear off the stabilizer at the back.

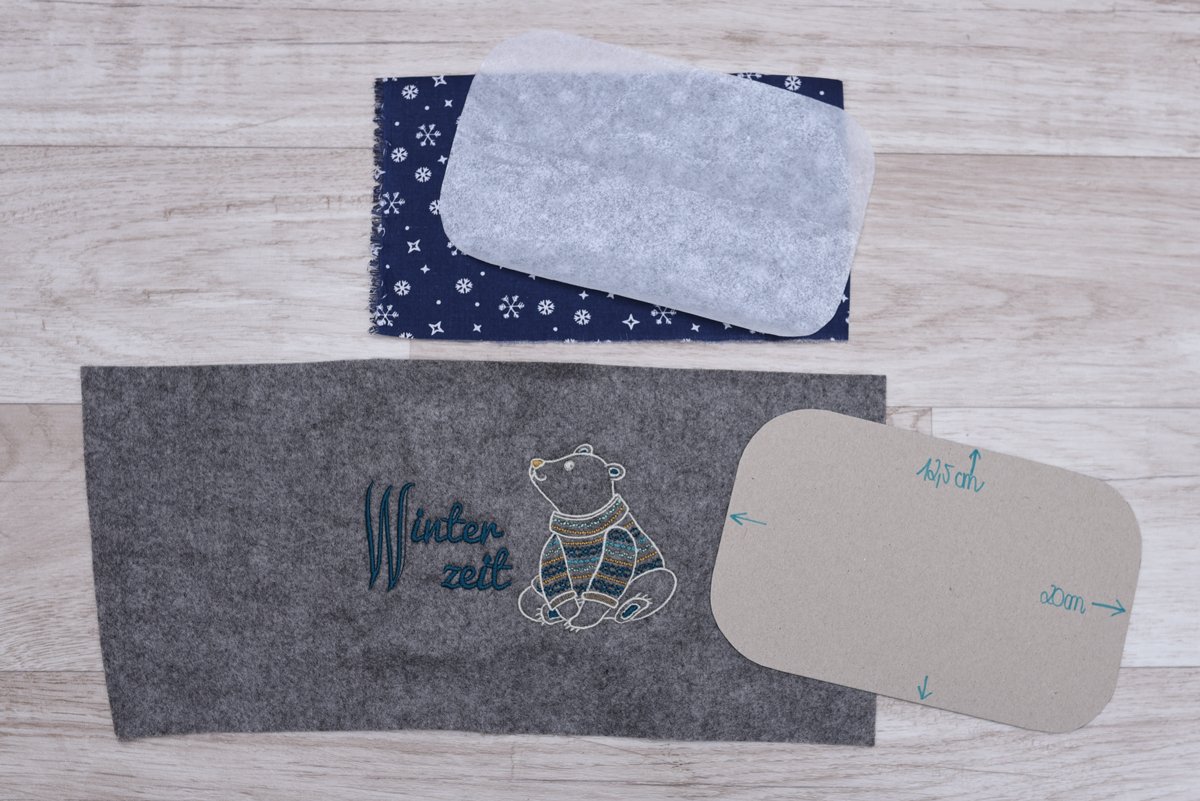
Embroidering Christmas signs – finishing off
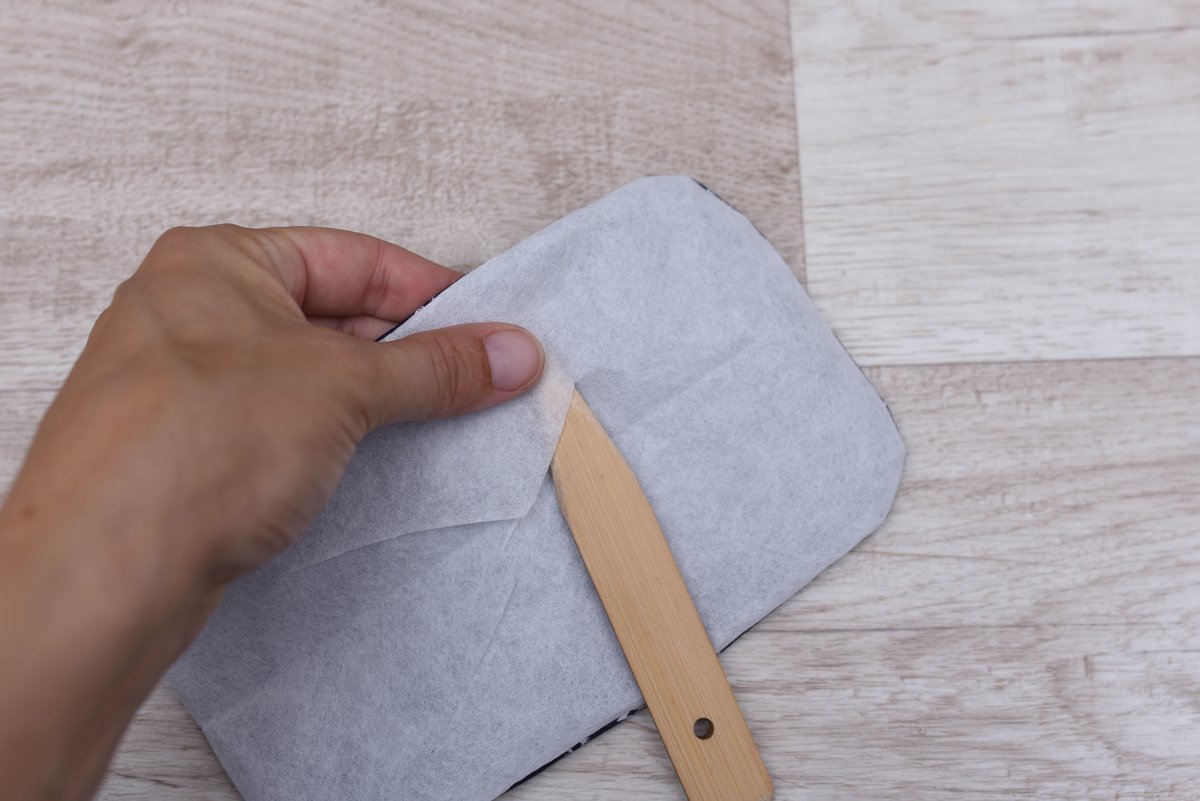
Now you will need a template. You can make this any shape you want. You can see mine in the picture below. Cut out the H250 fusible interlining using the template. Do the same with the embroidered felt. Make sure the embroidery design is not too close to the edge.
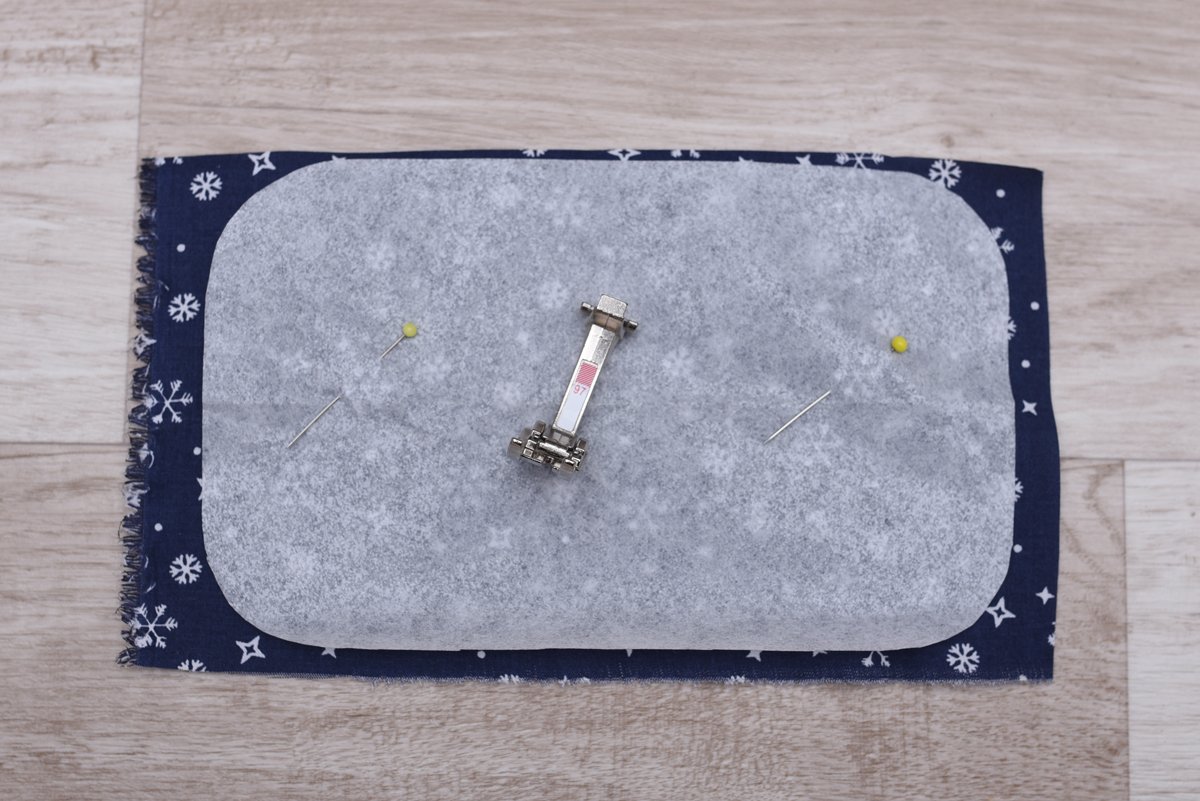
Then attach the interlining to the cotton fabric so that the adhesive side on the inside faces the right side of the other fabric. Sew around the edge. For this, I used the Patchwork foot # 97.

Then cut back the seam allowances. Lift up just the fusible interlining with your hand and carefully cut into it in the middle a few centimeters.
Turn the piece via the opening and shape the edges – Note: Don’t iron it yet.
Now that the adhesive side of the stabilizer is on the outside, iron it onto the back of the felt in the middle with the cotton fabric on top. This covers the unsightly back of the embroidery. Before doing this, secure the two ends of the woven tape for the hanger between the fabric layers. If you like, you can also thread on wooden beads.
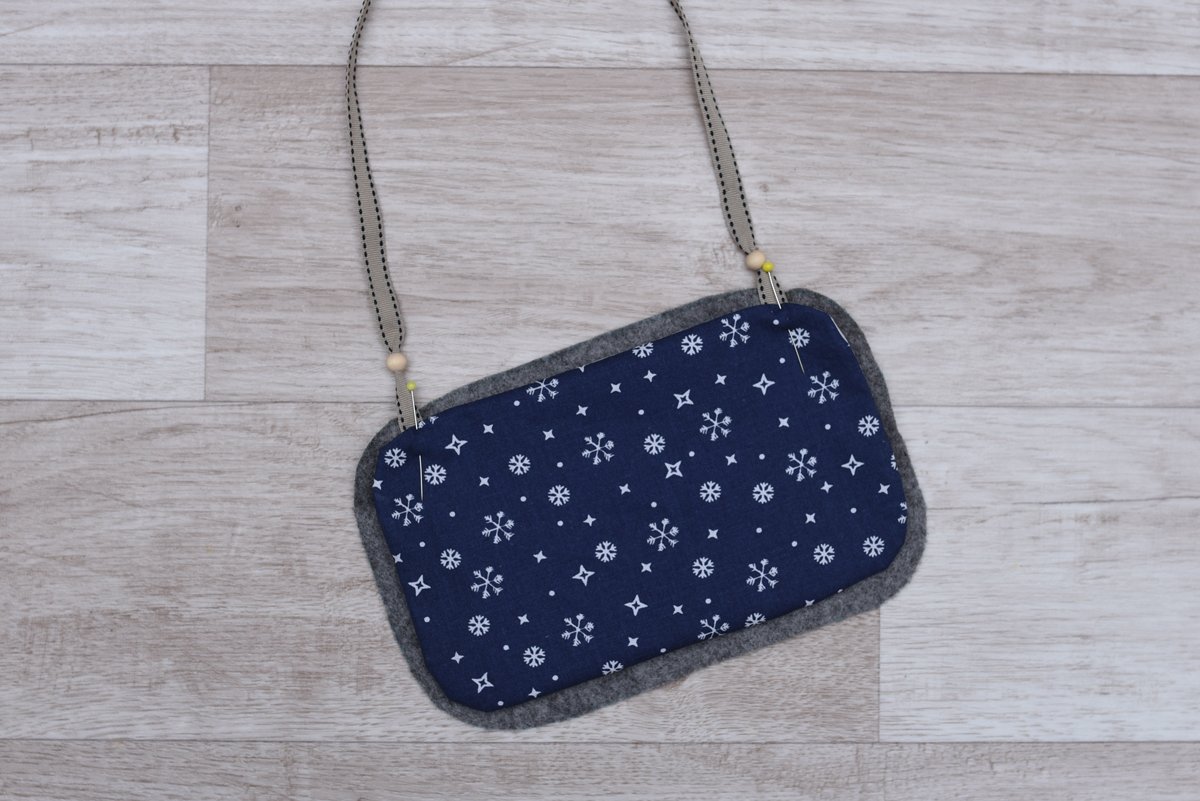
Finally, using the Edgestitch foot # 10, edgestitch around the edge of the fabric.

Congratulations, your first Christmas sign with a personalized message is finished.

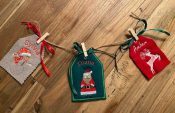
Embroidering Christmas signs – other versions
As I mentioned above, I embroidered and sewed two more signs in the same way. Of course, you can give free rein to your creativity.
For one of them, I combined the snowflake (FP230) with two embroidery fonts from Toolbox and embroidered it using three thread colors.

For the other, the fir tree branch (80097-10) with the letters F (12719-32) and W (12719-49), as well as a font from Toolbox create a lovely Christmas greeting.
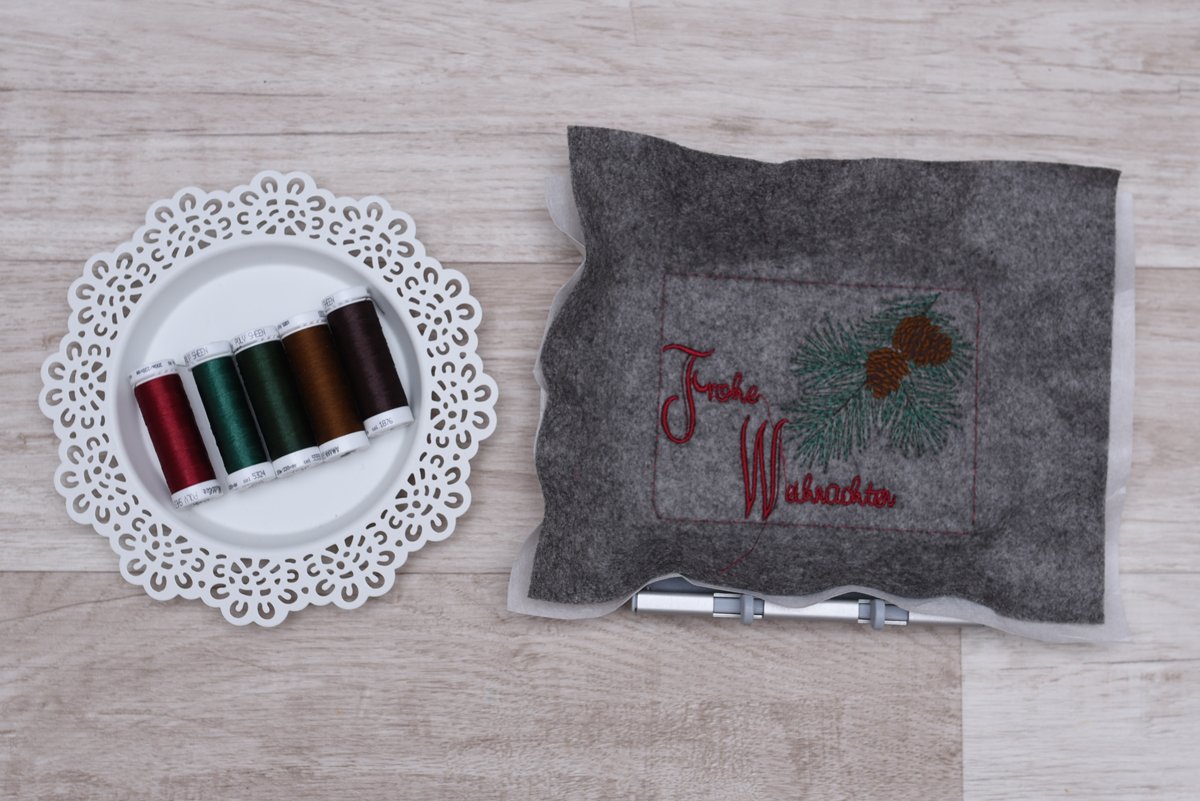
I also embroidered these two embroidery designs as described above and then sewed them on.
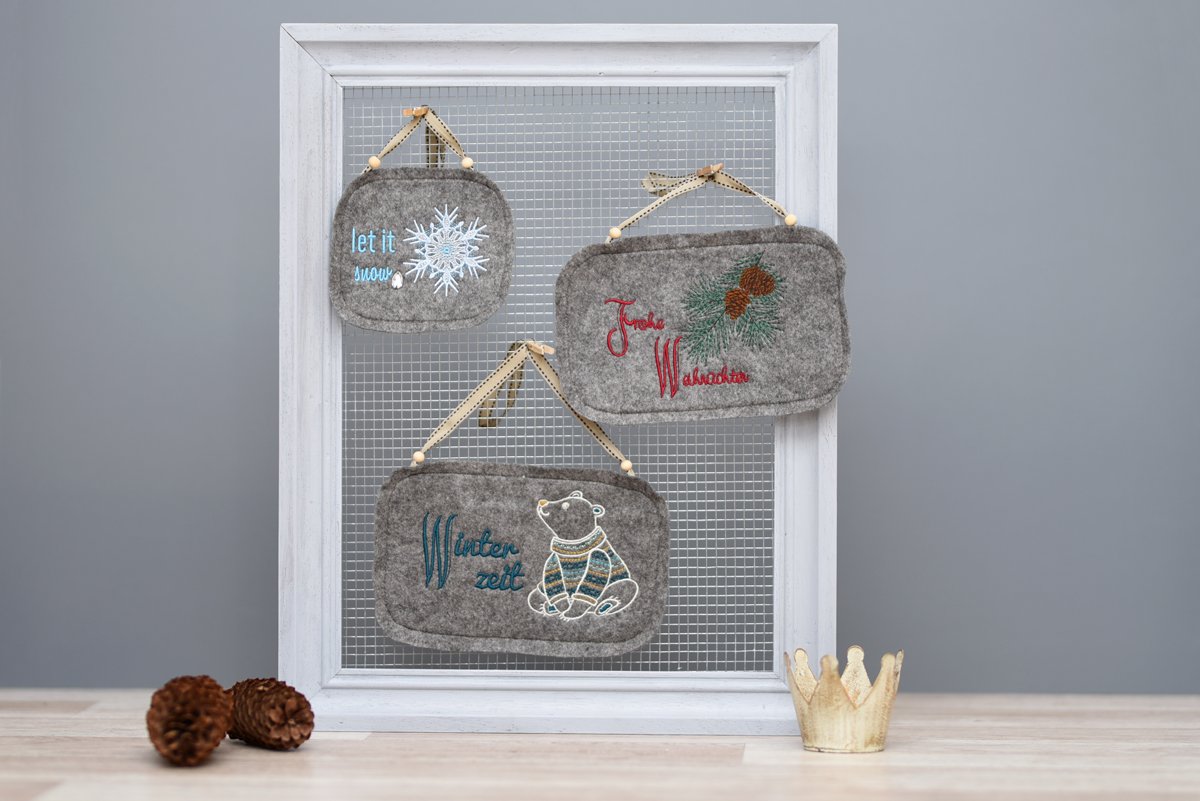
Now all I have to think about is where I’m going to put them. I think I’ll definitely hang the bears on the children’s bedroom door.
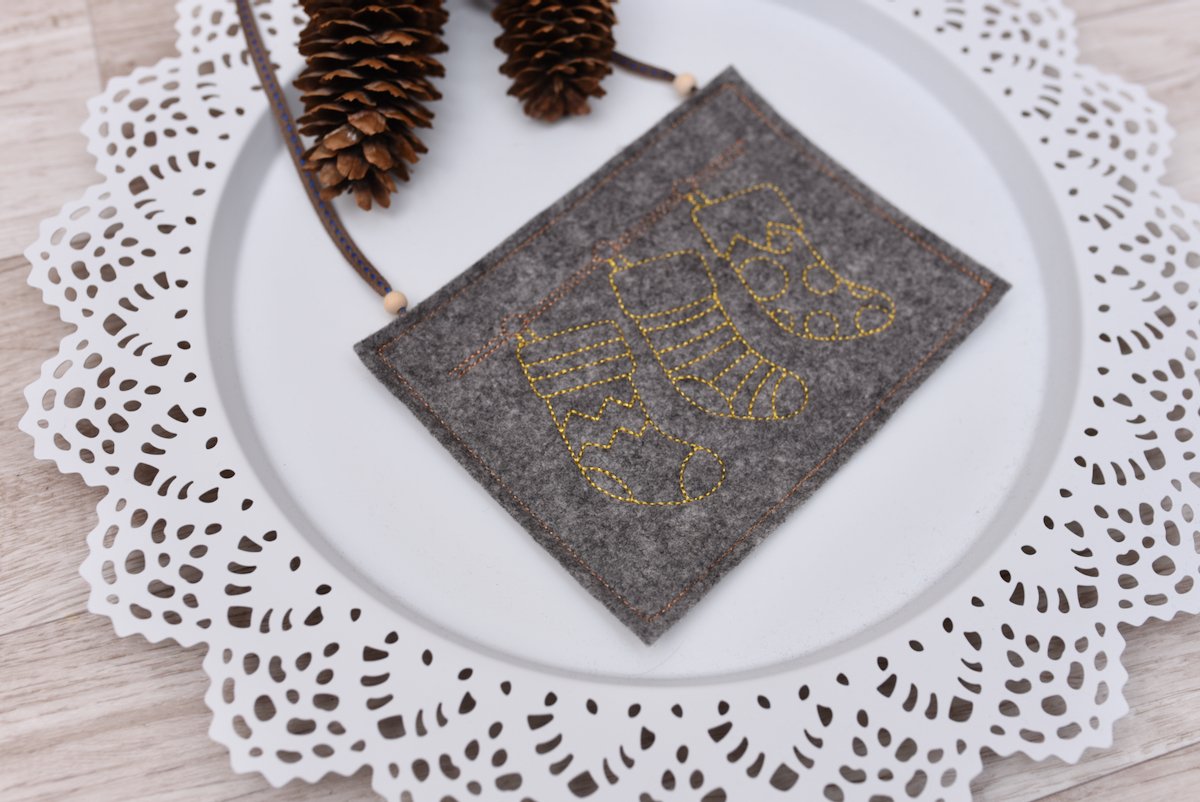
Adding extra sparkle
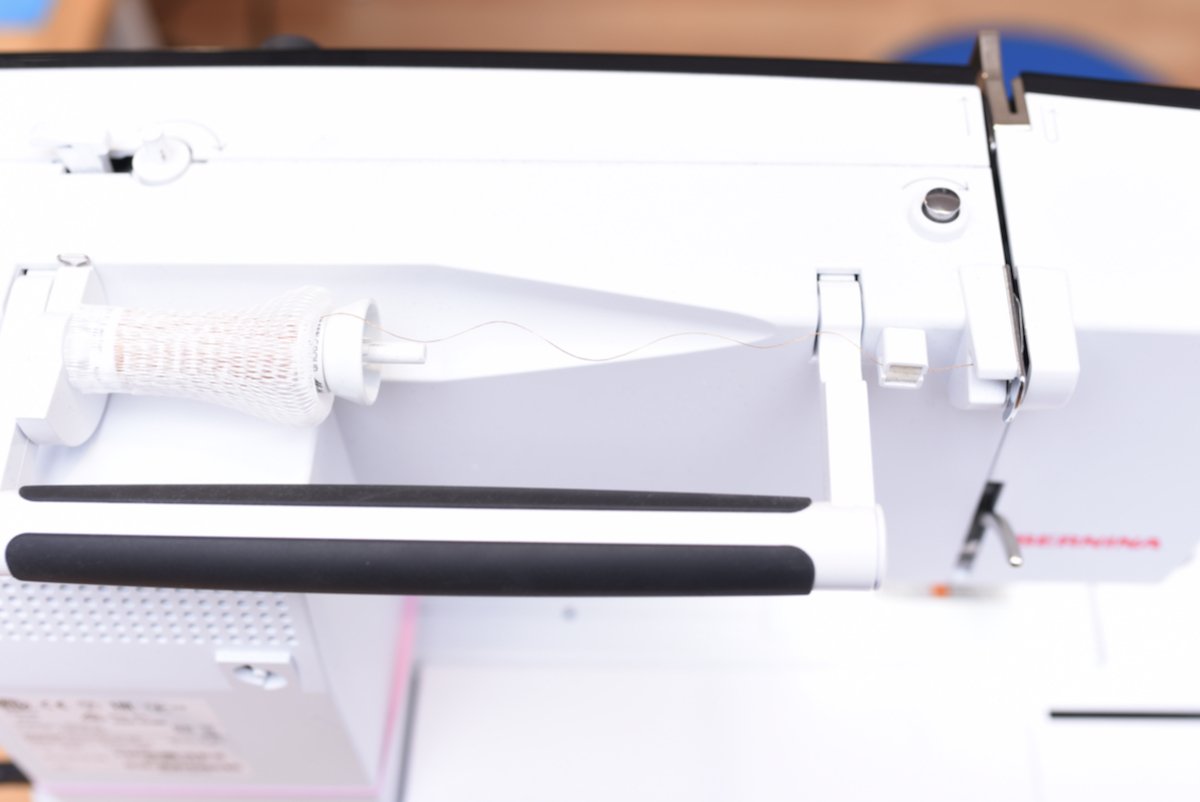
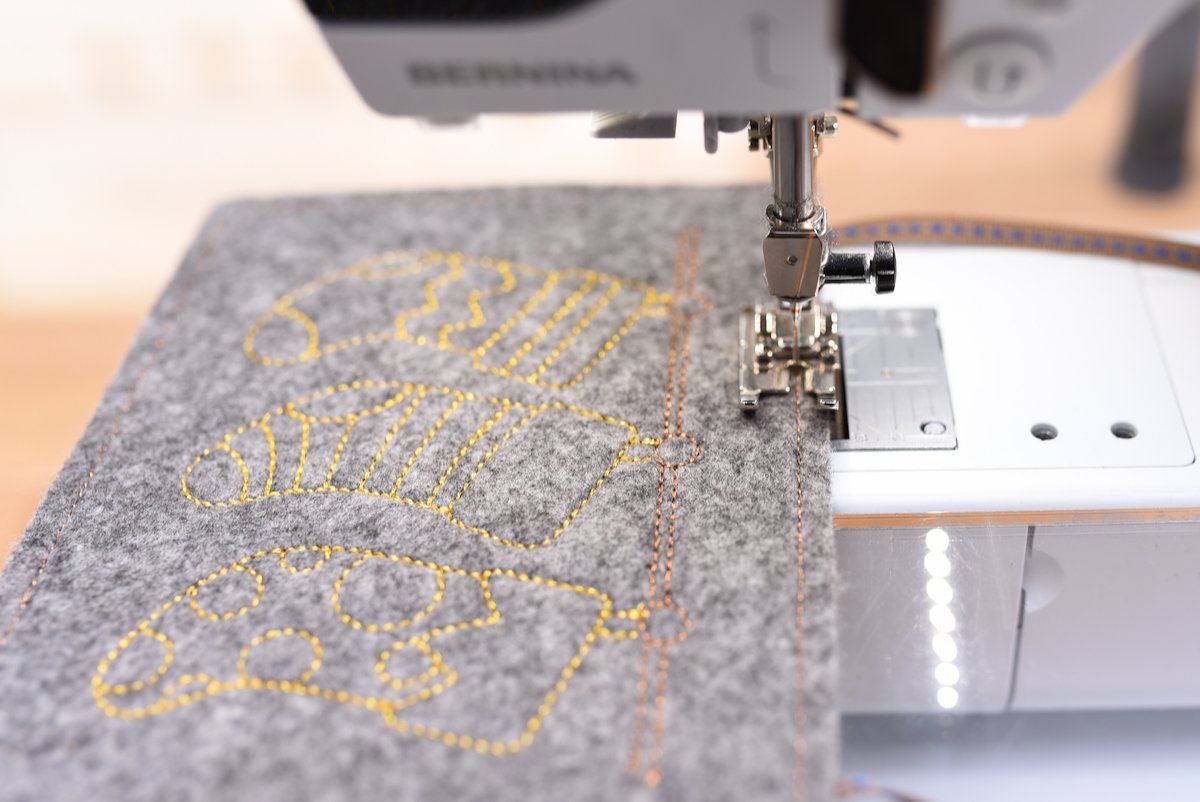
As promised above, I am going to show you something extra to add a bit more glitz as today is St. Nicholas Day. You can do this by embroidering your sign using metallic thread. Of course, you’ll have to make sure the embroidery file is suitable for metallic thread (that the embroidery density is not too high). The Thread Lubrication Unit also makes this significantly easier. I kept the other materials the same as above.
Use a metallic embroidery needle as well as a thread net. In addition, feed the metallic thread through the small lubrication unit, which you have previously moistened with the appropriate silicone fluid and attached to the machine as shown here.
Then select the relevant embroidery file. I found mine here at OESD.
Now embroider the individual elements of the file using your metallic thread. I used the bronze and gold thread from Amann Mettler for this. Then finish off your sign as described above.
As my embroidery file already has a border, I made use of this and stitched the background fabric in place twice using the same metallic thread directly onto the border.
Congratulations, your Christmas sign with extra sparkle is finished.
I wish you a happy Advent and hope you have lots of fun making your own signs,
Sara


0 Responses