 BERNINA Corporate Blog -
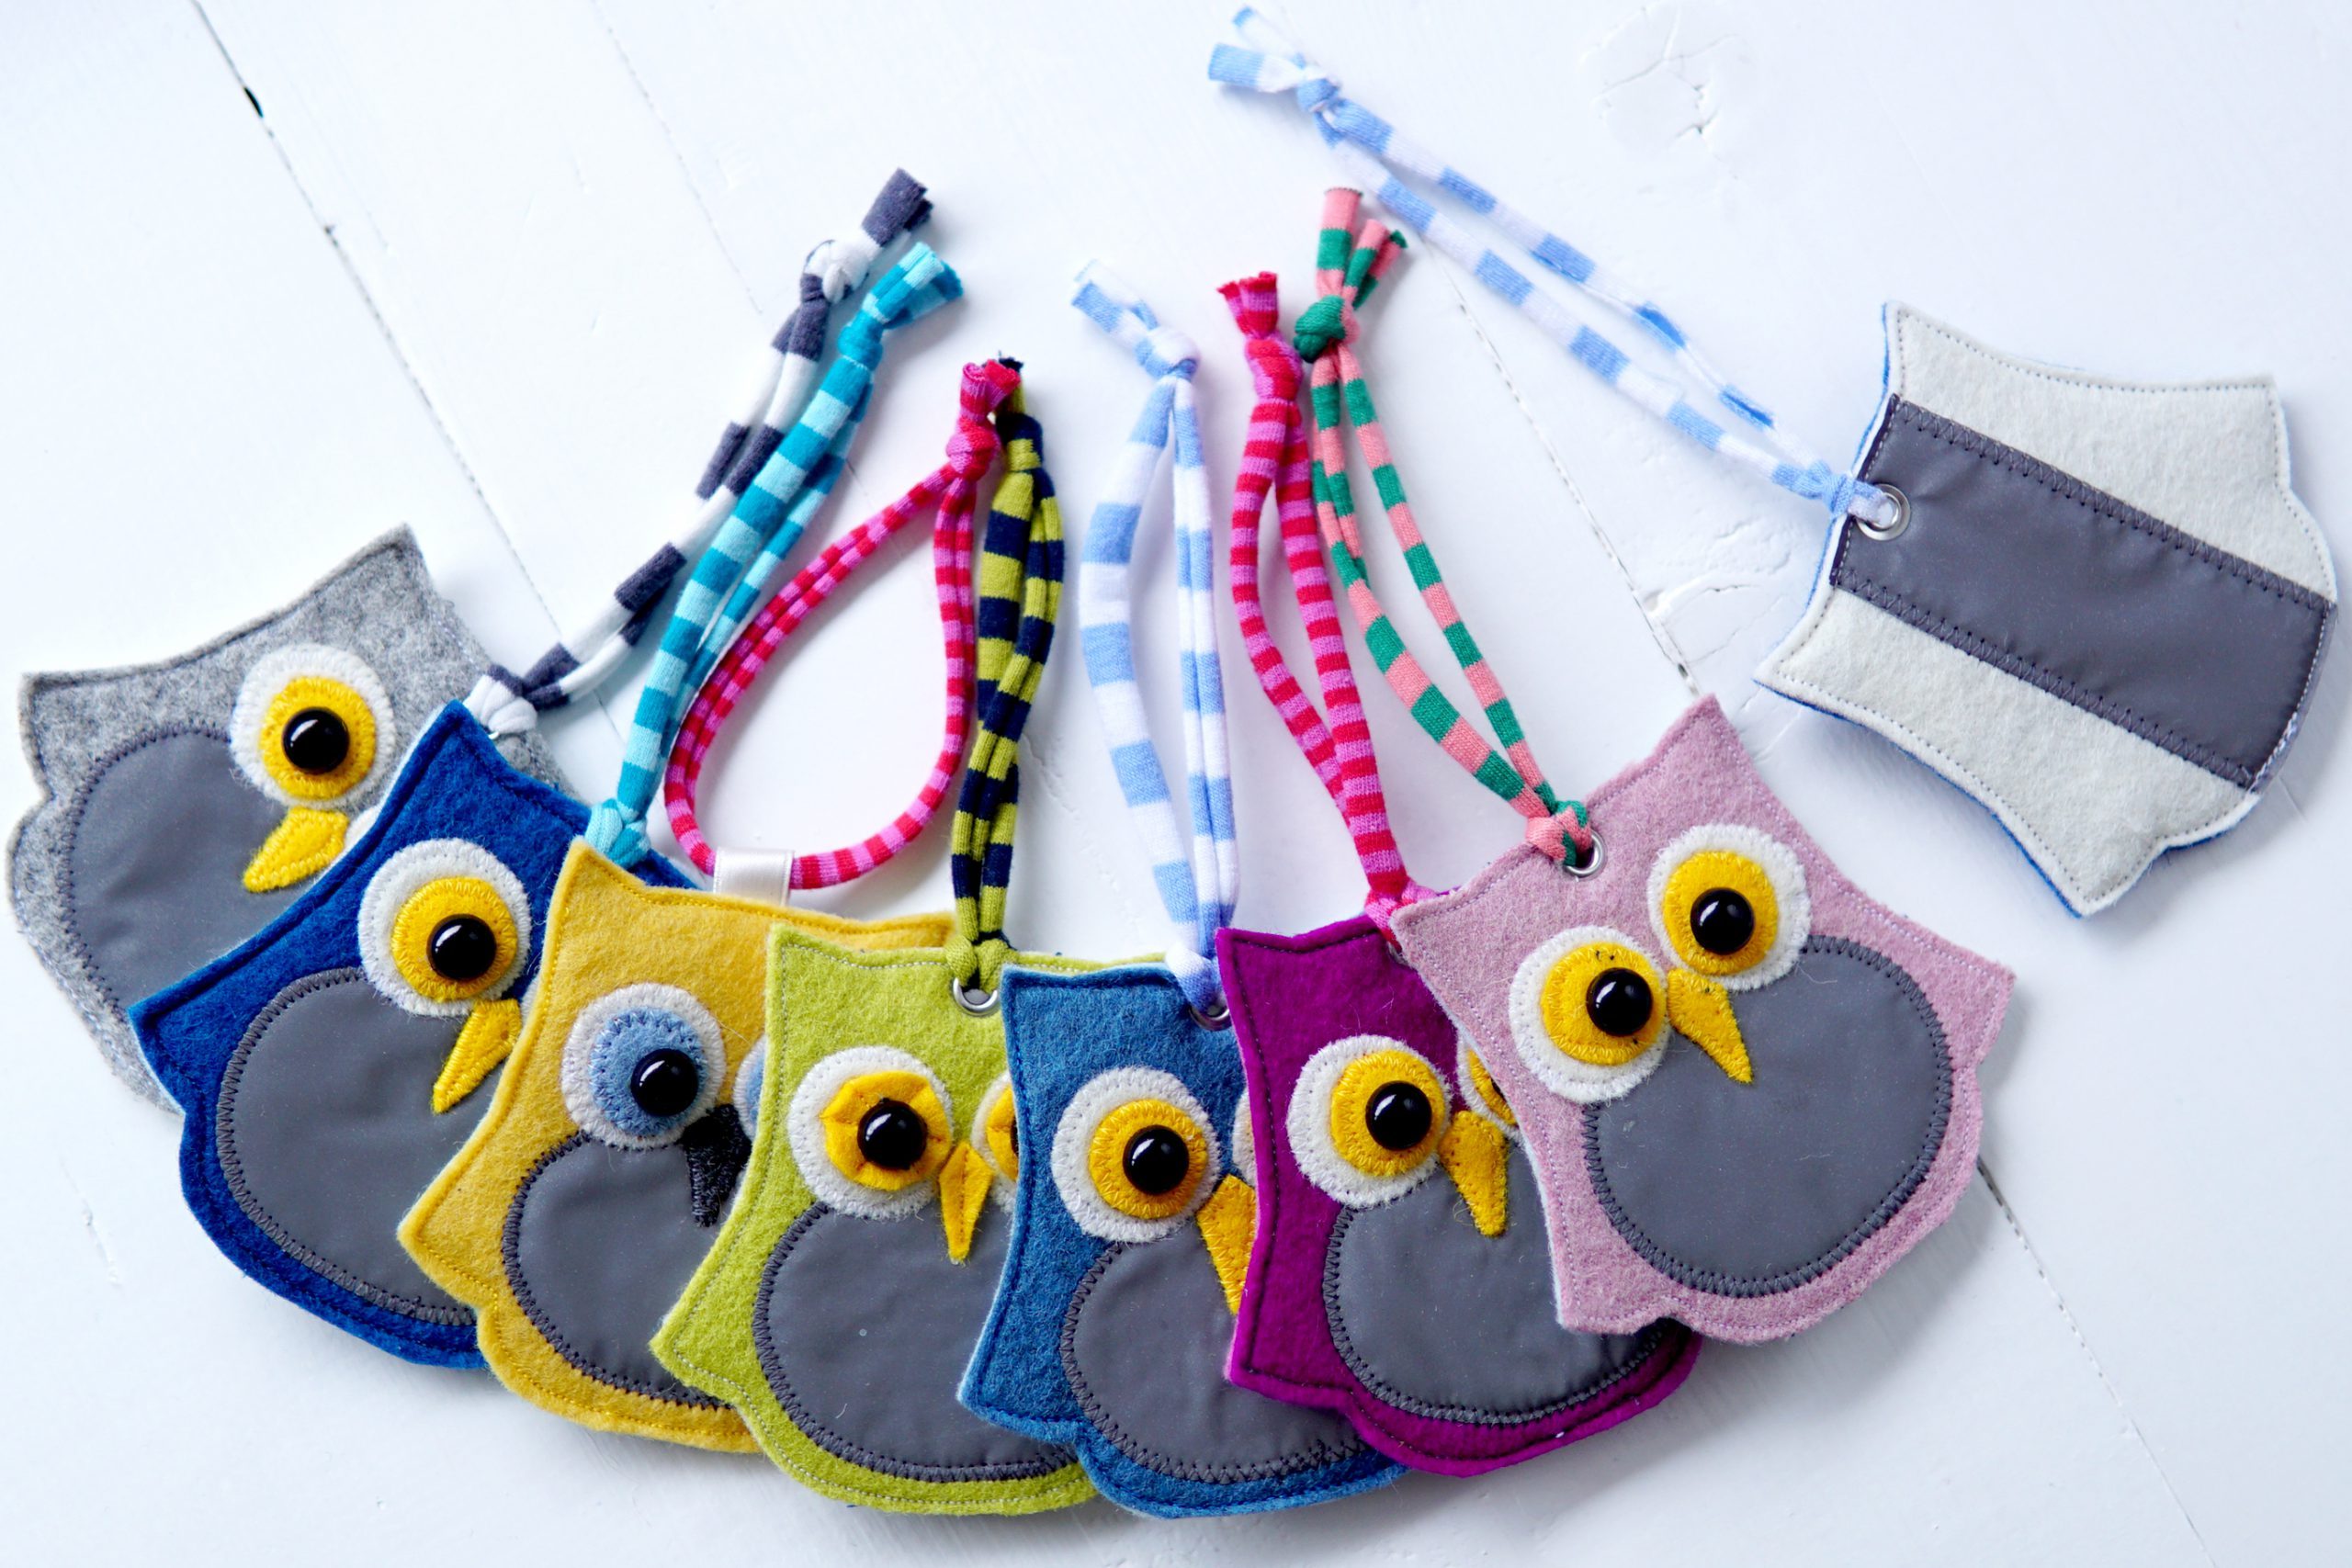
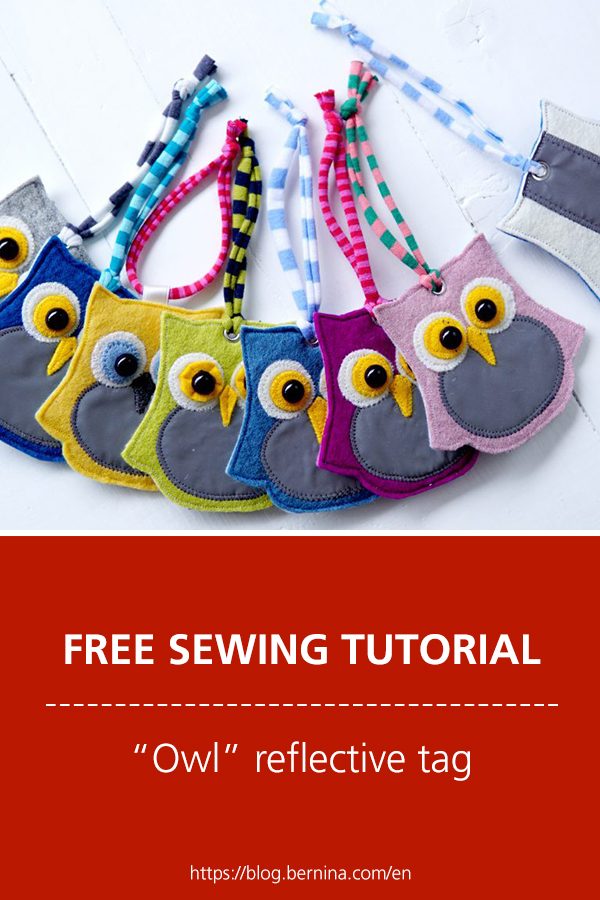
Sewing an “Owl” reflective tag – a fun and useful gift idea
Hello everyone, today I would like to sew reflective tags in the shape of colorful owls with you.
In keeping with the motto “Time to Shine” , these fun companions reflect the light in the dark, providing additional safety in road traffic. The reflective tags are a great personalized Christmas gift for young and old alike. They are easy to sew from wool felt and special reflective fabric. They can be attached to a jacket, backpack or bag.

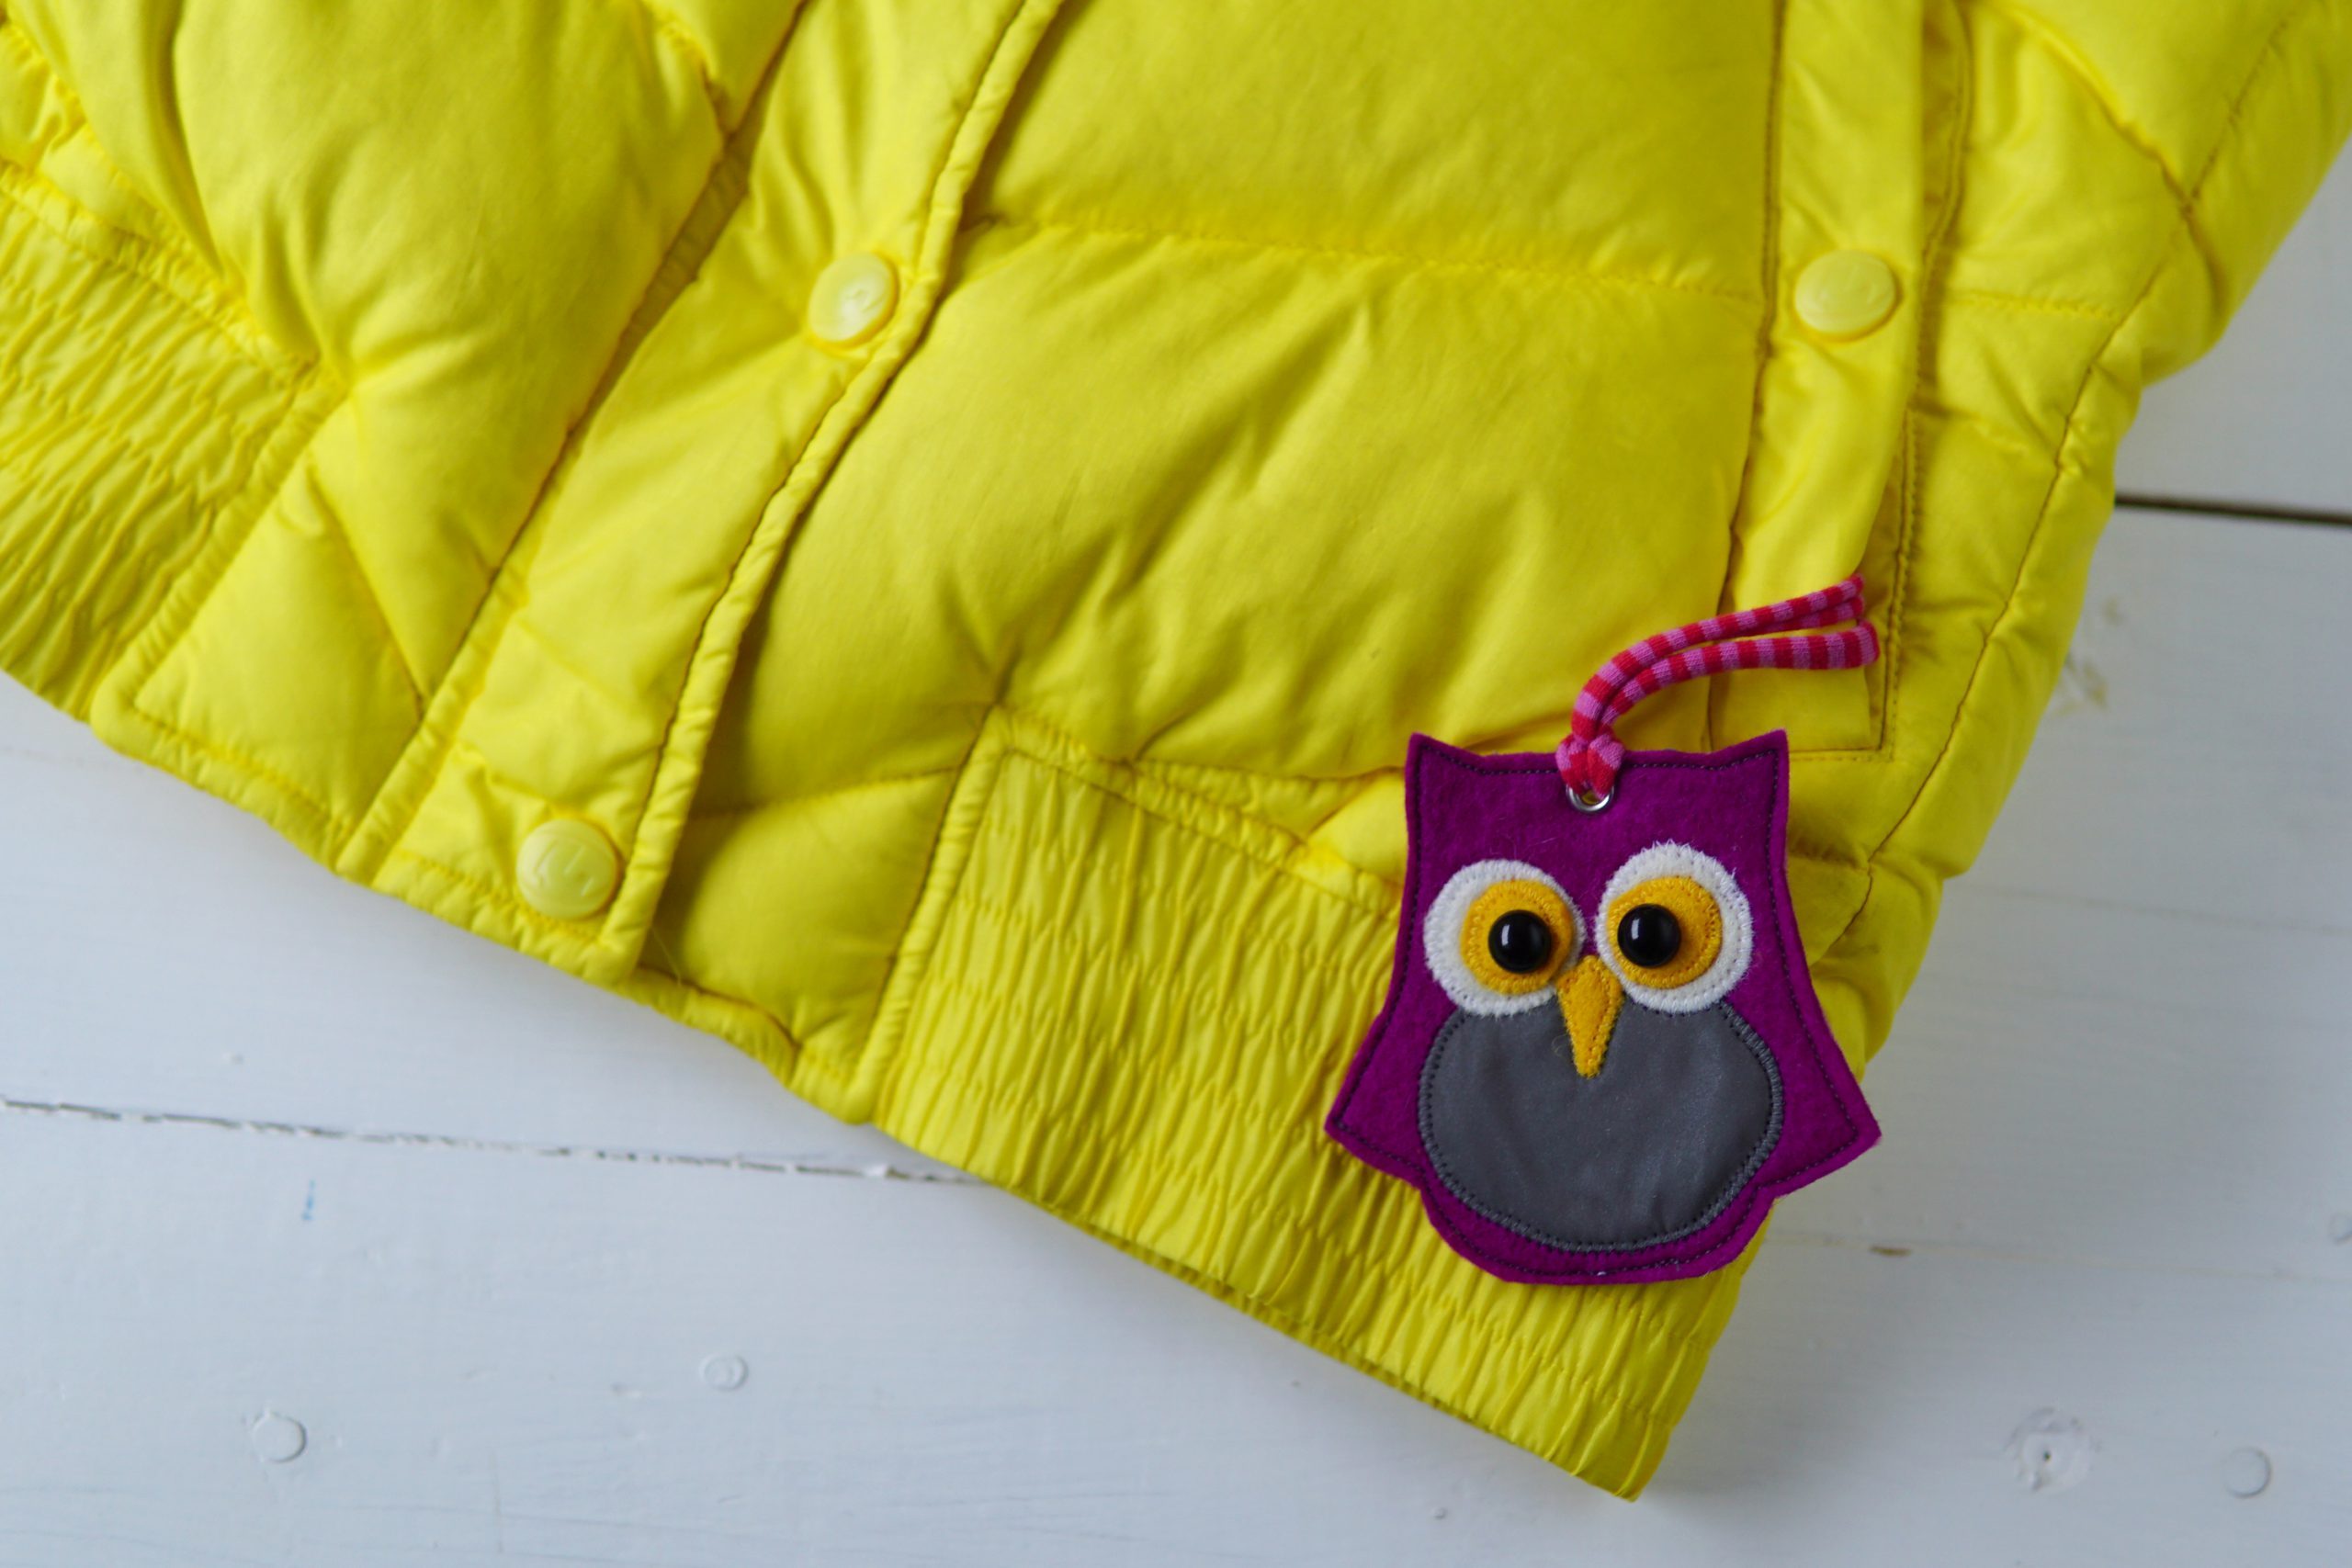
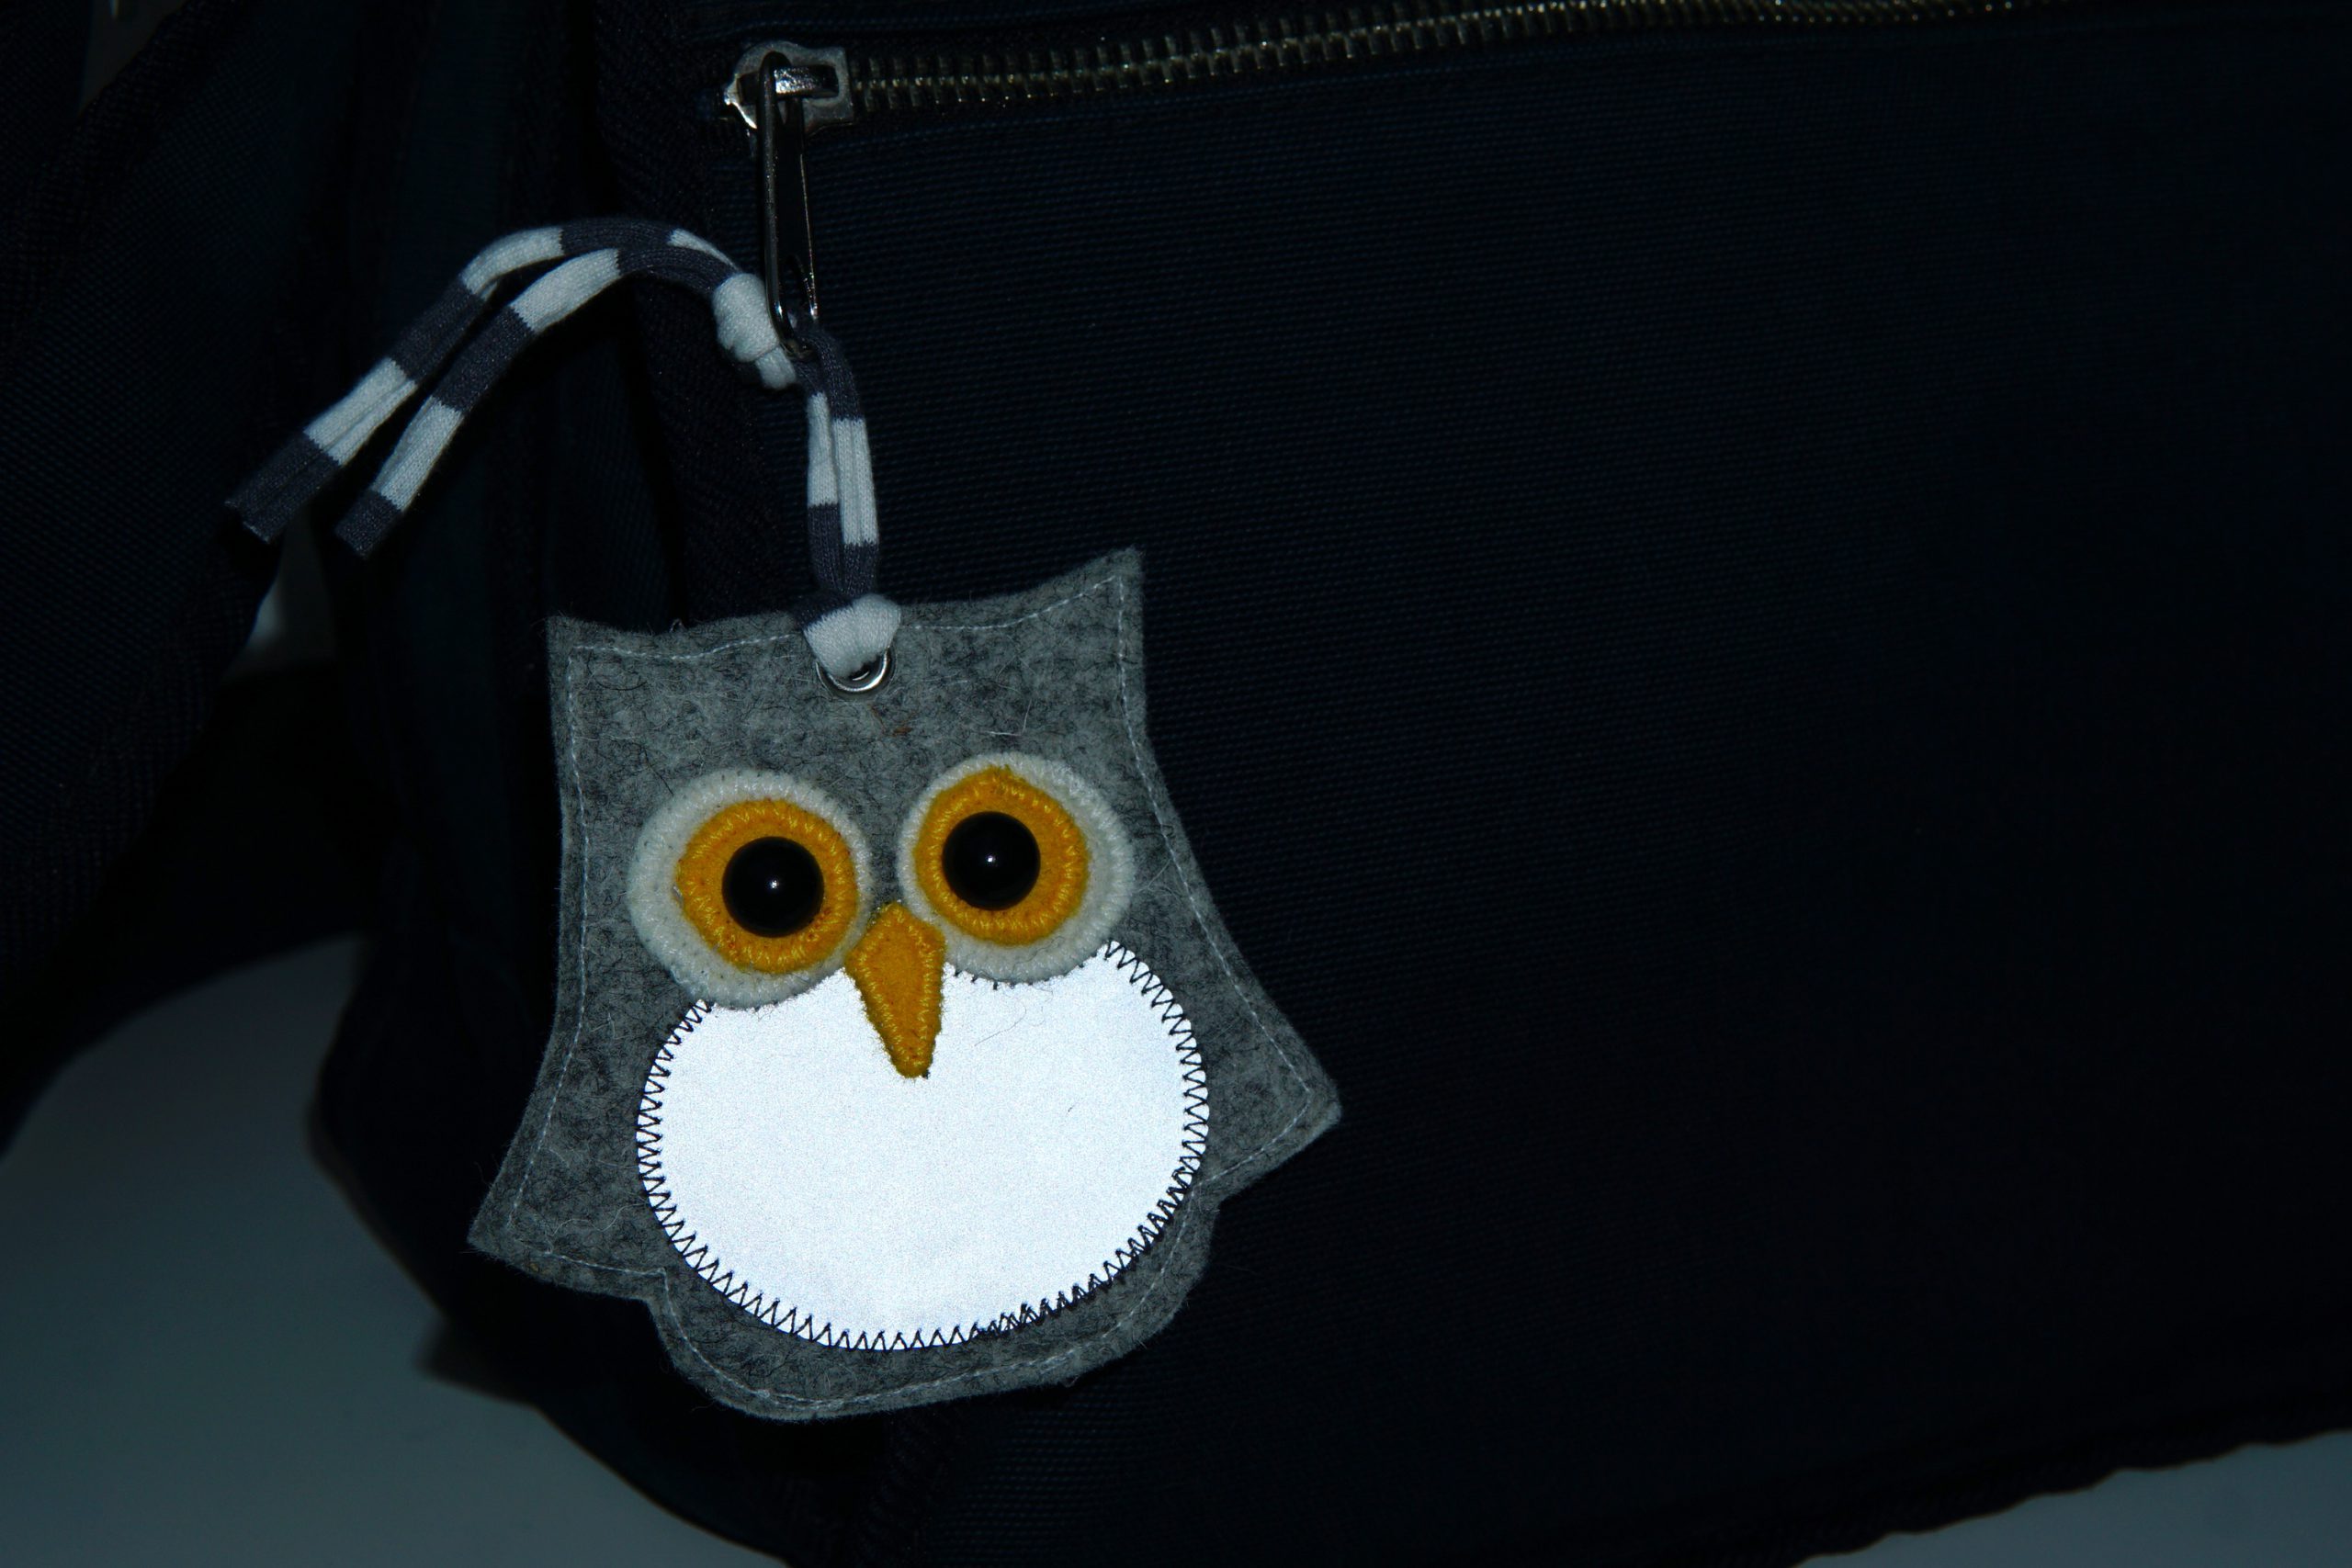
Here I have used a safety pin to attach a reflective tag to the side pocket of a down vest…
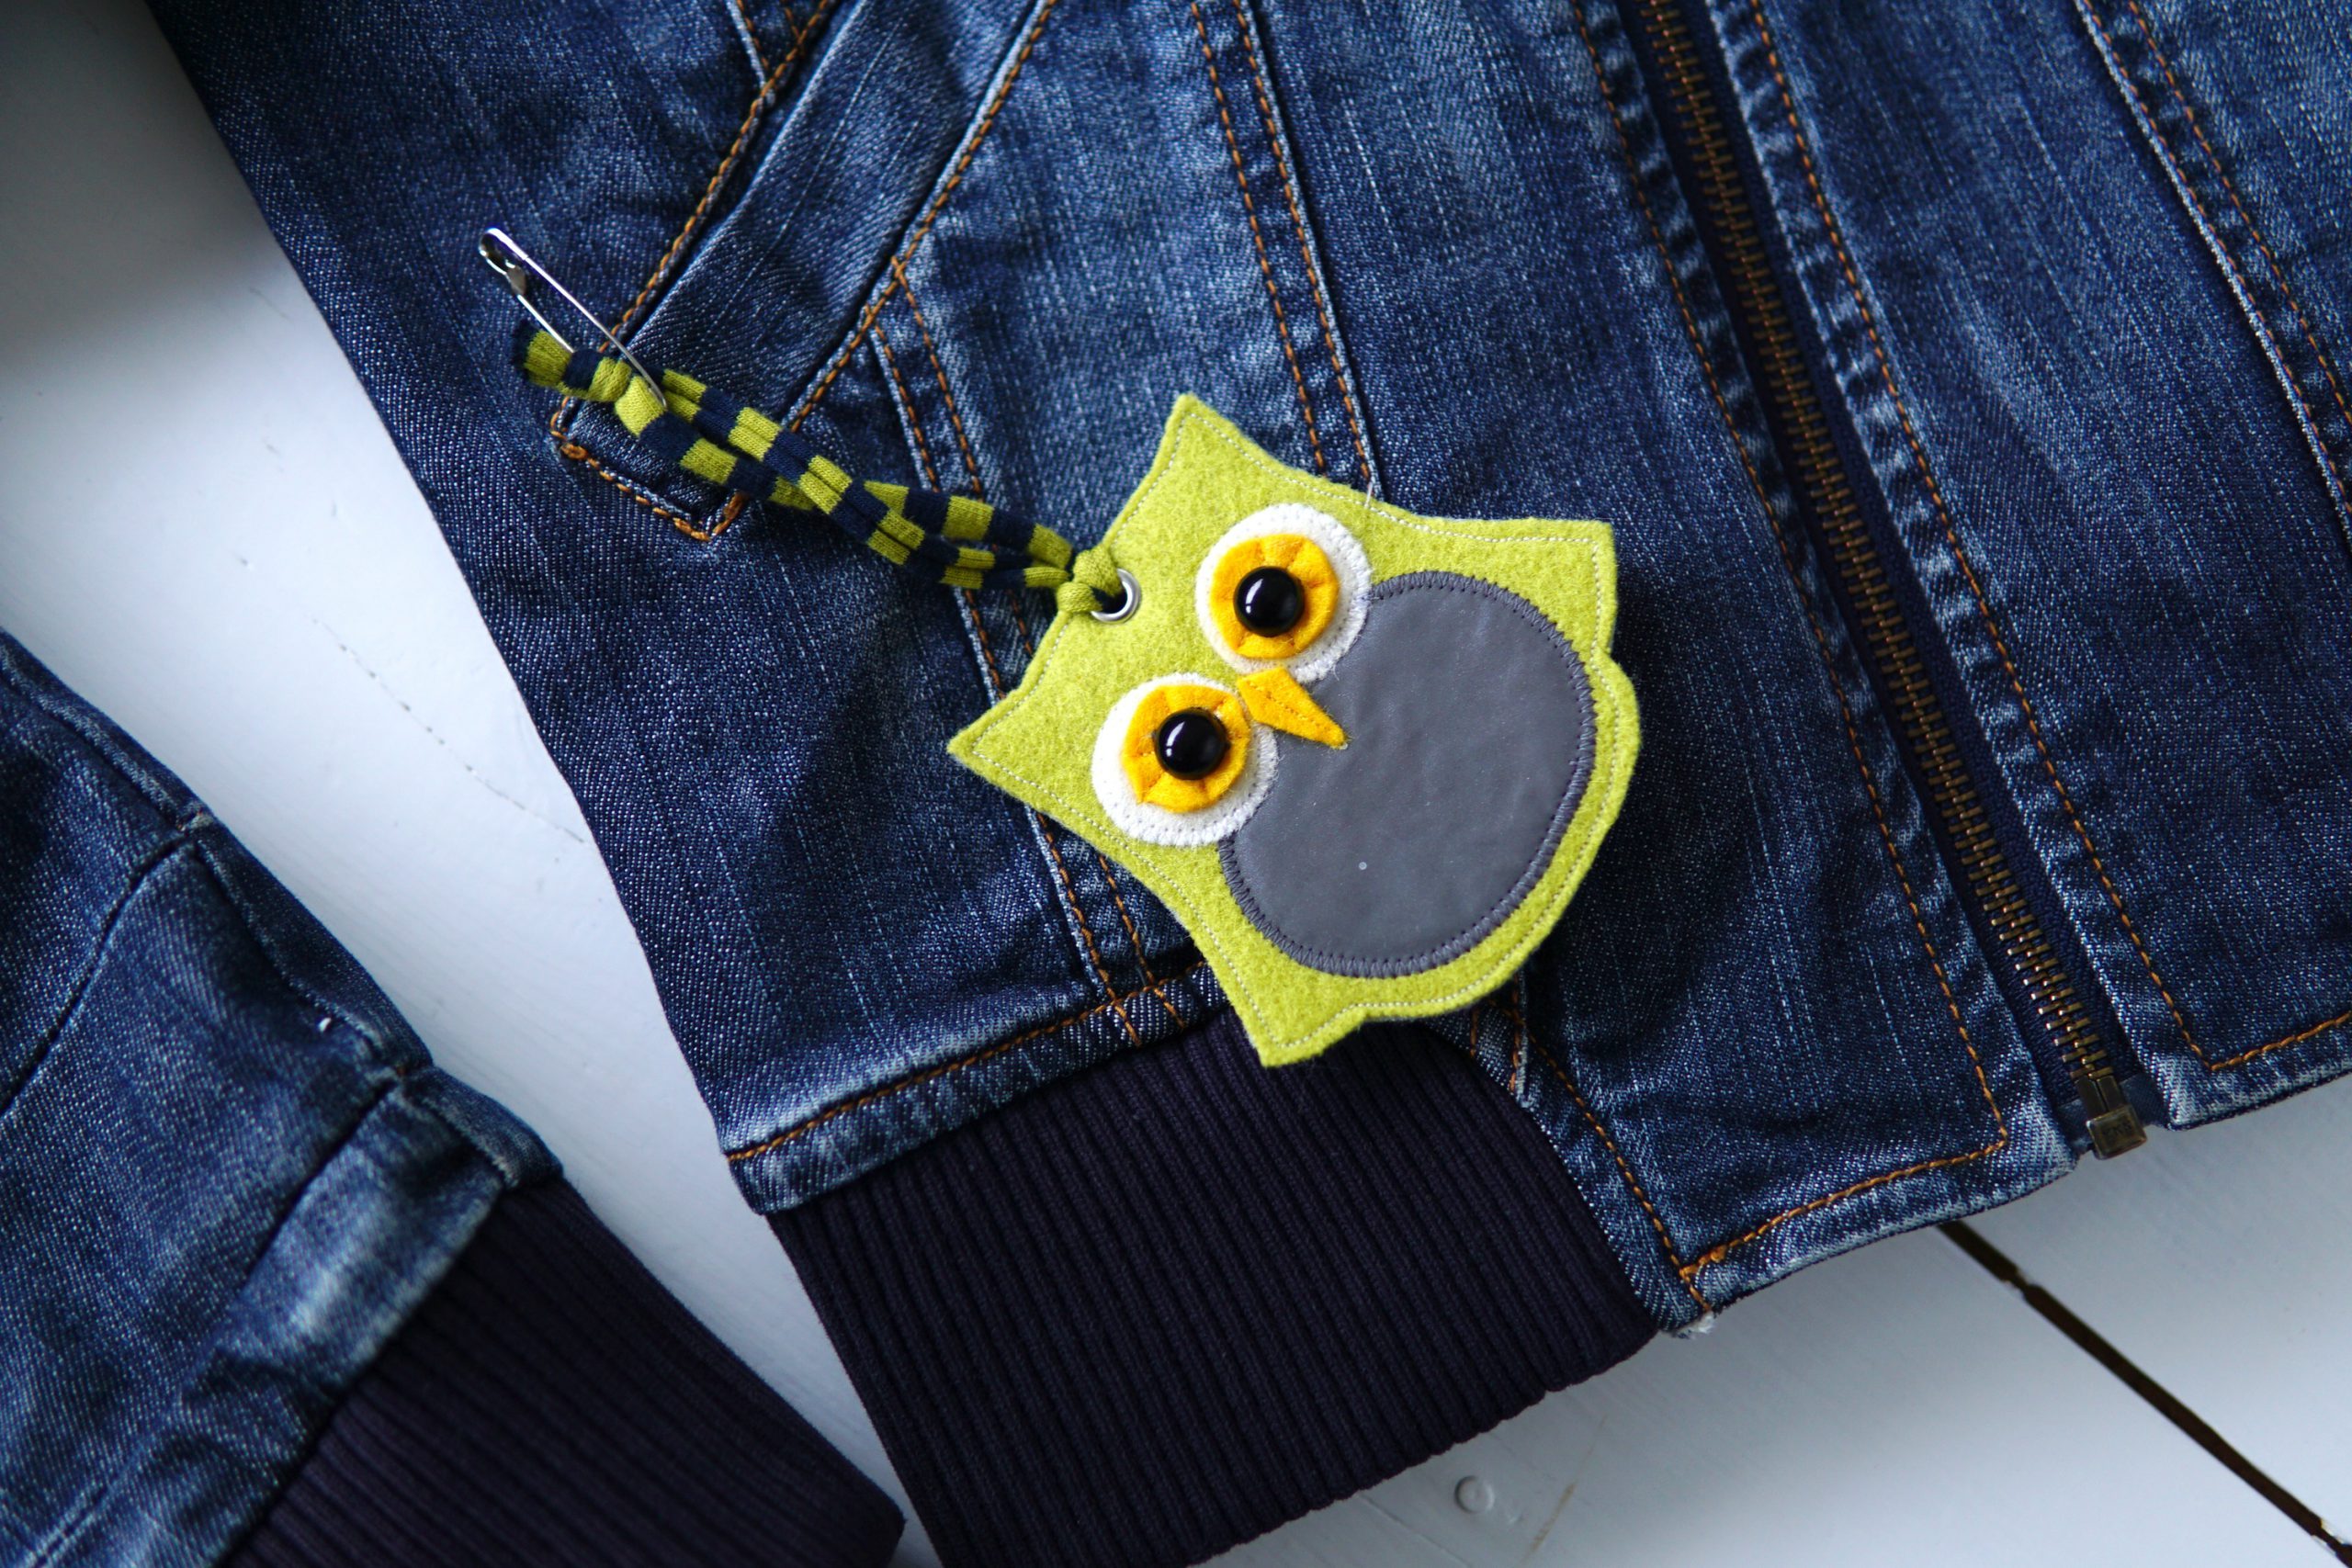
…and here to a denim jacket.
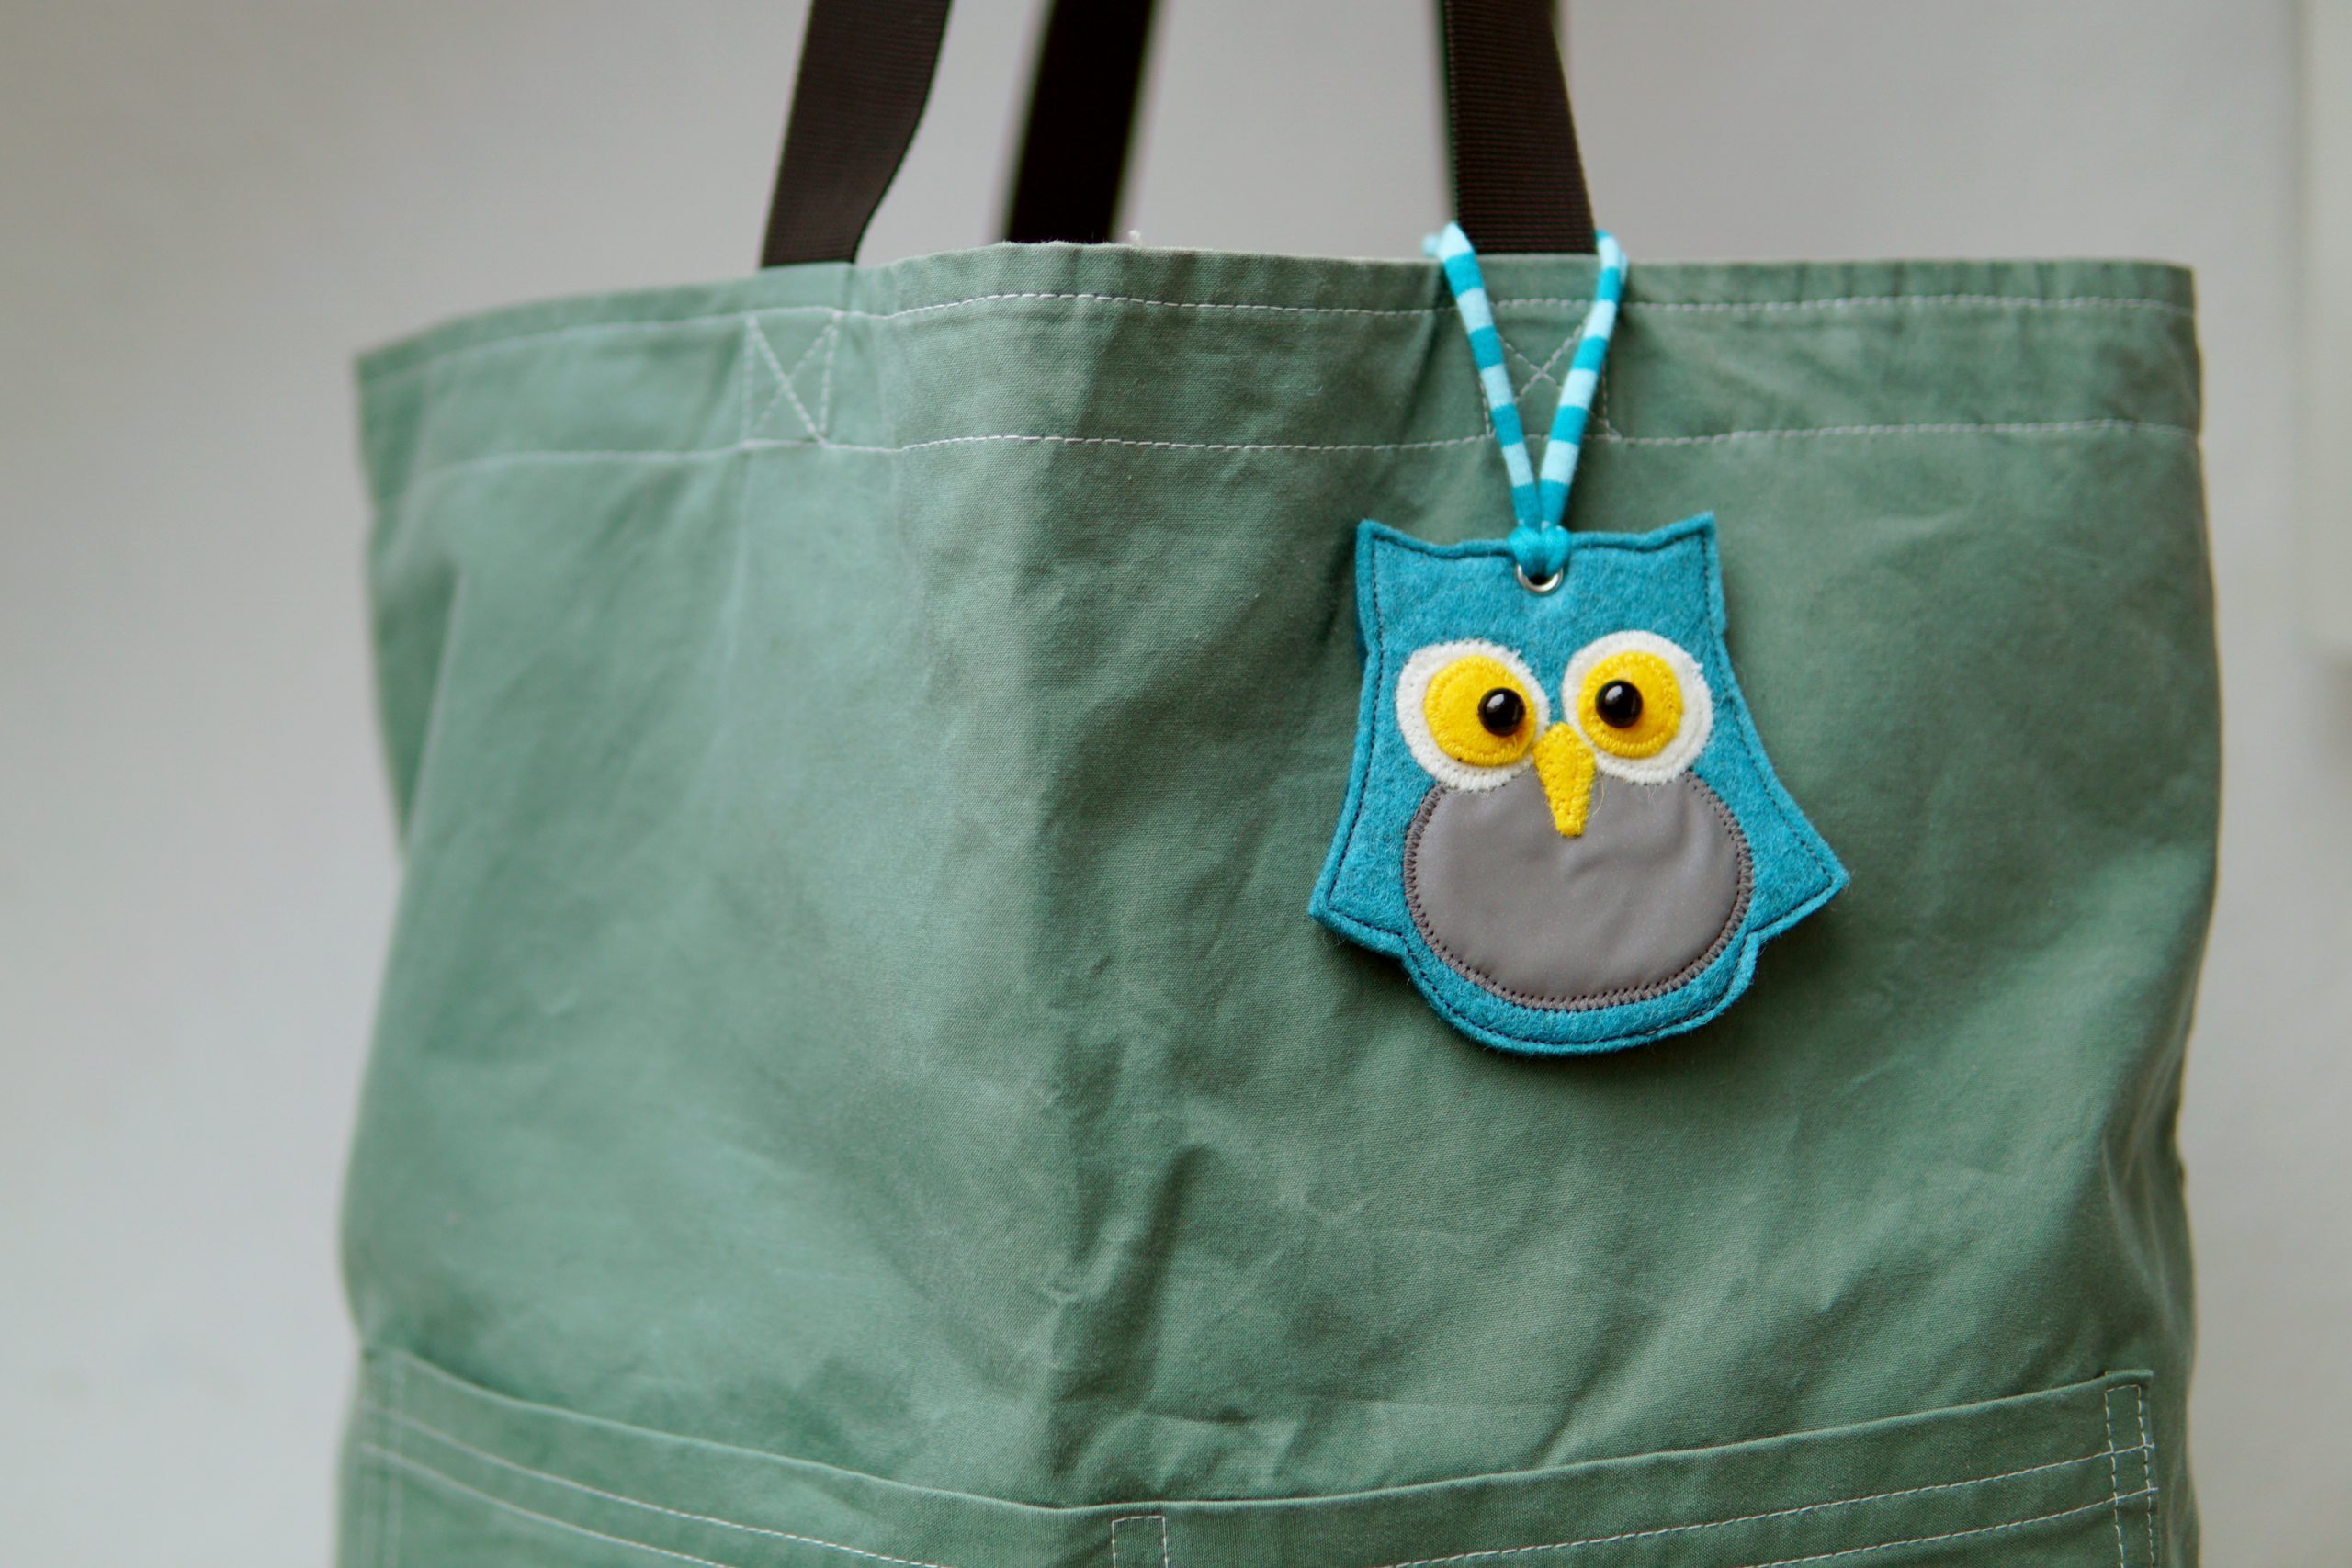
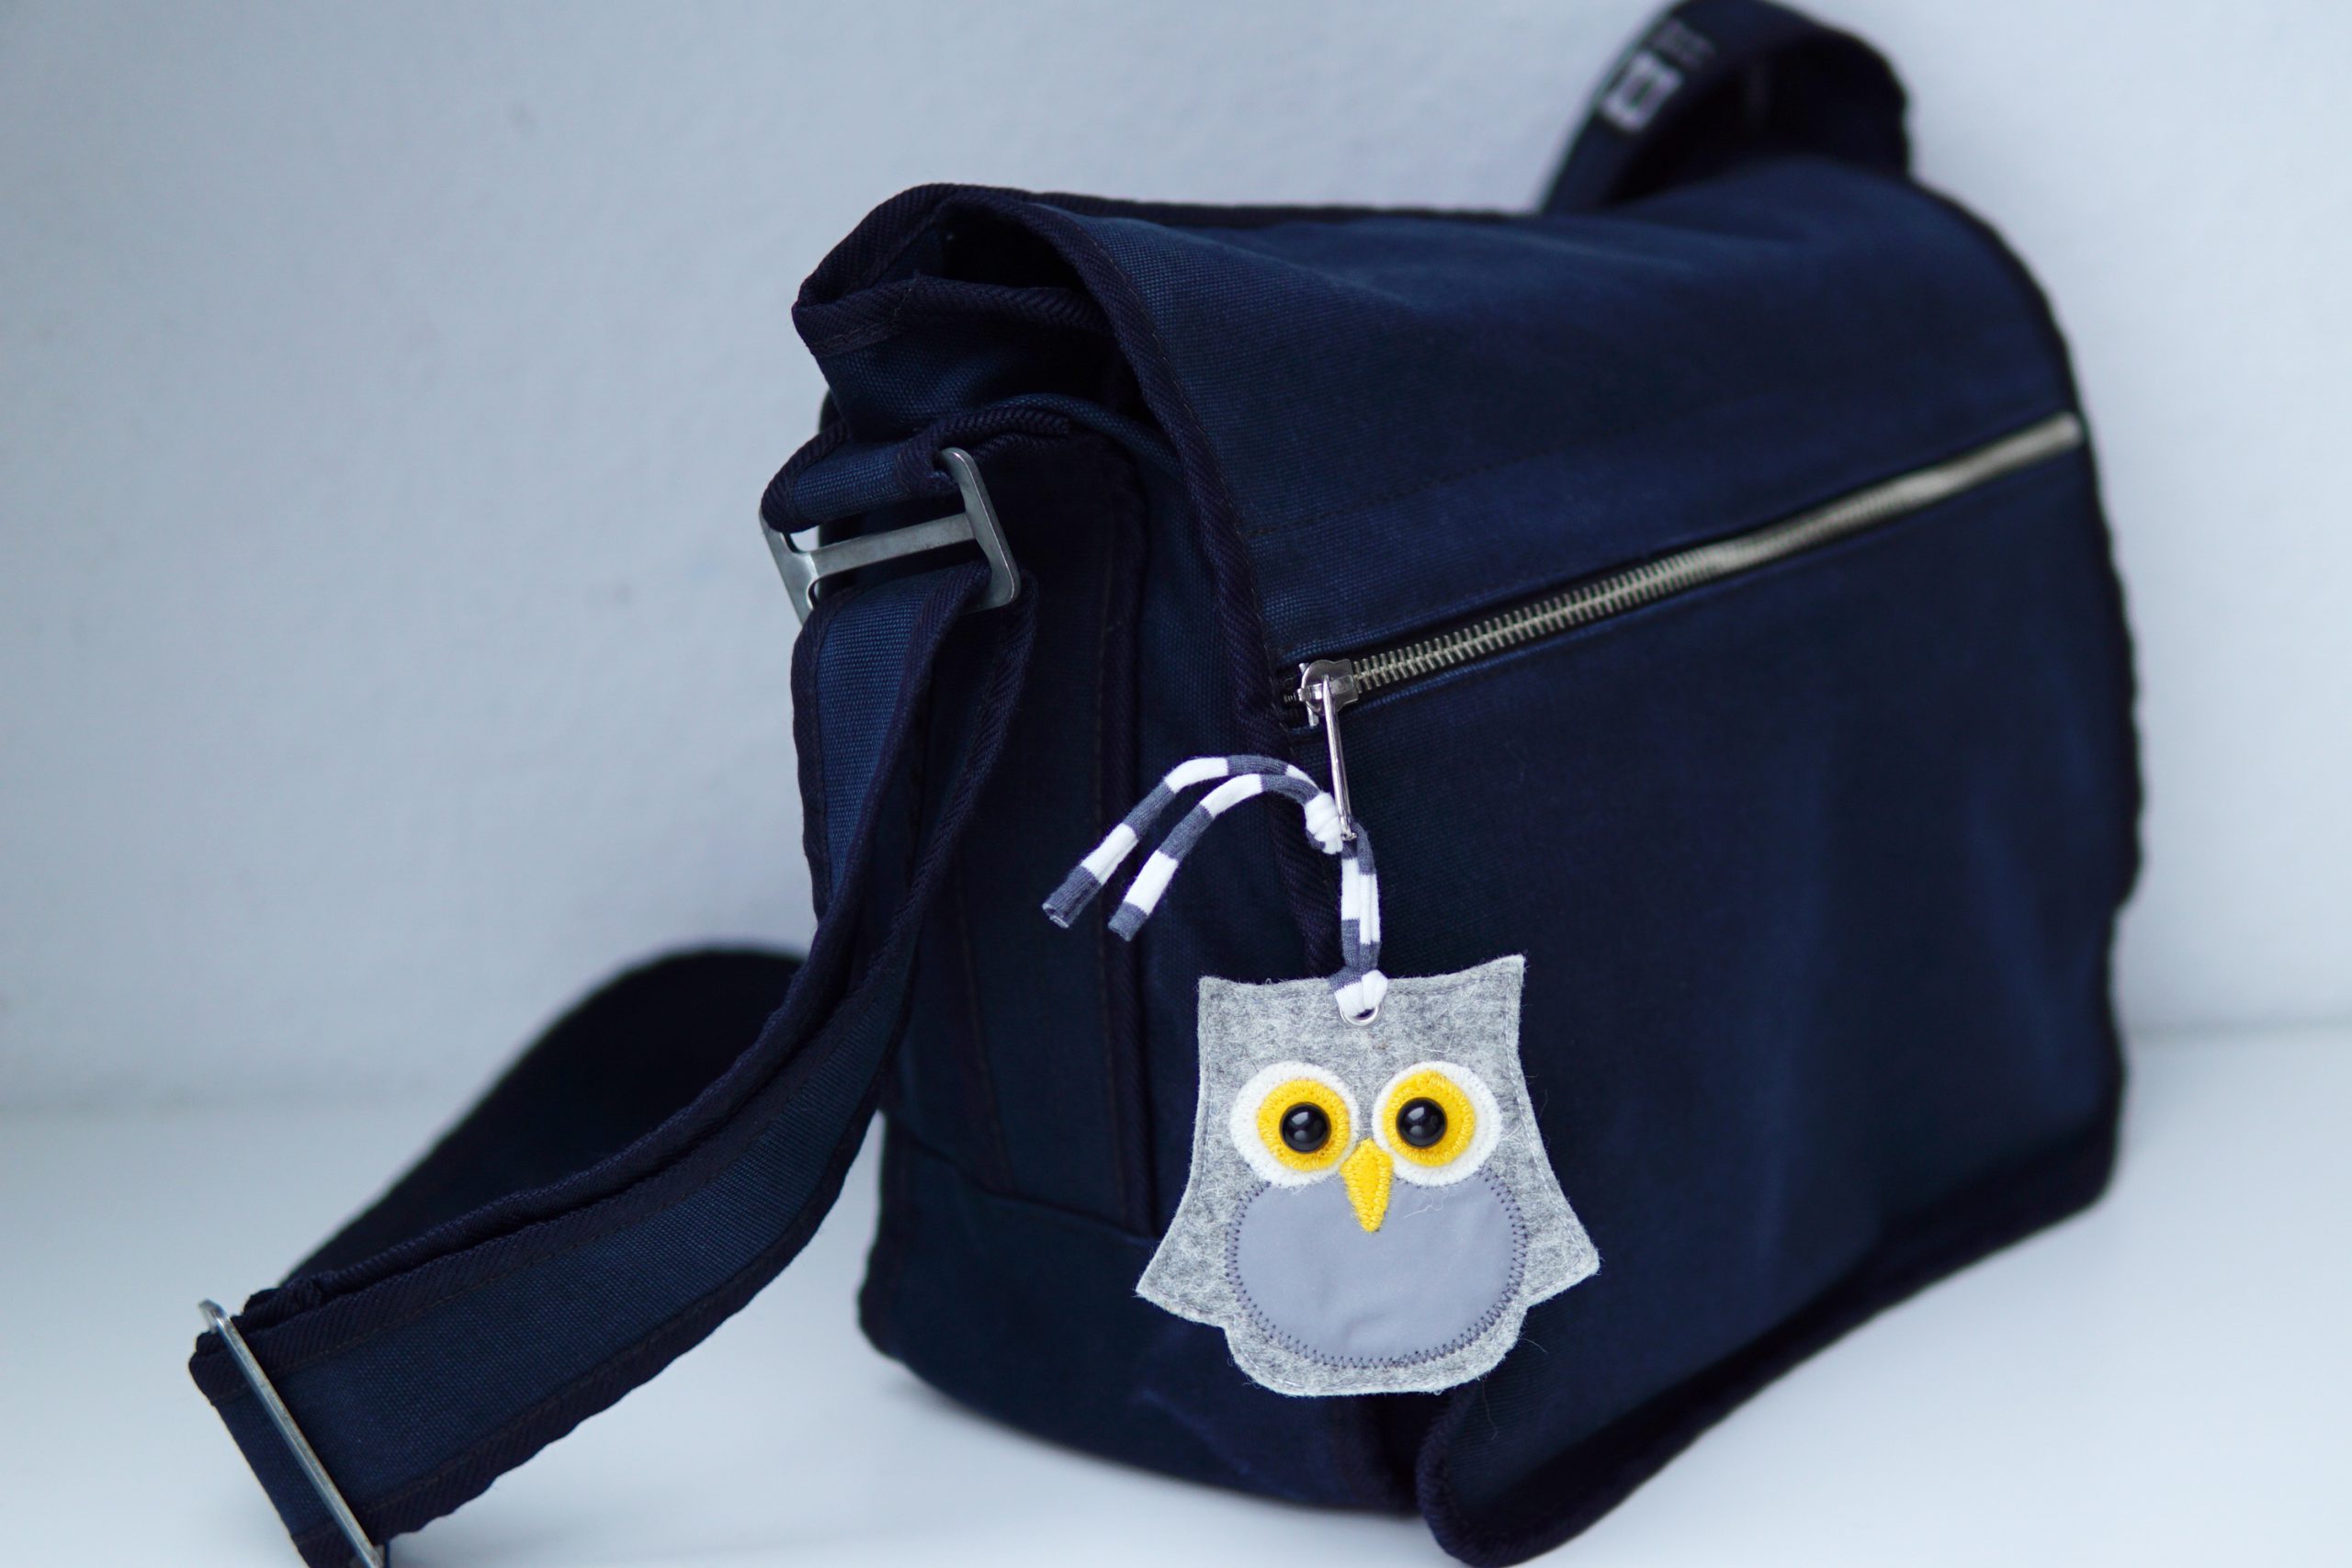
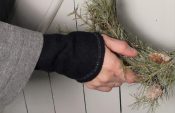
On a shopping bag, you can easily tie the reflective tag around the handle.
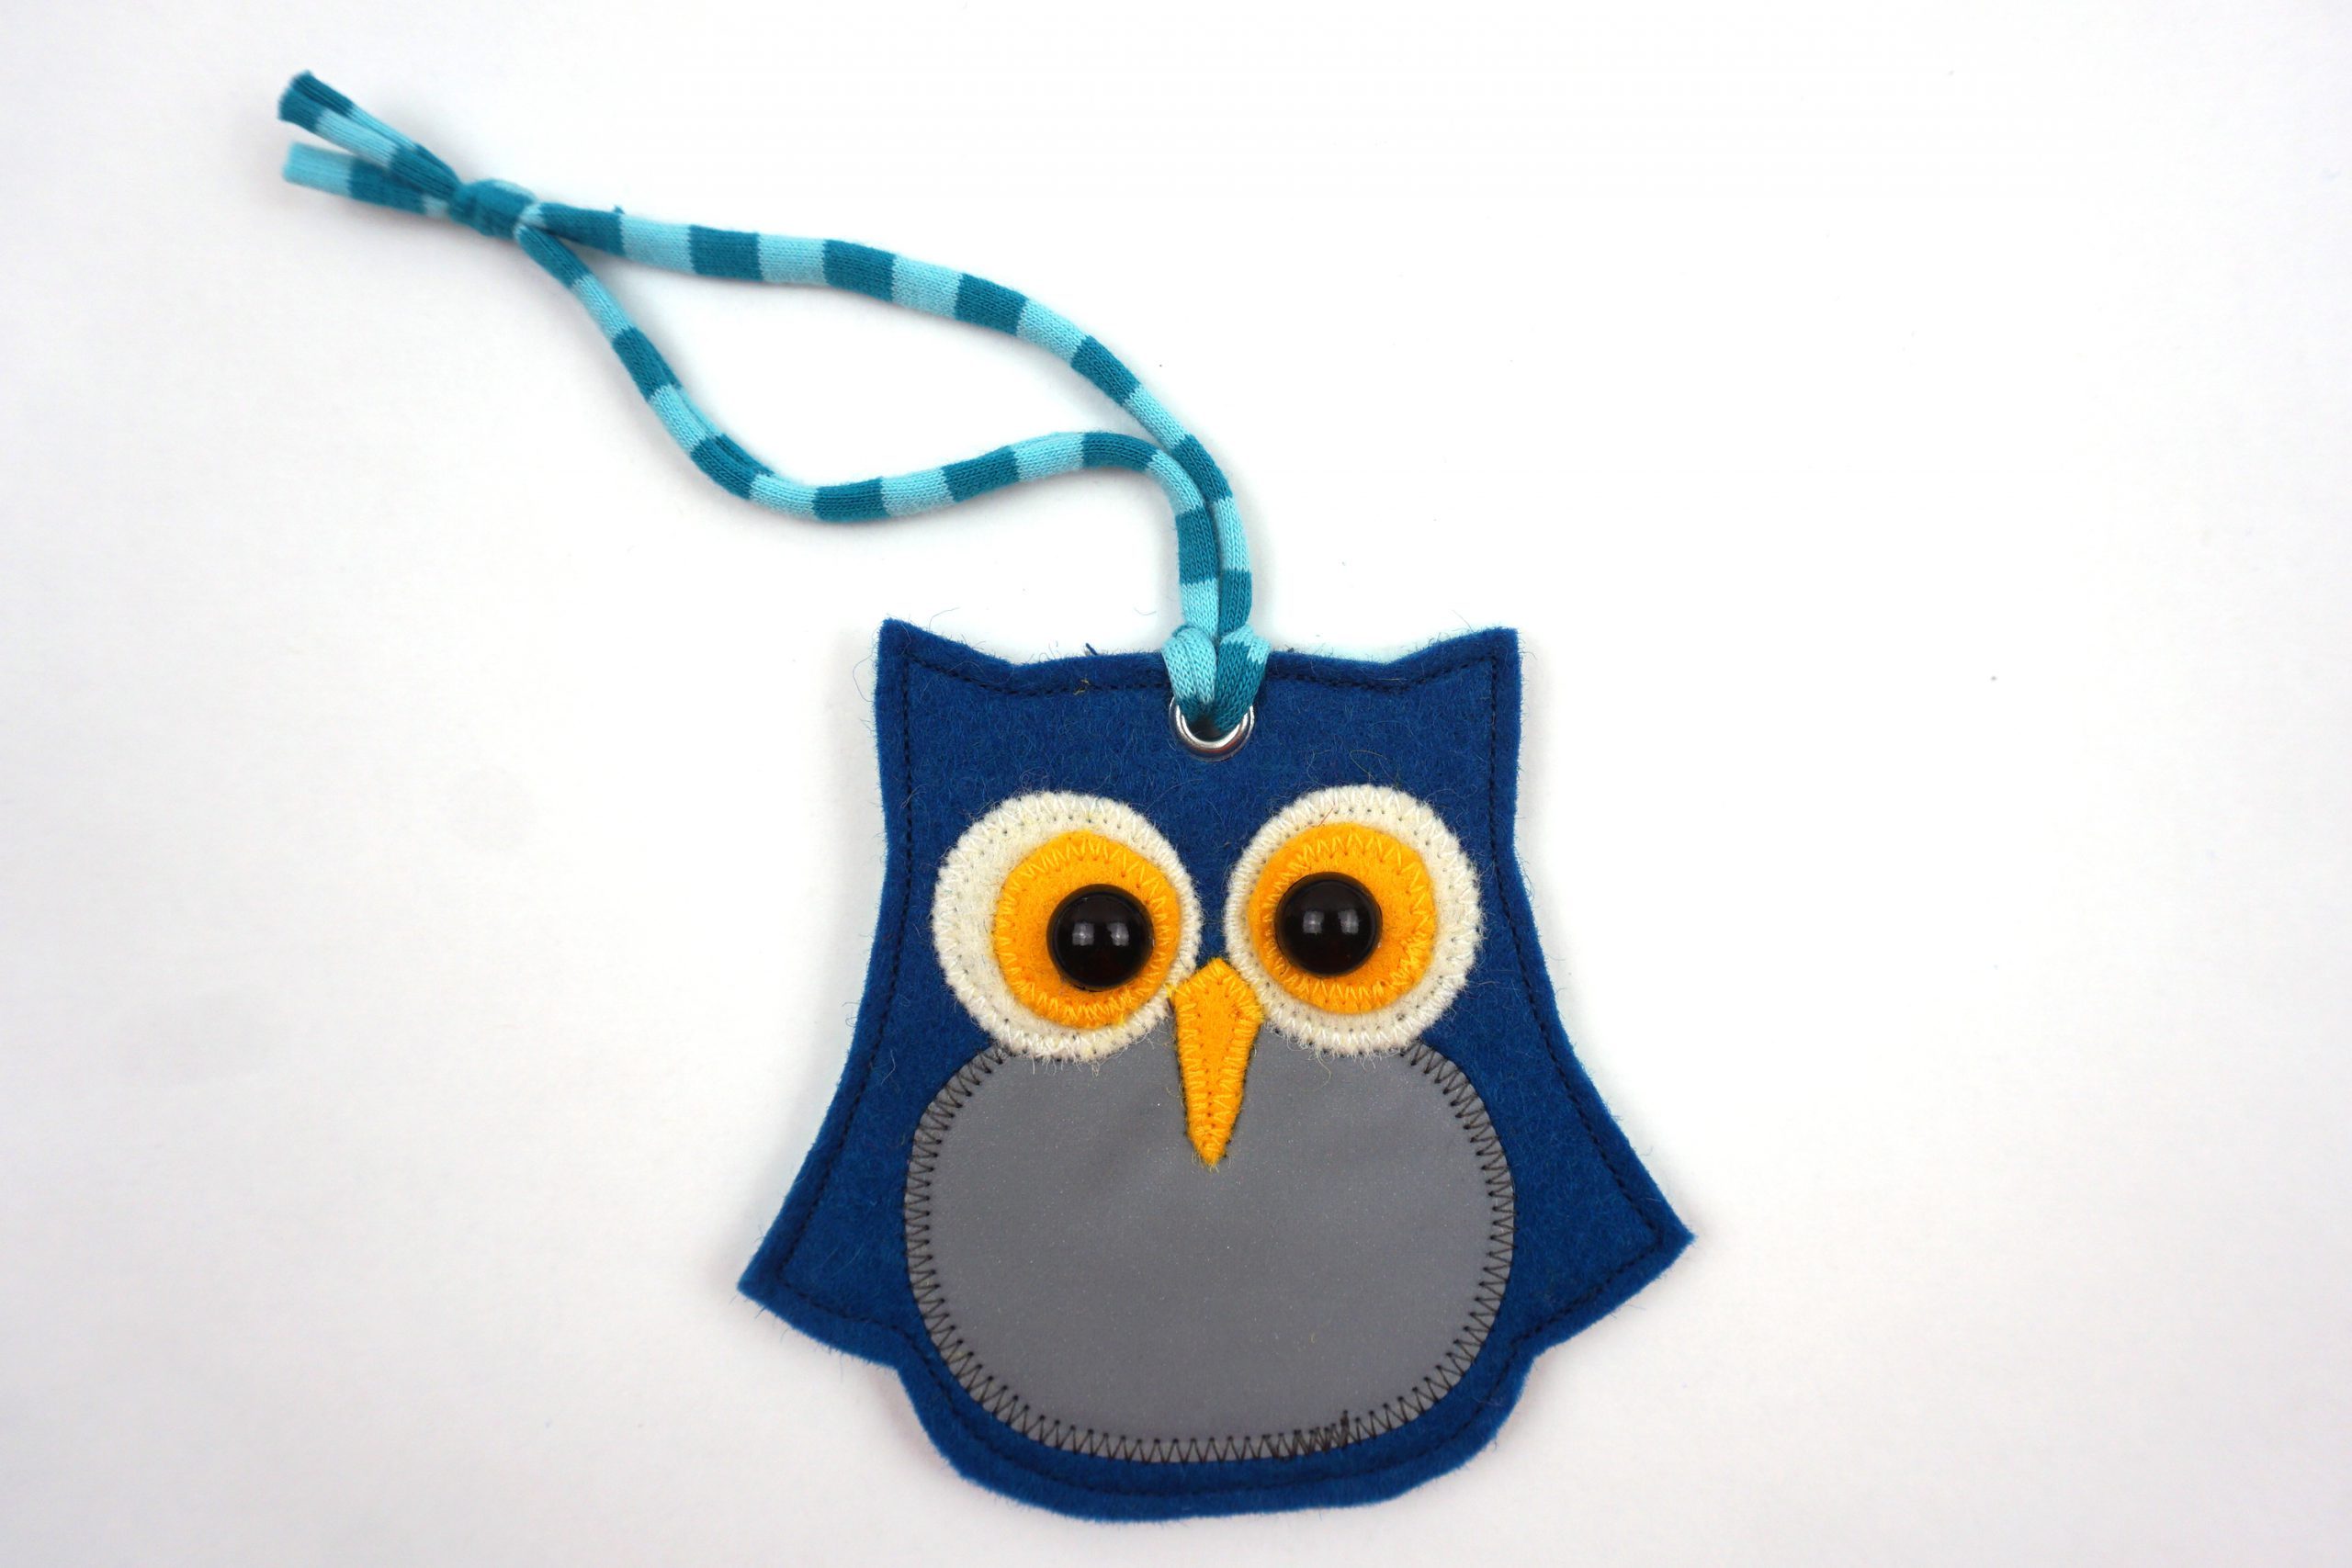
The stomach of the owl as well as the stripe on the back are made of reflective fabric. This means that the back will also be illuminated if the reflective tag is turned around. Instead of using a cord, I simply cut strips about 1 cm wide out of my jersey remnants. These curl up nicely when you stretch them.

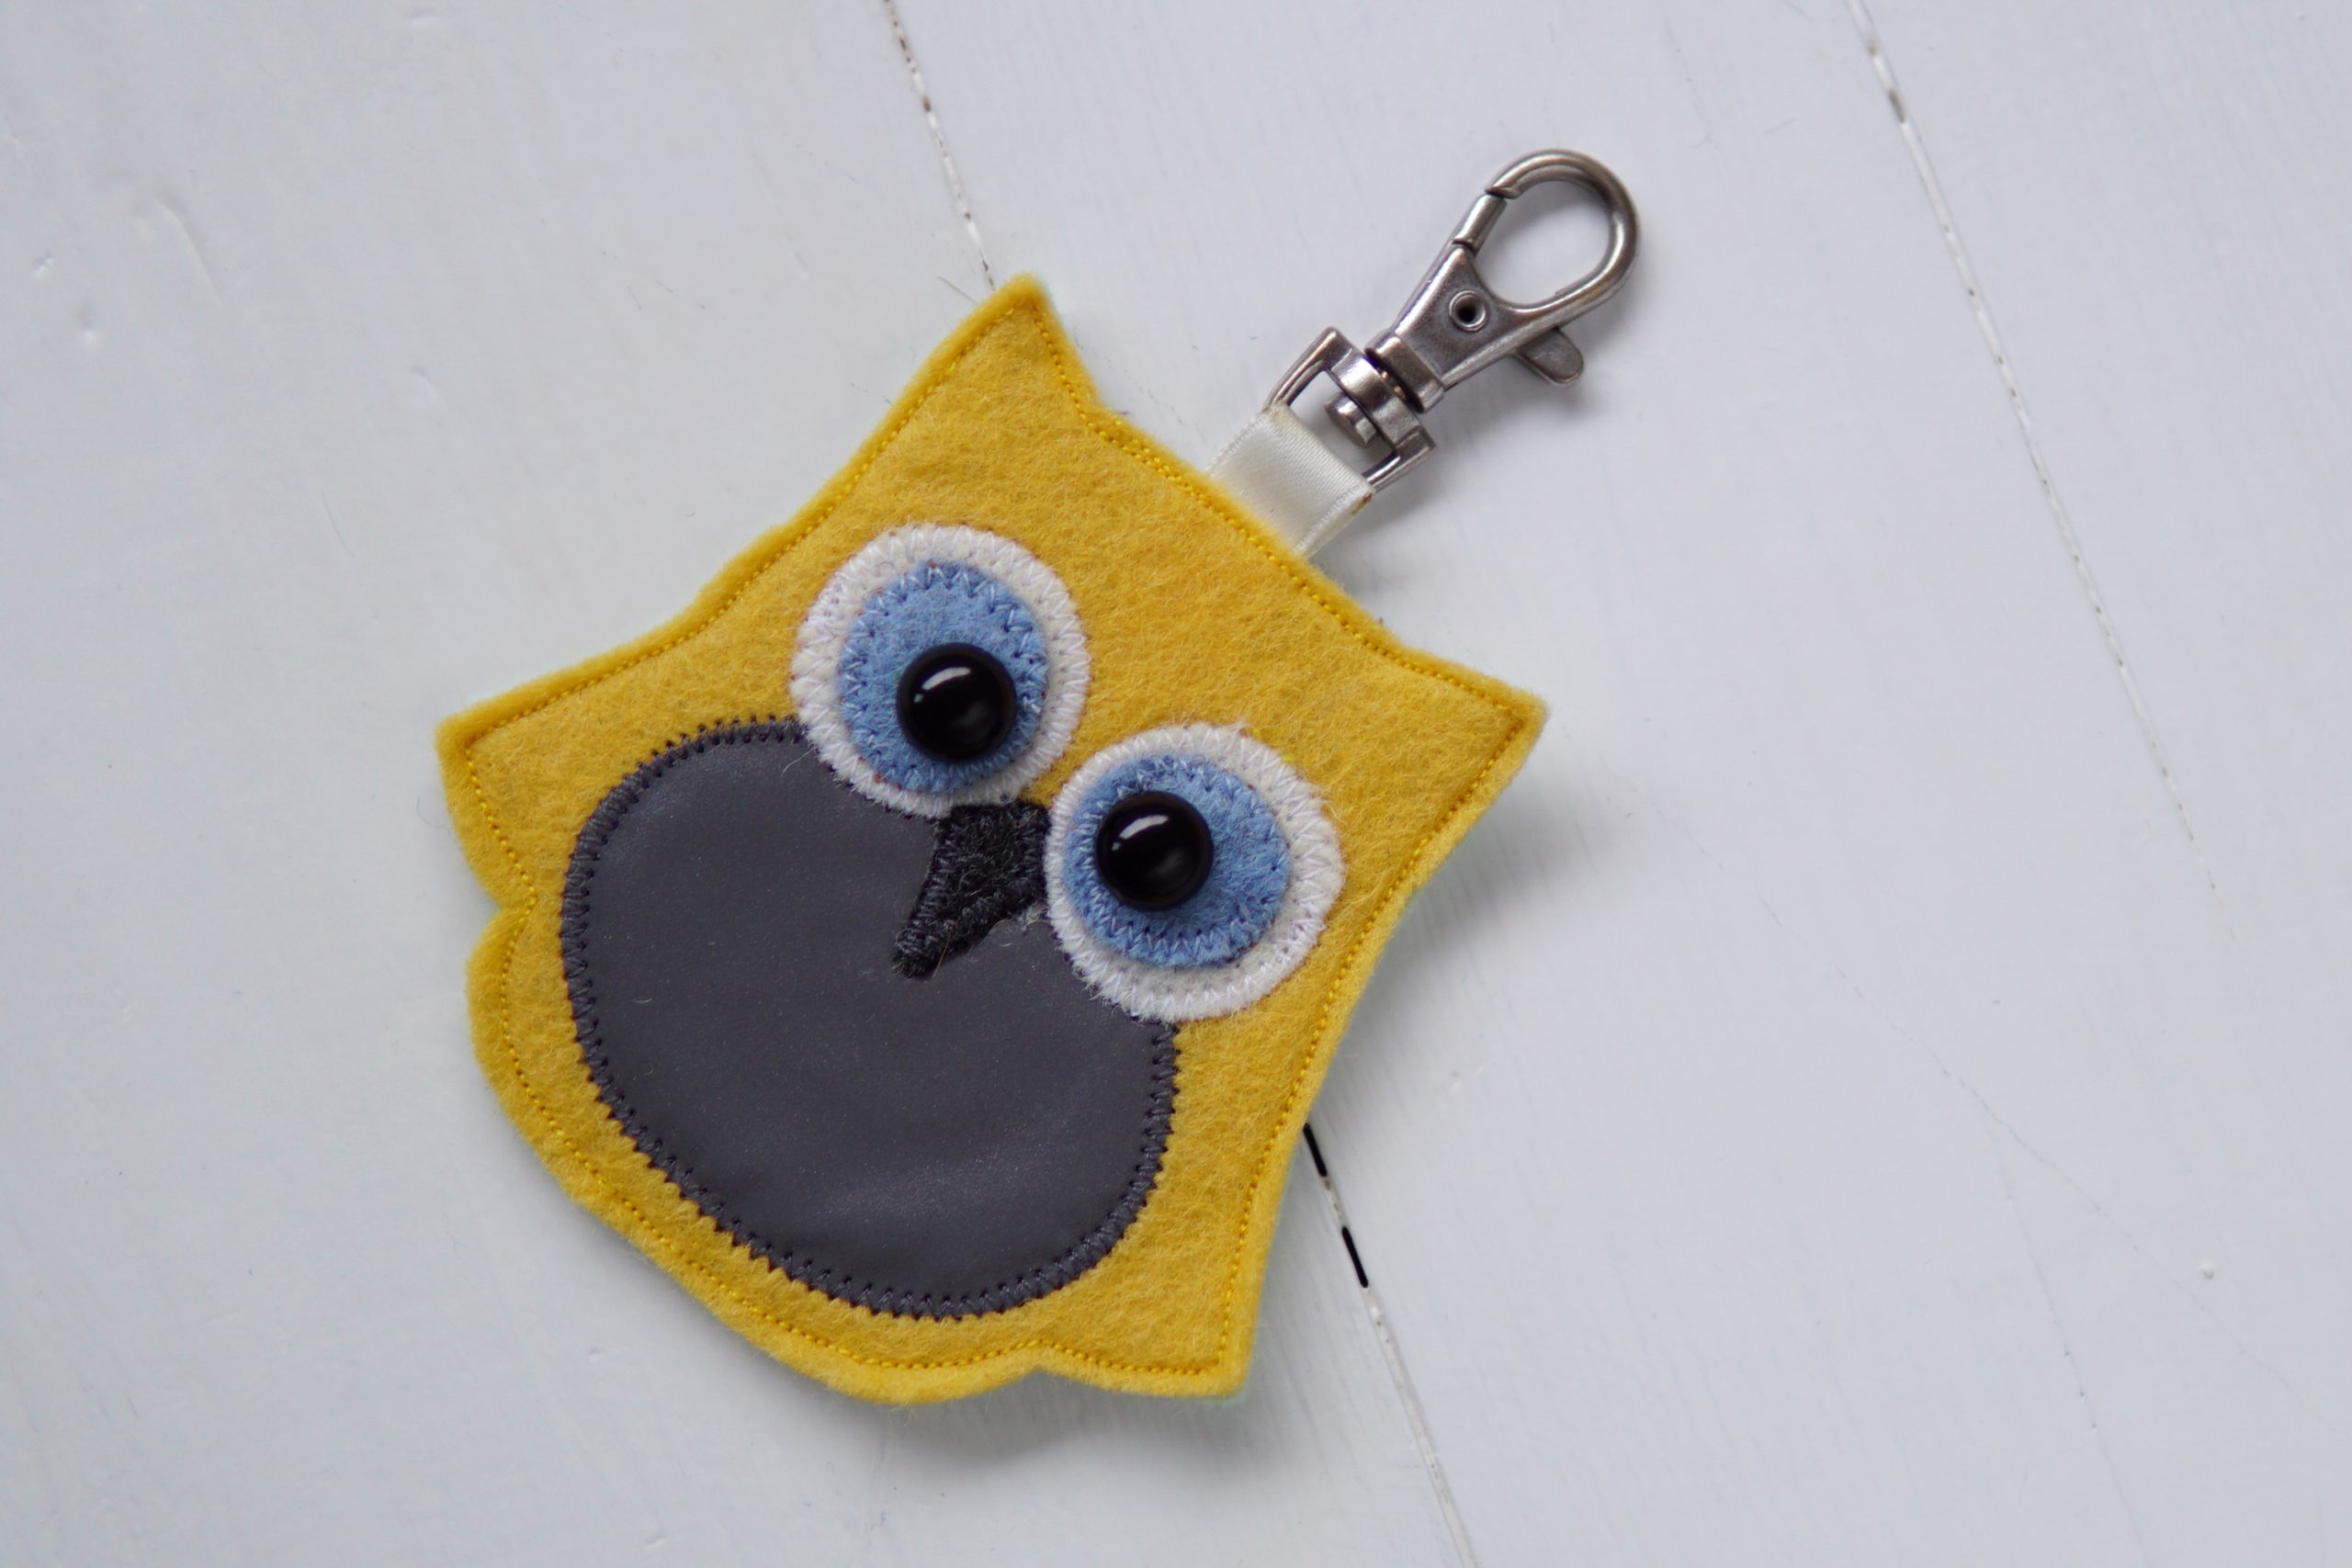
Instead of an eyelet, you can also attach a loop of woven tape and thread on a key ring. This is great if you want to attach your owl to a zipper like the one on this backpack.
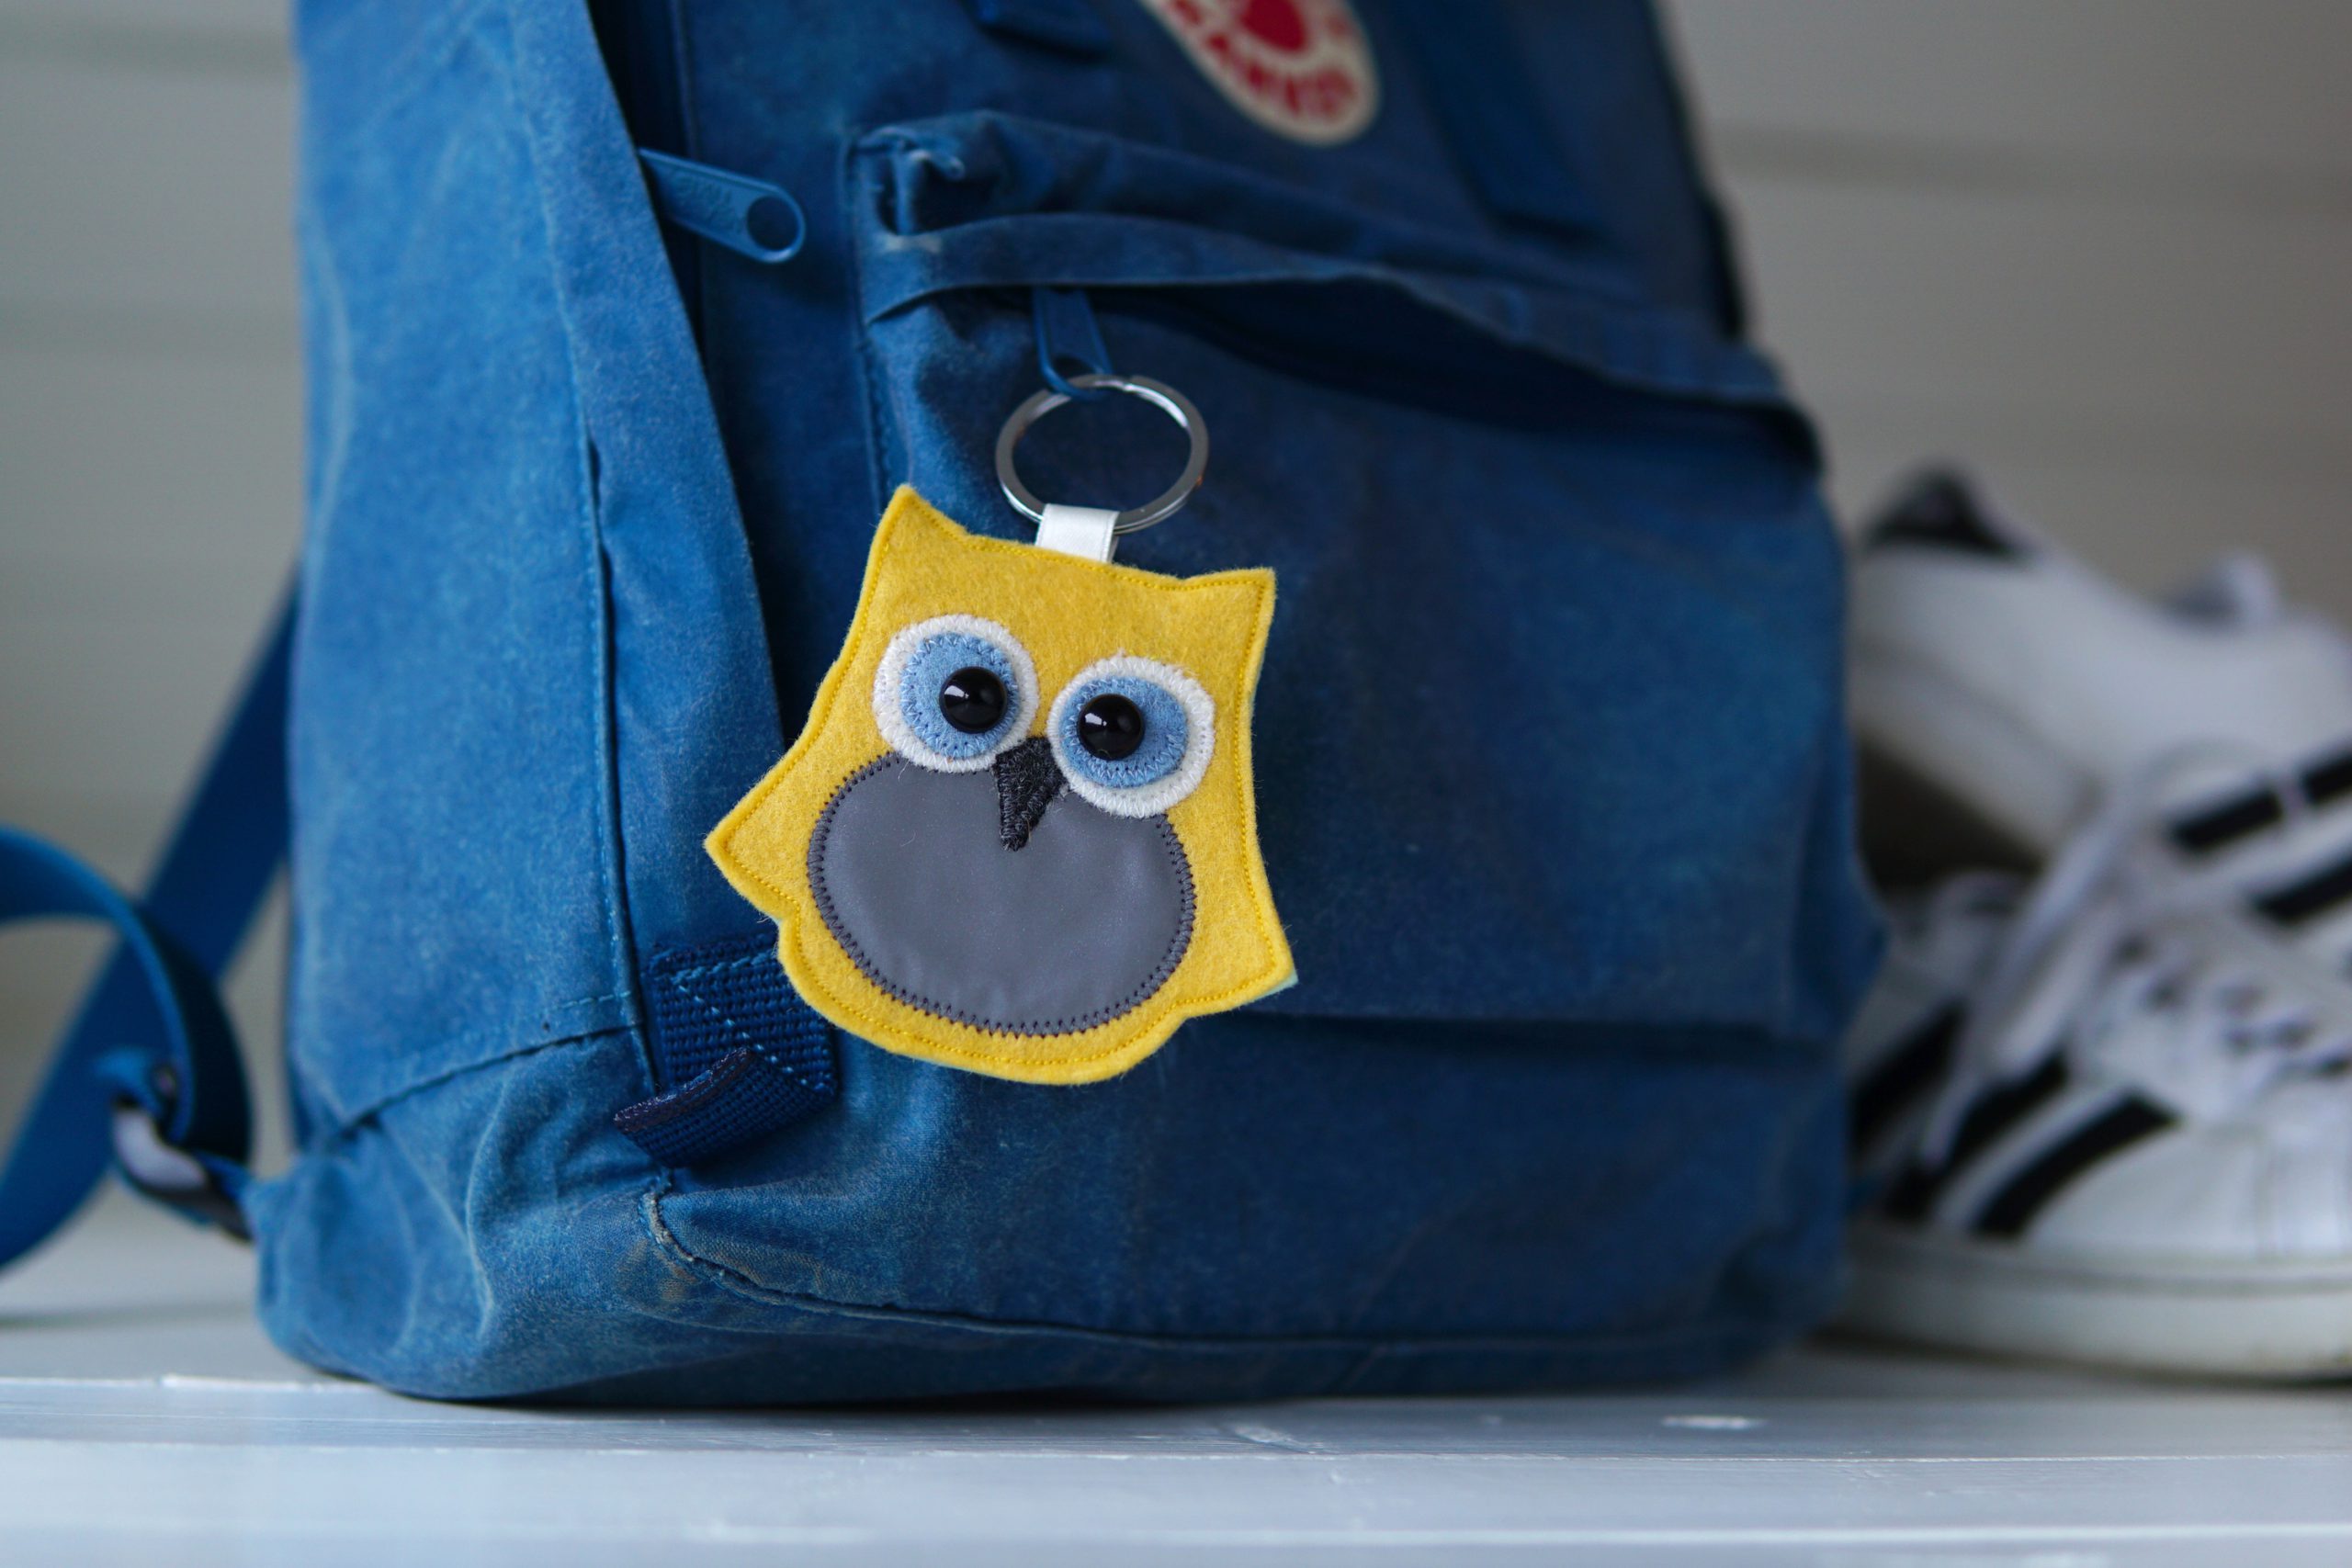
Or you can just tie it on of course!
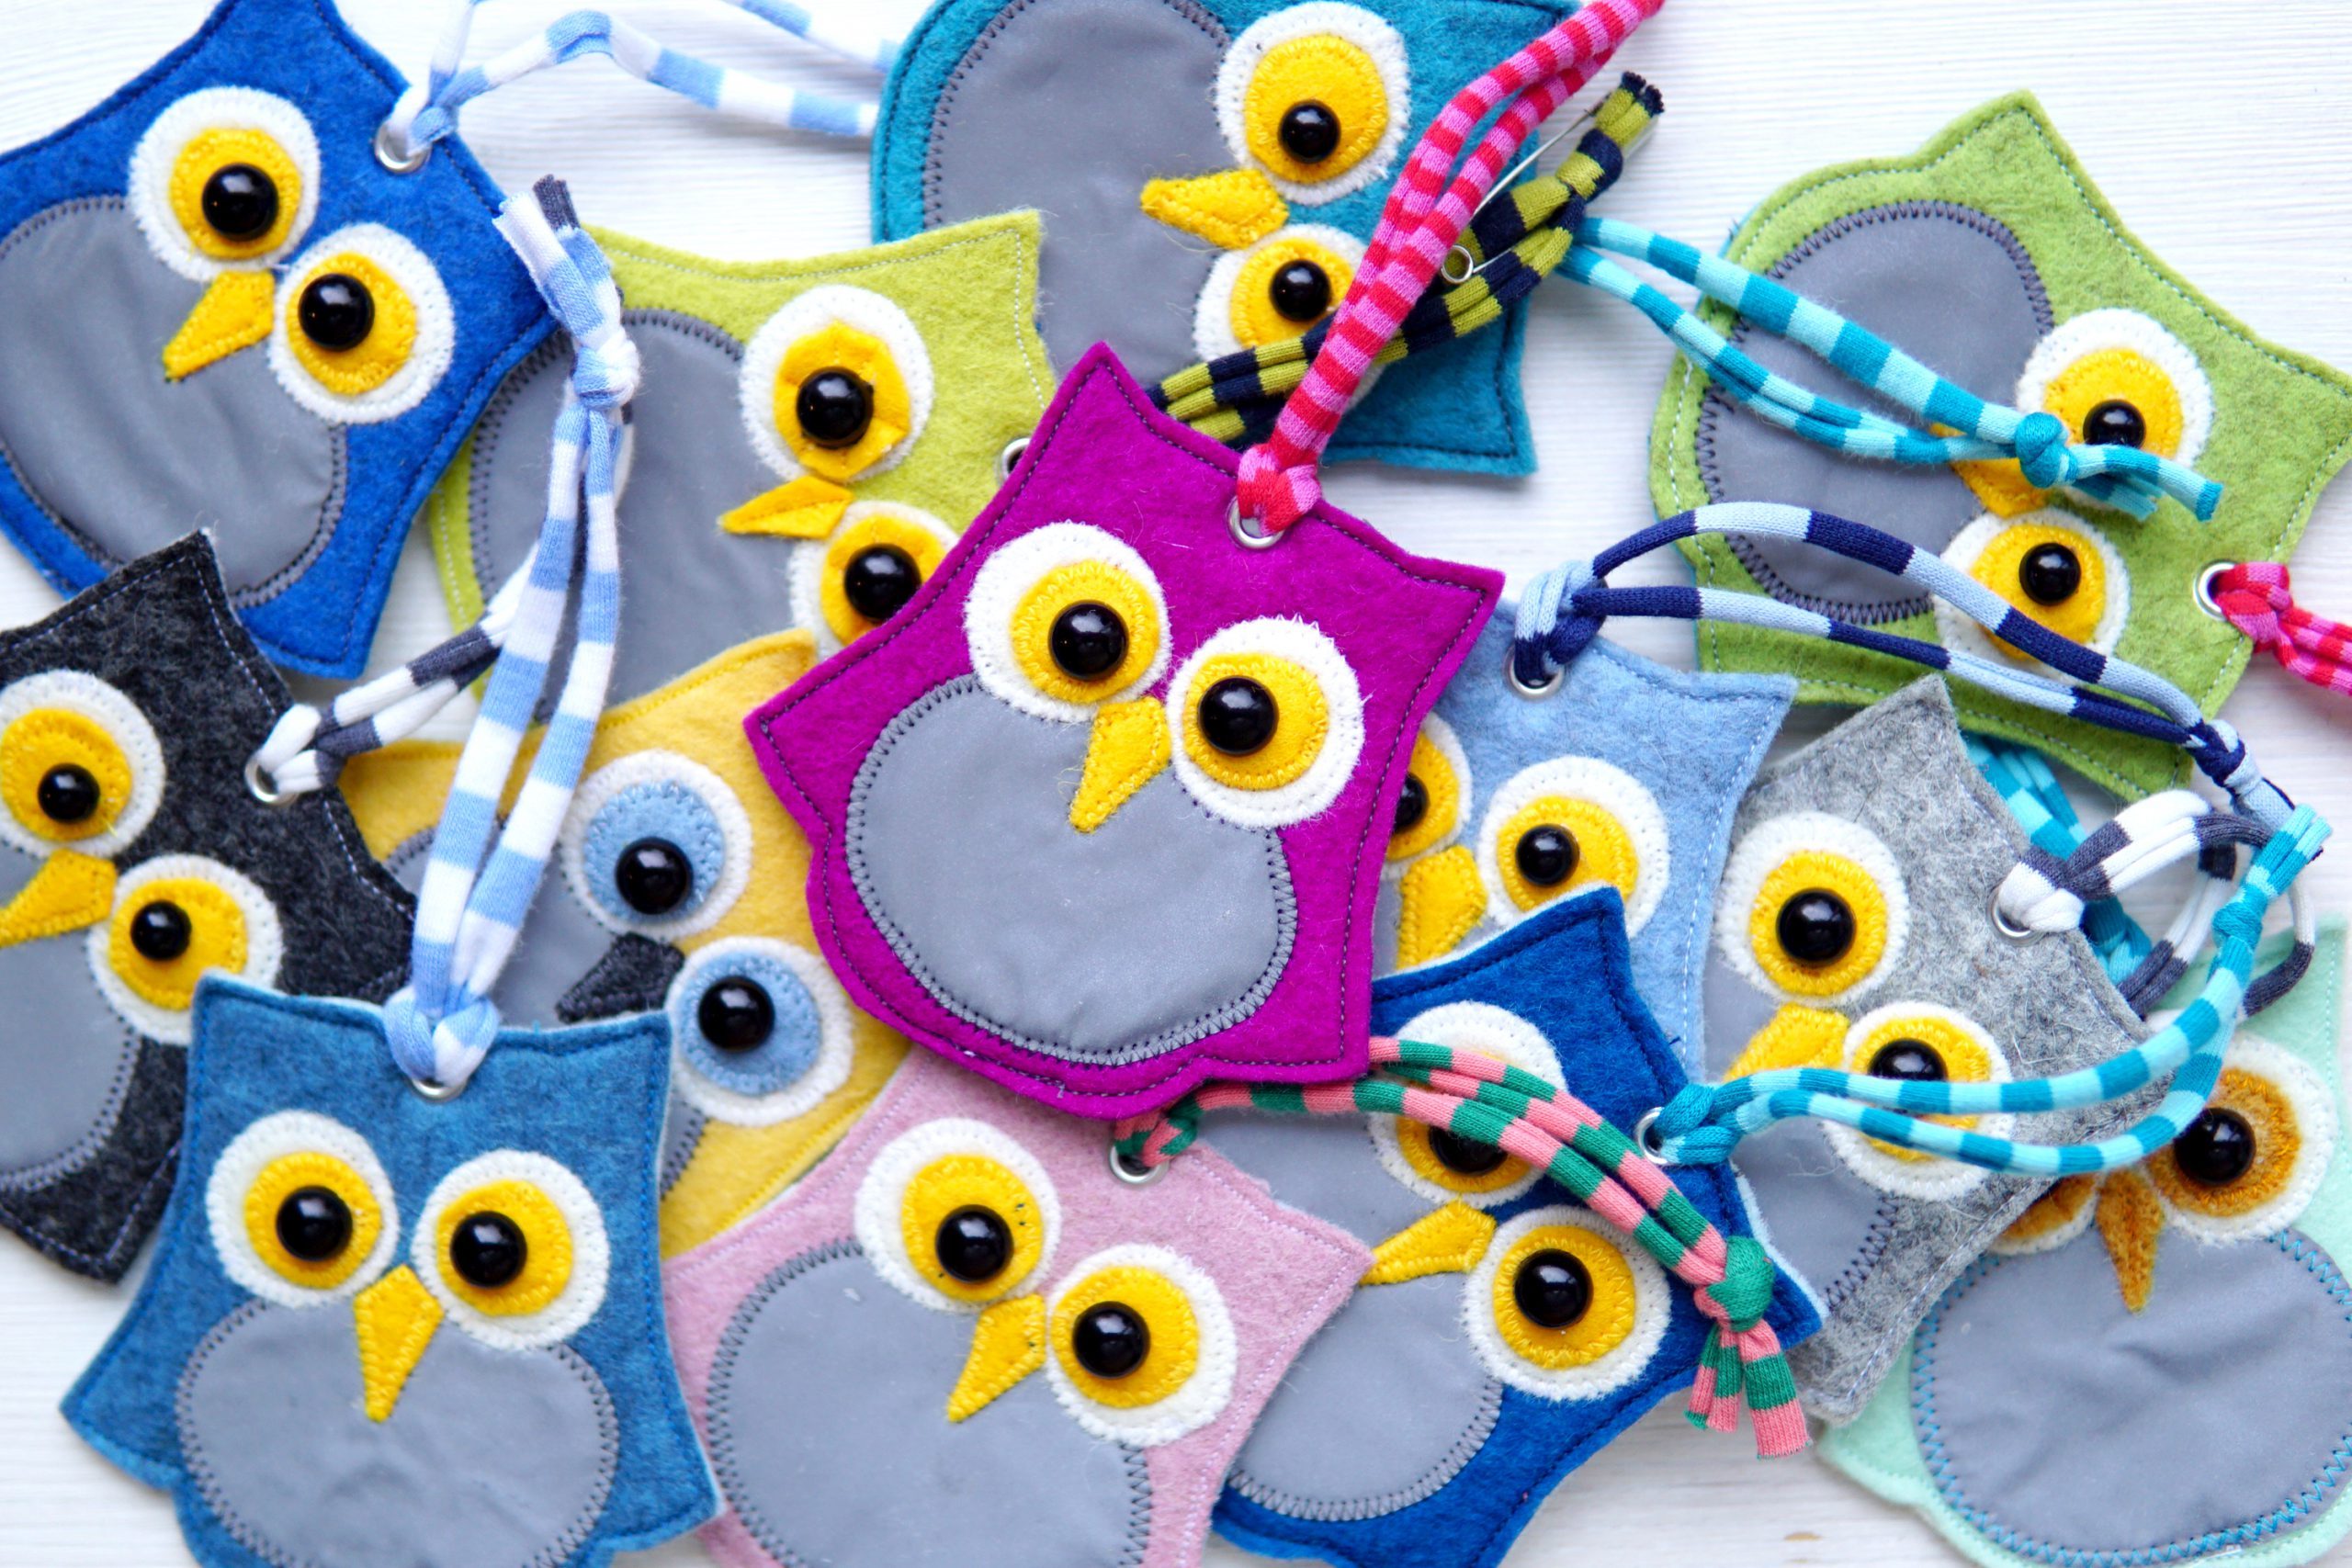
Would you like to sew beautiful and colorful owl reflective tags too? If so, then it’s not only “Time to Shine”, it’s also “time to sew”!
Sewing instructions for the “Owl” reflective tag
Size for an “Owl” reflective tag
The “Owl” reflective tag is 8 cm x 8 cm in size.
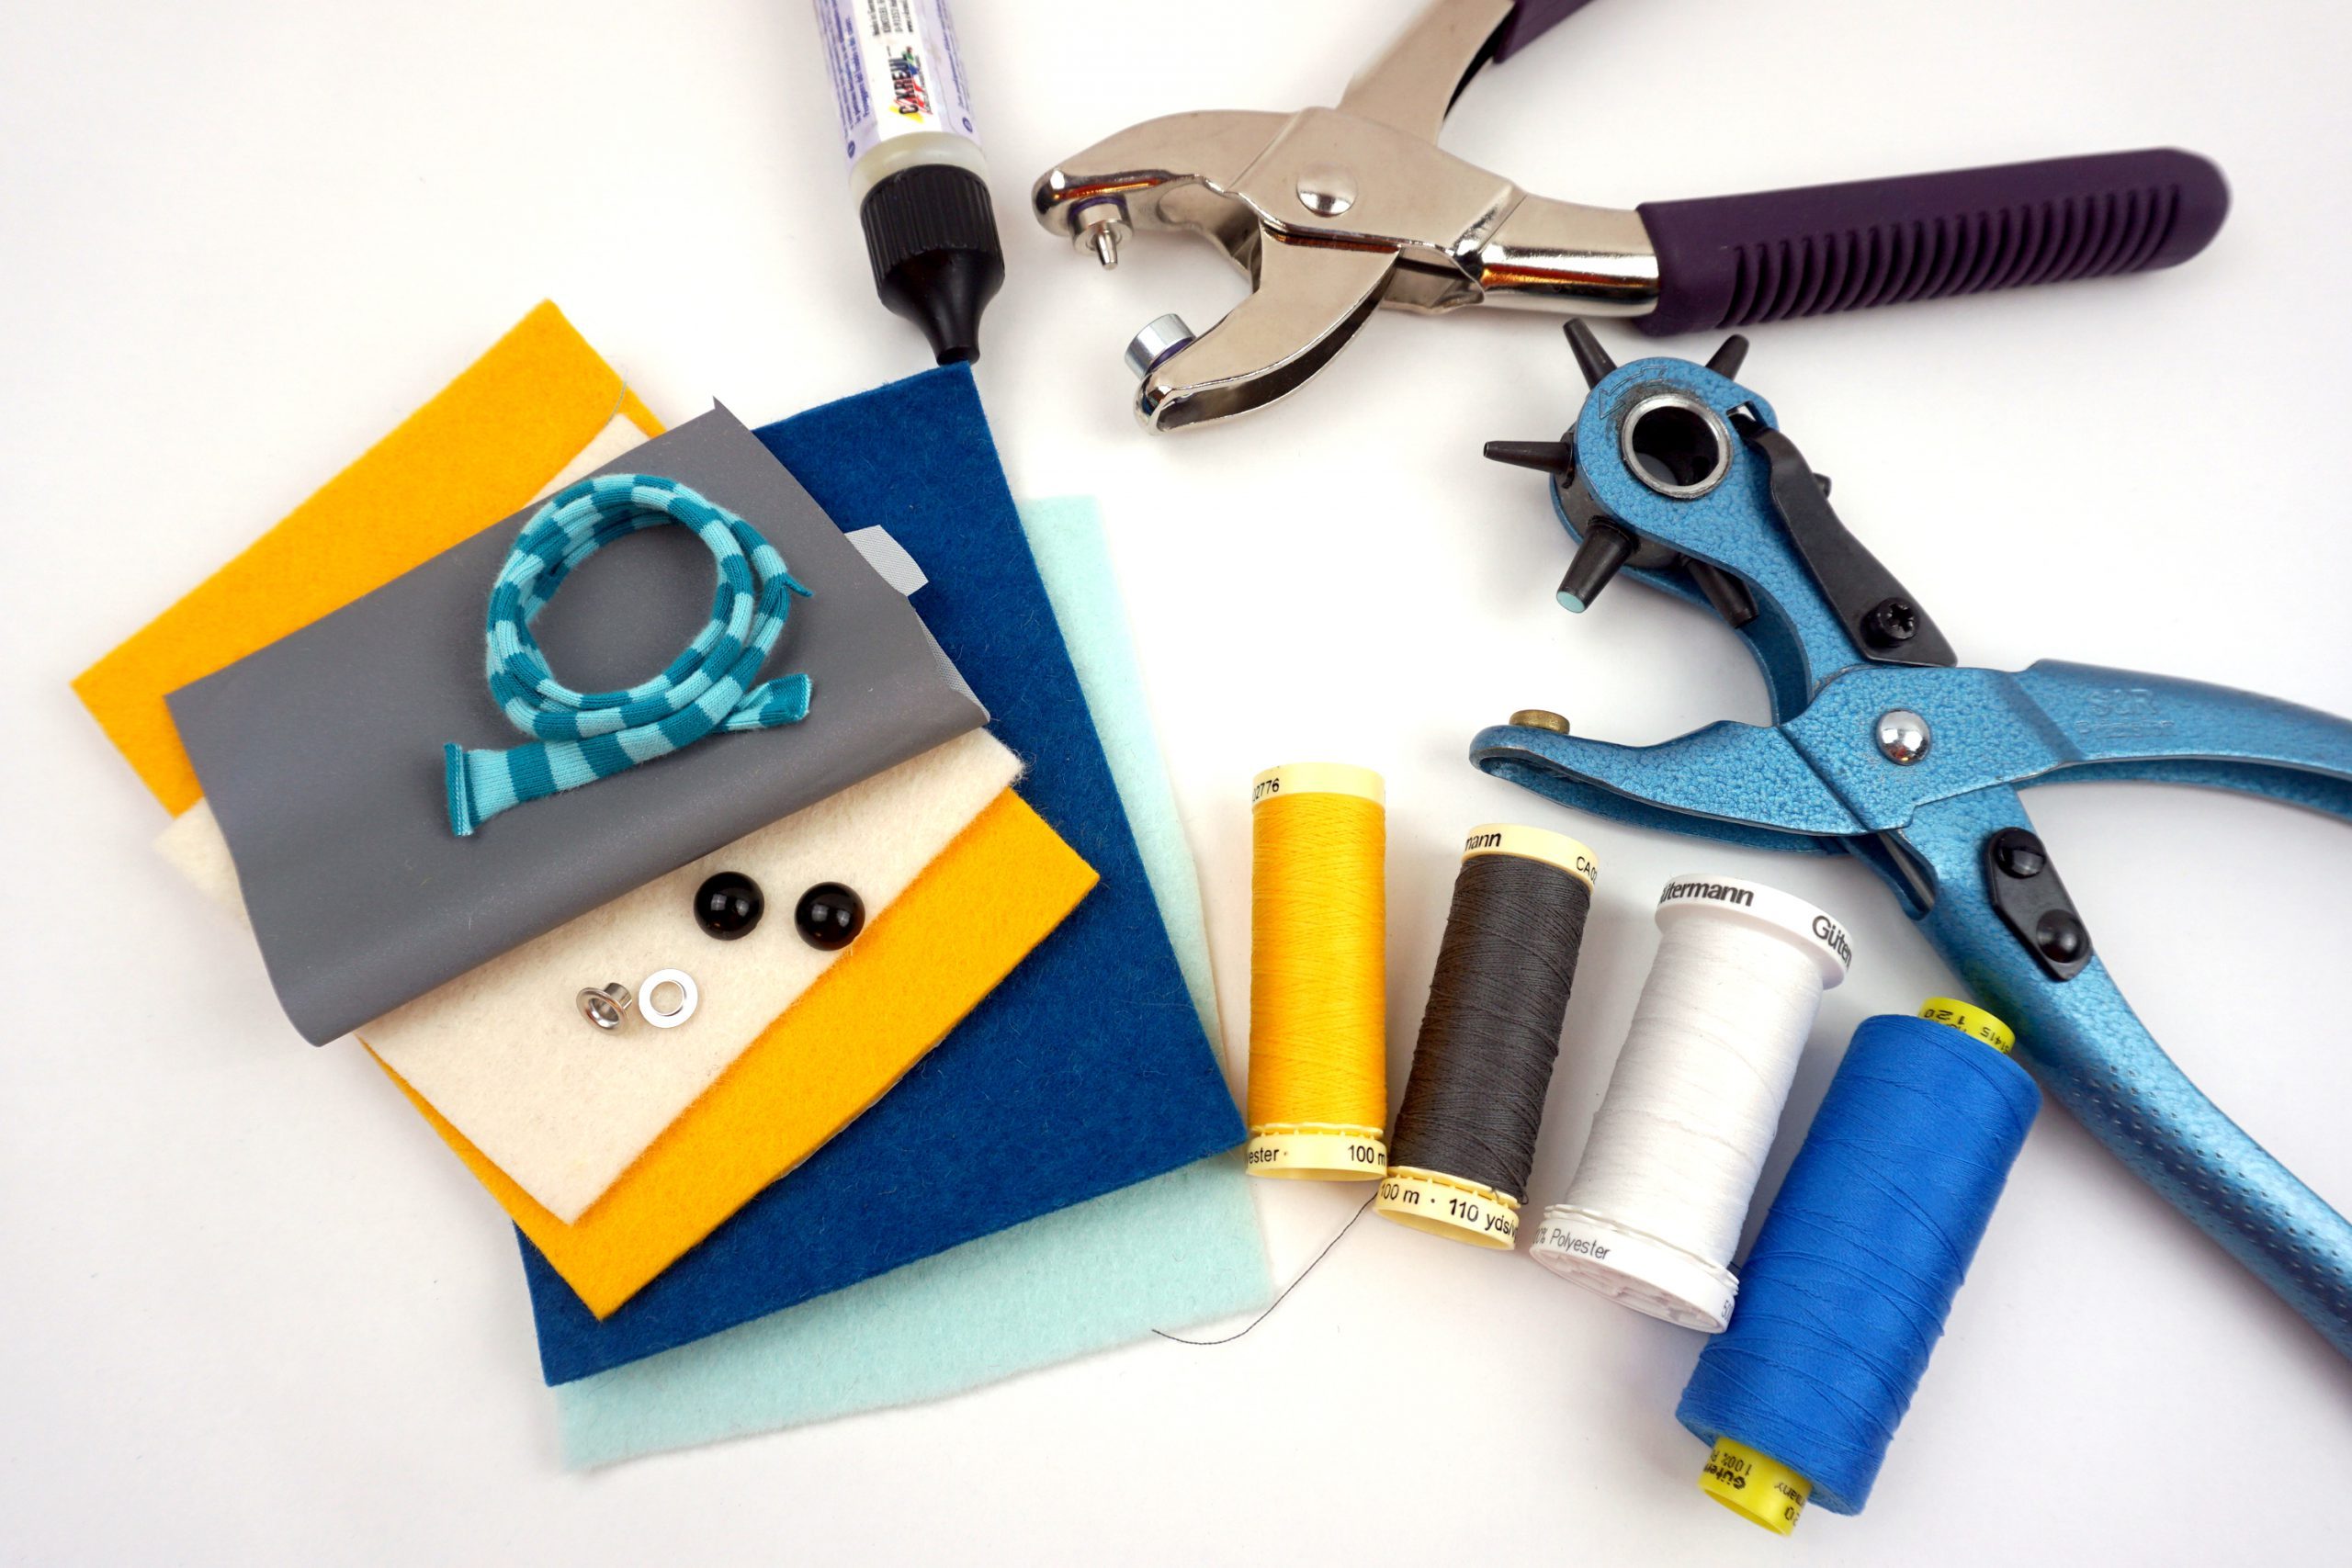
Sewing “Owl” reflective tag – materials
- Front of the owl: wool felt (approx. 2-3 mm thick) in color 1, 10 cm x 10 cm
- Back of the owl: wool felt (approx. 2-3 mm thick) in color 2, 10 cm x 10 cm
- Eyes: wool felt (approx. 2-3 mm thick) in white, remnant
- Iris and beak: wool felt (approx. 2-3 mm thick) in yellow, remnant
- Reflective fabric (alternatively, you can also use reflective adhesive patches or sew-on reflective tape)
- Fusible web, remnant
- Matching colored sewing thread
- Matching colored cord, 20 cm (the cord should fit through the eyelet! I simply cut them out of a remnant of striped jersey and stretched them a little so the edges curled inwards)
- 2 half beads in black, diameter approx. 8-10 mm (alternatively, you can use small black buttons or beads)
- 1 silver eyelet with washer, diameter approx. 4-6 mm
You will also need:
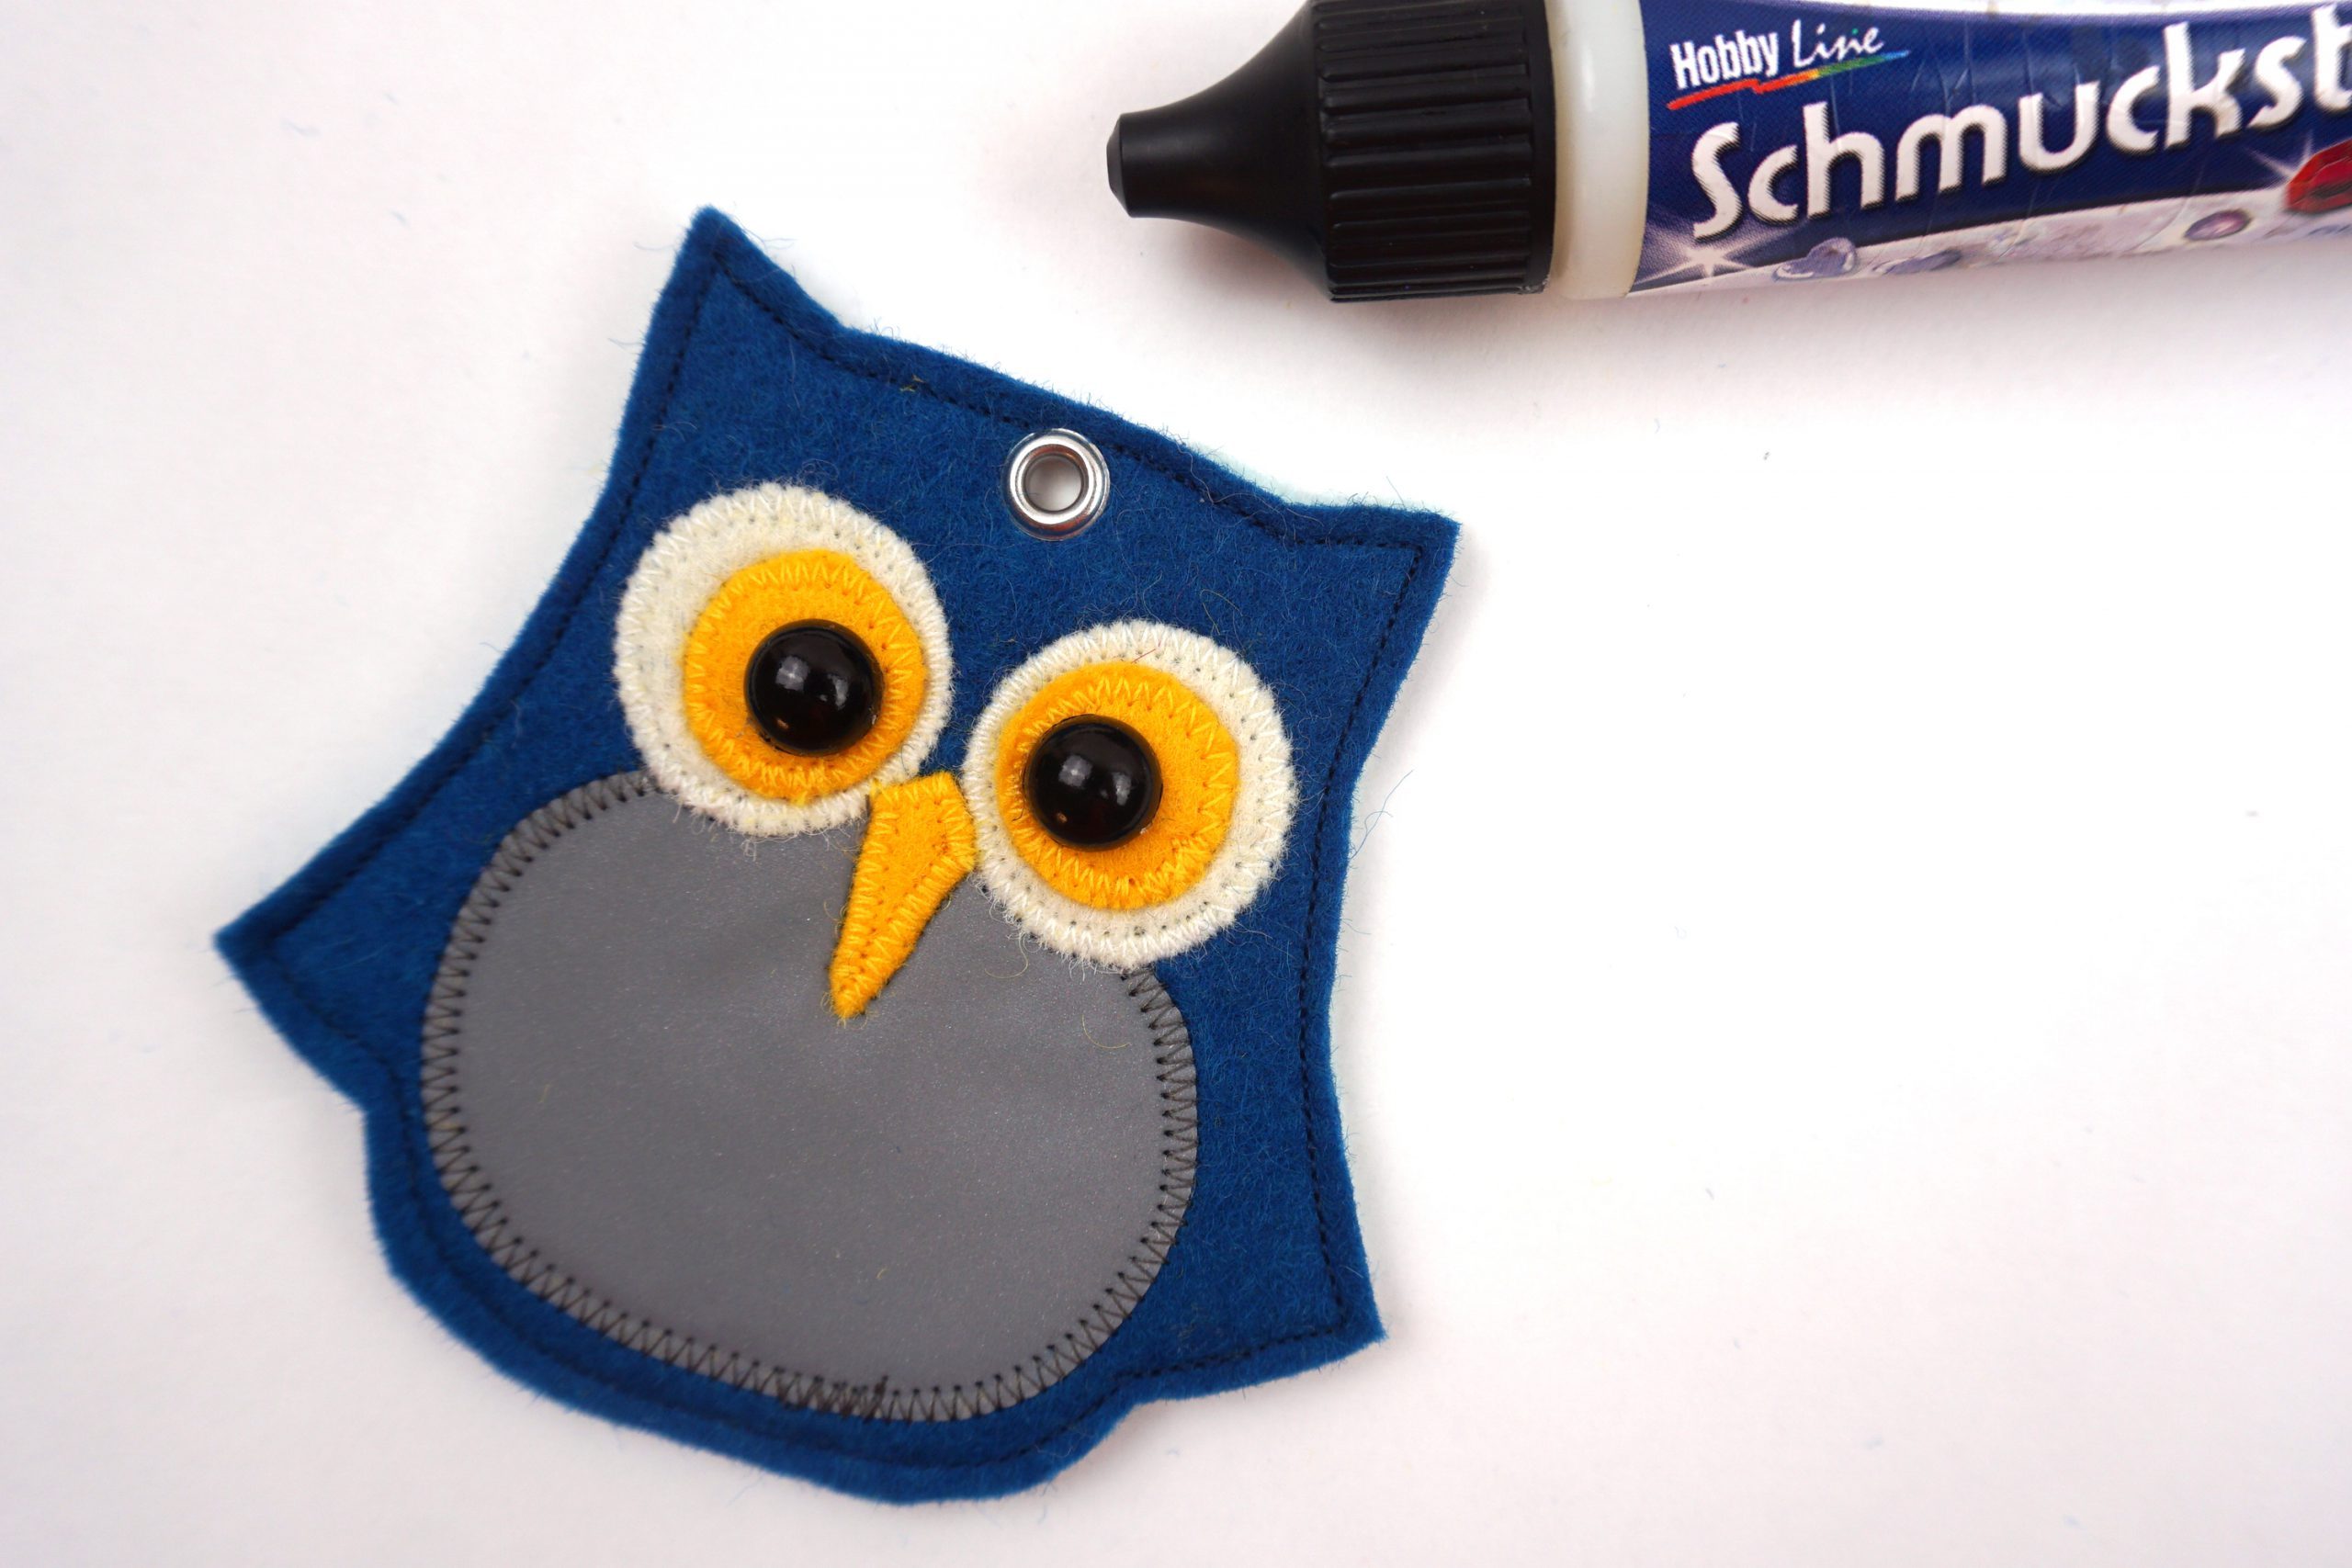
- Gemstone glue or all-purpose adhesive
- Fabric glue stick (alternatively you can use a normal glue stick)
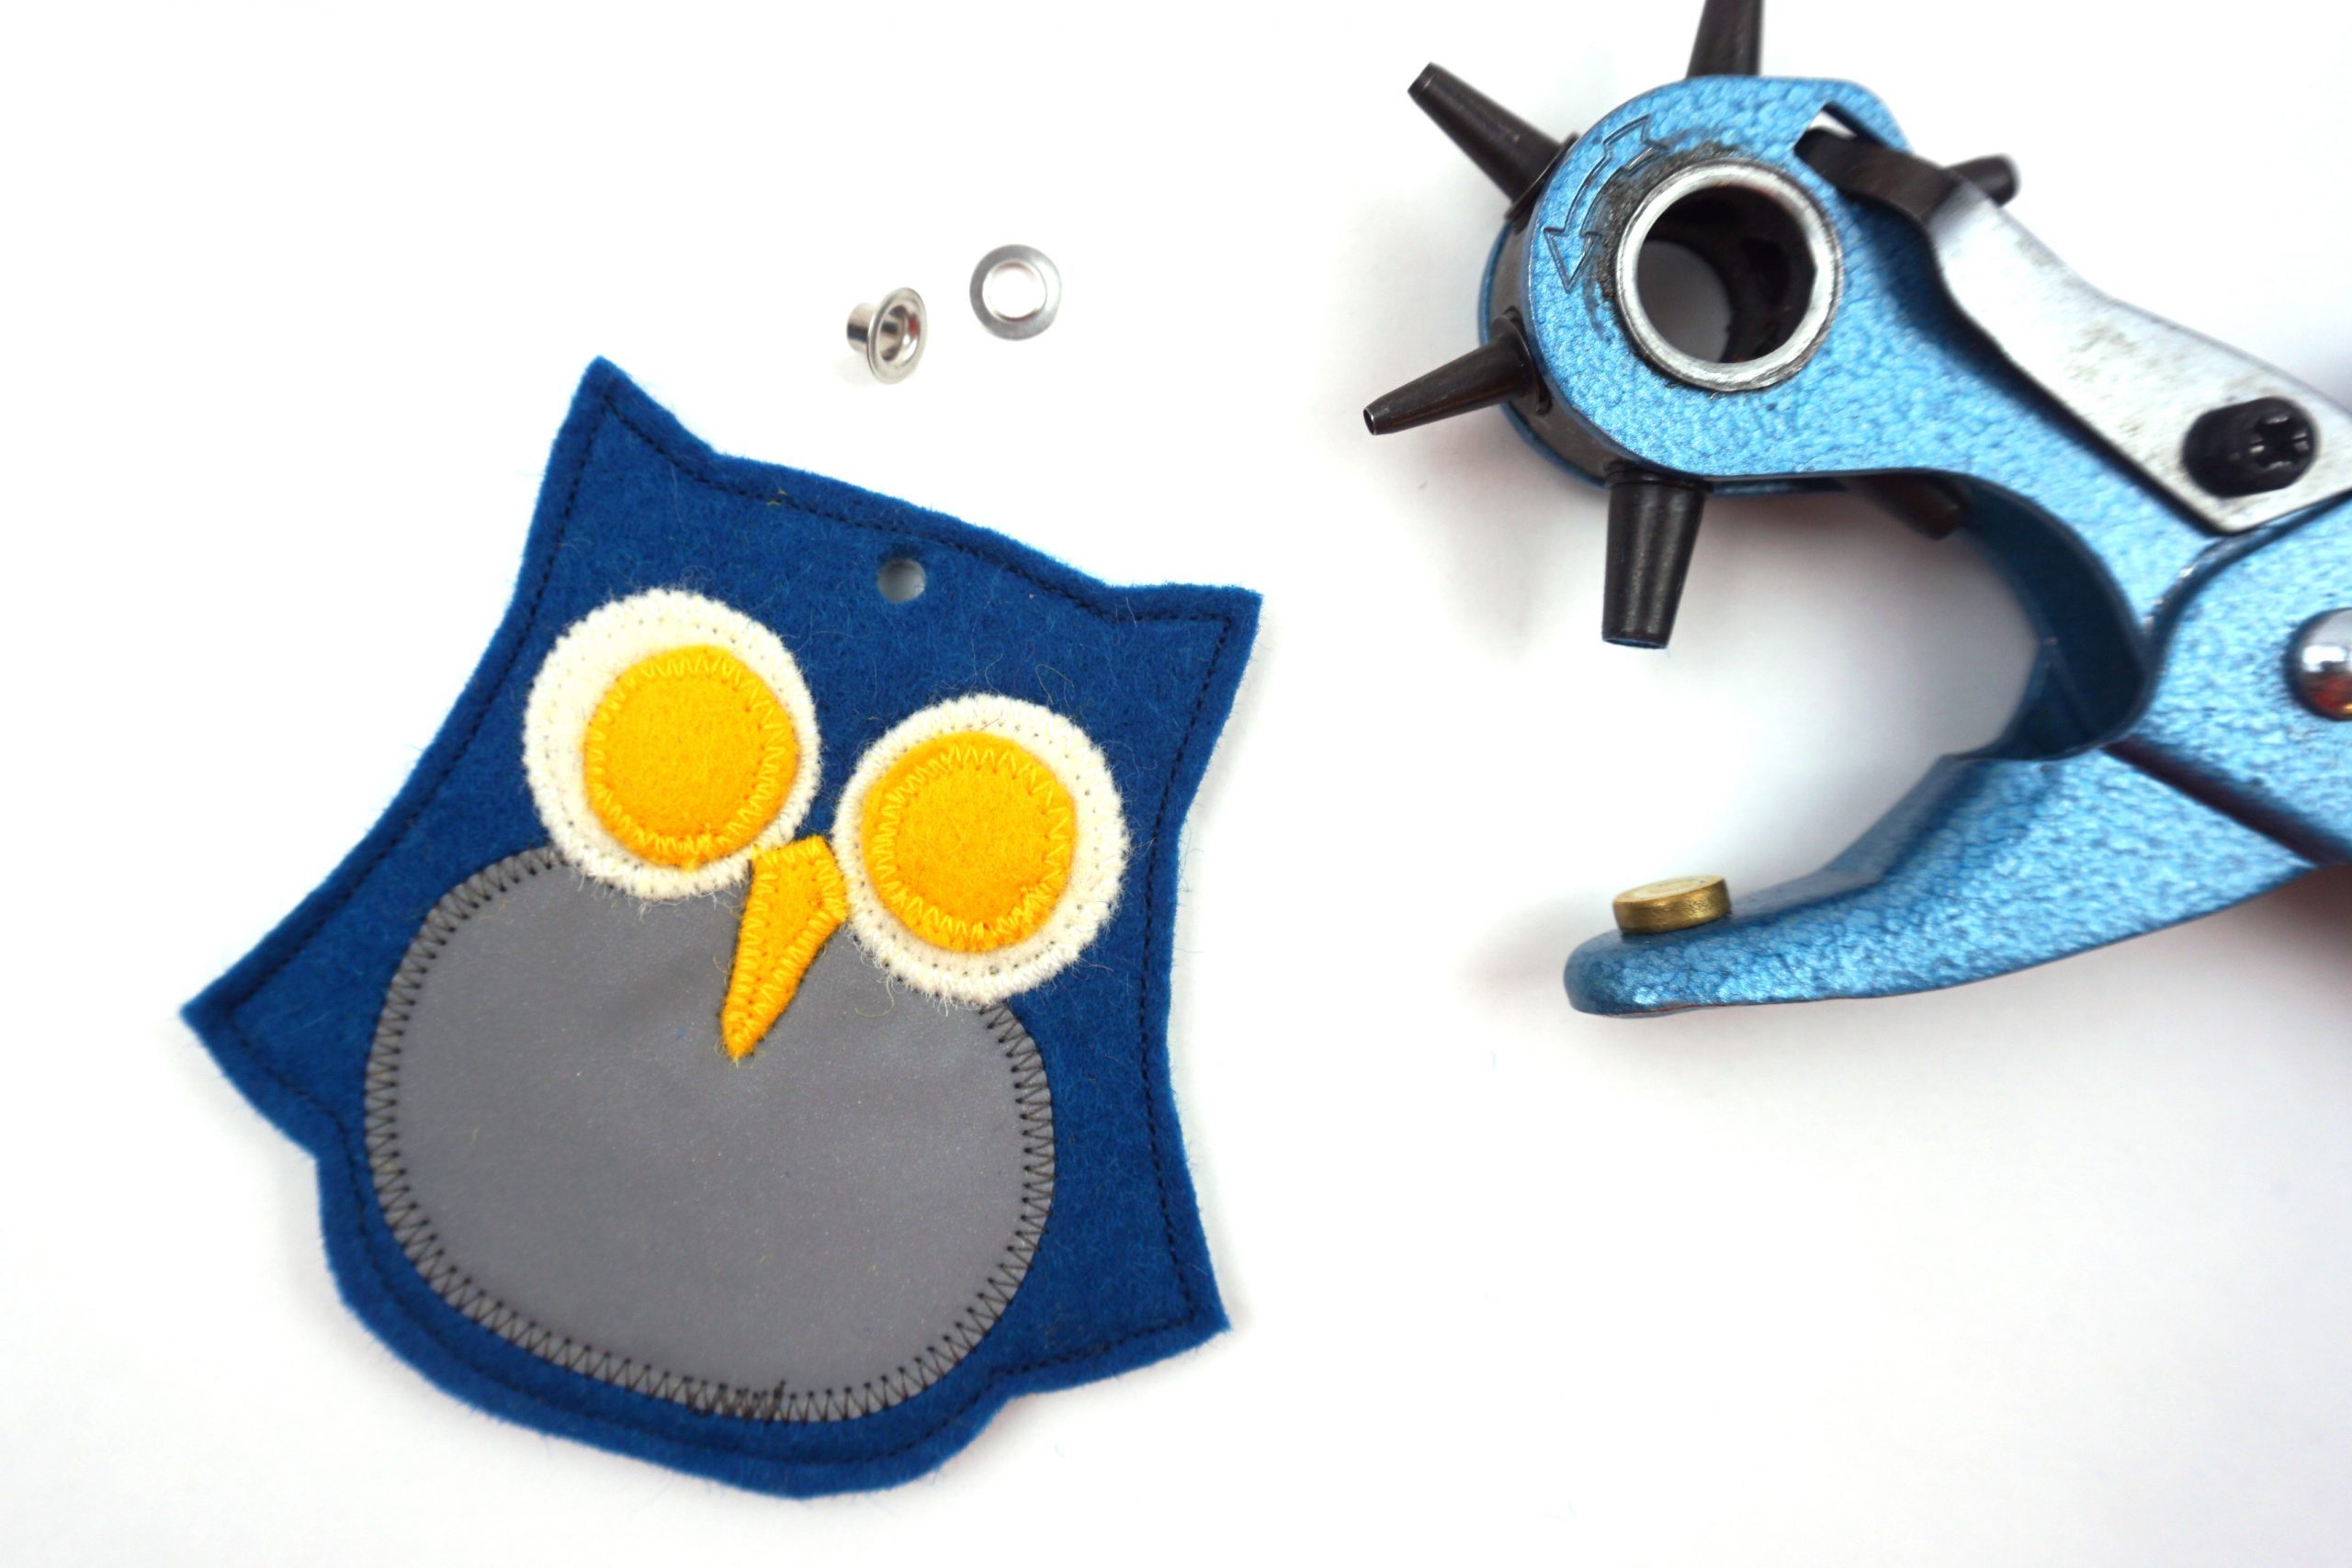
- Punch pliers
- Eyelet pliers or a tool for attaching the eyelet
Downloading the pattern
You can download the pattern for the “Owl” reflective tag here for free:
When printing out the pattern, make sure not to make any size adjustments.
Tip
You can also sew the reflective tag in other sizes. To do this, simply print out the pattern using a different scaling factor. You can also enlarge or reduce it as you wish on a photocopier.
Seam allowances
The patterns already contain all the necessary seam allowances. Therefore, when you are cutting out, you do not need to add any extra seam allowance.
Sewing the “Owl” reflective tag – let’s get started:
Cutting out
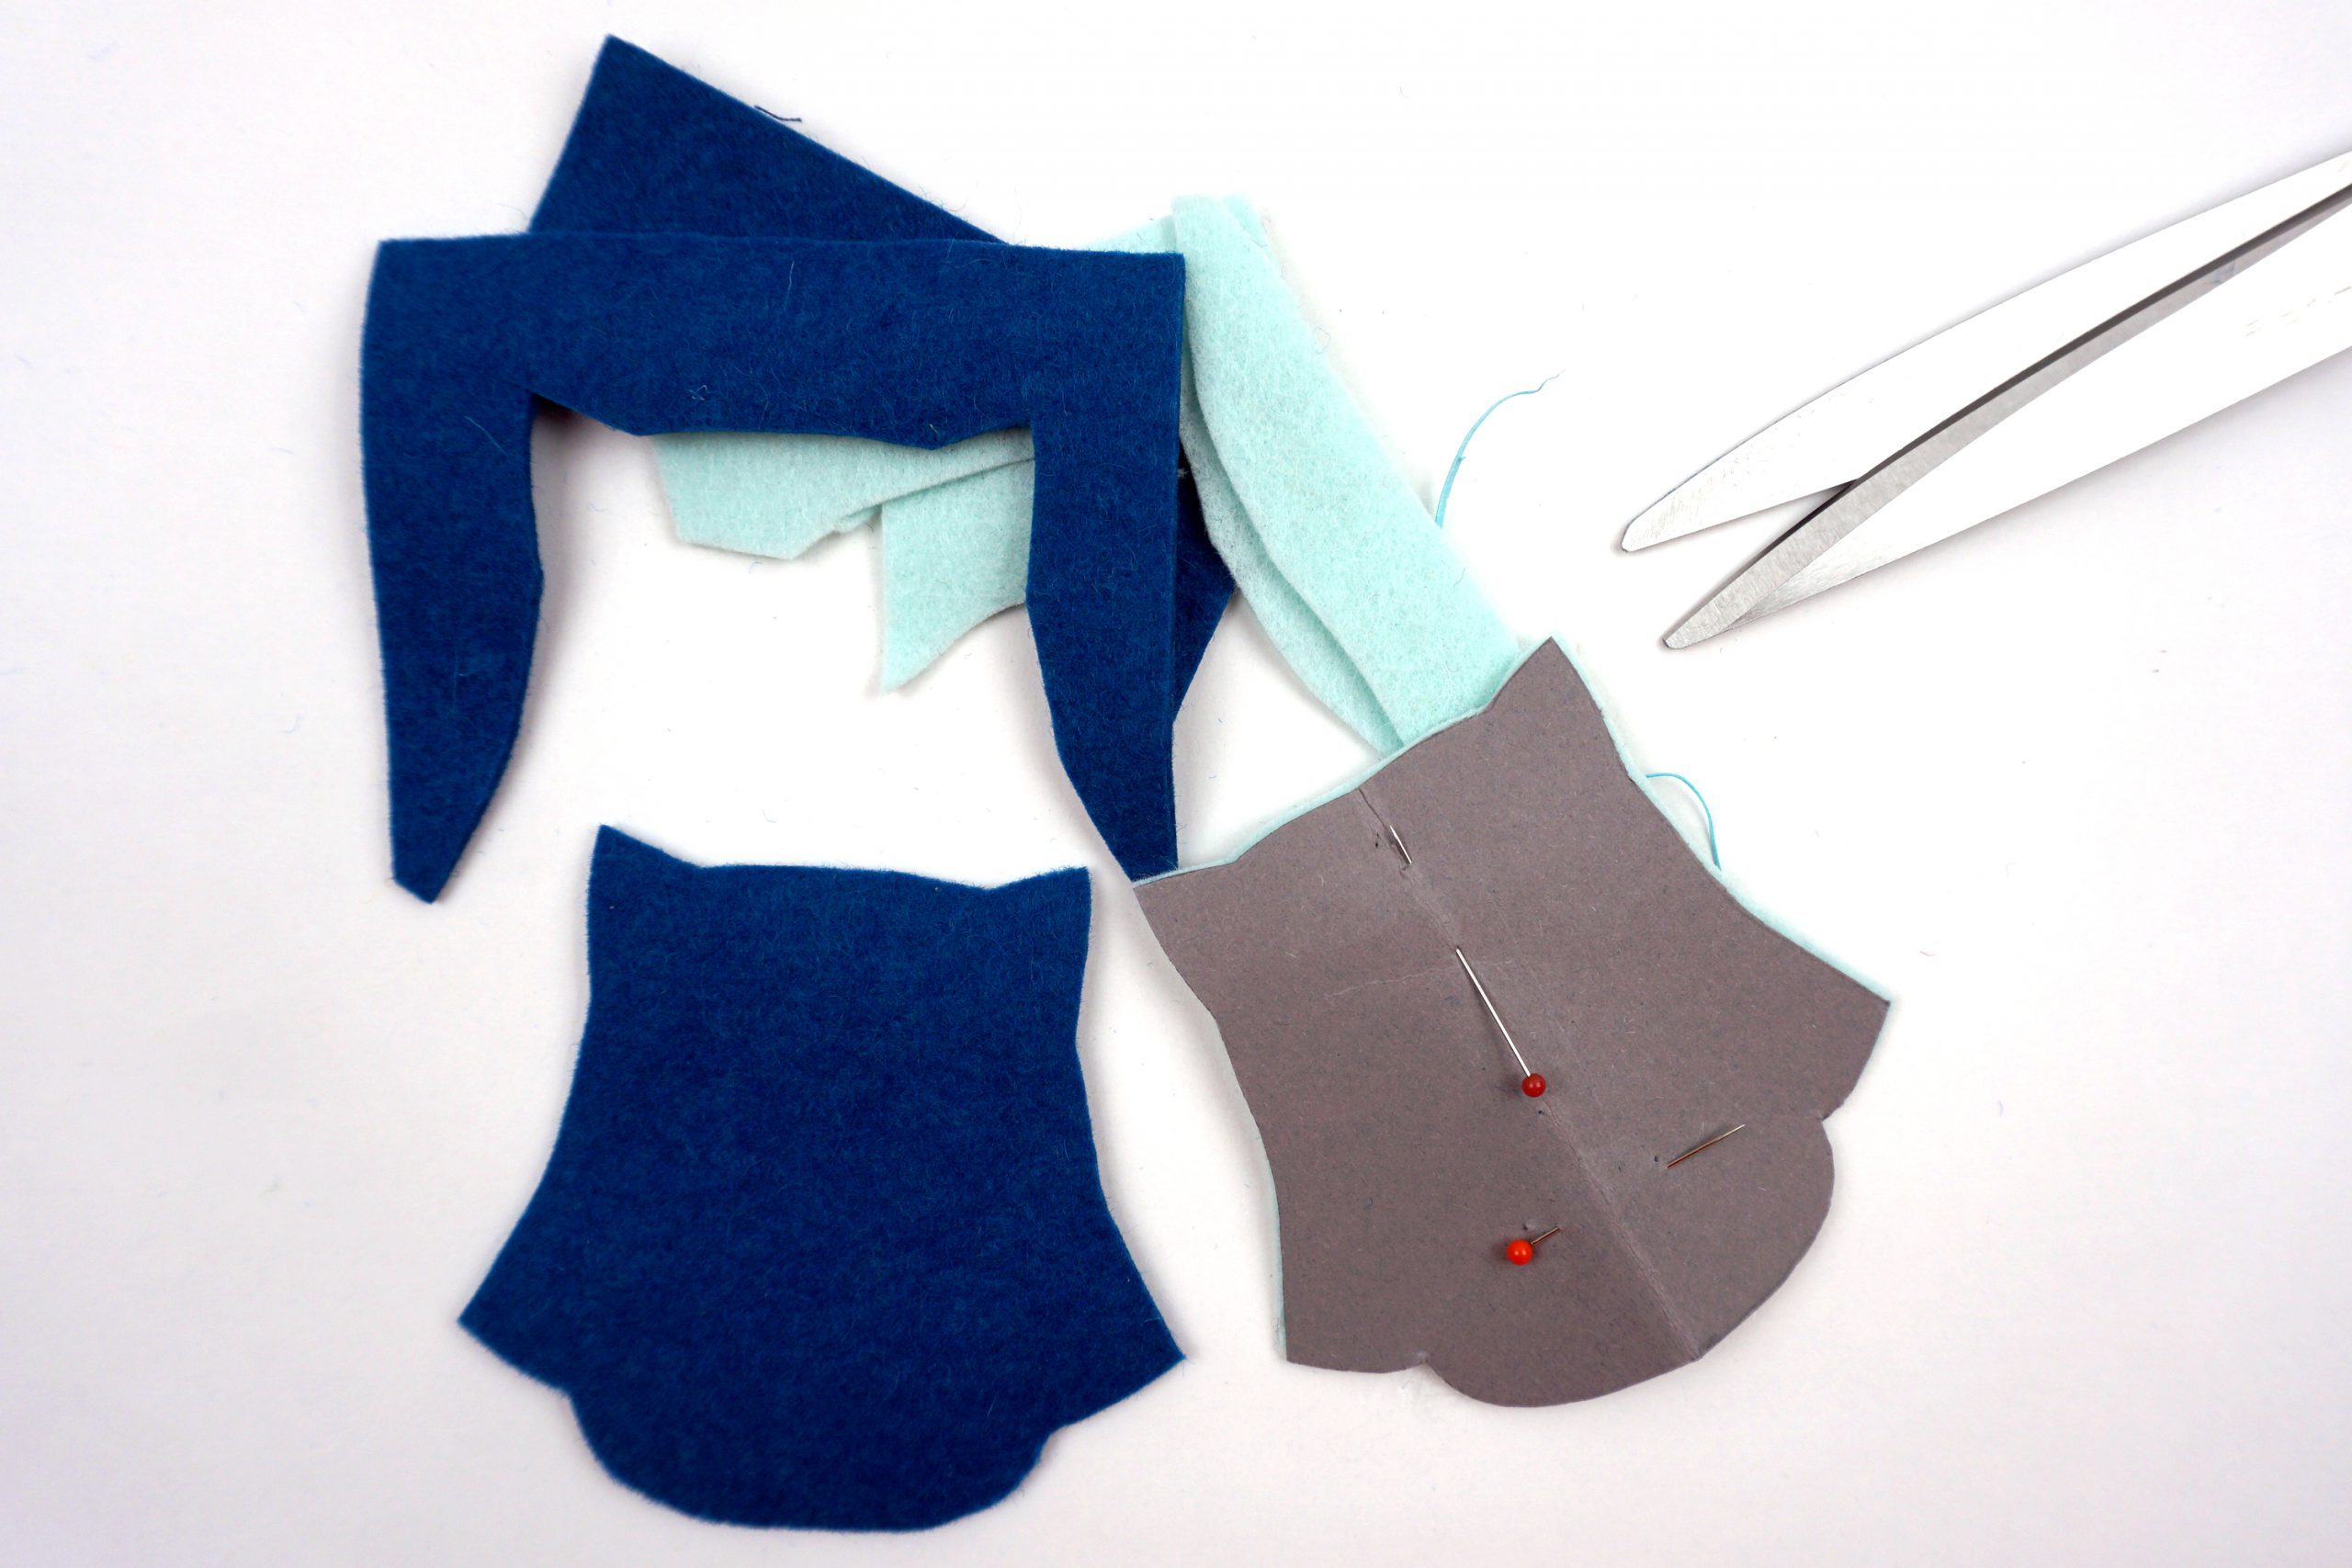
Cut the front and back of the owl out of the two felt fabrics. It is difficult to draw on felt, so pin the pattern onto the felt. Then carefully cut out the shape along the edge of the template using scissors.
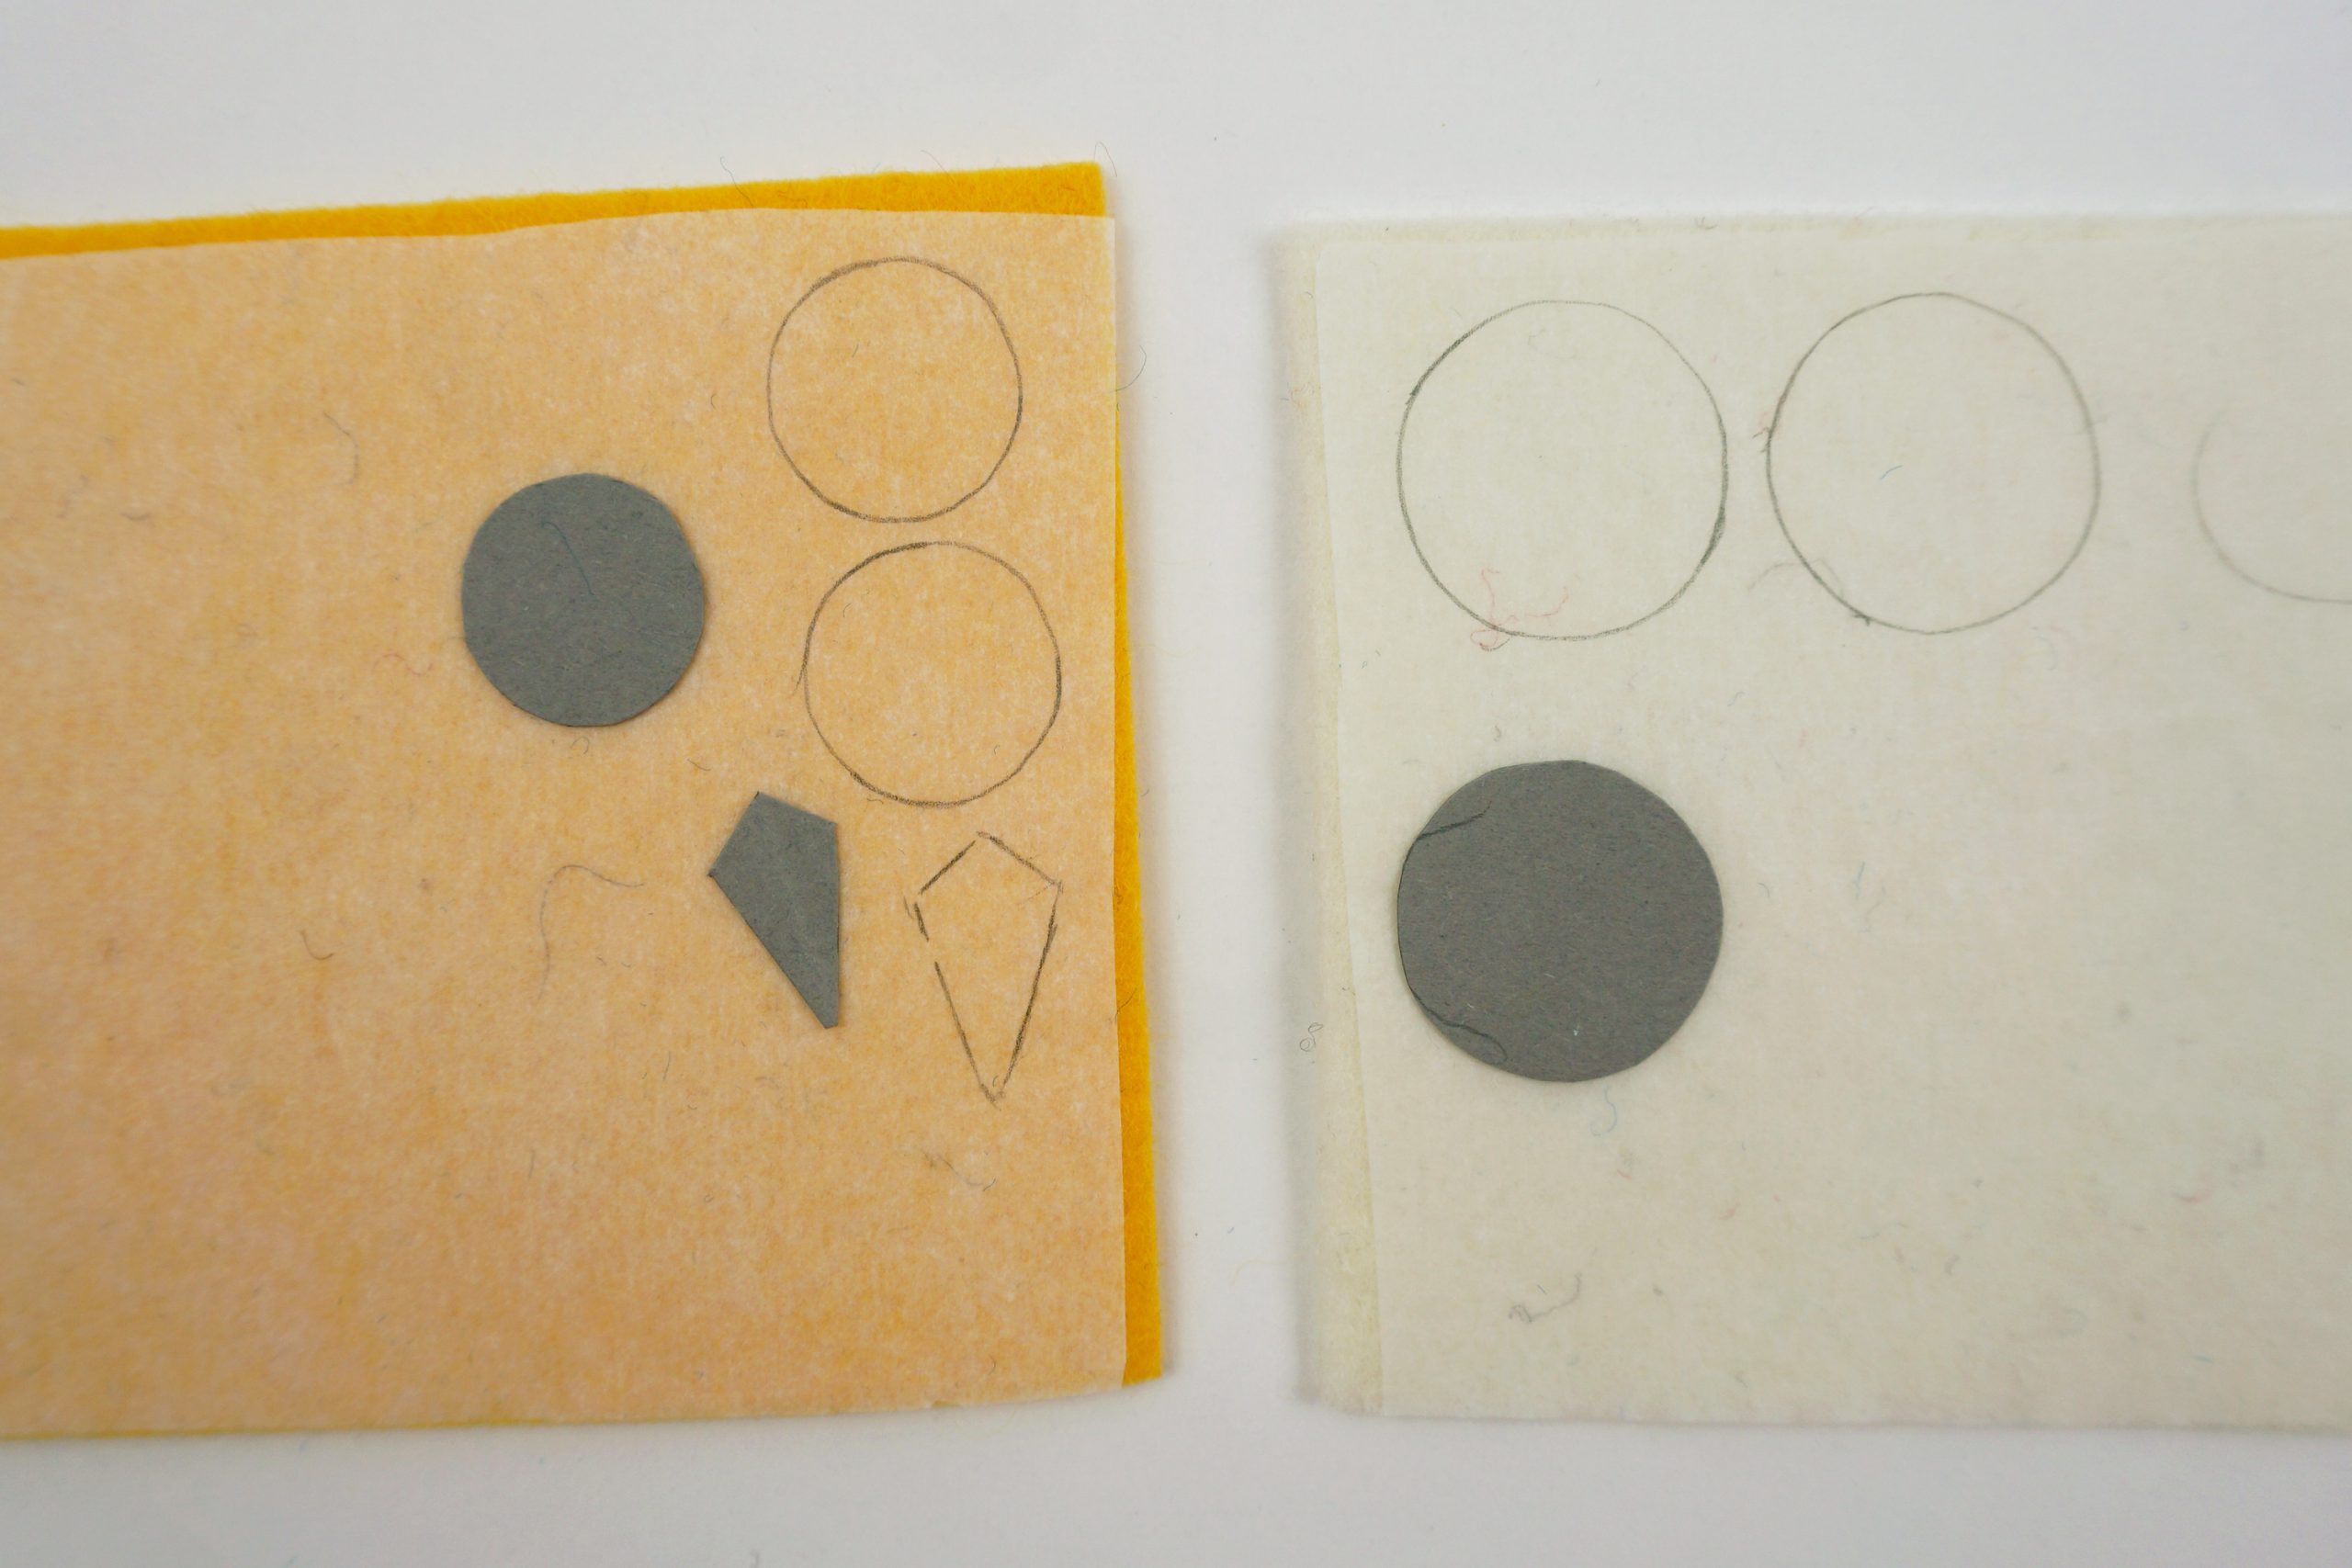
Iron some fusible web onto the back of the yellow and white felt remnants. Transfer the shapes onto the fusible web (white felt: 2x eye, yellow felt: 2x iris, 1x beak) and then cut out.
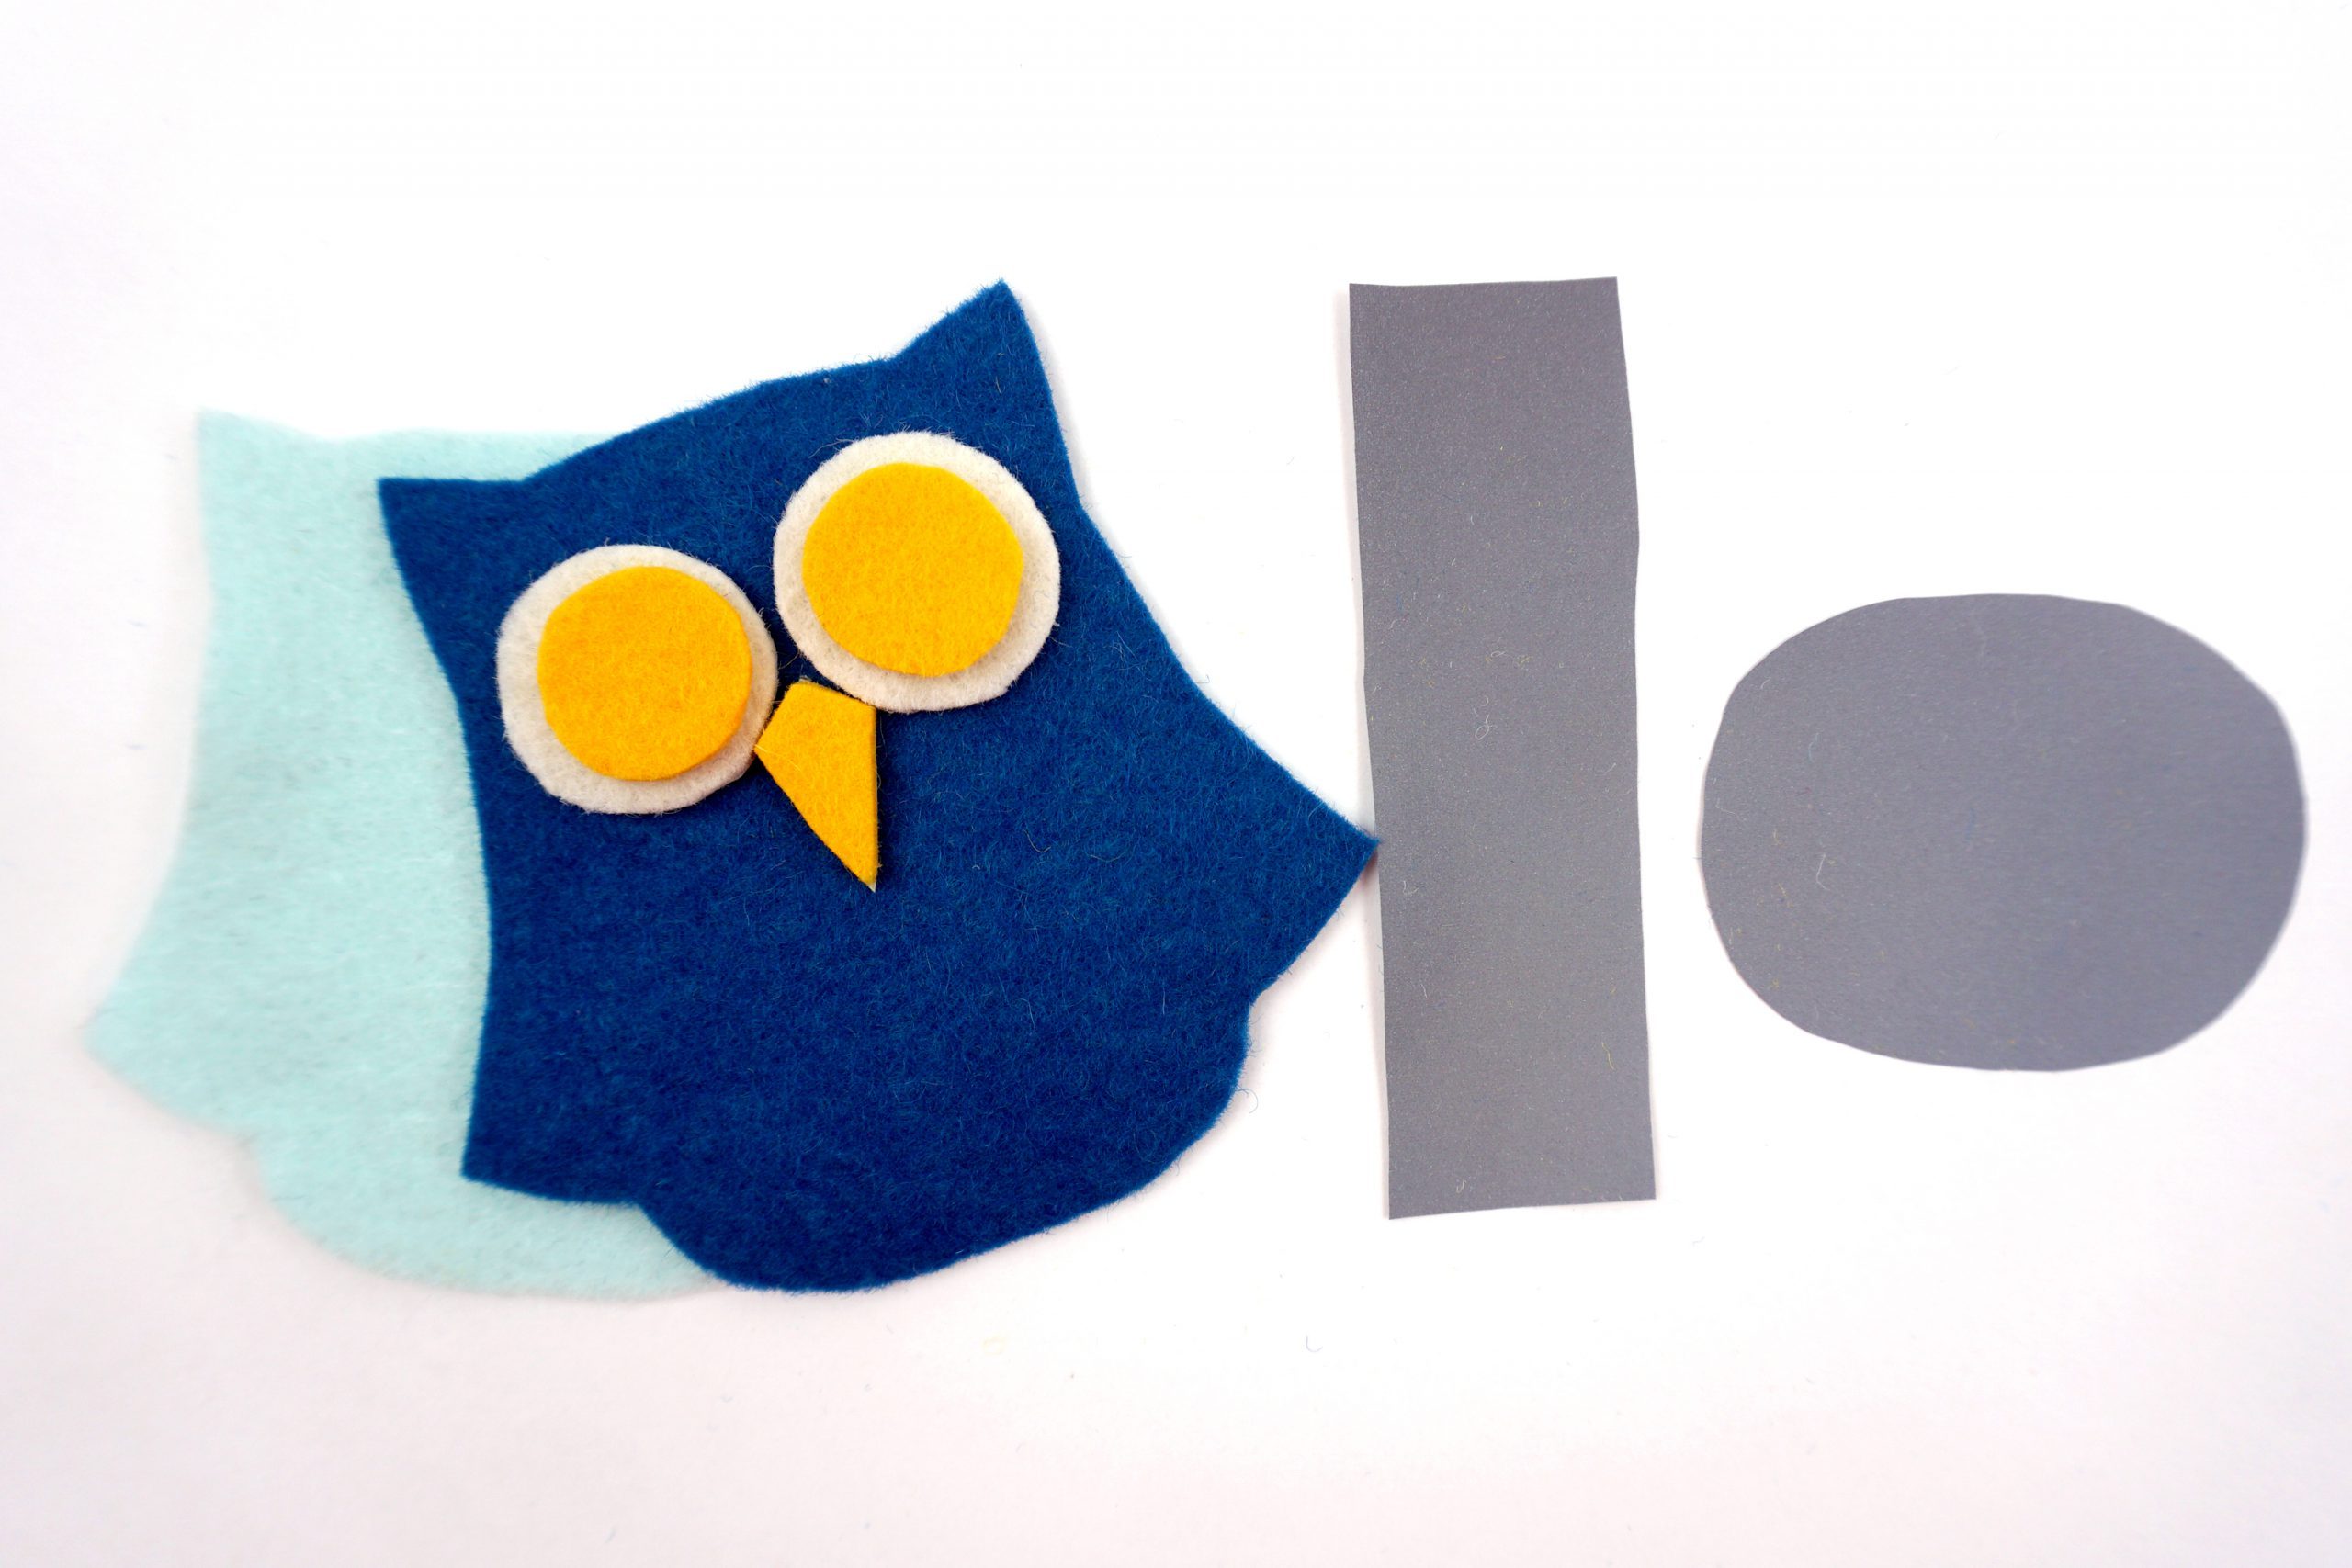
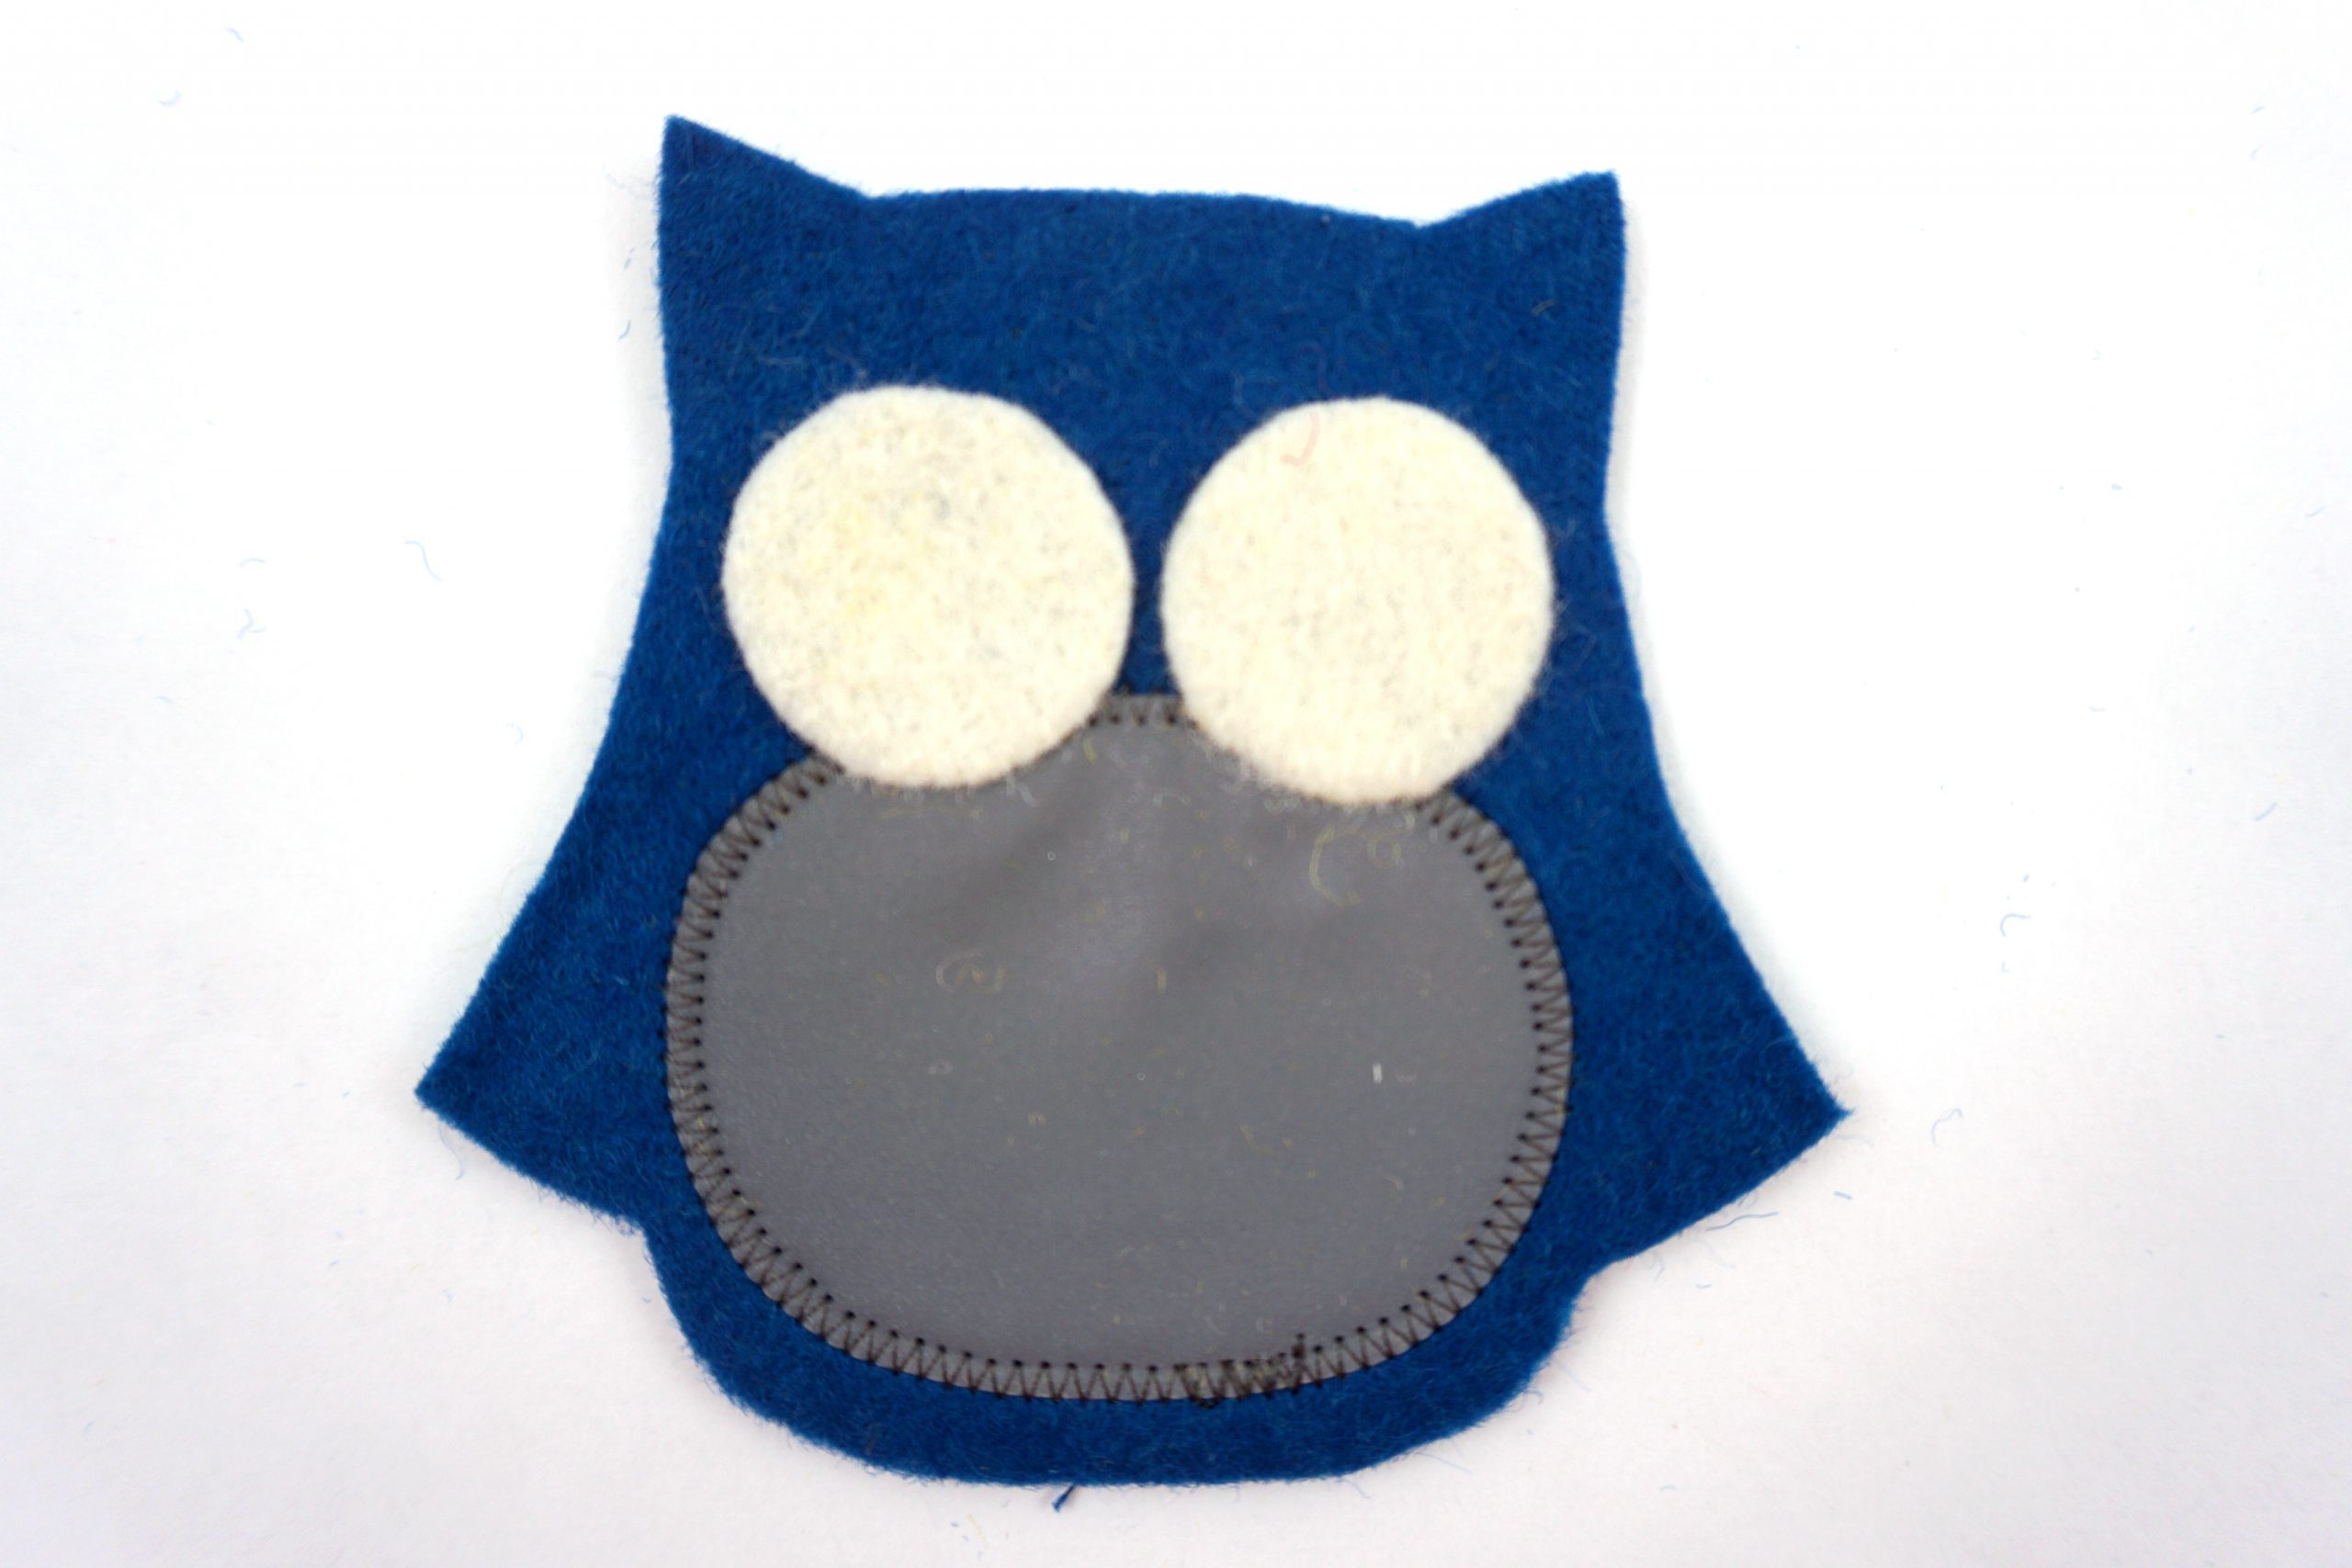
Cut the stomach piece and the stripe for the back out of reflective fabric.
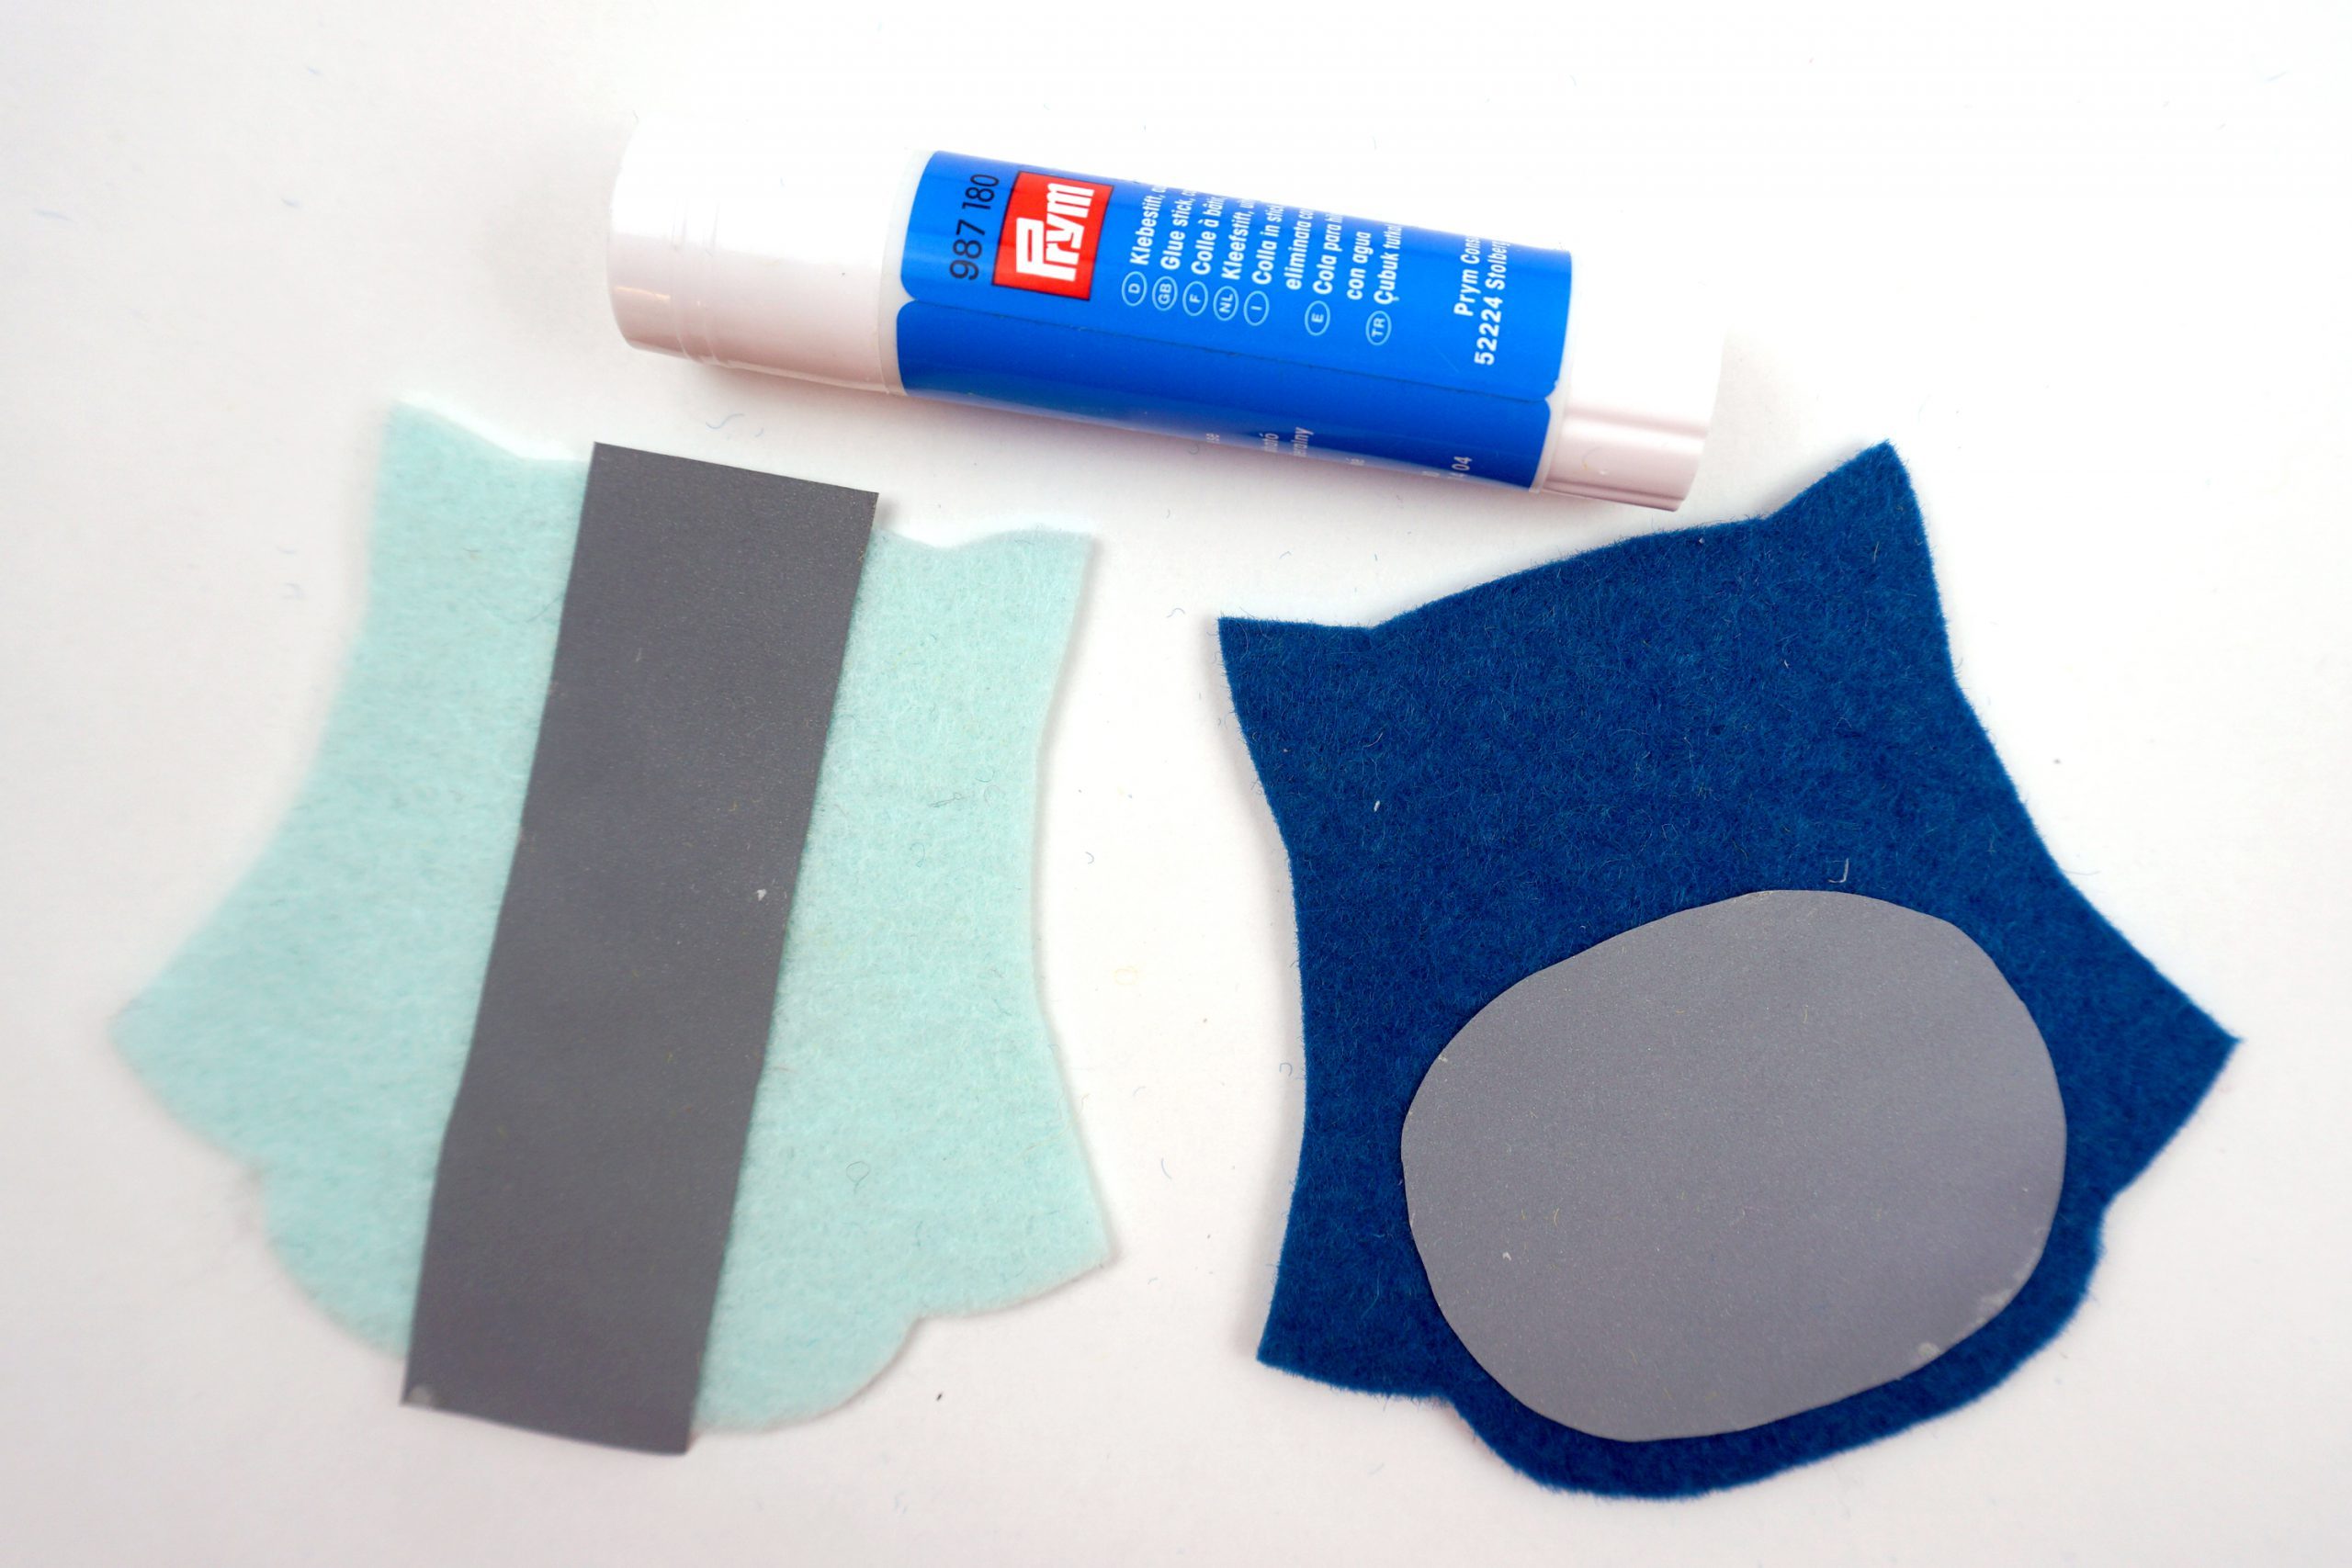
Appliquéing the reflective fabric
Apply the fabric glue stick to the back of the pieces. Stick the stomach onto the right side of the front according to the marks. Stick the back stripe down the middle on the right side of the back.
Appliqué the stomach and the back stripe along the edges using a zigzag stitch.

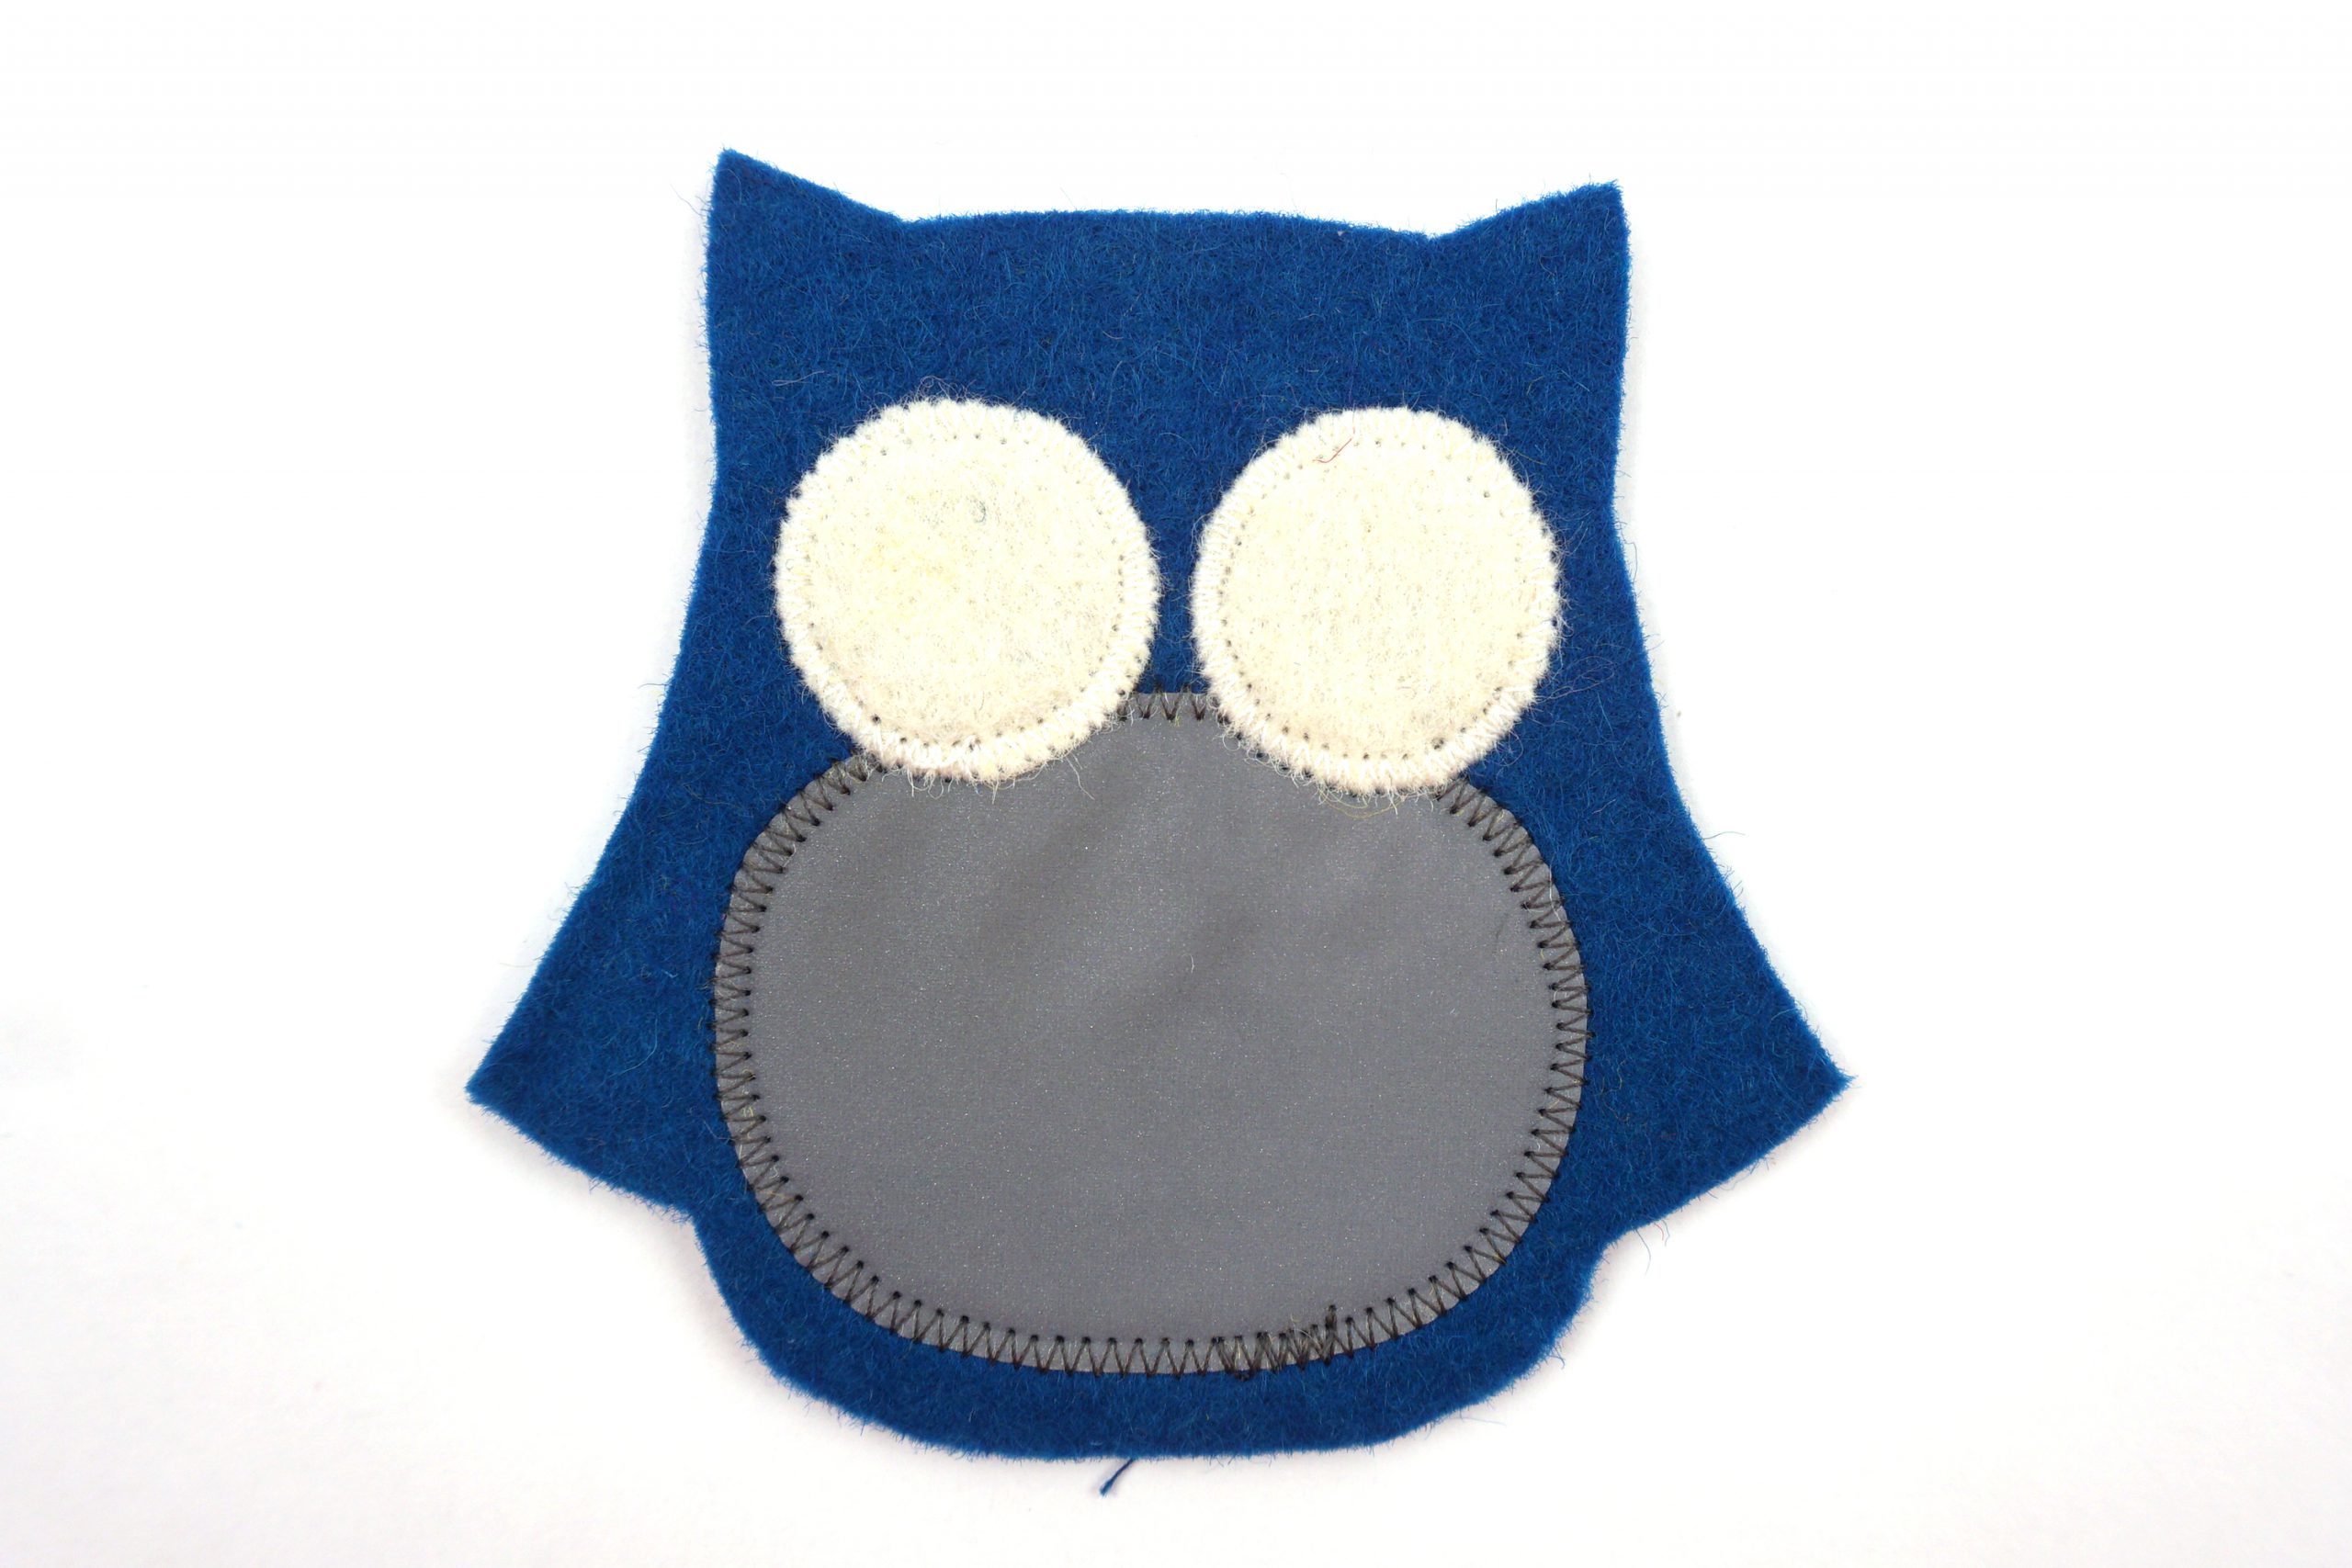
Appliquéing the eyes and beak
Peel off the paper from the fusible web and iron the eyes onto the front according to the markings.
Appliqué the eyes along the edges using zigzag stitch.
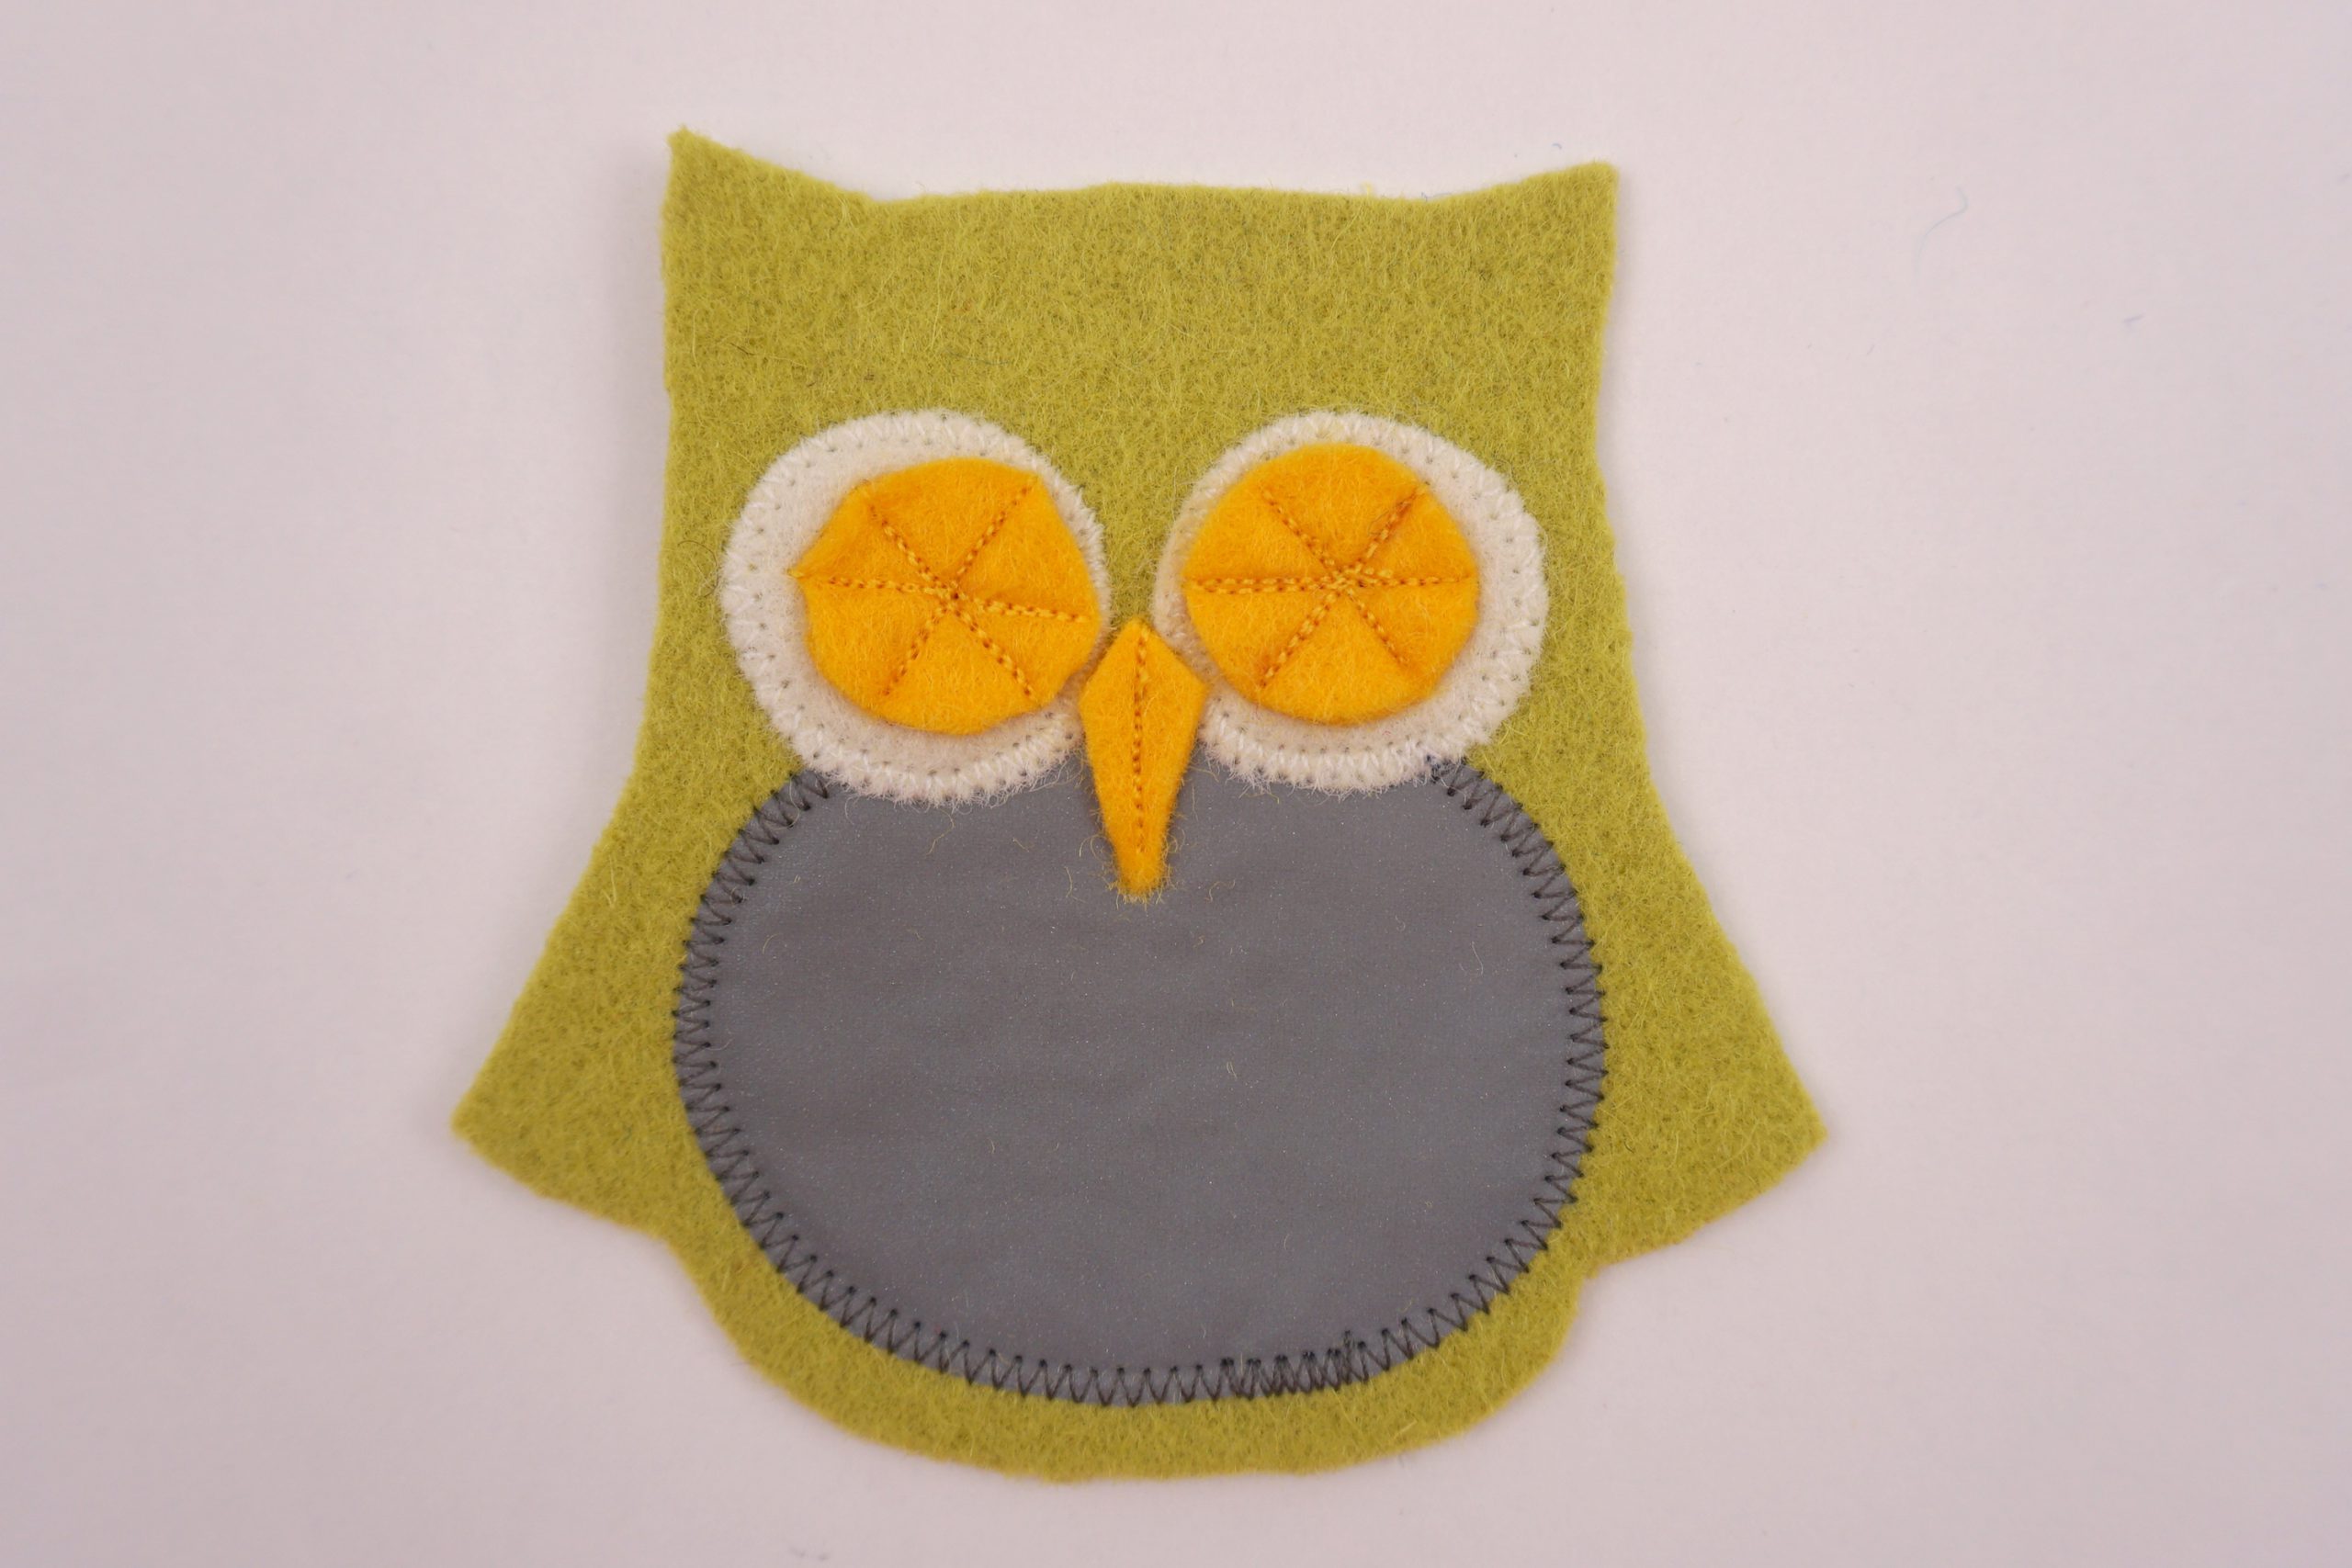
First iron on the beak, then the irises, and appliqué with a zigzag stitch.

For inexperienced sewists or those who like to keep things simple, I’m going to show you an easier version here: you can simply sew on the beak with a straight seam and the eyes with a couple of diagonal seams :-).
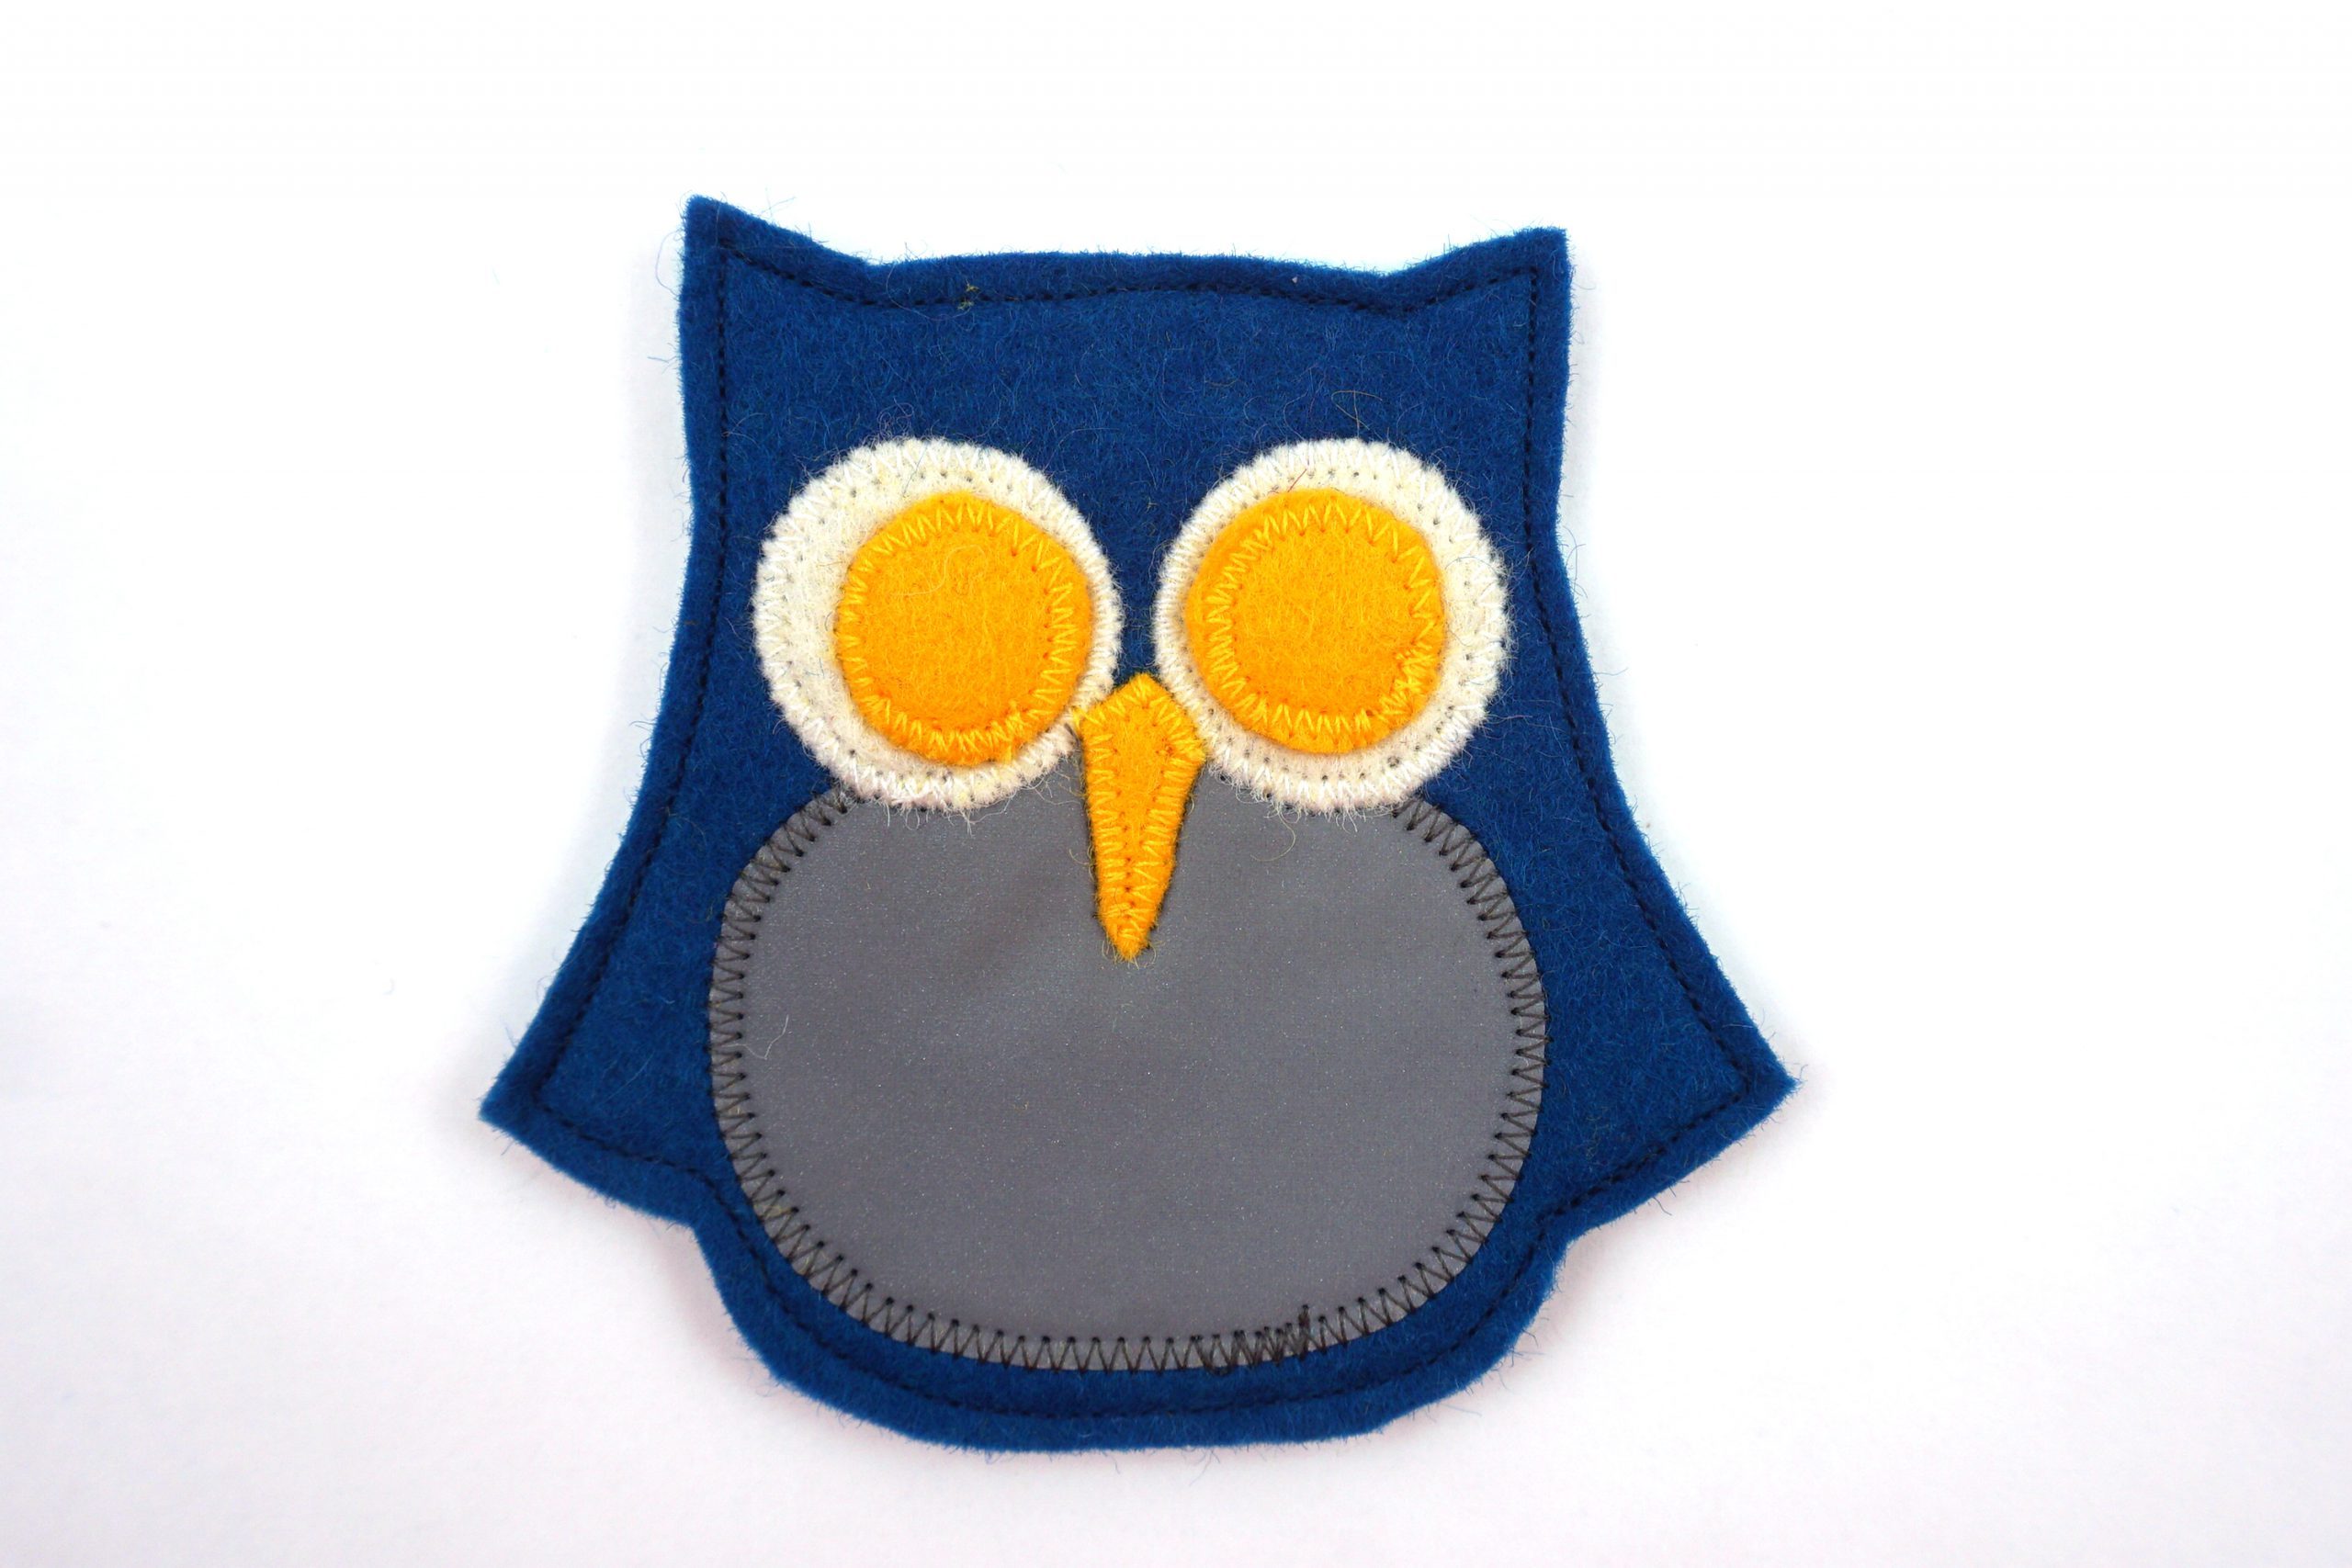
Stitching the front and back together
Pin the front piece to the back piece with the wrong sides together.

Stitch the pieces together around the edge using a straight stitch (approx. 3 mm from the edge).
If you want to attach a loop of woven tape instead of the eyelet, you’ll have to baste it between the layers BEFORE joining them and secure it in place when you sew the pieces together. If you want to use a carabiner instead of a key ring (see photo above), you’ll have to sew it in place at this stage.
Make a hole in the reflective tag with the punch pliers (to match the eyelet size).
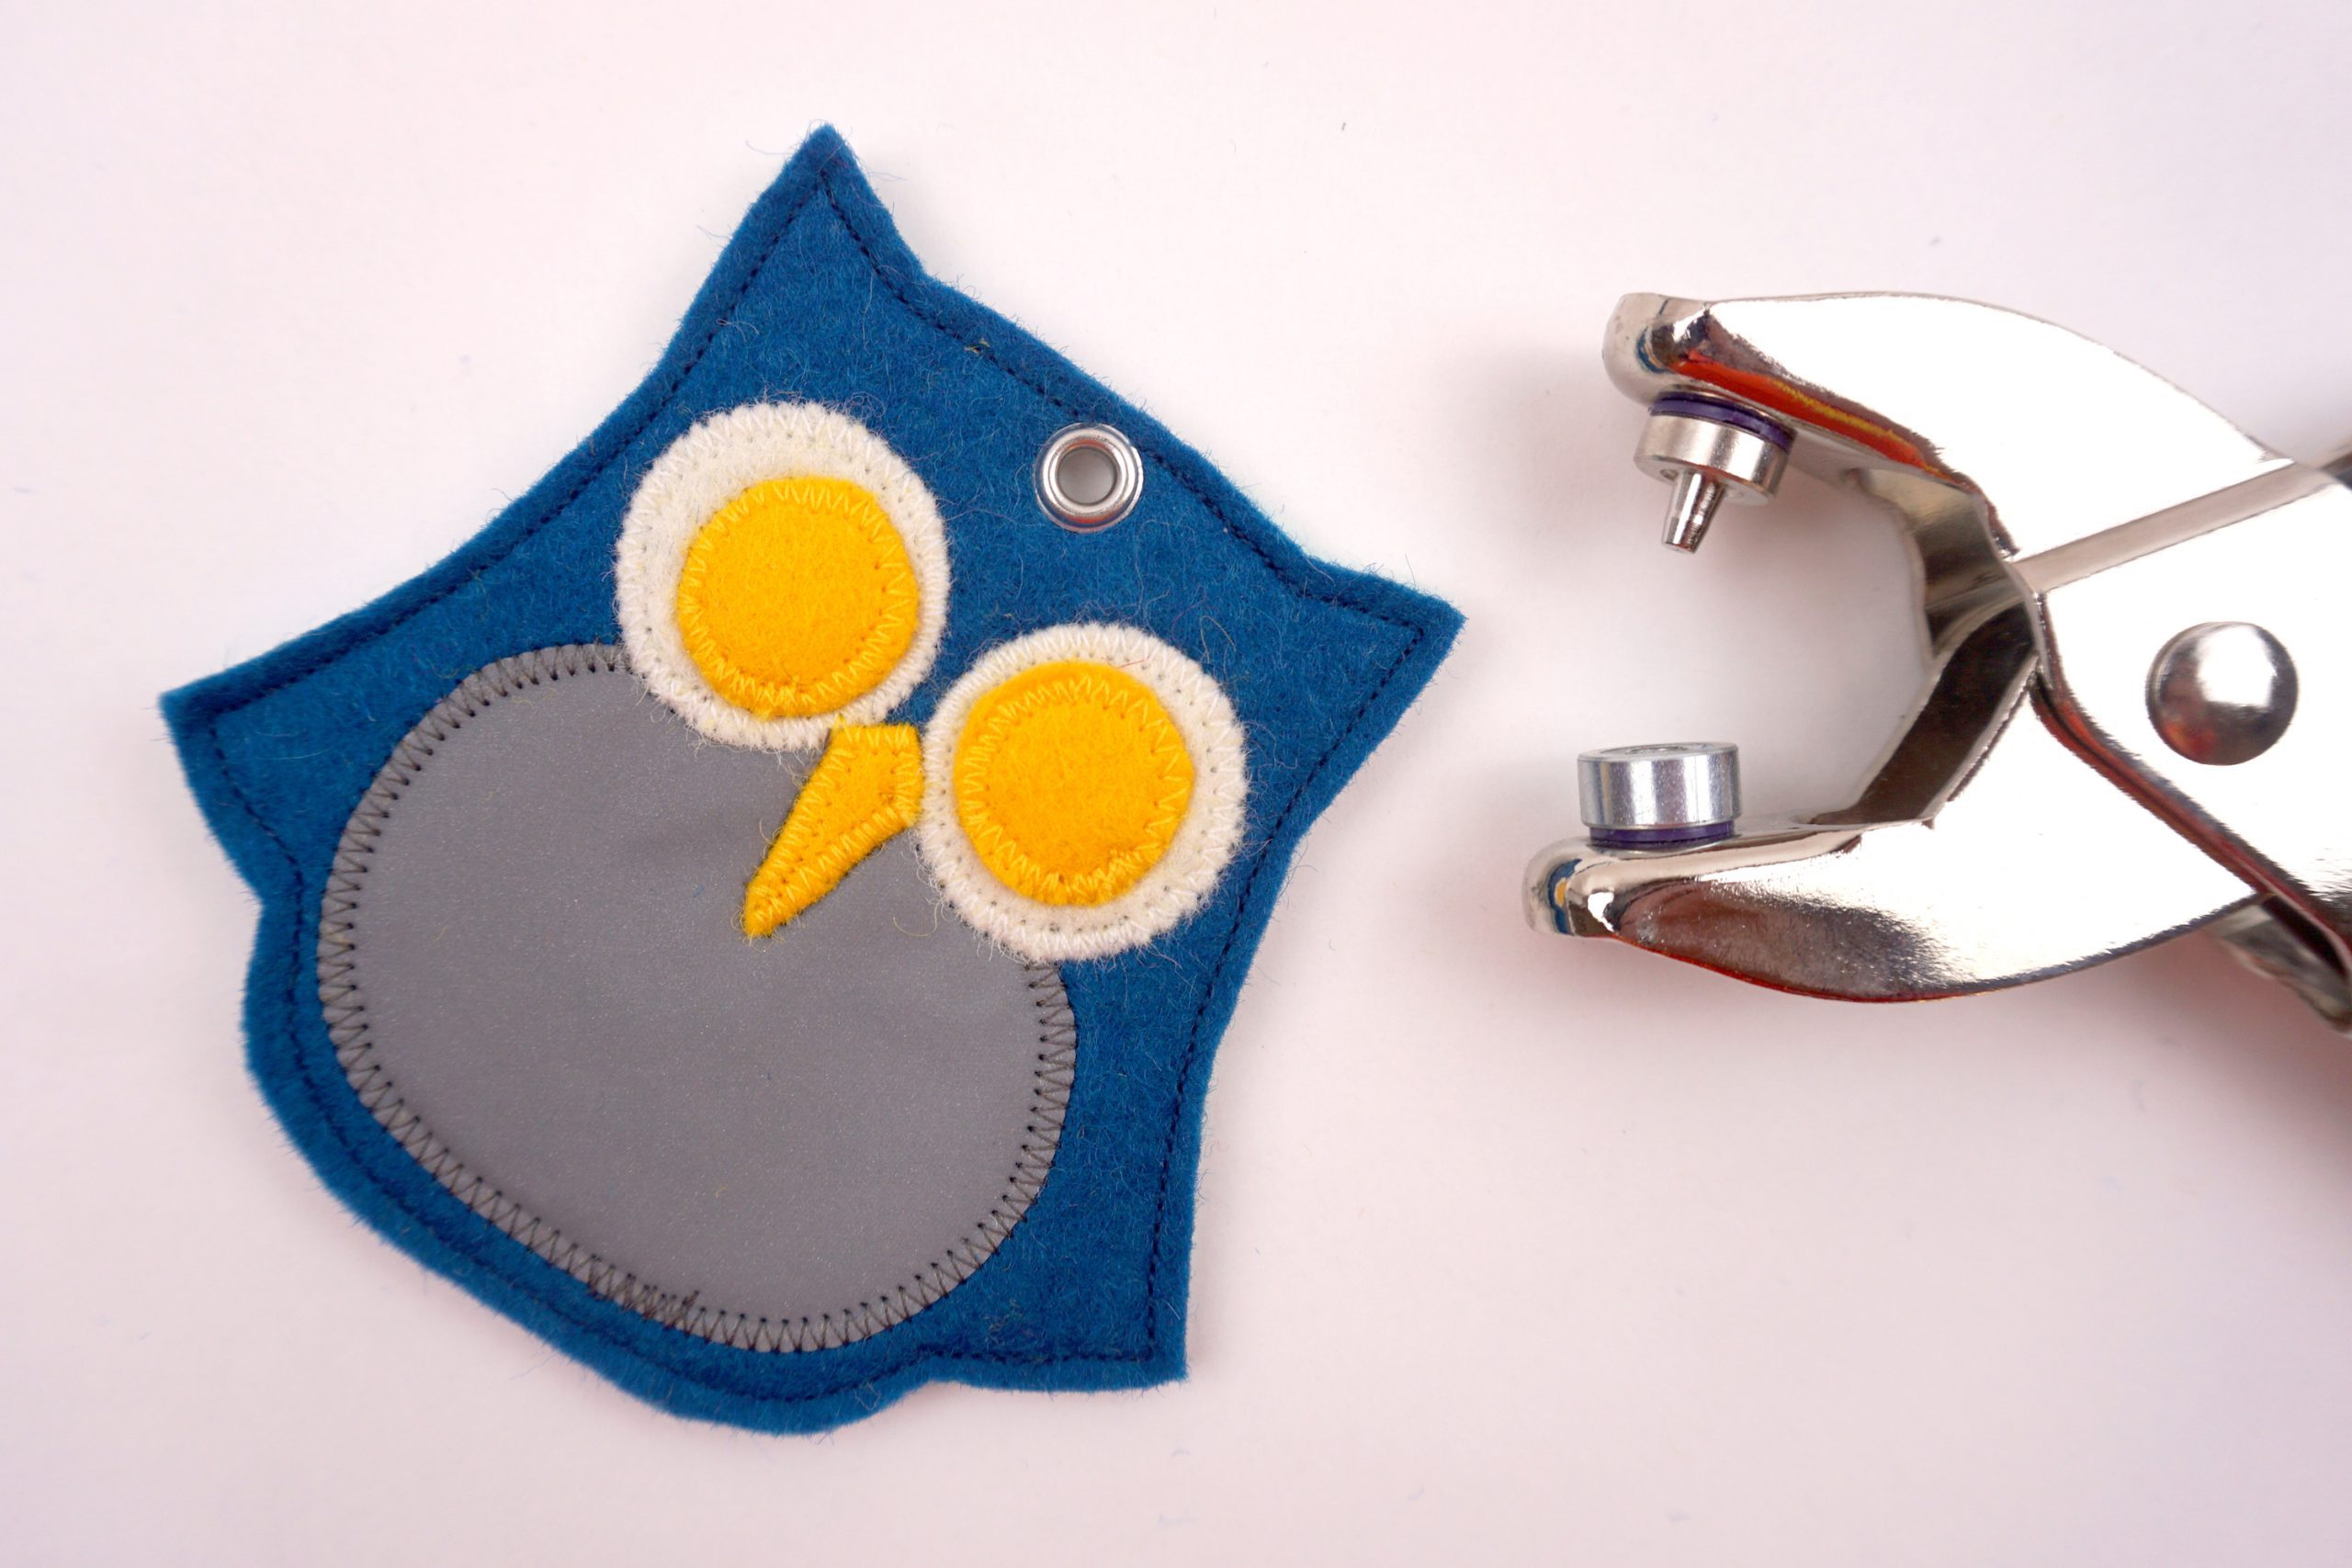
Attach the eyelet according to the manufacturer’s instructions.
Stick on the half beads with gemstone glue (alternatively, sew on beads or small buttons).
Now all you have to do is thread in the cord. The reflective tag is attached by simply tying it on, or using a small carabiner or a safety pin – depending on where you put it.
And if you’ve sewn enough owl reflective tags at some point…
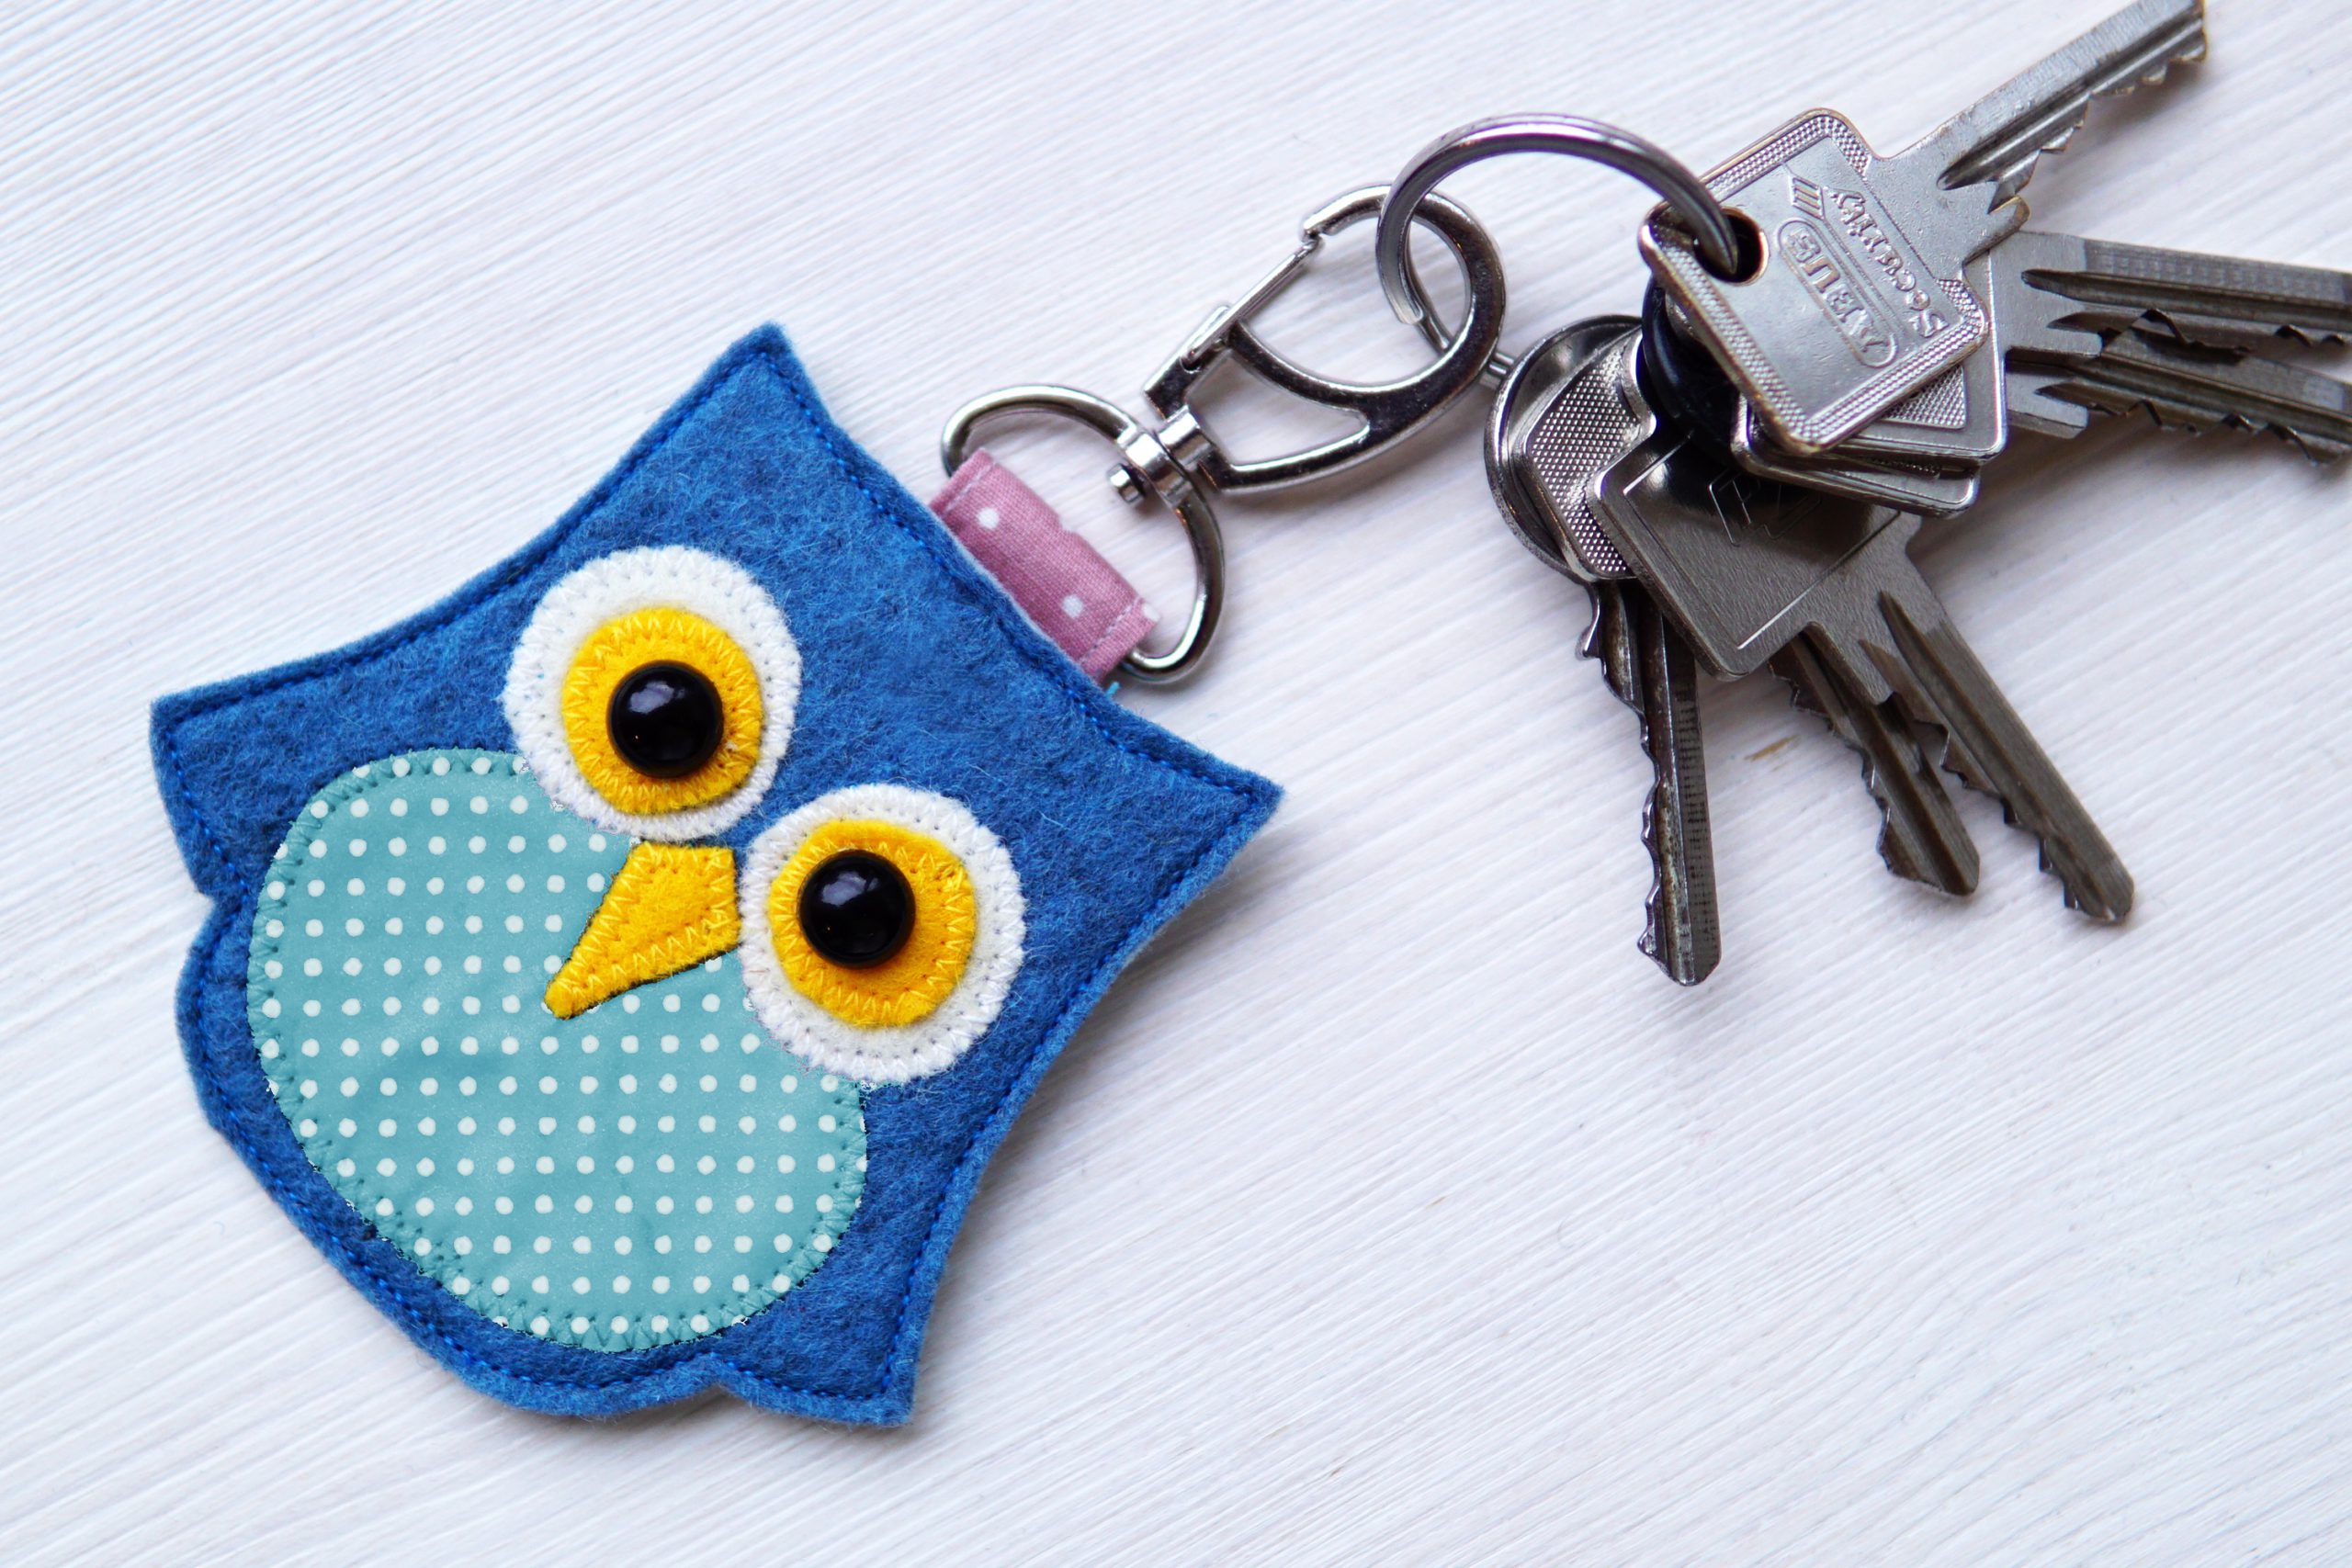
…perhaps like me you’ll realize that by reducing the size to 90% and using cotton fabric for the stomach, the owl makes a great key chain! 🙂
I hope you have lots of fun being creative, sewing, and gifting your creations and I wish you a very merry Christmas!
Yours truly,
Laura


0 Responses