 BERNINA Corporate Blog -
The days are getting shorter, it is glittery and sparkly everywhere, and the world seems to turn more slowly – yep, Christmas is just around the corner ✨. A good time to pause for a moment, take a deep breath… and sleep in as long as you like. As you know, true beauty comes from within – so today I want to sew a sleep mask with you.
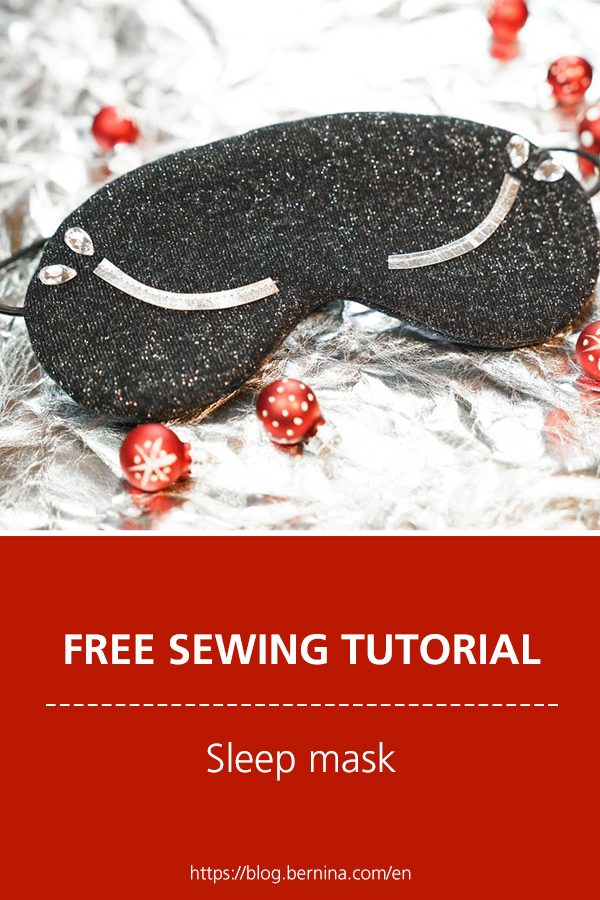
Sewing a sleep mask – Sewing instructions
Behind the twelfth window is a moment of calm and tranquillity. Let’s use this wonderful Advent Sunday to rest our sparkling eyes for a while. Of course, you can also surprise your loved ones at Christmas with this super-fast last-minute homemade gift. And obviously it can… no it MUST have a little sparkle!
It’s “time to shine”, you beautiful people.
Let’s get started!
Sewing a sleep mask – Materials
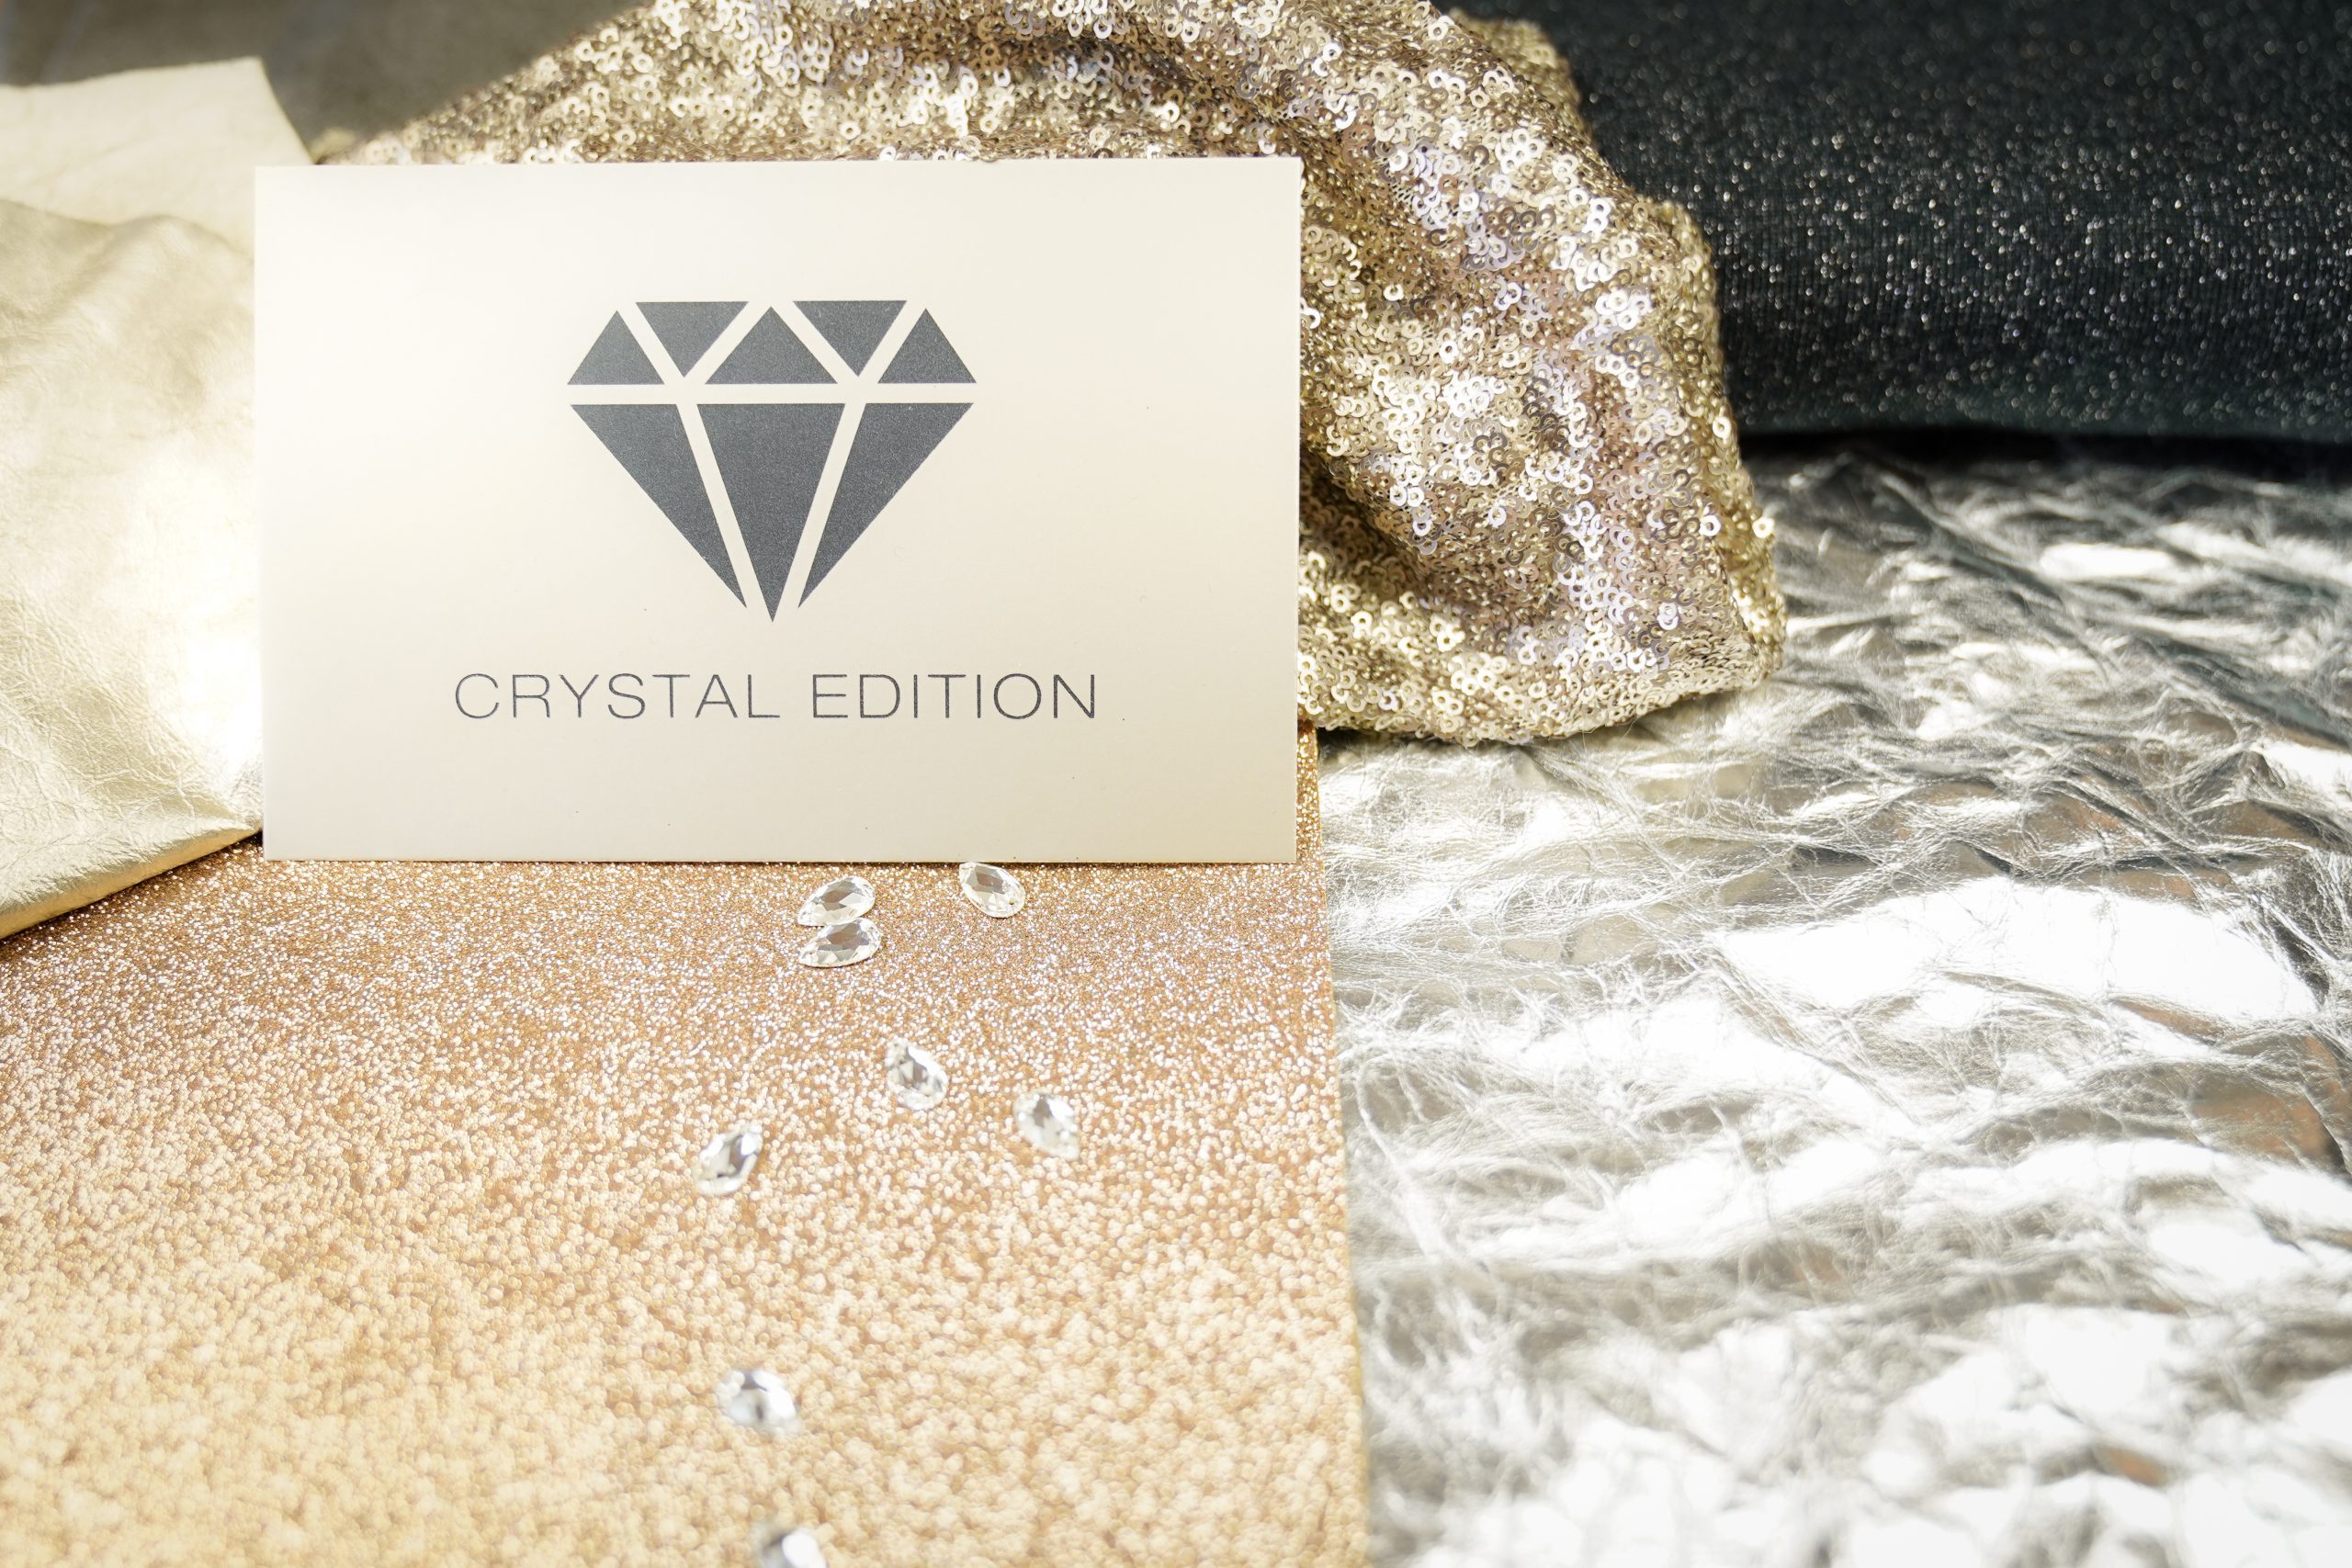
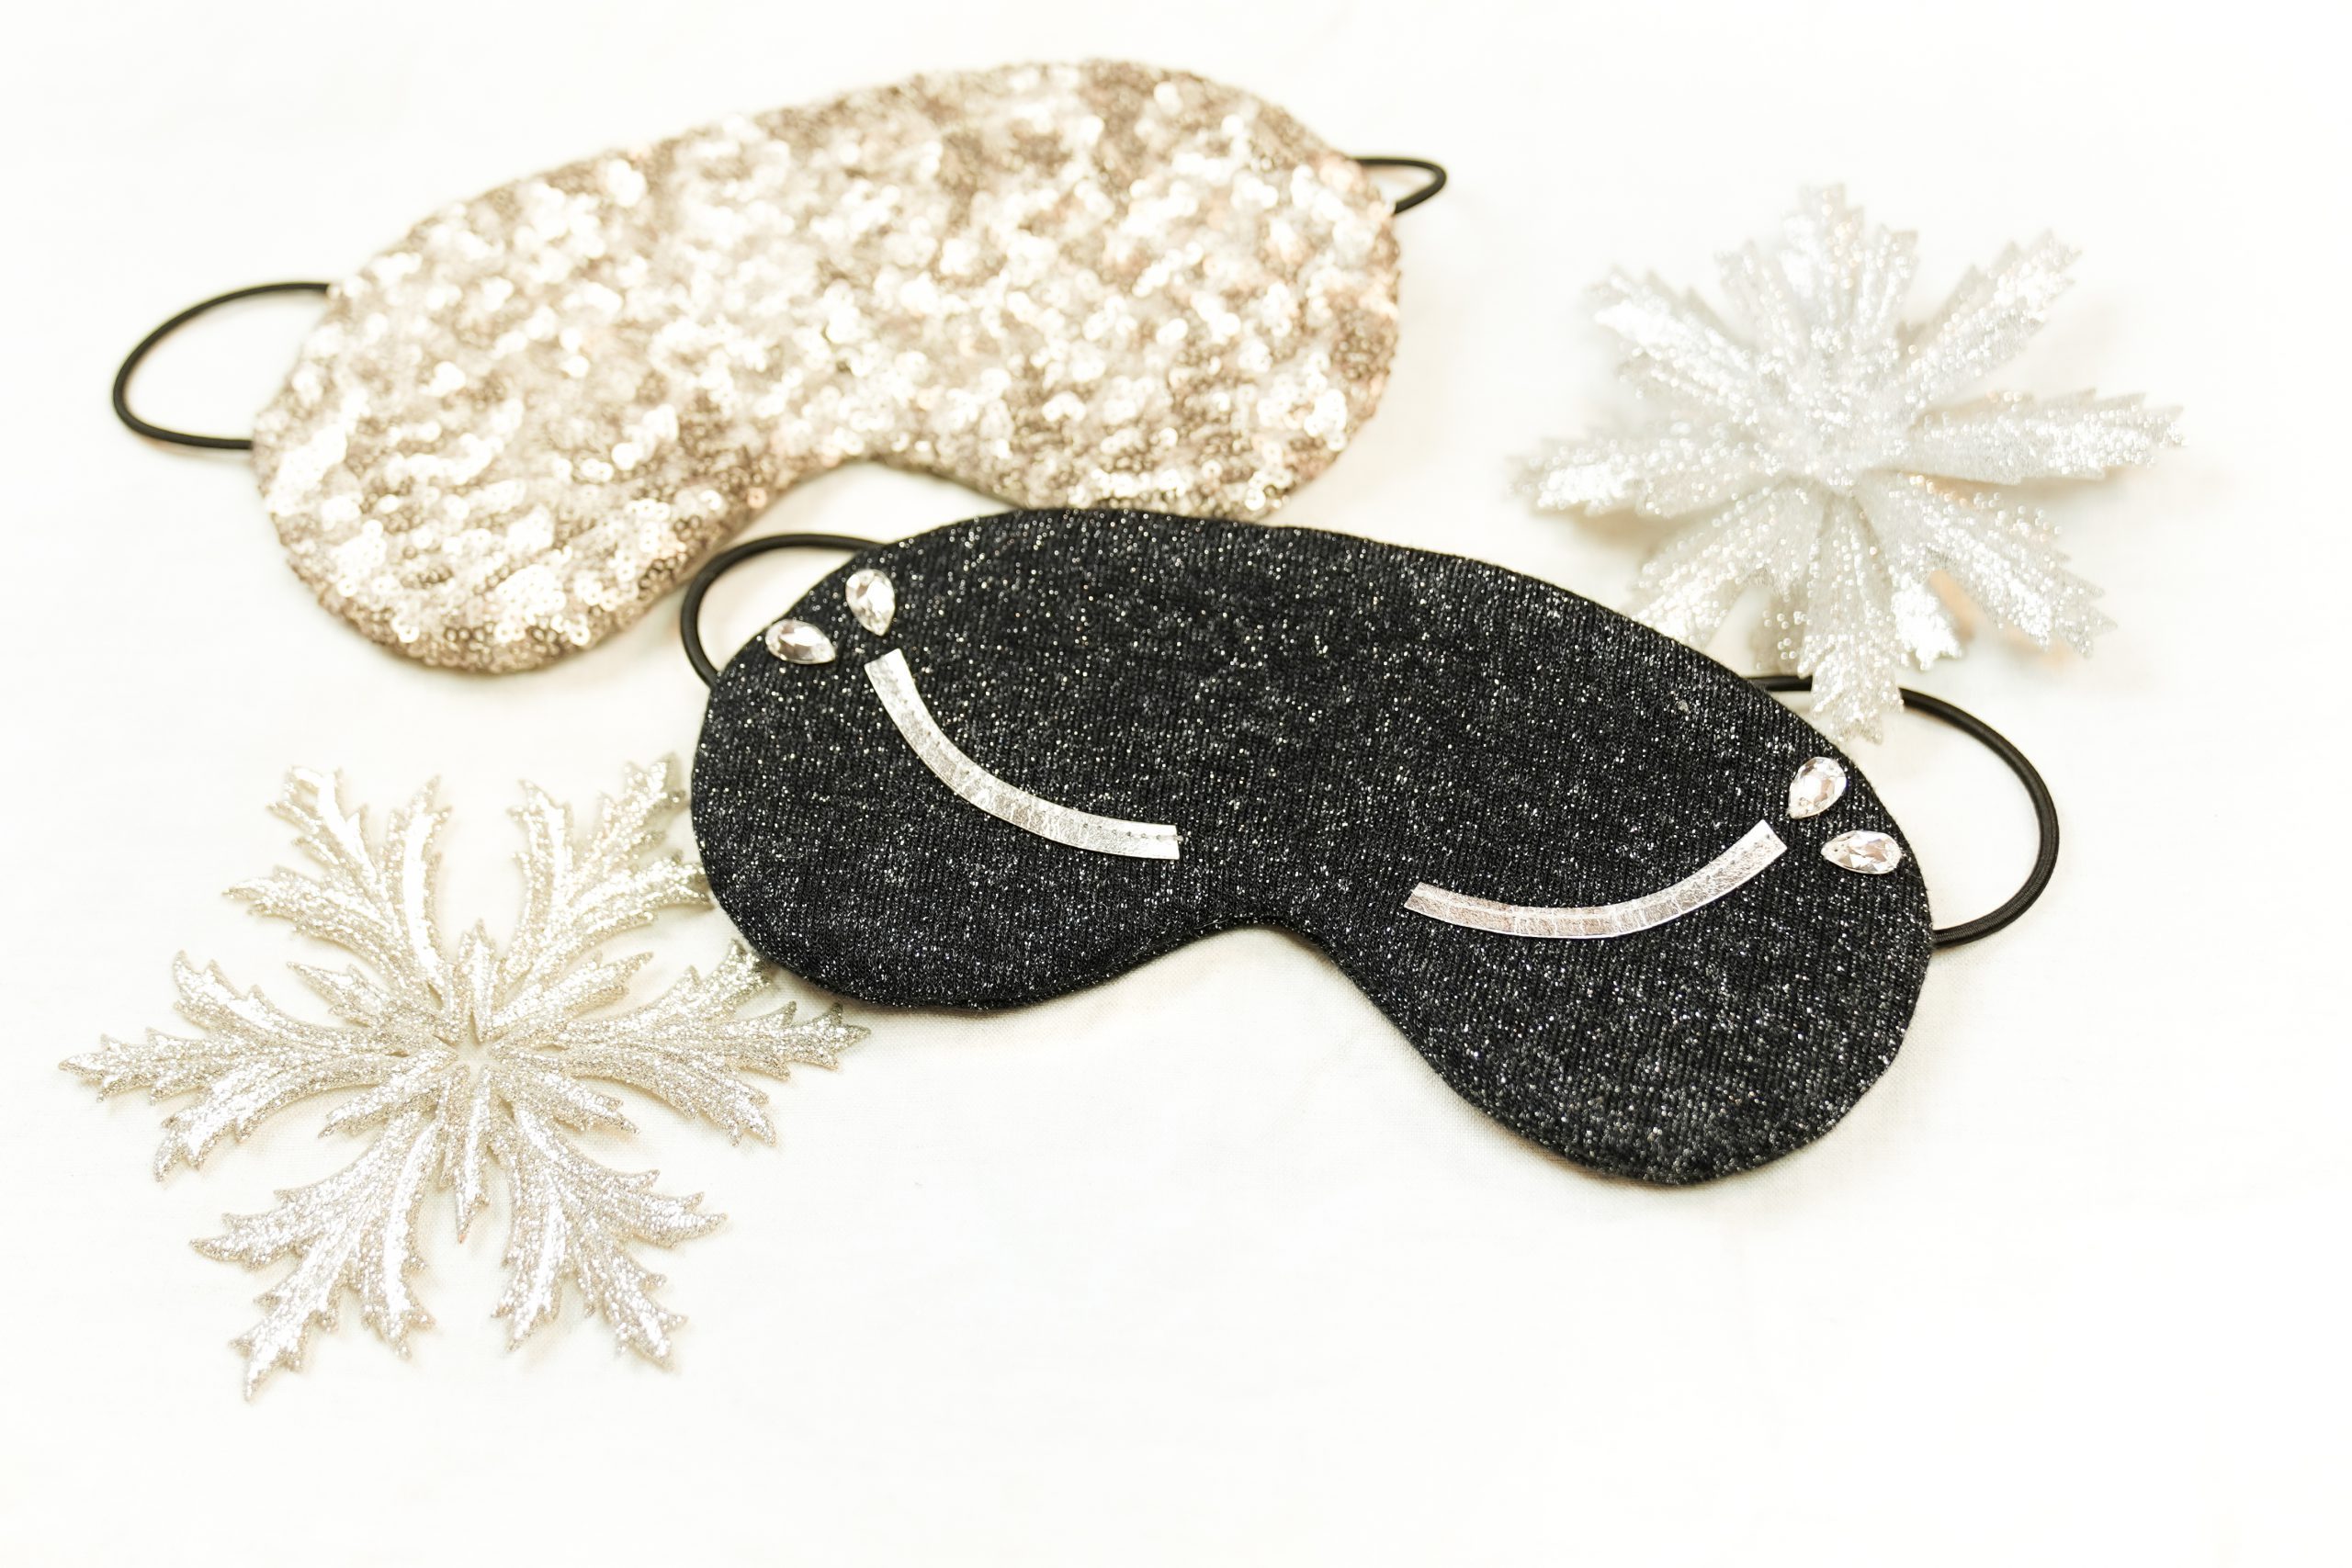
All you need for this project… is glitz, glitz, glitz! This can be a woven fabric, knitted fabric, sequin tulle, shiny leather or anything else you fancy. You can sew your sleep mask out of almost any material. For that extra special something, you can use the crystals from the BERNINA Crystal Edition Inspiration Kit.
My tip for a cool feeling on the skin would be fine satin, smooth taffeta or a shiny viscose. If you prefer a warmer, cozier version, you can use French terry, brushed sweat fabric or soft knitted fabric… but of course you can use any other material you like.
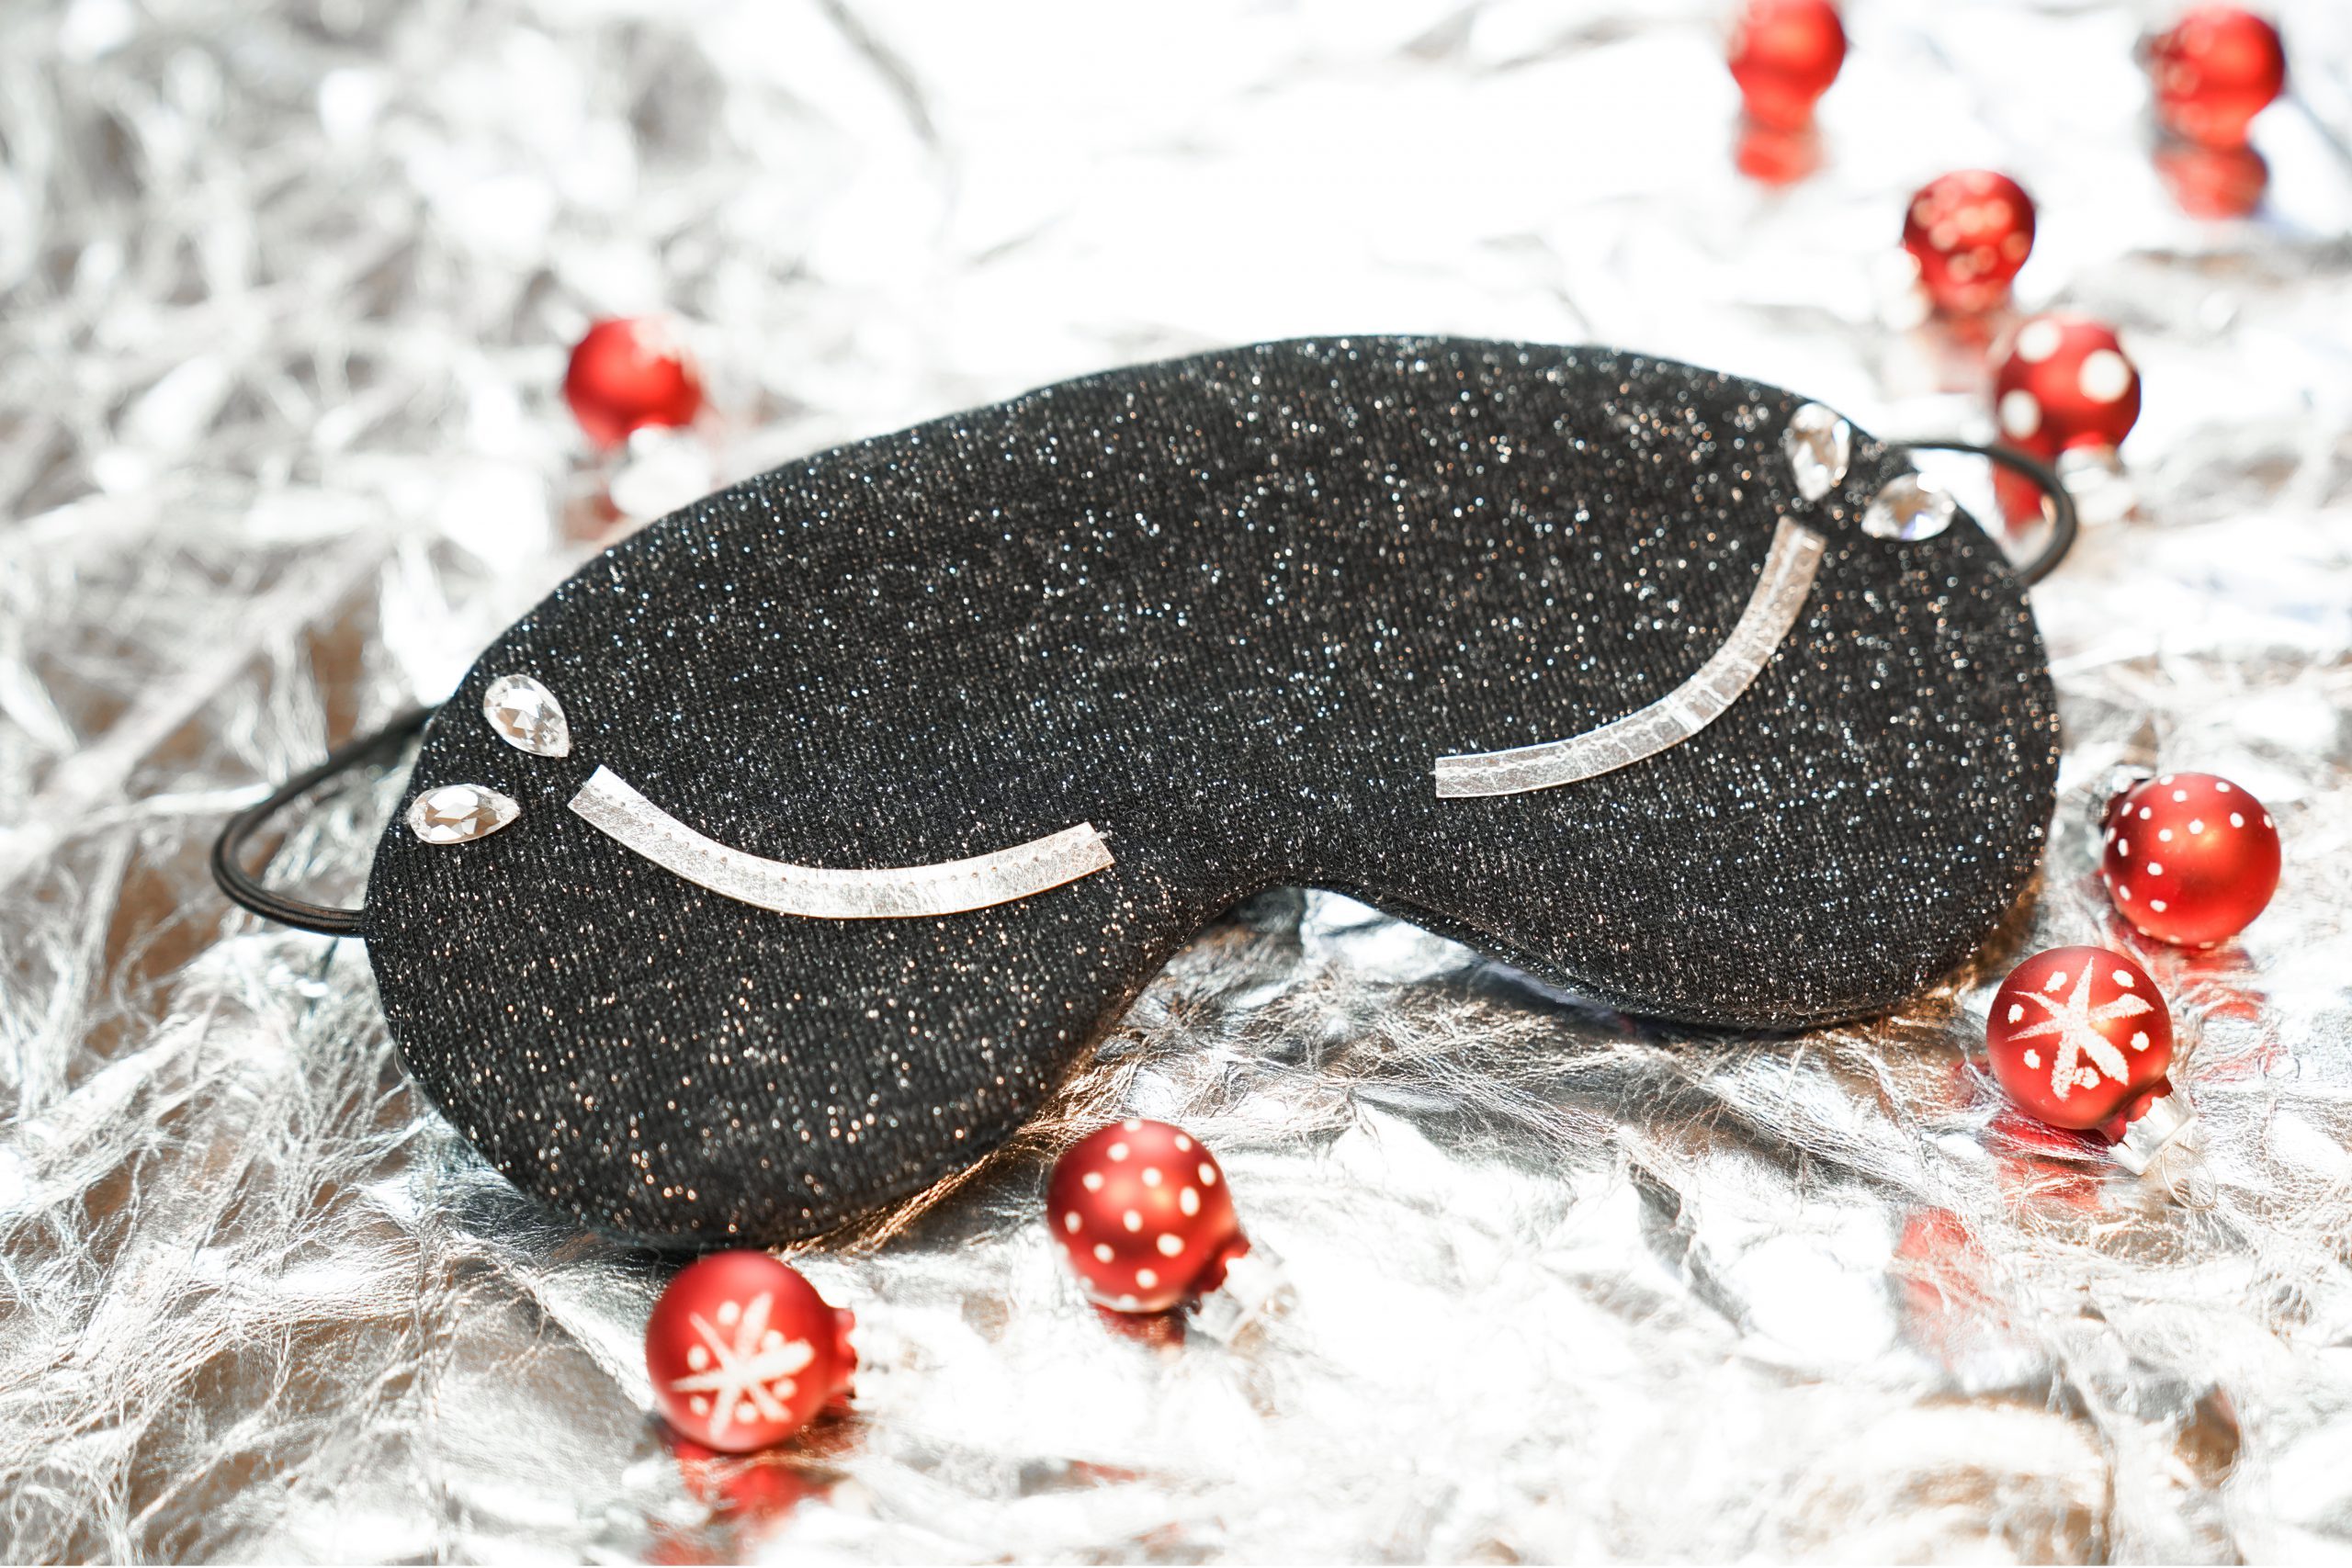
I chose a dark winter sweat fabric with glitter thread. To make the sleep mask nice and soft on the eyes, there is also a layer of wadding on the inside. I used silver-coated SnapPap for the appliqué, combined with teardrop-shaped crystals, and of course it has to have elastic.

Here is a summary of the materials and accessories you will need:
Fabrics & accessories
- Approx. 24 x 24 cm of your preferred fabric for the mask
- Approx. 12 x 24 cm wadding
- Approx. 45 cm (soft) elastic
- A small leftover piece of SnapPap, (synthetic) leather or glossy acrylic paint for painting (great for children!)
- Swarovski crystals from the BERNINA 590 Crystal Edition

Pattern for sewing a sleep mask
You can easily download the pattern for the #slowdown sleep mask from “Yes, Honey” and print it out. It’s free. Yay!
Tools
- Cutting mat
- Mini rotary cutter
- Tailor’s scissors
- Optional small weights
- Iron, ironing cloth and pad, if you are using fusible interlining
- Sewing needle for jersey or woven fabric
- Hand sewing needle for the crystals
- Glass-headed pins
- Small scissors
- Matching colored sewing thread
Sewing machine
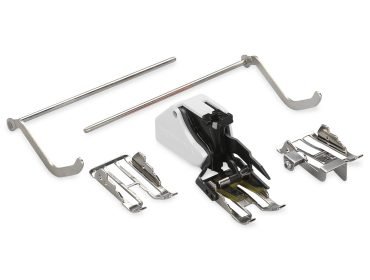
I sewed the #slowdown sleep mask on my BERNINA 380 using my absolute favorite tool – the Walking Foot #50. It really can sew any material!
Cutting out the sleep mask
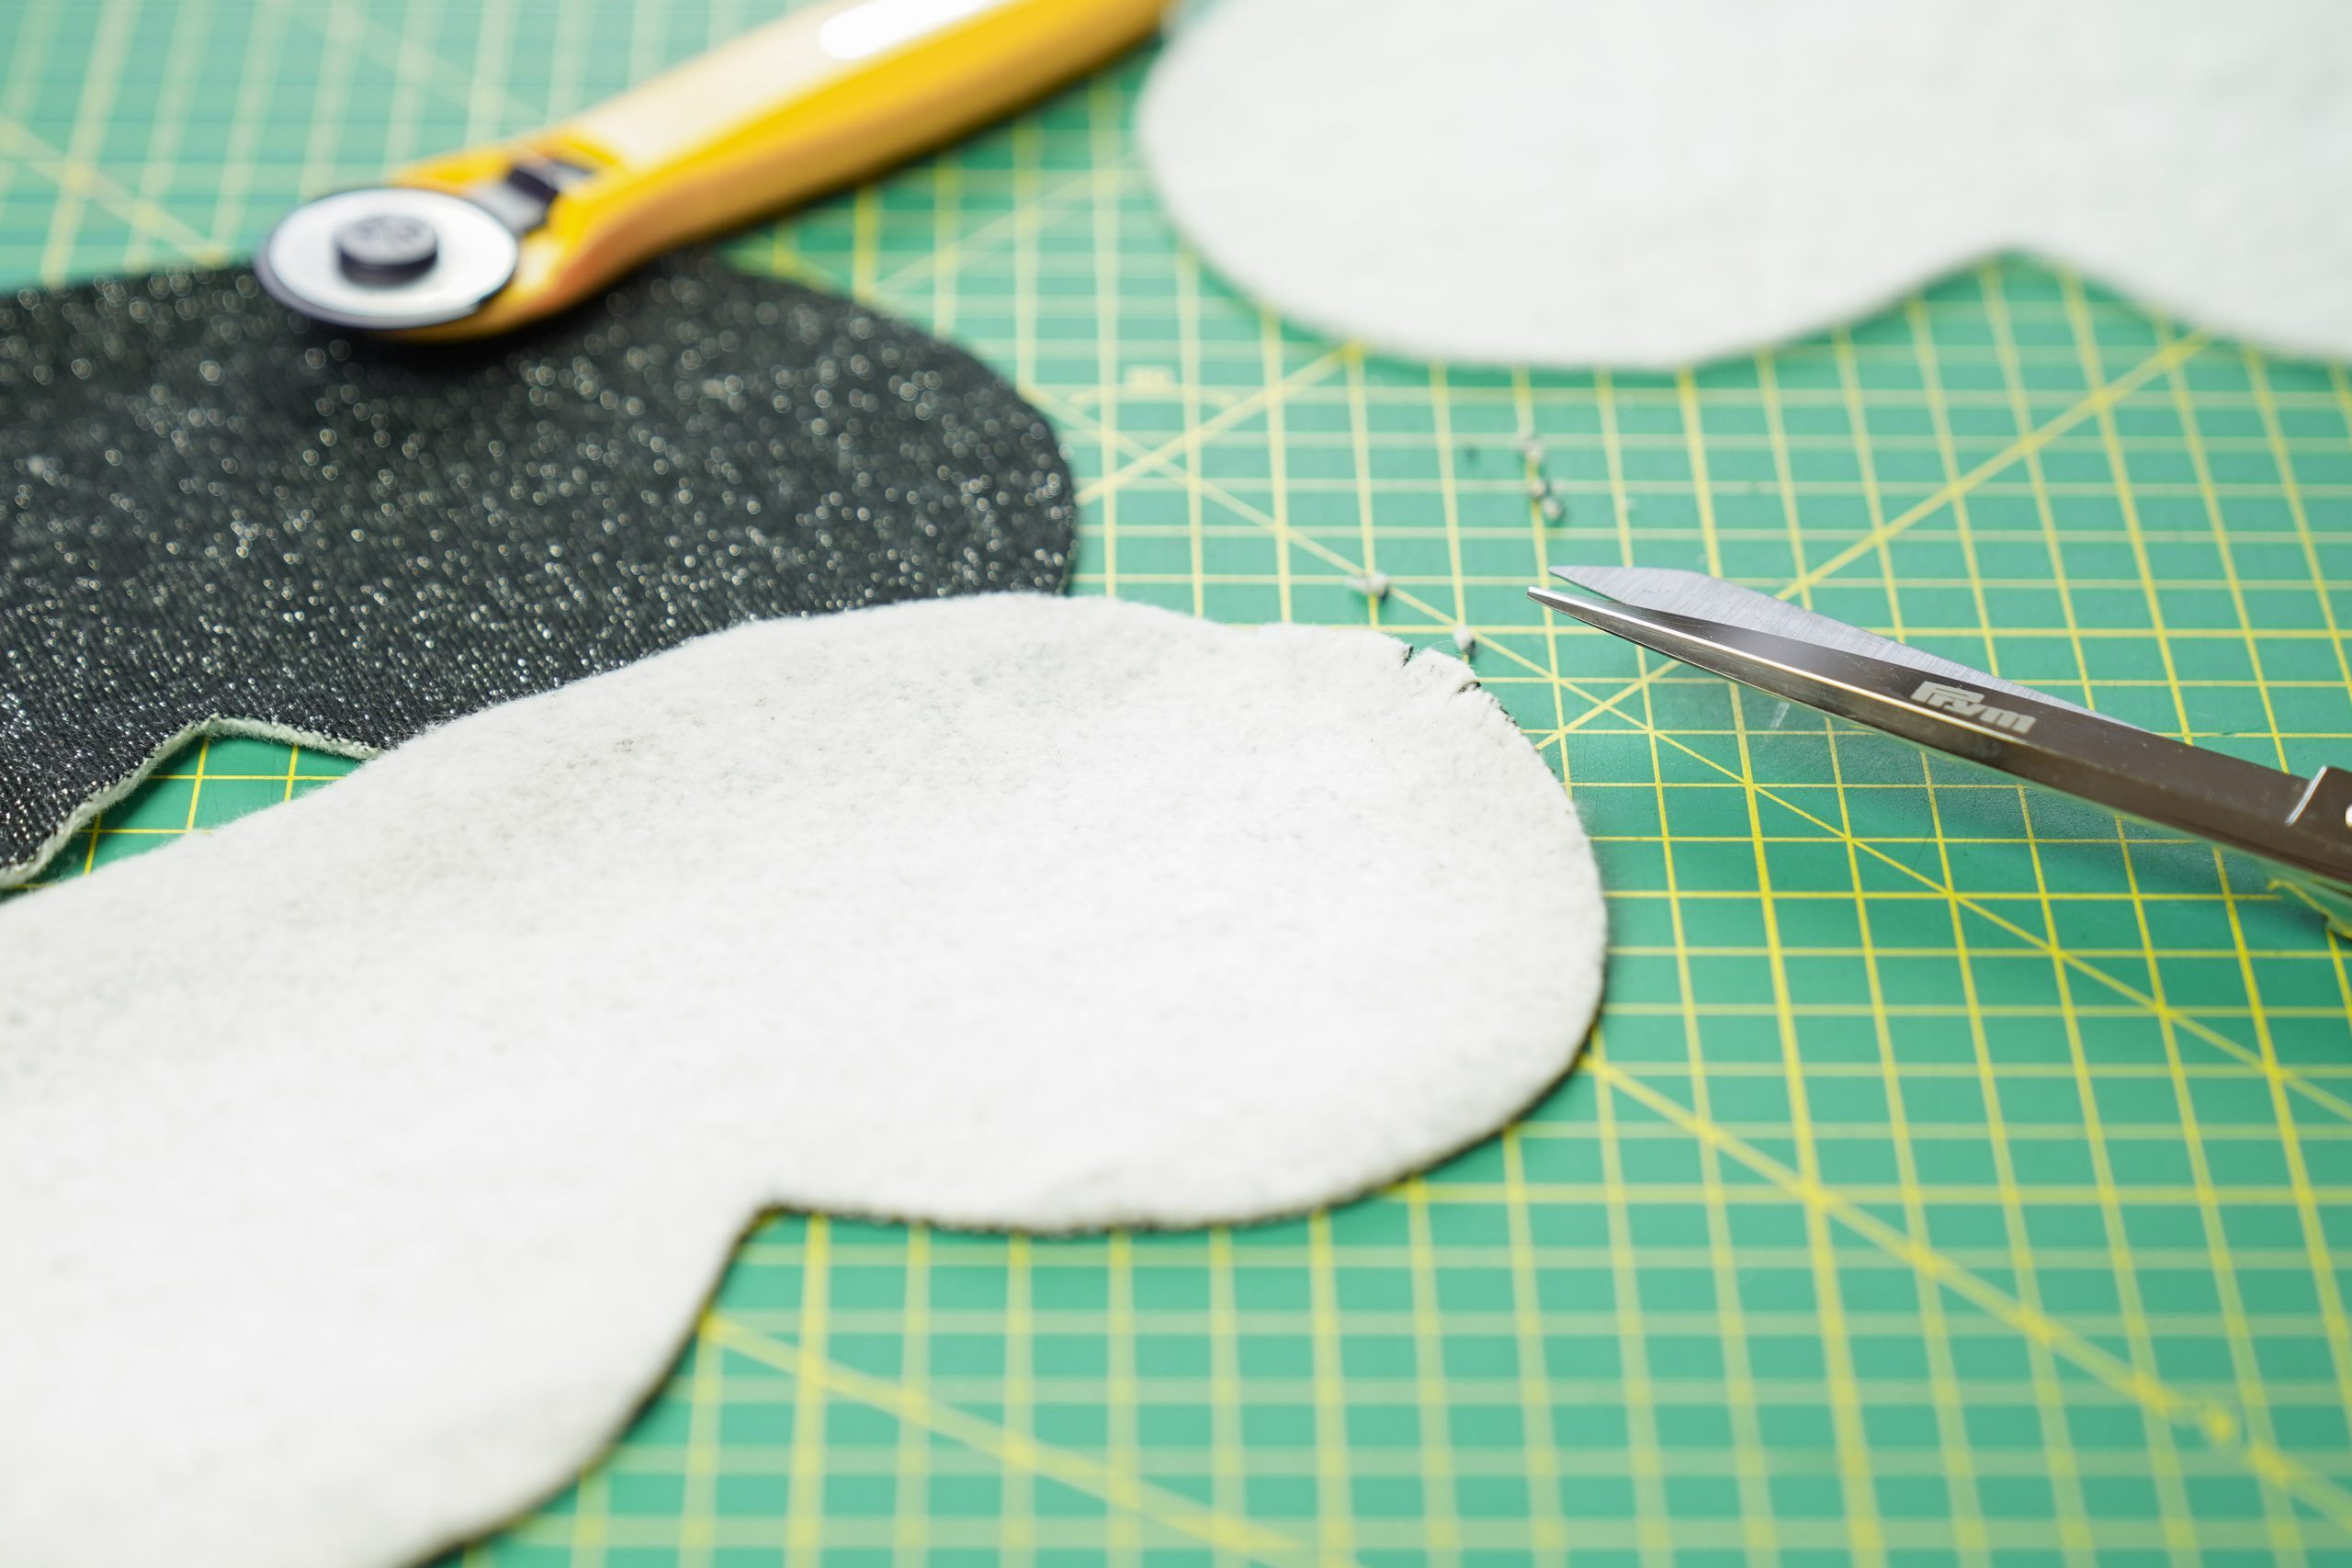
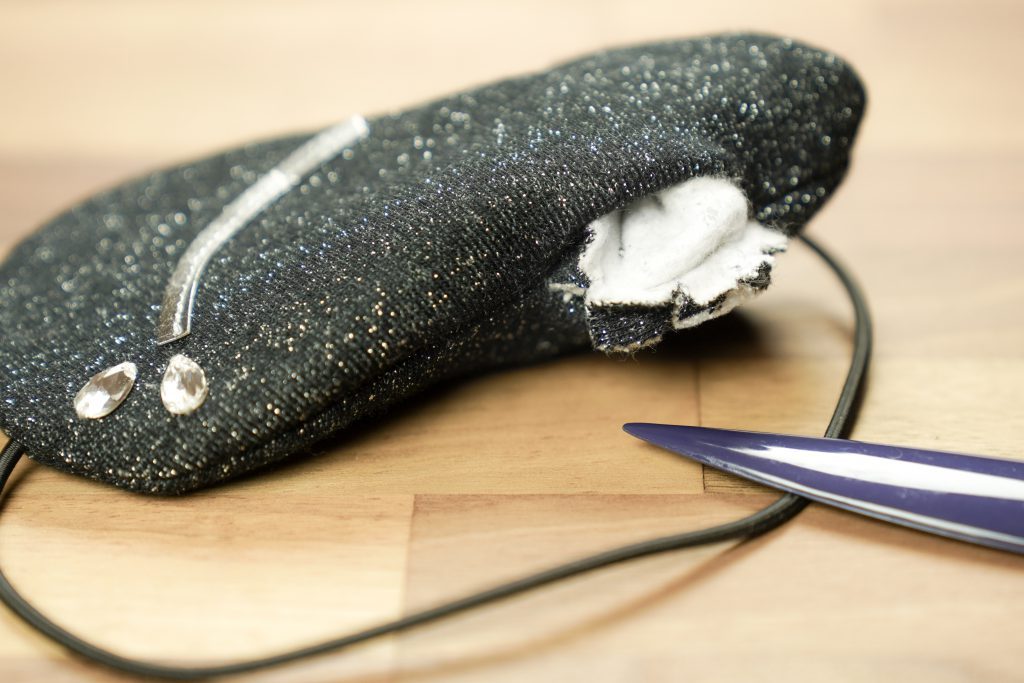
Now it’s time to cut it out. I cut out the winter sweat fabric and then the wadding using the rotary cutter. You can then cut the small curve at the bridge of the nose more precisely with tailor’s scissors. Don’t forget the small notches at the edge of the fabric so that you will know later on where to position the elastic.
I now have in front of me two layers of soft winter sweat fabric, a layer of wadding (with fine fabrics, you can also use two layers), the piece of elastic and the small details that I want to apply made of SnapPap and from the Crystal Edition Inspiration Kit. And that’s what I’m starting with.
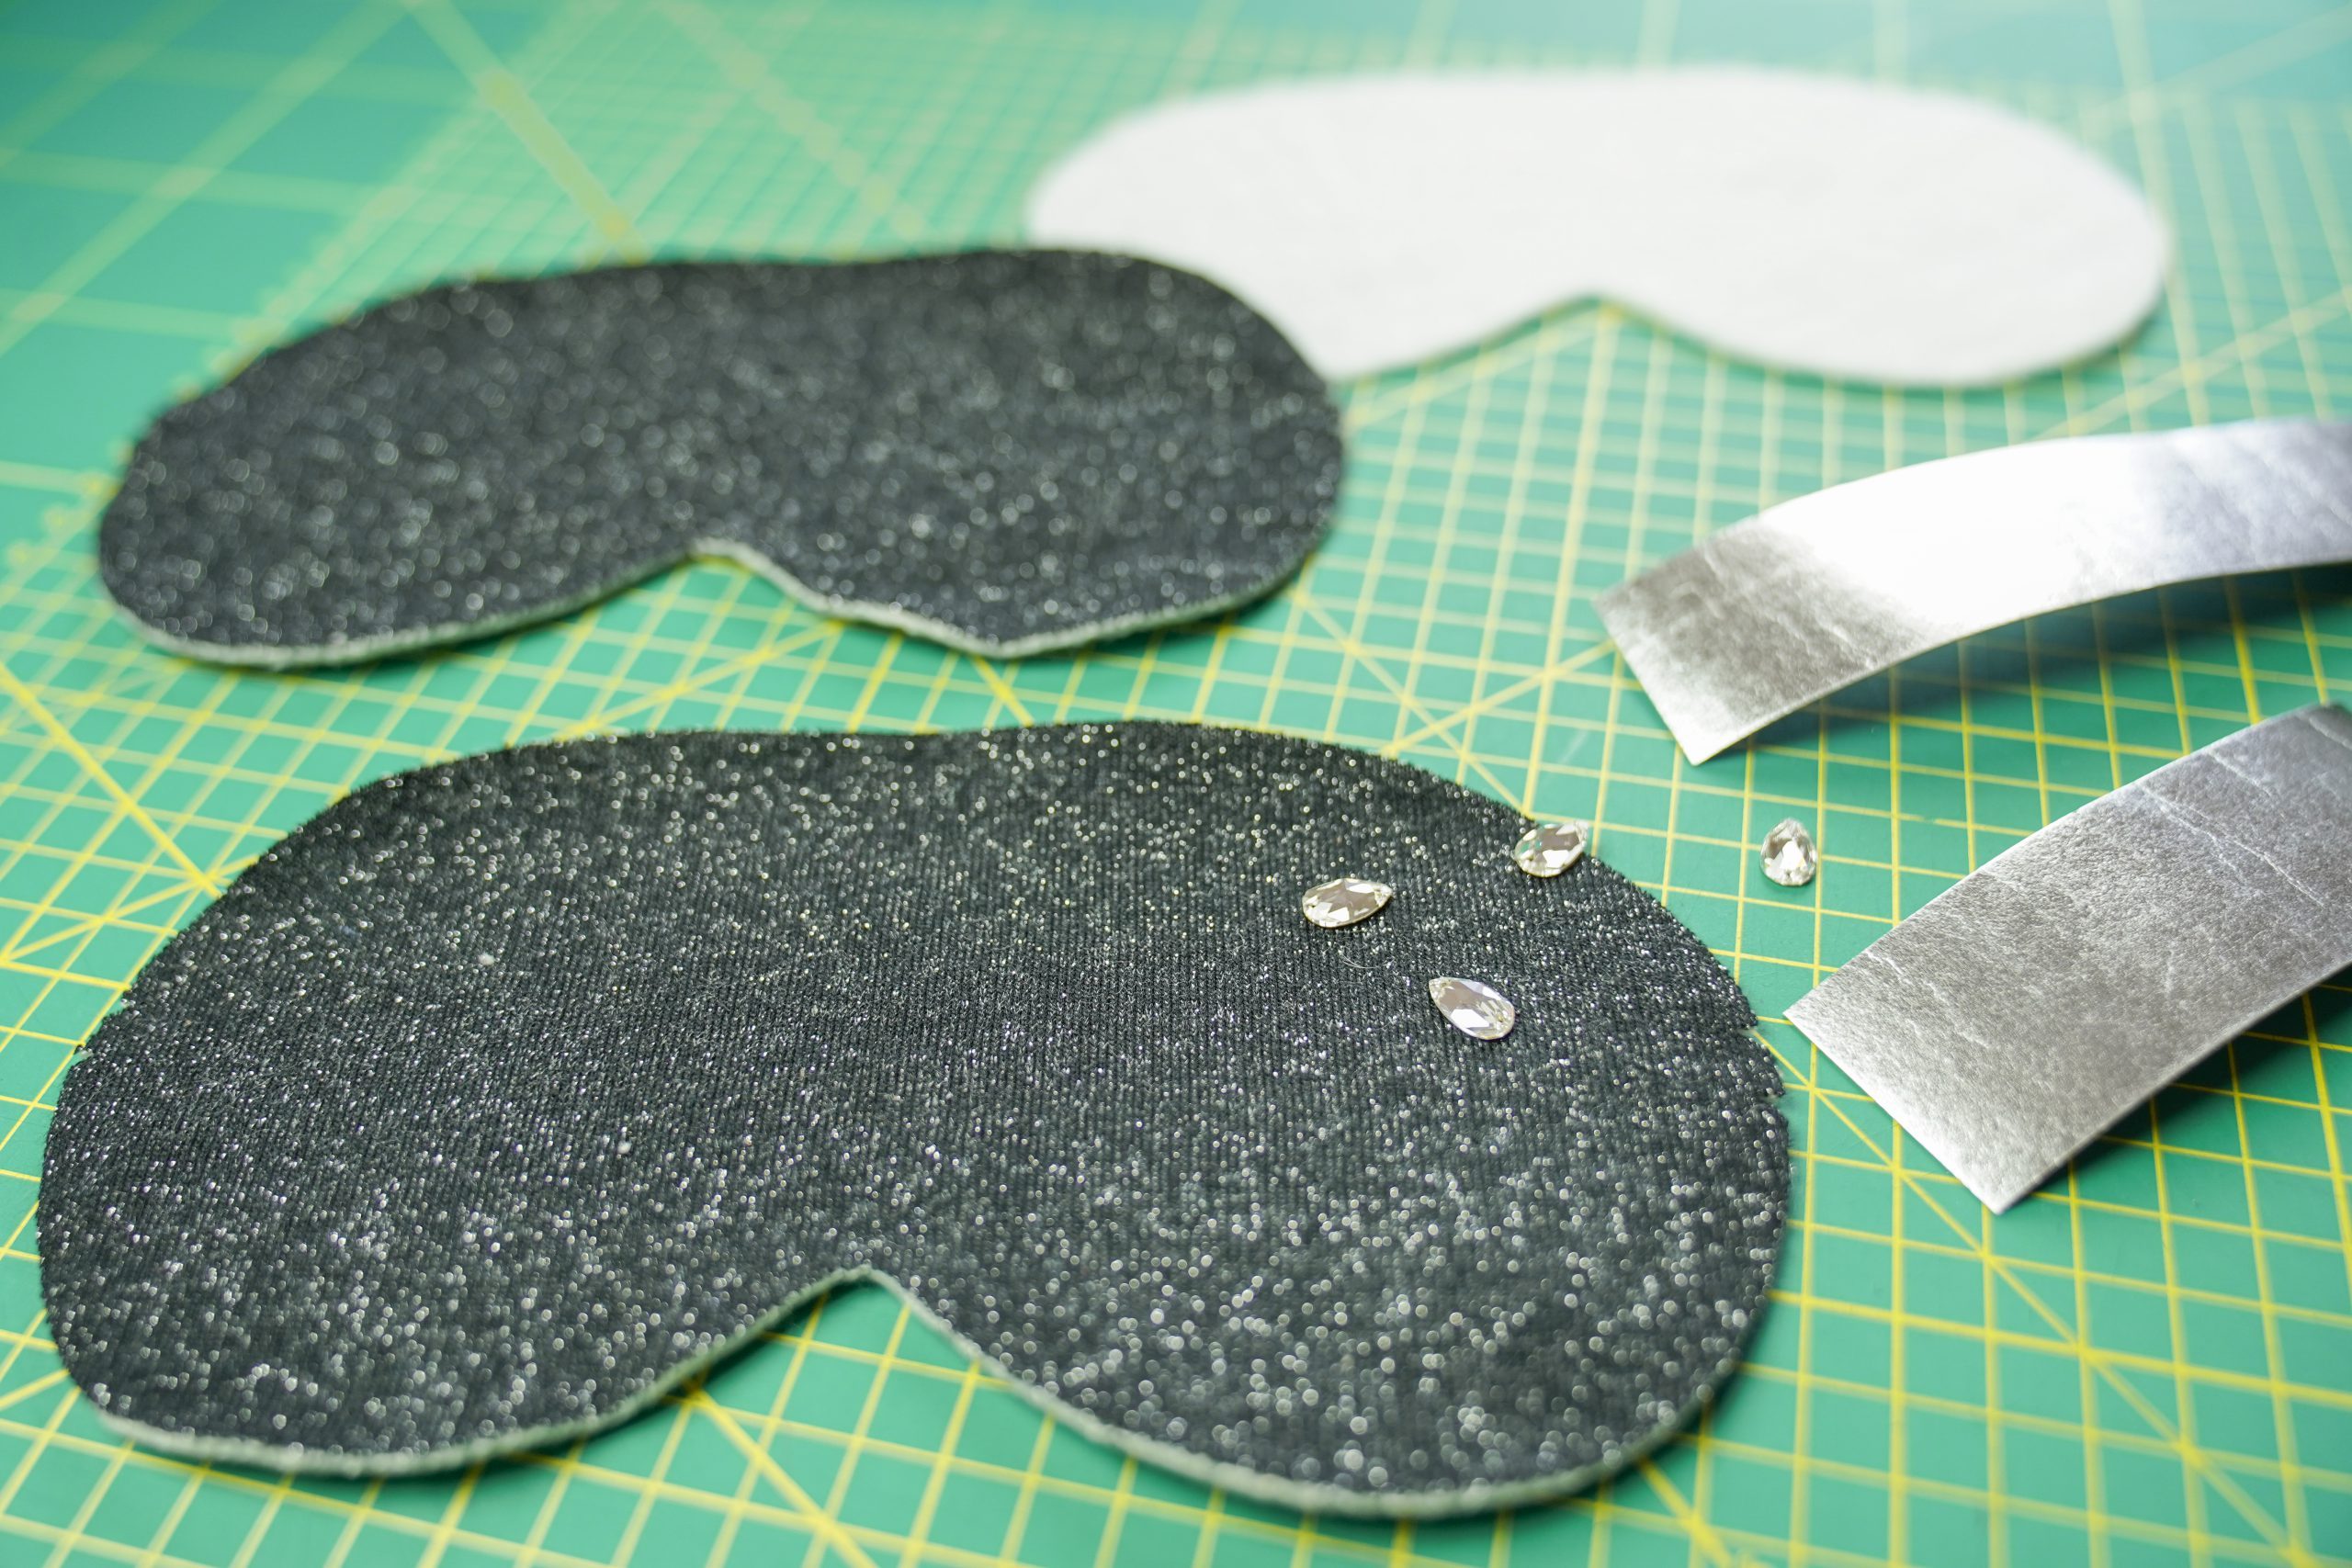
Preparing the design
Some fabrics are visually striking enough already due to their color, patterns or sequins, so you don’t need to add any embellishment. Others could do with a bit of glitz and, of course, you can create any design you want. I am a fan of simple designs and reduced my stylized lash line to a minimum. Depending on the material, size and complexity, you can attach your design using creative interfacing and heat, stick it on with tape or sew it on freehand. They are all small pieces.
Remember that you have a seam allowance of 1 cm around the edge which will disappear when it is sewn together. This will make a big difference in how your design looks. If you are unsure, you can draw or stick it on paper first.

Pro tip ?
My design is quite small, so it’s no problem to sew stiff material such as SnapPap onto the elastic sweat fabric. However, if you want to create a larger design, always use similar materials so they don’t tear later on when the mask is worn!
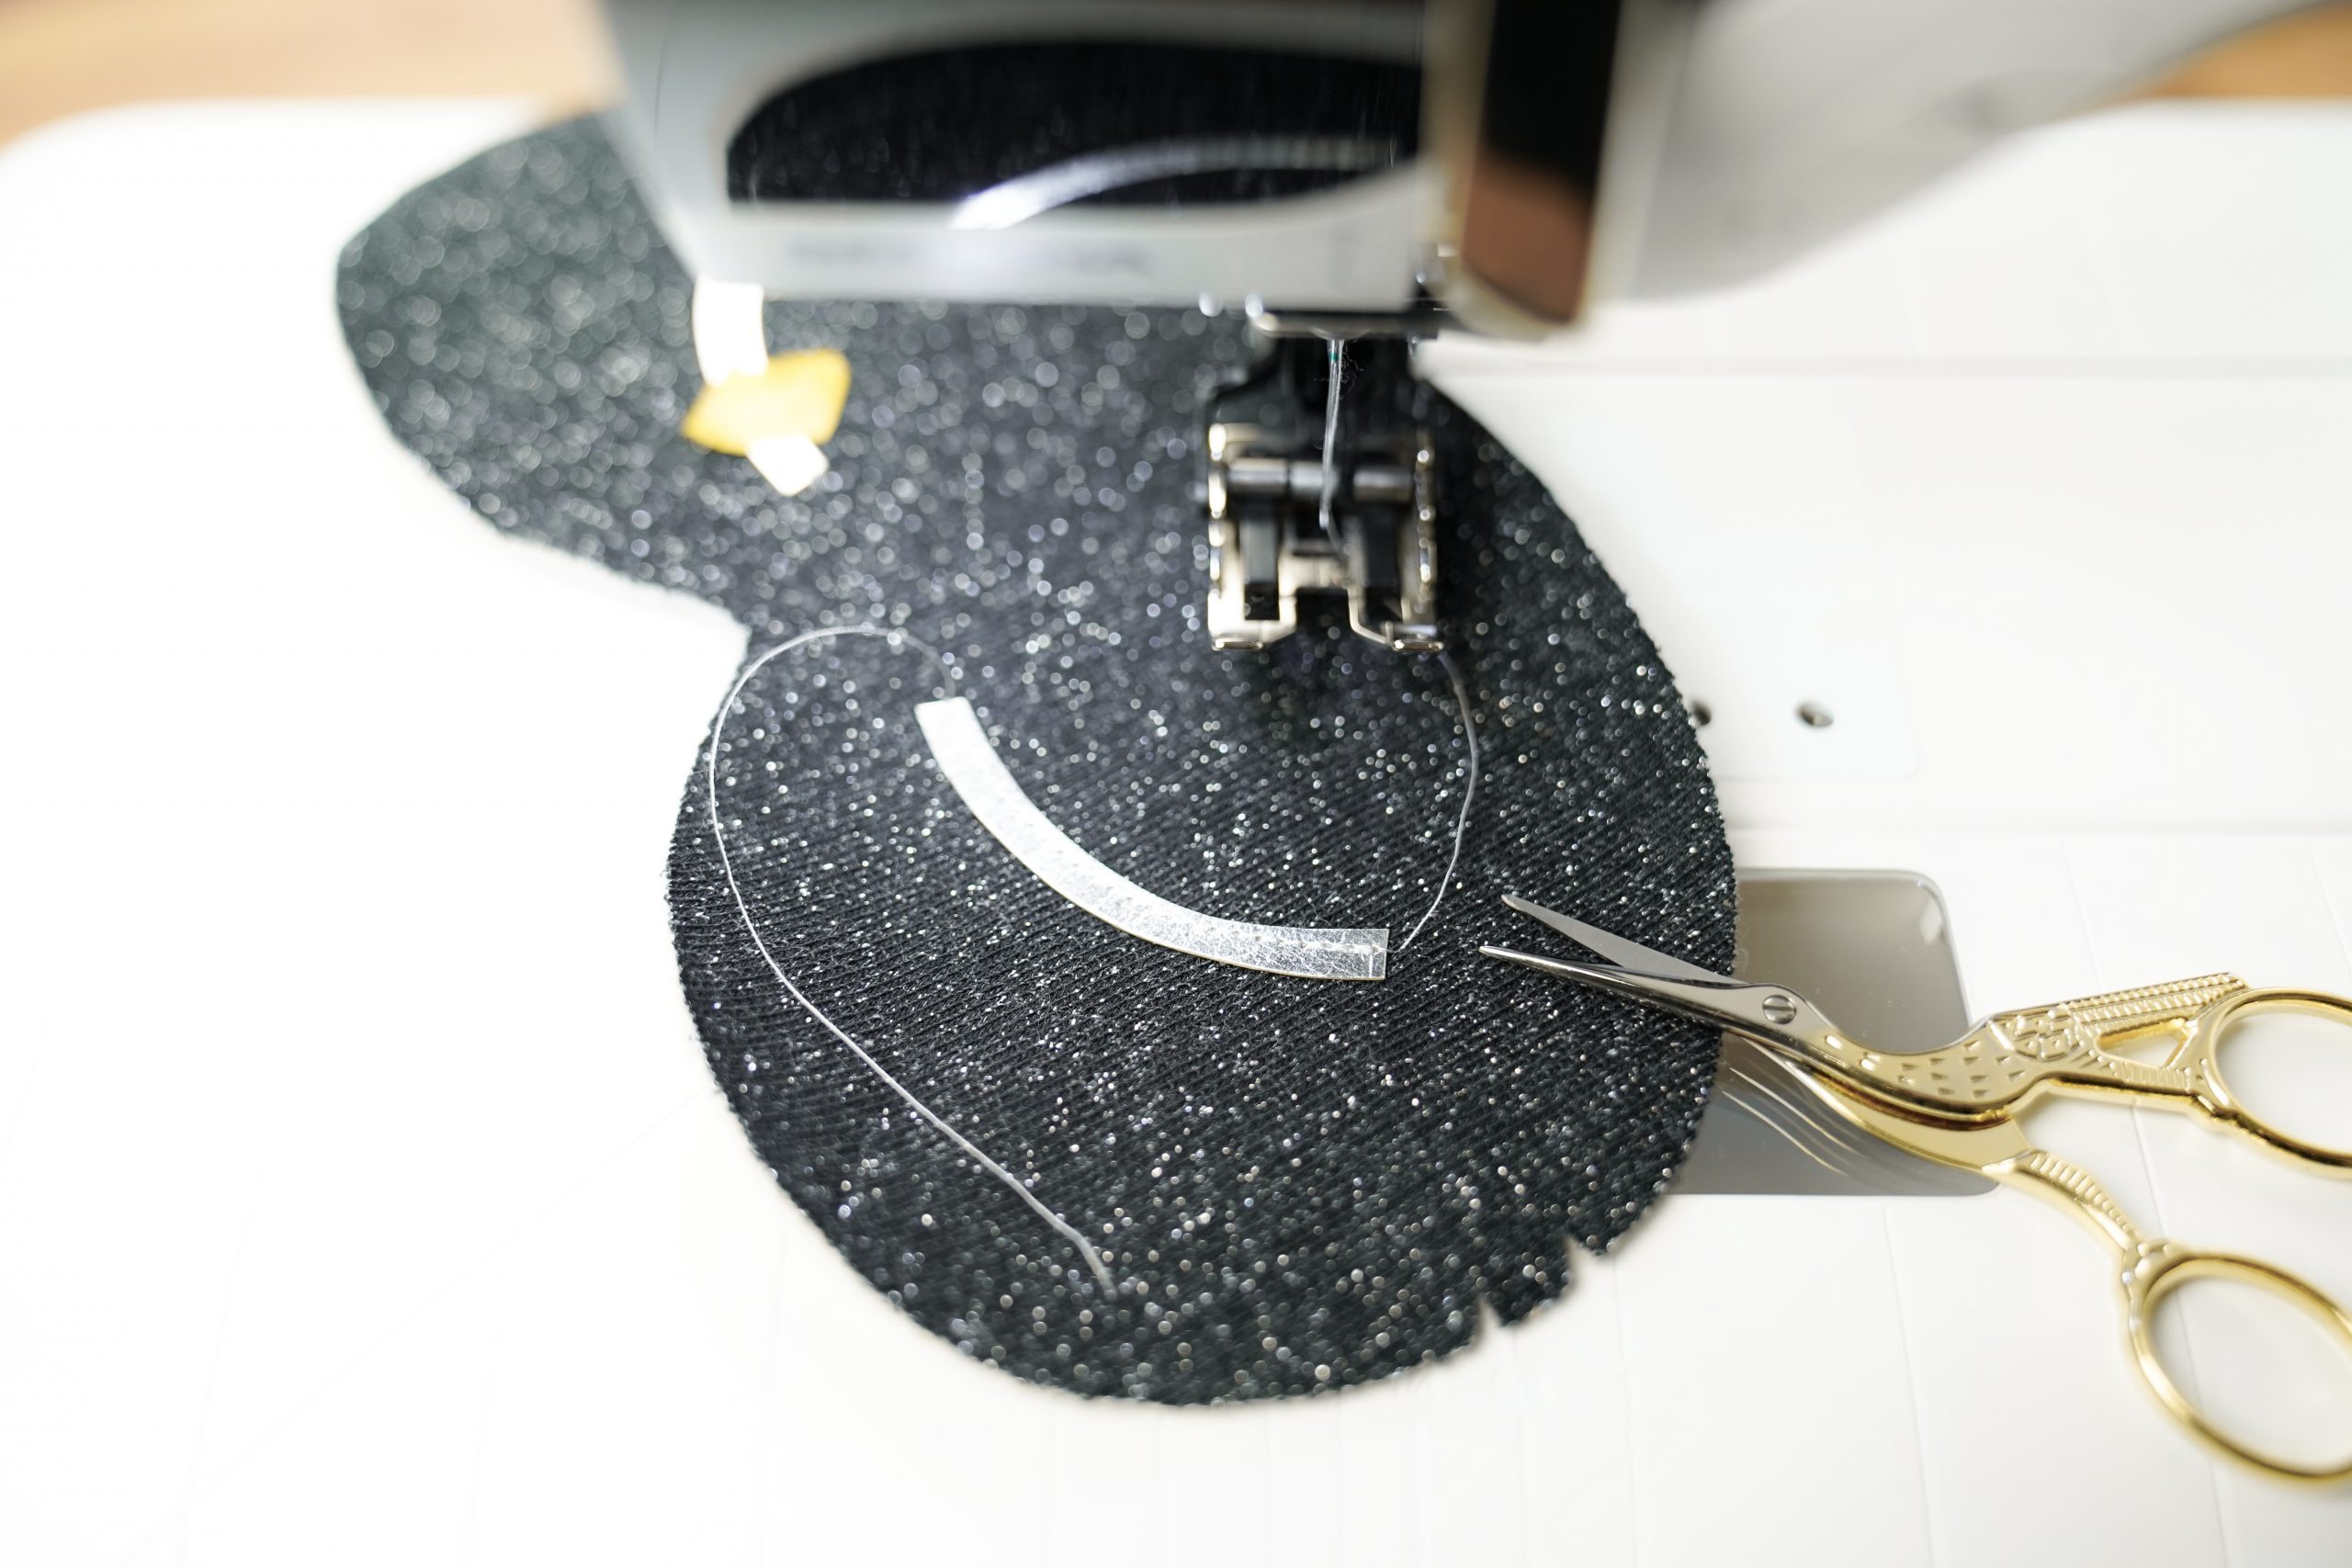
Sewing on the design
I then sewed the SnapPap onto the sweat fabric using a straight stitch. For this, I used Walking Foot #50, because this prevents wrinkles and puckering when using elastic fabrics. It is important to adjust the needle position downwards so that it is easier to get around the curves. At the same time, I kept lifting the foot to correct the direction. Snail pace is absolutely fine here. Secure the beginning and end of the seam well, while trying to use the previous holes. Unfortunately, SnapPap is very unforgiving of any sewing mistakes.
Sewing on the Swarovski crystals
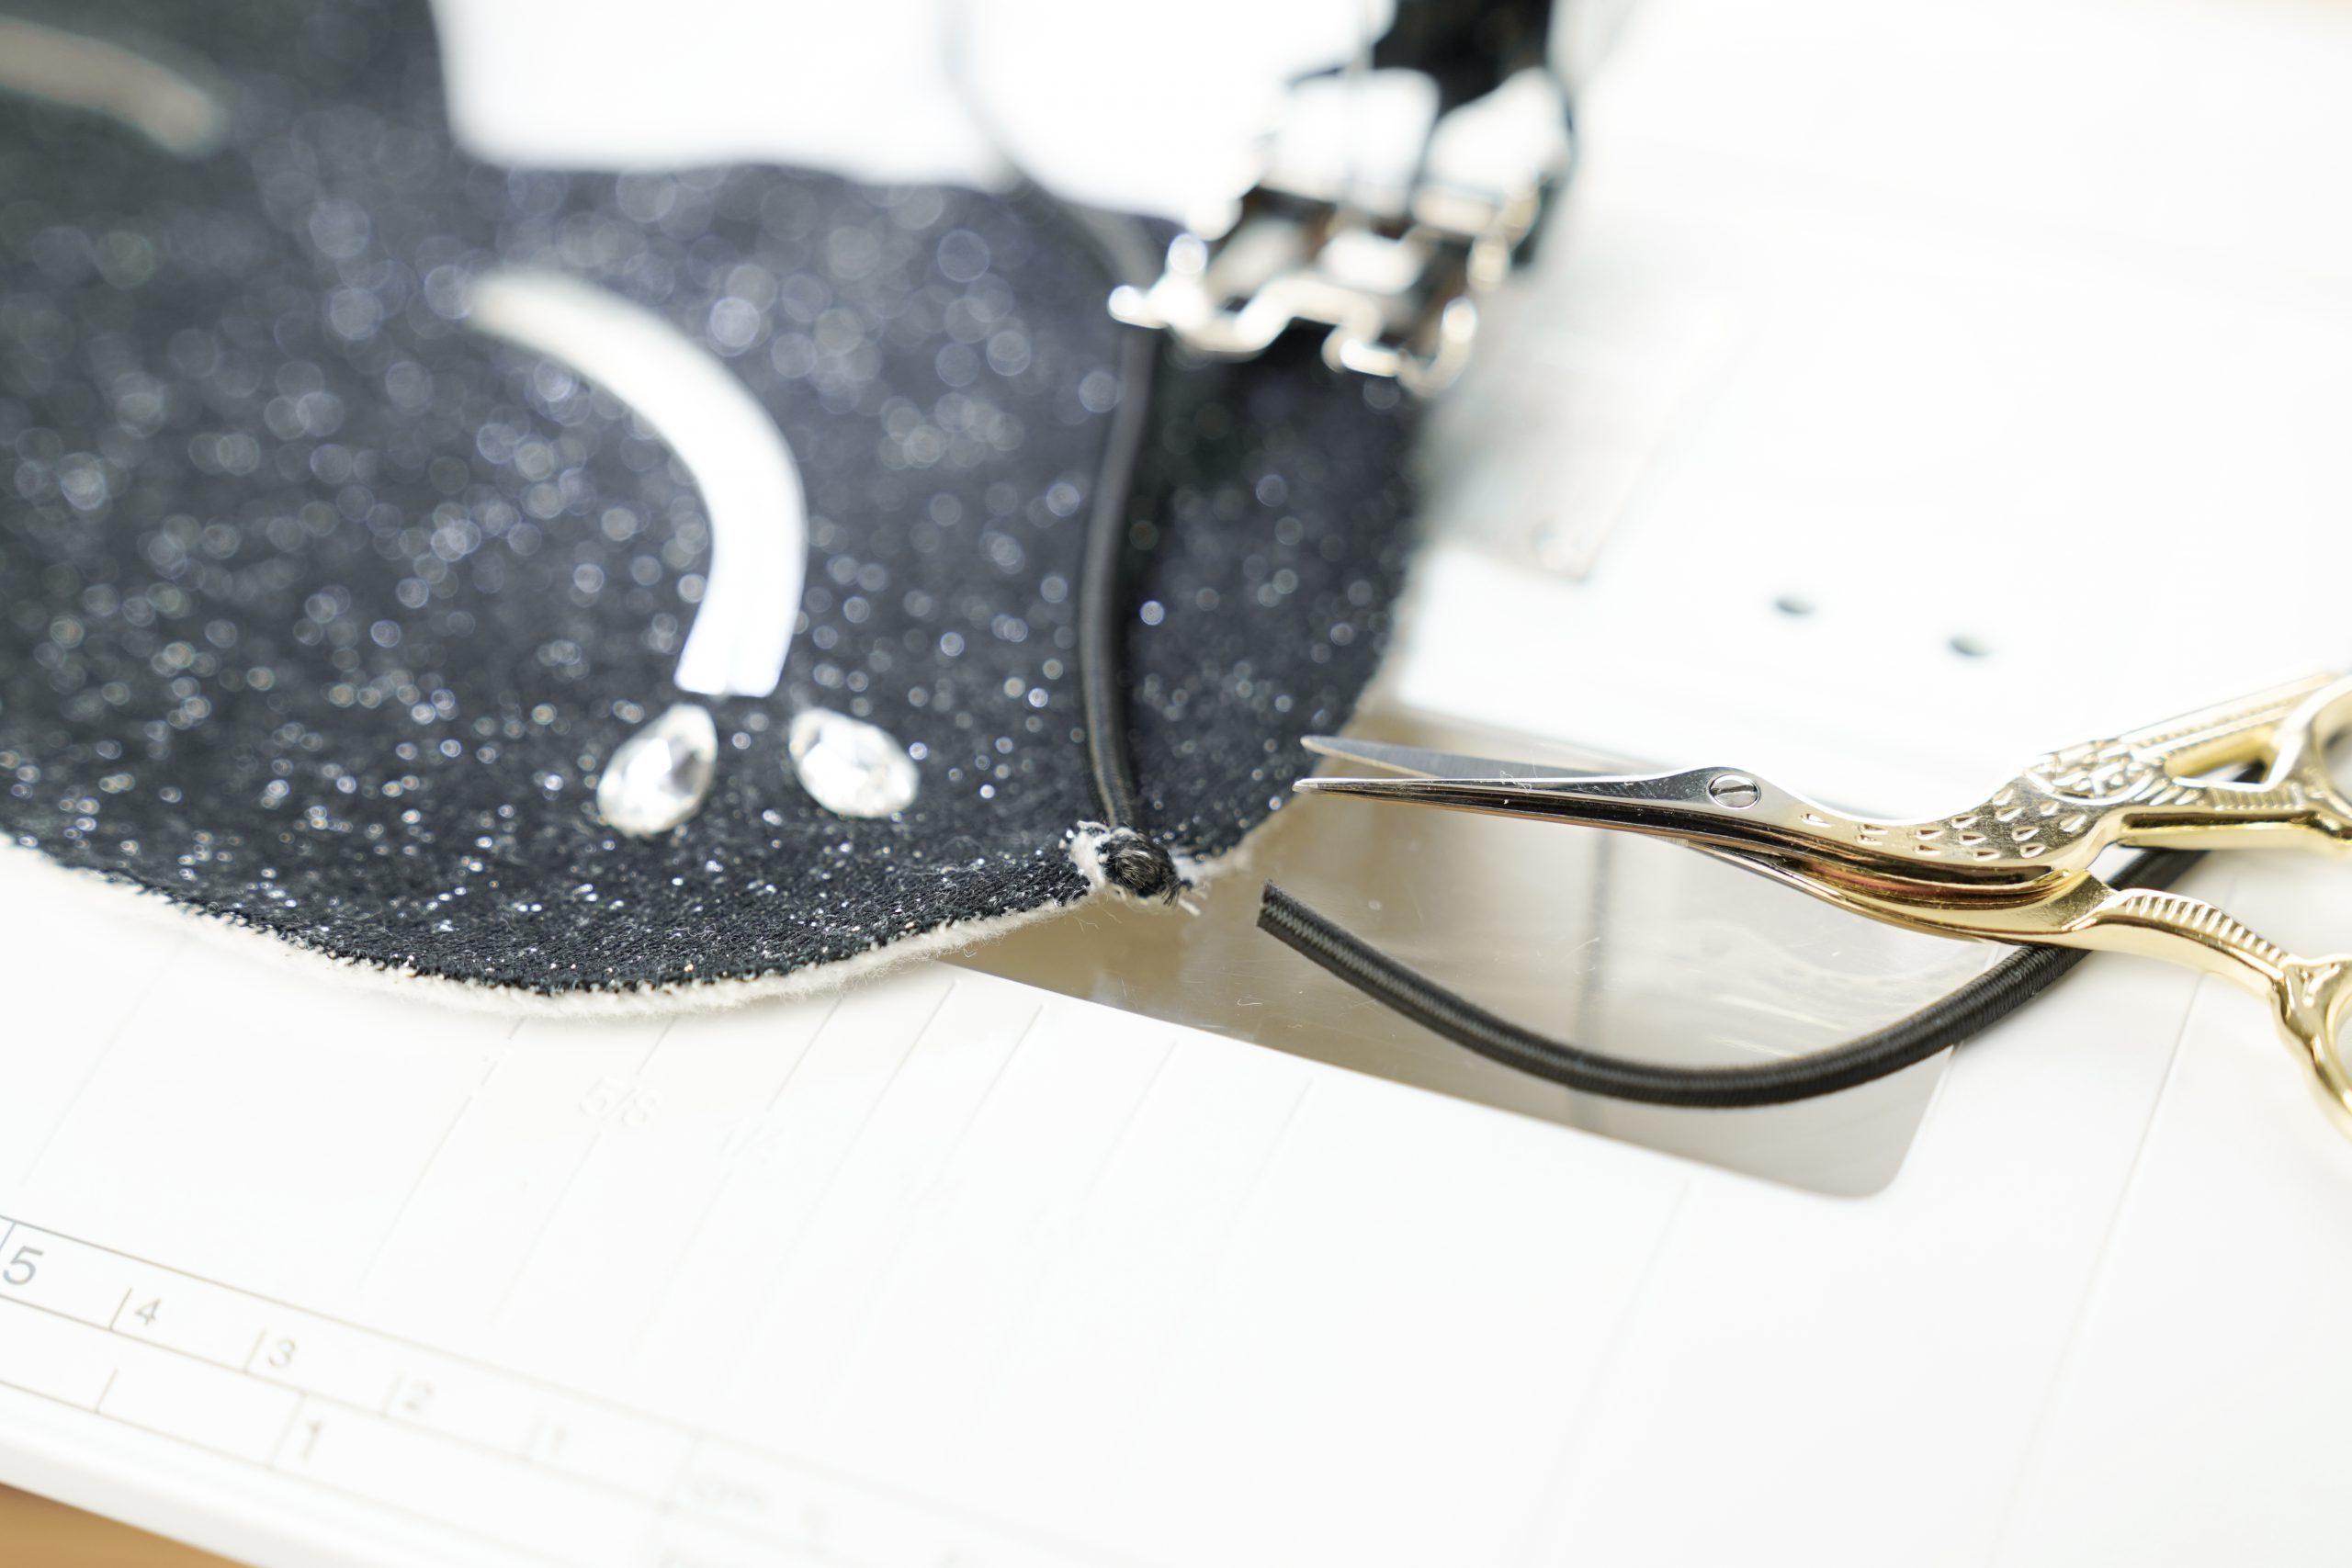
I sewed on the teardrop-shaped Swarovski crystals from the Inspiration Kit by hand with a very fine hand sewing needle, using light gray sewing thread so that it stands out as little as possible. It is a good idea to sew with double thread, as that way you don’t need so many individual stitches. Secure the ends on the back well so that you can wash your sleep mask later on.
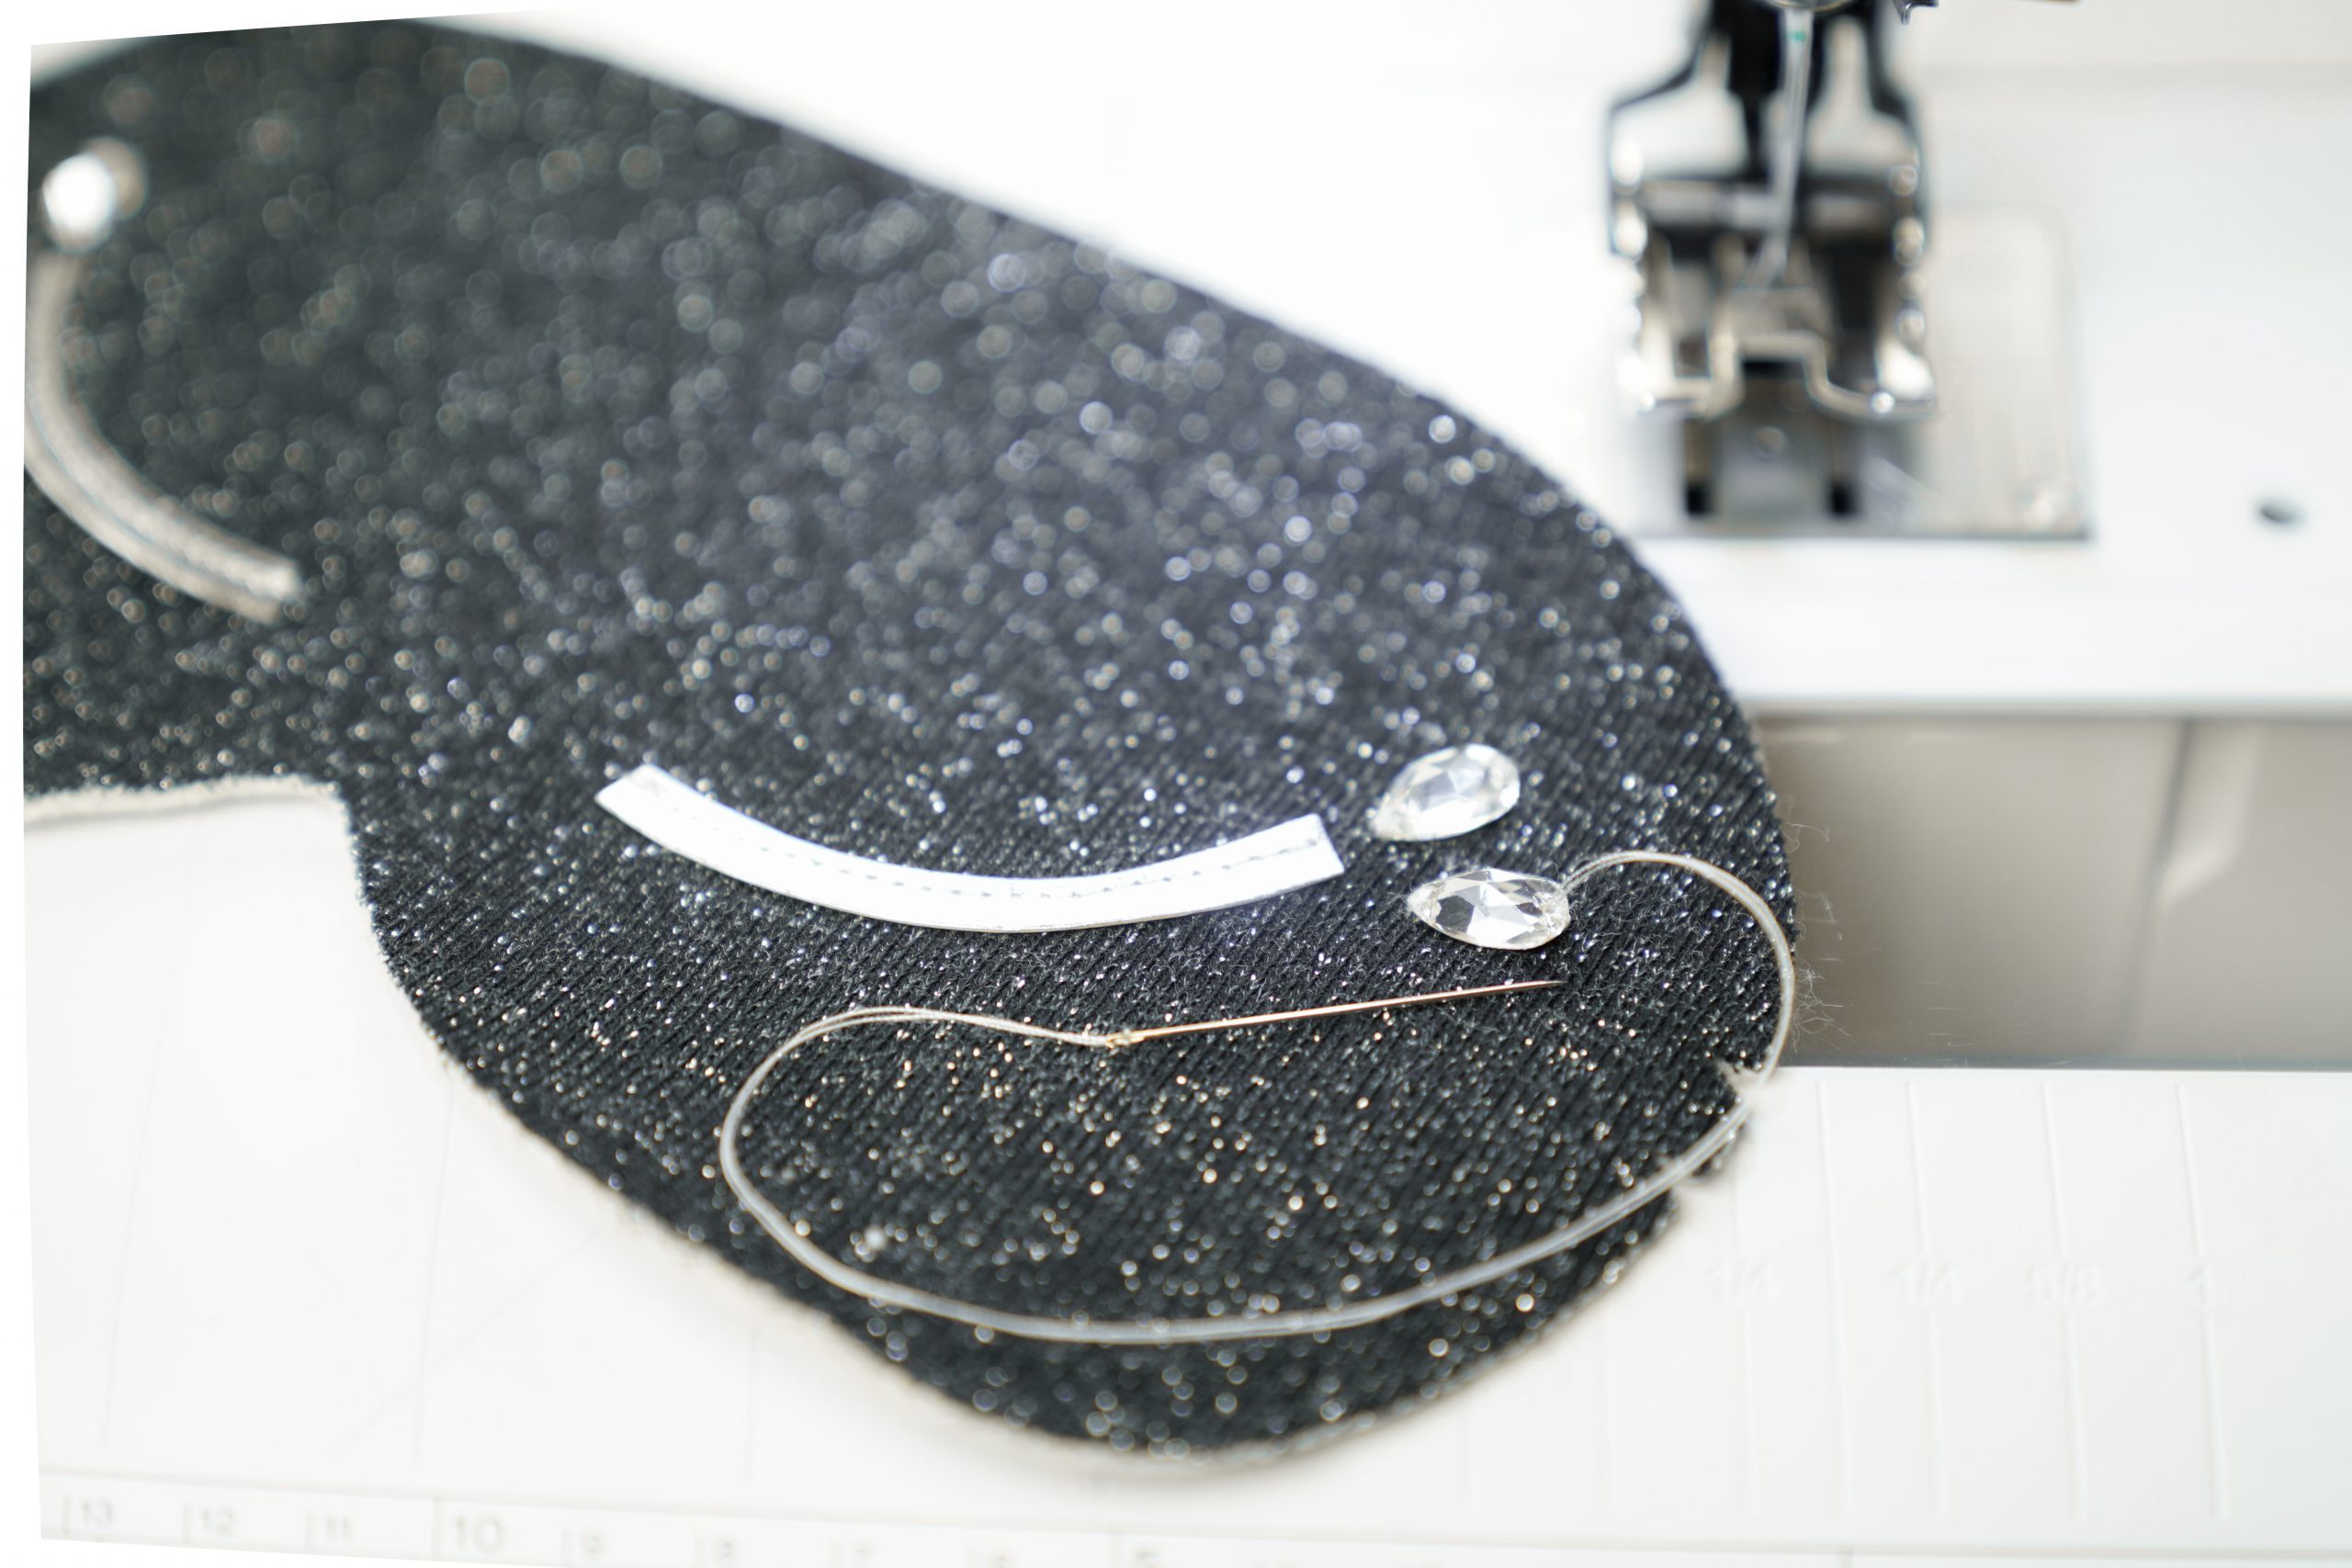
Try not to position the crystals too close to the edge, as this might make it more difficult to sew the mask together. You can also sew on crystals that go beyond the edge later, just before you close the turning opening.
Sewing on the elastic
You can also sew on the elastic on the outside between the notches, making sure it is held in place securely. It should be nice and close to the edge, so you don’t see the seam afterwards and only attach it on one side initially.
Then try on the mask and, holding the elastic at the edge on the other side, find the most comfortable length of elastic for you. Add a 1 cm seam allowance to the new length of elastic, cut off the rest and sew it on close to the edge as before. It doesn’t matter whether you use a round or a flat elastic… the main thing is that it holds the mask in place!
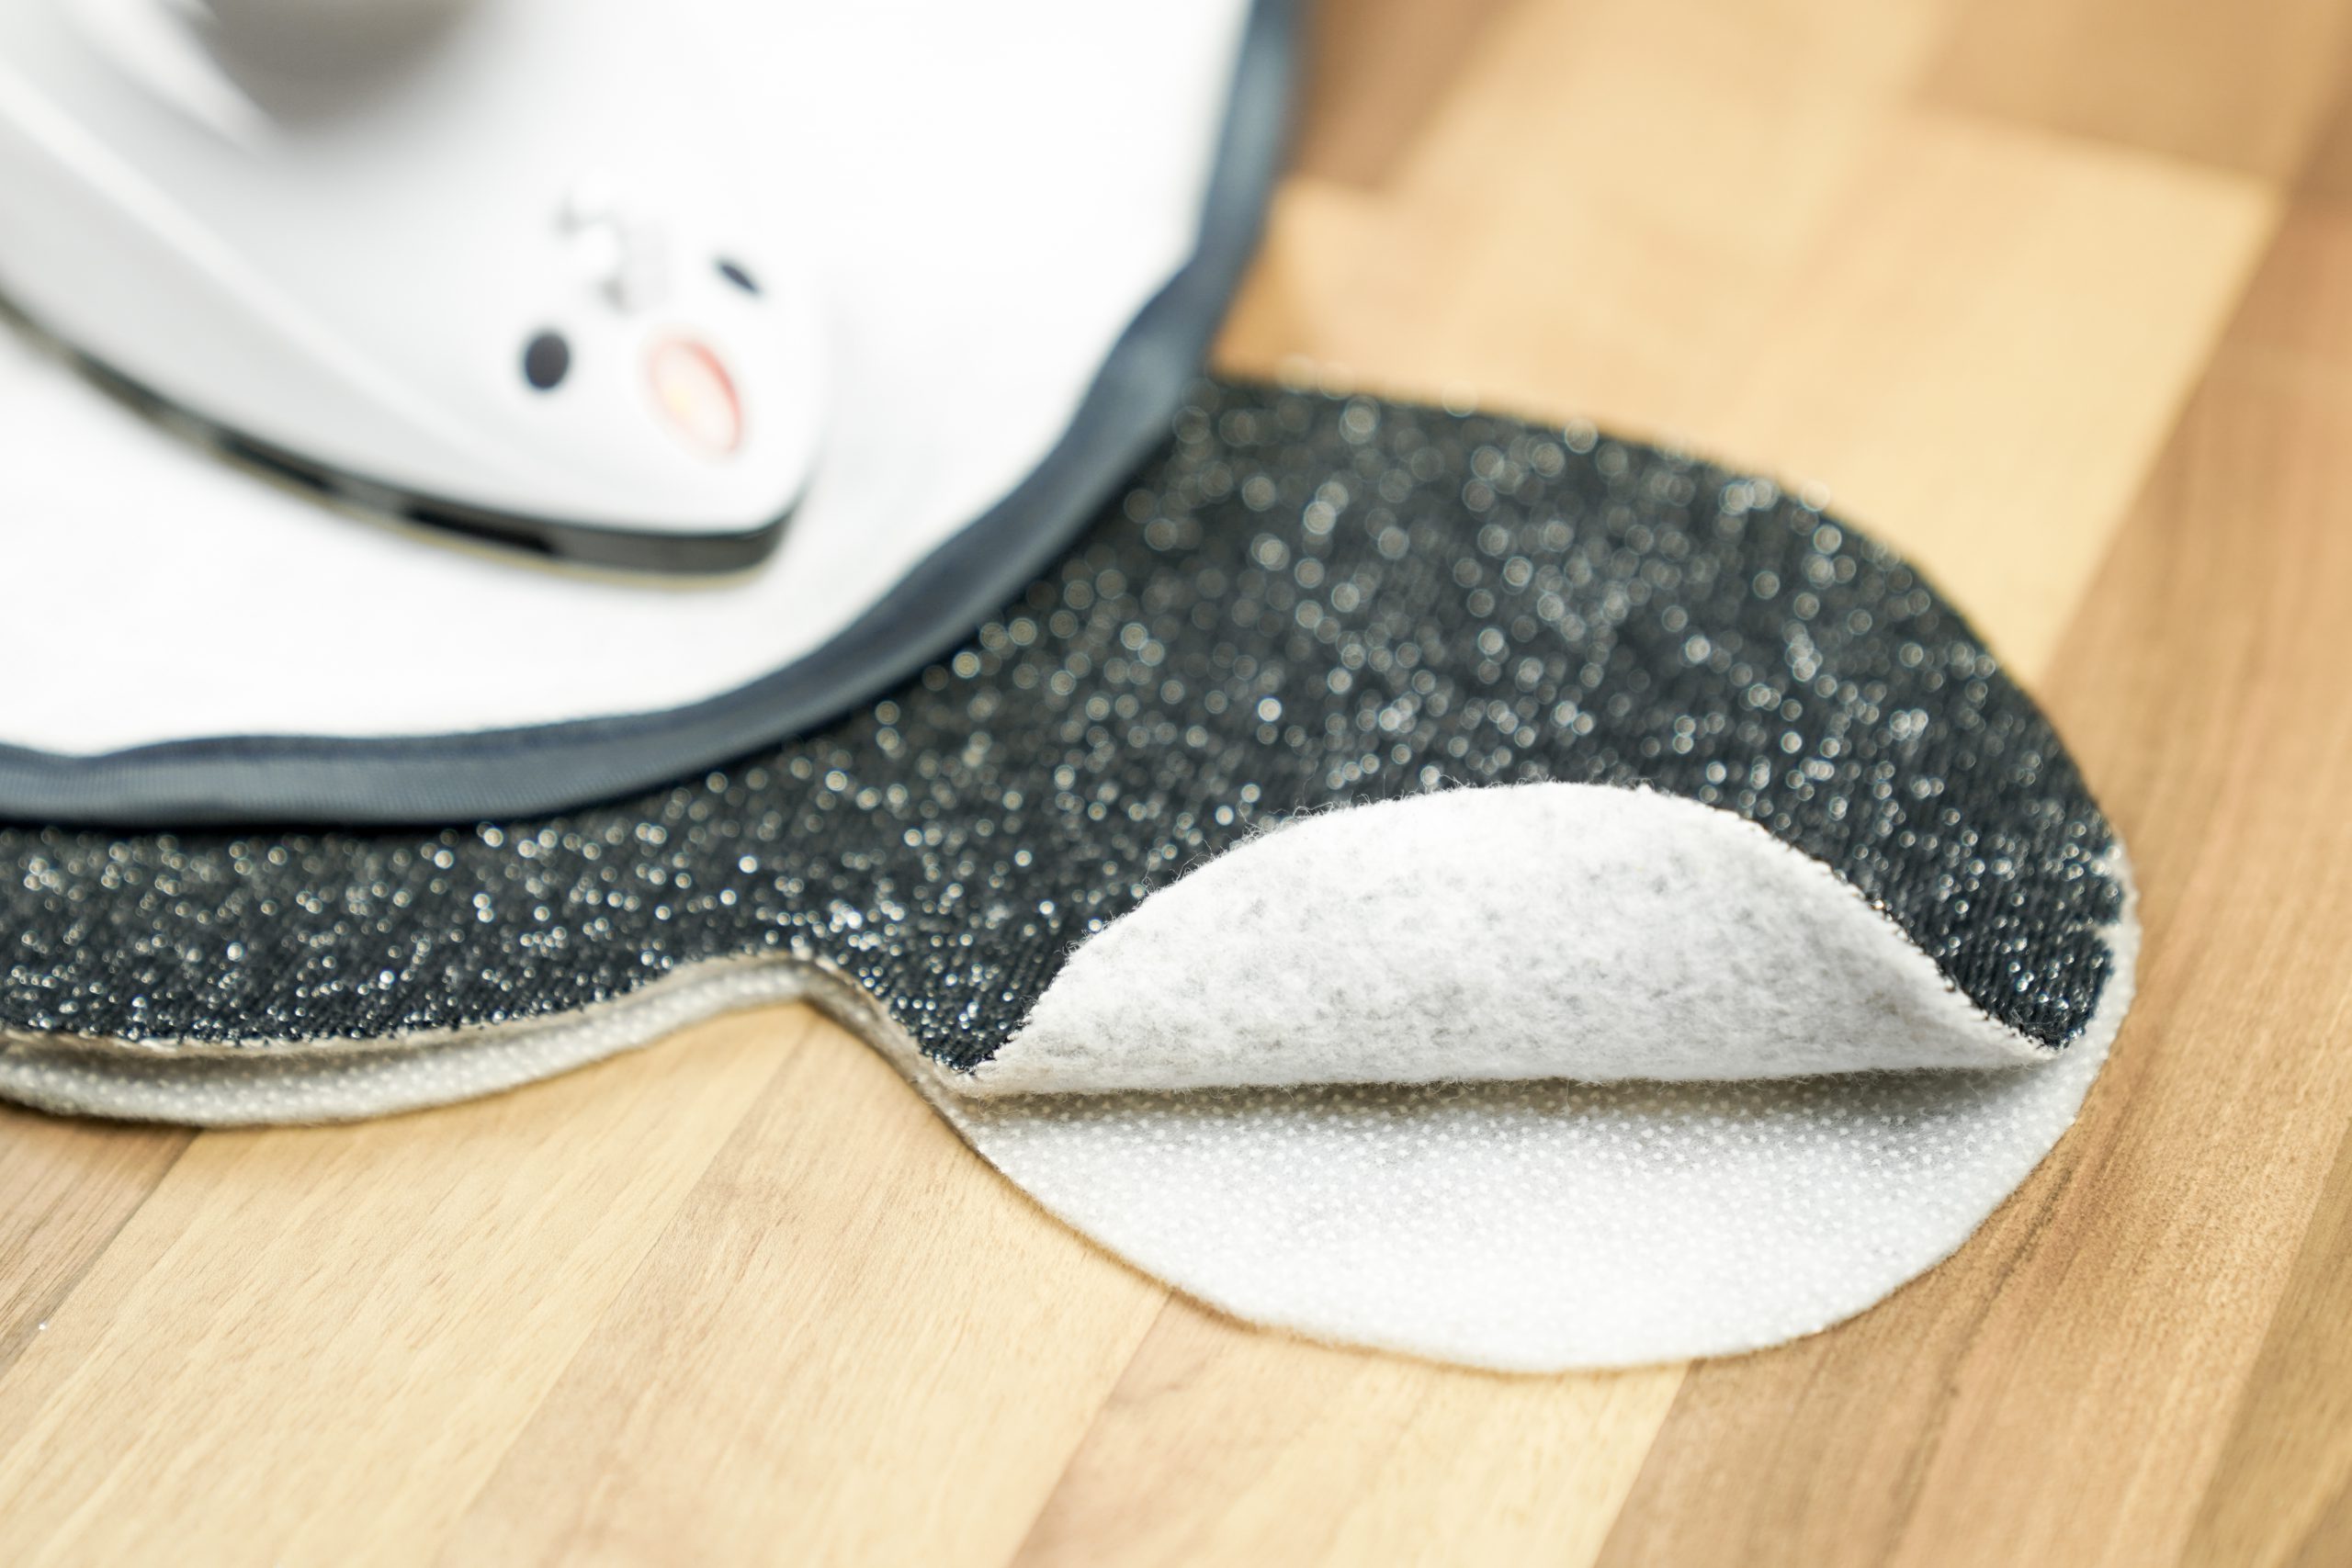
Ironing on the wadding
Now iron the wadding onto the inside according to the manufacturer’s instructions. In the case of my thick winter sweat fabric, it worked best to iron on the right side with an ironing cloth on top.
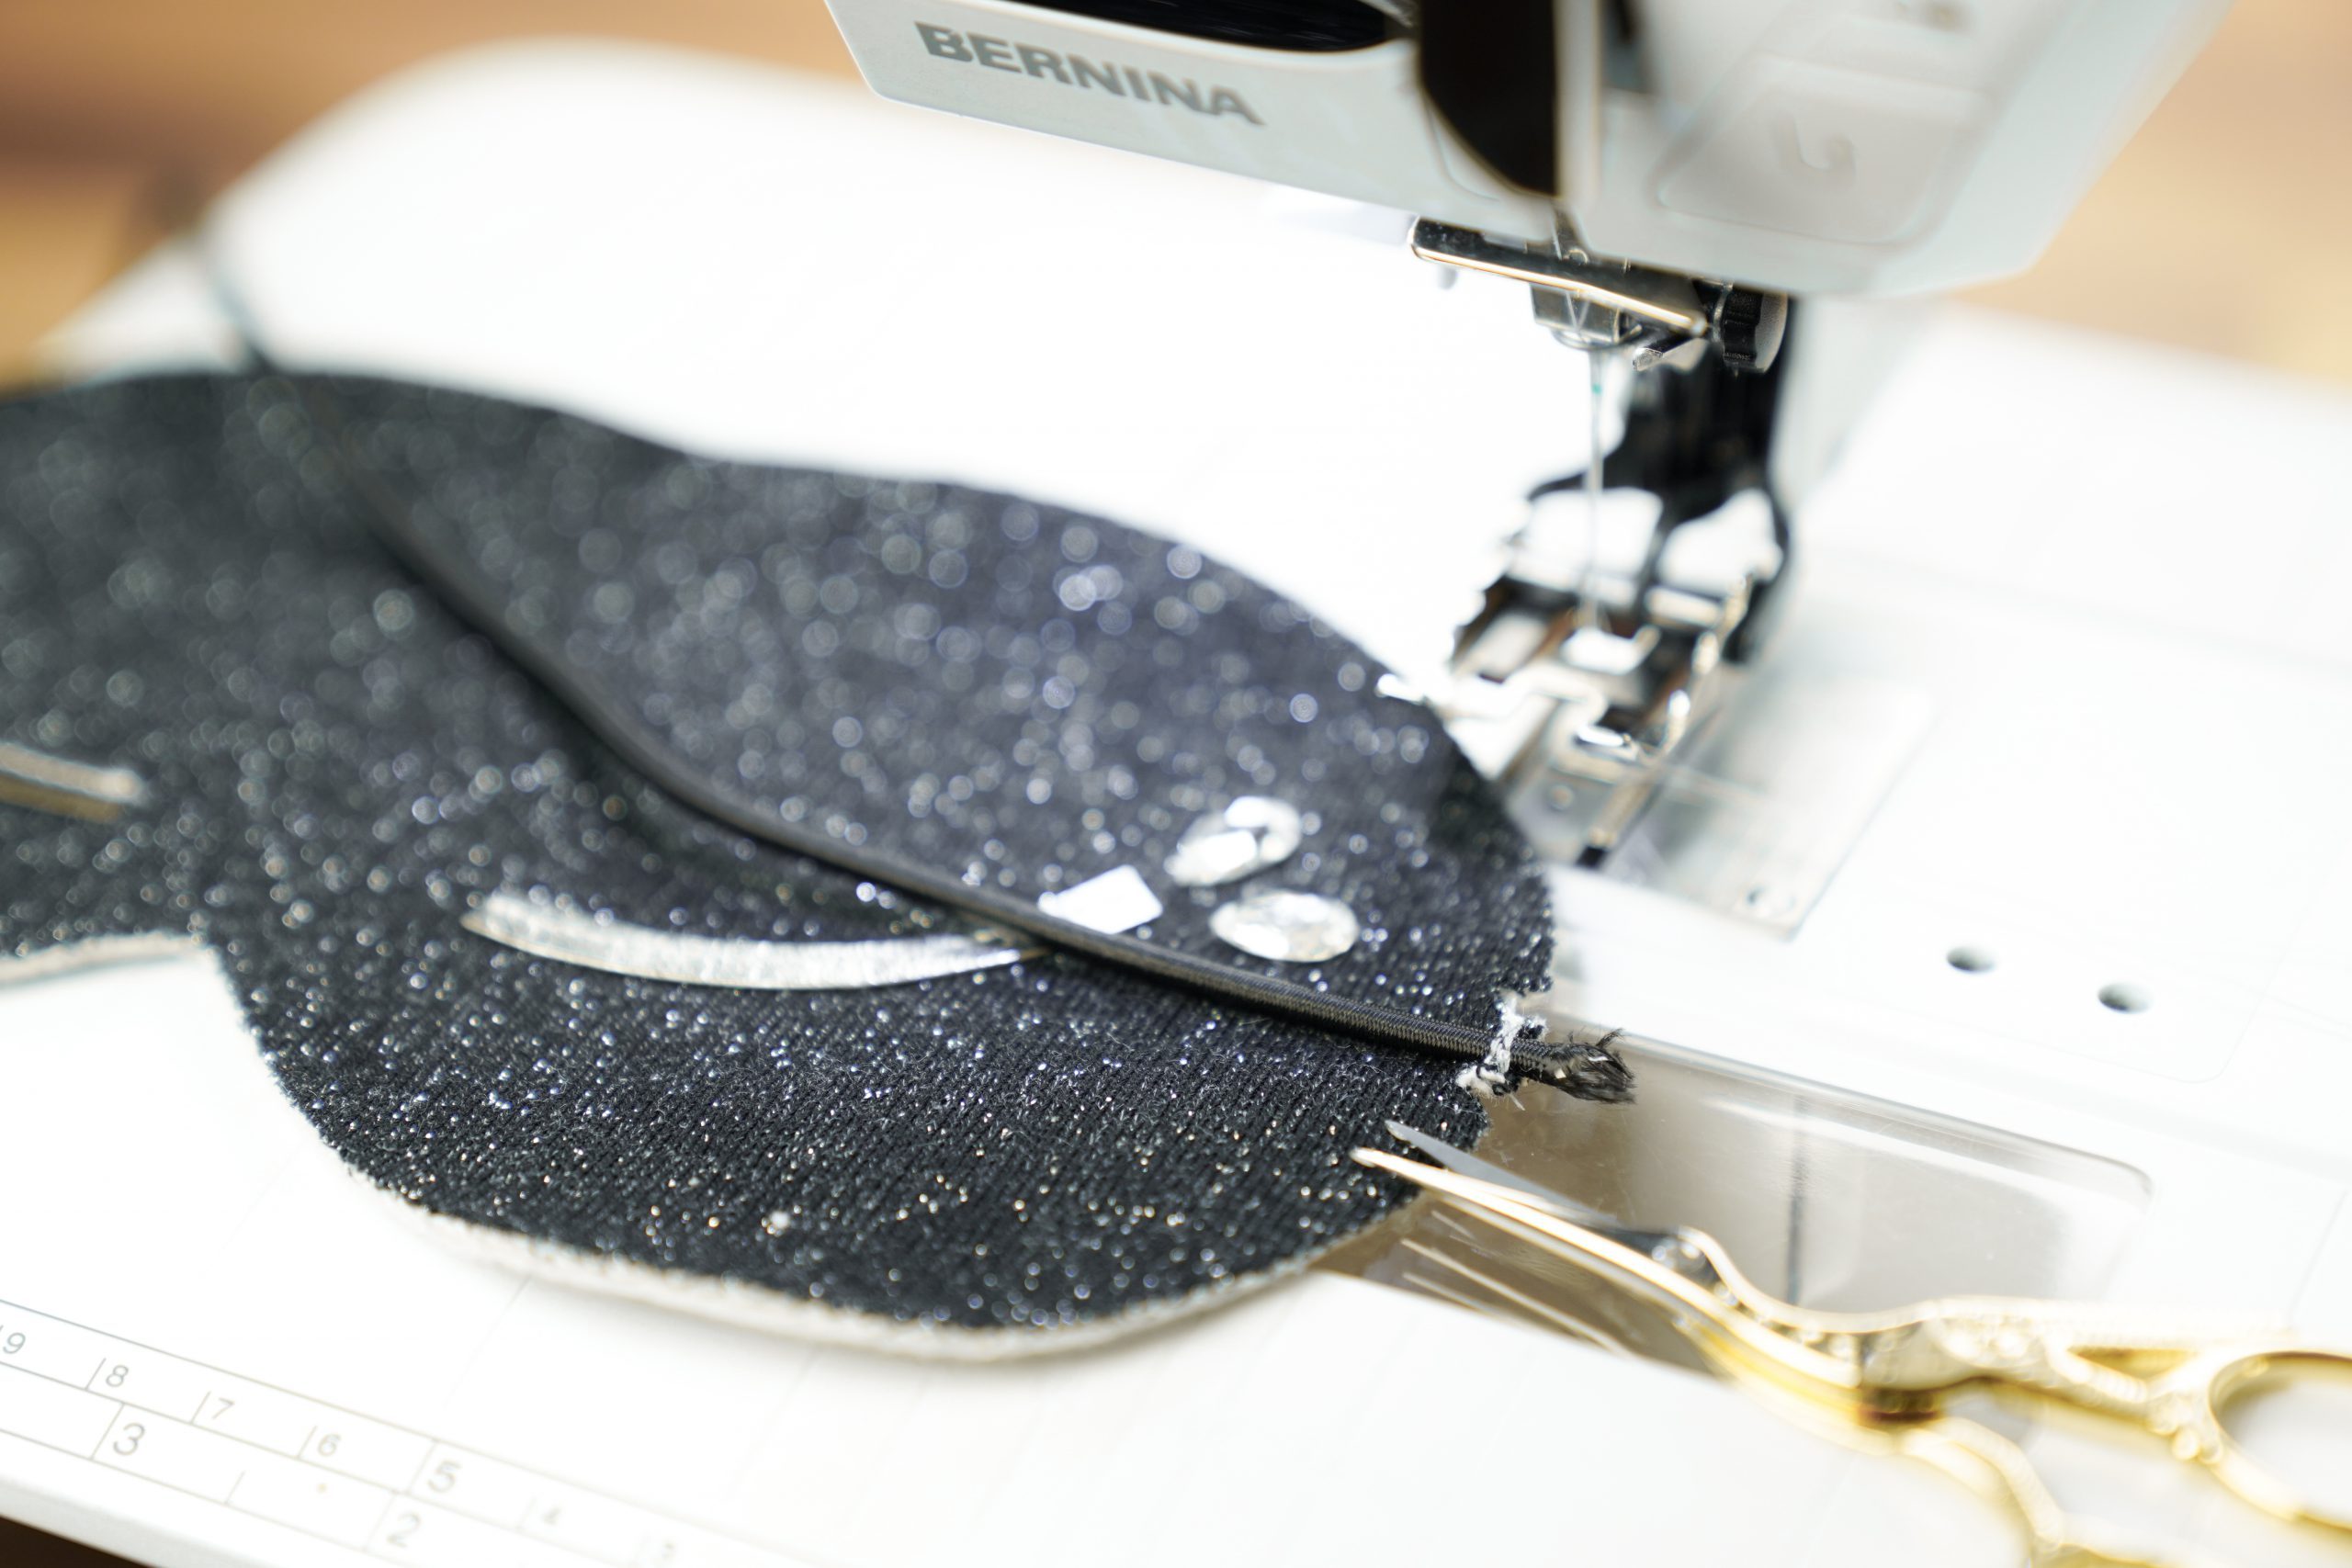
Sewing the sleep mask together
Now place the finished fabric layers with the right sides together. When sewing, adjust the needle position downwards again so that you can raise the presser foot and turn the fabric in difficult places. The elastic band disappears between the layers and should not be accidentally sewn in.
Place the notches exactly on top of each other and don’t forget the opening at the top.
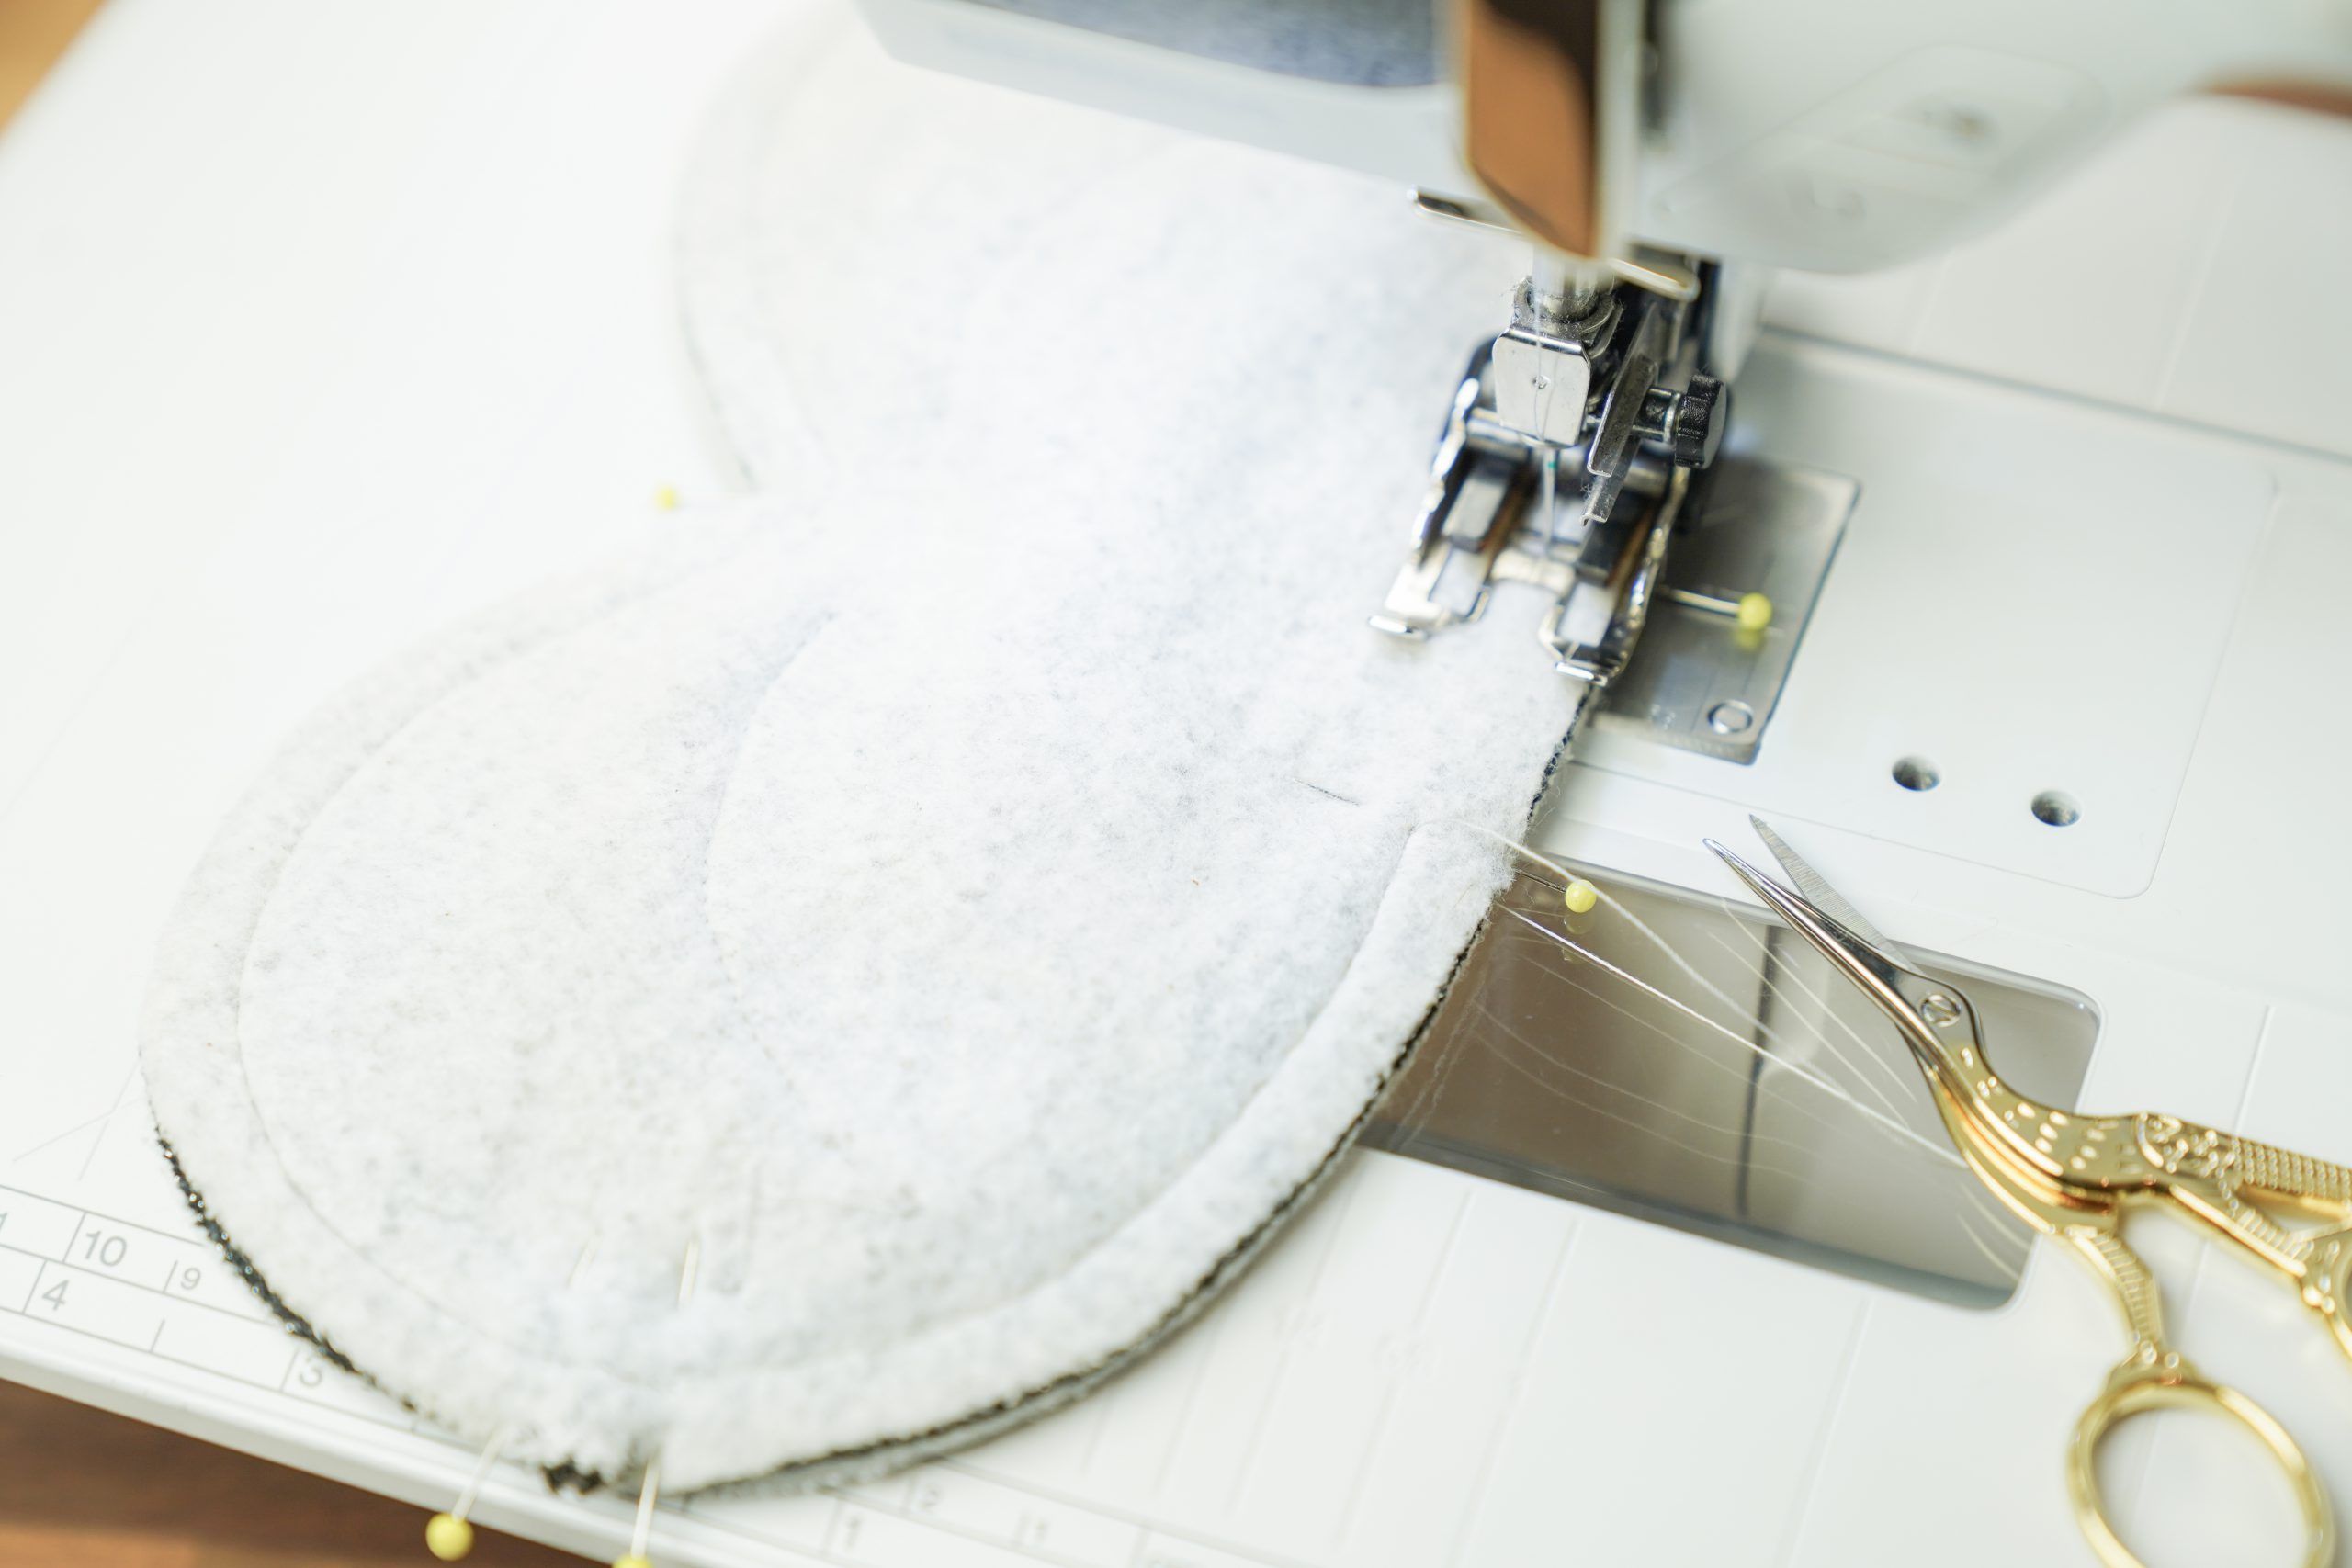
When you are pinning it, if you notice that the crystals and the overlock foot might be too close together, it is best to use the Zipper Foot #4. If you move the needle position all the way to the left, you can use it to sew very close to the crystals.

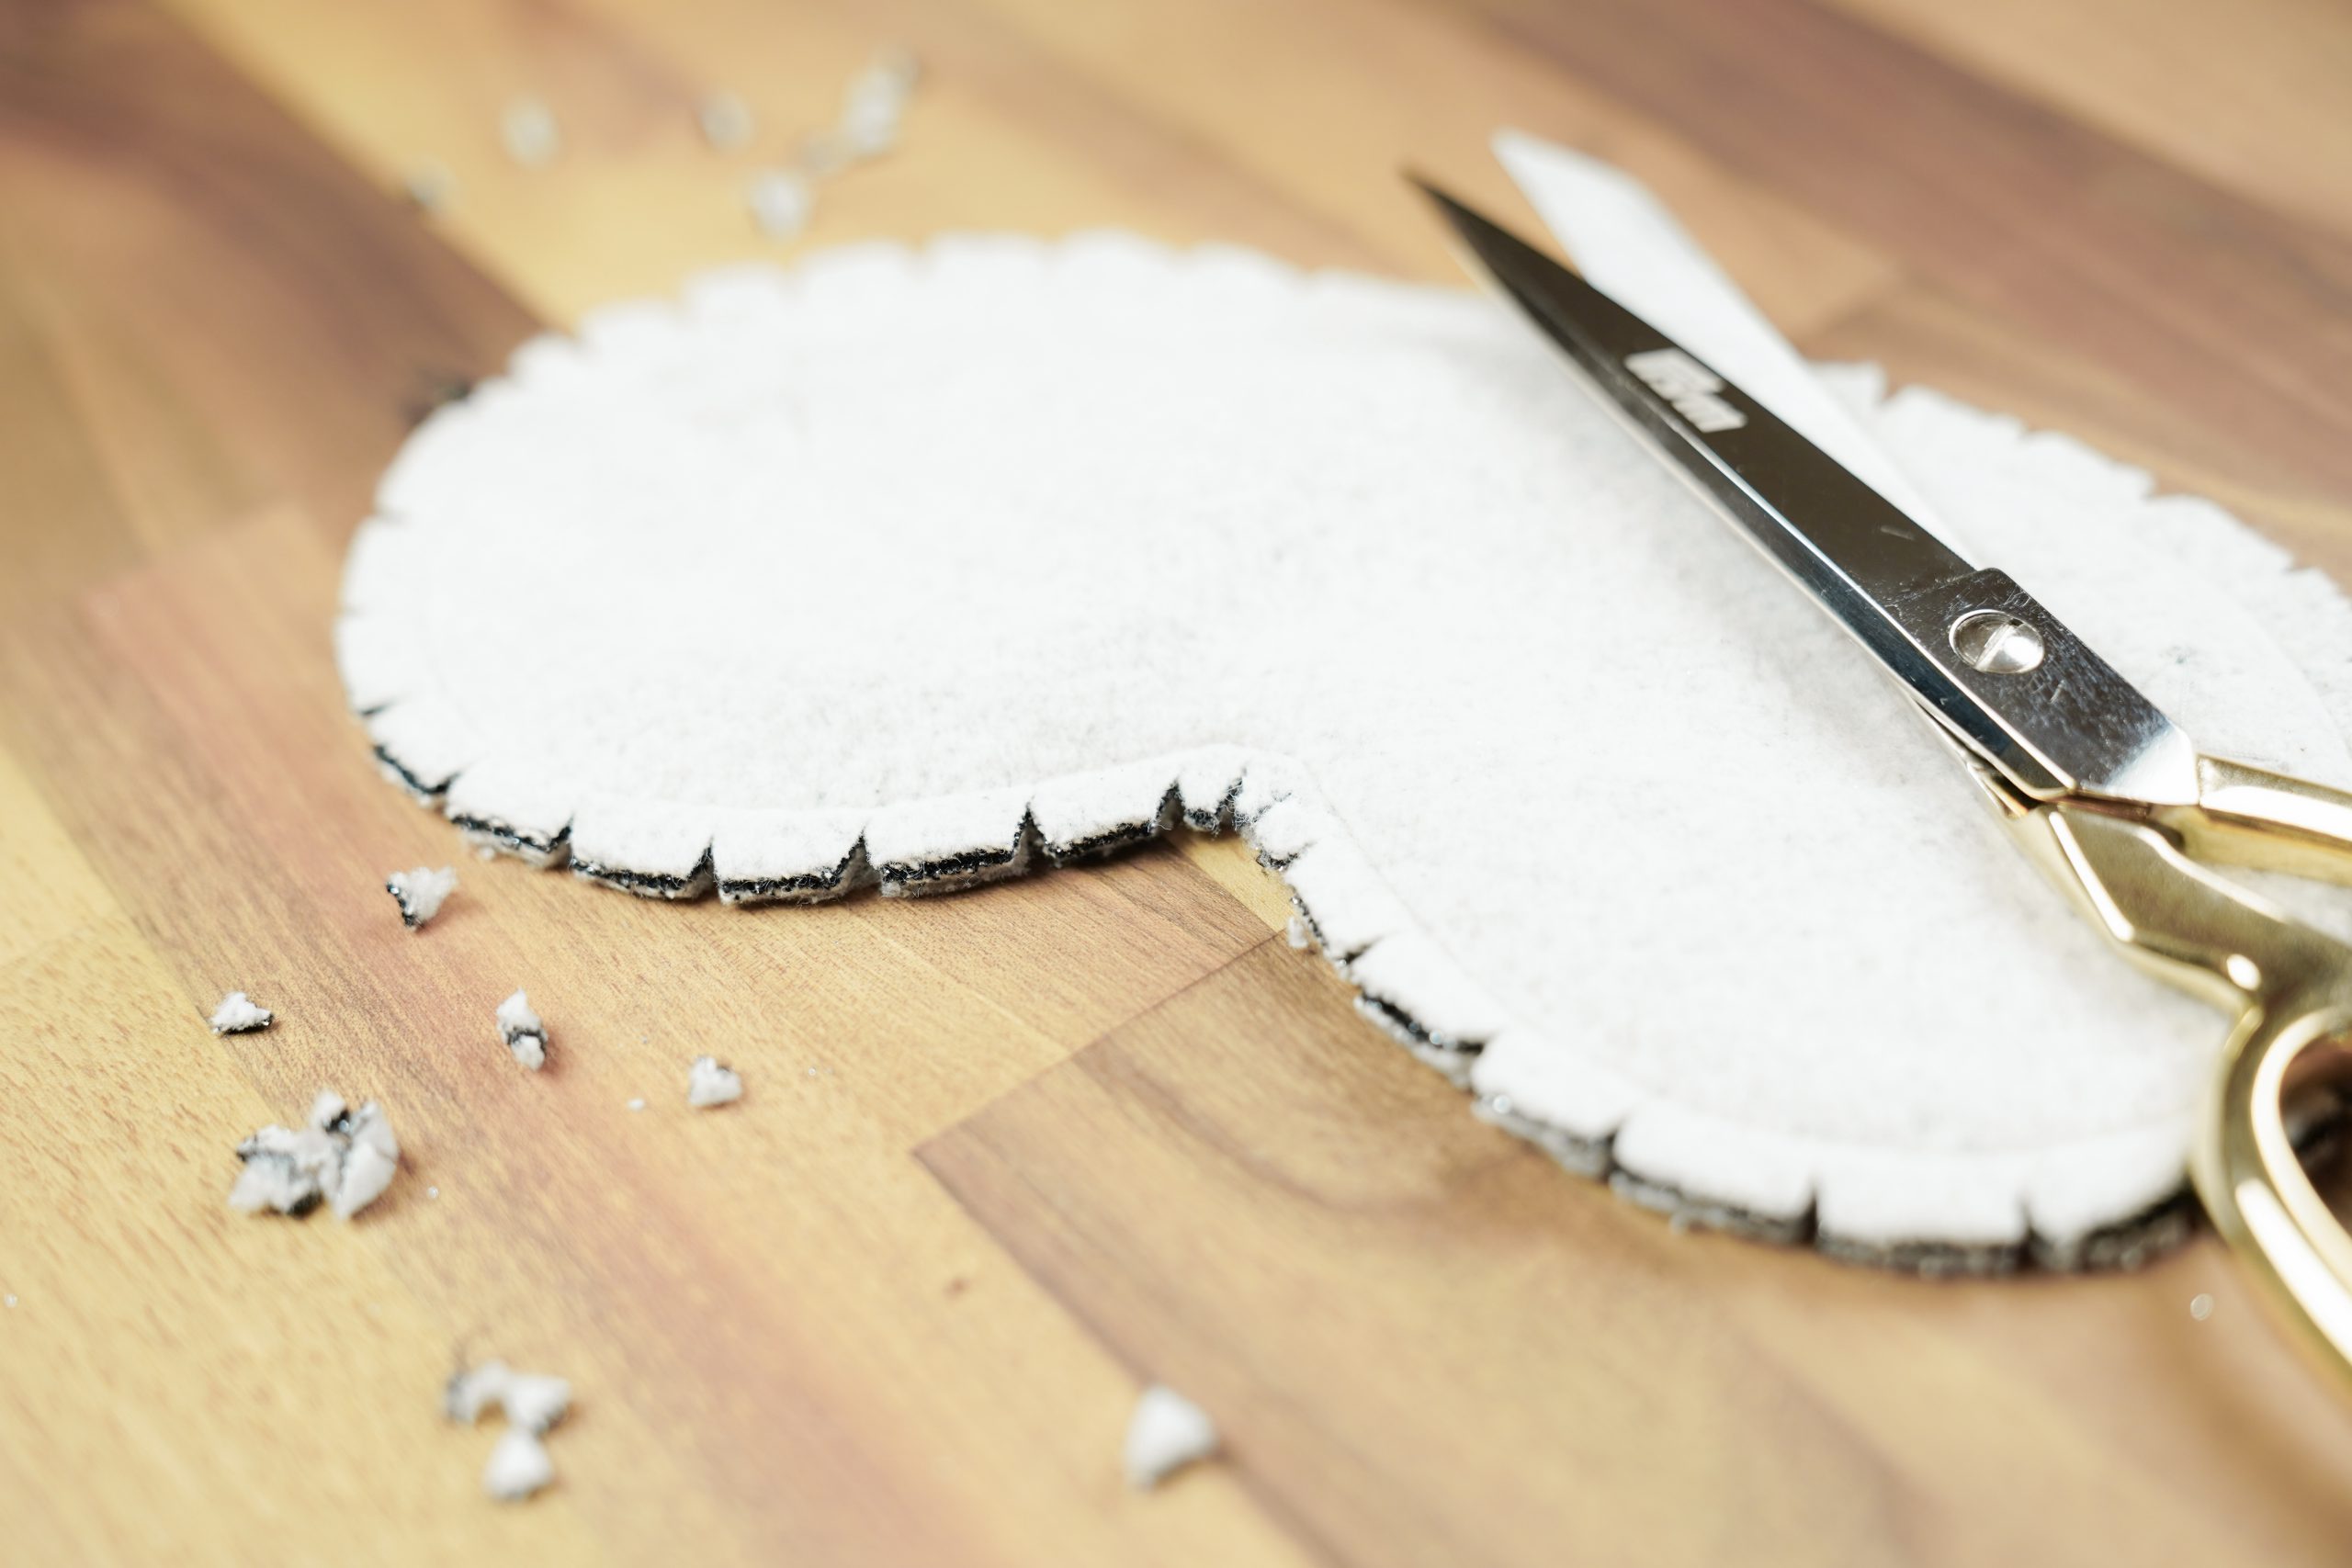
Notching the seam allowance
Before turning the sleep mask the right way out, notch the seam allowance on the curves. If you do not do this, the fabric cannot move closer together or farther apart once it is inside. In other words, the curves would be distorted or the extra fabric would bulge out. Much better to quickly grab the scissors. It’s very quick… simply cut out small triangles around the edge every 1.5 cm and slightly more often on the tighter curve at the bridge of the nose. If the seam allowance is too wide, you can also trim it a little.
Turning the sleep mask
Now carefully turn the whole thing the right way out through the opening and press the seam allowance neatly into the curve with your finger to smooth out the whole mask including the seam. If your fingers are too short, you can also use an edge shaper, a pencil or the end of a paintbrush.
Closing the turning opening
Once you have shaped it nicely, you can fold the seam allowance inwards at the turning opening and secure it with a pin. Then close the opening by hand using a mattress stitch… here’s how to do it:
Start on one side of the opening with a knot in the end of the thread and a backstitch in the existing seam. Then stitch alternately first into one edge, then into the other. Try to keep the stitches level so that it looks like a small ladder if you carefully pull the fabric edges apart. When you reach the end of the turning opening, secure it well and then pull the knot inwards with a final inward stitch before cutting off the thread. Your sleep mask is now finished!

You can now look for a quiet spot and try out your sparkling new accessory right away! Yay.
I hope you have lots of fun sewing, trying out, gifting or using your new sleep mask yourself… whether you opt for a simple version or your own personal design!

Enjoy the festive season. I wish you a peaceful and relaxing Christmas ☀️!
Love***
Swantje


0 Responses