 BERNINA Corporate Blog -
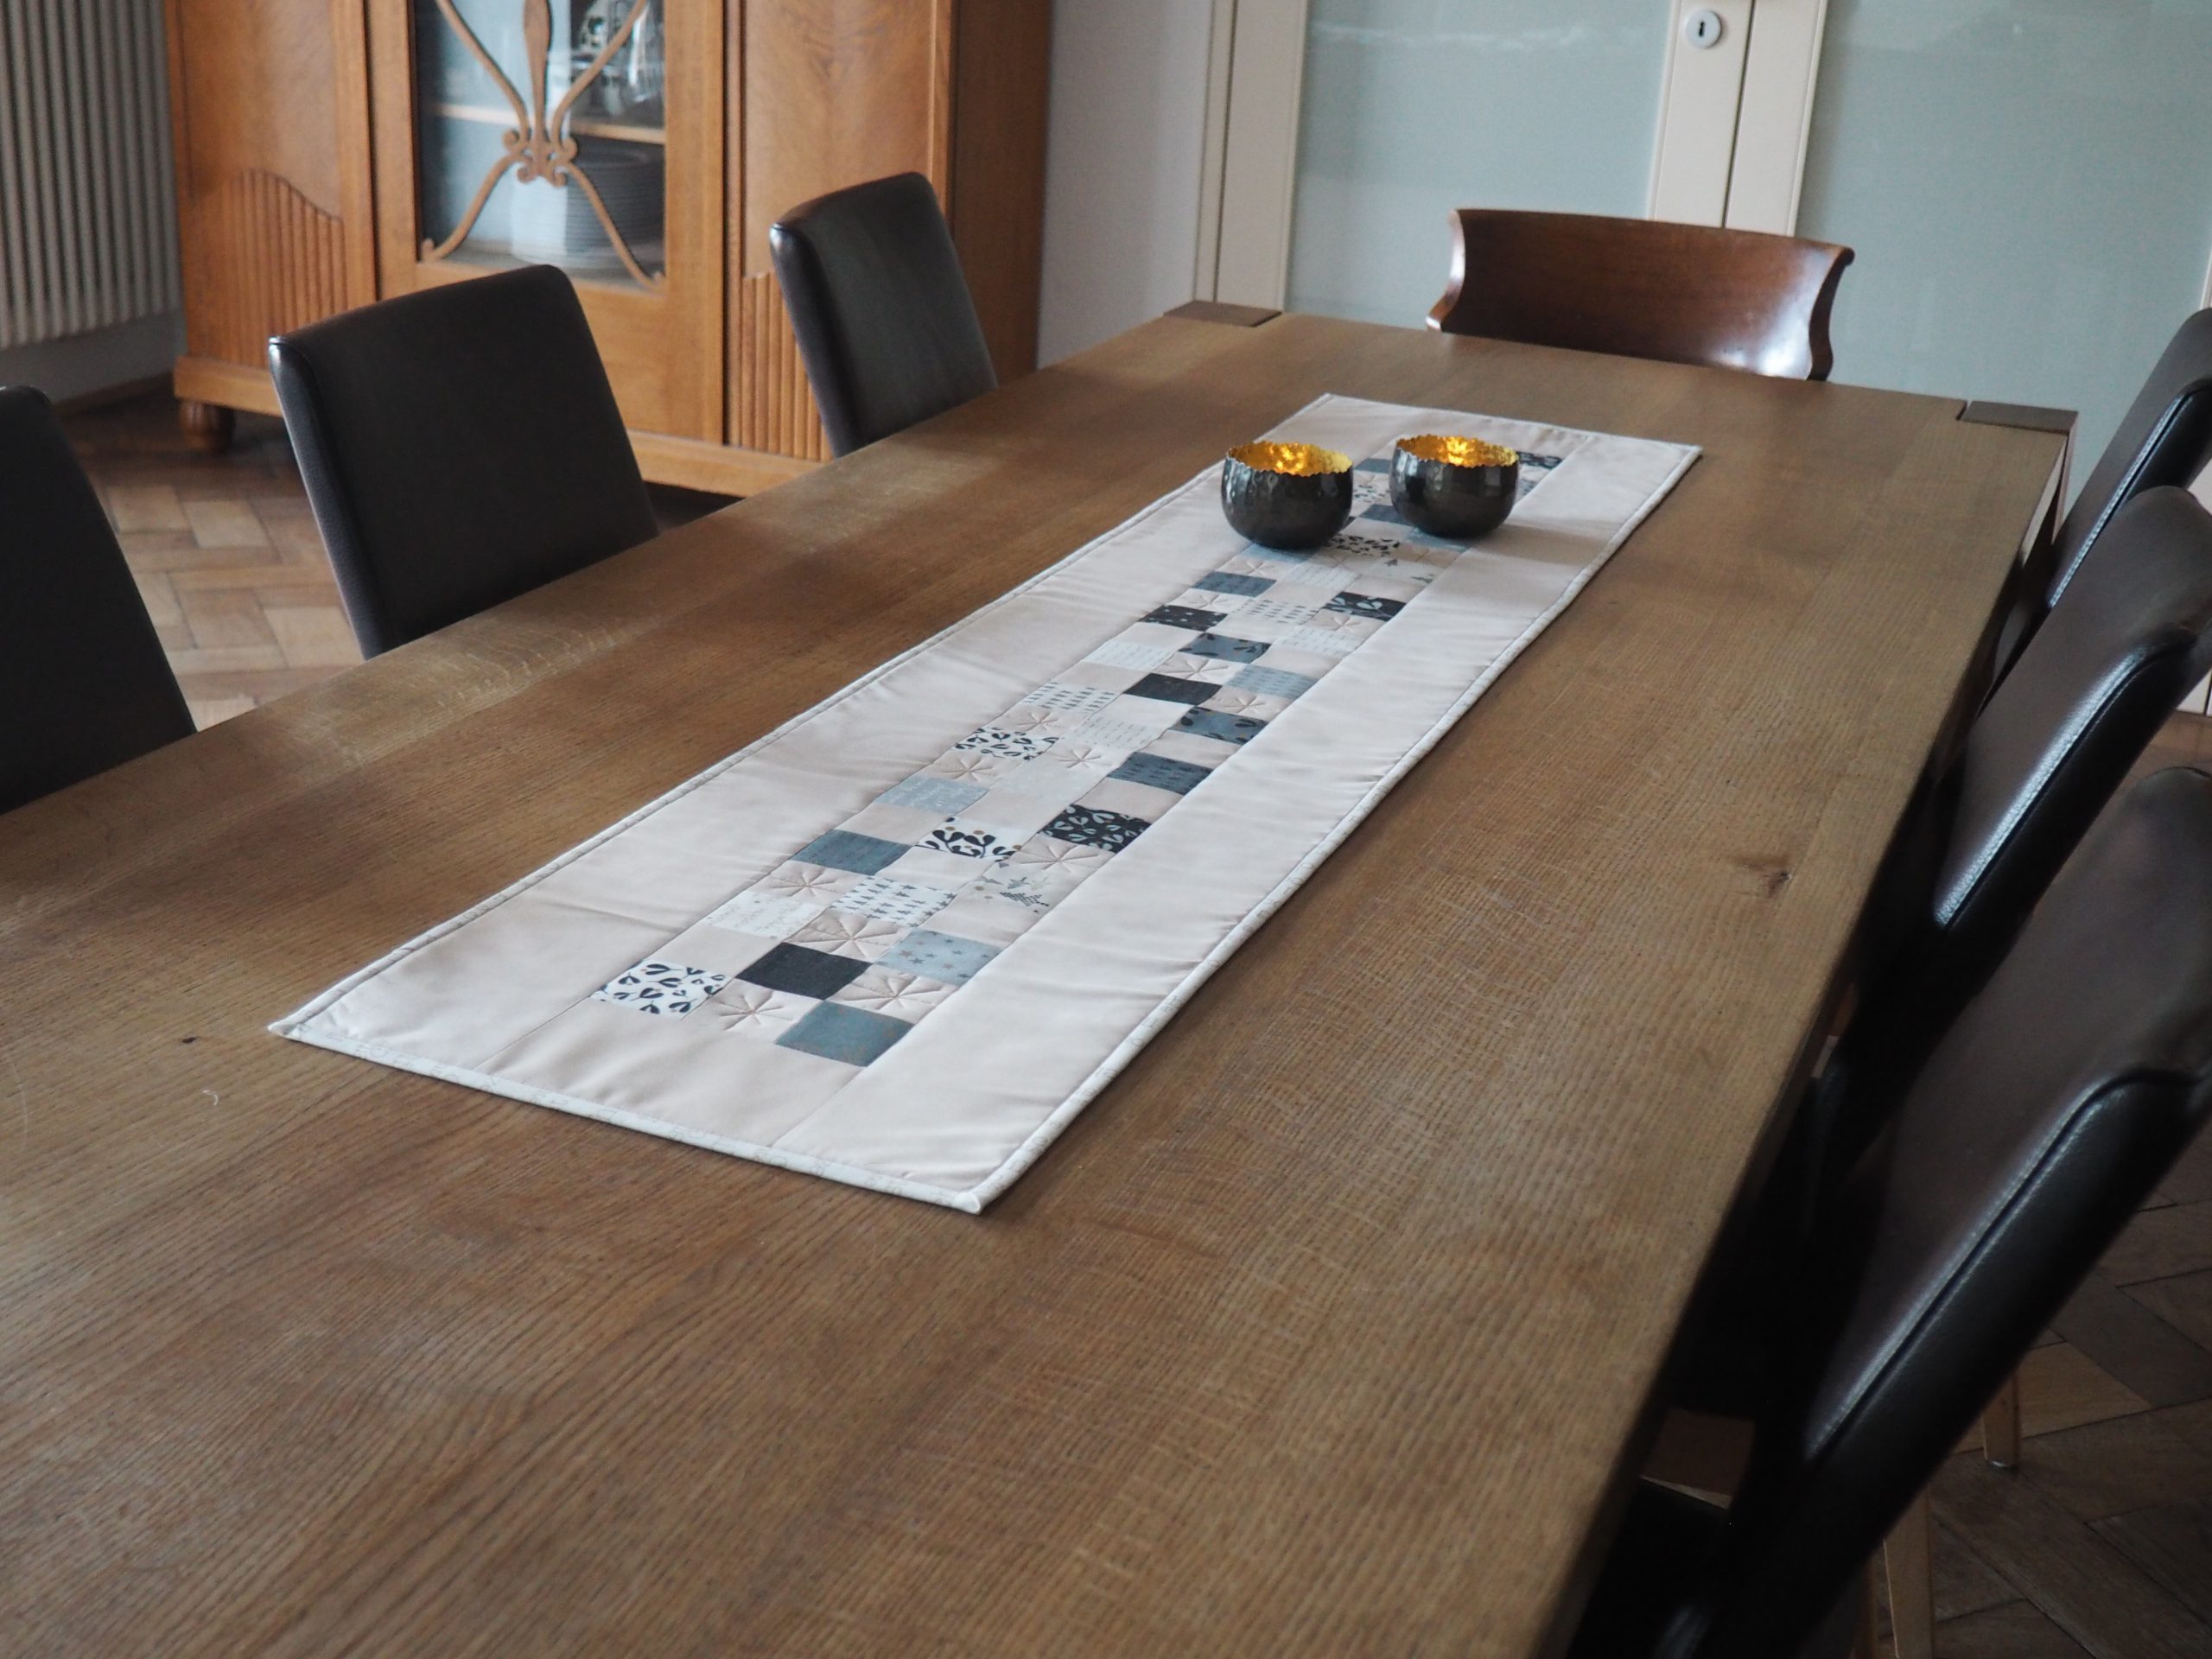
Christmas is fast approaching – but maybe you still have some time left to sew something nice for the Christmas table. So in today’s Advent calendar window, I’m bringing you a table runner with a touch of glitz. In my normal everyday life, I am not a particular fan of glitz or other shiny bling, but especially during the Advent and Christmas season, I love candlelight, sparkling and shining stars and a bit of glitter snow! So for my “Time to Shine” project, I quilted stars using a shiny metallic thread and also sought out a slightly more glittery fabric.
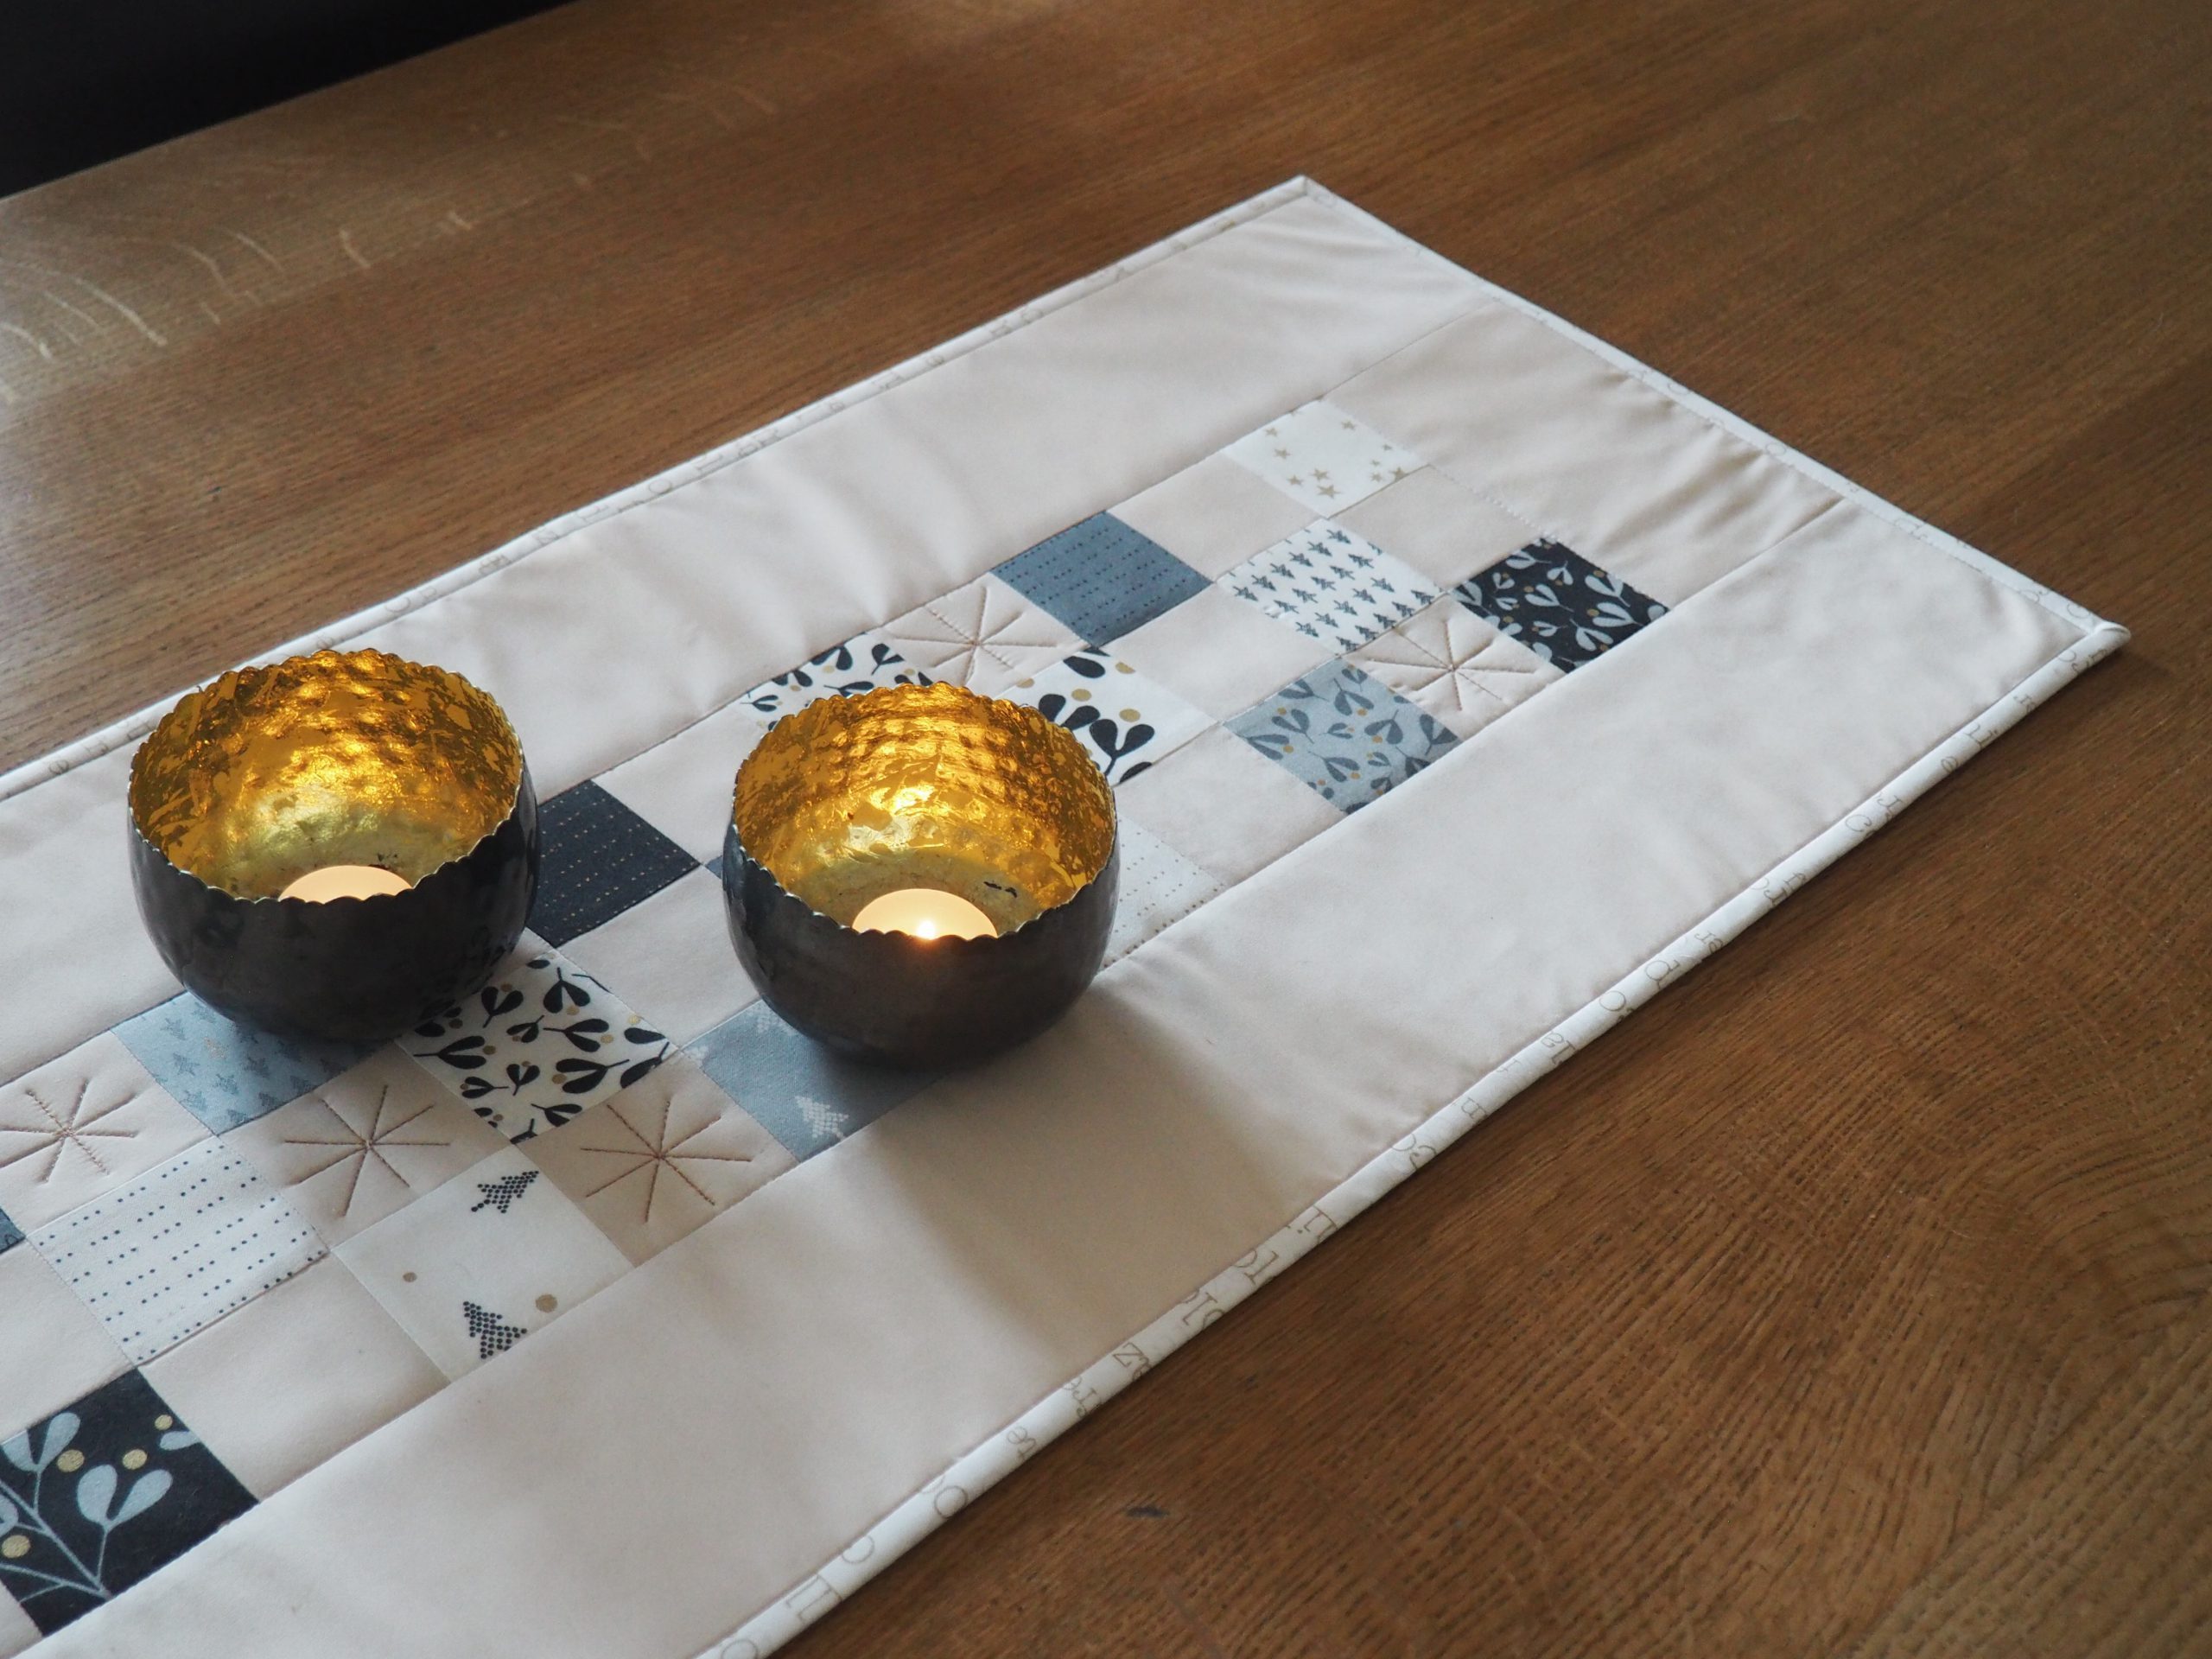
Materials and cutting out for a sparkling table runner
Materials
For a table runner measuring 62″ x 14″ (approx. 158 cm x 36 cm), you will need:
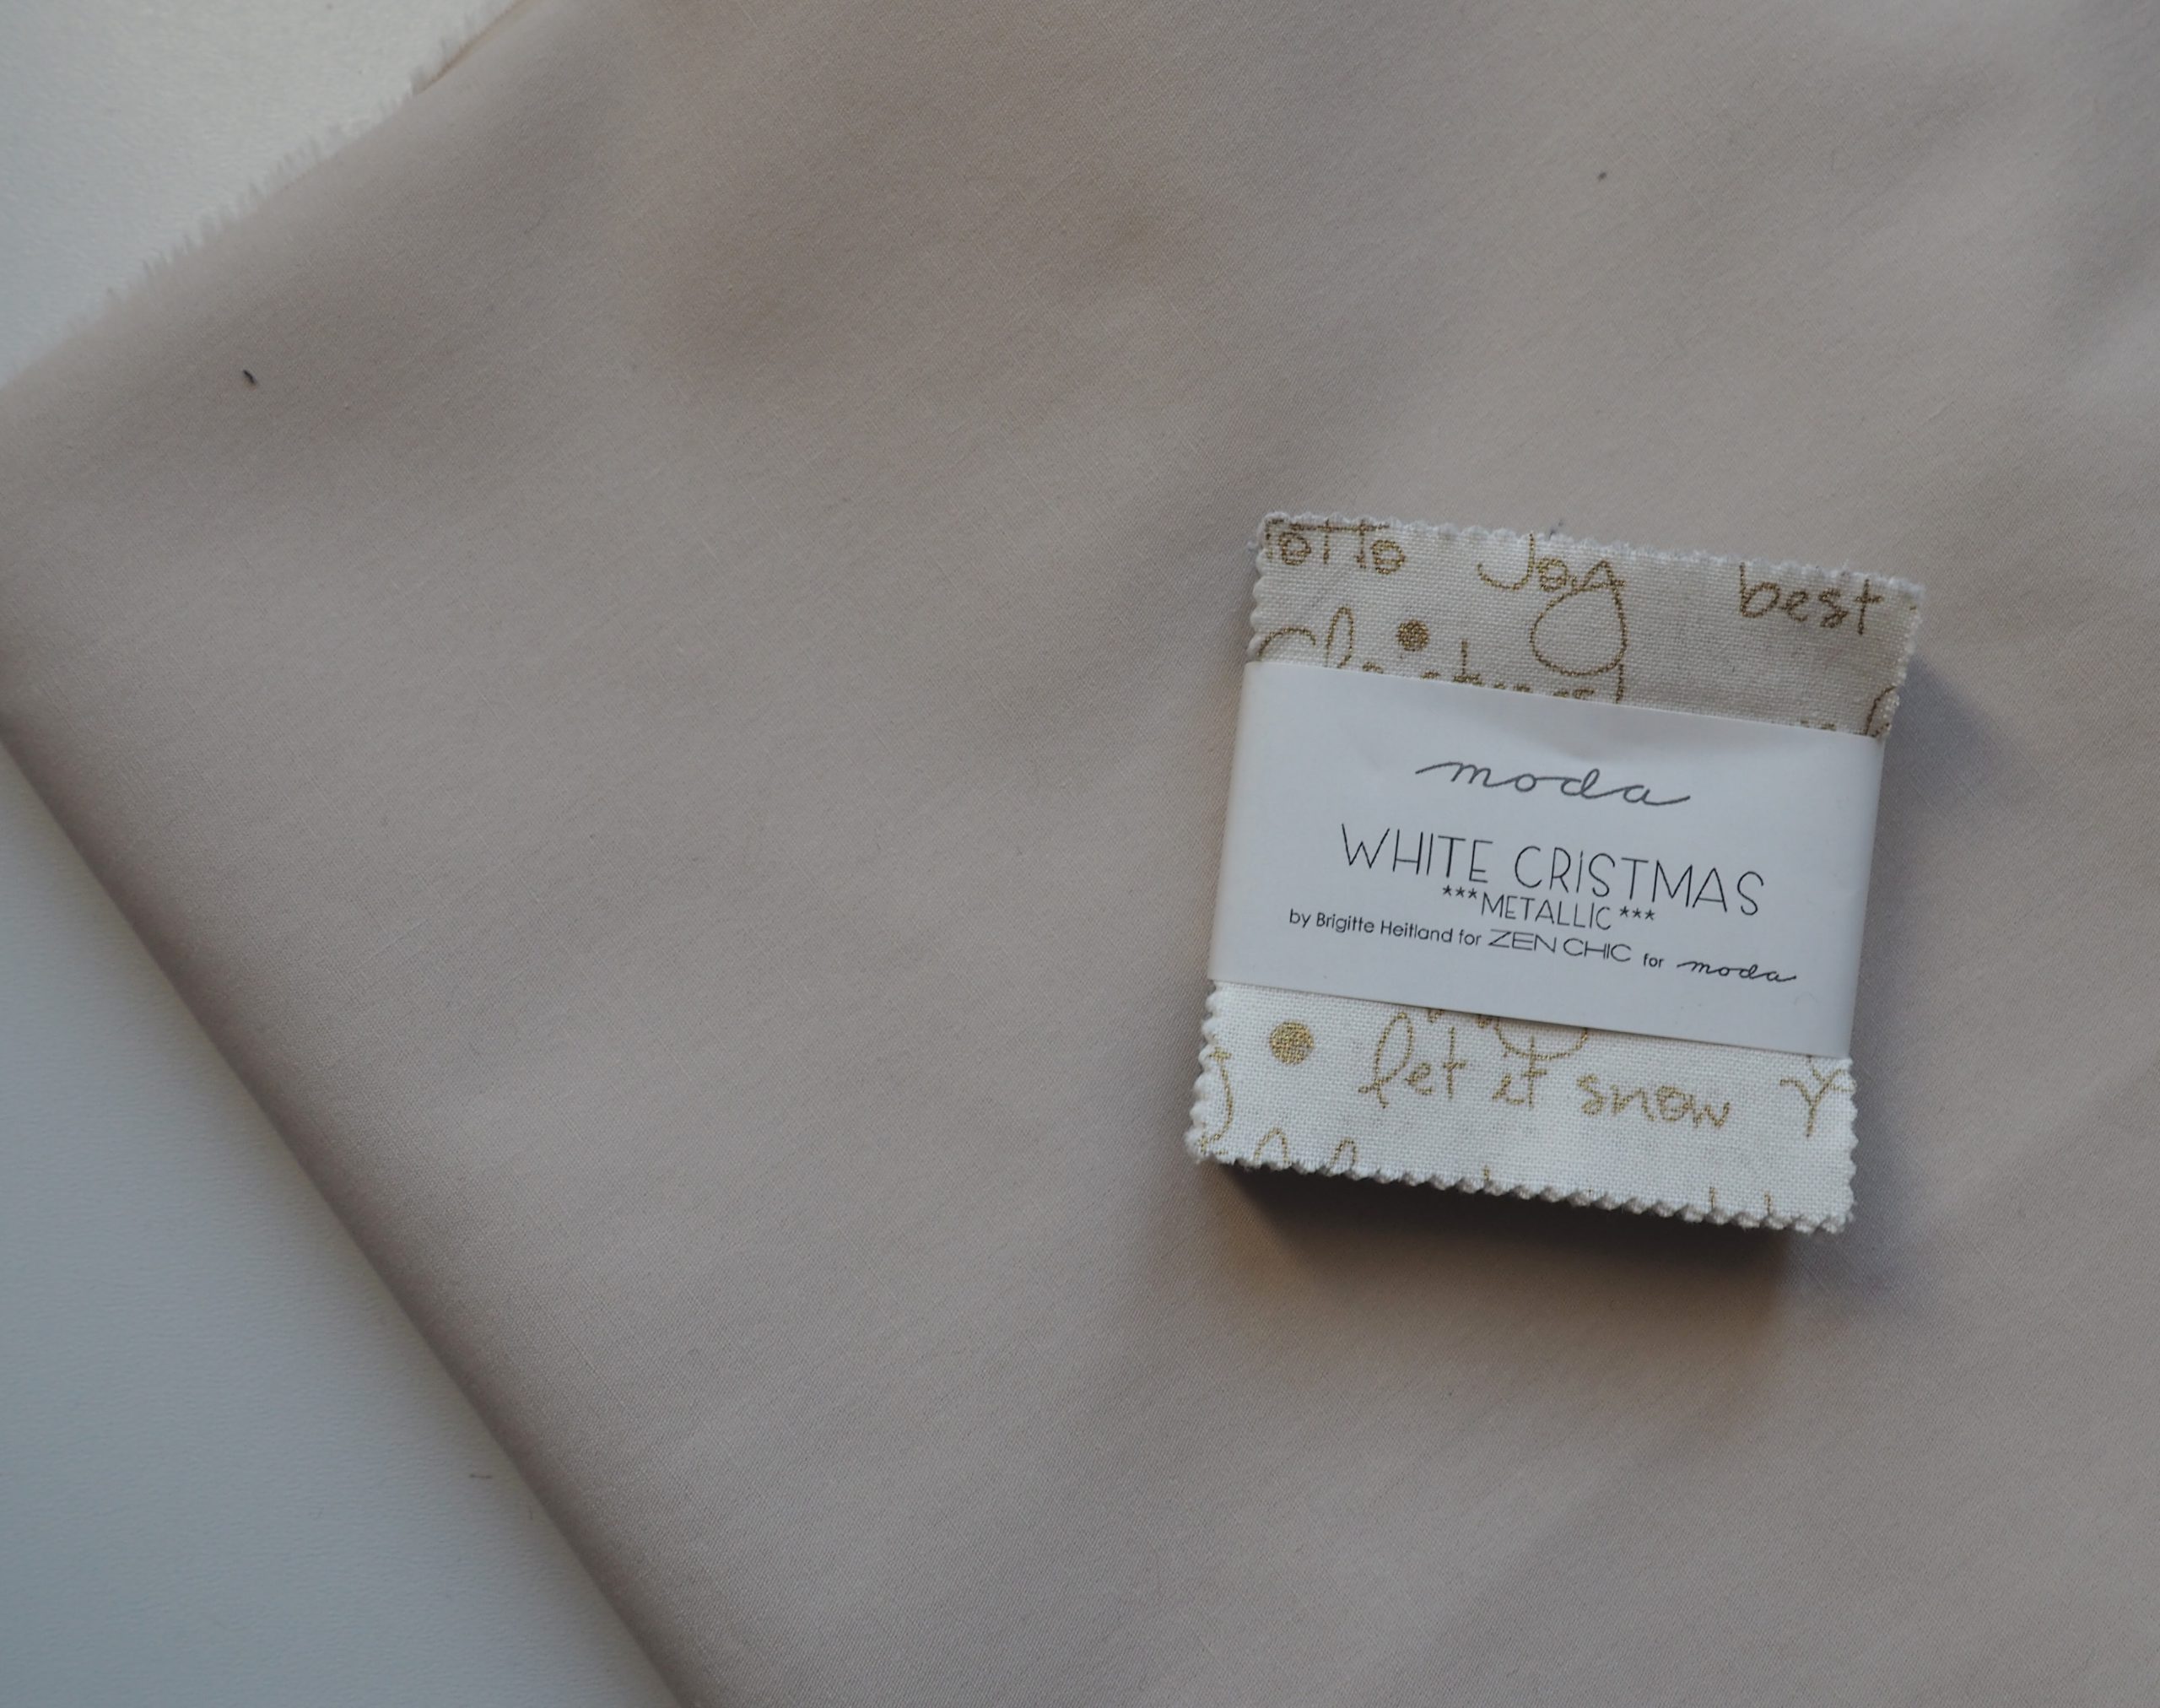
- 1 Mini Charm Pack – preferably containing sparkling Christmas fabrics or sufficient fabric squares measuring 2.5″ x 2.5″;
- Approx. 70 cm matching plain fabric (fabric width 110 cm)
- 170 cm x 40 cm stabilizer
- 170 cm x 40 cm backing fabric
- 25 cm matching fabric for the binding (fabric width 110 cm)
- Matching colored sewing thread
- Matching colored metallic thread (e.g. “Metallic” from Amann Mettler)
The table runner can easily be adjusted to fit the size of your table. You can change the number of small squares, as well as the width of the border to make the table runner wider or narrower, longer or shorter.
Cutting out the plain fabric
Using a rotary cutter, cut out squares measuring 2.5″ x 2.5″, as well as the border with a width of 4.25″ and the relevant length.
In my case, I cut out:
- 40 squares measuring 2.5″ x 2.5″
- 2 strips measuring 4.25″ x 6.5″
- 2 strips measuring 62.5″ x 4.25″
Sewing the sparkling table runner
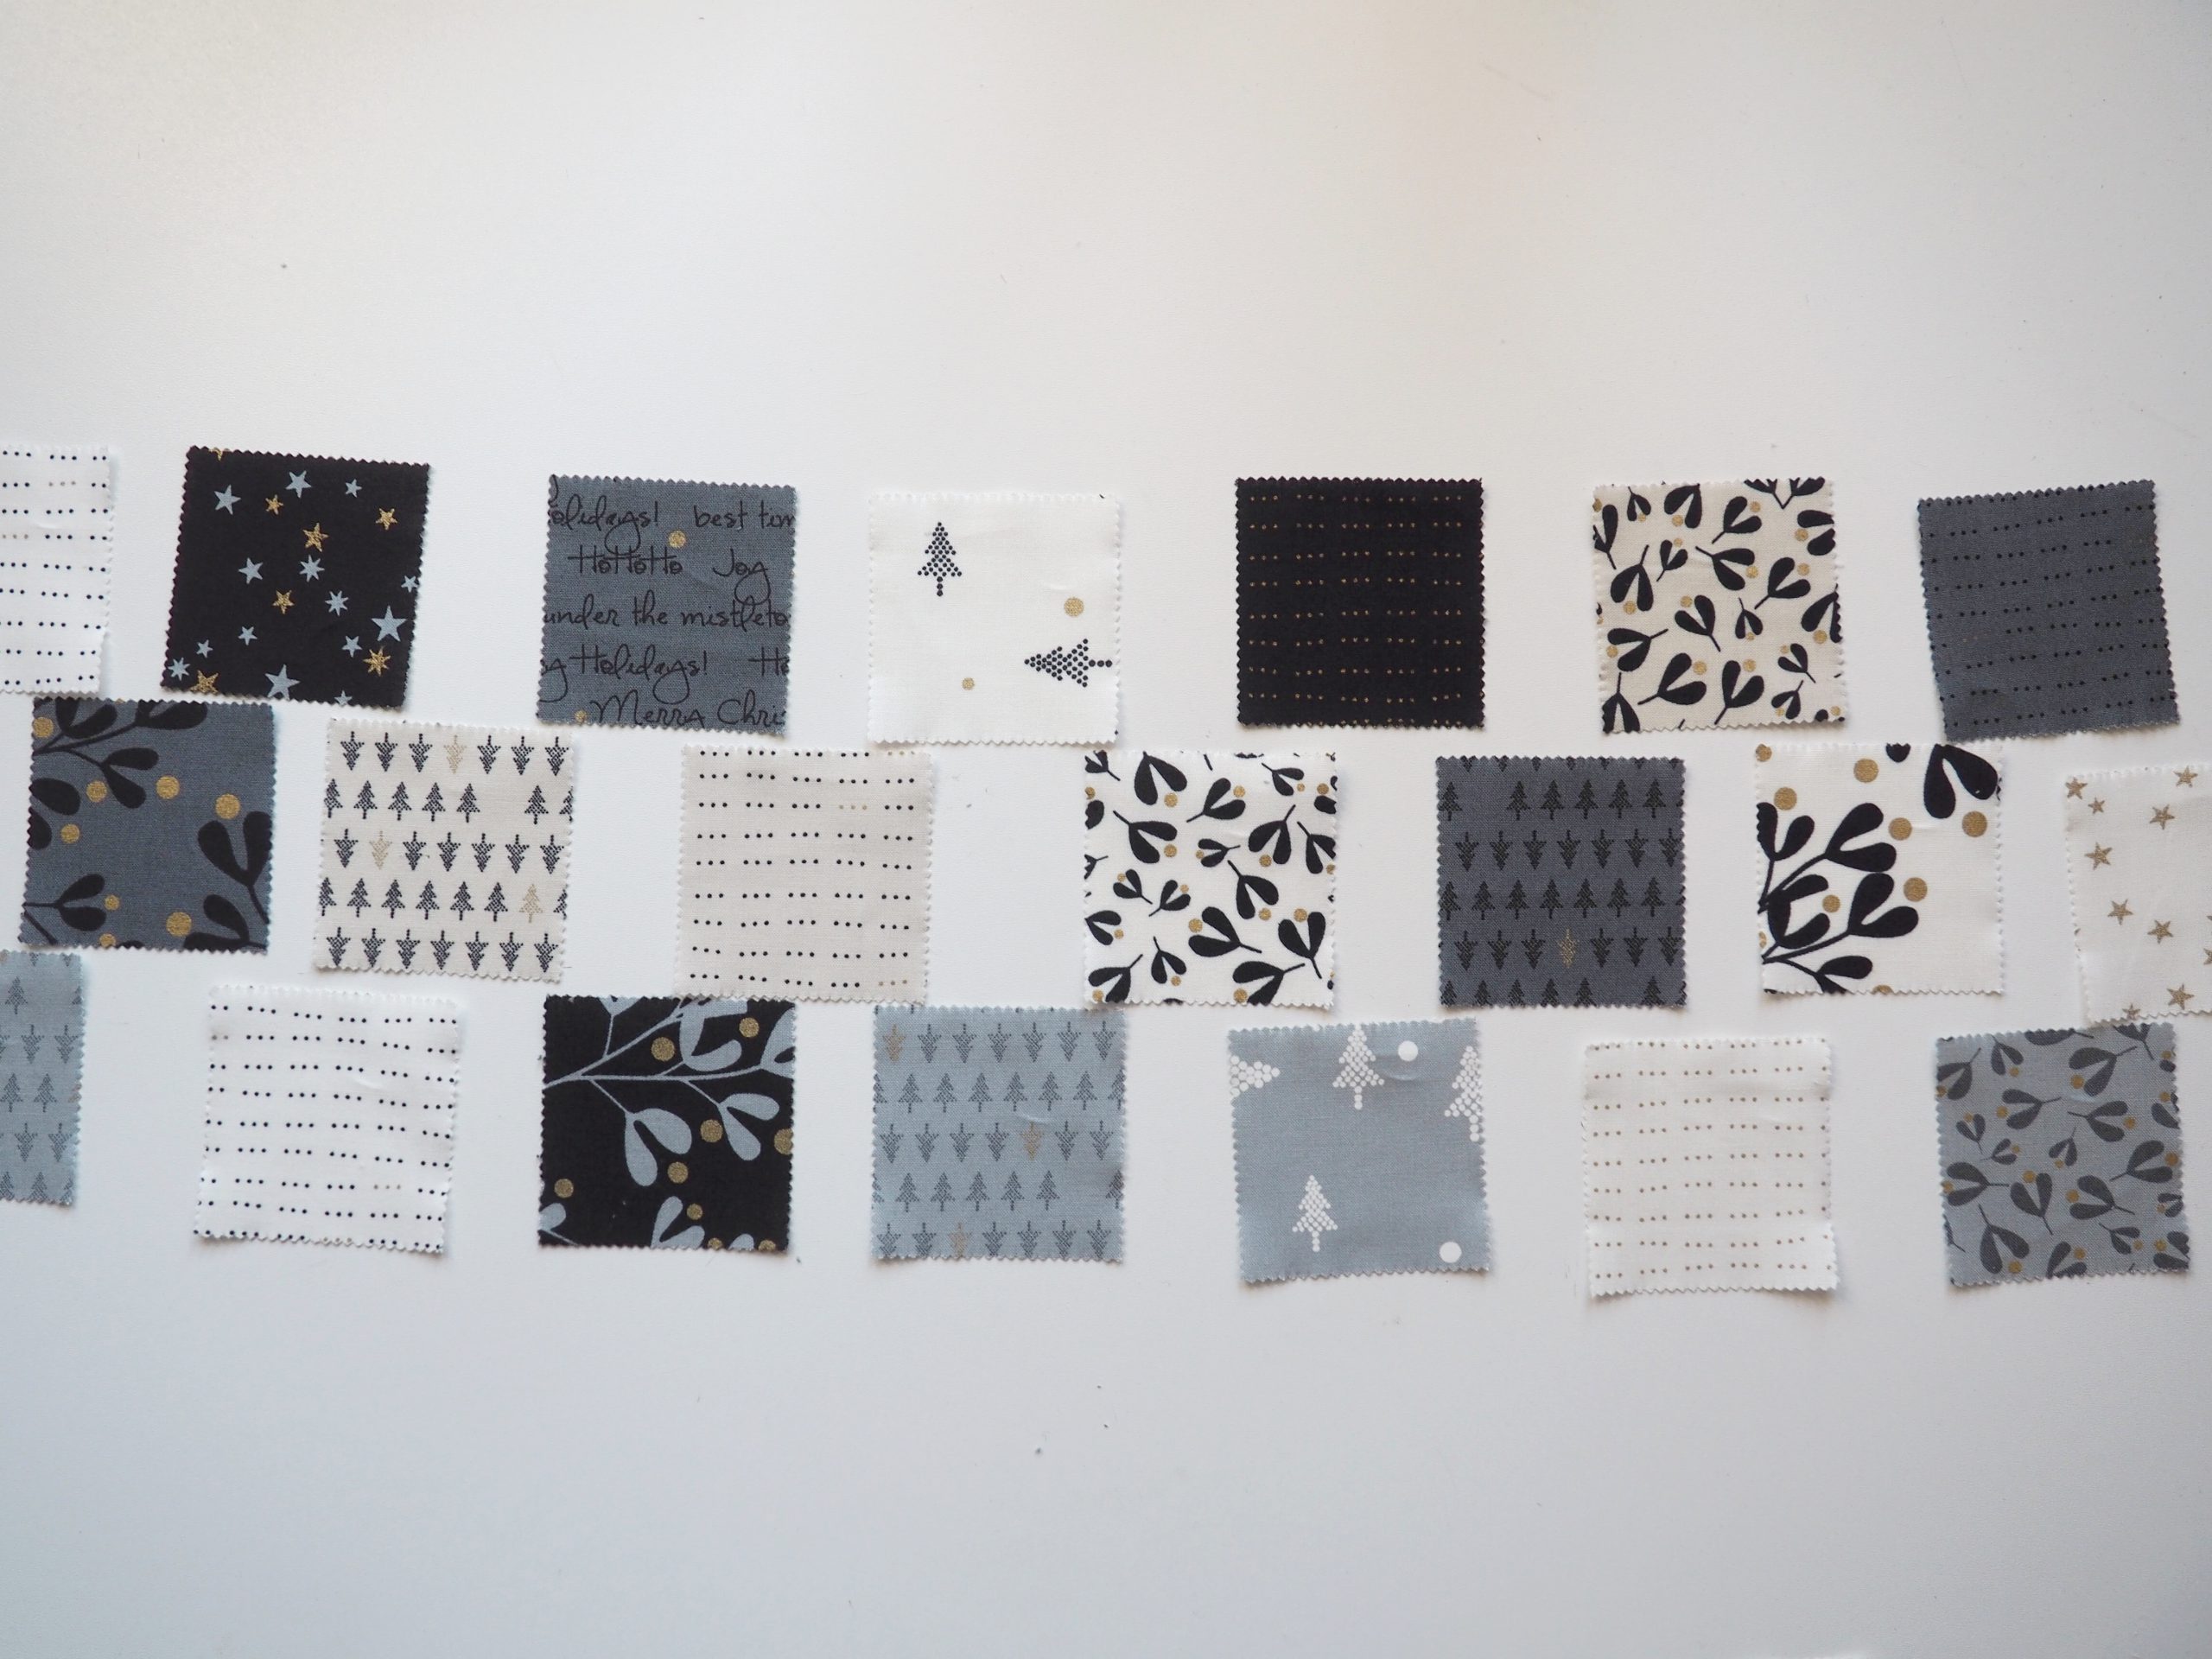
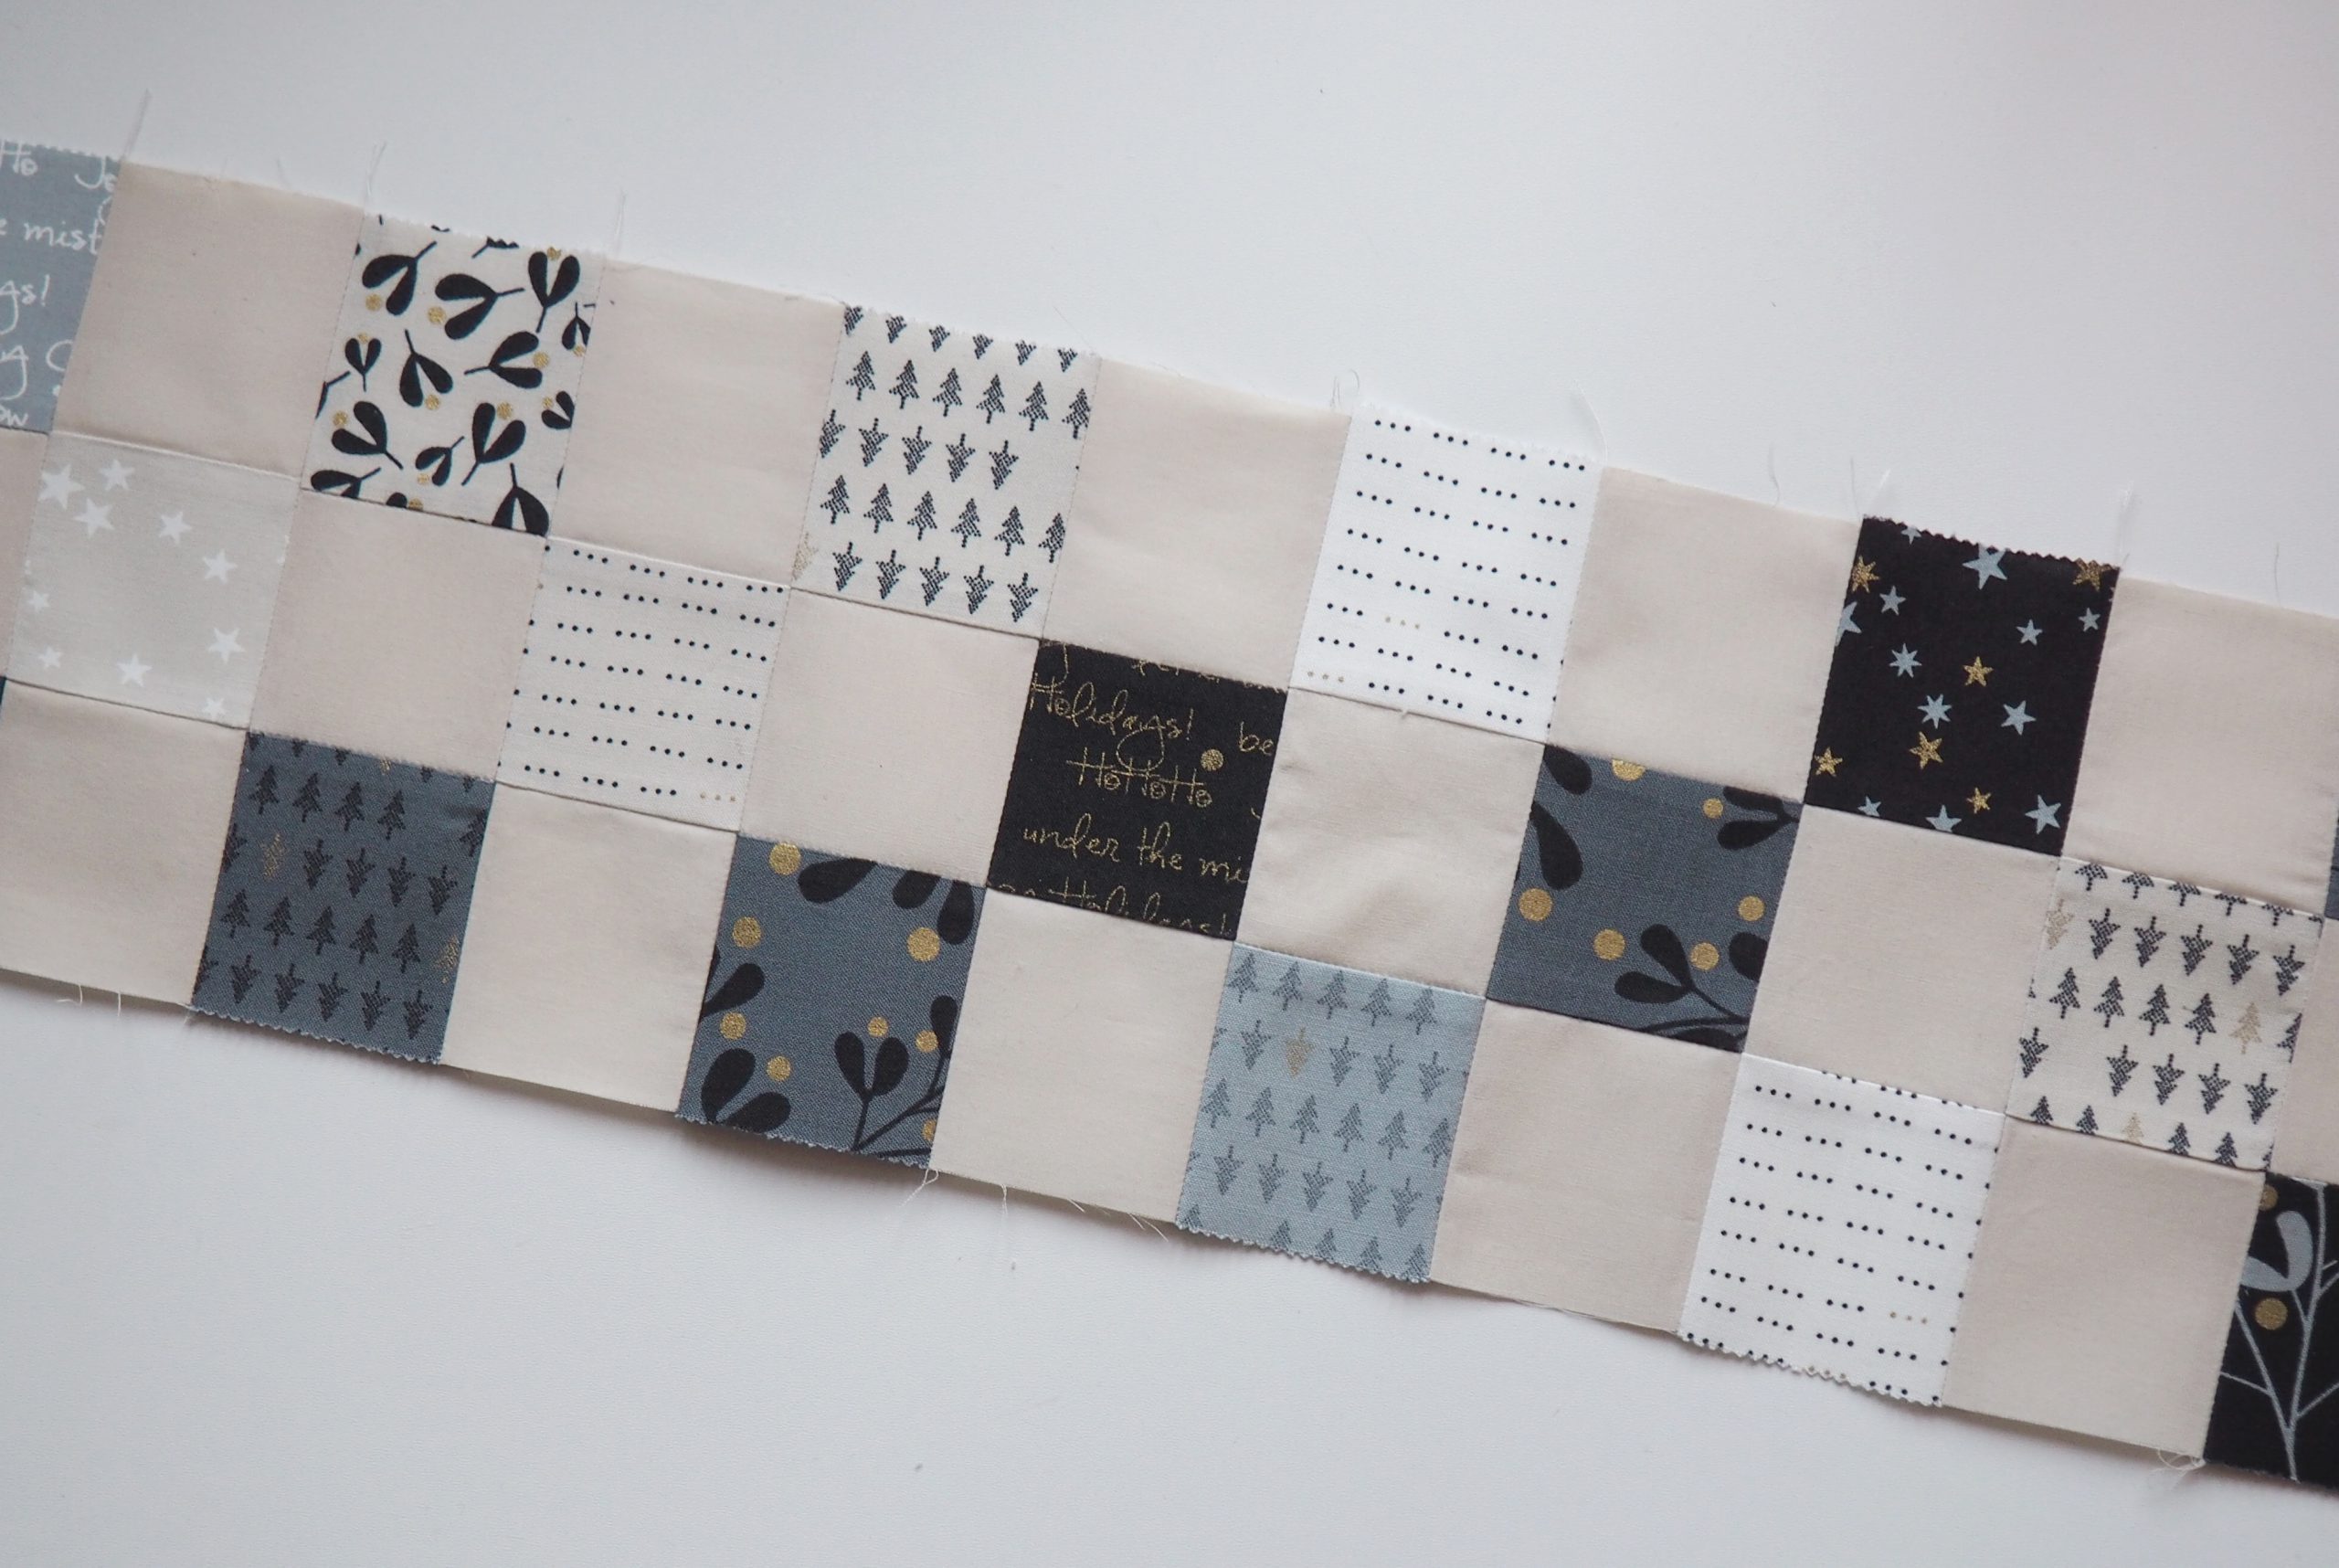
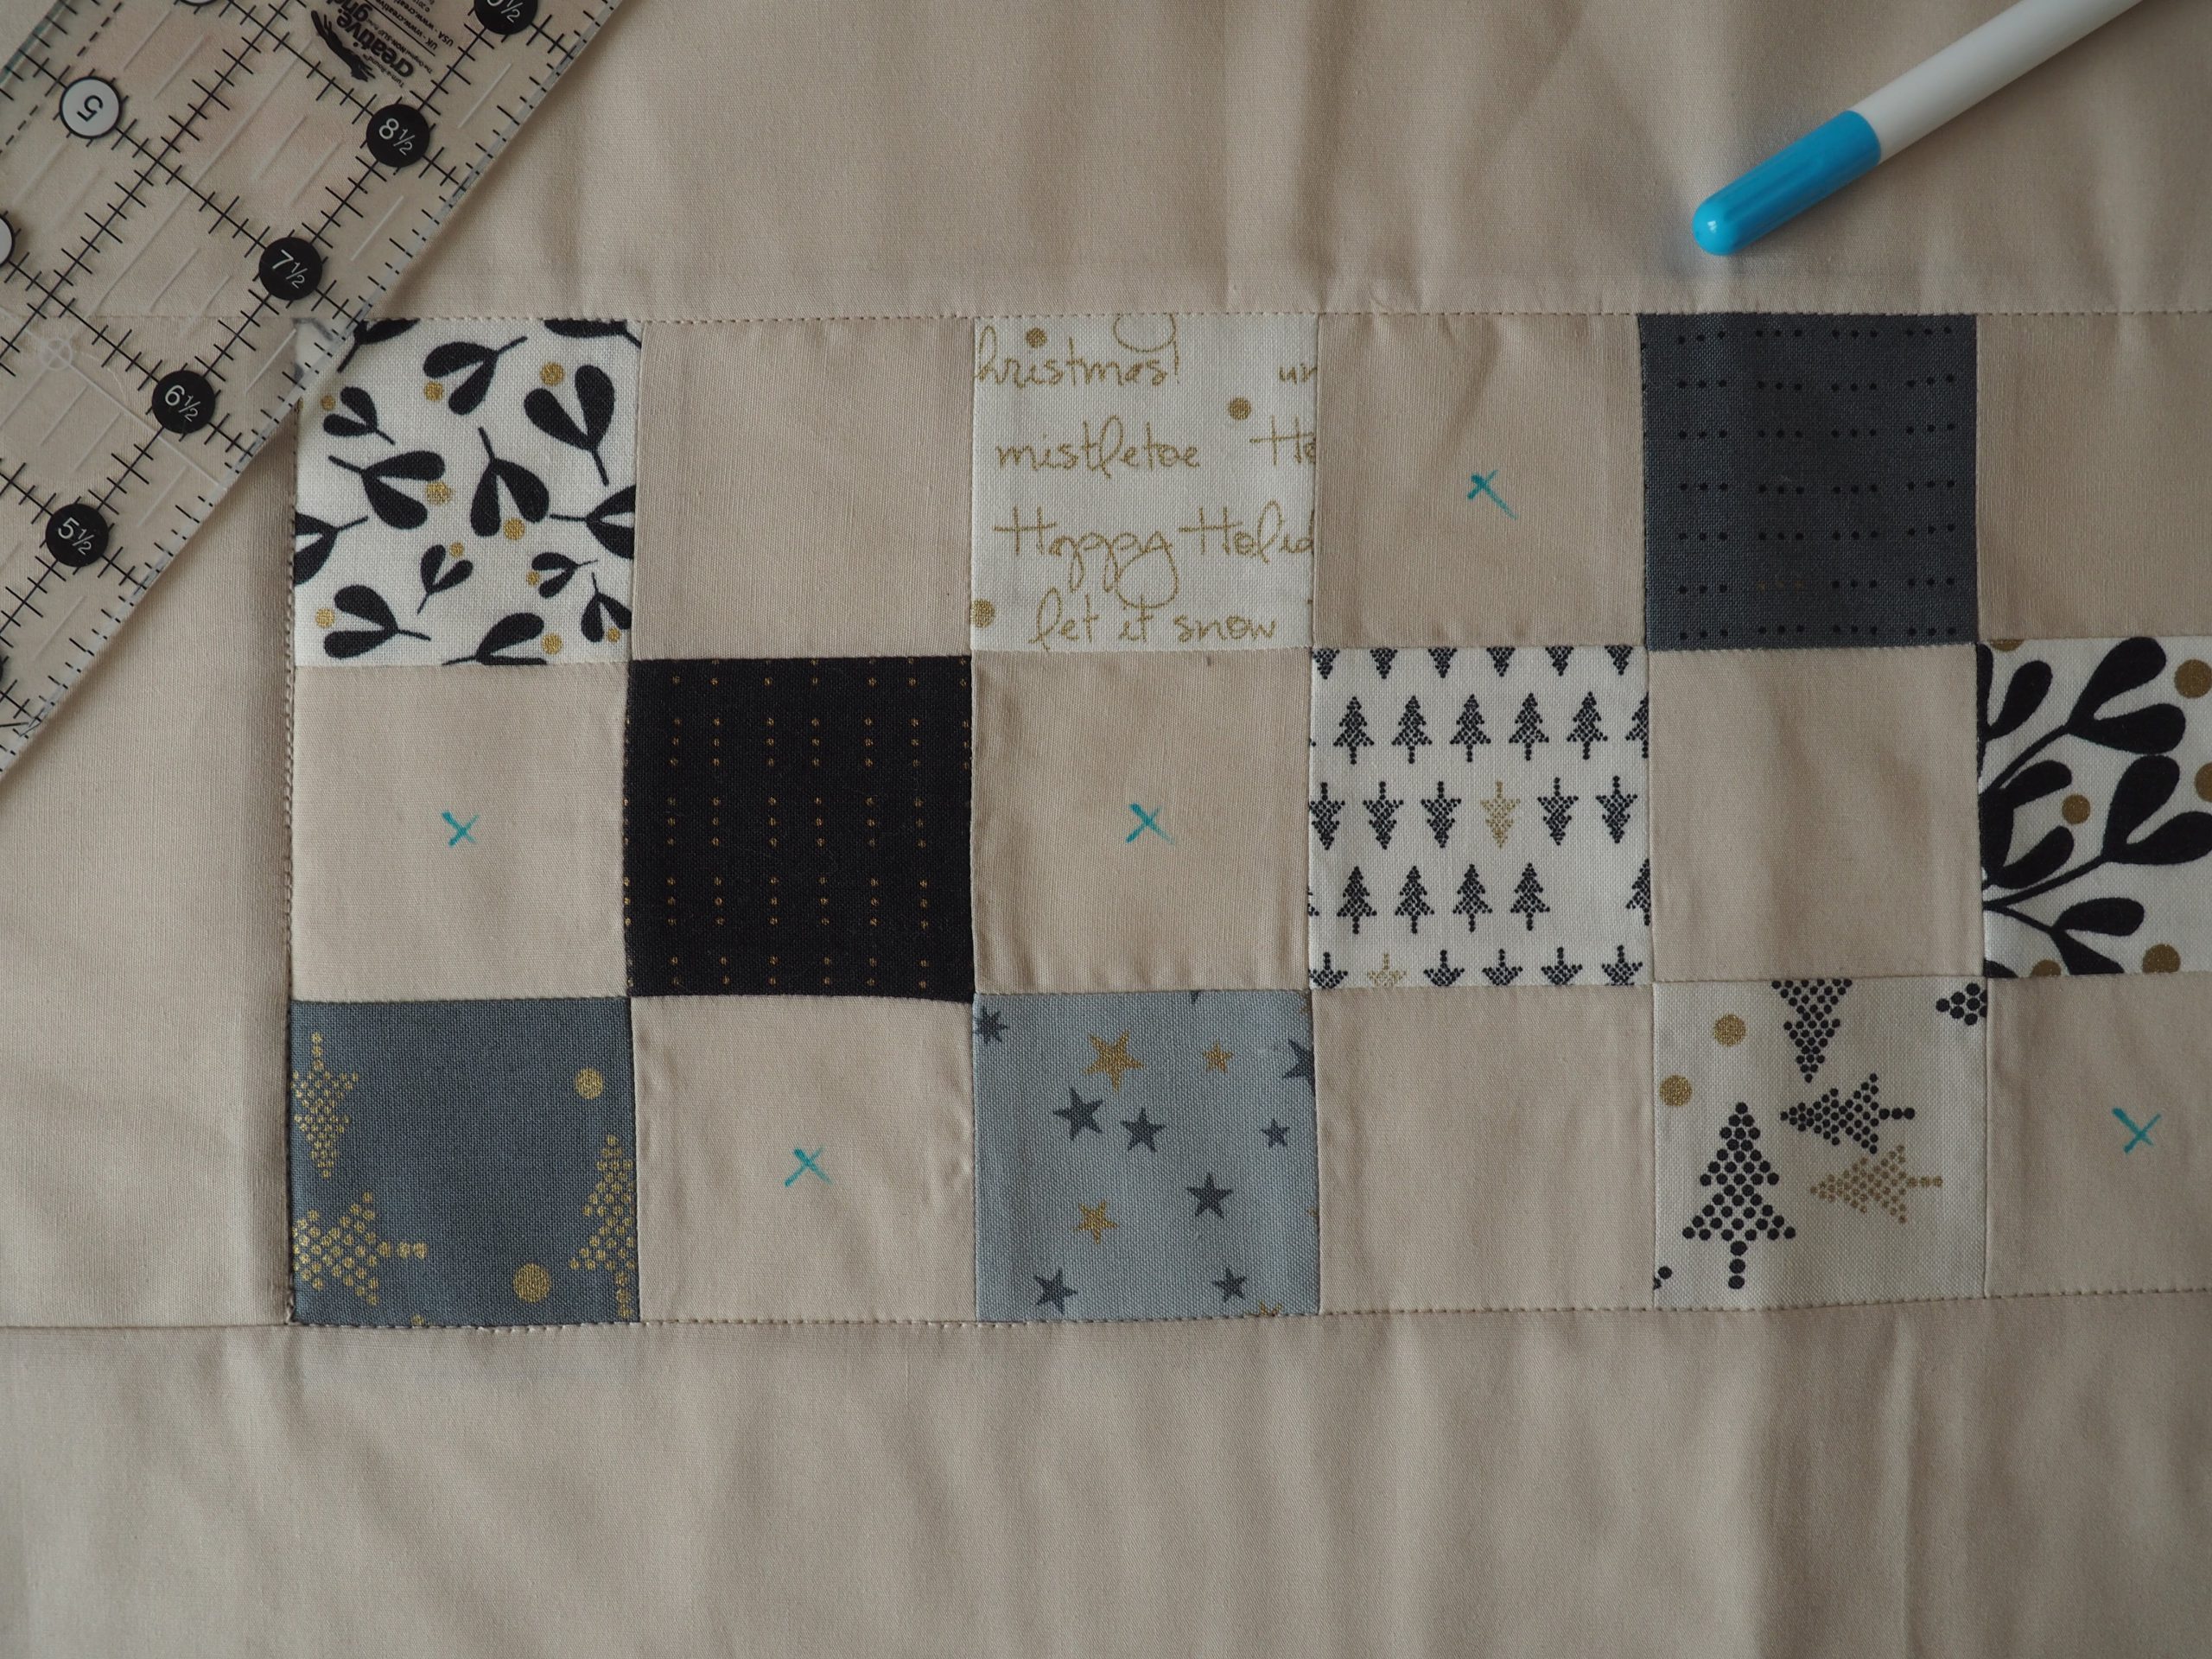
Spread out the small squares into three rows with gaps between each square, mixing up the colors and patterns into an attractive arrangement.
The two outer rows with 14 squares each begin and end with a printed fabric square, and the middle row with 13 squares is offset inwards by a square.
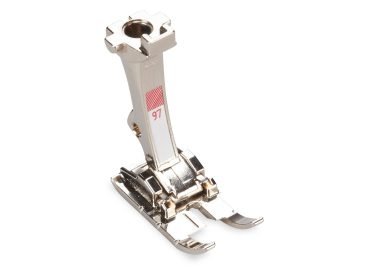
Now fill in the gaps with plain squares and sew them together in rows of three. As I sewed with the Patchwork foot # 97, I used a seam allowance of 1/4″.

Now thoroughly iron the rows of three: the seam allowances are always ironed together in the direction of the patterned fabric, so that they automatically go the right way when the runner is sewn together later on.

Sew all the rows of three together following your sequence to form a large piece and iron this middle section of the table runner well. I ironed the seam allowances open, as I wanted the middle section to be as flat as possible.
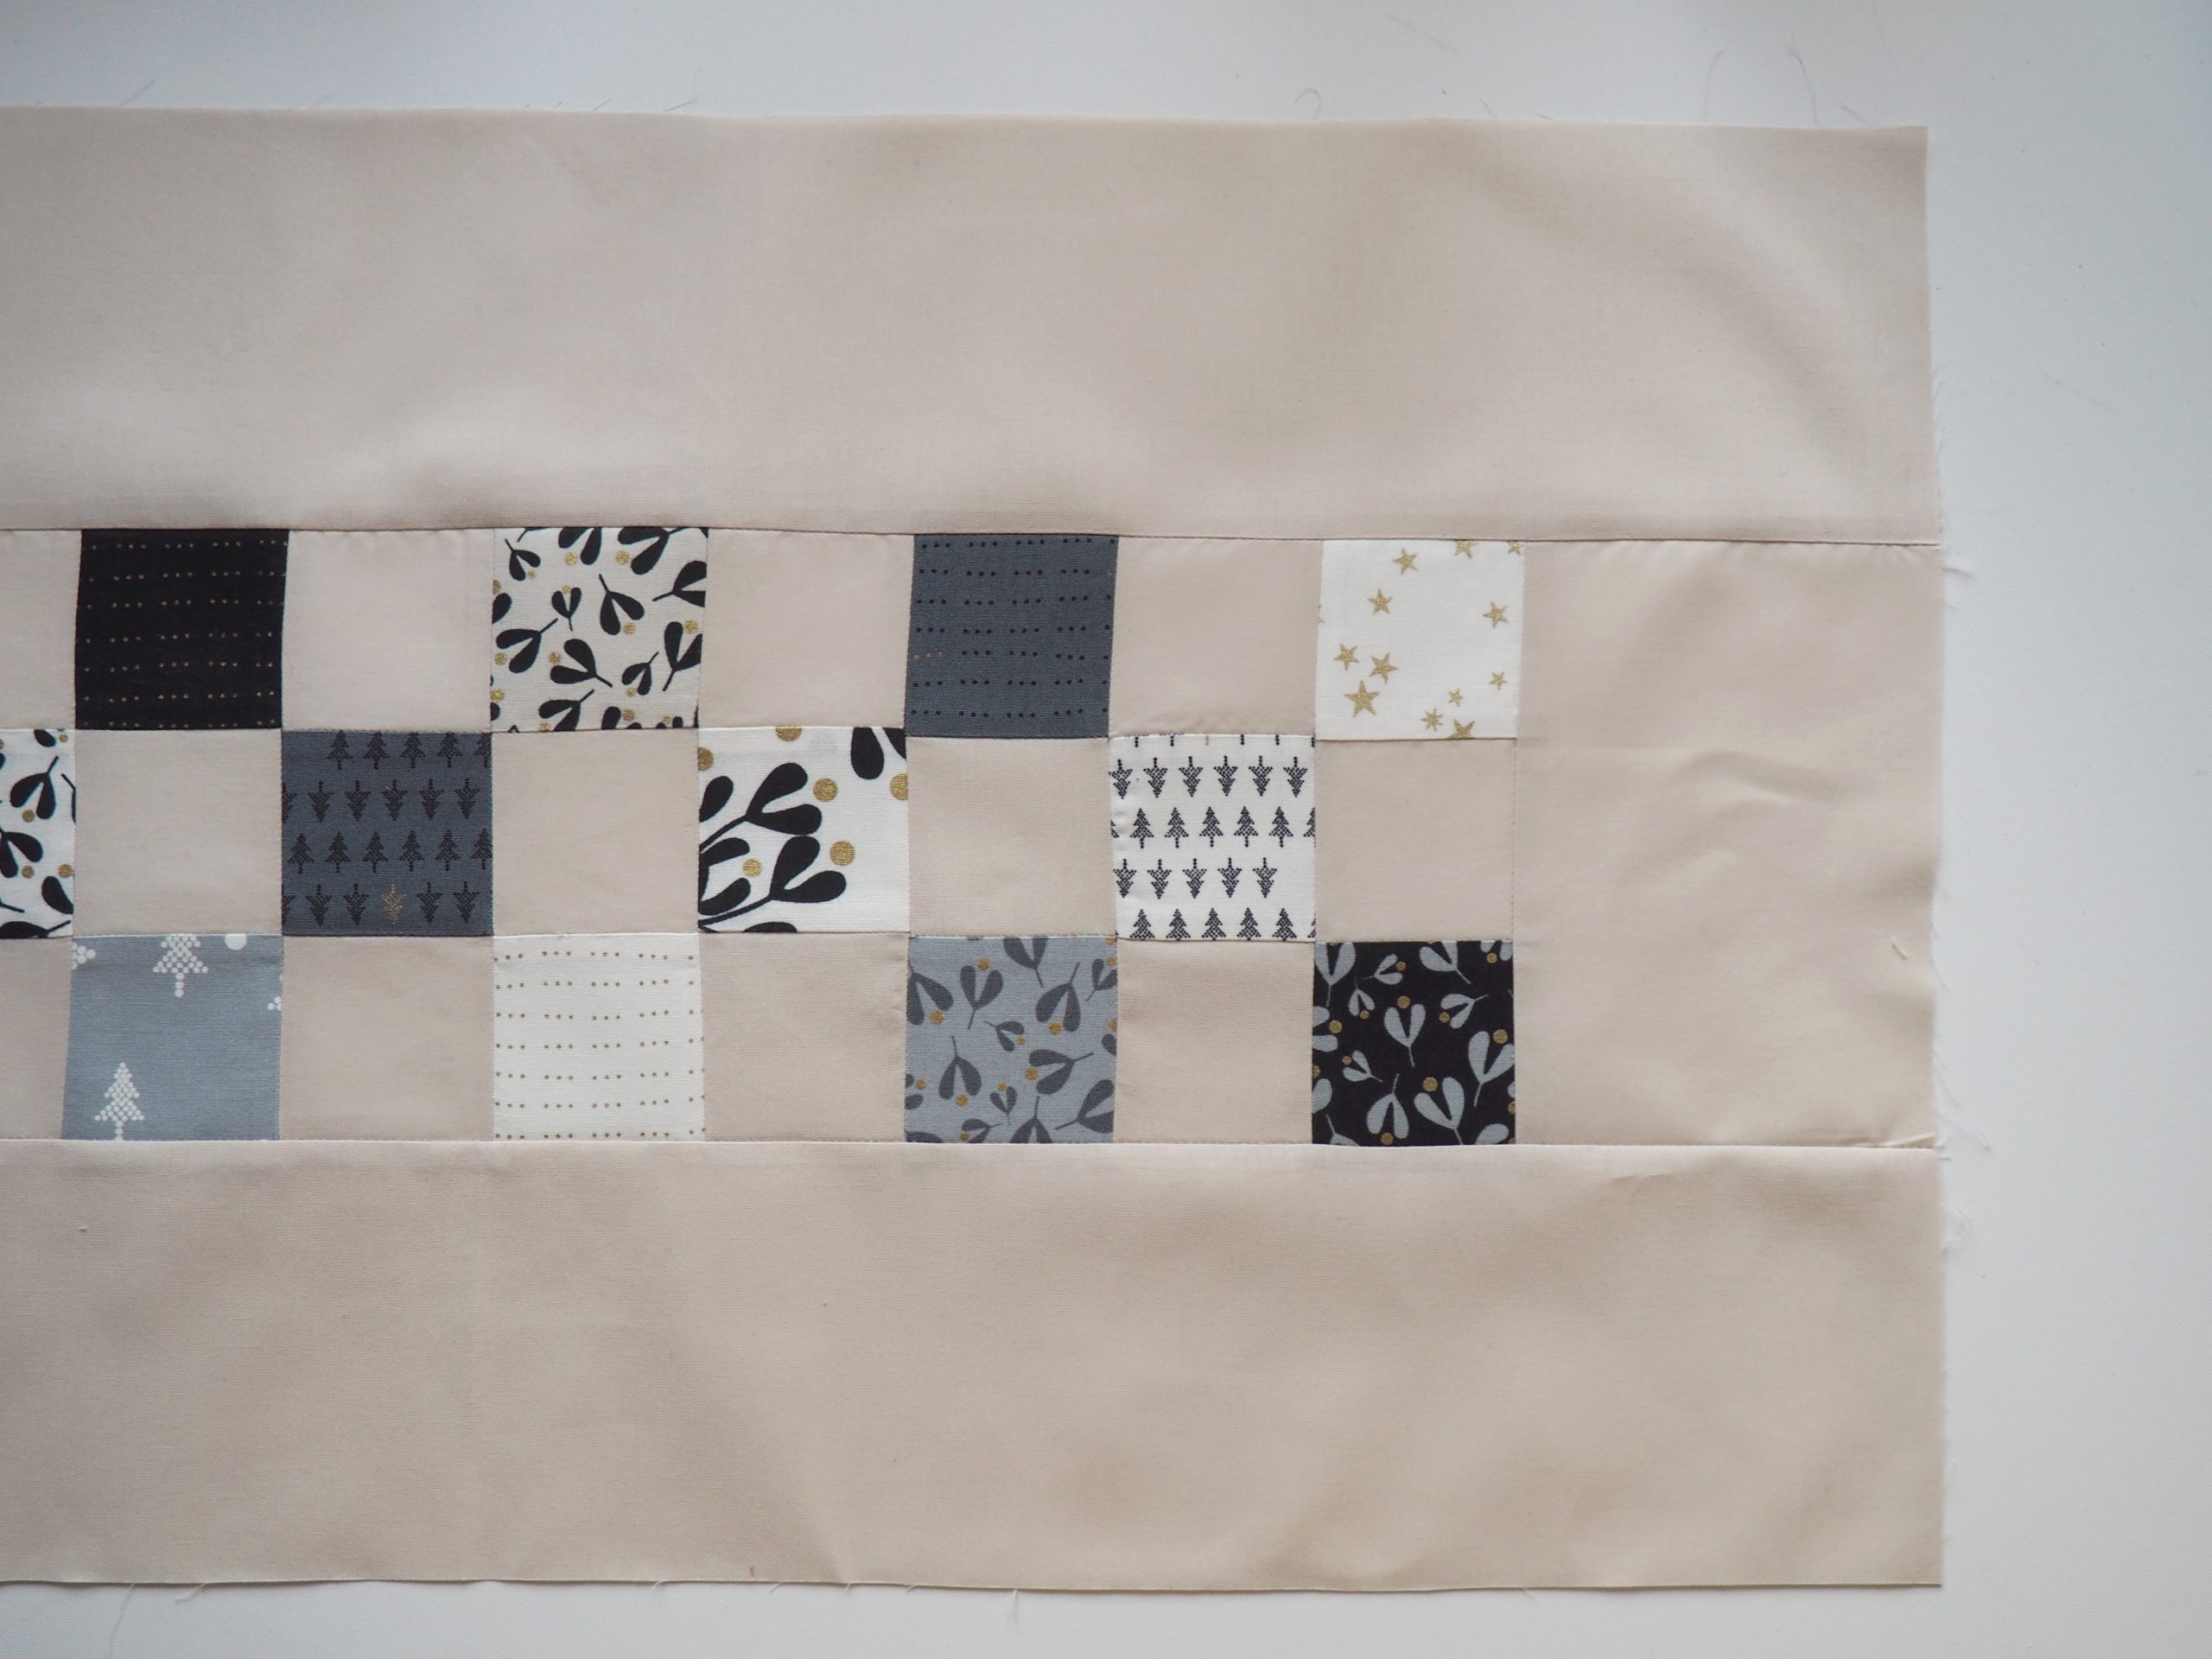
Next comes the border: first sew the two short pieces onto the short ends of the middle section and iron the seam allowance outwards toward the border. Then sew the long border strips onto the sides. Iron the seam allowance outwards again.
Quilting the sparkling table runner
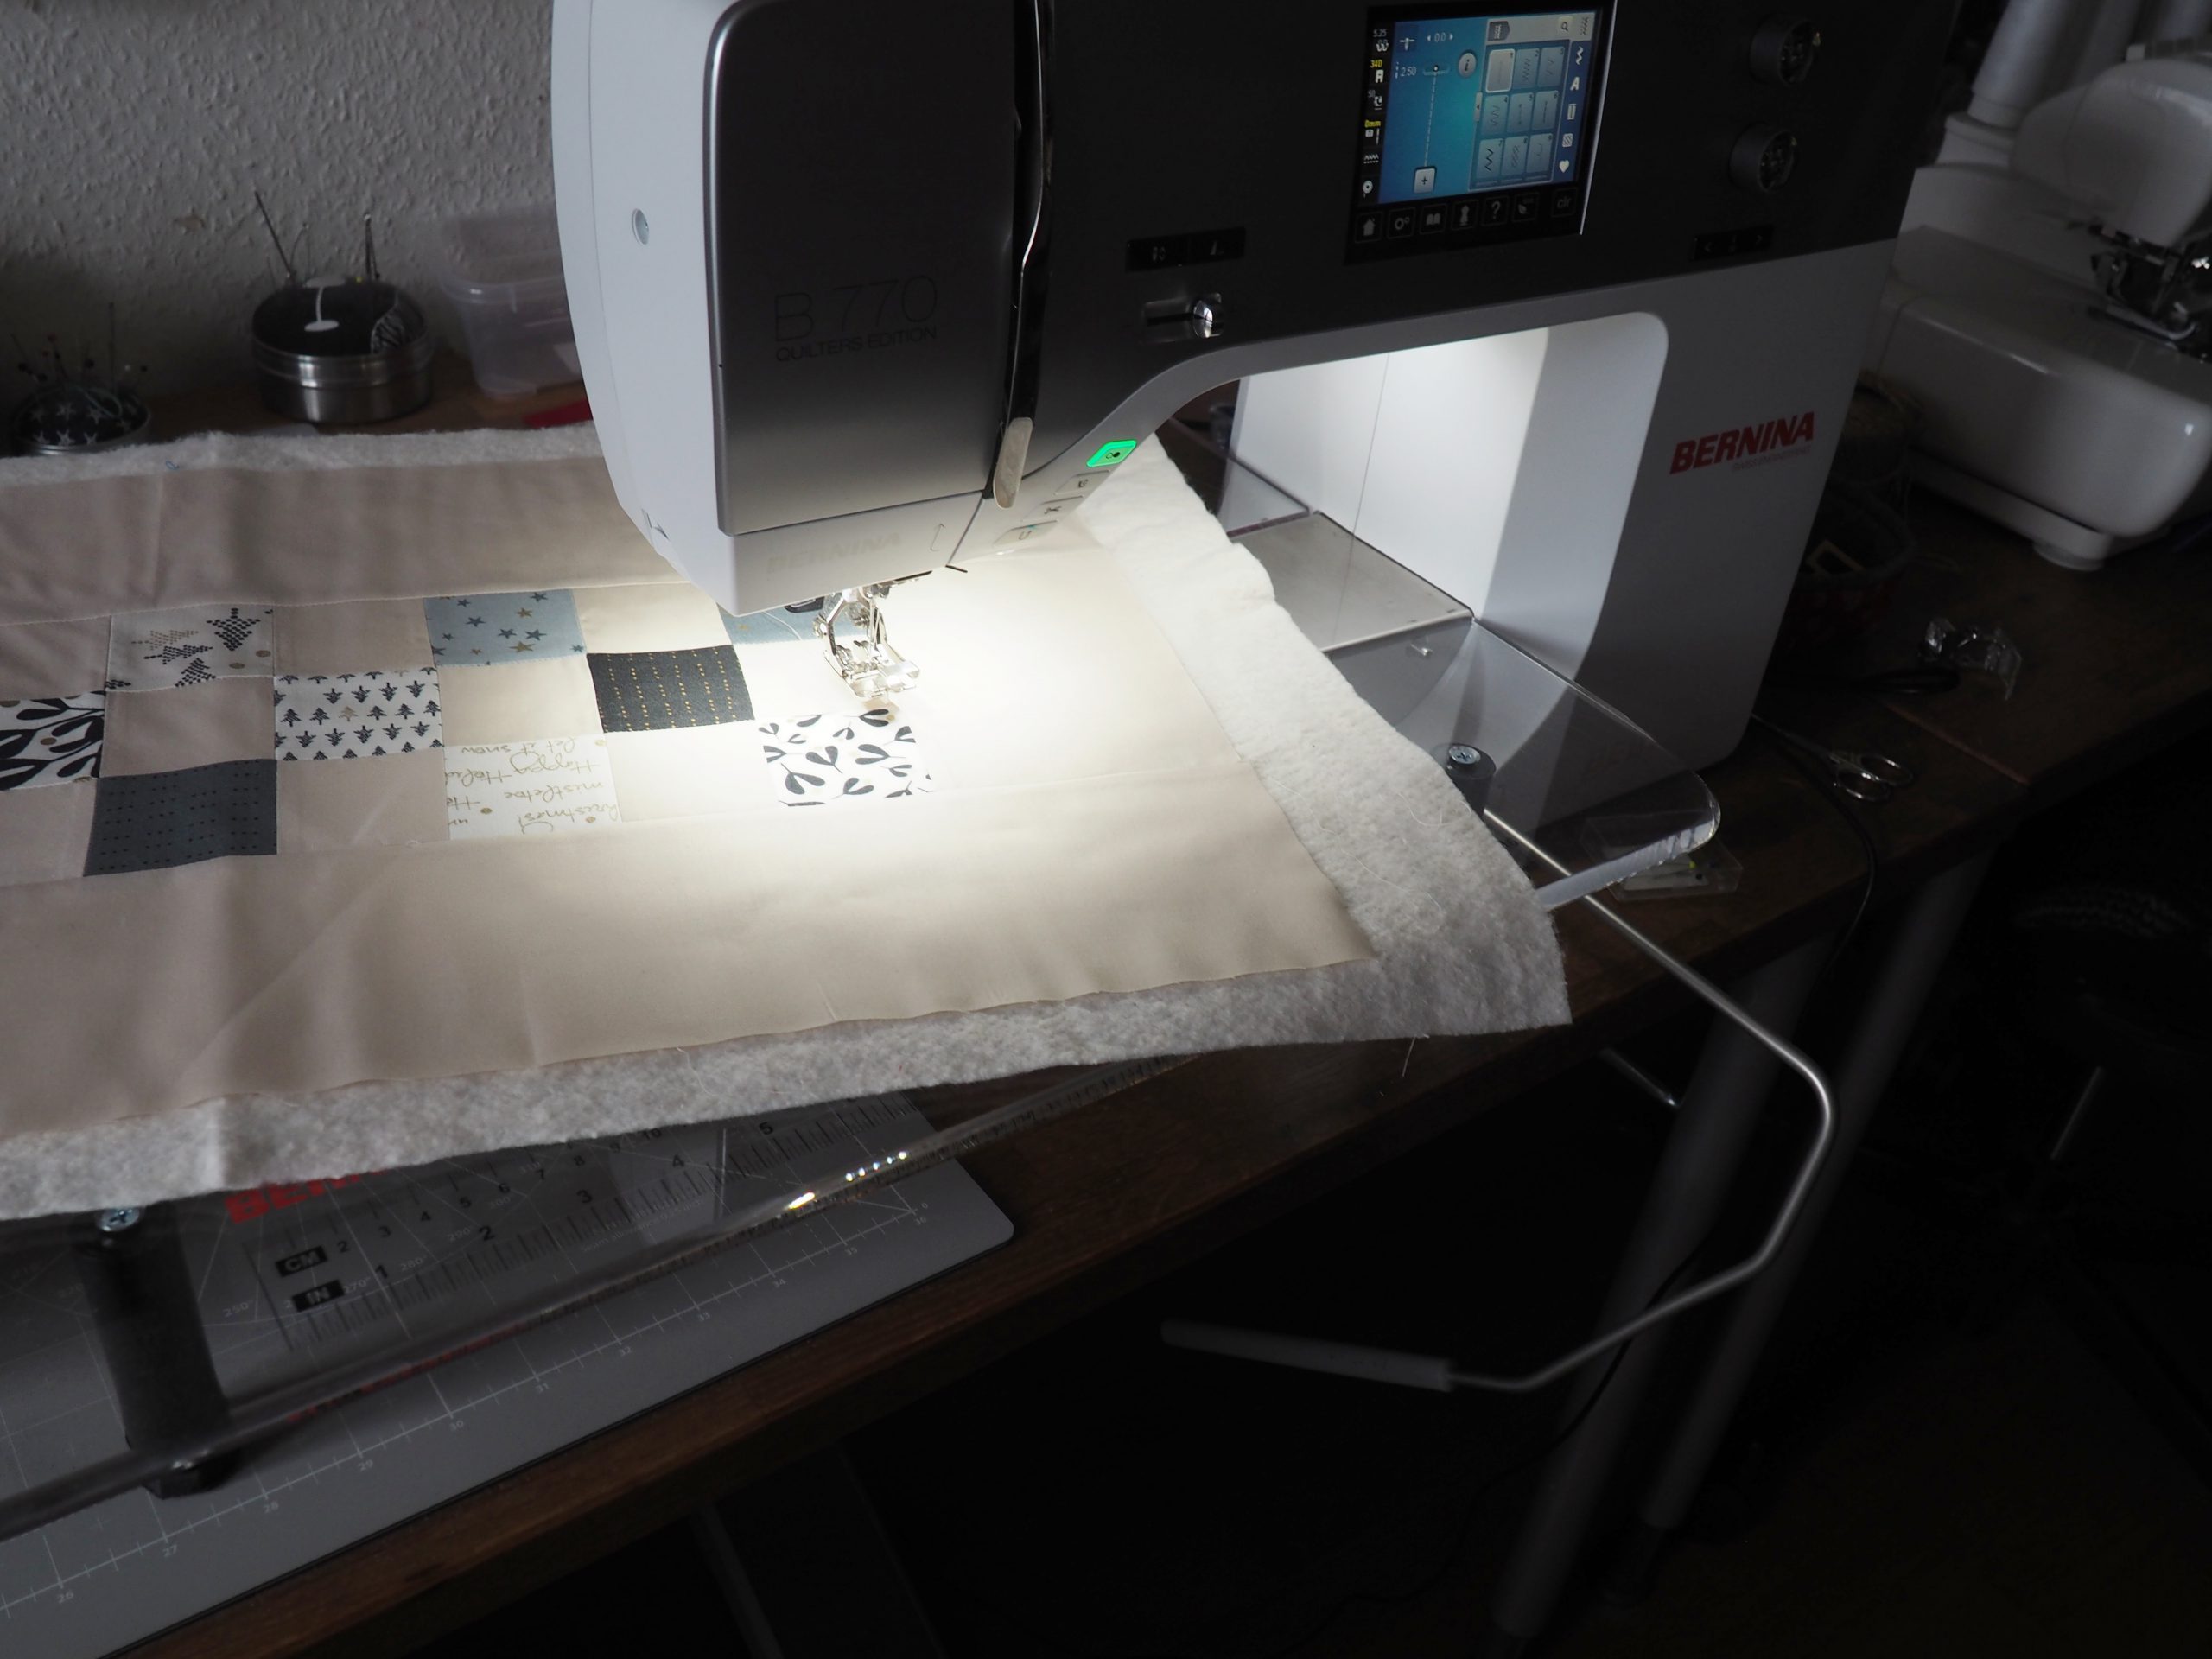
Before you start quilting the table runner, join your sewn table runner onto a thin batting and a backing fabric to create a quilt sandwich: stick the ironed backing fabric onto a table or similar with masking tape with the right side facing down. Lay the batting onto this, smoothing out any wrinkles and place the table runner top over this with the right side up. You can join the three layers with spray adhesive or with the BSR basting function on your sewing machine.
Attach the extension table or the quilting table to your sewing machine. I really like the large quilting table when quilting with rulers. It makes it much easier because the ruler lies really flat and the quilt sandwich is easy to move around on it.
Stitching in the ditch: the middle section
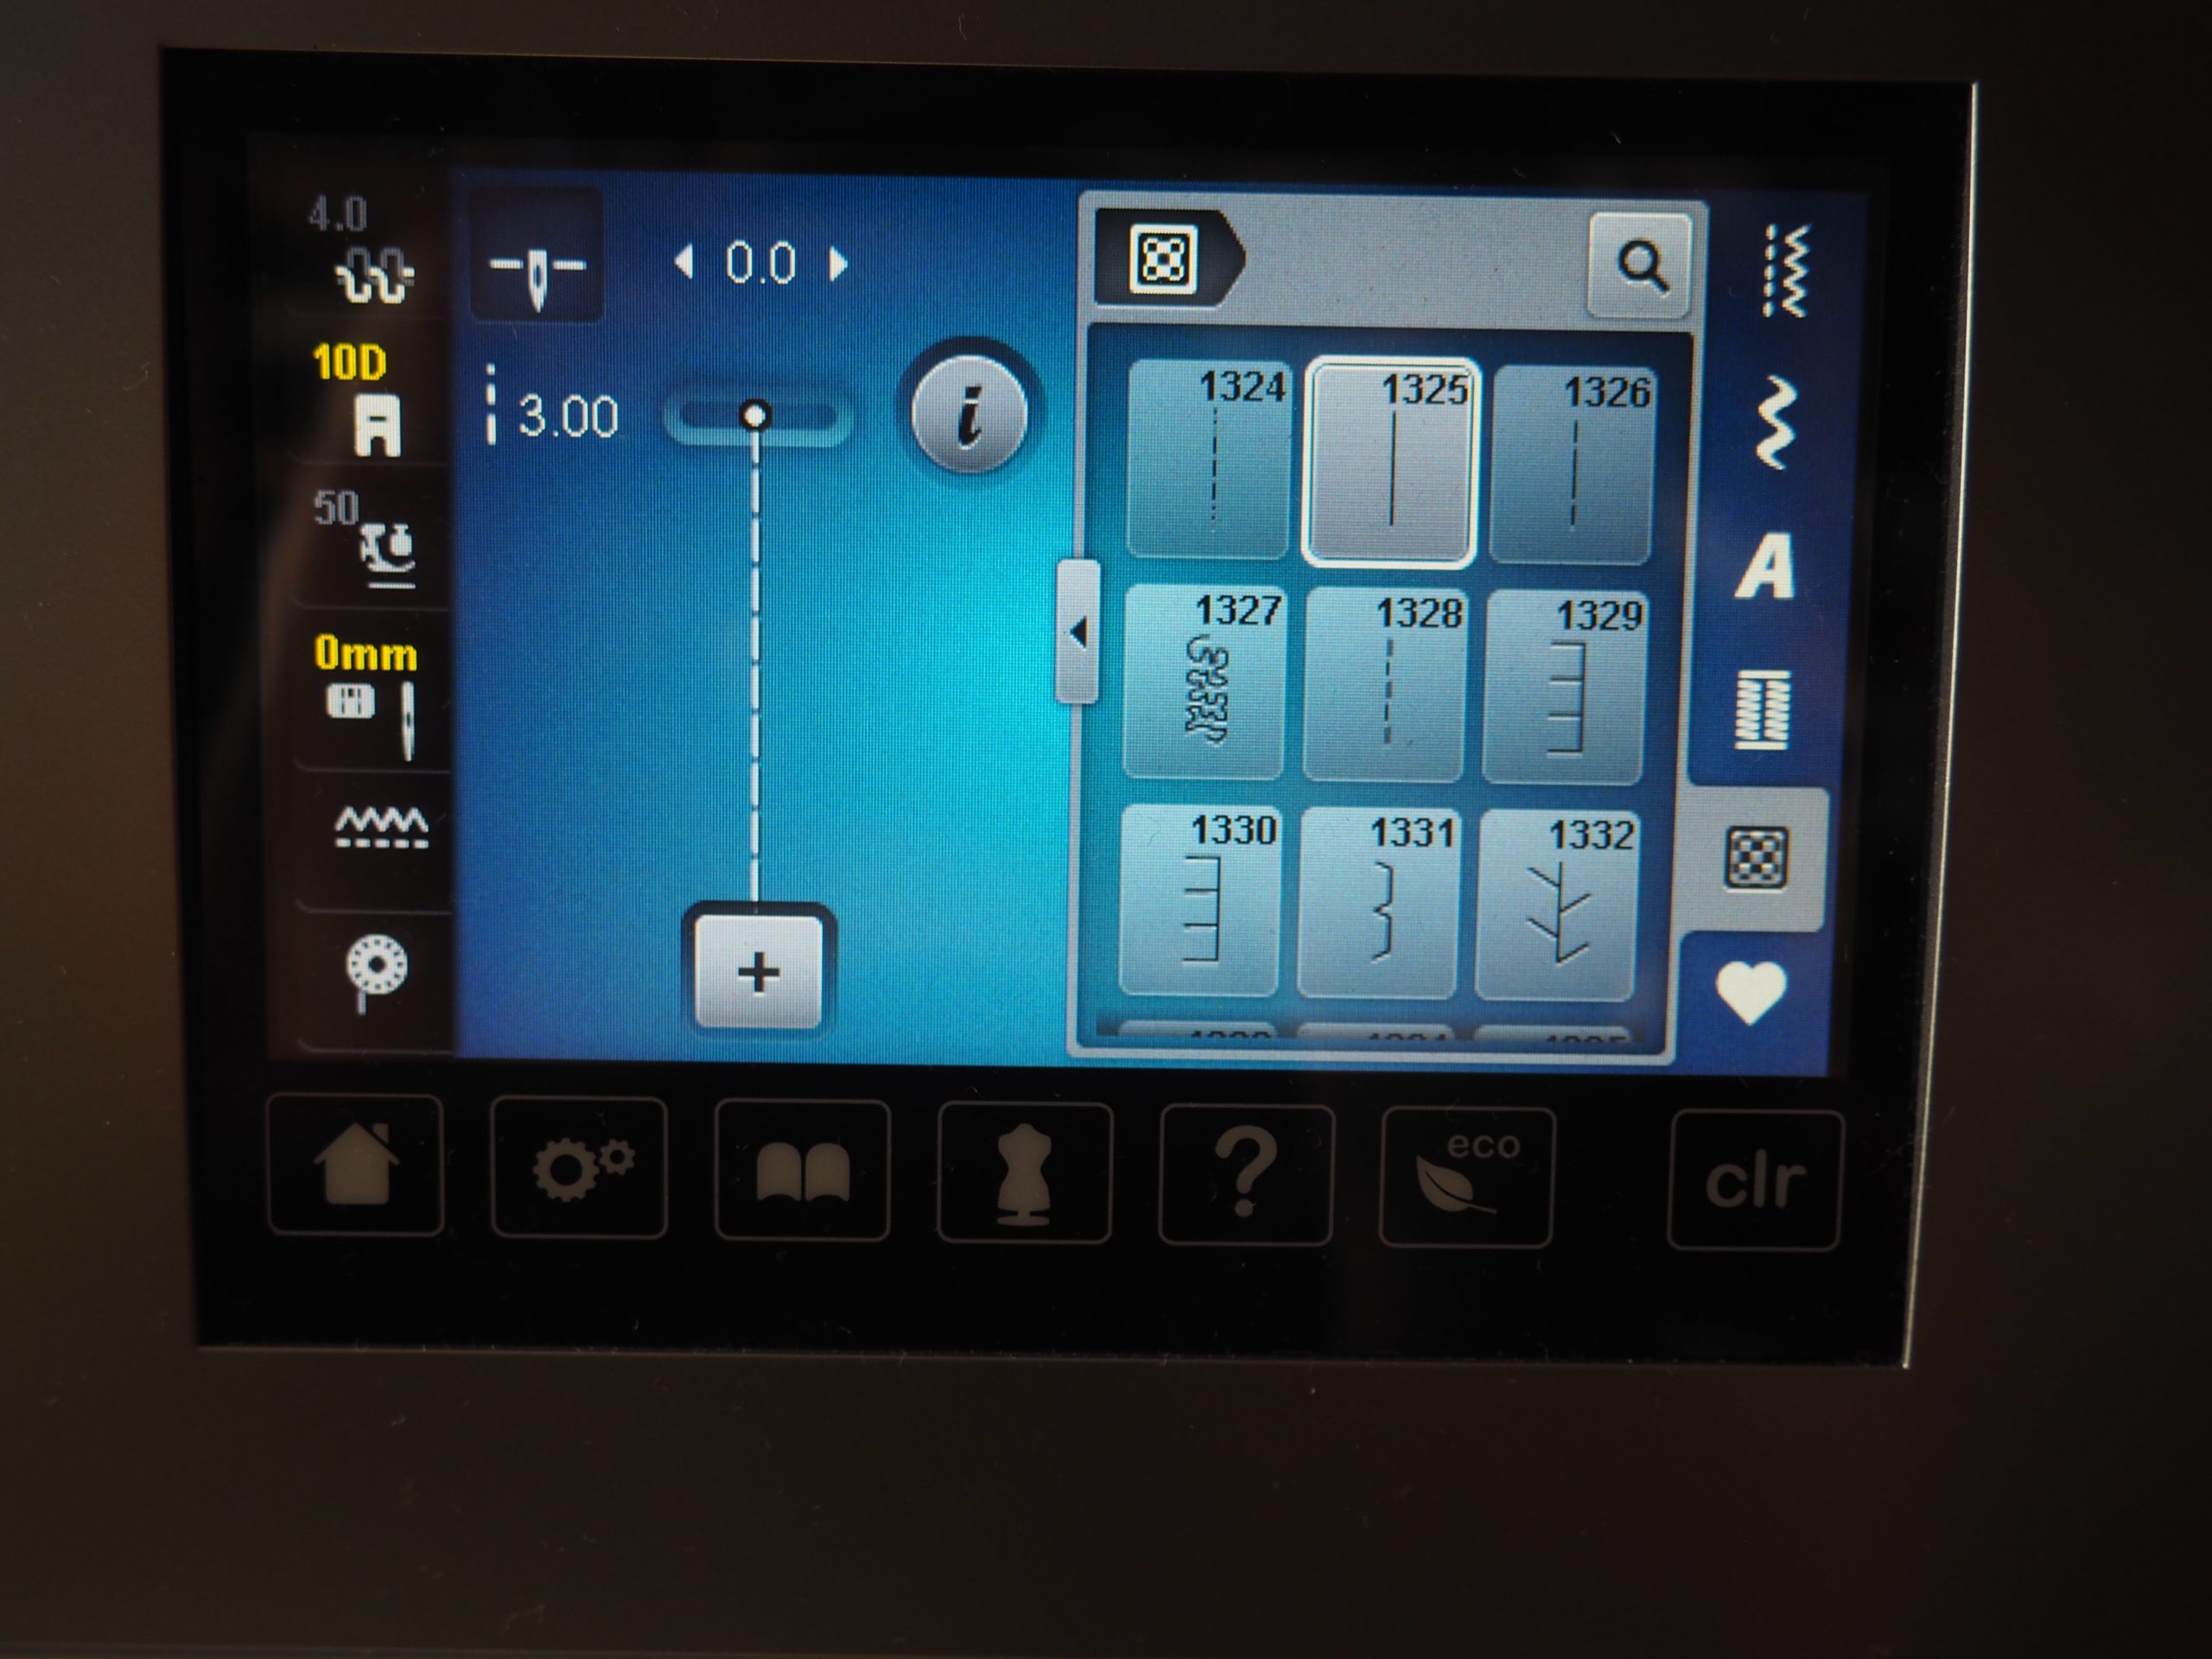
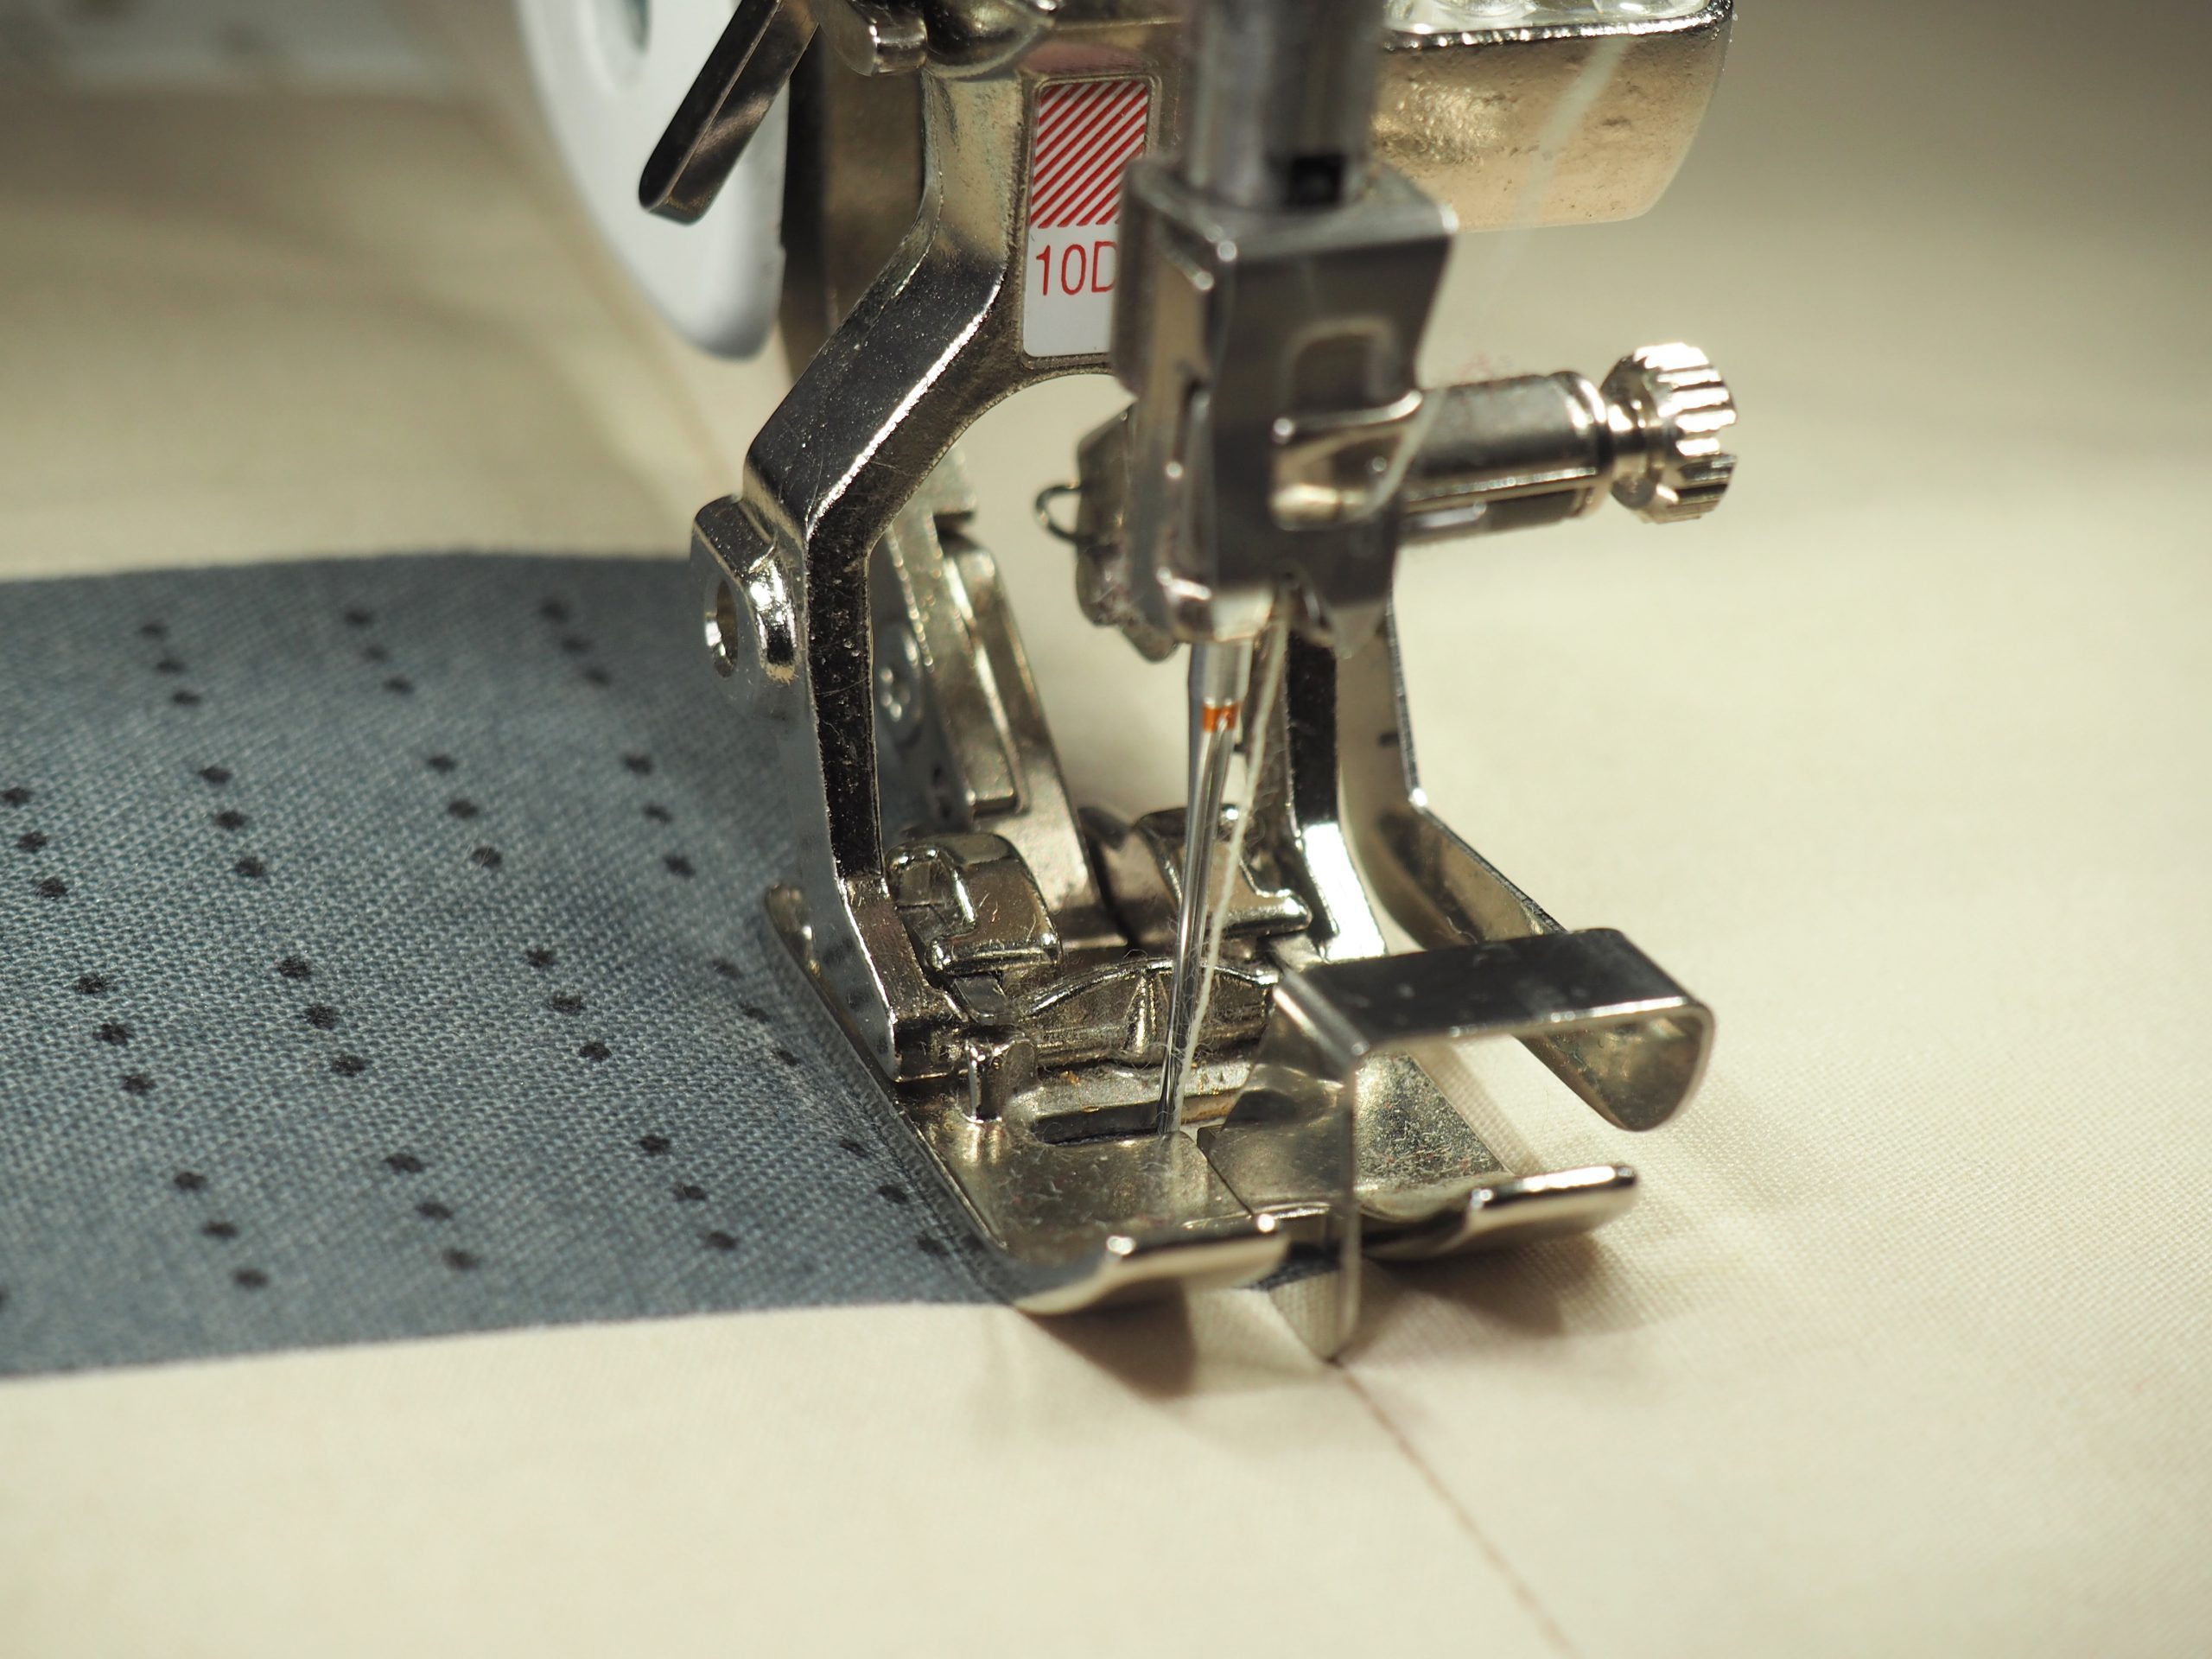
The first step is to quilt around the middle section of the table runner down the seam channels, known as stitching in the ditch. For this I like to choose quilting stitch No. 1325 from the quilting menu on my sewing machine. By selecting the stitch, the thread tension is adjusted accordingly. I also used the straight stitch plate and – for “stitching in the ditch” – the Edgestitch foot # 10.

The guide on the presser foot runs exactly in the seam. This makes the quilting seam almost invisible.
The large quilted rectangle can be seen clearly on the back.

Quilting with the straight ruler: the star
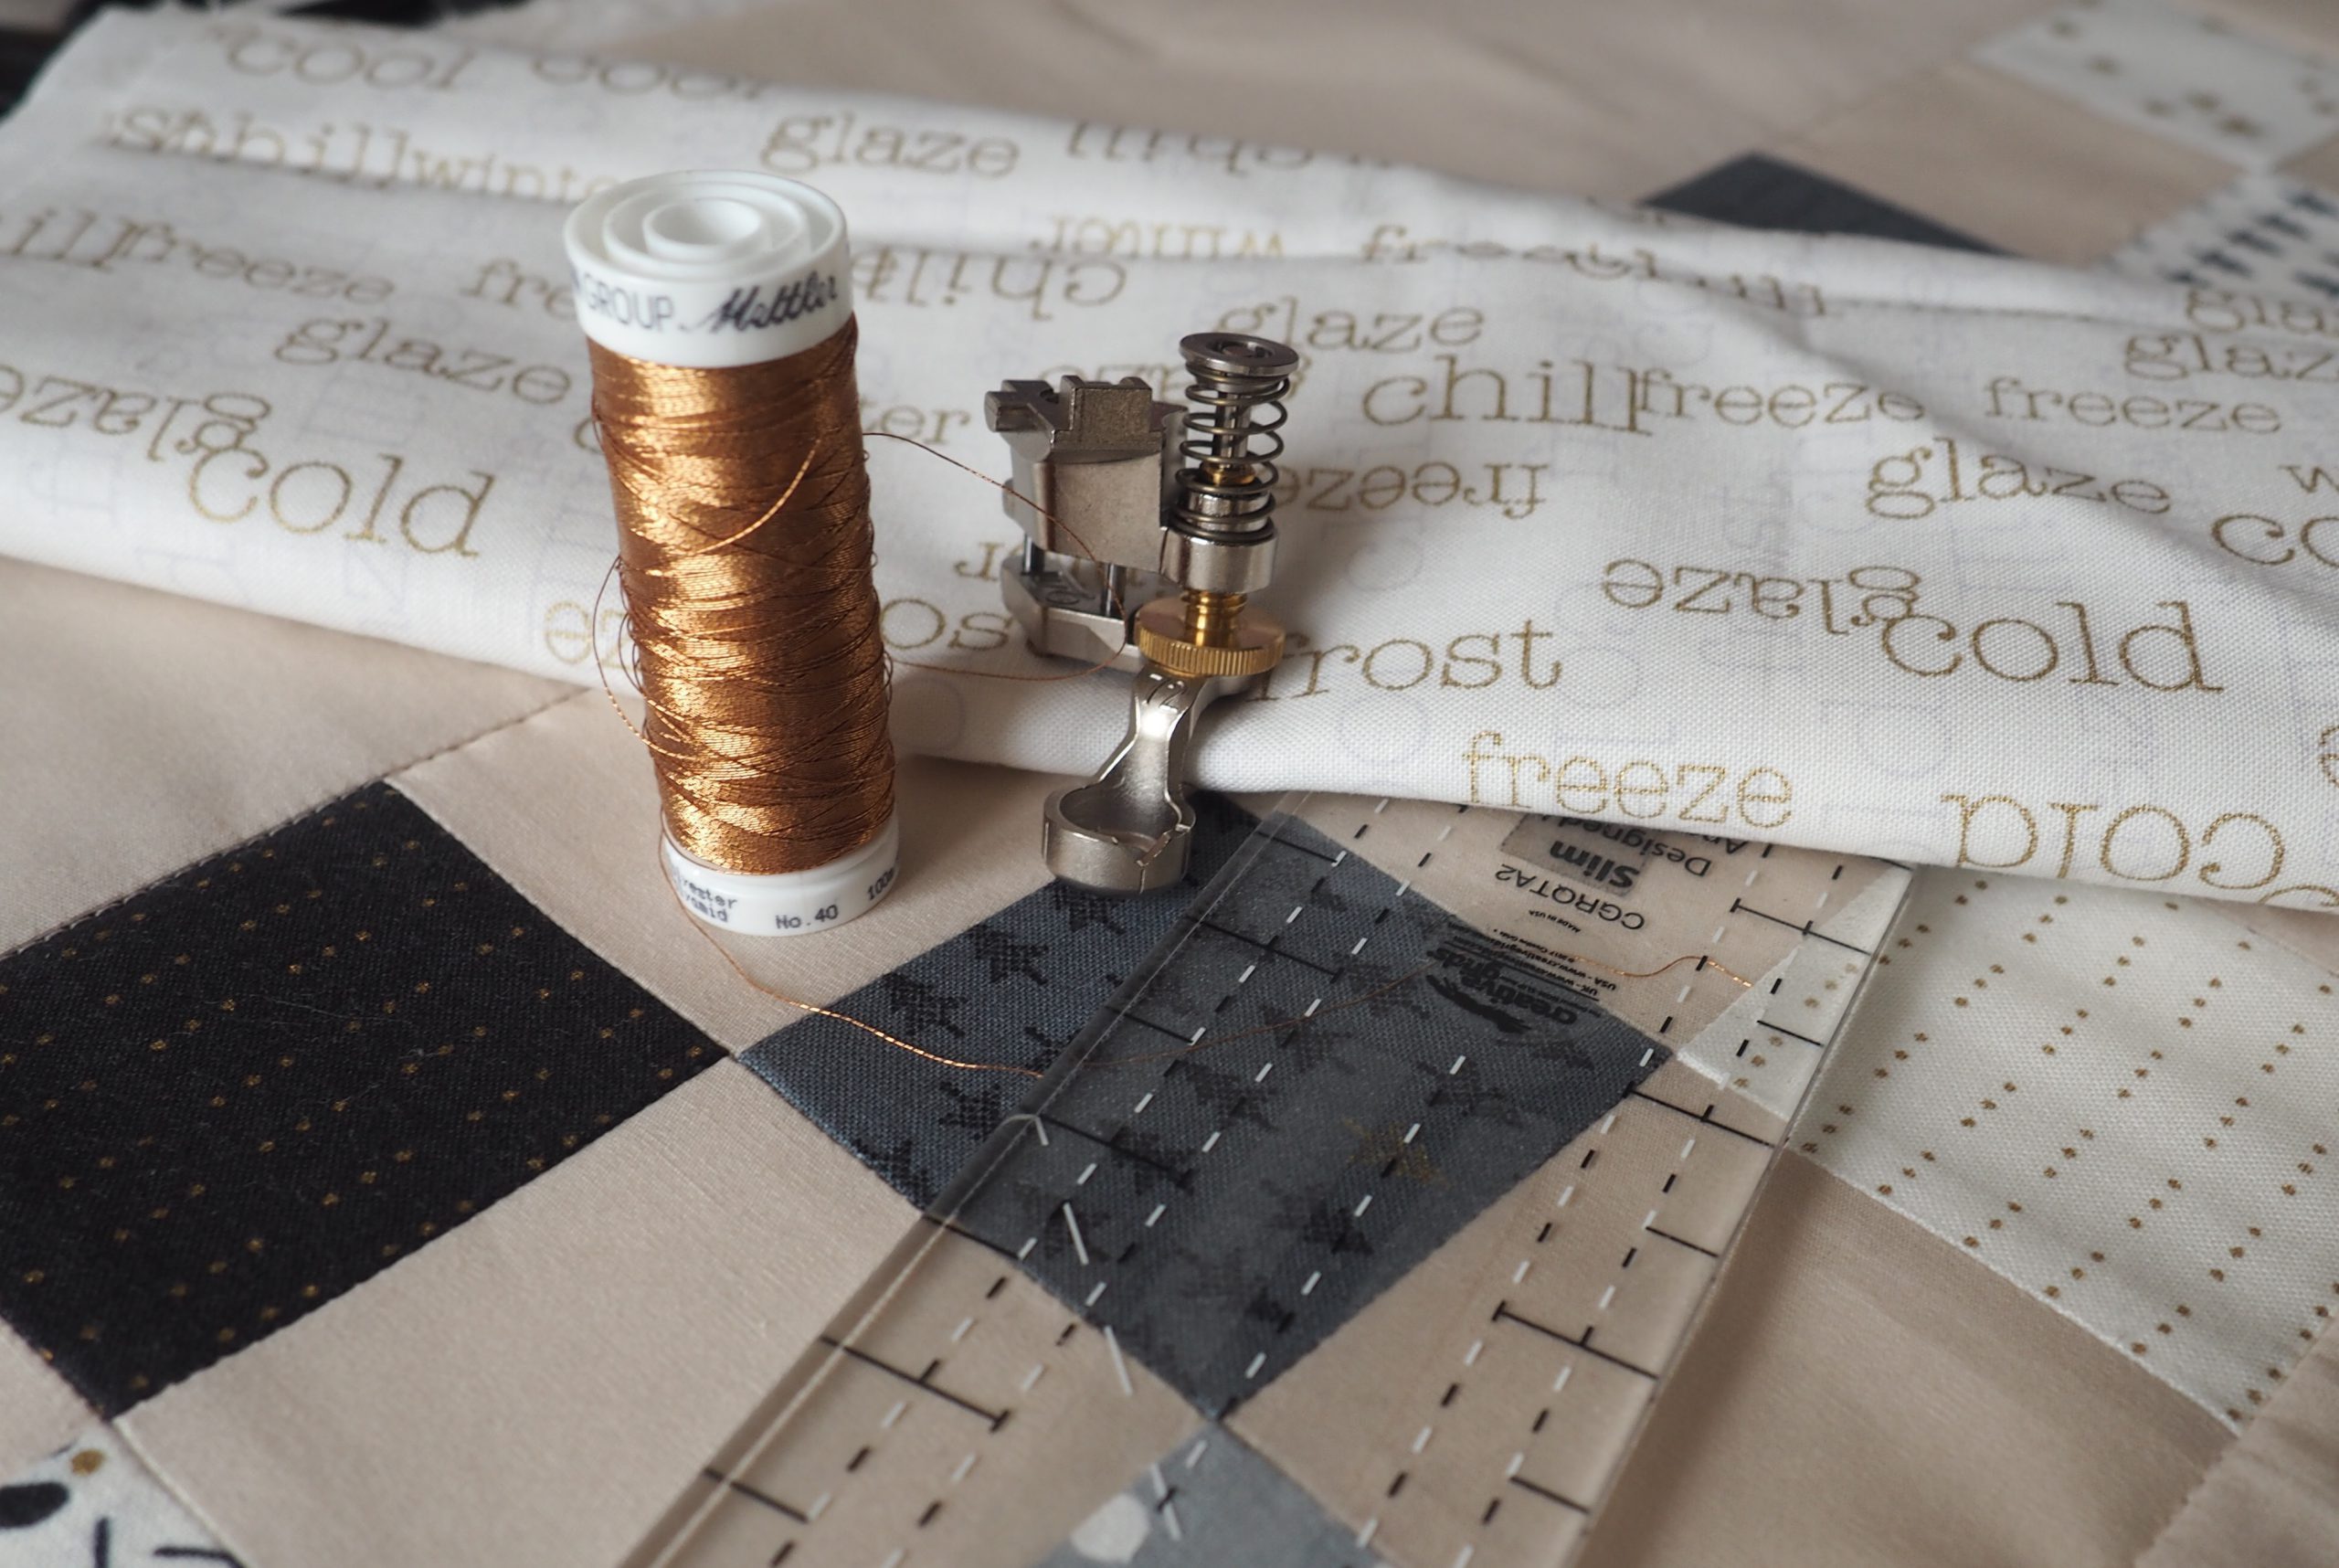
To give the table runner a bit more sparkle, I put small stars on the plain-colored squares in a metallic thread using a straight ruler. I decided on a warm gold shade for the metallic thread because it goes well with the Mini Charm Pack I used and the fabric I chose for the binding.
Decide which plain-colored squares you want to quilt a star into.
Use a ruler to find the center of these squares and mark it with a water-soluble pen.
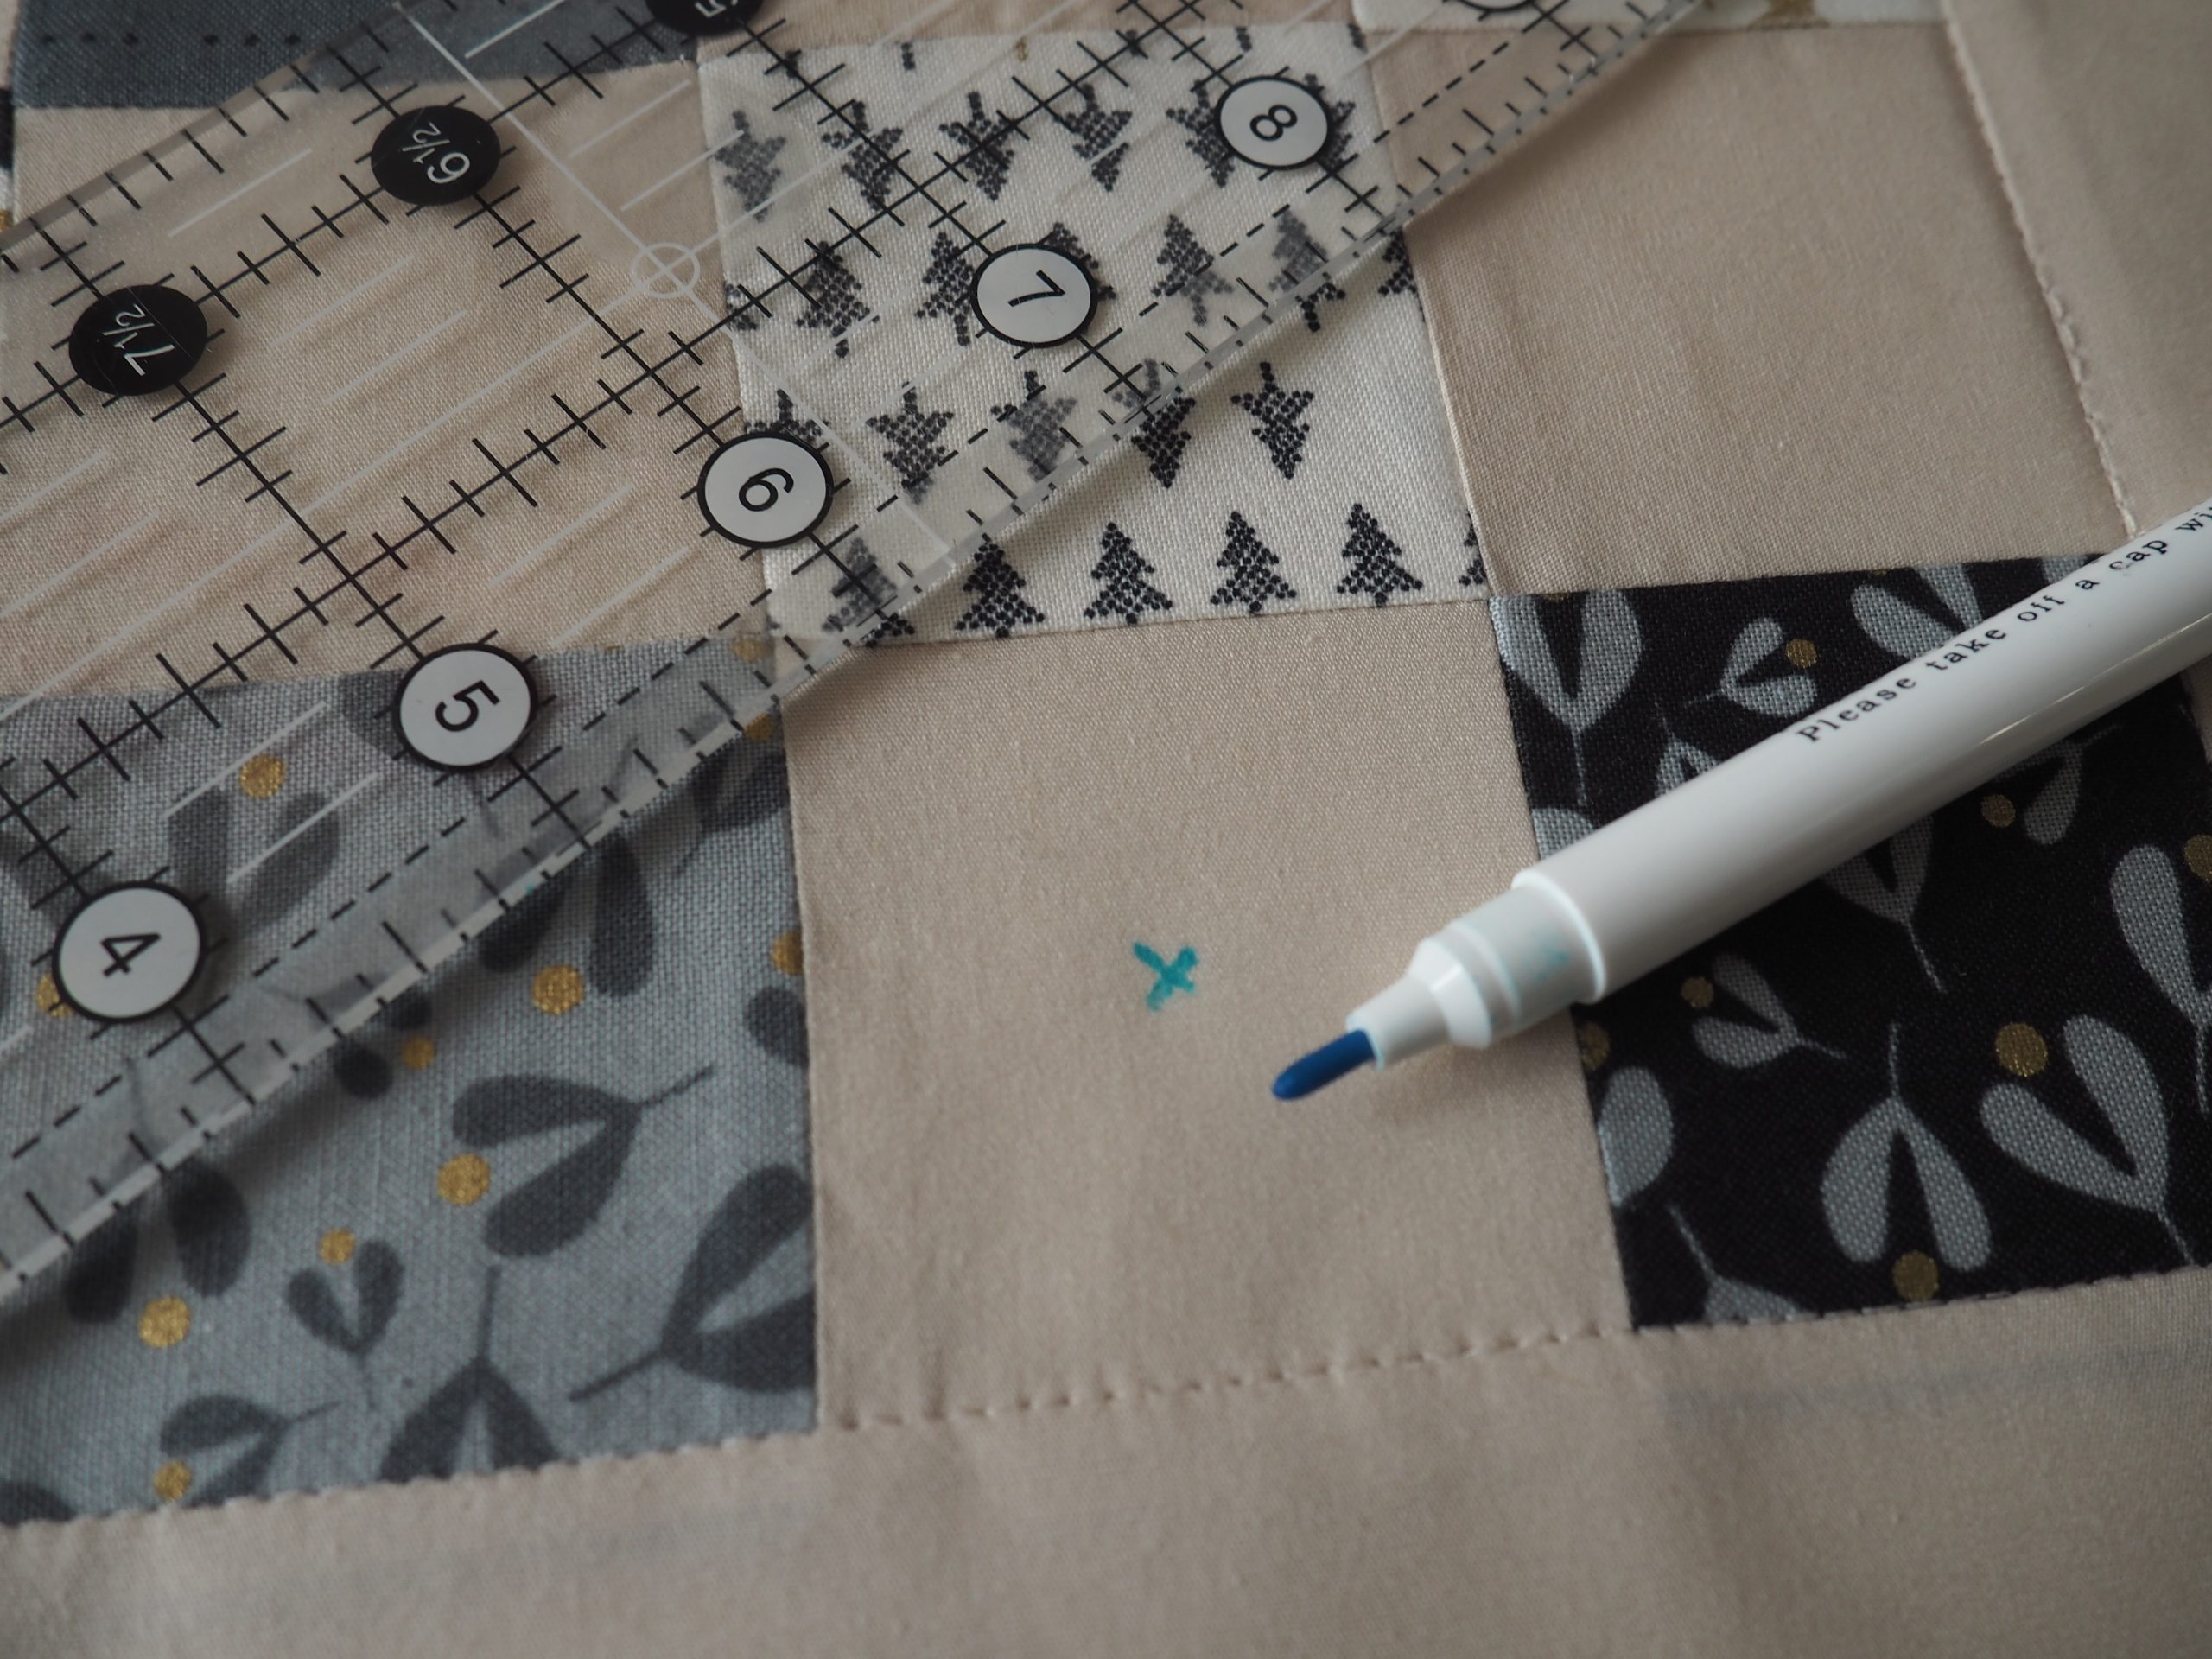
I wanted the stars to be distributed sporadically on the table runner, so I didn’t put a mark on all the squares.
Before you start quilting with the ruler and metallic thread, you should prepare your machine:
- Lower the feed dog
- Set it to needle stop down
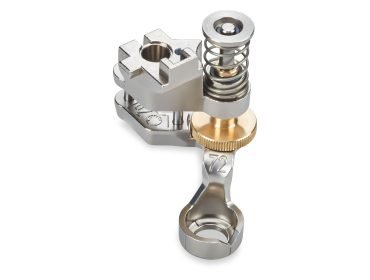
- Attach Adjustable Ruler Foot # 72 (depending on your machine, select it from the menu) and adjust the height accordingly
- Reduce the presser foot pressure to approx. -3 if possible as this makes the ruler foot run more quietly
- Use the yellow bobbin case
- Attach the Thread Lubrication Unit – this helps prevent the metallic thread from breaking
- Insert an SUK needle (medium ball point)
- Reduce the sewing speed
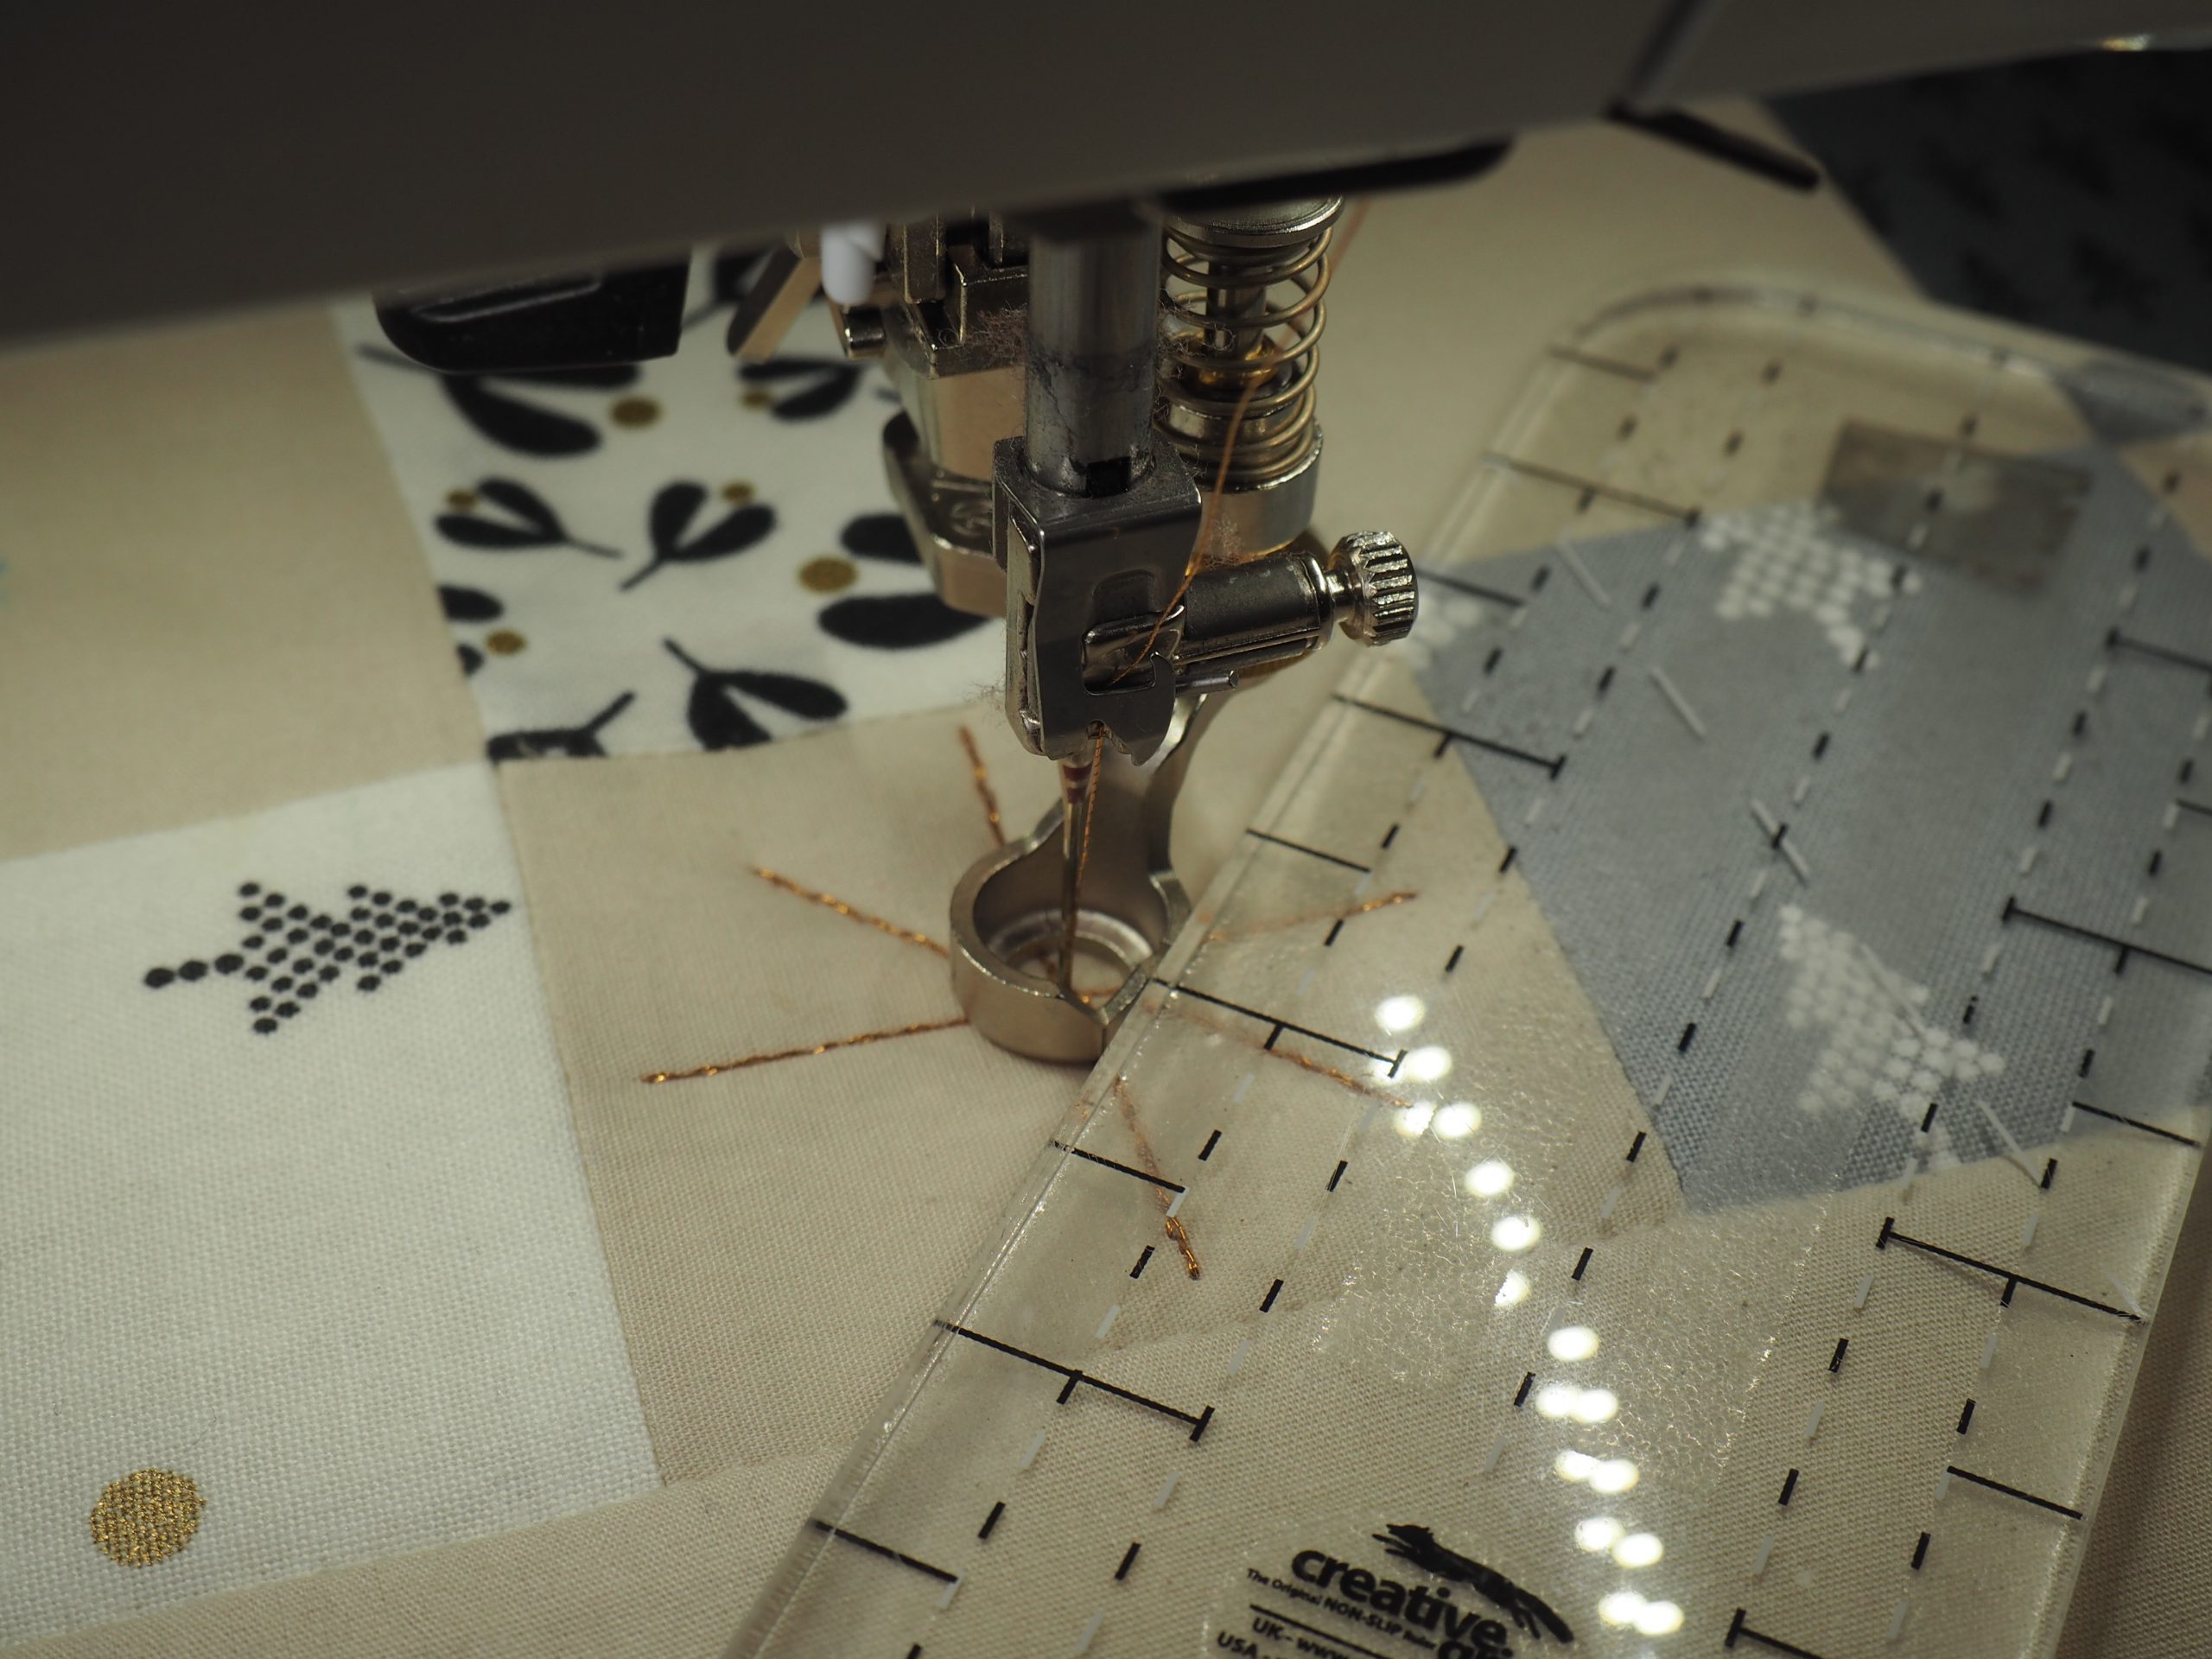
I have made a video about how to quilt this simple star using the straight ruler:
I have also outlined how to quilt the star in the following pictures:
- At the center, lower the needle and pull up the lower thread
- Sew a few stitches on the spot
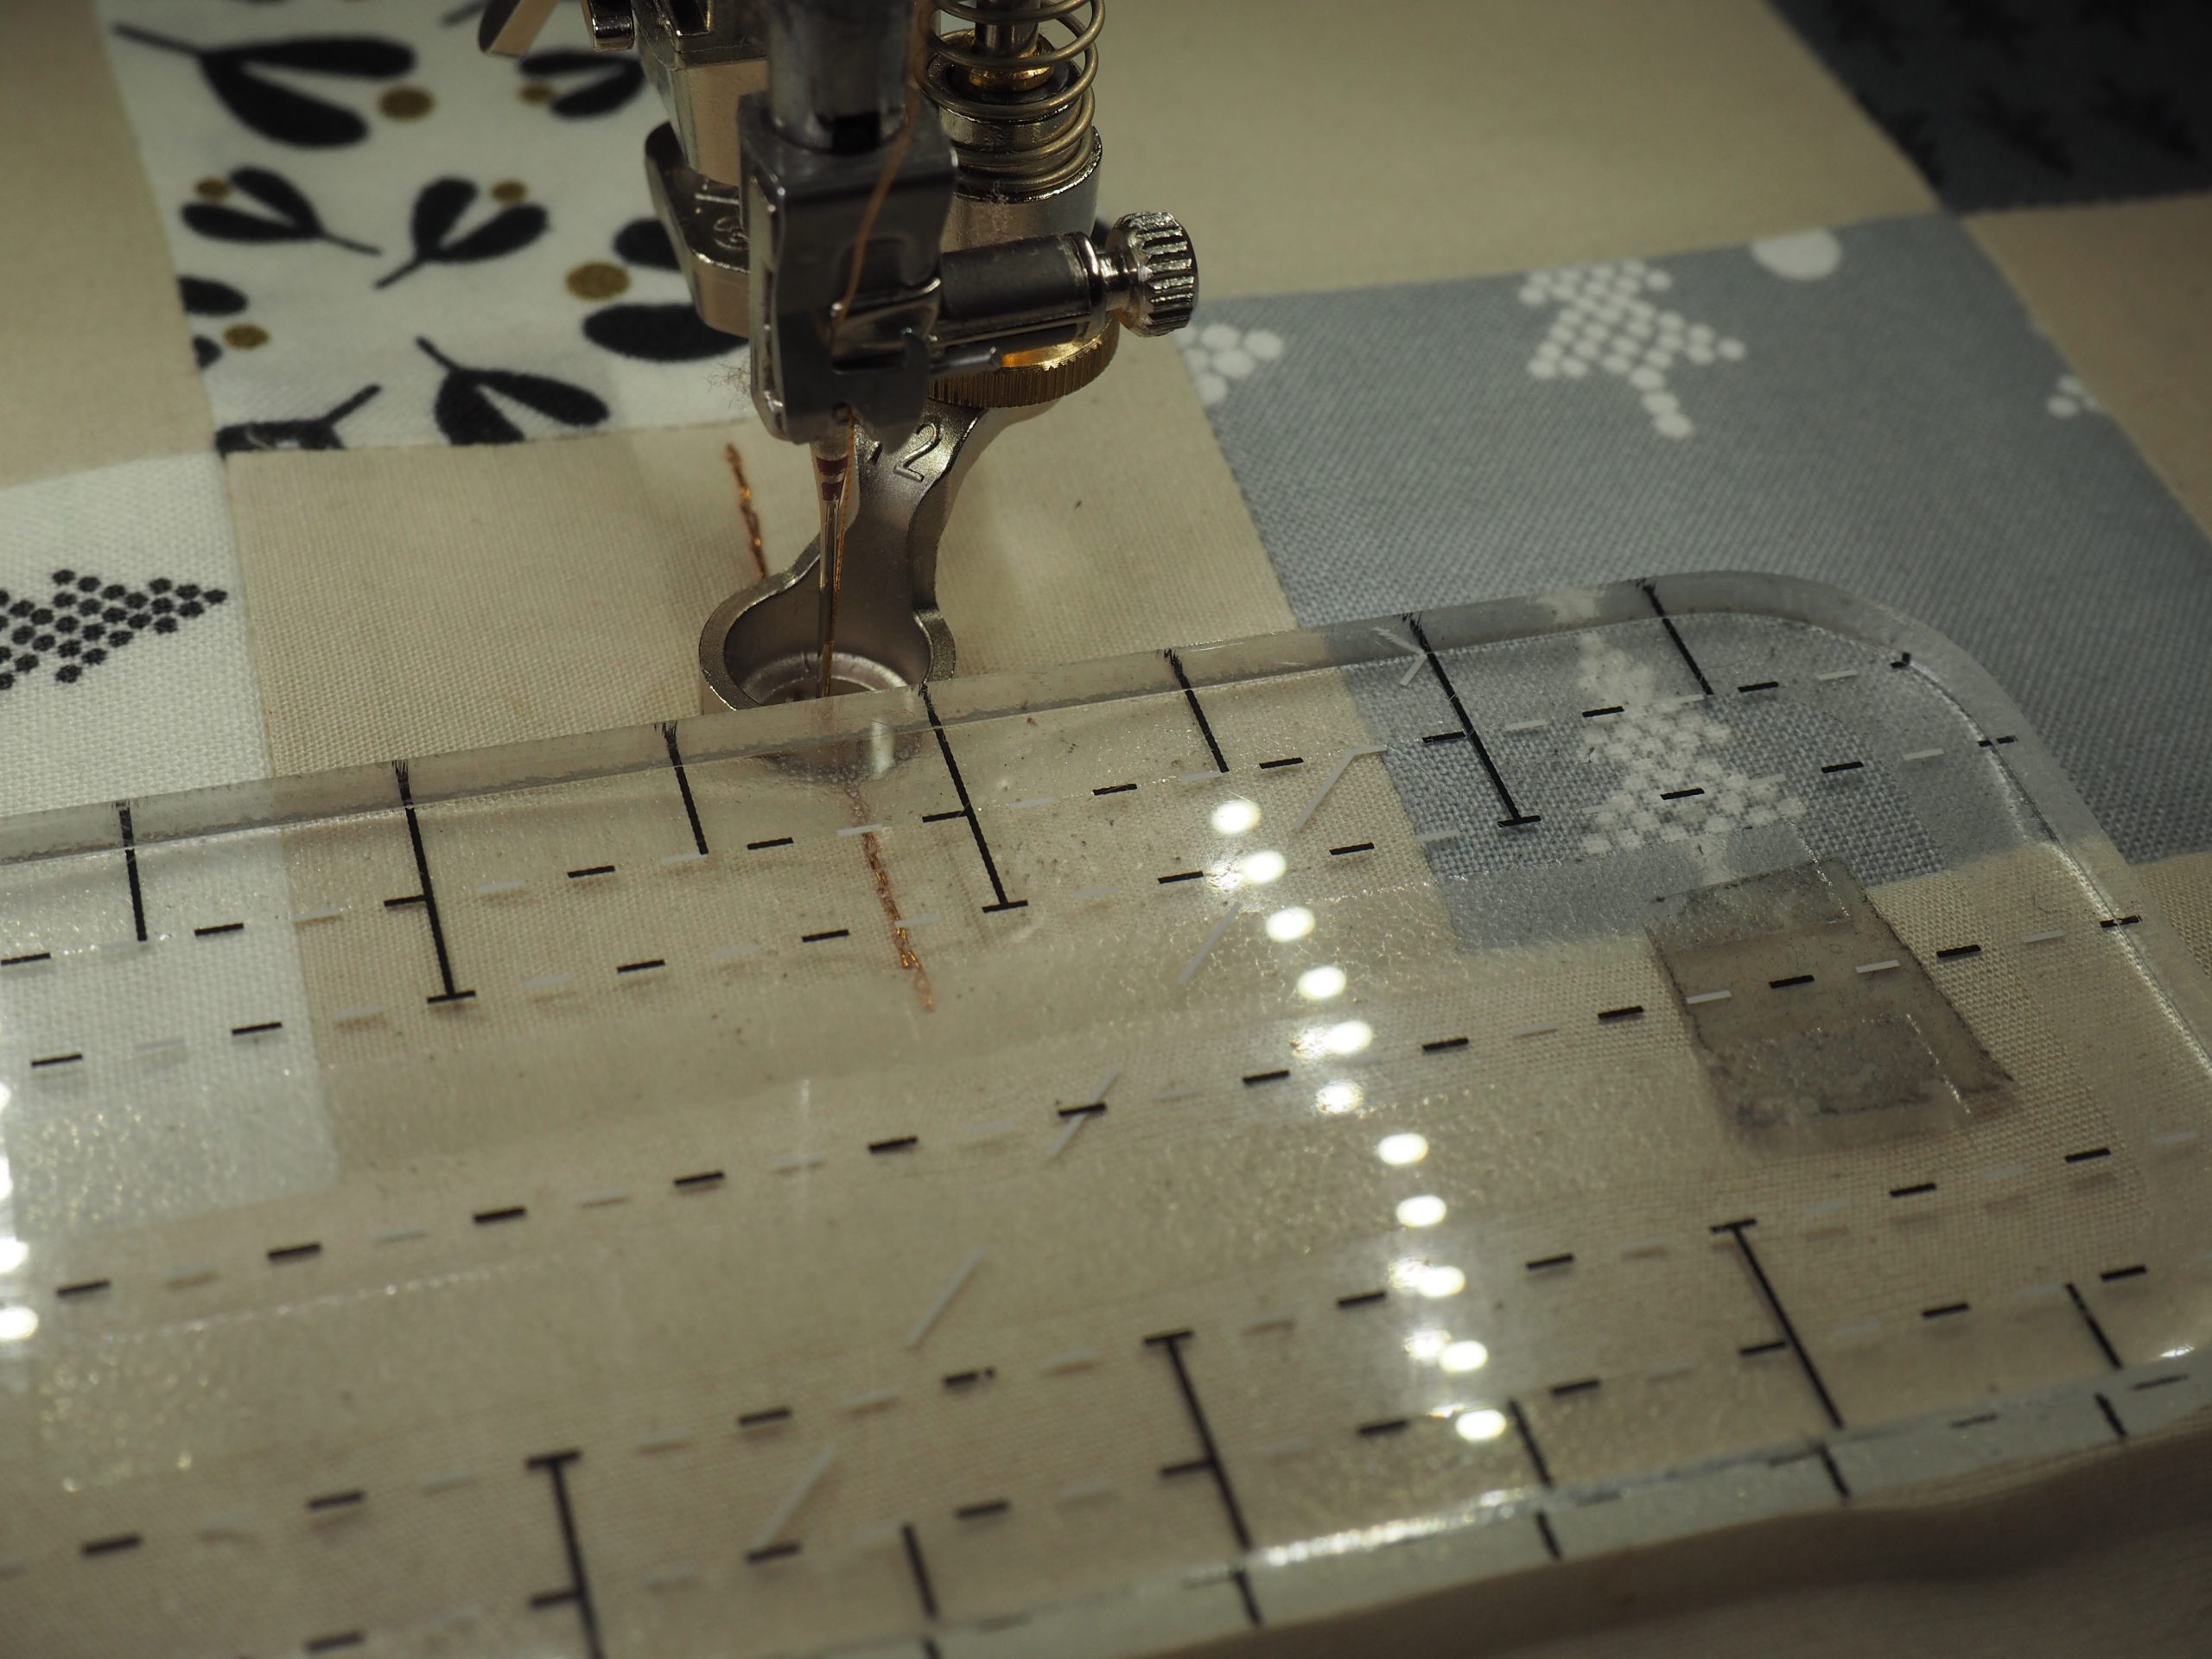
- Place the ruler vertically

- Quilt upwards – as far as you want or until the edge of the ruler foot reaches the seam.
- Quilt downwards past the center to the bottom seam, for example
- Quilt back to the center
- Cut off the starting threads

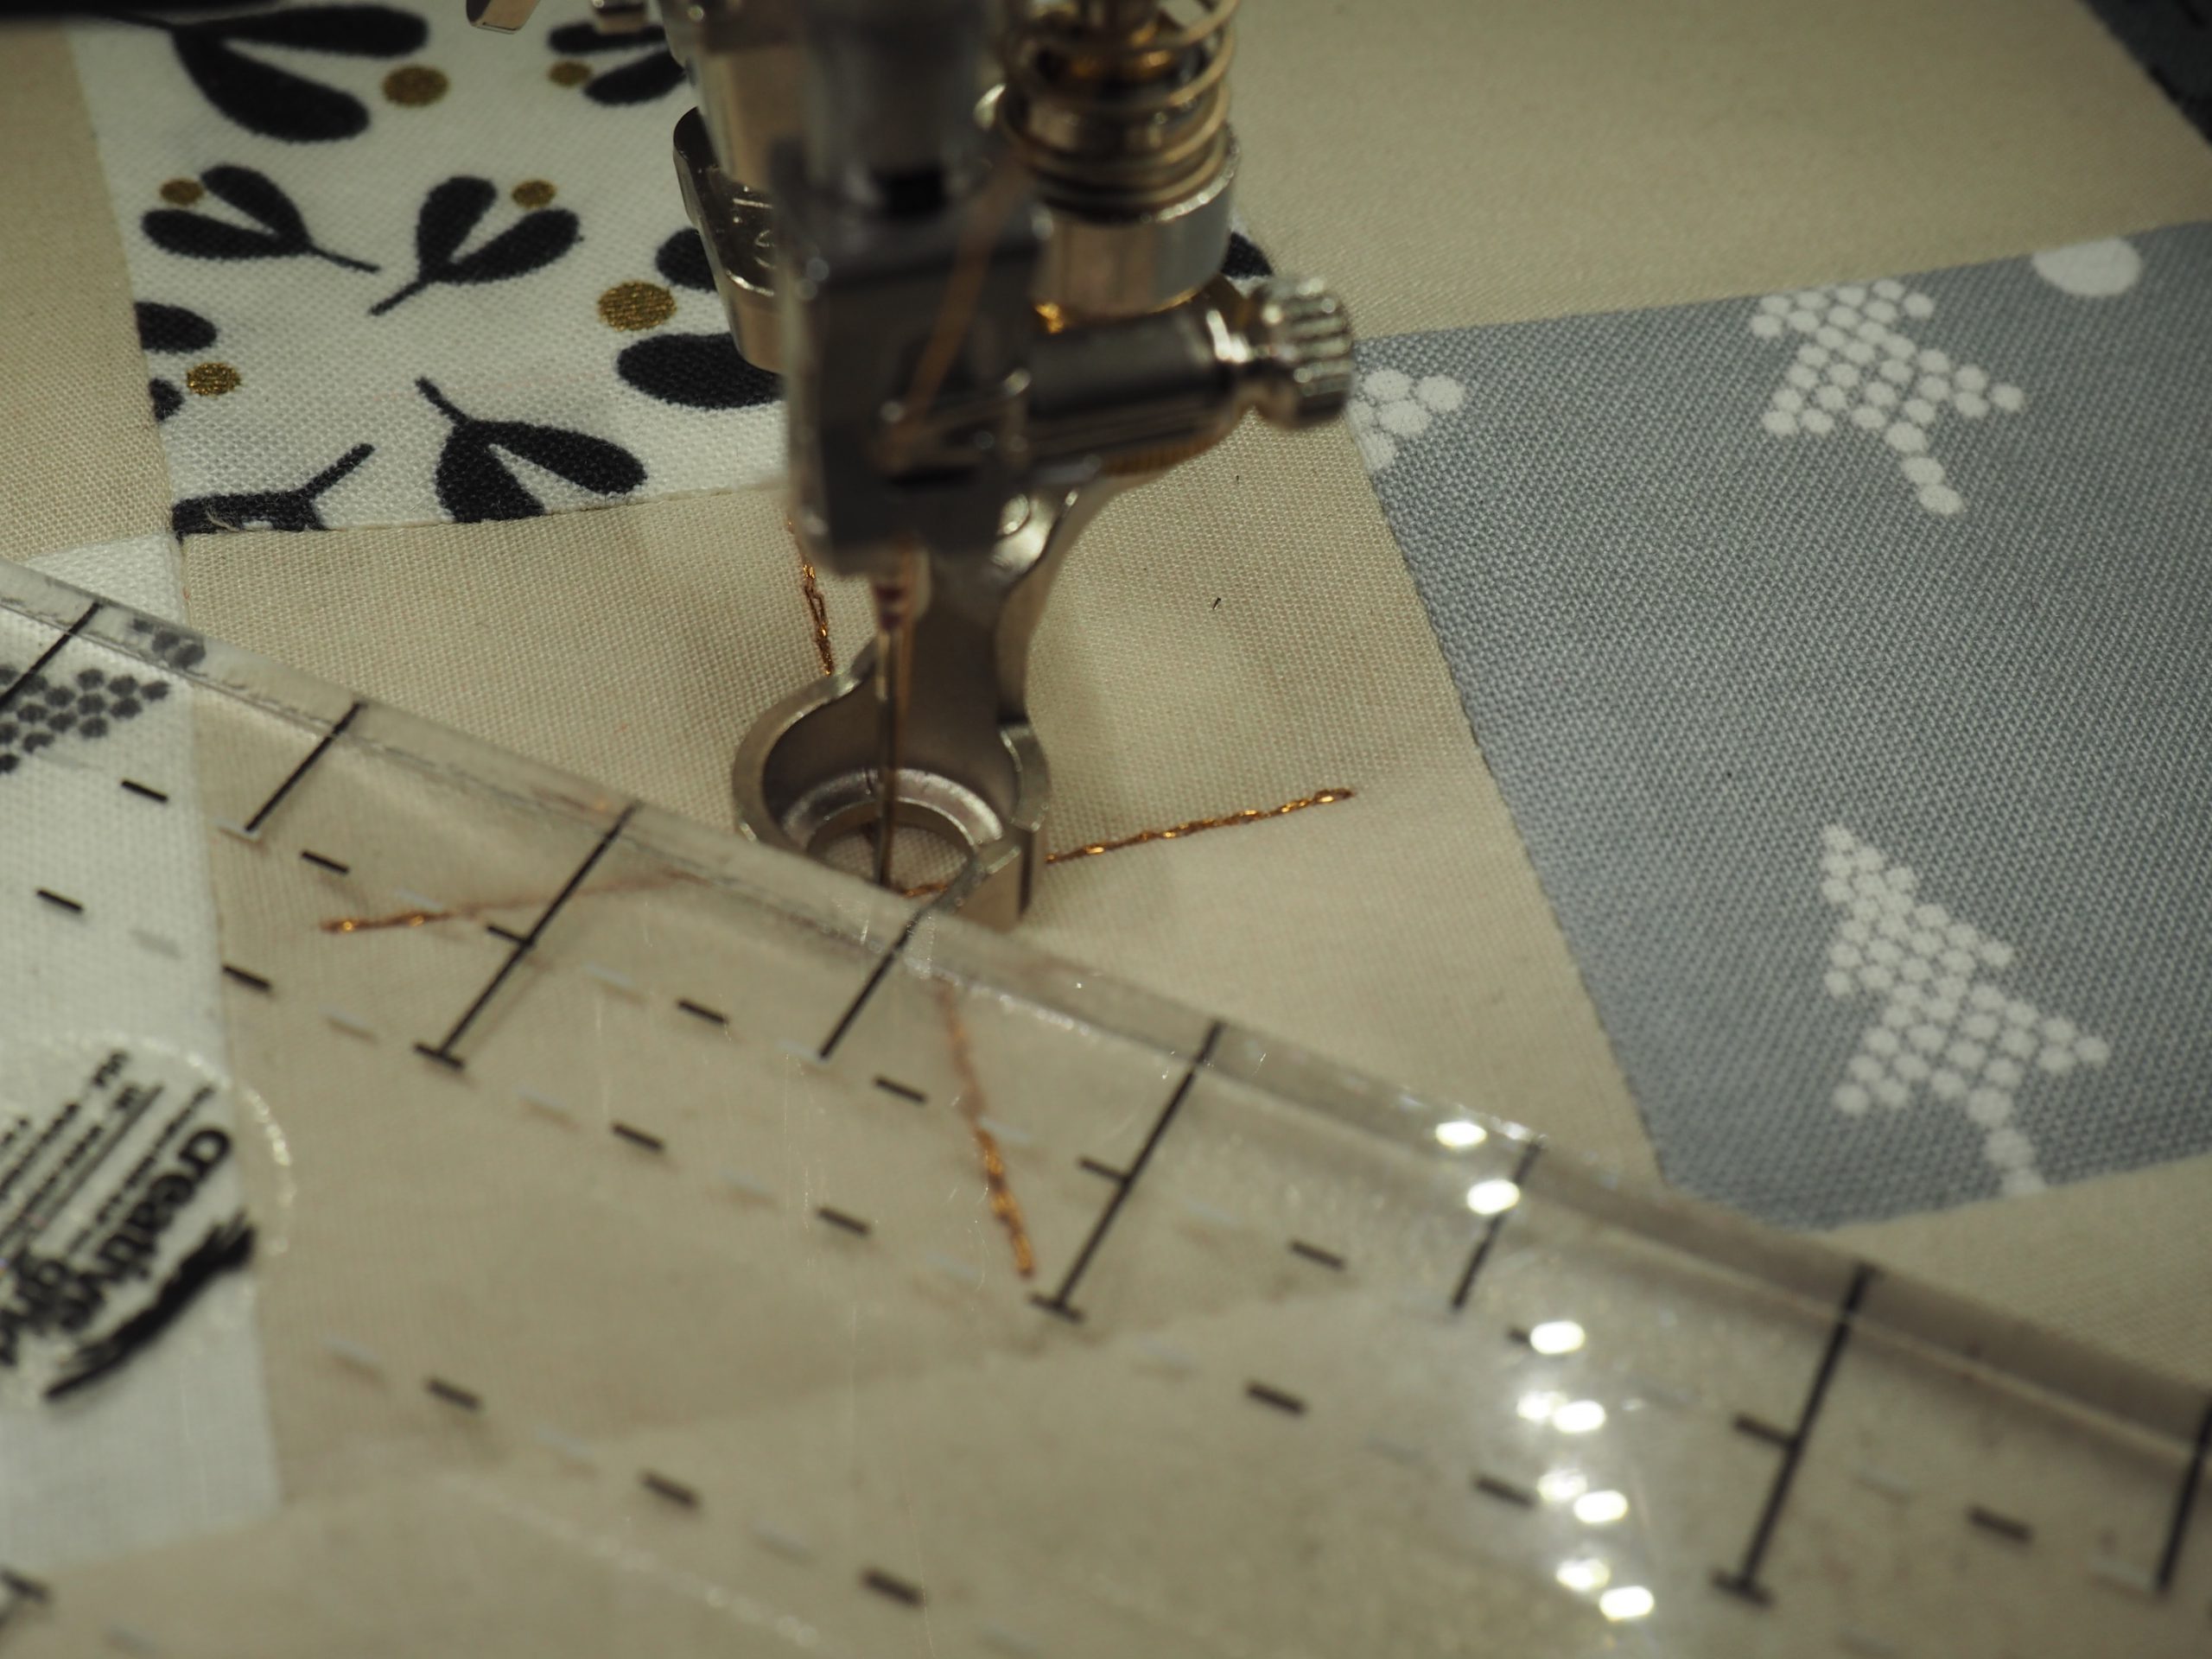
- Place the ruler horizontally
- Quilt to the left up to the seam
- Quilt back past the center and continue to the right
- Quilt back to the center again

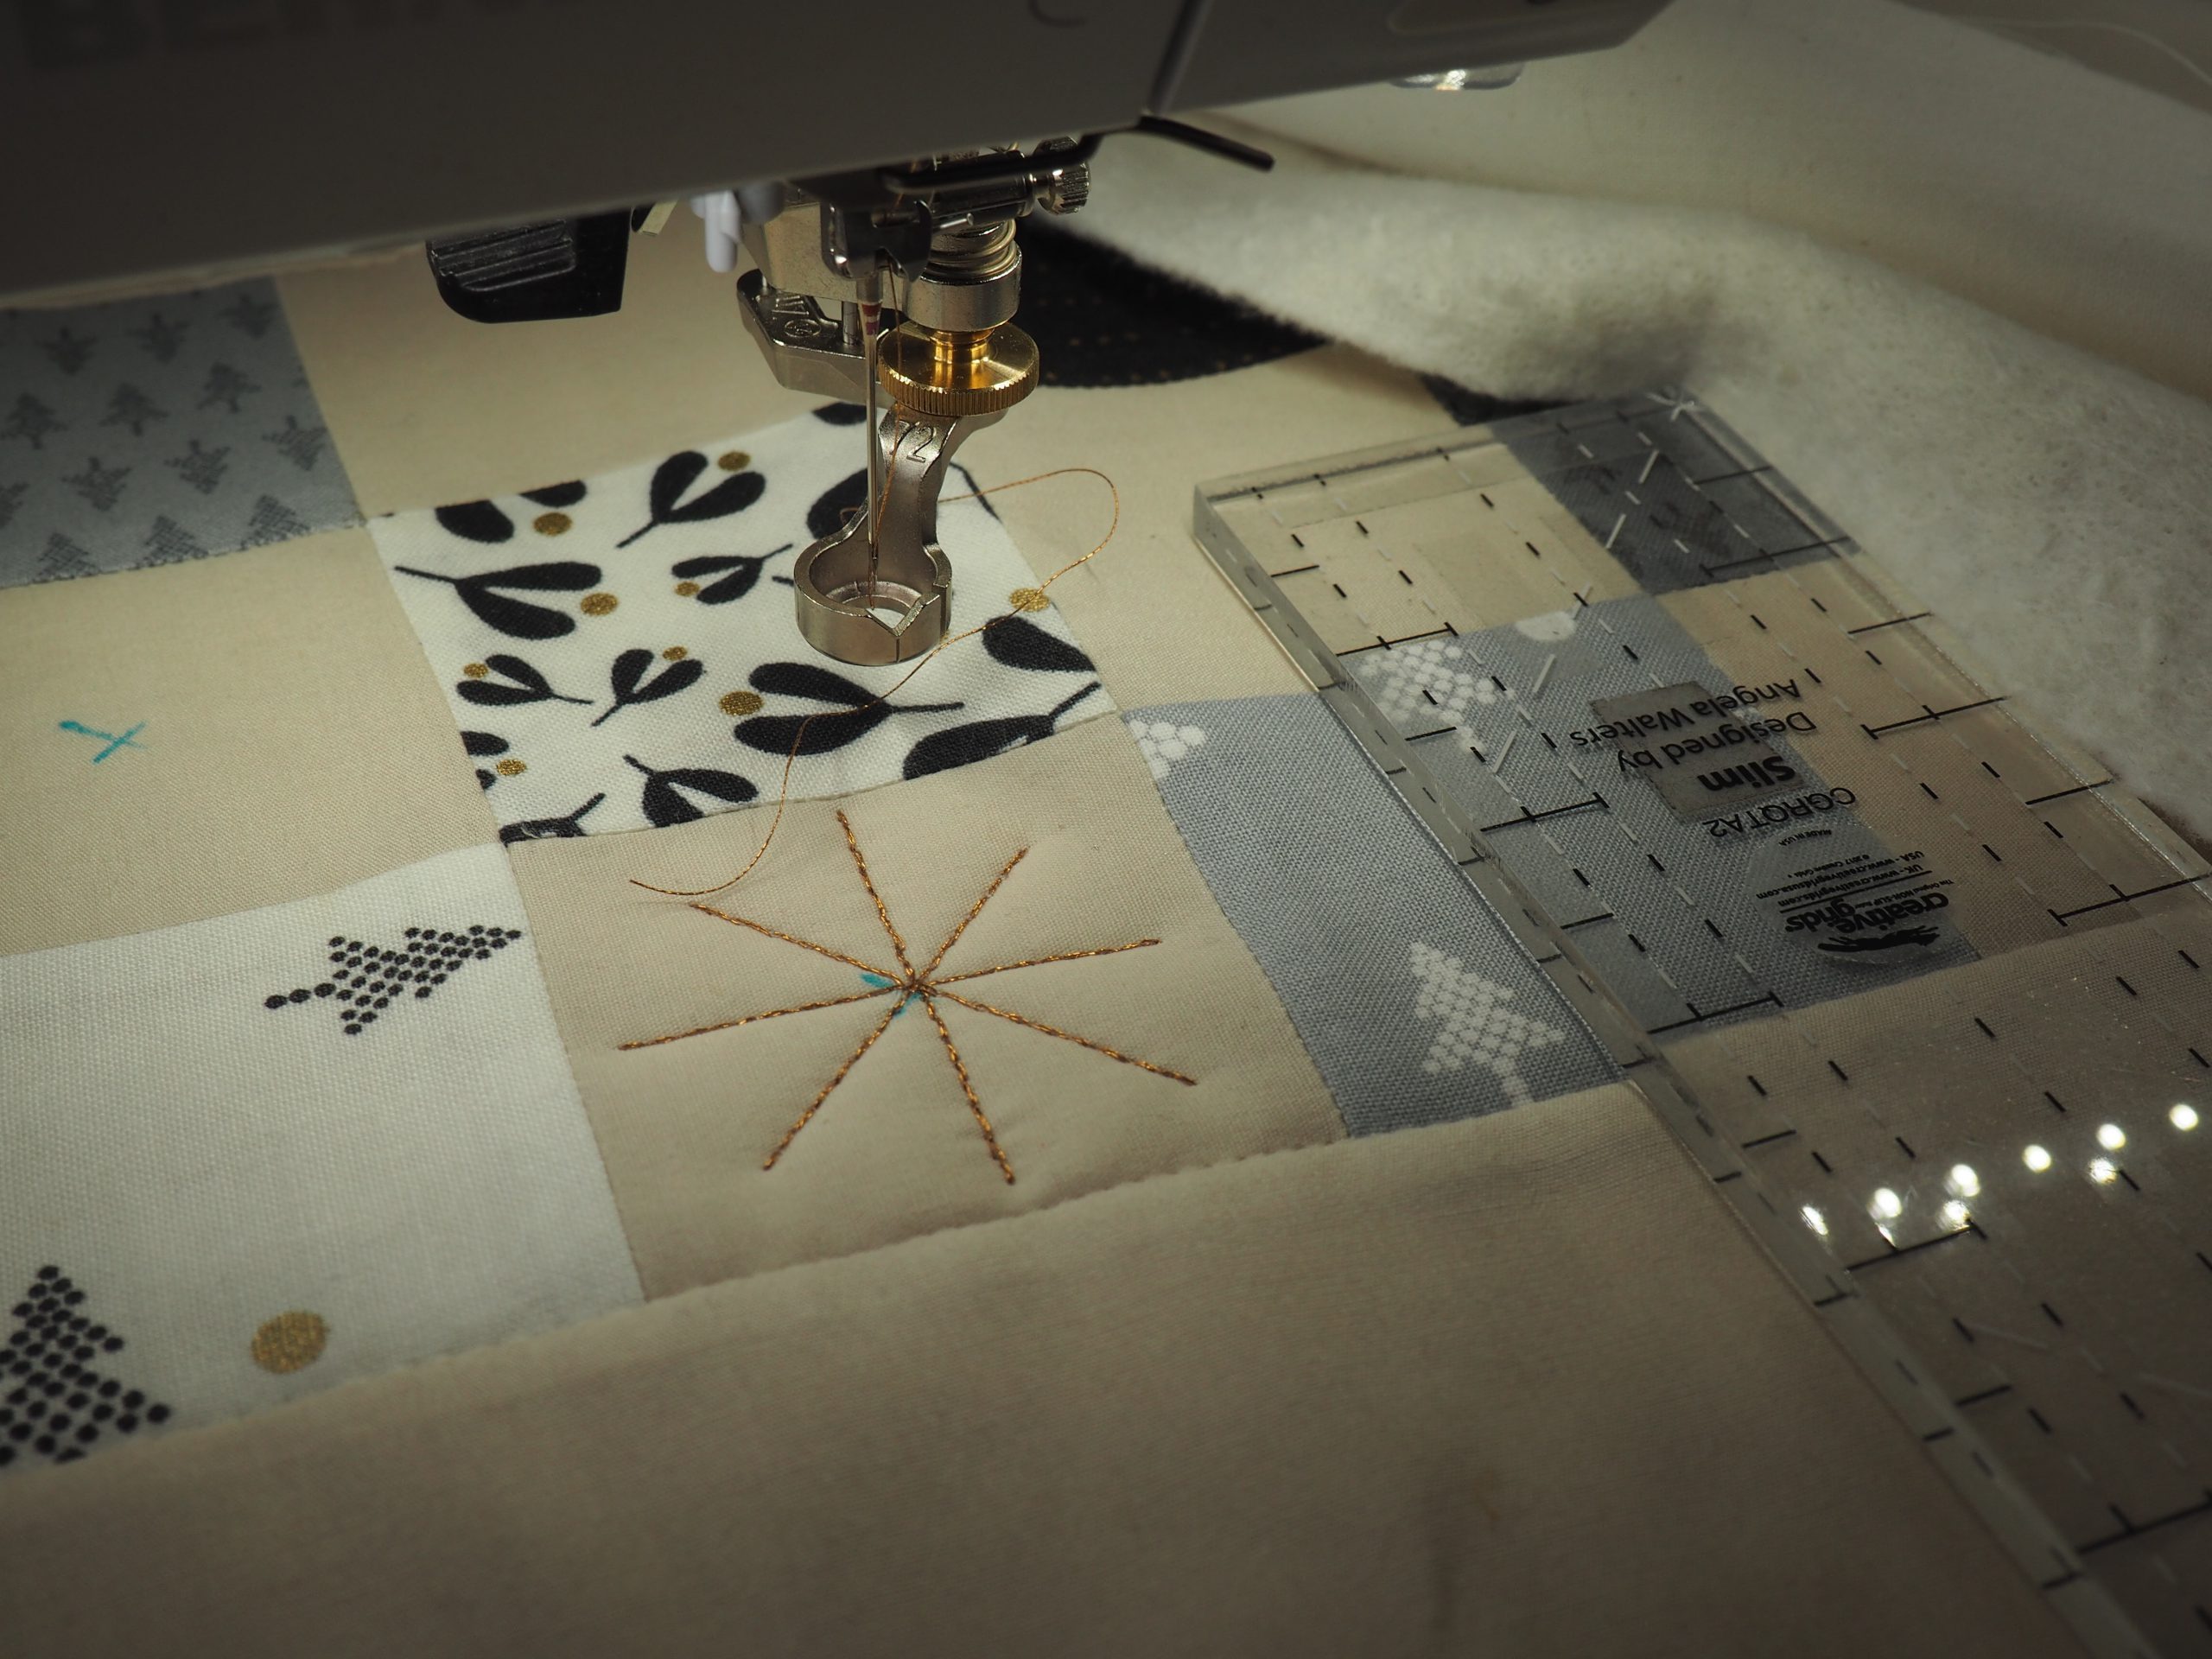
- Place the ruler at a 45-degree angle. The ruler should be 1/4″ from the corner of the square.
- Quilt up to the top left and then back through the center to the bottom right
- You can sew the diagonal line until the ruler foot touches the edge, but it also looks nice if this line is slightly shorter.
- Quilt back to the center
- Quilt the other diagonal line in the same way.
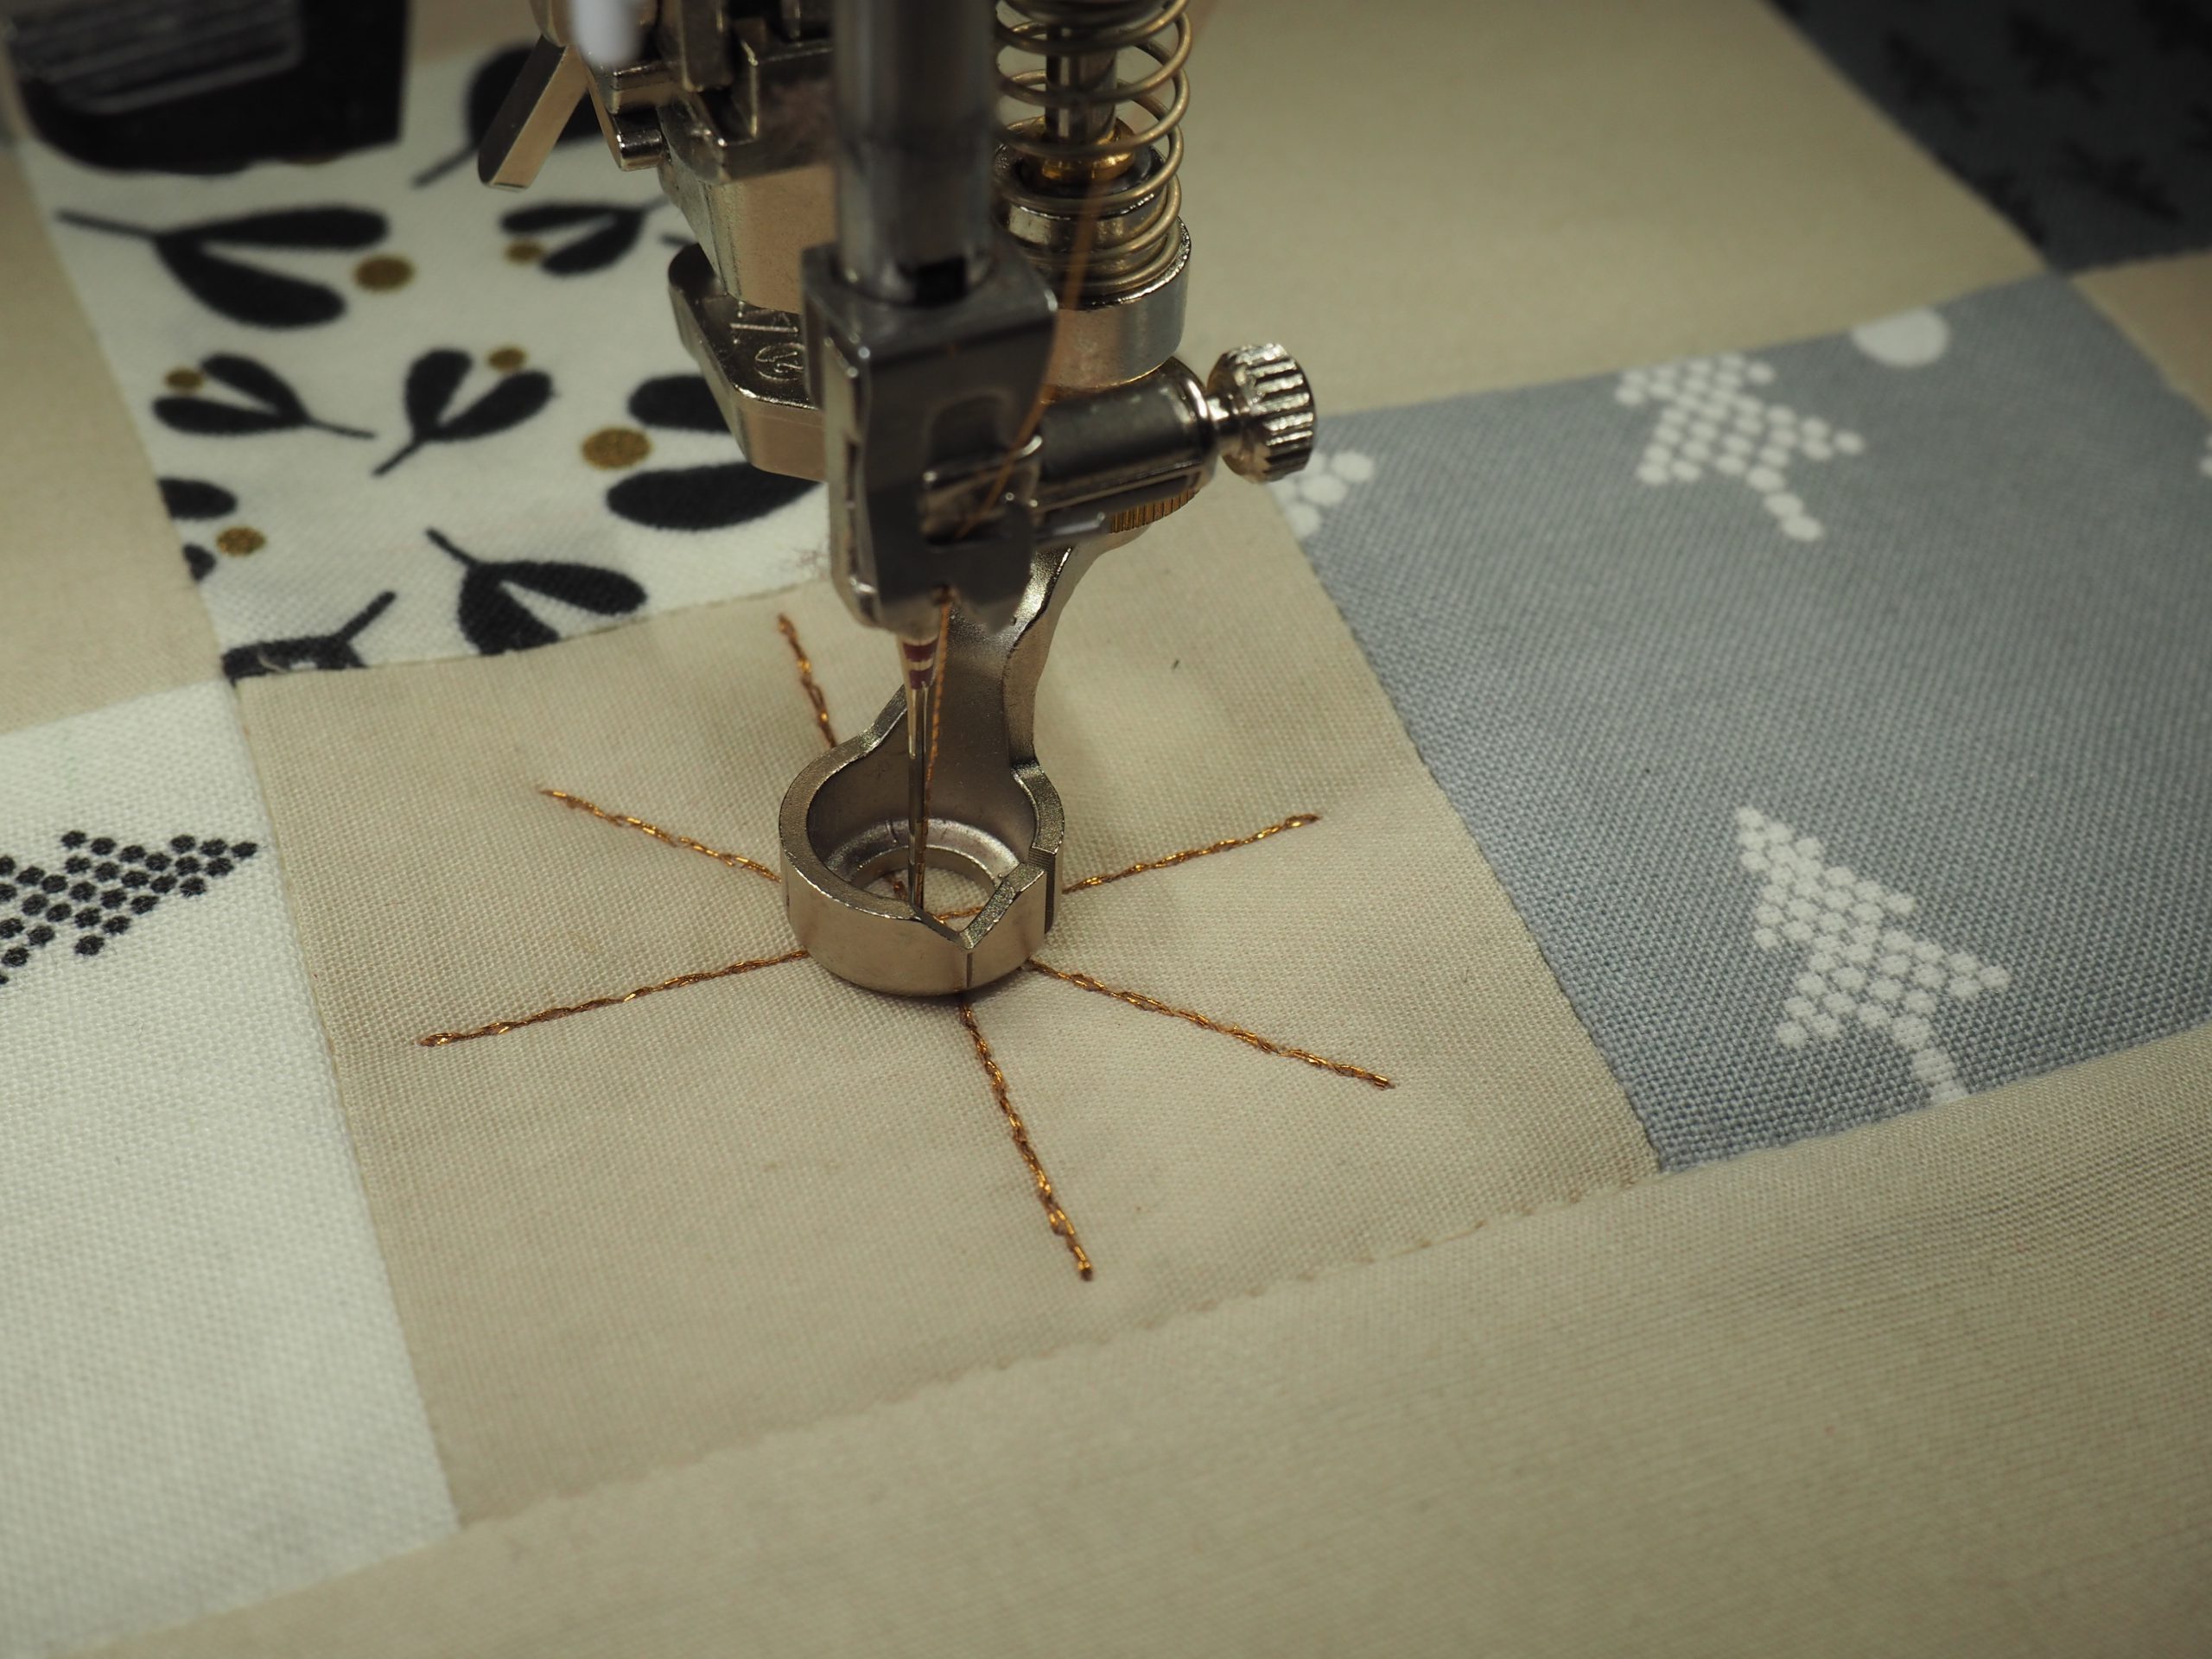
- Finally, sew a few more stitches on the spot to secure the thread
- Cut off the upper and lower thread
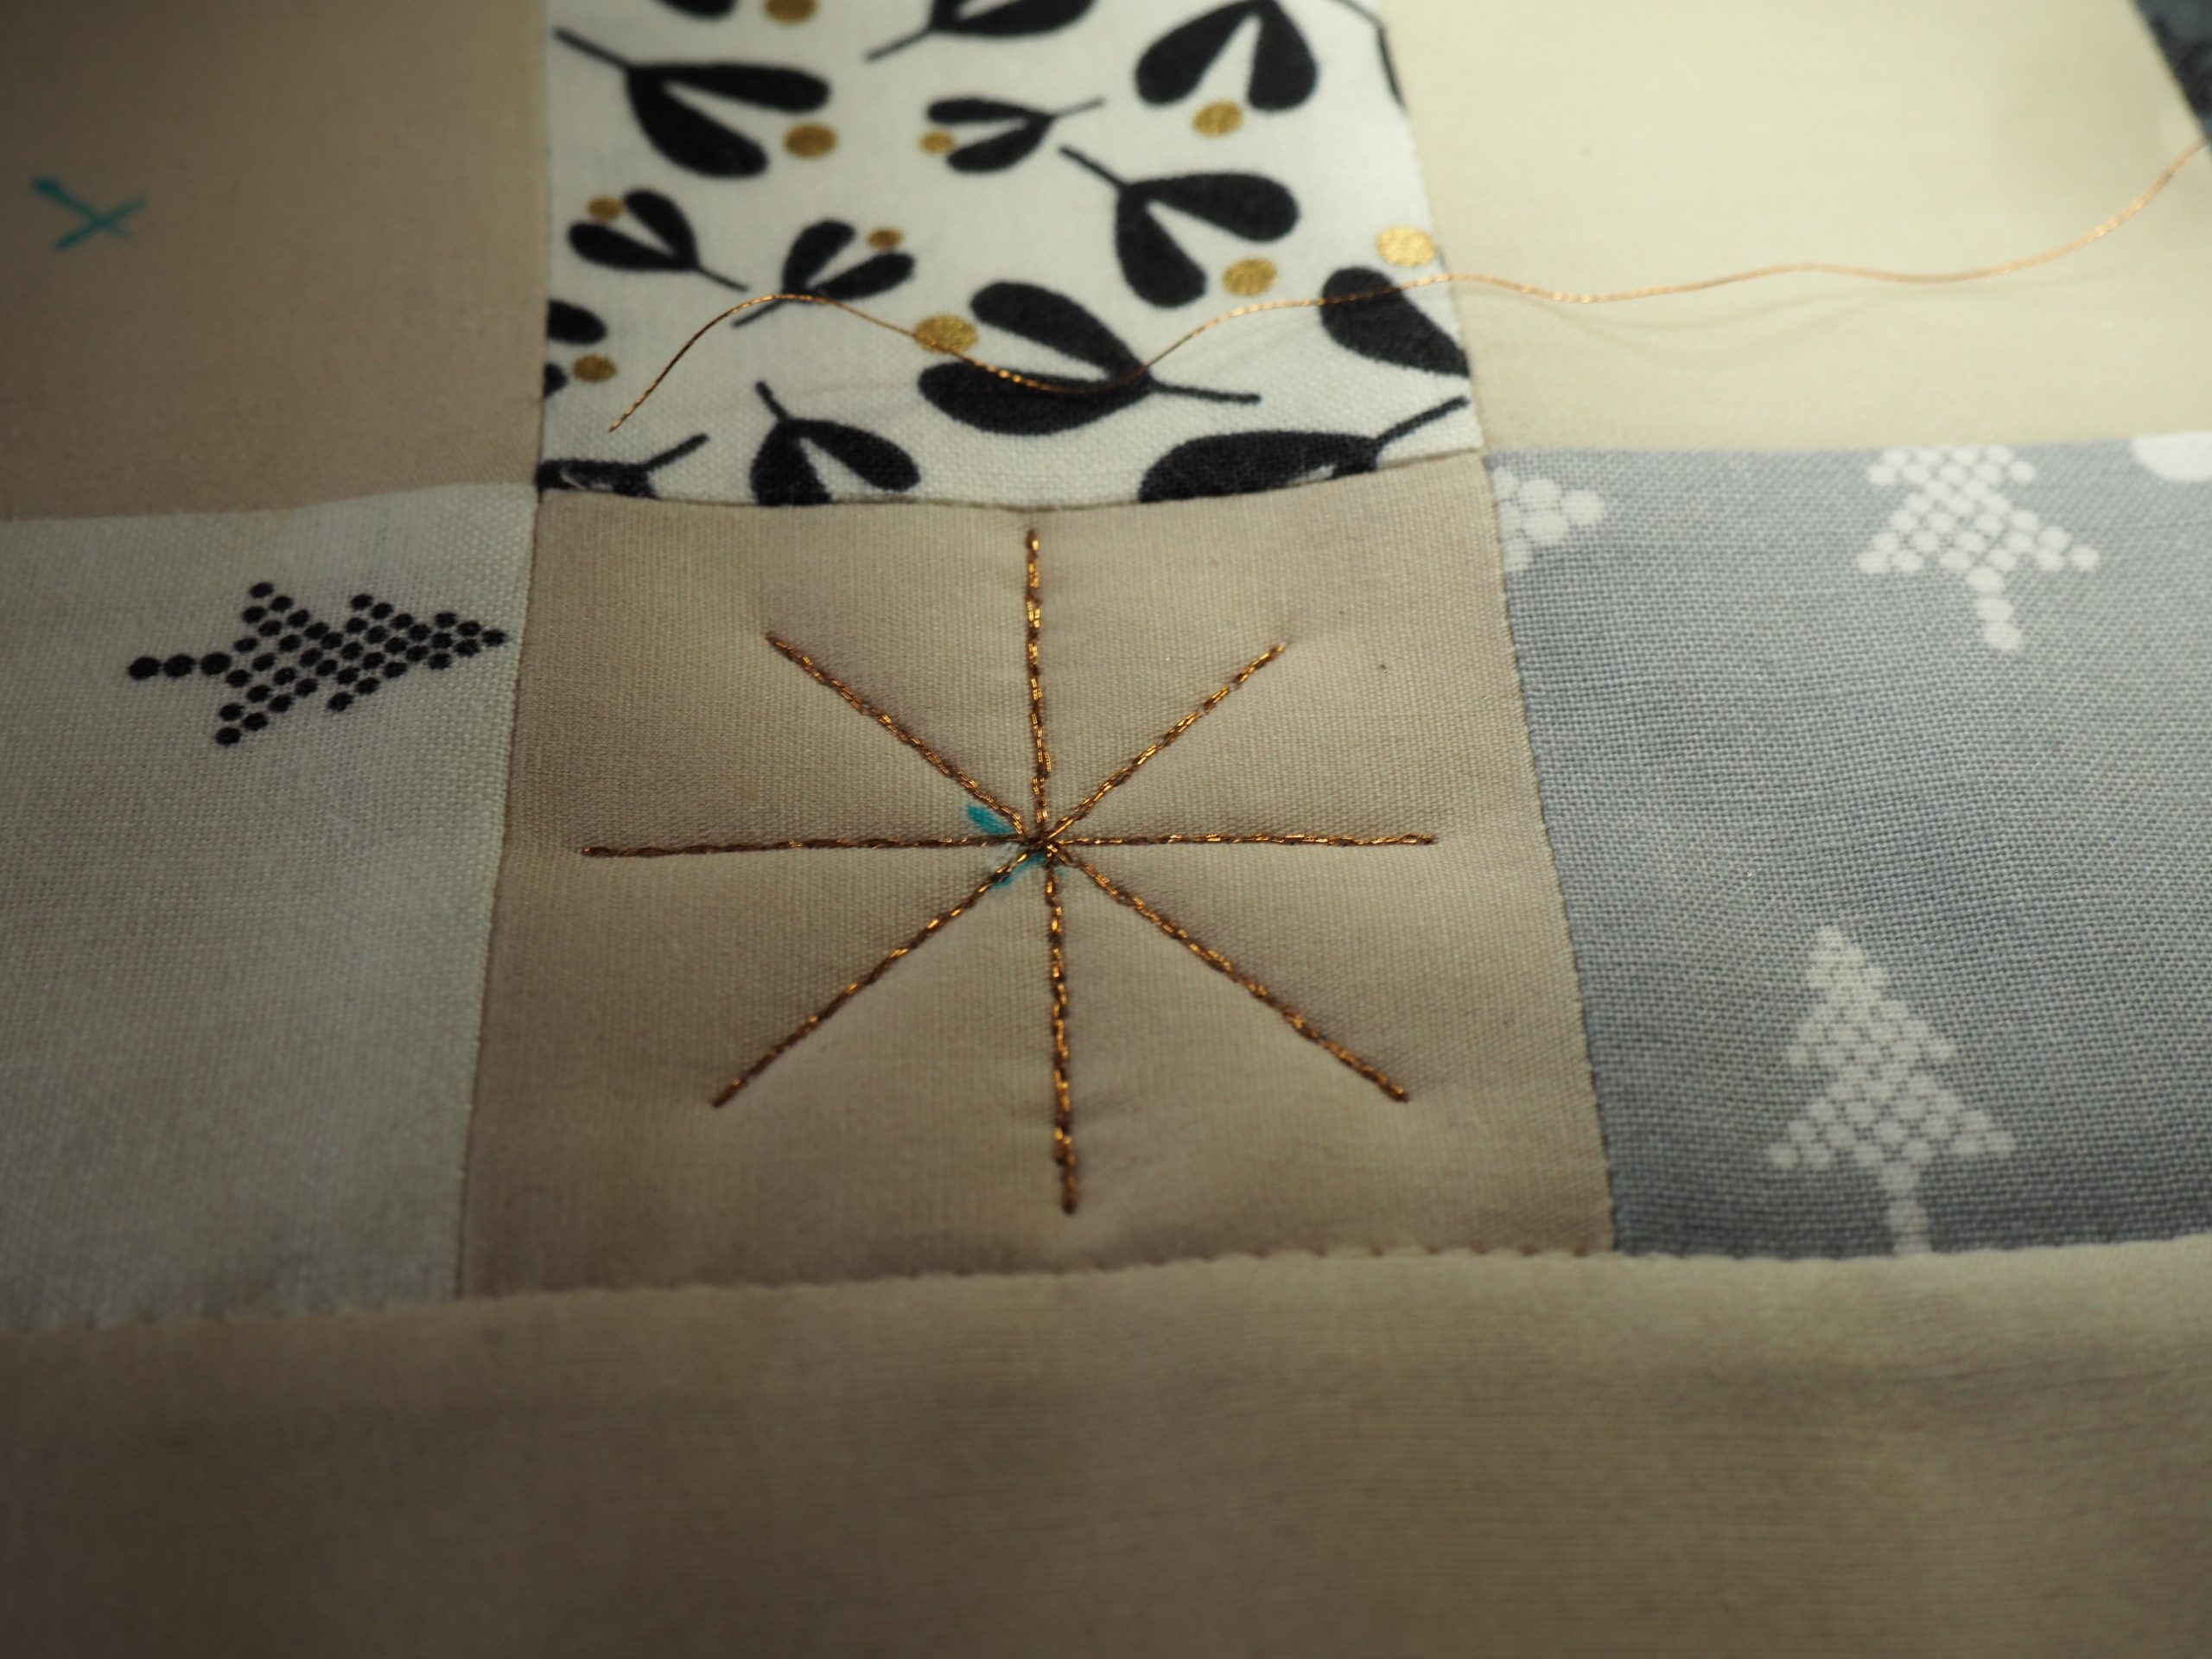
And your small quilted star is finished!
Finishing off the sparkling table runner
Of course, you can add more quilting to your table runner. I imagine it would also look lovely with a few quilted stars scattered on the border.
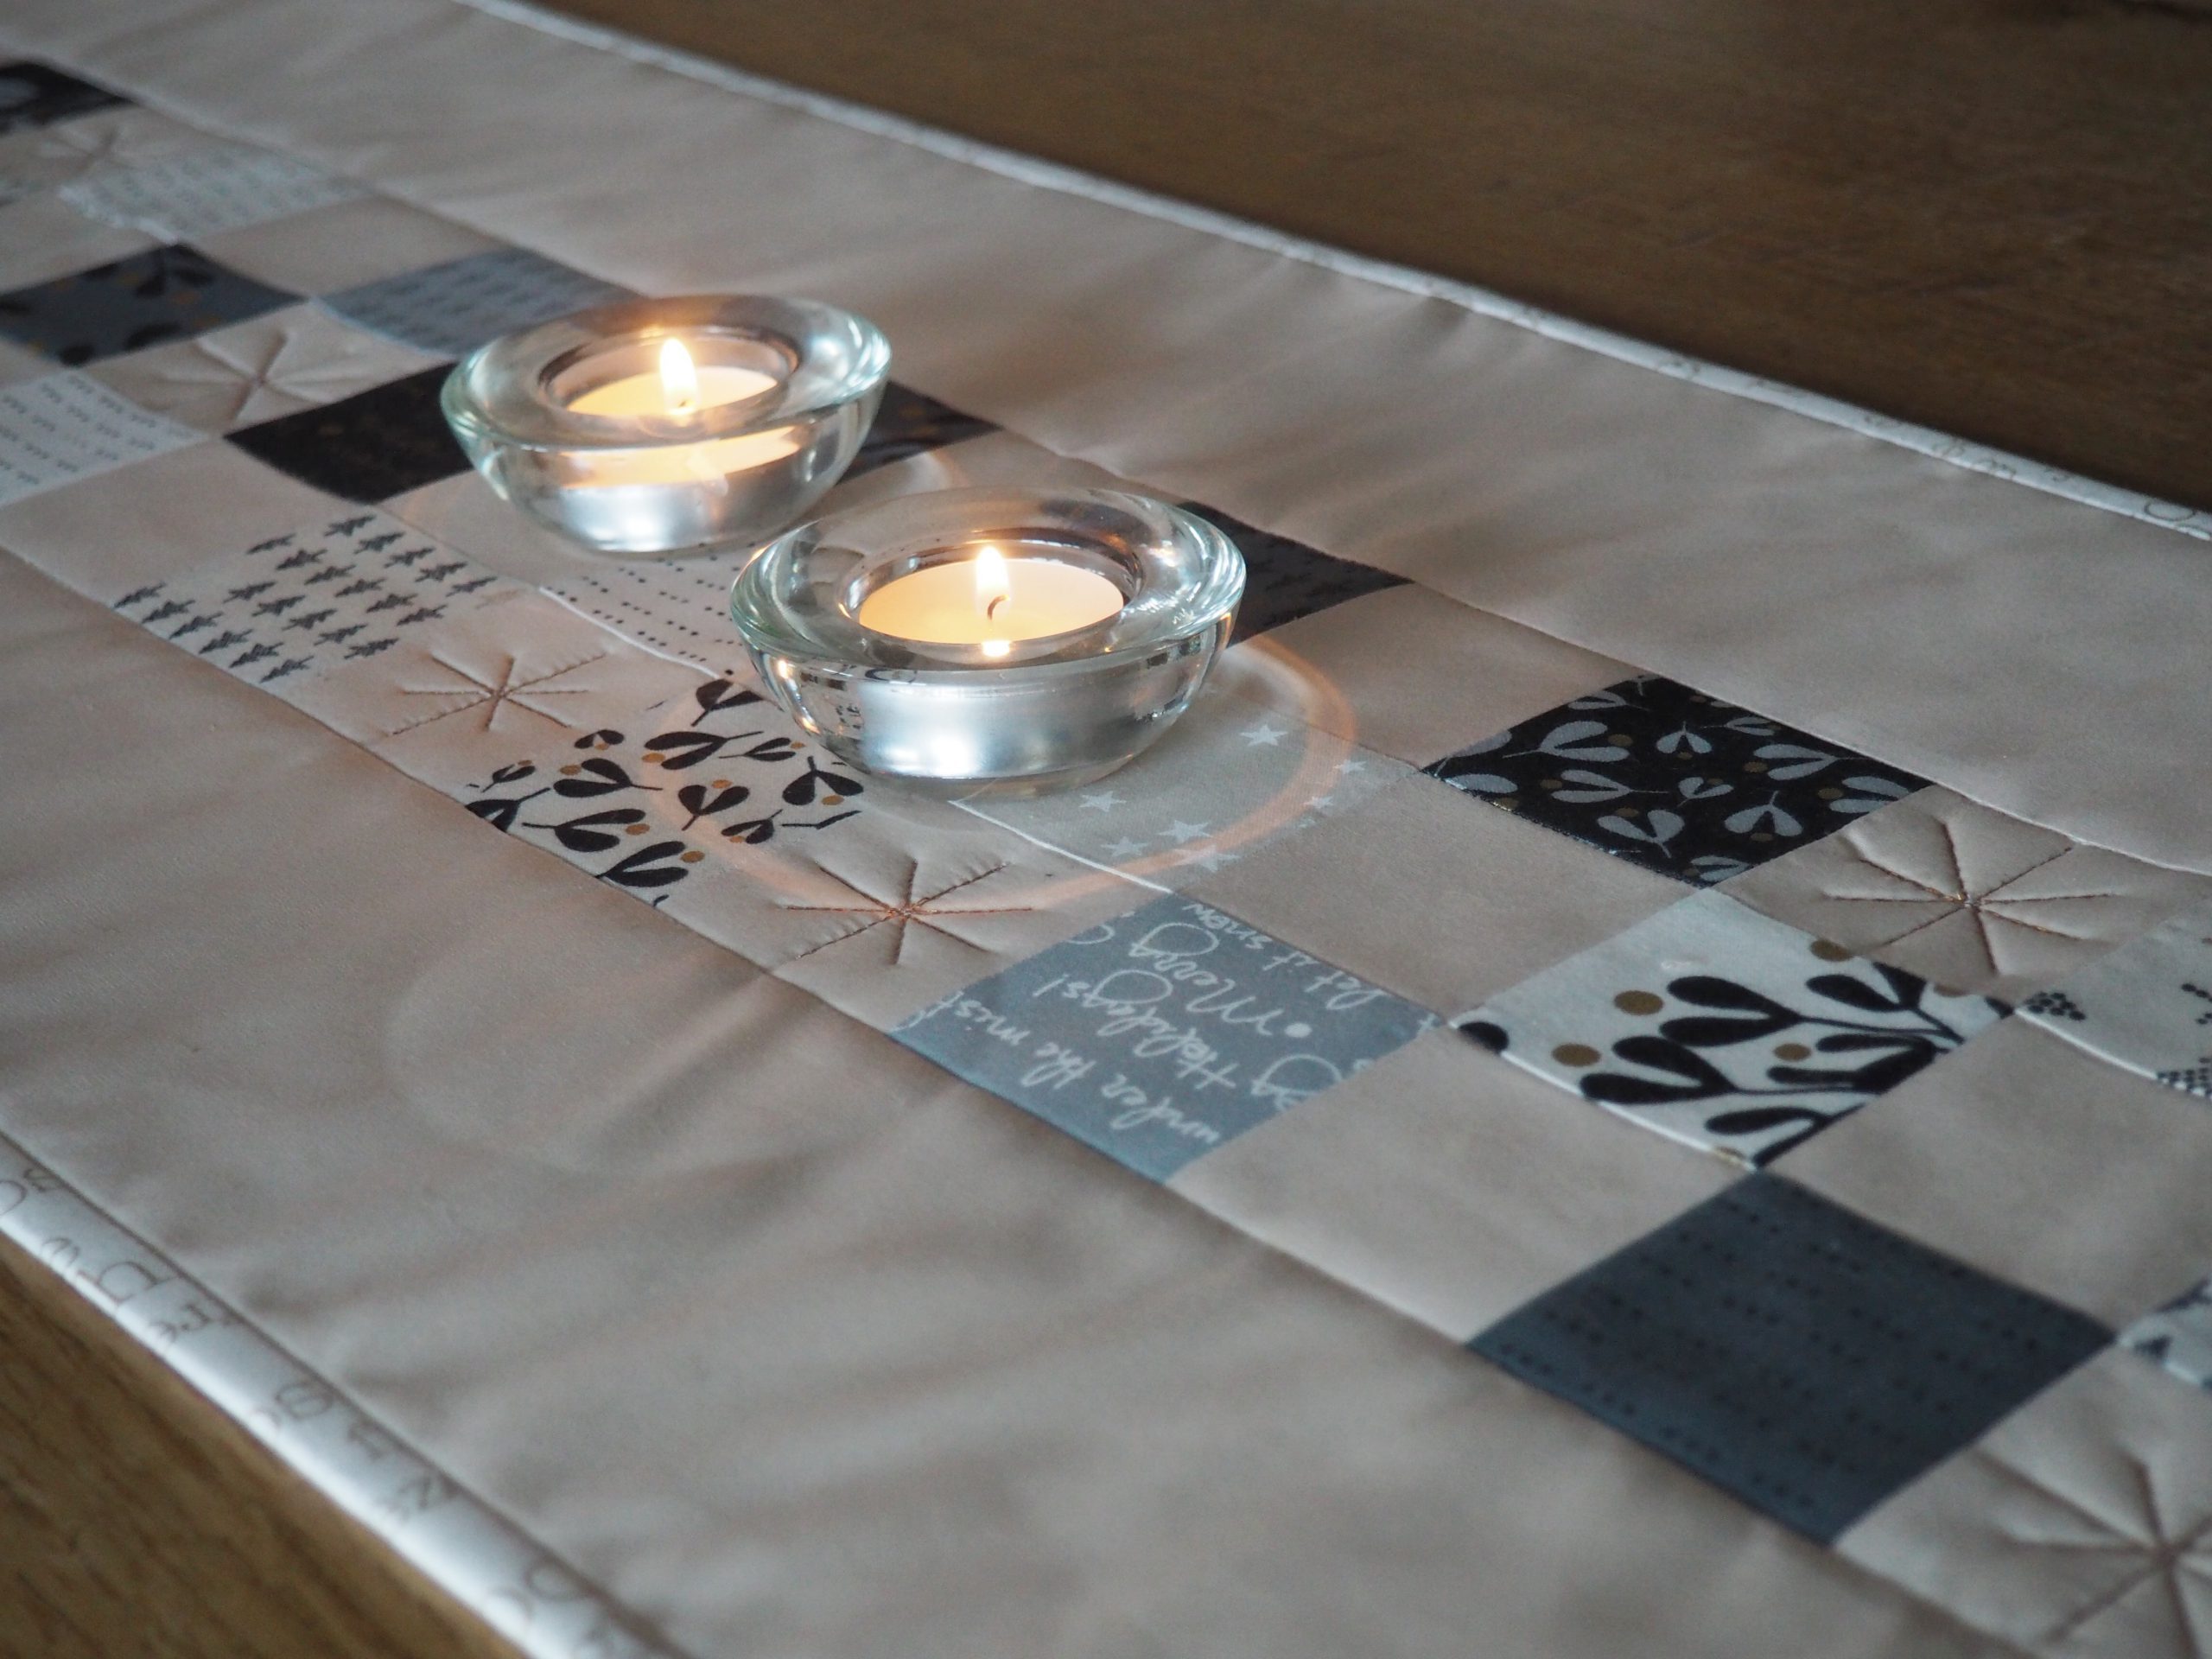
Use a brush and water to remove the markings, trim your table runner to the same size as the top and add a shiny binding. Iron well, and your sparkling table runner is now ready to decorate your festive Christmas table!
I hope you enjoy sewing your own table runner!
Best wishes
Ines


0 Responses