 BERNINA Corporate Blog -
Instructions: Sewing XL statement collar with added sparkle

Statement collars are everywhere right now. They can be made of lace, patterned woven cotton fabric, denim and many other materials.

I know opinions differ about this fashion accessory… but I really like these collars because you can use them to dress up simple t-shirts, sweaters or knitwear.
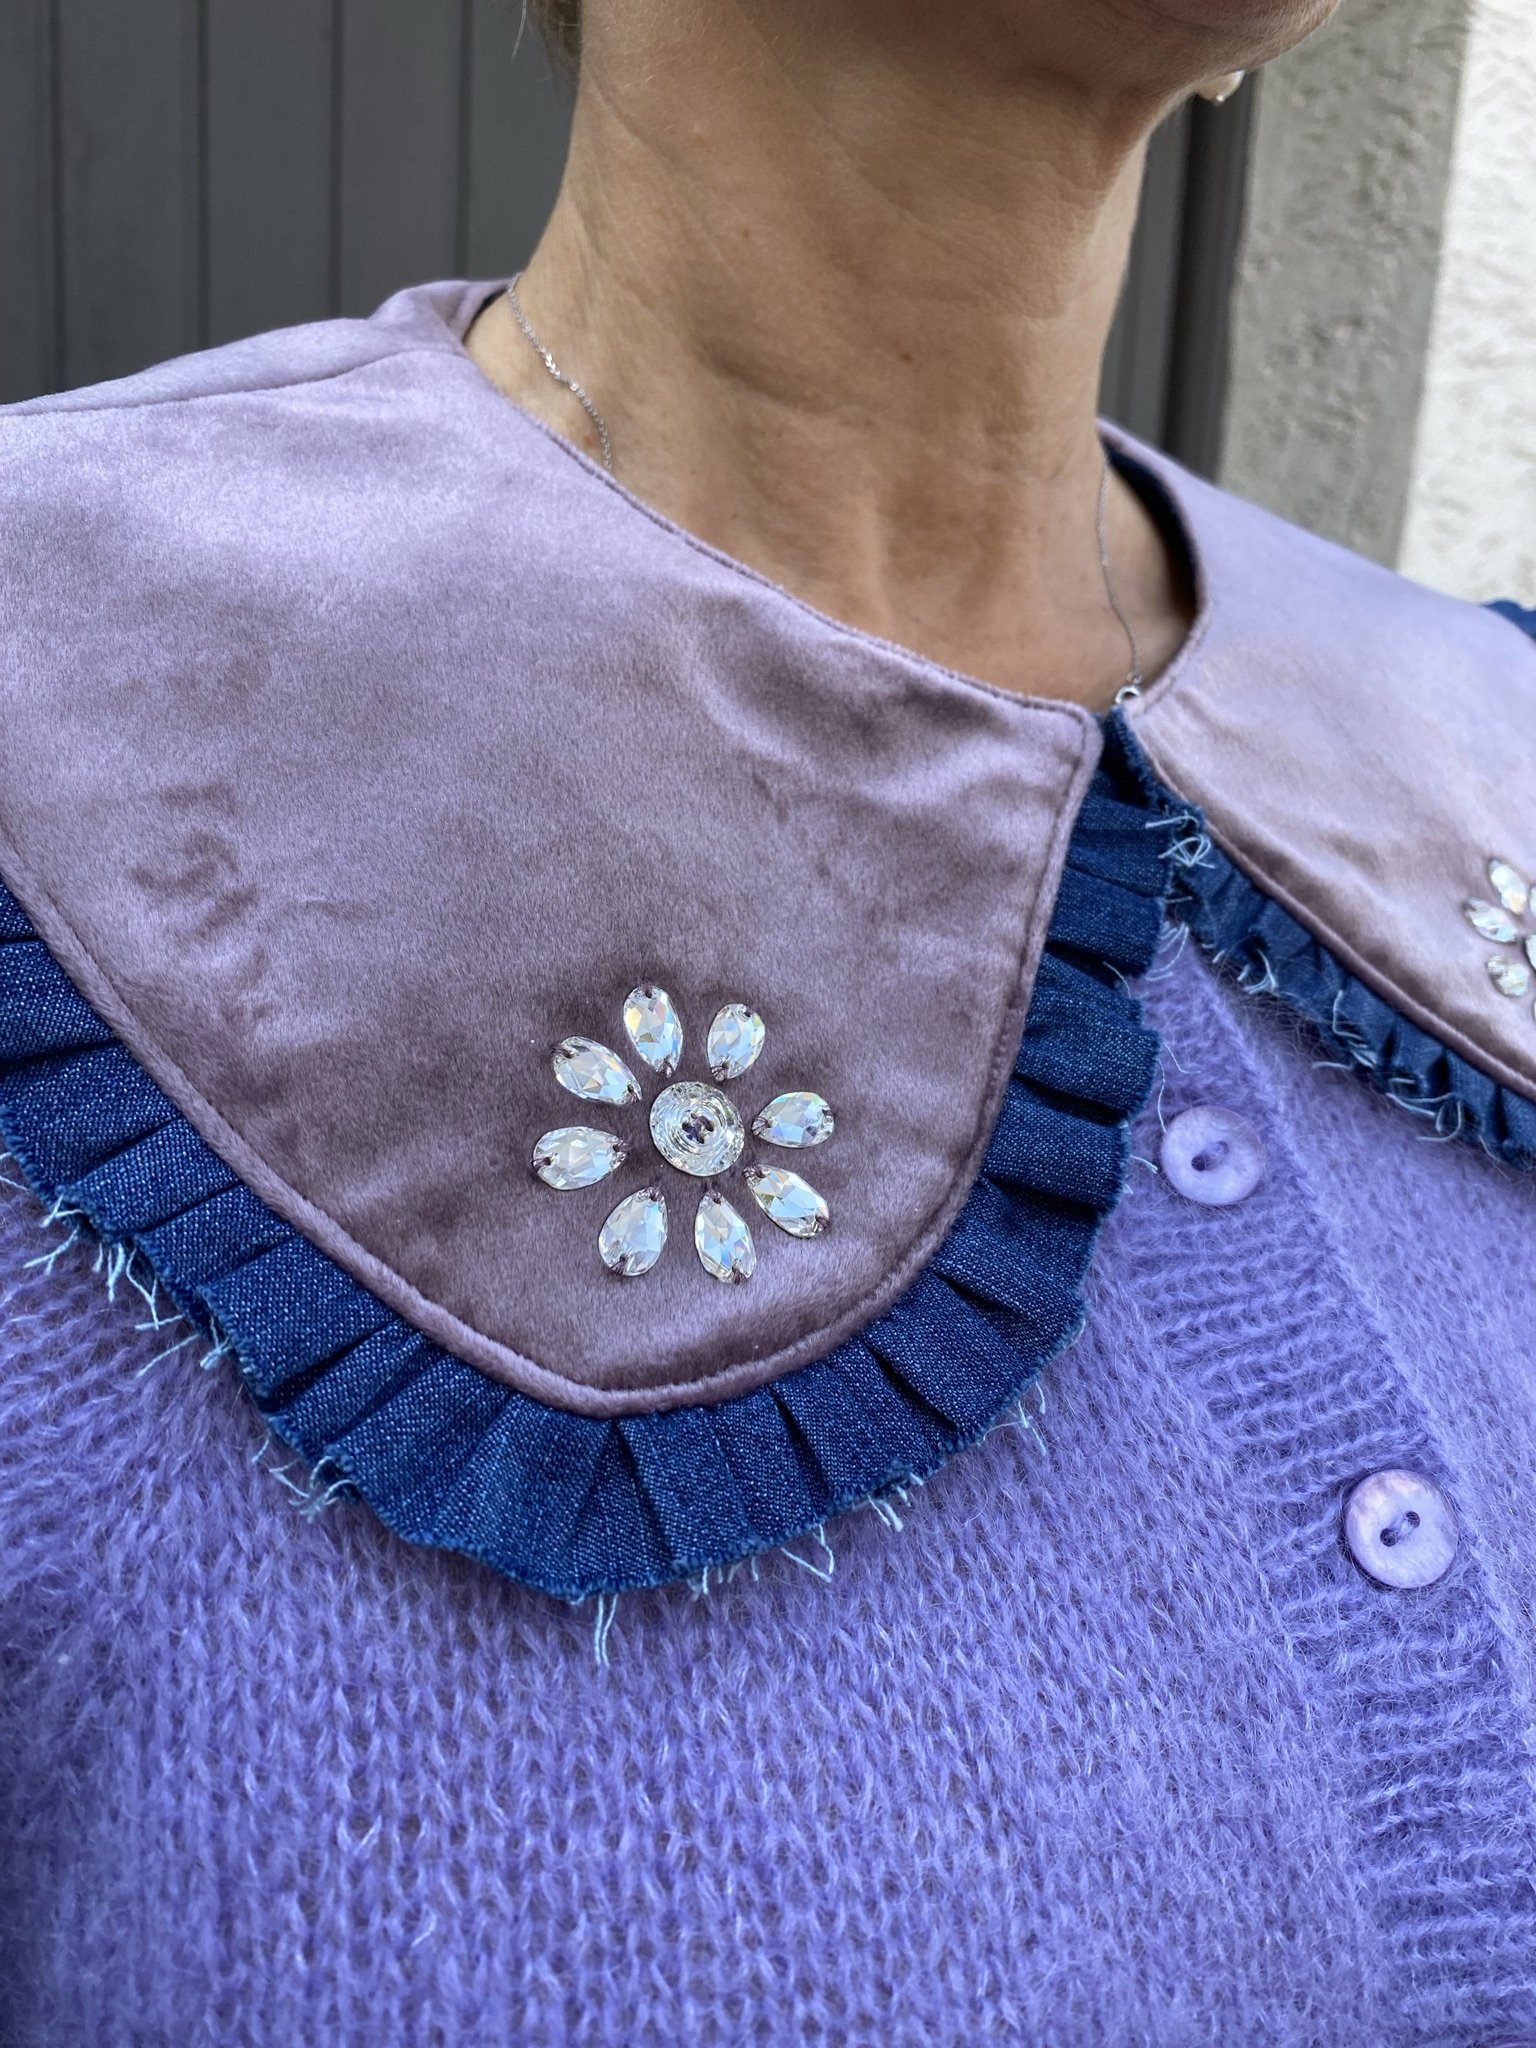
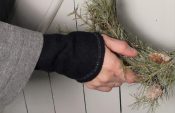
For the type of occasion where there would normally be lots of bling, I sewed a velvet collar decorated with crystals. To keep it from looking too chic, I used denim for the back and finished the ruffle with a raw edge. The frayed effect forms a cool contrast to the elegant velvet and the glittering crystals.

Here, I will show you how to sew a festive statement collar like this yourself.
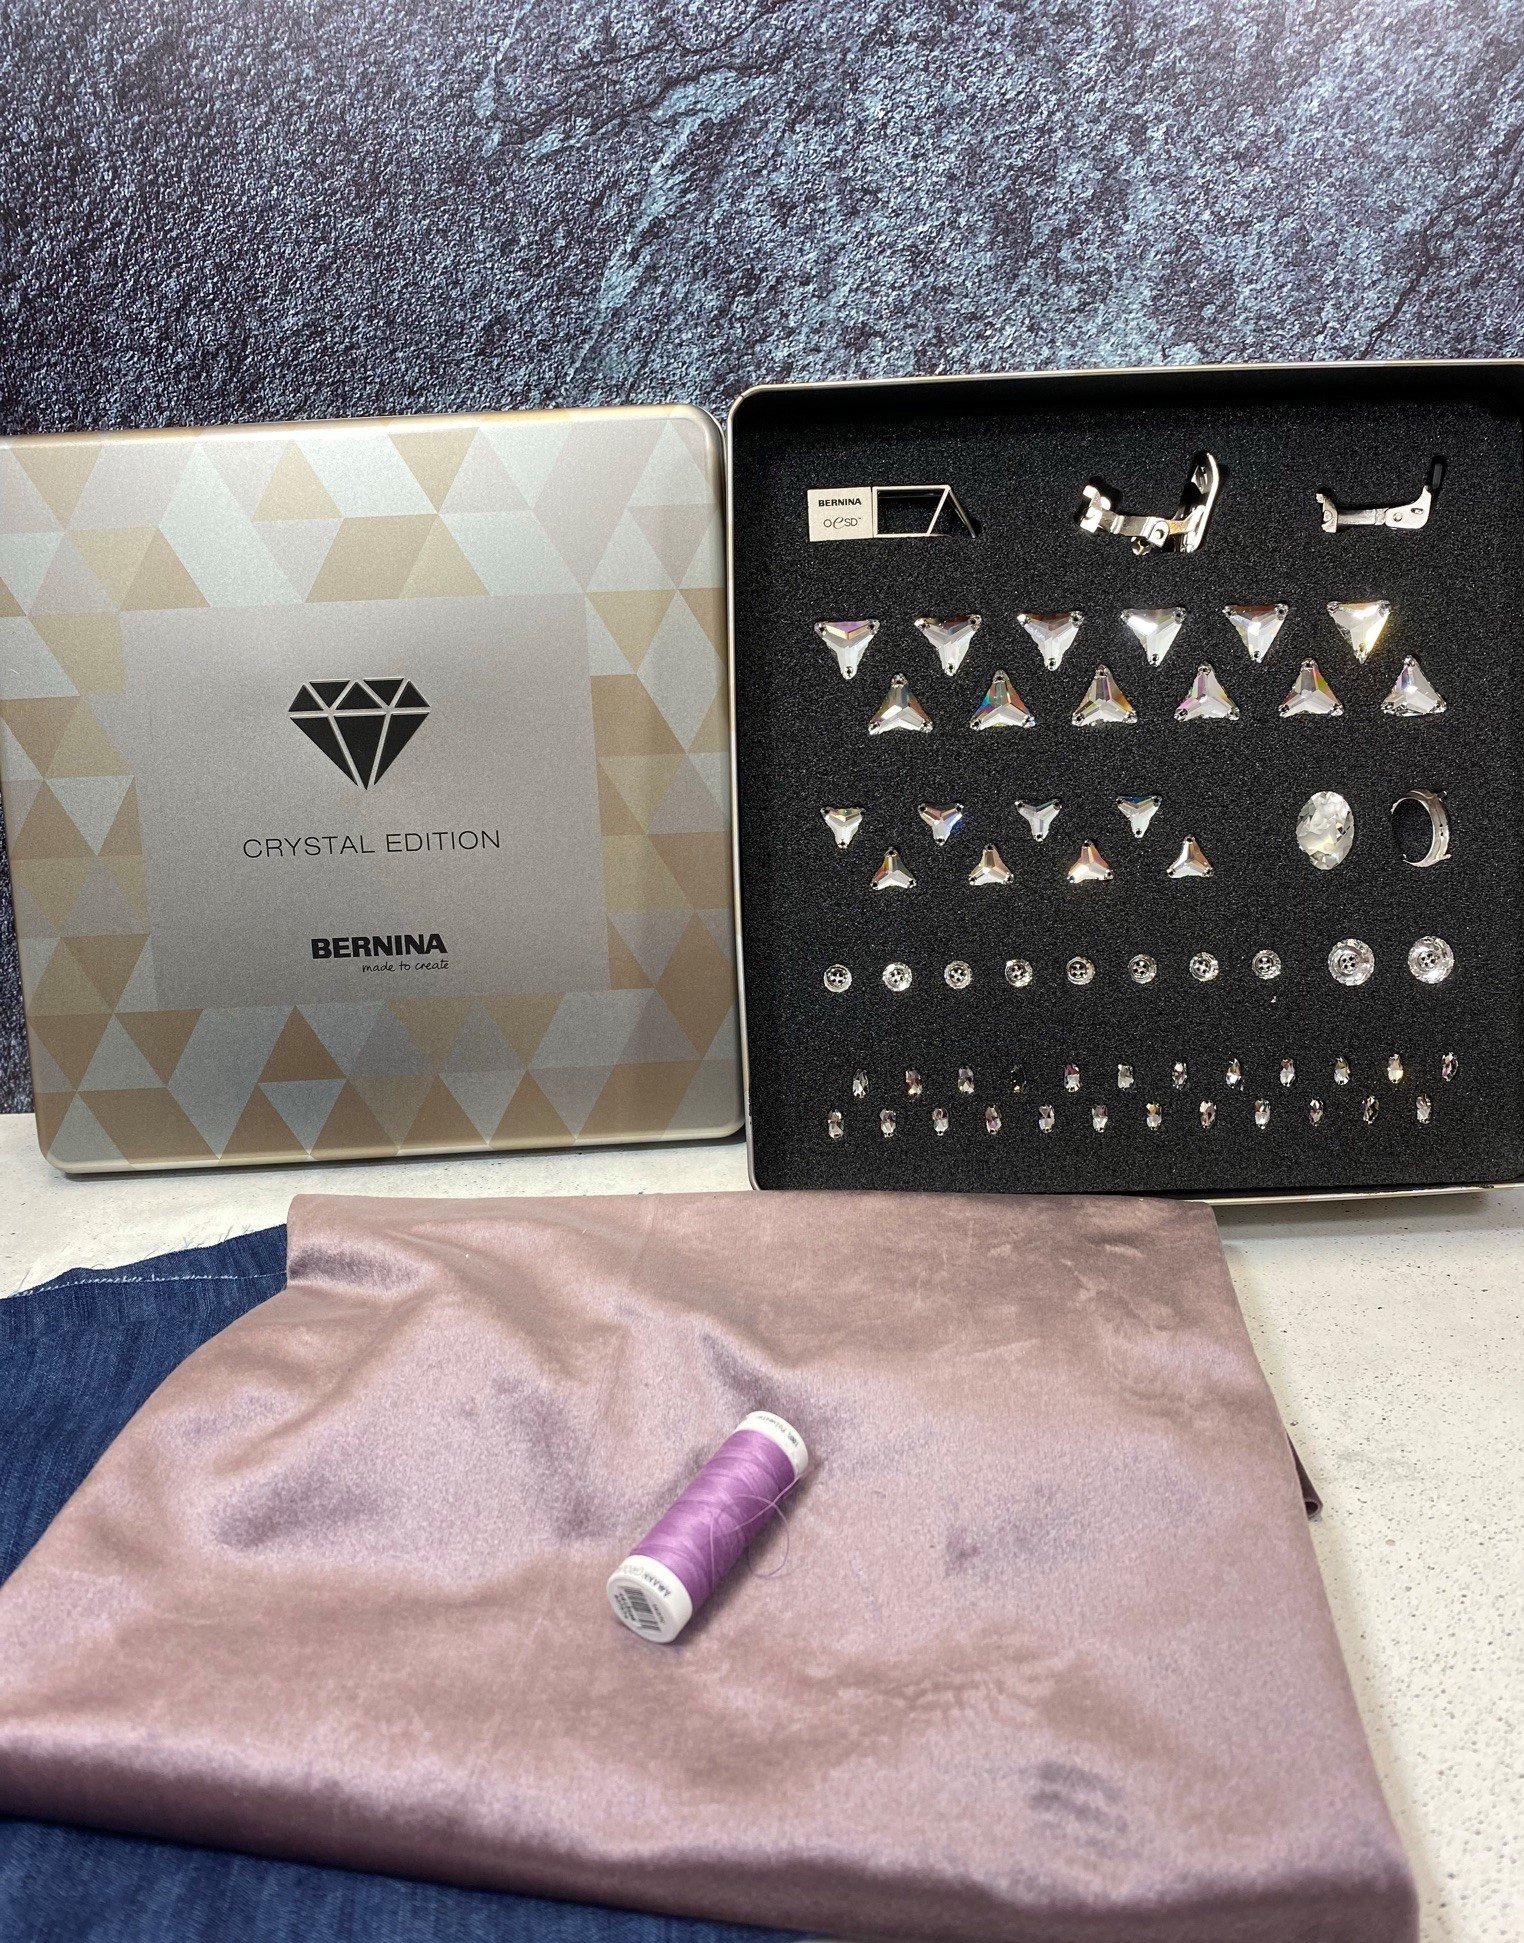
Material for sewing a statement collar – you will need:
- Pattern for a collar. You can find mine here
- Velvet
- Lightweight denim fabric
- Fusible interlining, thickness depending on the material, I used H200
- Matching sewing thread,
- Crystals, such as the elegant Swarovski crystals from the Inspiration Kit, which is available as an accessory for the new special “Crystal Edition” models
- Hook and eye fastening
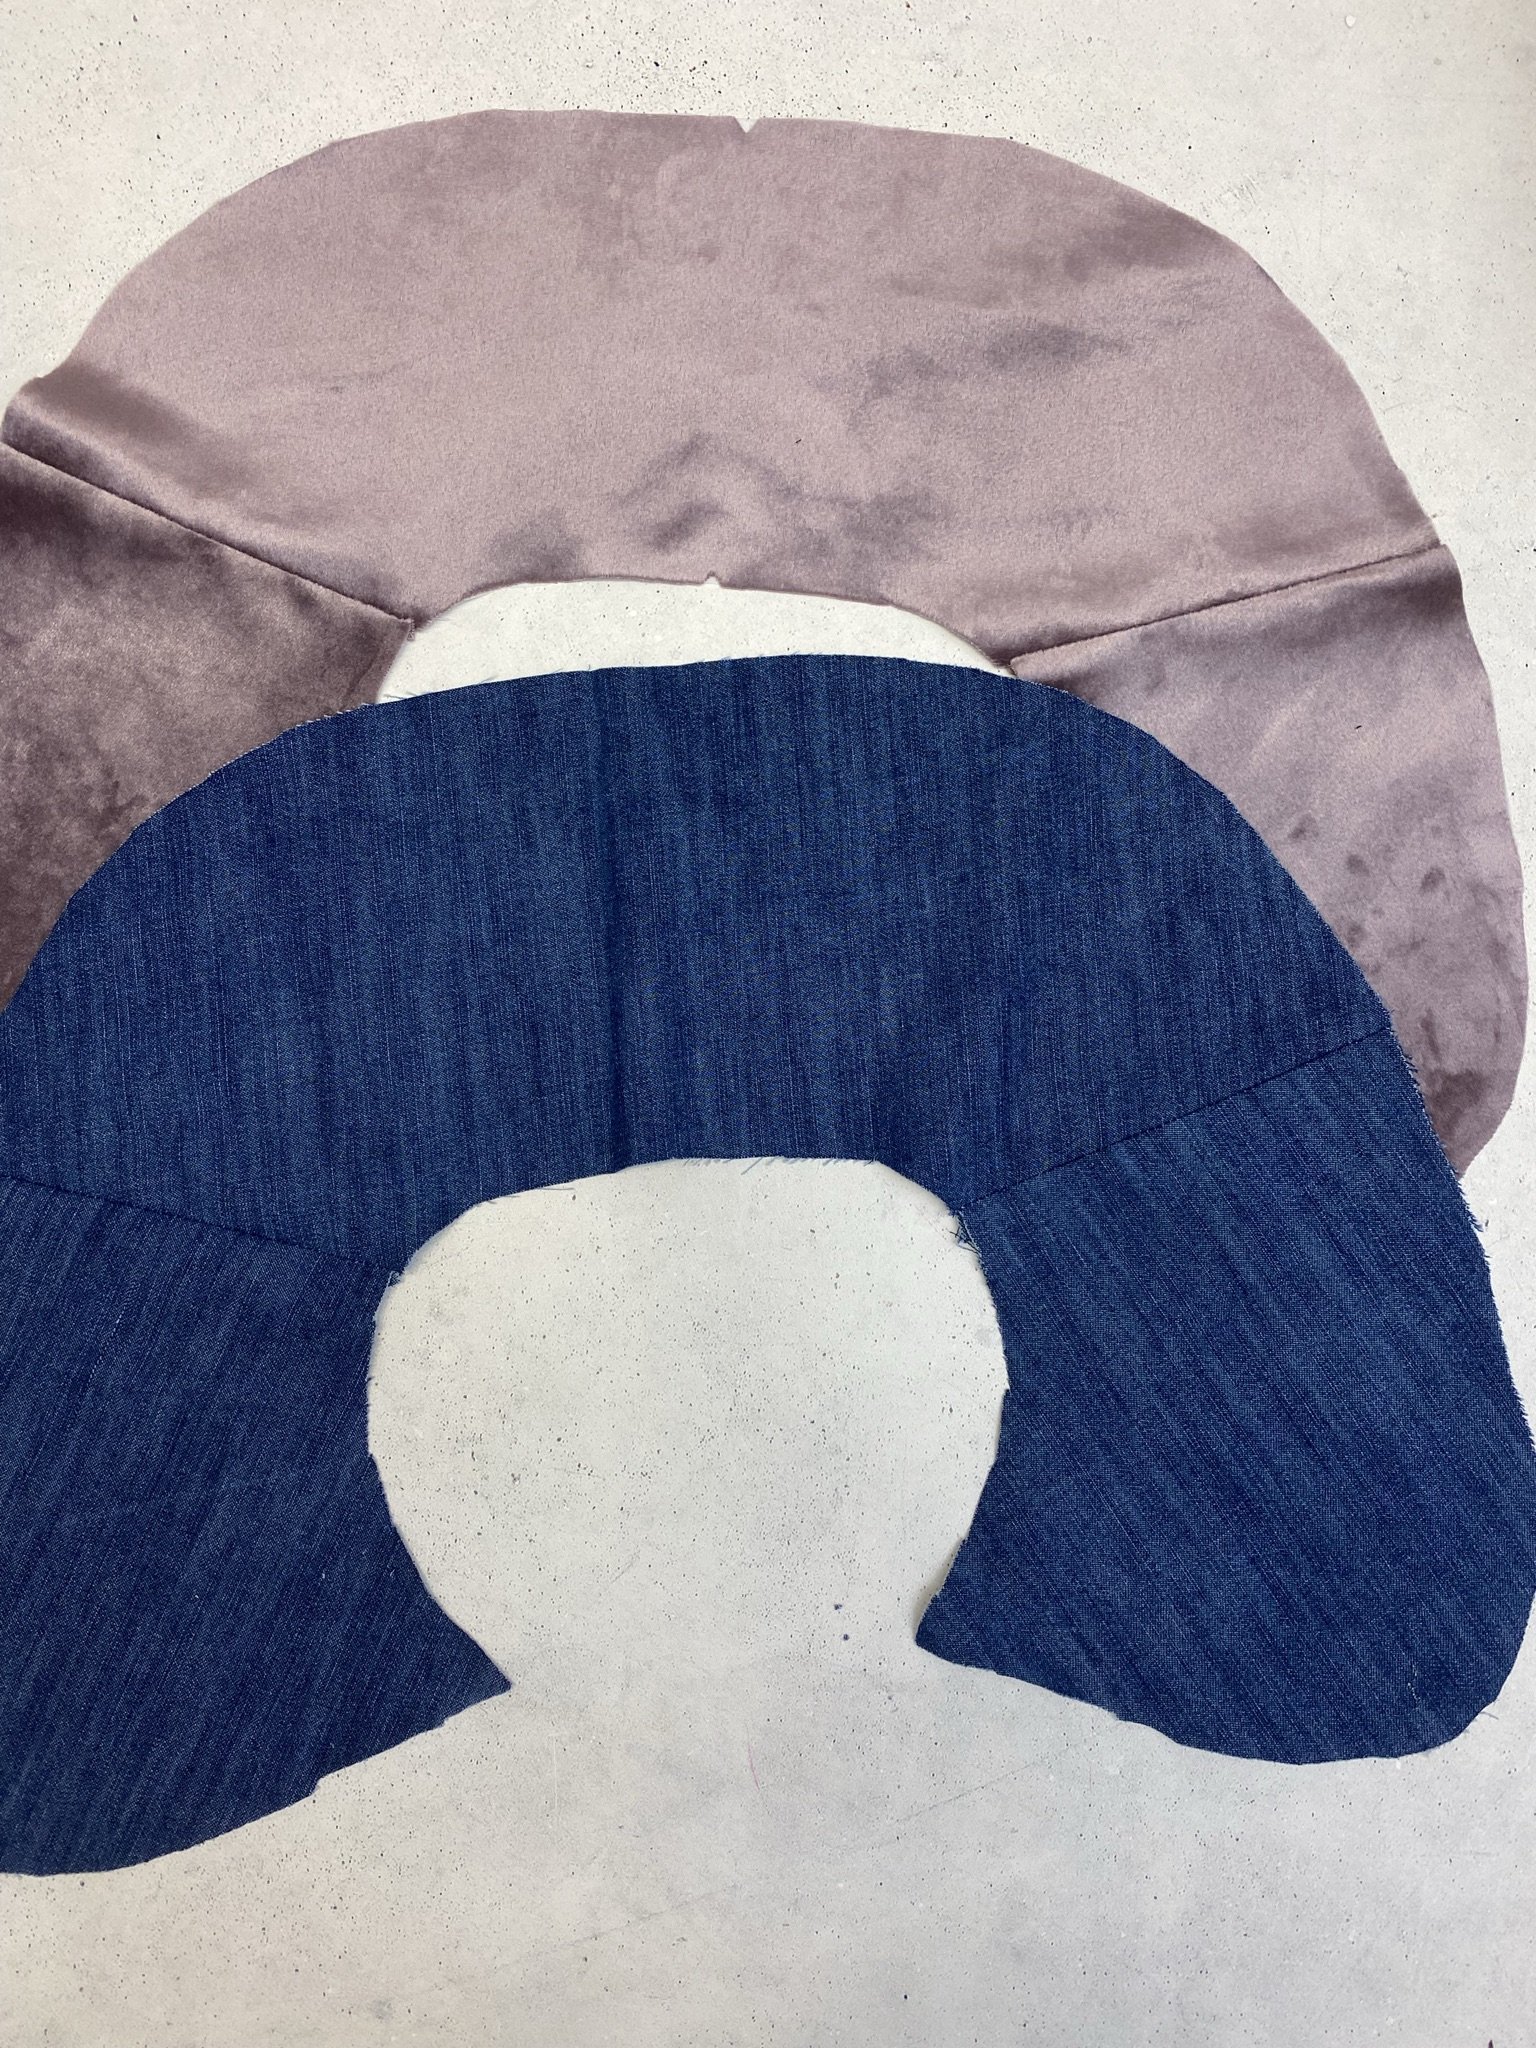
Cutting out and reinforcement
Cut out the collar pieces. For the under collar, I used denim, and for the upper collar, velvet. I reinforced the velvet with fusible interlining to give it a bit more body and make the crystals easy to sew on. But be careful not to have the iron too hot when you’re ironing polyester!

Pinning and sewing the individual pieces together
Pin the relevant pieces for the upper and under collar together with the right sides together. Leave an opening in the shoulder seam of the under collar.
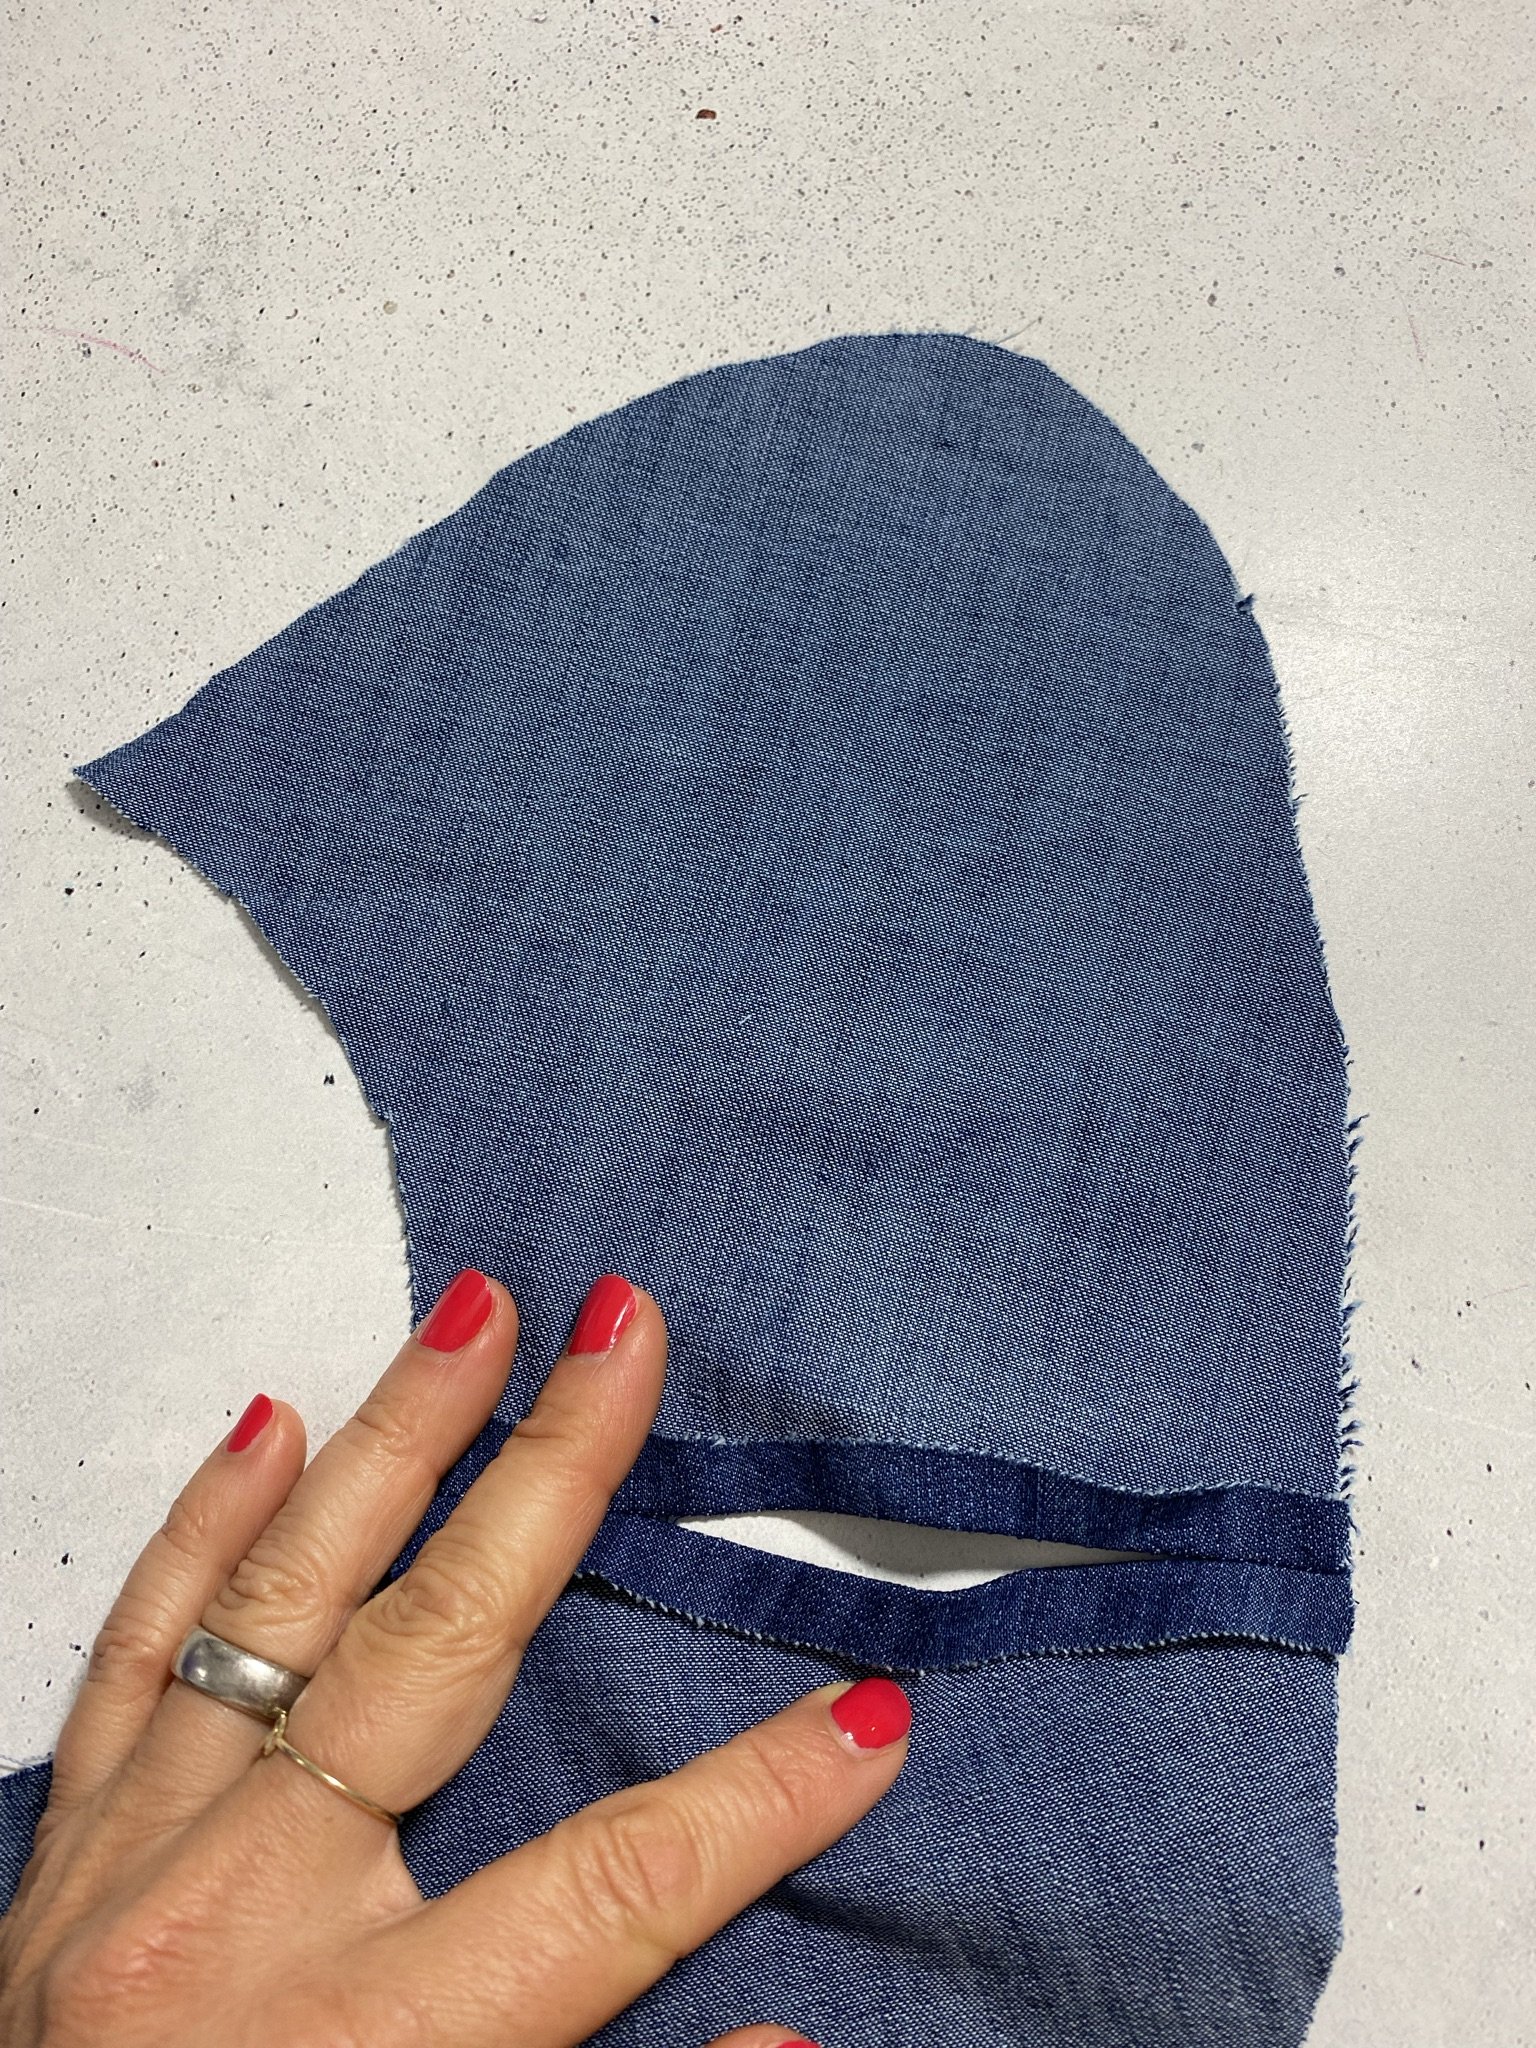
Secure the velvet collar using plenty of pins. Sew the pieces together. For the velvet, it is best to use the top feed, as the material moves around a lot.

Then iron the seam allowance open.
Positioning and sewing on the crystals
Now it’s time to try out where you want to position your crystals. Take a look, there are so many possibilities:
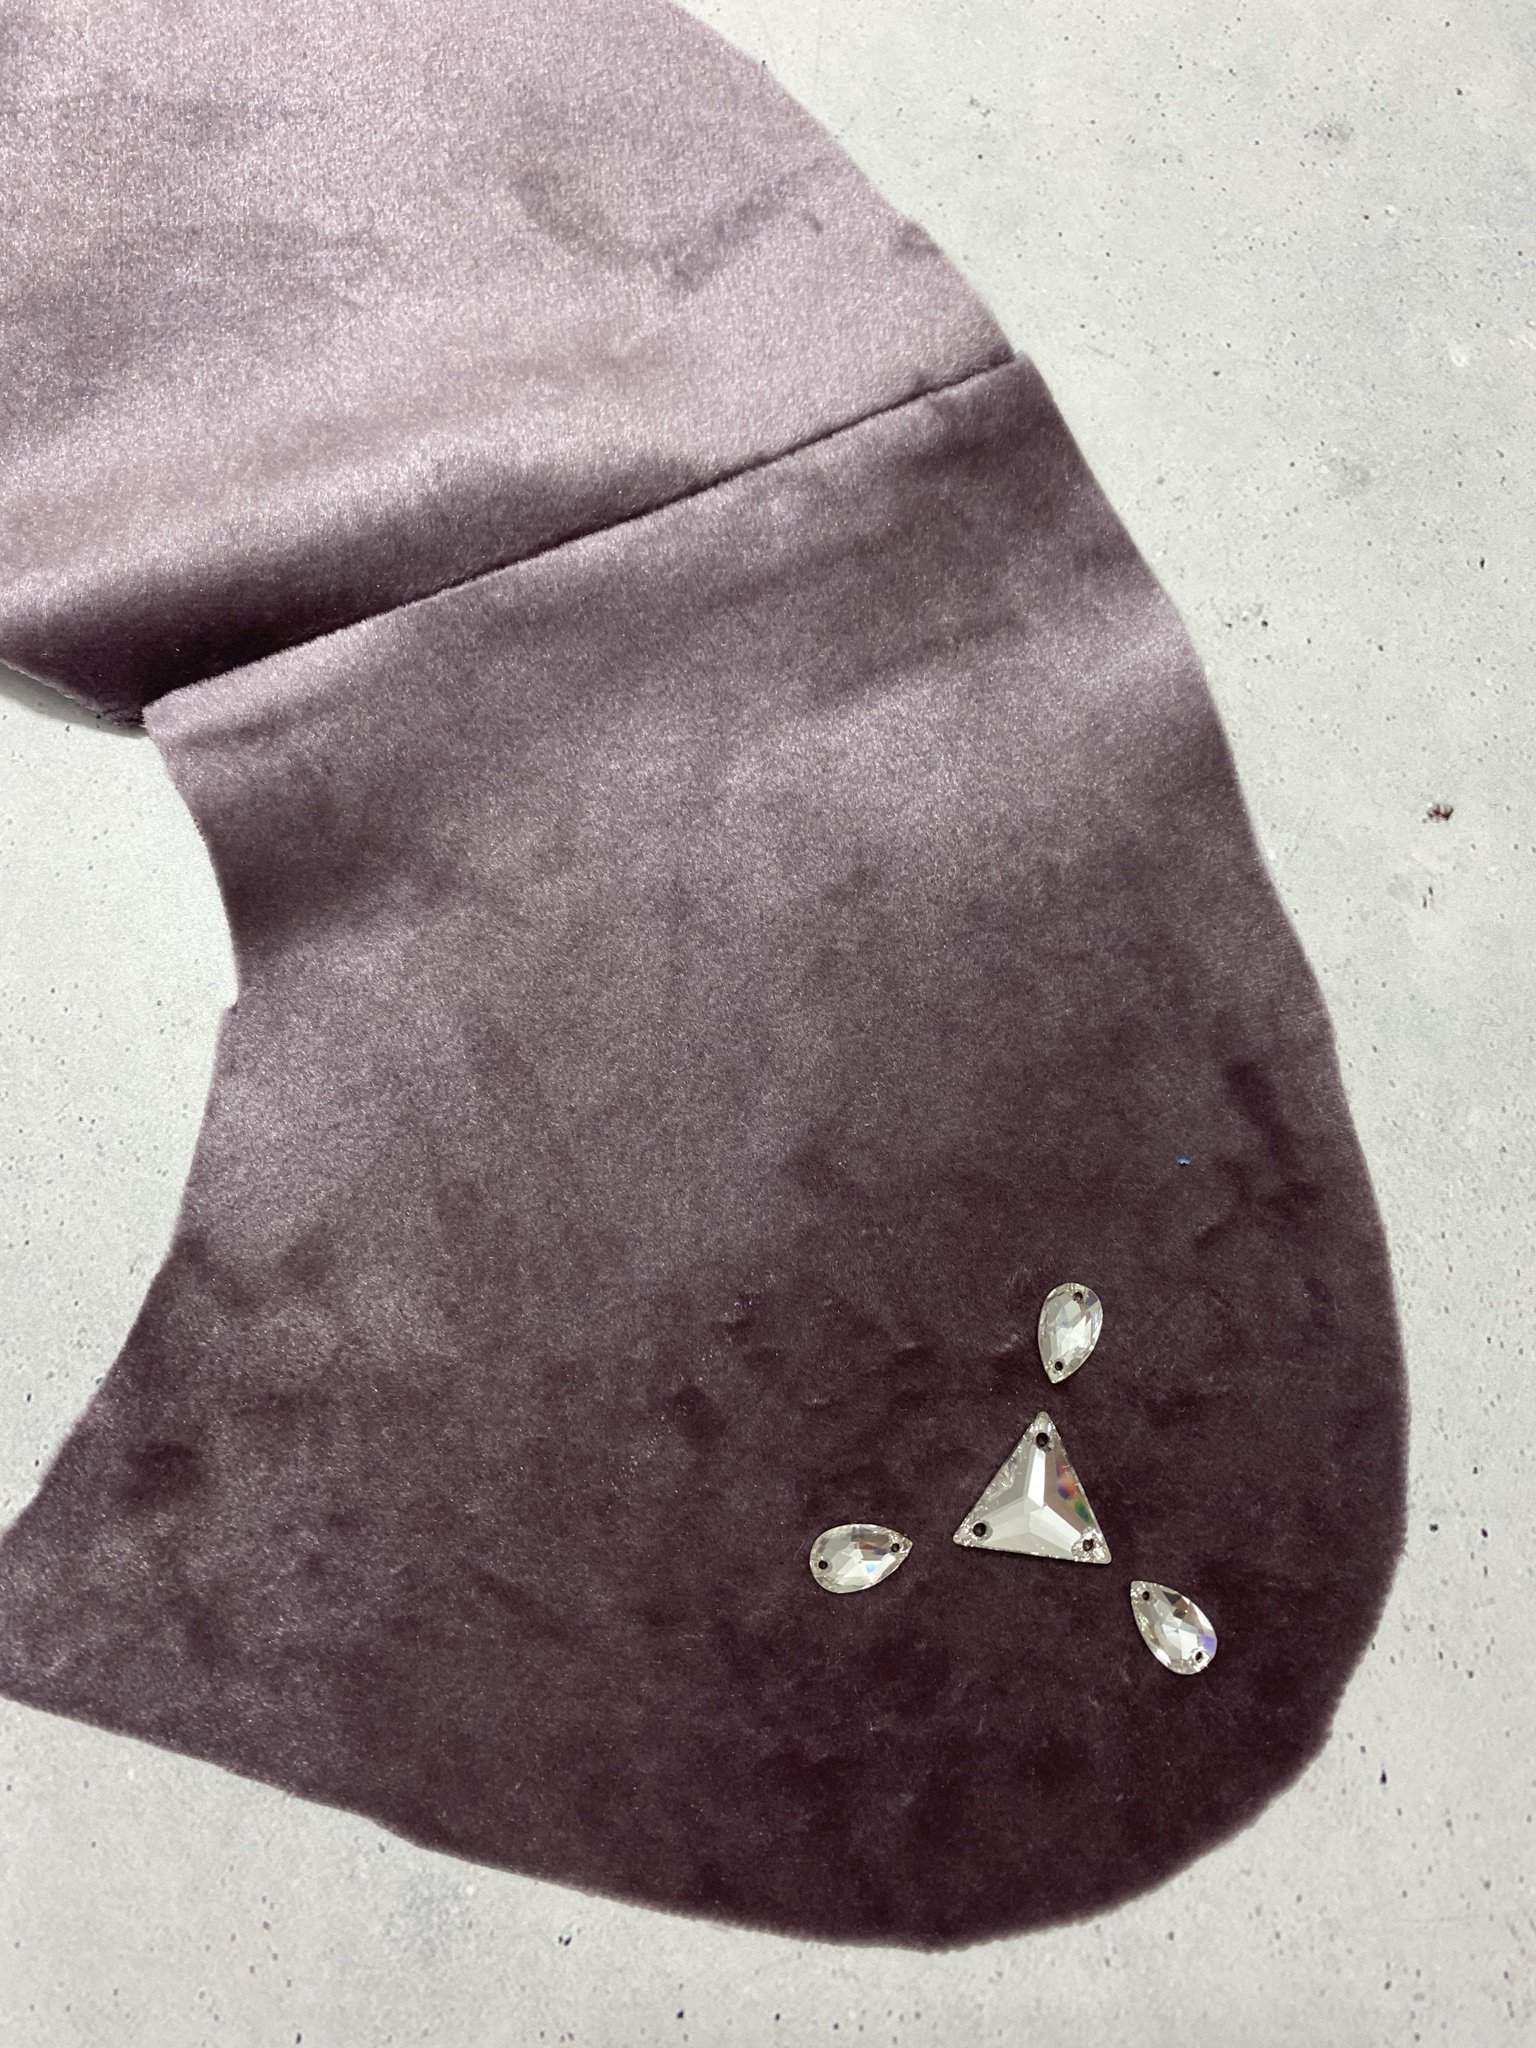

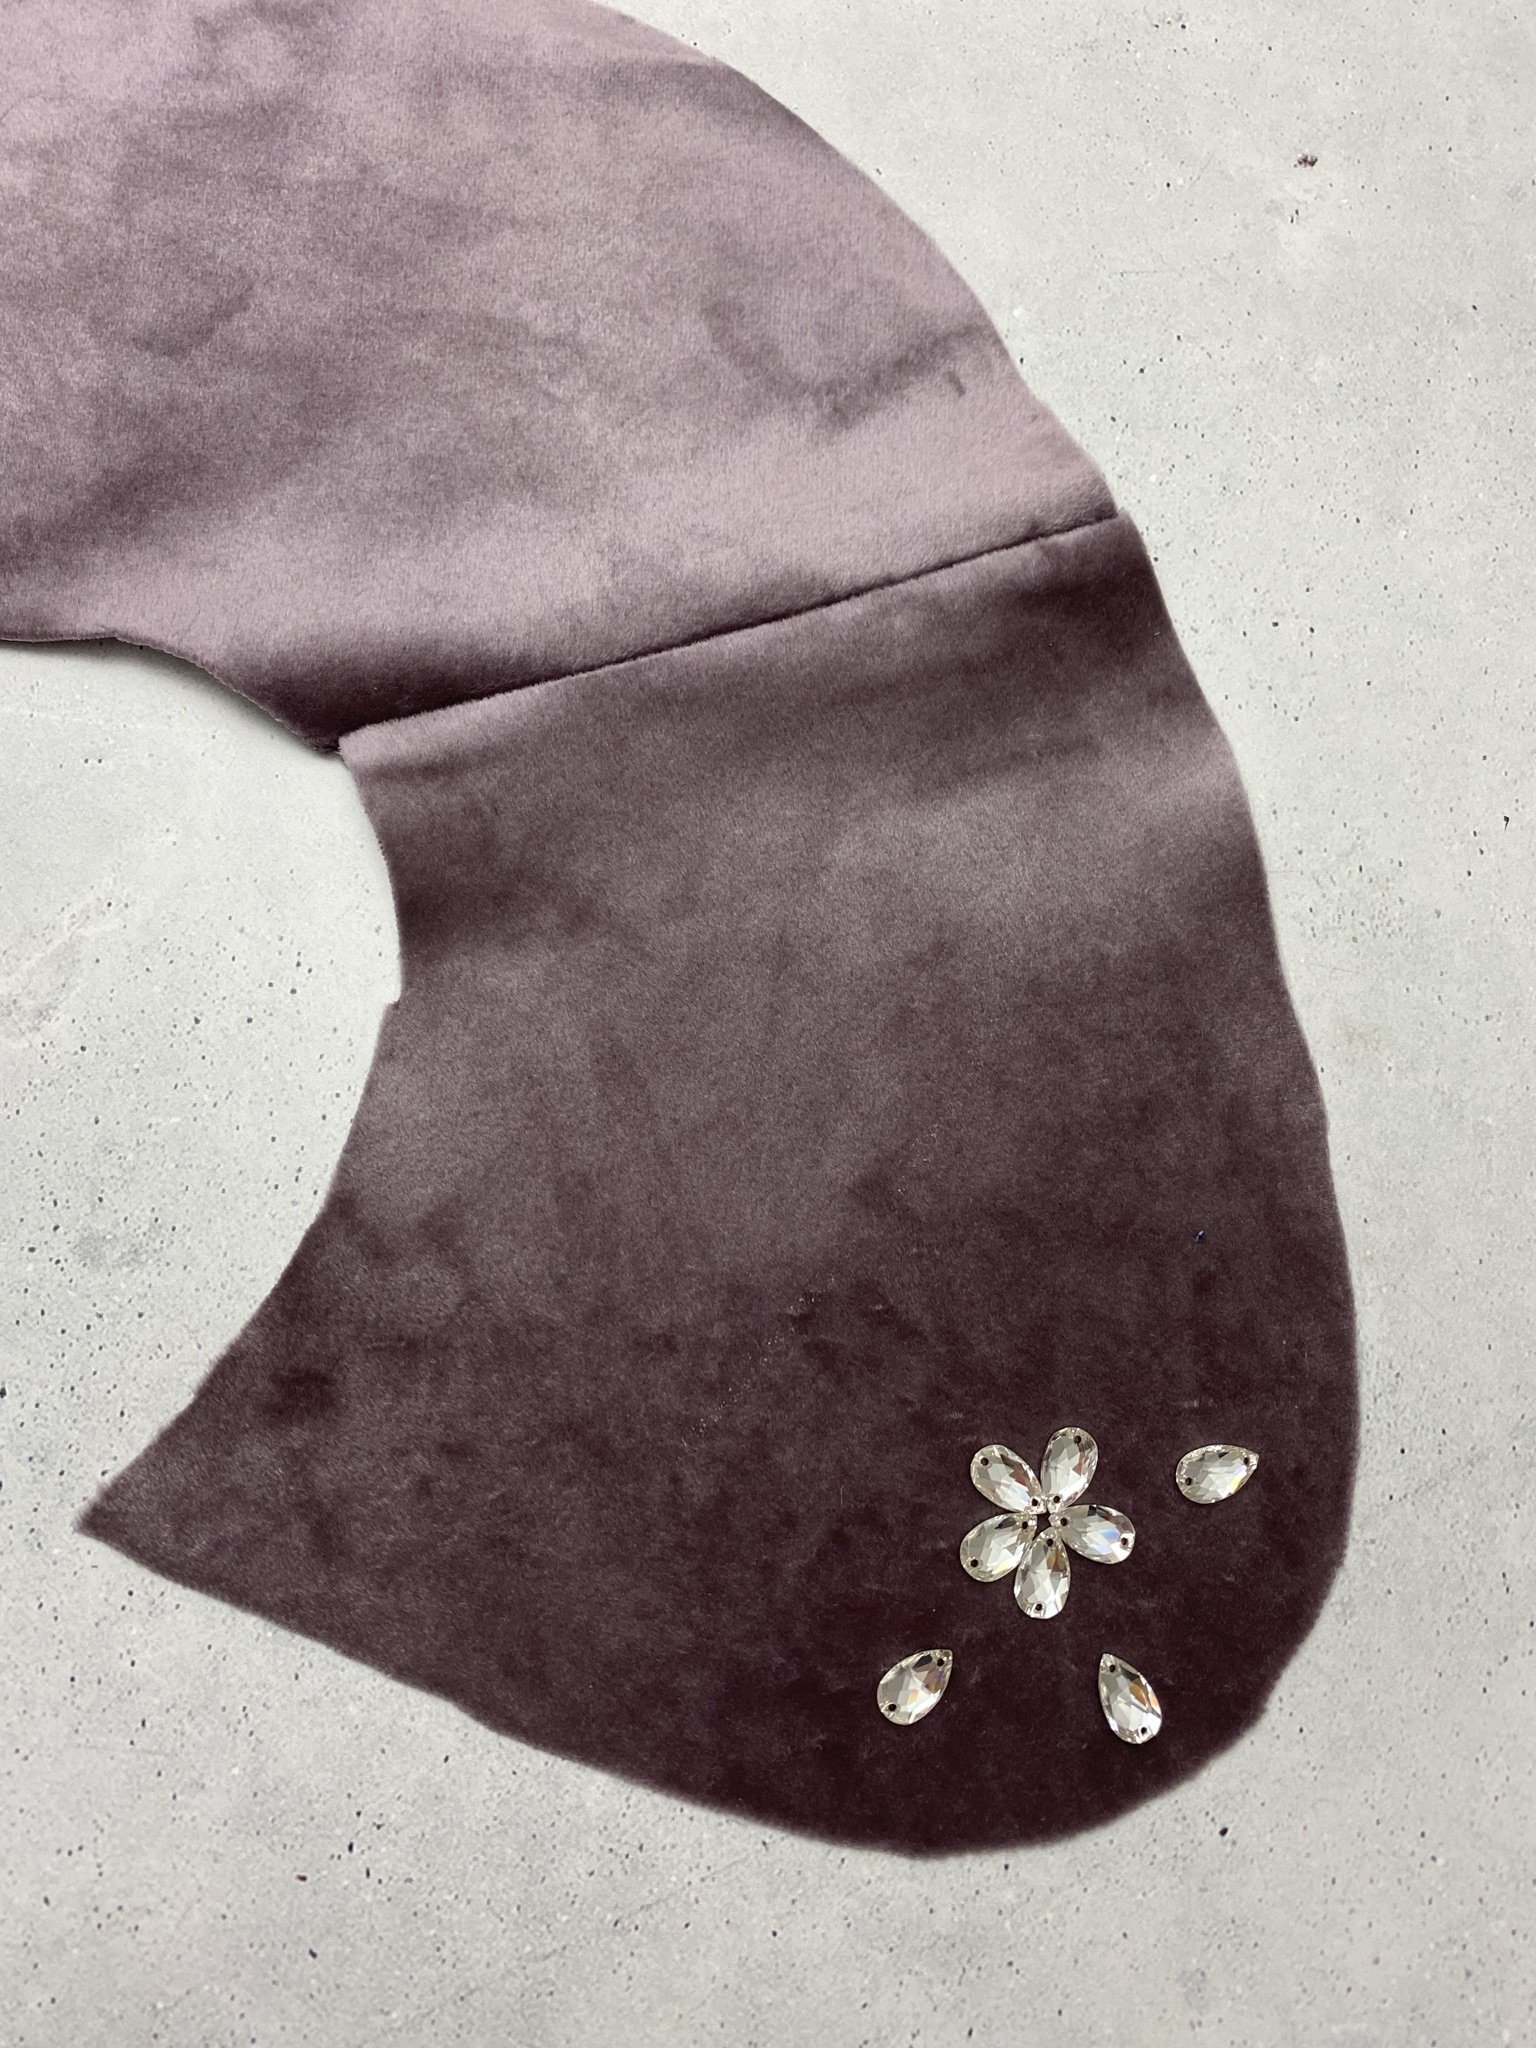
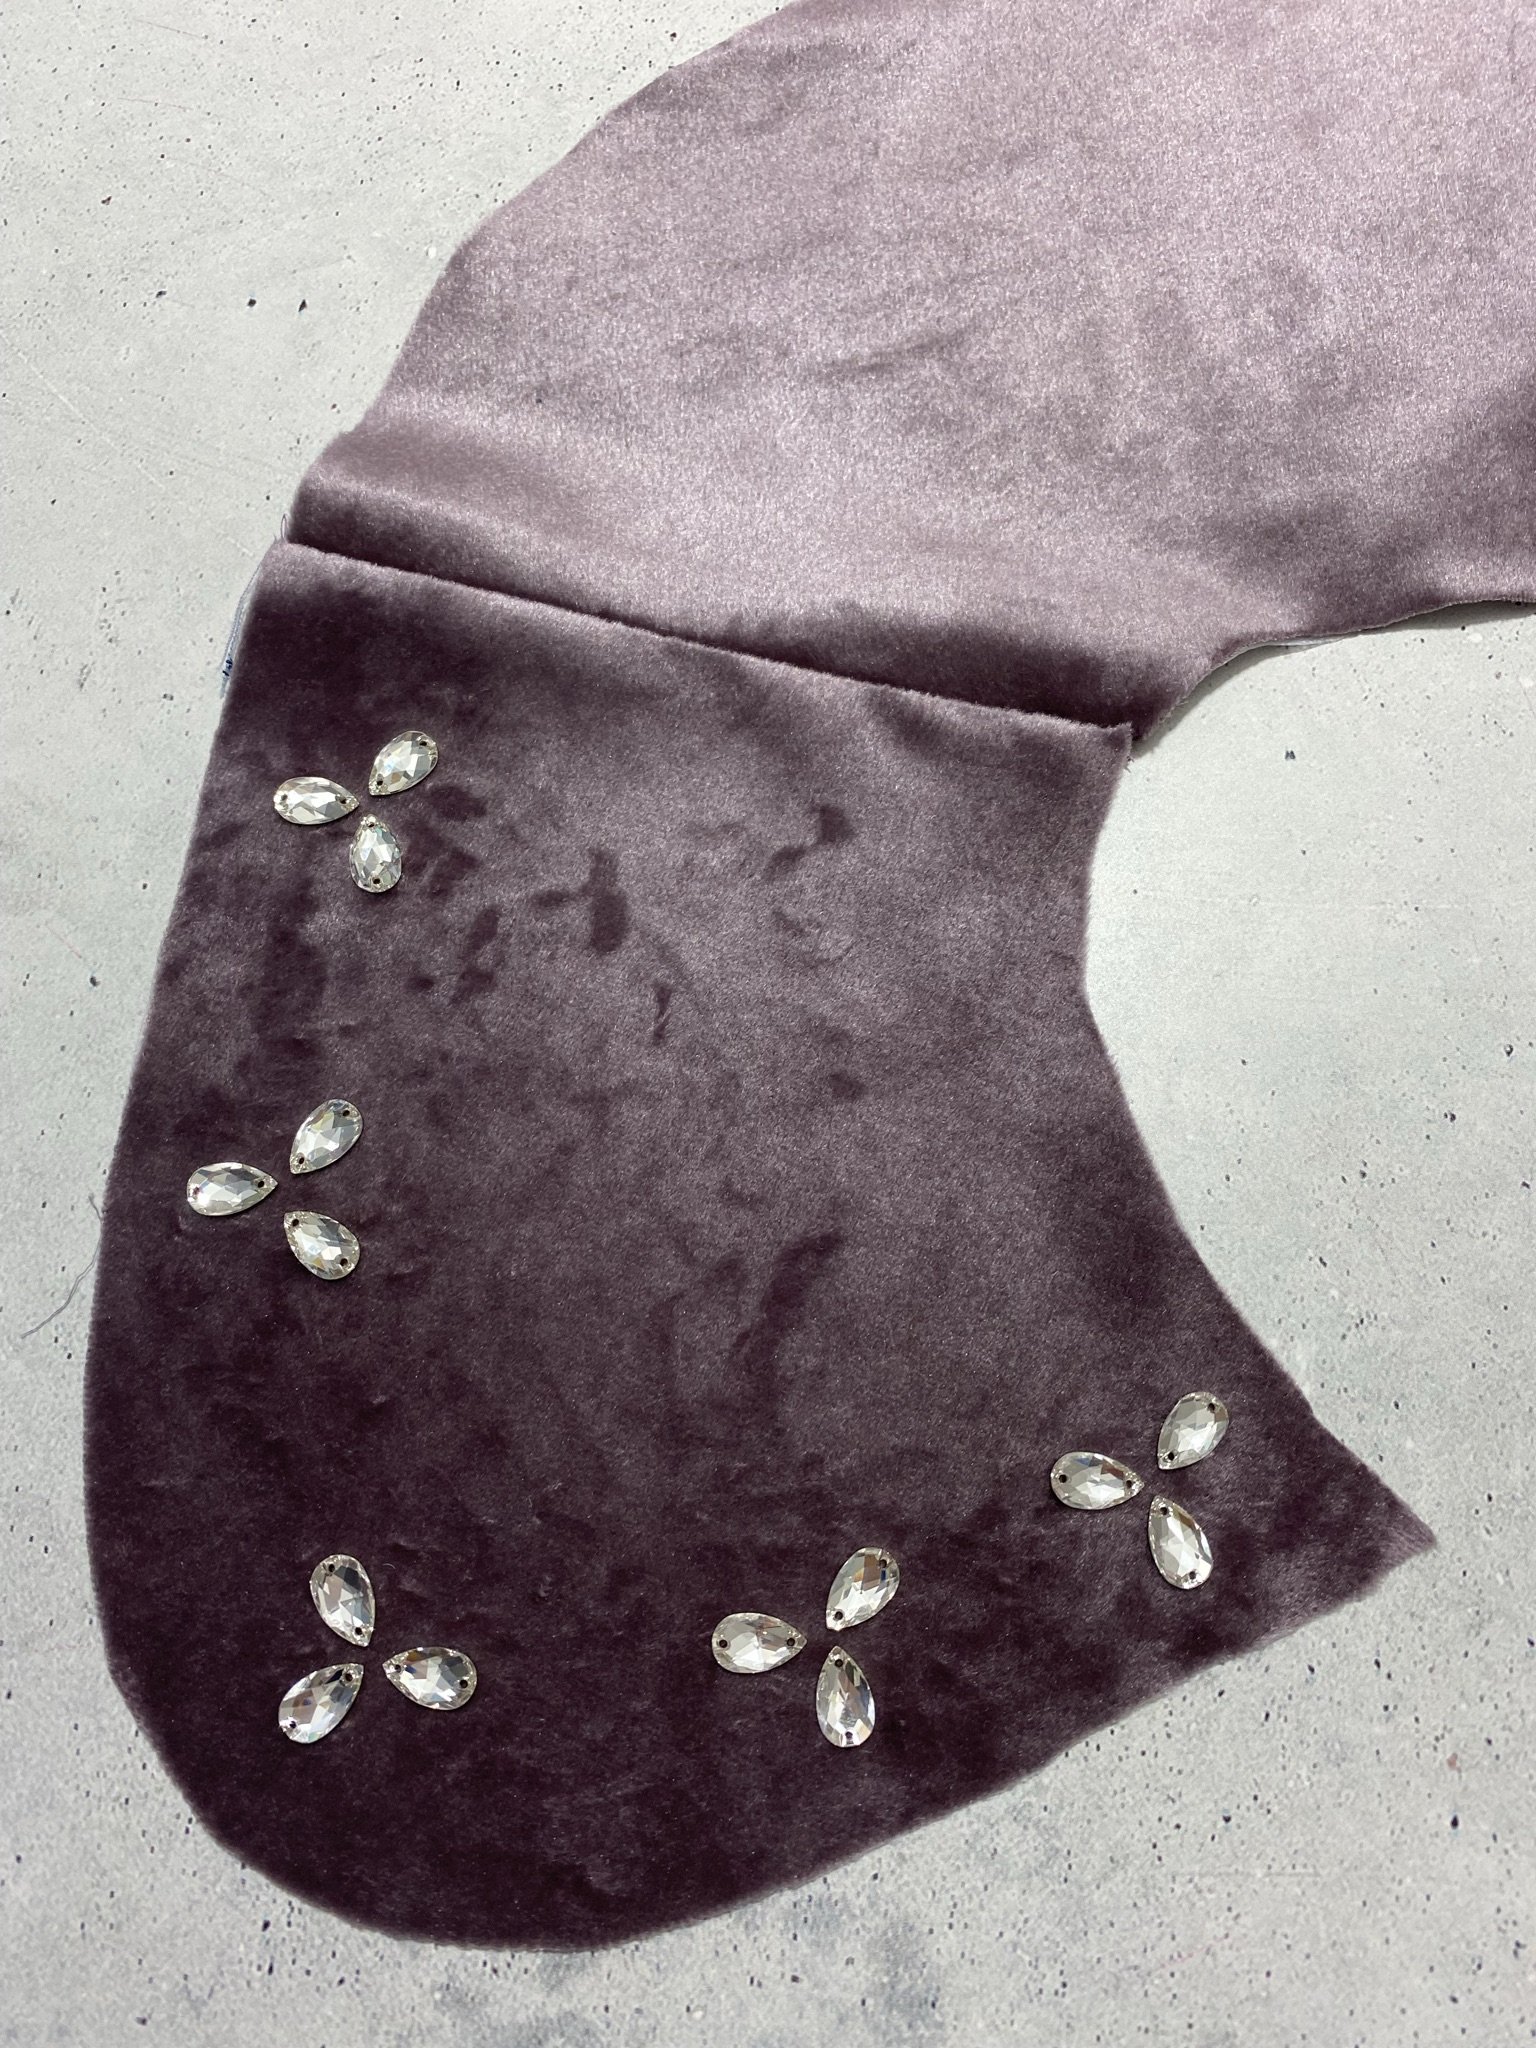
Make sure, as in my case for example, that the flower is subsequently well-positioned on the tip of the collar. Also remember that the crystals must be a sufficient distance from the seam allowance.
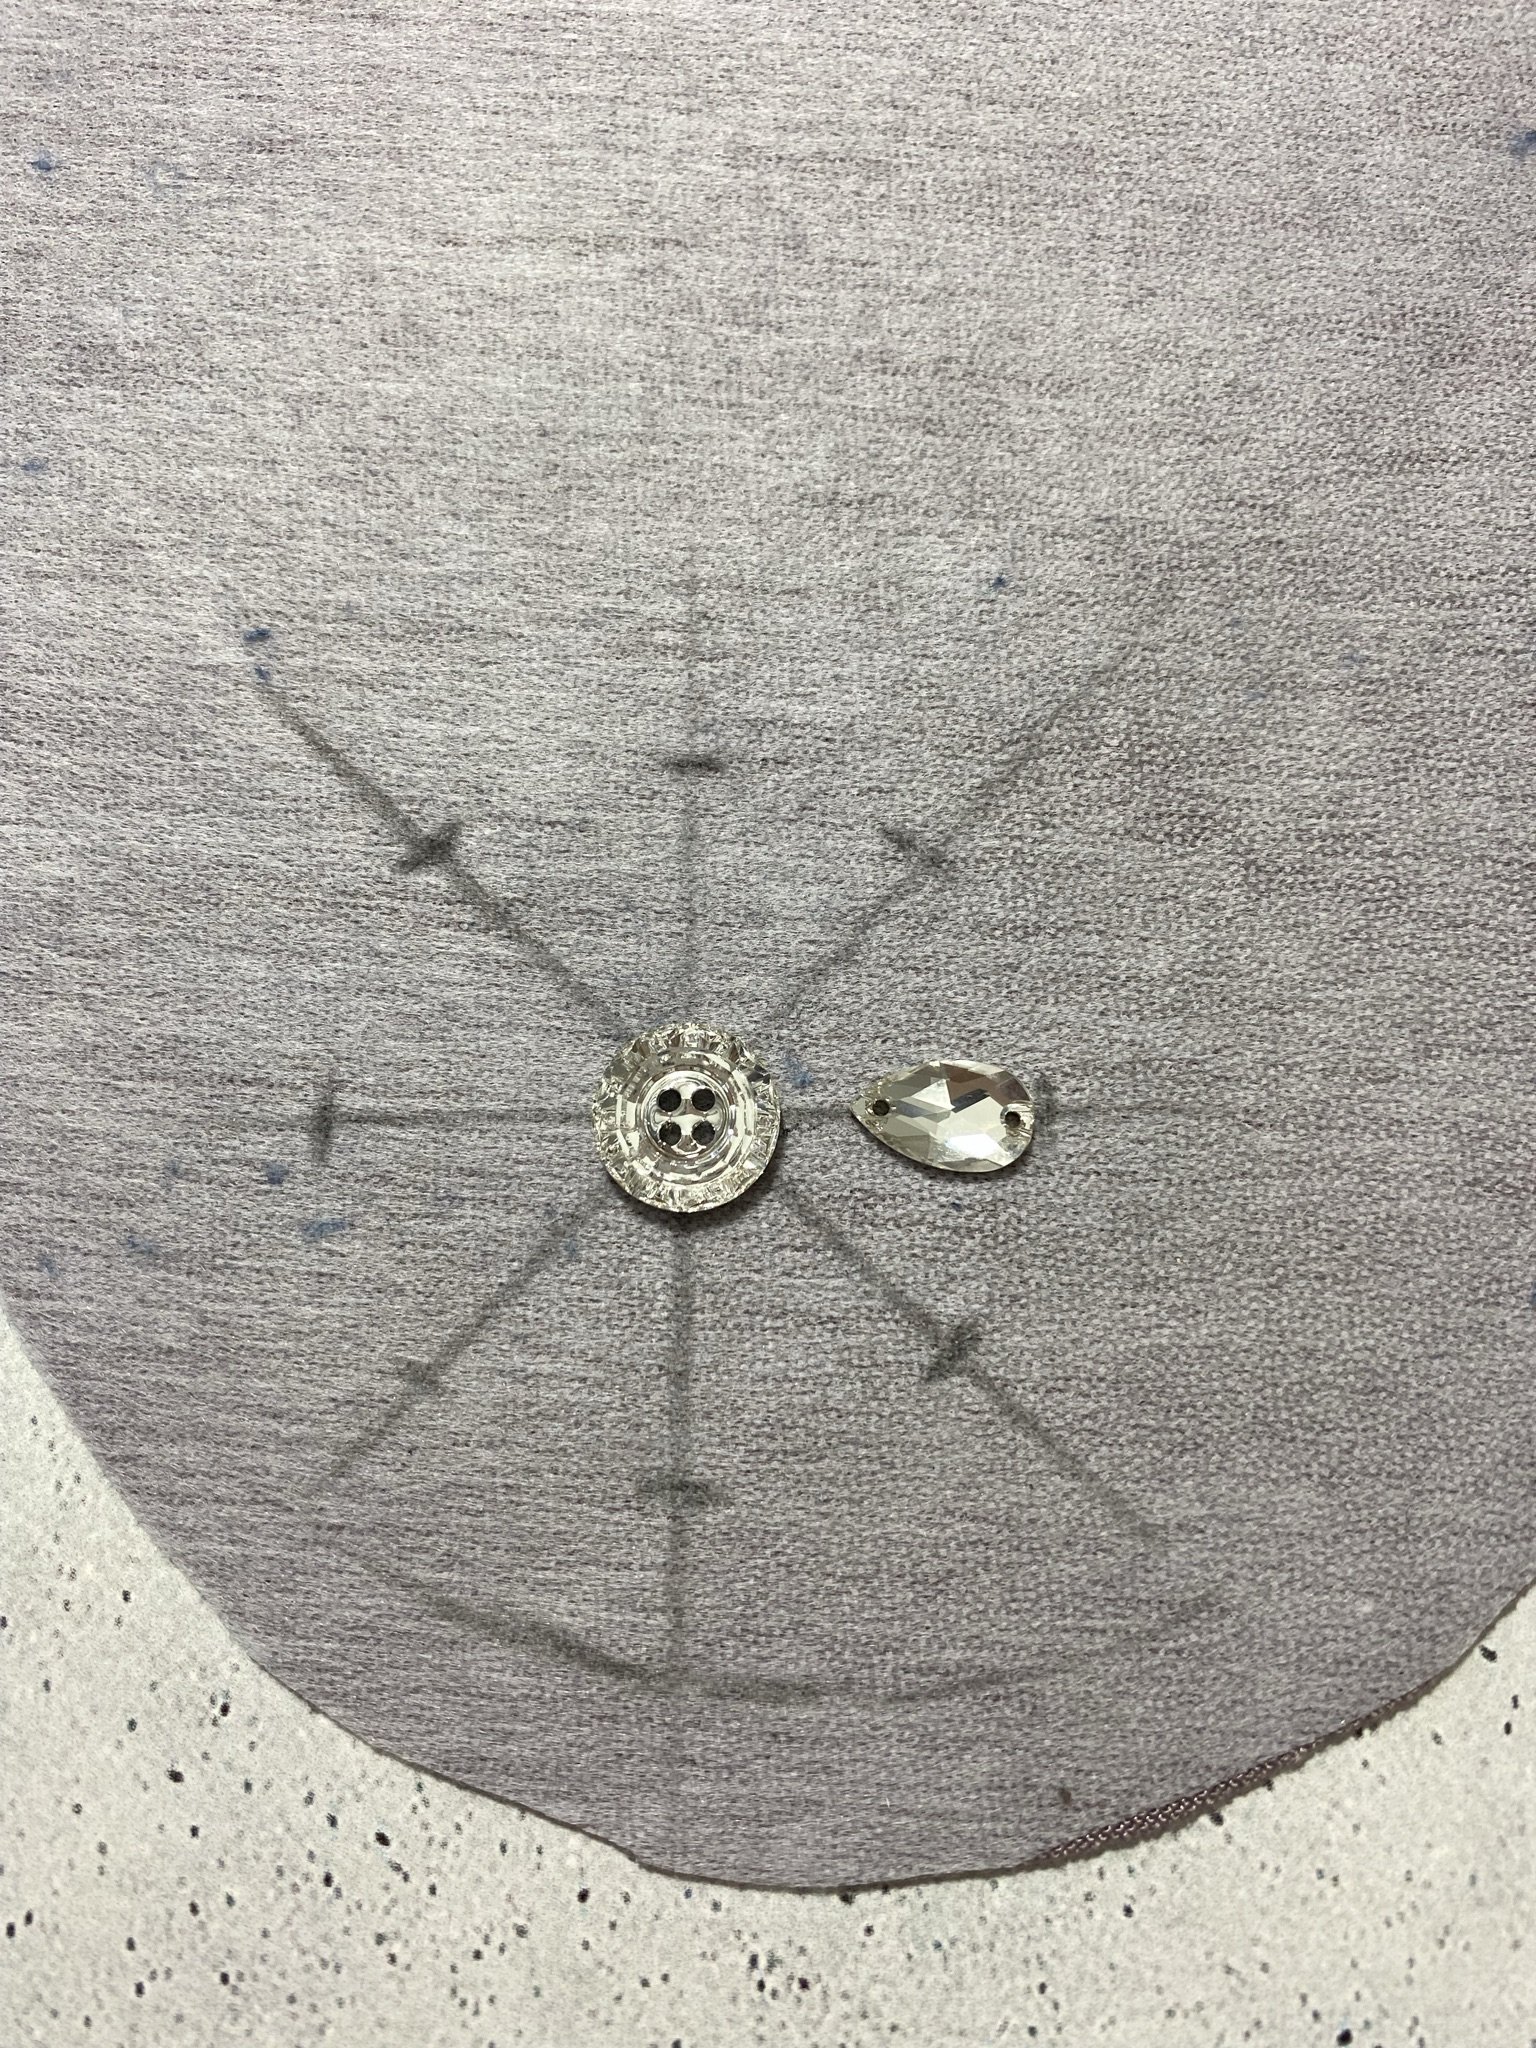
Once you have decided on a position, draw the seam allowance on the wrong side of the fabric. Using a triangle, I drew reference lines on the wrong side of the fabric to help me sew the crystals on evenly.
In my case, the stud is placed in the center. The wide end of the teardrops is sewn on 2 cm from the center.

Now sew your crystals onto the right side. To do this, use a hand sewing needle and matching colored sewing thread.

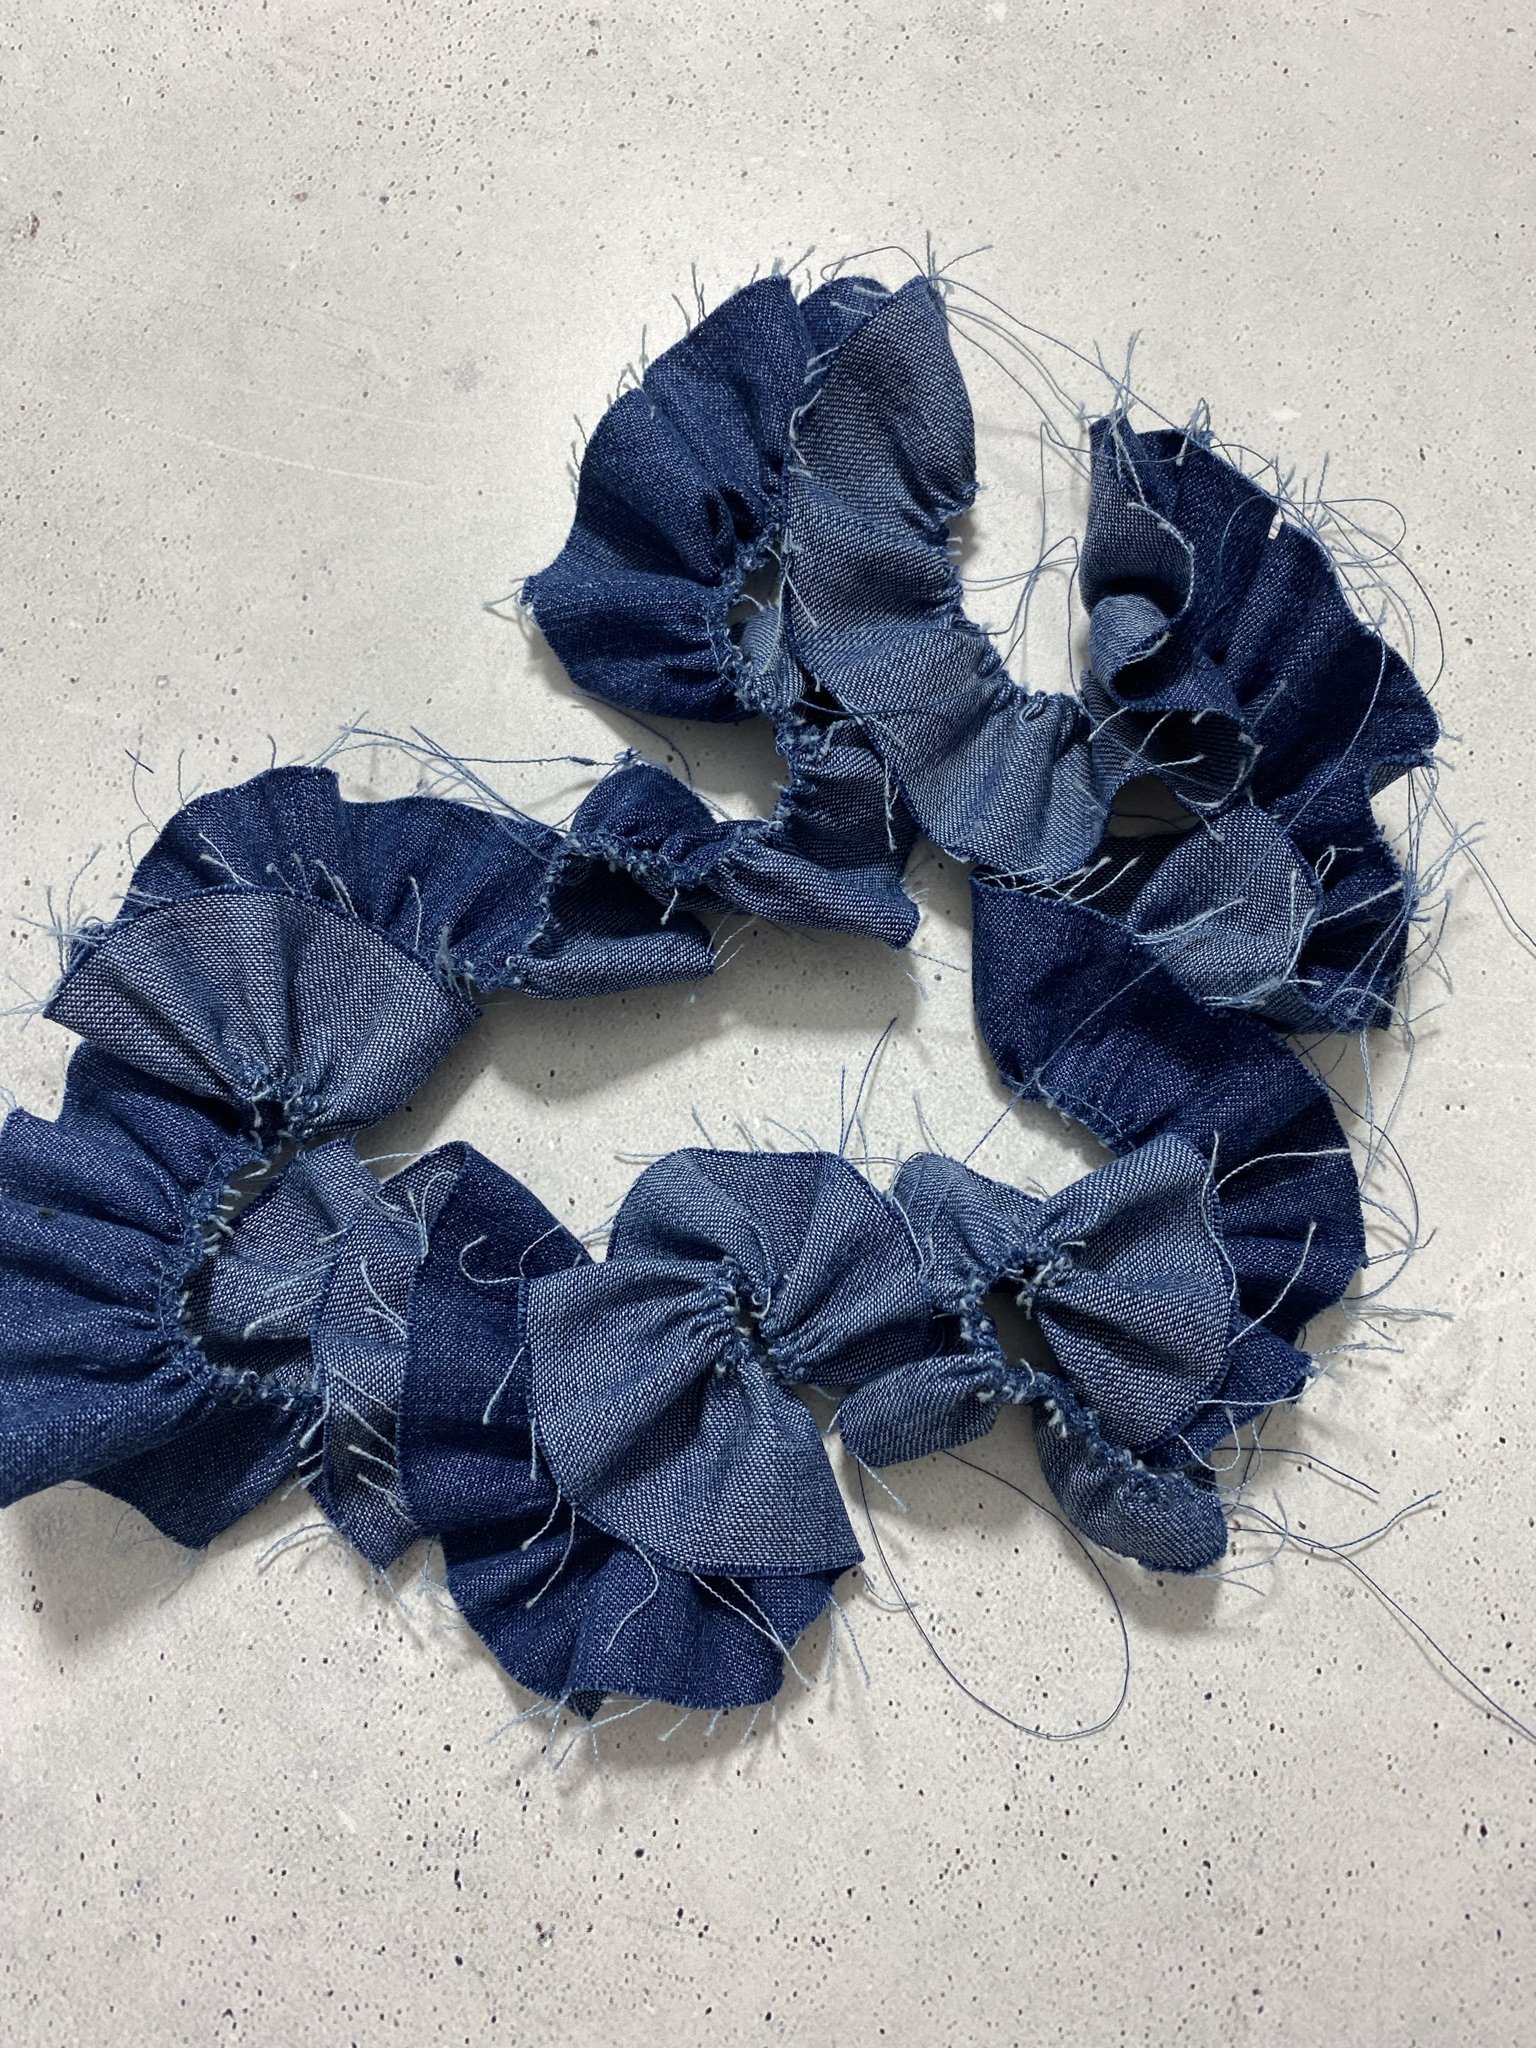
Gathering the ruffle
Contrary to the instructions for my collar, I decided to make the ruffle as a single layer. The frayed edge thus creates a cool contrast to the other opulent materials. I used my overlocker to gather the strip of fabric. To do this, set up the machine for 3-thread narrow overlock stitch. The left needle is removed for this. Adjust the machine settings: stitch length 4, stitch width 6, differential 2.
Sew along the edge, leaving tail threads at the beginning and end.

Then separate out the needle thread and pull it until it reaches the desired length.
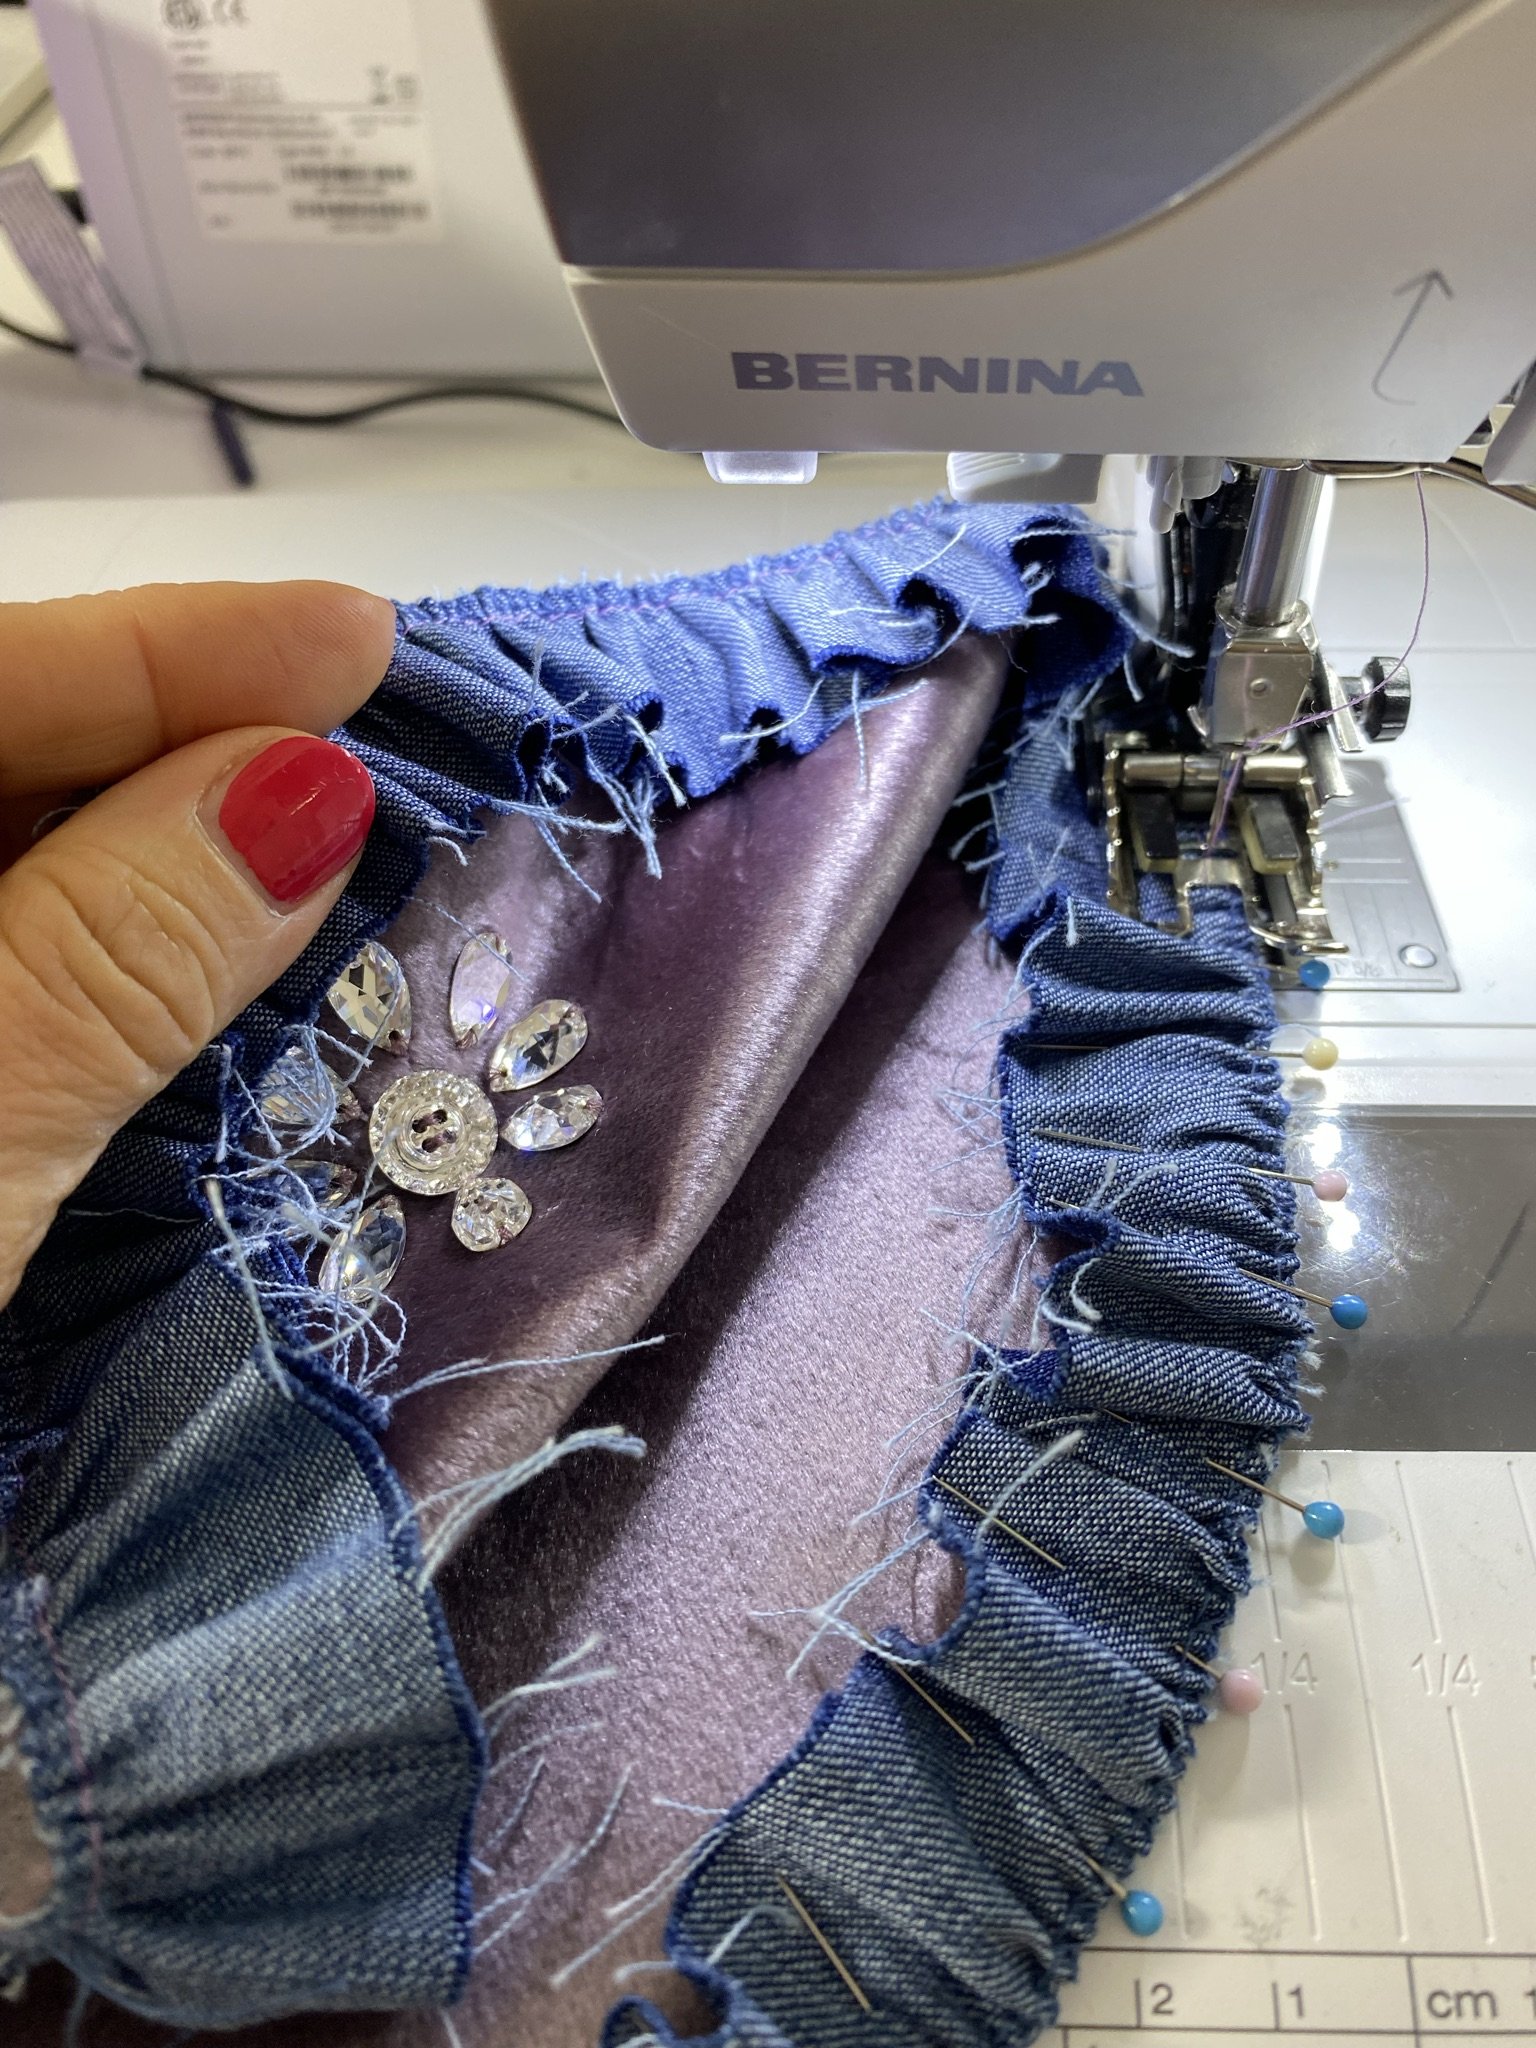
Pinning and sewing on the ruffle
Pin the ruffle onto the upper collar with the right sides together. Use plenty of pins to make sure nothing slips out of place.
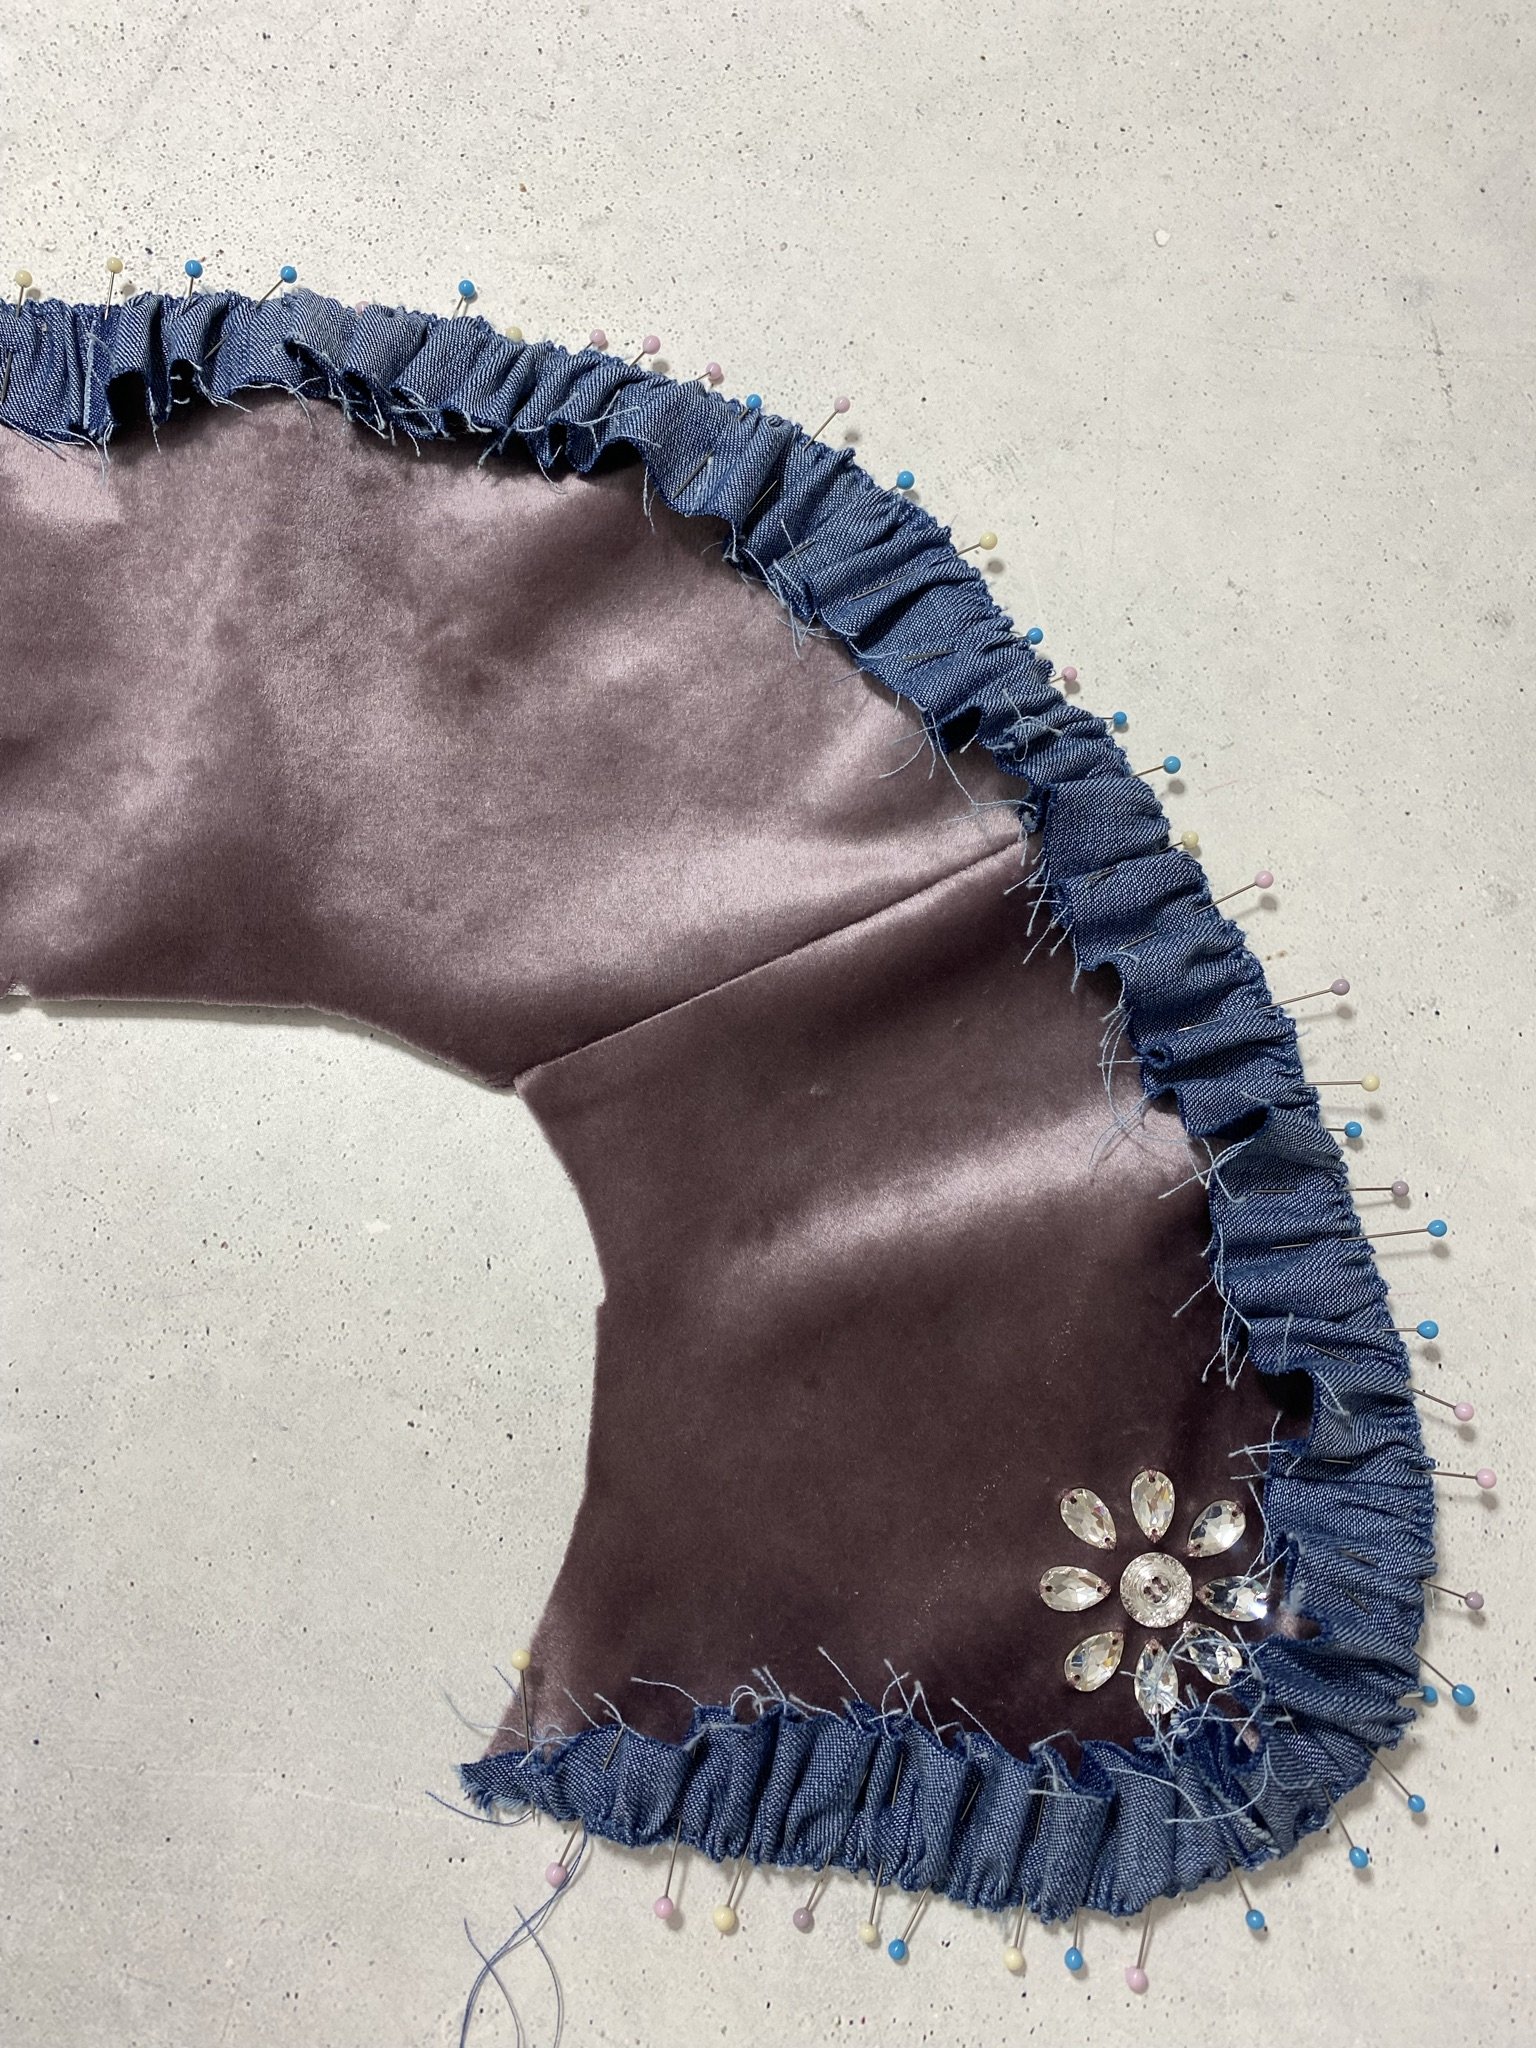
Then secure inside the seam allowance. The top feed is also recommended for this.
Sewing the collar together
Next, pin the upper and under collar together with the right sides facing. The ruffle is between the two layers. Make sure that the shoulder seams and the center back come together.
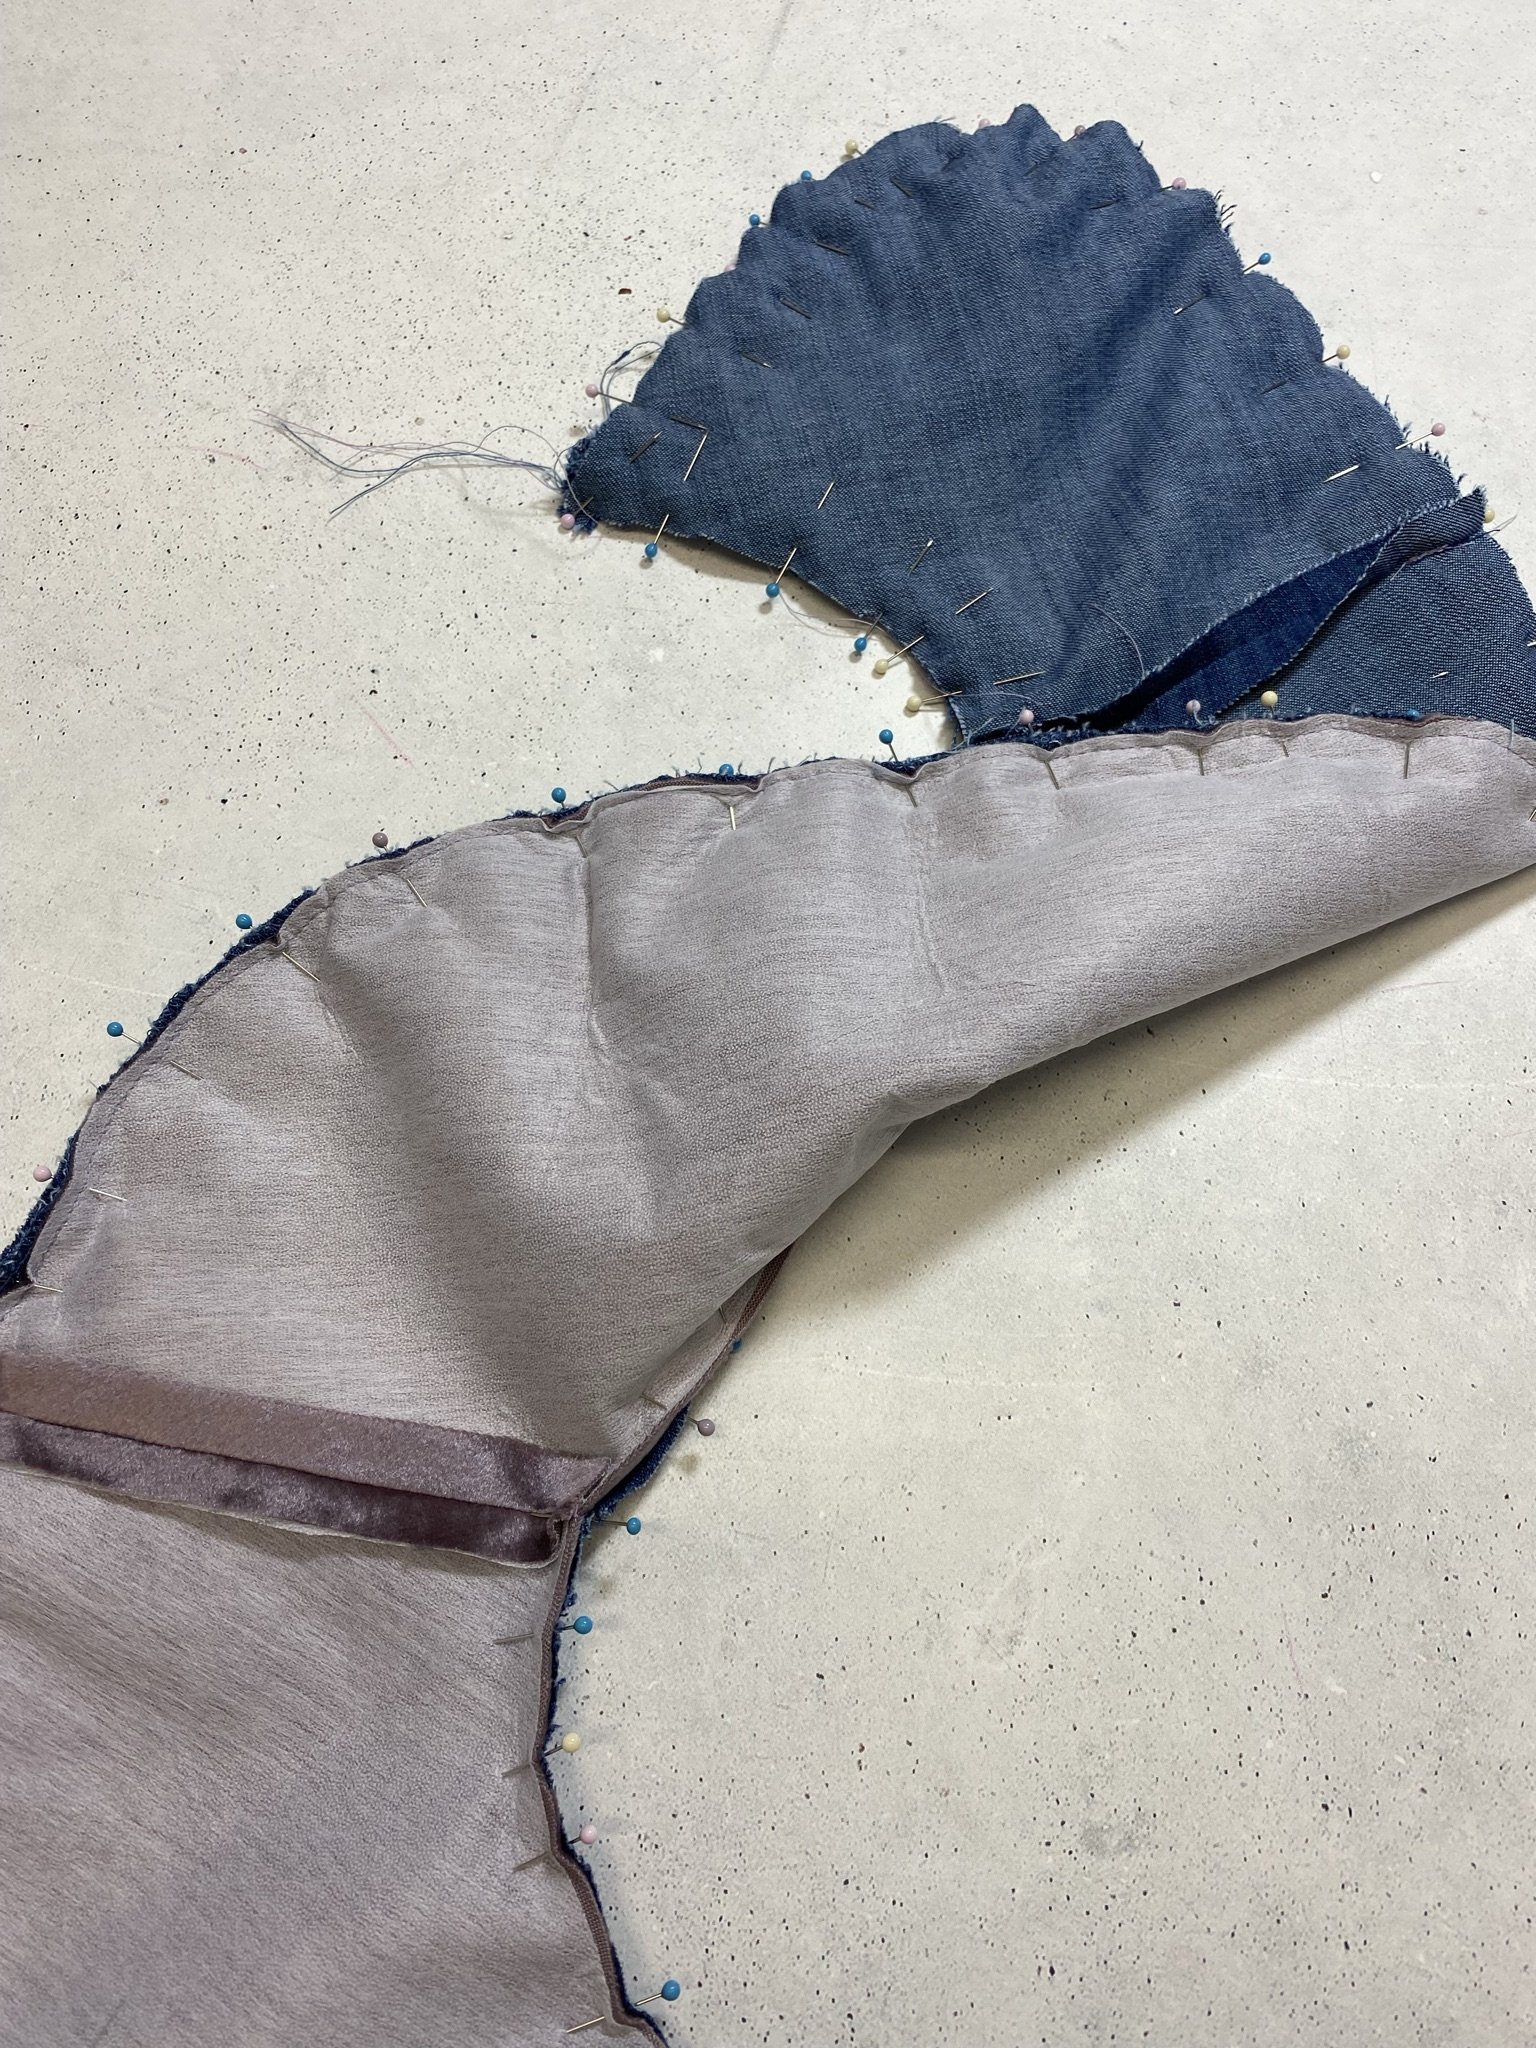
Sew together with the specified seam allowance (in my case 1 cm).
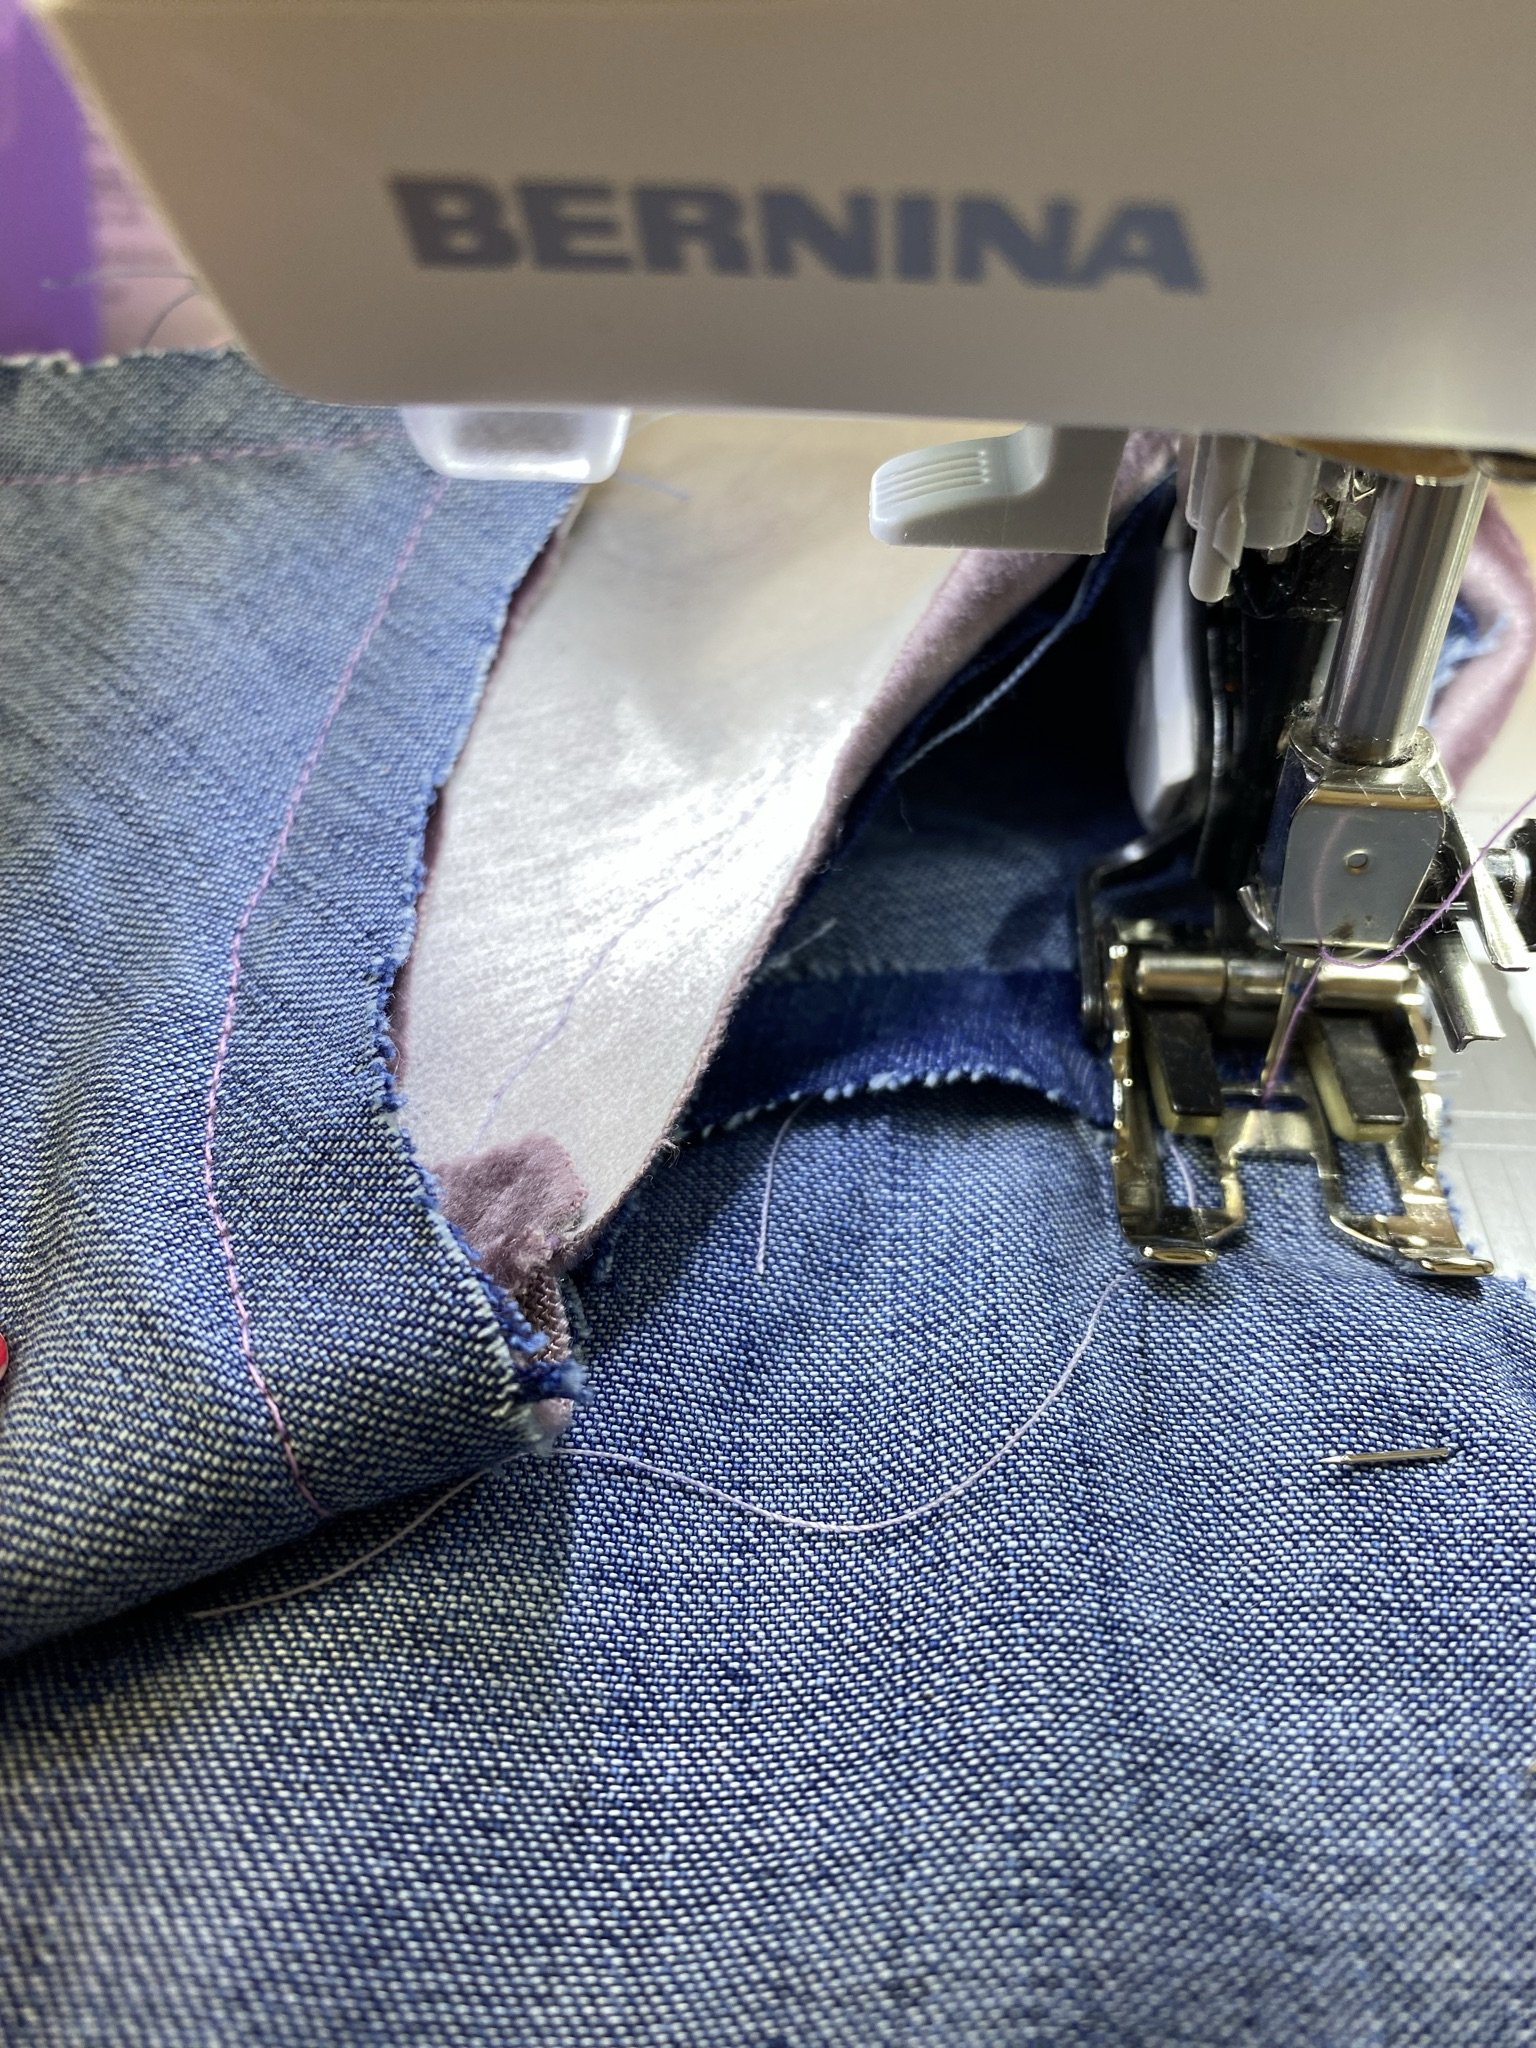
Then trim the seam allowance and cut into the inside curve up to just before the seam. Trim off the corners.
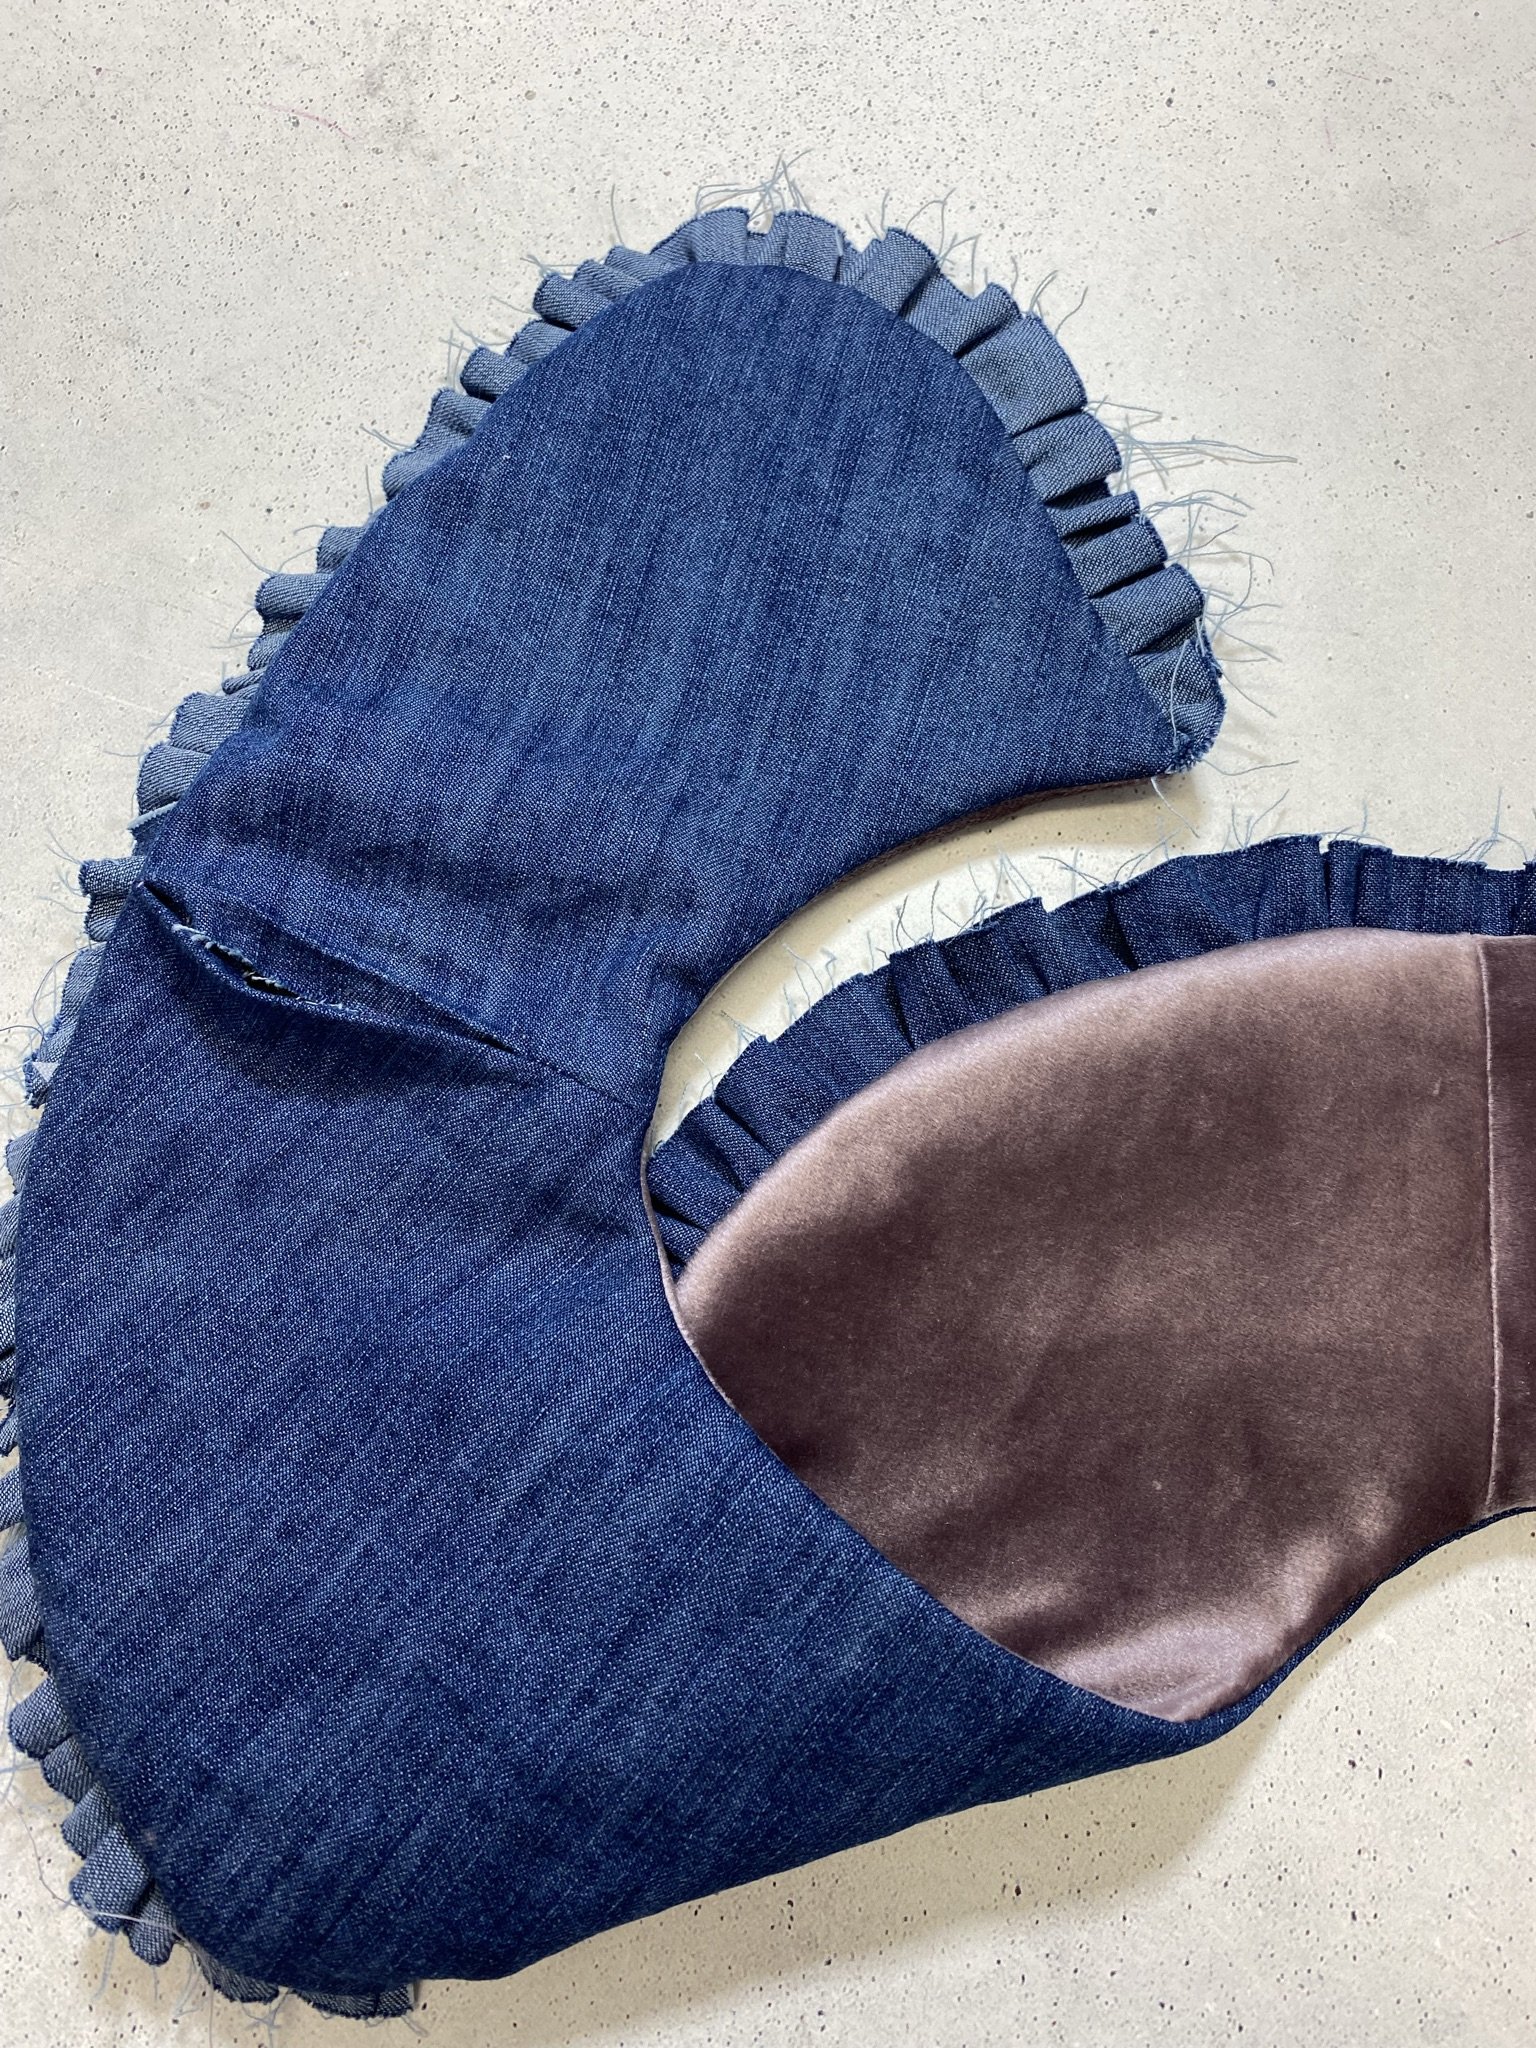
Finishing off the collar
Turn the collar via the turning opening and shape well. Then press with a steam iron very carefully under a damp cloth.

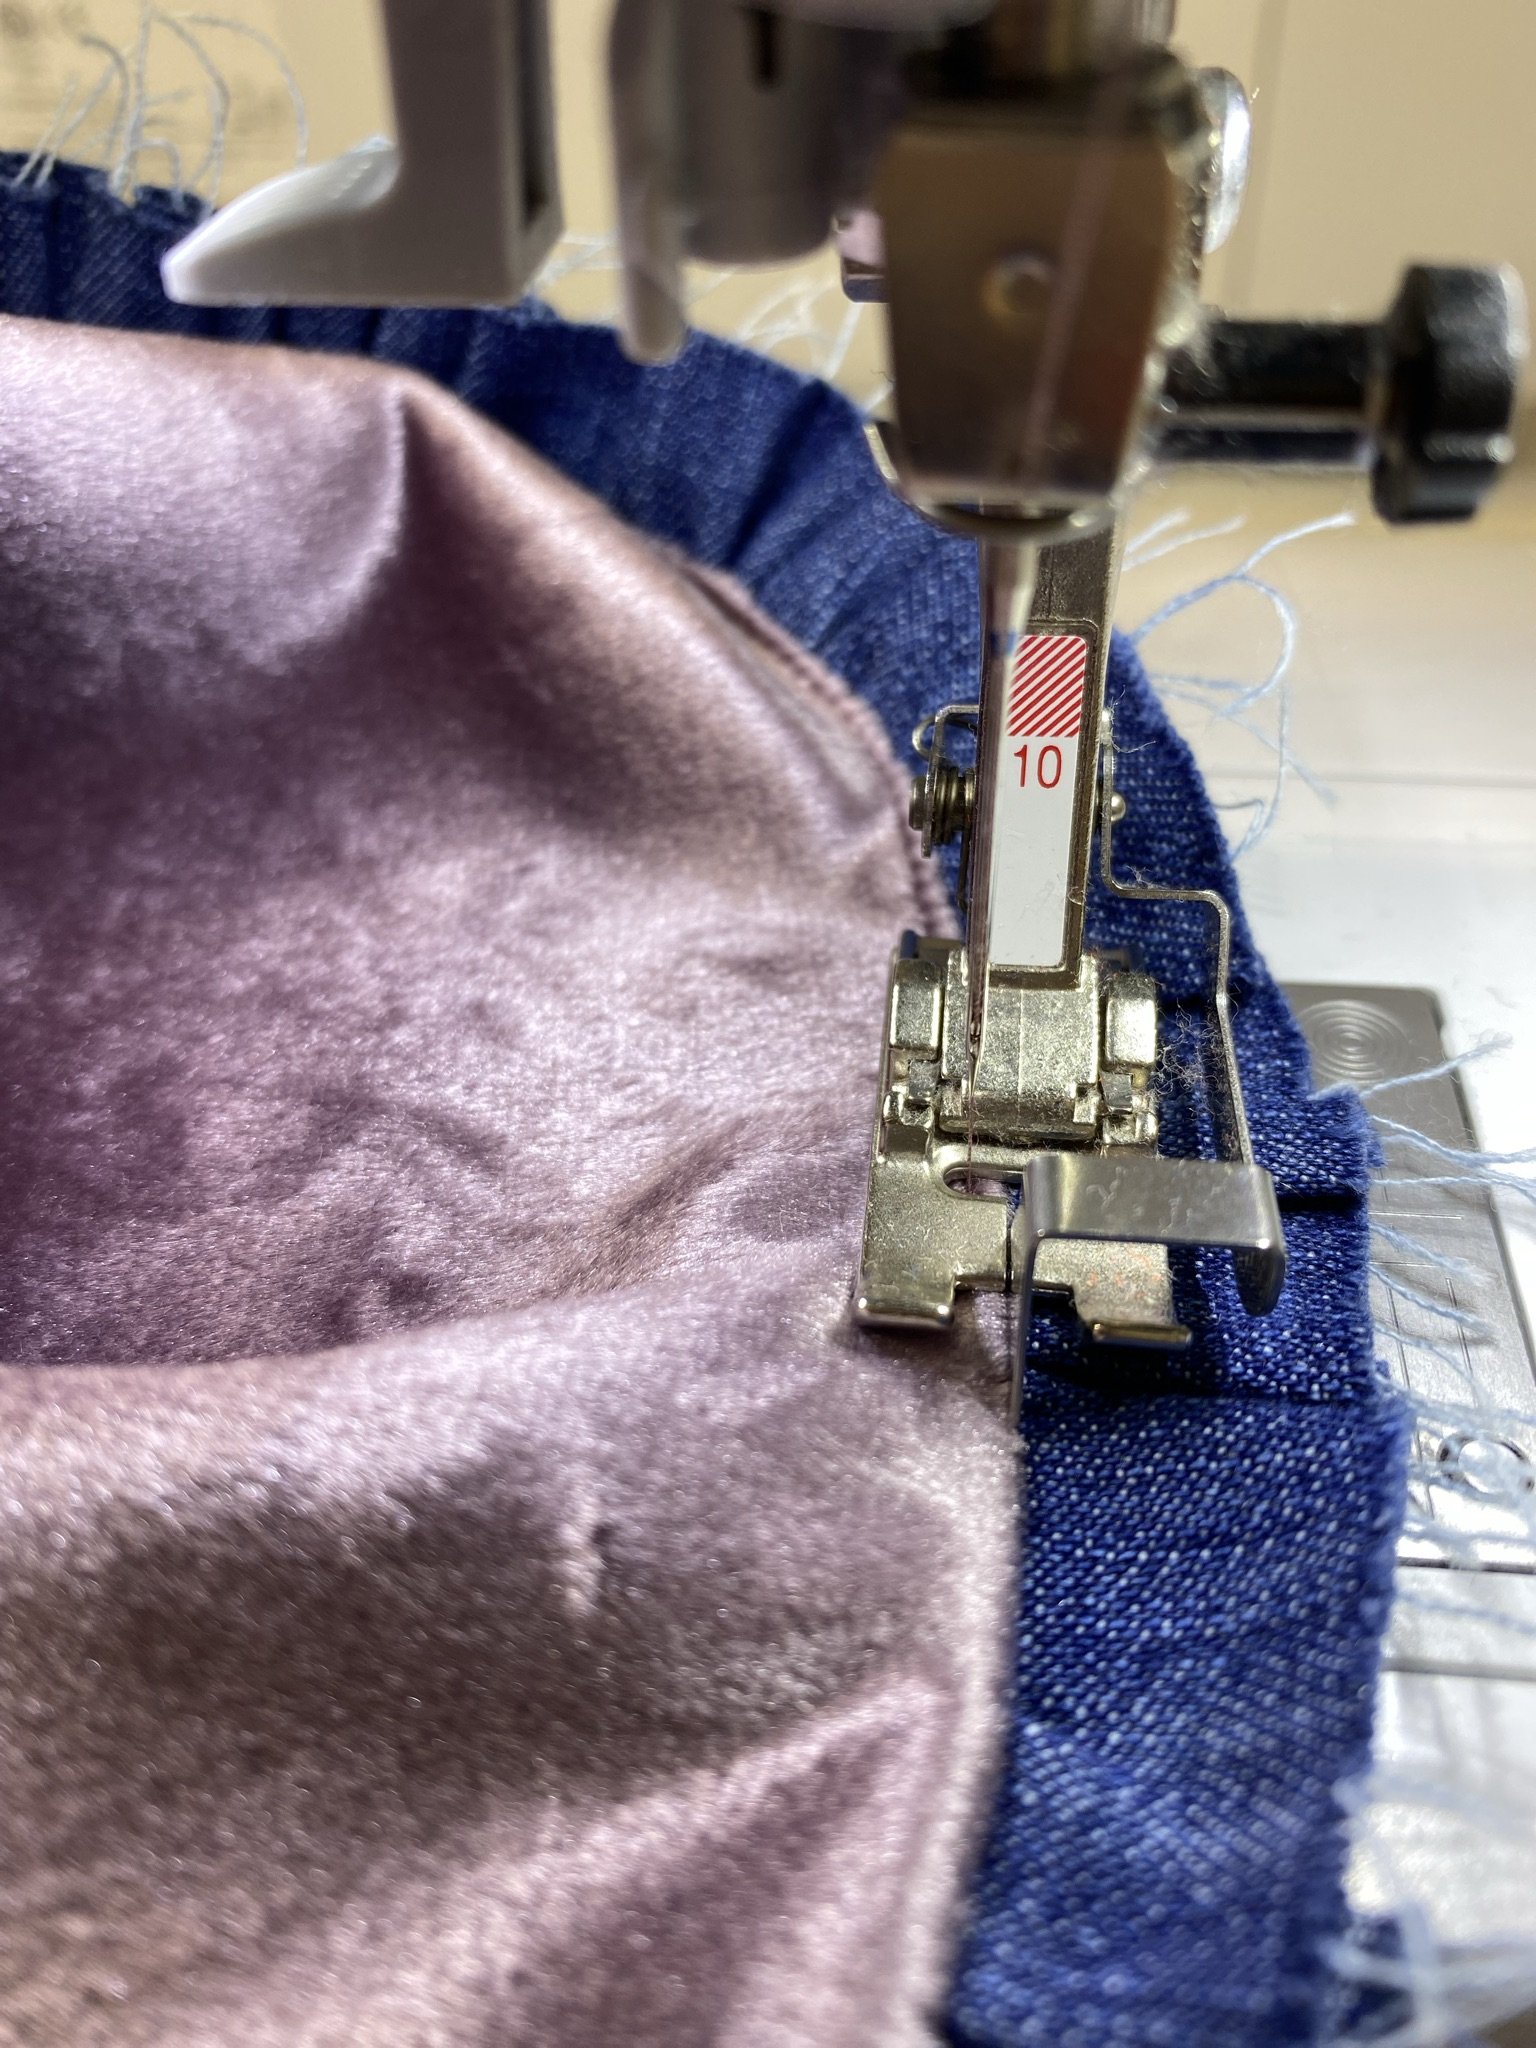
Using Edgestitch Foot #10 to stitch around the edge and close the turning opening with a few hand stitches. I trimmed the frayed edge to the same length.

Finally, attach a hook and eye as the fastening. And your festive statement collar is finished.

Making a collar like this is a great way to use up scraps of fabric.

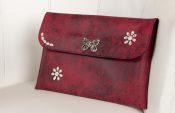
It also makes a great last-minute Christmas gift. I would package it in an elegant box wrapped in tissue paper. Then all that’s left is to tie a pretty ribbon around it and your present is ready!


0 Responses