 BERNINA Corporate Blog -
Andrea from Quiltmanufaktur and author for the German BERNINA blog is your guide for this fantastic quilt-along over the next 12 months. Together, you will sew classic patchwork blocks and combine them into a sampler. The completed quilt will be traditional, yet modern! The next part has been written and we are delighted that you join this quilt project.
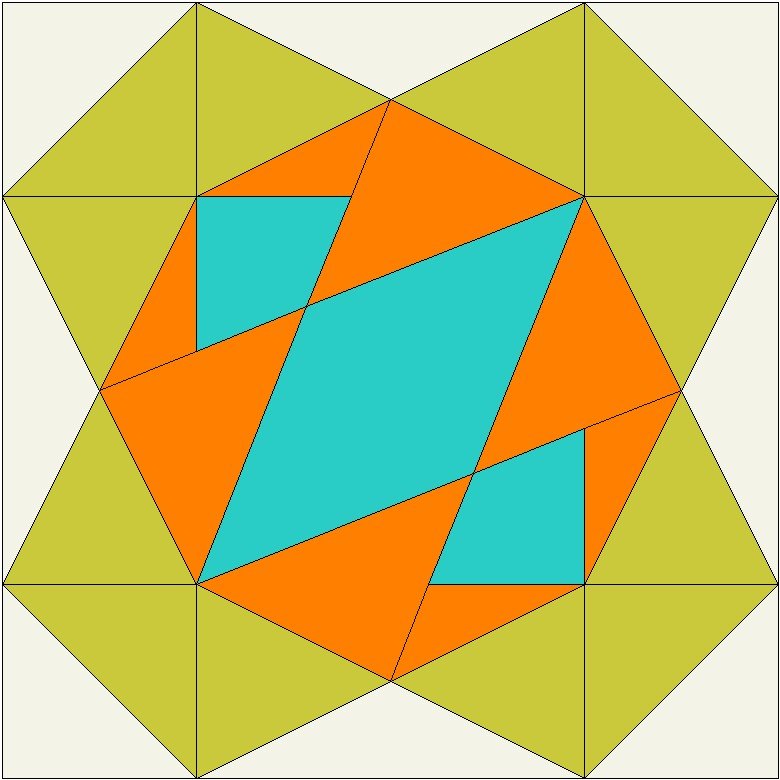
Happy New Year and welcome to the 26th block of the Old Block Quilt-Along! The new block is called “Dove in the Window”.
I hope you have all had a great start to the new year. Perhaps the little break helped you catch up on any missing blocks for our joint Old Block Quilt-Along and you are now up-to-date. Don’t forget to share your blocks with us here on the blog, on Instagram or Facebook. I can’t wait to see them.
Today, we are continuing with the 10-inch block “Dove in the Window”.
In her 1929 book “Old Patchwork Quilts”, Ruth Finley traces the name of this block back to a farming tradition in which holes were drilled under the eaves of barns to keep doves. Doves were kept as pets by the farmers.
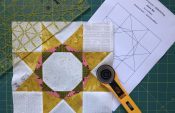
We are sewing the “Dove in the Window” patchwork block
This block is a bit tricky, but I’m sure you’ll do a good job with my instructions! Read through everything first, take a look at the pictures and then you can get started!

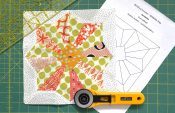
I have prepared pattern templates as well as FPP templates for the “Dove in the Window” patchwork block. In the diagram, you can see the segments that are made for the templates using foundation paper piecing. I described the same method in the instructions for sewing using the pattern templates.
Download the patchwork templates
For cutting out, I have created three PDF documents to download:
- The first is a coloring sheet. This allows you to try out colors and designs for this block to see what they look like.
- On the second PDF you will find the templates for the foundation paper piecing
- and on the third you will find the pattern templates.
On the PDF with the pattern templates, I have put a control square with a side length of 1 inch so that you can check whether your printout of the templates is the right size. It is important to set your print options to “Actual size”.
Here are the downloads:
- “Dove in the Window” coloring sheet
- “Dove in the Window” FPP templates
- “Dove in the Window” pattern templates
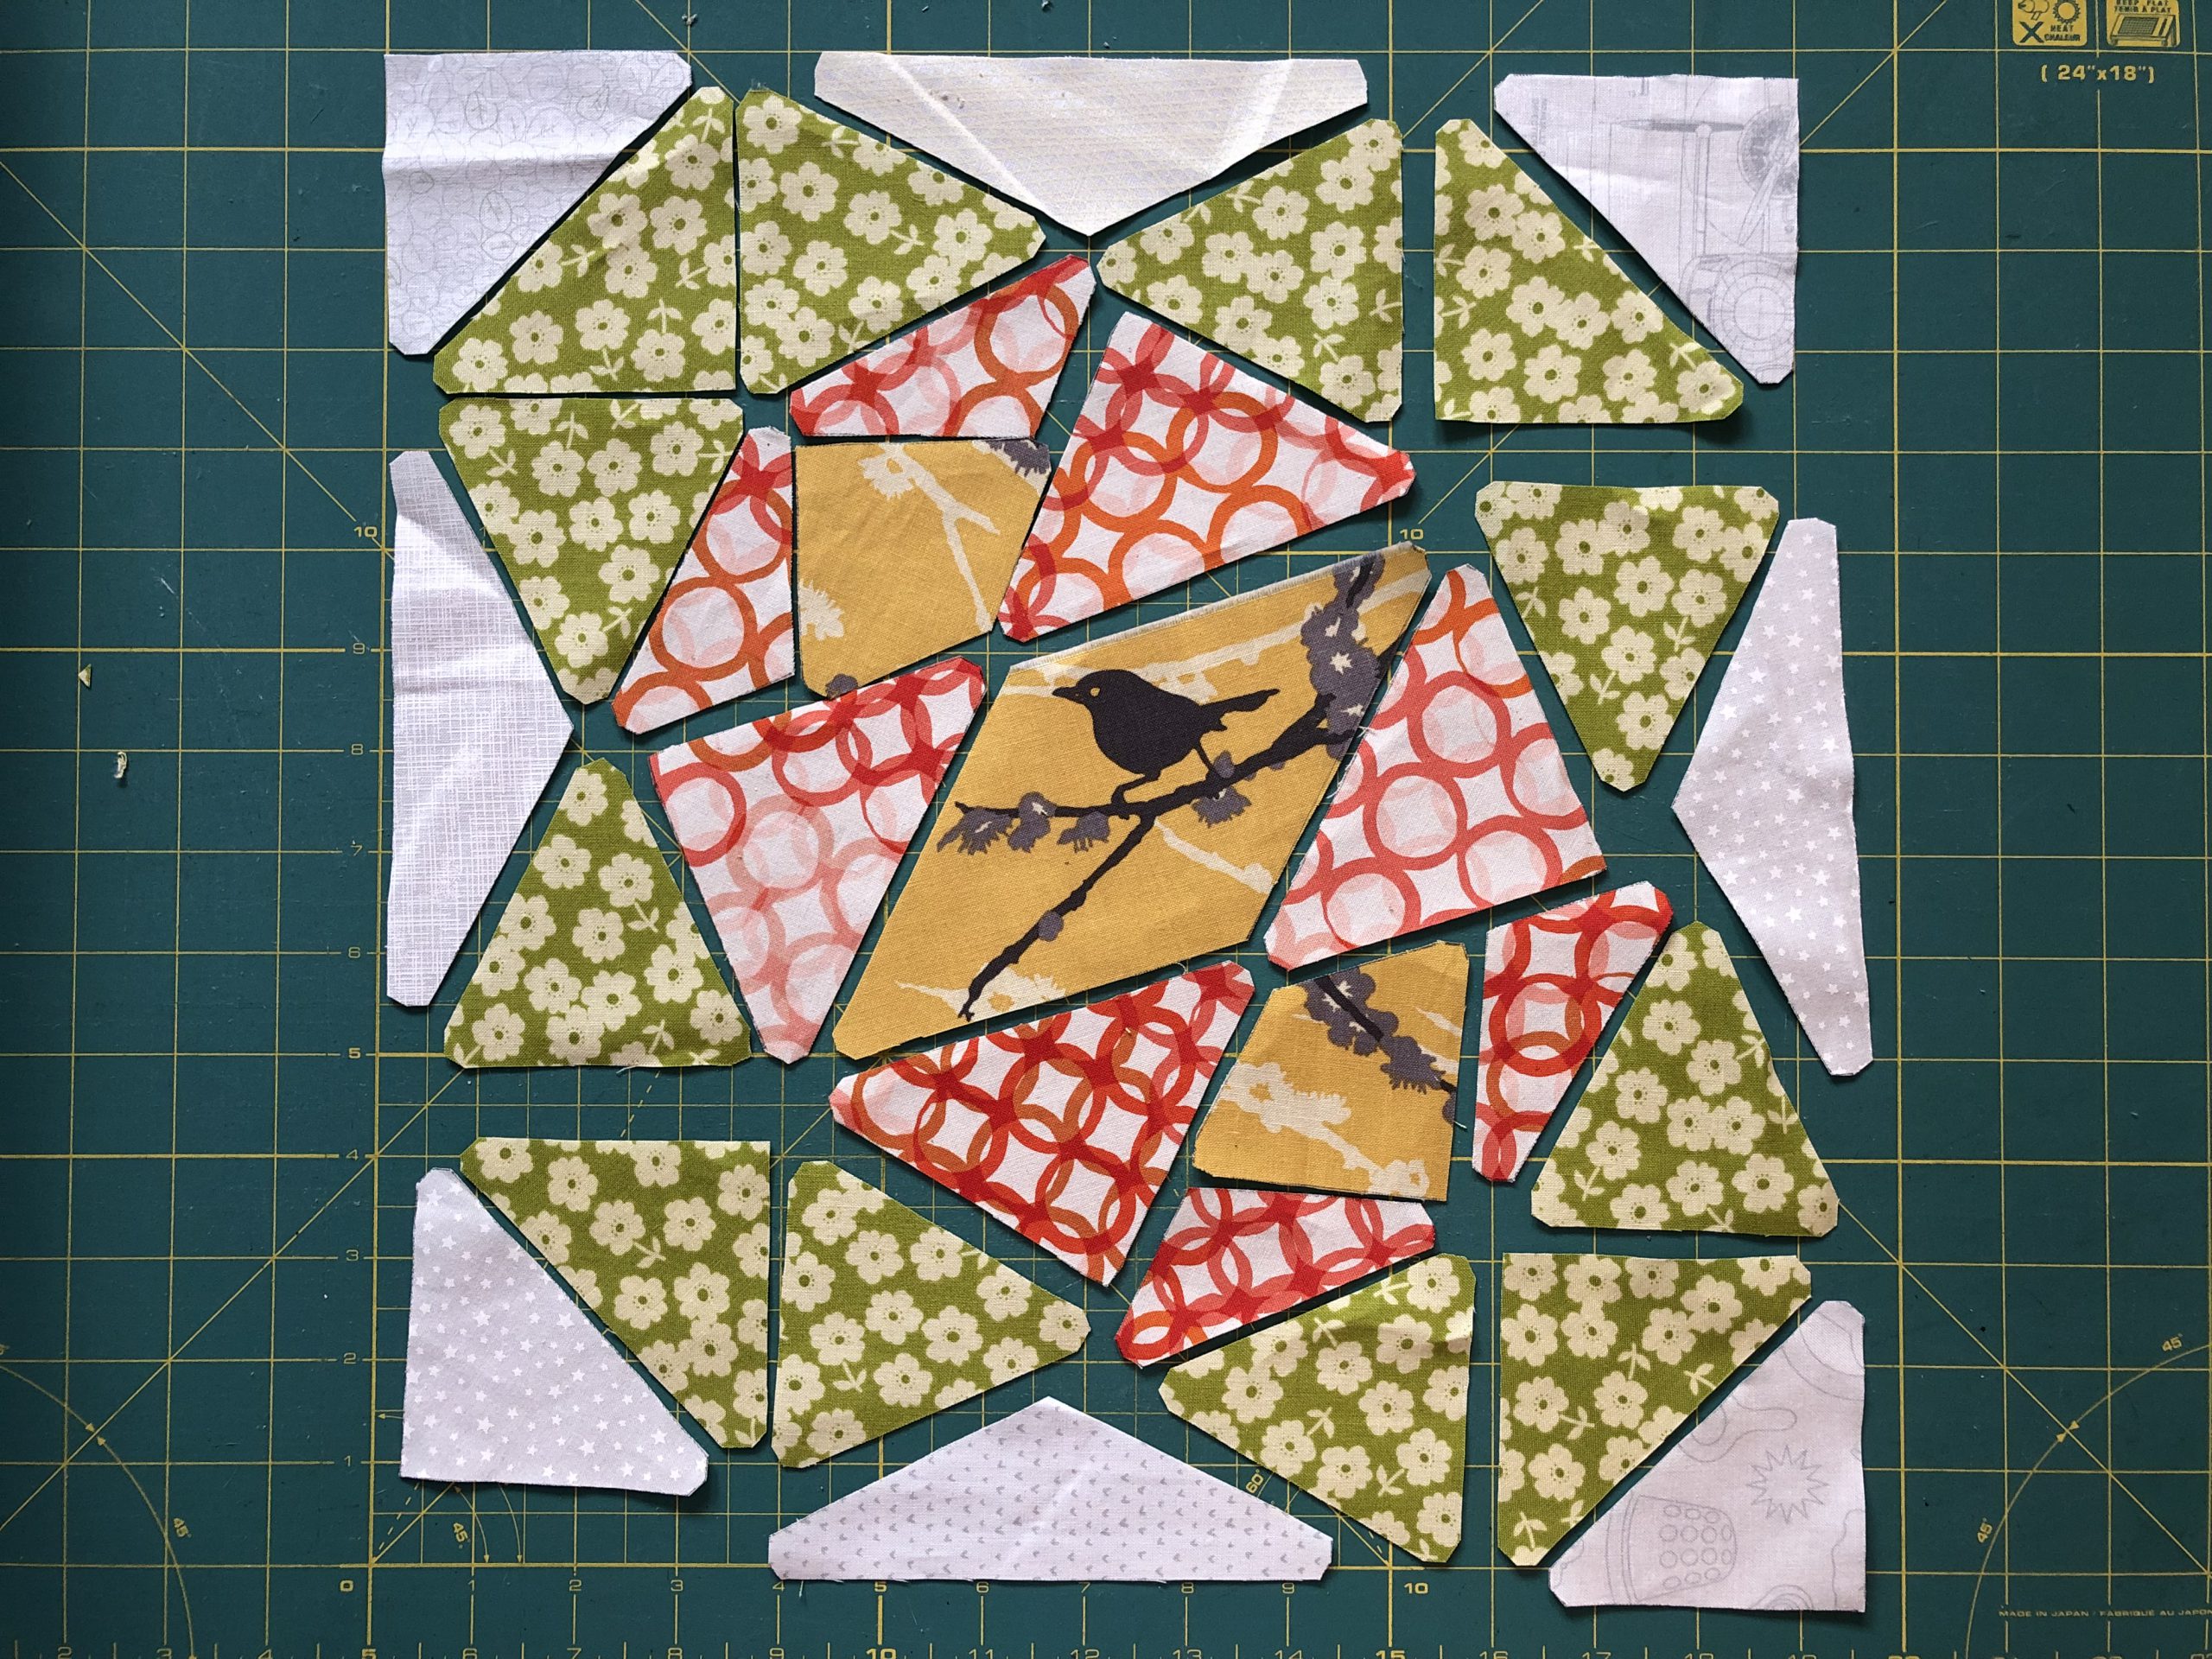
Cutting out the pattern pieces
You will need to cut out the following number of pieces:
- Template A: 4 x background fabric 4 x patterned fabric
- Template B: 4 x background fabric
- Template C: 8 x patterned fabric
- Template D: 2 x patterned fabric
- Template E: 2 x patterned fabric
- Template F: 2 x patterned fabric
- Template G: 2 x patterned fabric
- Template H: 2 x patterned fabric
- Template I: 1 x patterned fabric
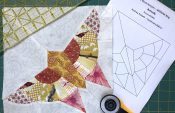
Sewing the patchwork block
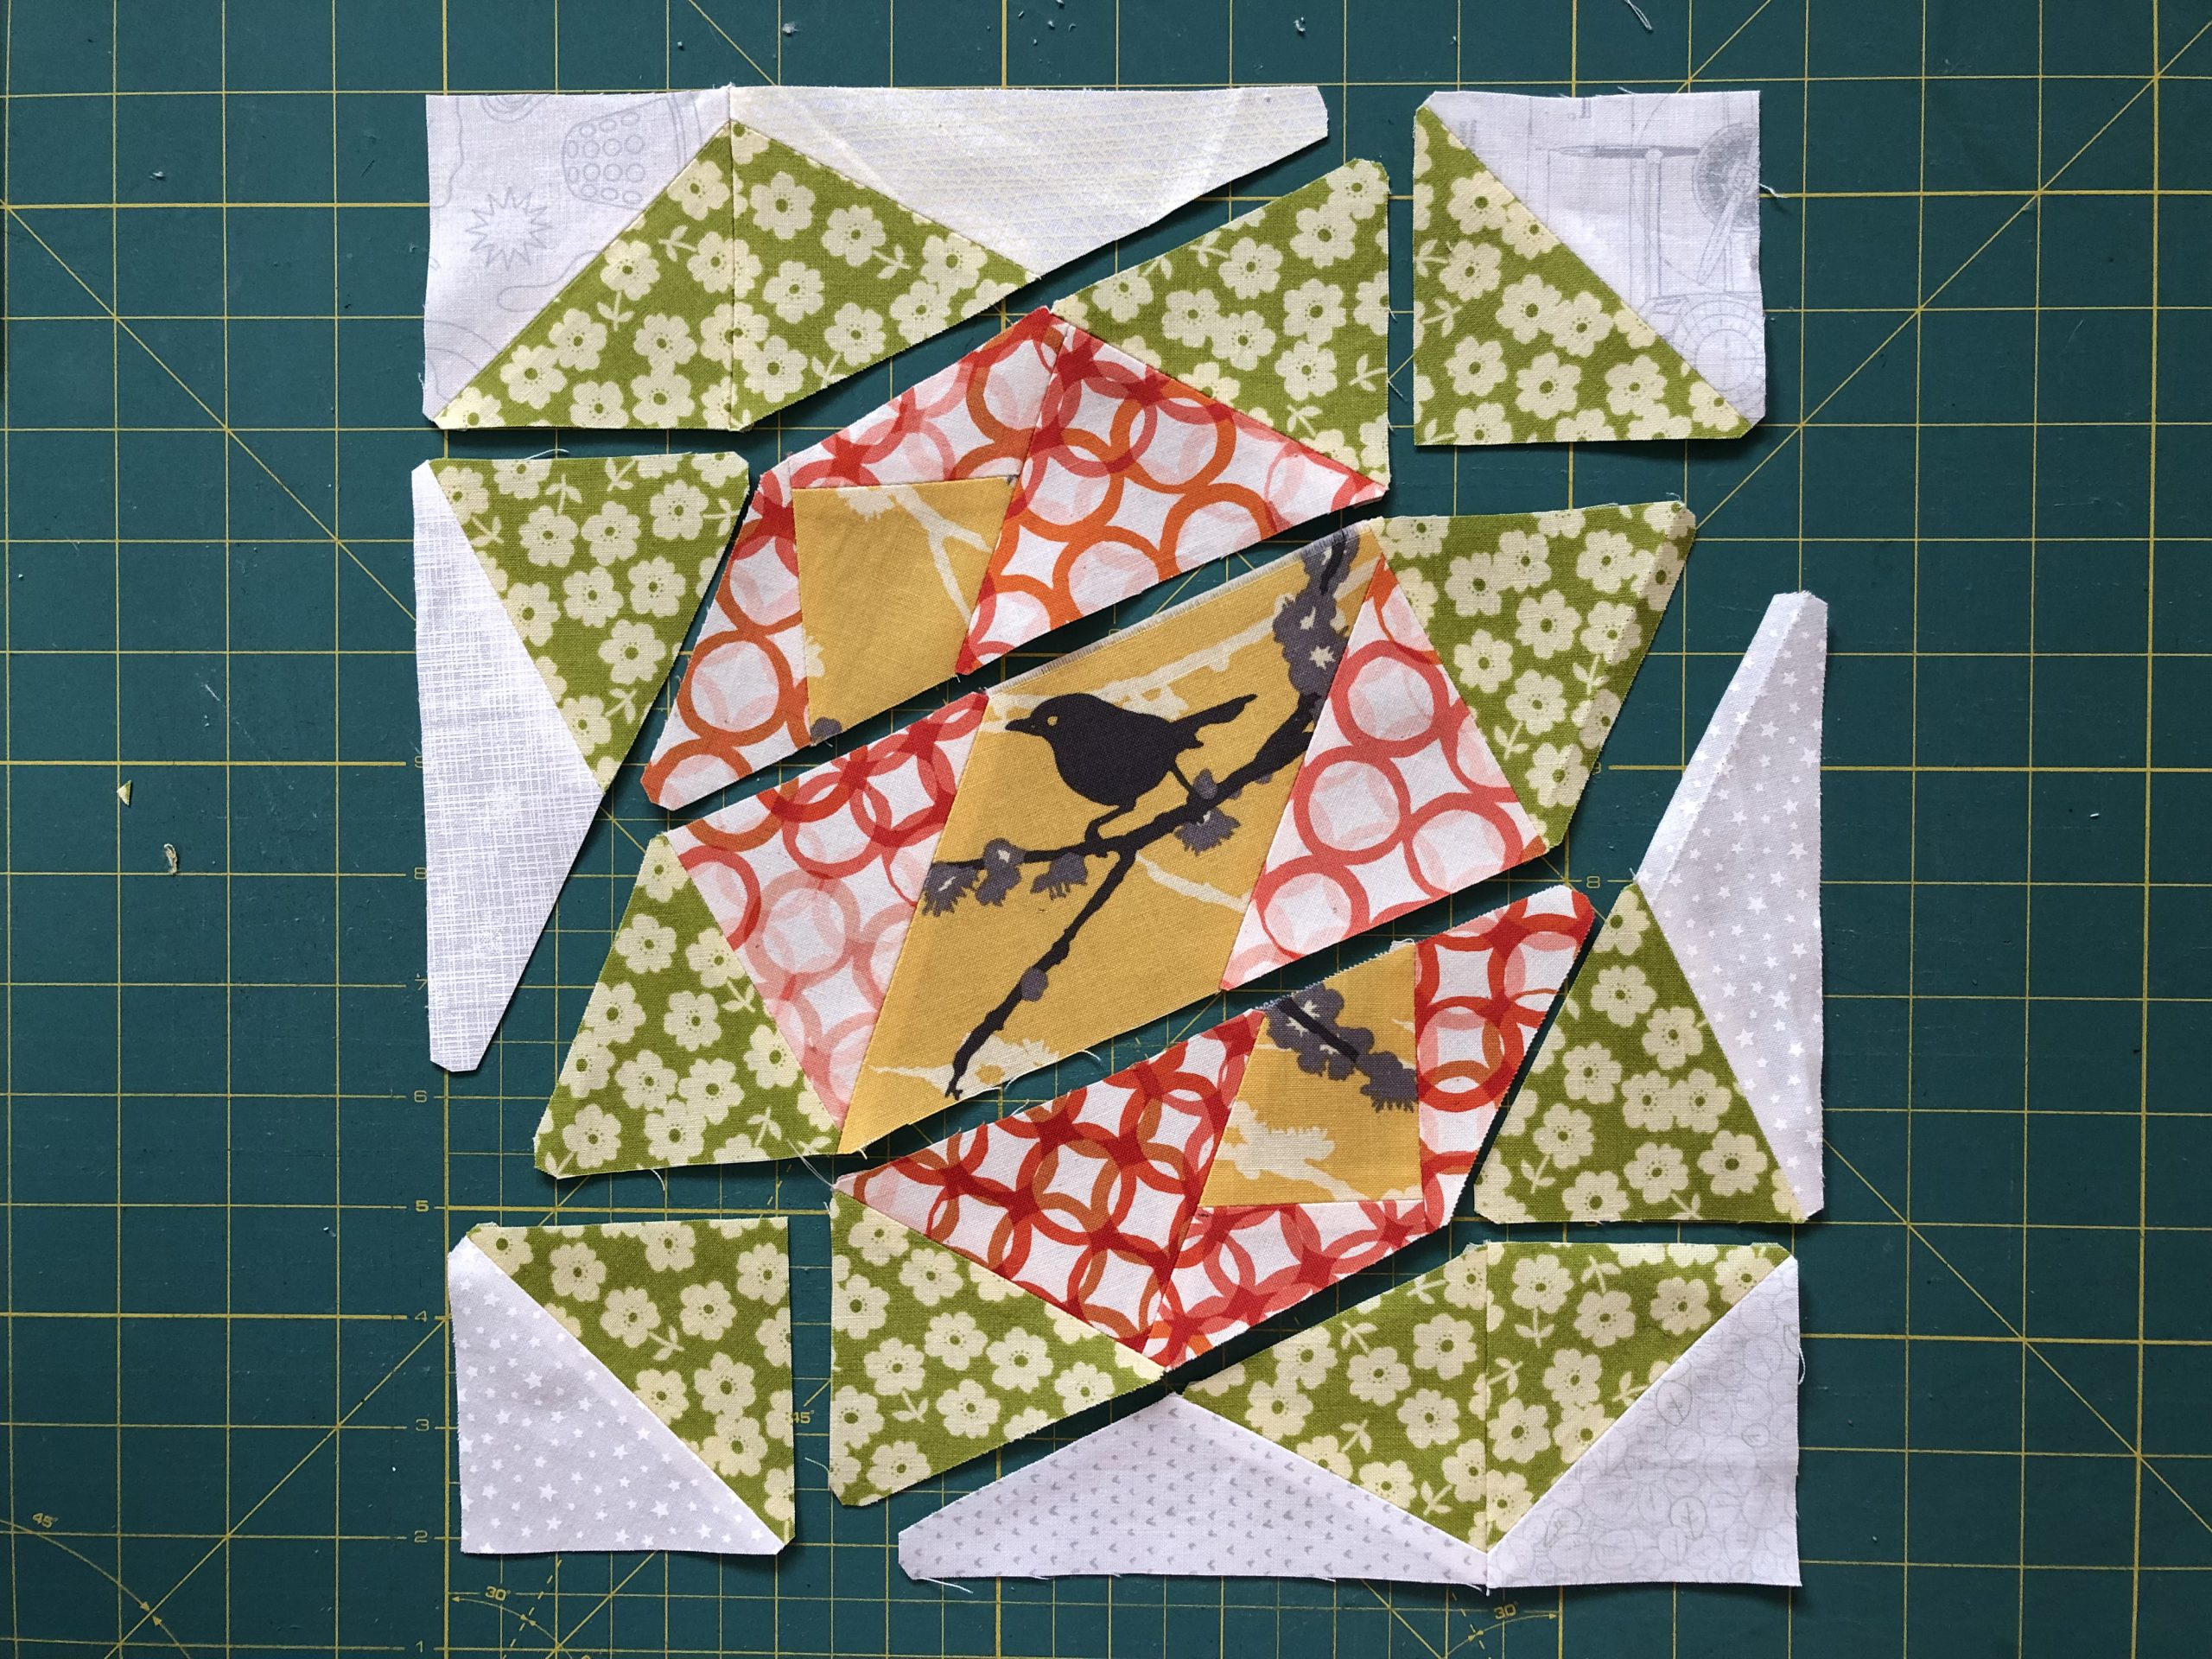
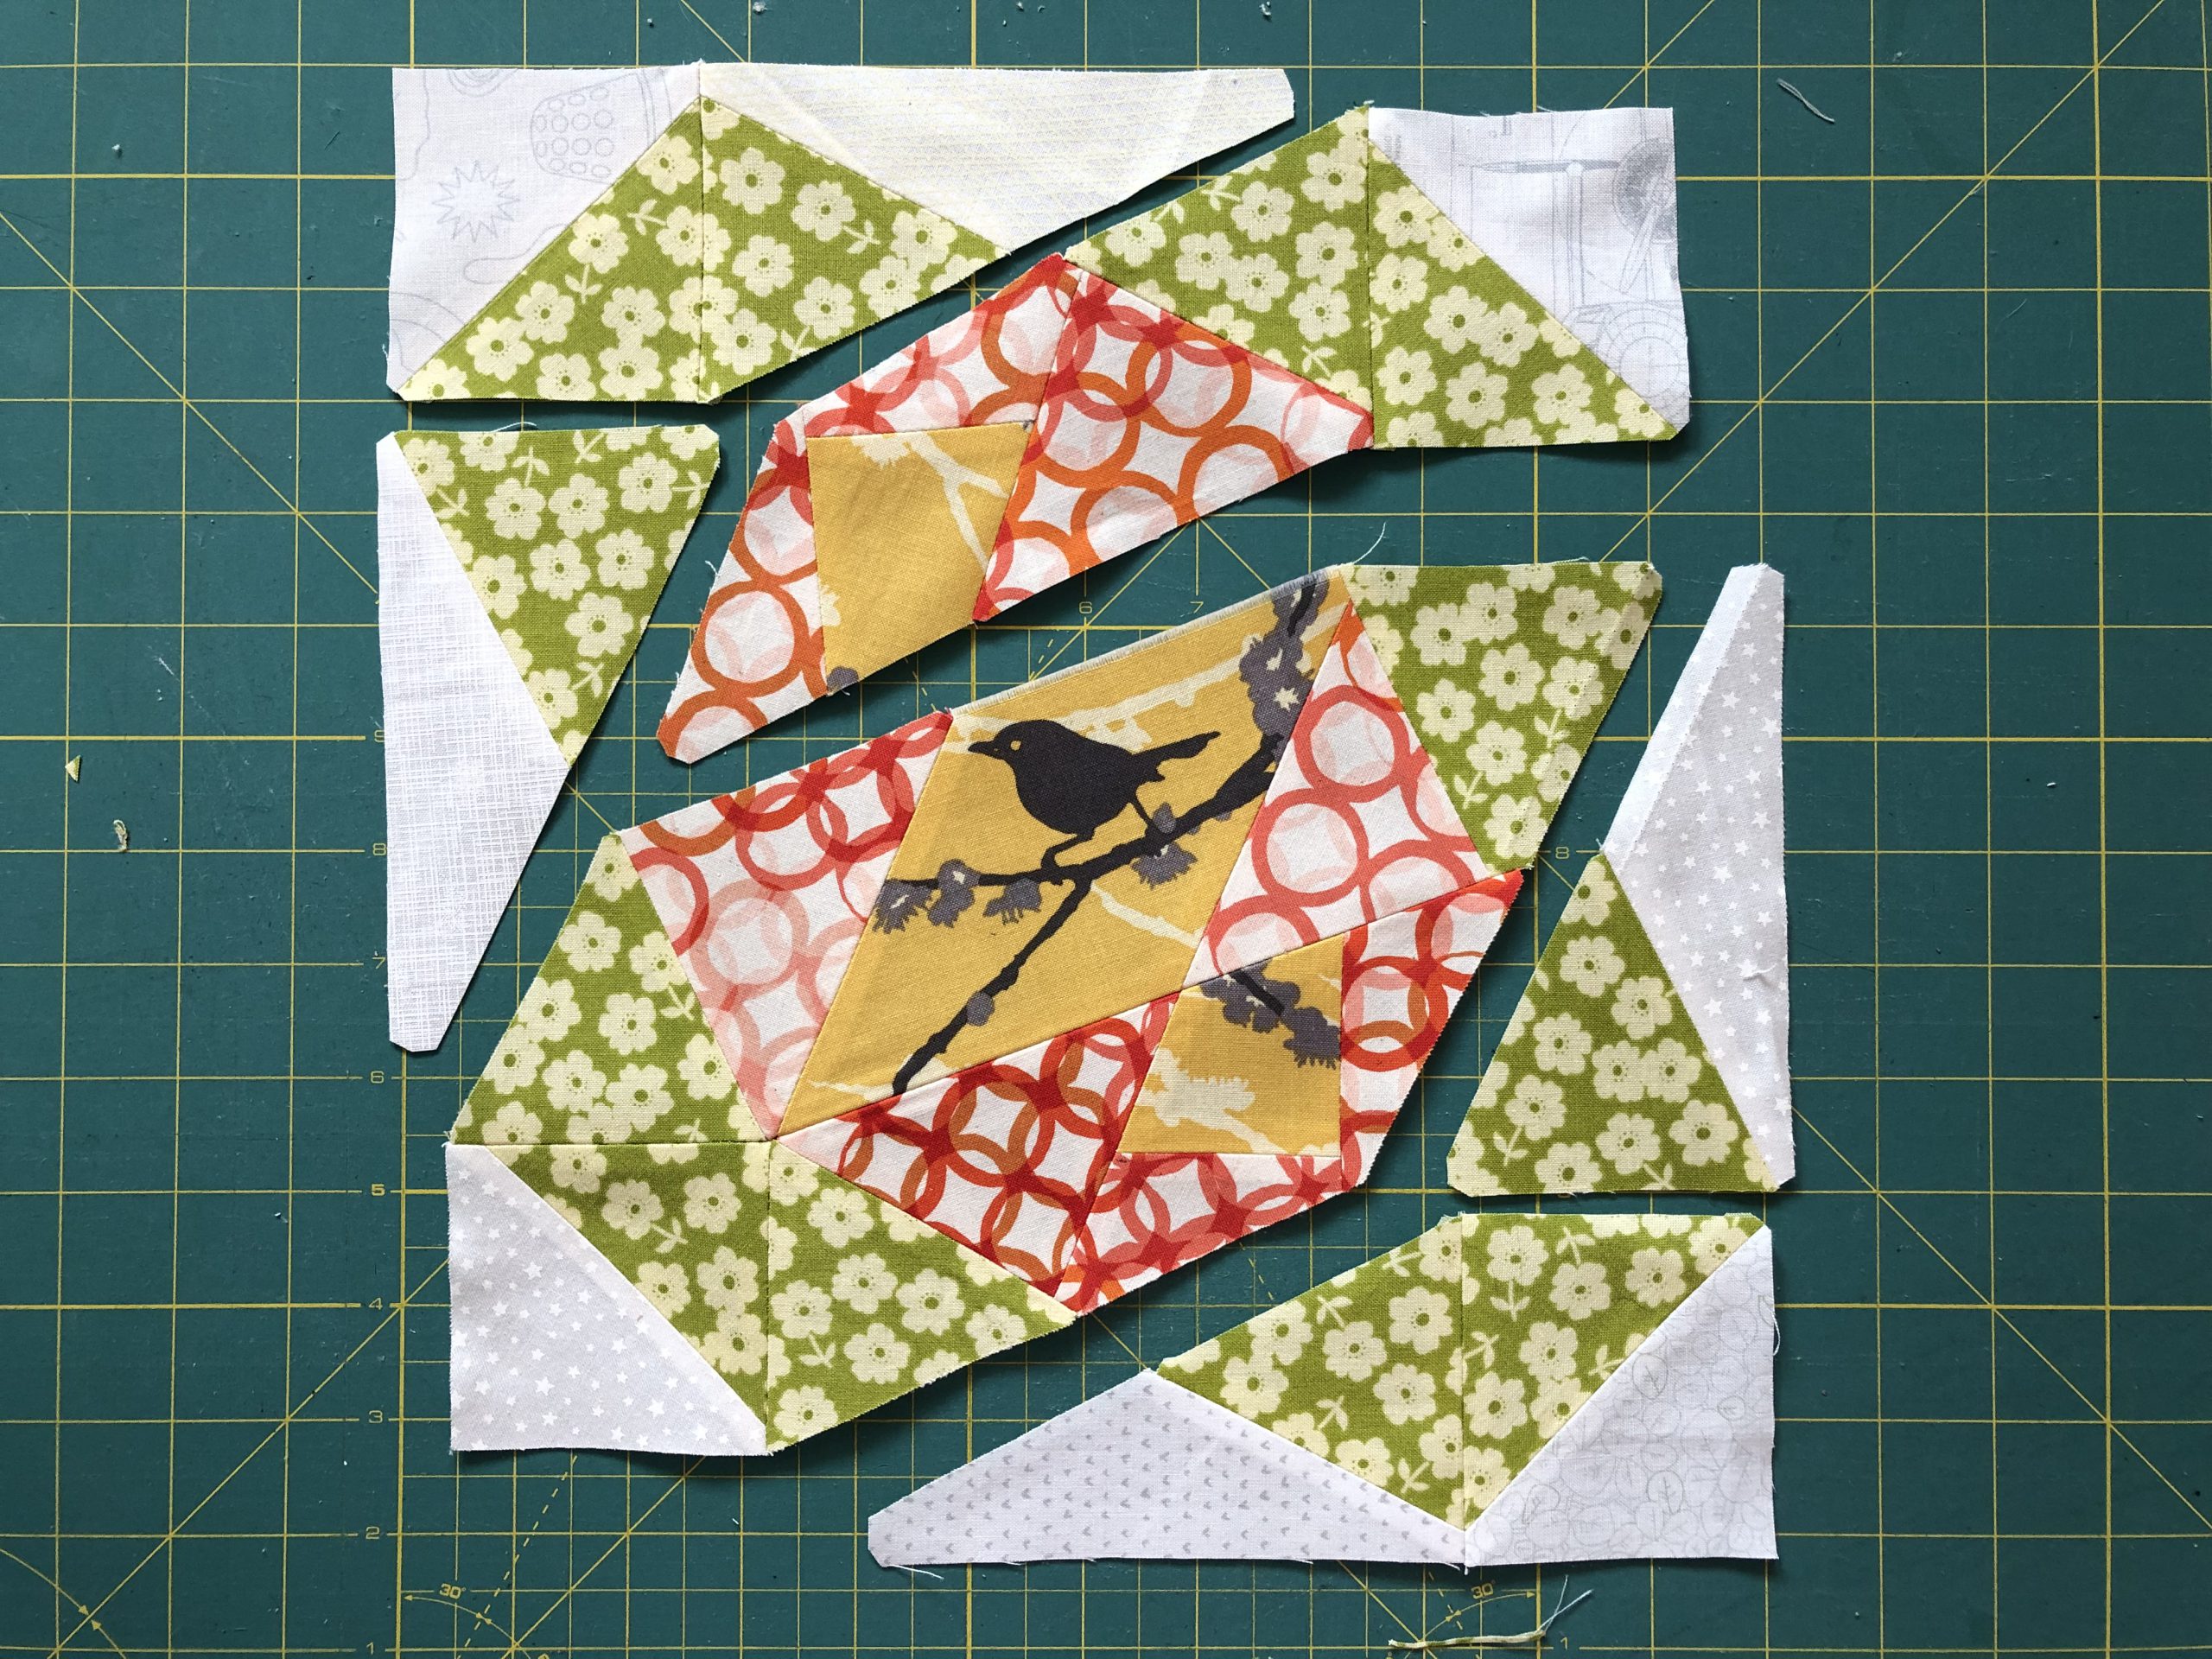
In the following illustrated instructions, I will show you how to sew the block using the pattern templates. From the 3rd picture onwards, it is assembled in the same way as the FPP templates! Once again, start by laying out your cut-out pieces so that you have an overview of the Dove in the Window block you are sewing.
Start with the four half square triangles in the corners.

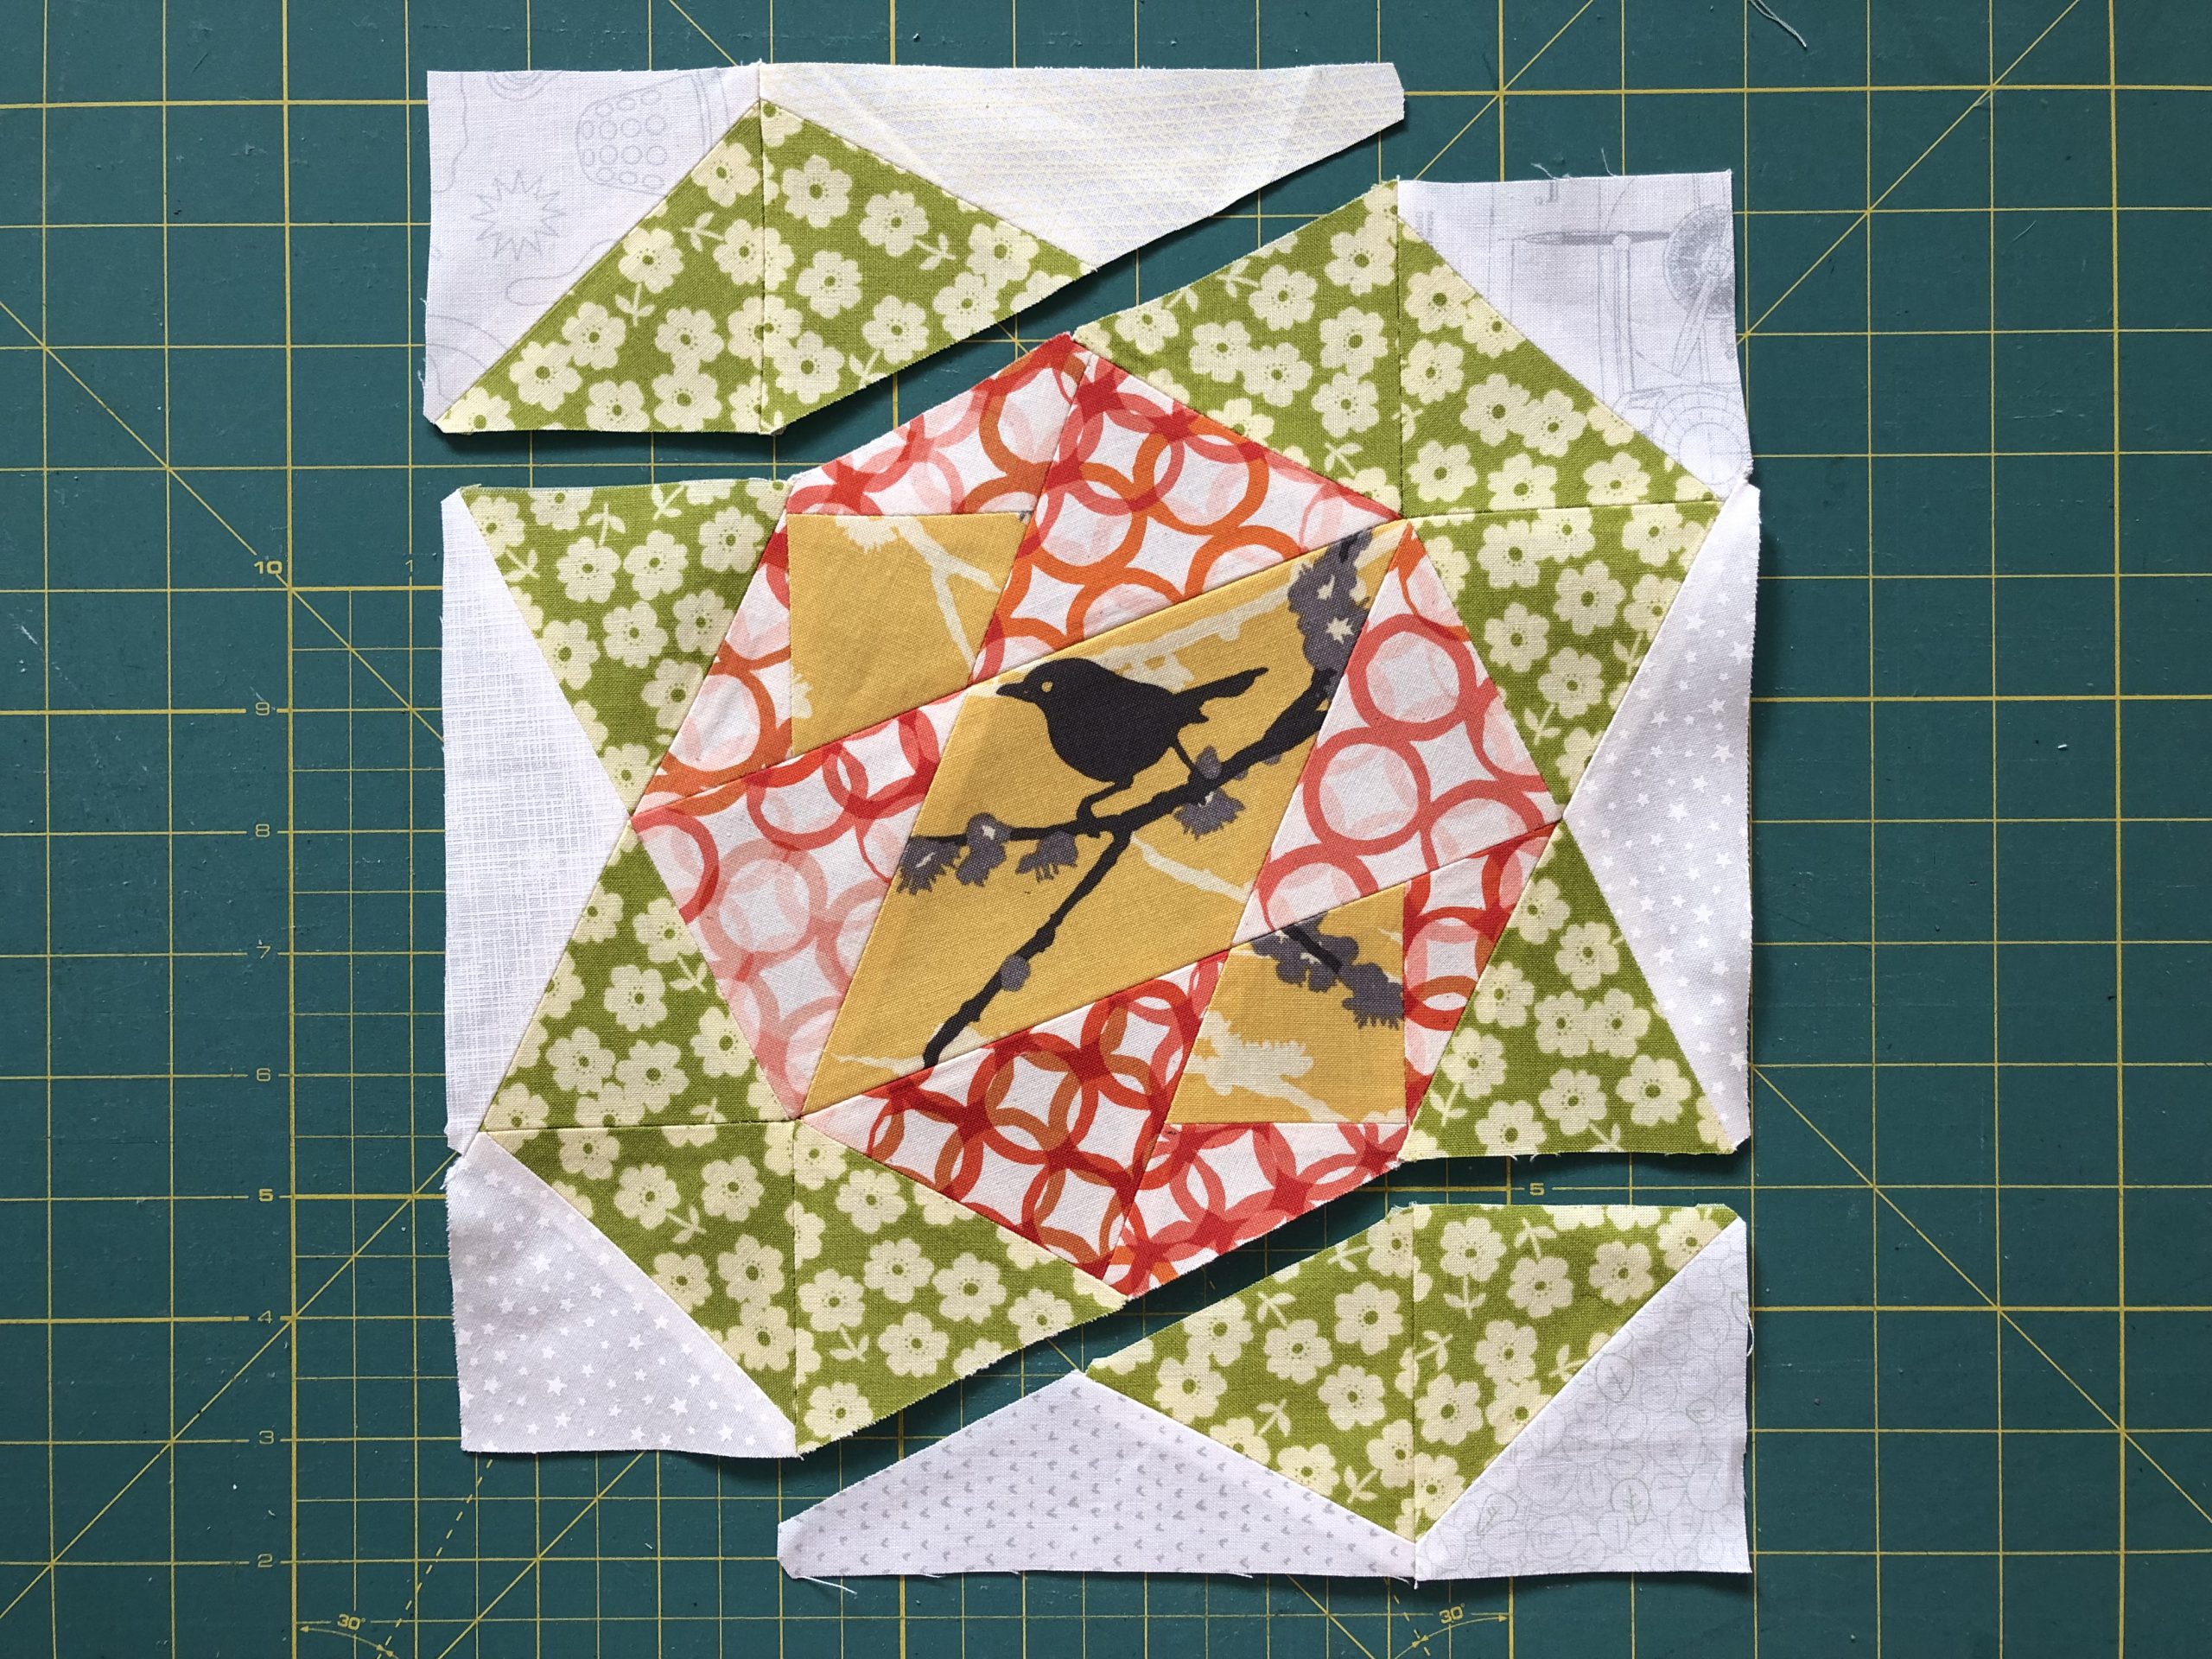
Then sew one B piece + one C piece together. At the top right and bottom left, sew the pieces onto the outer squares. Join the three middle strips together as shown in the picture below. This corresponds to FPP pieces A, B and C.
Now join the top outer right square to strip B and the bottom outer left square to strip C. You can now see that there are seams coming up that have to be sewn “around the corner”…
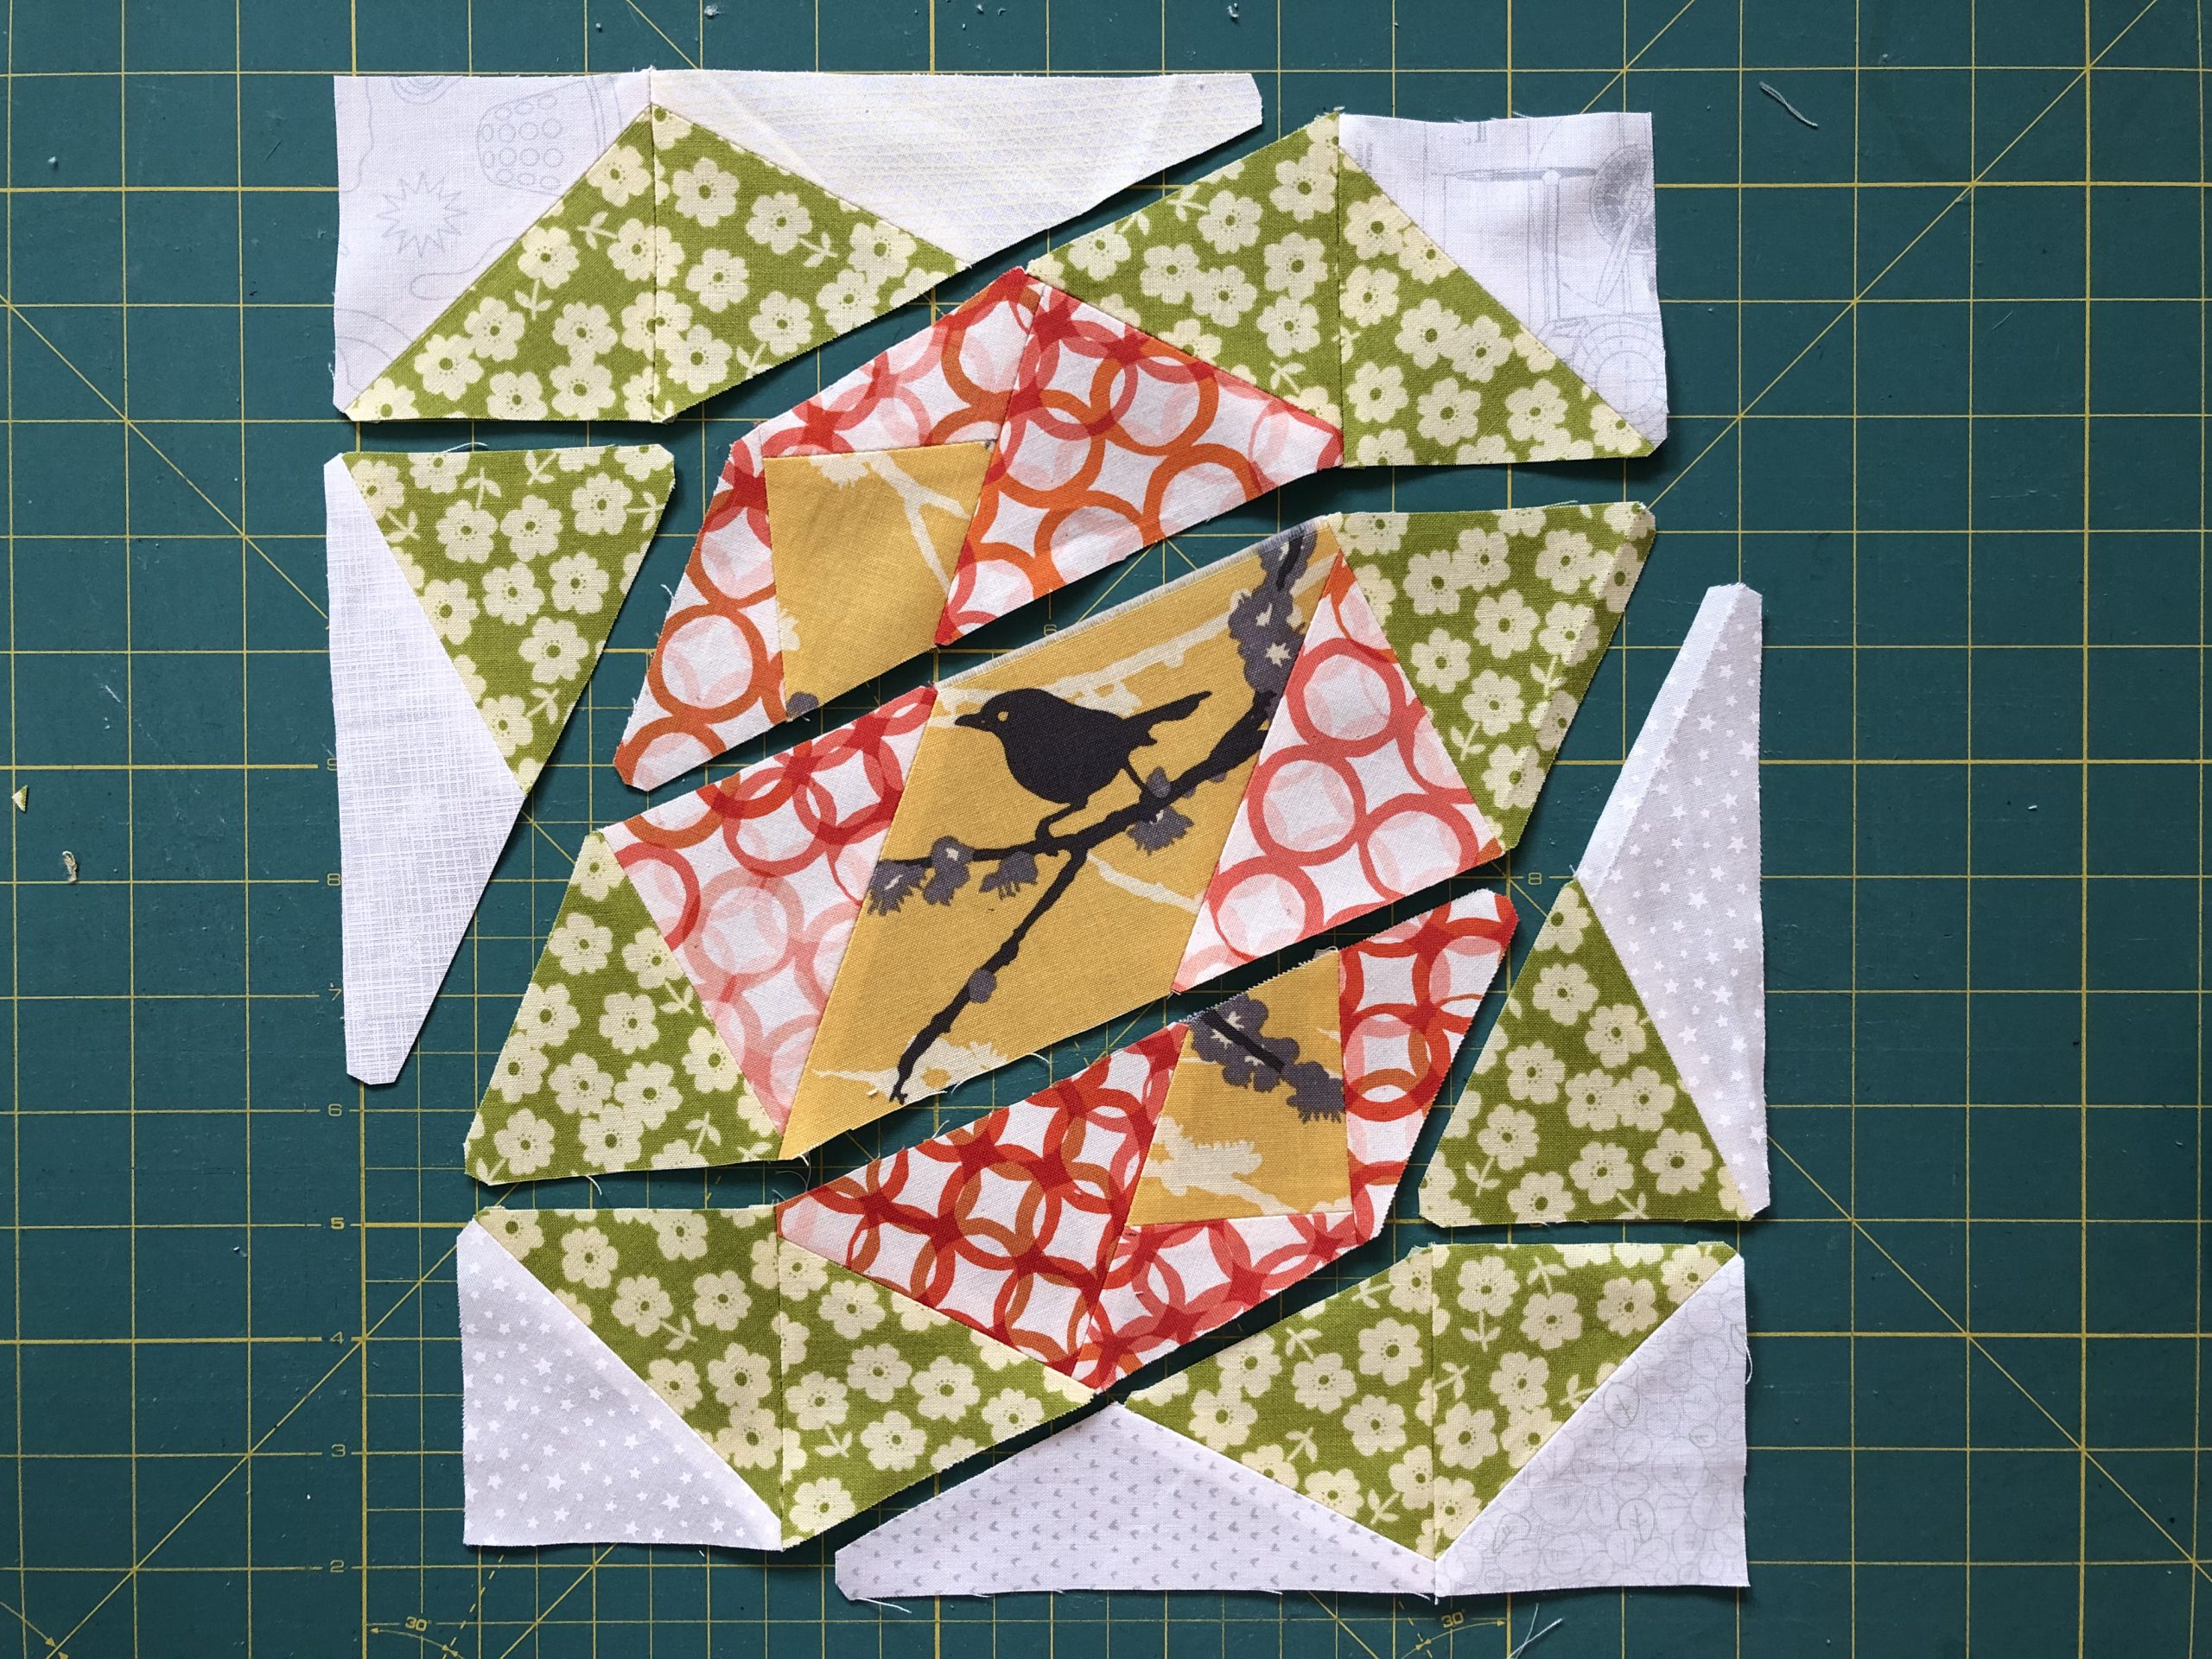
These seams are sewn a little like the Y-seams, but are not as complicated. In principle, you can even sew the seam in one pass. I will leave it up to you to decide how you ultimately want to do it. I have not added comments to the pictures below because they are self-explanatory. If you follow my method, you should be able to sew it together without any problems!
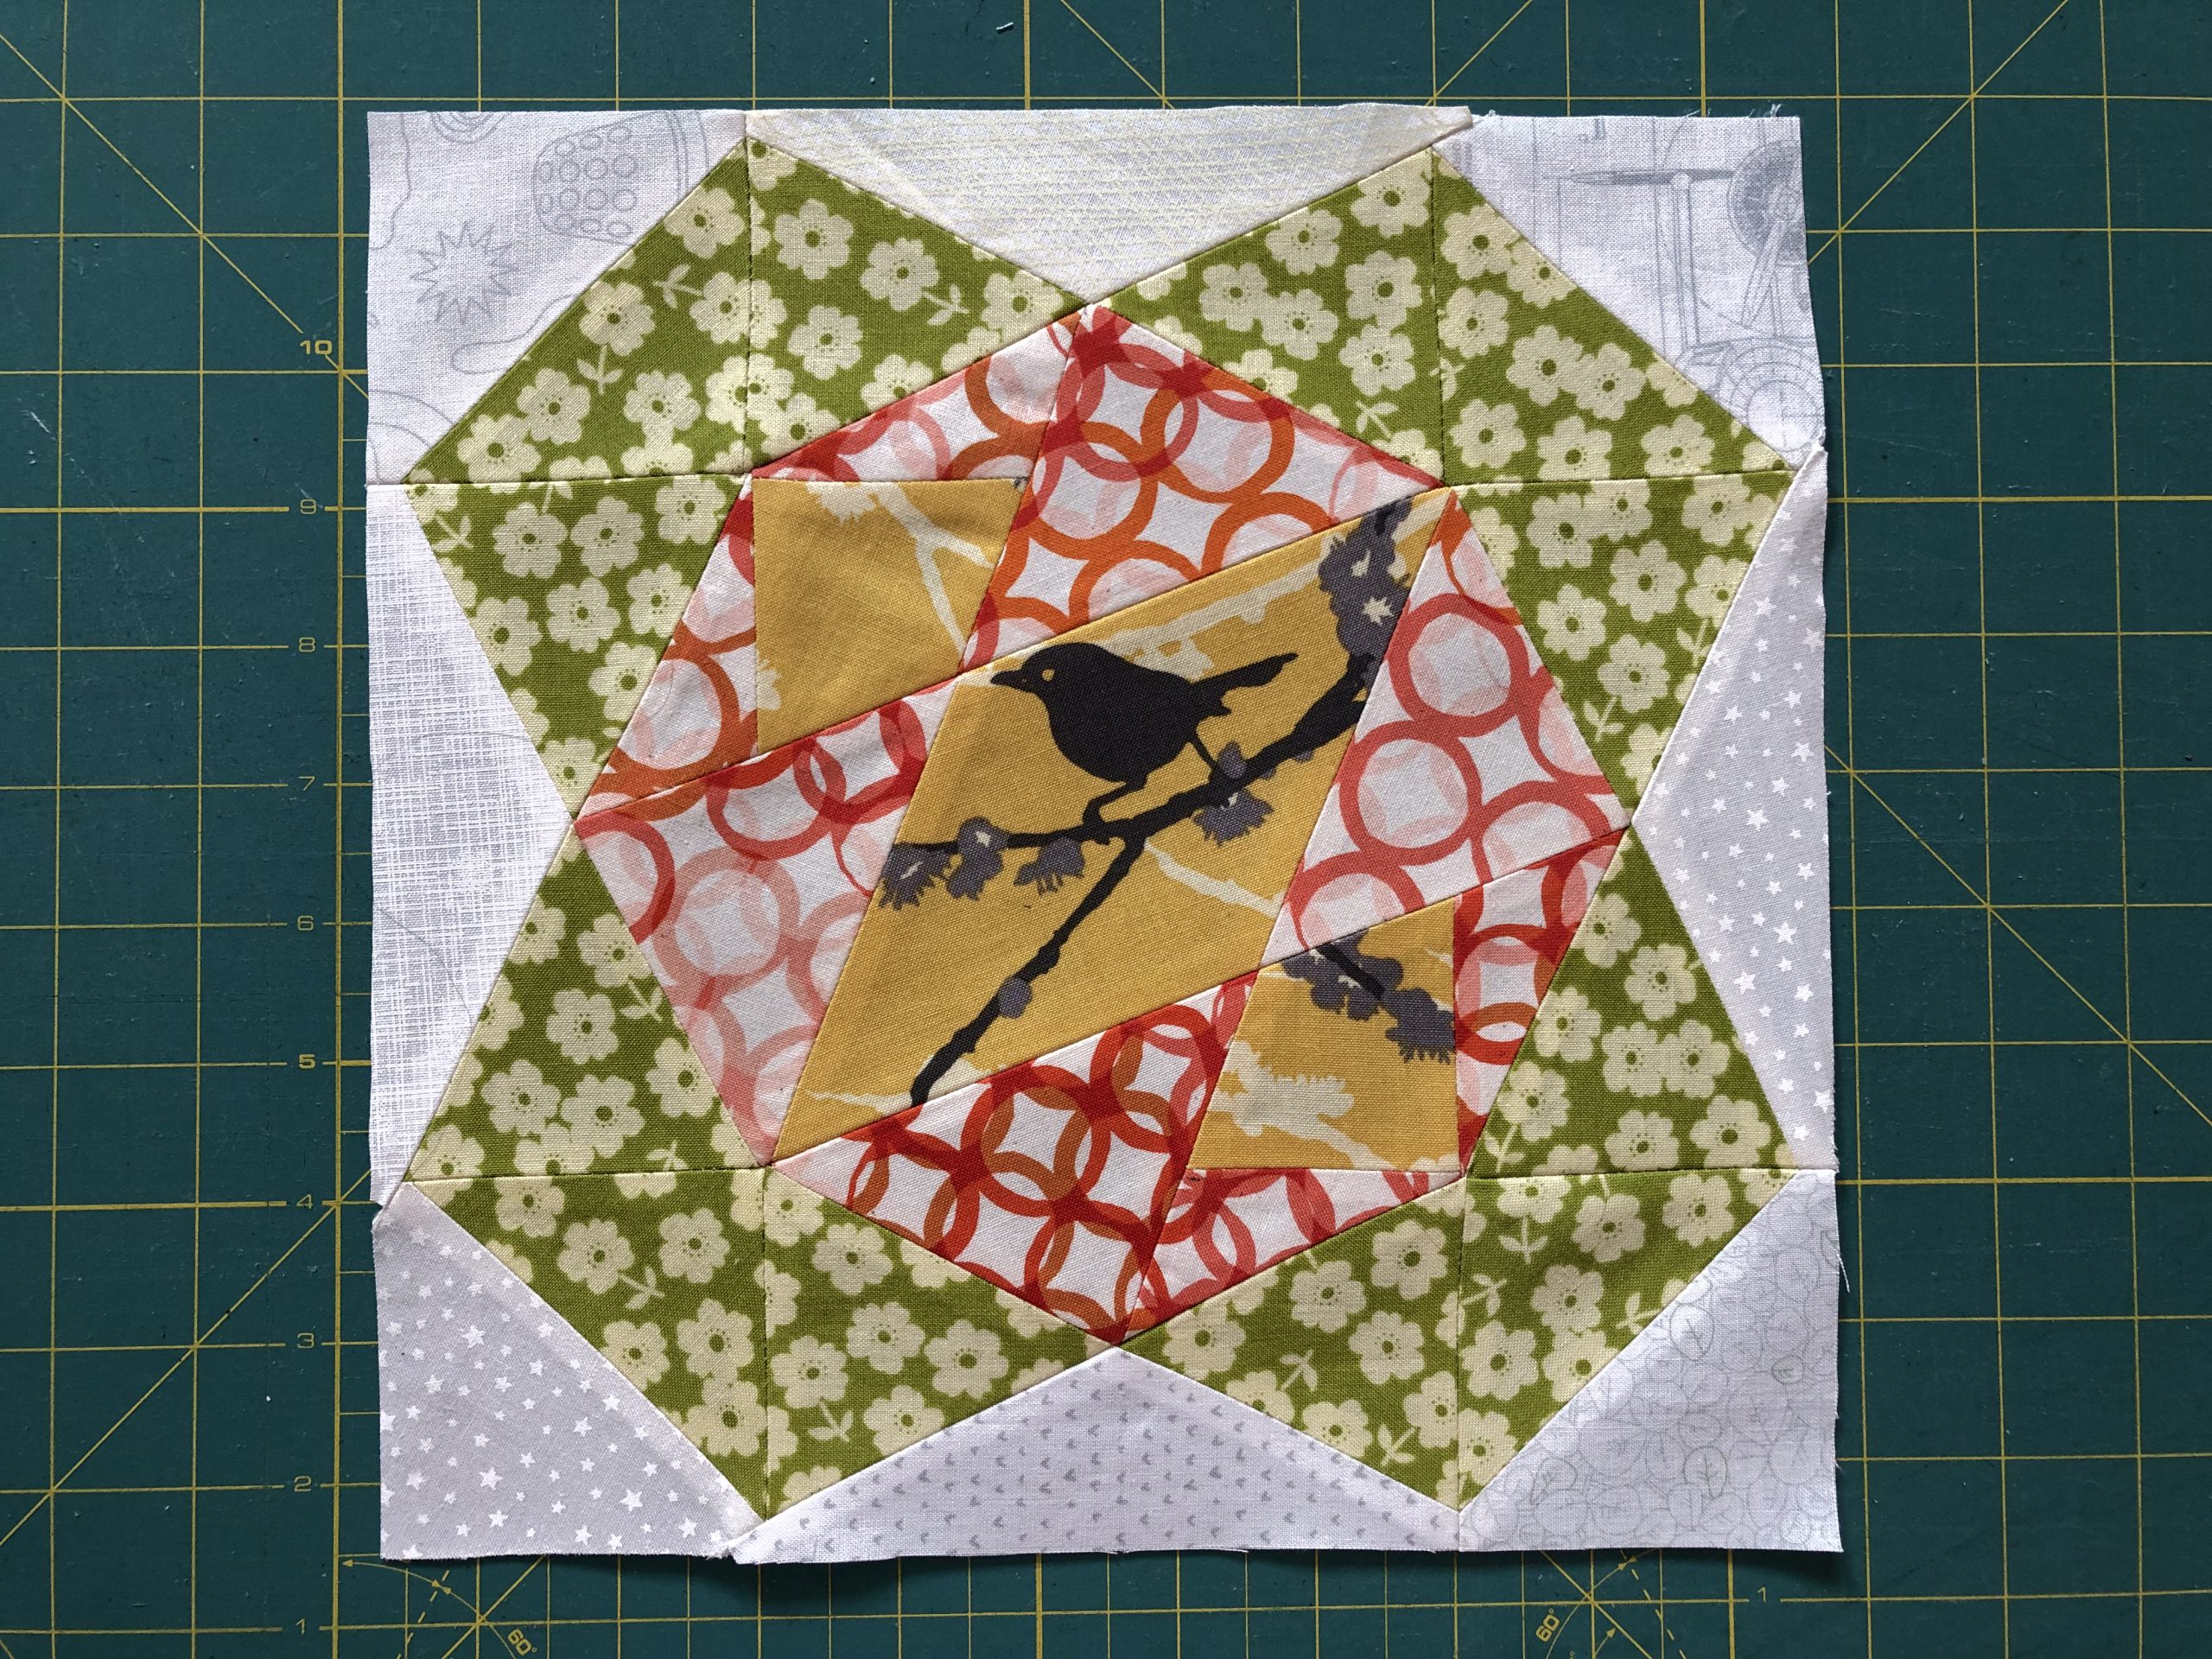
Admittedly it is not a very simple block, but when it is finished, you will have created a magnificent specimen!
So, my dears! Now it’s your turn again. Make your own “Dove in the Window” block and post it here in the Community area of the BERNINA blog, on Instagram or on Facebook – wherever you prefer to share your beautiful creations. Don’t forget to tag your picture with the hashtag #BERNINAOldBlockSampler!
New here?
Have you only just discovered the quilt-along? No problem! You can join at any time. Registration is not required, and you can win a BERNINA 570 QE! All the posts will remain permanently available:
In the first post, which was the invitation to participate in the quilt-along, you will find the important initial information about our joint project:
Old Block Quilt-Along – who’s in?
You can find the rest of the blocks from the quilt-along that have already been published here:
Old Block Quilt-Along – overview of all the posts
Have fun with this block and I look forward to seeing you for the next one!
Until then,
Andrea

hi, ich brauche mal Hilfe zu dem Block, bzw. generell zu der vorgehensweise. Nach dem Nähen der FPP Teile, wenn man diese zu einem Block zusammenfügen will, entfernt man dann das Papier vorher? Eigentlich nicht,oder? Diese Nähte “im Winkel” lassen sich doch gar nicht nähen, wenn das Papier noch dran ist?vielen Dankemmy
Liebe Emmy,
Da ich beim Block nicht mitnähe, kann ich dir die Frage leider nicht beantworten. Aber schau doch mal auf dem Deutschen BERNINA Blog vorbei und stelle deine Frage dort in die Kommentare, vielleicht kann dir ja ein anderer Leser helfen?
Hier zum gleichen Block auf dem Deutschen Blog: https://blog.bernina.com/de/2022/01/patchwork-naehen-dove-window-anleitung/
Liebe Grüsse, Ramona
Hi Jasmine I just finished using the paper piecing pattern and the block is not reversed once it’s pieced. I can lay out the pieces with the writing facing upward however when I turn them over none of the pieces are reversed.
Dear Fonda,
My name is Ramona and I am a colleague of Jasmin. I am sorry, could you please elaborate the issue further, maybe even with photos? I do not understand what the problem is at the moment but would like to assist you 🙂
Kind regards, Ramona from BERNINA International
Hi Ramona thank you for a reply I figured it out on my own, I just retraced the paper piecing parts so that it reversed the pattern.
That’s a good idea, happy to hear you were able to continue sewing the block!