 BERNINA Corporate Blog -
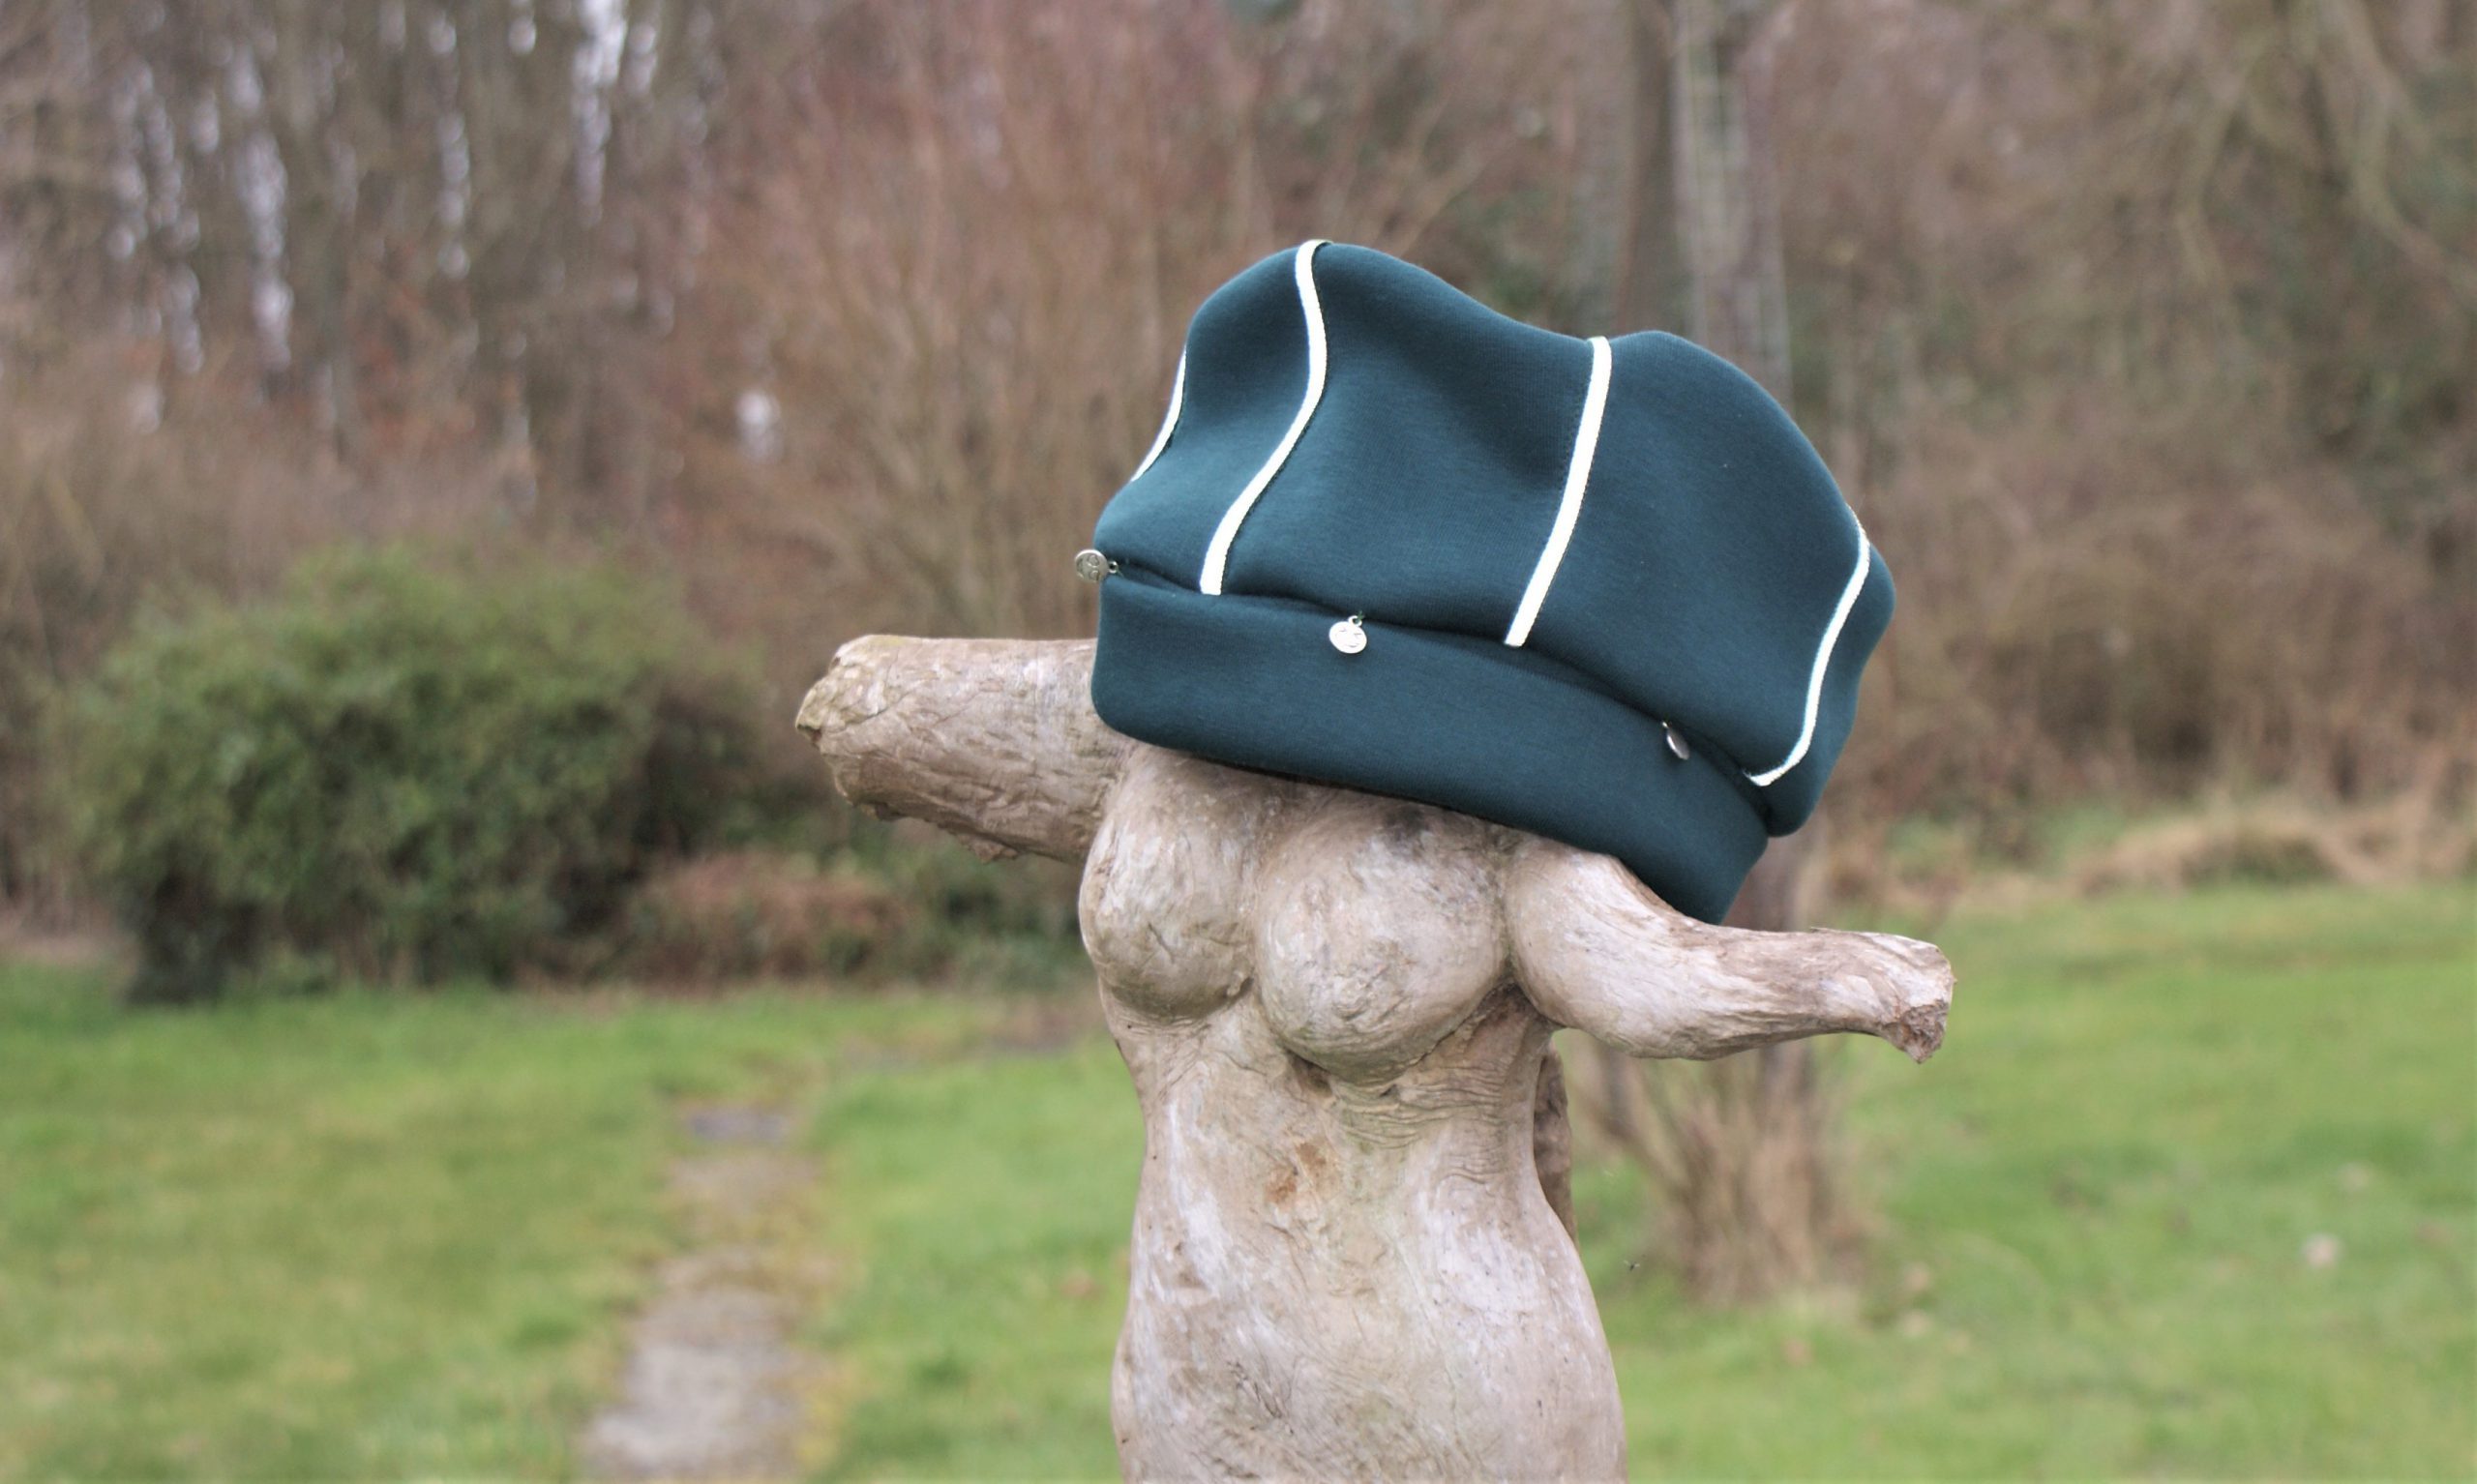
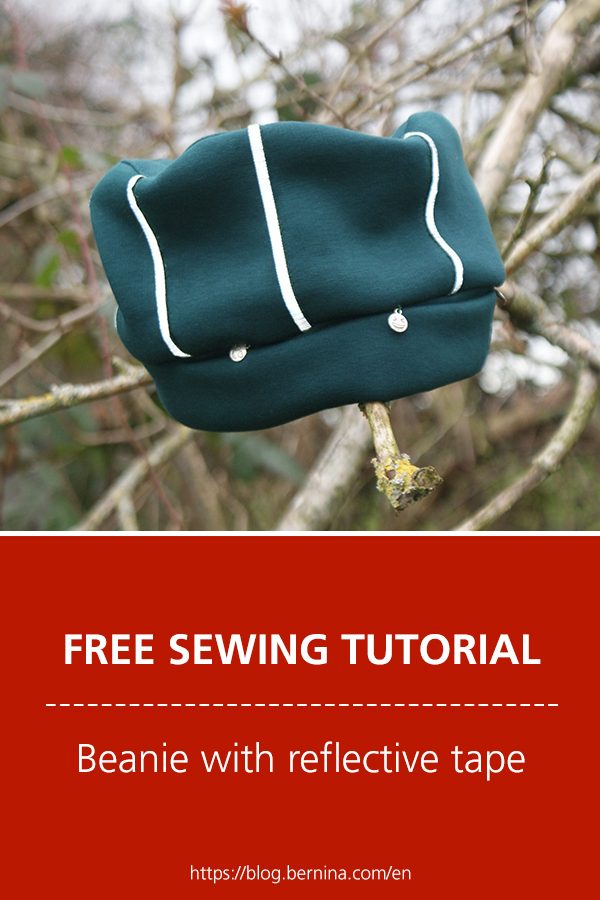
Sew a beanie with reflective tape for worry-free traffic . It’s so important to be visible in dark winter days. No problem when wearing this hat!
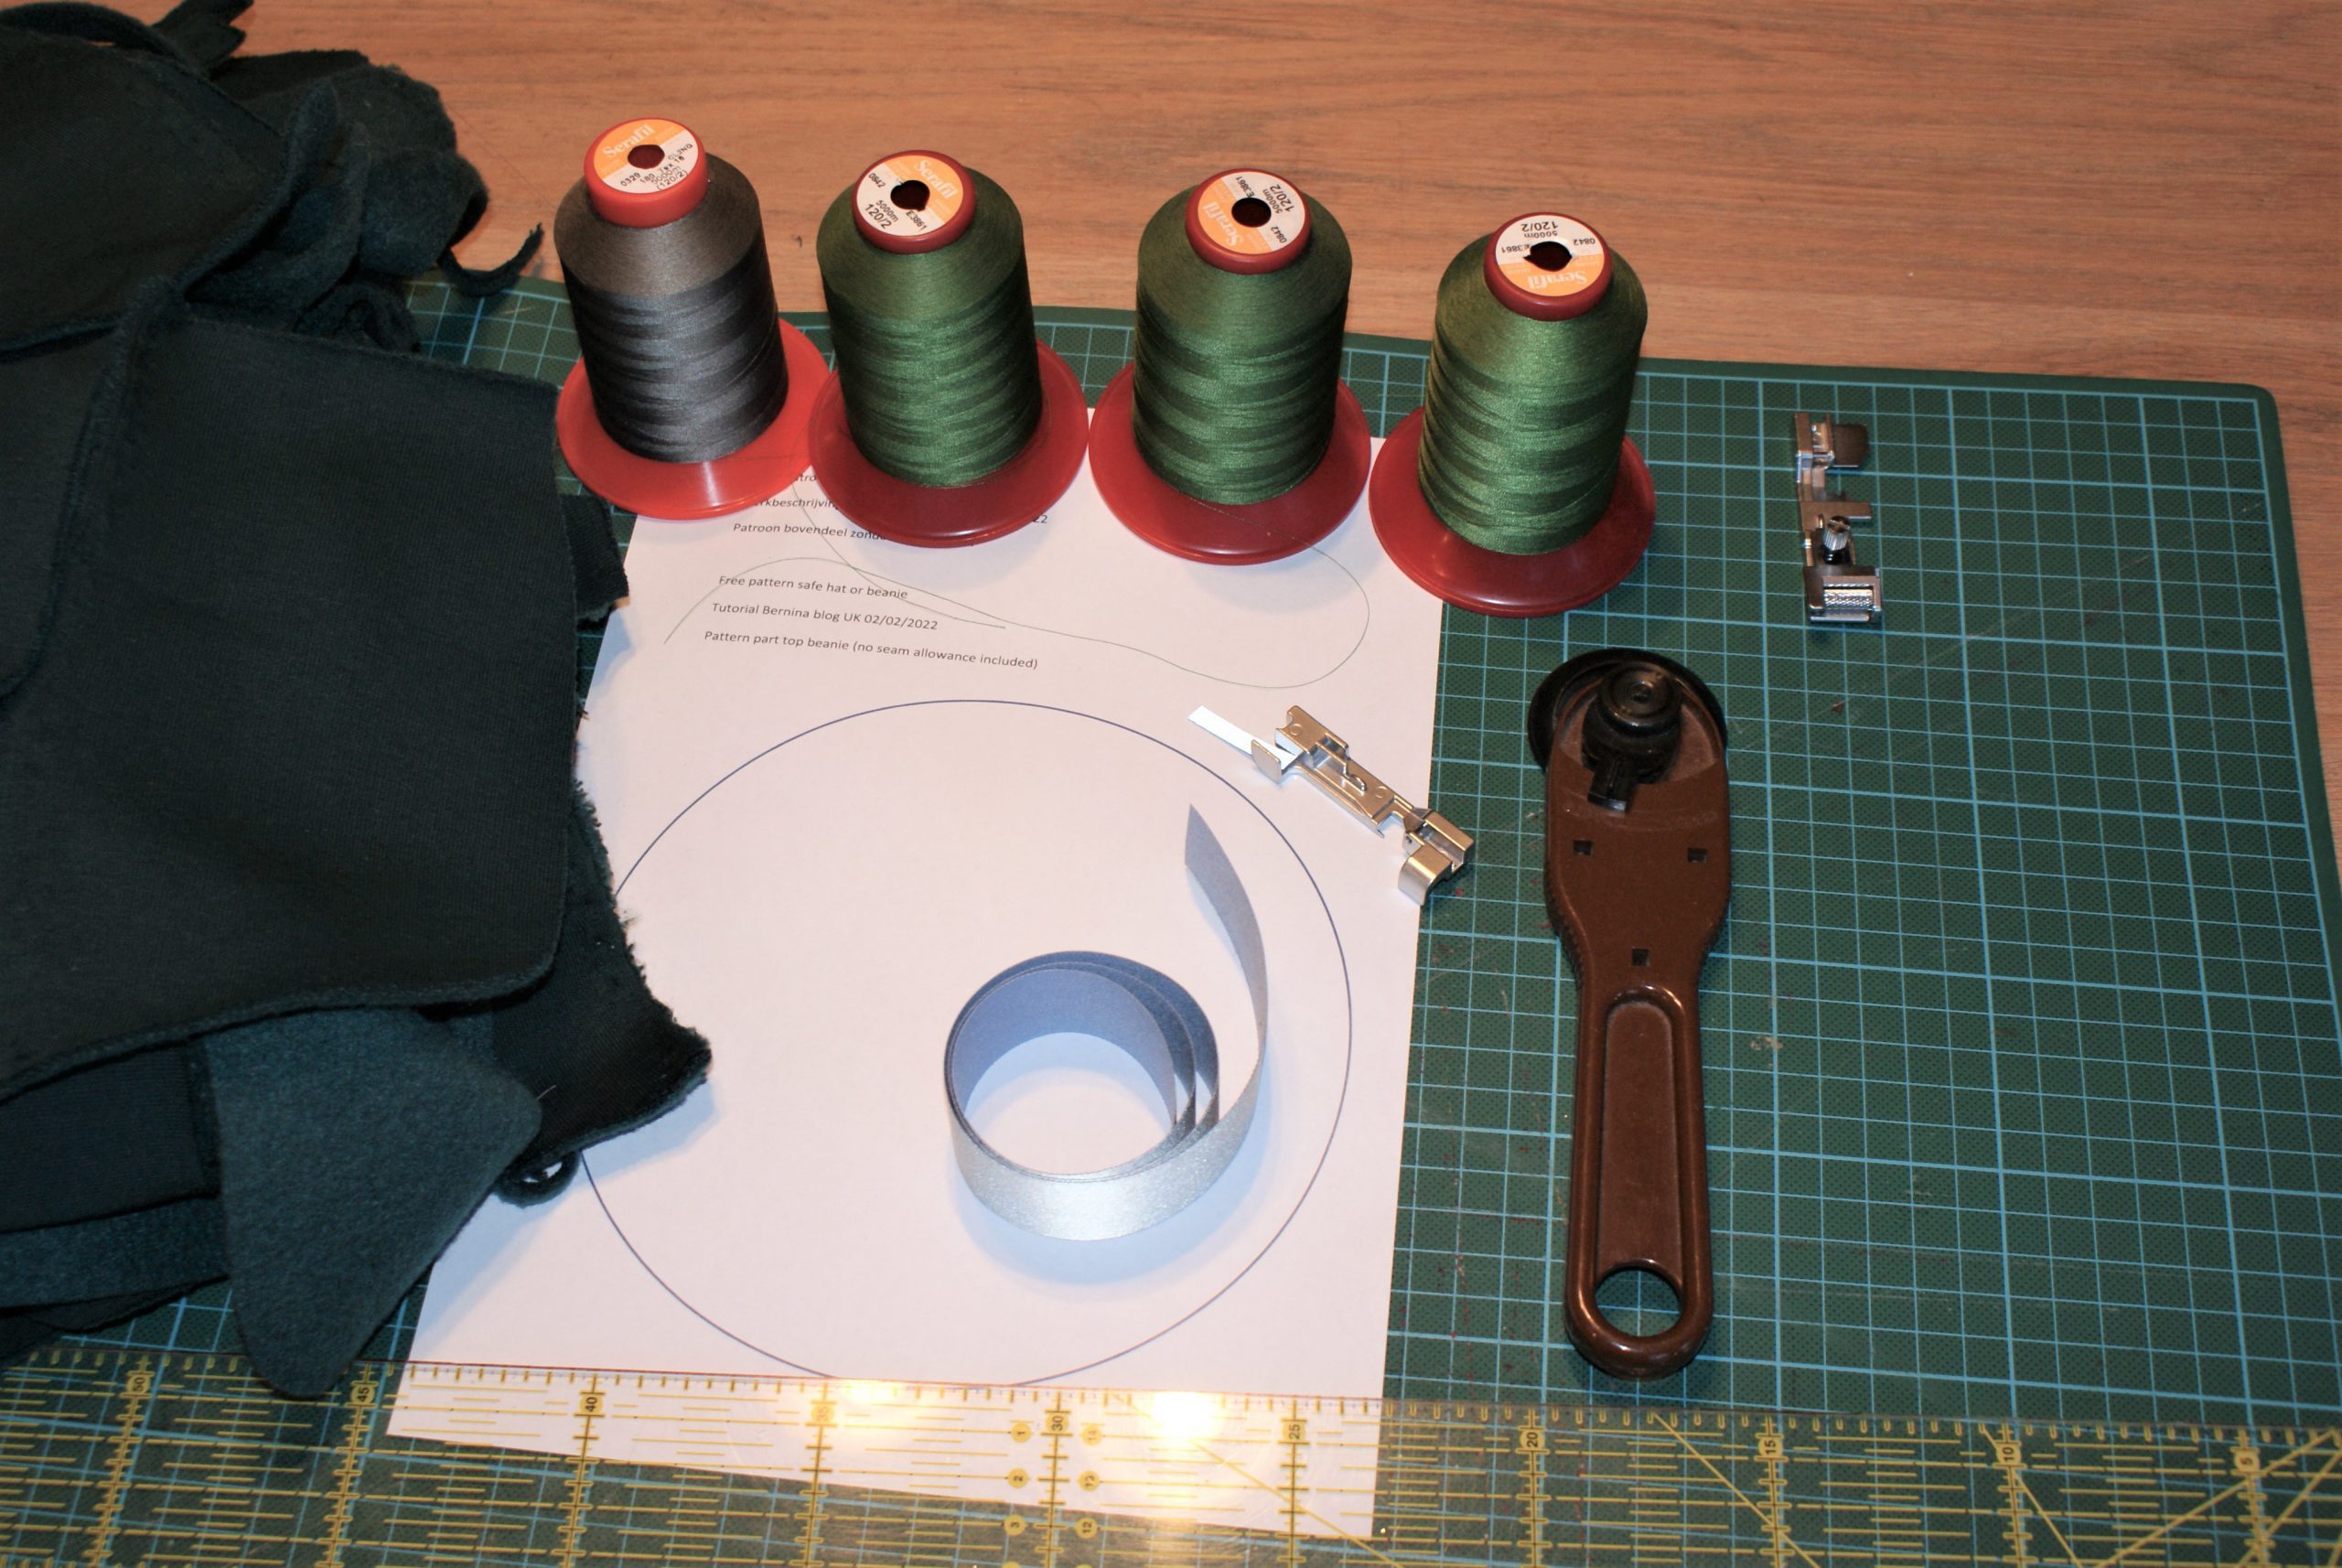
Supplies for a safe hat with reflective tape
- Some scraps of fleece, same color or matching colour. Or reuse an old sweater?
- Reflective tape, I had 60 cm of 3 cm wide tape.
- Overlock thread Mettler Seralene in a matching colour
- Overlocker BERNINA L 460
- Charms as decoration
- A label, if you have on.
- A rotary cutter, ruler and mat are very useful.
- Find the pattern here, free download: Free pattern reflecterive beanie
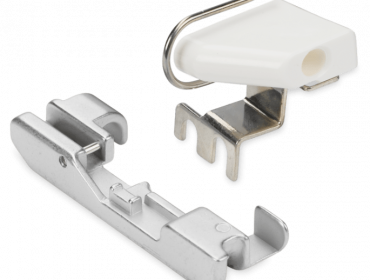
- Multi-purpose foot with guide

Description to make a safe hat:
Cut the reflective tape in small stripes, 5mm wide. I had 6 out of the 3 cm wide tape.
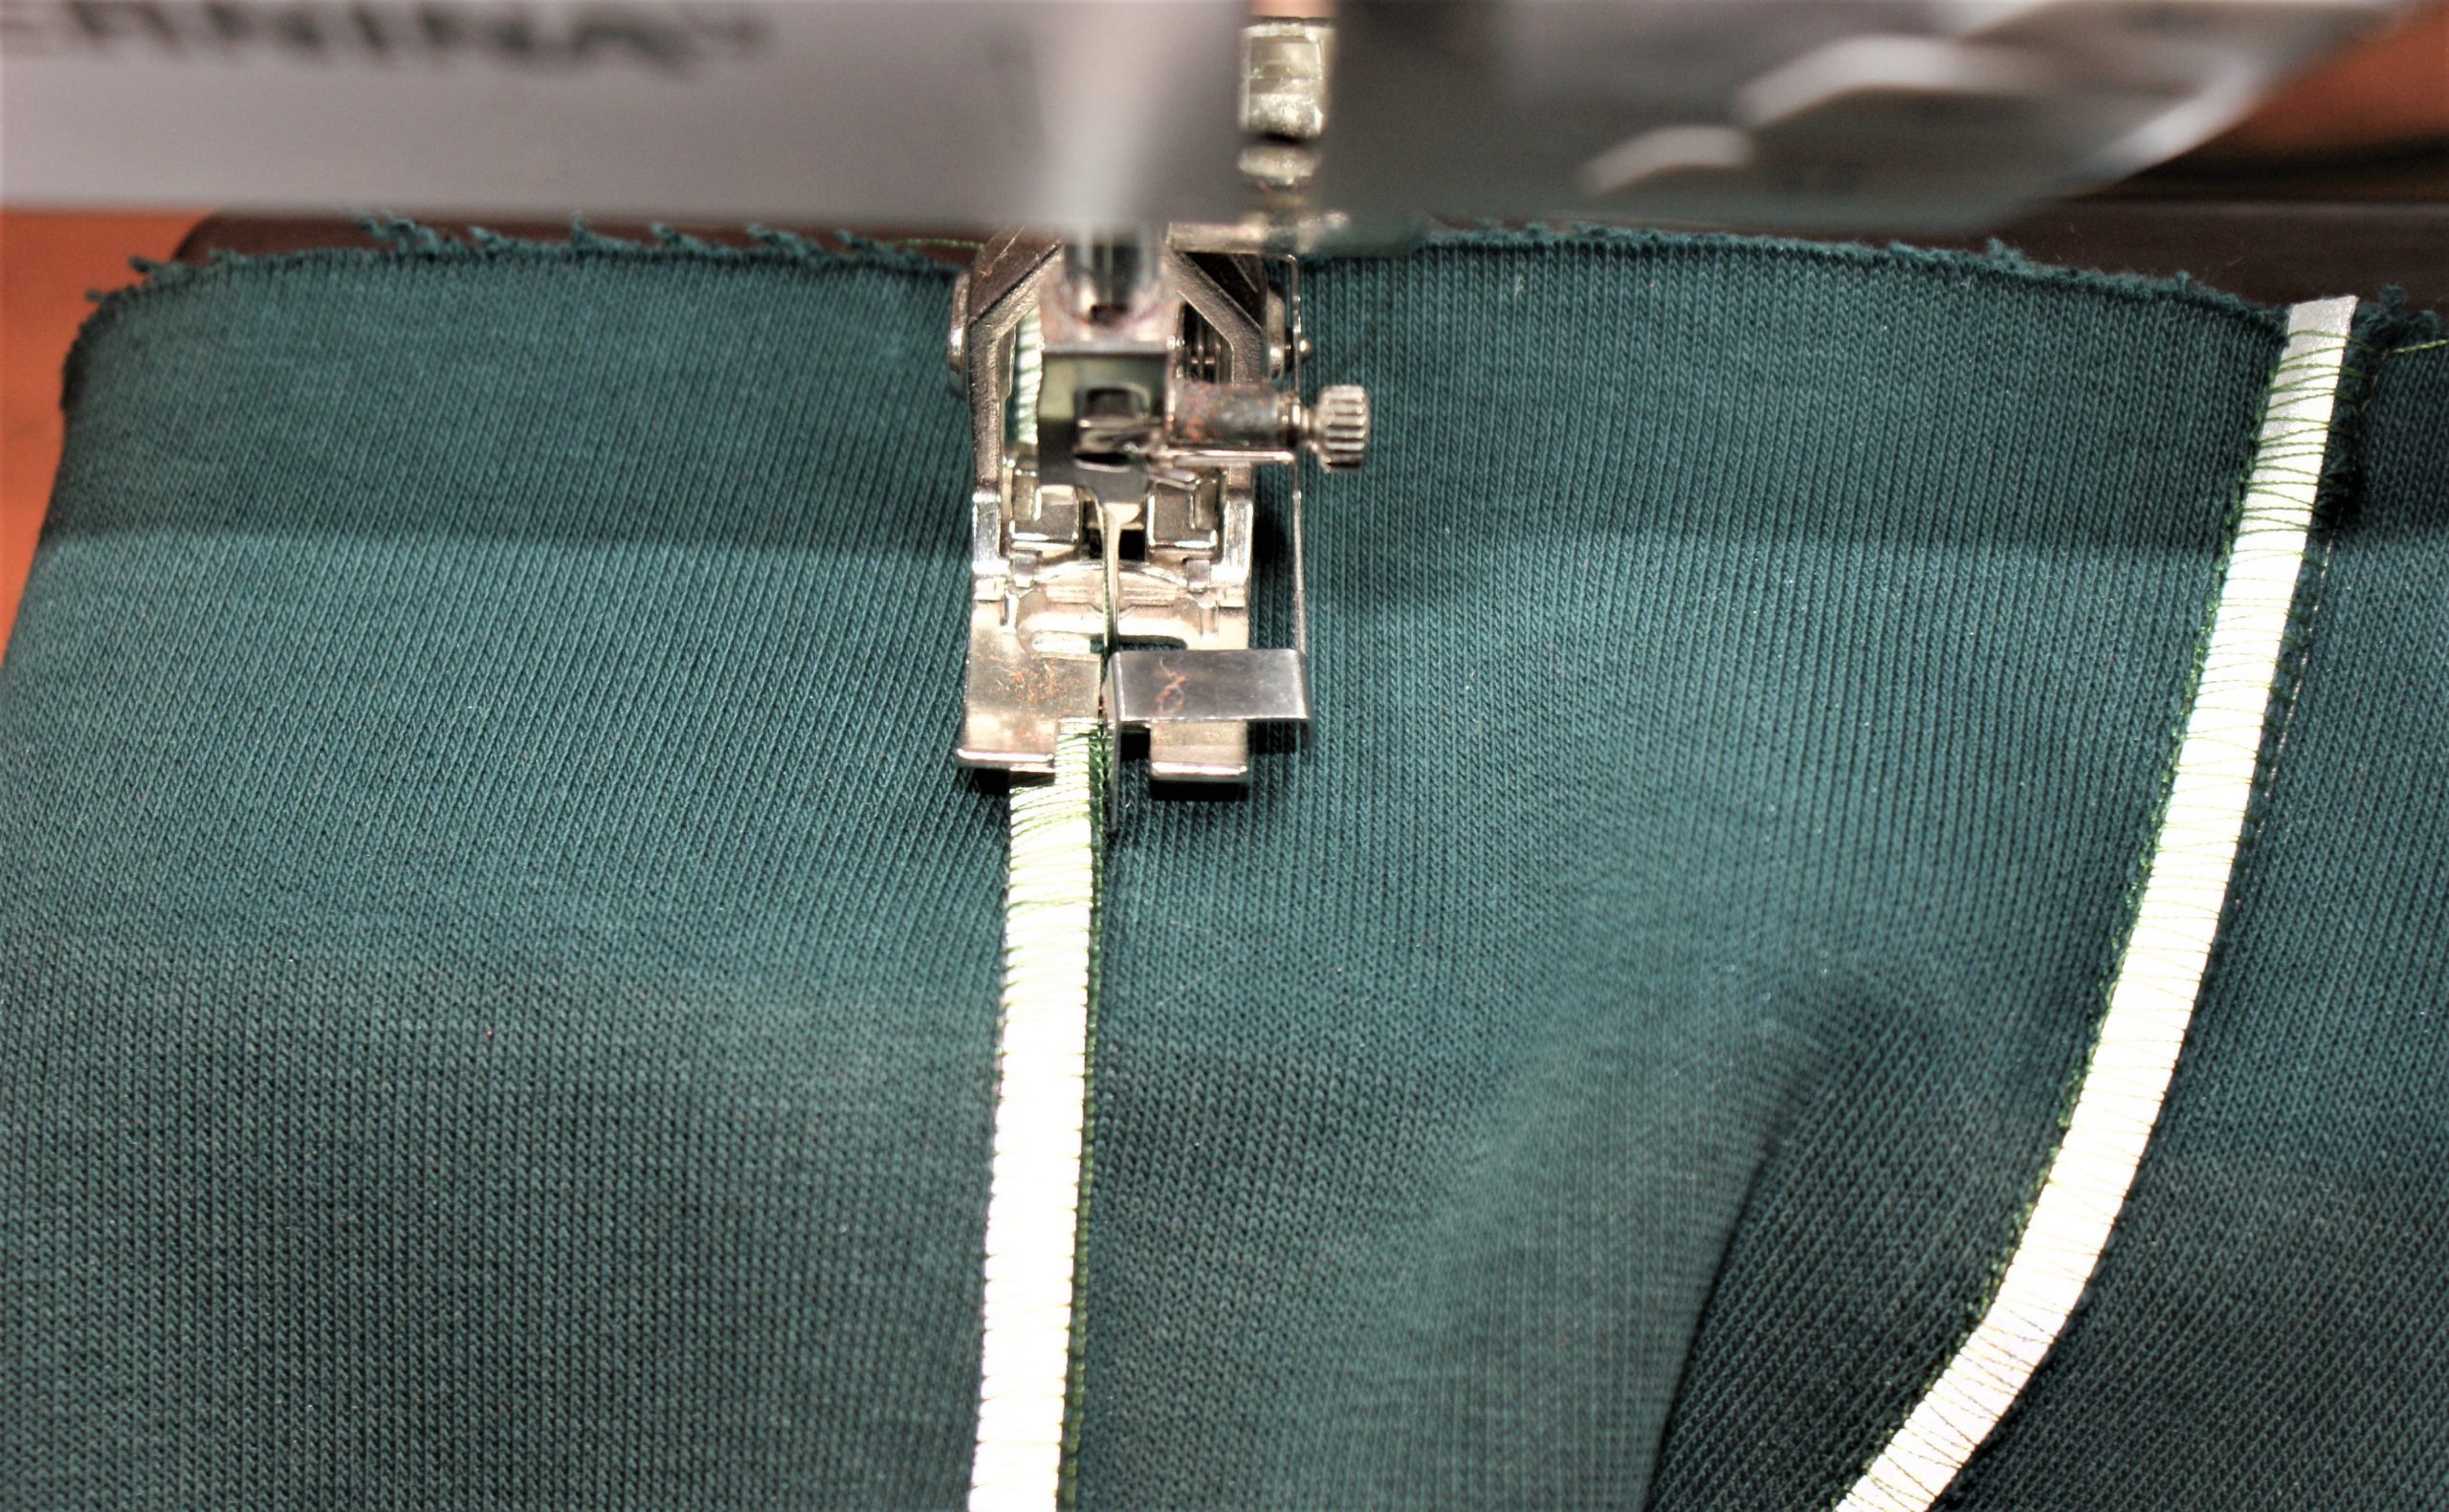
Find the scraps in couples of about the same size. Cut a straight line to one side and sew them together (wrong sides facing) with the overlocker. You will find the seam on the outside. If you use pins, be sure to remove them before the knife hits them…
For a narrow seam with the overlock, you remove the left needle and choose for a 3thread stitch. Take a smaller stitch length for a nice seam over the tape.

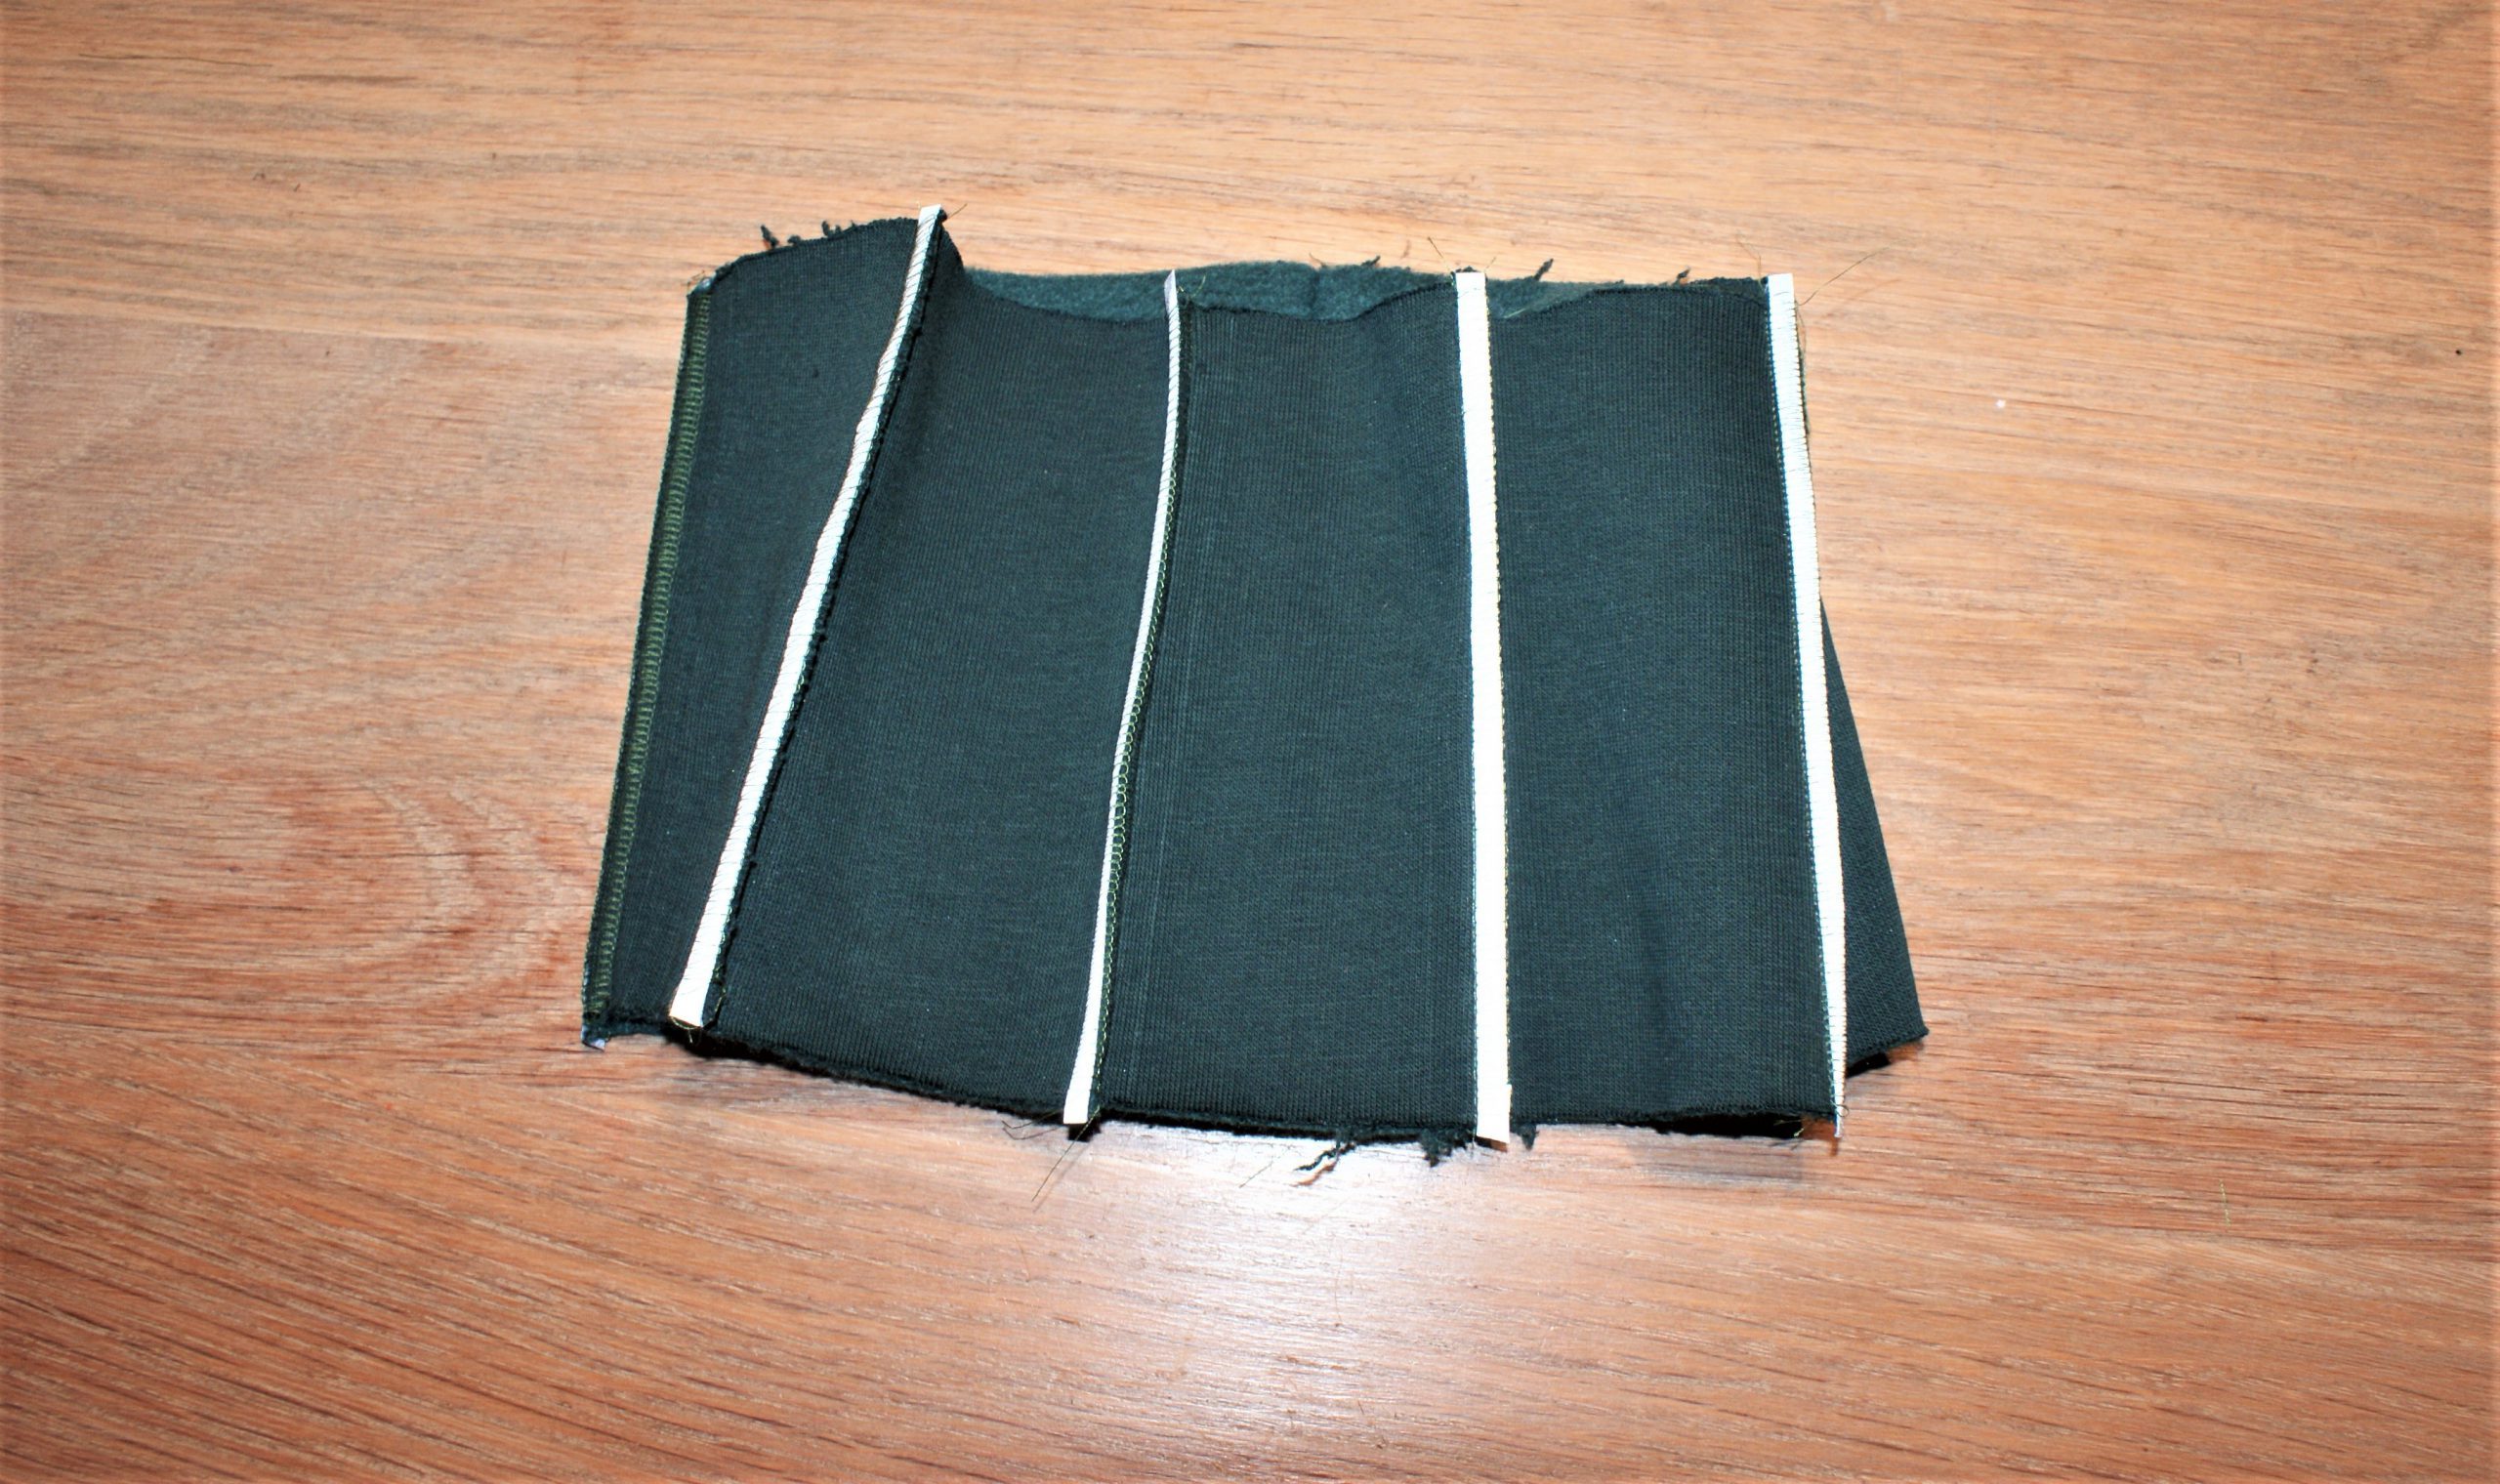
Sew some scraps together and cut them all to a 15 cm width. Afterwards you will sew them together to a 57 cm long stripe.
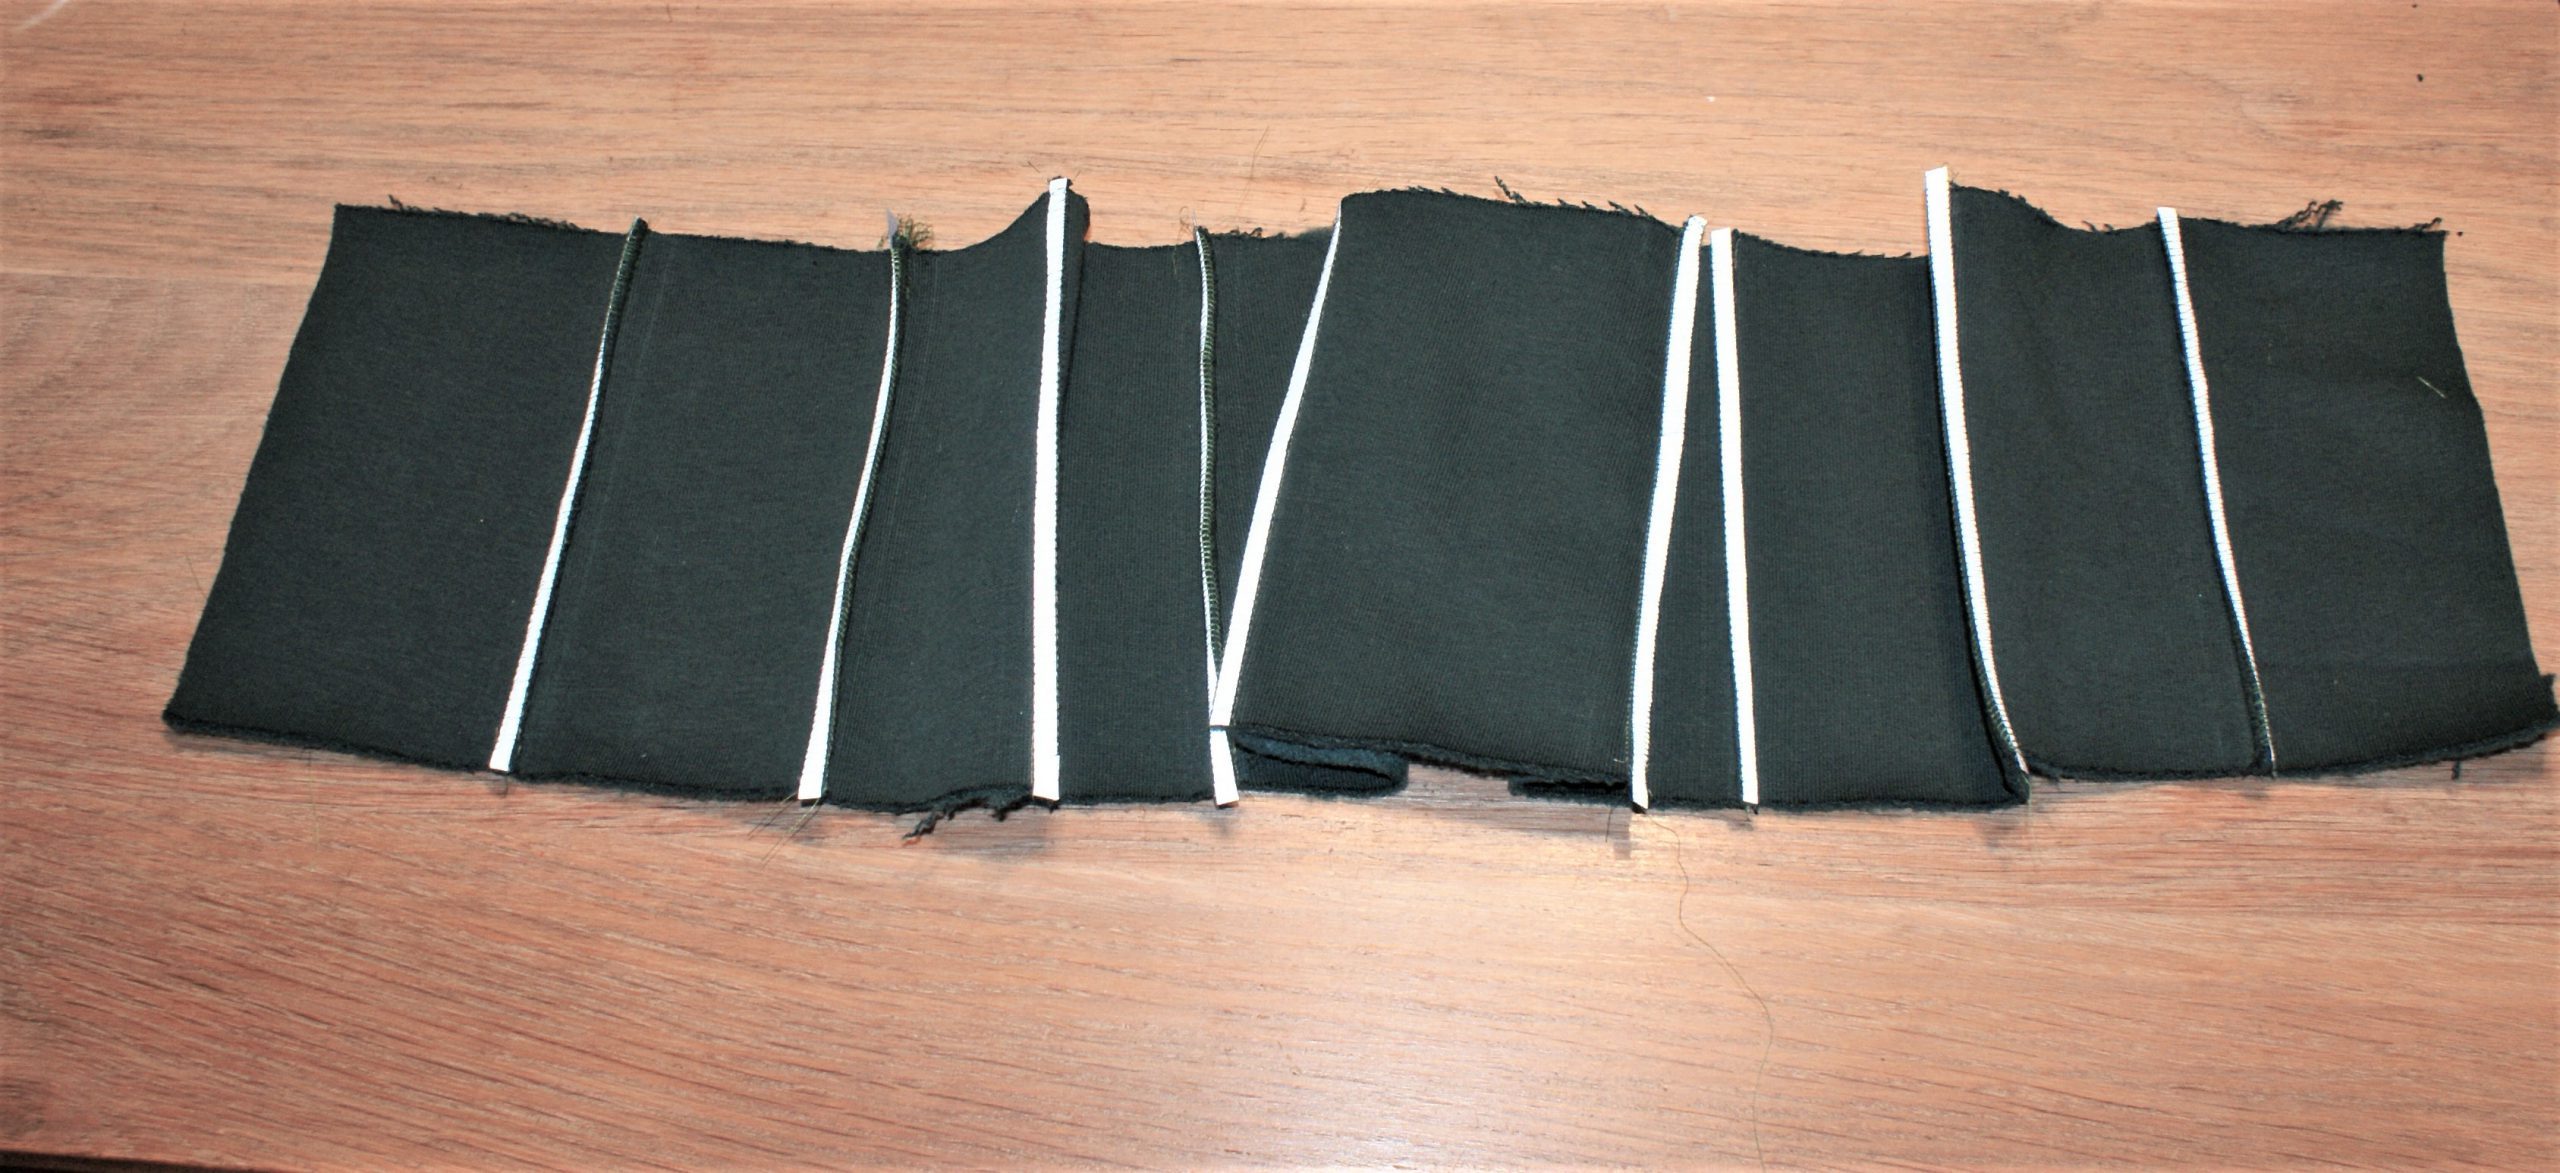
Sew the seam with the reflective tape towards the hat, through the loops of the overlock thread. I set the machine to a zigzag of 1,5 width and stitchlength 2.
Close the stripe to a cylinder.
Now continue with the patternpart for the top of the beanie. It has no seam allowance in the patternpart. Take a 1,5 cm, then you will be able to cut away 0,5 cm while overlocking. It makes a nicer seam.
Cut the pattern parts from double folded fabric.
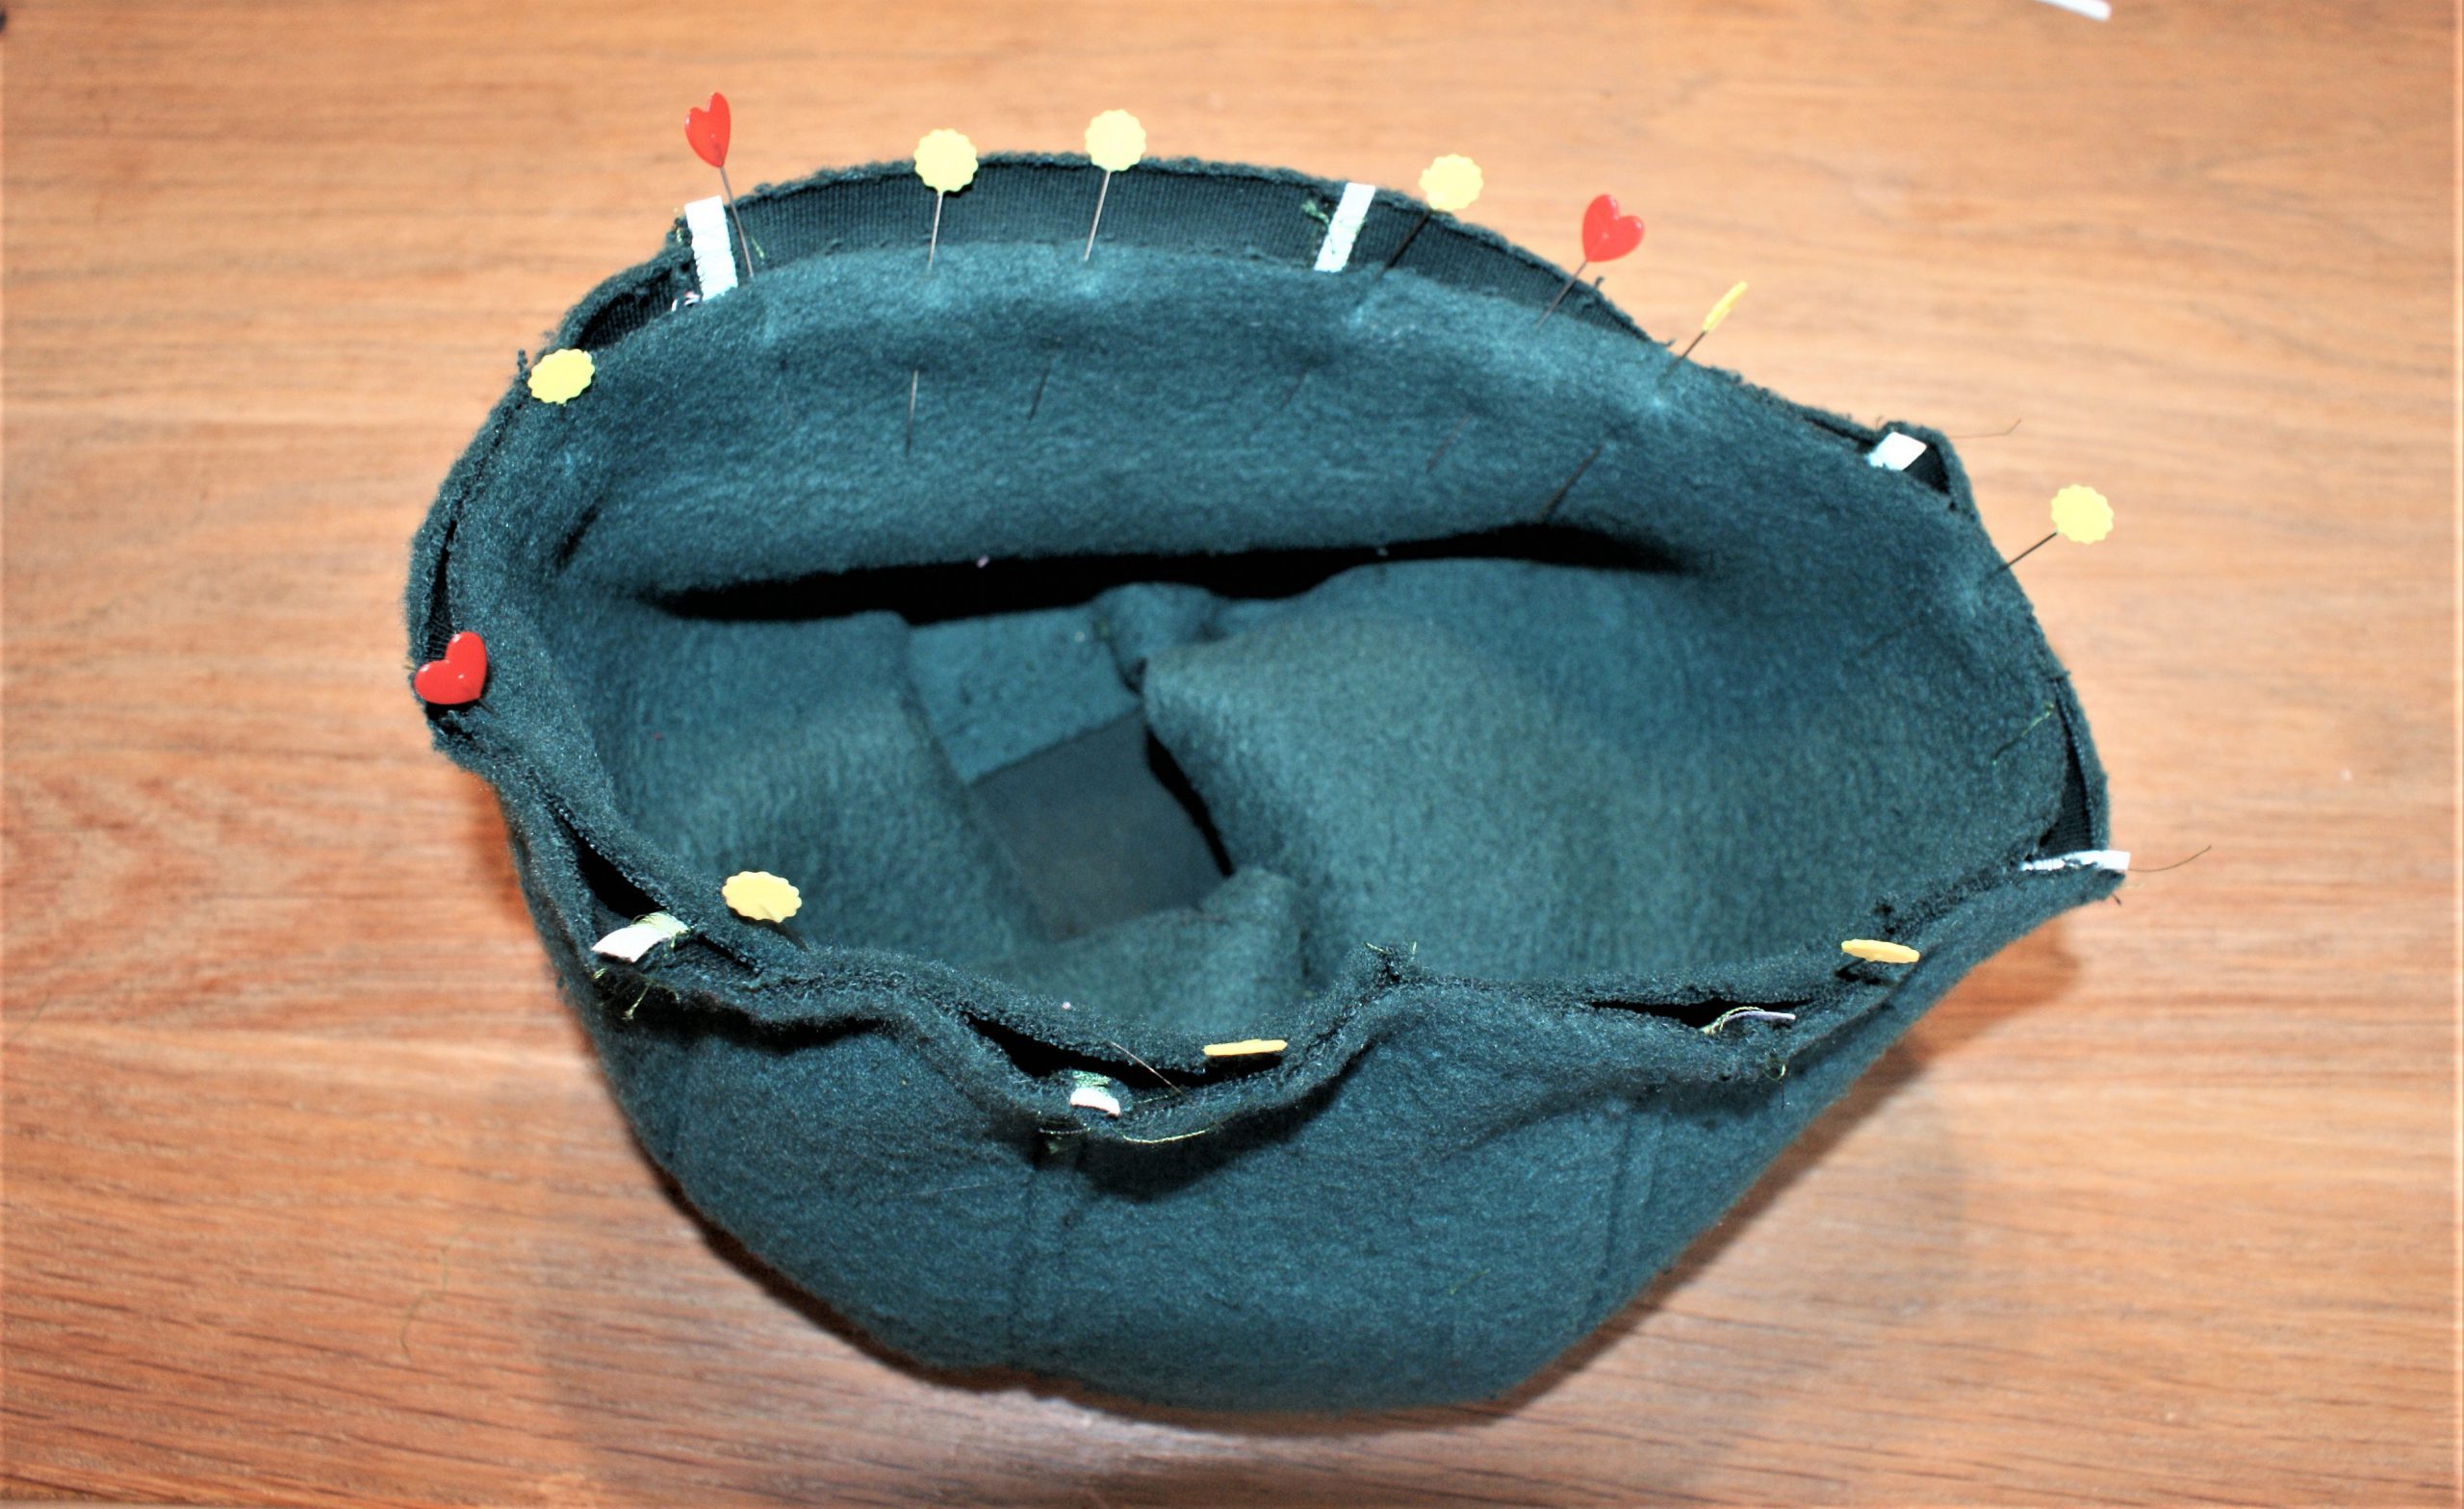
Pin the strip right sides together with the top part. Cut away a part of the outline of the seam to start to overlock.
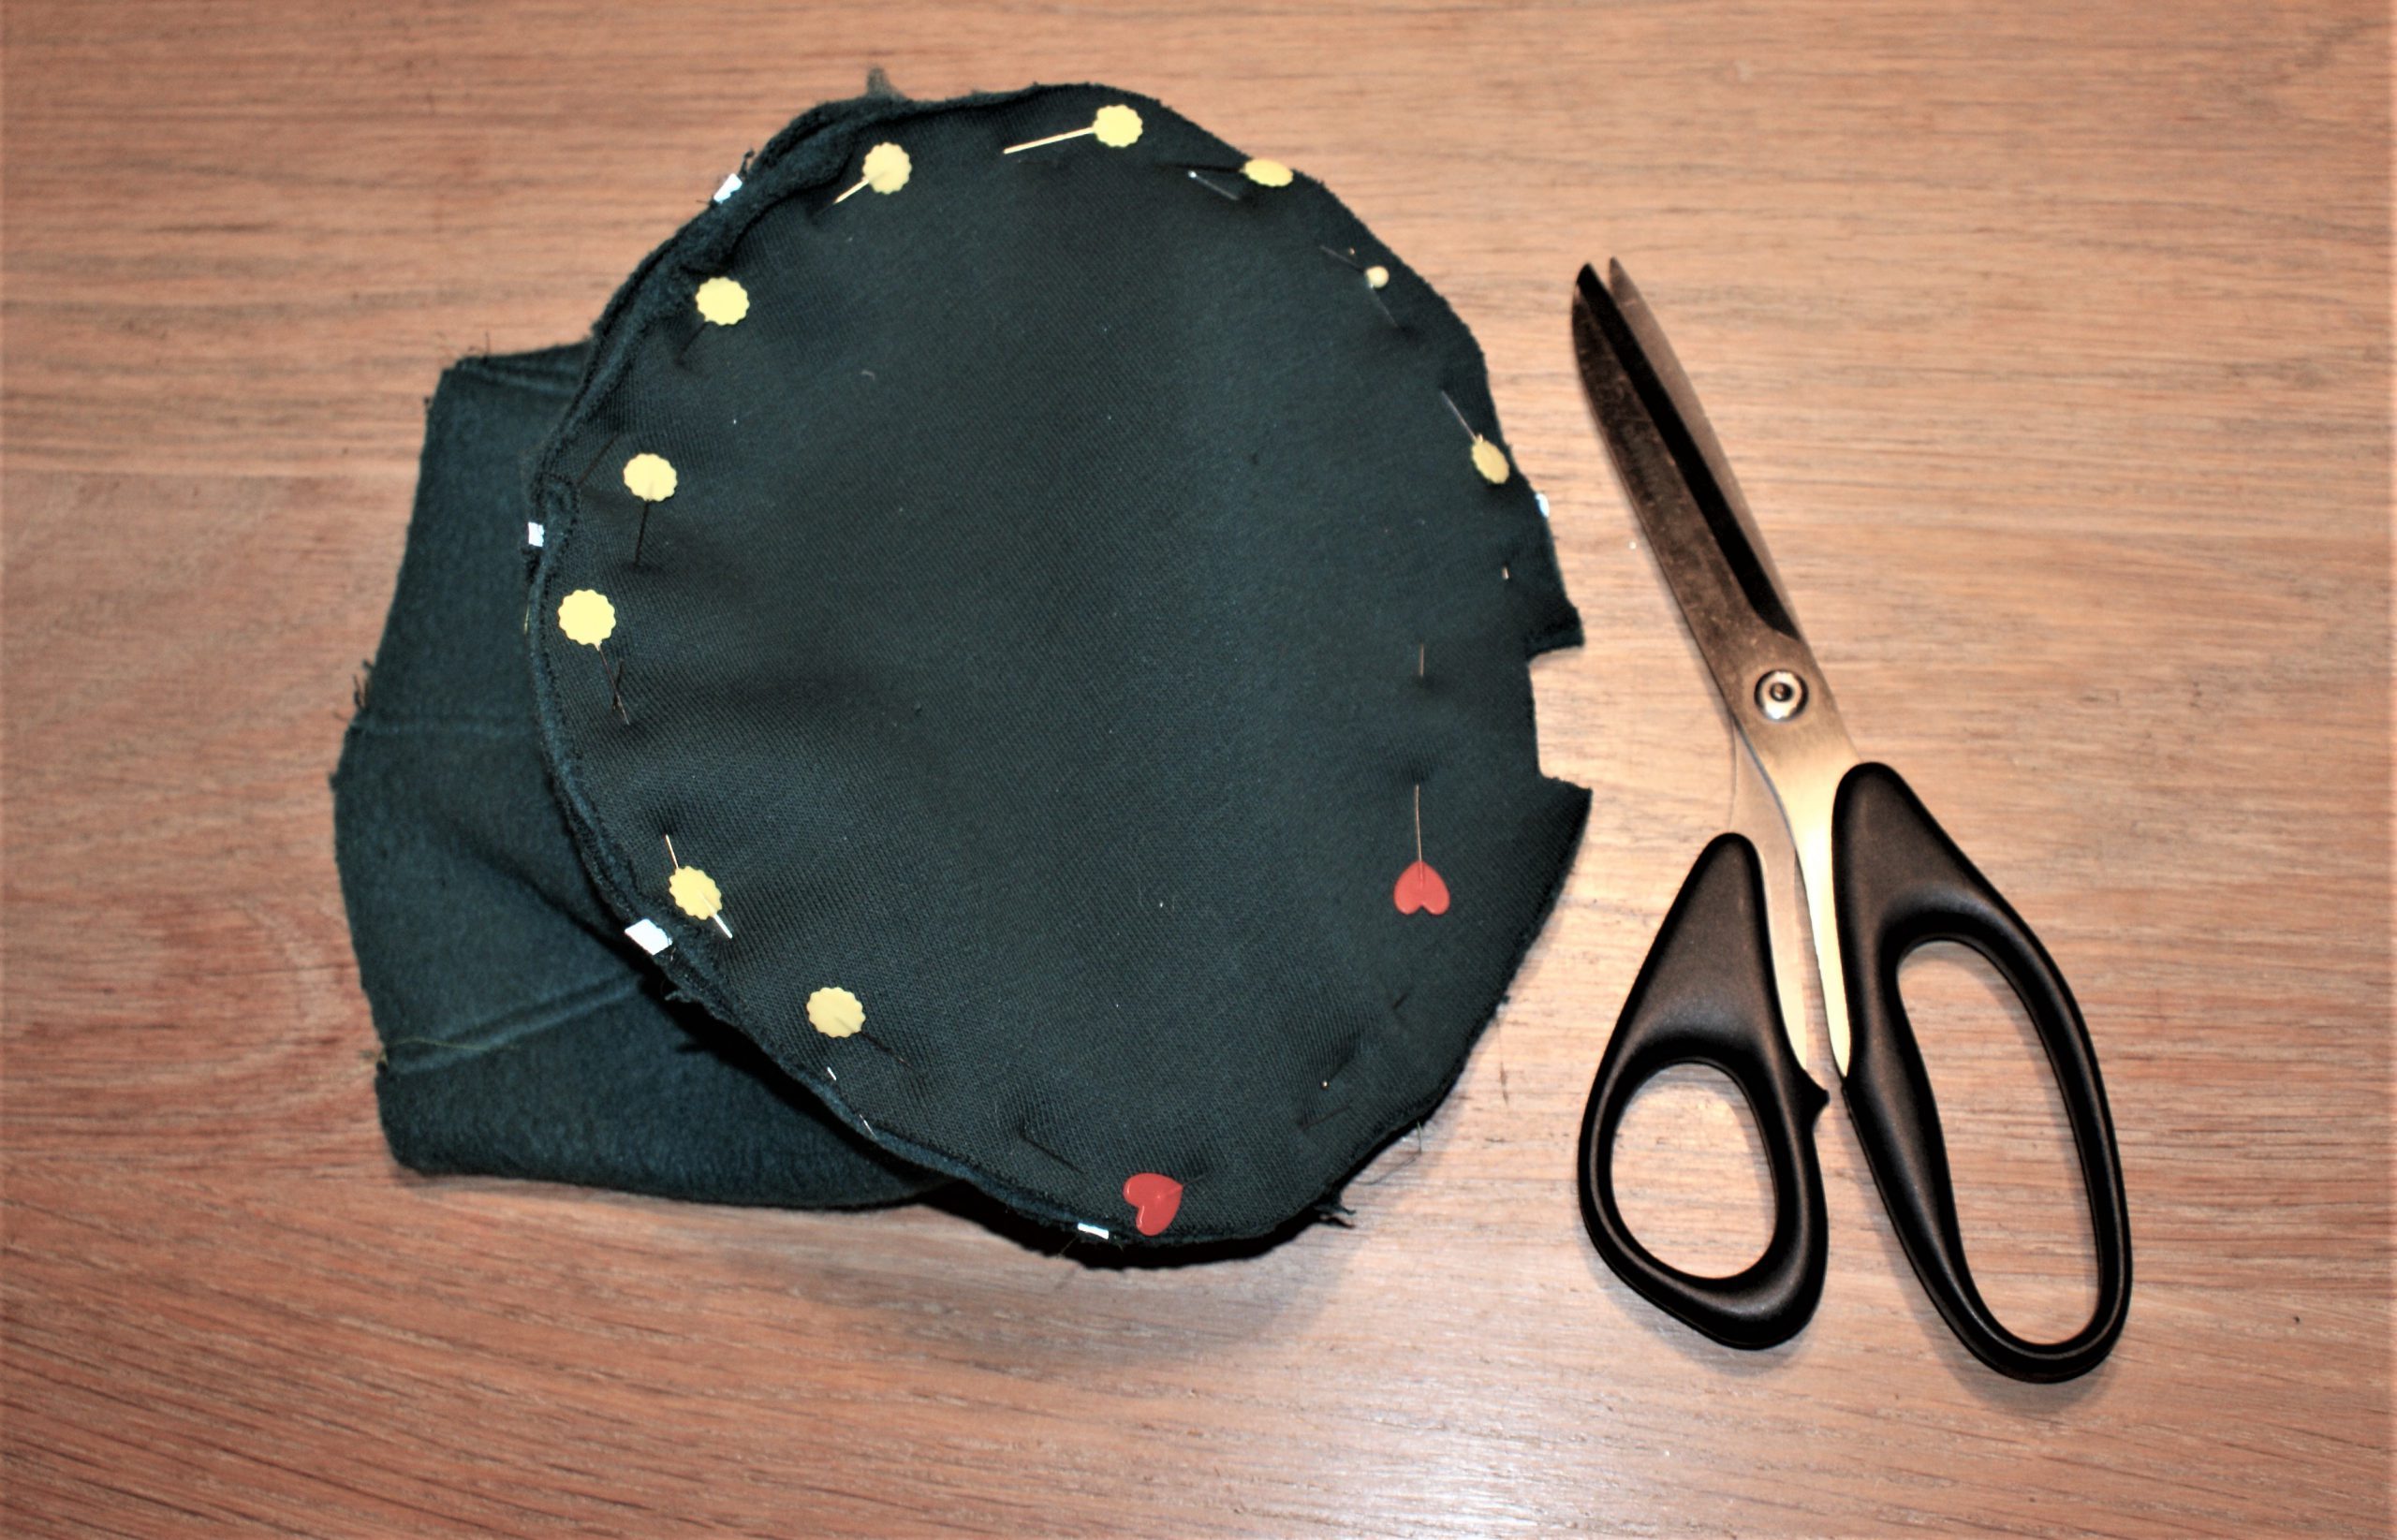
Insert the left needle back in the machine and overlock with a wide stitch. Fold the seam to the middle of the circle and sew along the circle with a small zigzag stitch on the sewing machine.
Finishing the beanie:
Start a second stripe 57 cm long and 18 cm width. Seams are included. When taking it a little smaller than the width of your head, it will fit better around the ears. You will definitely need a stretch seam.
I was lucky to find it in one piece in one of the bigger scraps :).
Pine one long side to the beanie (right sides together). Try it on to see how it fits you. If the top part falls down over the eyes, you can still correct in the front area. I needed to adjust a 2 cm in the front area.
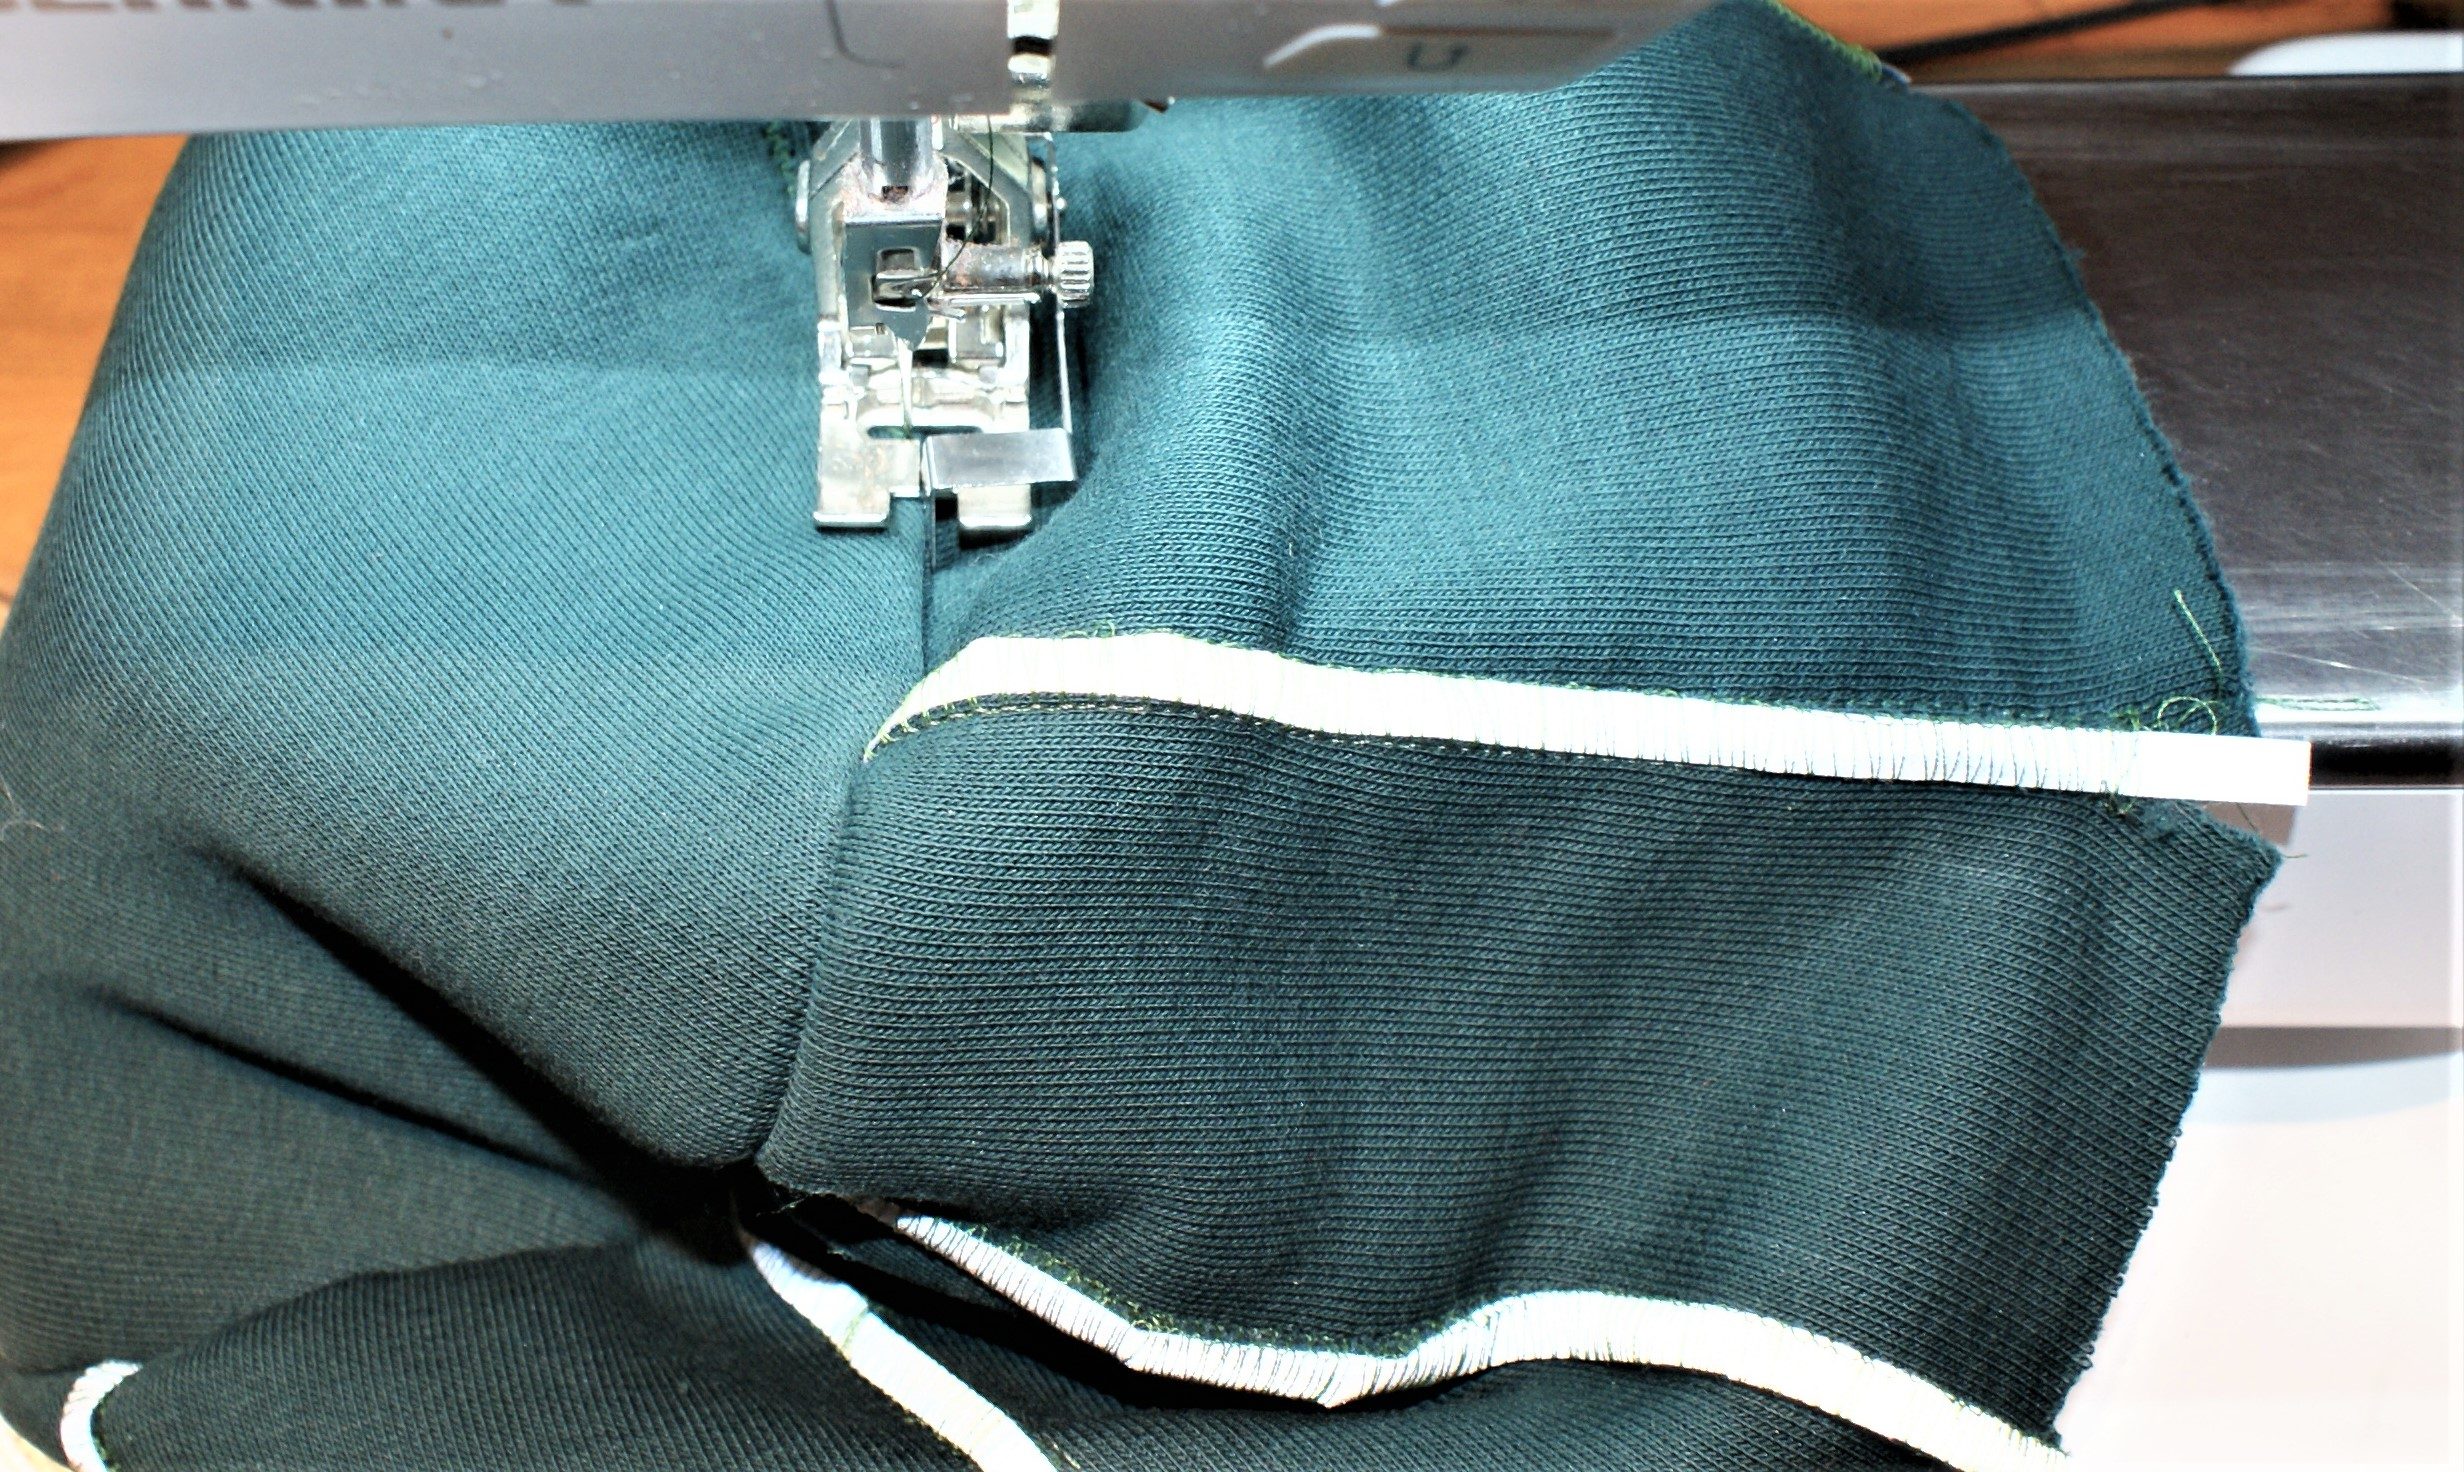
Sew both stripes together with the overlock.
Overlock the bottom raw edge and fold over, to a 3 cm from the seam. Pin and sew together with the sewing machine, using a zigzag stitch.
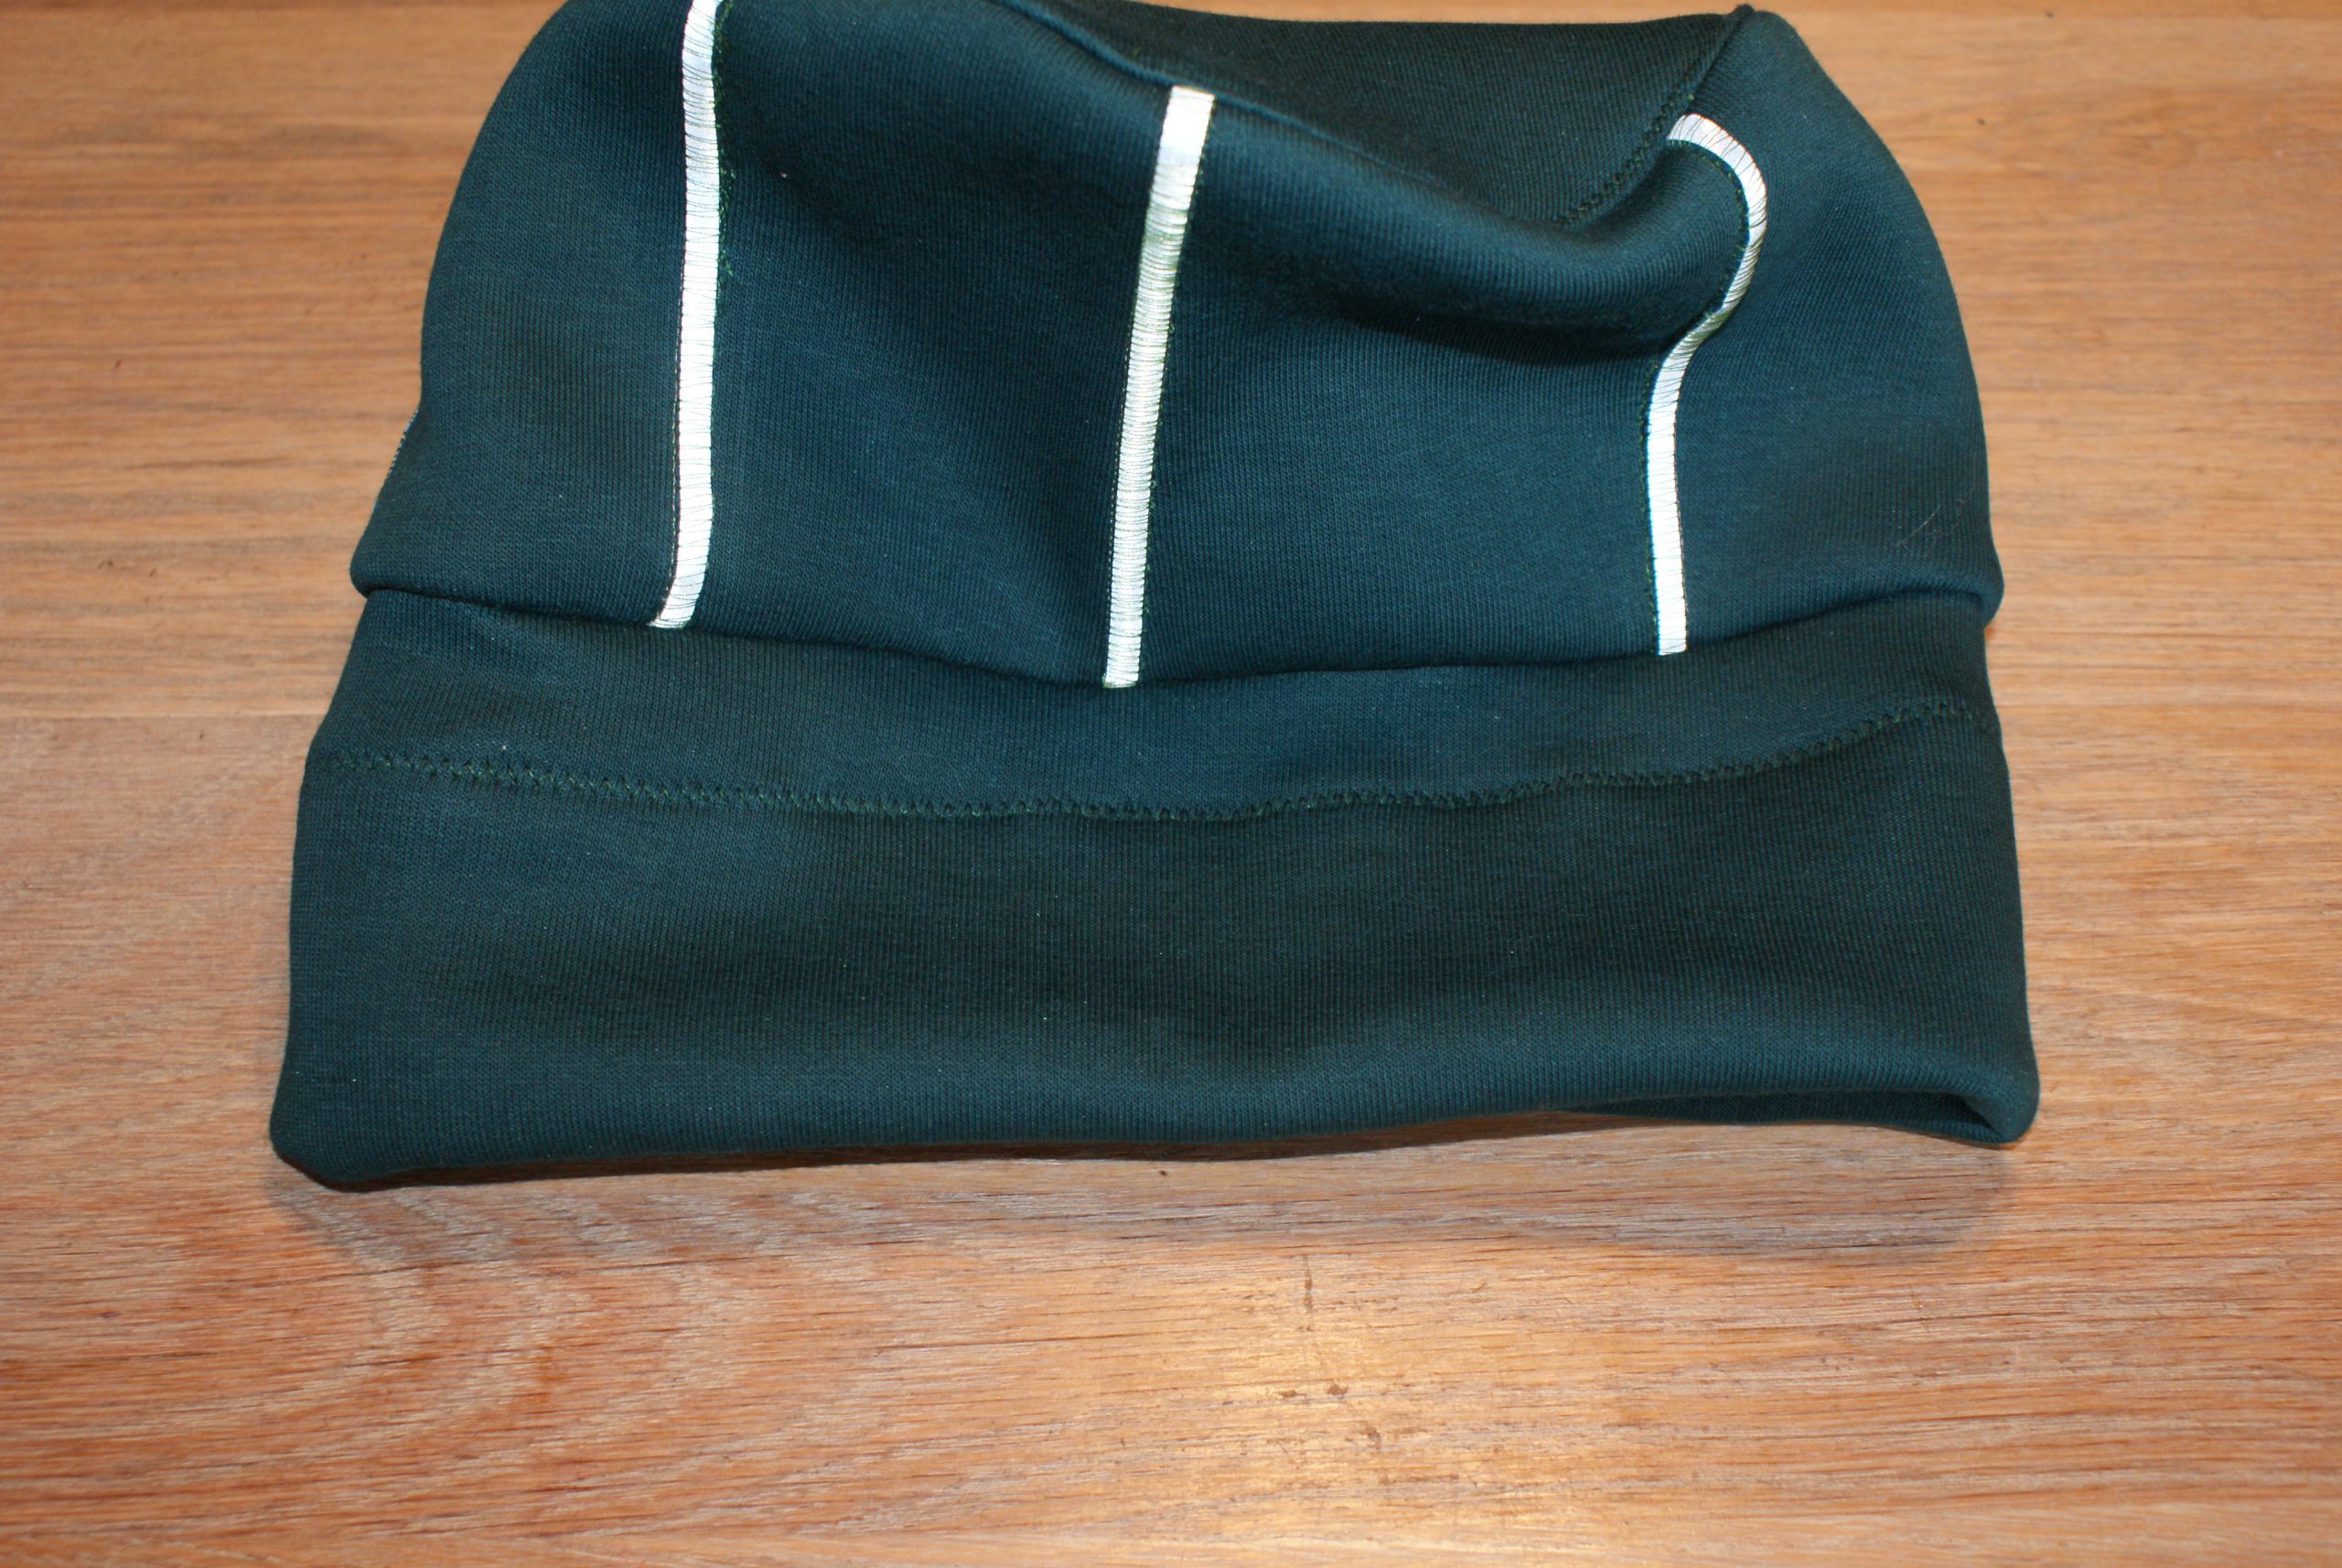
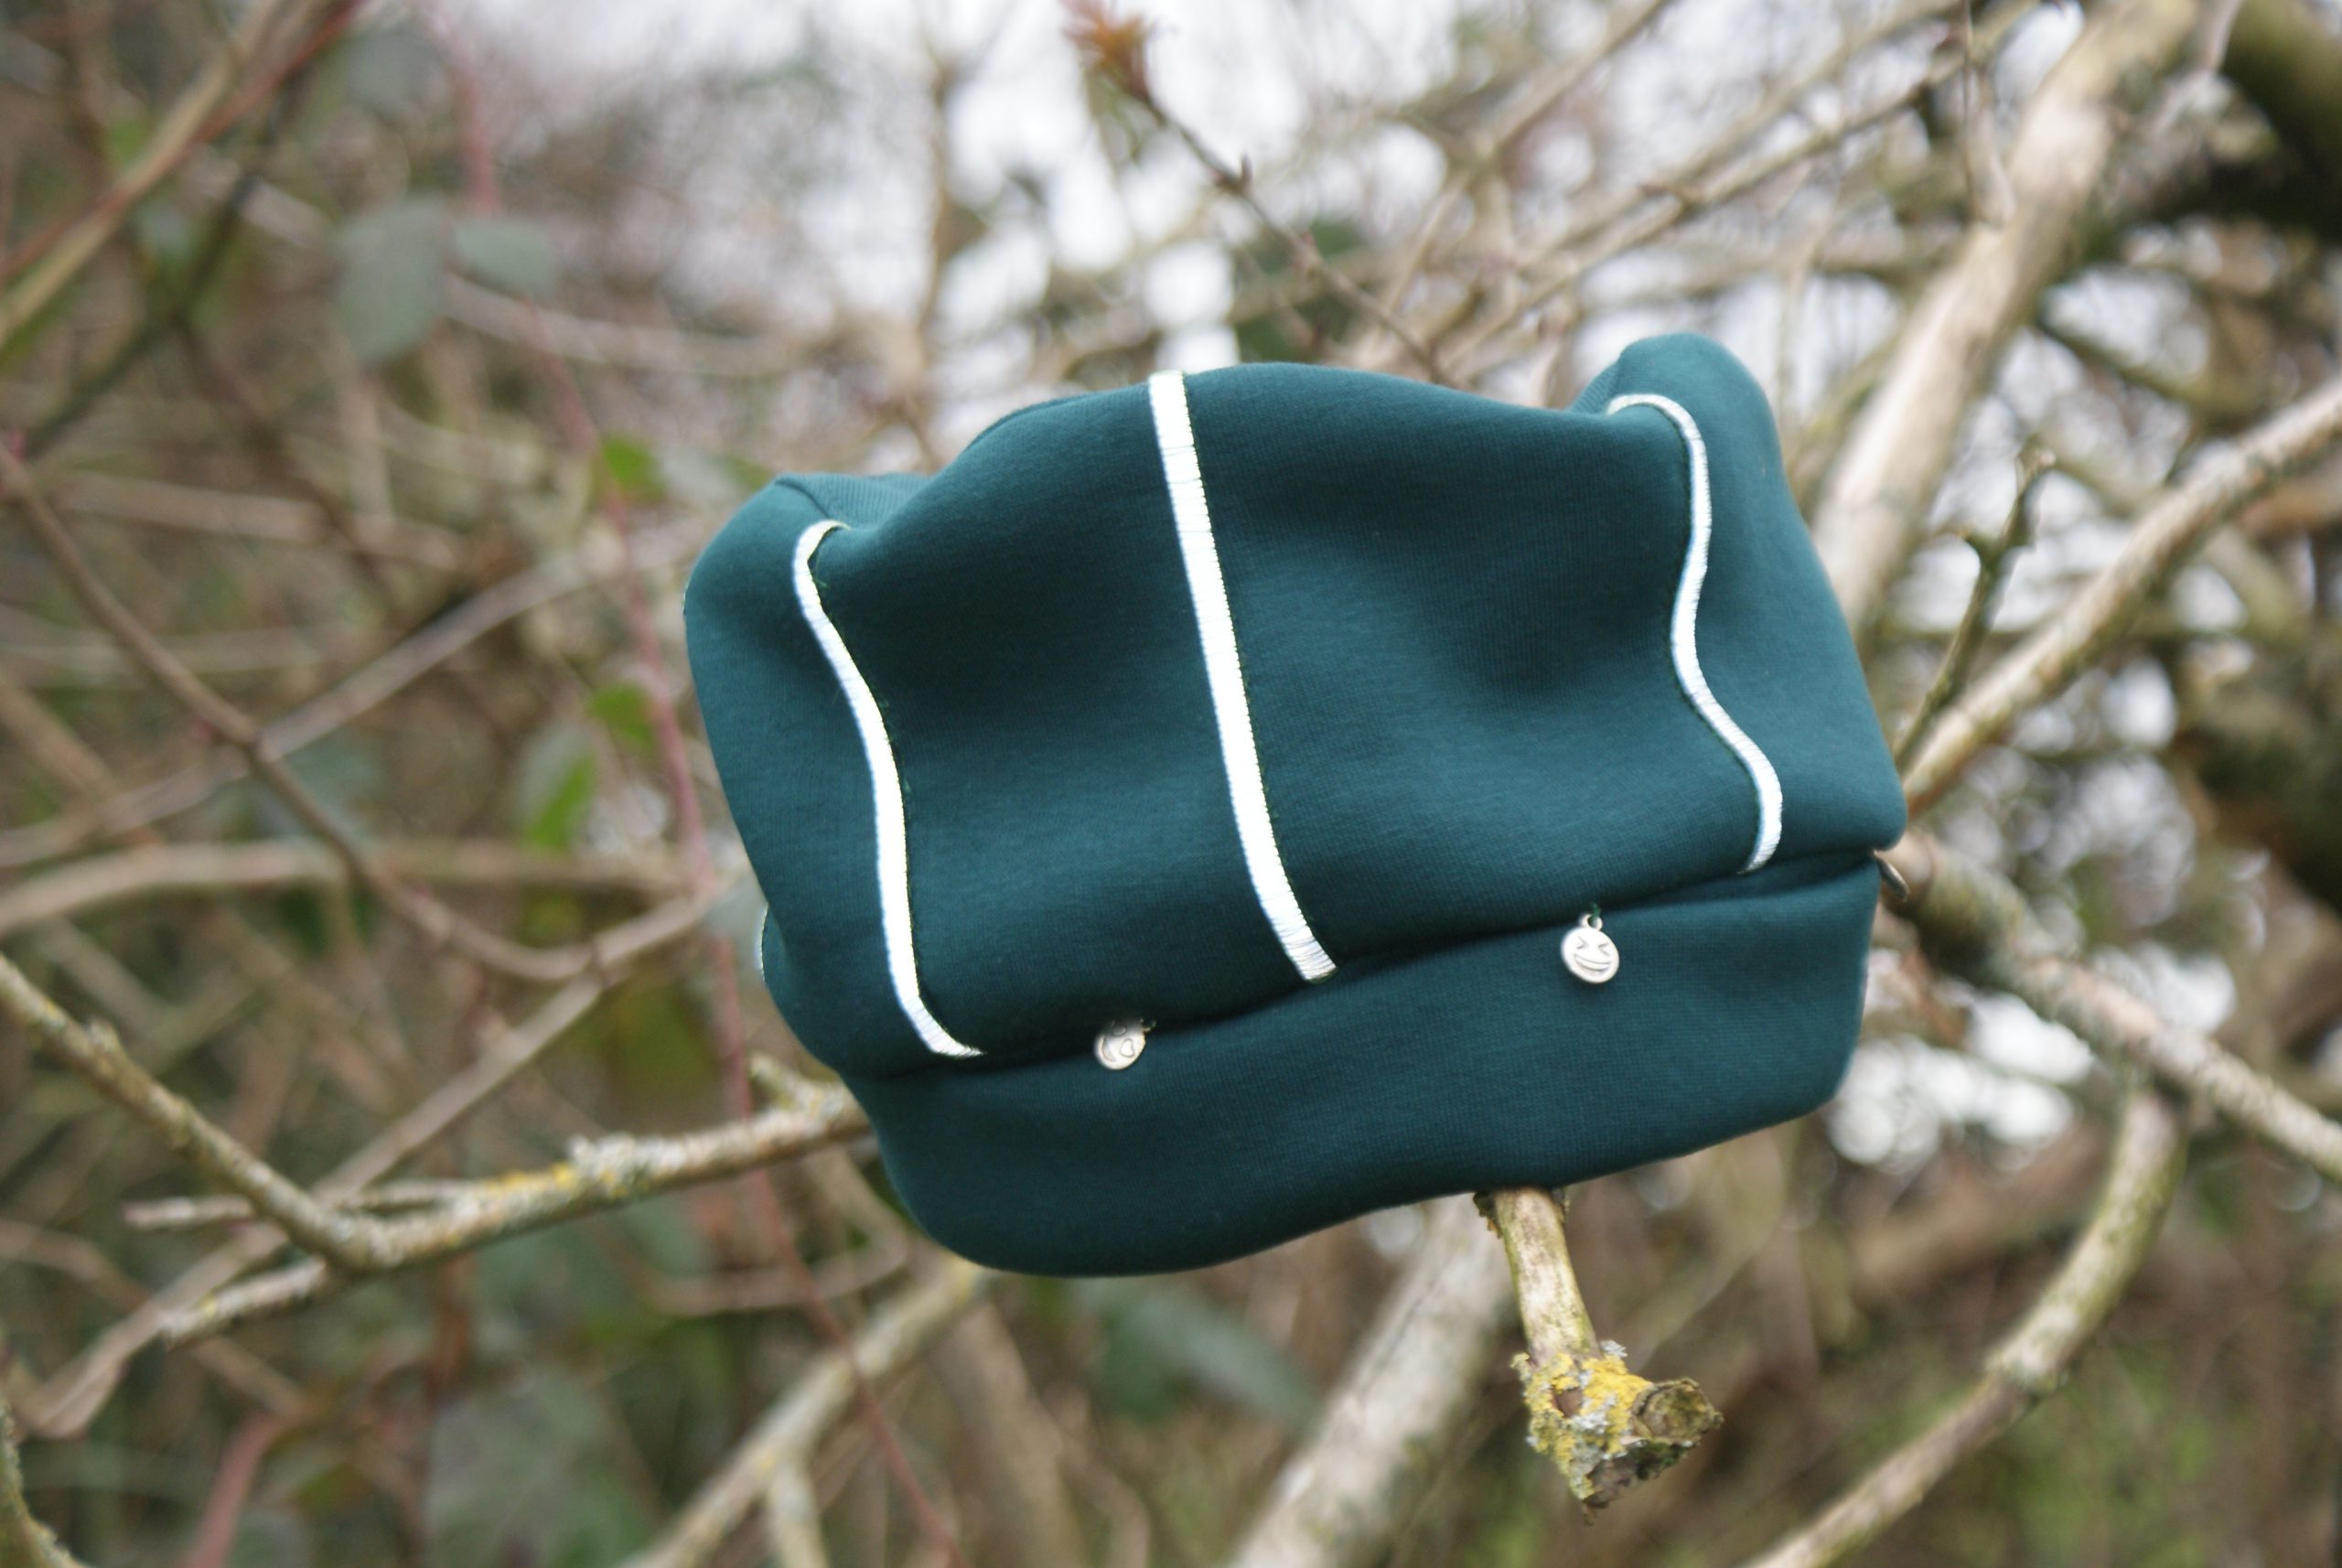
Sewing is ready. Fold the bottom part up and handsew to the beanie. Charms will add a decorative touch to the beanie.
The safe beanie is ready.
Look what else you can do with the multi purpose foot on the overlock:
With this blogpost ‘Sew a beanie with reflective tape’ you can easily use fabric leftovers. Isn’t that a good idea? I thought it was a very useful project in all aspects.


0 Responses