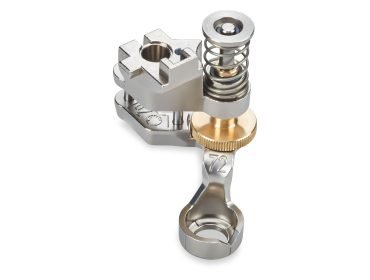
Start to quilt with the adjustable rulerfoot 72
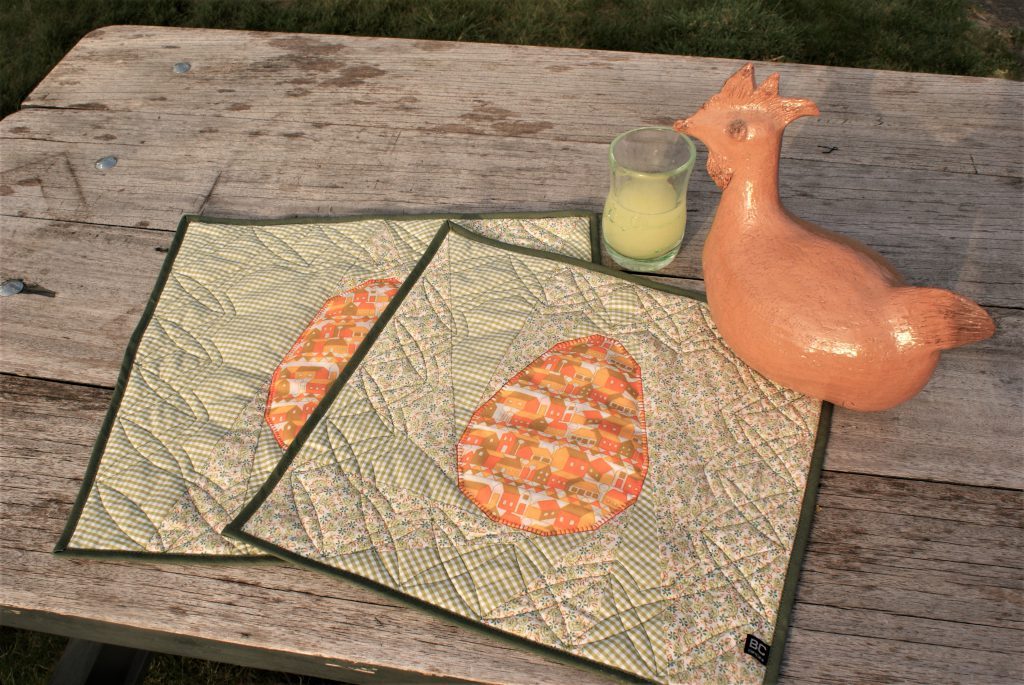
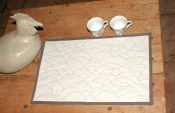
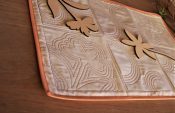
Start to quilt with the adjustable rulerfoot 72 on your sewing machine. Make some nice exercises, we will finish them afterwords and make a placemat with the rulerfoot-exercises.
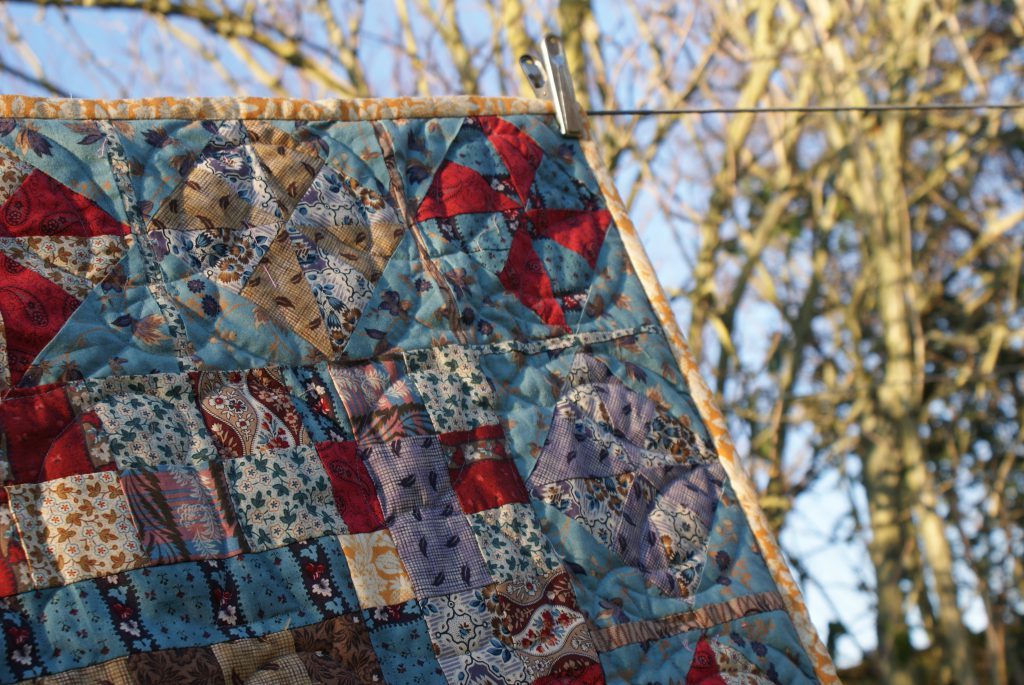
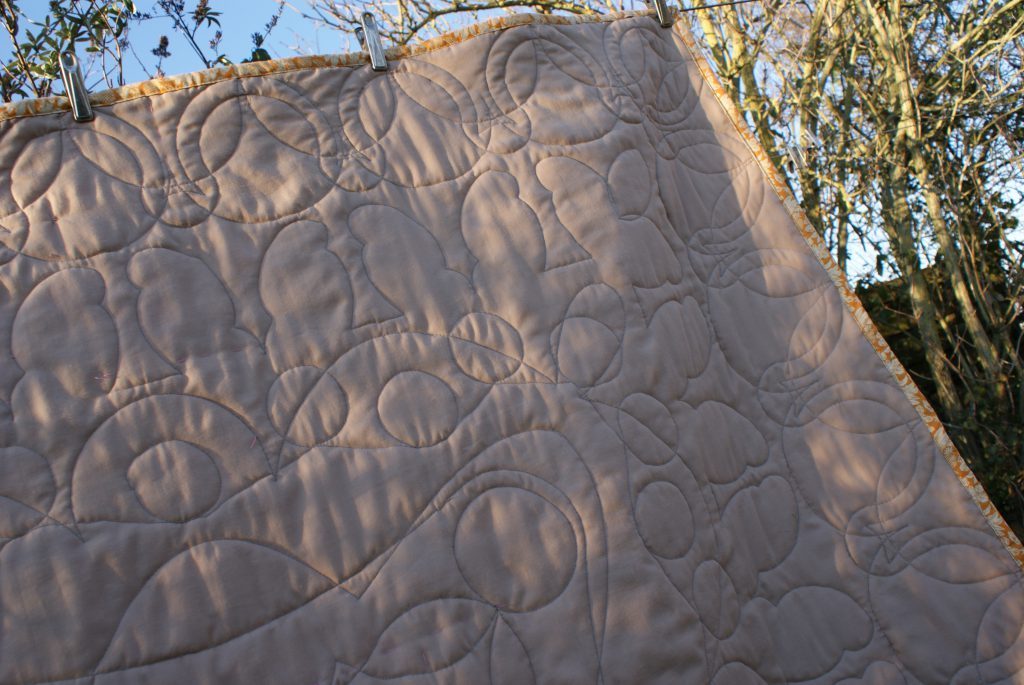
I have tested and tried it in some projects, but I don’t feel experienced yet. Some pictures:
Time to start a new exercise projet. Let’s discover the Adjustable Ruler Foot # 72 and the Ruler Kit Table in practise blocks. Find the blogpost on curved lines here.
Basic principles to use the rulerfoot in rulerwork:
- The rulerfoot has a round shape on the bottom, to sew in all directions along the rulers.
- Your needle comes in the middle of the round bottom part, so it sews a6,25 mm away from the ruler.
- The plexi rulers can glide over the fabric. Find rulergripsto stick on the back side. A must!
- Used rulerworkers wear quilting gloves. They prevent slipping and give an extra control function when moving fabric and holding rulers.
- Keep practising! Amanda Murphy is one of our BERNINA UK bloggers, experienced in rulerwork. She didn’t wake up one morning to find that she was experienced in rulerwork. So practise, practise, practise…
- Disengage fabric transport for rulerwork. Try to find a regular movement and stitch.
- Accuracy is the key word. Stop your needle in the exact spot where a line is meant to end.
- Stitch slowly, especially in the beginning. It helps a lot to check if you are sewing in the right direction, and to adjust in a smooth line, if necessary.
What do you need to start this pratcice in rulerwork?
- An old cotton fabric or duvet cover in plain color. I want to make a few 15 x 15 cm squares with different patterns. They’re made in pairs on 45 x 22,5 cm fabric (you will need the same size for the back). The size is bigger than you need, but it helps to sew with the rulers on the edges. Let’s make (at least) 6 blocks, so we will need 3 patches of this side.
- Find any firm (thick) fabric as batting.
- Sewing thread (I chose a kind 90, instead of regular size 120 sewing thread – it helps to have clearer pictures).
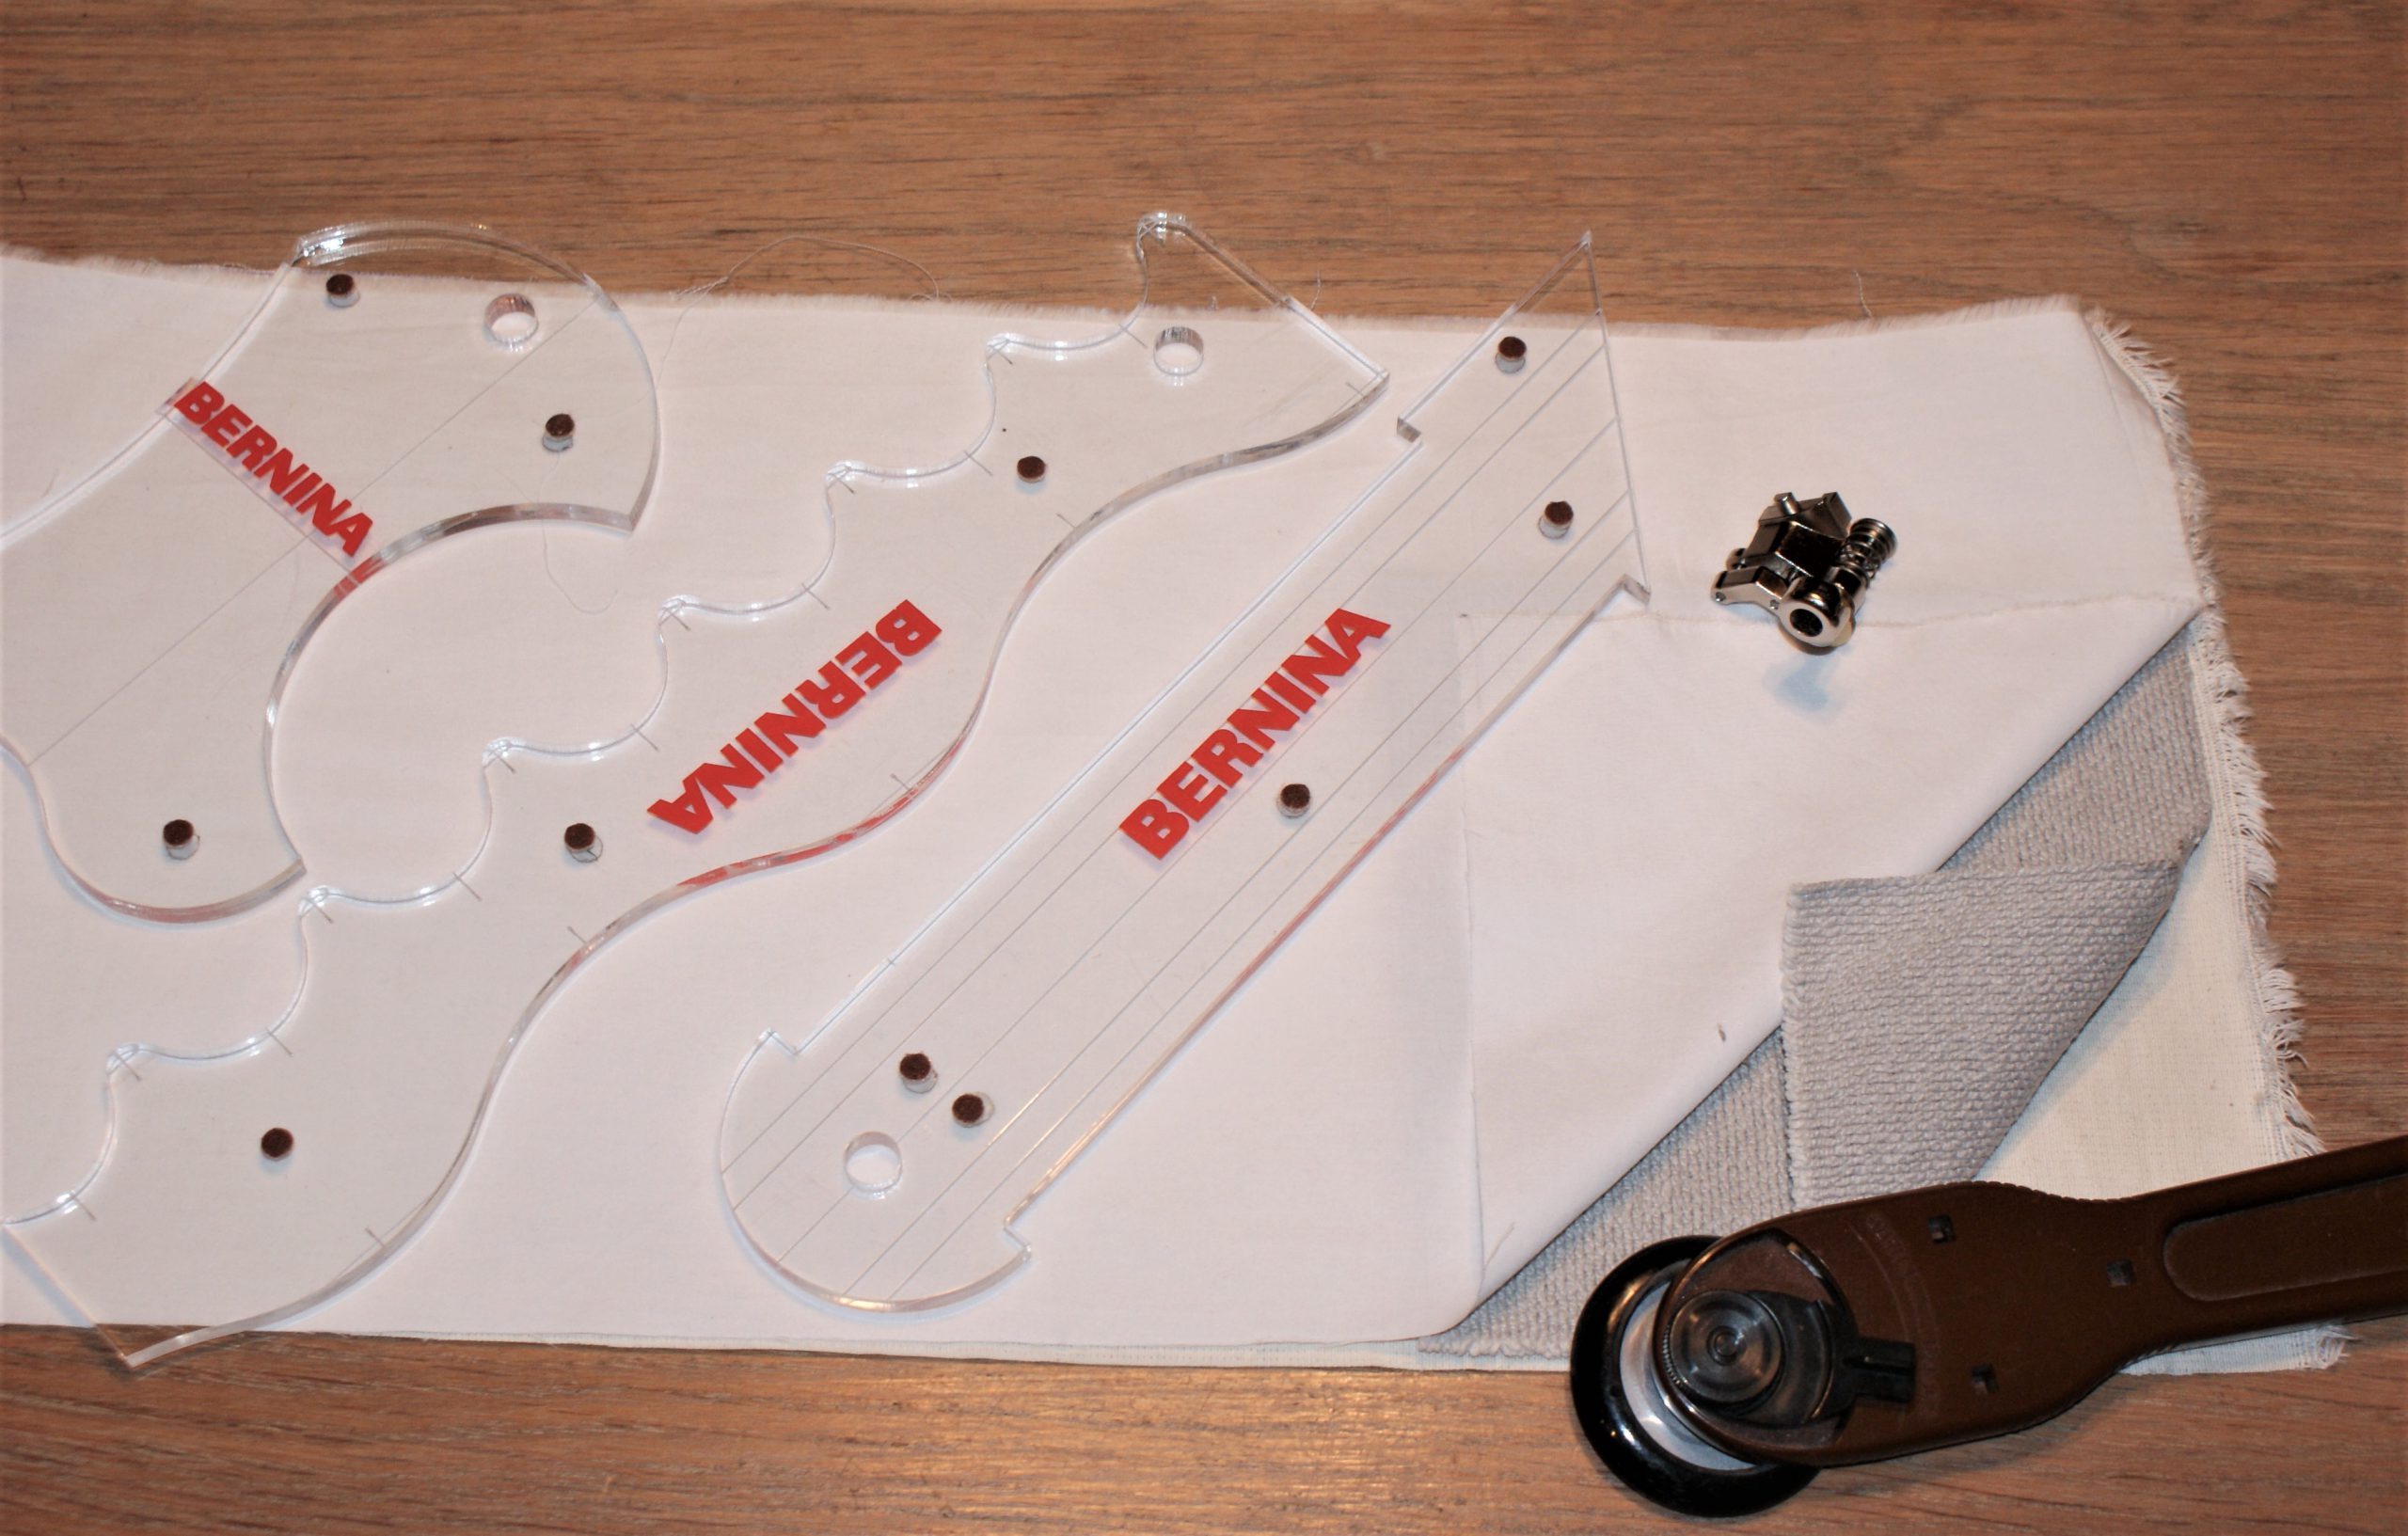
- From the Ruler kit, we take the straight one (.
- Good grip gloves, if you have any (I started with my husbandes work gloves).
- Heat erasable pen, rotary cutter, mat and measuring ruler.
Start with the rulerfoot on the sewing machine:
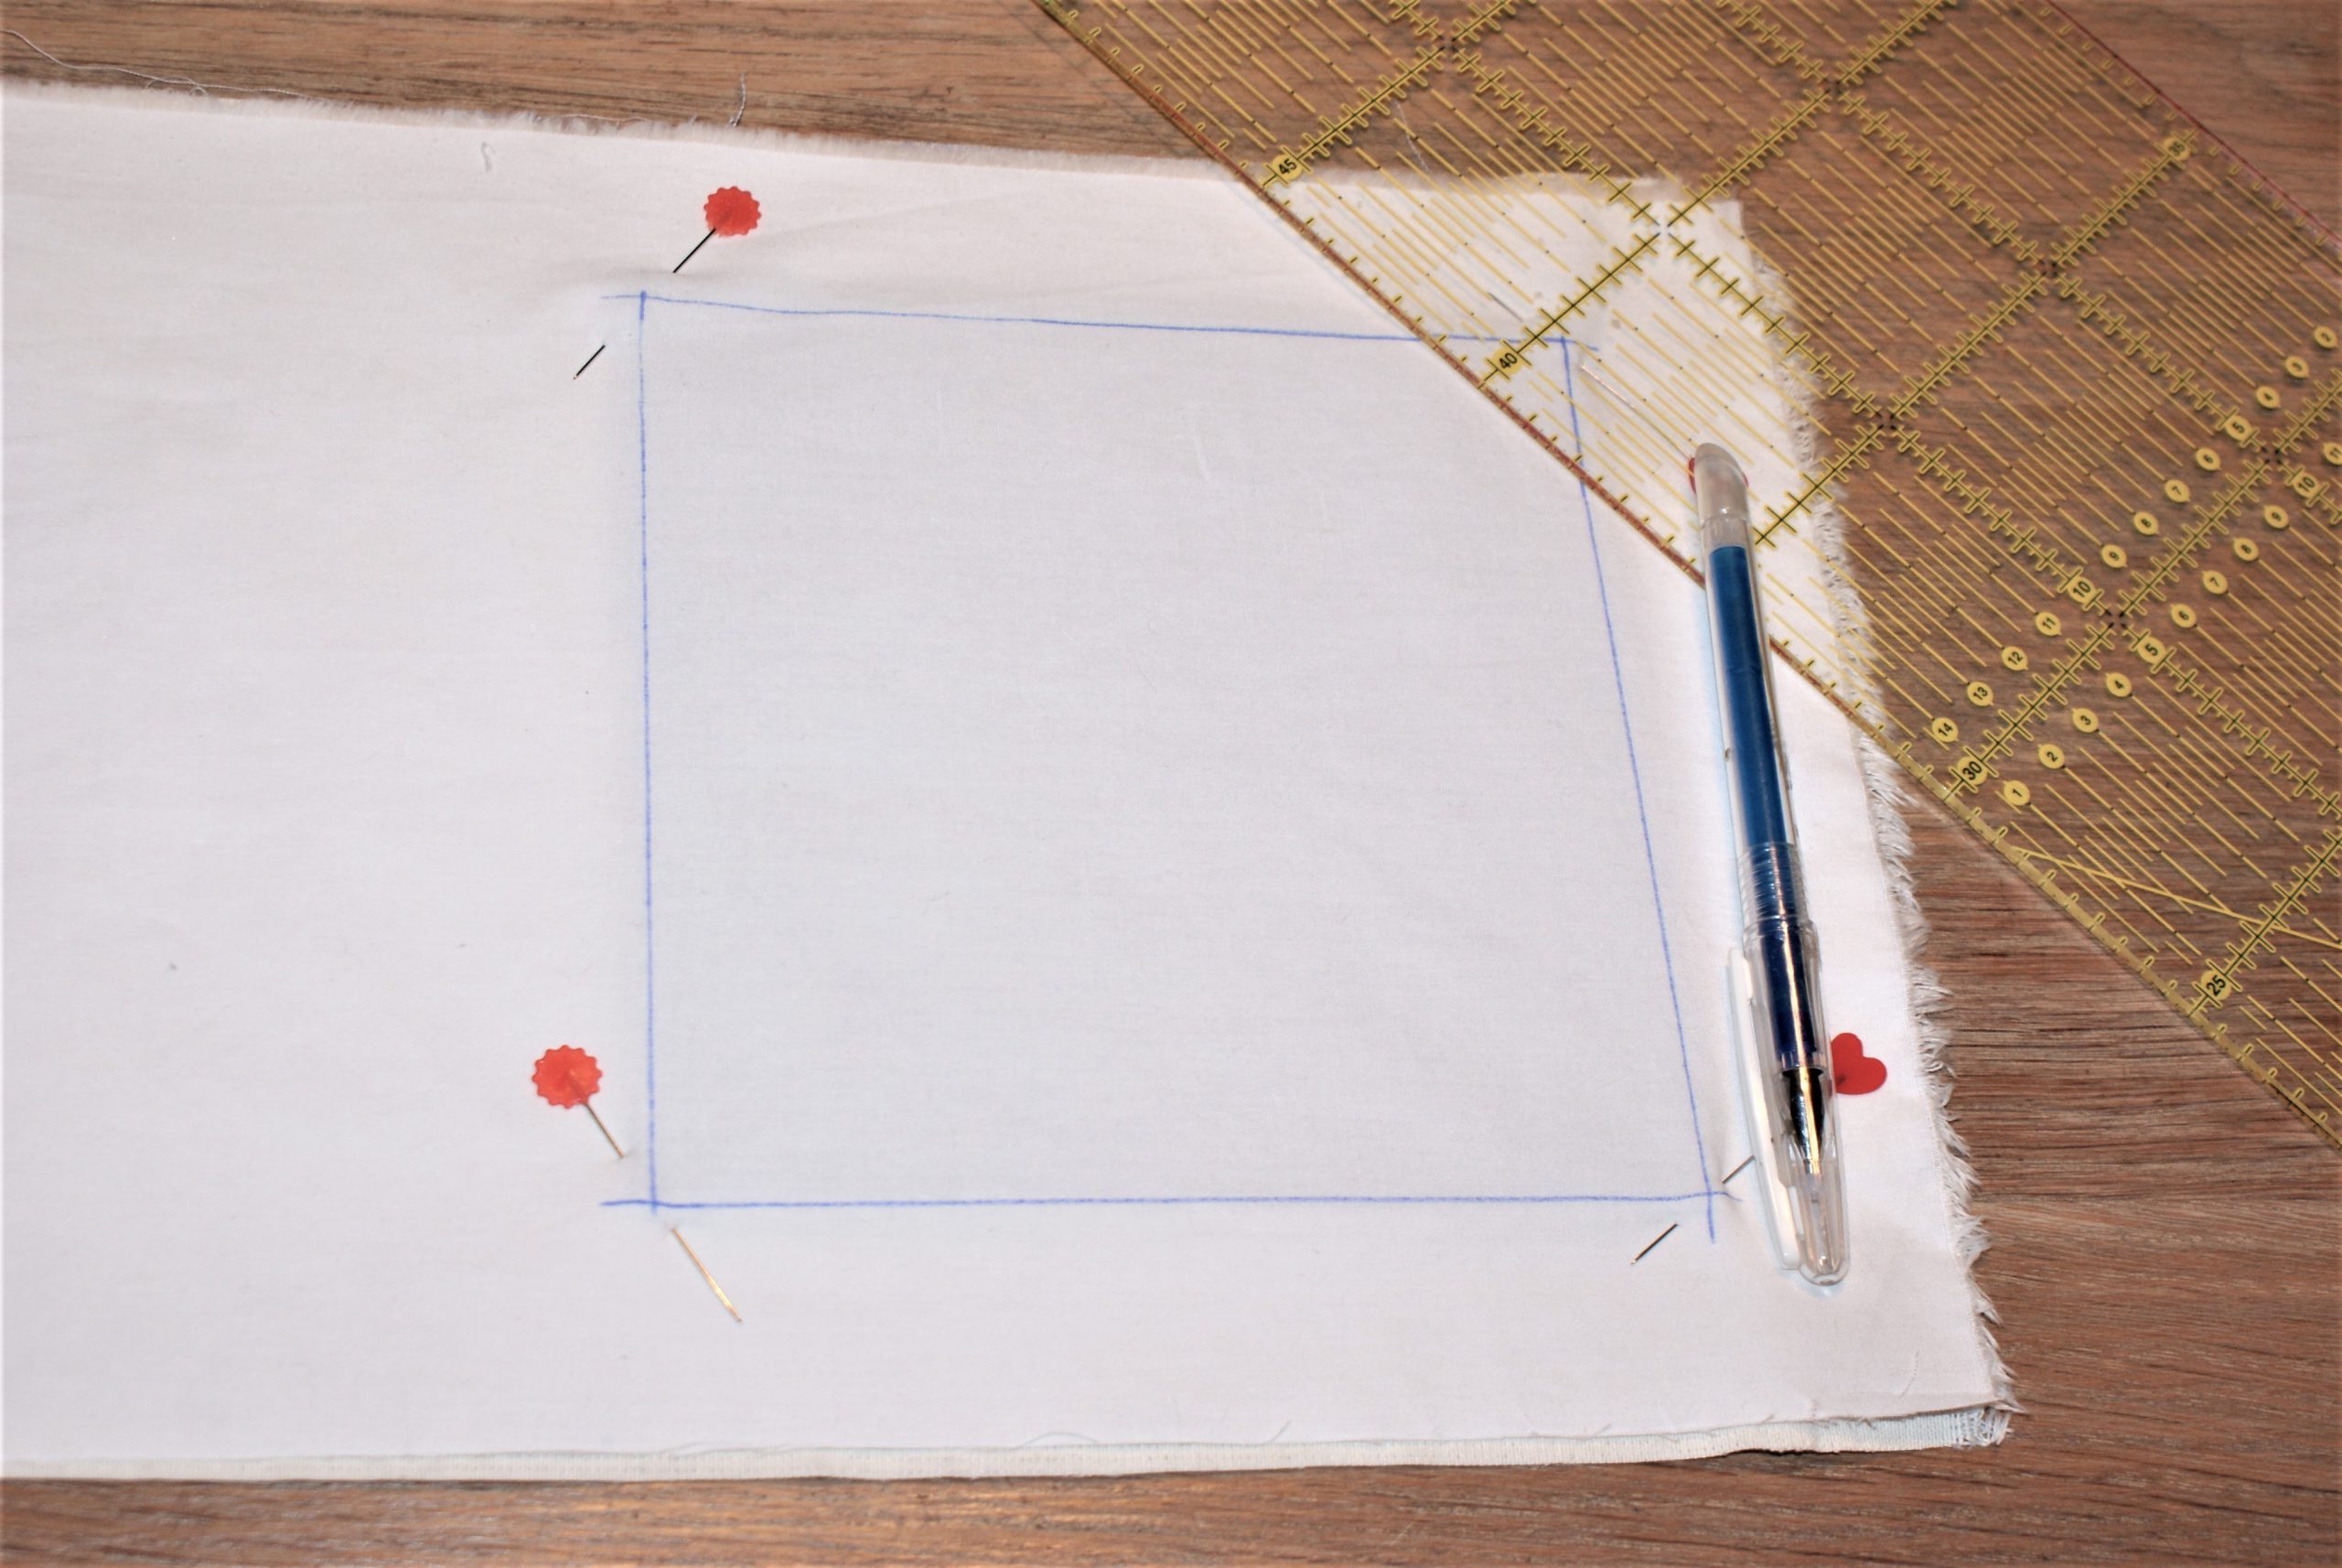
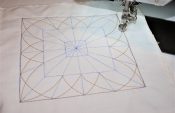
Draw a 15 x 15 cm square on the fabric.
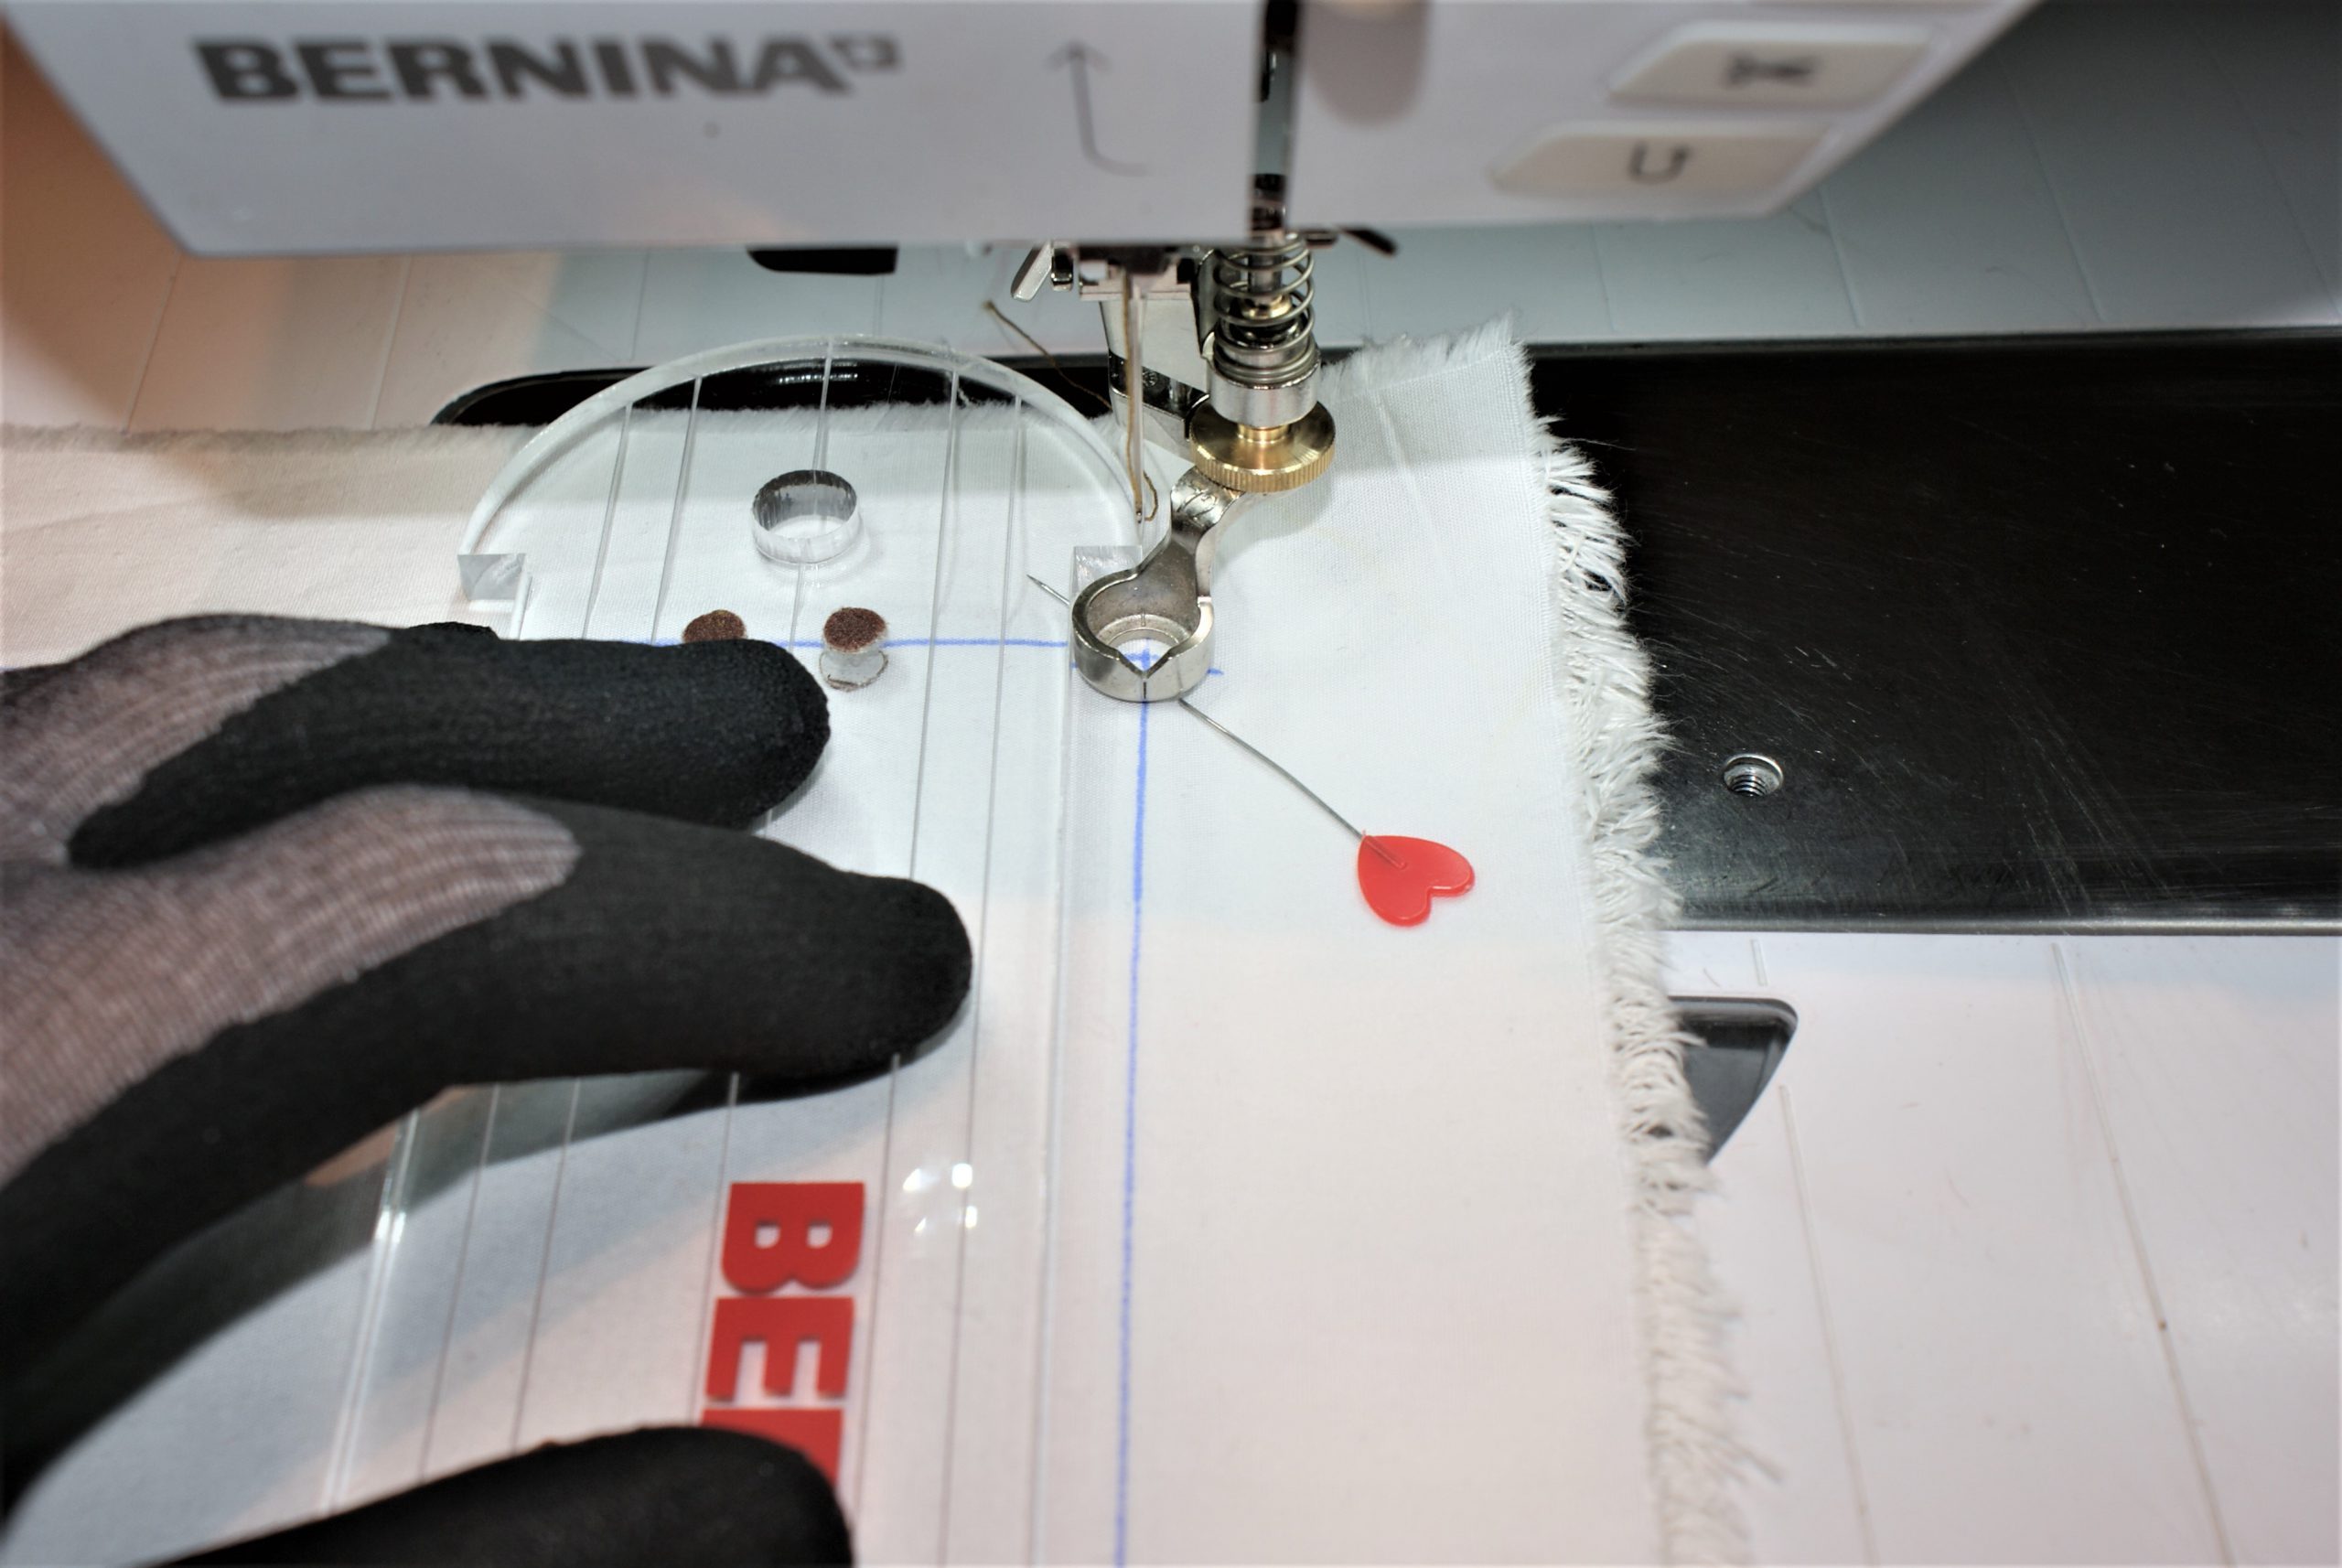
Disengage fabric transport (drop feed dogs). Put the needle in the fabric on the corner. Position the ruler on a 6,25 mm parallel distance and sew. If you have pinned in the corner, remove the pin before sewing.
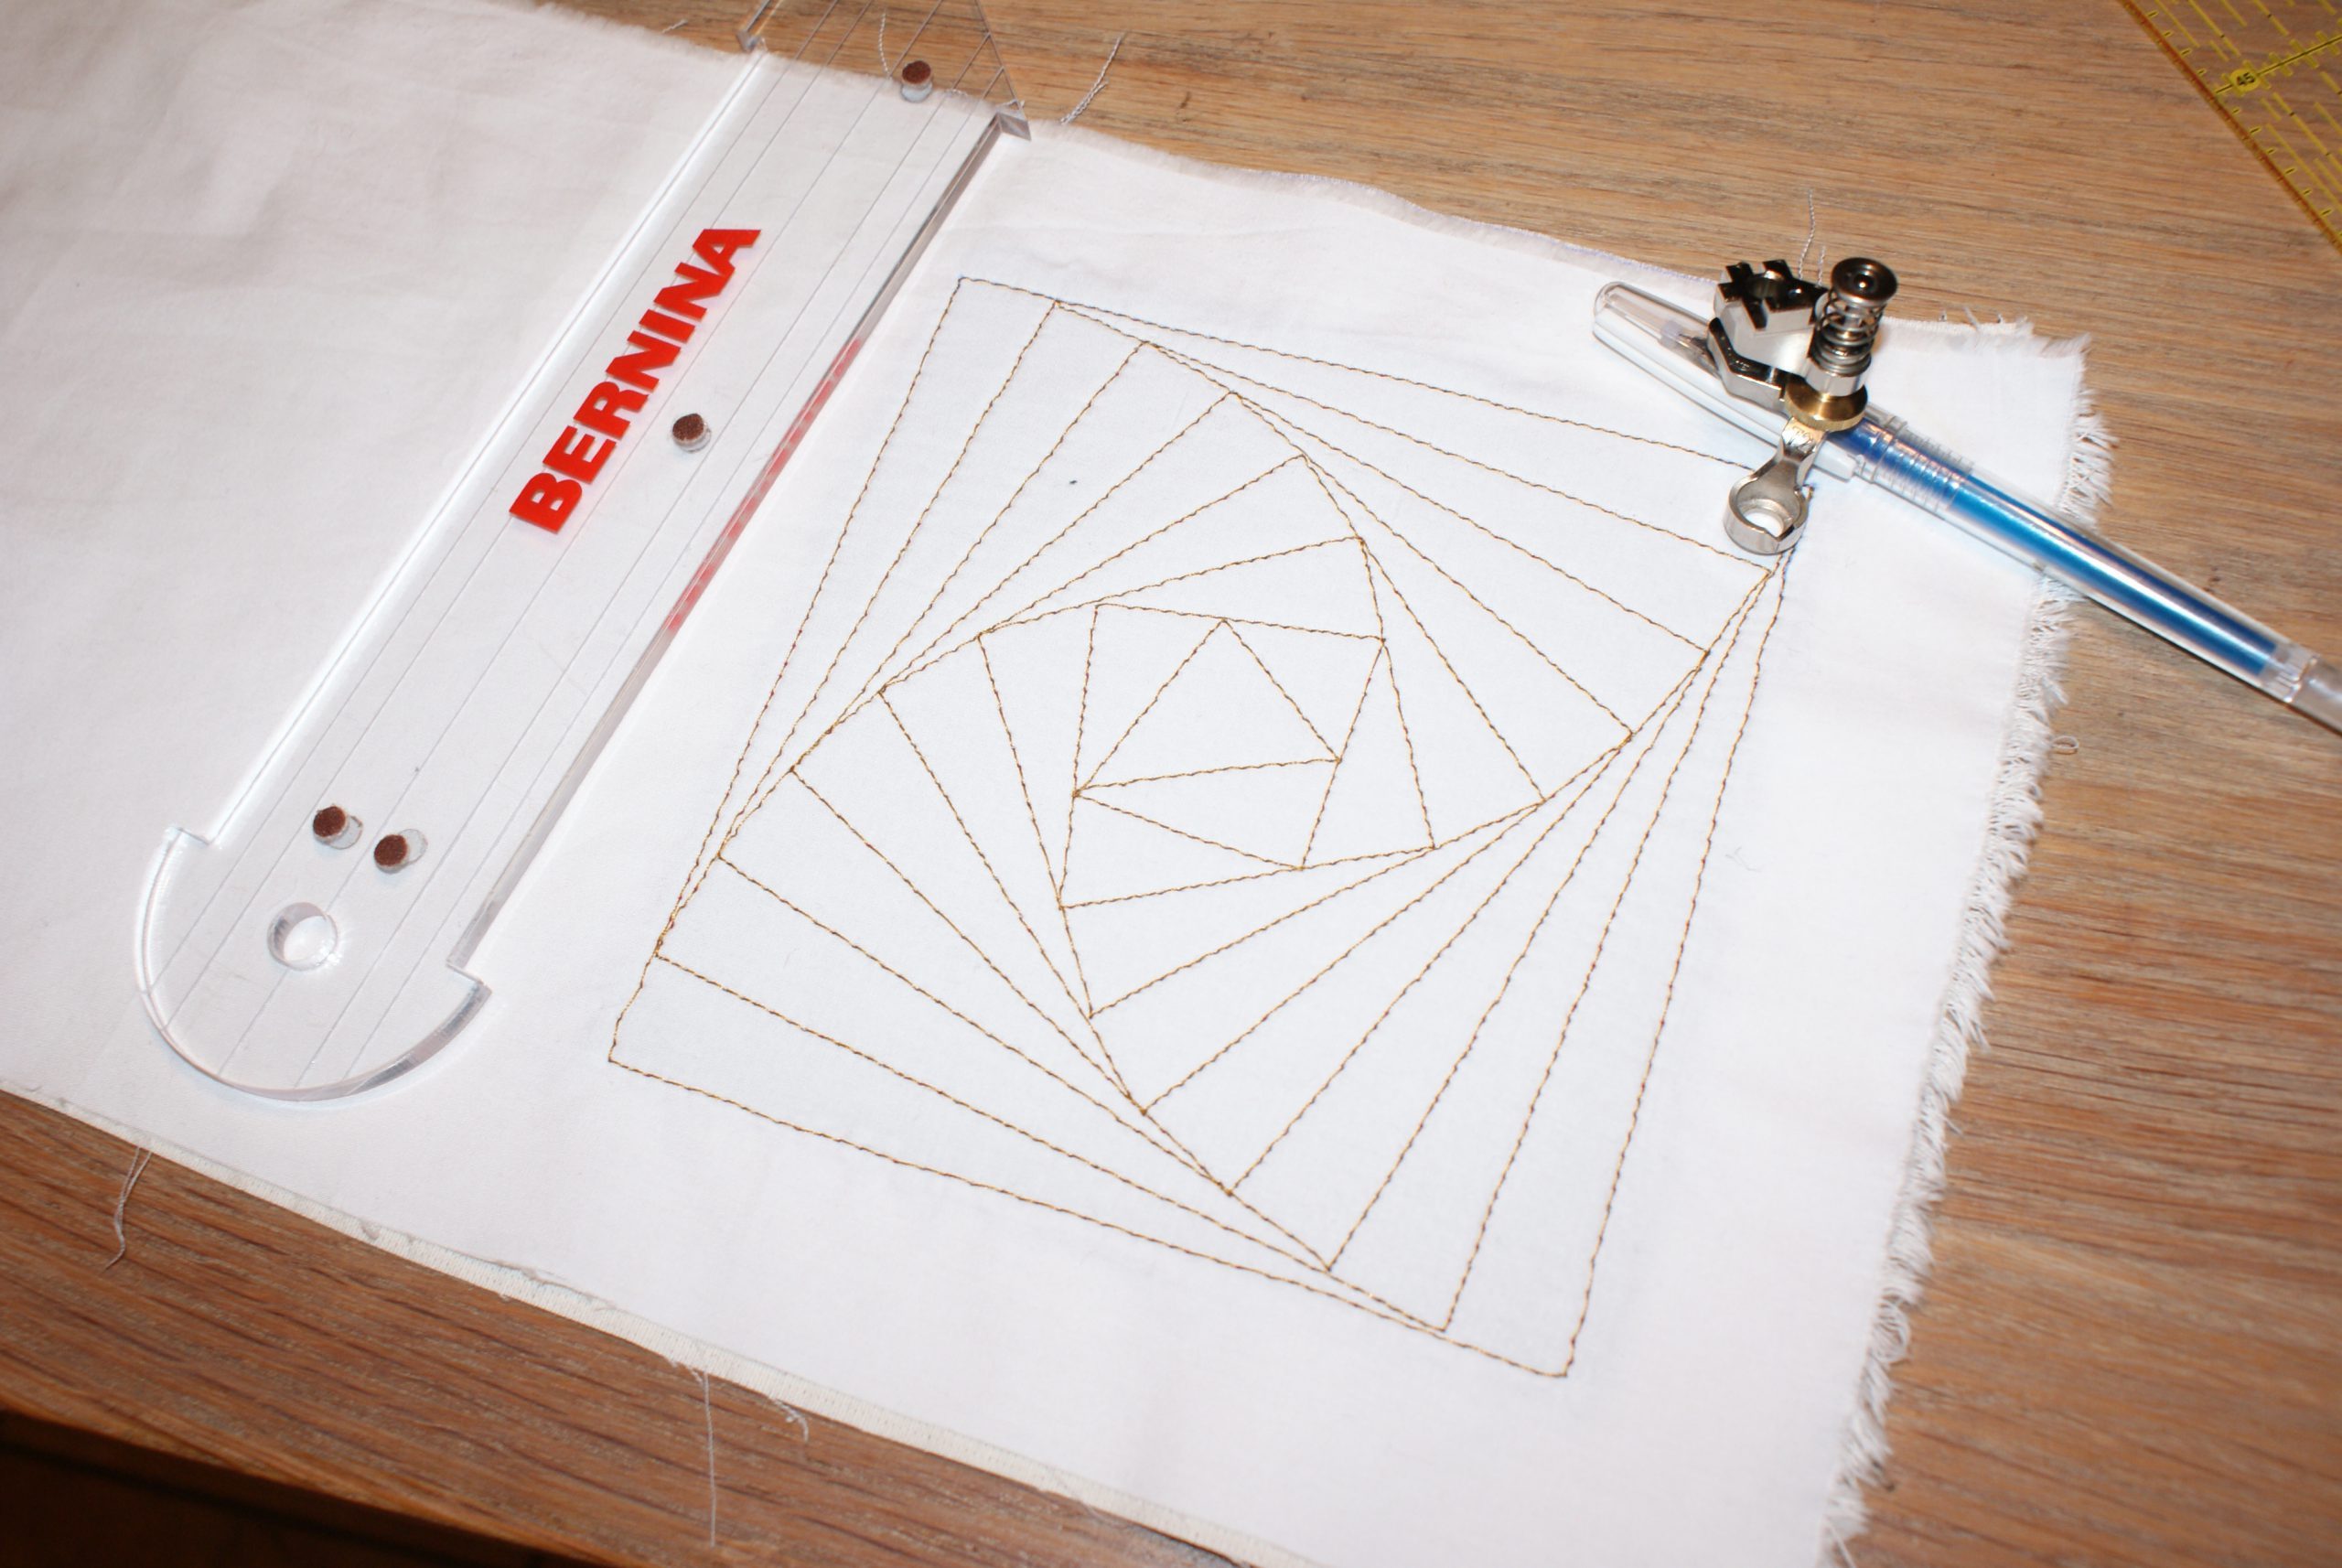
Sew all 4 sides of the square and finish in the first corner again. We are sewing on a small patch and it is easy to turn the fabric, to sew in the same direction for every corner. In a bigger project you would probably have to move your ruler from horizontal to vertical and back.
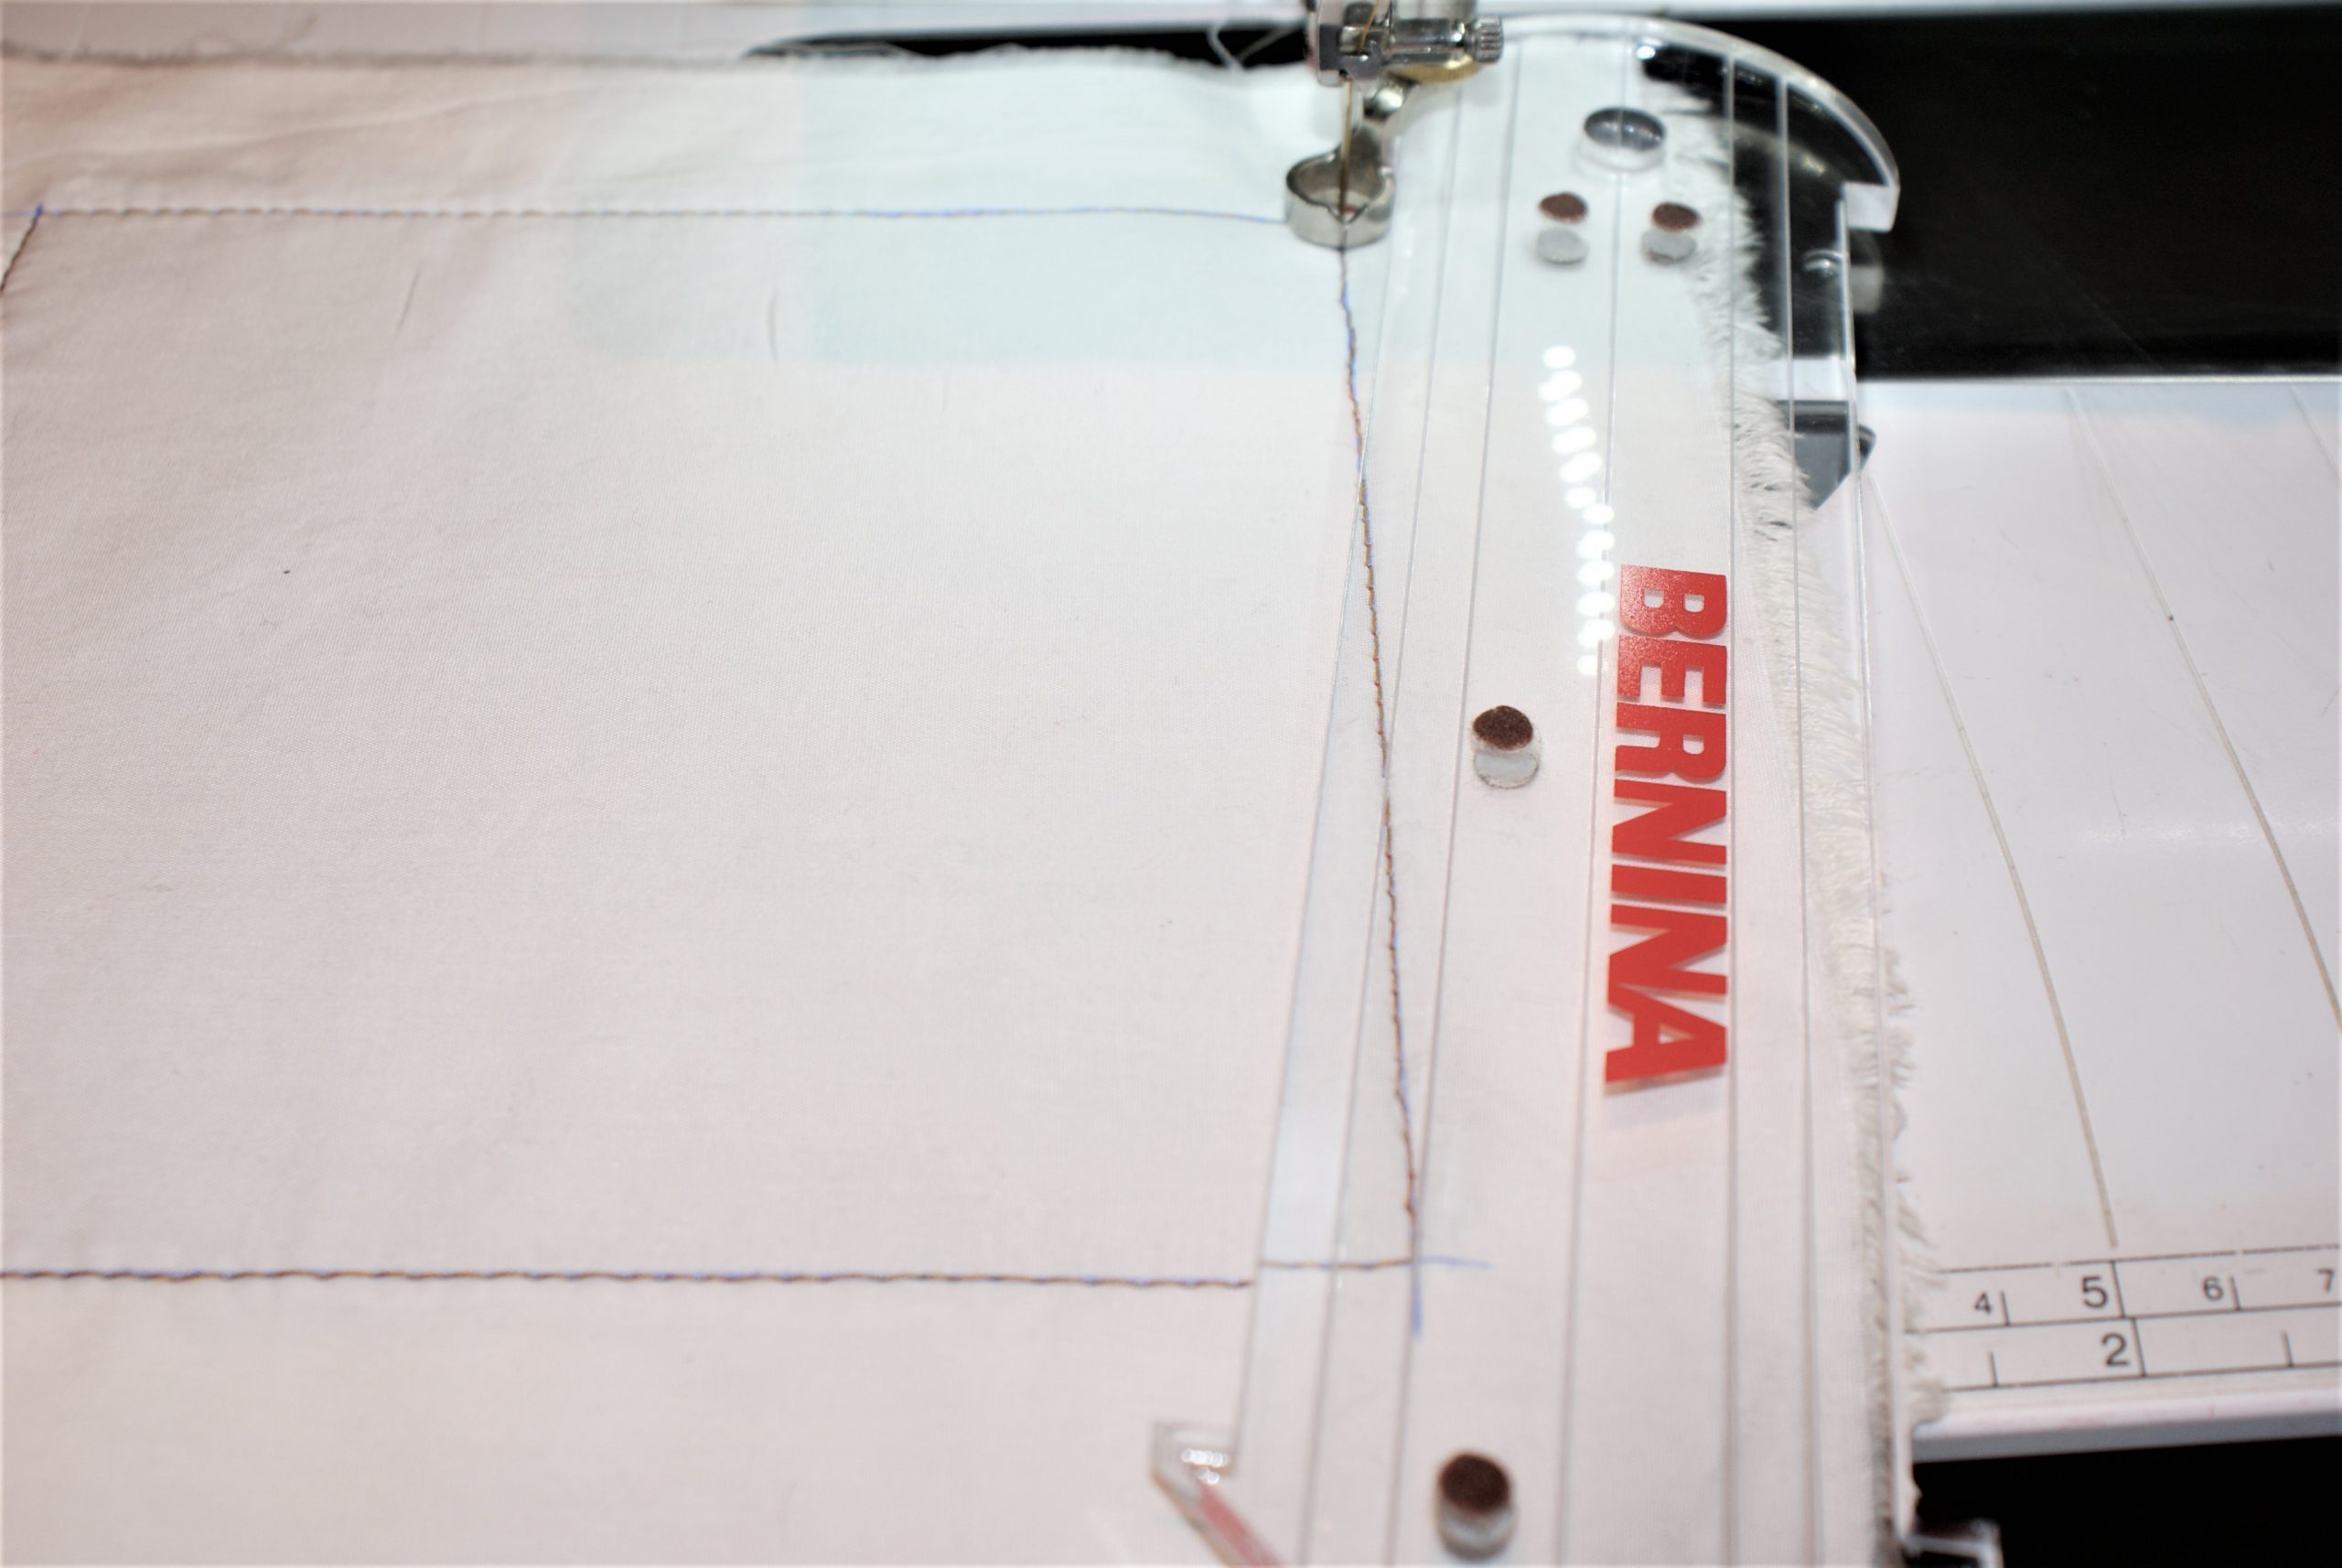
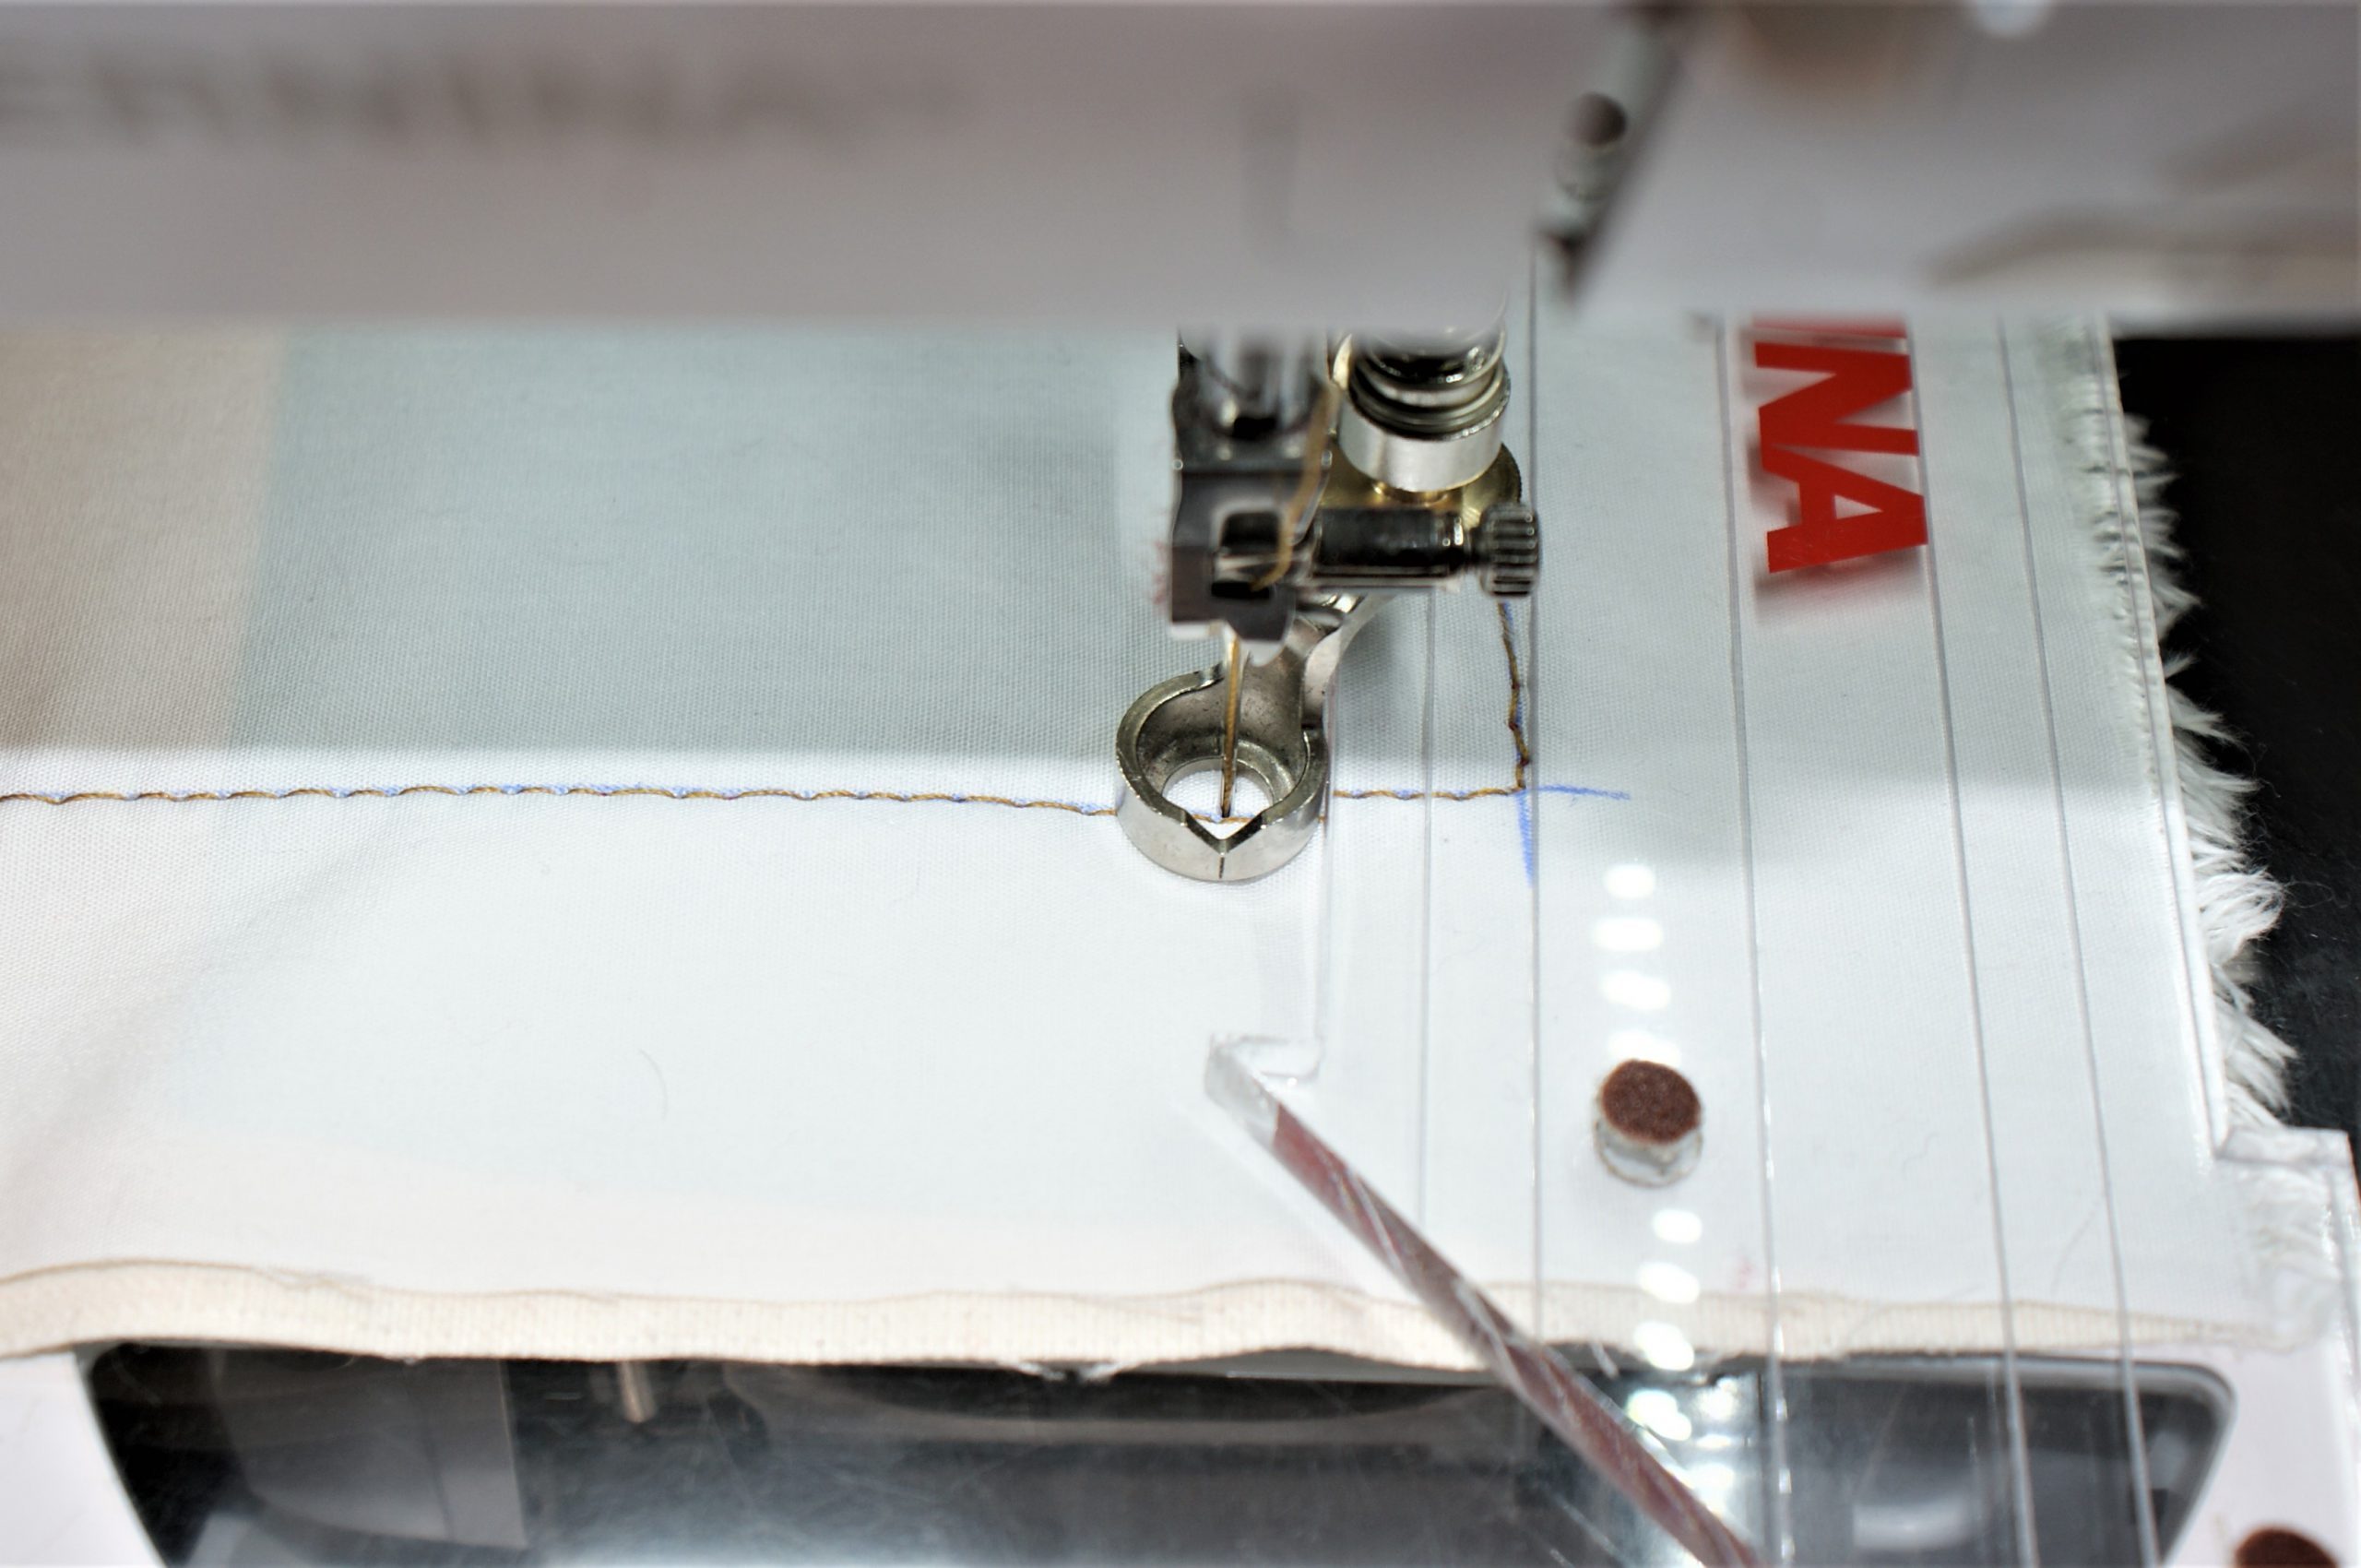
For the next line, you will replace the ruler, always in the same direction. Follow the guidelines on the ruler. Take a look how the ruler connects the second guideline and the corner of the square? Sew along this line.
Think of the accuracy tip and stop exact in the sewing line.
Continue to sew the same pattern till the block is filled. The shorter the lines, the easier the sewing.
In the middle of your pattern, you will find that the sides become too small. Find an elegant solution to stop without sewing lines too close to one another.
Secure stitches and the first block is finished.
I thought it went quite well. I hope this blogpost ‘Start to quilt with the adjustable rulerfoot 72’ inspires you to use the rulerfoot more.
Watchthis video to learn more about rulerwork:
In next blogpost, we will practise with the other rulers. I hope you will join me again!
 BERNINA Corporate Blog -

Thank you for this tutorial, I have done exactly as you say but have difficulty using this foot. The thread breaks, stitches are skipped, a nest forms underneath. If I quilt with a regular quilting foot (same thread, same tension) everything is perfectly fine. I have released the upper tension to 2.75 and am using a yellow bobbin case. what am I doing wrong?
Chiara, there’s no fun in sewing with problems. Did you change needle and/or thread? I don’t know why you use the yellow bobbin case? It is meant for machine embroidery and has a higher tension. In combination with a lower upper tension, you have the thread being pulled to the bottom. Could that be the reason? I use a pretty firm fabric, in several layers and it works with standard tension settings.
I assume that “disengage fabric transport” means disengage the dual feed? Or does it mean drop the feed dogs? Thanks.
Sorry, Donna, if it wasn’t clear. I meant drop feed dogs. By dropping them, you can move the fabric free under the presser foot.