 BERNINA Corporate Blog -
Hera sweater by LIESL

I got to test the new Hera sweater pattern from Bel’etoile and Sew it Curly (both also members of the Benelux BERNINA blog team). This sweater pattern with no less than 6 different sleeve options is a wonderfully easy sewing pattern (size 32-52) and where it is a bit more complicated it is very clearly explained with many clarifying photos and drawings.
Ga naar de Nederlandse blog
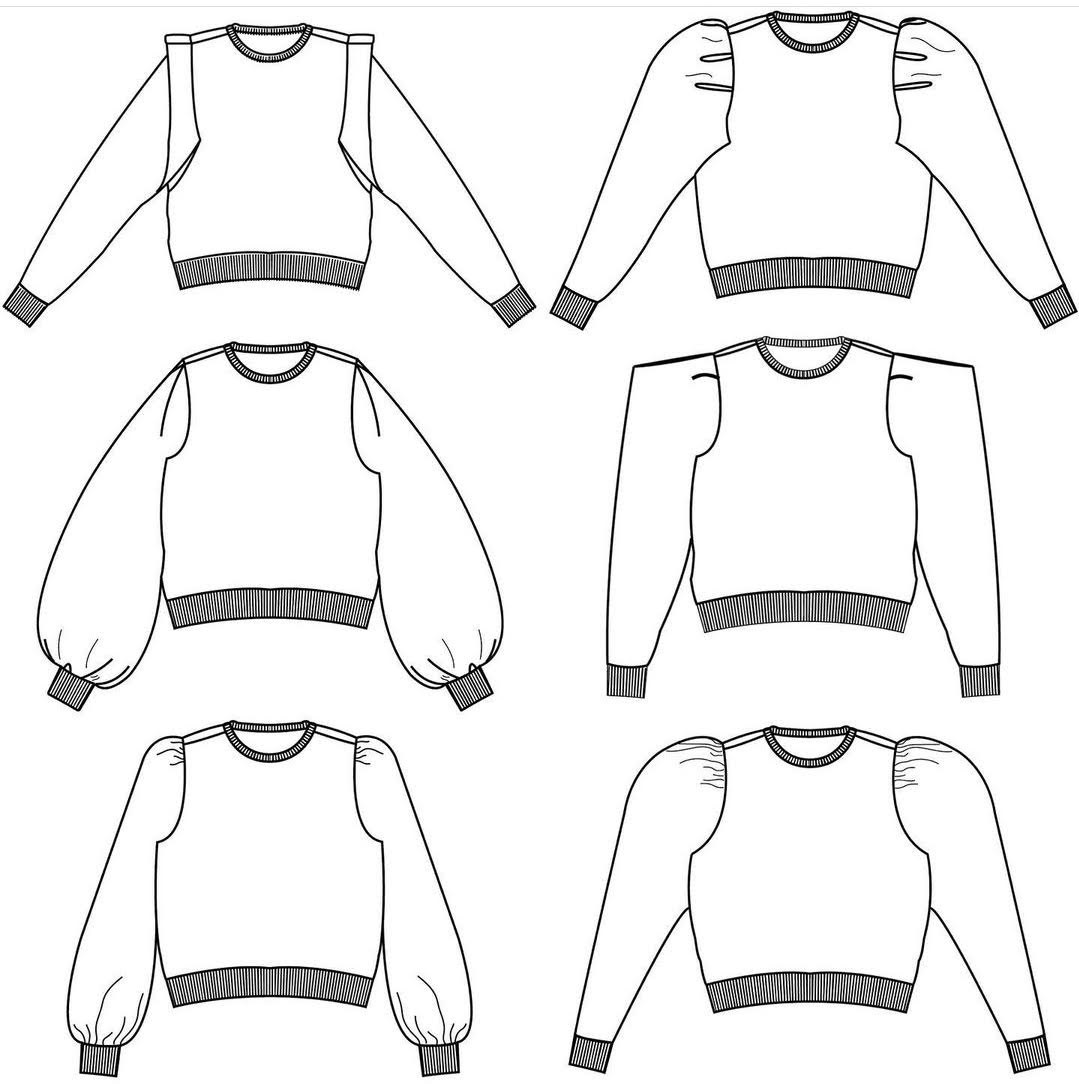
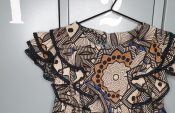
For the test I sewed the shown top two sleeve options: the crater sleeve and the sleeve with pleats.
First I made the sleeve with pleats option. When you use a fabric that keeps its shape well, it gives a nice puff effect. If you use a slightly supple stretch fabric like I did, you can get the puff by sewing an extra sleeve cap. This option is also included in the pattern.

Pleated sleeves
Sleeve pillows

I made the crater sleeve sweater with leftovers and therefore had to do some hacks. The sweater is shorter, no cuffs or waistband, but simply finished with a hem. Elastic is inserted in the hem of the sweater to emphasize the waist.

Crater sleeve
New Hera sweater
With the release date approaching and the lovely sneak previews of the other testers, I still wanted to make a combination of the two sewn Hera sweaters, namely a white version with crater sleeves. Just then I came across a cool tutorial on Instagram for making 3D letters on a sweater. I wanted to try this right away. I used the explanations of @naehen.bei.olga and @vanmiek.miekdhaene. Click on the names to see their tutorials.

A first attempt with letters of fibrefill ended in failure. The second attempt with a kind of soft shell fabric did yield a great result. I explain my steps below.
The letters
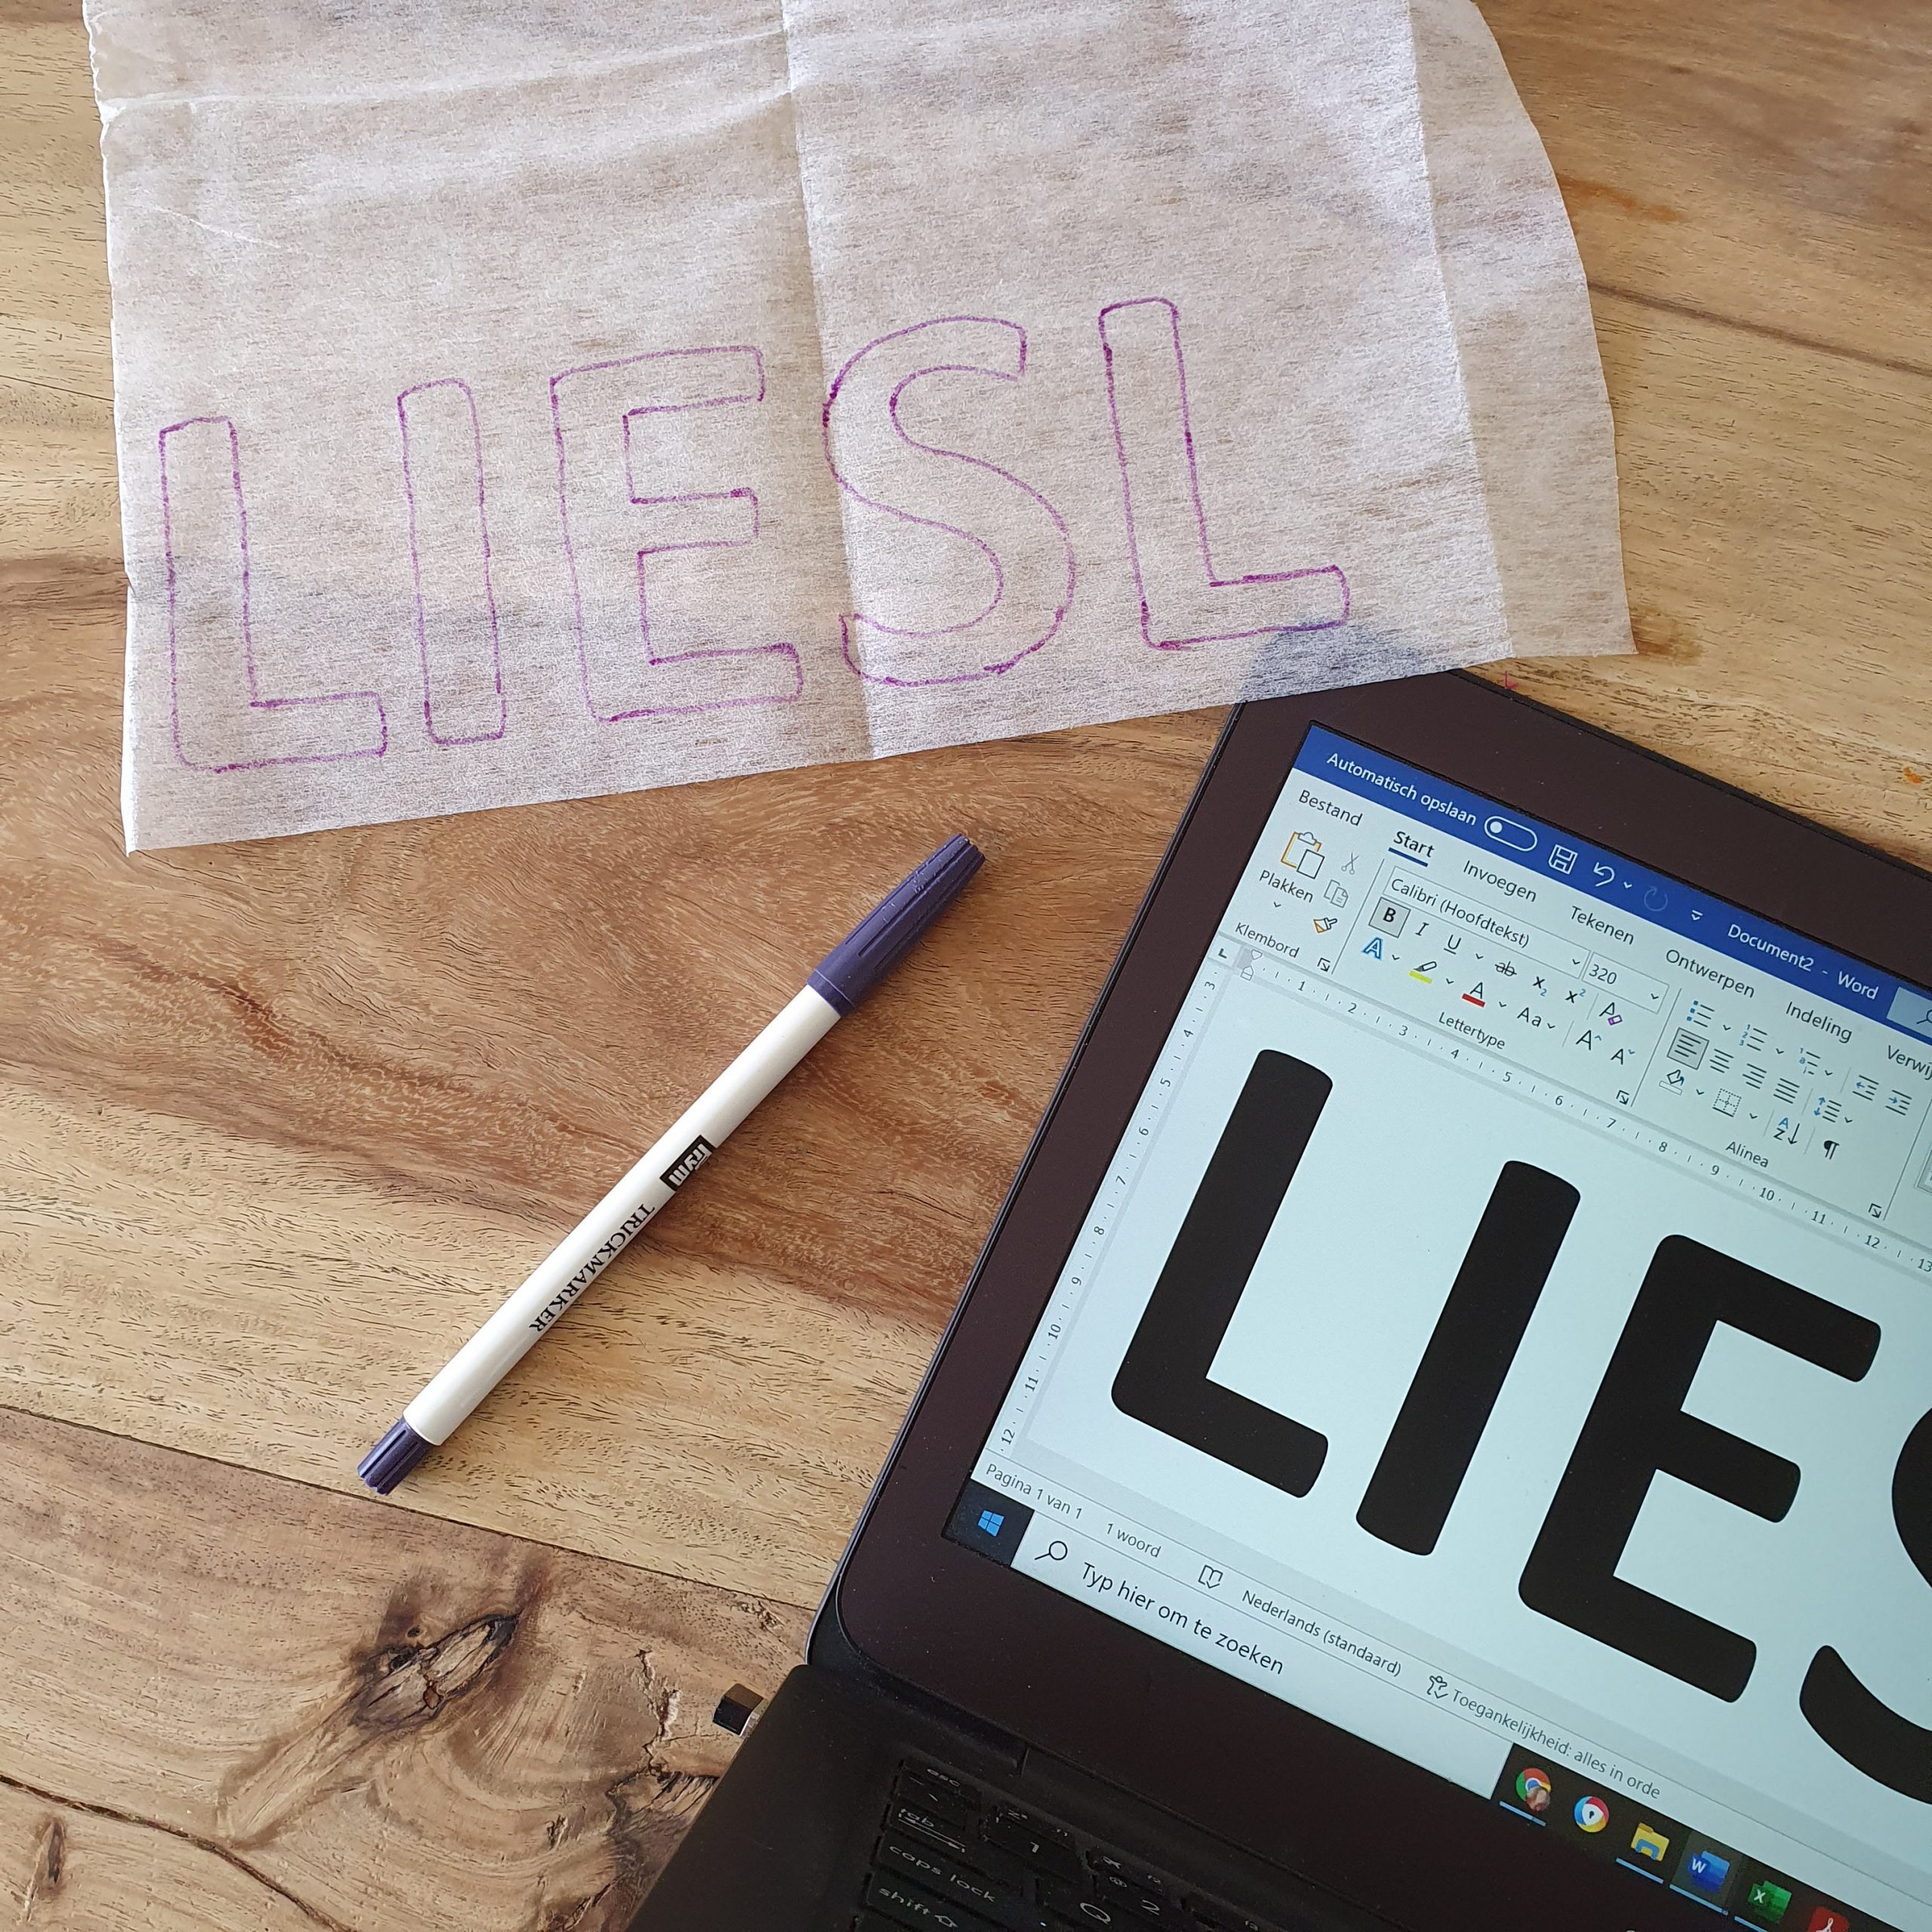
I copied the letters onto Vlieseline by placing it on the screen of my laptop and copying it with a disappearing marker. Make sure to point the adhesive side downwards. The letters shown here are from my first attempt. Afterwards these letters were too thin, it is better to select font Verdana Pro Black at size 220, as advised by Miek.
Verdana Pro Black, size 220
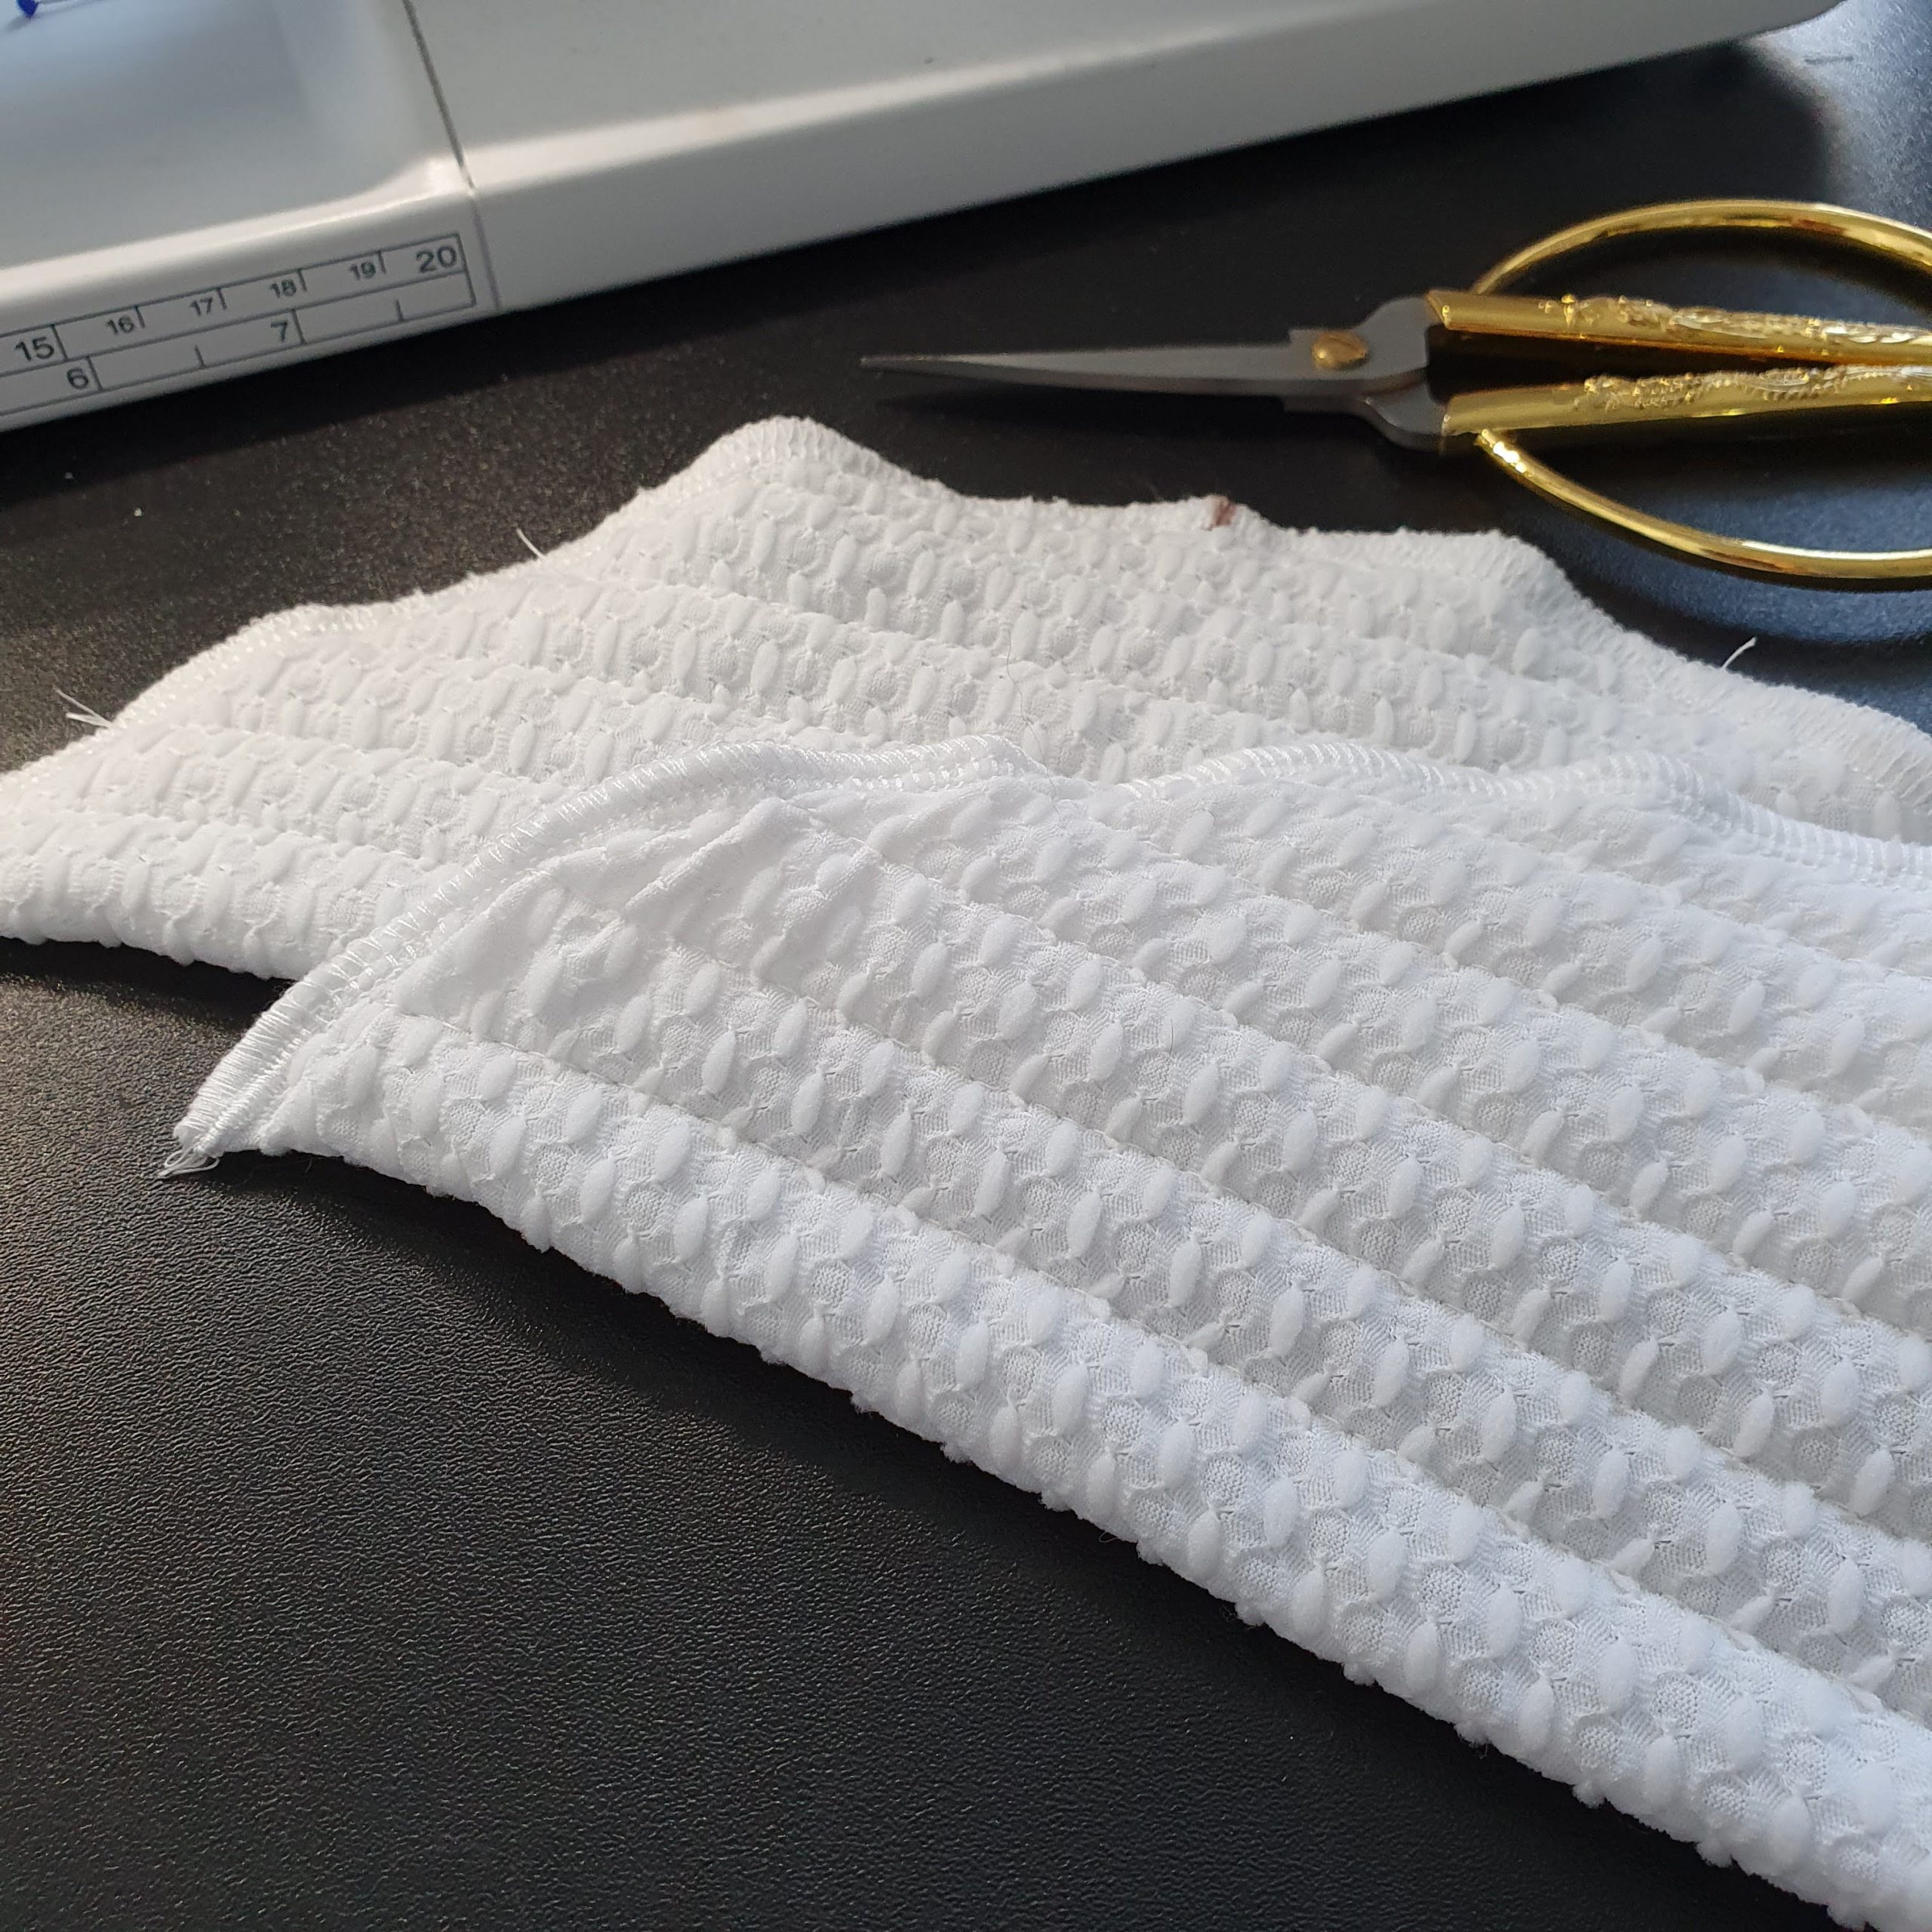
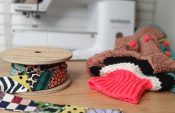
Choose thin foam rubber or a soft shell. My soft shell was relatively thin, so I glued two of them together with a layer of spray adhesive. Before cutting the letters, I applied the Vlieseline, so it was very easy to cut out and the pattern of the letters could not shift. In addition, I also thought that this would prevent the brown letters from shining through the white jogging.
Soft shel

Double layers

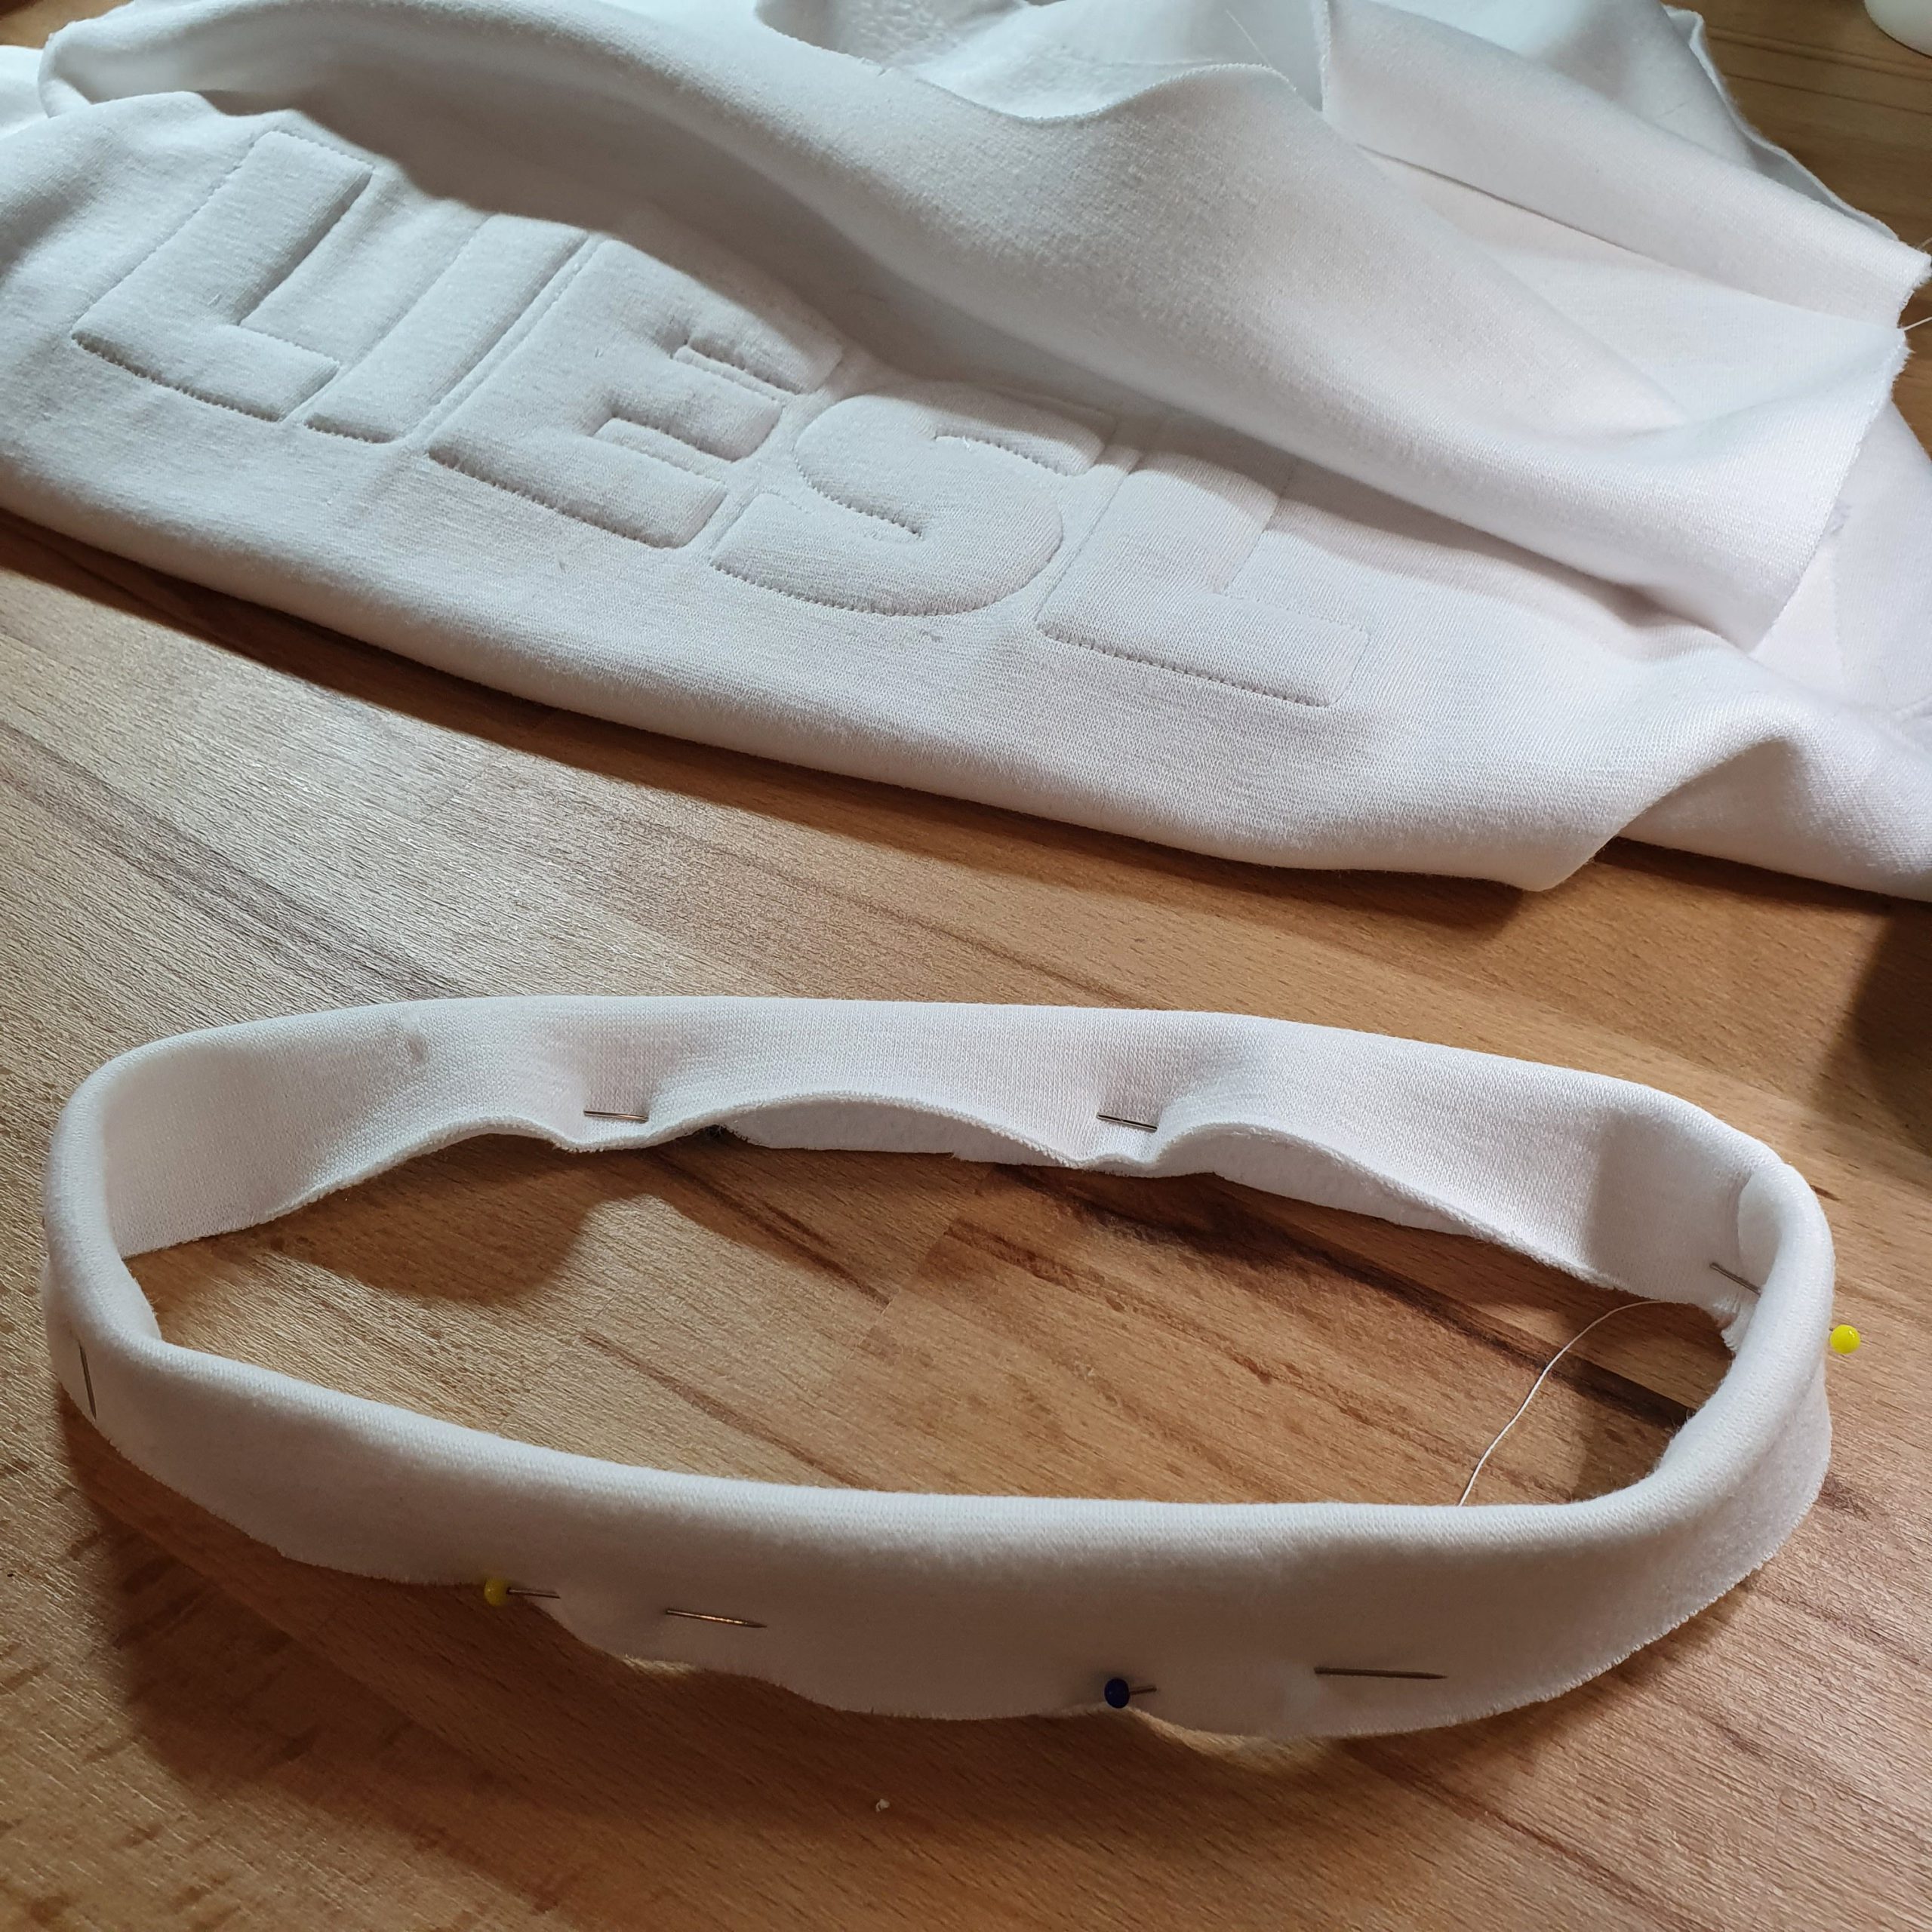
LIESL
To place the letters straight on the Hera sweater front, I marked the middle and the top edge of the letters with a basting thread. Then I placed the letters on the inside in mirror image in the right place. A layer of Vlieseline was ironed on to fix the letters.
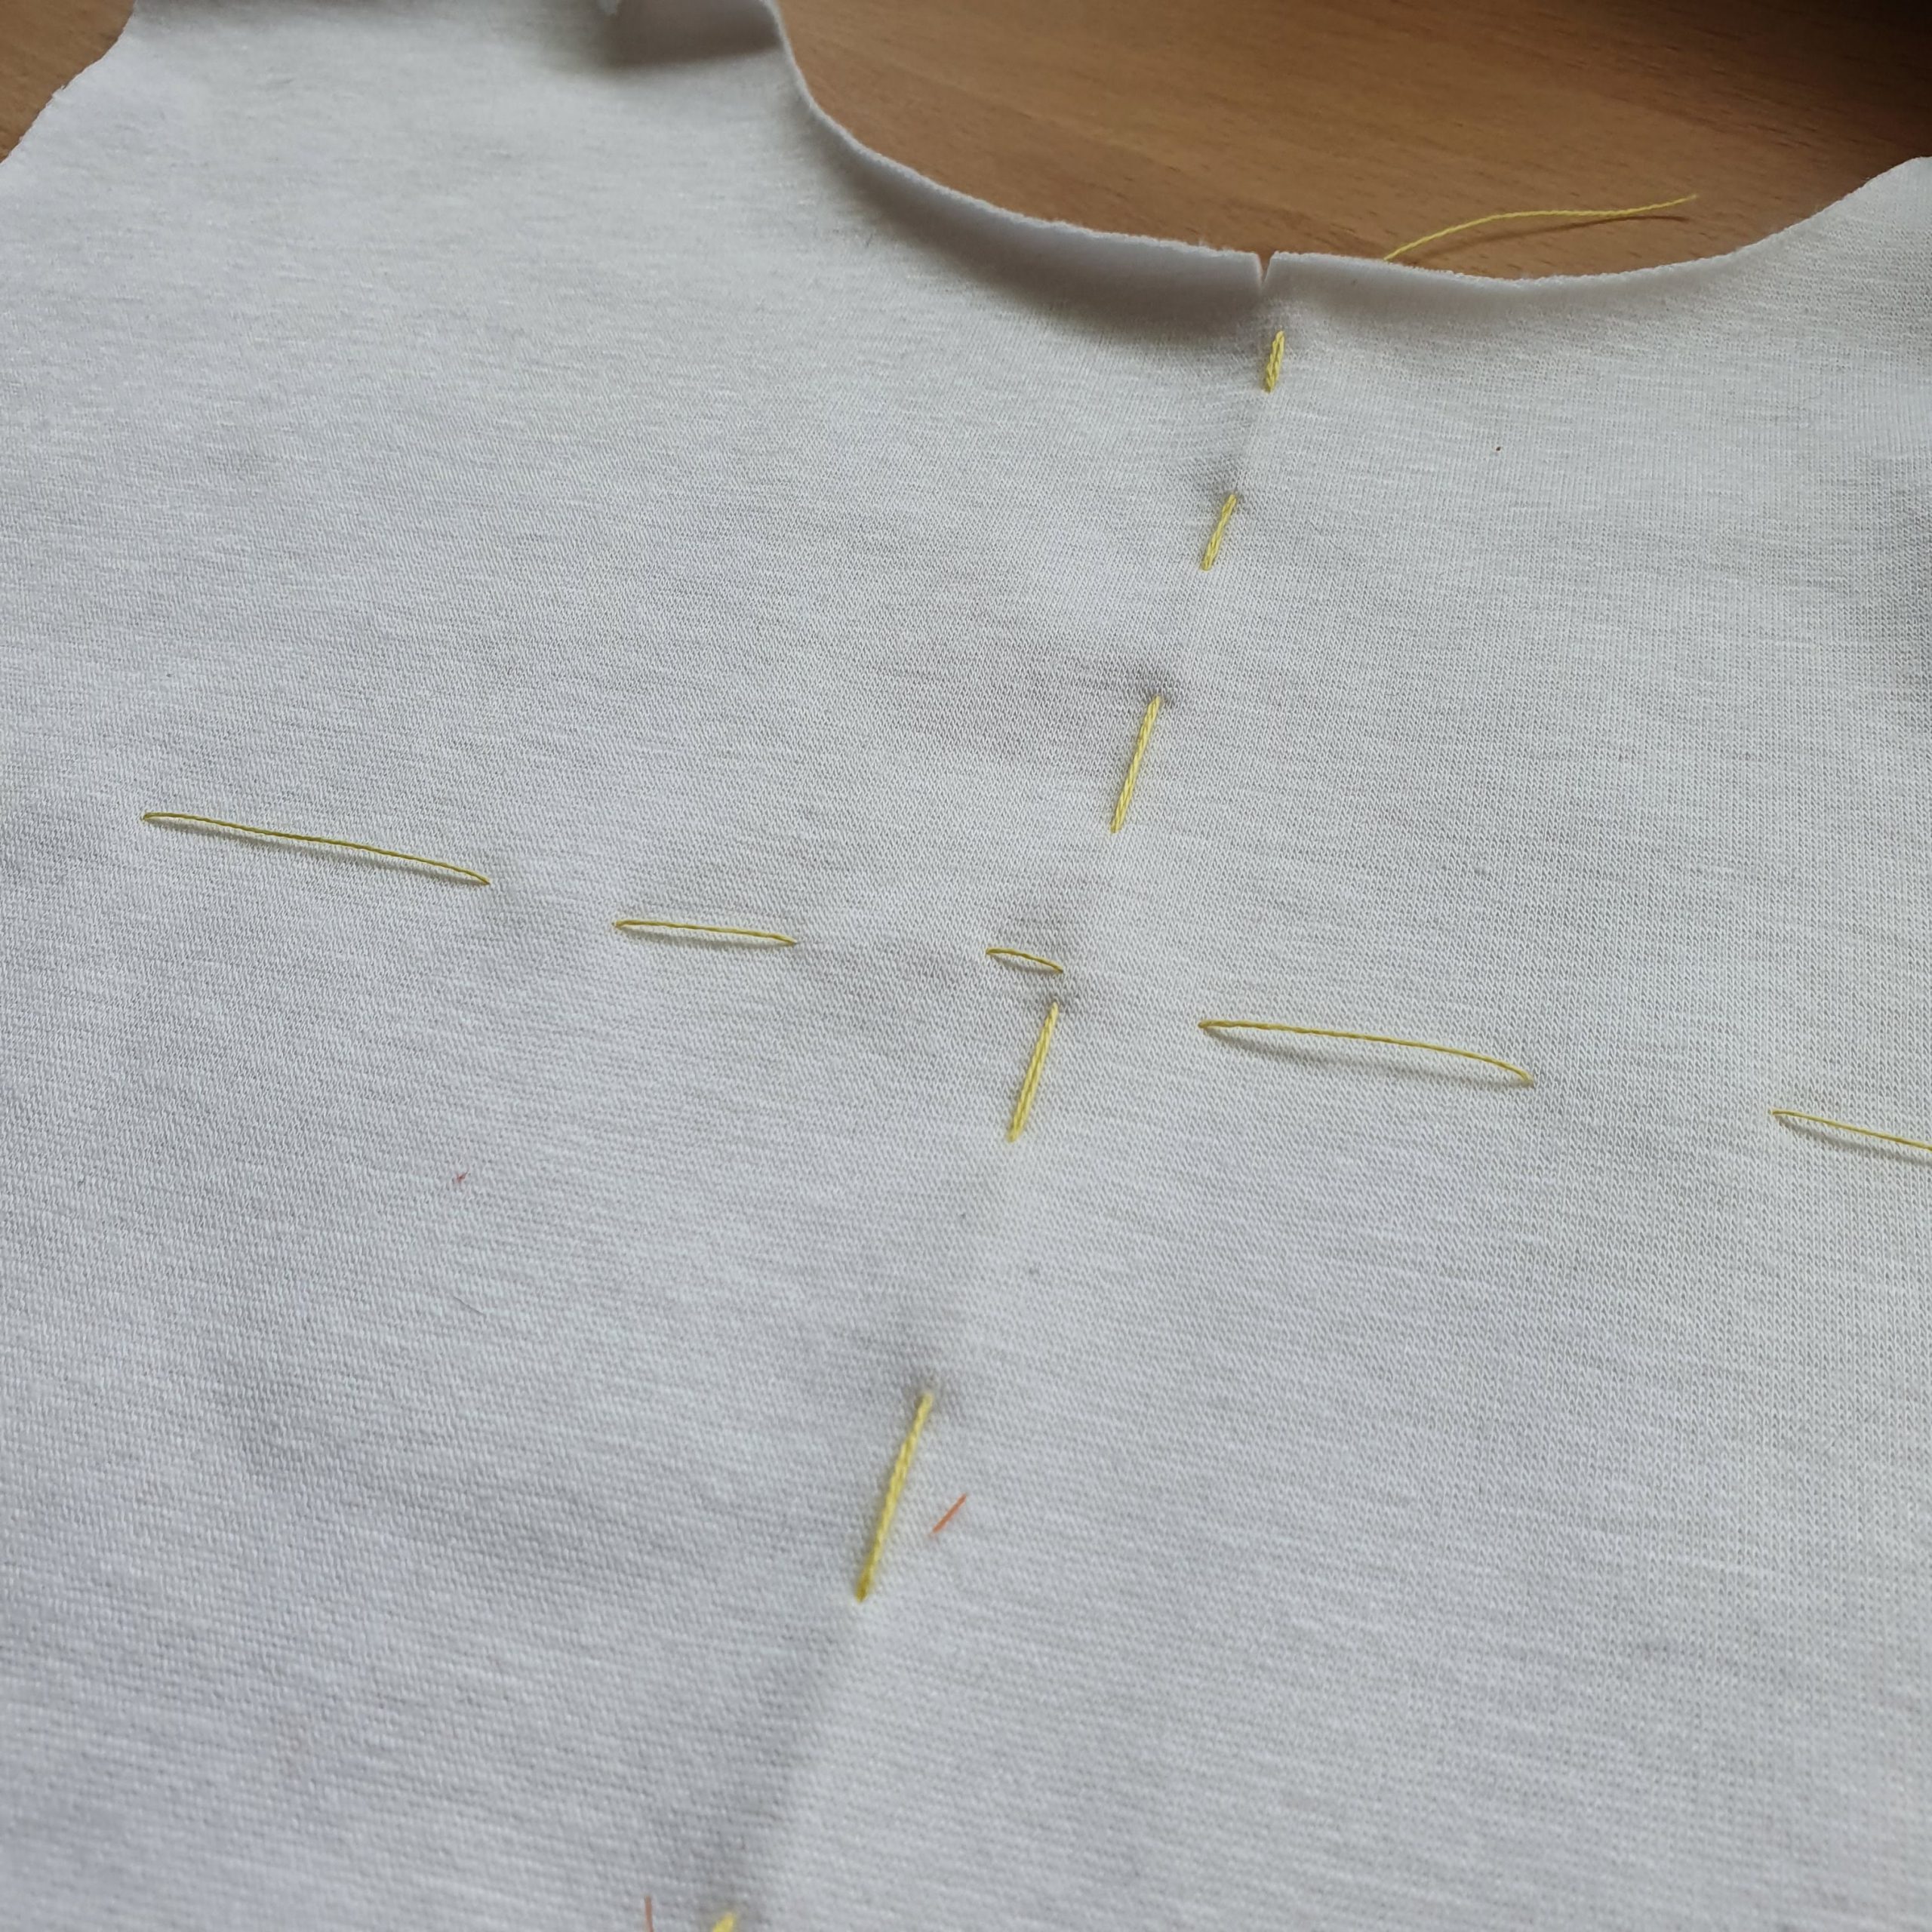
Guide lines

Mirrored

Fixate
With Zipper Foot #4 and the needle position on the far left, I sewed close to the letters. By using the knee lift and a small stitch length (2.5) I was able to follow the outline of the letters well. Make sure you have the right colour on your bobbin, because that is the colour you will see on the right side.
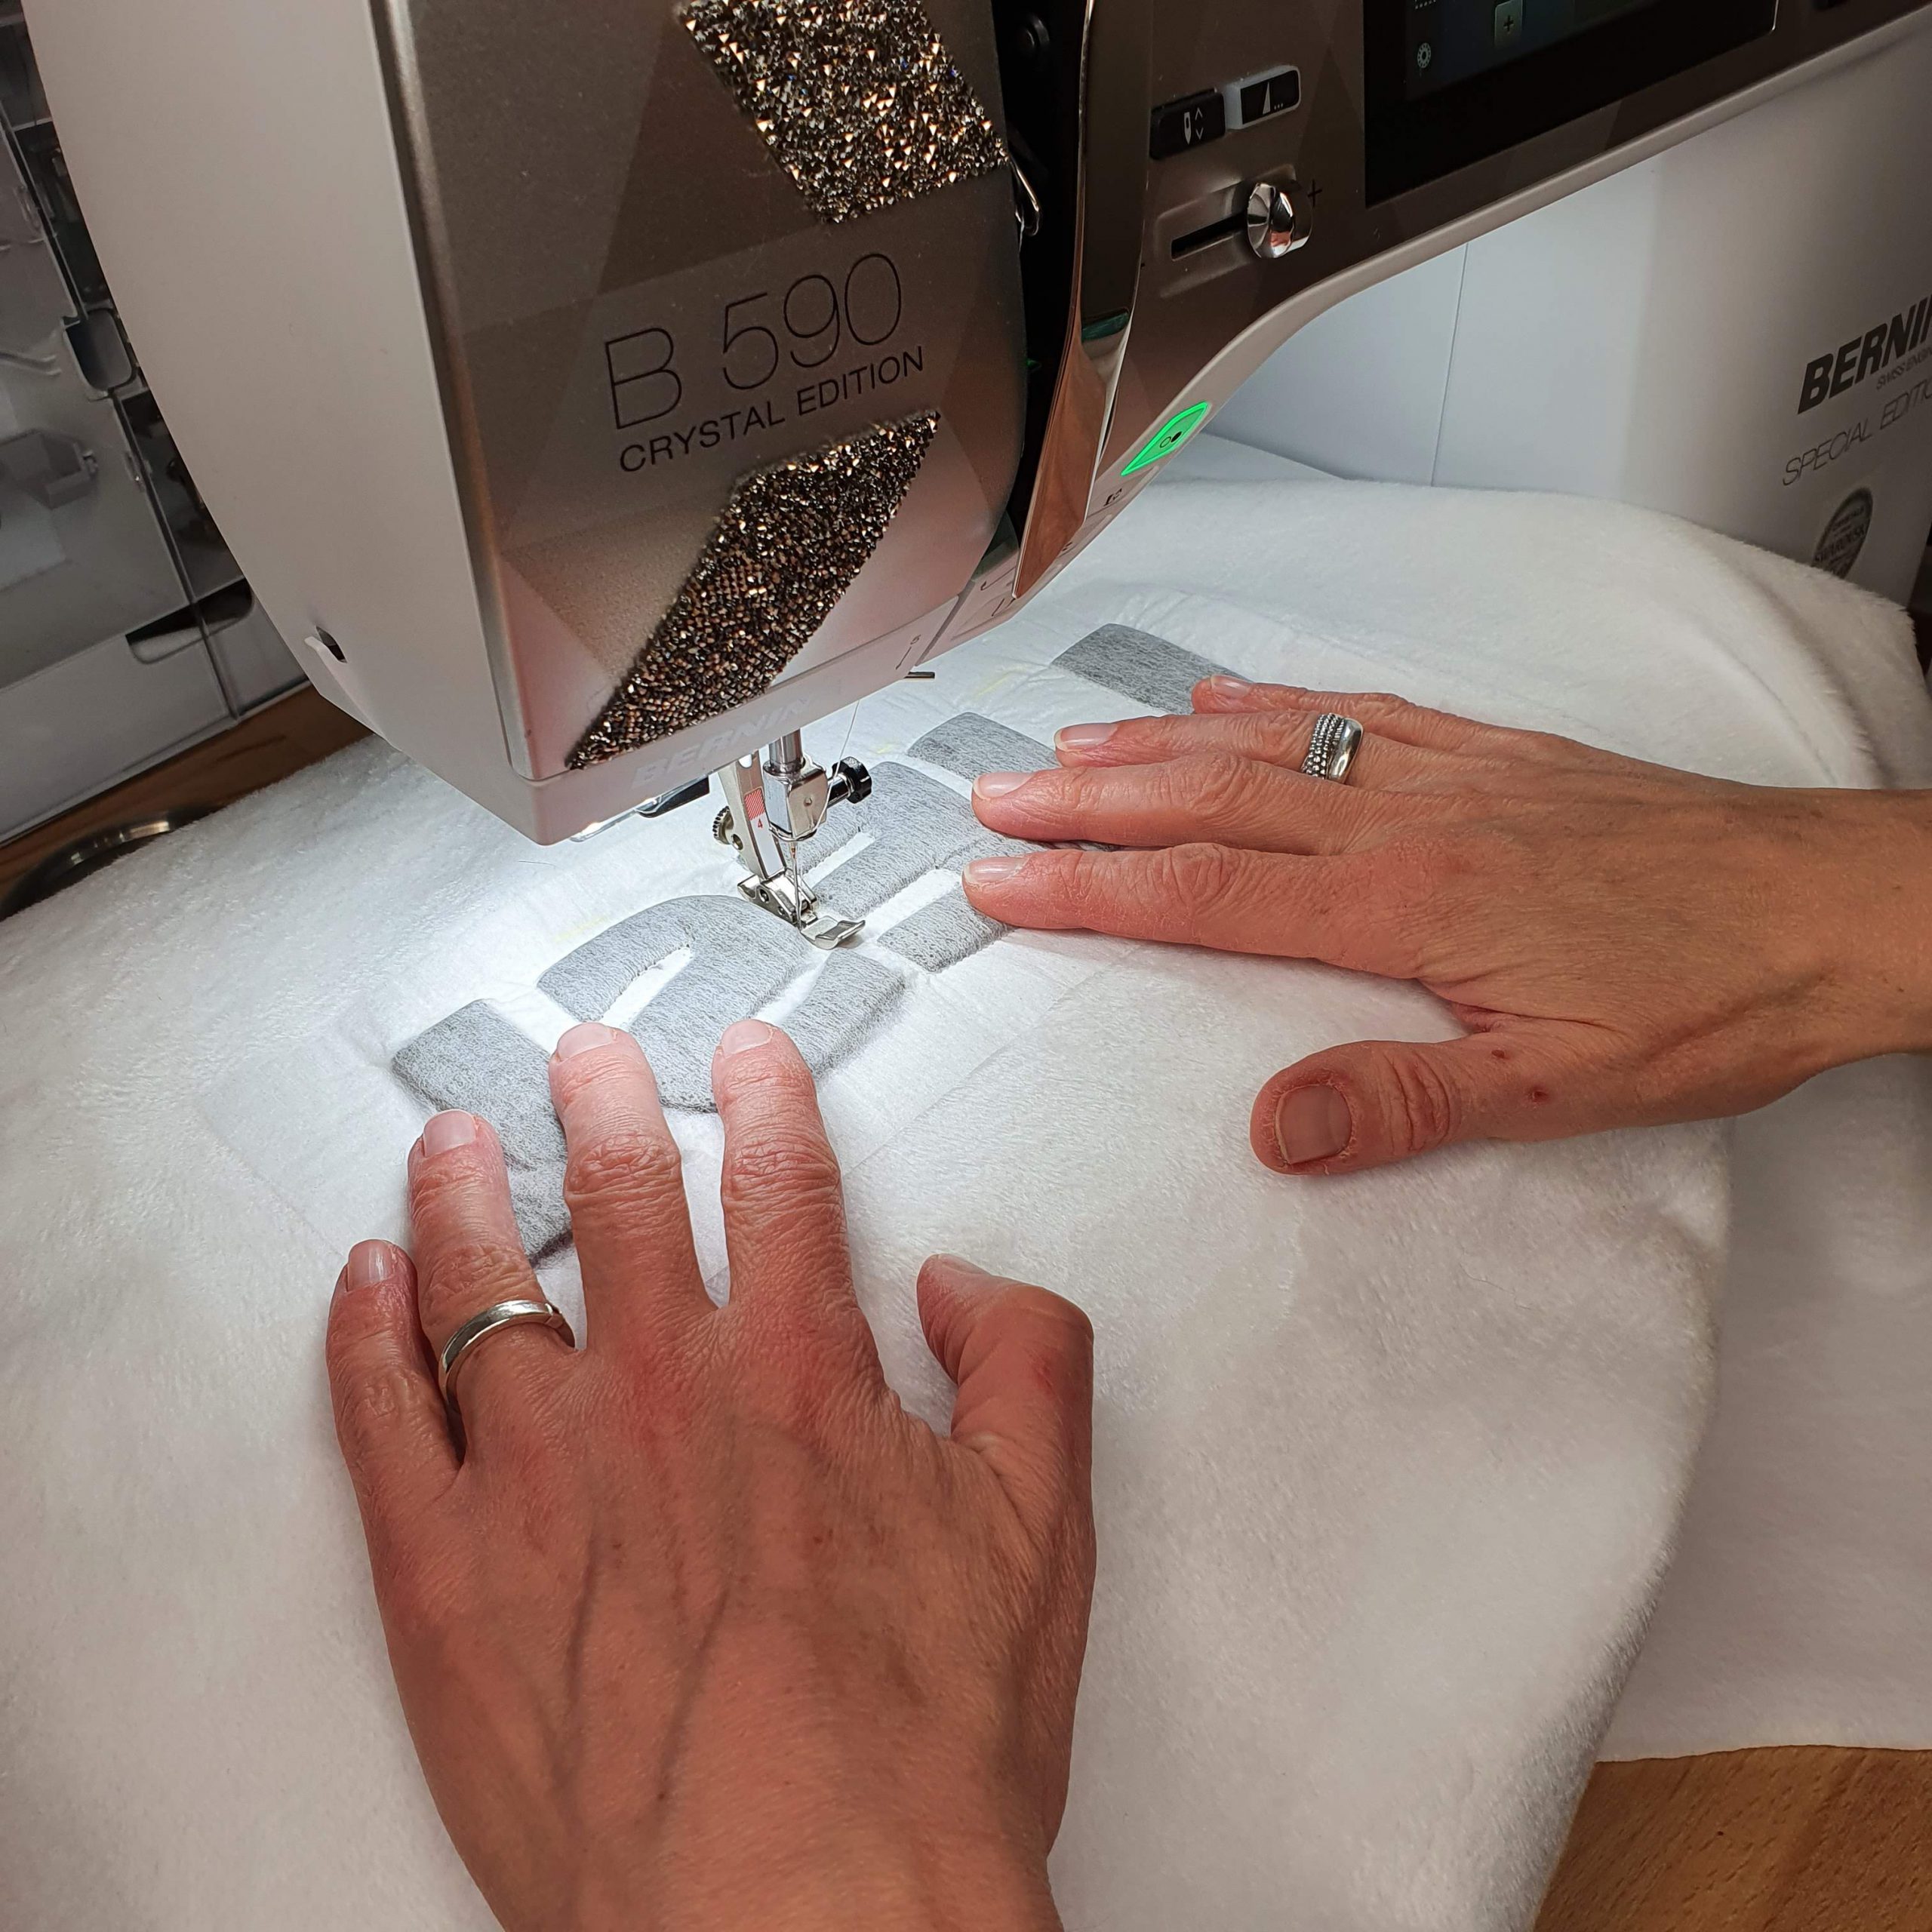
Follow the outline

Zipper foot 4
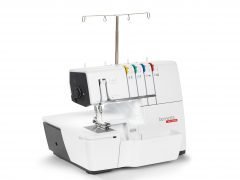
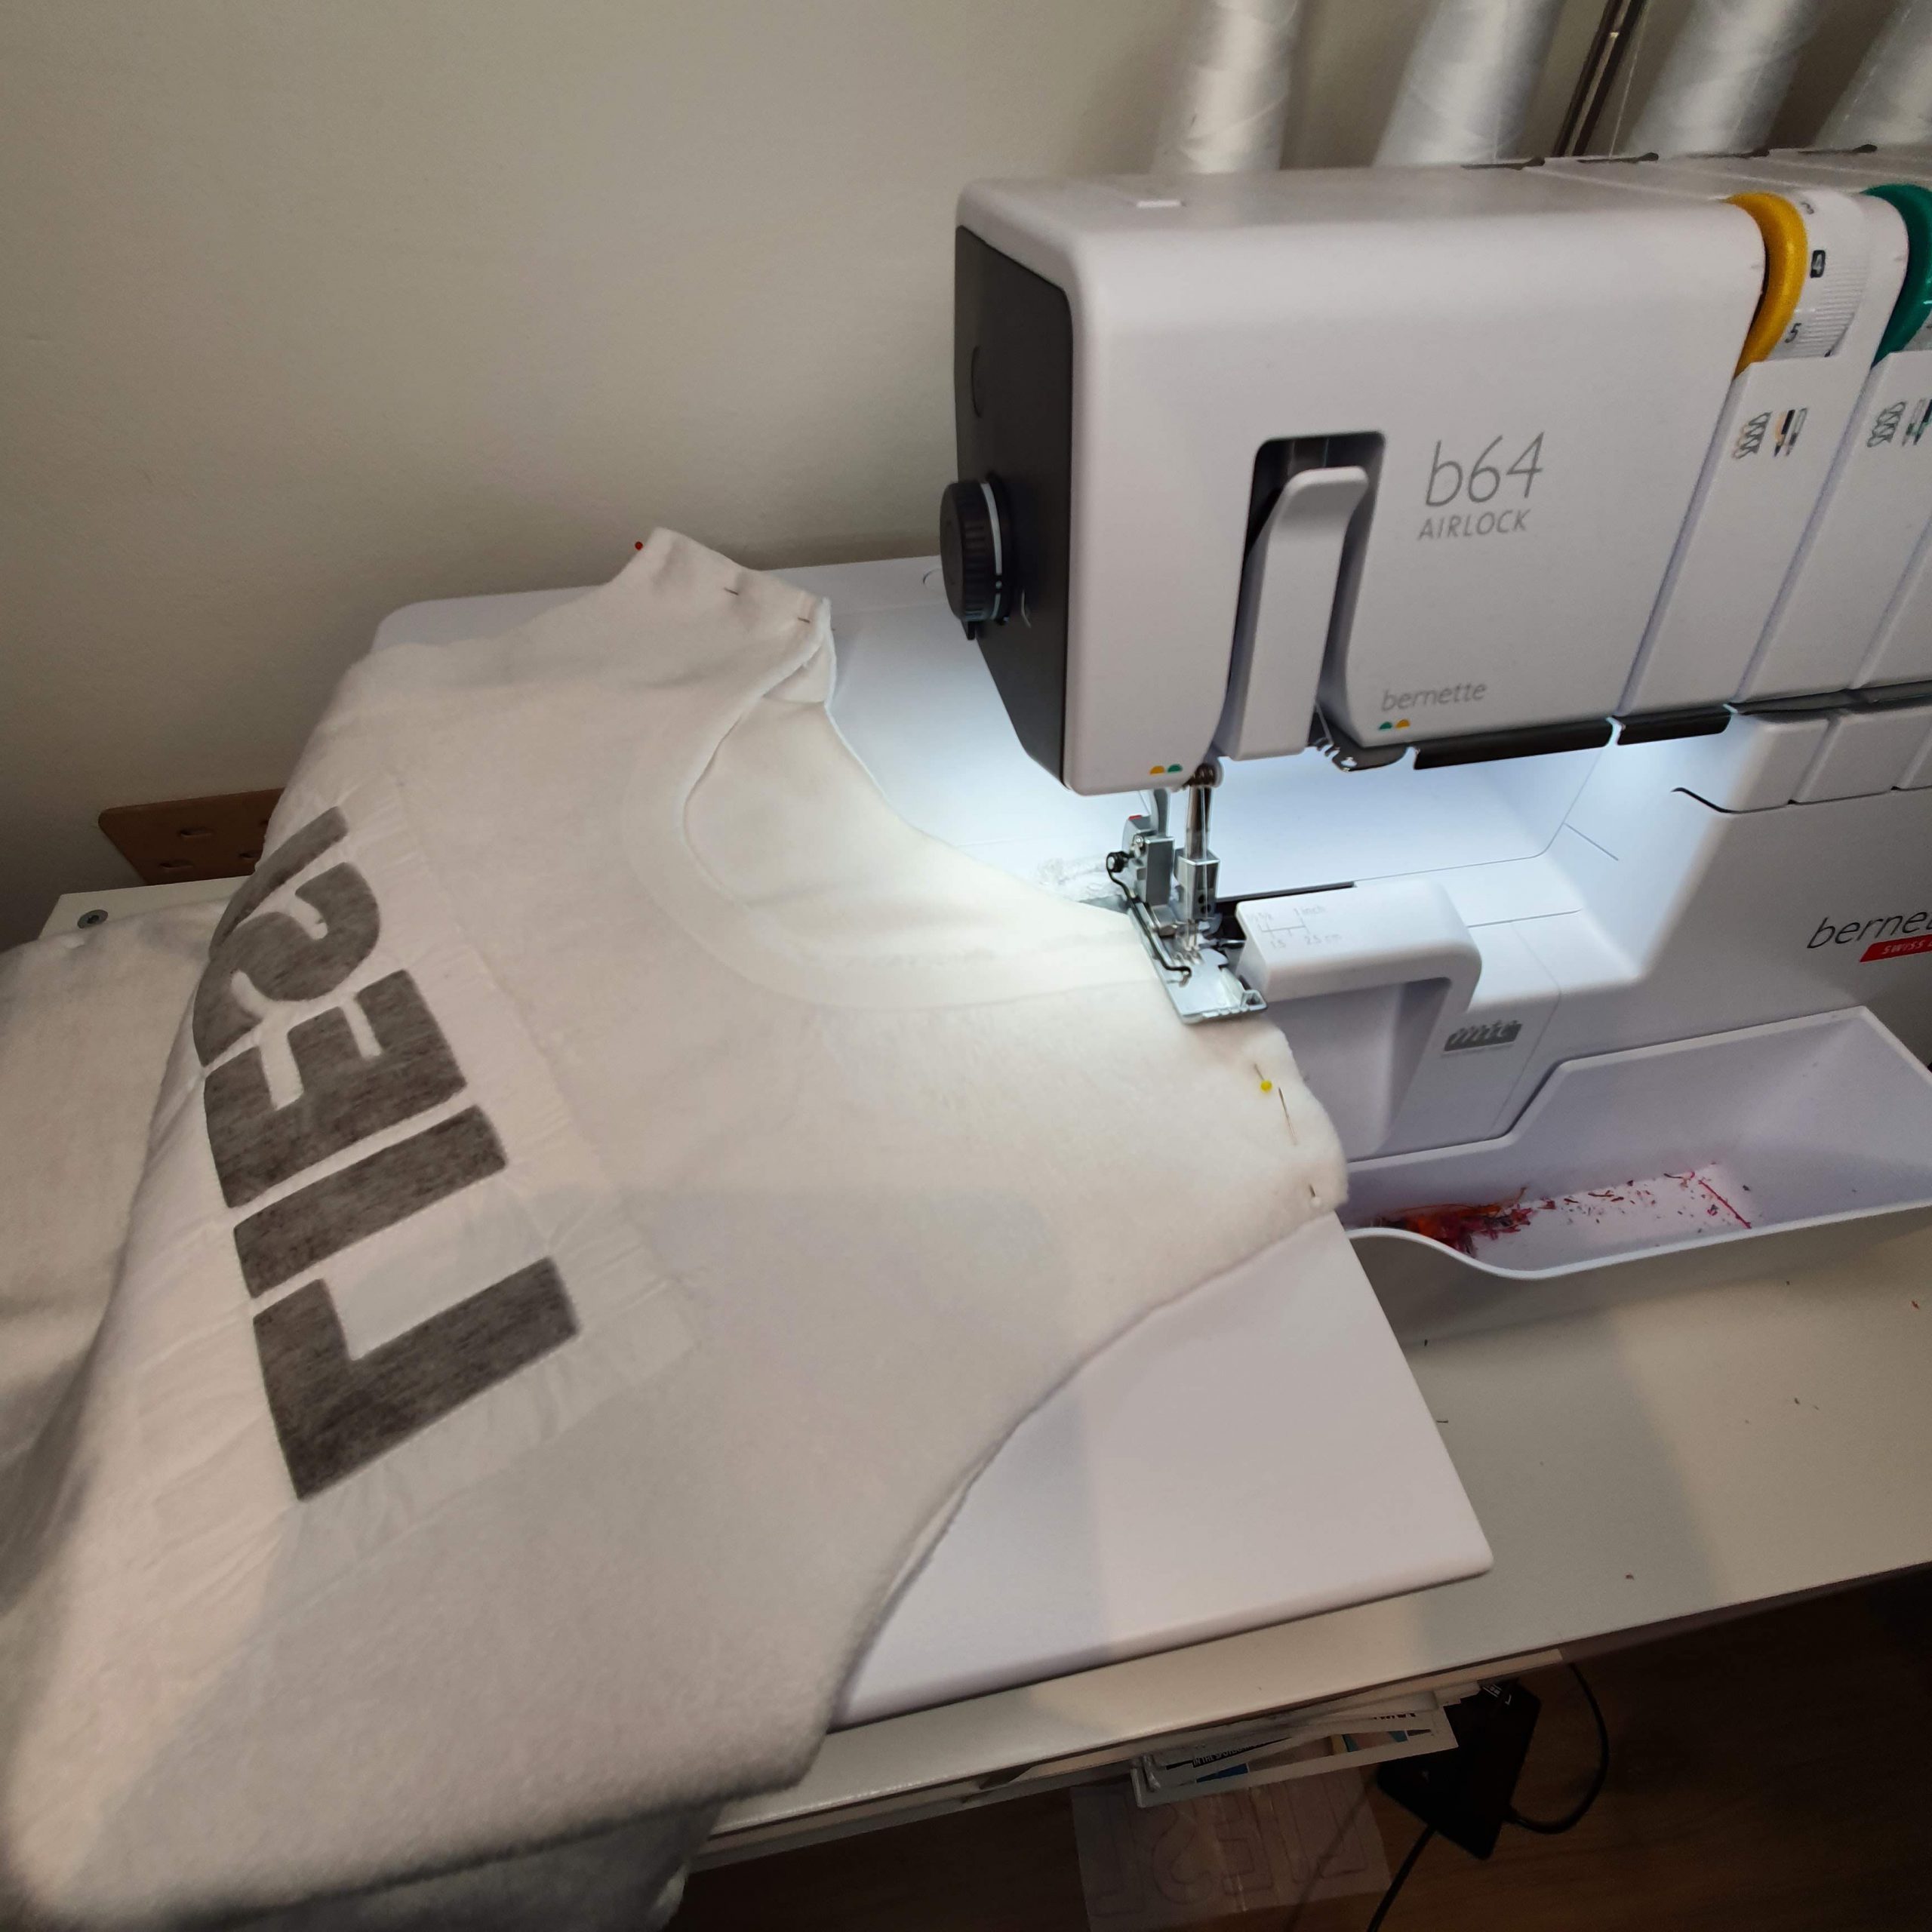
Overlocker
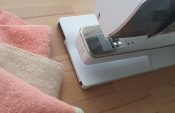
With the front finished, the Hera sweater could be further assembled. Most directly with the bernette 64 AIRLOCK such as the side and sleeve seams, but especially to finish the sweater neatly. When it’s time to sew, I always pin together as much as possible before I can make meters. To remind myself which seams can be overlocked and which cannot, I place the pins in a certain way. When I put the pins at right angles to the sewing direction, I know that these seams have to be sewn first.
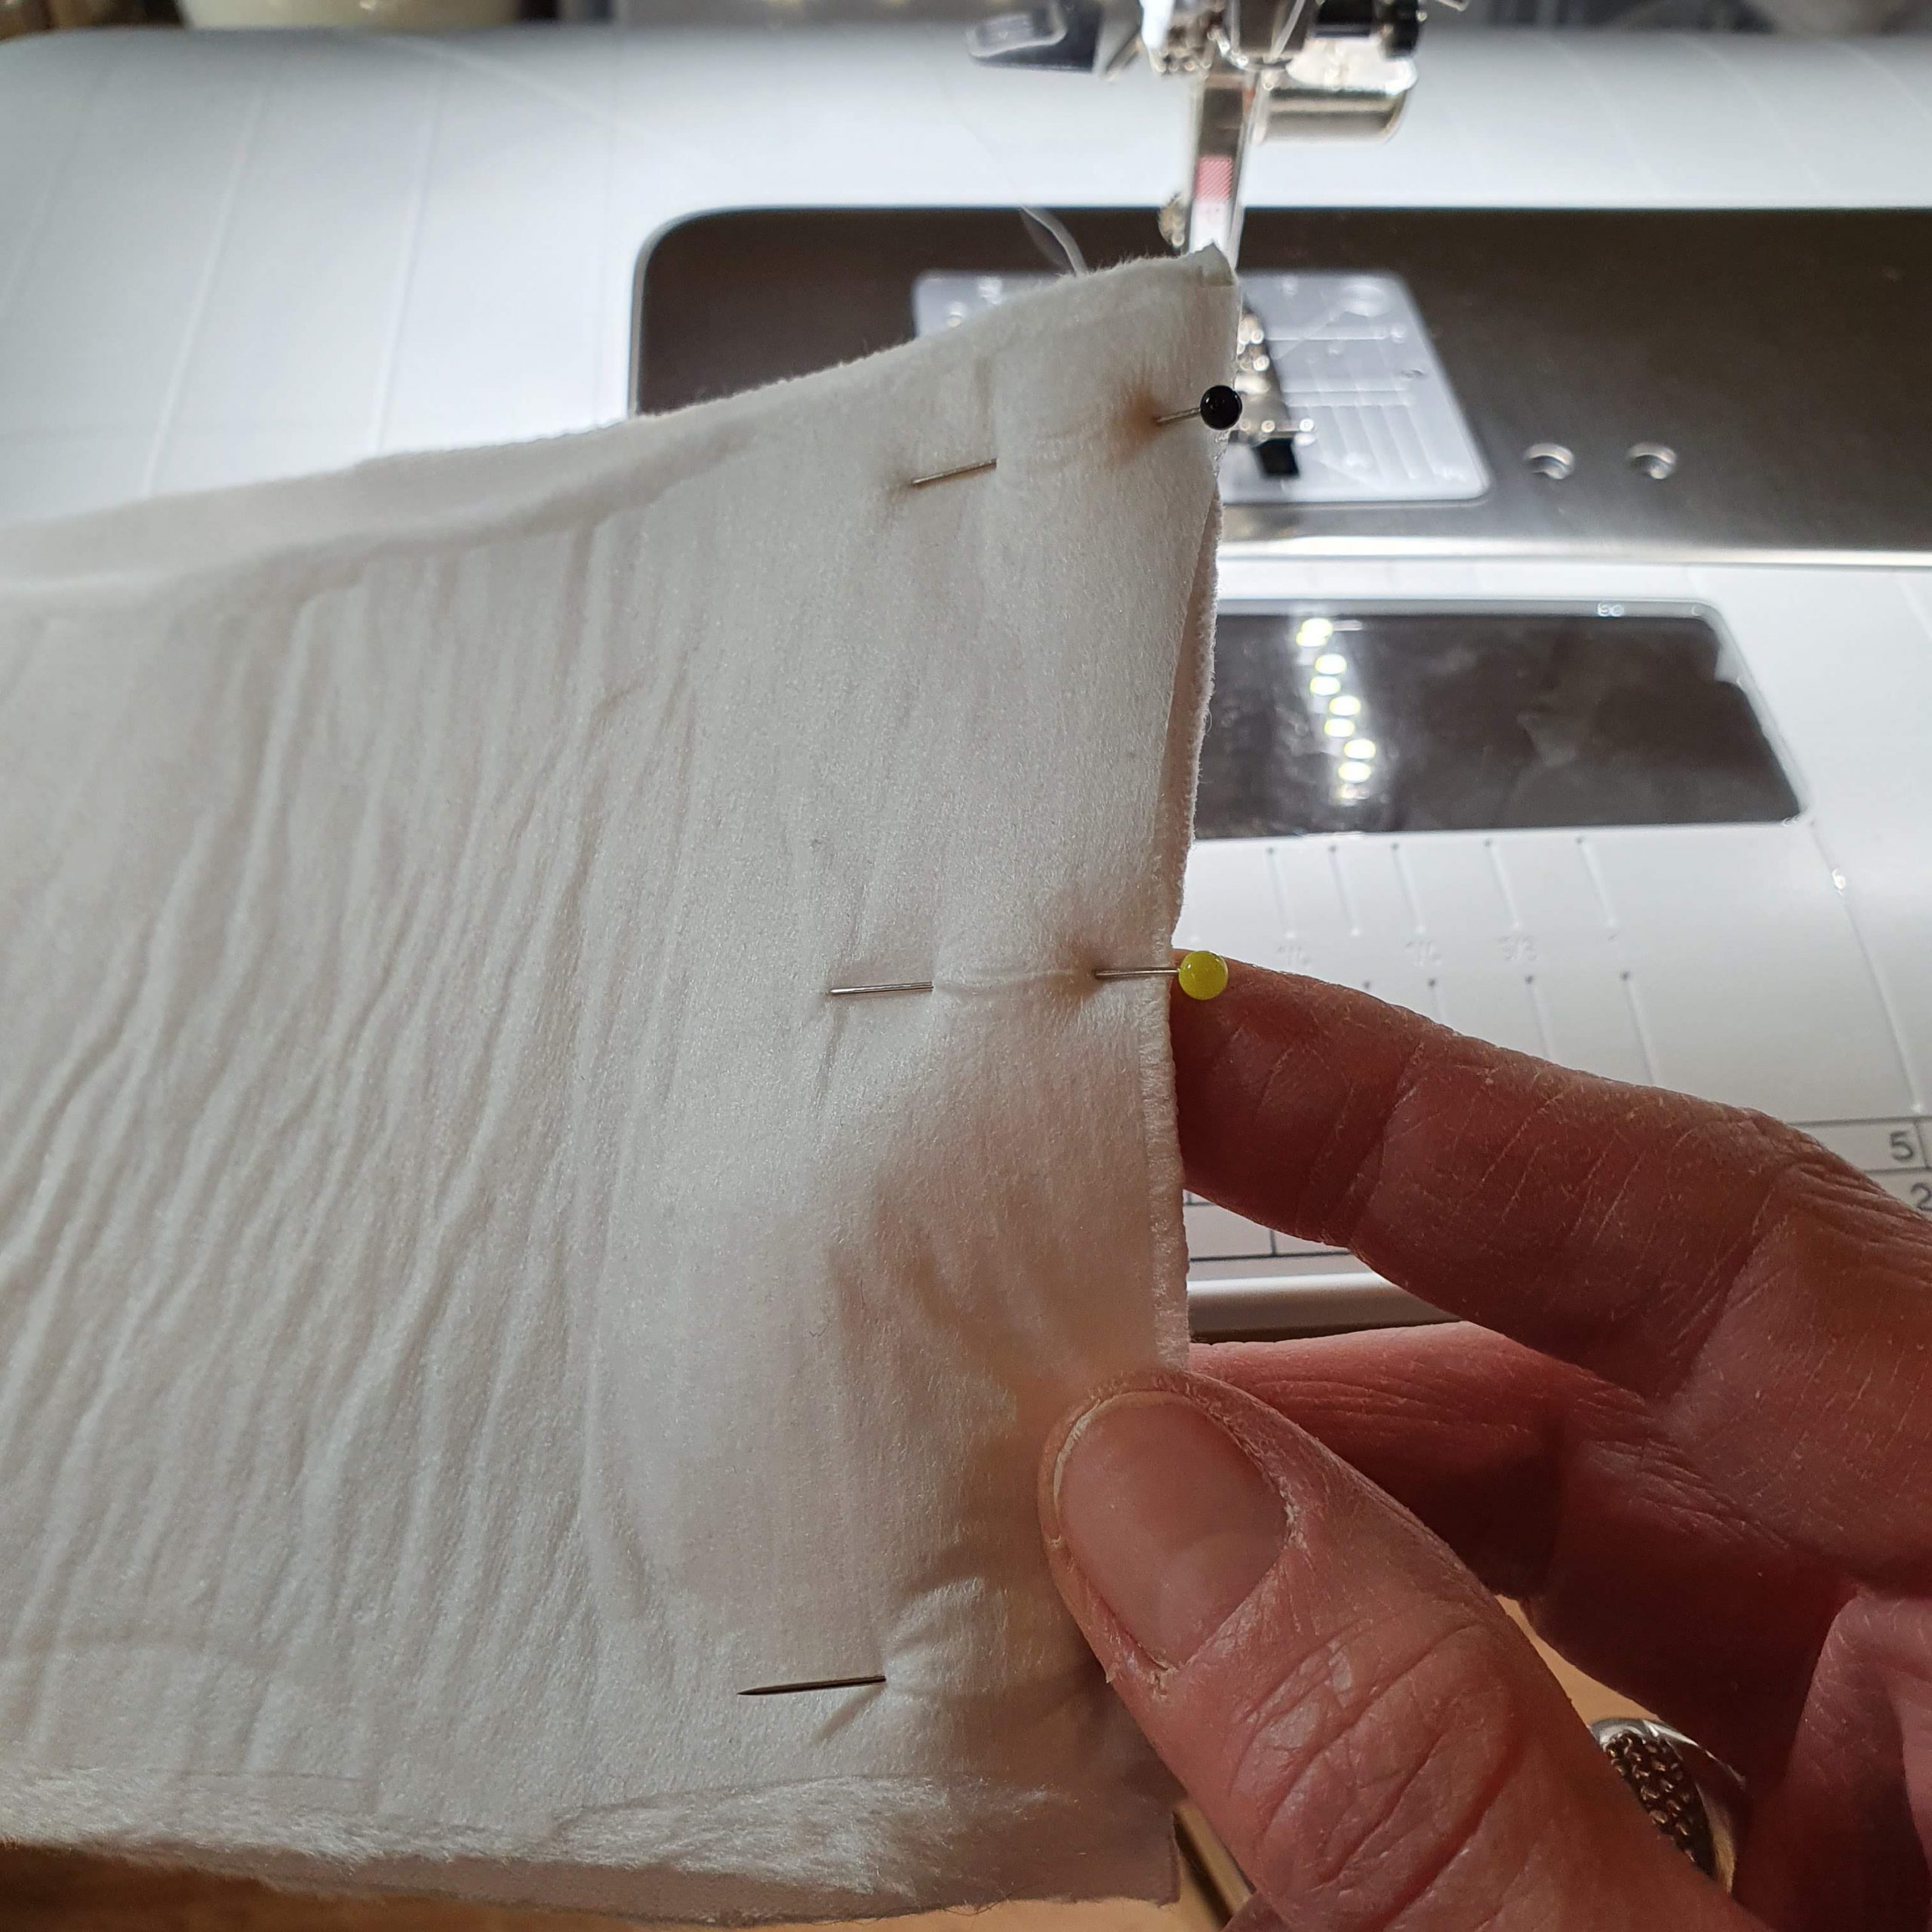
Perpendicular = sew first
In line with sewing direction = over locker it is
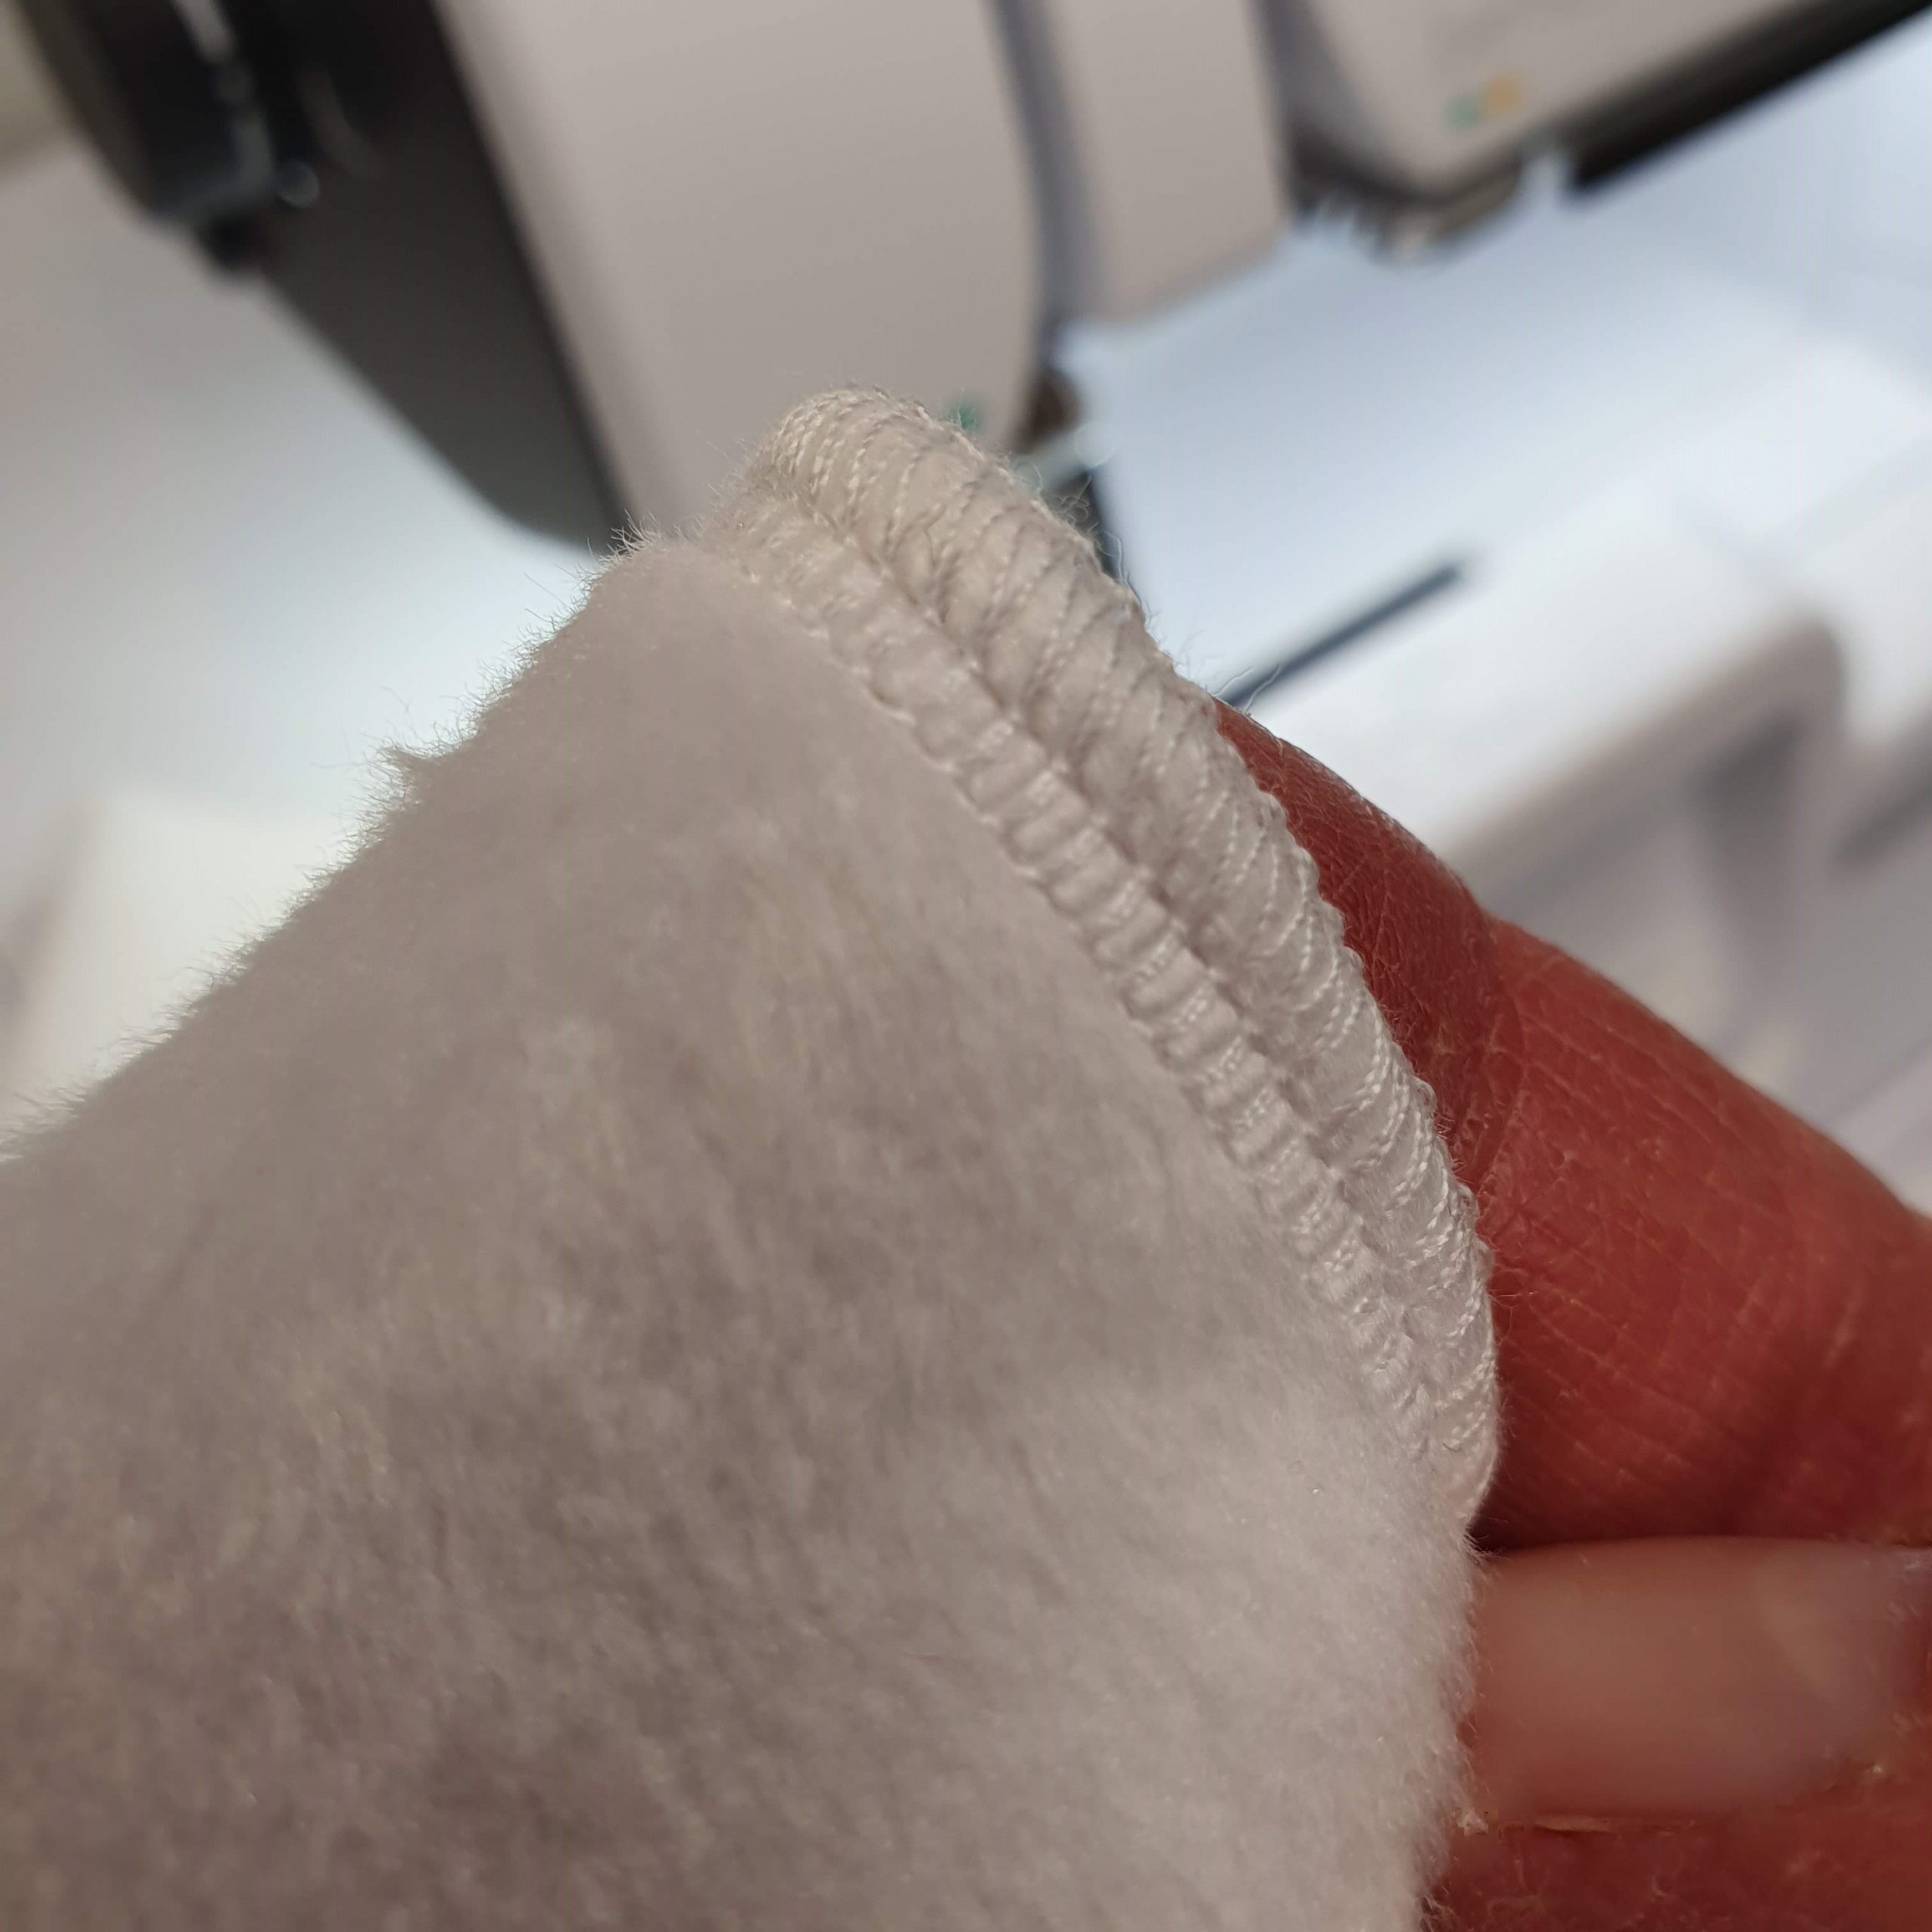
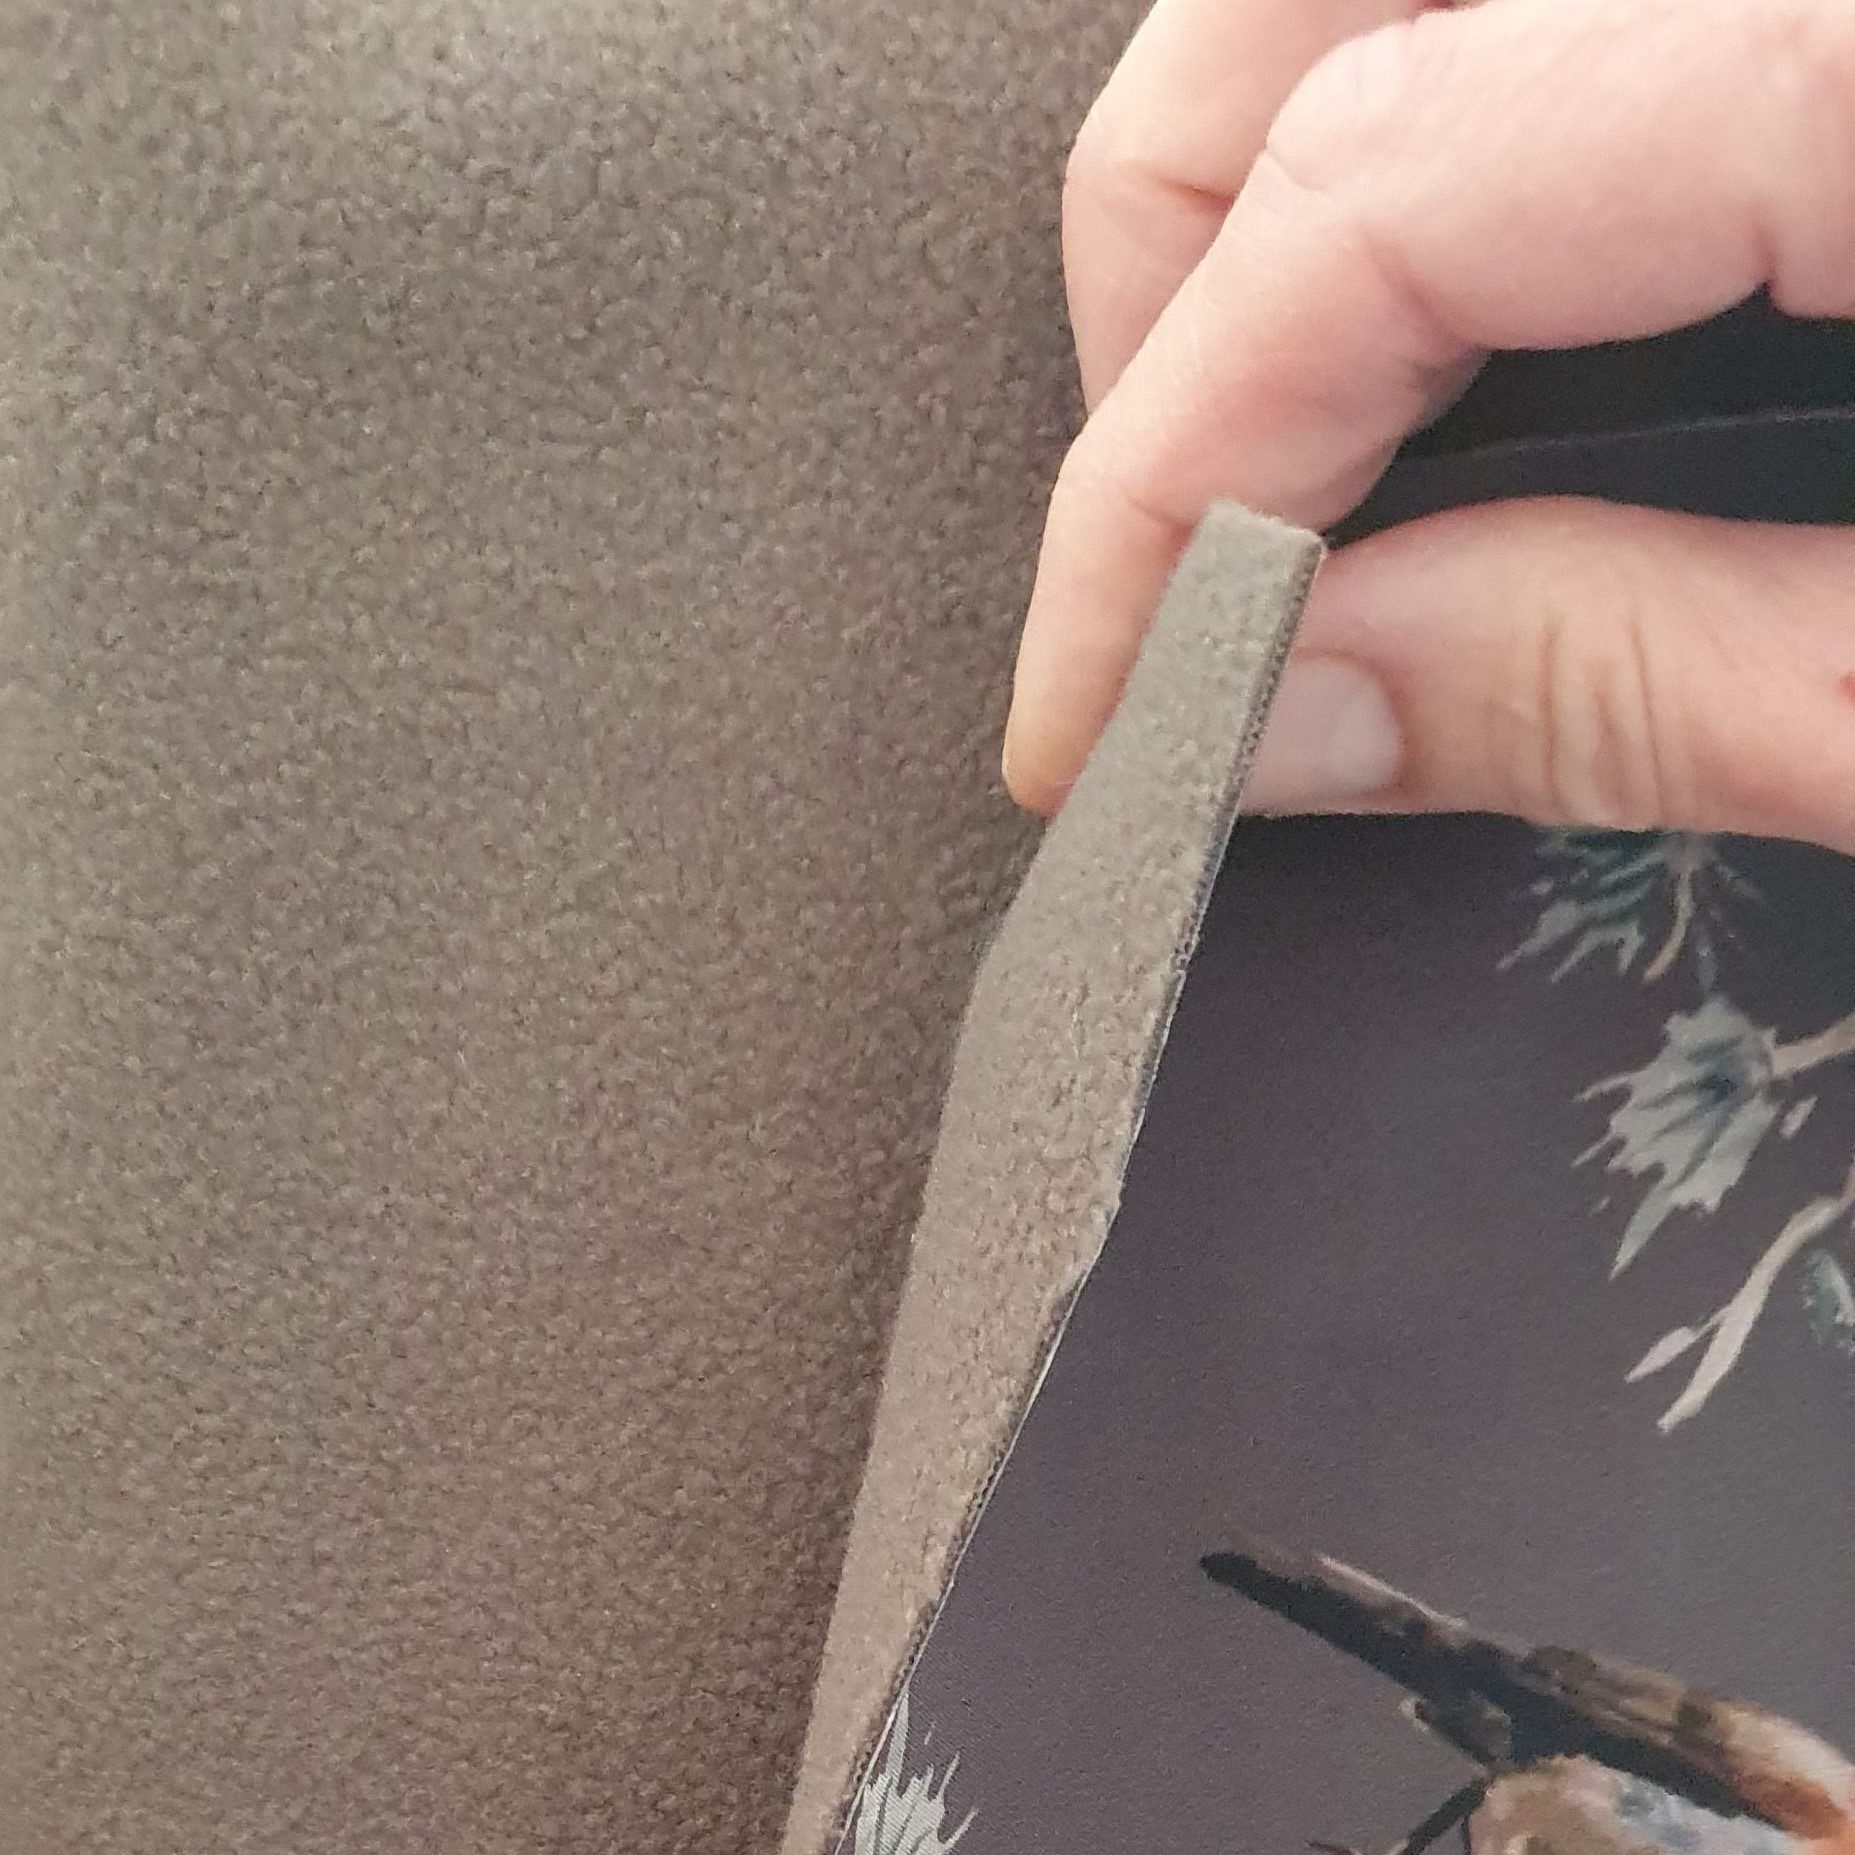
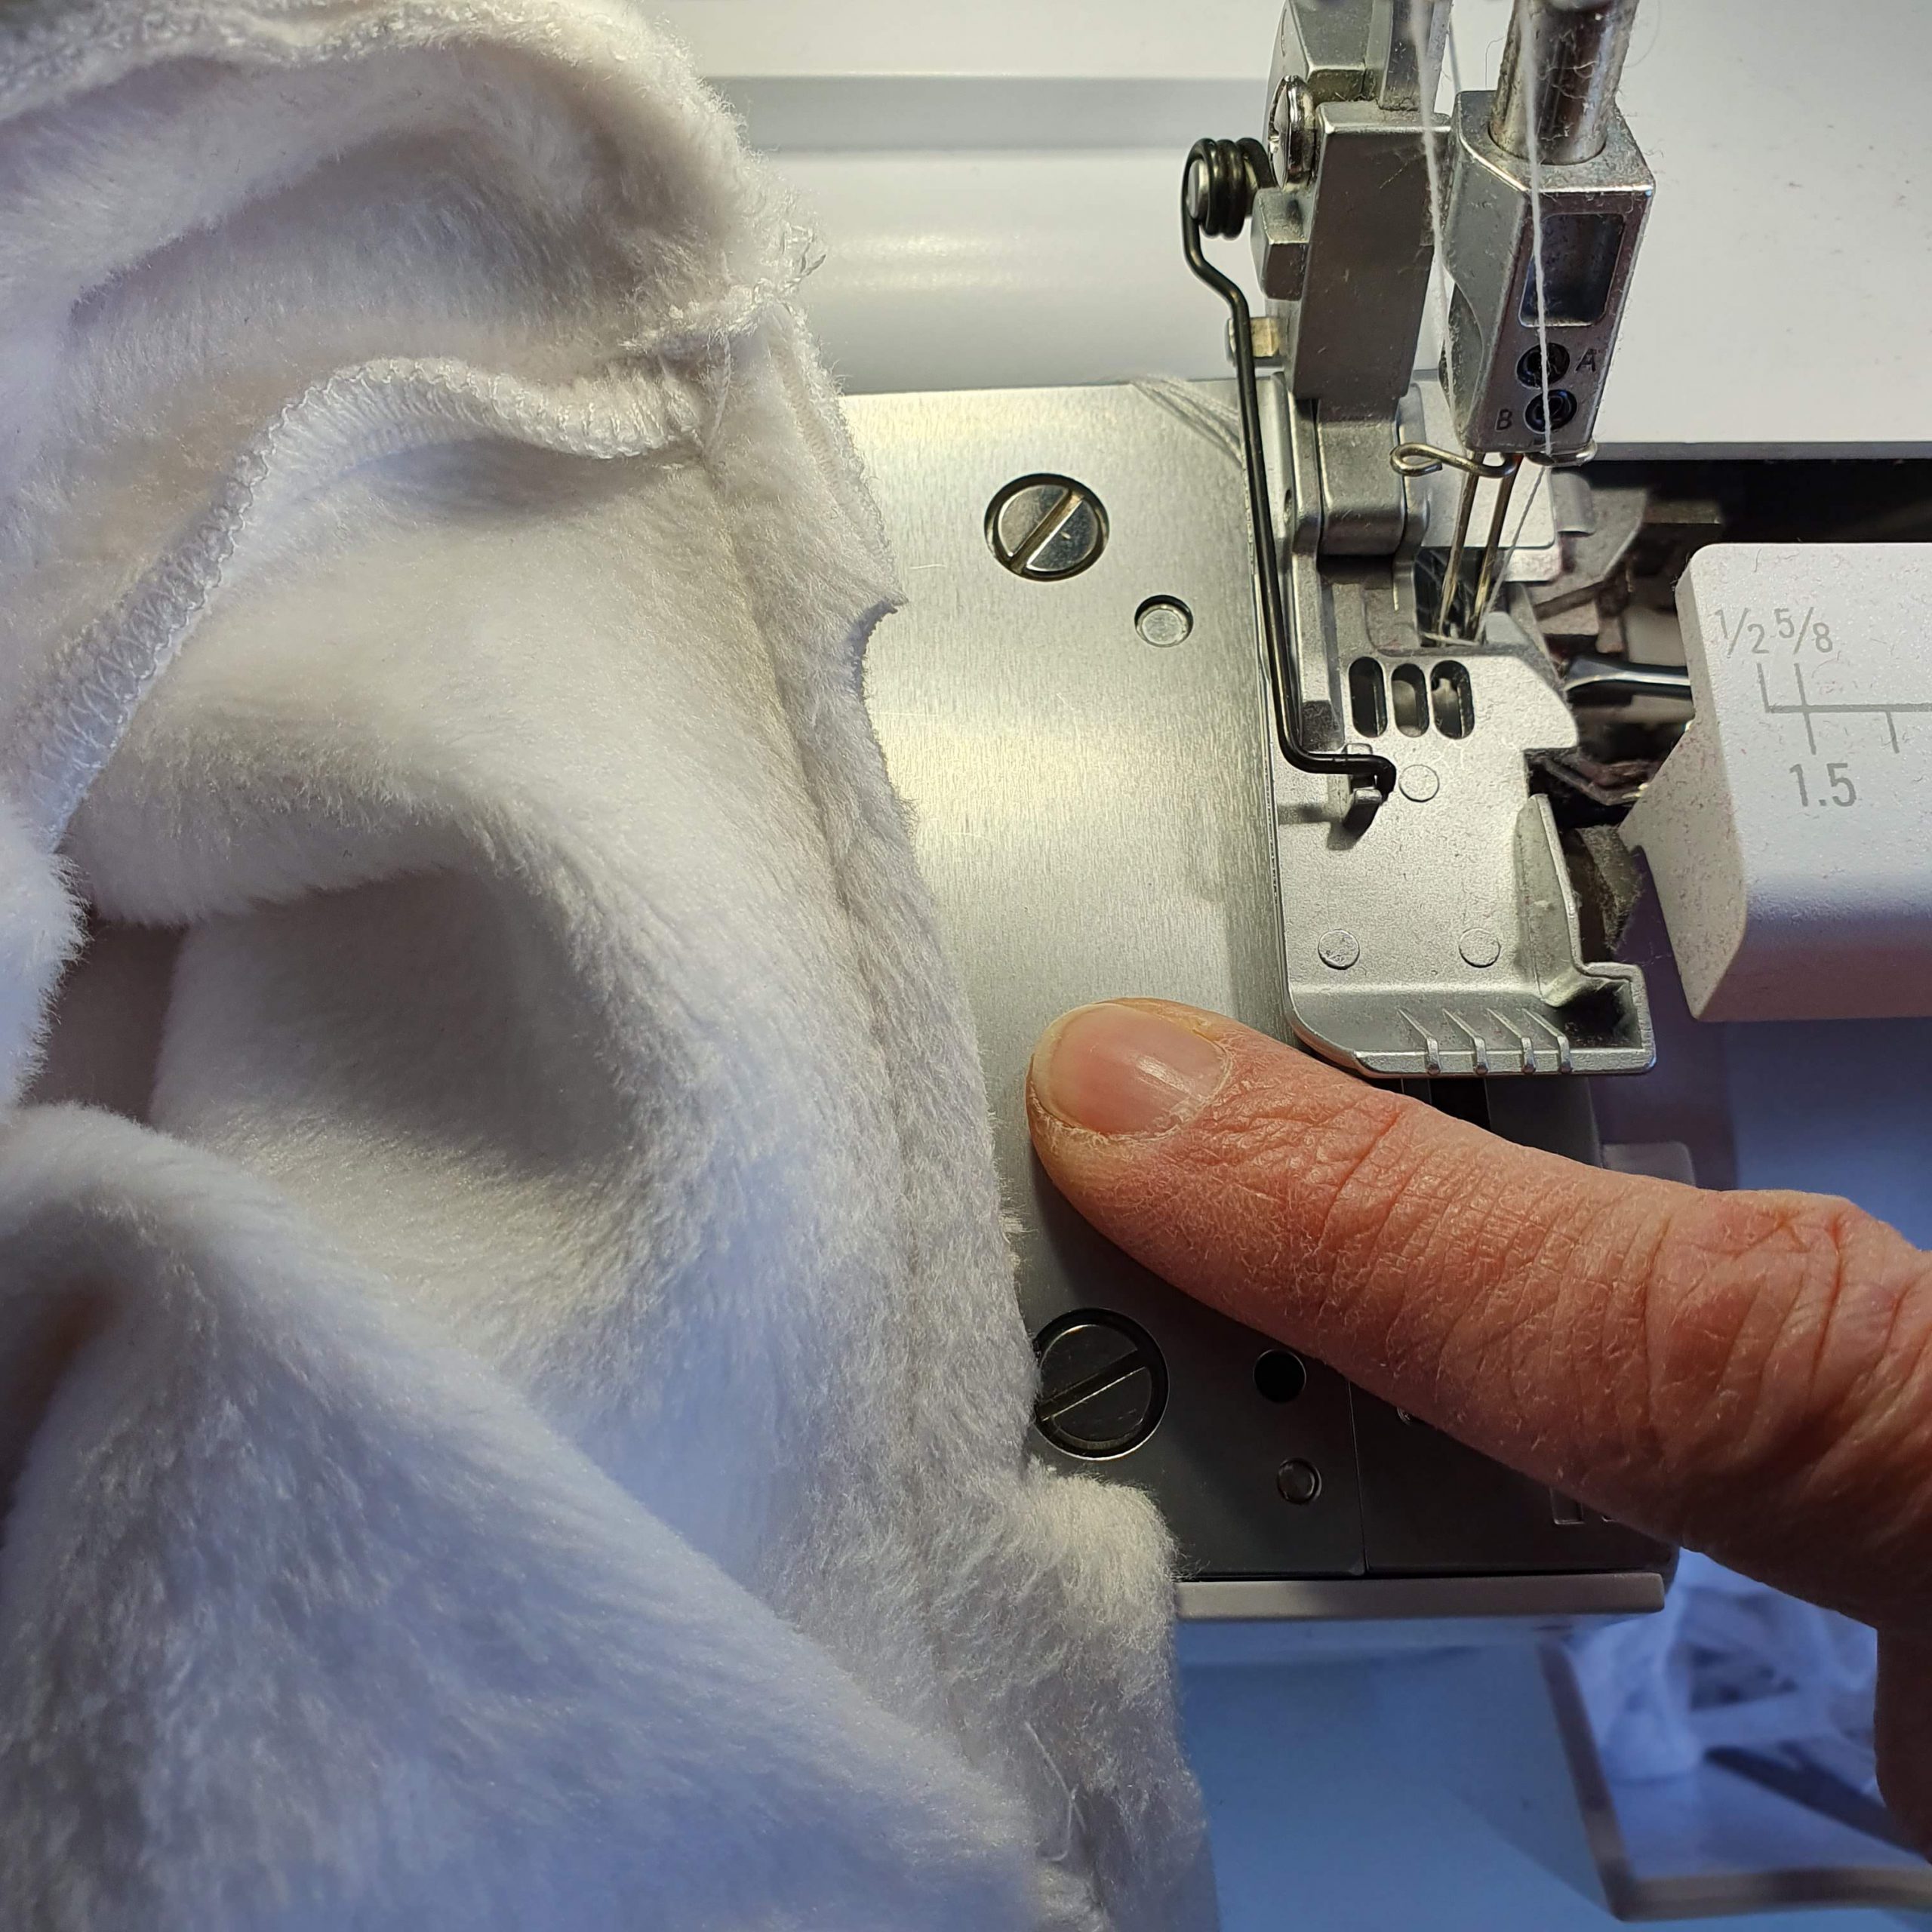
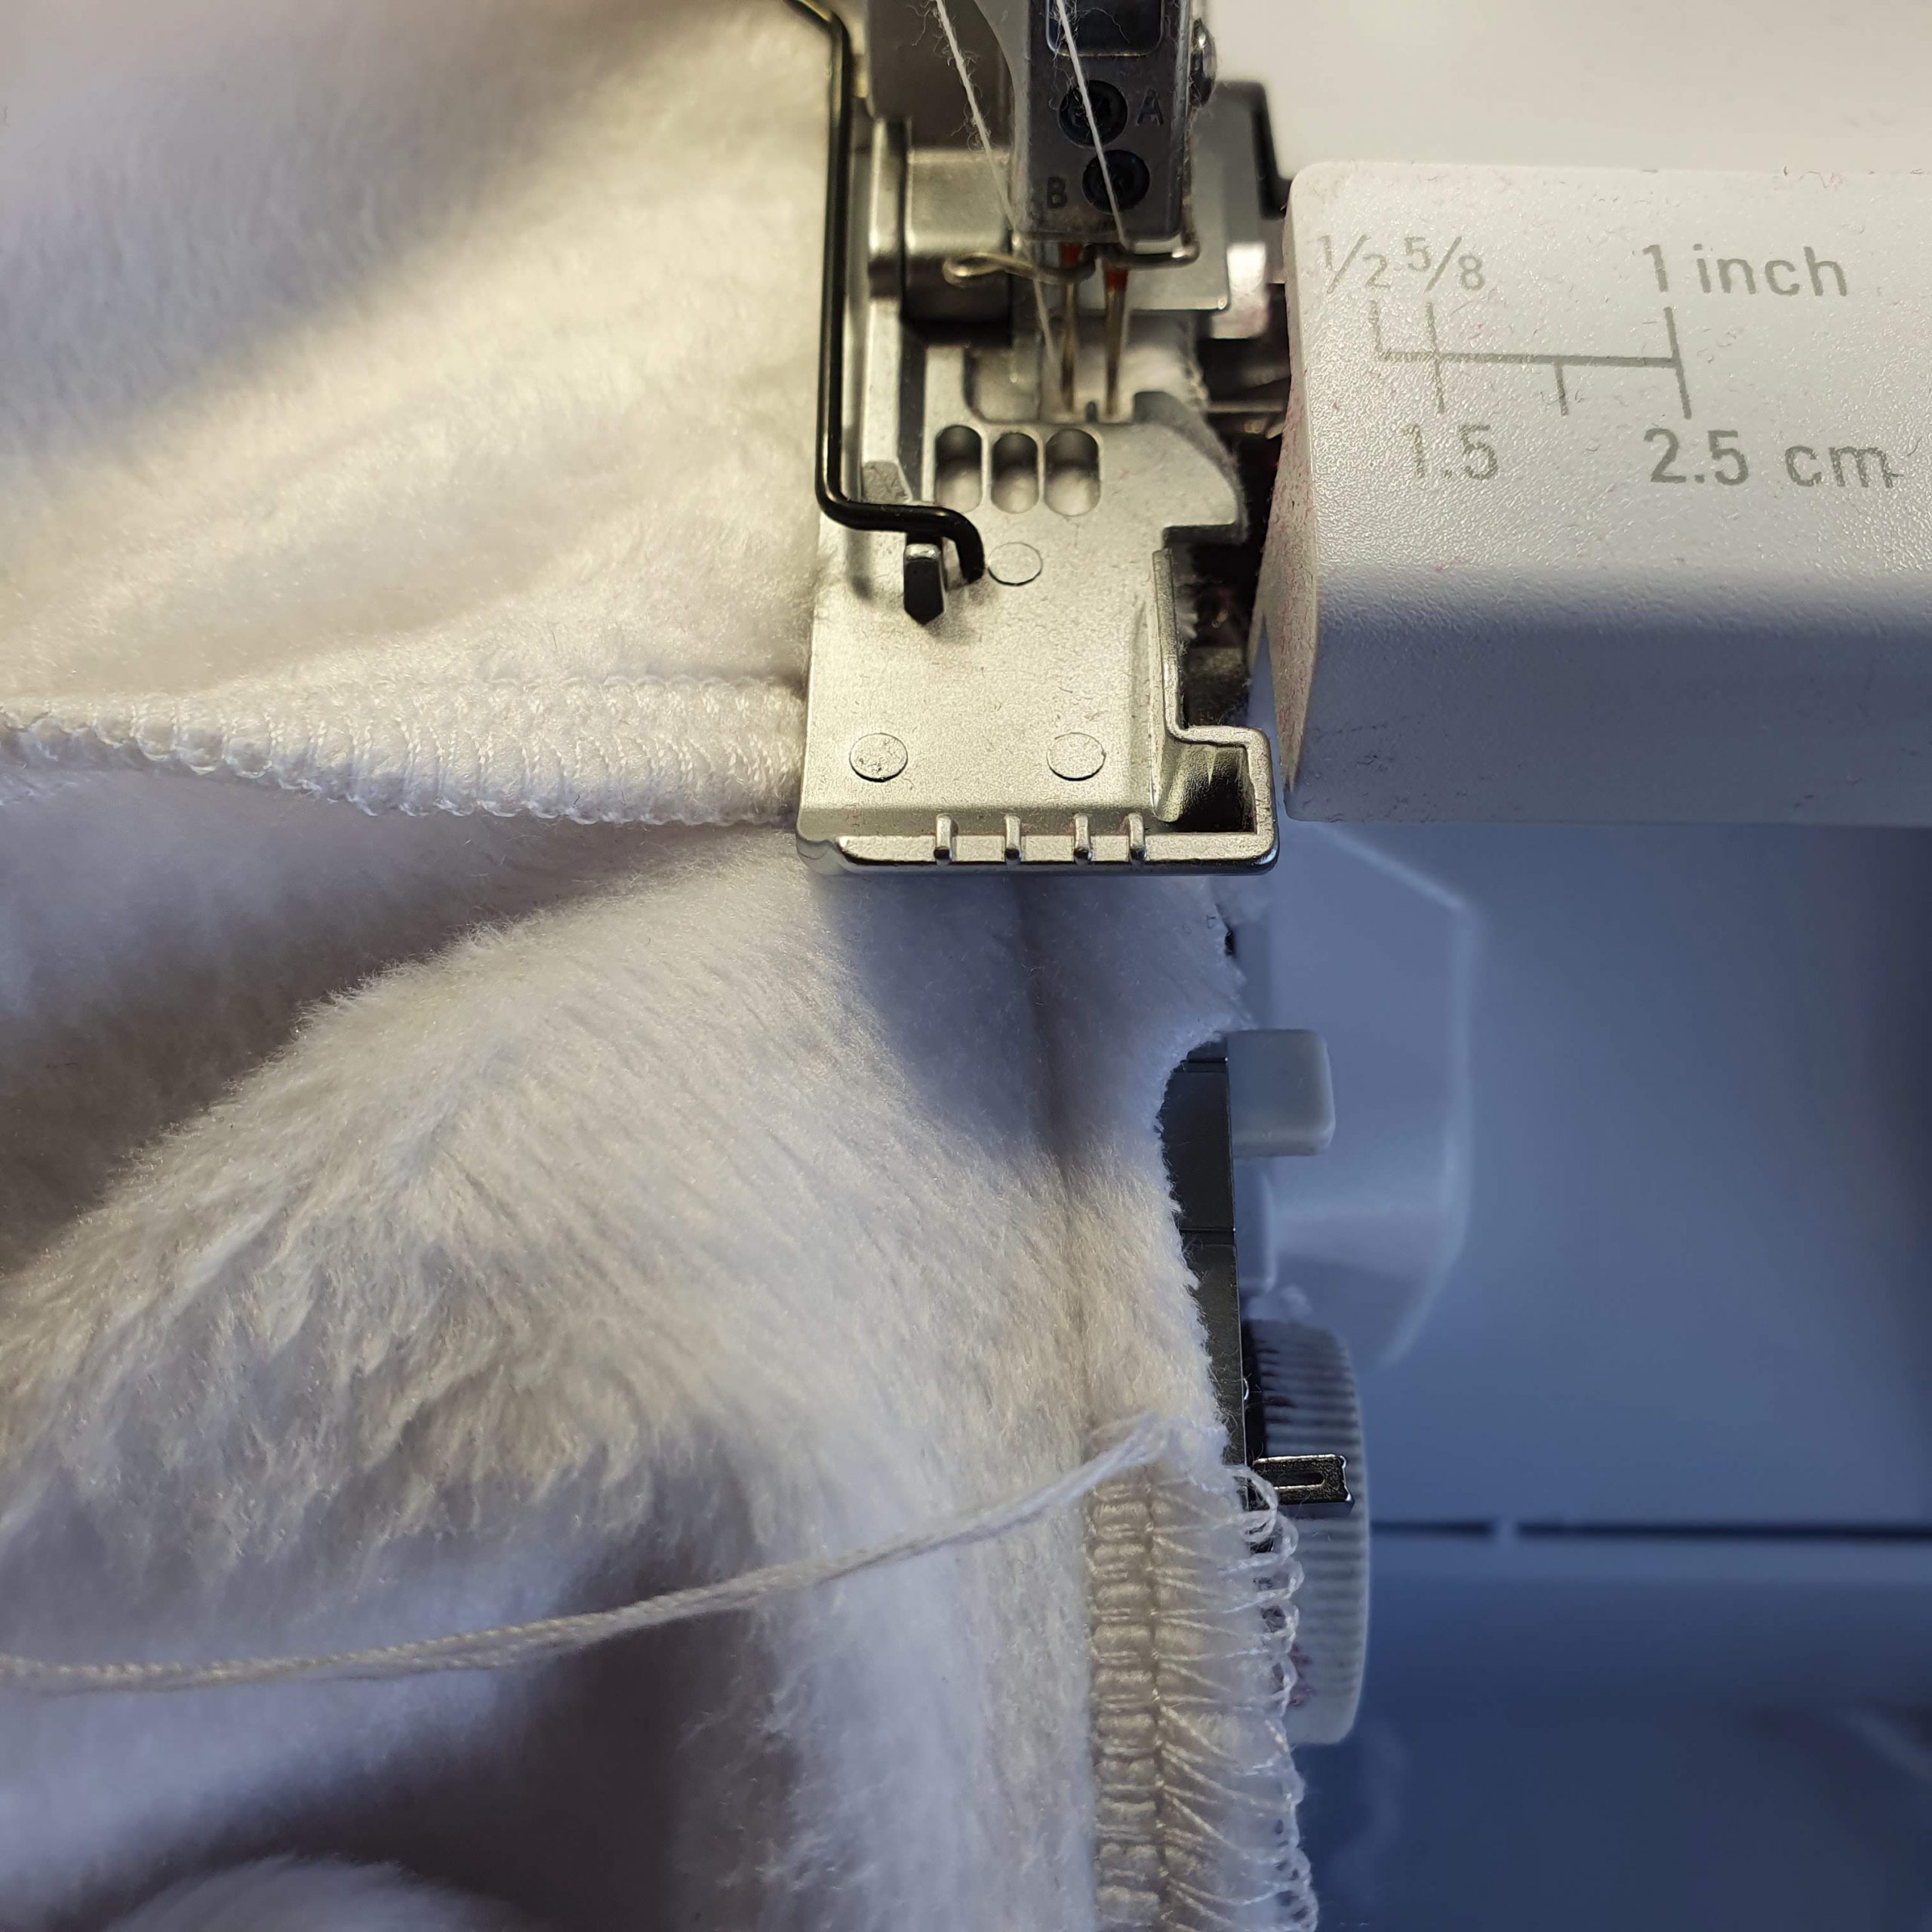
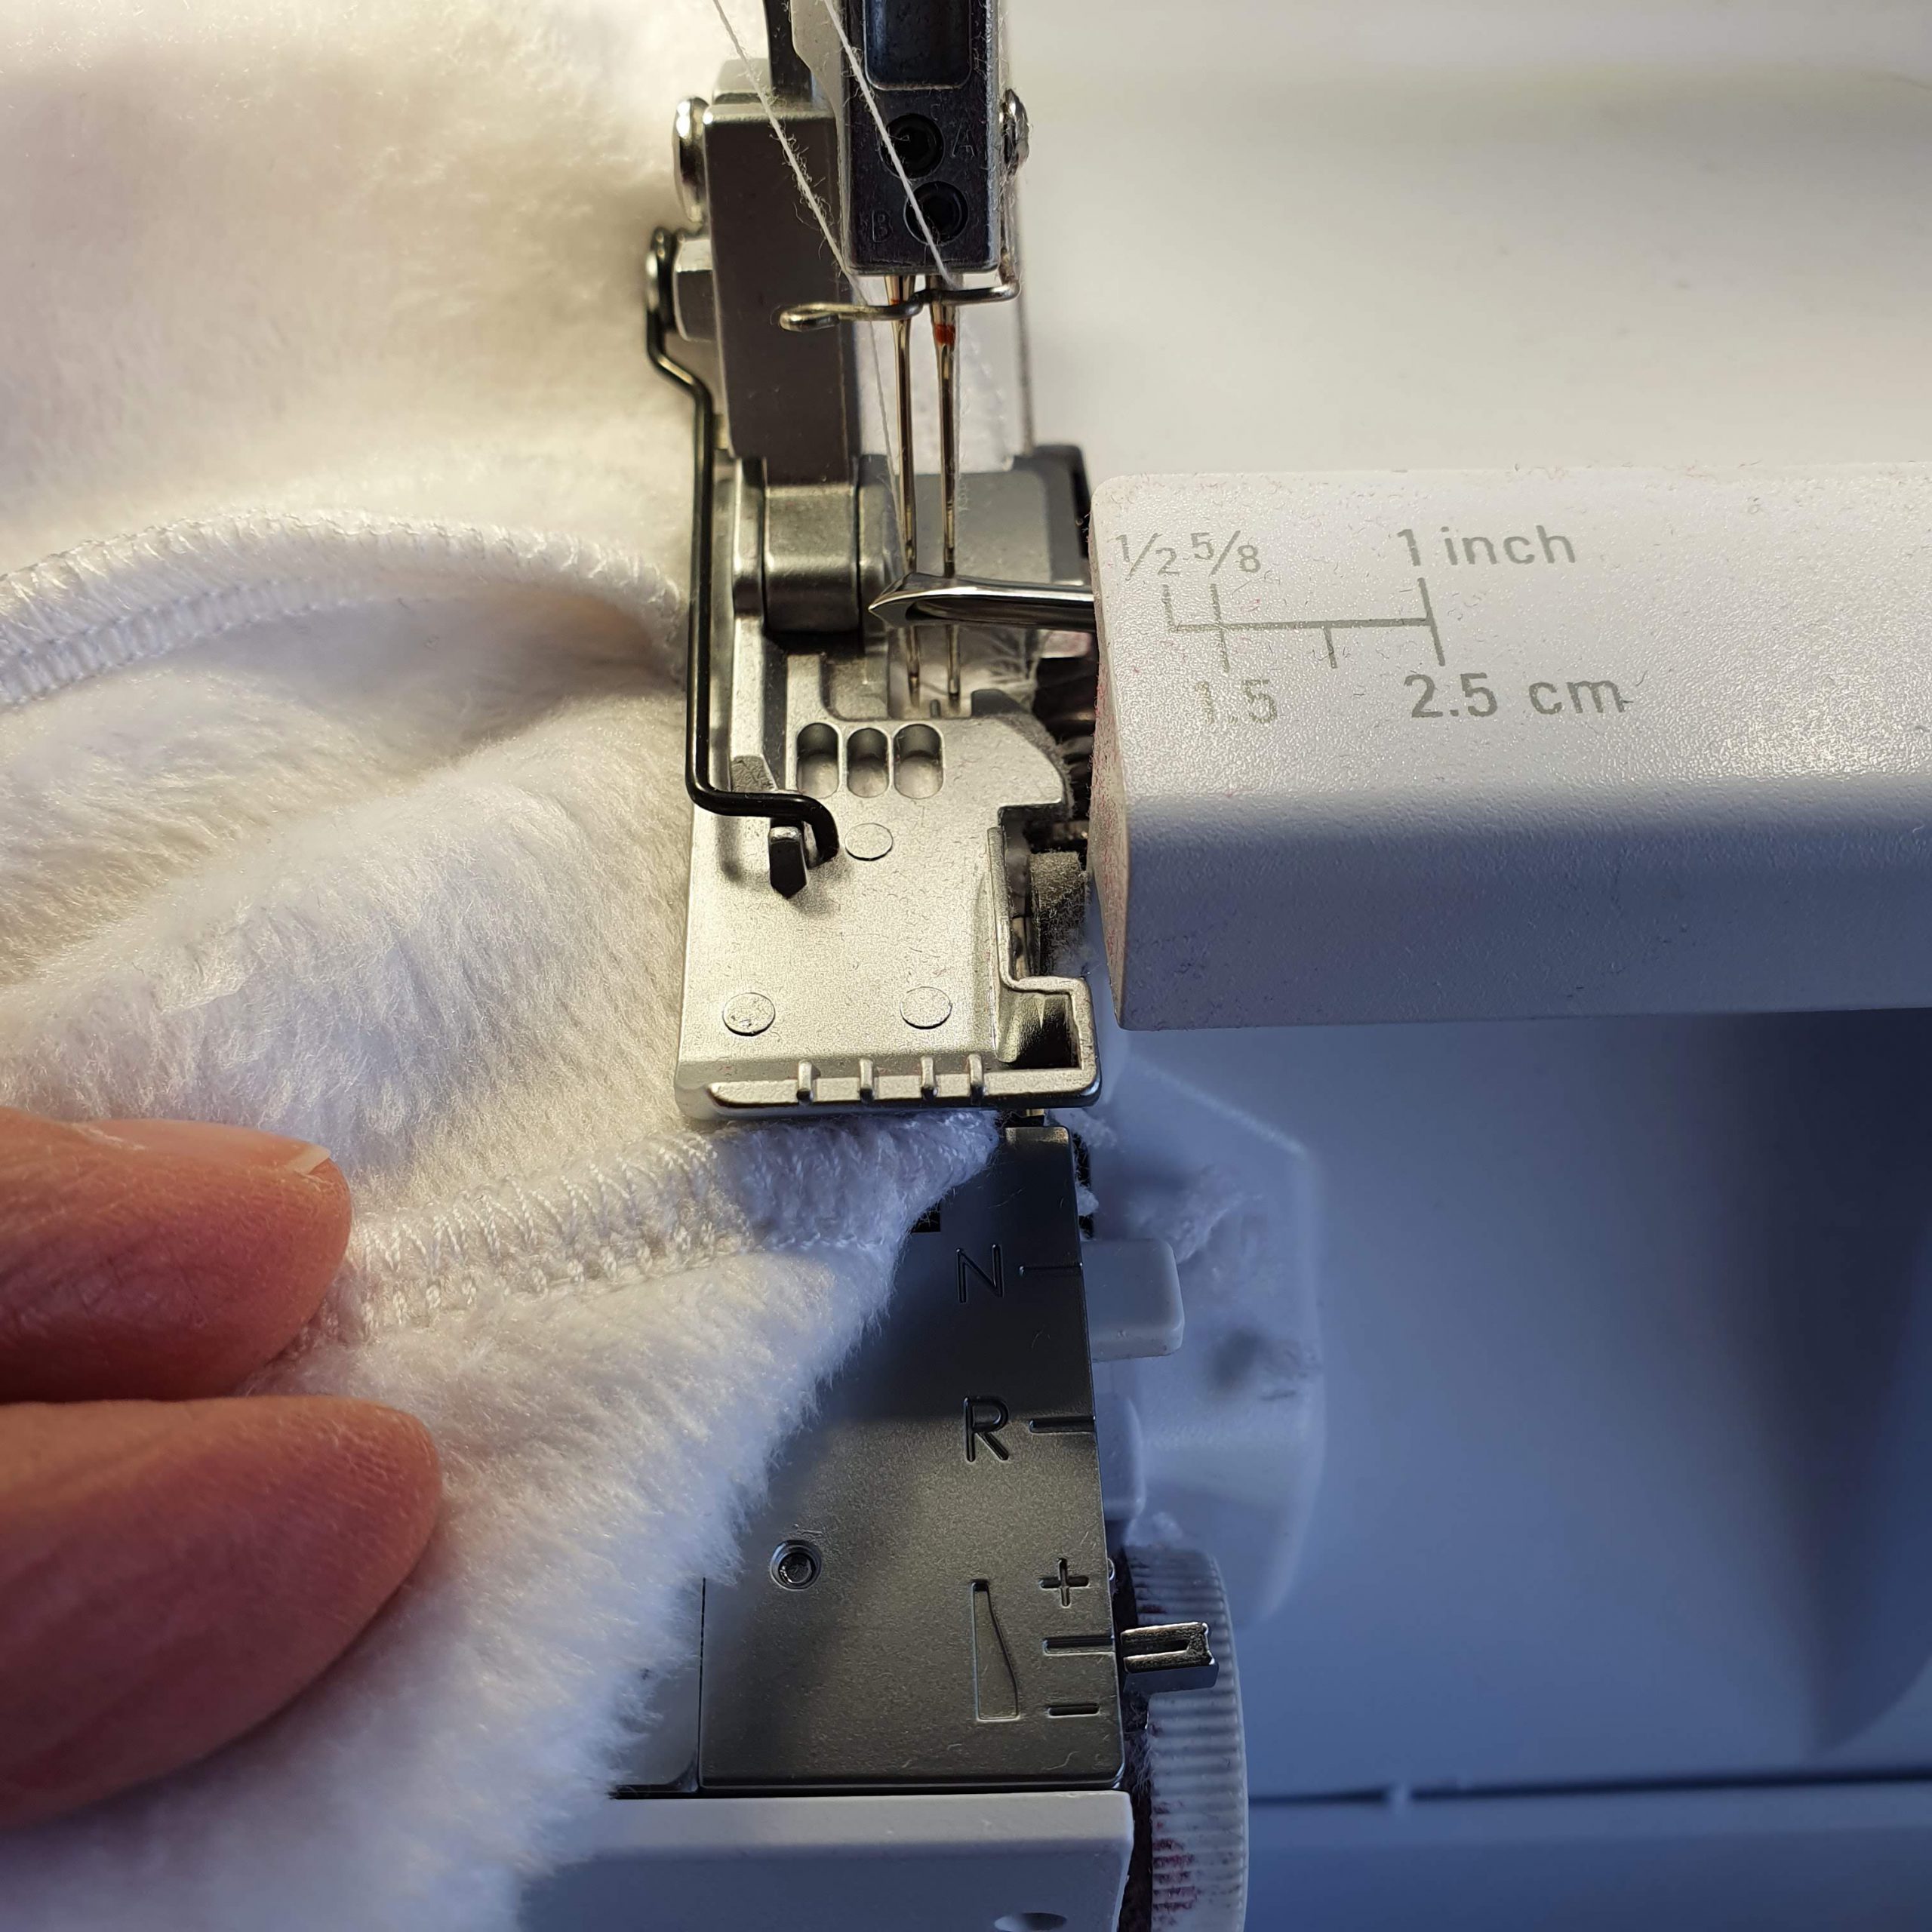
To finish a round curve nicely with the overlock machine, you have a number of options. What I usually do is trim the seam where you start to lock narrow. Then raise the foot and the needle, pull the threads back so that the threads are no longer entangled in the ‘chain’. Then place the narrow cut trim under the foot, align the left needle position with the stitching line and lower the foot and needle. Overlock the curve and at the end fold the beginning out of the way and finish the curve. Neatly finish the thread or simply tie them together.
Narrow seam
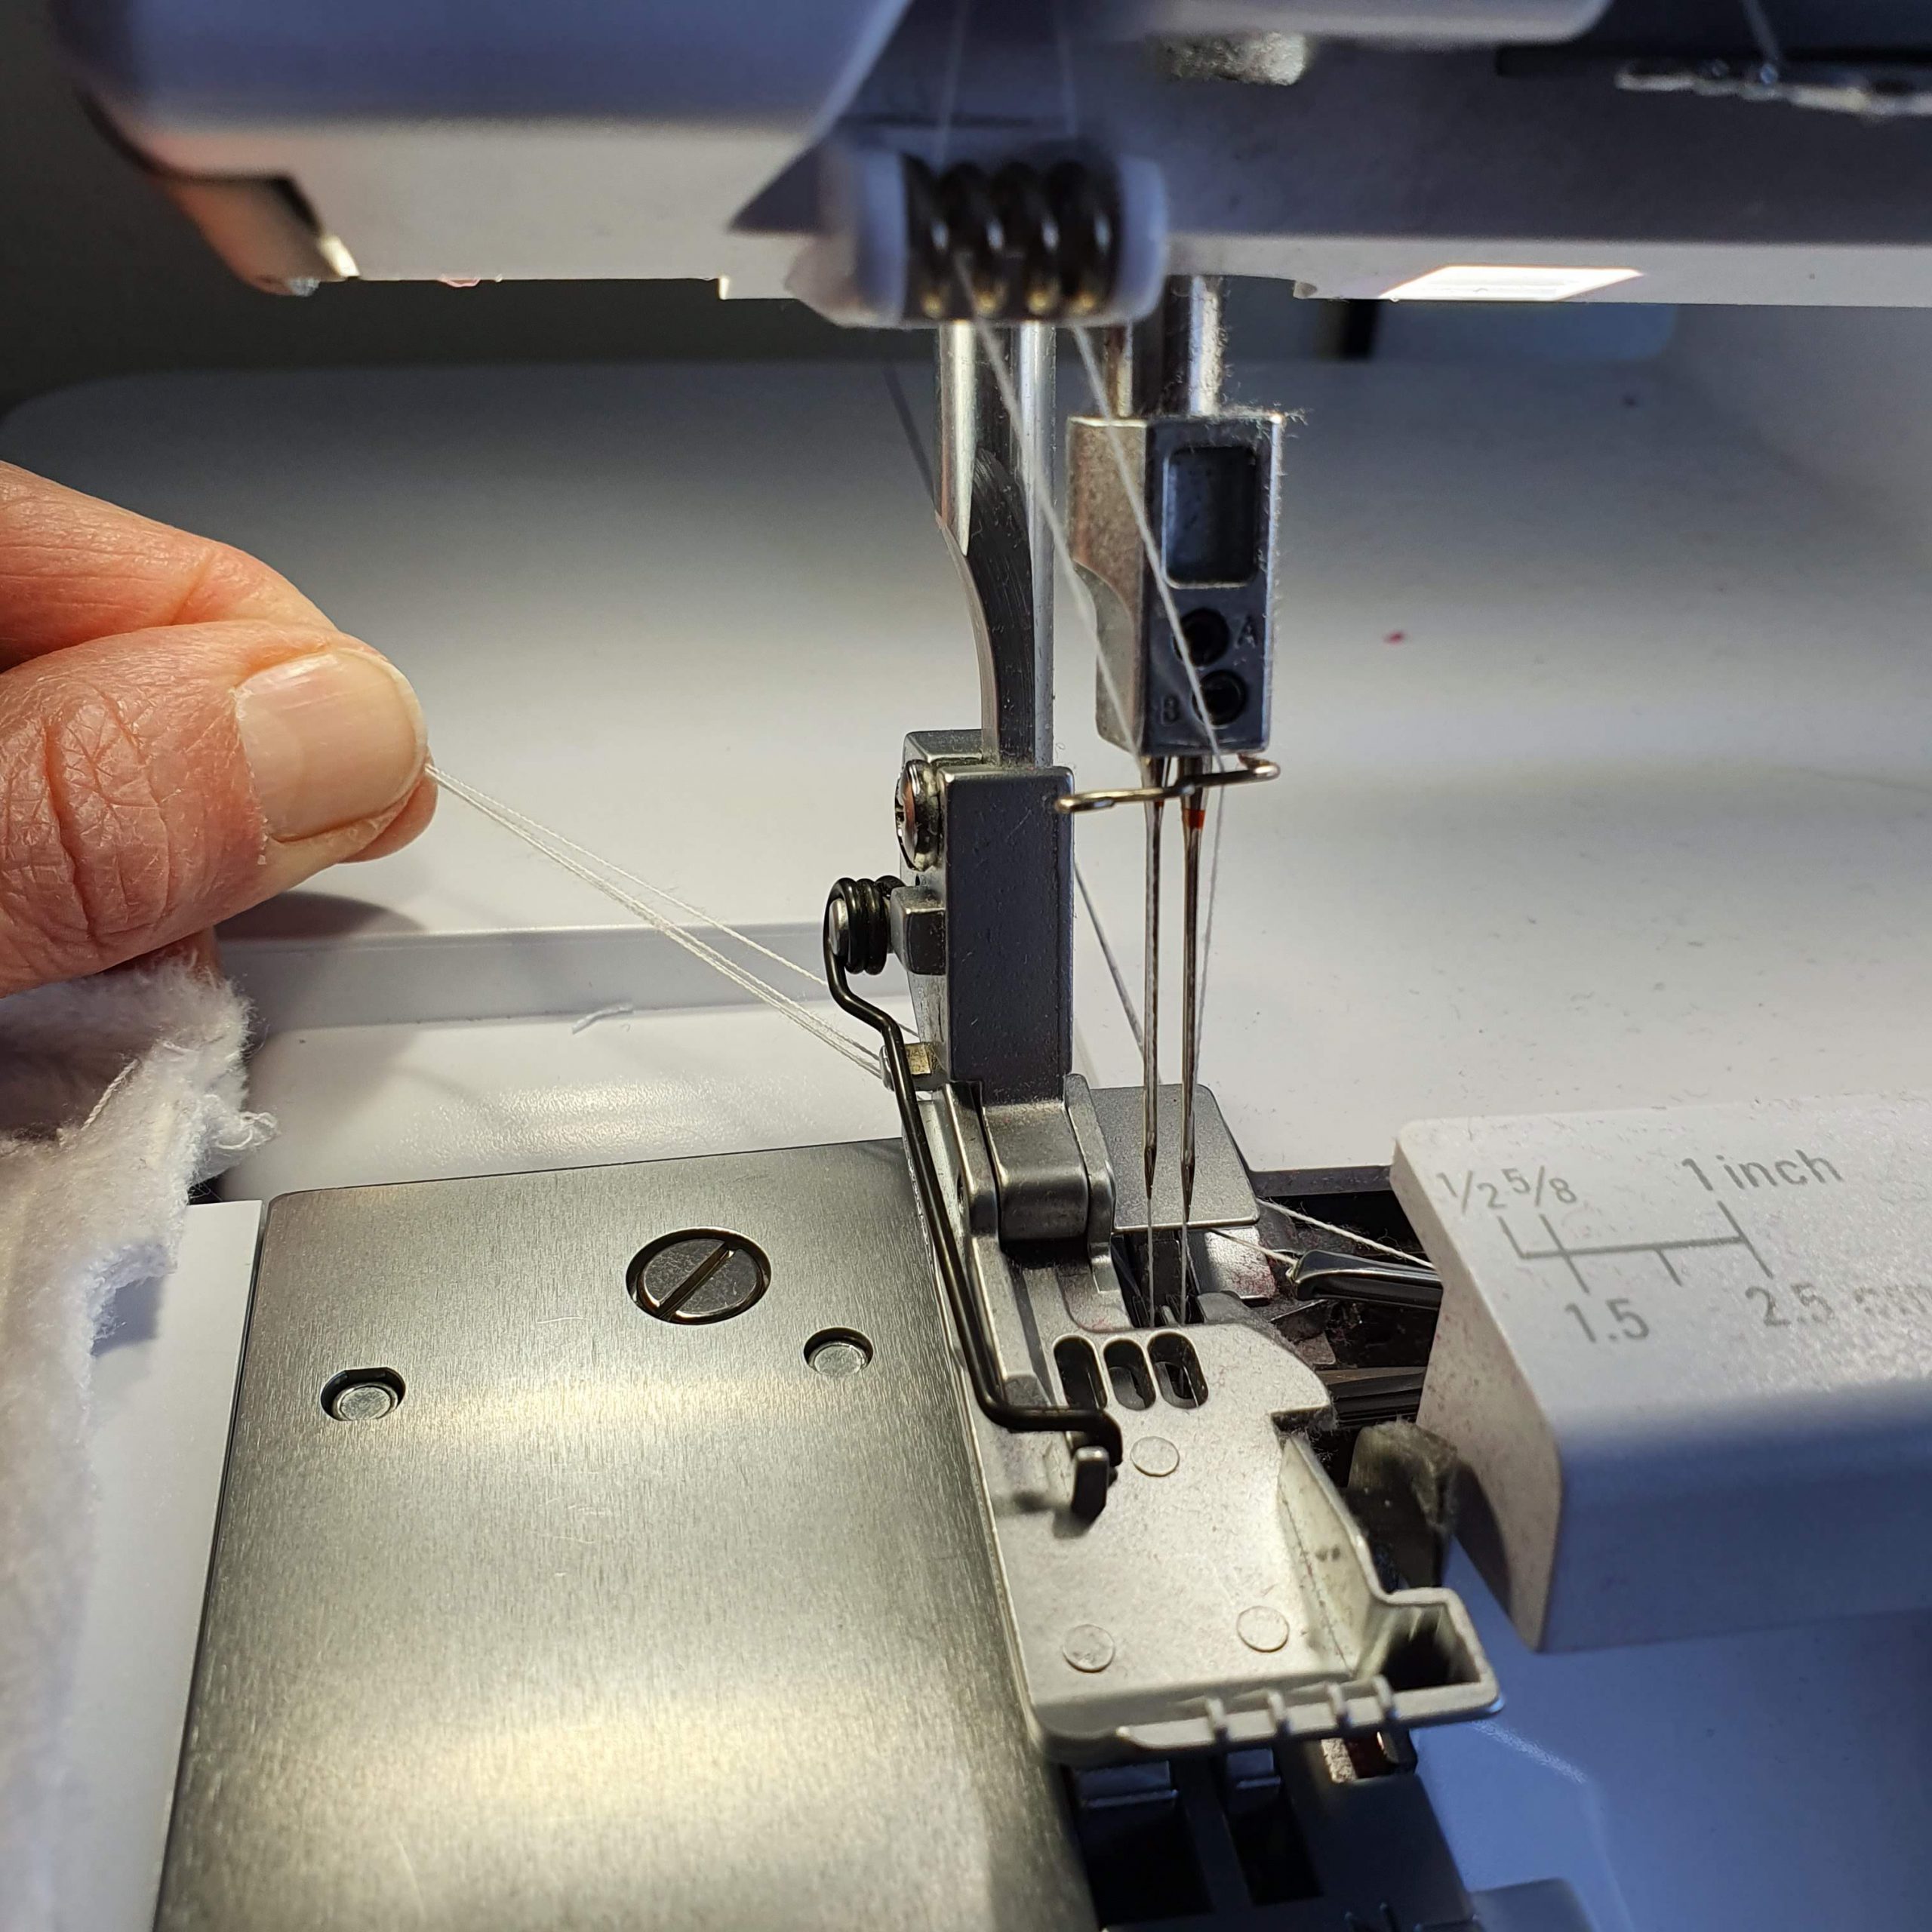
Pul threads

Position needle

Ready to go
Almost
Fold away
Neckband and cuffs
The neck of the Hera sweater has a neckband which is first attached with the sewing machine. To make sure that the neckband is the same width everywhere, I use the width of the foot with the needle position on the far right. I let the left edge run parallel to the fold of the band. After finishing the seam with the overlock machine, I topstitched the cuffs on the bodice. This keeps the neck nice and flat.
Folded neckband
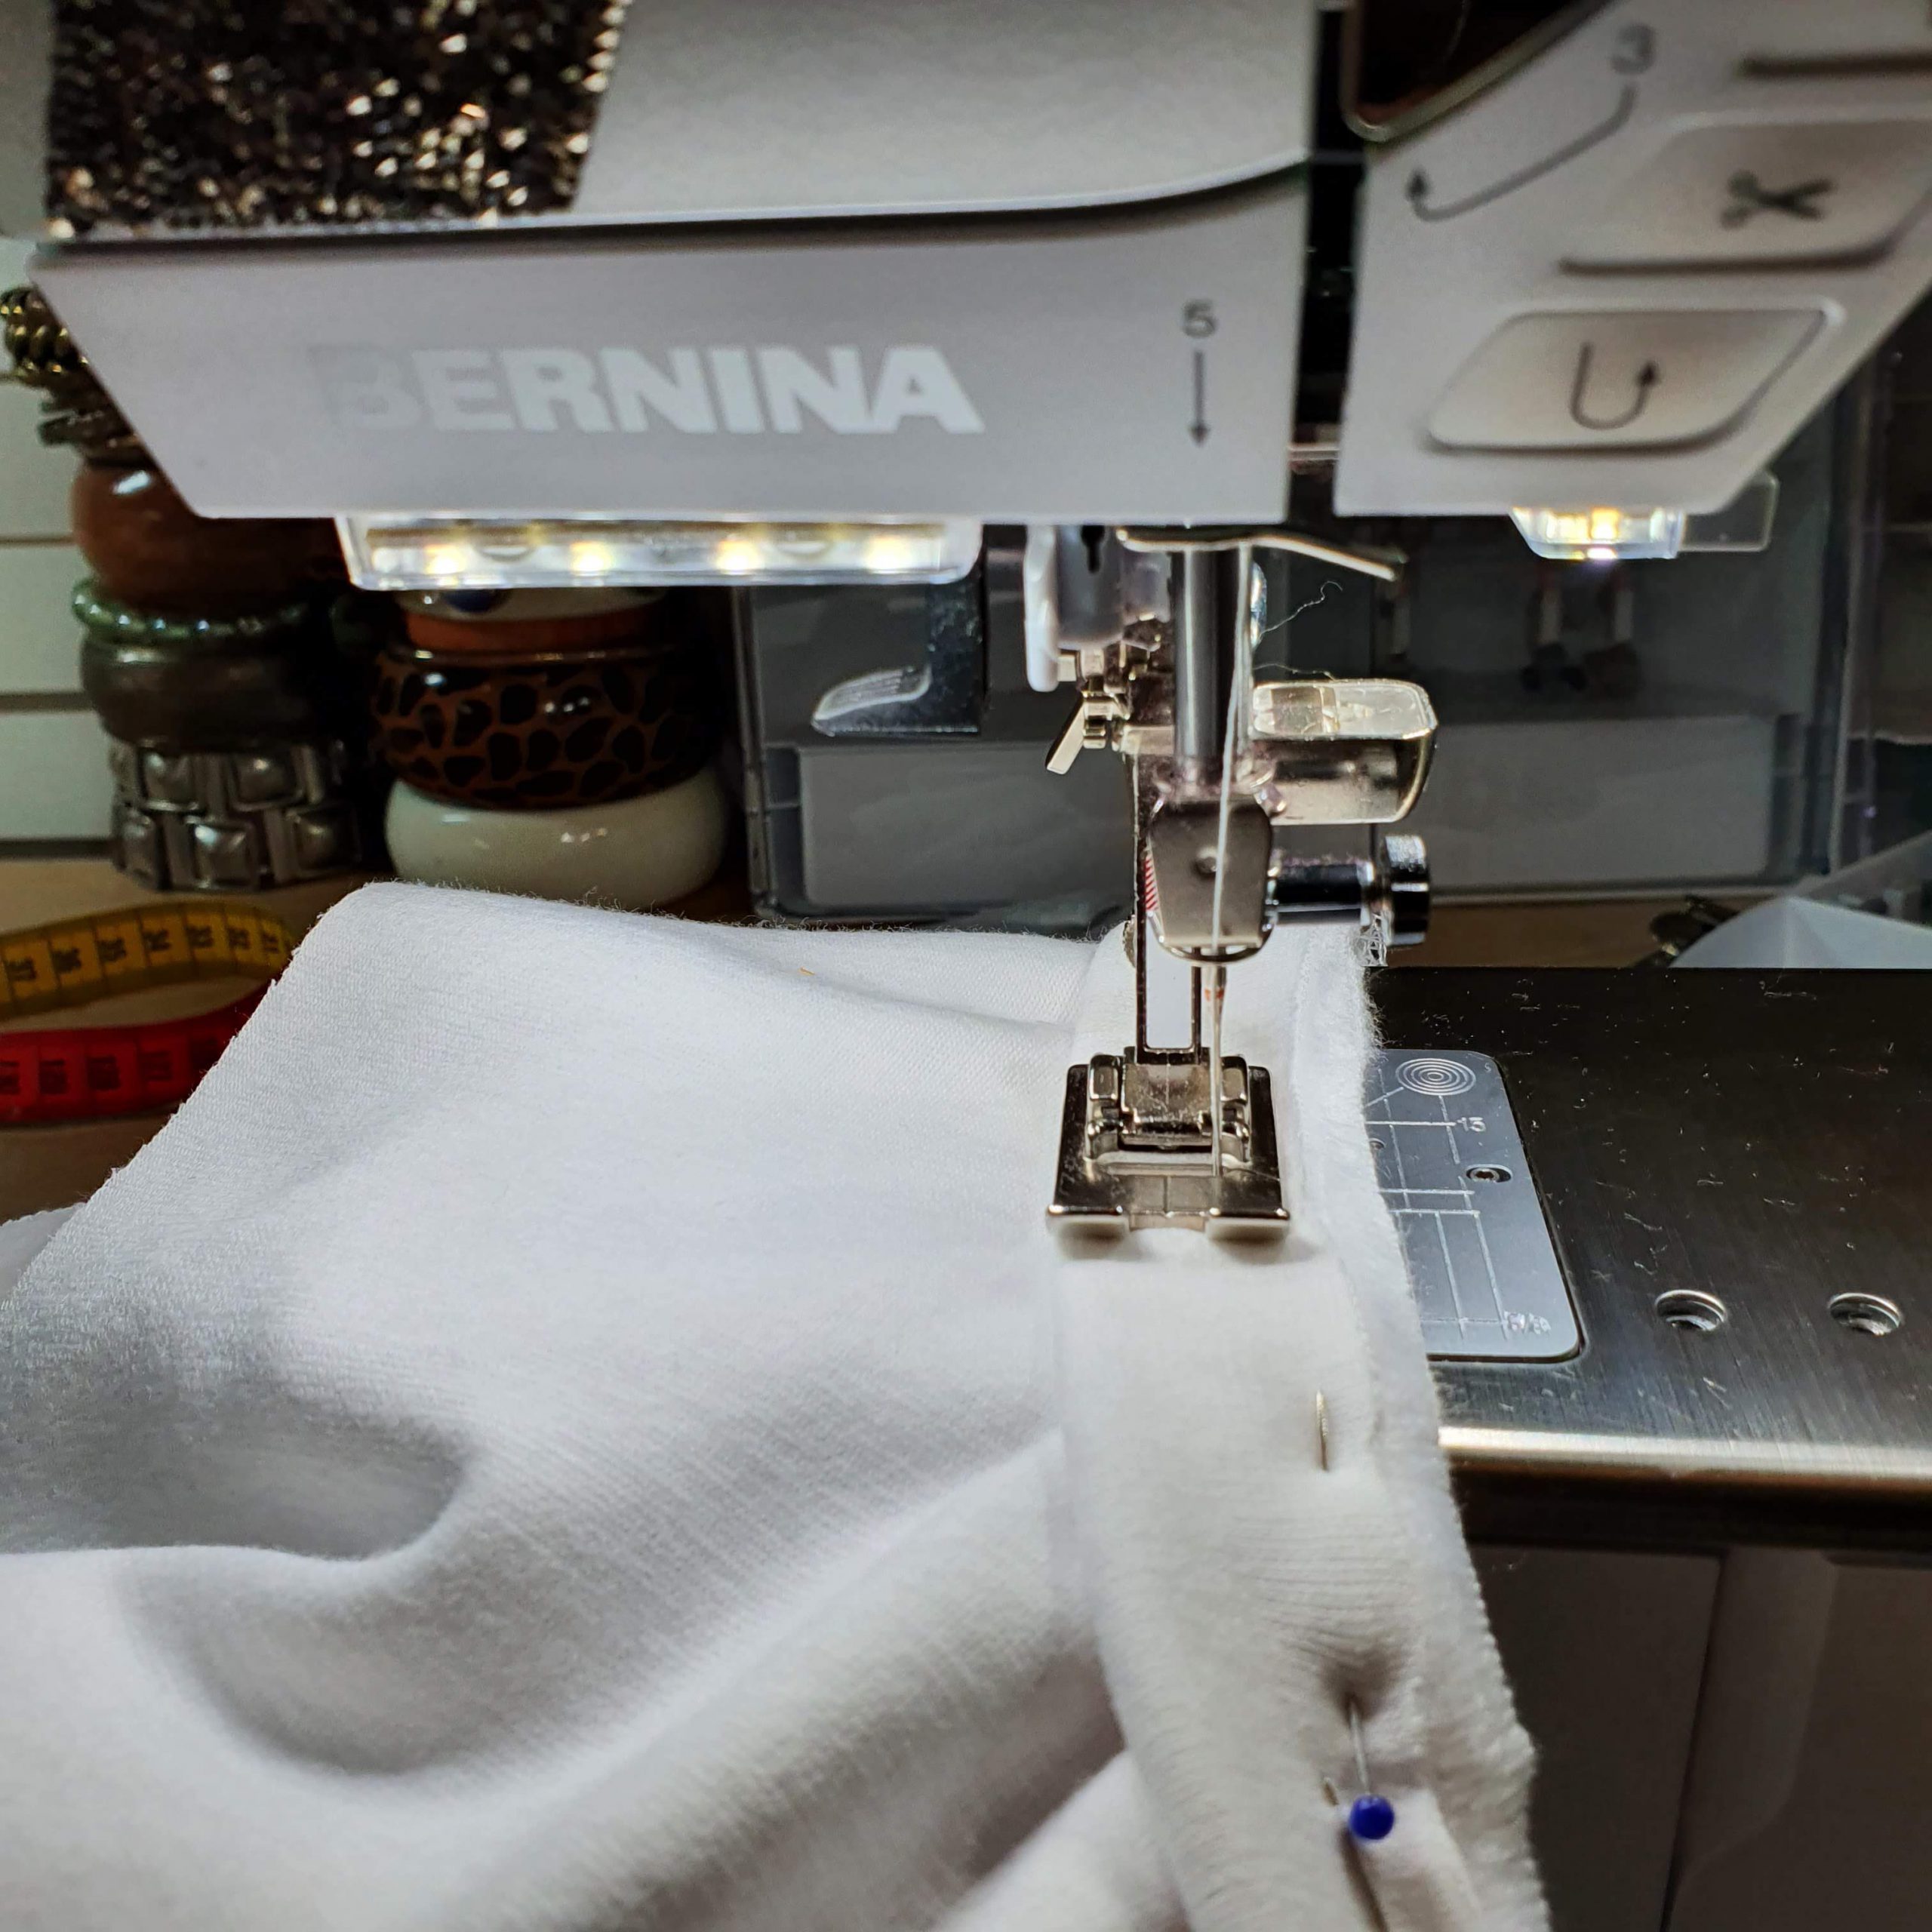
Even width
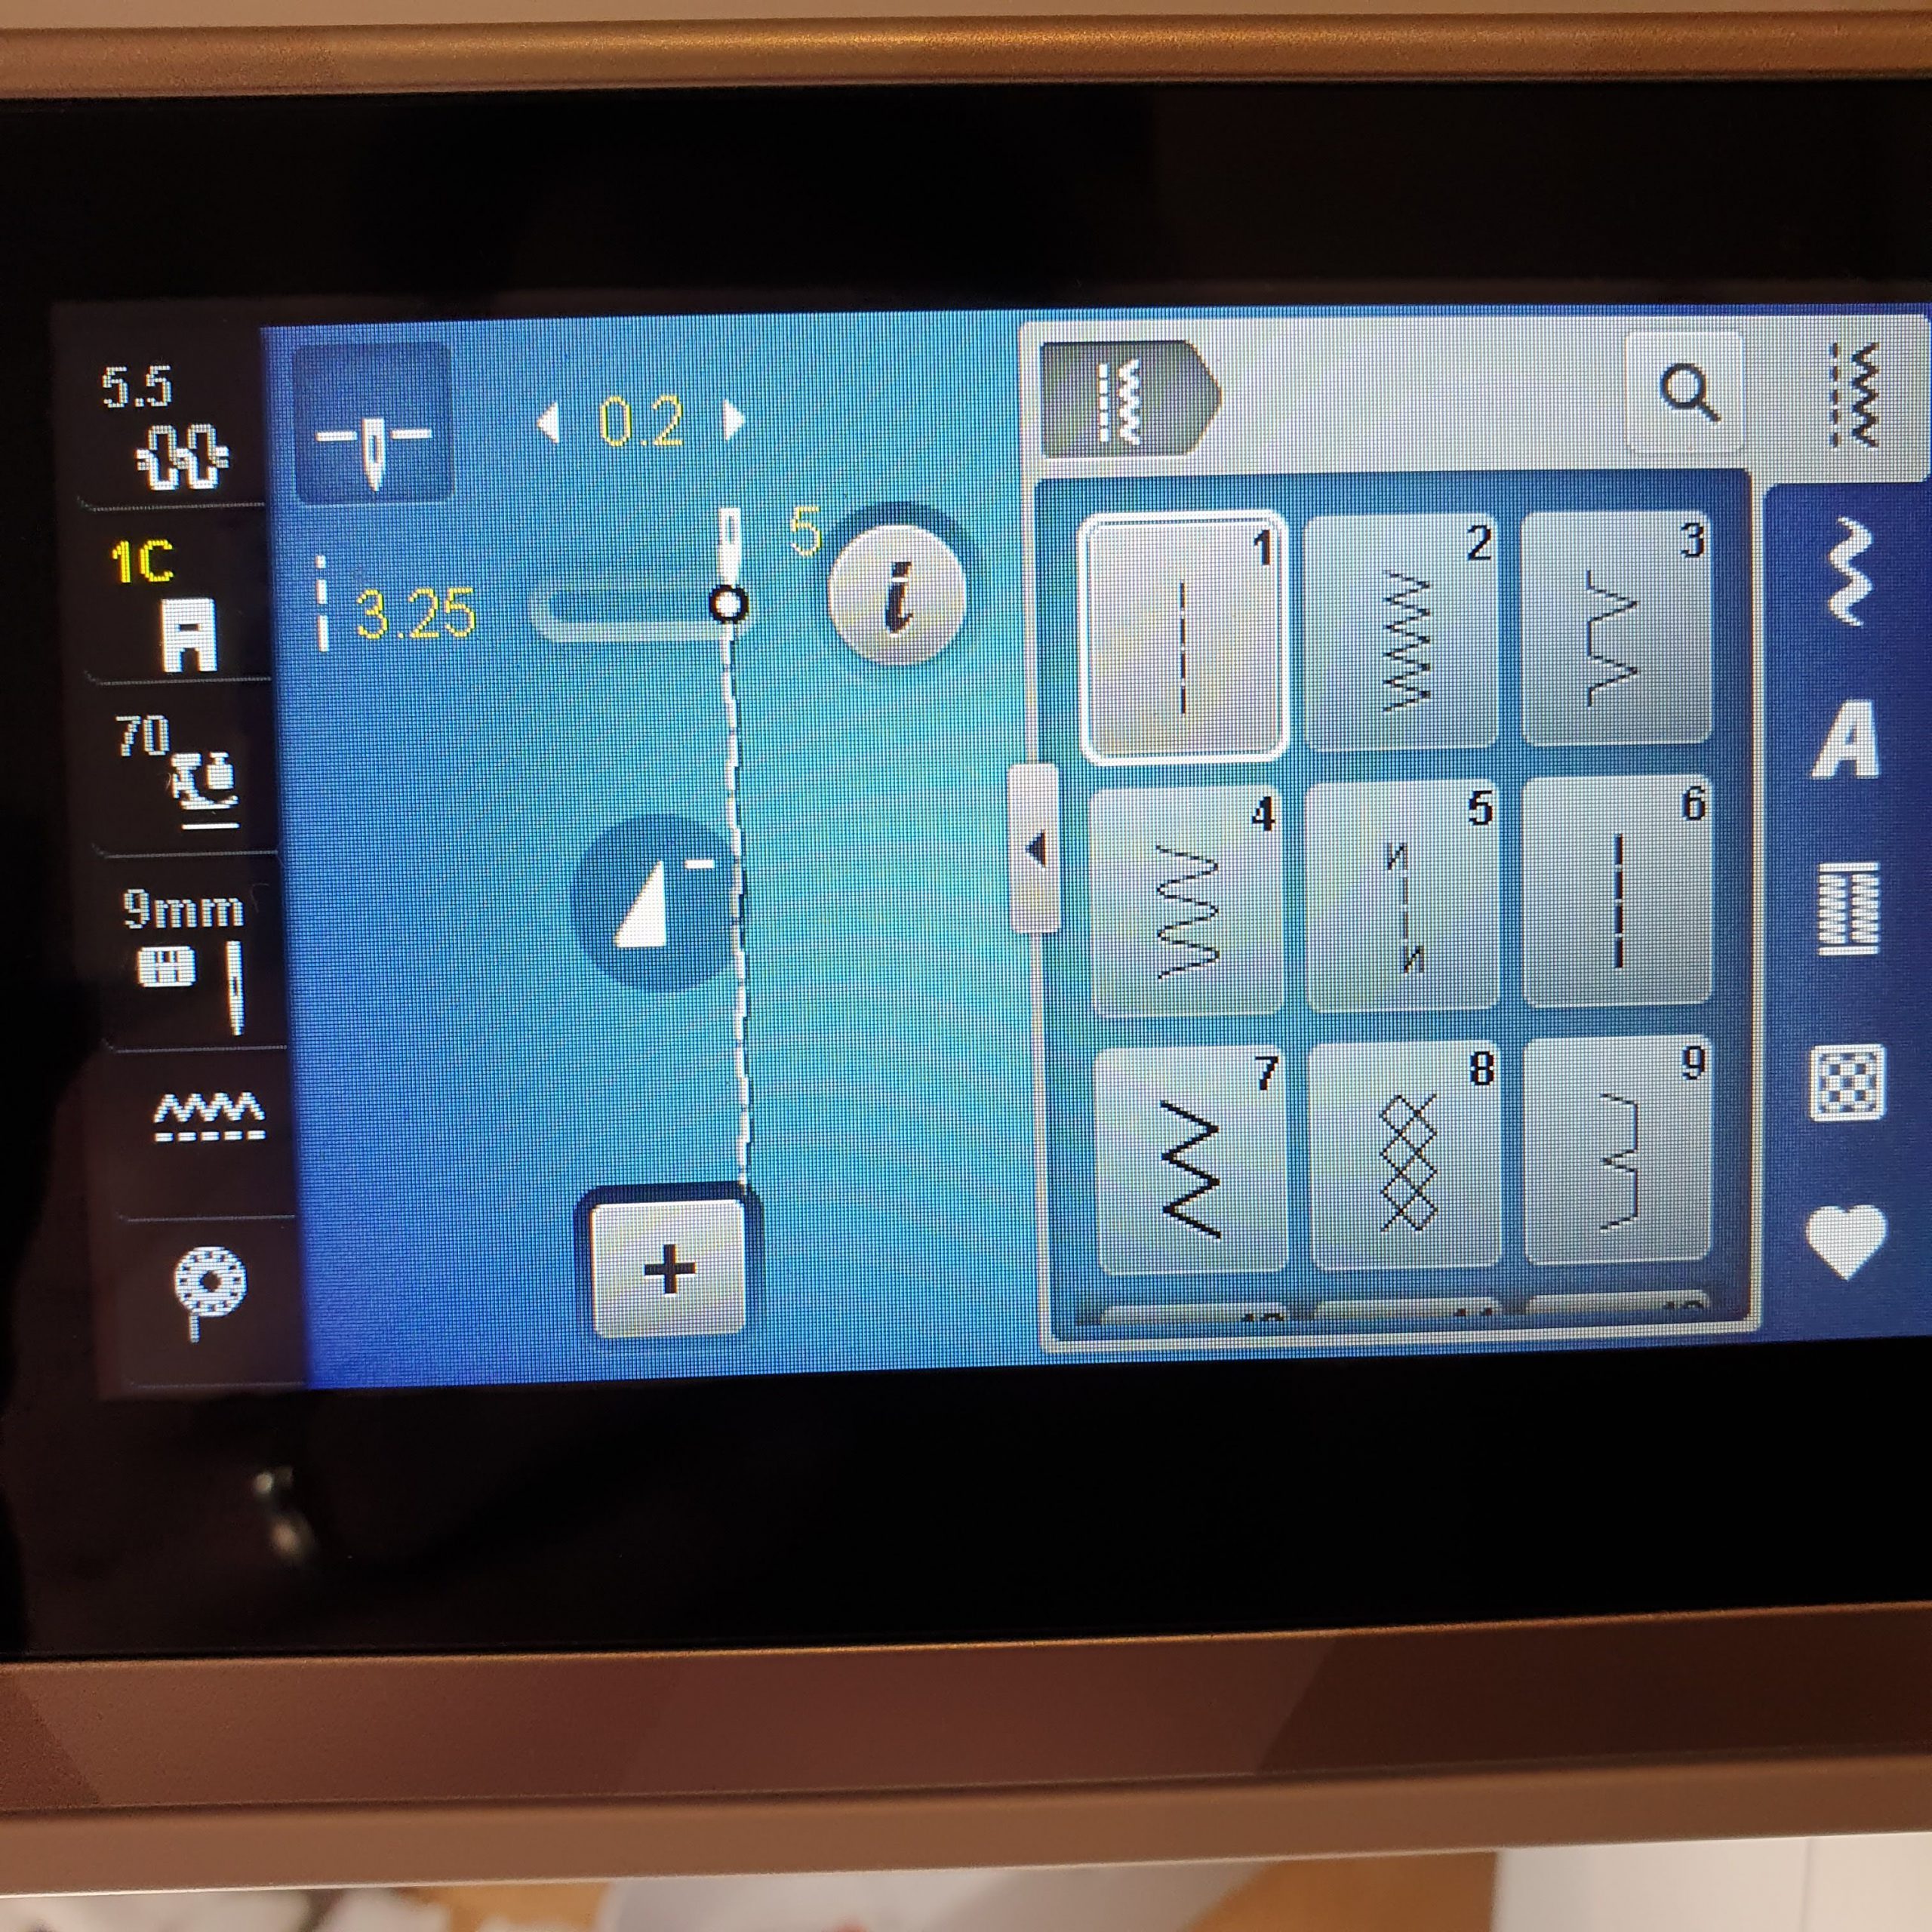
Needle to the right
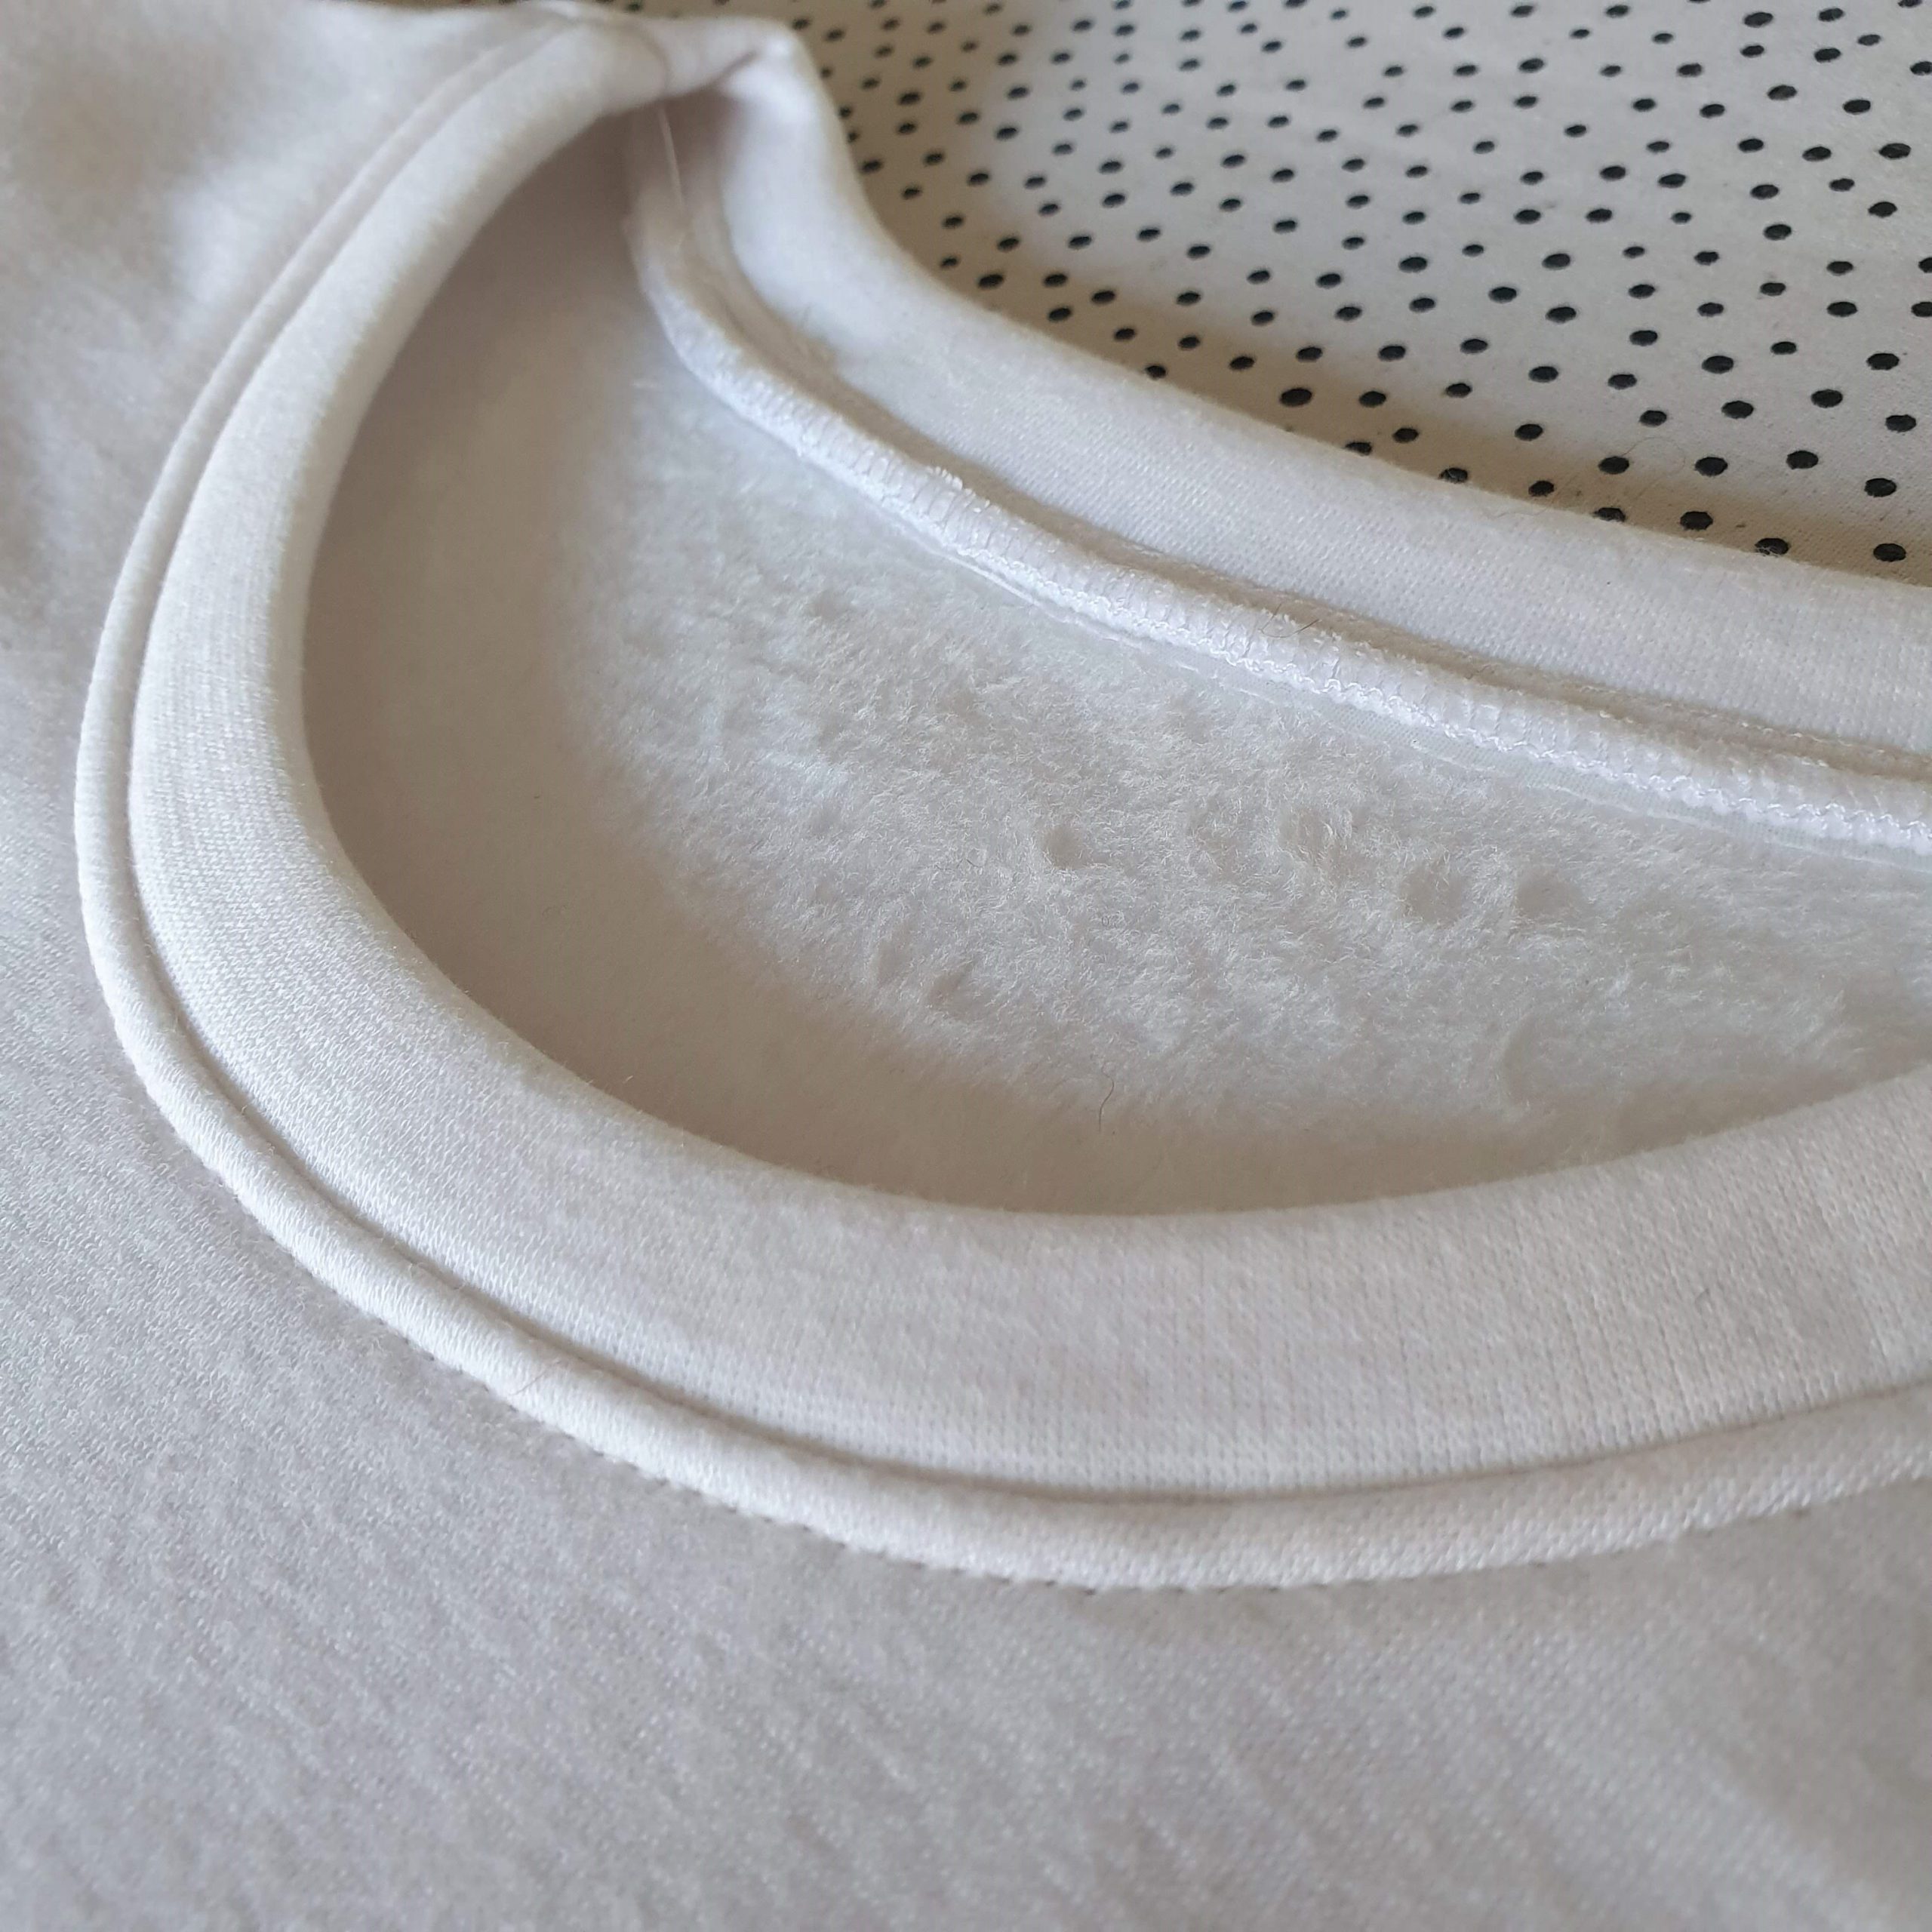
Nice and flat

There is a label on the sleeves to answer possible questions about why this LIESL print right away, I attach, again ;-), a label on the outside. TA DA this Hera is ready!
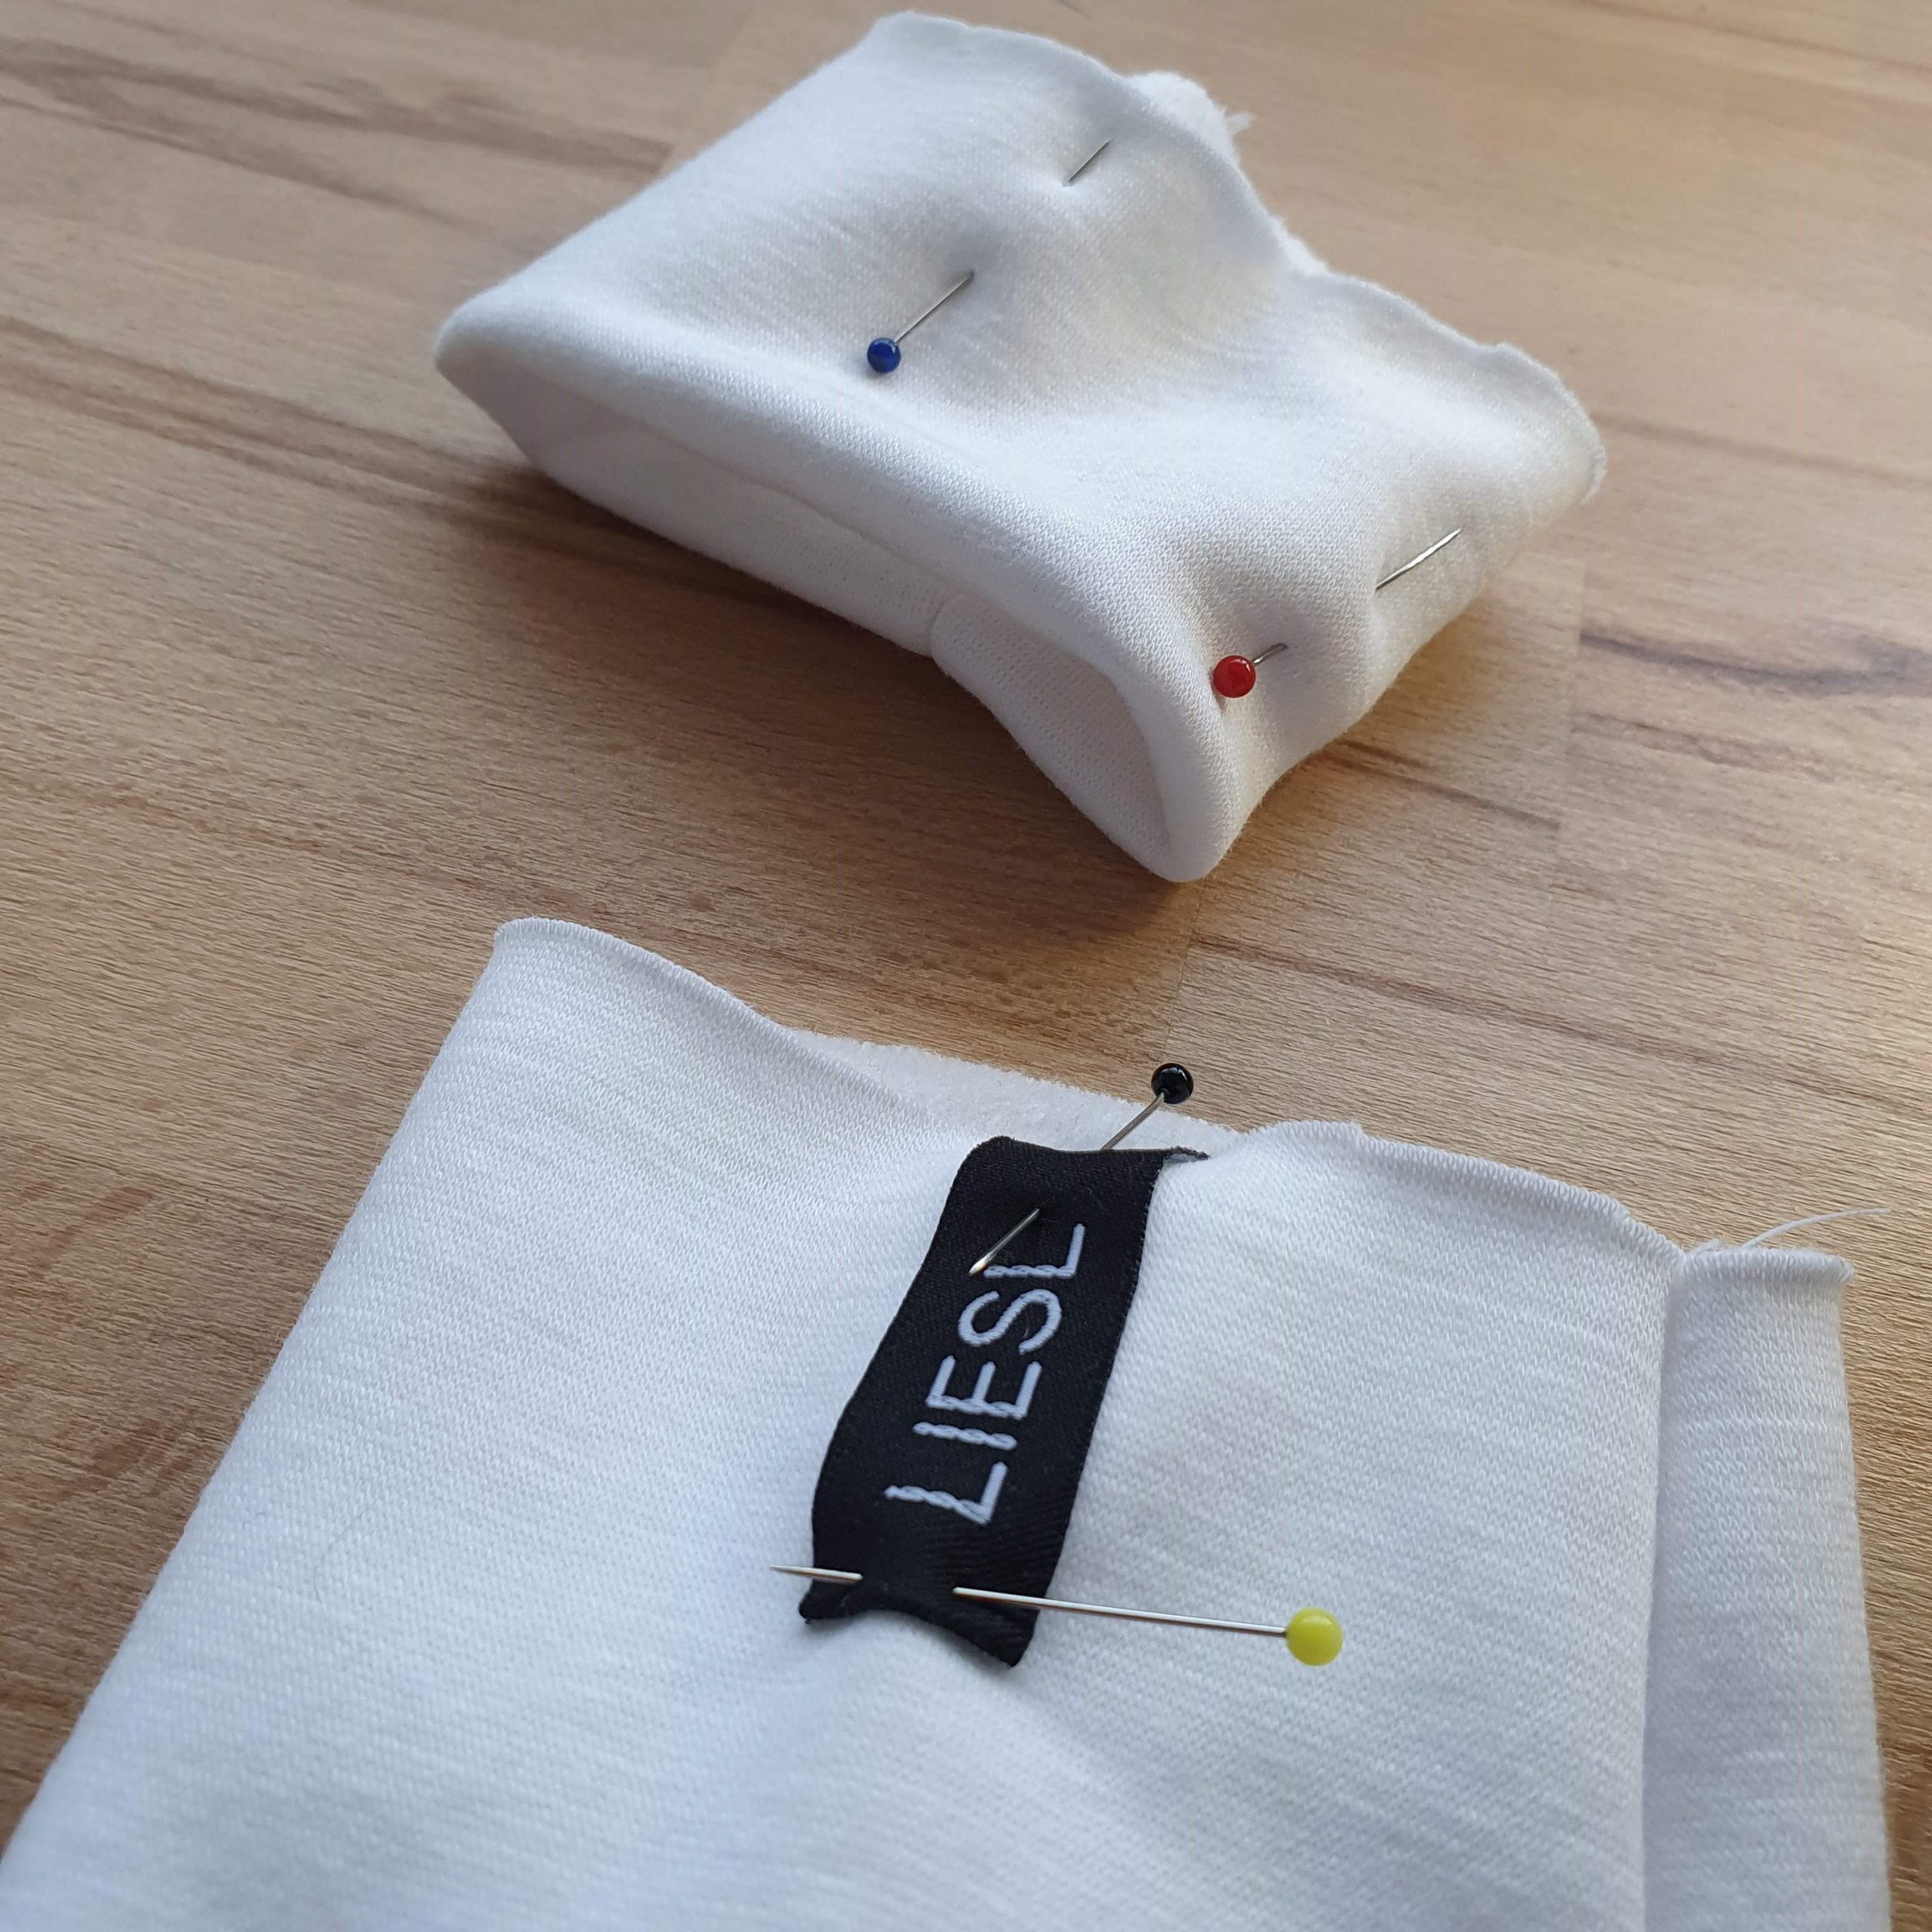

Never too much LIESL 😉
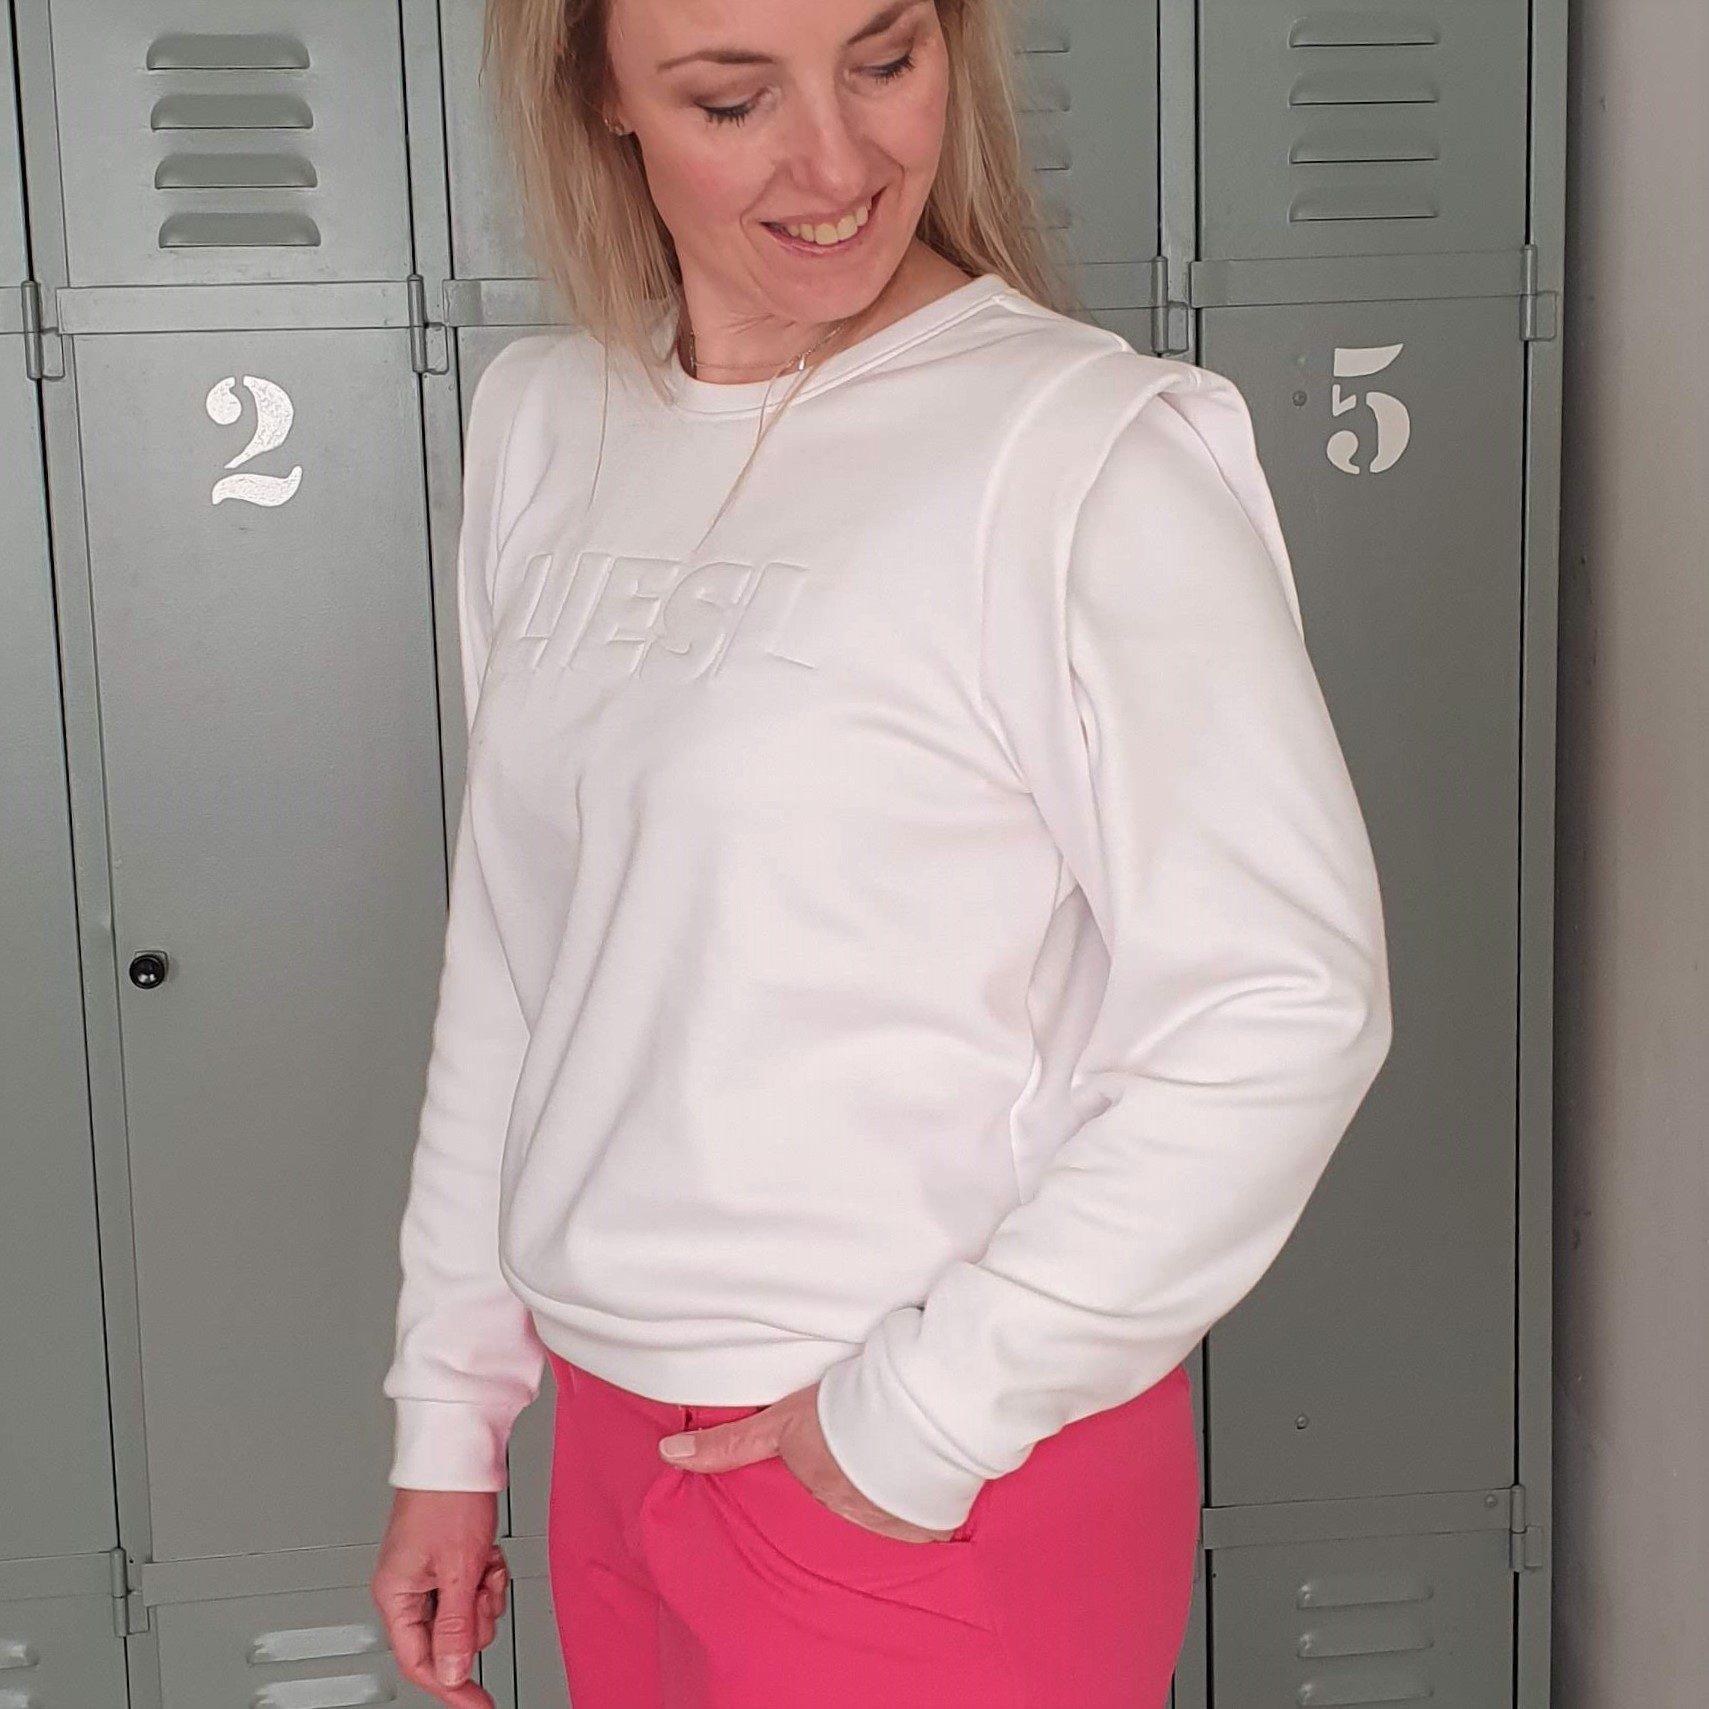
Pretty with pink

And? When do you start on your Hera sweater?
Love,
Marlies


HiBeautiful Hera sweater design. Nice look.