 BERNINA Corporate Blog -
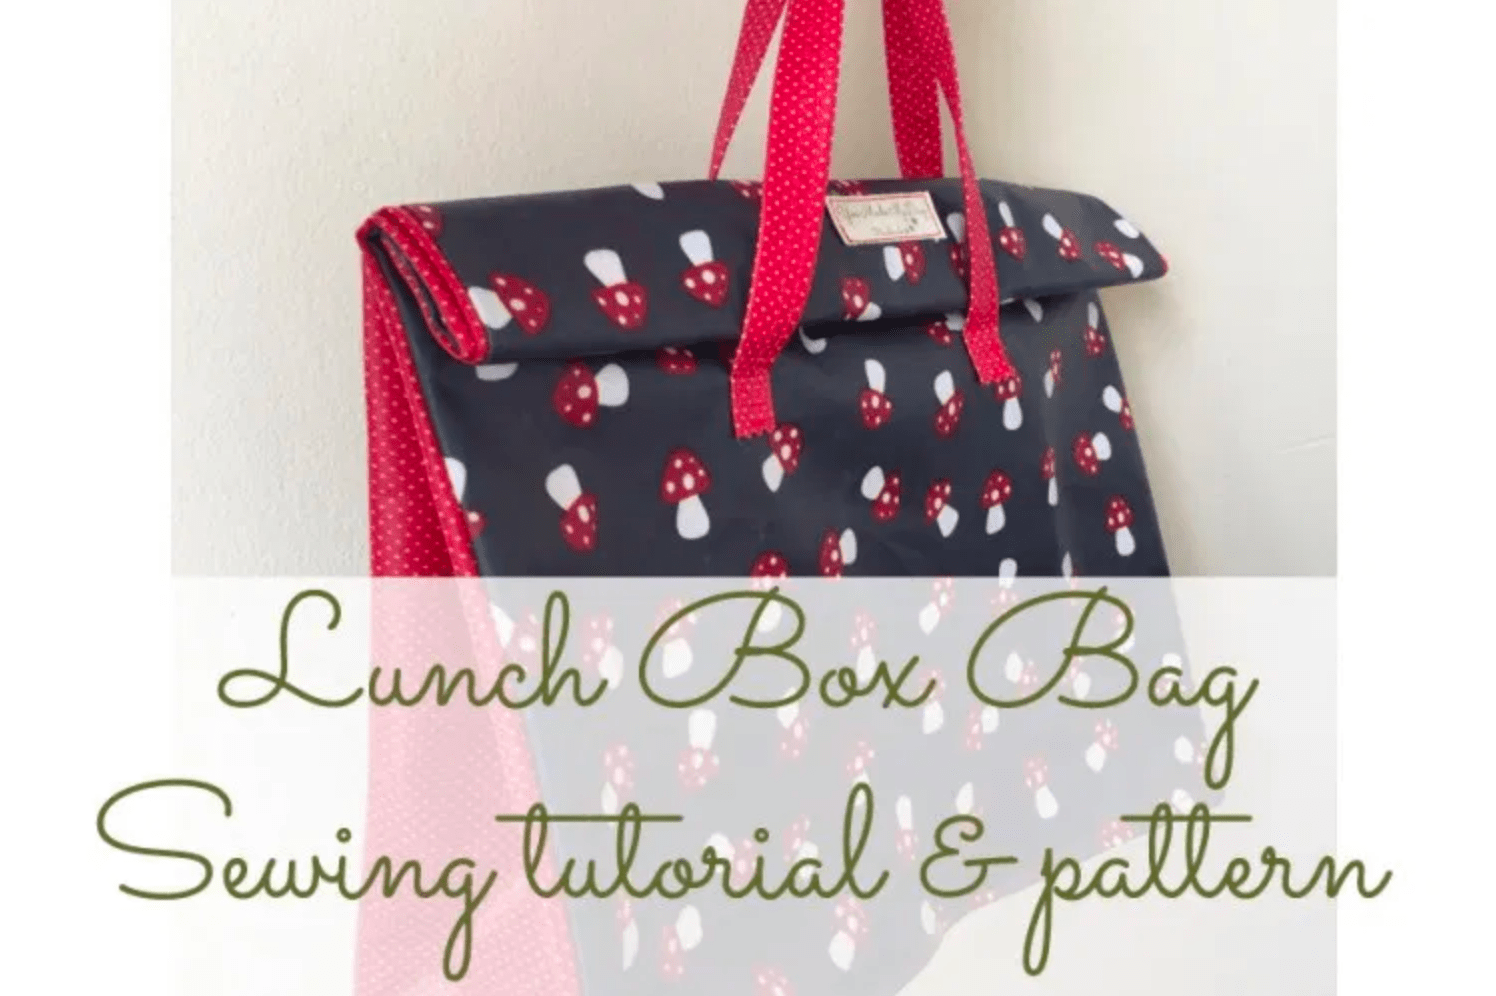
Lunch Box Bag – Tutorial
Hello there! I know that usually a lunch box bag is mostly bought or needed at the beginning of the school year, but I thought that sometimes we need one at another point, or the one we had, just broke and we are in need of a new one. Or that we are just suuuuper well organized and instead of making the lunch box bag the day before school starts, we plan ahead and we make it weeks before it is really needed…
In any case, this tutorial will be here whenever you need it, and I hope you enjoy it.
I made this lunch box bag a few years ago when my daughter started going to school and had to bring a lunch box. I thought she would love to bring it in a nice, cutie and personalized lunch box bag.
I took some pics of the process in order to do a tutorial in case someone needed one too. So here we go!
Below you’ll find all the instructions and step by step tutorial for this Lunch Box Bag to make your own Lunch Box Bag!
So easy!
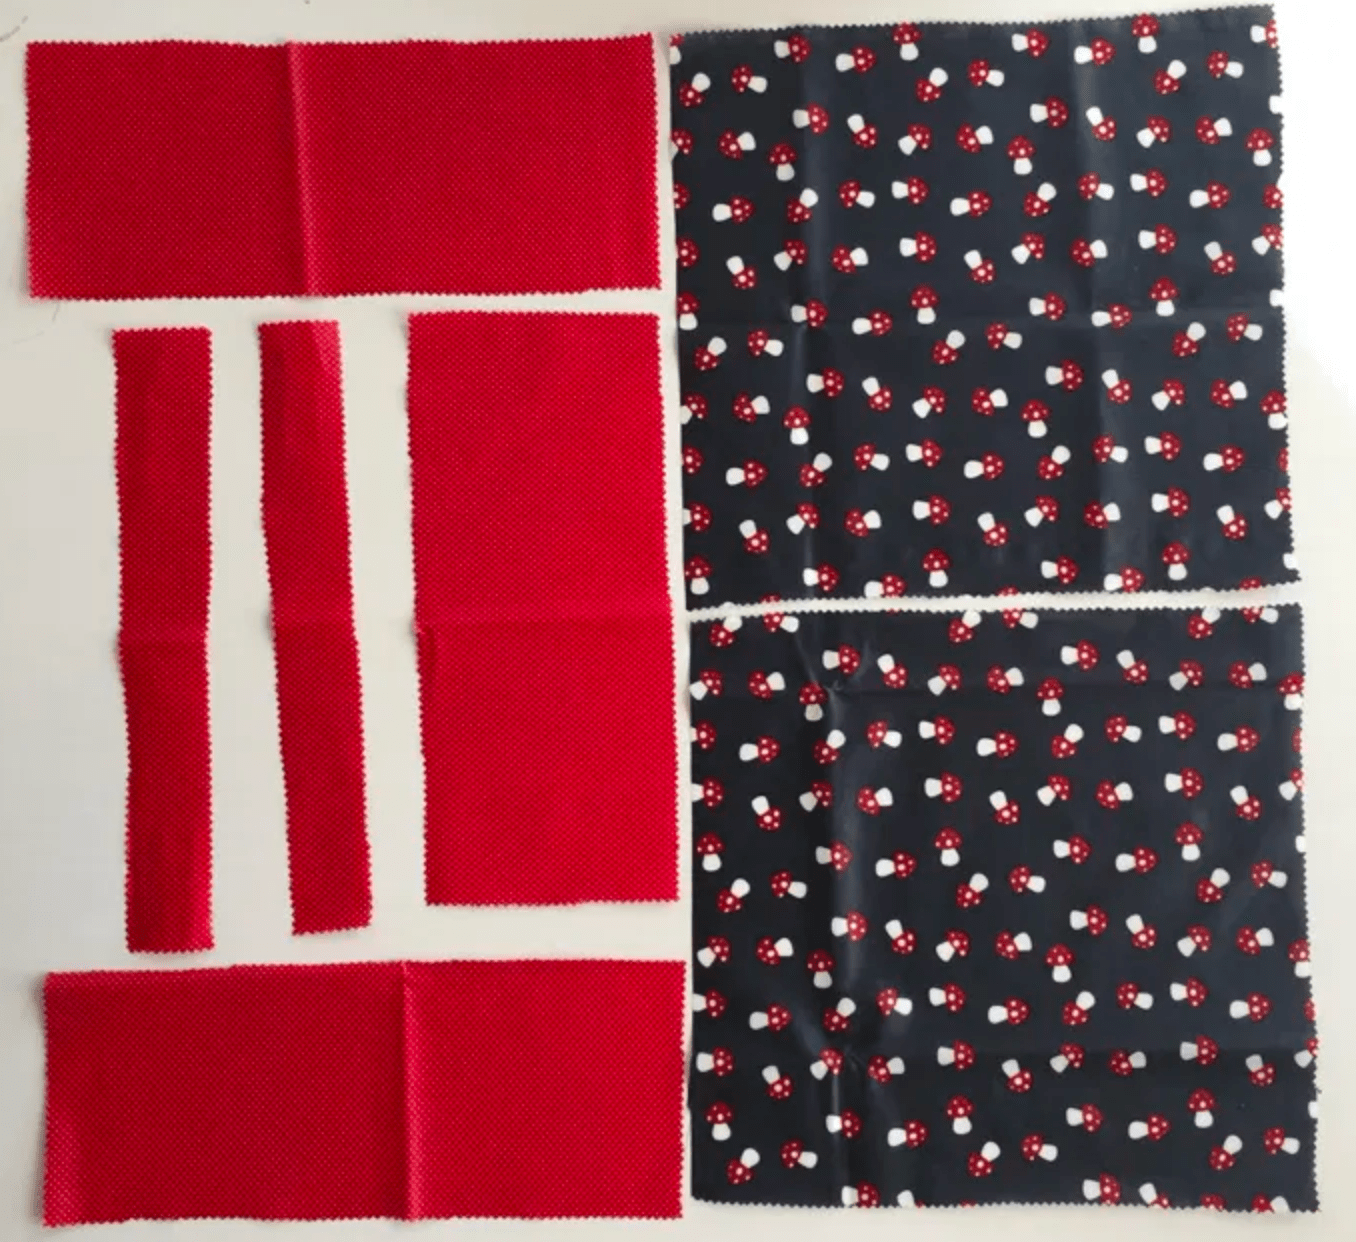
Cut 2 rectangles of 32 X 34 cm for the front and back.
Cut 2 rectangles of 34 X 14 cm for the sides.
Cut 1 rectangle of 32 X 14 cm for the base.
Cut 2 rectangles of 35 X 5 cm for the handles.
Add the seam allowances to all these pieces.
If you want to make a different shape or size, you just have to adjust the above accordingly.
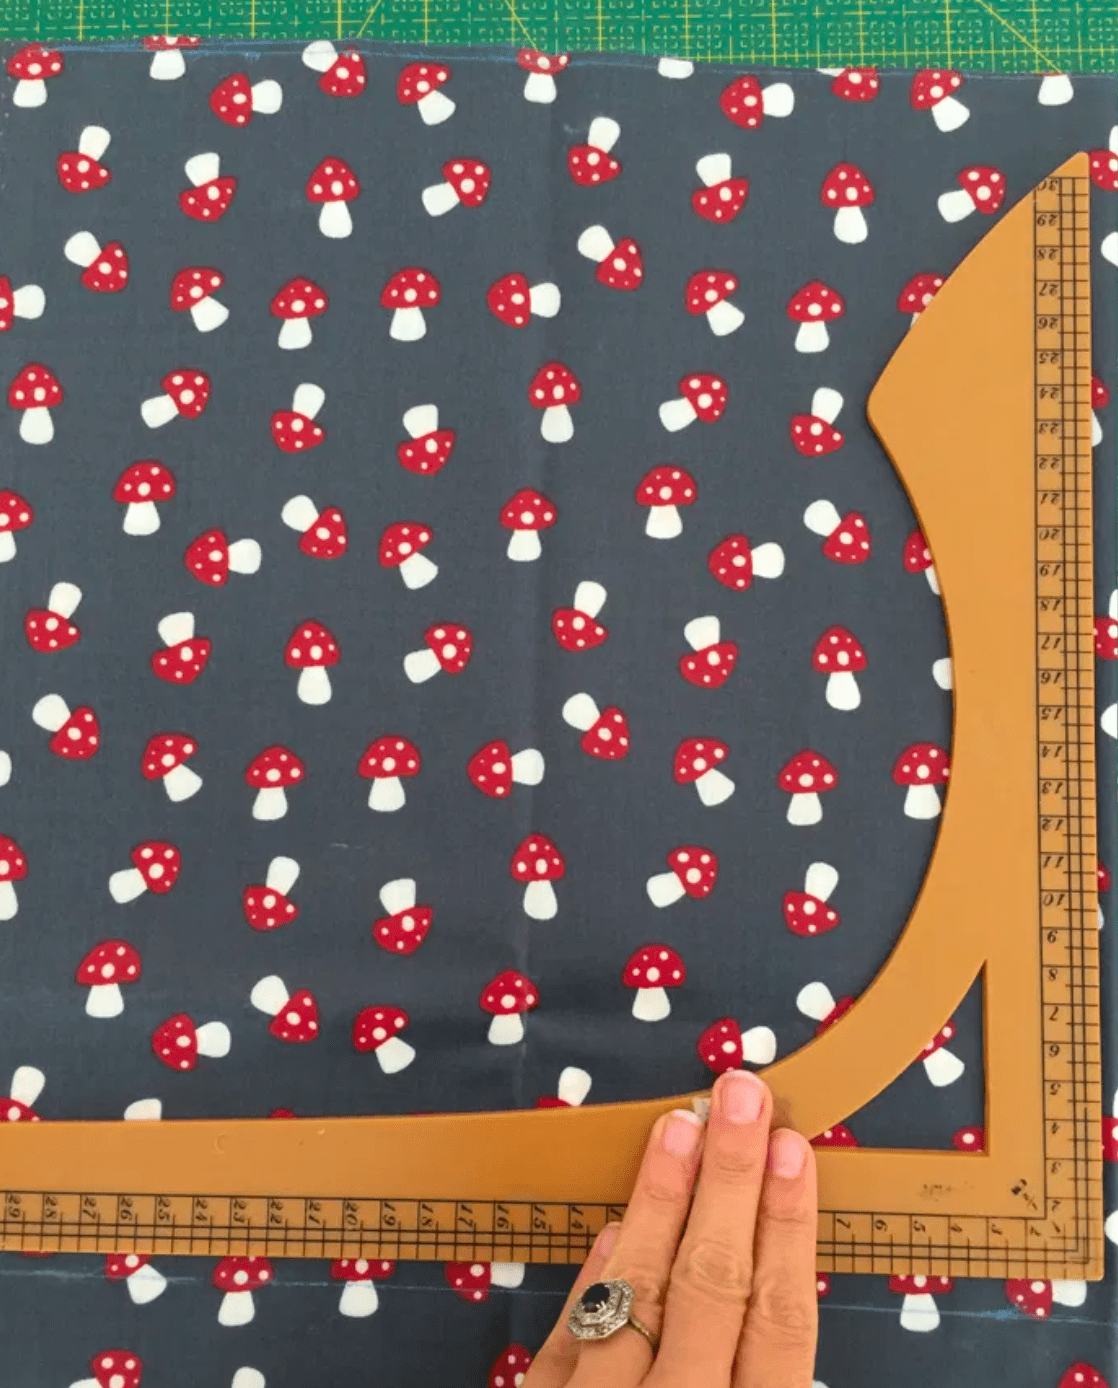
Using 2 different designs of the oil cloth fabric I bought in a fabric market, I cut the pieces easily with my new pinky shears (also bout at the same fabric market)
First, sew the base with the 2 sides. Right side against right side.
You can do the top hem on each piece now, or do it at the end. Up to you.
Just fold down 1 cm the top end and topstitch.
Fold the handles in 3 wrong sides together and top-stitch twice.
Sew the sides and base you sewn together in previous steps, to the back side. Right sides together.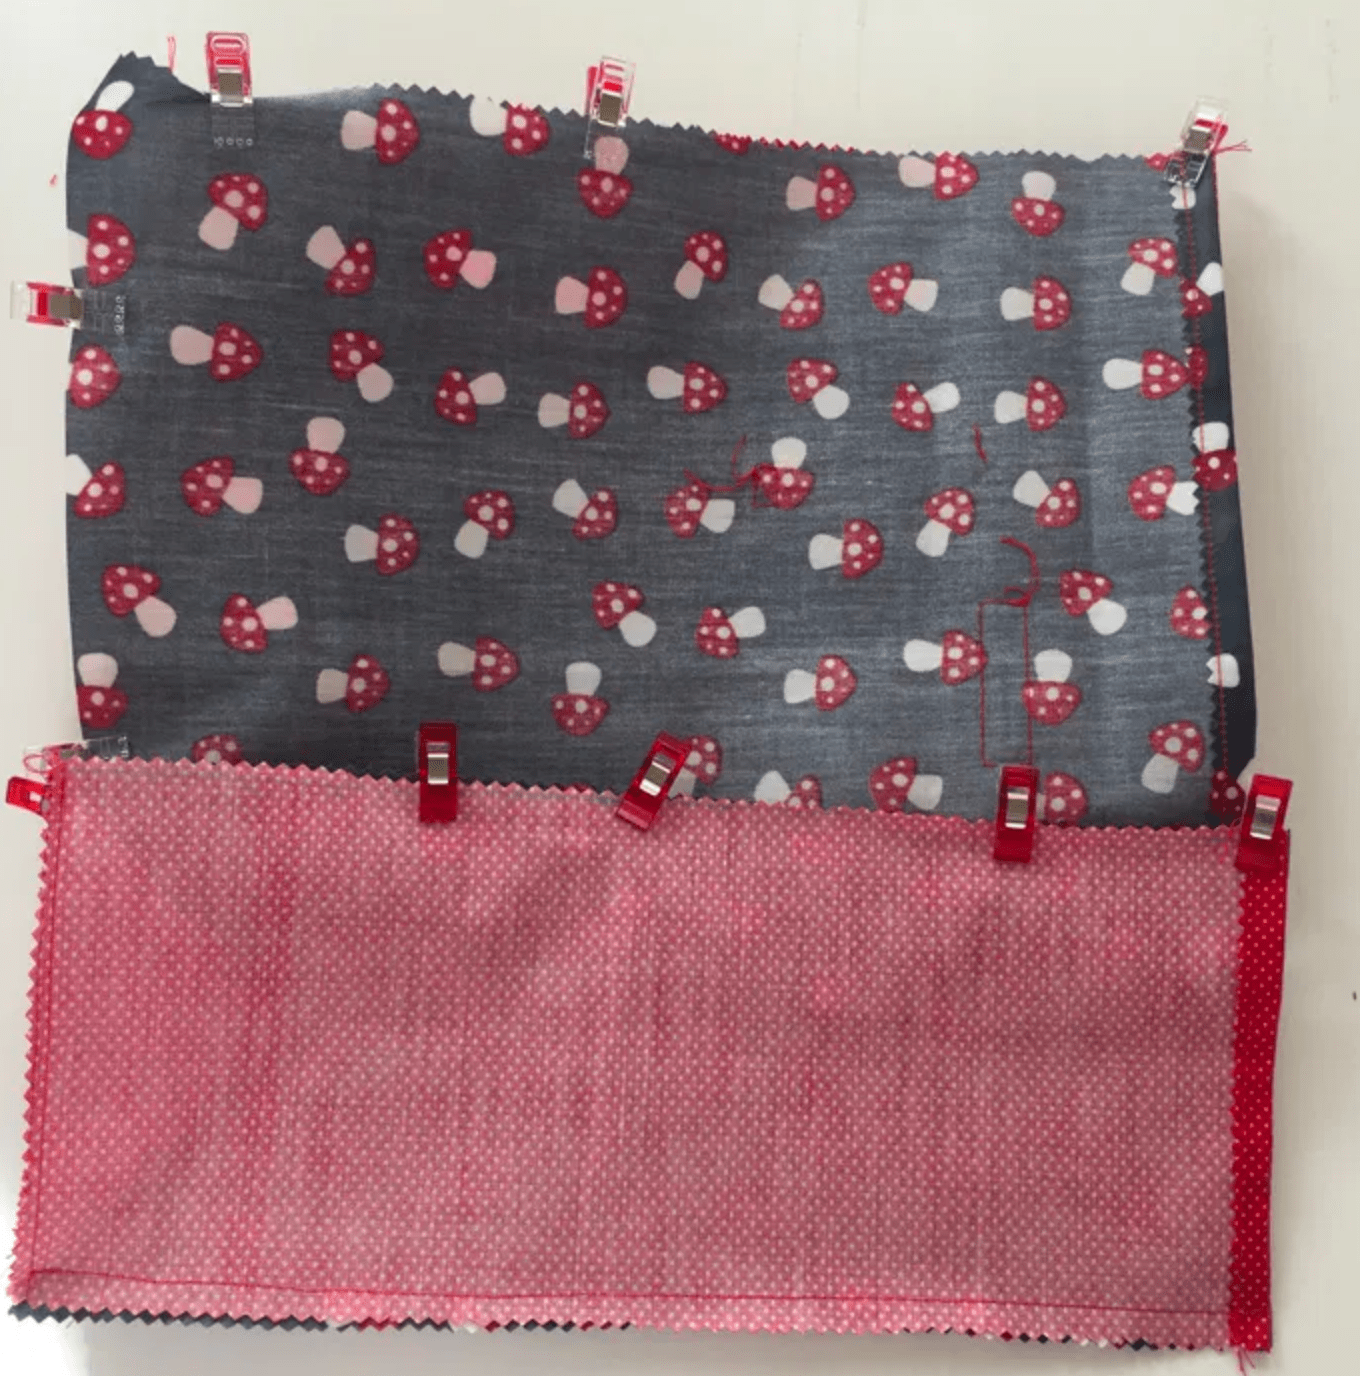

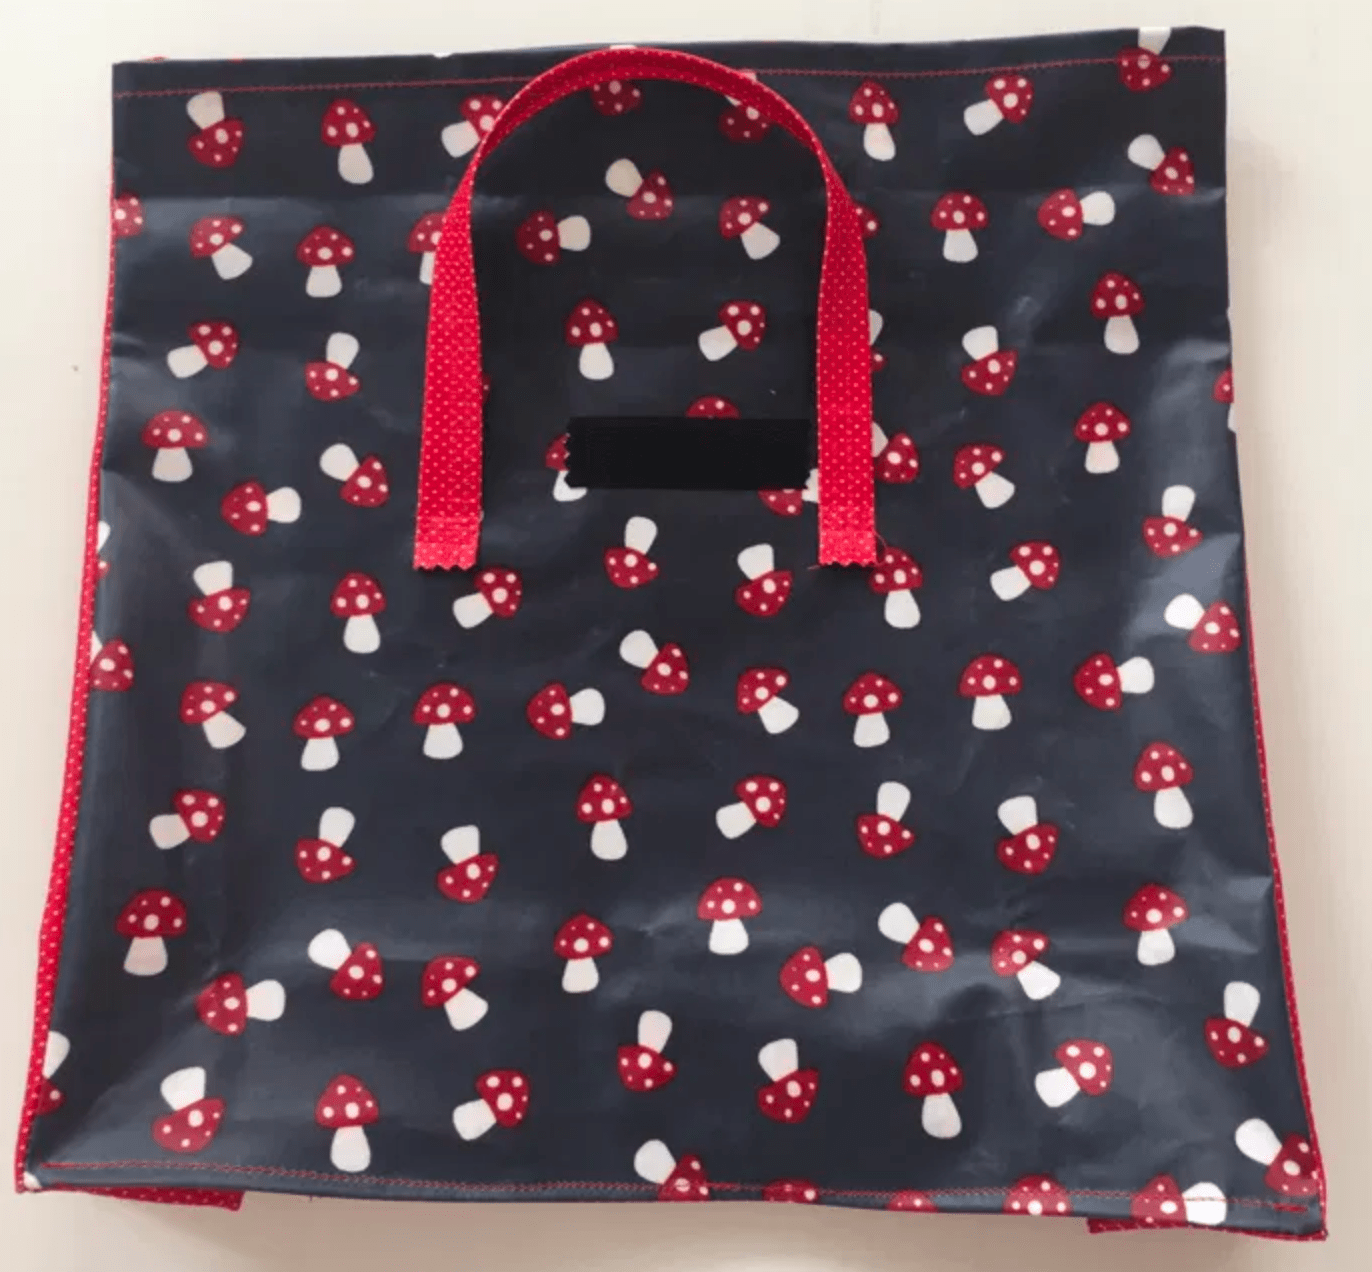
Place the handles on the front and back sides and top-stitch them.
Top-stitch your velcro tape in between the handles. Or just, tape it if it is gluey one.
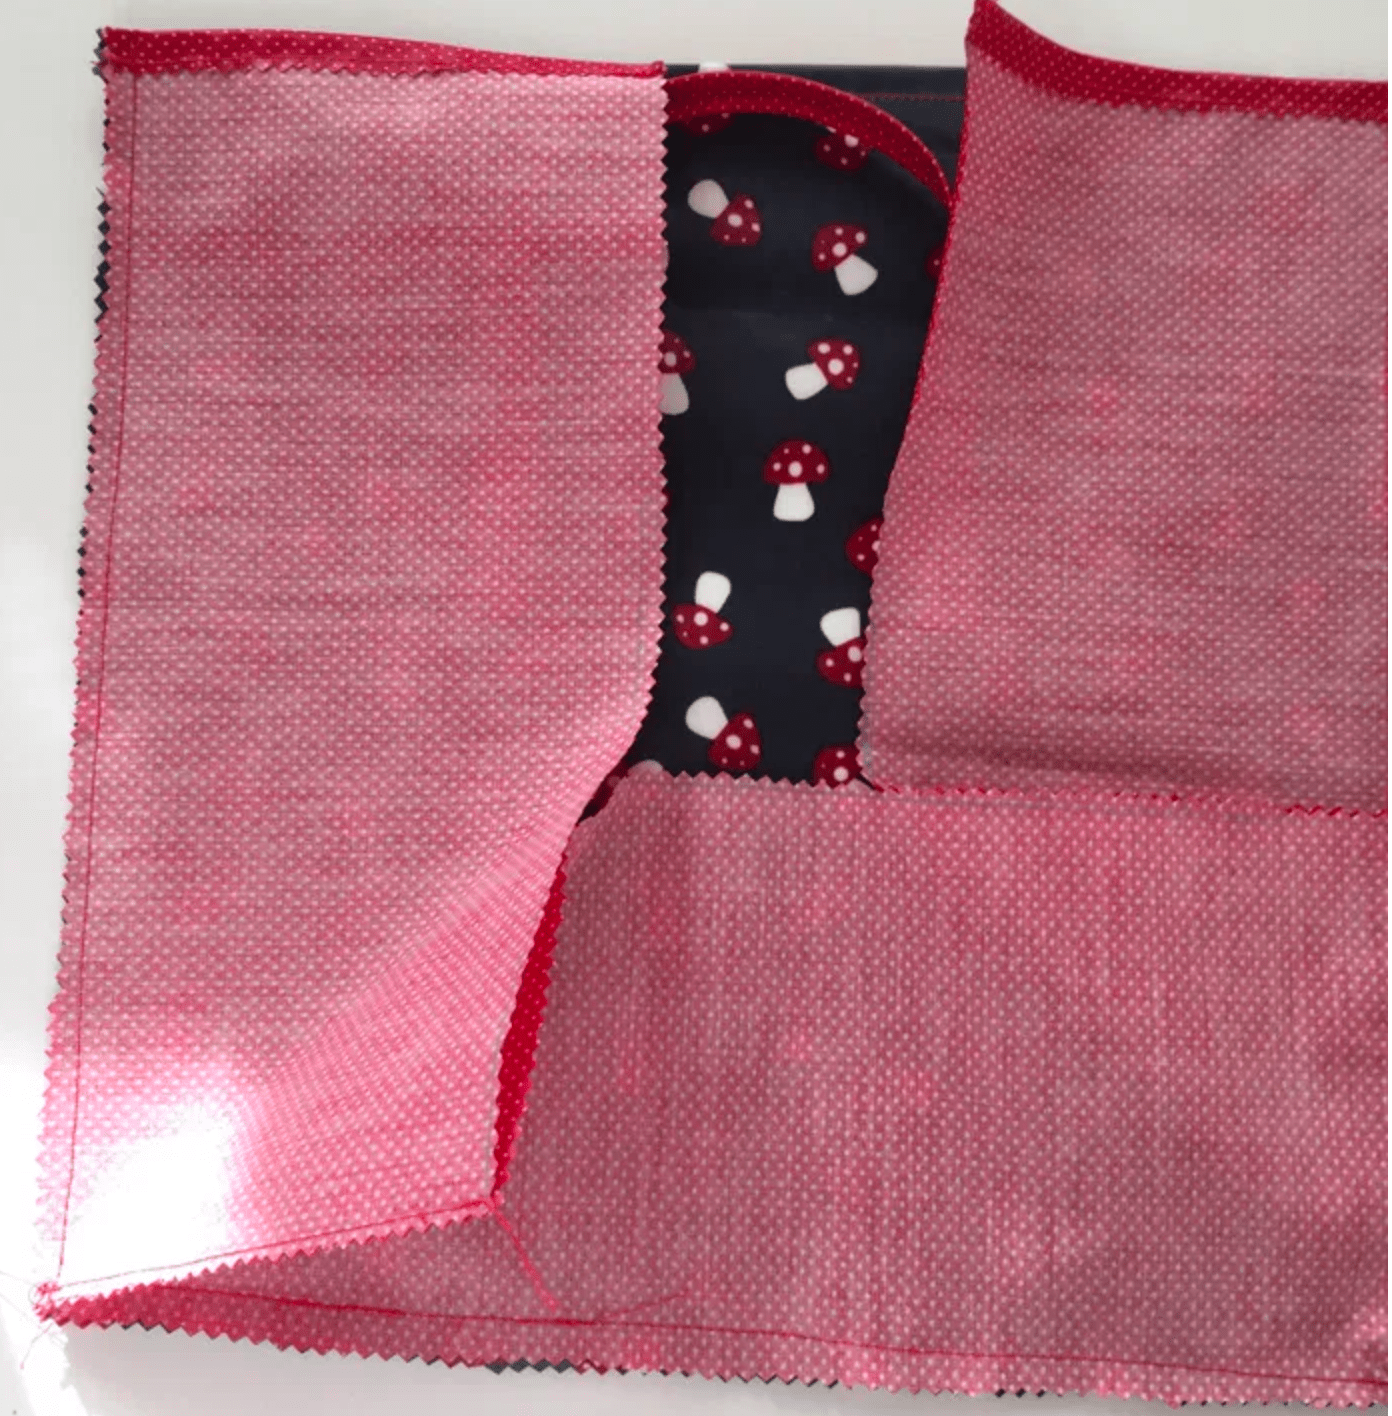
This is how your first premises of Lunch Box Bag will look like.
Now, sew the other side of the base and sides to the back side of the Bag.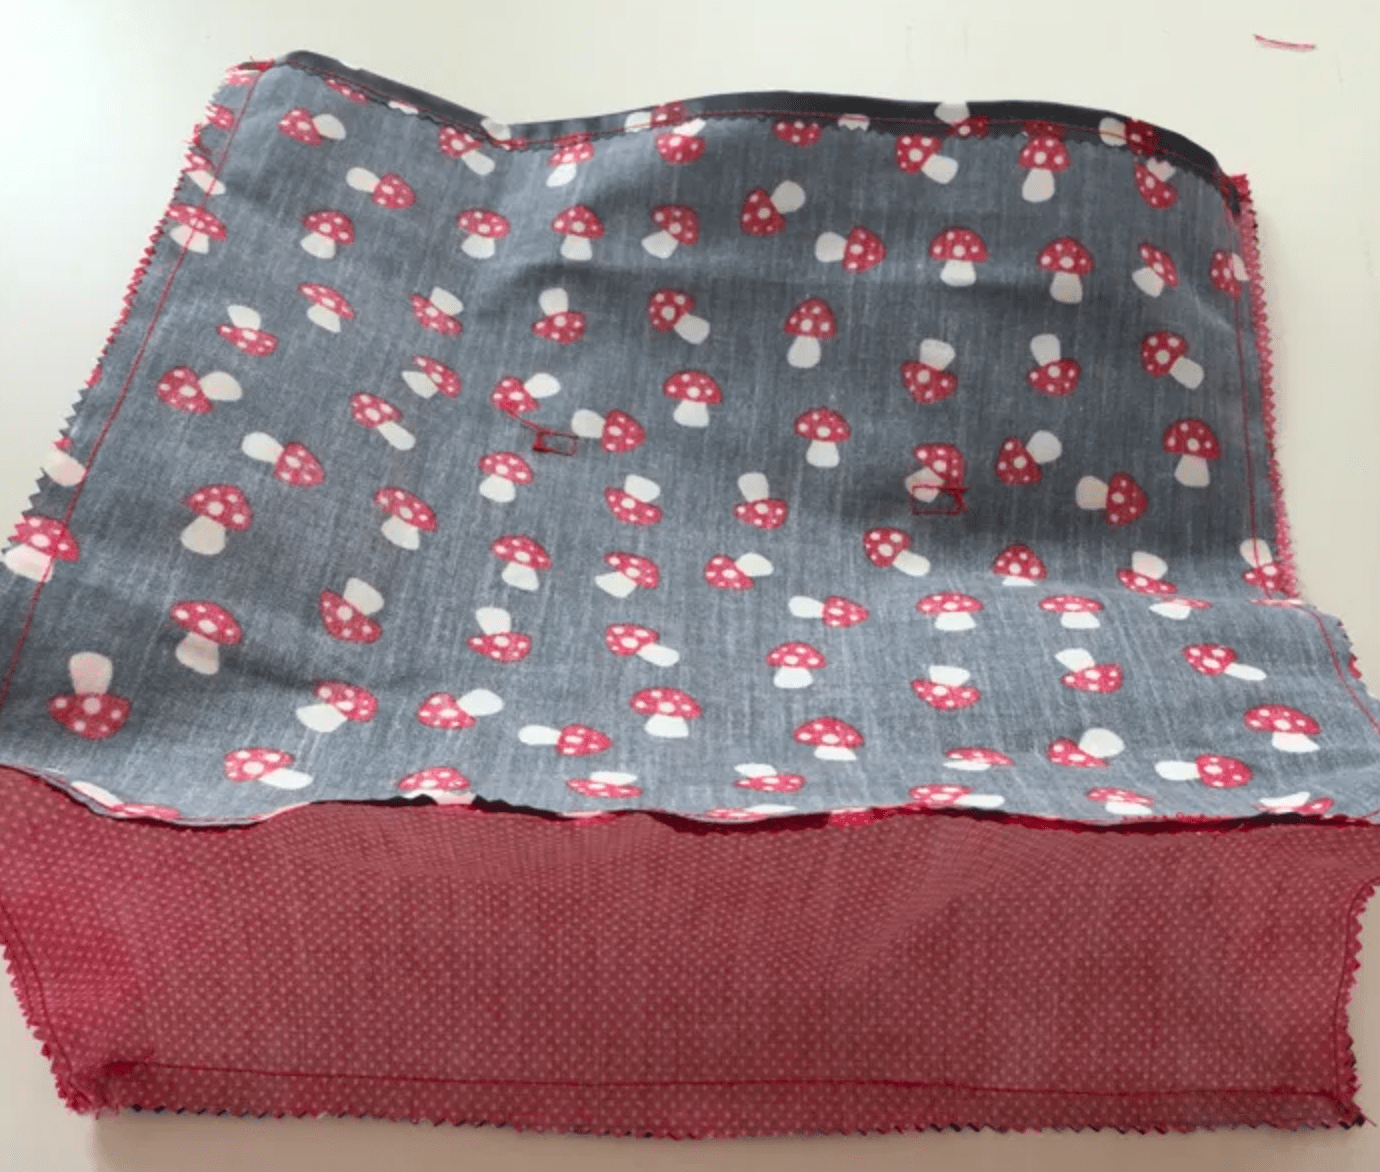
Your bag is now closed and the handles are in. Turn the right side out and…
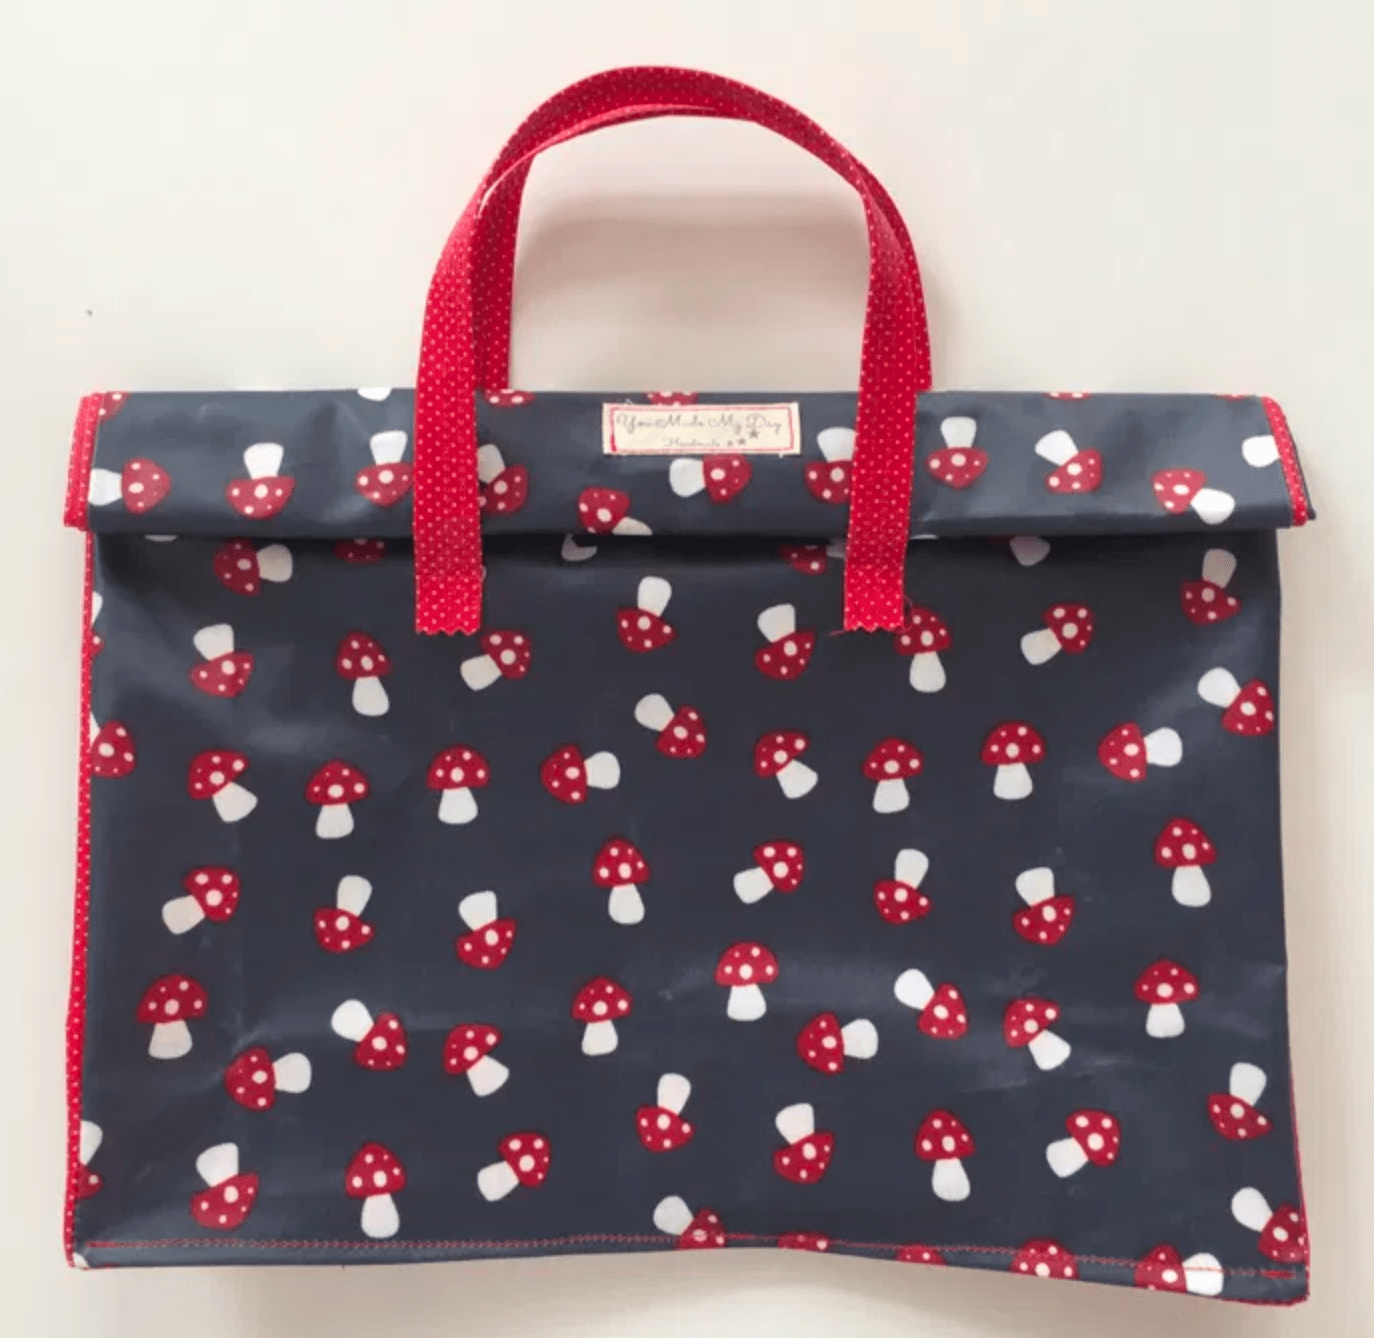
Ta-dah! Your Lunch Box Bag is ready.
Now just fold the sides inside and double fold the top part to close the bag.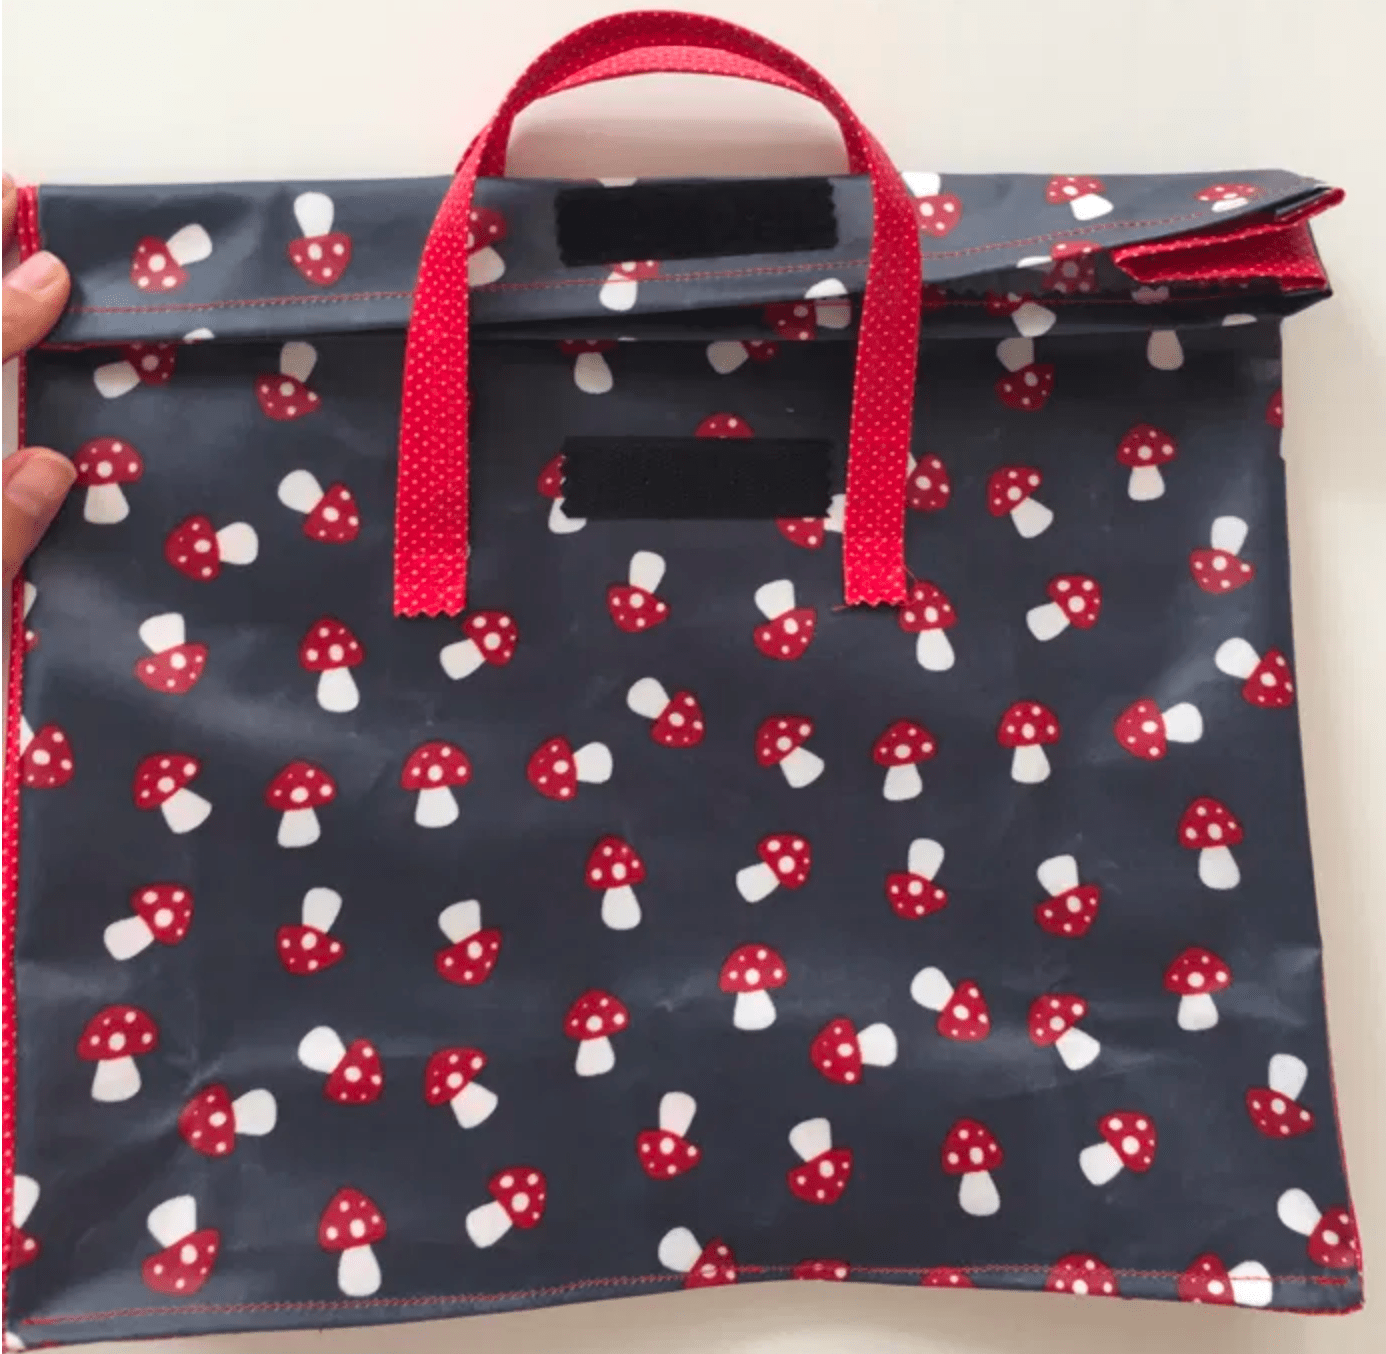
You can stick the other part of your velcro tape in this step if it is a sticky one. So you are sure that both sides of the velcro tape they fall exactly in the right place. (Mine are perfectly unaligned to the center as you can see…)
You can also top stitch the base and sides of your bag if you want it to be more stiff.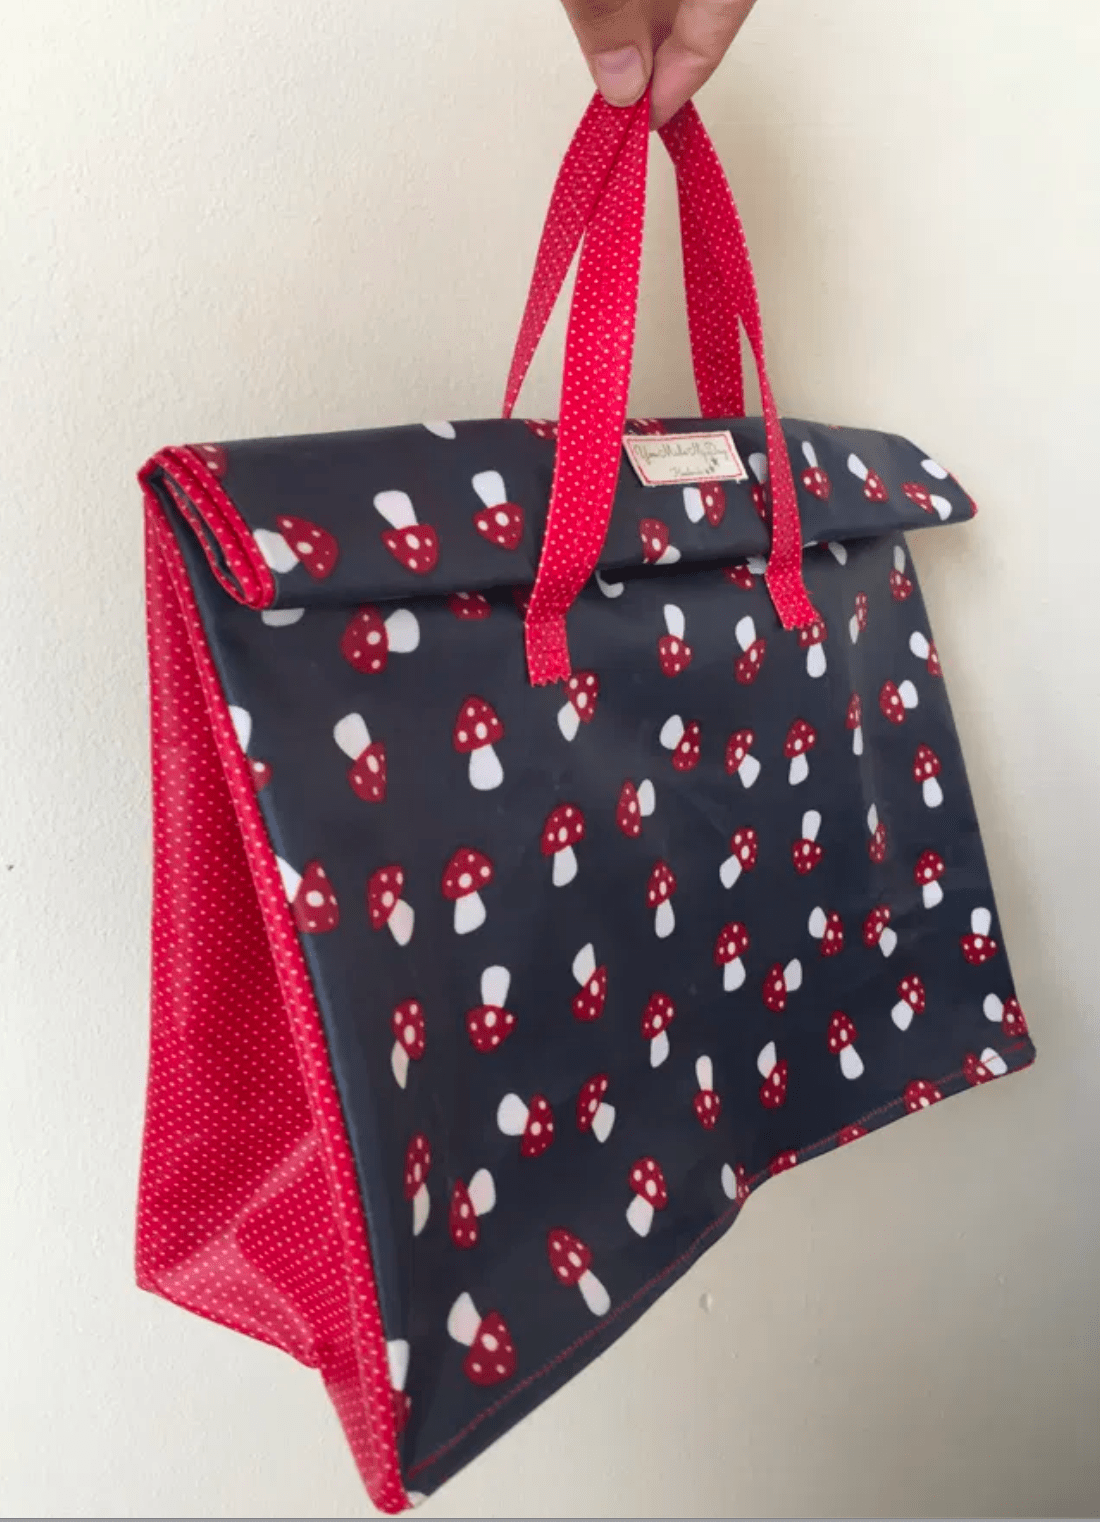
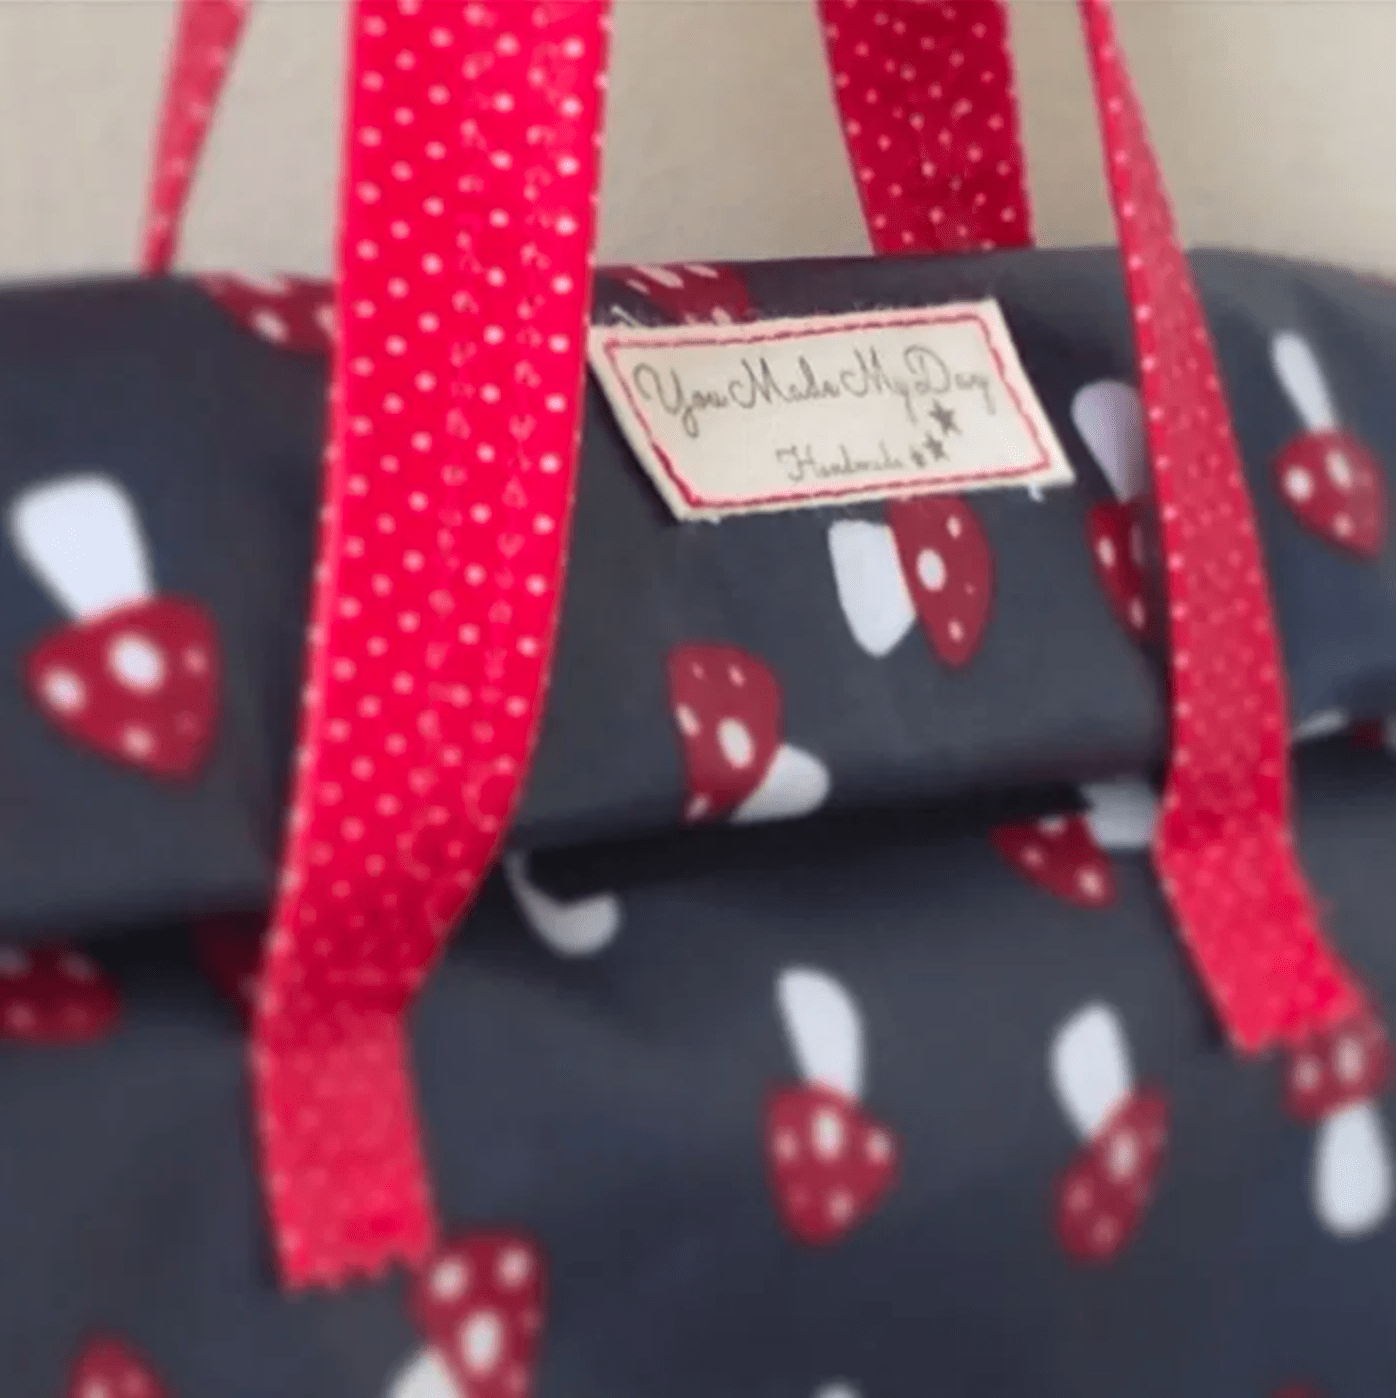
I love the little tag detail…
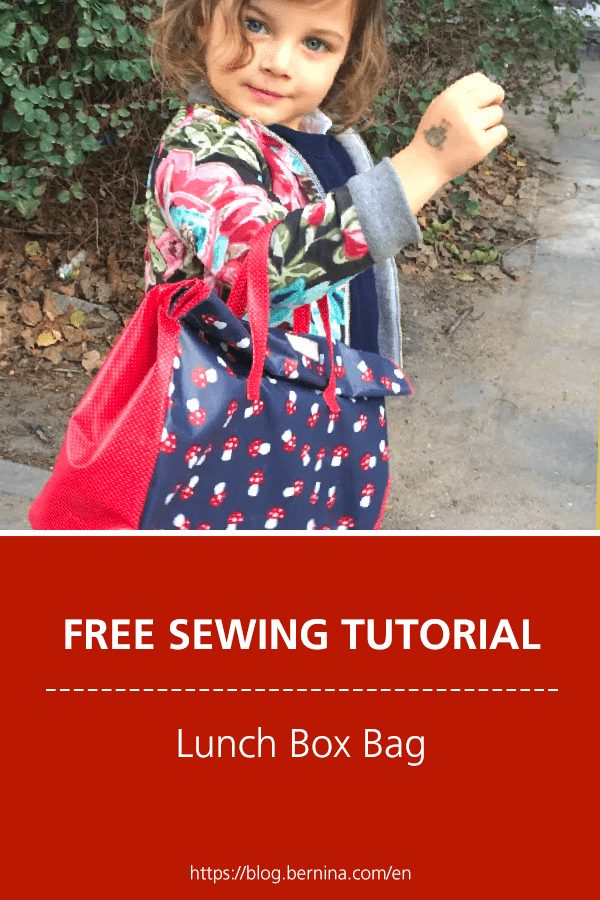
And here is my little princess all proud wearing her unique, cutie, personalized (and very simple to make) Lunch Box Bag.
Pin this image to save this sewing tutorial and pattern for later!
0 Responses