 BERNINA Corporate Blog -
It’s almost time! Two more weeks and then we can start our quilting adventure. Are you feeling excited? I sure am! And after seeing all your finished quilt tops pop up I just can’t wait to start quilting together.
In this blog posts you will find more information about threads, needles and what you can do to get ready for quilting.
Thread weight
For quilting your quilt you can use different thread weights. The weight of a thread is related to the thickness of the thread.
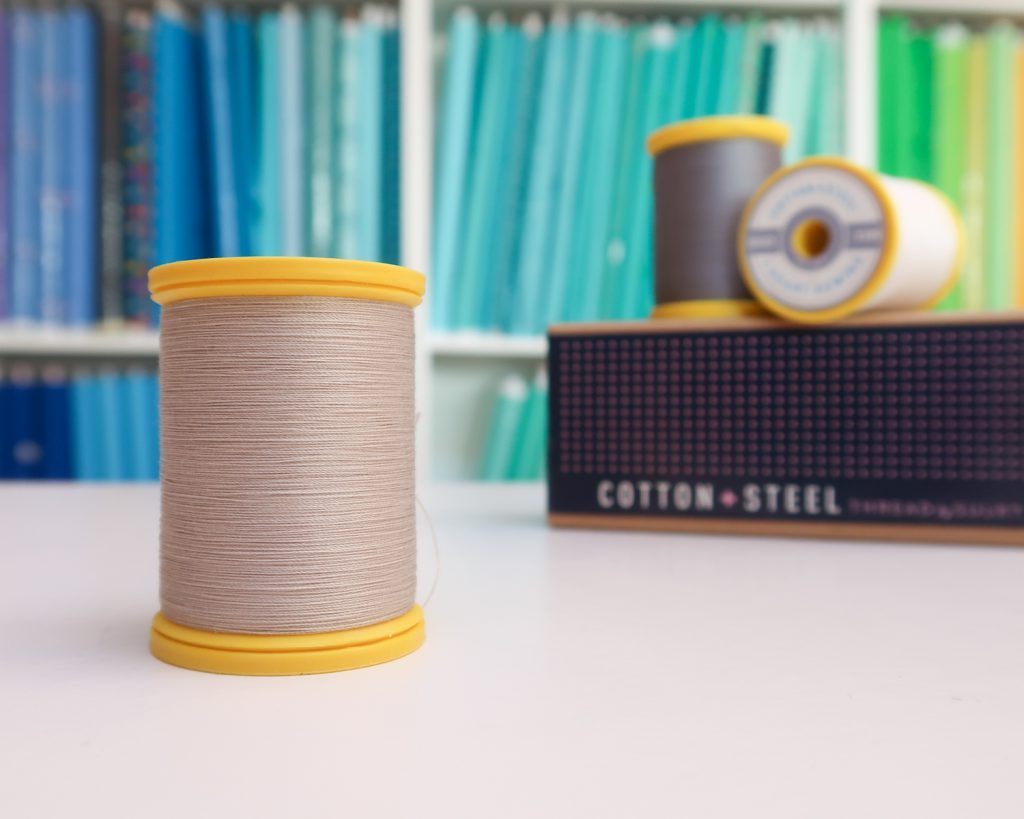
- 50wt is a nice thin thread, perfect for piecing fabric together. You can also use it for quilting, the thread will be laying on your quilt nice and thin. When you use a 50wt in the same color as your background, you will see it blends in nicely with your quilt.
- 40wt is also used for piecing and quilting, it is a tiny bit thicker then 50wt thread.
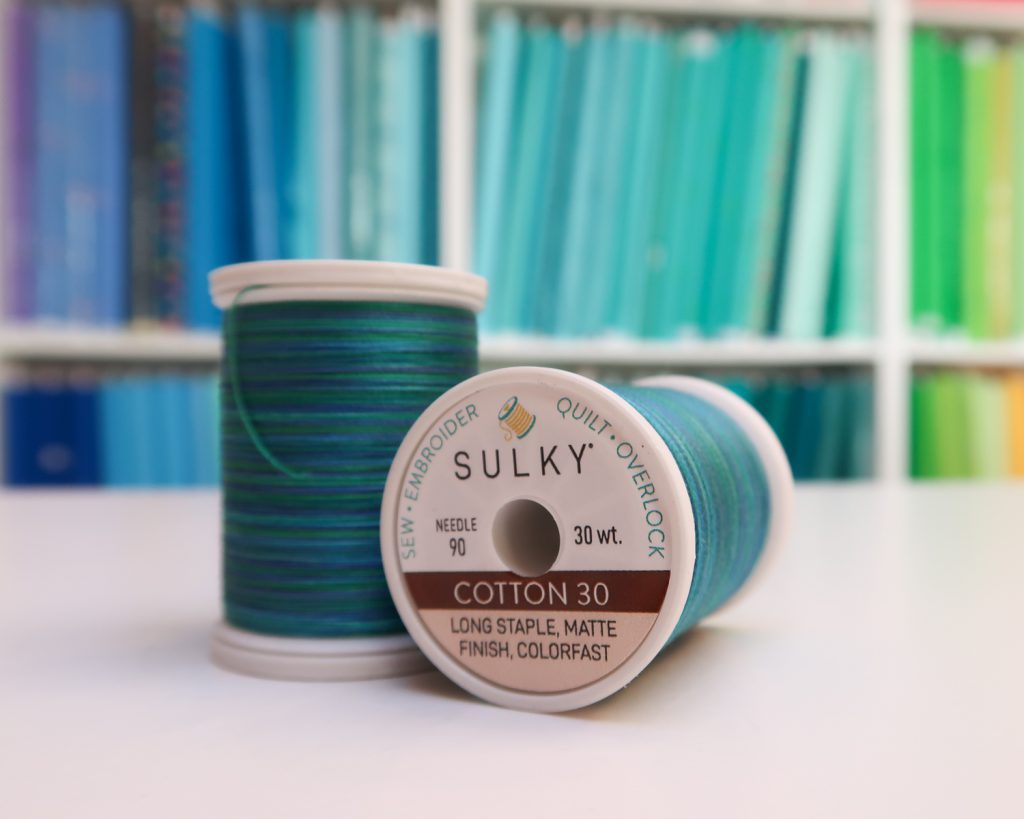
- 30wt is a thicker thread. But you can still use it in your sewing machine. I love how well it shows up on your quilt. It really gives your stitches something extra.
- 12wt is a very thick thread, mostly used for hand quilting
I pieced together my quilt with 50wt and I’m going to quilt my quilt with 30wt thread. I love the extra visibility of my stitches. I will also add some hand stitched details with 12 wt thread in some place.
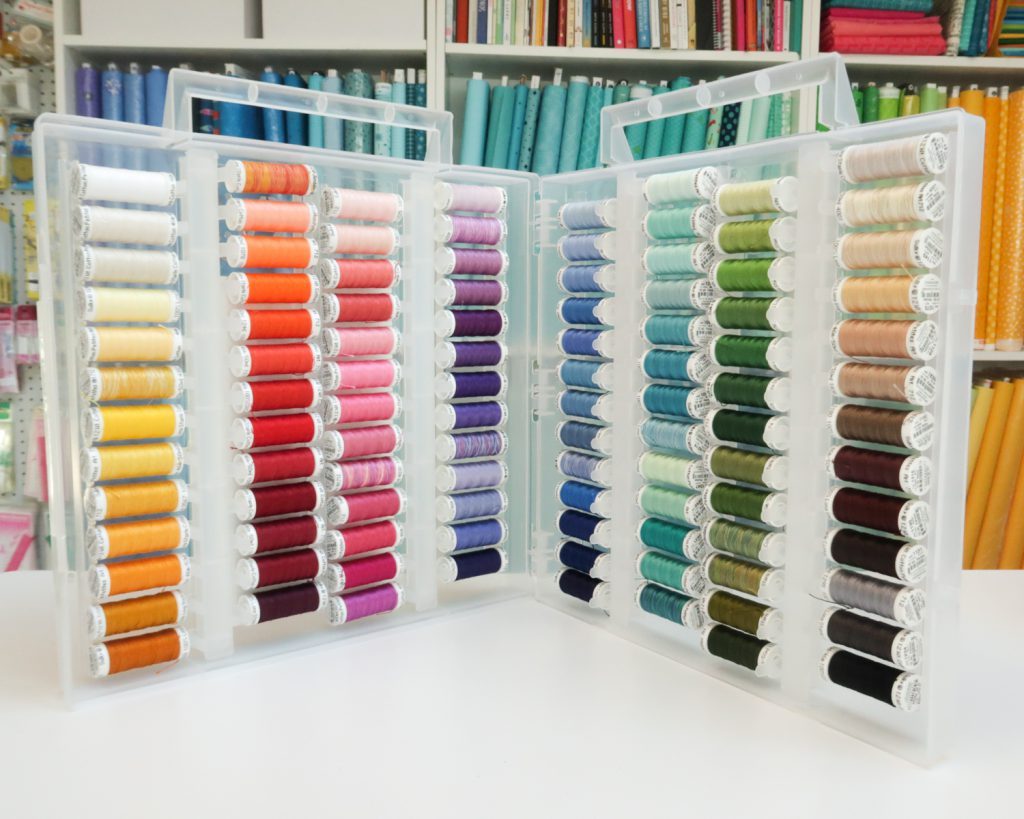
I have a collection of threads for the QAL in my webshop: Sulky One Two Tree Thread Collection
In my bobbin I always have a 50wt thread in a color that matches my backing fabric.
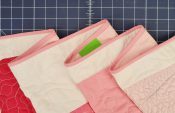
Please note. In the swatch below I stitched with 12wt thread on my machine. This is possible (And I LOVE the look) but not all machines will be happy with this. Watch this video if you want to learn more.

Thread color
There are many options for thread color on your quilt. Let’s discuss a few for this quilt along:
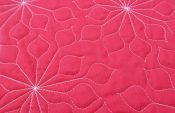
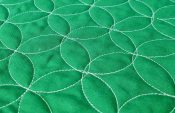
- Variegated thread. You could use a green/blue variegated thread when you’re making the green/teal version of the quilt The your thread will add some color to your background and will match all your trees perfectly. If you’ve made the orange/pink quilt you could use a orange/pink thread.
- Thread in background color. When you select a thread in the color of your background fabric it will beautifully show off all the quilting patterns we will make in the trees. For example: when you made the rainbow on off white quilt top. You can then use an off white 30wt of 50wt thread which will nicely contrast with the colorful trees.
- Matching thread. You can also match the thread to your fabric in all places. So you could take a thread color to quilt the background of your quilt. And then take either a variegated thread for your trees, or use a matching thread for each of your trees to blend in your quilting.
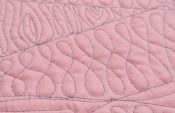
Matching your thread to the color of the fabric will make your quilting really blend in. Only the texture will be left and little mistakes will be less visible.
On the other hand, using a contrasting thread will make it very visible what you’re doing. That will really show off all the pretty quilting patterns you’ll be making. And it will make it easier to see your work while you’re quilting.
My thread choice
In my videos you will see me using contrasting threads, so you can see more clearly what I’m doing. When I’m quilting off camera I often go for a variegated thread (those color changes in a thread are just magical to me) or a off white or light grey thread that will go well with all the fabrics in the quilt.
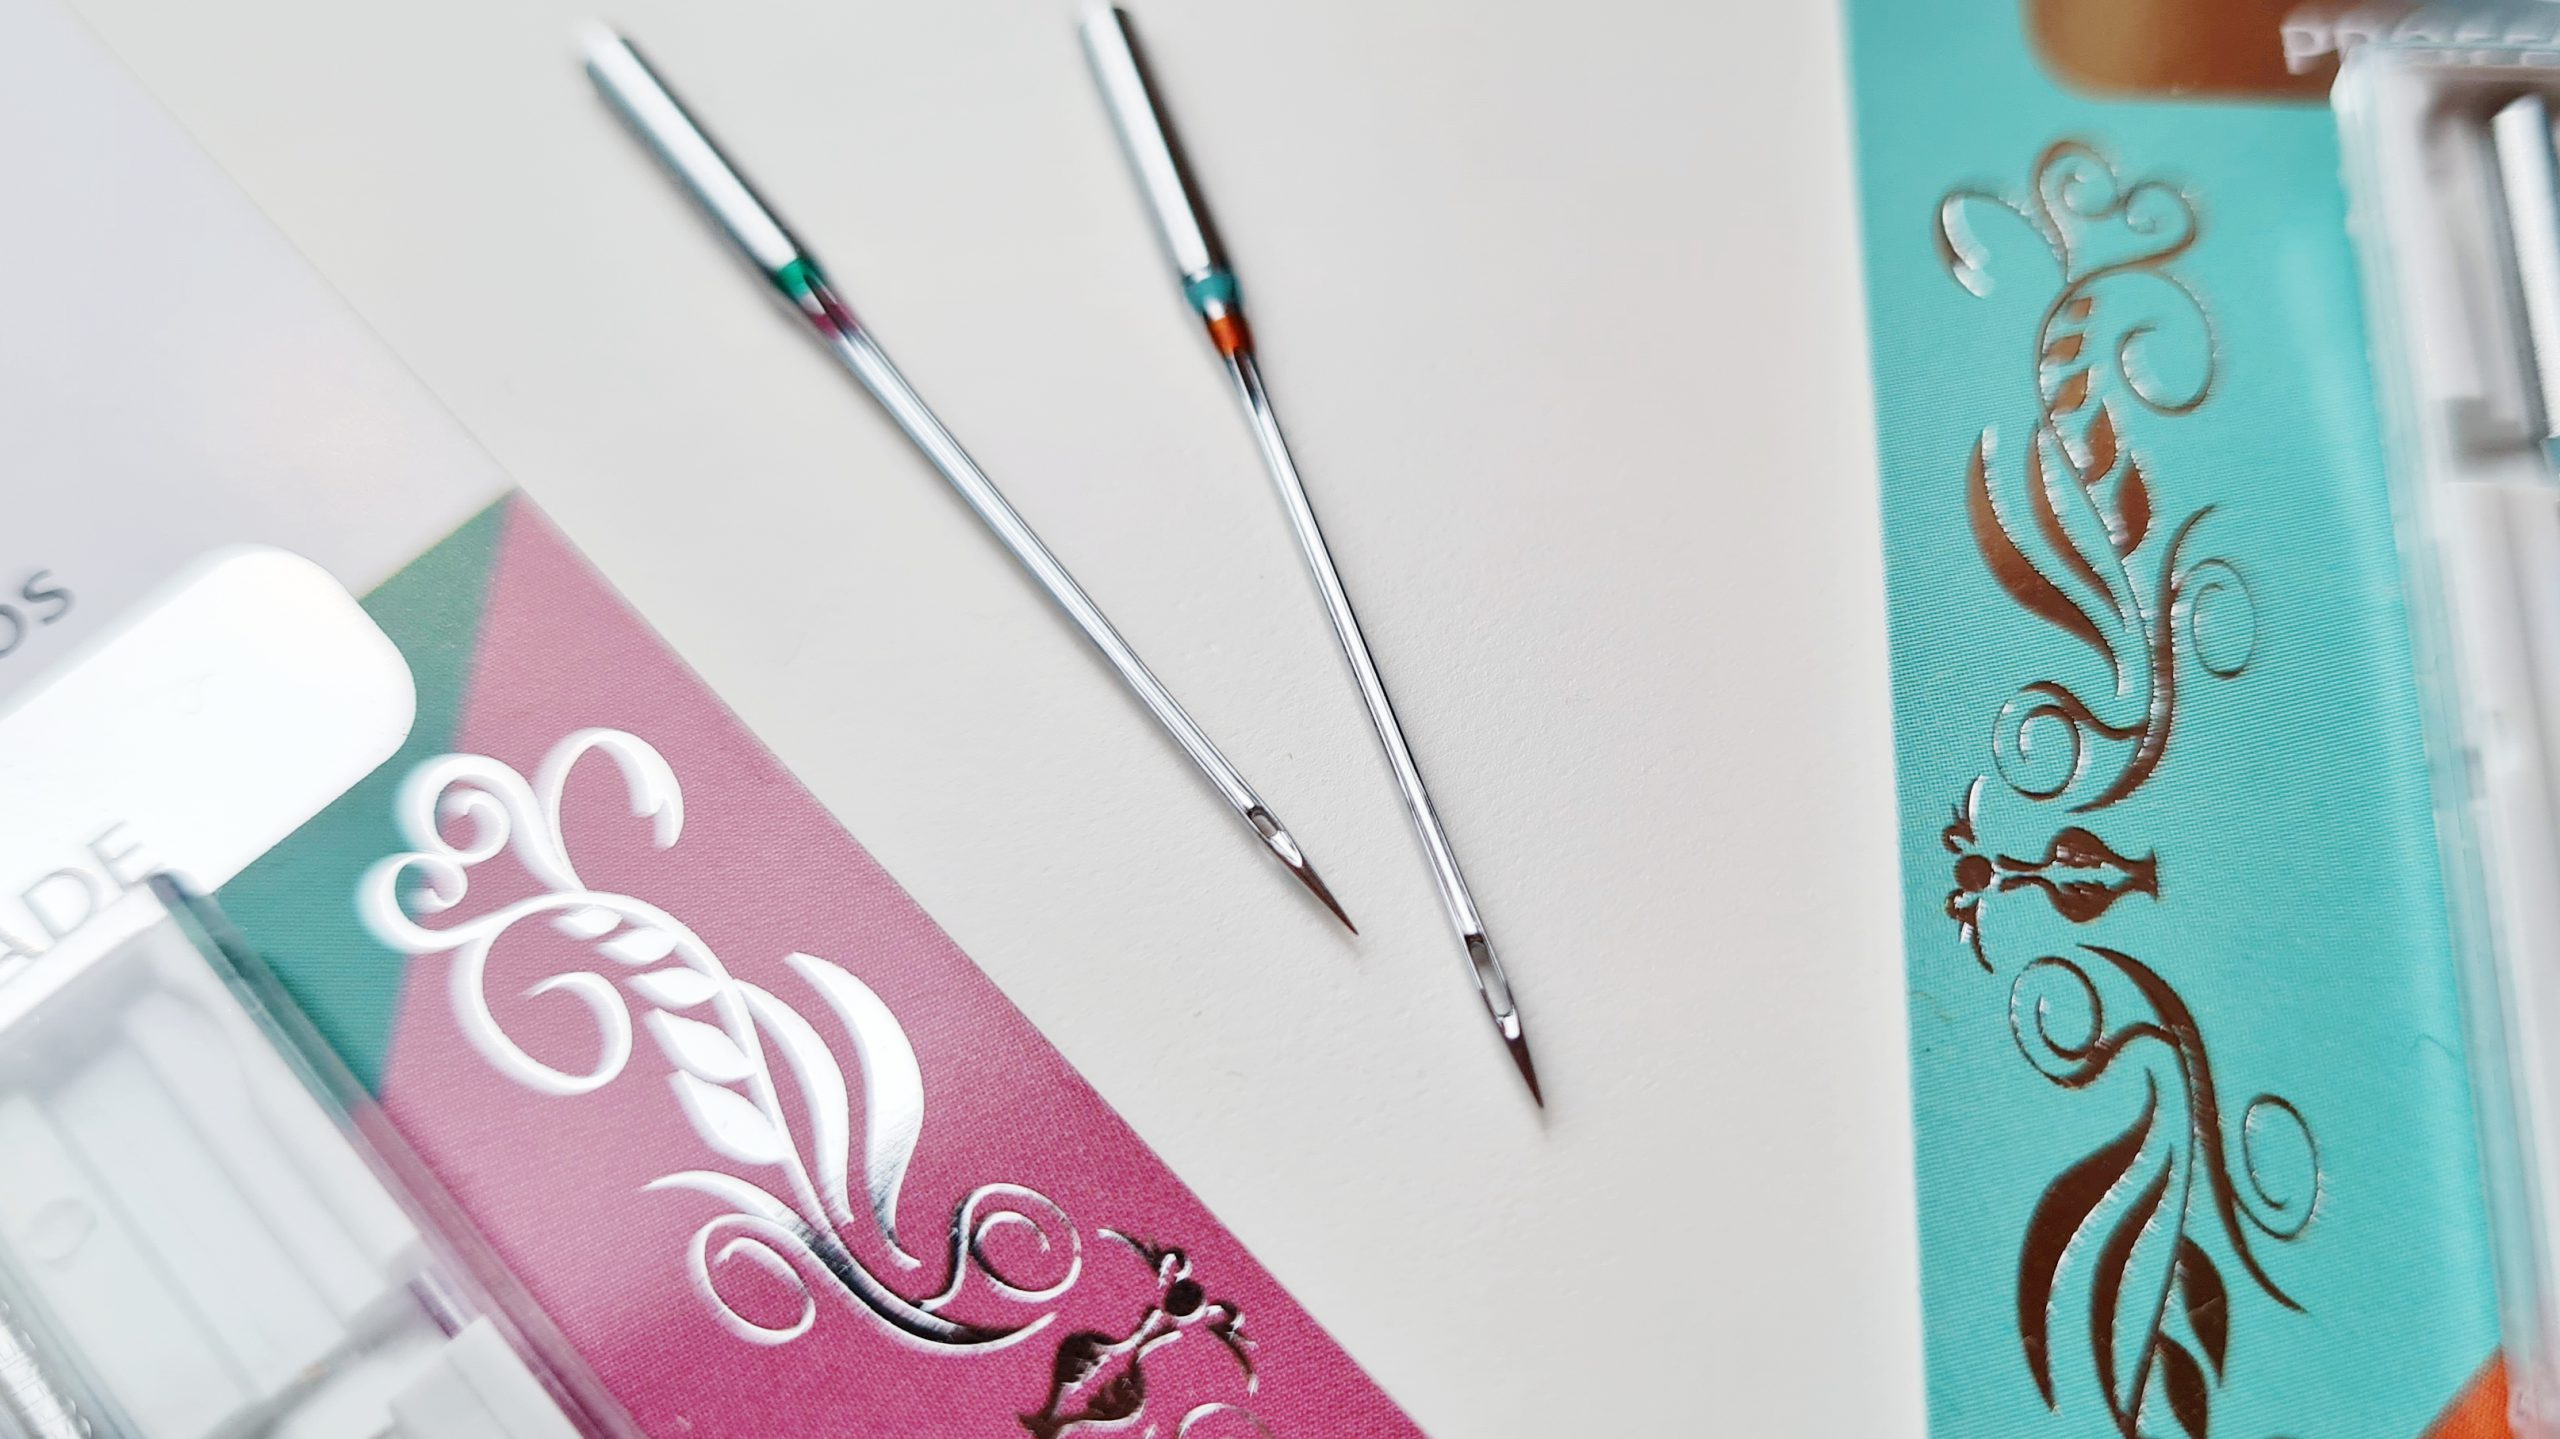
Needles
You will need to adjust the size of your needle to the thread you’re using. I would recommend using a top stitch needle, or quilting needle for machine quilting.
In this video I’m talking about the different needles.
Here are the thread/needle combinations I work with.
50wt thread: 75/11 or 80/12
40wt thread: 80/14 or 90/14
30wt thread: 90/14 or 100/16
12wt thread: 90/14 or 100/16
Getting ready to quilt
Now you know a little bit more about threads and needles, you can get yourself ready to start quilting. Here are some things to keep in mind.
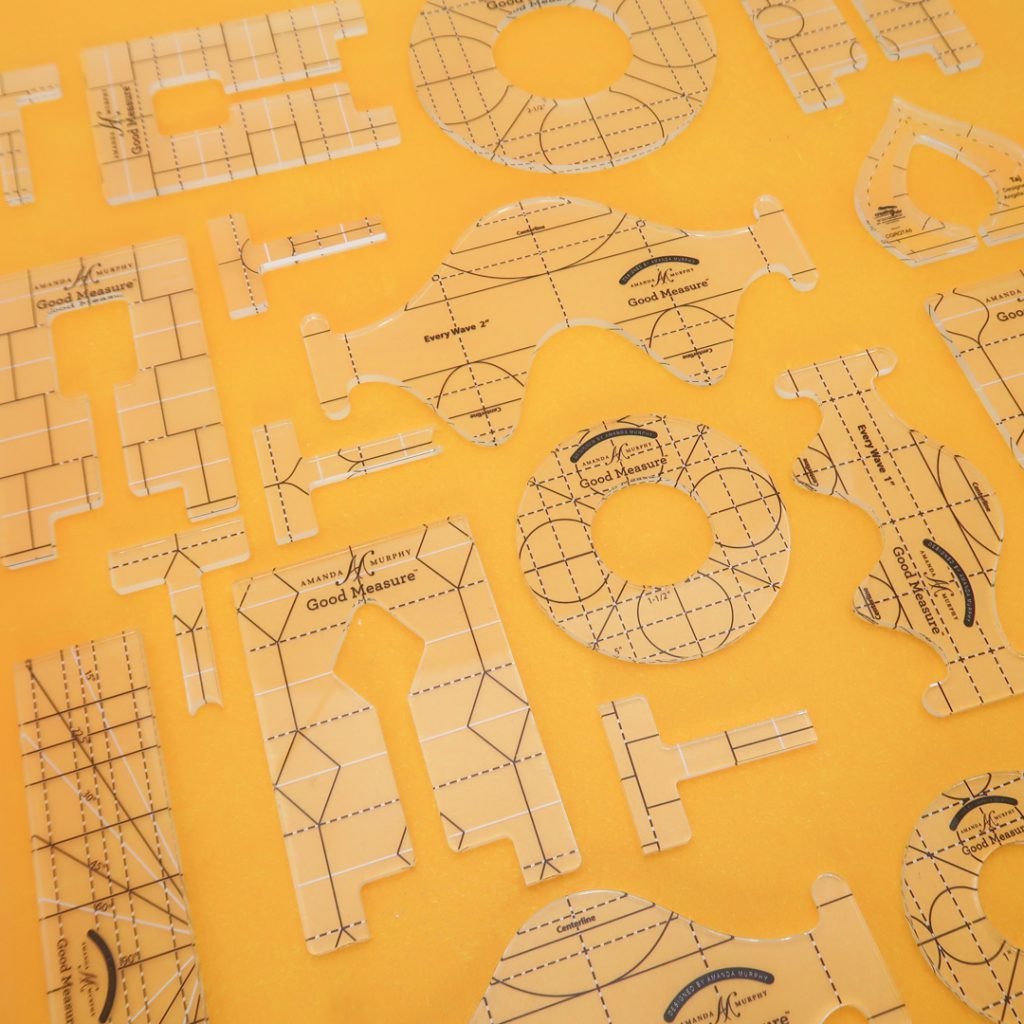
Rulers + Ruler foot
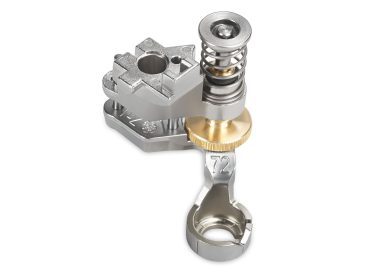
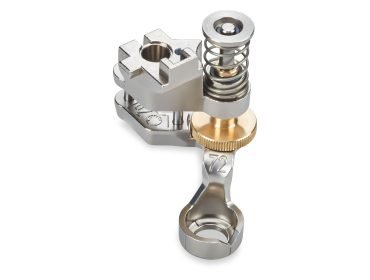
When you’re quilting with rulers, it is very important to have a ruler foot for your machine. On most BERNINA sewing machines you can use the Adjustable Ruler Foot # 72 or the Adjustable Ruler Foot with Slit #72S. On other sewing machines you could use a high shank or low shank ruler foot that are available in the Sugaridoo webshop.
I made a video to measure on your machine if you need a high or low shank ruler foot. And then you also know if you need high or low shank rulers.
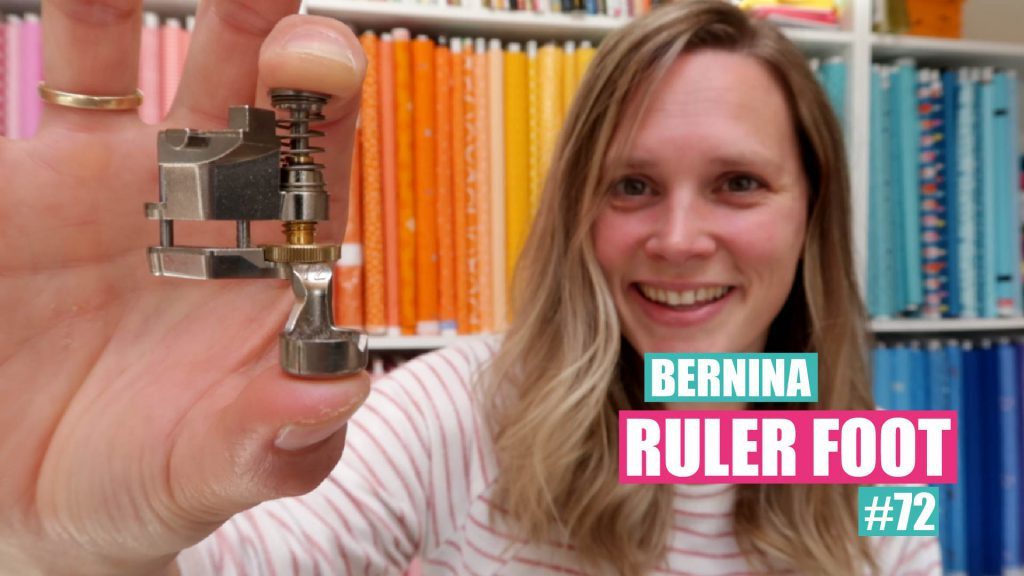
Watch my video on the #72 and #72S ruler foot
The rulers that we will use in this QAL are available as a kit, or separately. In this blog post you can read more about what we will be doing with each rulers in case you would like to start with just one or two rulers first.
Working surface
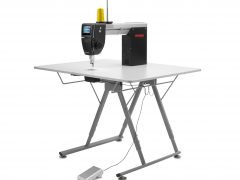
For quilting it is really nice to have a large surface around your machine. Most sewing machines come with a slide on table. For some machines there are even special tables, like for the BERNINA Q 16 I use the Foldable Table with Adjustable Height.
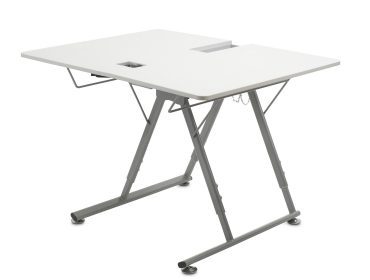
But what if you are working on an old machine and don’t have a big surface around your stitch plate? Well. I did a little experiment. It’s kind of a silly experiment maybe. Just to see if I could make something that would make quilting easier on a very very old machine.
[hier komt nog een video]
On this old machine I free motioned a large quilt when I just started quilting. Was is perfect? No, definitely not. Would this have been easier on my BERNINA 770? Yes, for sure! But just starting with the machine I had then, did help me to practice and to learn to quilt. And it did work to finish a, much loved, quilt I made for my mom.
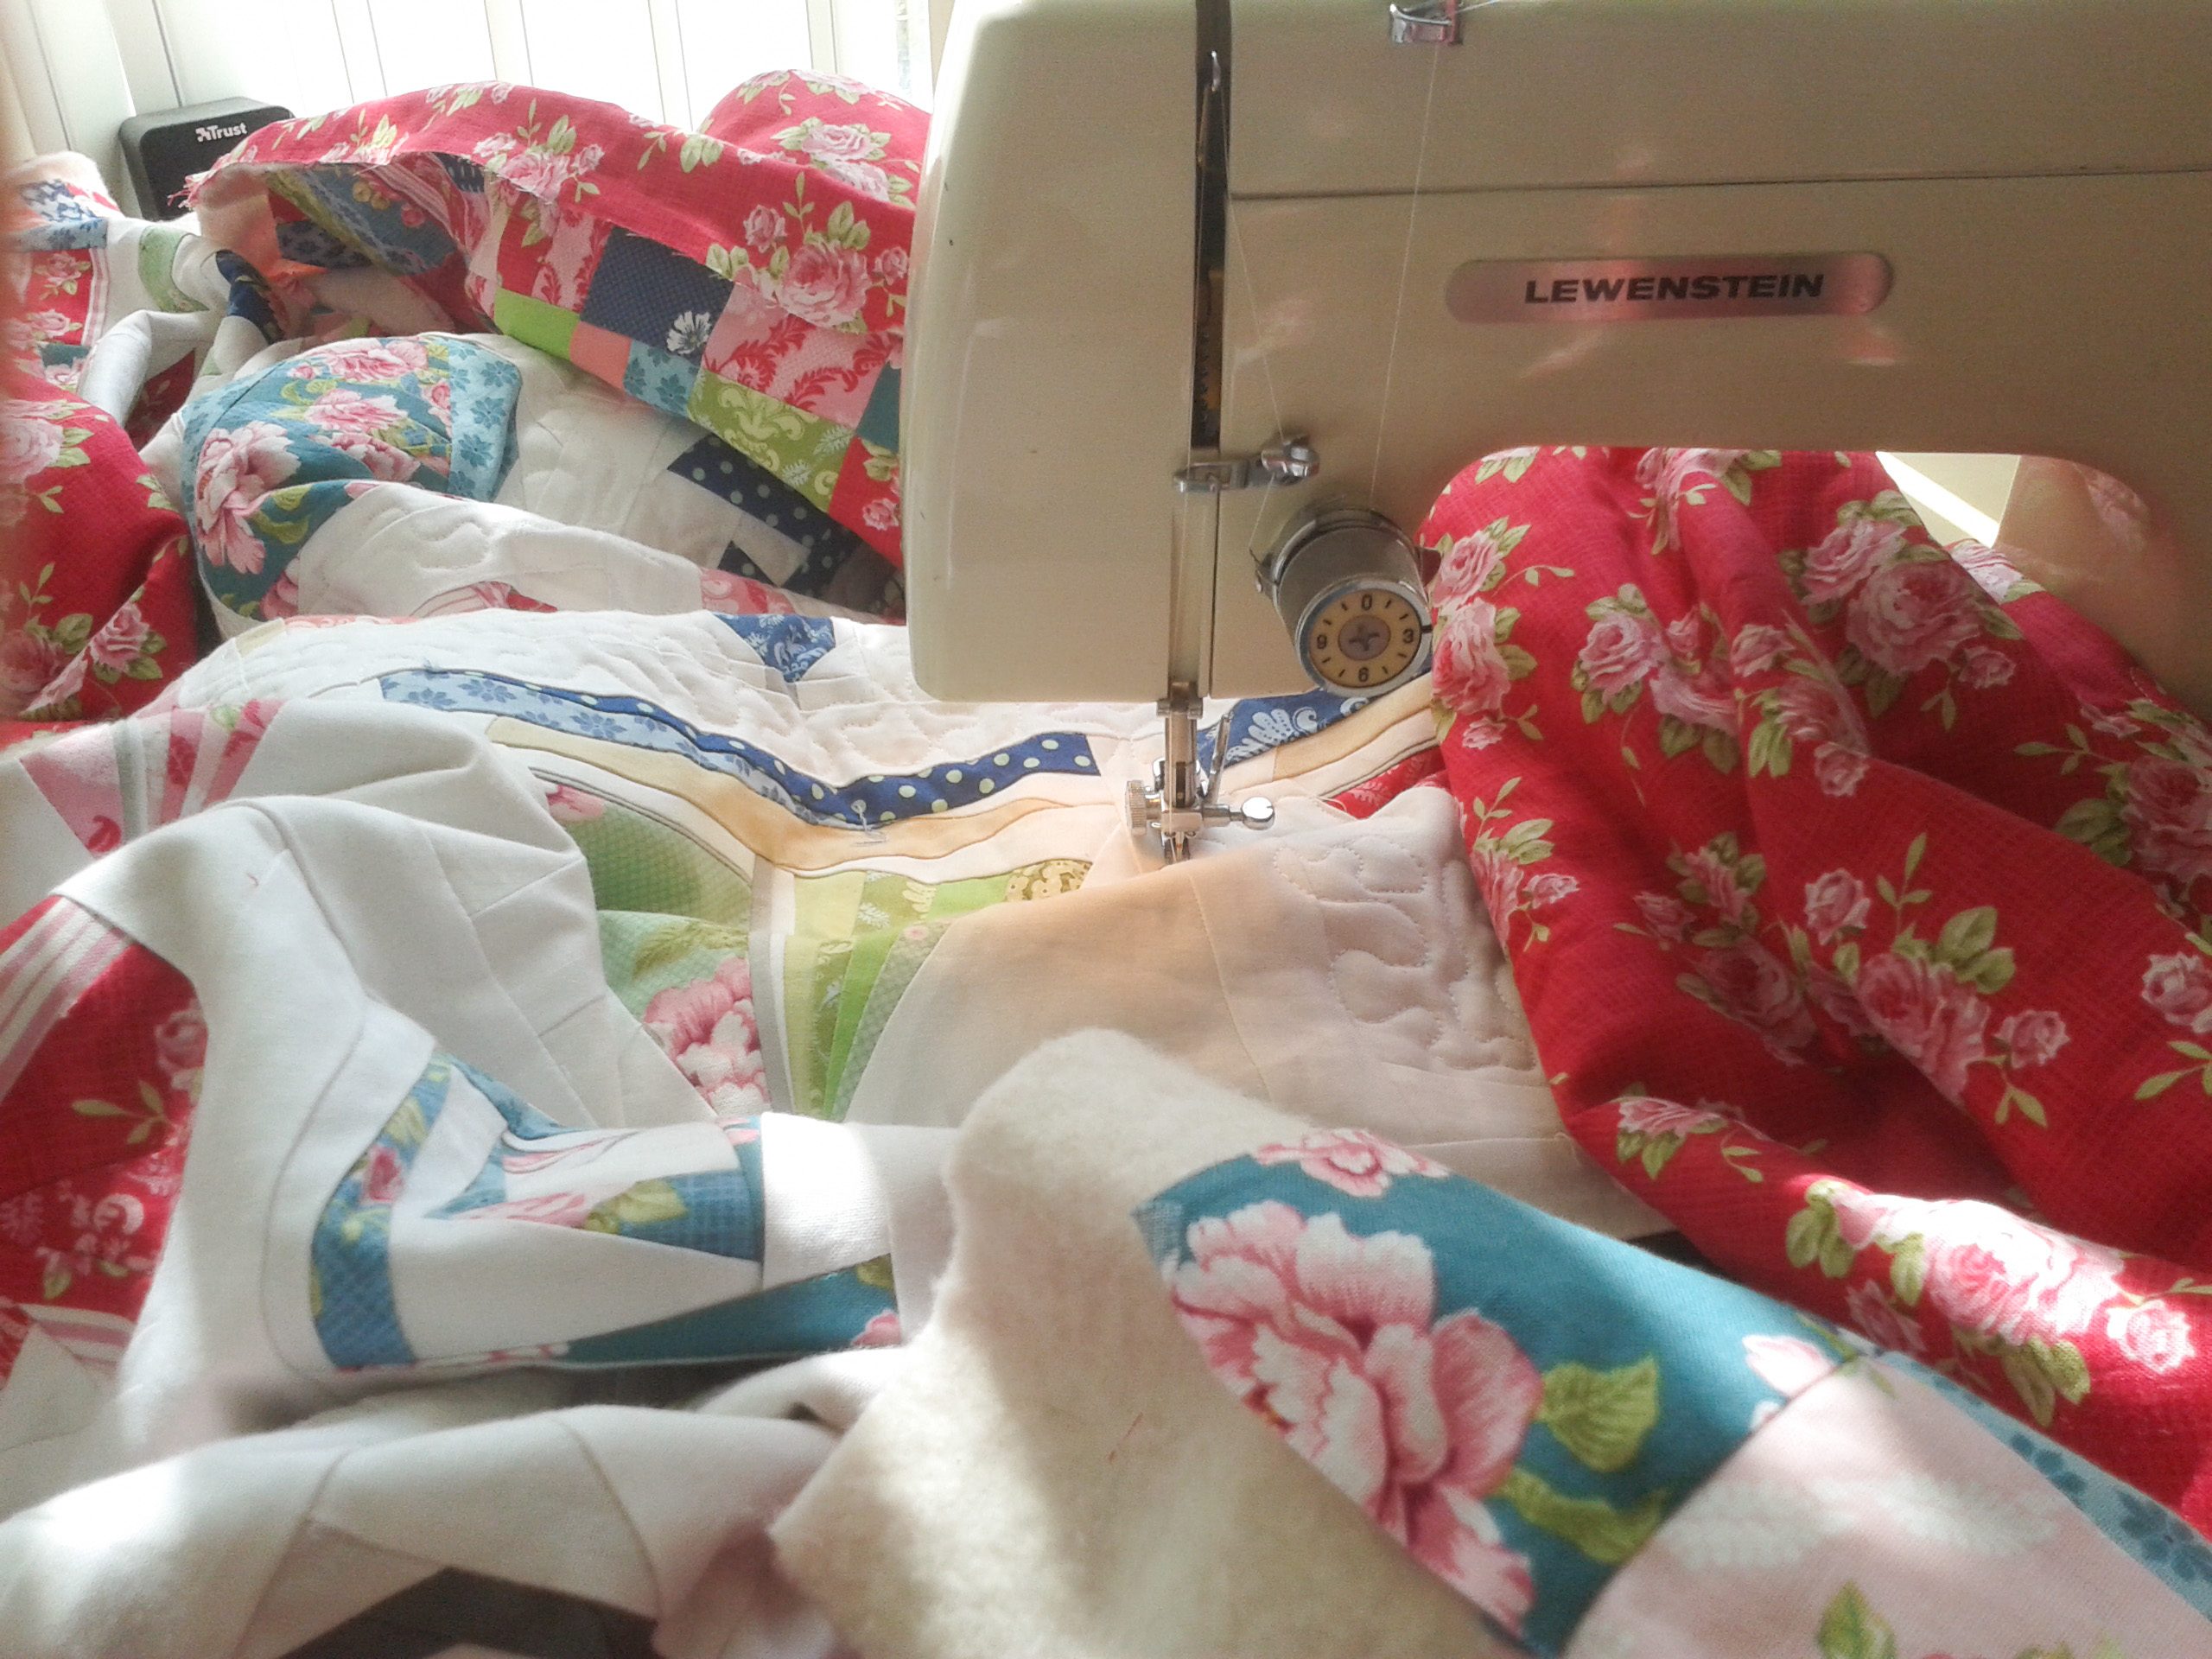
You just have to get started somewhere. Maybe this silly diy video will help you to get started on quilting and not letting your tools hold you back.
Set up
Now we’re on the topic of your machine set up, also take a minute to check how you are sitting behind your machine. When you learn something new it’s often harder to relax your muscles. So when you start quilting you could feel some tension in your hands, arms or shoulders. Making sure you have your machine on a table with a chair that will put you in a comfortable posture will for sure help.
While you’re quilting it’s also good practice to just check in and see if you feel tension anywhere. Taking lots of short breaks is a good thing to get use to when you want to quilt a big quilt. (It’s so tempting to keep going and want to finish everything in one go!)

Practice piece
Before we start quilting on our One Two Tree quilt we are going to practice some stitches on a practice piece. Fr this you can just use two fat quarters and a left over piece of batting. No need to exactly measure a fat quarter, any size of left over fabric will do.
On this little sandwich you can practice stitches, check your tension, build some confidence before moving on the real quilt. I have a practice piece like this at my machine always. Every time I want to start stitching I first make a few stitches on that practice piece. I use it also to check if my tension changed after I put in a new needle or switch my threads.
See you in two weeks!
Good luck setting up your machine, getting your practice piece and choosing your thread. If there is anything I can help you with, just let me know in the comments below.
See you in two weeks to quilt our first trees!
Hug,
Irene
It’s nice that all these explanations are dealing with later machines. I’m one of the people who arestill sewing on a Bernina 530-2 Record !!!!! Whic, by the way, we bought brand new in 1962.So of course it’s very difficult to get a quilting foot as well as any other special feet to fit this machine. So, sadly most of these newer things will pass me by. I’m very sad, but that’s life.
Dear Sibylle,
How incredible, that you have bought your machine in 1962 and you are still sewing with it! Seems like you are taking very good care of your BERNINA.
We know that a lot of sewist still own a classic BERNINA and wish to use new techniques and feet with the older models. So BERNINA has made new feet for the older models in 2021: The legacy feet!
You can actually buy the ruler foot #72 for 530-2 Record and join the ruler quilting. It’s best if you contact your dealer if they have such a foot available or if they could order one for you.
Kind regards, Ramona from BERNINA International
Super pleased with how this turned out! Ready to begin quilting 😊
I’m a new girl on the block and found this article very informative thankyou. I only came across this article by chance I hope I don’t miss your next article
Do you use the same color thread in th bobbin that you use for the top?
I can’t remember how do I tell witch side of the batting is face up? I purchased it from you it’s so soft!
Thank you for the educational post , I’m exiting to start the practice of the quilt, happy practice to everyone 💕