 BERNINA Corporate Blog -
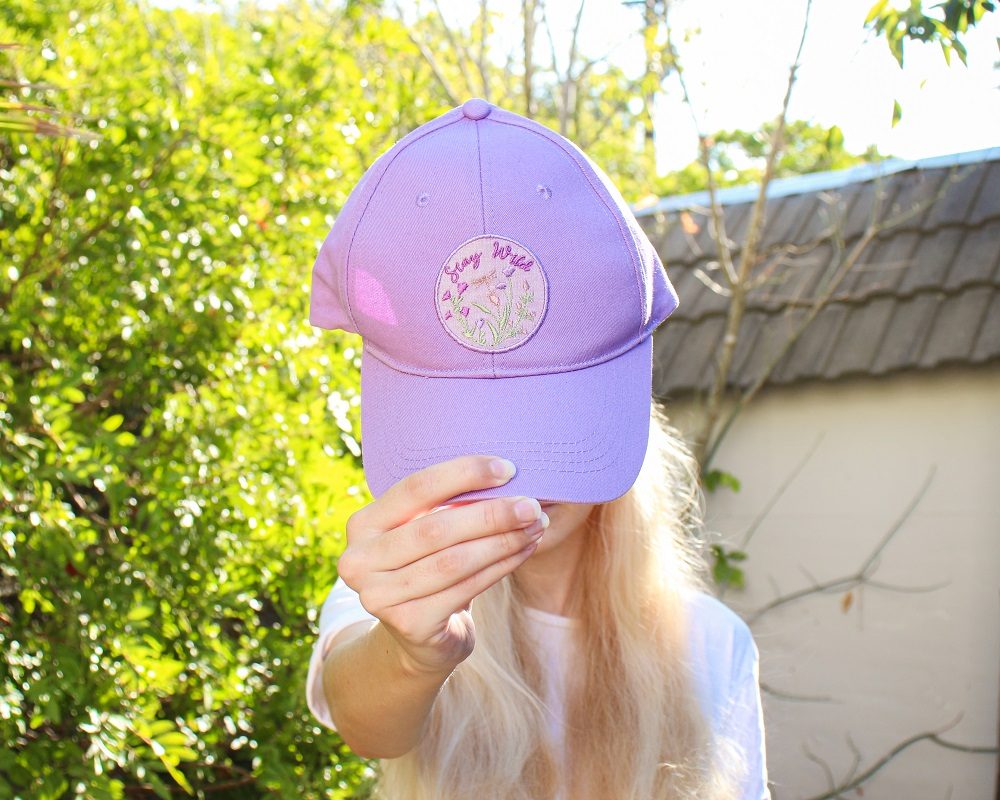
I recently bought a cap that I liked the colour of, however, the embroidery on it wasn’t to my style.
Fortunately things like this don’t stop me as I love to personalise and my Bernina gives me the ability to do so. I decided to create a cute patch to cover up the existing embroidery.
This is something that you could do too for those promotional caps you may receive at events. So often the caps are great quality but the branding may not be to your taste. By covering it up with a patch you will likely prolong its’s lifespan and get a lot more wear out of it instead of throwing it away. You may end up with something really awesome that probably didn’t cost you anything but time and creativity. This is also a great way to revive an old cap, maybe all it needs is a fresh look.
What will be needed:
- Embroidery Module
- Sewing machine
- Embroidery Software Designer Plus (V8)
- Embroidery Foot #26
- Tear-away/Cut-away Stabiliser
- Embroidery Thread (multiple depending on your design)
- Embroidery Hoop – Medium
- Images to digitize
- Hand-sewing Needle
- Small piece of sturdy Cotton/Cotton Twill (big enough for your patch & hoop)
- A Cap
Create a design in the Embroidery Software
Create the Patch Shape
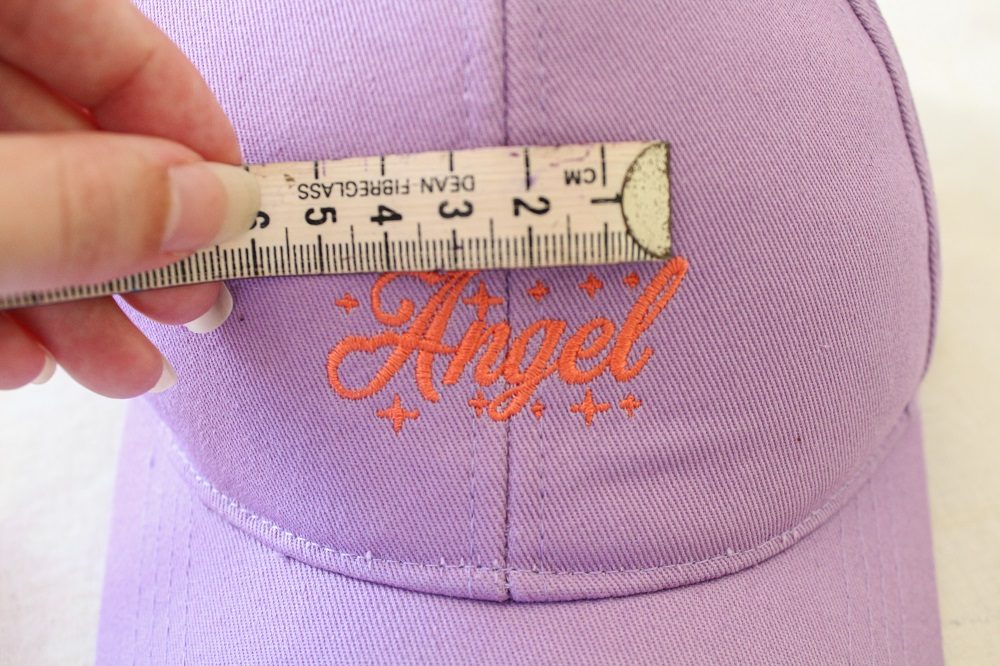
- Measure the existing embroidery.
If the design is a weird shape, you can trace it on to a piece of paper and either scan or photograph the paper and import it into the Embroidery Software.
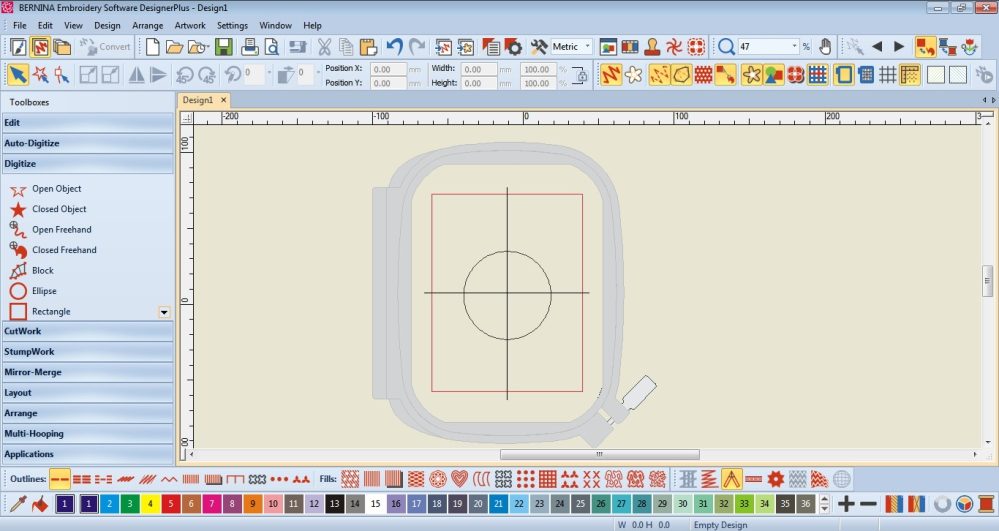
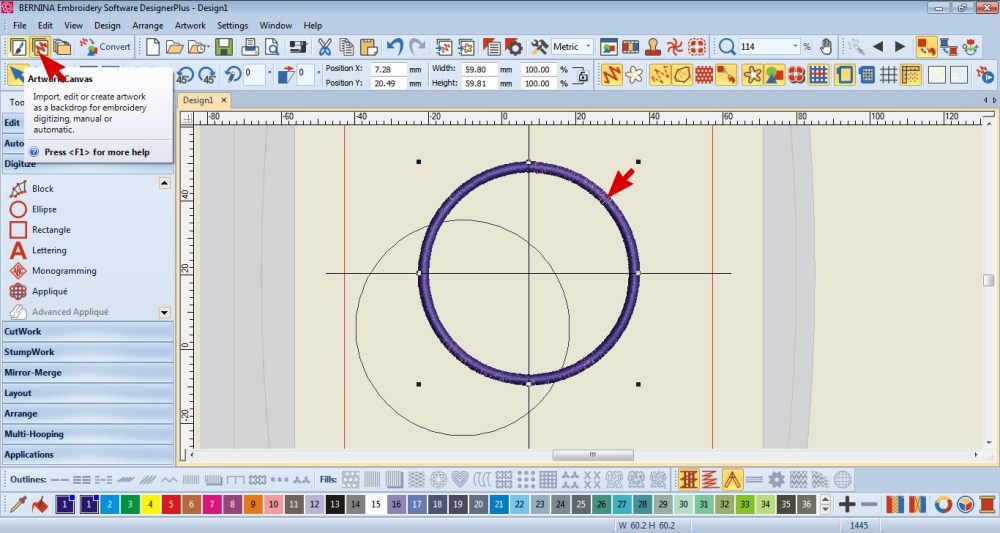
 In the Embroidery Design Software open up the Artwork Canvas.
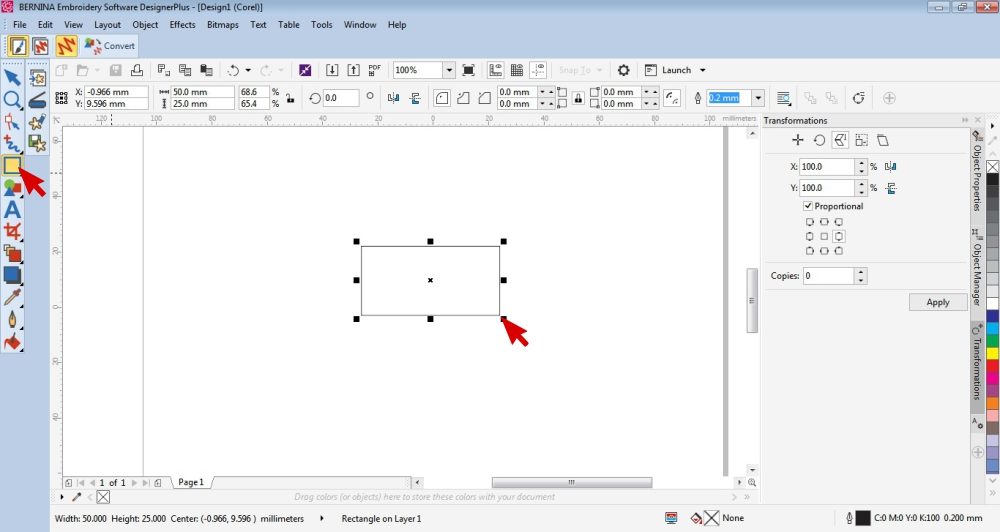
Draw the basic shape of the existing embroidery design according to its measurements.
My design fits into a rectangle so that is what I drew using the Vector Rectangle Tool.
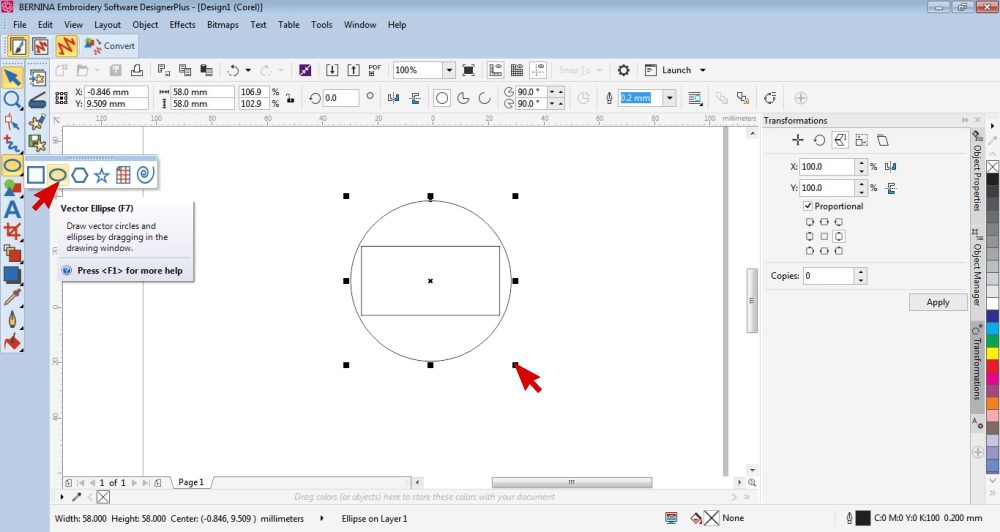 Draw the shape of the patch you are going to create. Make sure that it covers the shape you drew in the previous step.
To get a circle, I clicked on the lower right corner of the Vector Rectangle Tool and selected the Vector Ellipse. To ensure it was a perfect circle, I made the measurements the same.
 Delete the original shape from step 2 and return to the Embroidery Canvas.
Create an Appliqué Object
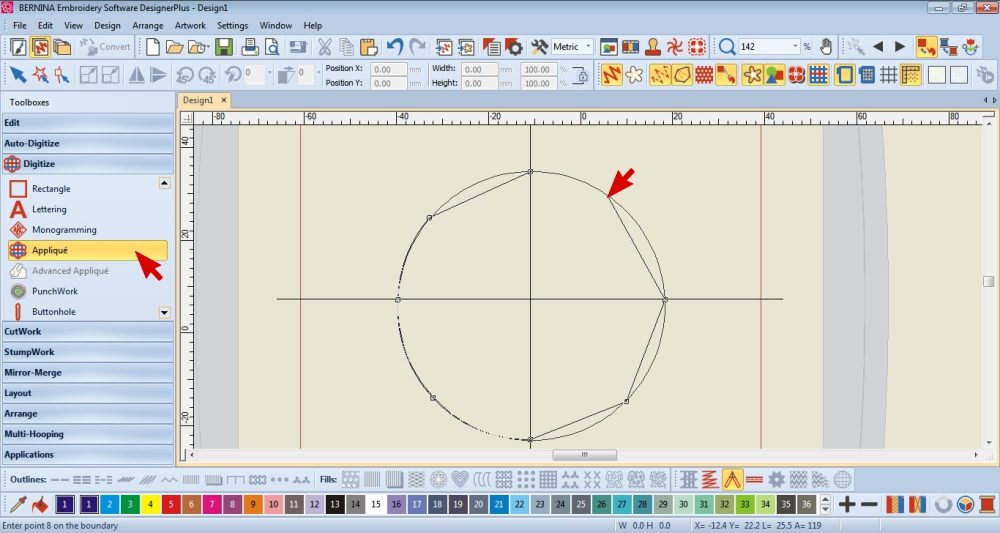 Select the appliqué tool and draw around the shape you created in step 3.
The appliqué tool is found under the Digitize section of the left hand Toolbox.
Right click to create curves, left click for straight lines and press enter to complete the shape.
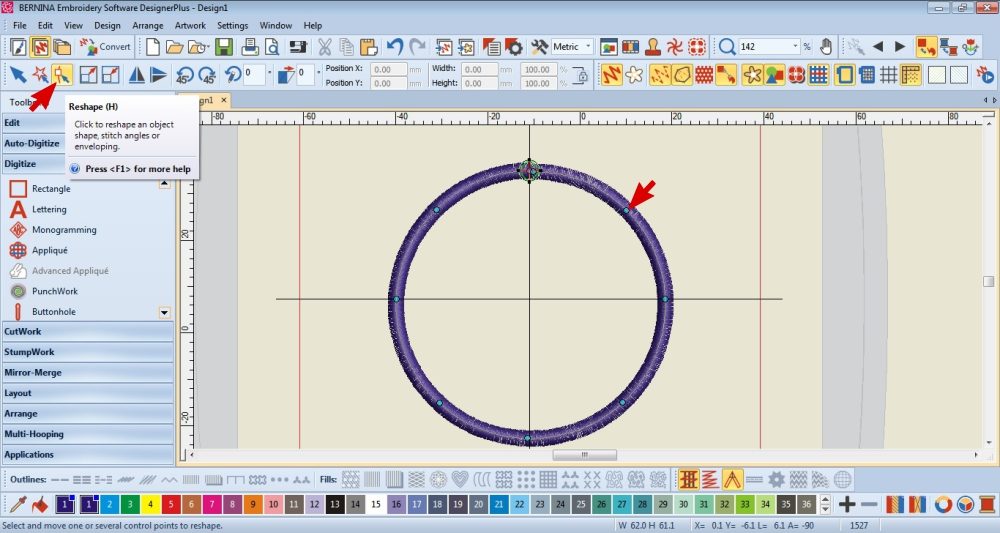 Select the shape then click in the Reshape Tool.
Reshape the object as necessary. Extra nodes can also be added.
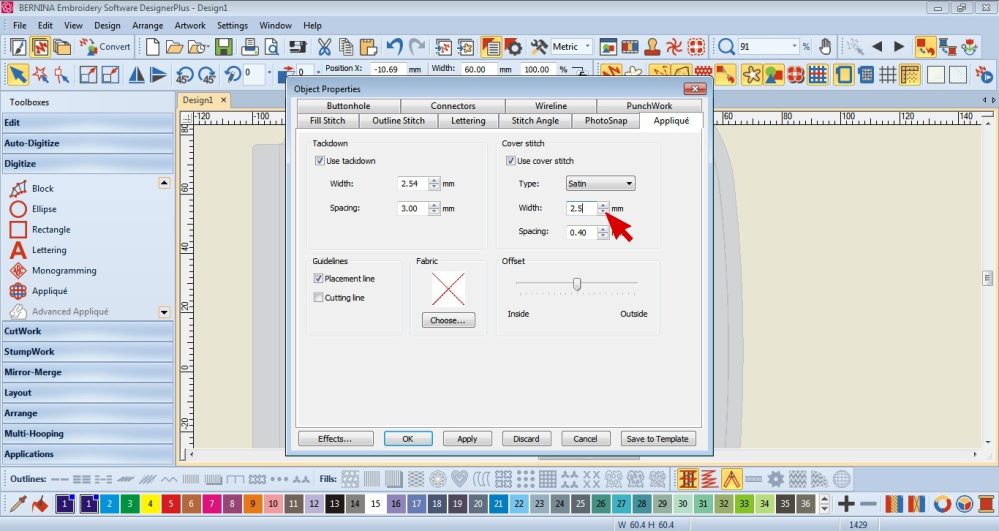 Double click on the appliqué object to open the Properties Menu.
Edit the settings as necessary.
I made the width of the Satin stitch narrower.
 Ensure that the appliqué object still covers the vector shape. Adjust the measurement of appliqué object if it doesn’t. Remember that the vector shape is a guideline to ensure that your finished patch will cover up the existing embroidery or print.
Move the appliqué object over so that the vector beneath is visible.
Go to the Artwork Canvas and delete the vector shape, then return to the Embroidery Canvas.
Add embroidery to the Patch
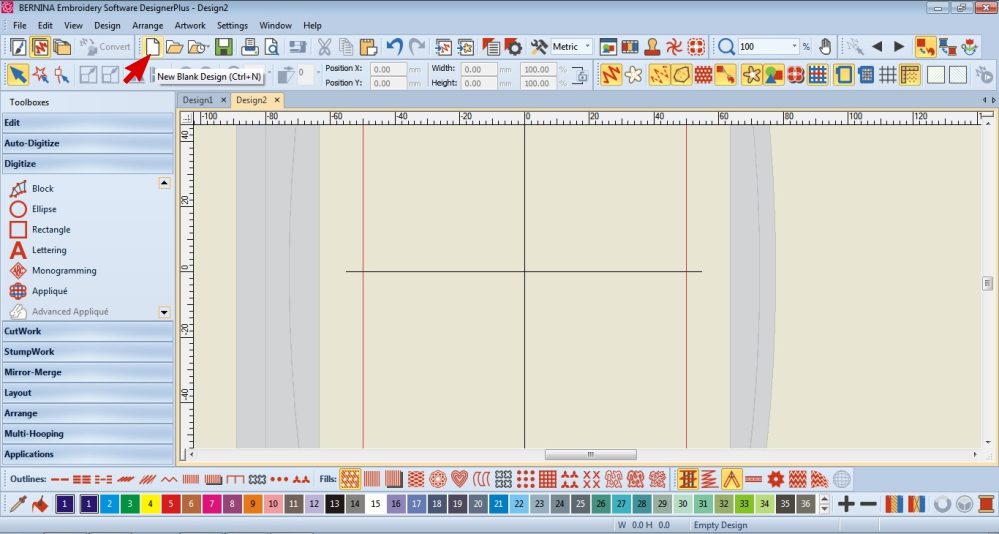 Open another document and go to the Artwork Canvas.
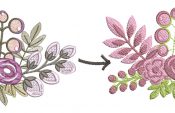
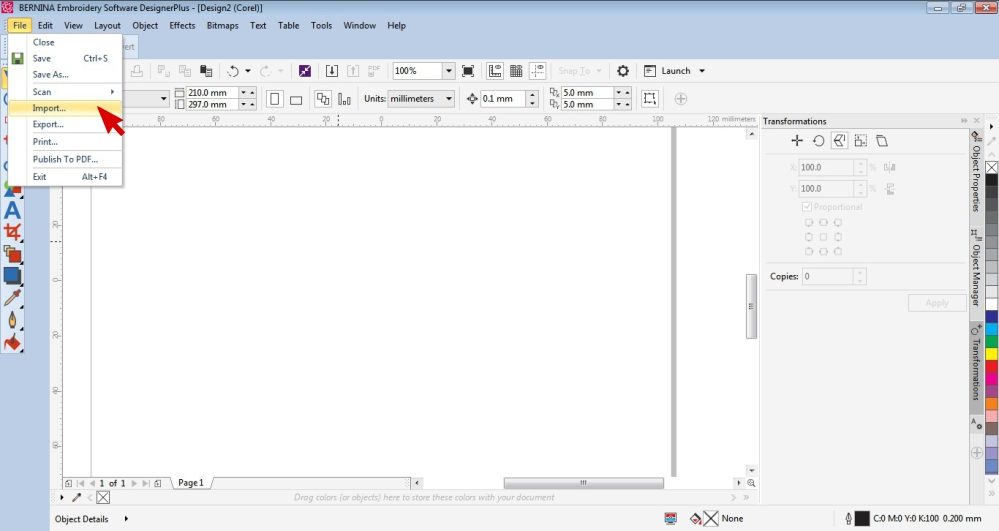 Import the artwork you would like to digitize.
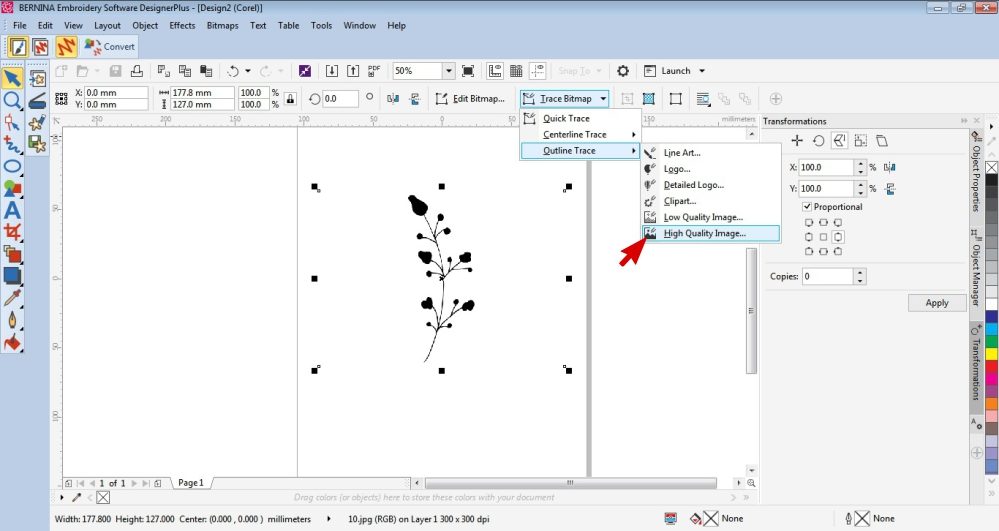 Select the artwork and Trace it.
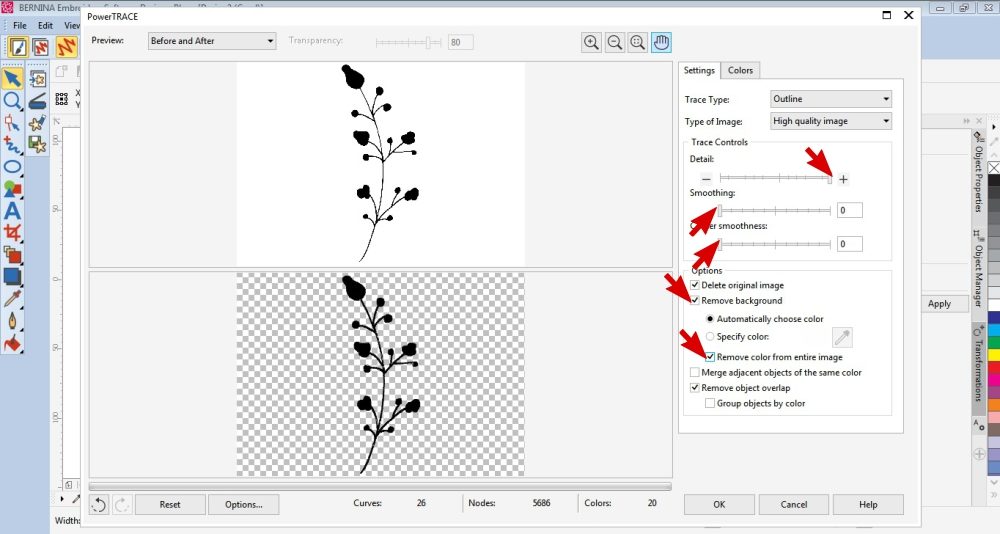 These are the settings I found best works for this image.
 Repeat step 10 & 11 as necessary.
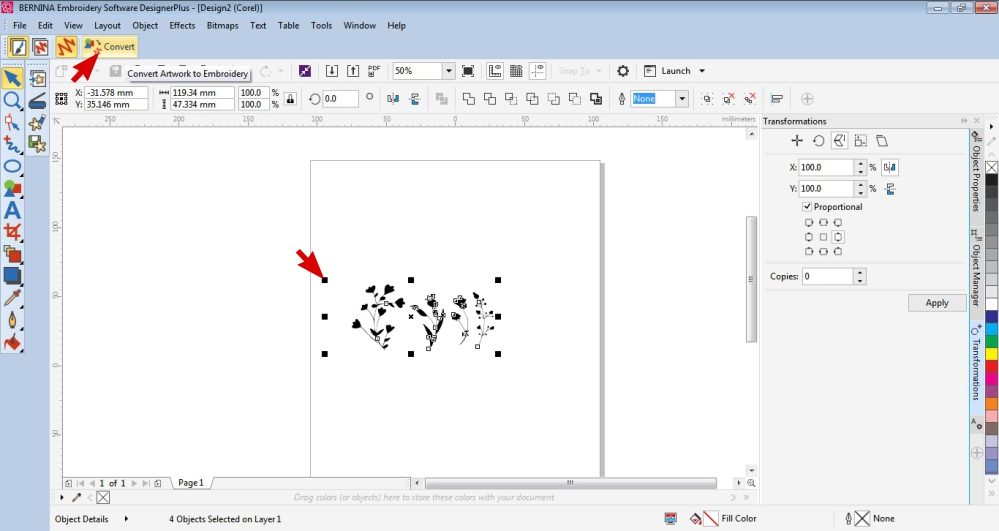
Resize the artwork so that it is similar in size to what you will need it.
Select all the items and click Convert.
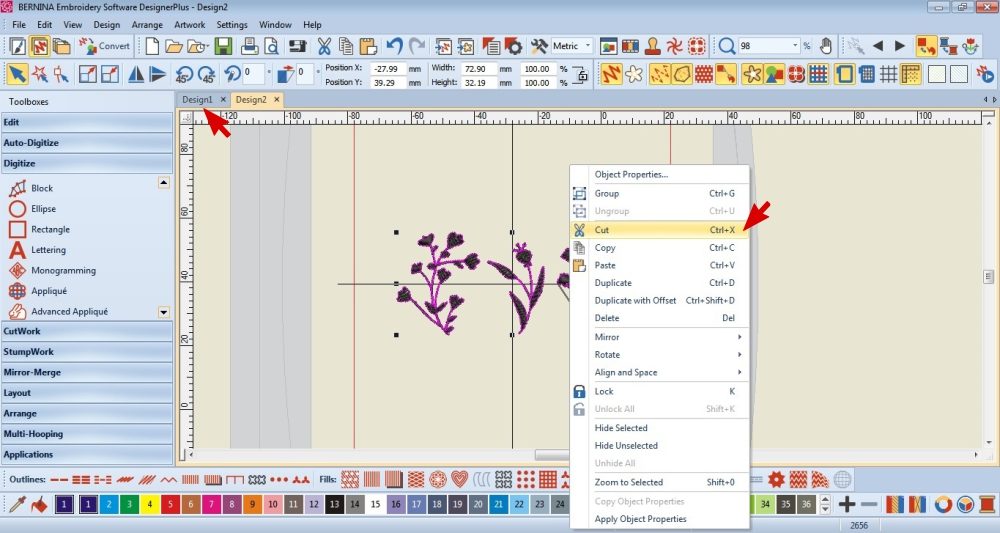 Copy the digitized items over the first document.
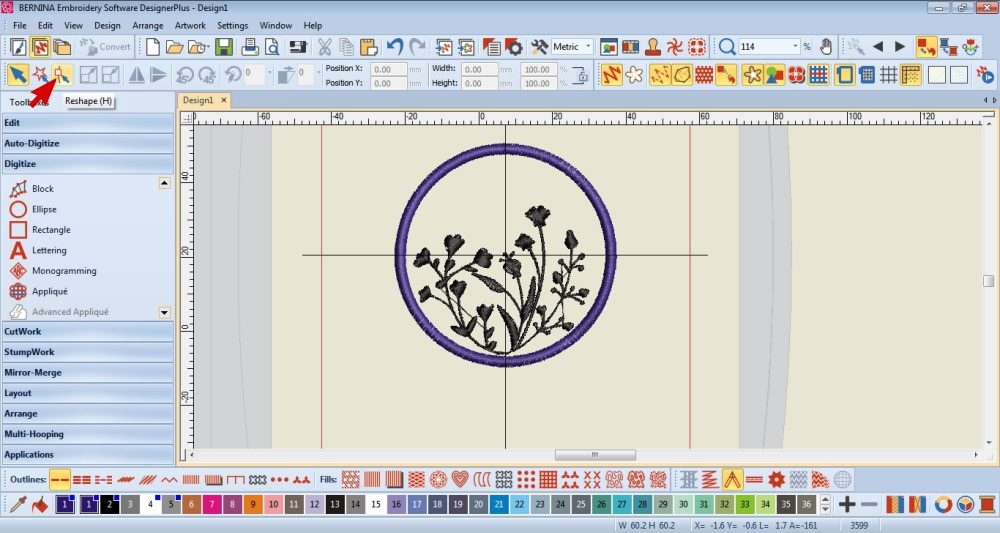 Resize the digitized items as necessary and arrange them within the appliqué object.
You can use the reshape tool to edit them if needs be.
If needs be, you can also edit the stitch type along the bottom Toolbar.
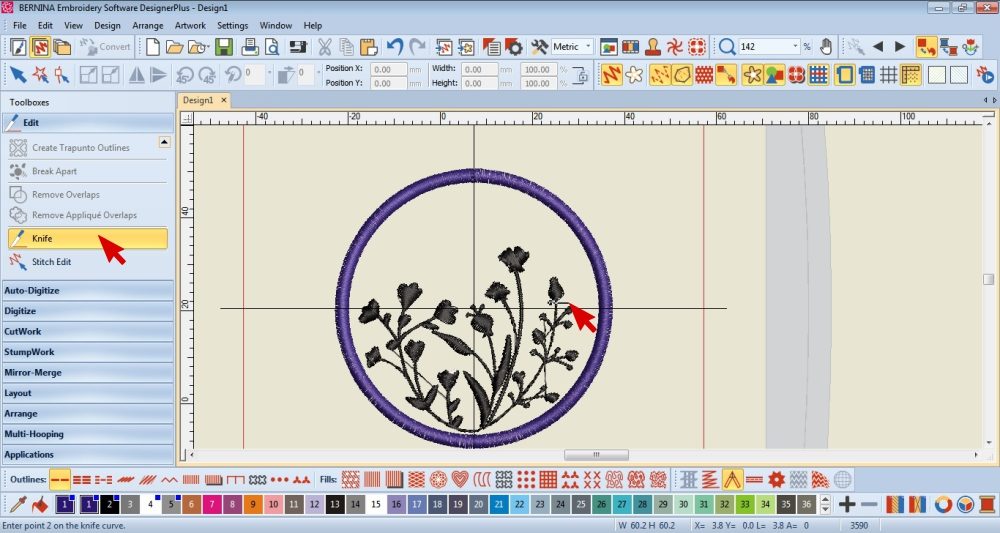 Use the Knife tool if you need to remove or separate parts of an embroidered item.
The Knife Tool is found under the Edit section of the left hand Toolbox.
Click and draw across the necessary section and press Enter to cut.
I used this technique so that I would be able to make the colour of the flowers different to the stems and leaves.
Add curved wording
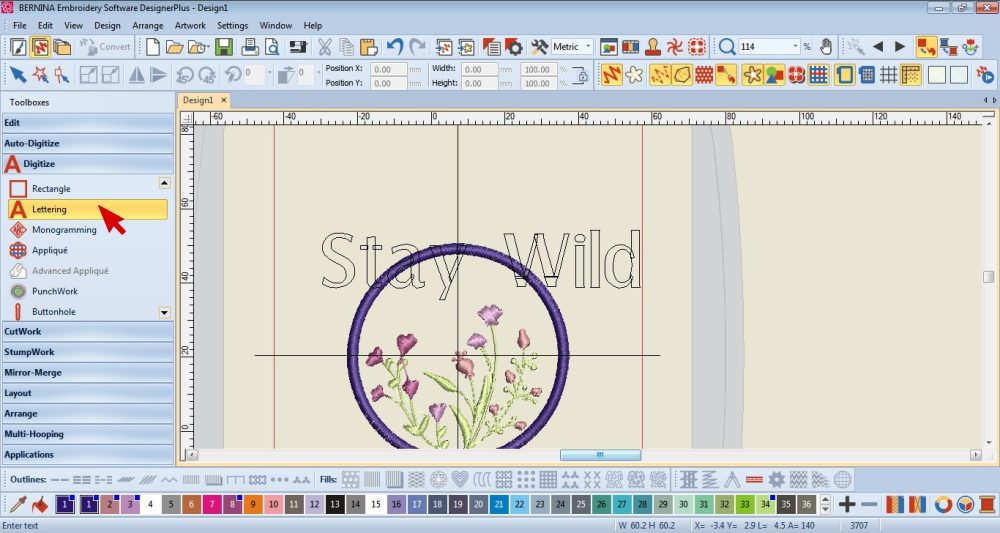 Select the Lettering Tool, type out the wording and press enter.
Lettering is found under the Digitize section of the left hand Toolbox.
 Resize the wording so that it is closer in size to what you need it to be.
Double click on a letter to open the properties menu.
Choose a font.
Select your desired curve option and press Apply.
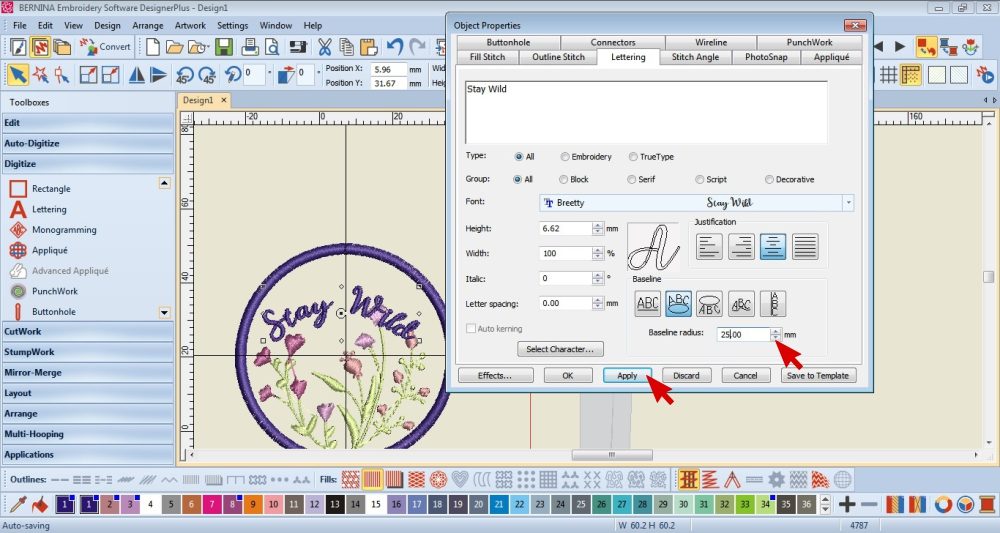 Edit the Baseline radius using the arrows and pressing Apply until you have a curve you are happy with.
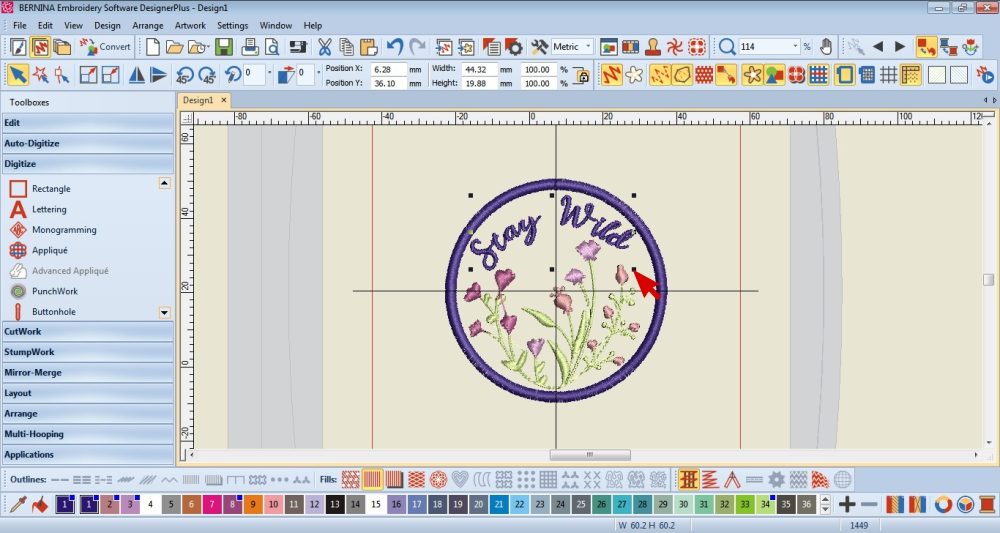 Edit the size and placement as necessary.
Finishing Touches
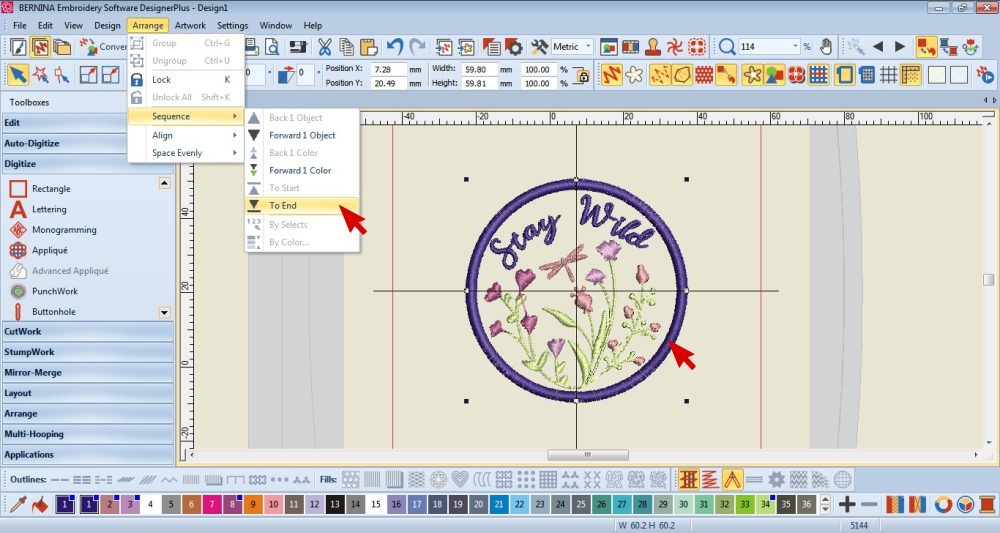 Select the appliqué object.
Go to Arrange, Sequence, To End.
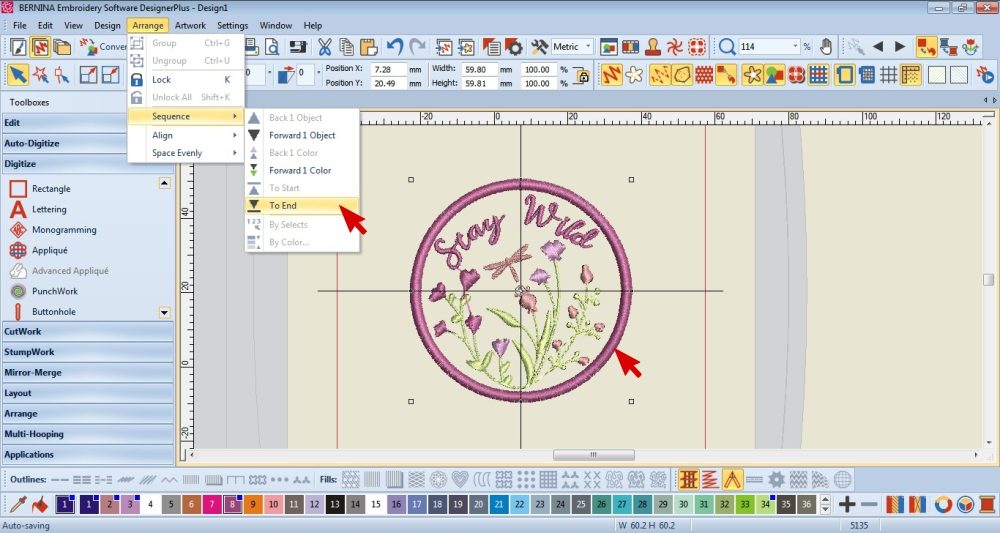 Edit the thread colours of the items.
Select the all the items.
Go to Arrange, Sequence, By Colour.
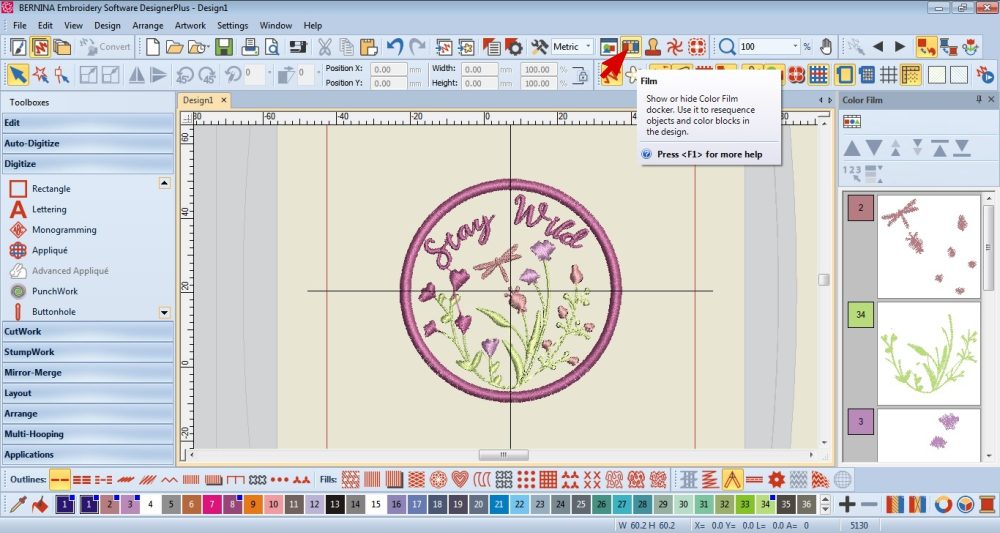 To double check the order of sequence, select the Film Docker on the top Toolbar.
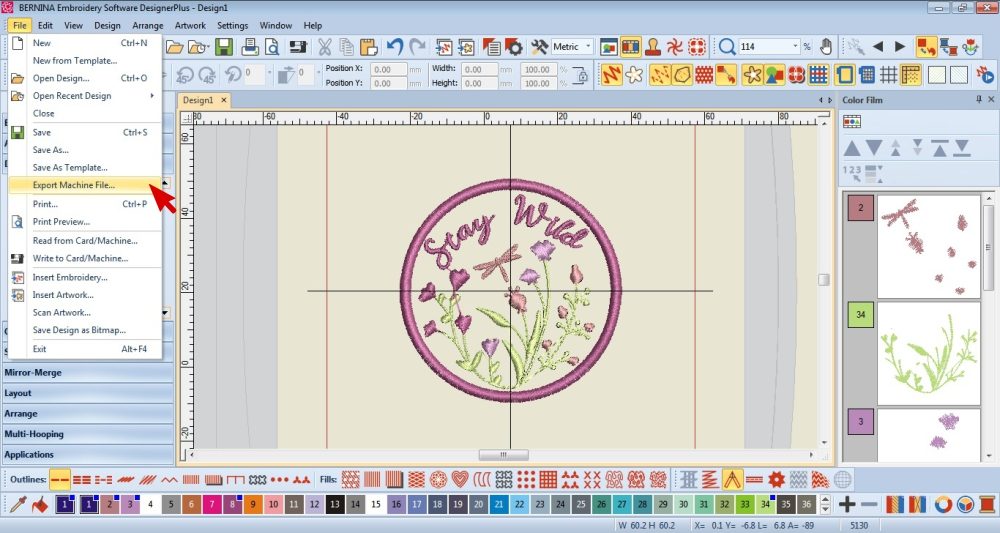 Save the file or Export the Machine File.
Embroider the Patch
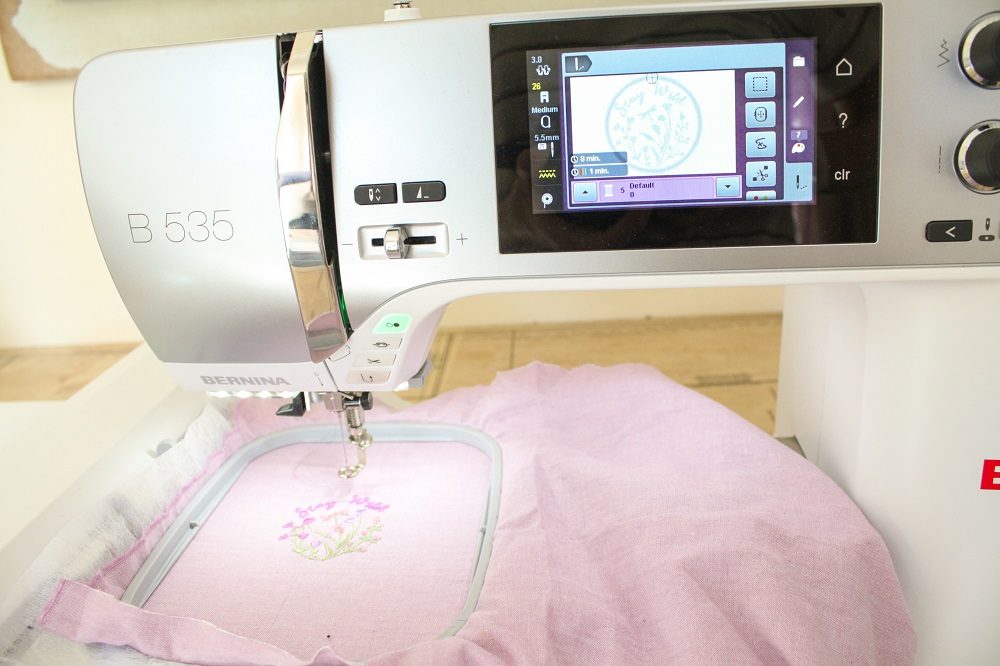
 Set up your Embroidery machine as you normally would.
Hoop your fabric with the Tear away/Cut away Stabilizer below.
Go ahead with embroidering the inner design.
Change the thread colours when the machine instructs to do so.
 Once the inner embroidery design is complete, change the thread to the one needed for the appliqué and let the machine stitch the Placement Line.
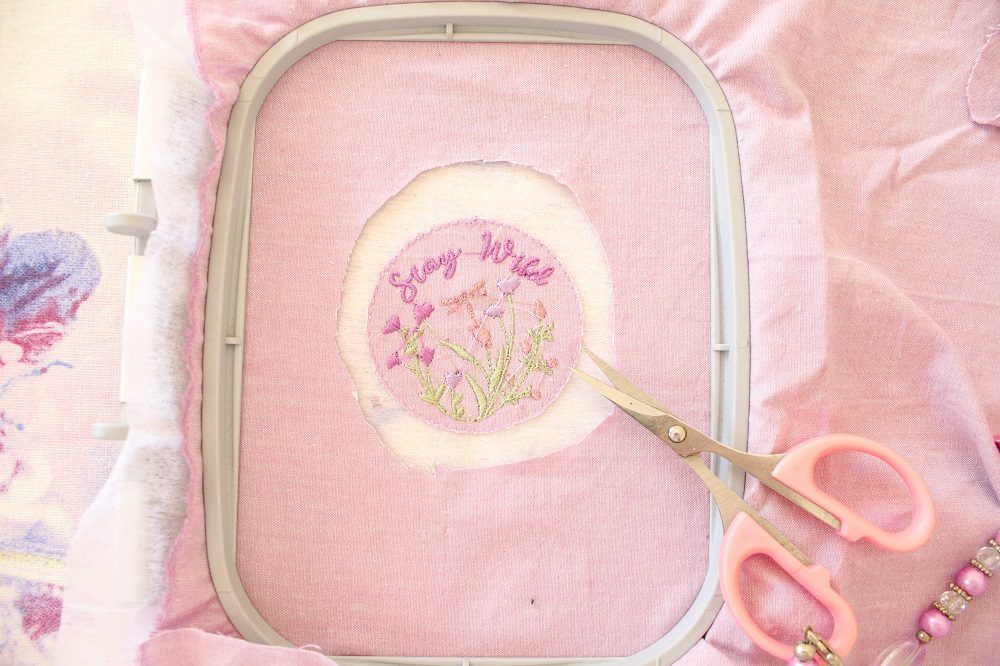 Lift the presser foot and remove the Hoop from the machine.
Do not remove the fabric from the Hoop.
Cut the fabric (not the stabilizer) just outside the Placement Line.
Make a snip at one of the corners and slip the scissors between the fabric & stabilizer. Then cut around inside of the Hoop before cutting around the design.
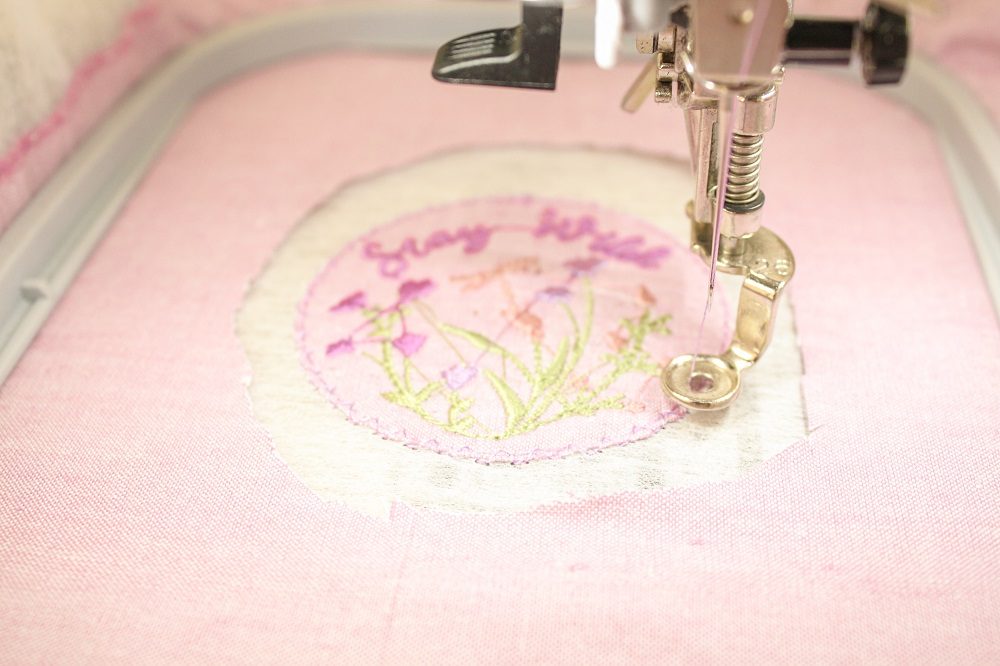 Replace the Hoop and proceed to stitch.
The next stitch the machine will want to do is the Tackdown stitch.
This will help secure the cut edge.
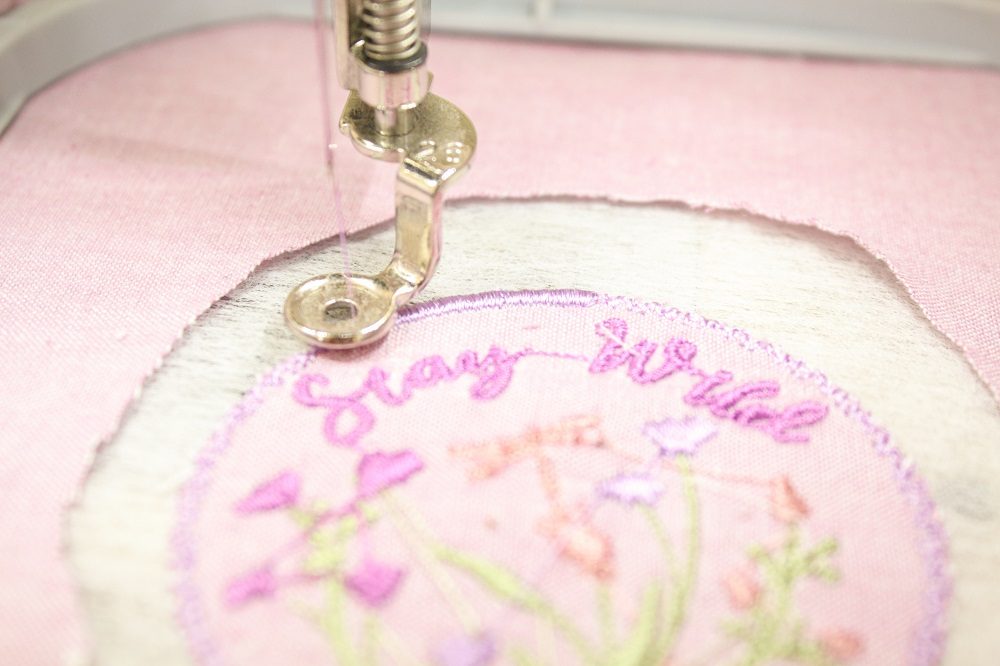 Proceed to embroider the Coverstitch Line.
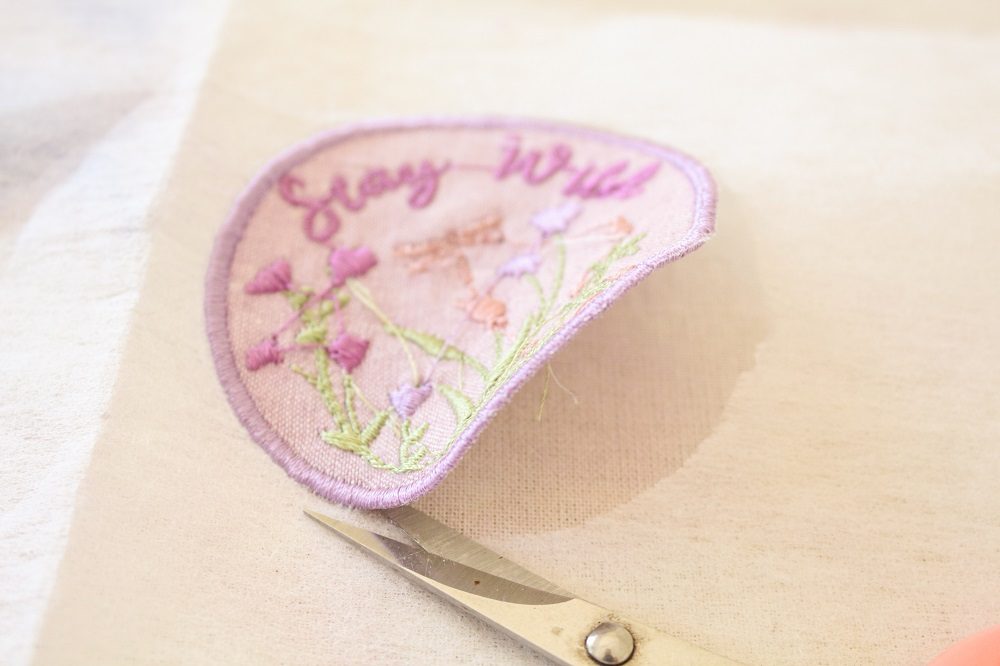 Once complete, remove the fabric from the hoop and remove the excess stabilizer from around the patch.
Stitch on the Patch
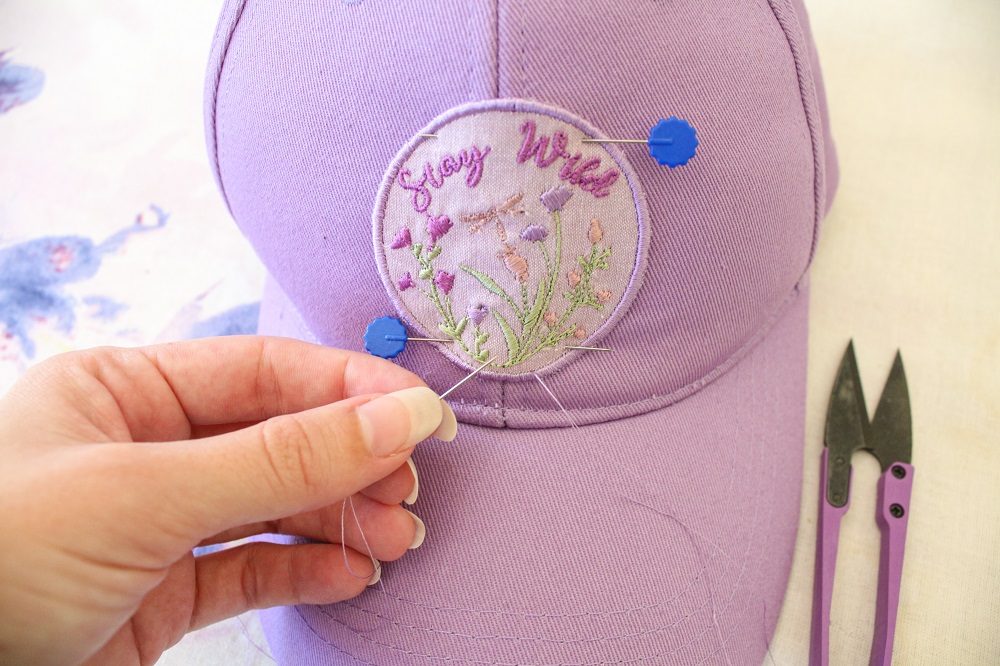 Pin the Patch so that it covers the original embroidery/print.
Hand stitch the Patch to the Cap.
Stitch on the Appliqué stitches with the same thread to make them invisible.


Tips
- Use the same embroidery colour thread for the Placement Line, Tackdown Stitch & Coverstitch.
- If you feel that the patch is still a bit flimsy, you can iron some Vilene/Fusing on to the back.
Just ensure that the Vilene doesn’t stick out around the edges.
I would love to see what you make, please feel free to share with me!
Instagram
Facebook
-Hannah-Rose


Wonderful instructions, step by step. Please keep this type instructions with photos coming. Learning so much, very welcoming of this type information.
Thank you Gloria
I’m so glad you like it 🙂
I am working on more exciting embroidery posts for every month.
If you click on my name under Post Author on the top right, you’ll find more of my blog posts 😉
Hi,I read it blog. Patch up a cap embroidery work. Very nice doing work. Very nice information. I like.
Hi Raj
Thank you very much 🙂