 BERNINA Corporate Blog -
Here it is, the last block of the Old Block Quilt-Along! Block no. 31 is called “Butterfly”
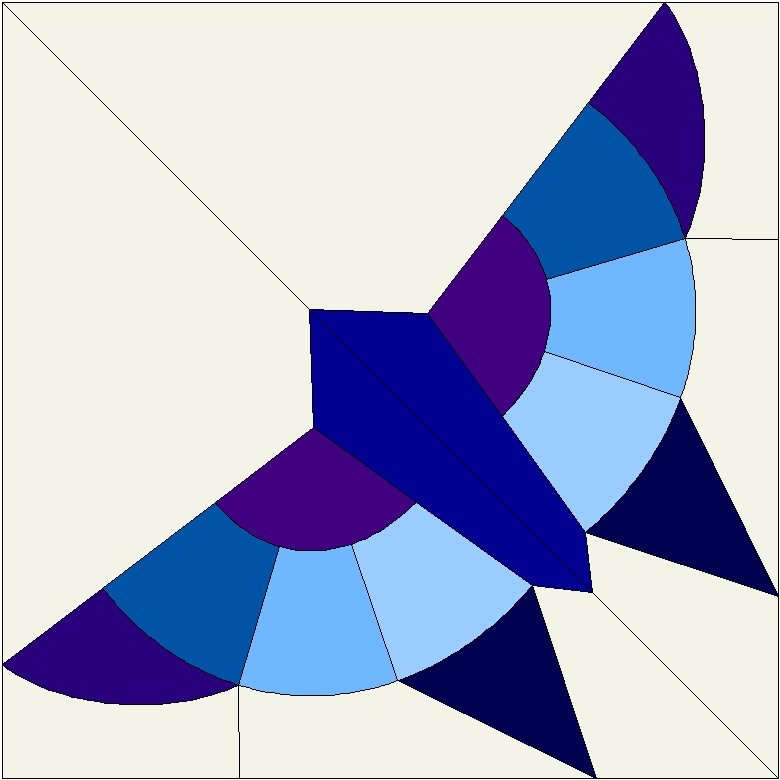
It is the second “Butterfly” block in this quilt-along! You will recall that the first one was sewn as part of the series of small 6″ blocks, and that it looked different from this one. That’s why I have now chosen this new block for our series of old blocks.
This design is attributed to Laura Wheeler and Alice Brooks and possibly dates from around 1930.
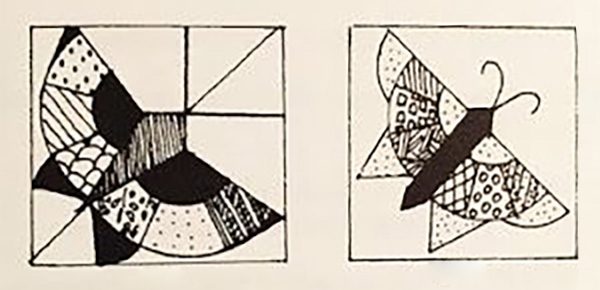
In the descriptions for this block that I found online, the body of the butterfly was appliquéd.
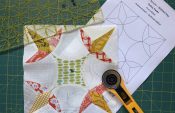
We are sewing the “Butterfly” patchwork block
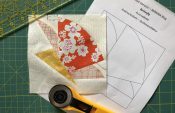
This Butterfly block is a 10″ block (10.5″ including the seam allowance) and is made using pattern templates.
Download the patchwork templates
For cutting out, I have created two PDF documents to download:
- The first is a coloring sheet. This allows you to try out colors and designs for this block to see what they look like.
- And on the second you will find the templates.
On the PDF with the templates, I have put a control square with a side length of 1 inch so that you can check whether your printout of the templates is the right size. It is important to set your print options to “Actual size”.
Here are the downloads:
Cutting out the pattern pieces
You will need to cut out the following number of pieces:
- Template A: 2 x background fabric
- Template B: 2 x patterned fabric
- Template C: 2 x patterned fabric
- Template D: 2 x patterned fabric
- Template E: 2 x patterned fabric
- Template F: 2 x patterned fabric
- Template G: 2 x patterned fabric
- Template H: 2 x background fabric
- Template I: 2 x background fabric
- Template J: 2 x patterned fabric
- Template K: 2 x background fabric
Sewing the “Butterfly” patchwork block
Please read through all the instructions and look at the pictures first. Please also read the text after the actual instructions. Further explanations are provided there!
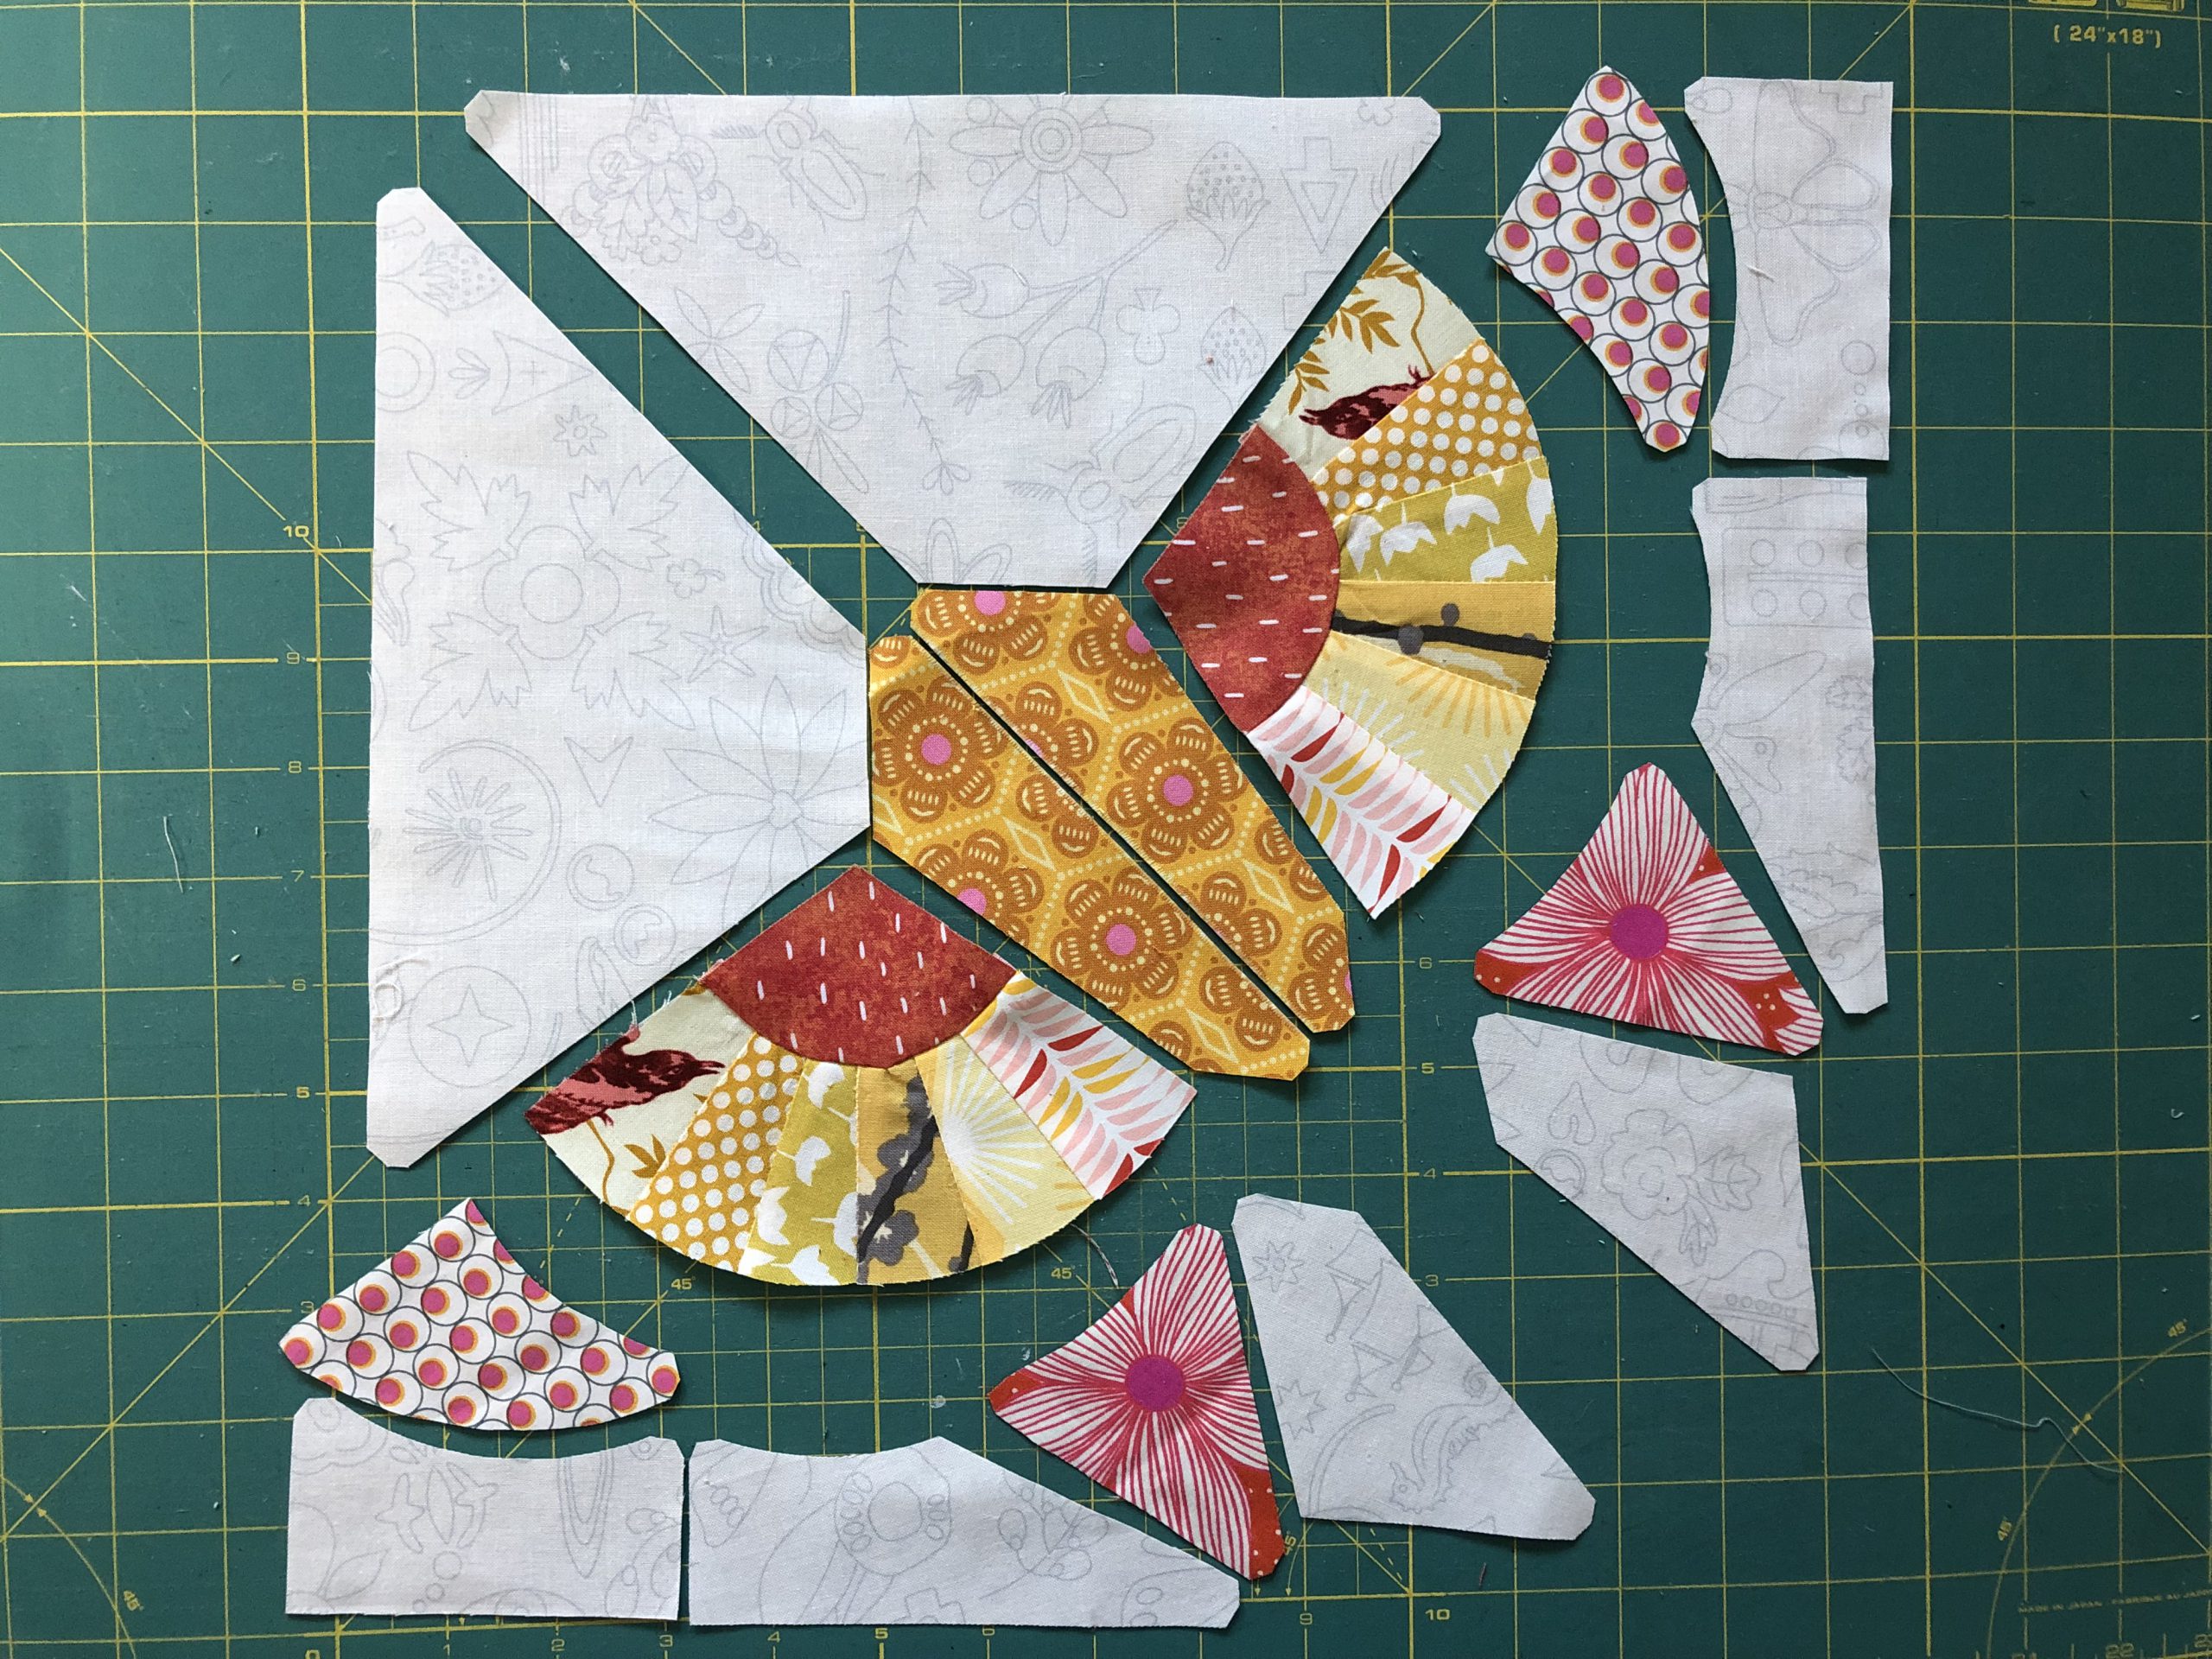
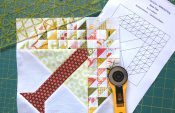
As usual, start by laying out your pattern pieces.
When looking at my cut-out pieces, if you are wondering why I have not laid out parts D, E and F individually, this is because I made these pieces in a different way! Here is a brief explanation, in case any of you would also like to do it like this: I attached the paper pattern pieces together – as if I had sewn them together. This meant that there were no seam allowances between pieces D and E, and between E and F. Then I divided this curve again and, as in foundation paper piecing, marked it with smaller units and, also as in FPP, with corresponding smaller strips.

Depending on how you decide to sew pieces D, E and F, this gives you these two pieces that look like circular segments. Then connect these to pattern piece C.
Next, sew G onto H and then pieces I, J and K.
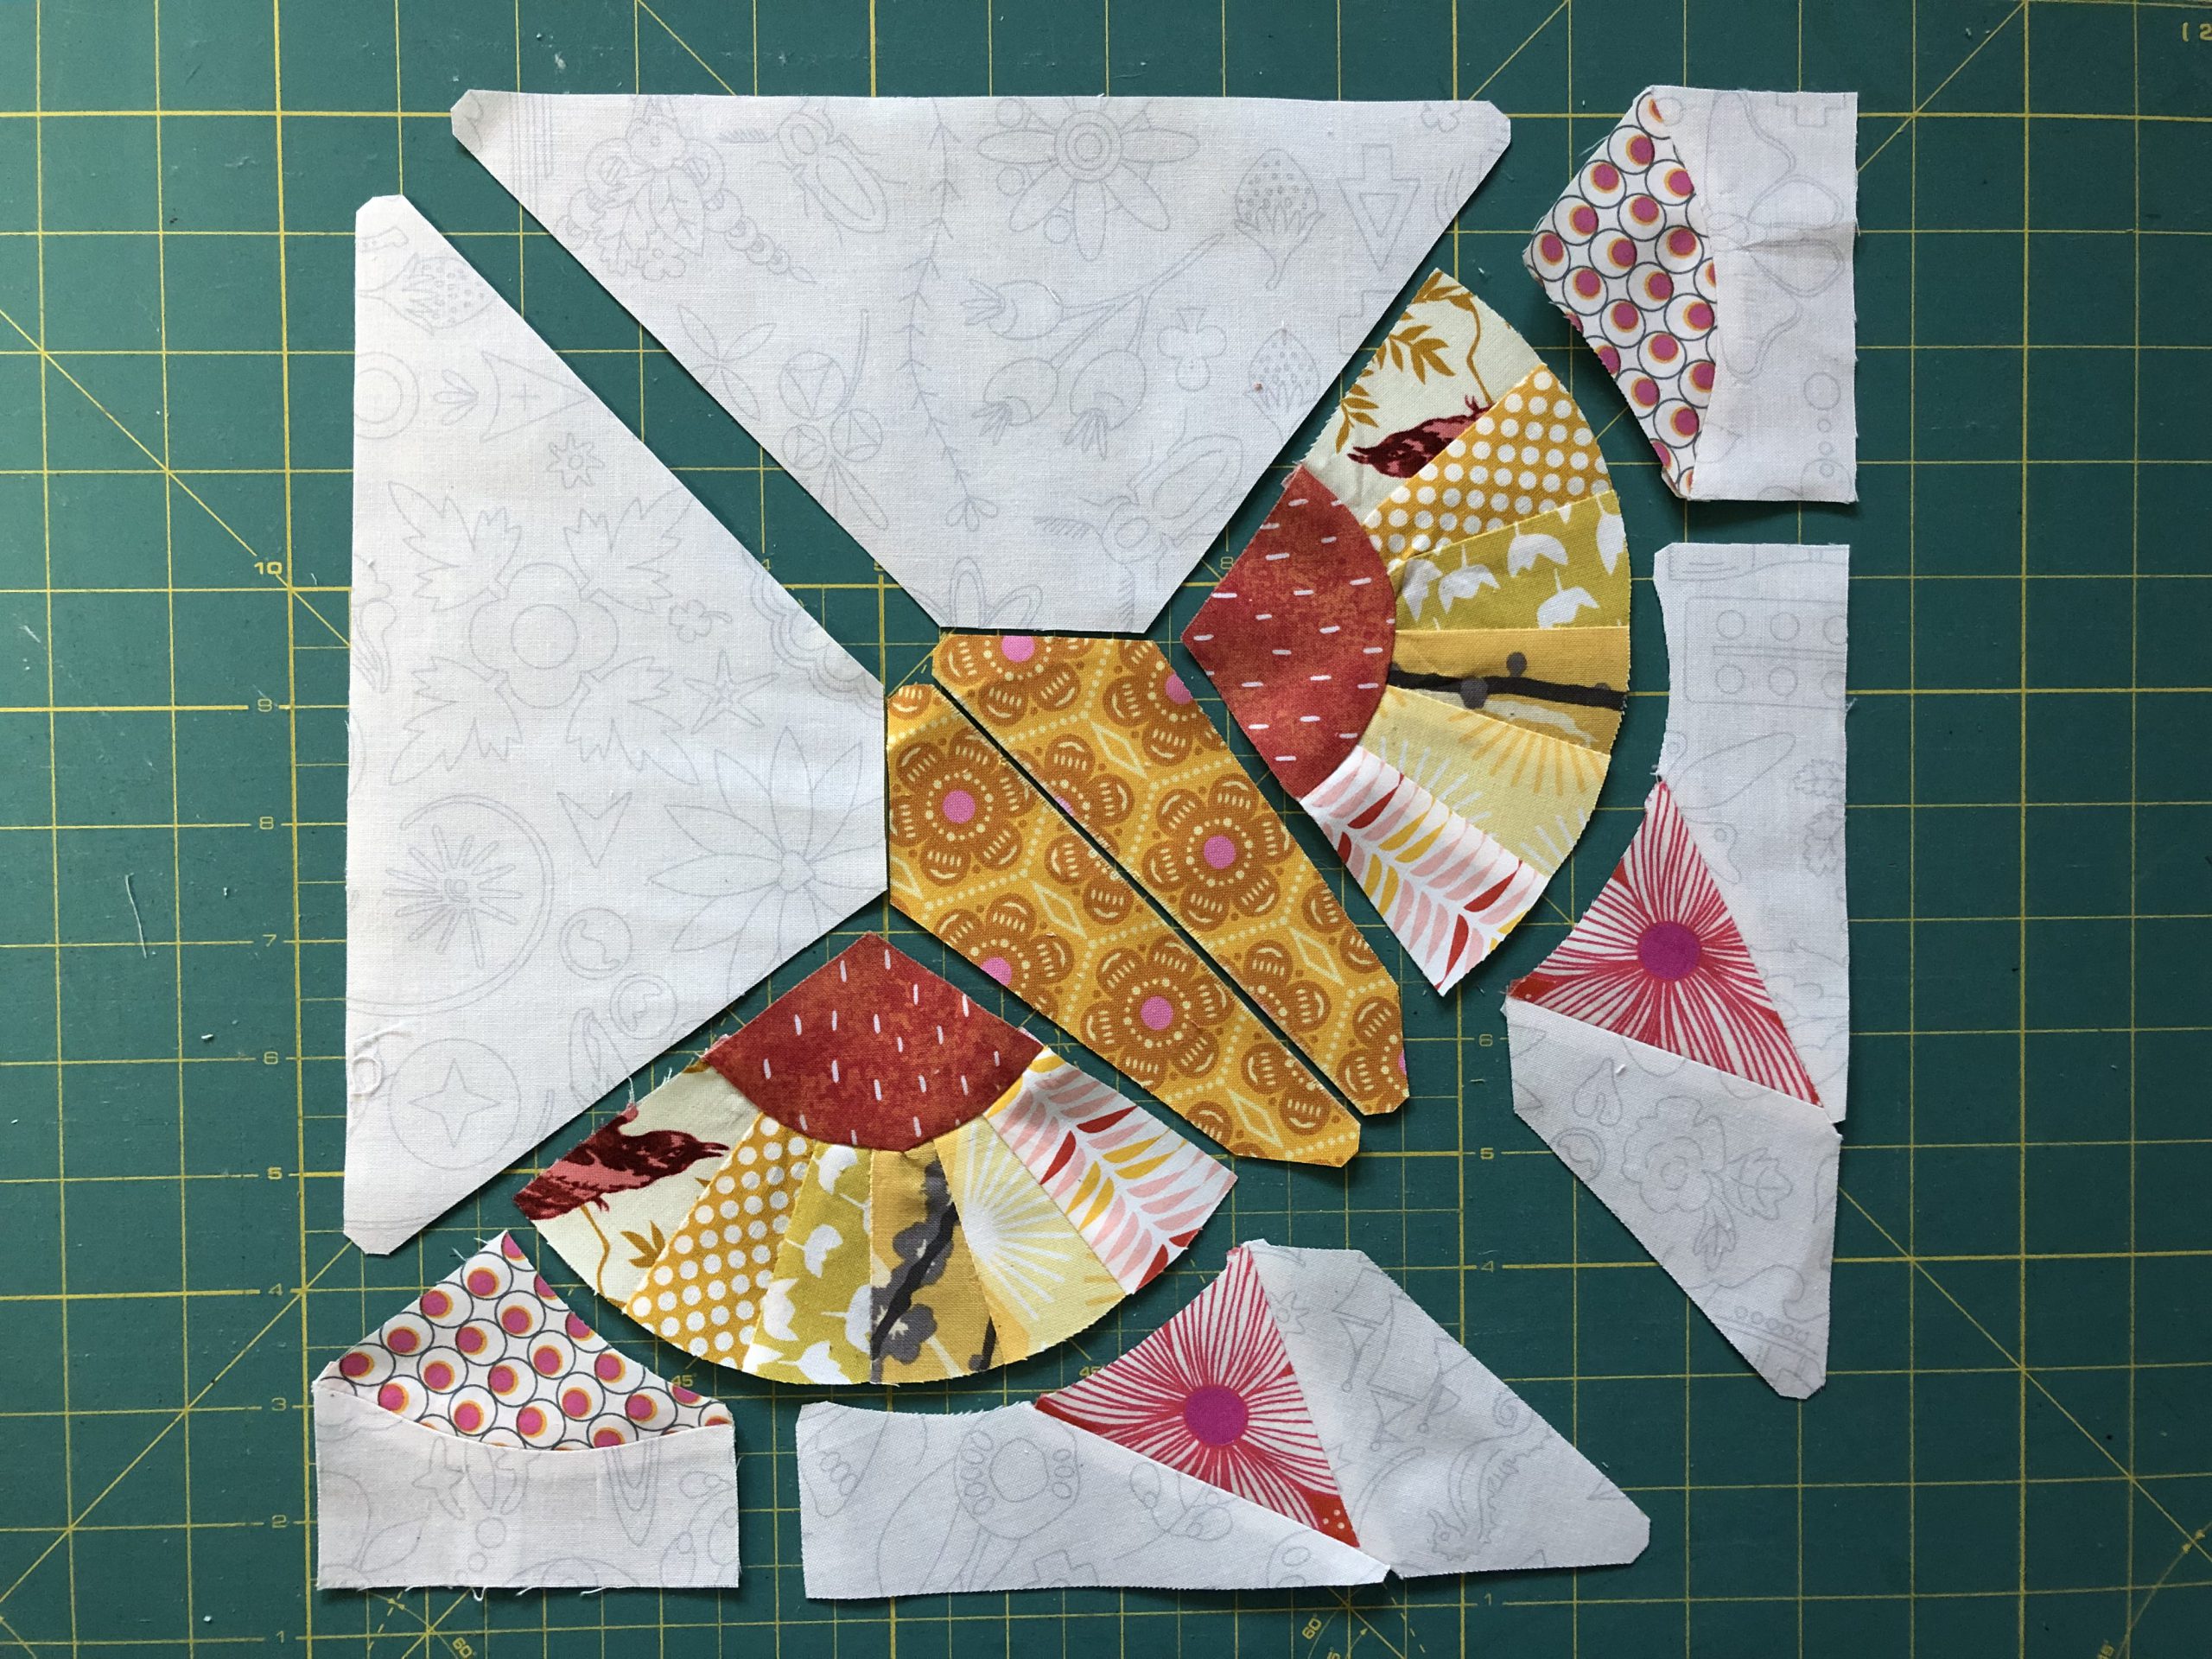
Then close the panel seam between these two bottom units.
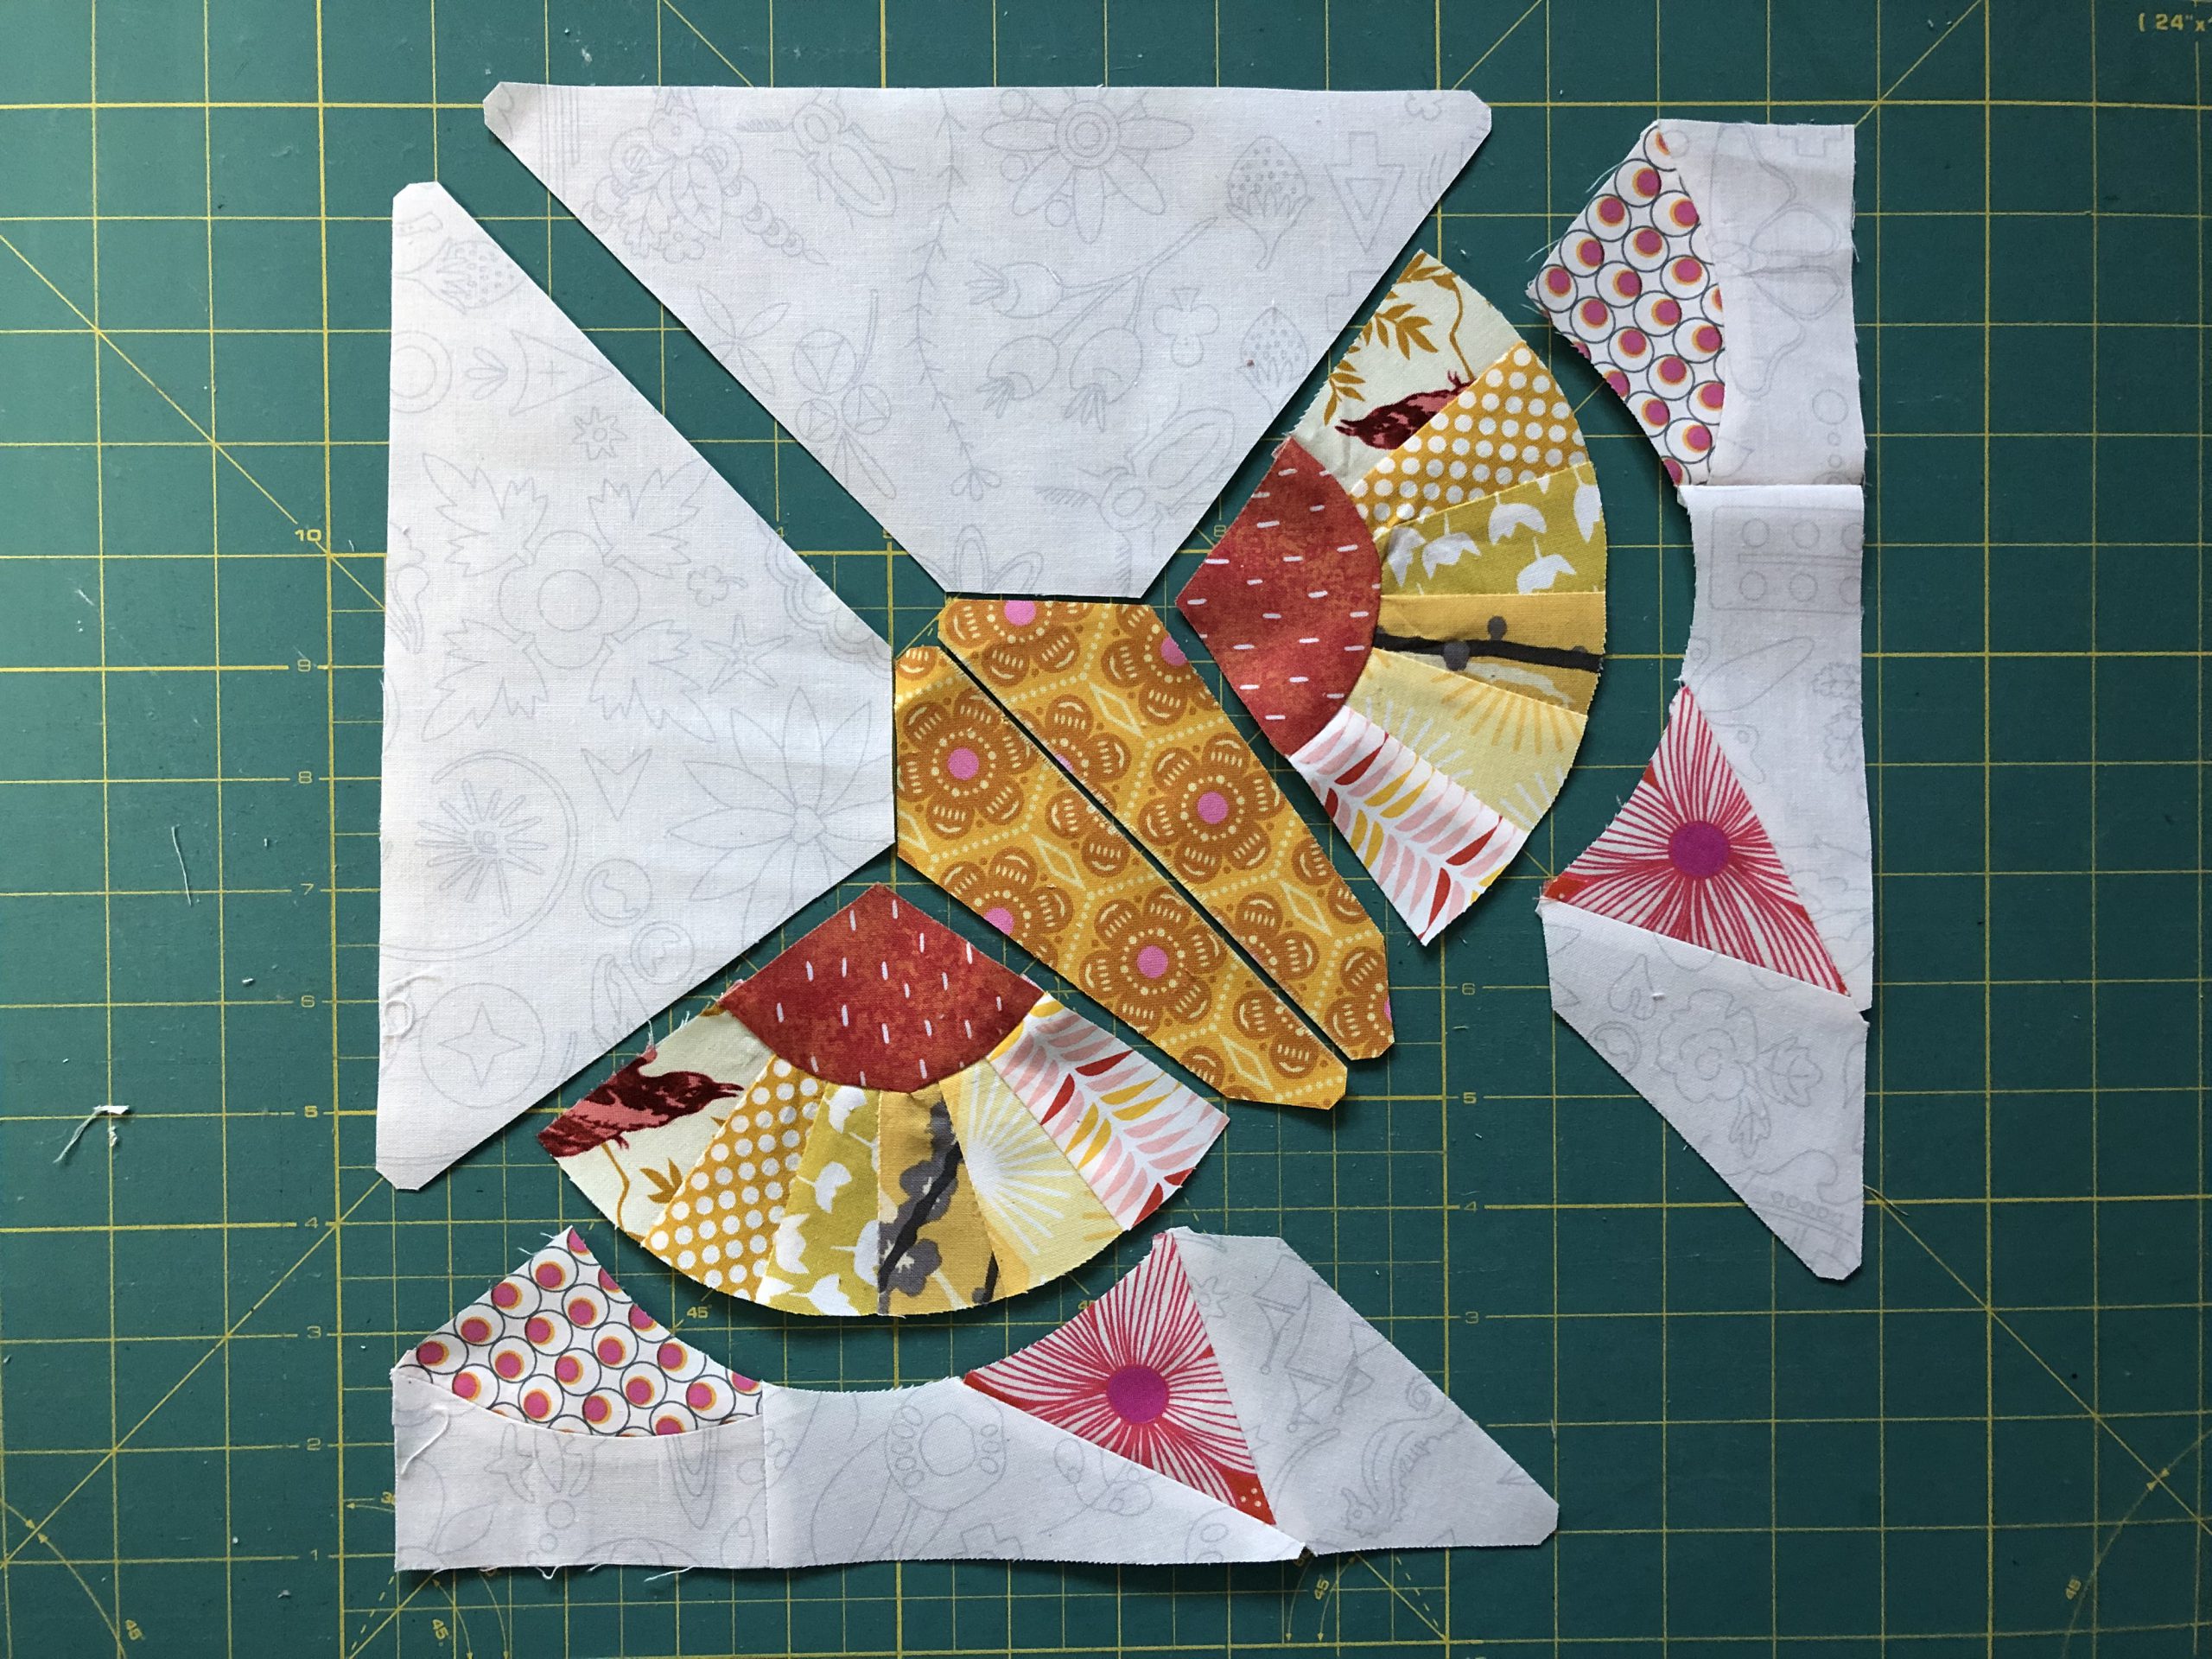
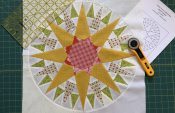
Now attach these to your “circle piece”.
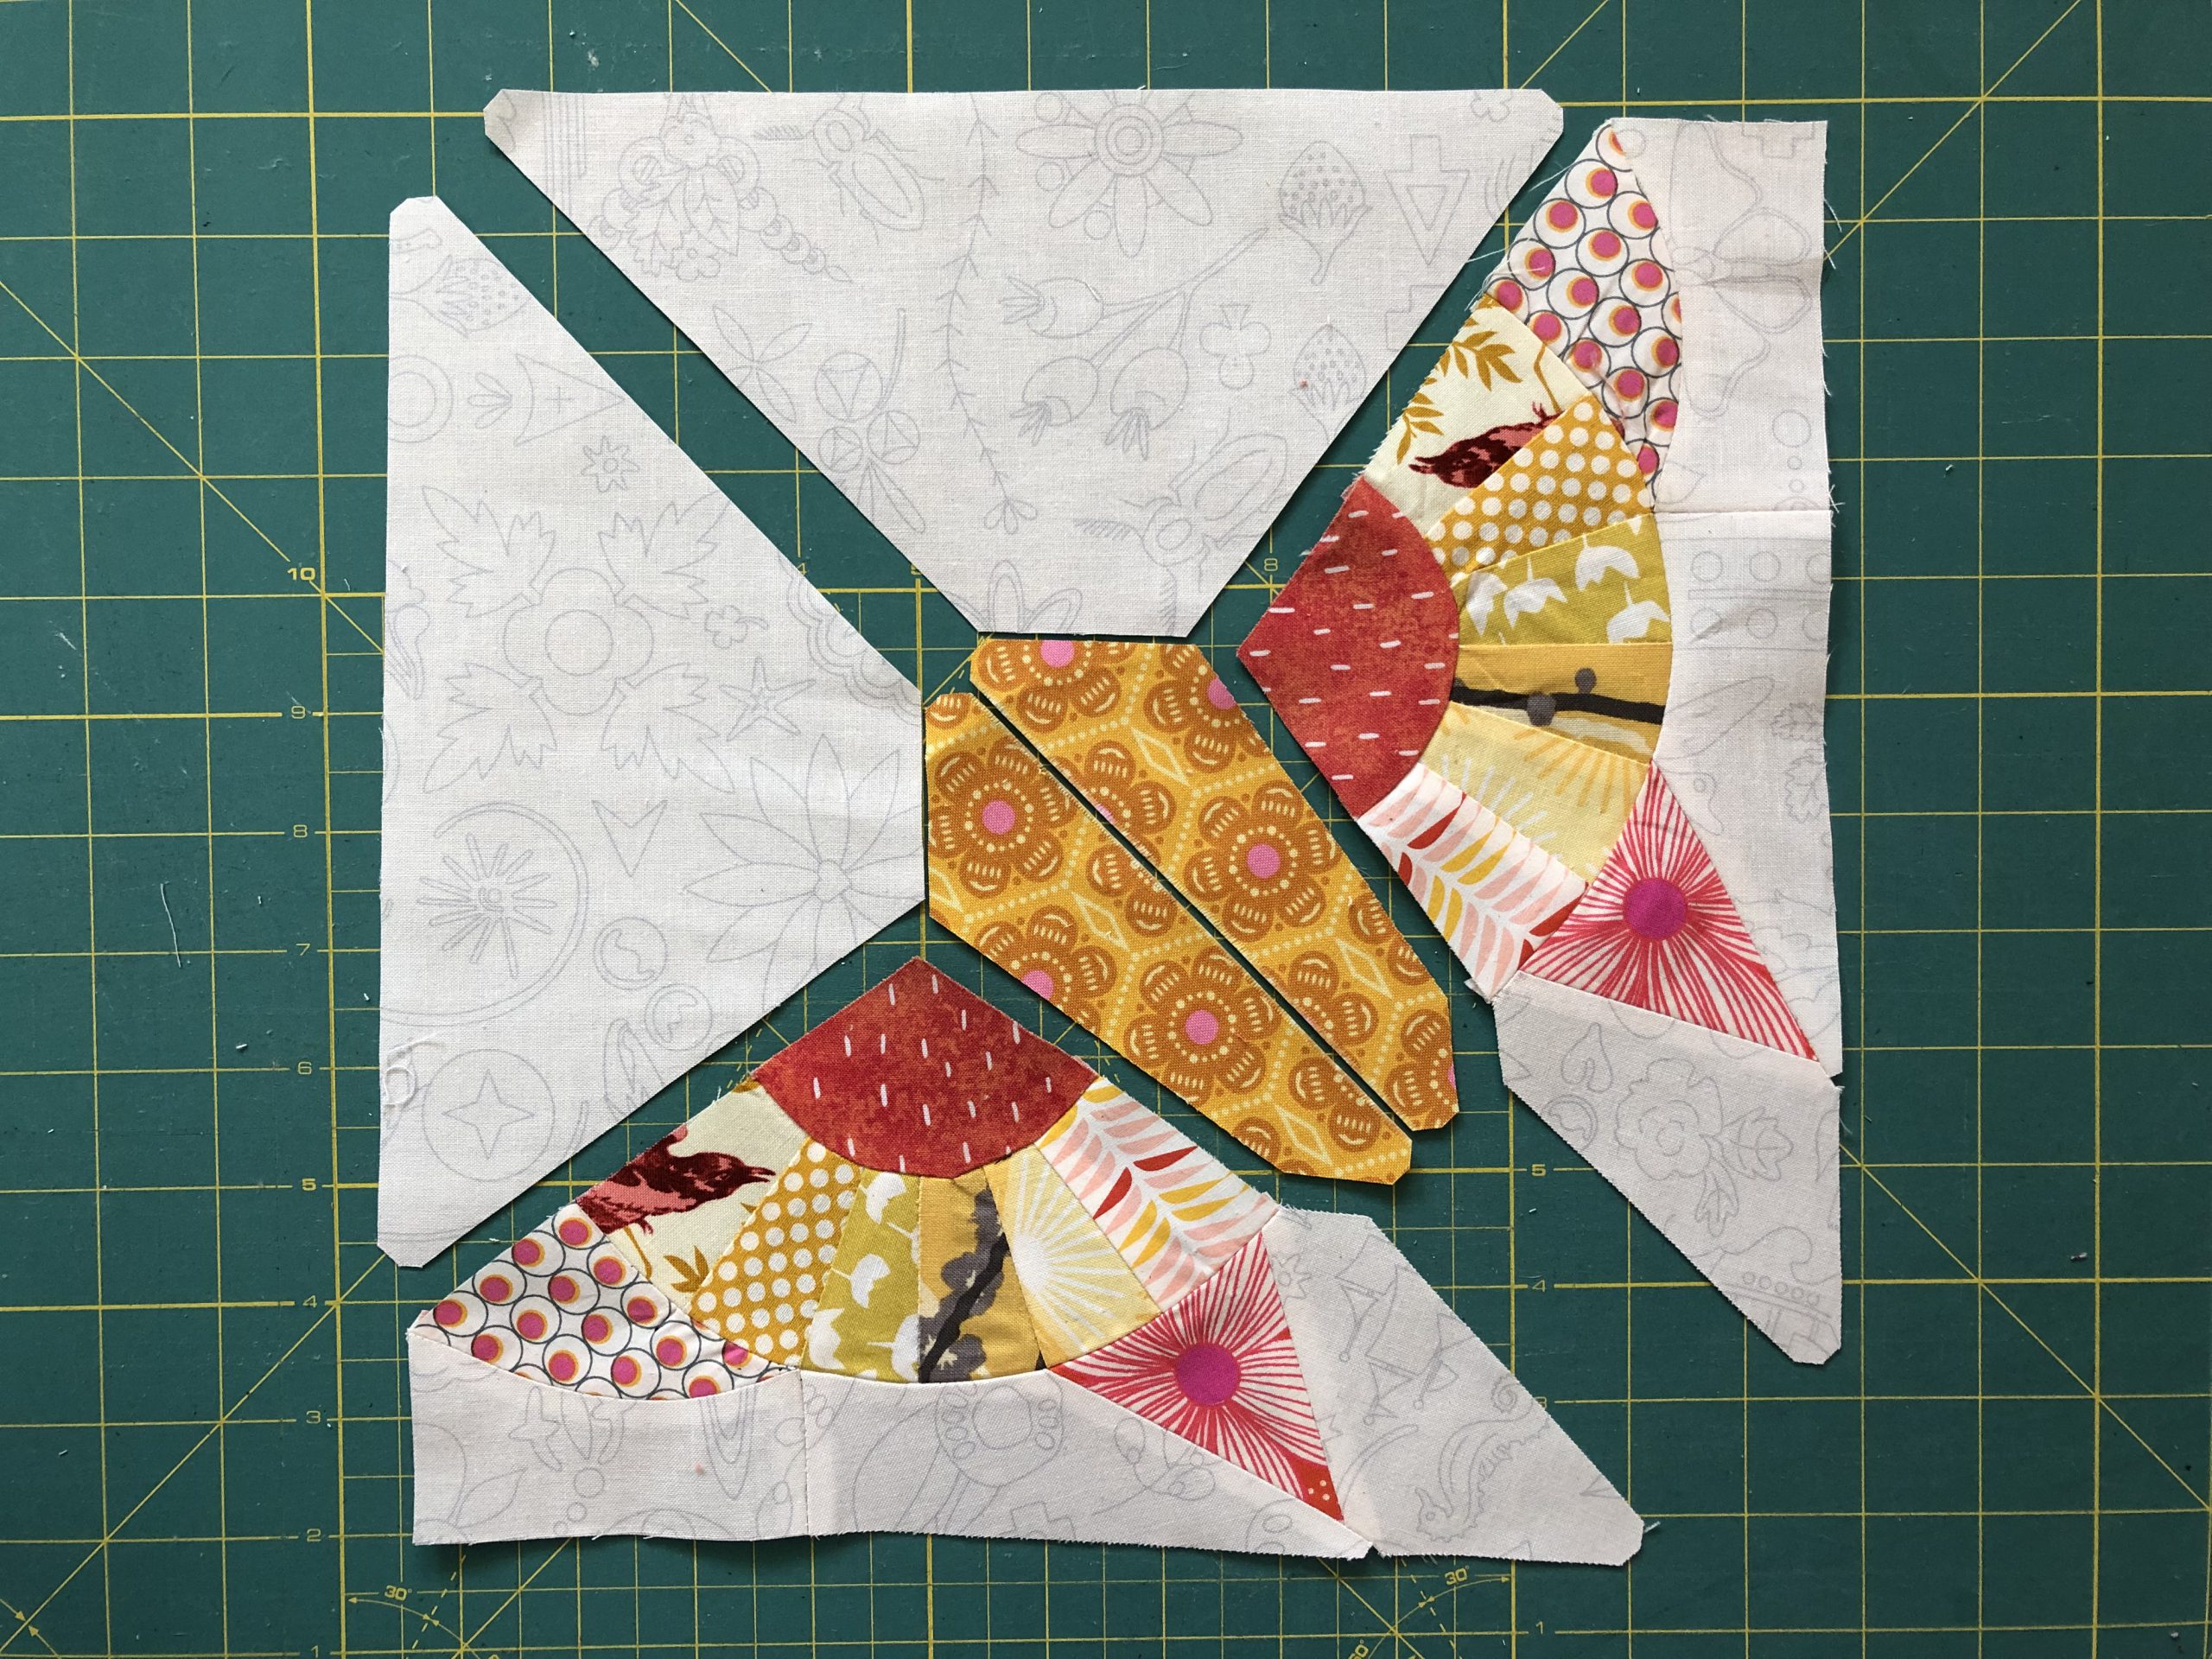
Next, sew the body piece of the butterfly onto the already assembled pieces. This has a bit of a sharp bend, which you will already be familiar with from other blocks.
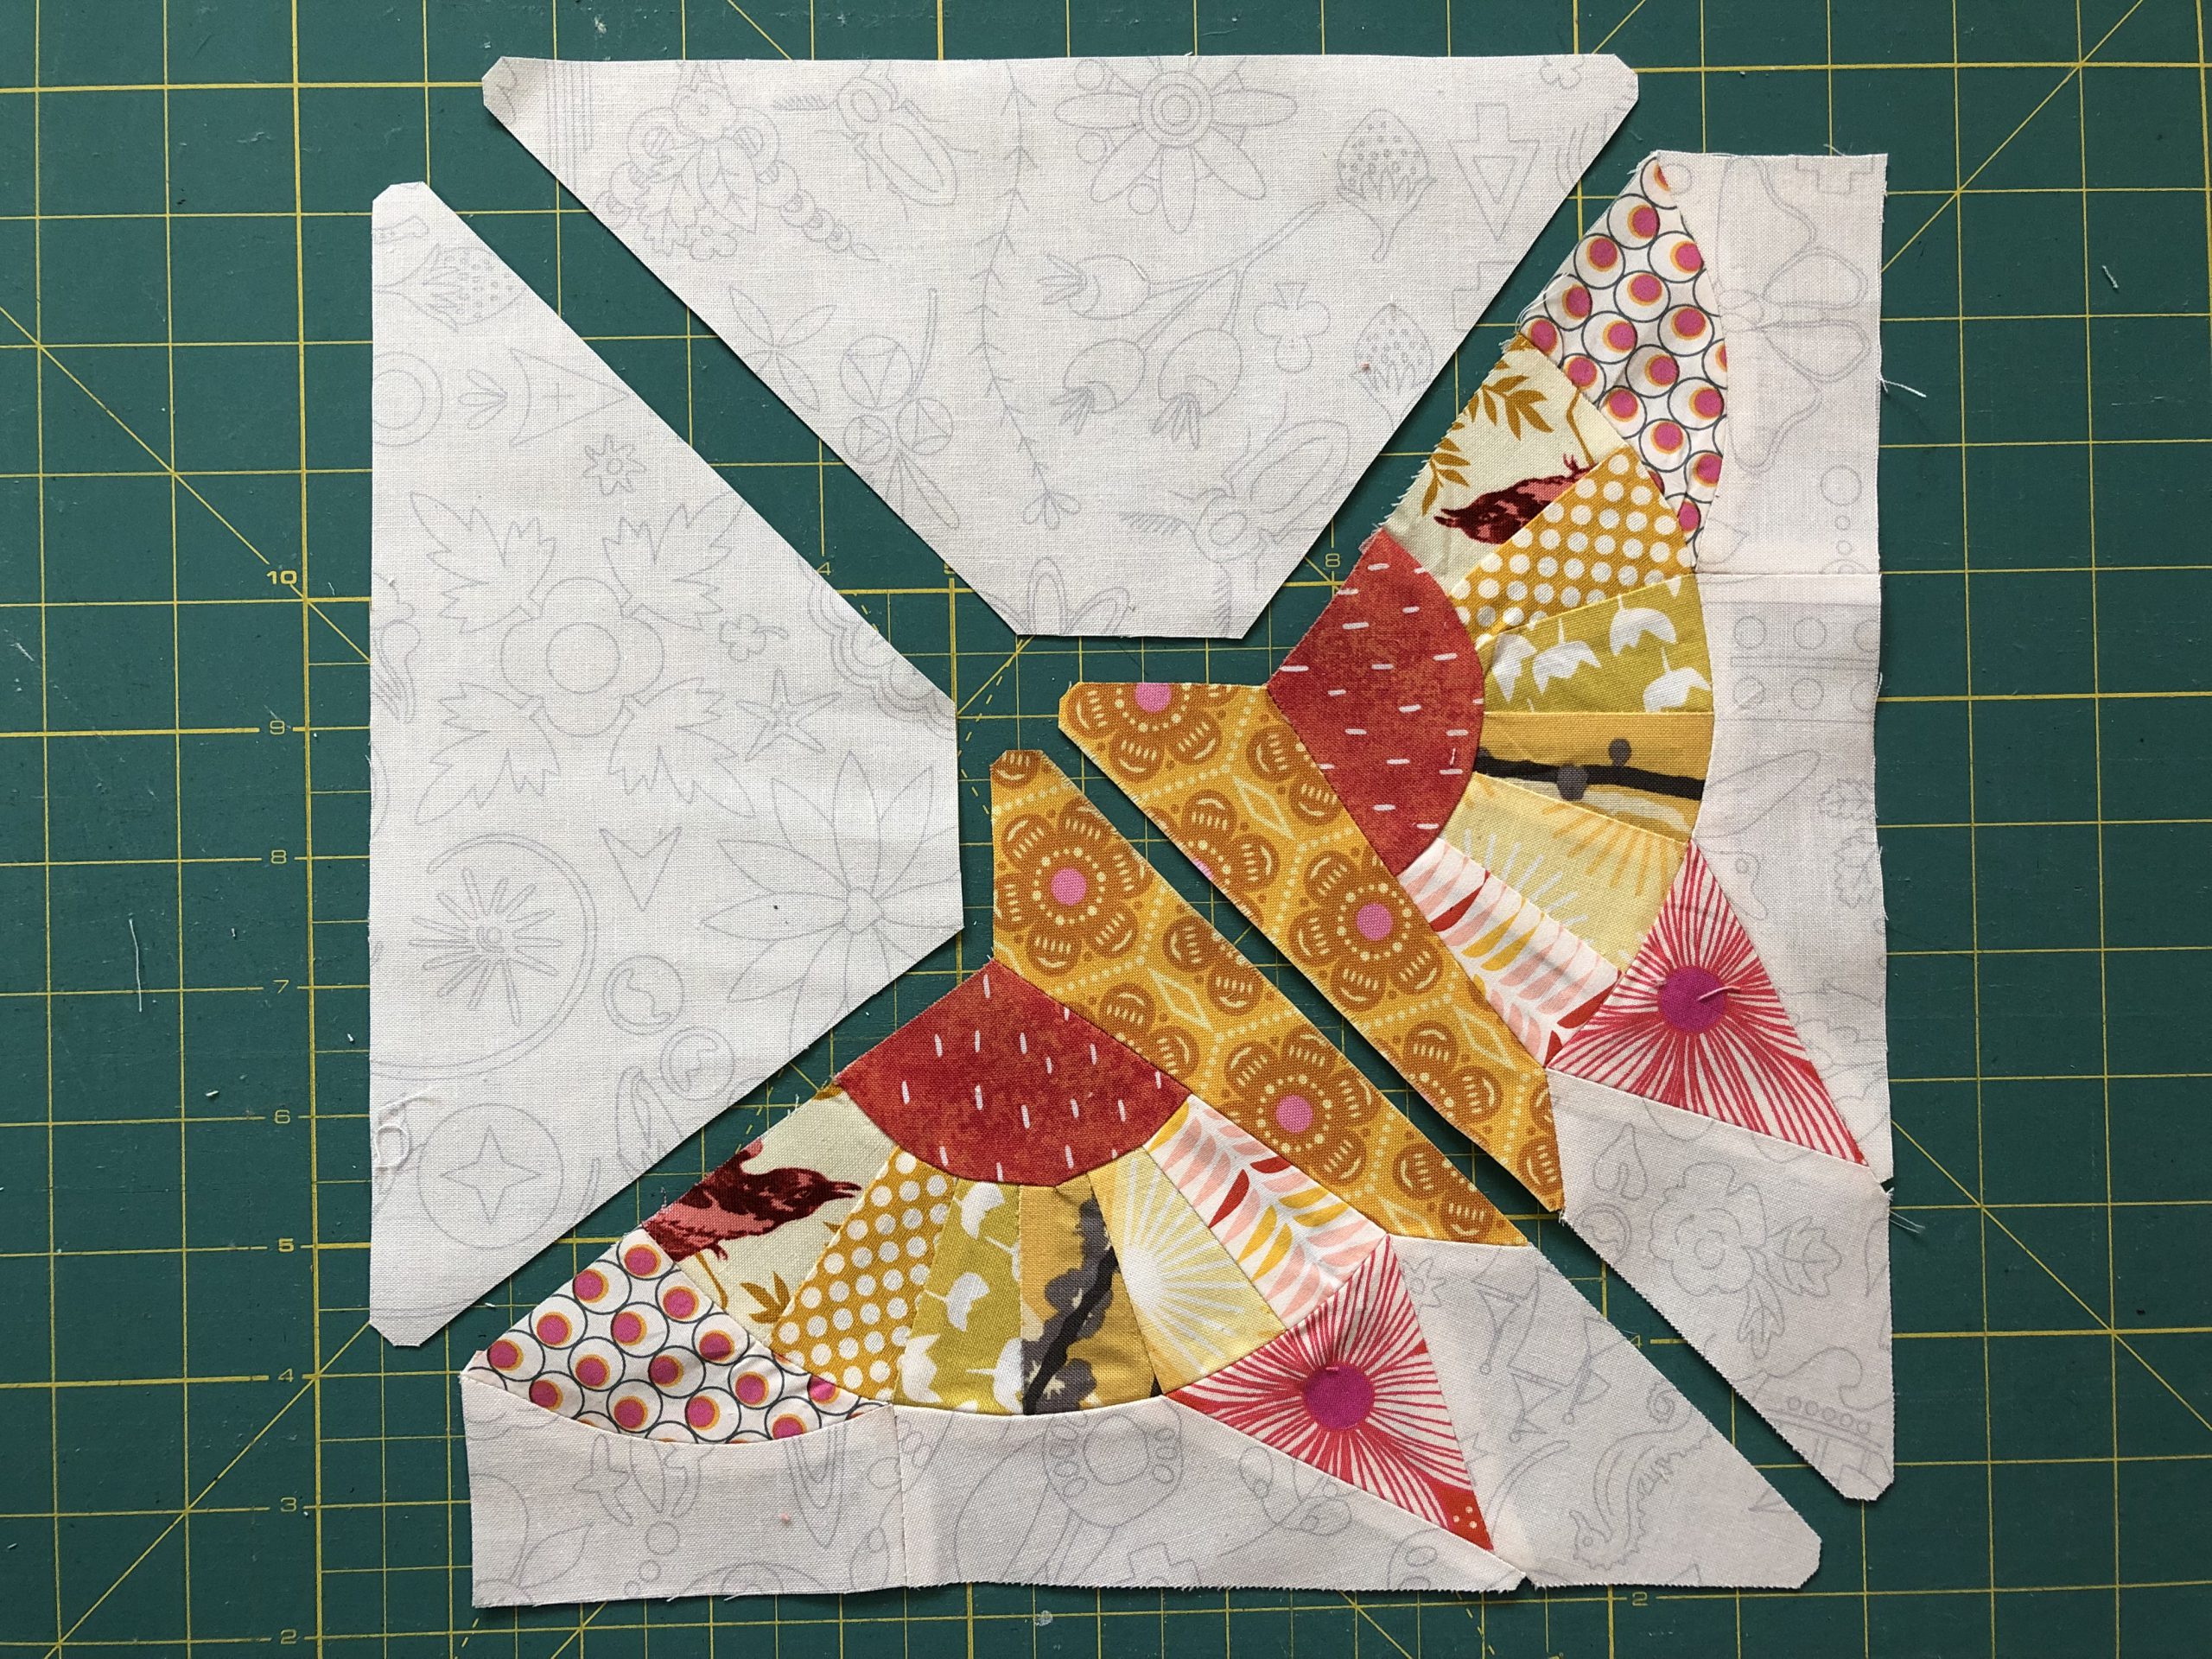
The large background piece A is now joined to the butterfly. Once again, there is a corner here that you need to sew. You have experience in doing this, so I won’t explain it again 😉
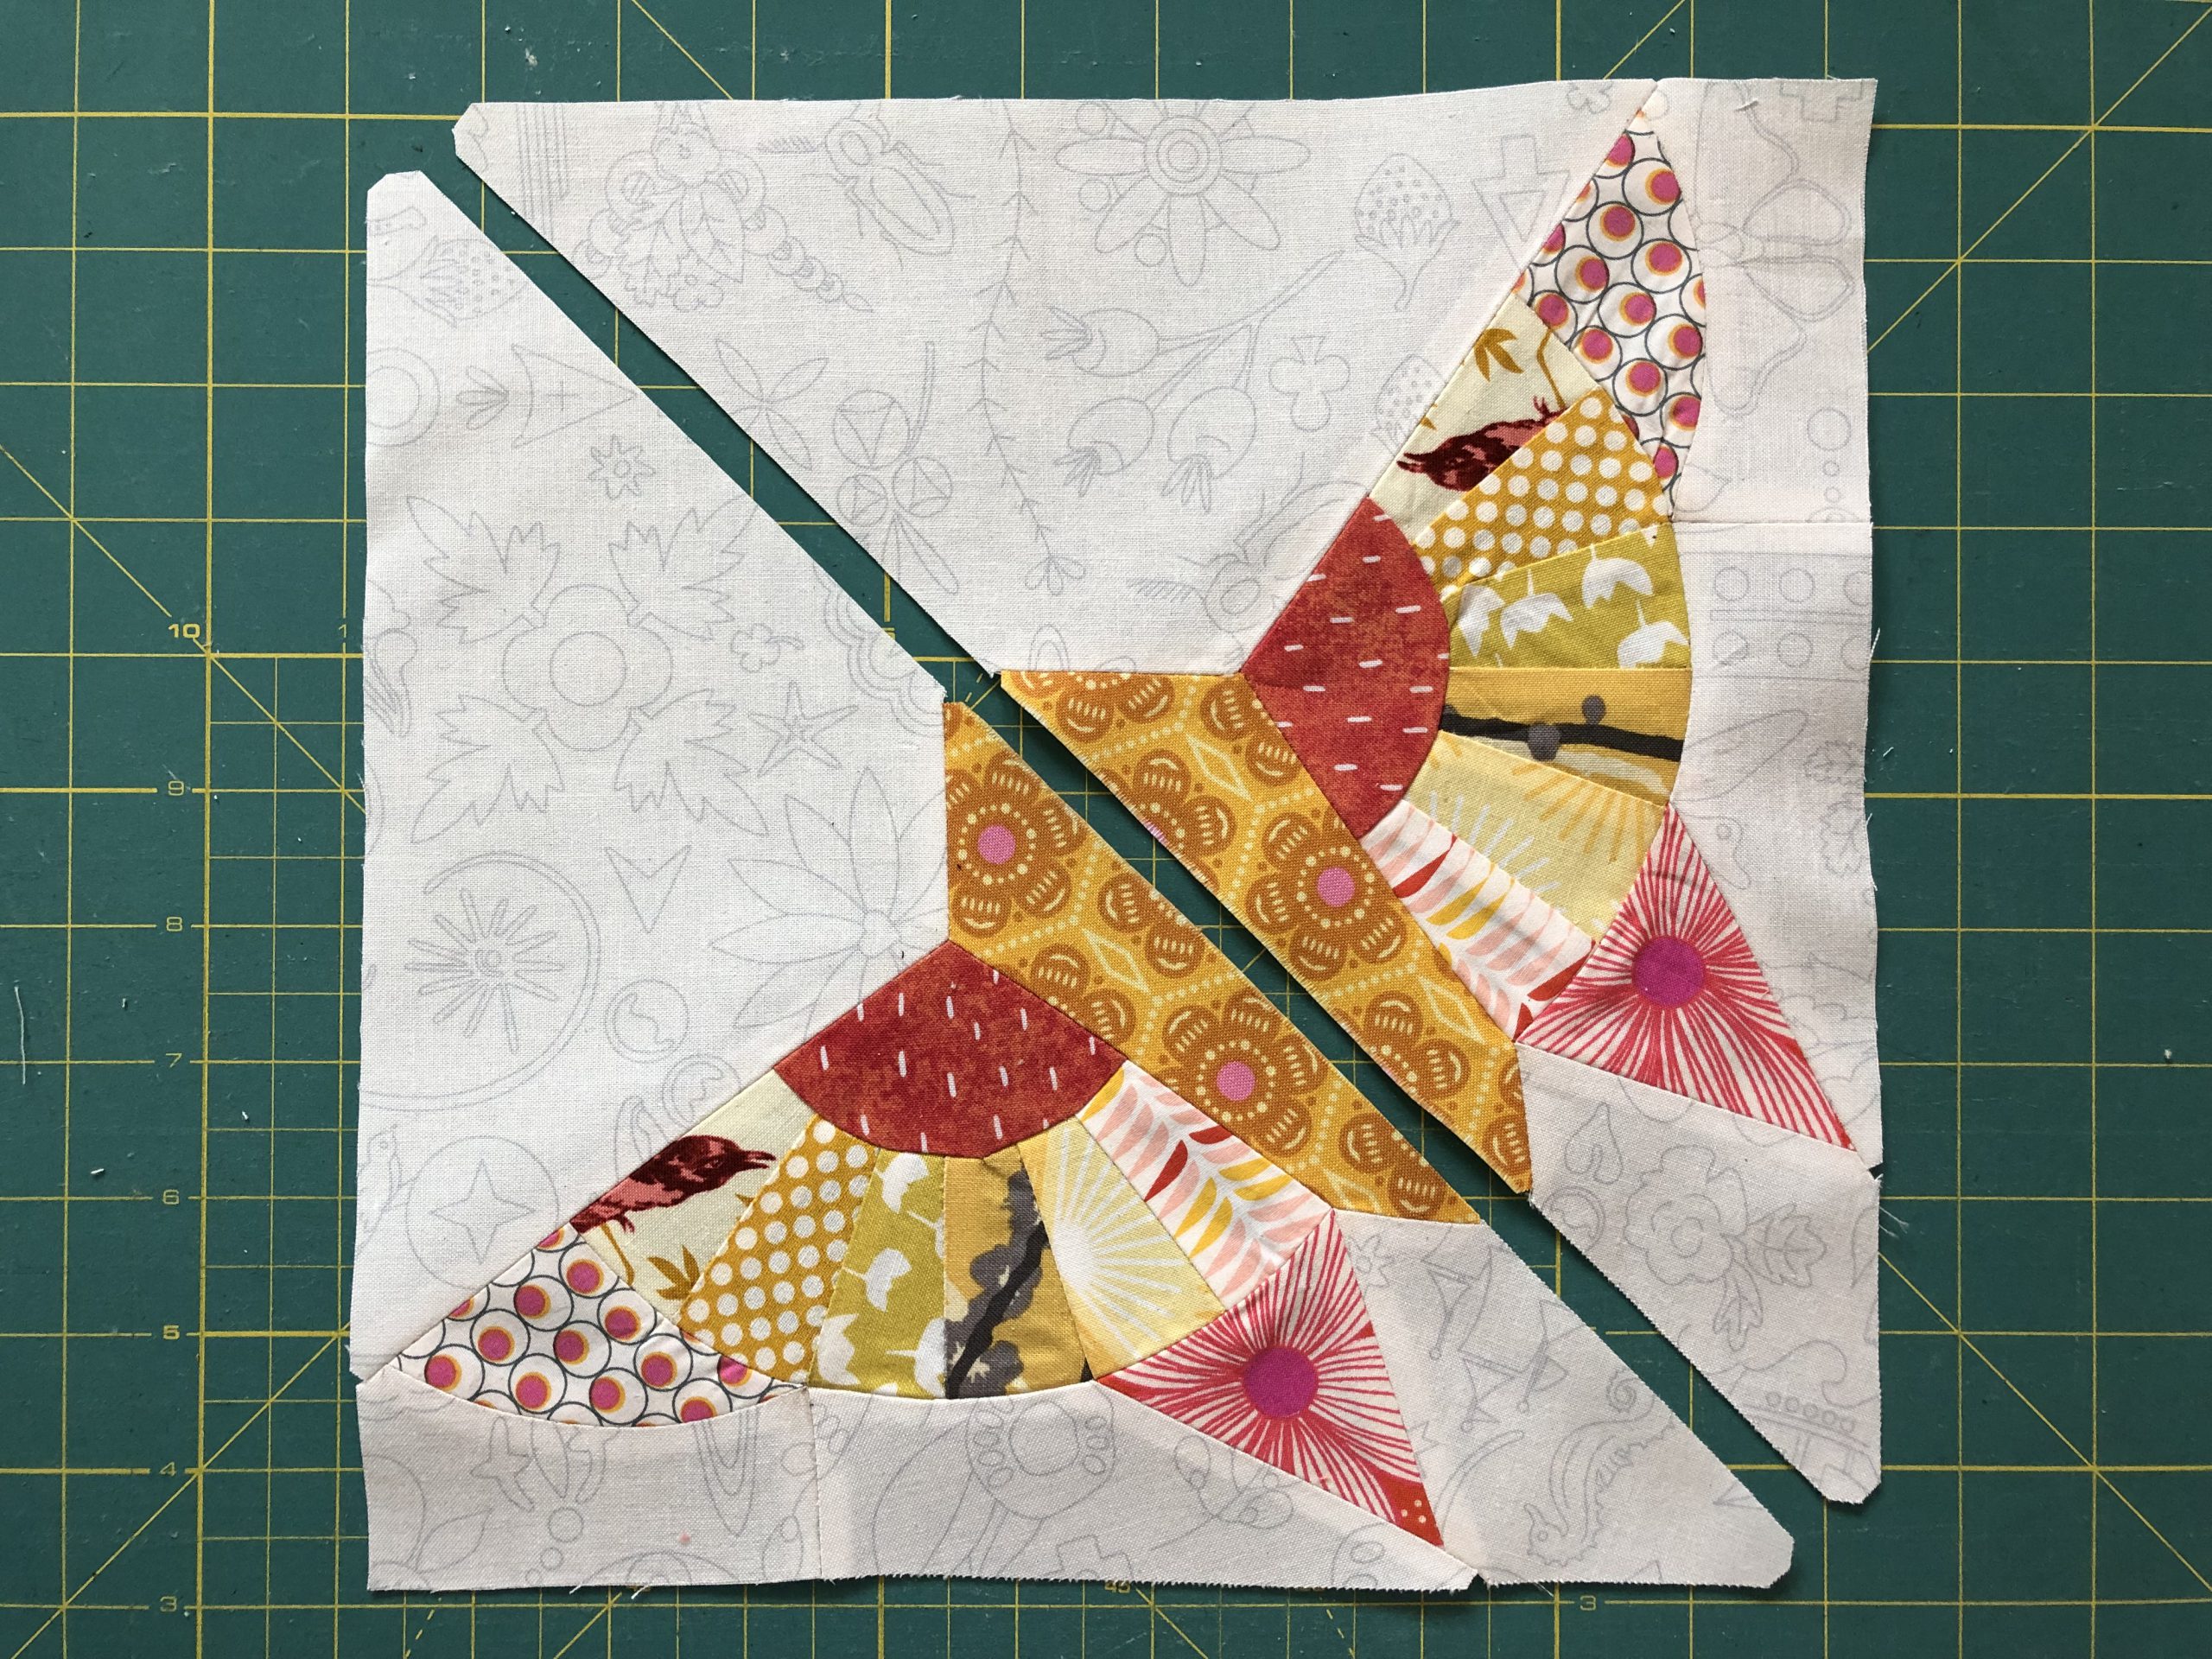
Now all you have to do is sew the center seam and the block is finished.

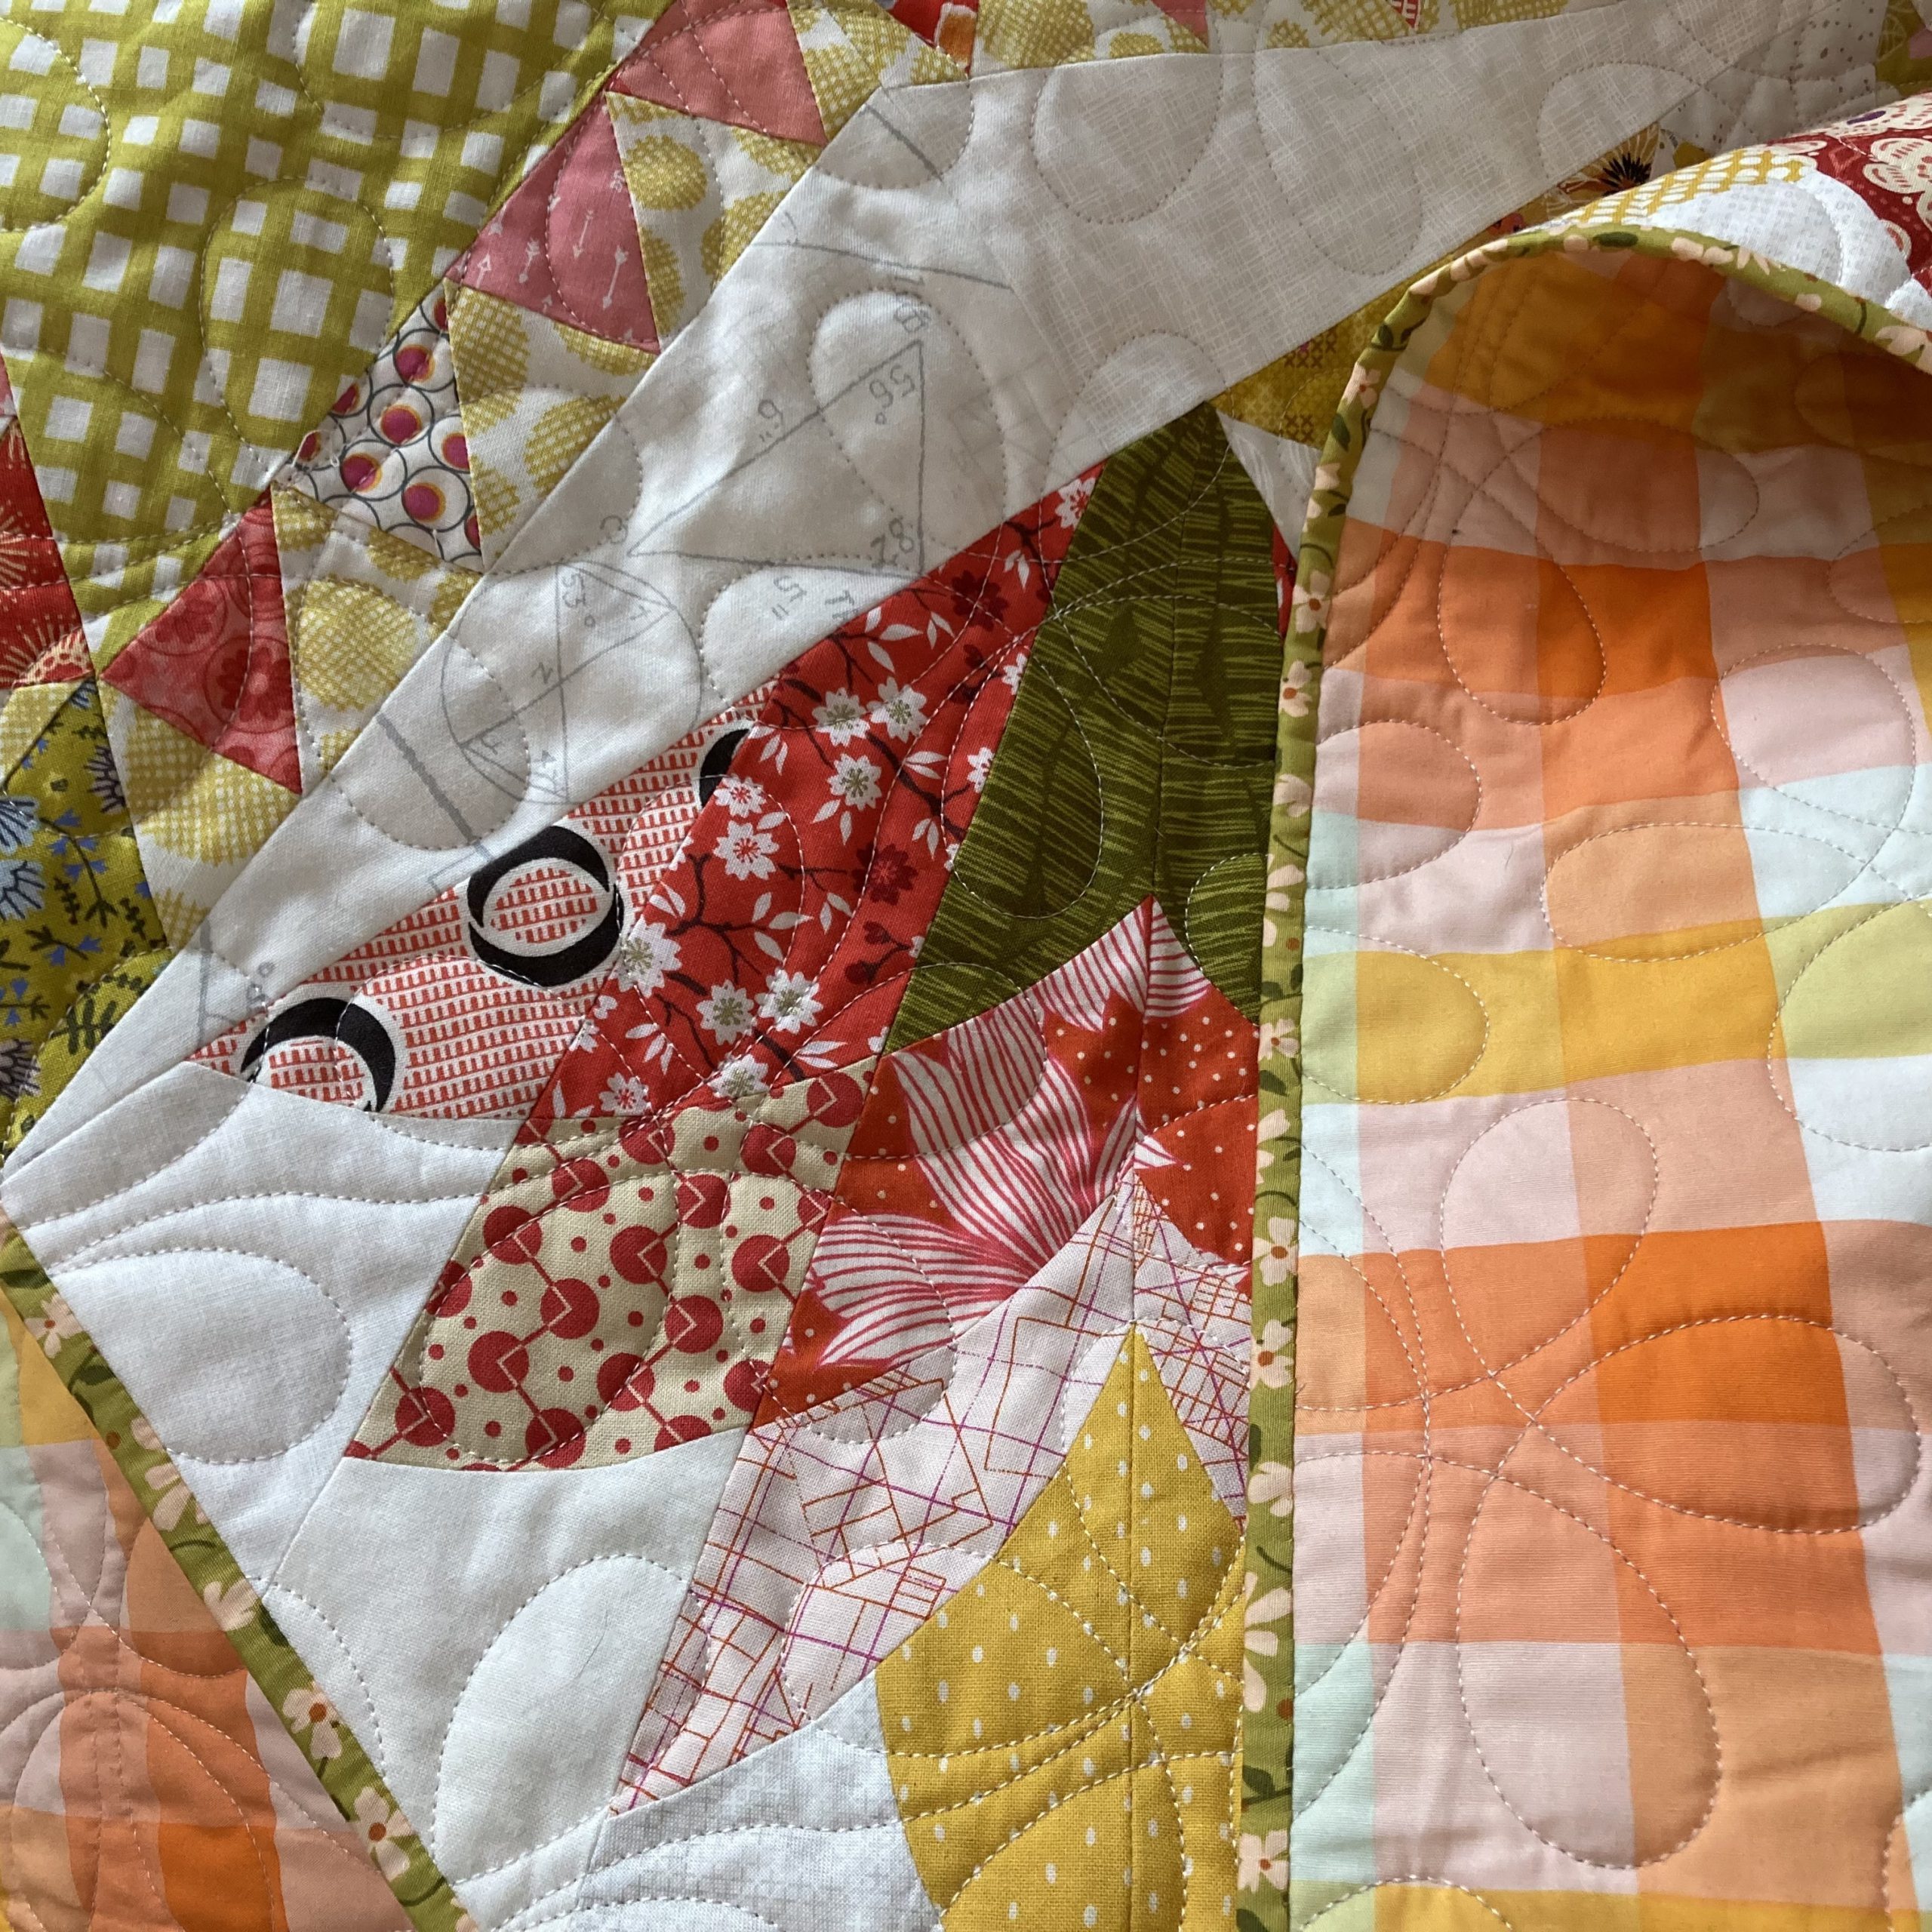
As with the first butterfly block, here you can also add the antennae by hand or on the machine. I only did this on my two blocks after I had finished the quilt. I drew on the antennae with a marker and then stitched along the lines using a thin embroidery thread (of course only through the top fabric layer!).
That’s it… I’ve explained the last block – and now it’s over to you!
Why not sew this Butterfly block and post it here on the BERNINA Blog in the Community area, on Instagram or Facebook? Don’t forget to add the hashtag #BERNINAOldBlockSampler to your picture so it’s easy to find your work quickly with one click!
What’s next?
Now it’s time to assemble your blocks! Last year I wrote an extra blog post for you about this, which deals with possible layouts. You can find this blog post here:
Old Block Quilt-Along / Layout
Lots of people asked how many blocks there are altogether: a total of 34 blocks!
In three of the blog posts for this quilt-along, I gave you two different sizes for the blocks. 31 blocks + 3 blocks in two sizes = 34 blocks!
If you would like to take part in the competition that BERNINA is running as part of the quilt-along, you must have sewn at least 12 of the blocks I presented during the quilt-along into your quilt-top. It is up to you how you lay out your quilt top.
And don’t forget: You could win a BERNINA 570 QE!
How to enter the prize draw
You can enter the prize draw as follows:
When you have finished your quilt top (or even the whole quilt), please post a picture showing the whole top or the whole quilt by April 30, 2022 at the latest.
- You can post your picture on Facebook or Instagram
- Or you can upload it to the Community section of the BERNINA blog
You can also do both and share your picture both on social media and in the Community area. BERNINA will then select the winner out of all the images via a prize draw.
If you post on Instagram or Facebook, make sure to use the hashtag #BERNINAOldBlockSampler to ensure you are entered! Your work will then be shown at the following links:
Instagram: https://www.instagram.com/explore/tags/berninaoldblocksampler
Facebook: https://www.facebook.com/hashtag/berninaoldblocksampler
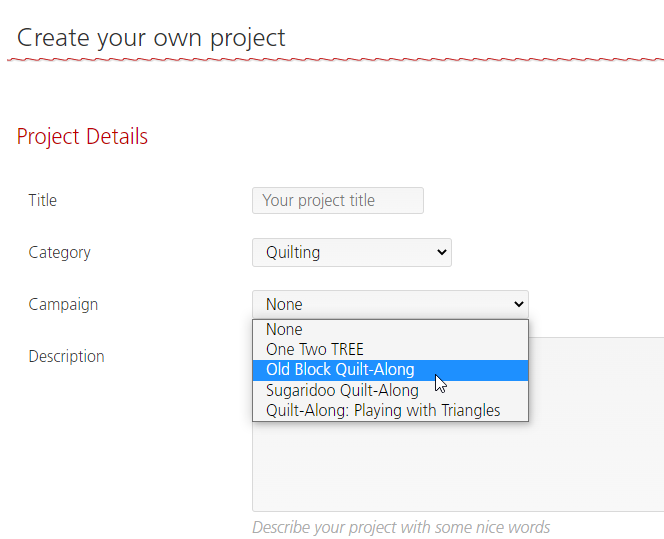
When uploading to the Community area, make sure you select “Old Block Quilt-Along” in the “Campaign” drop-down list:
New here?
Have you only just discovered the quilt-along? No problem! You can join at any time. Registration is not required, and you can win a BERNINA 570 QE! All the posts will remain permanently available:
In the first post, which was the invitation to participate in the quilt-along, you will find the important initial information about our joint project:
Old Block Quilt-Along – who’s in?
You can find the rest of the blocks from the quilt-along that have already been published here:
Old Block Quilt-Along – overview of all the posts
I’m glad you’re taking part and I hope to see more wonderful pictures of your blocks!
See you soon for the next block,
Andrea
Hi! I love this as a final block, and didn’t realize that I neglected to embroider antennae on the previous butterfly, can’t wait to do it!I have a question about the draw. I ended up making my quilt a bit larger (70×70″), so I added some extra 10″ blocks to my arrangement. Will the addition of these blocks disqualify me from the draw? I think about 30 of the blocks *are* from this QAL.
Hi Sue,
You are welcome to add your own spin on it, as long as you have fullfilled the minimum of 12 blocks. So with all your blocks, you are more then qualified!
Kind regards, Ramona from BERNINA International