 BERNINA Corporate Blog -
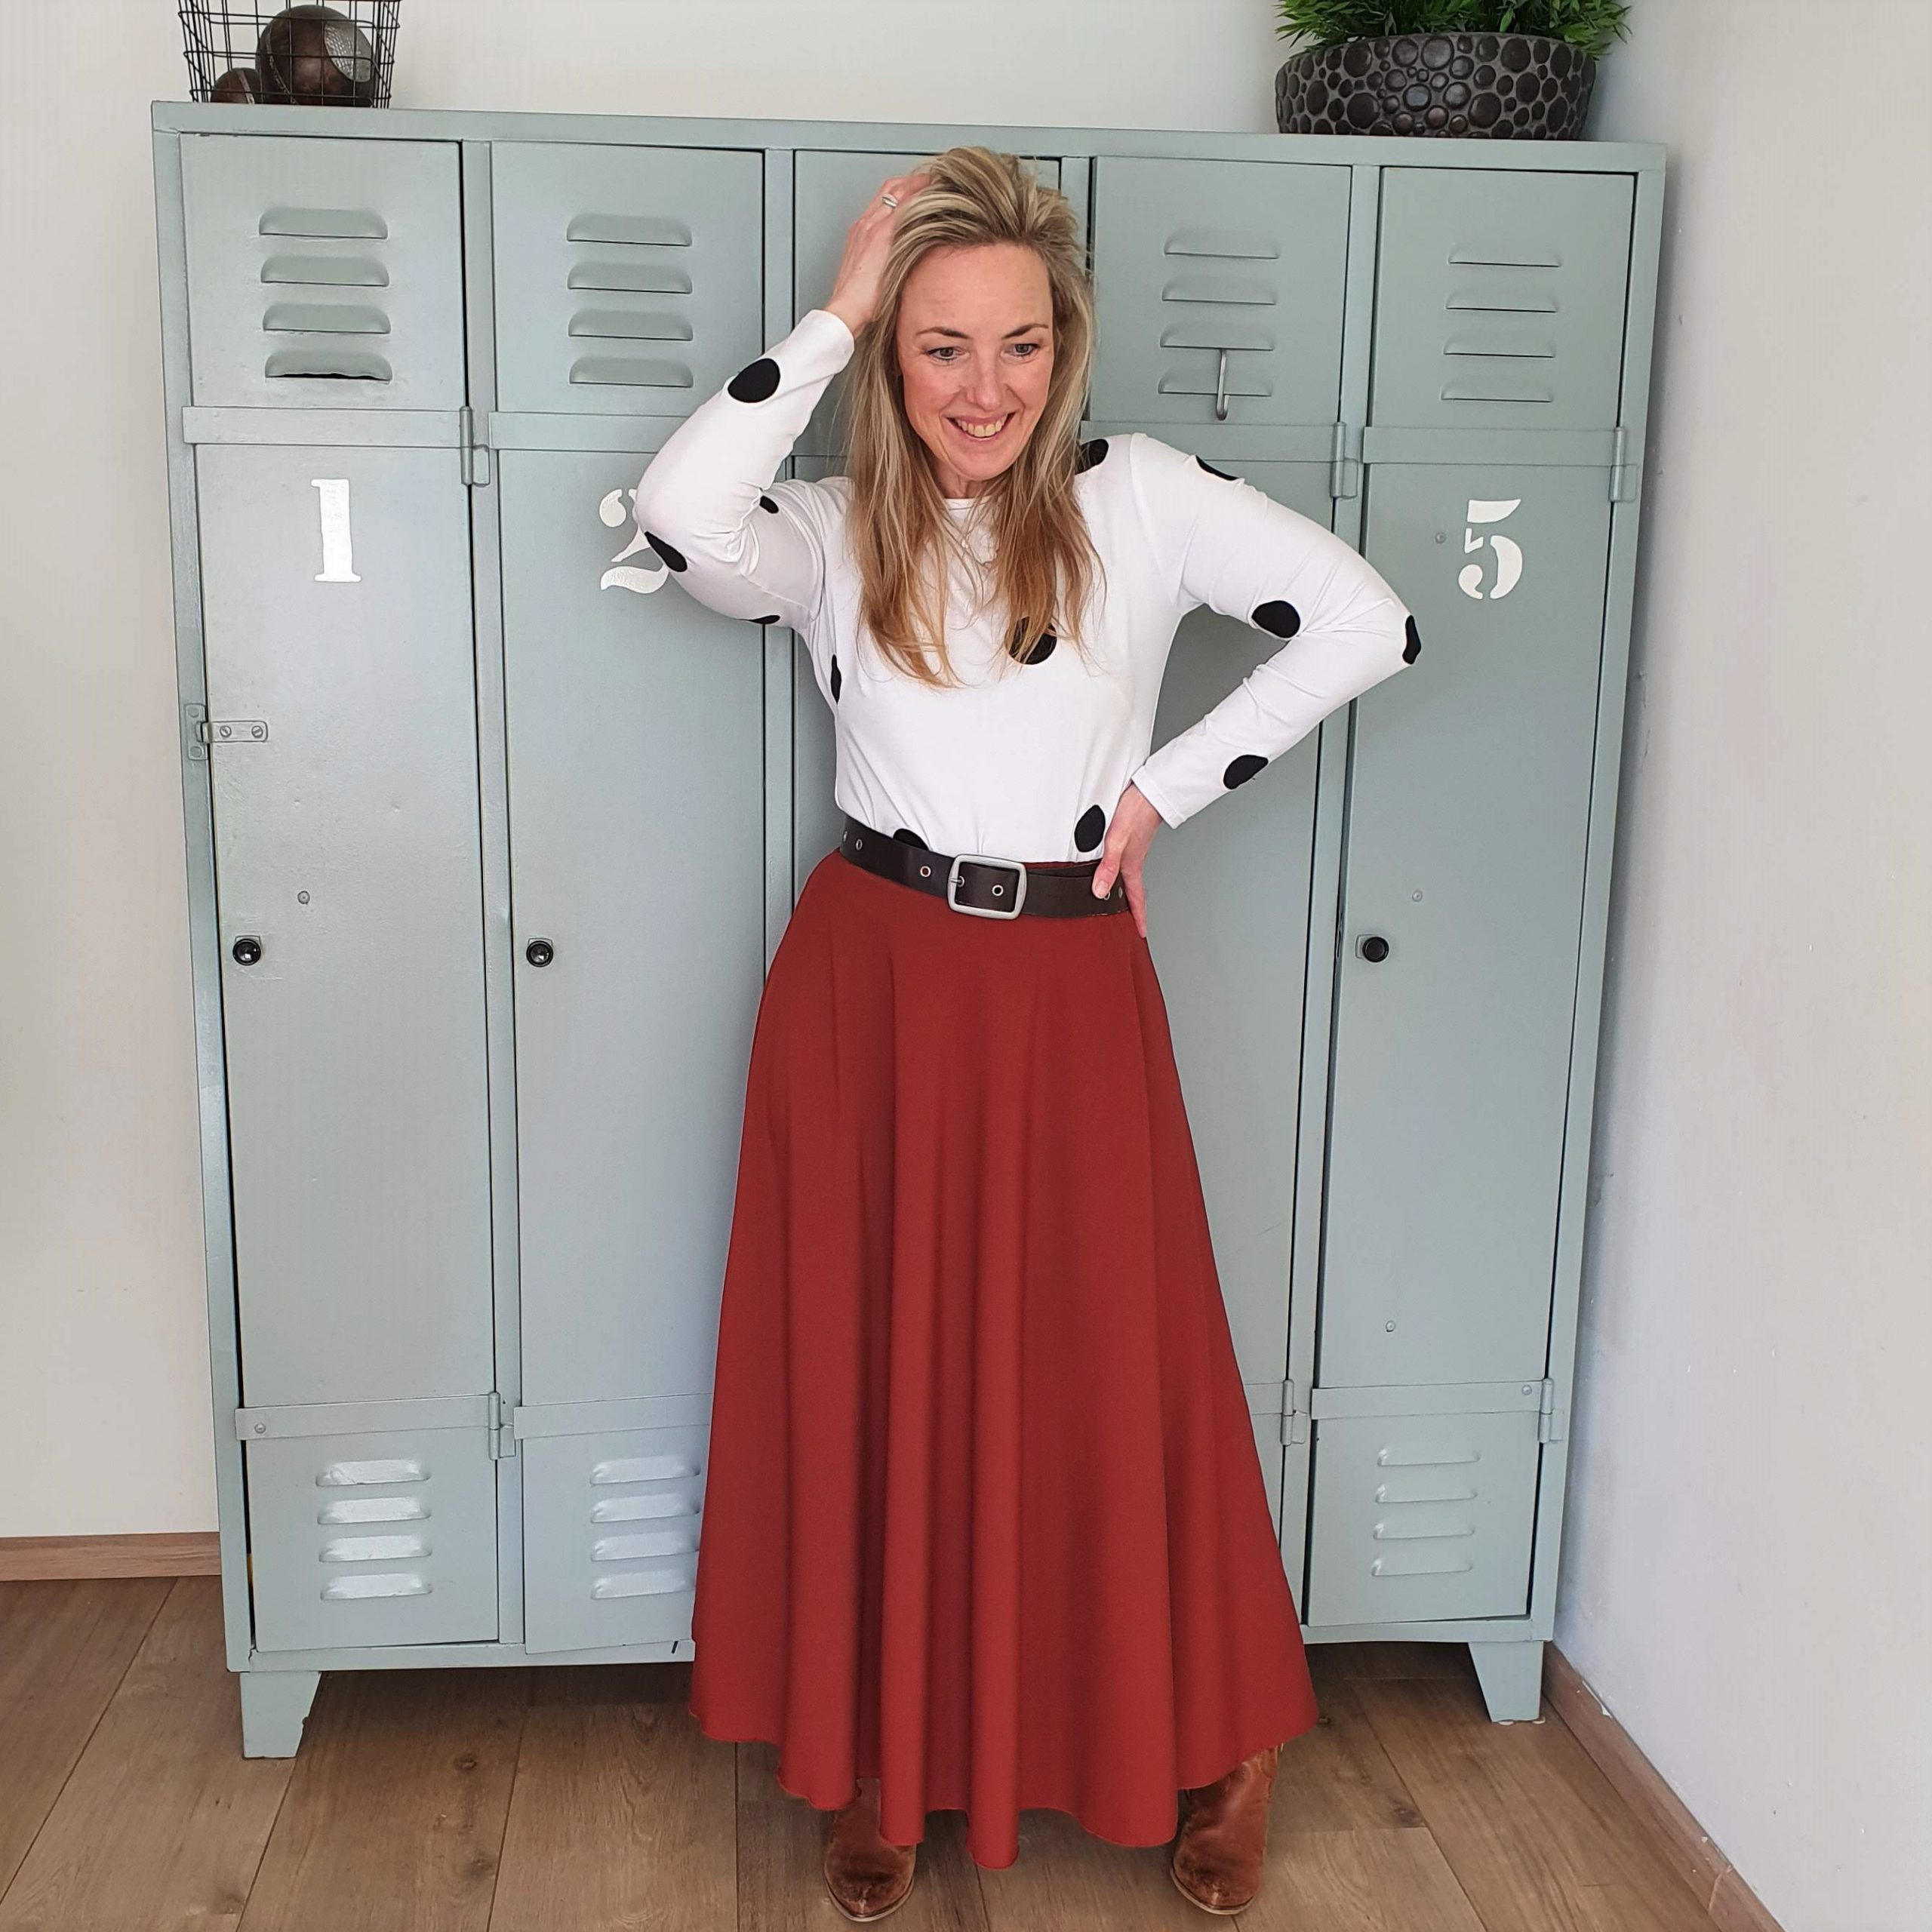
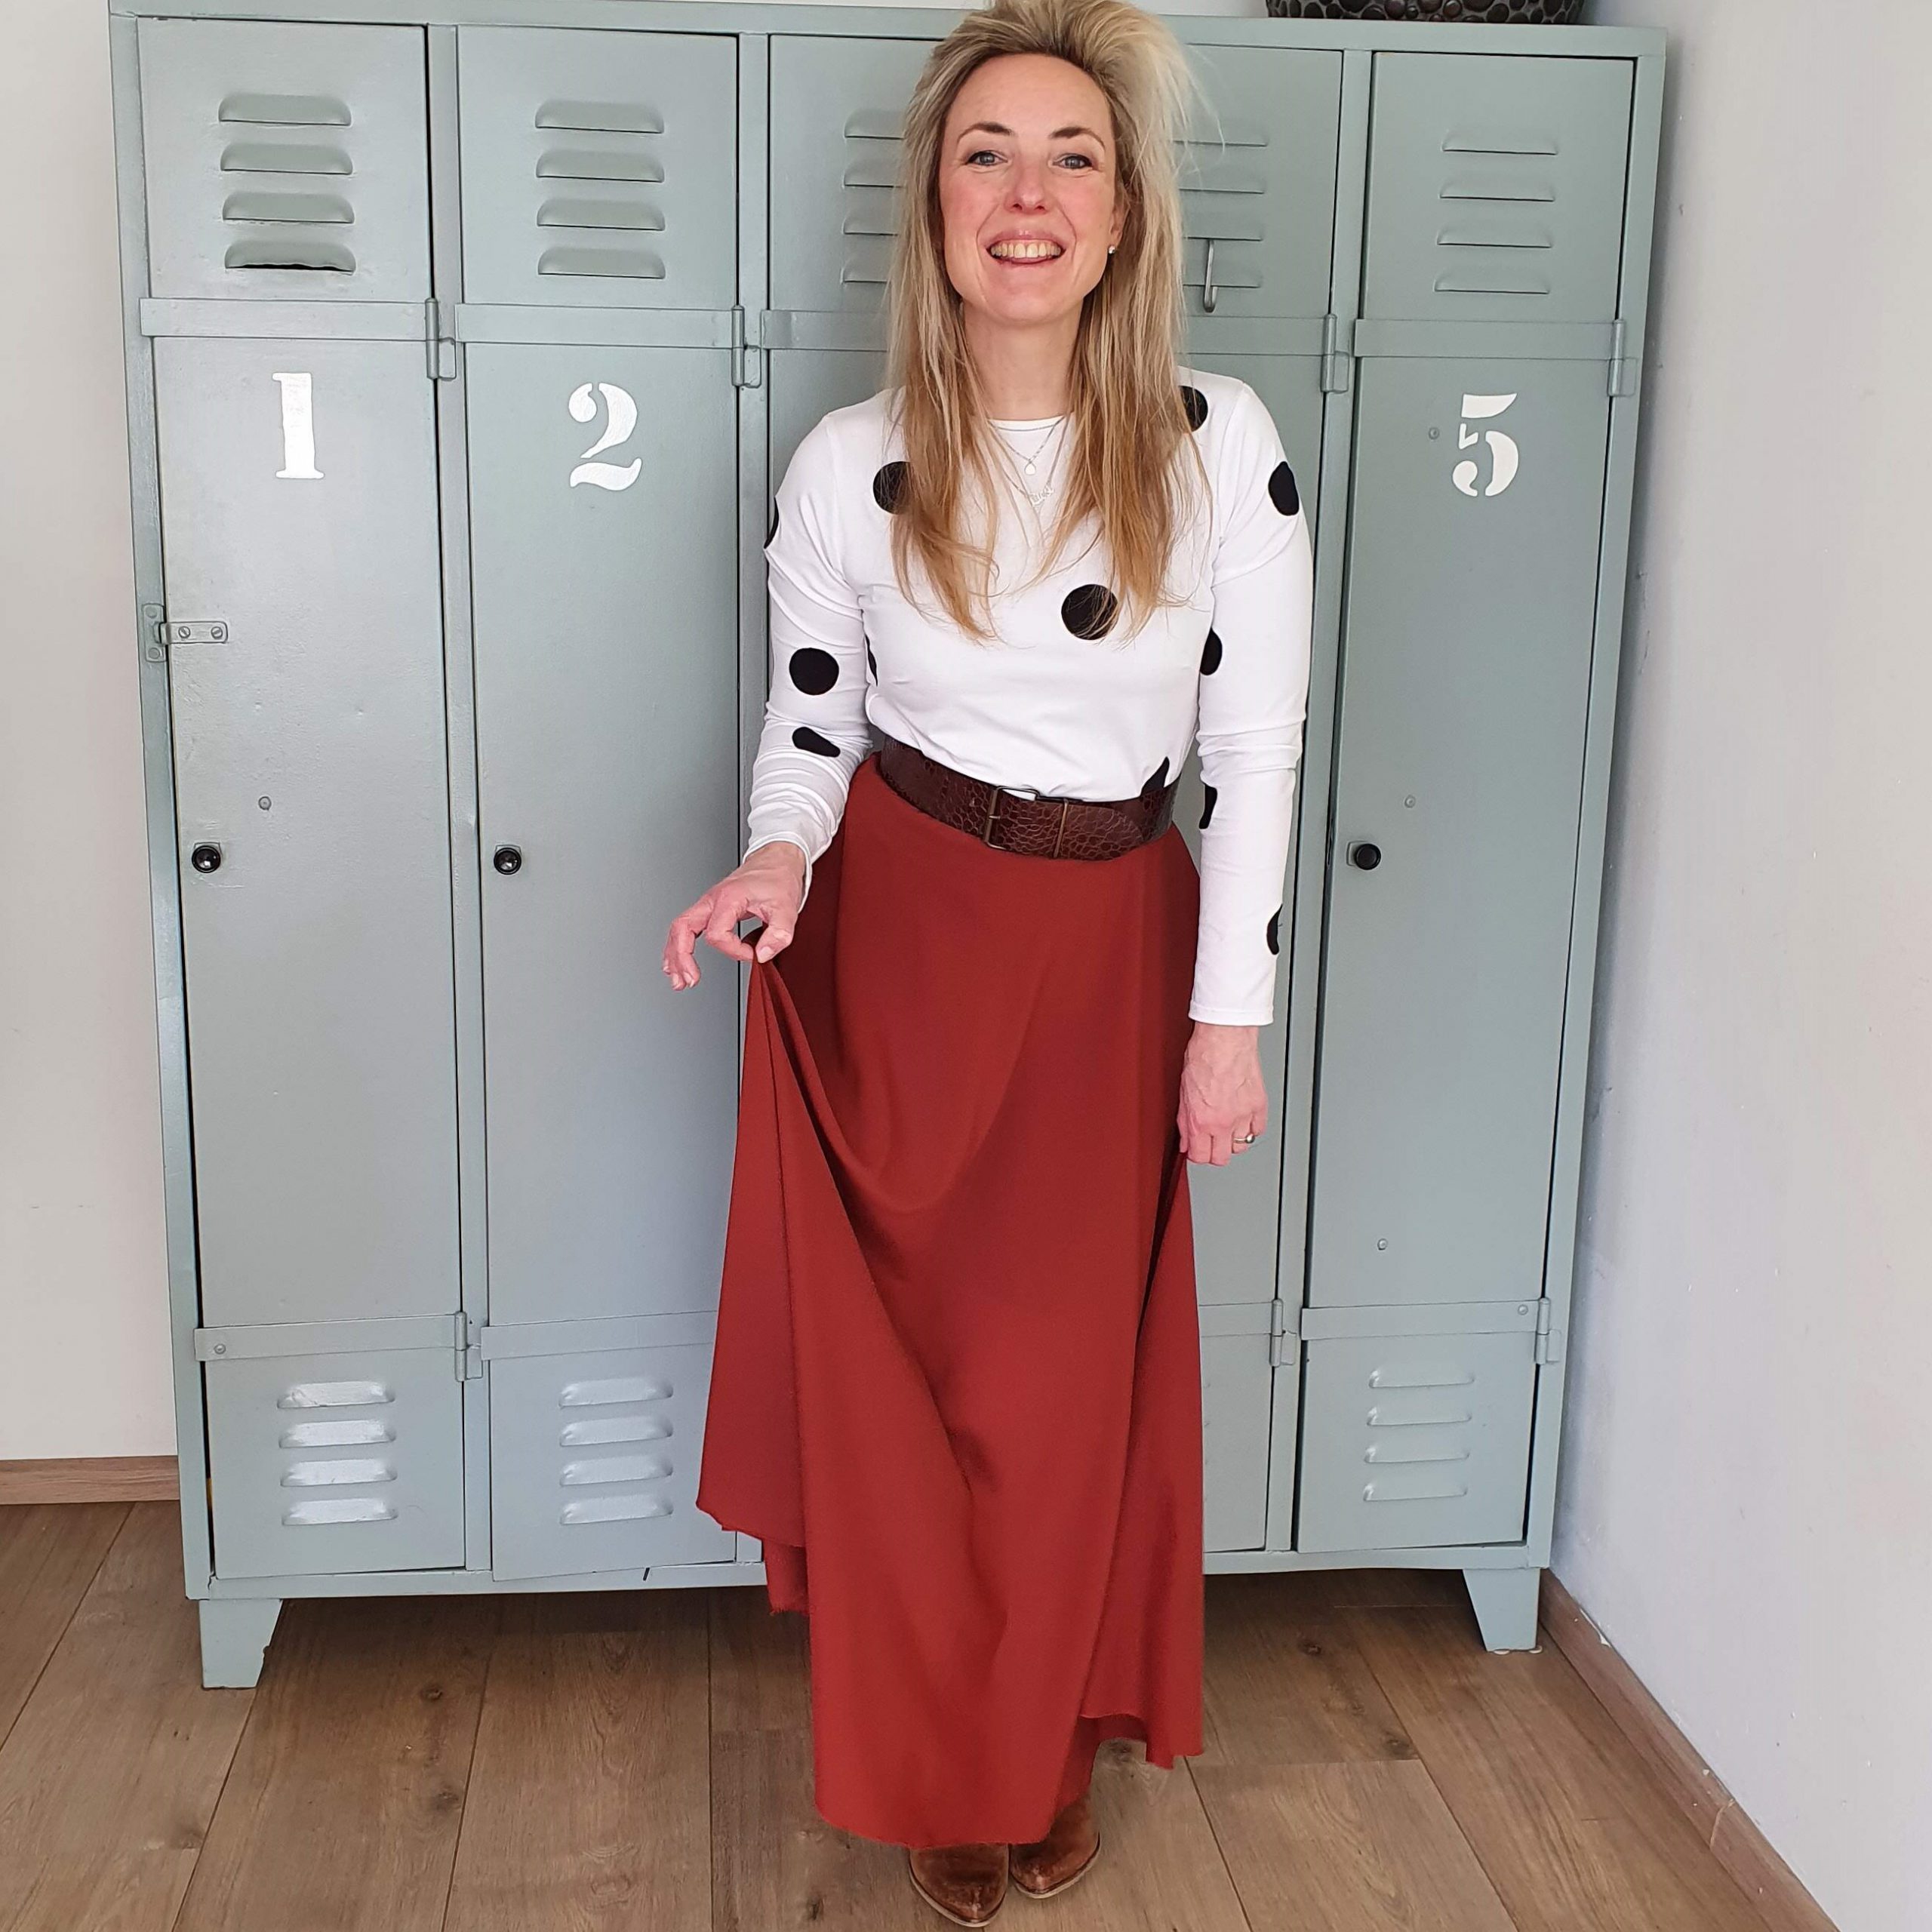
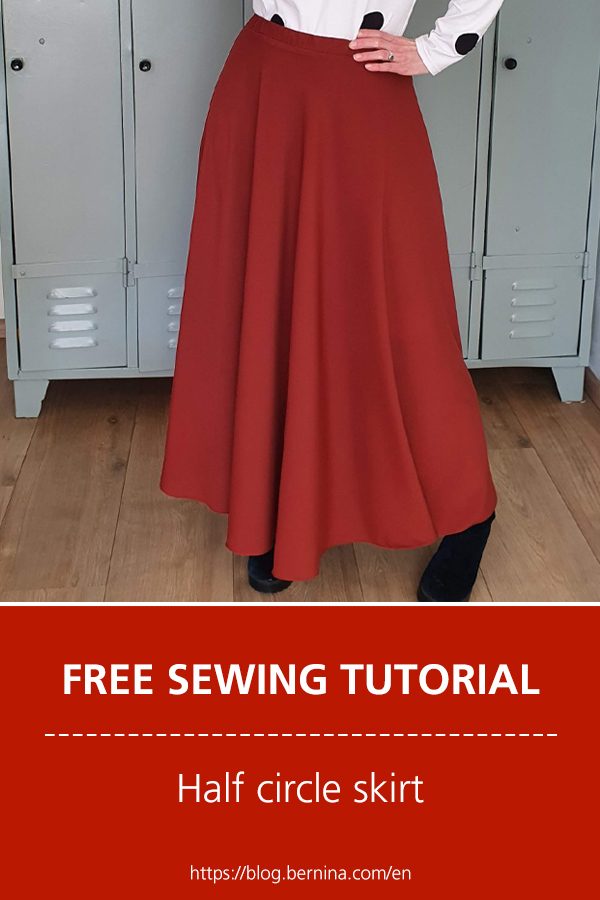
Time to shine! A half circle skirt (draw your own pattern)

Left inspiration Pinterest
In my previous blog I shared with you which look I wanted to recreate and how I embroidered fabric to mimic a specific polka dot pattern. In this blog I’ll show you how I drew the half circle skirt pattern myself, with the help of an old textbook from my mother from the 1950s.
Klik hier om naar de Nederlandse blog te gaan
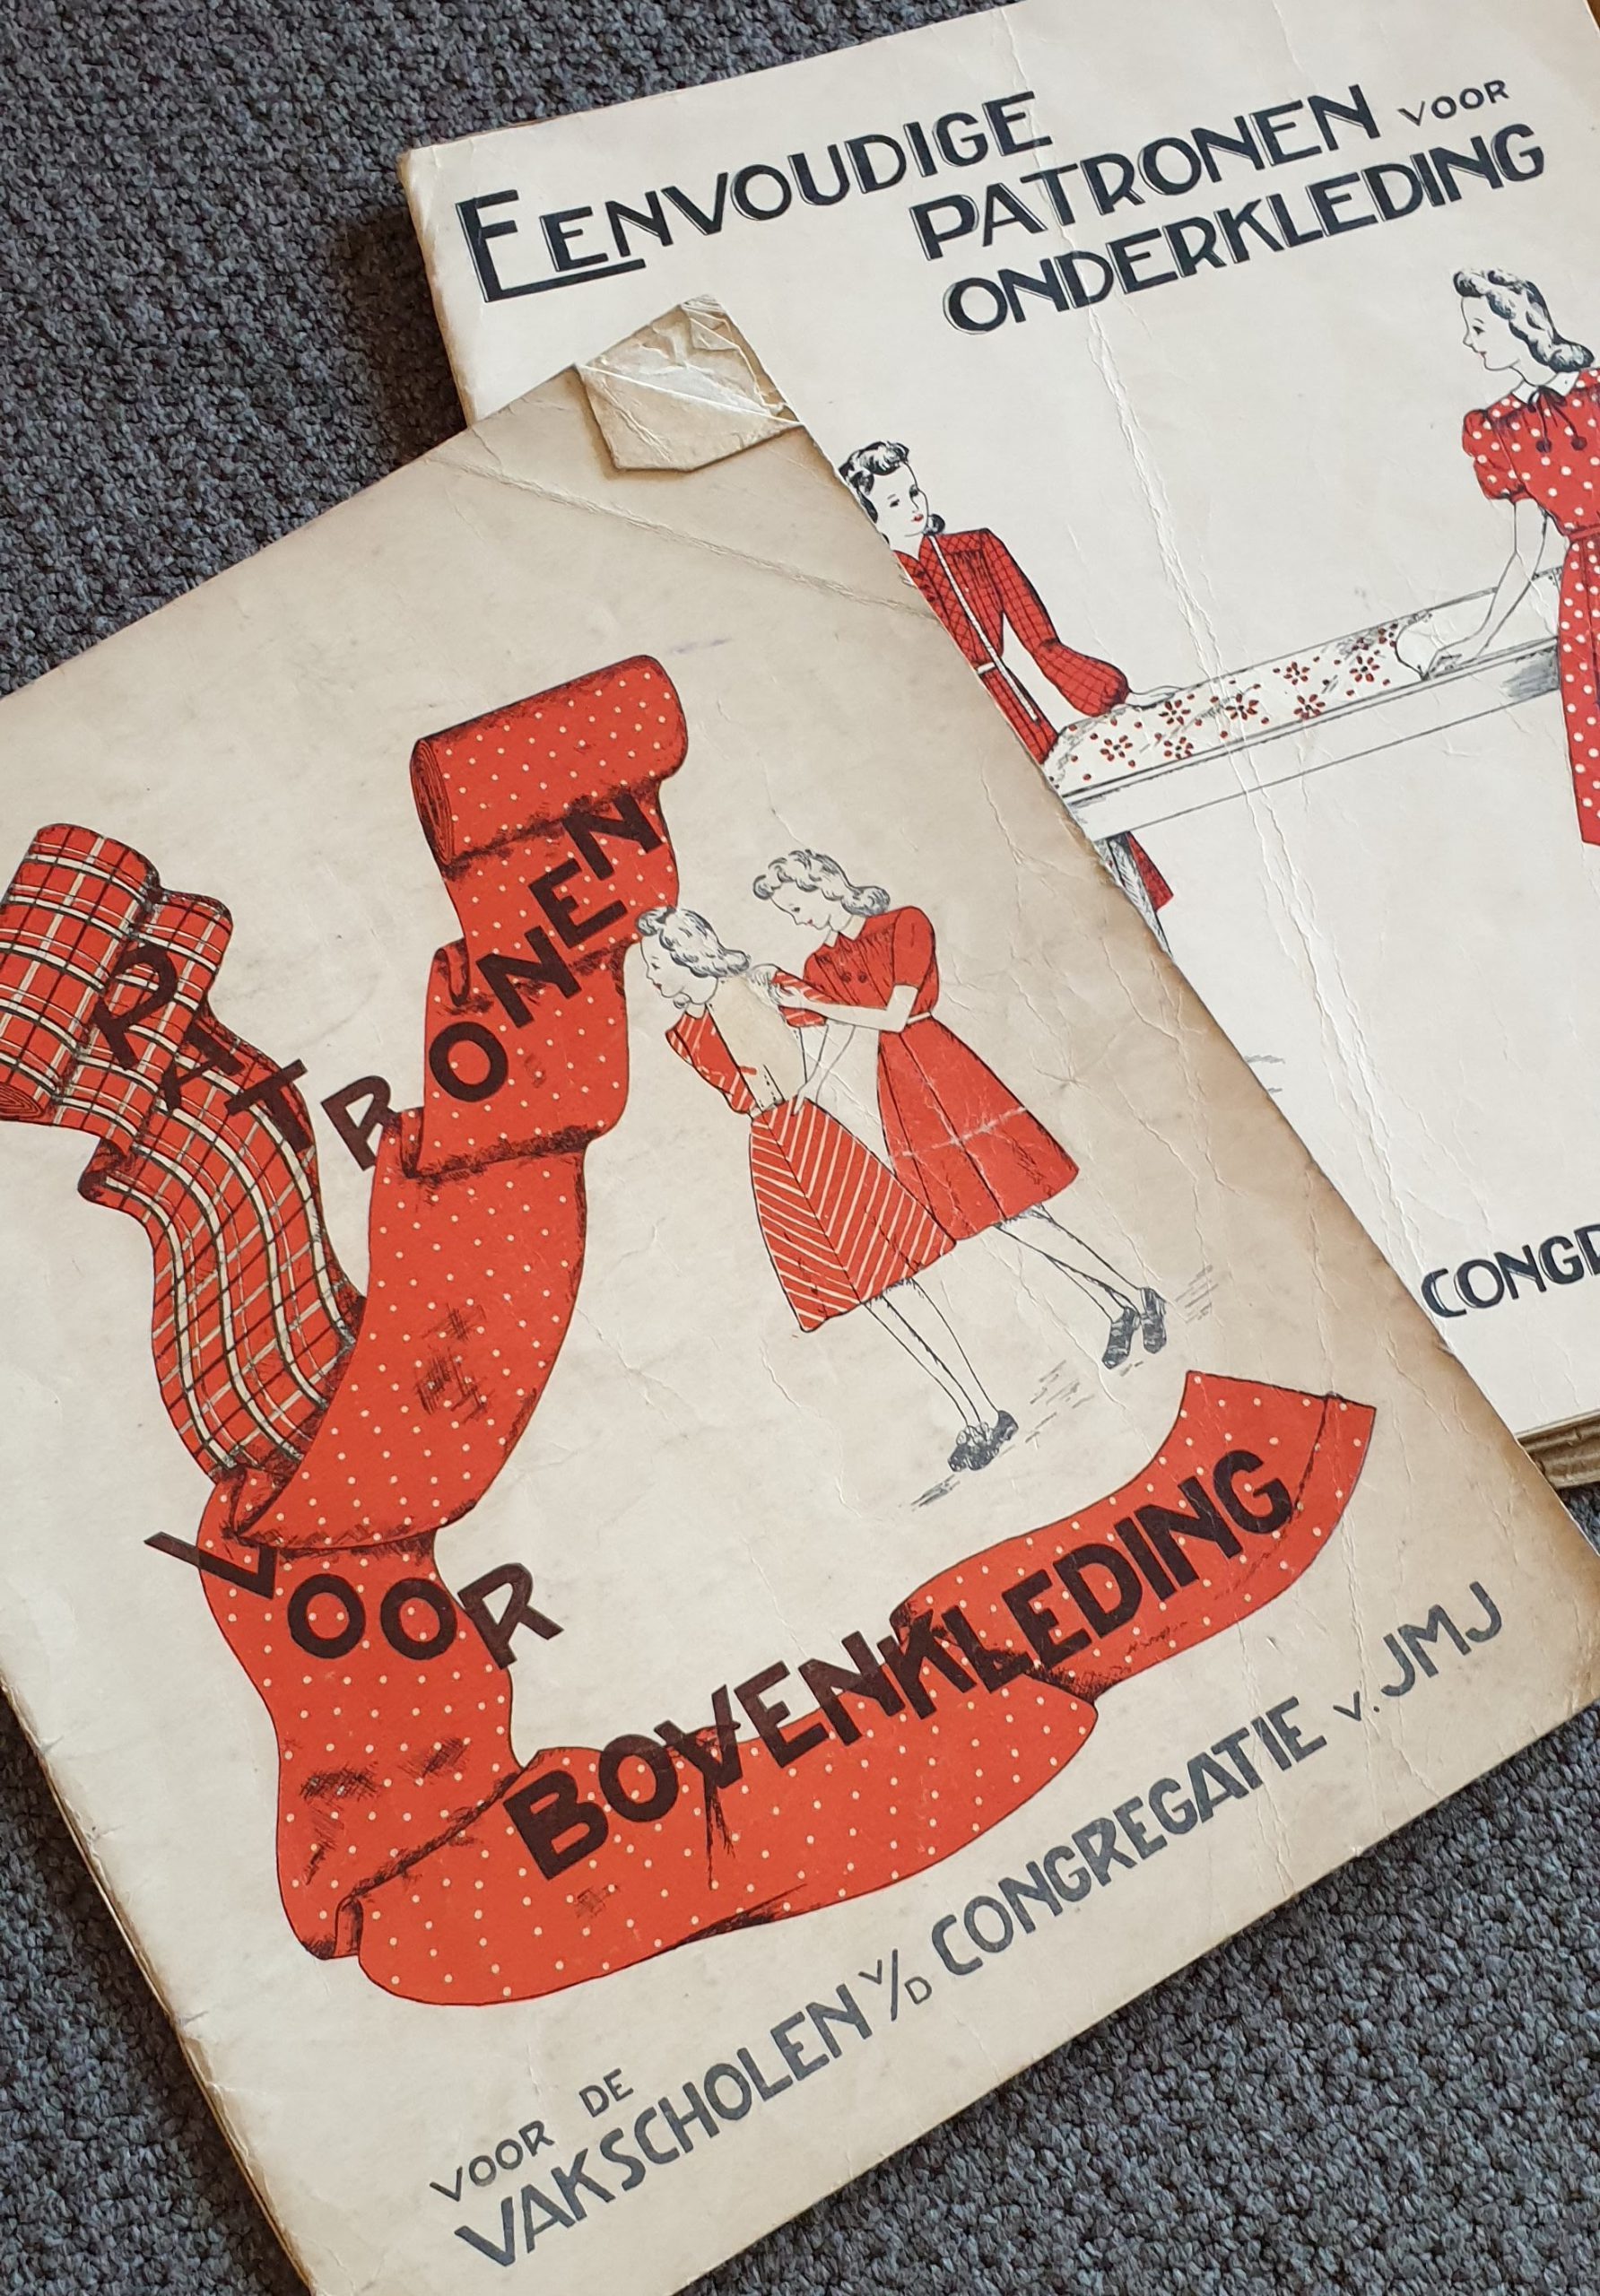
Vintage textbooks
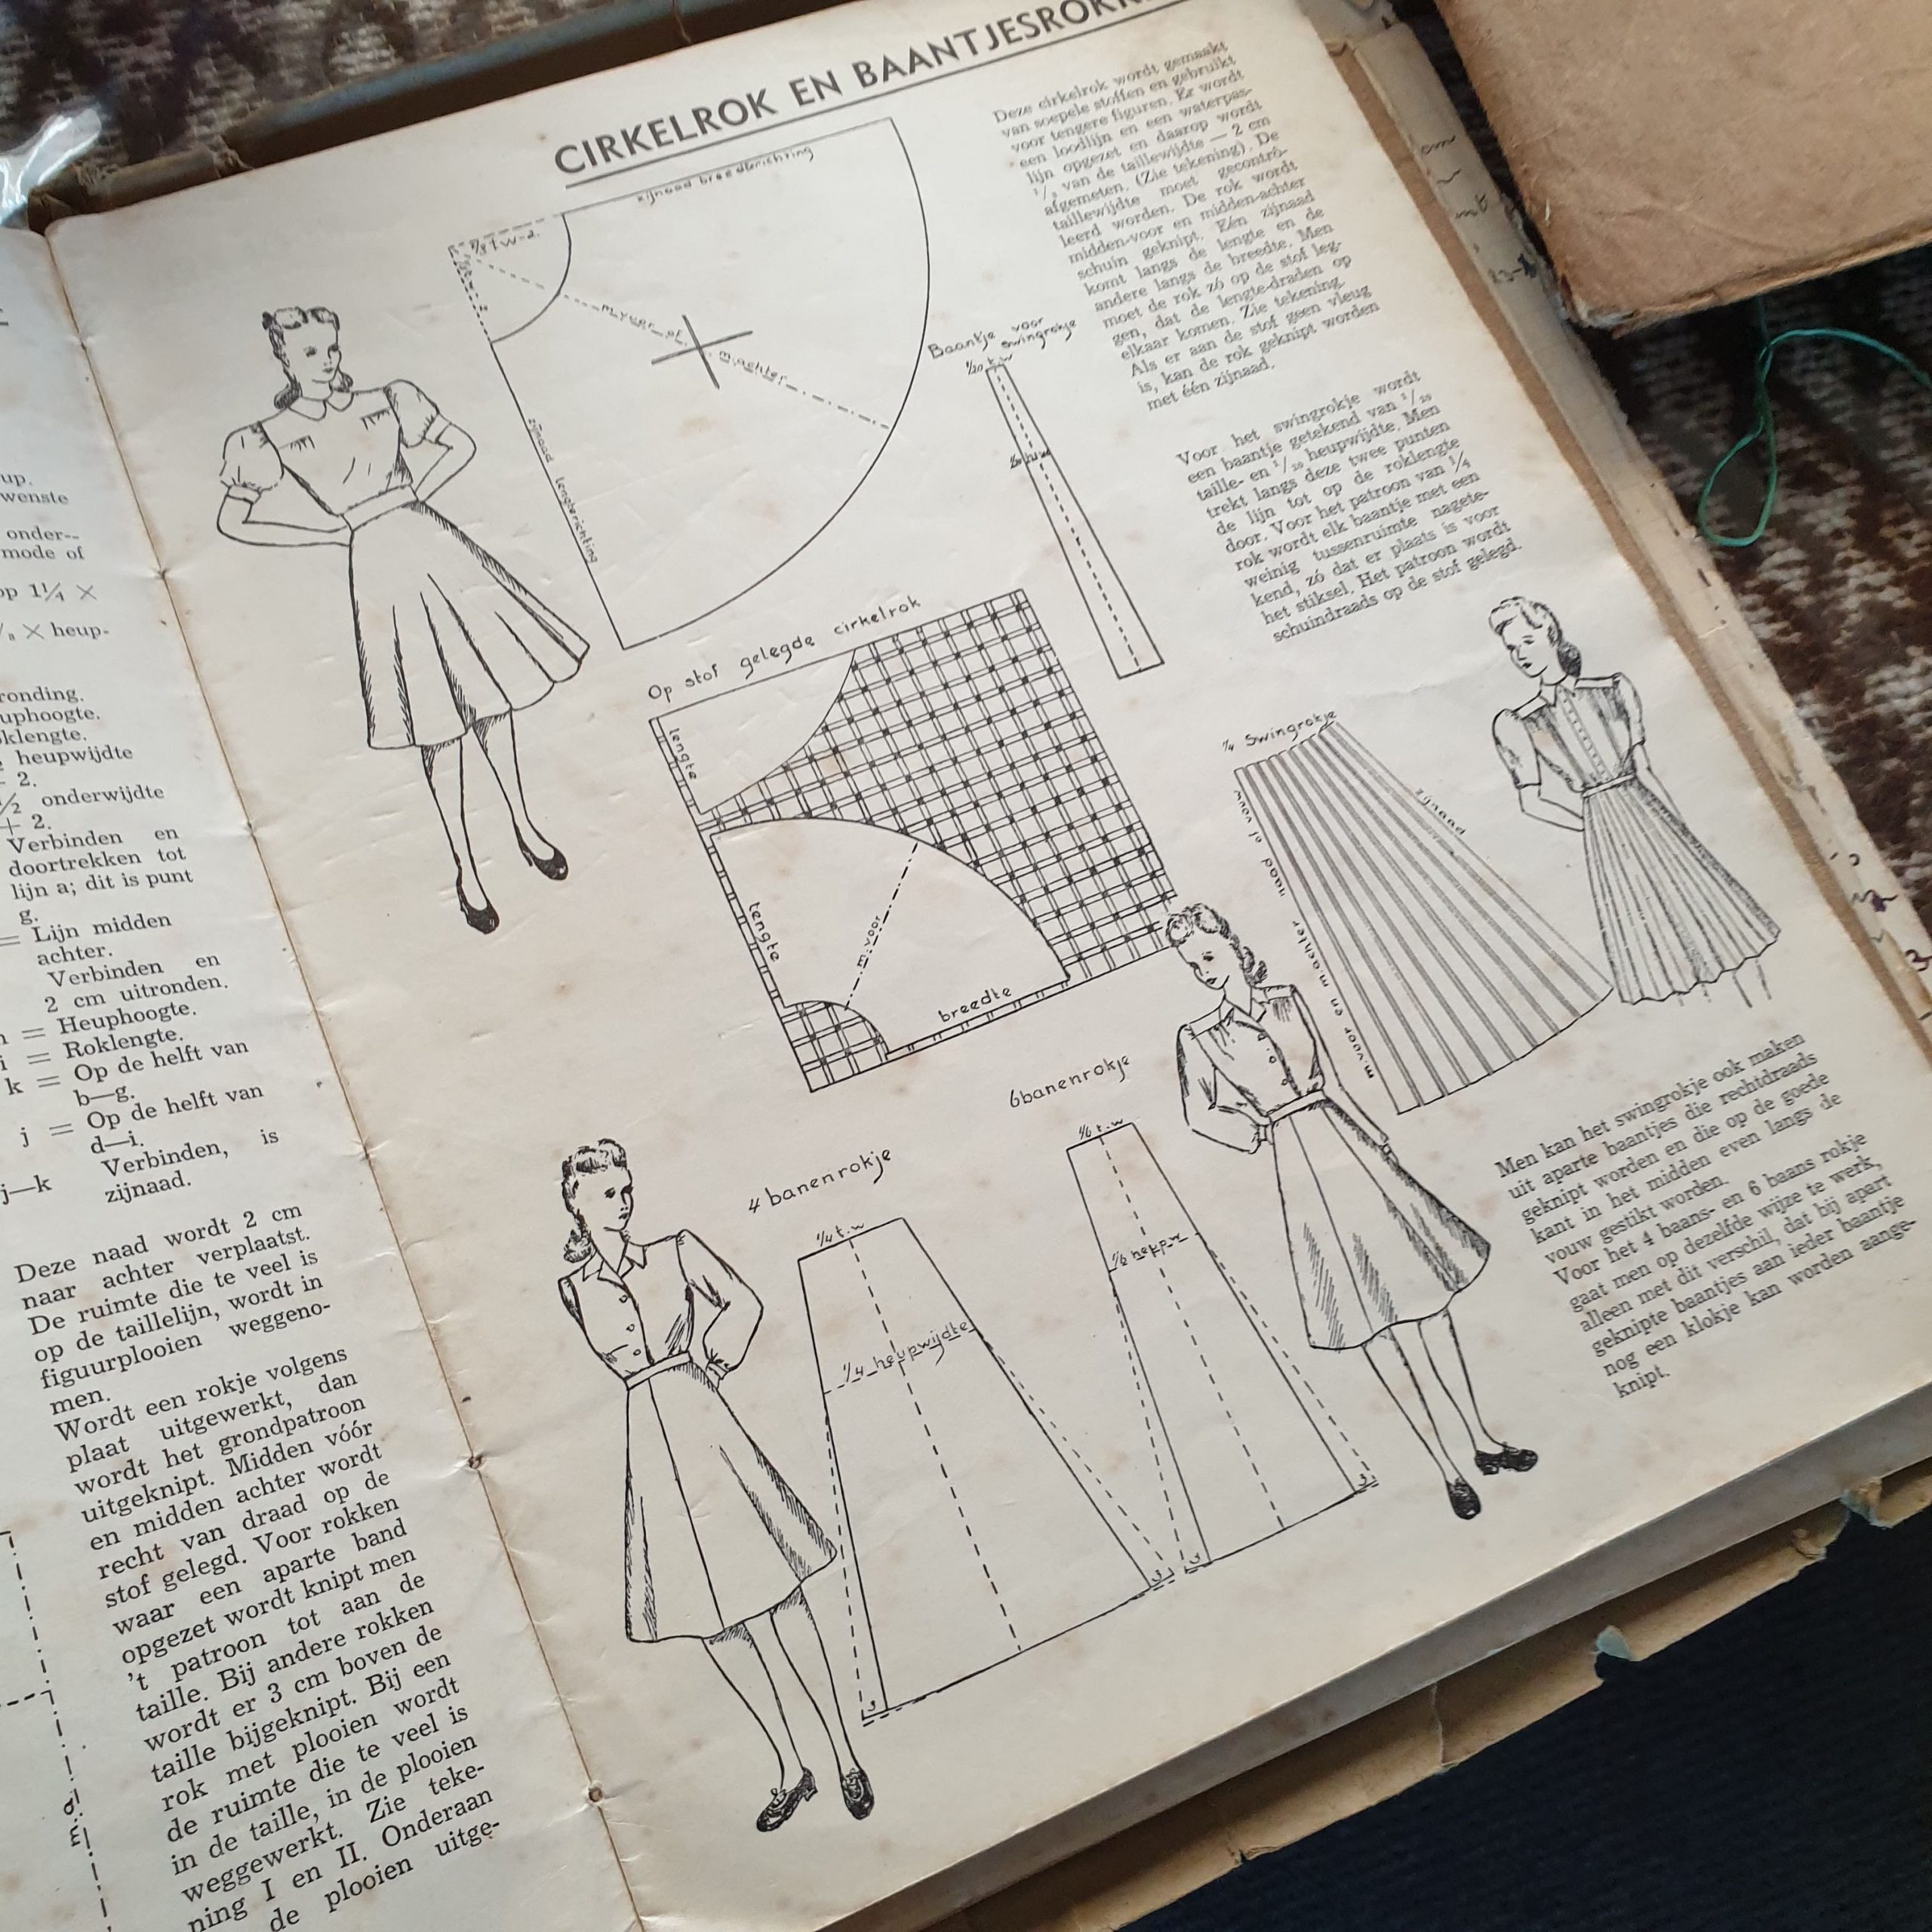
(Half) circle skirts
Draw the half circle skirt pattern
The skirt of the inspiration example is made of plissé fabric. Knowing that this fabric or a skirt with a lot of pleats at the top won’t work for my figure, I quickly thought of making a half circle skirt. A slim-fitting shape above, but beautifully flared into a wide skirt. I didn’t have enough fabric for a full circle skirt. A half circle skirt had to do the trick, so I dived into the vintage textbook again.
Beautiful drape
Supplies
- supple fabric (2x the length of your skirt + 2x the radius (see below) and approx. 8 cm for the waistband.)
- Vlieseline
- elastic 2 or 3 cm wide, cut to size
- Sewing threads
Fabric size based on the pattern to be drawn
The steps:
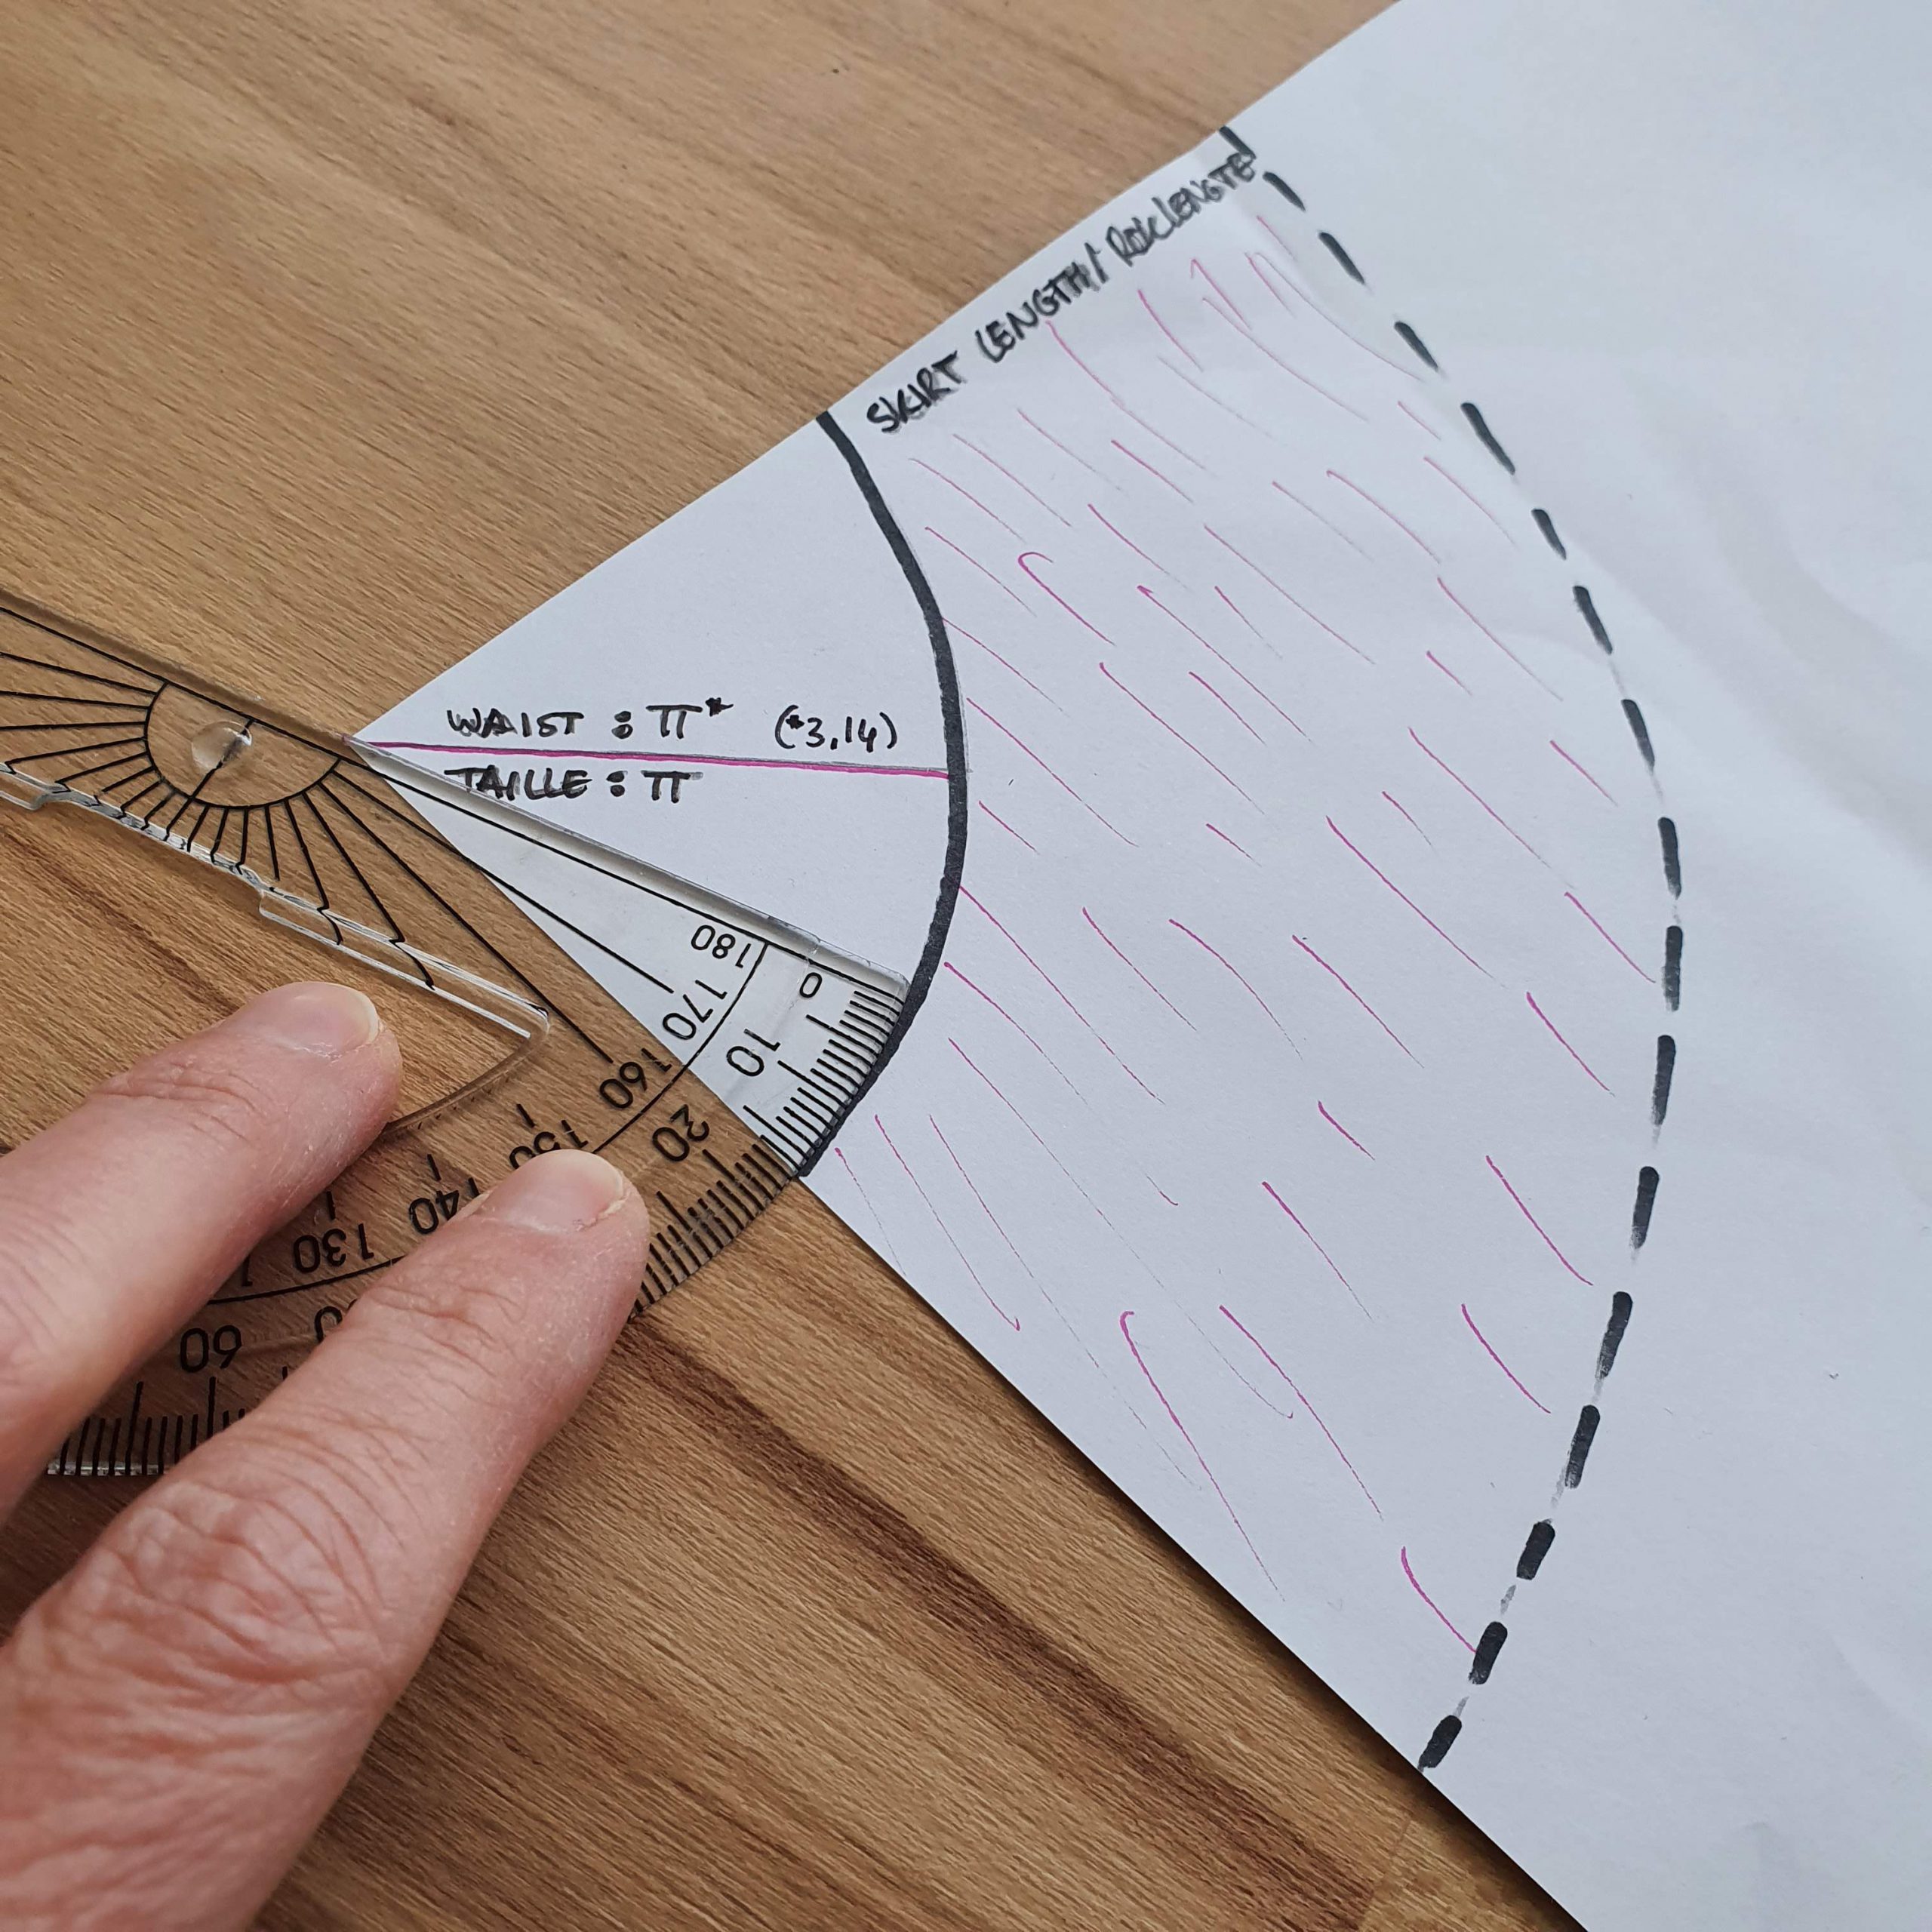
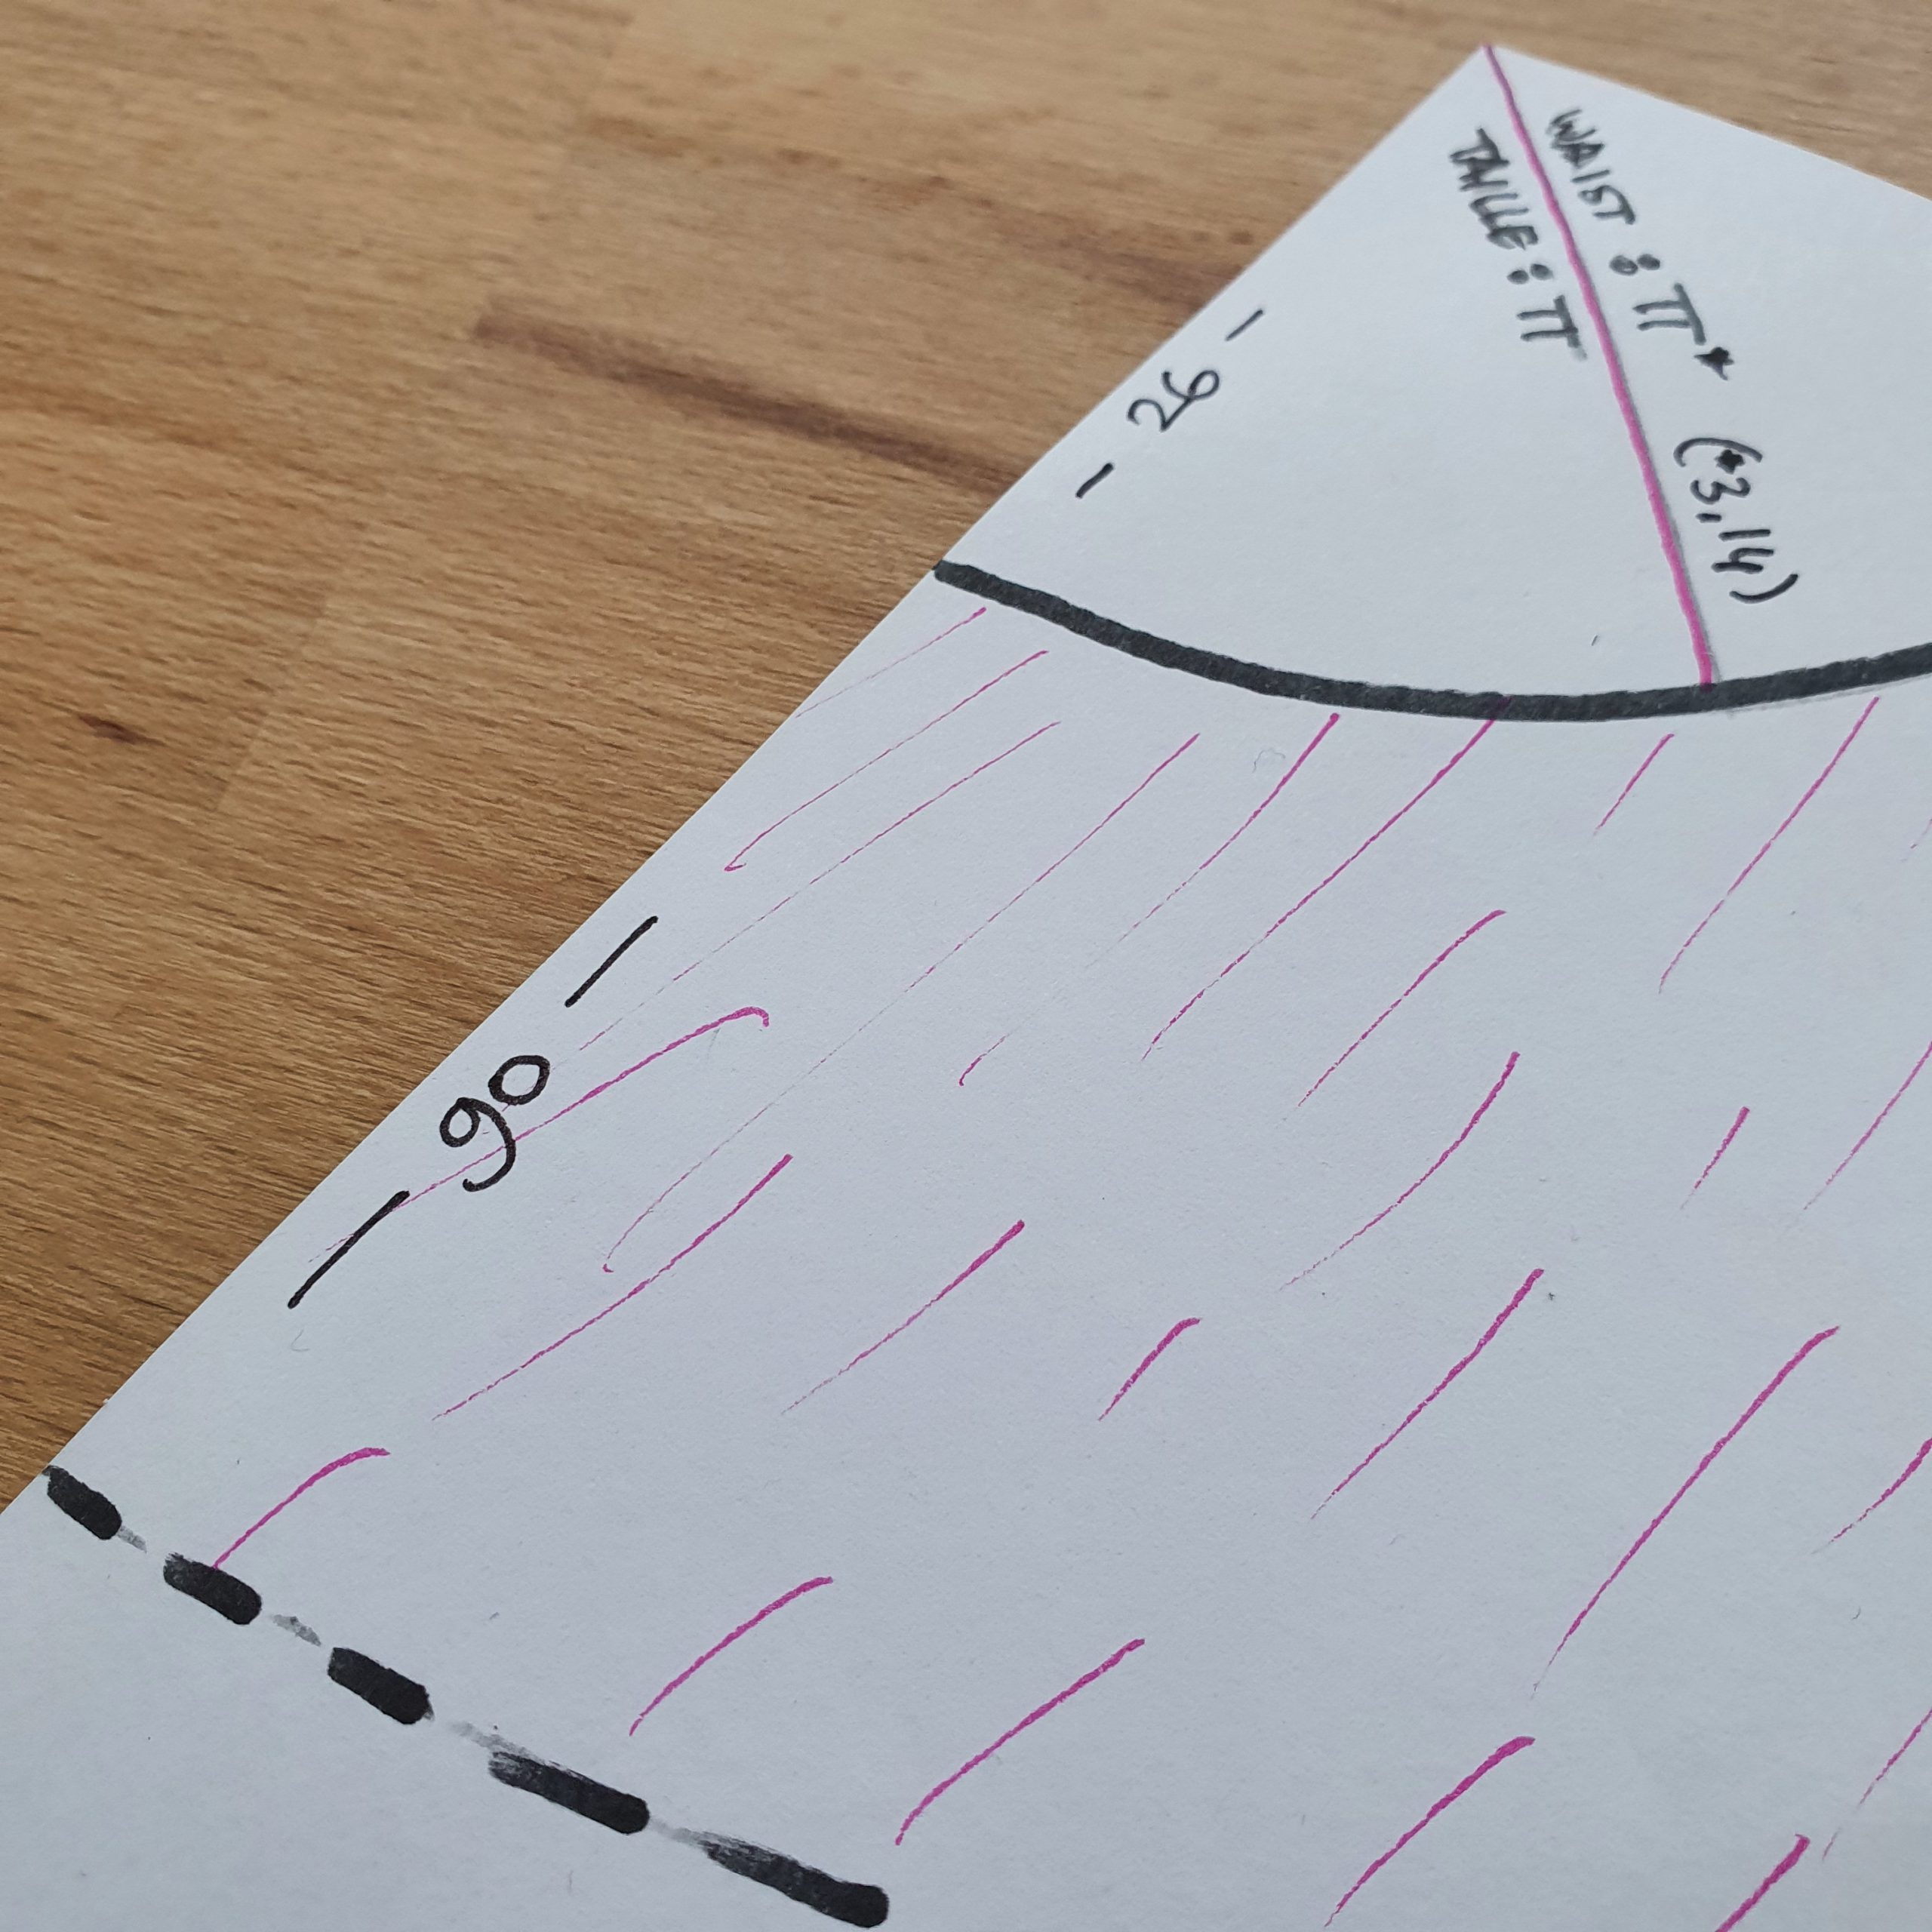
- Measure your waist
- Divide this number by π (pi=3.14), this is the radius (My example: 82 cm : 3.14 = 26 cm)
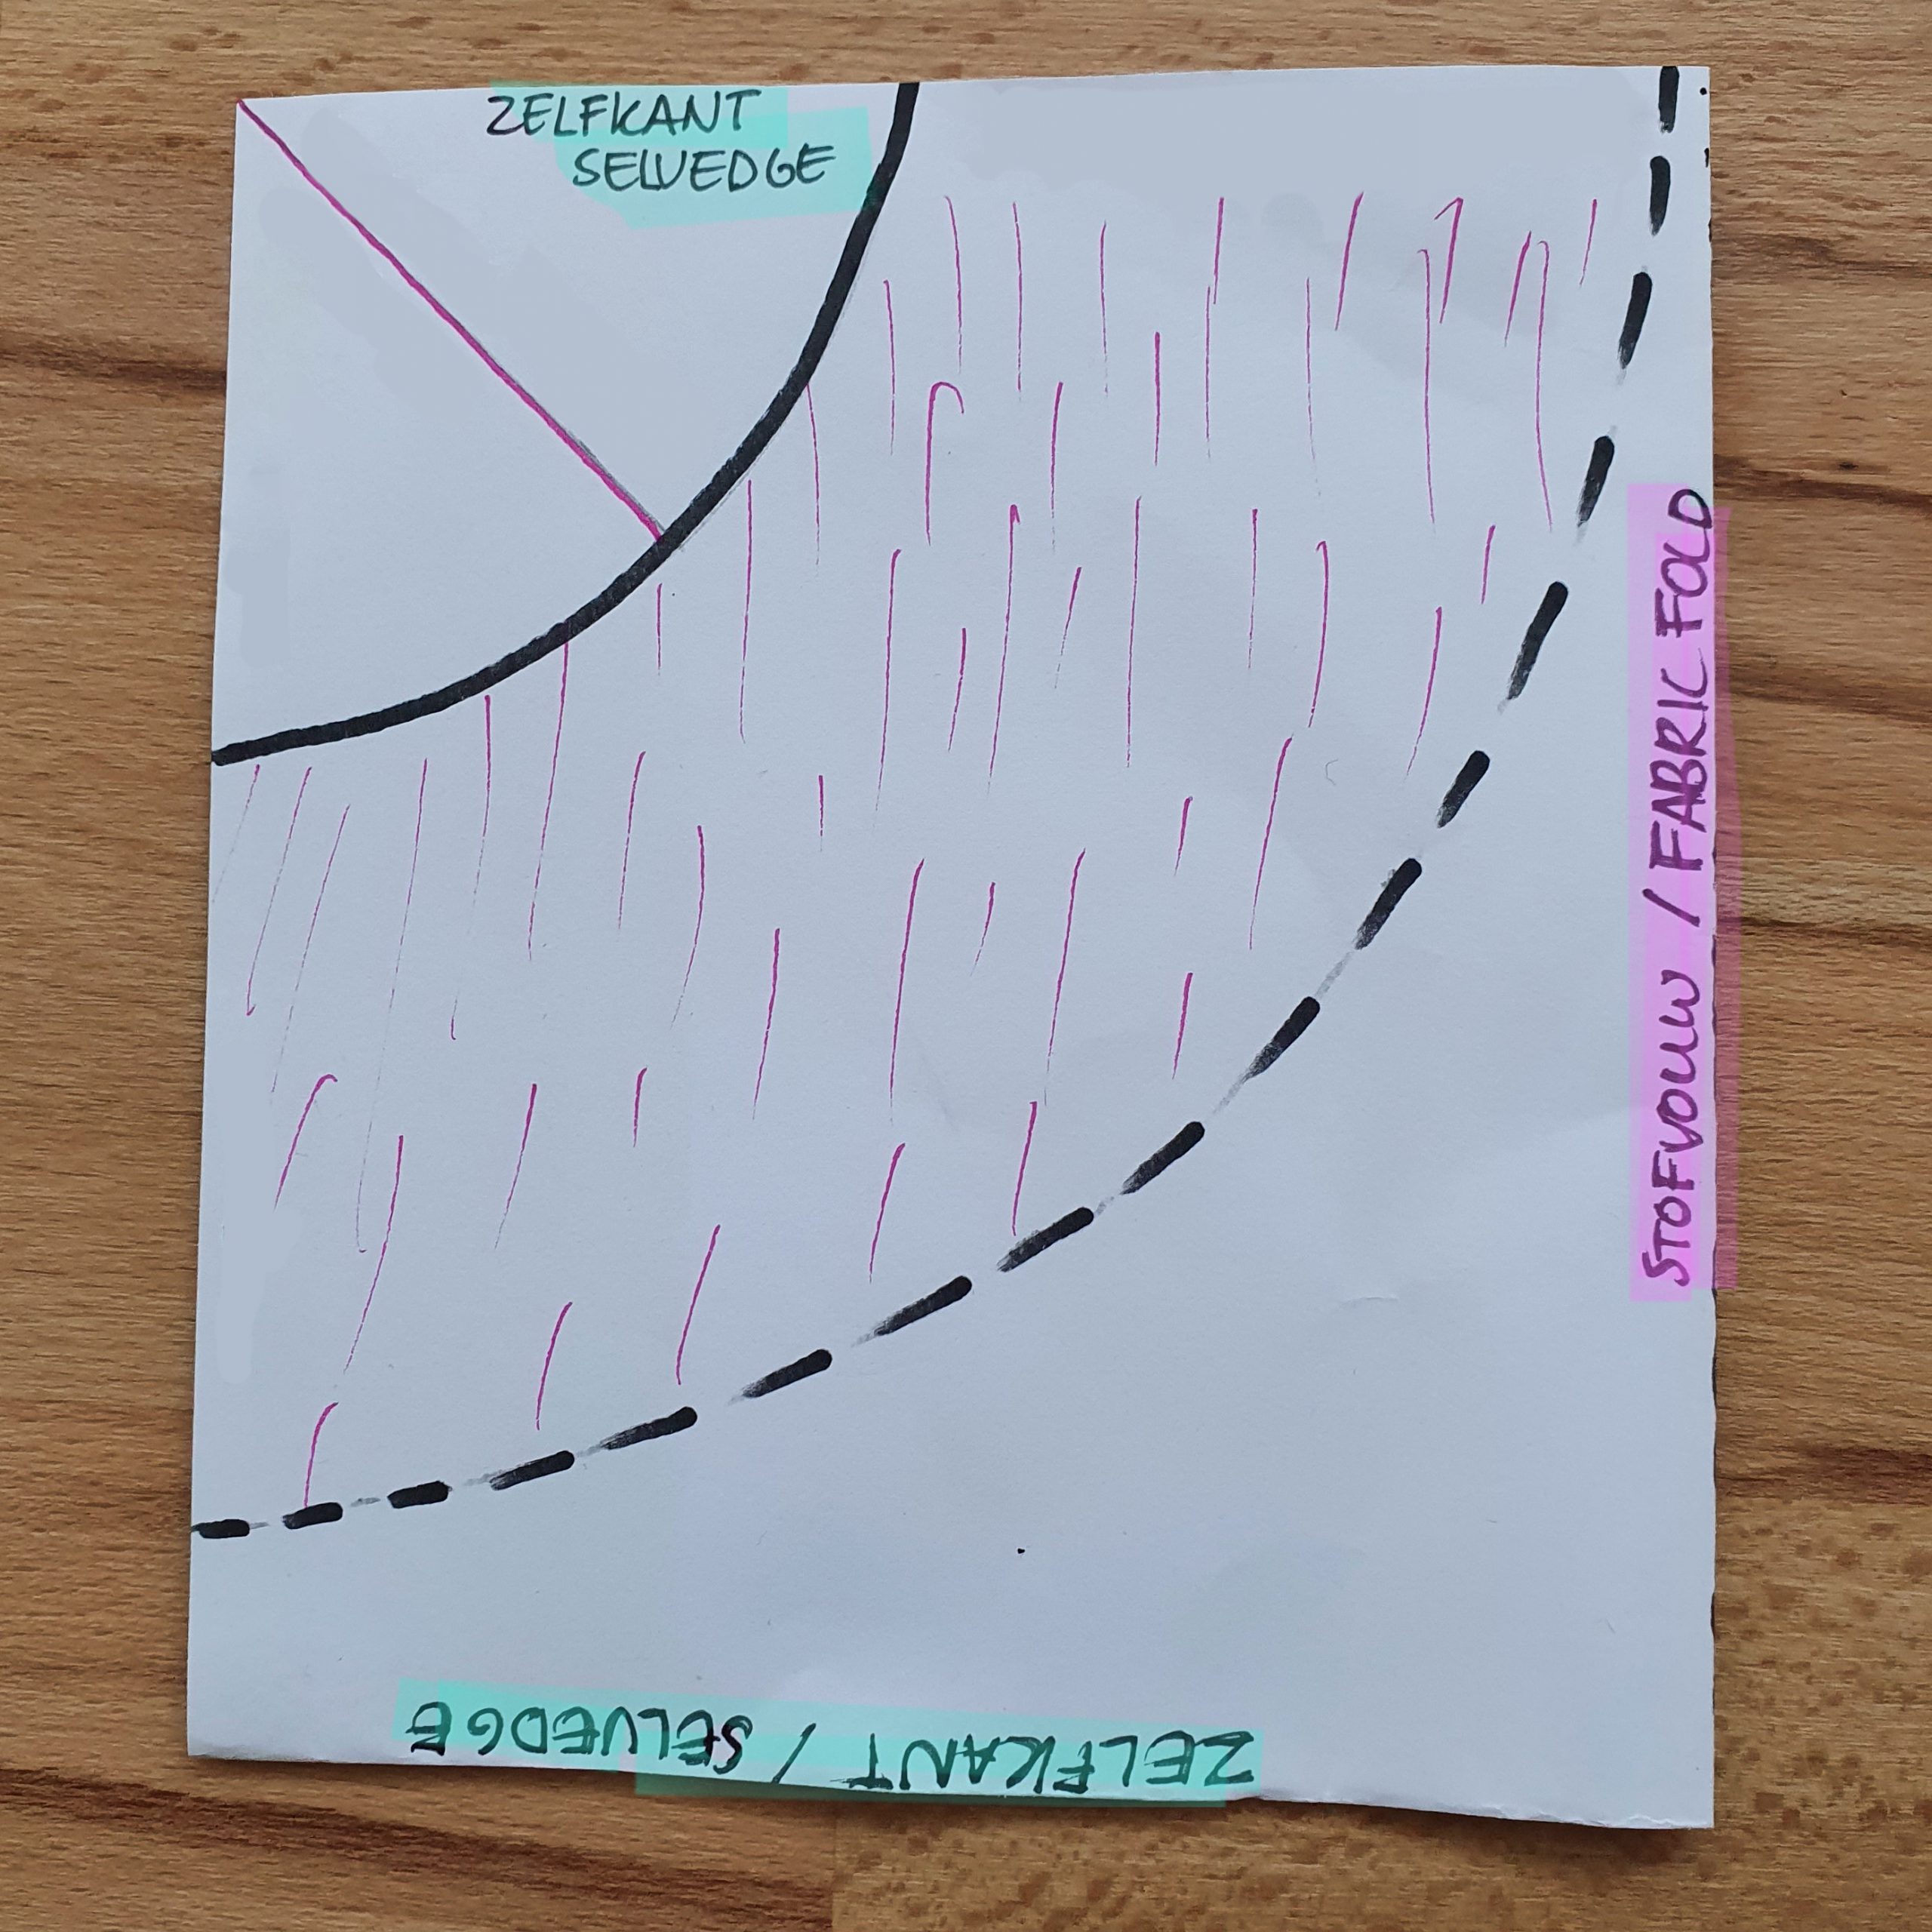
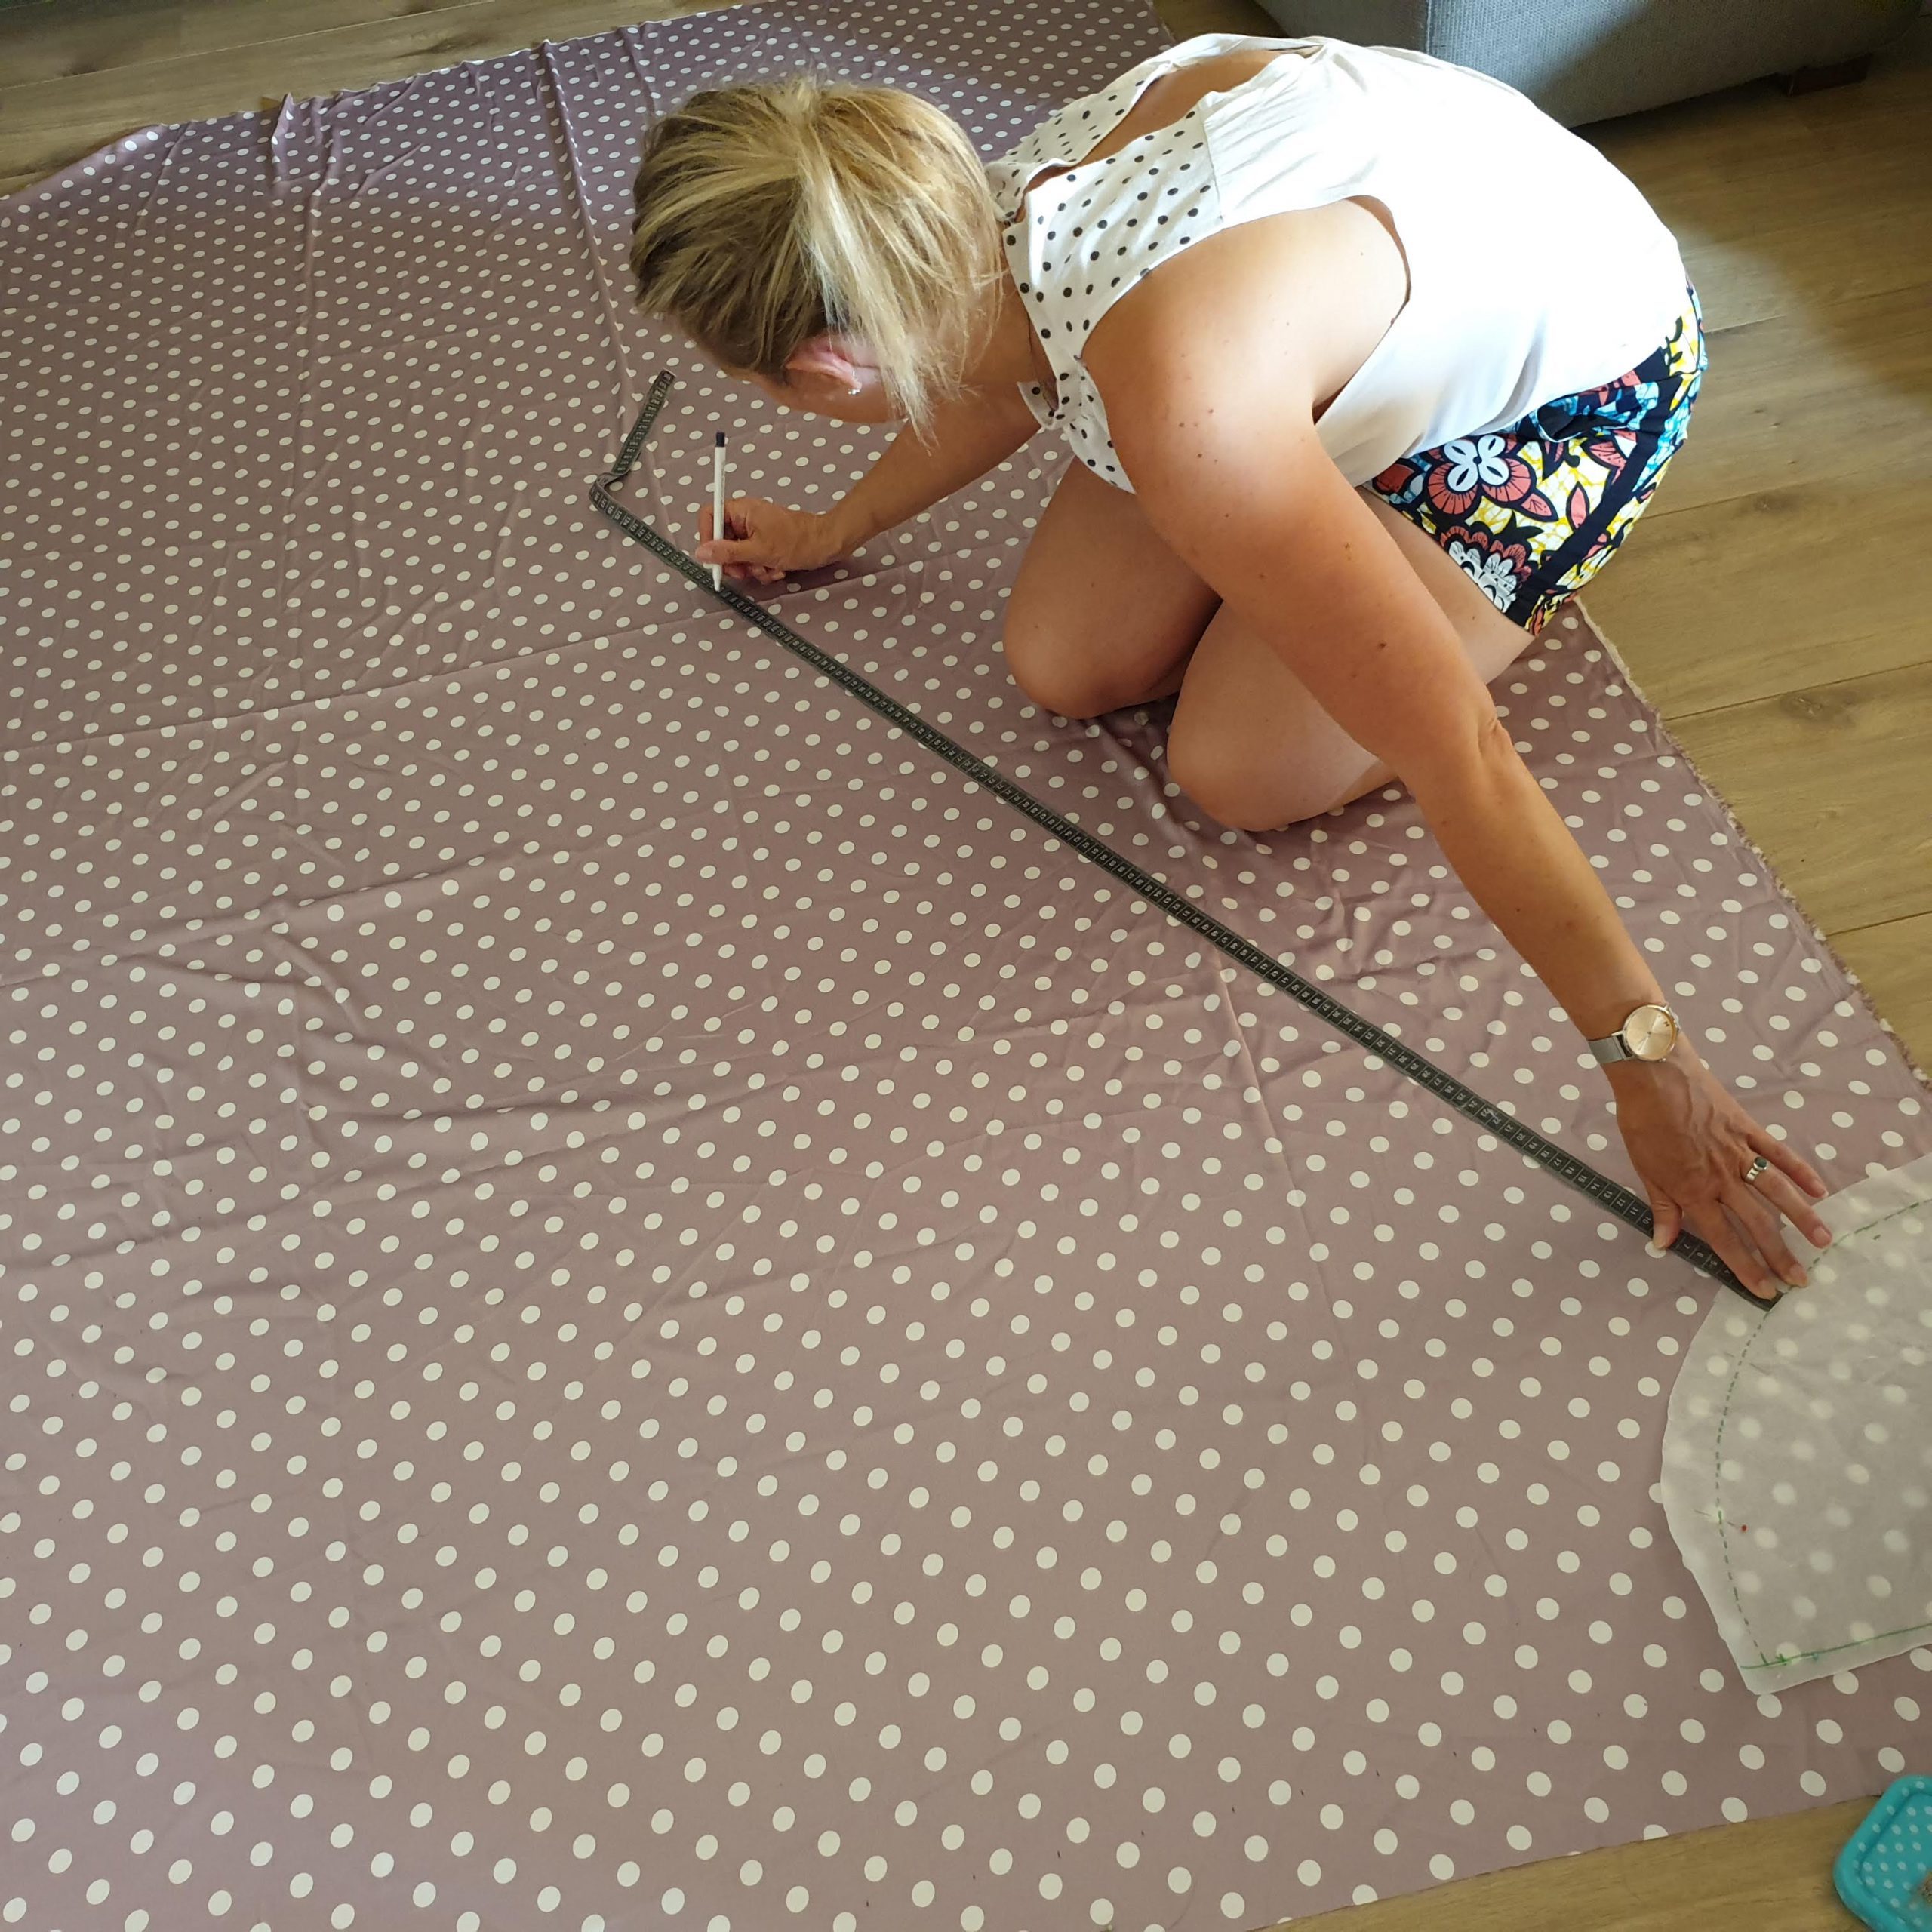
- Take a large piece of pattern paper (At least the length of the radius just calculated plus the length of the skirt. This for both the length and the width)
- Draw the radius from a straight angle to different points.
- Connect the dots in a smooth circular line: the waistline
- Measure the length of your skirt from this line and mark at several points. Also connect these points in a smooth circular line: the hemline.
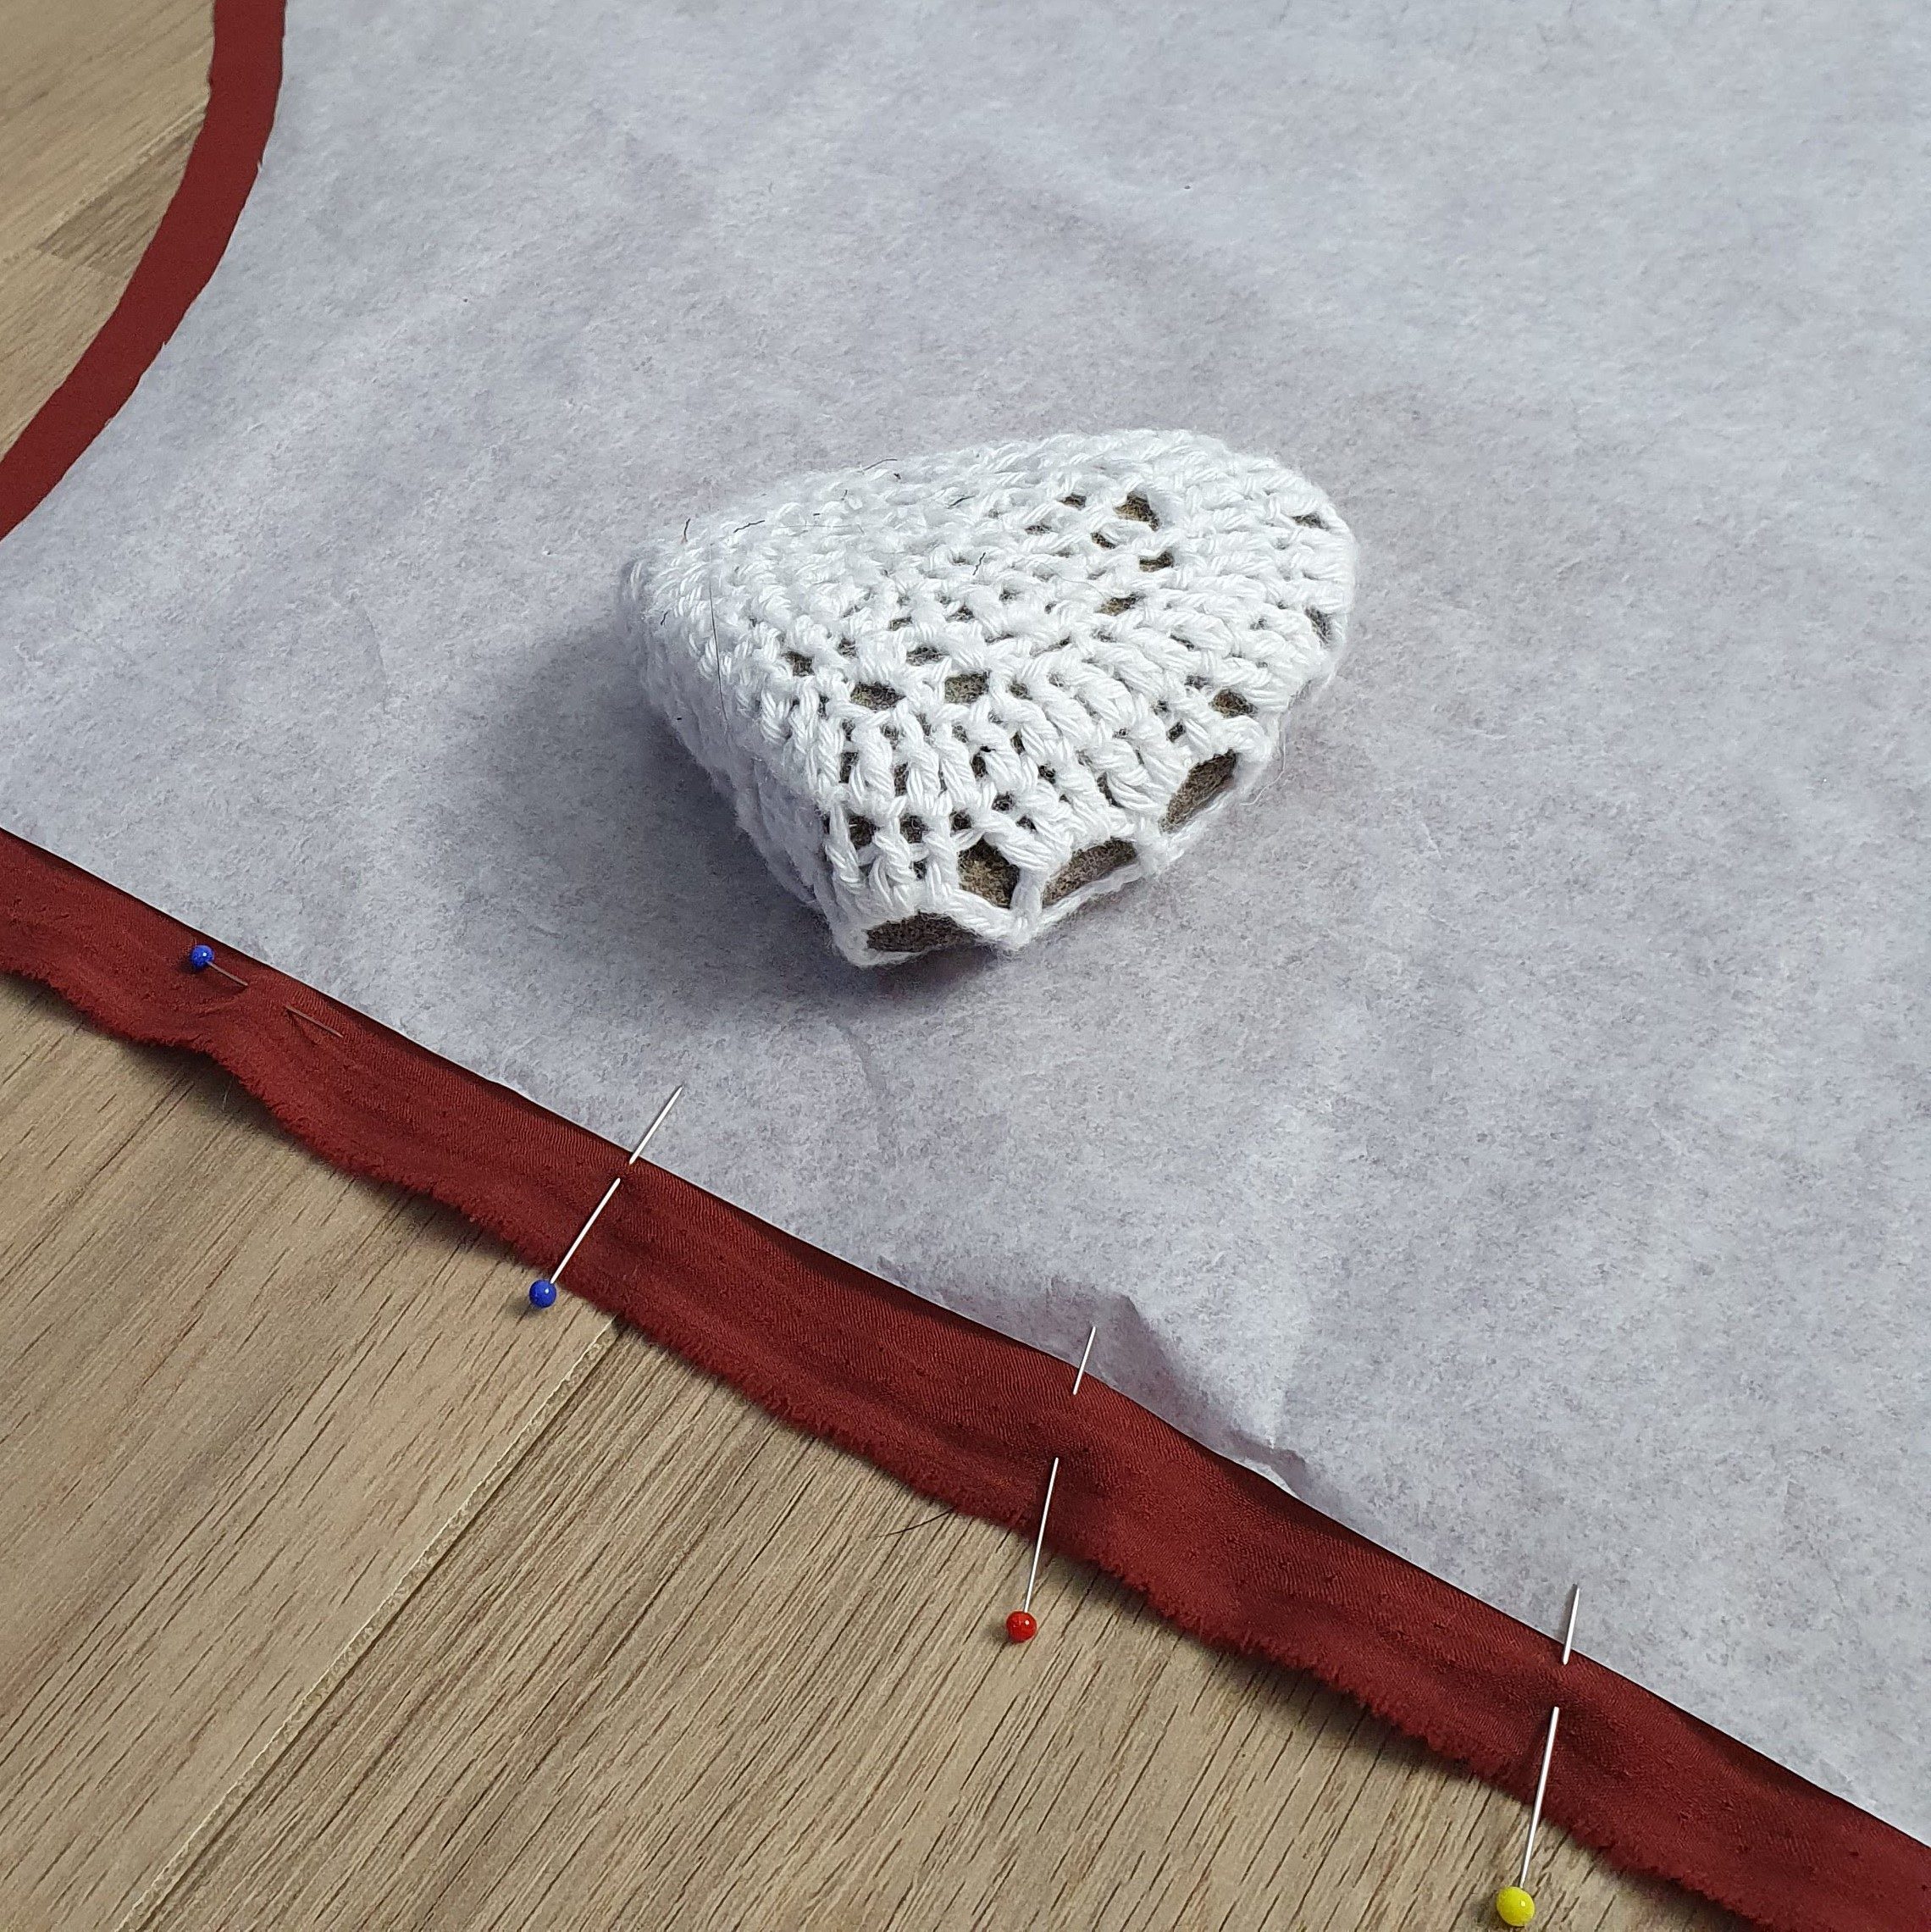
- Cut out the pattern, place on lengthwise folded fabric and cut the fabric.
- Check the cut waist of the skirt. This may vary depending on the fabric, due to stretch or weight of the fabric.
- Cut a waistband to the desired width and the length of the cut waist. (My example: 84×6 cm)
- Cut elastic to size
NOTE: The length of the skirt can never be longer than the width of your fabric allows. Most fabrics are 140 cm wide. In my example the skirt can never be longer than 140 cm -26 cm = 114 cm.

Mark waistline

Pattern on folded fabric
Place right sides together, then you can easily pin the side seams
TIP: If you want to save pattern paper, you can also place the piece from the corner on the fabric and from there indicate the length of the skirt on the fabric. Then work carefully.
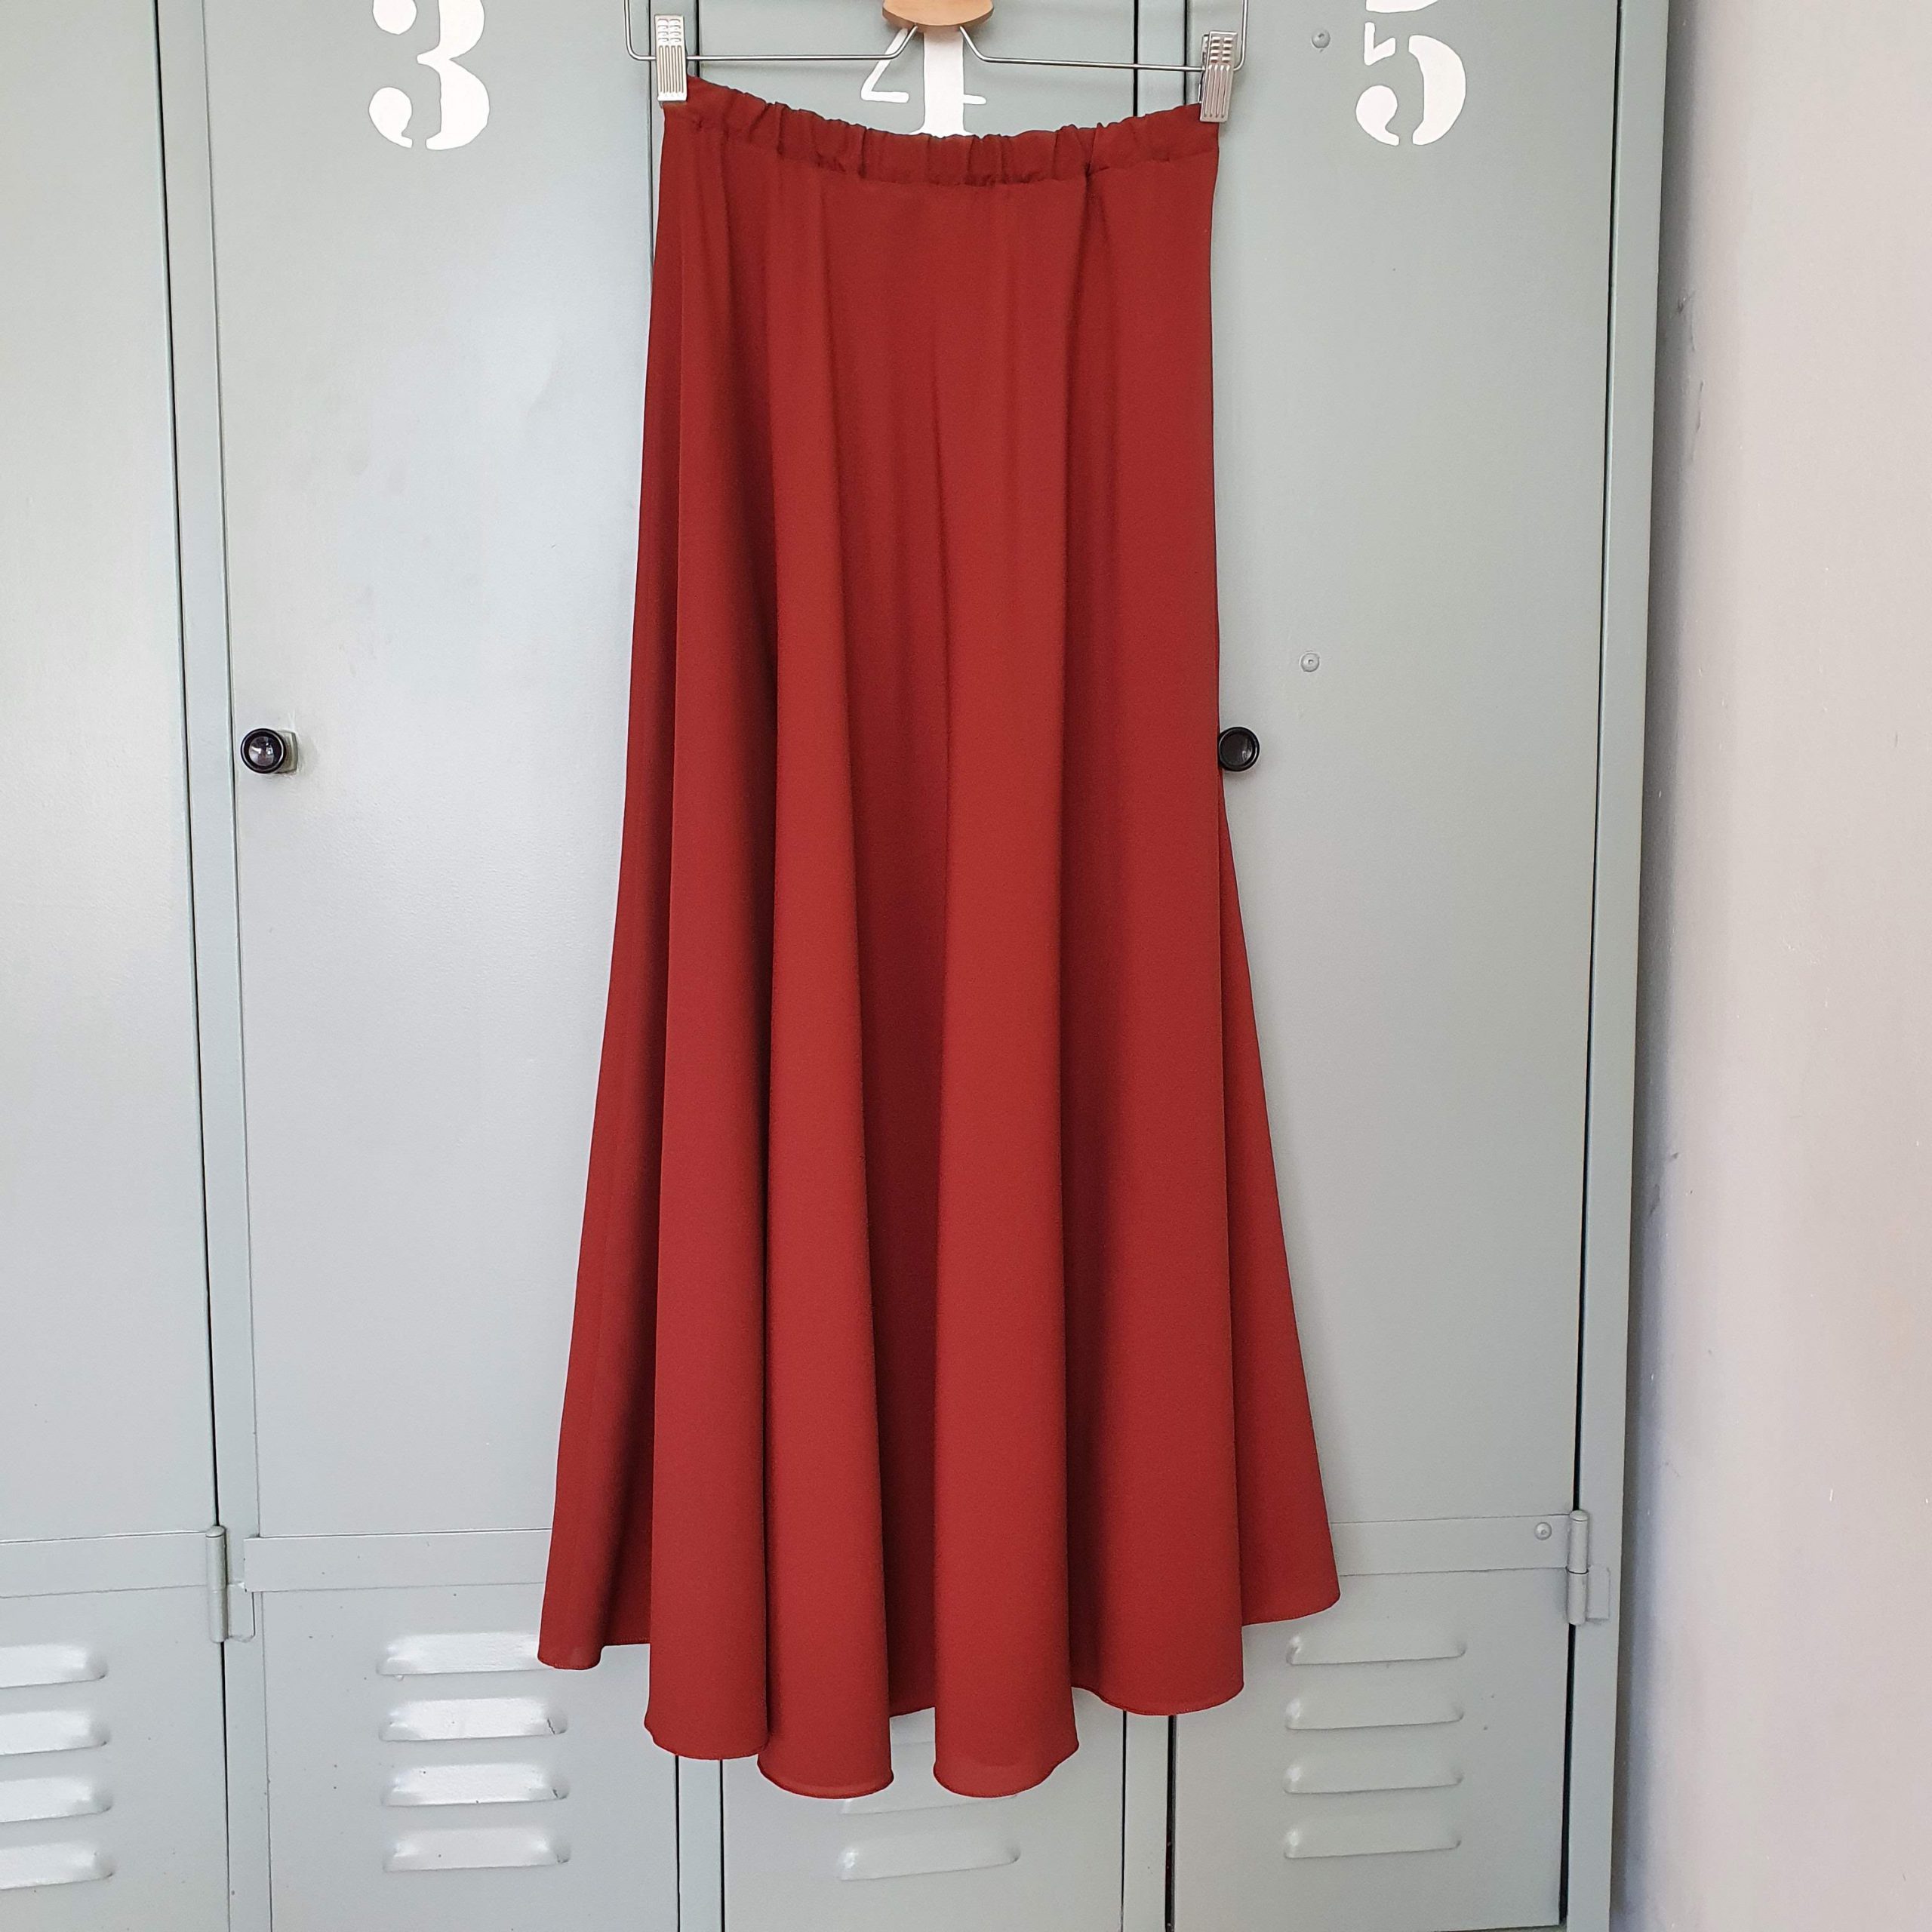
Example of a previously made full circle skirt
Assemble the half circle skirt
Assembly is super fast, unless your fabric needs a zipper in the side seam. This may have been necessary with the viscose fabric I used, but the waist size allowed me to put it on over my head. The half circle skirt is sewn on the BERNINA 590 Crystal Edition
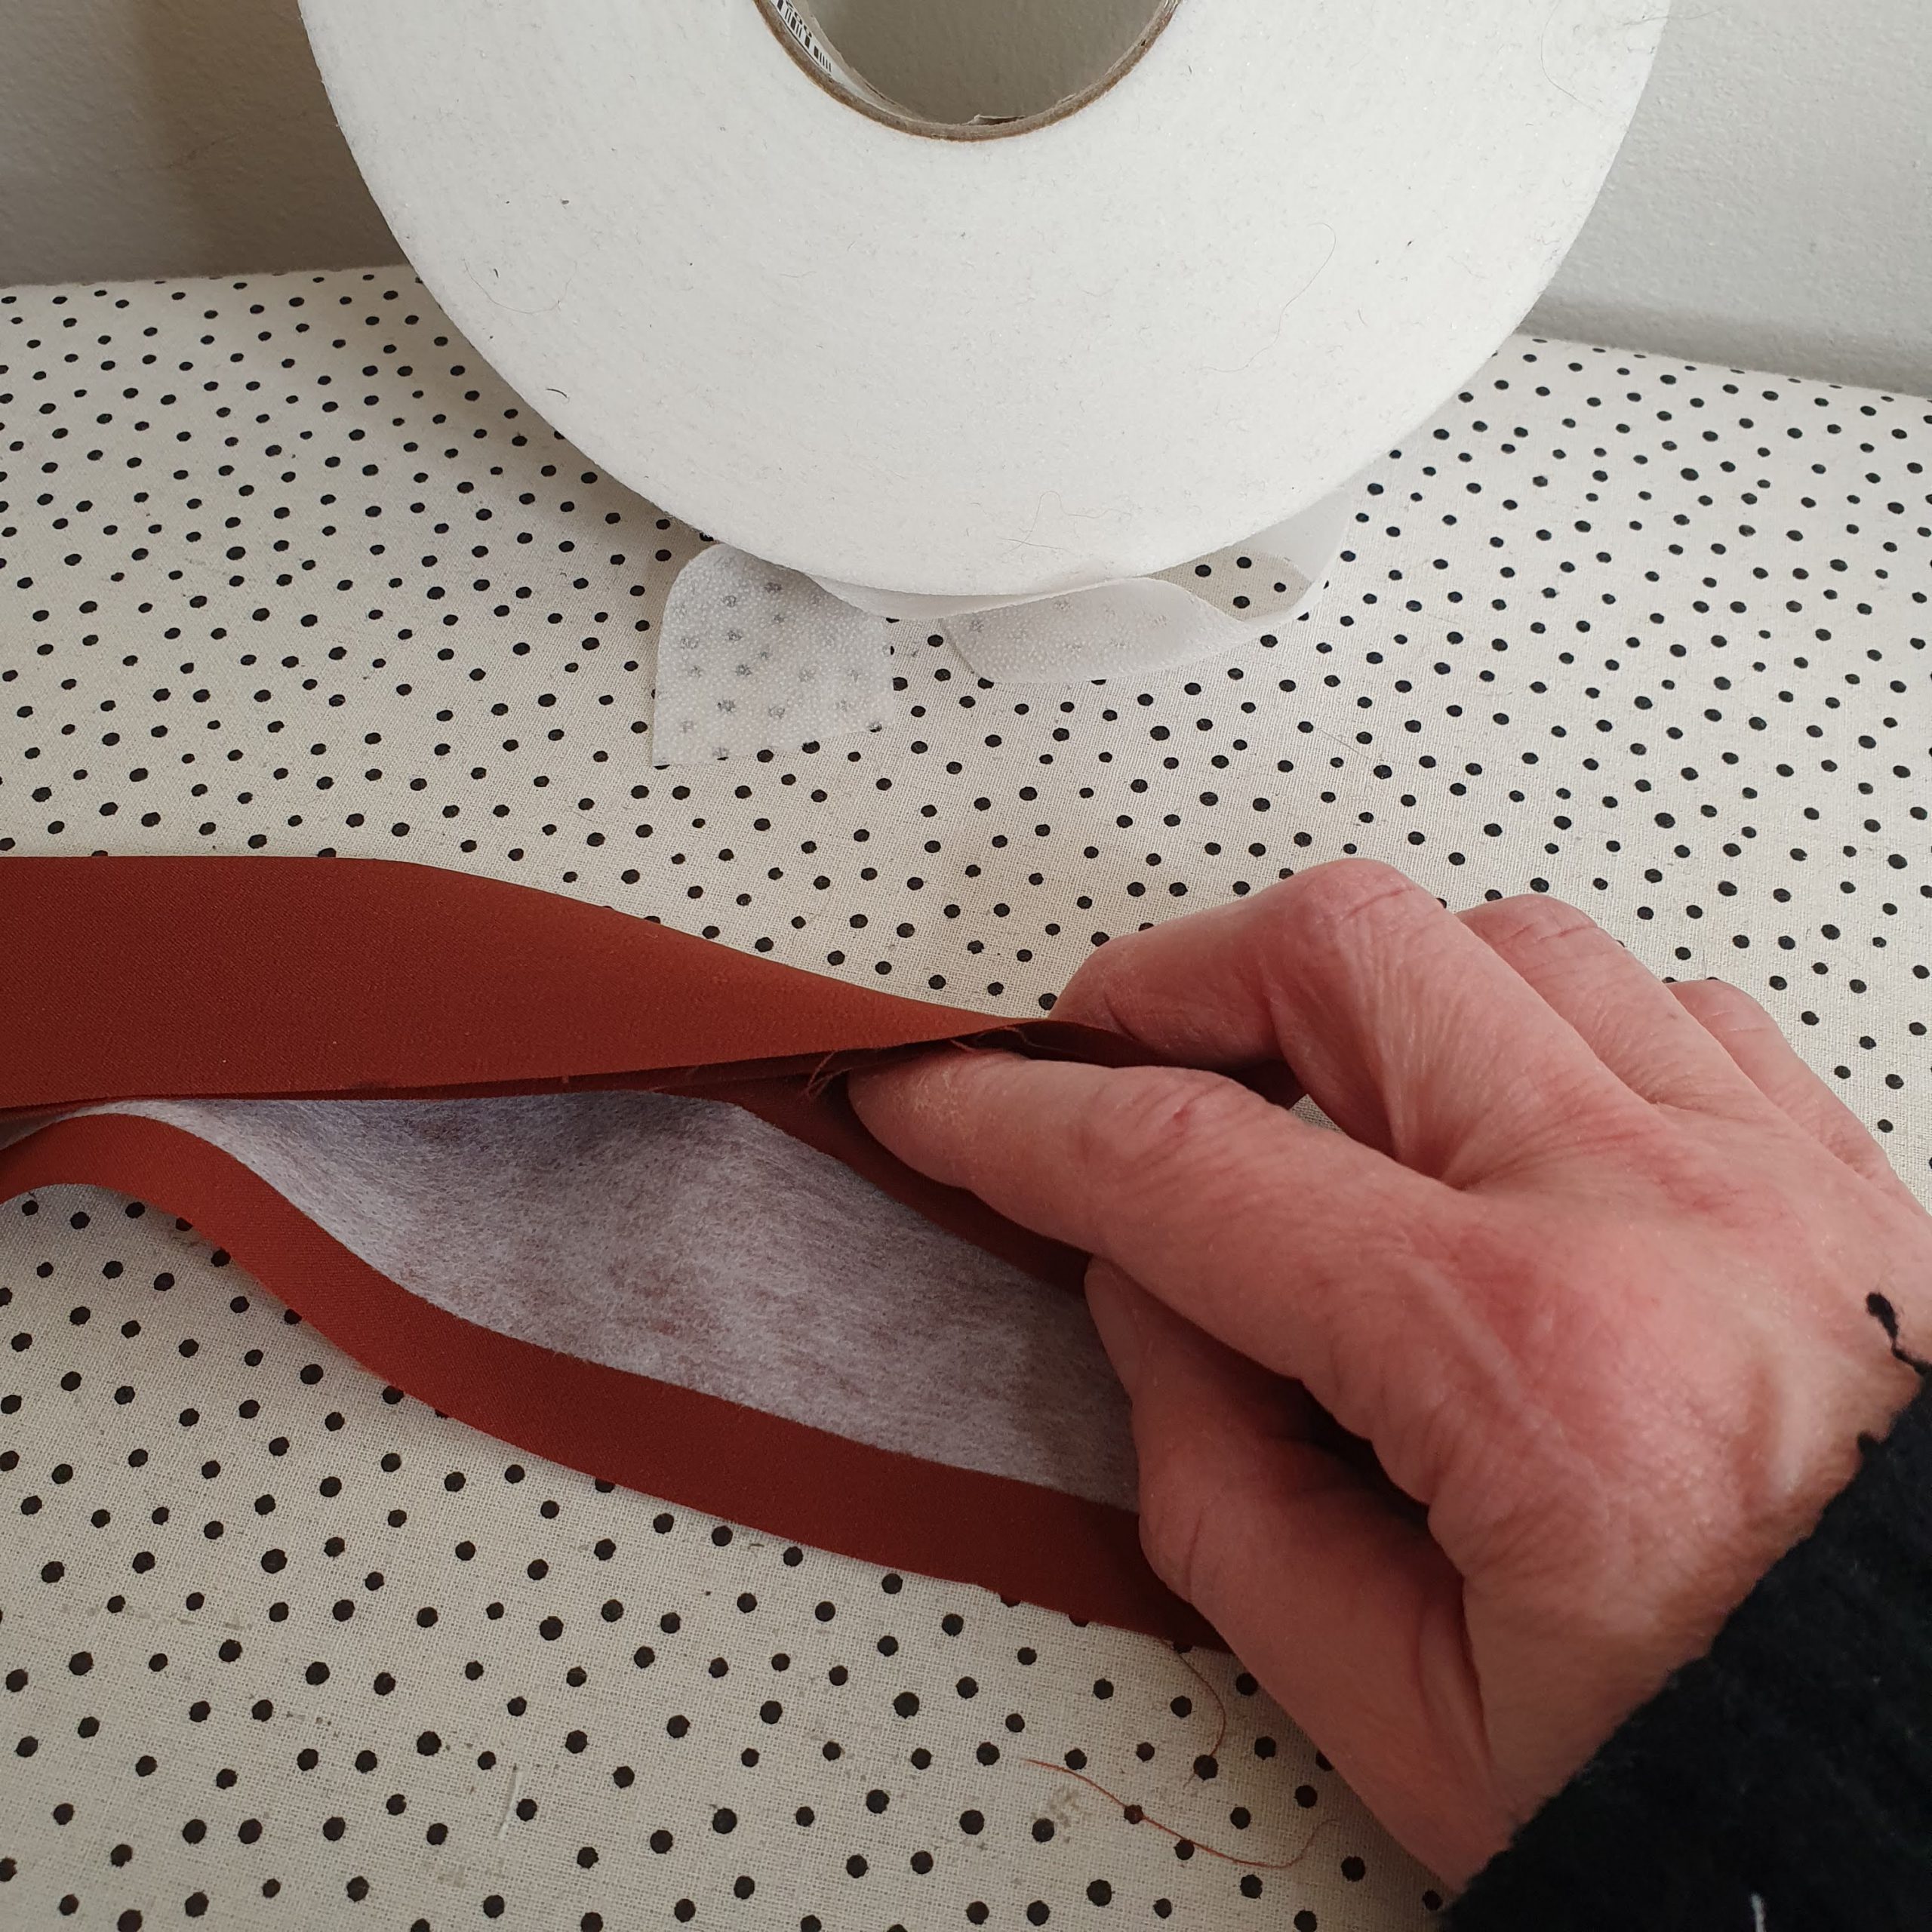
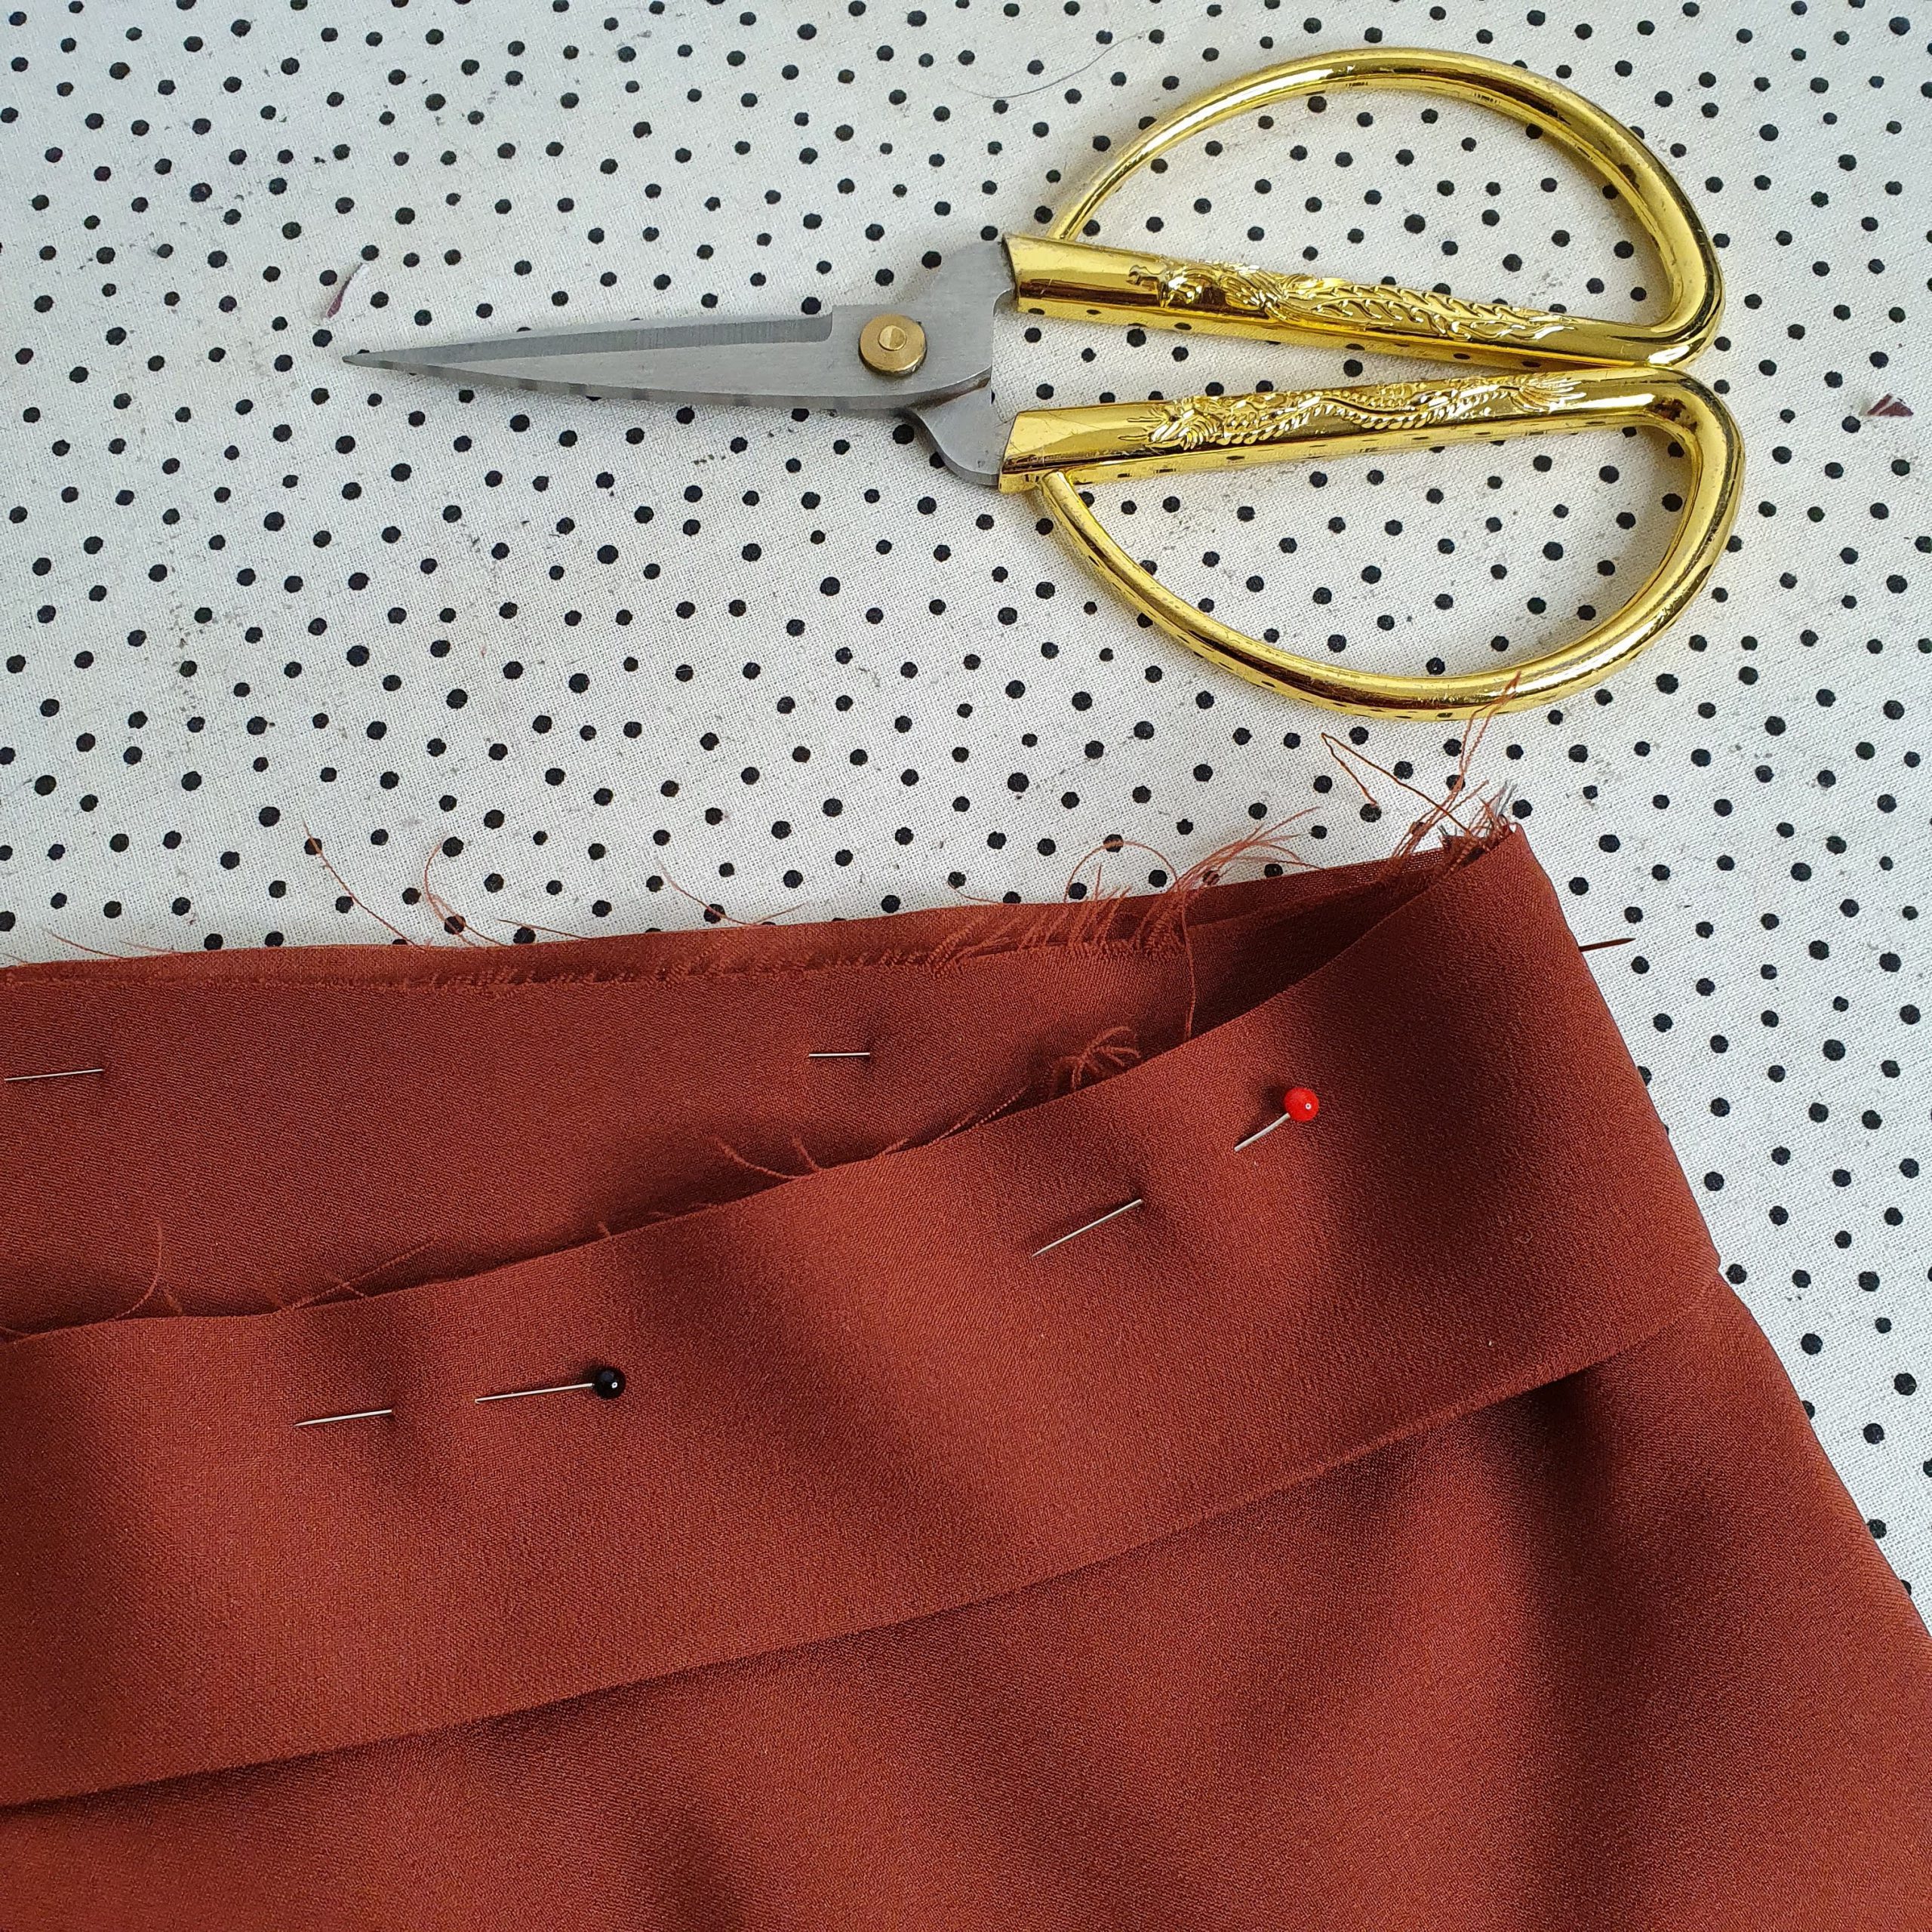
After stitching the side seams, I reinforced the waistband and sewed the narrow sides together. Then it was folded in half with the wrong sides together and attached to the half circle skirt. Leave an opening for stringing the elastic. After threading the elastic, join the ends with a zigzag stitch and close the opening.
Reinforce waistband on one side
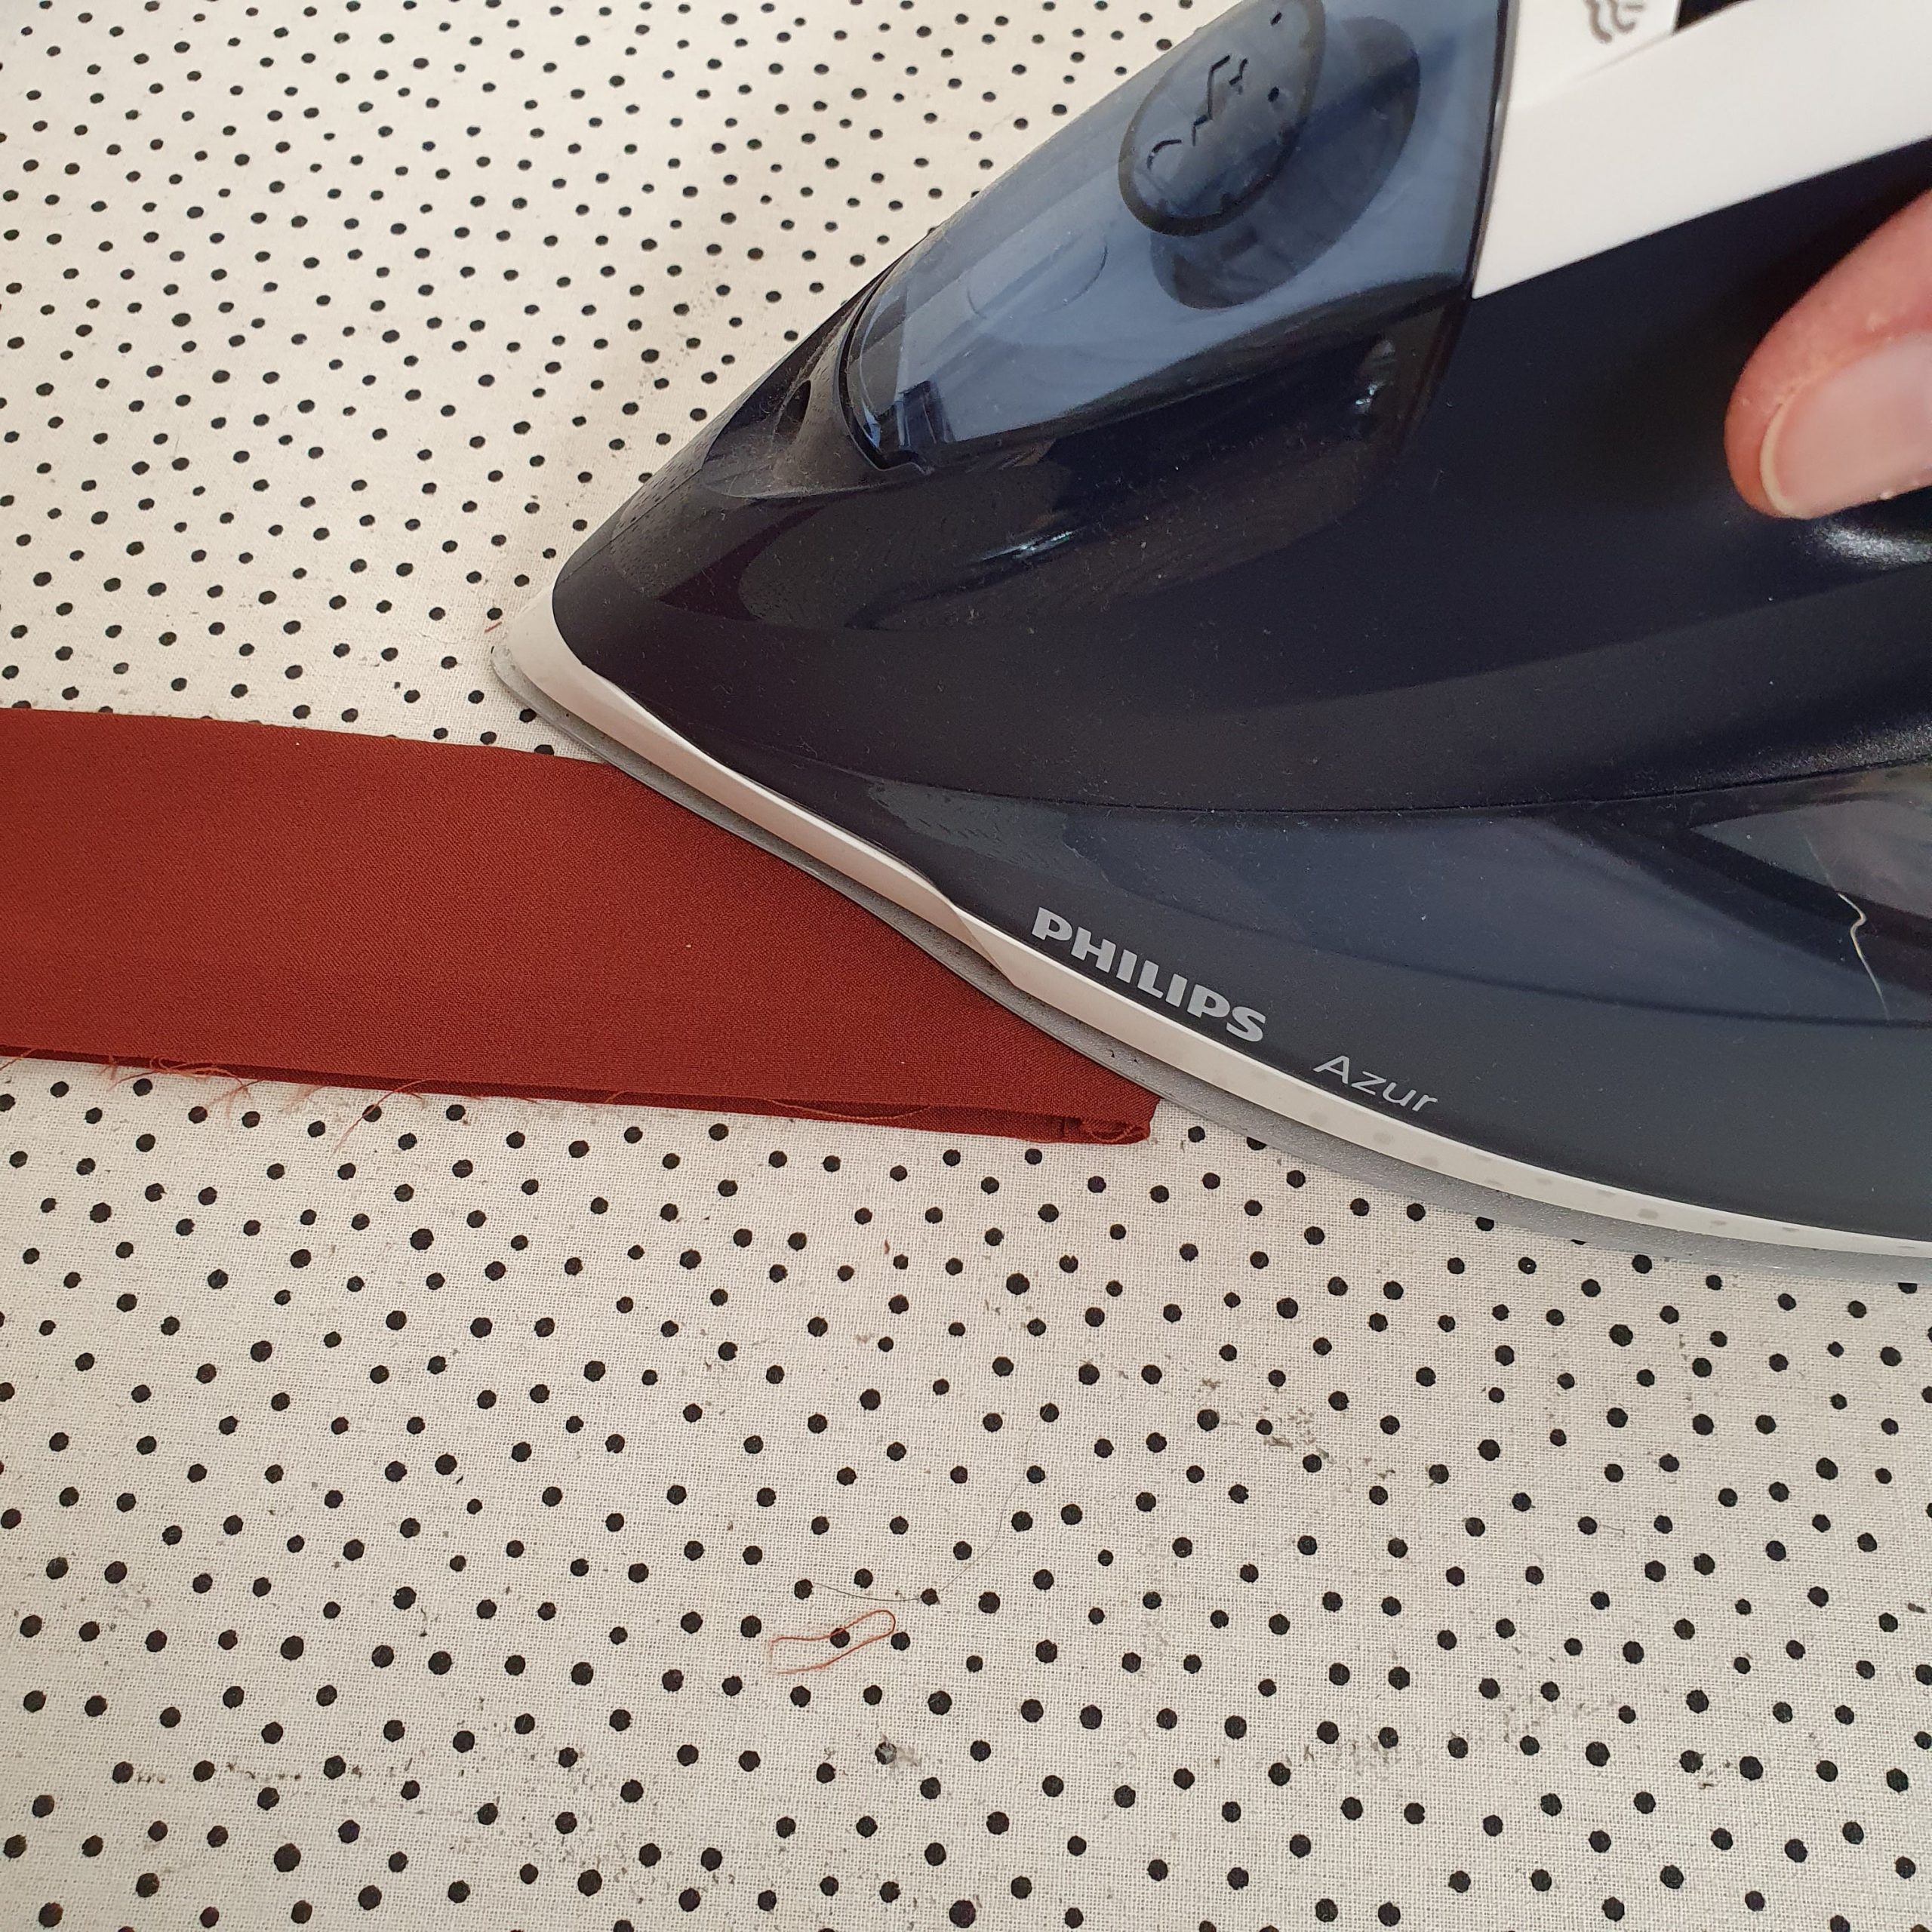
Iron waistband
Attach folded
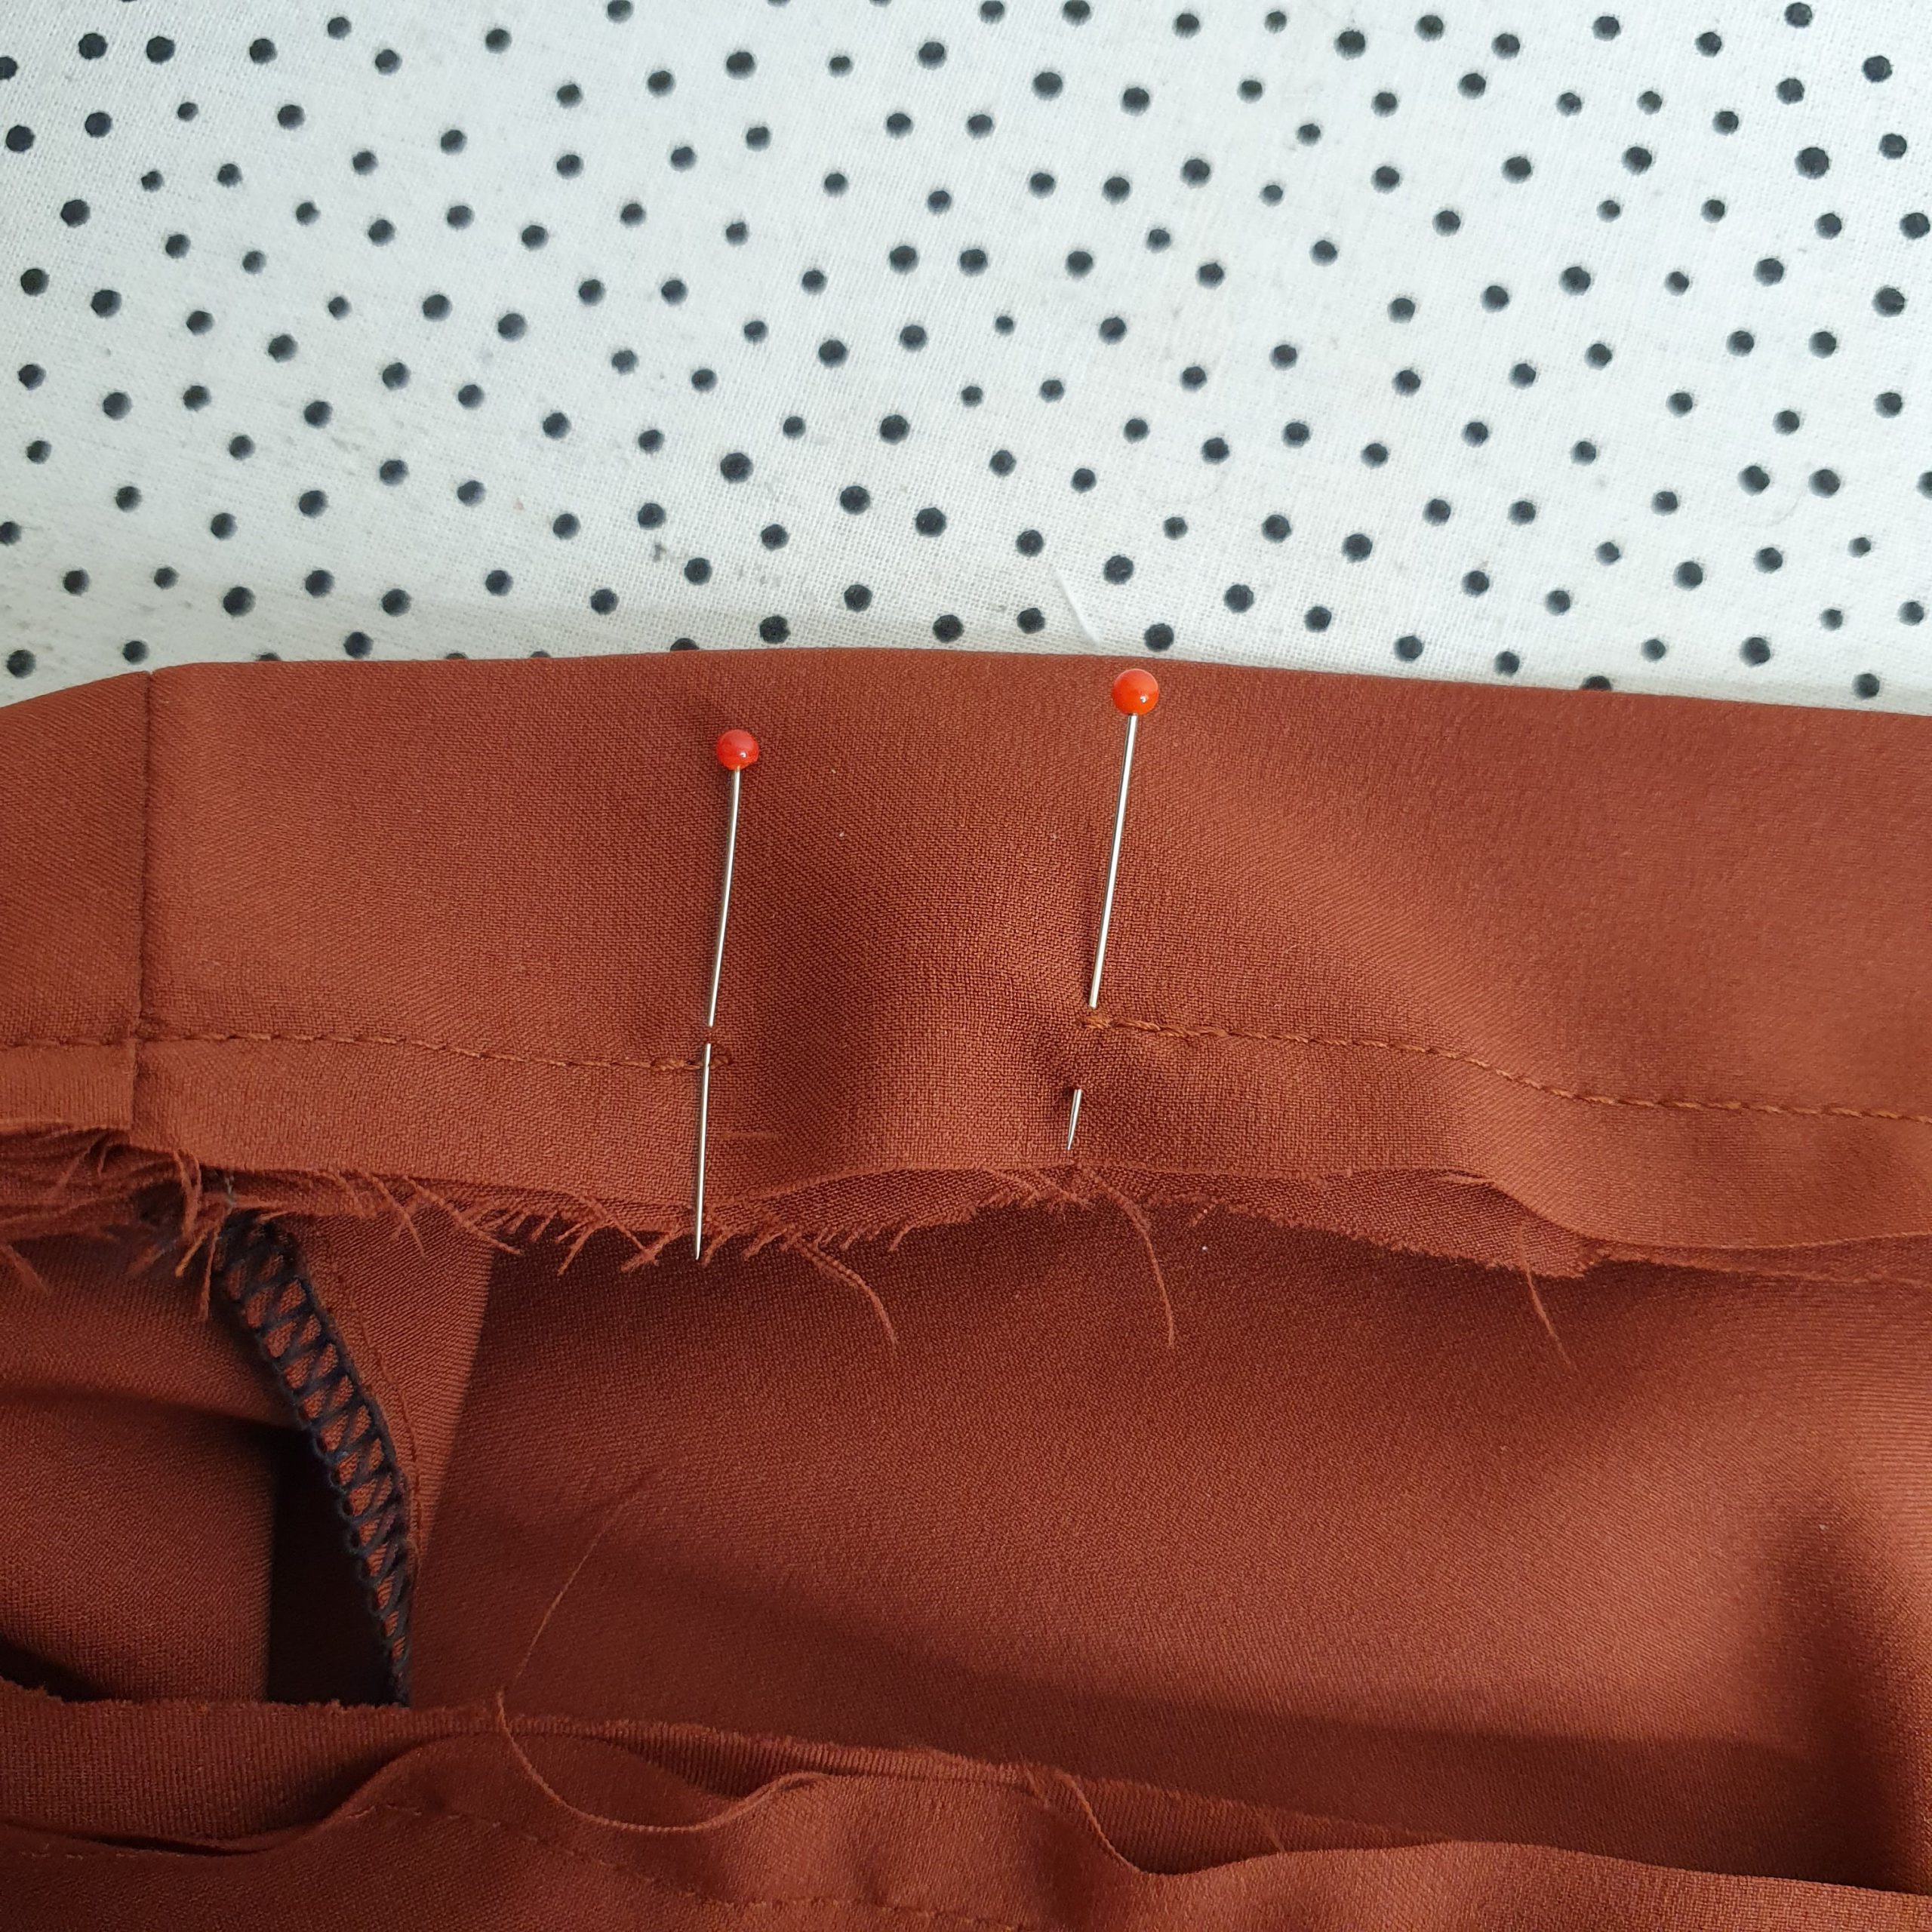
Leave opening

Thread elastic
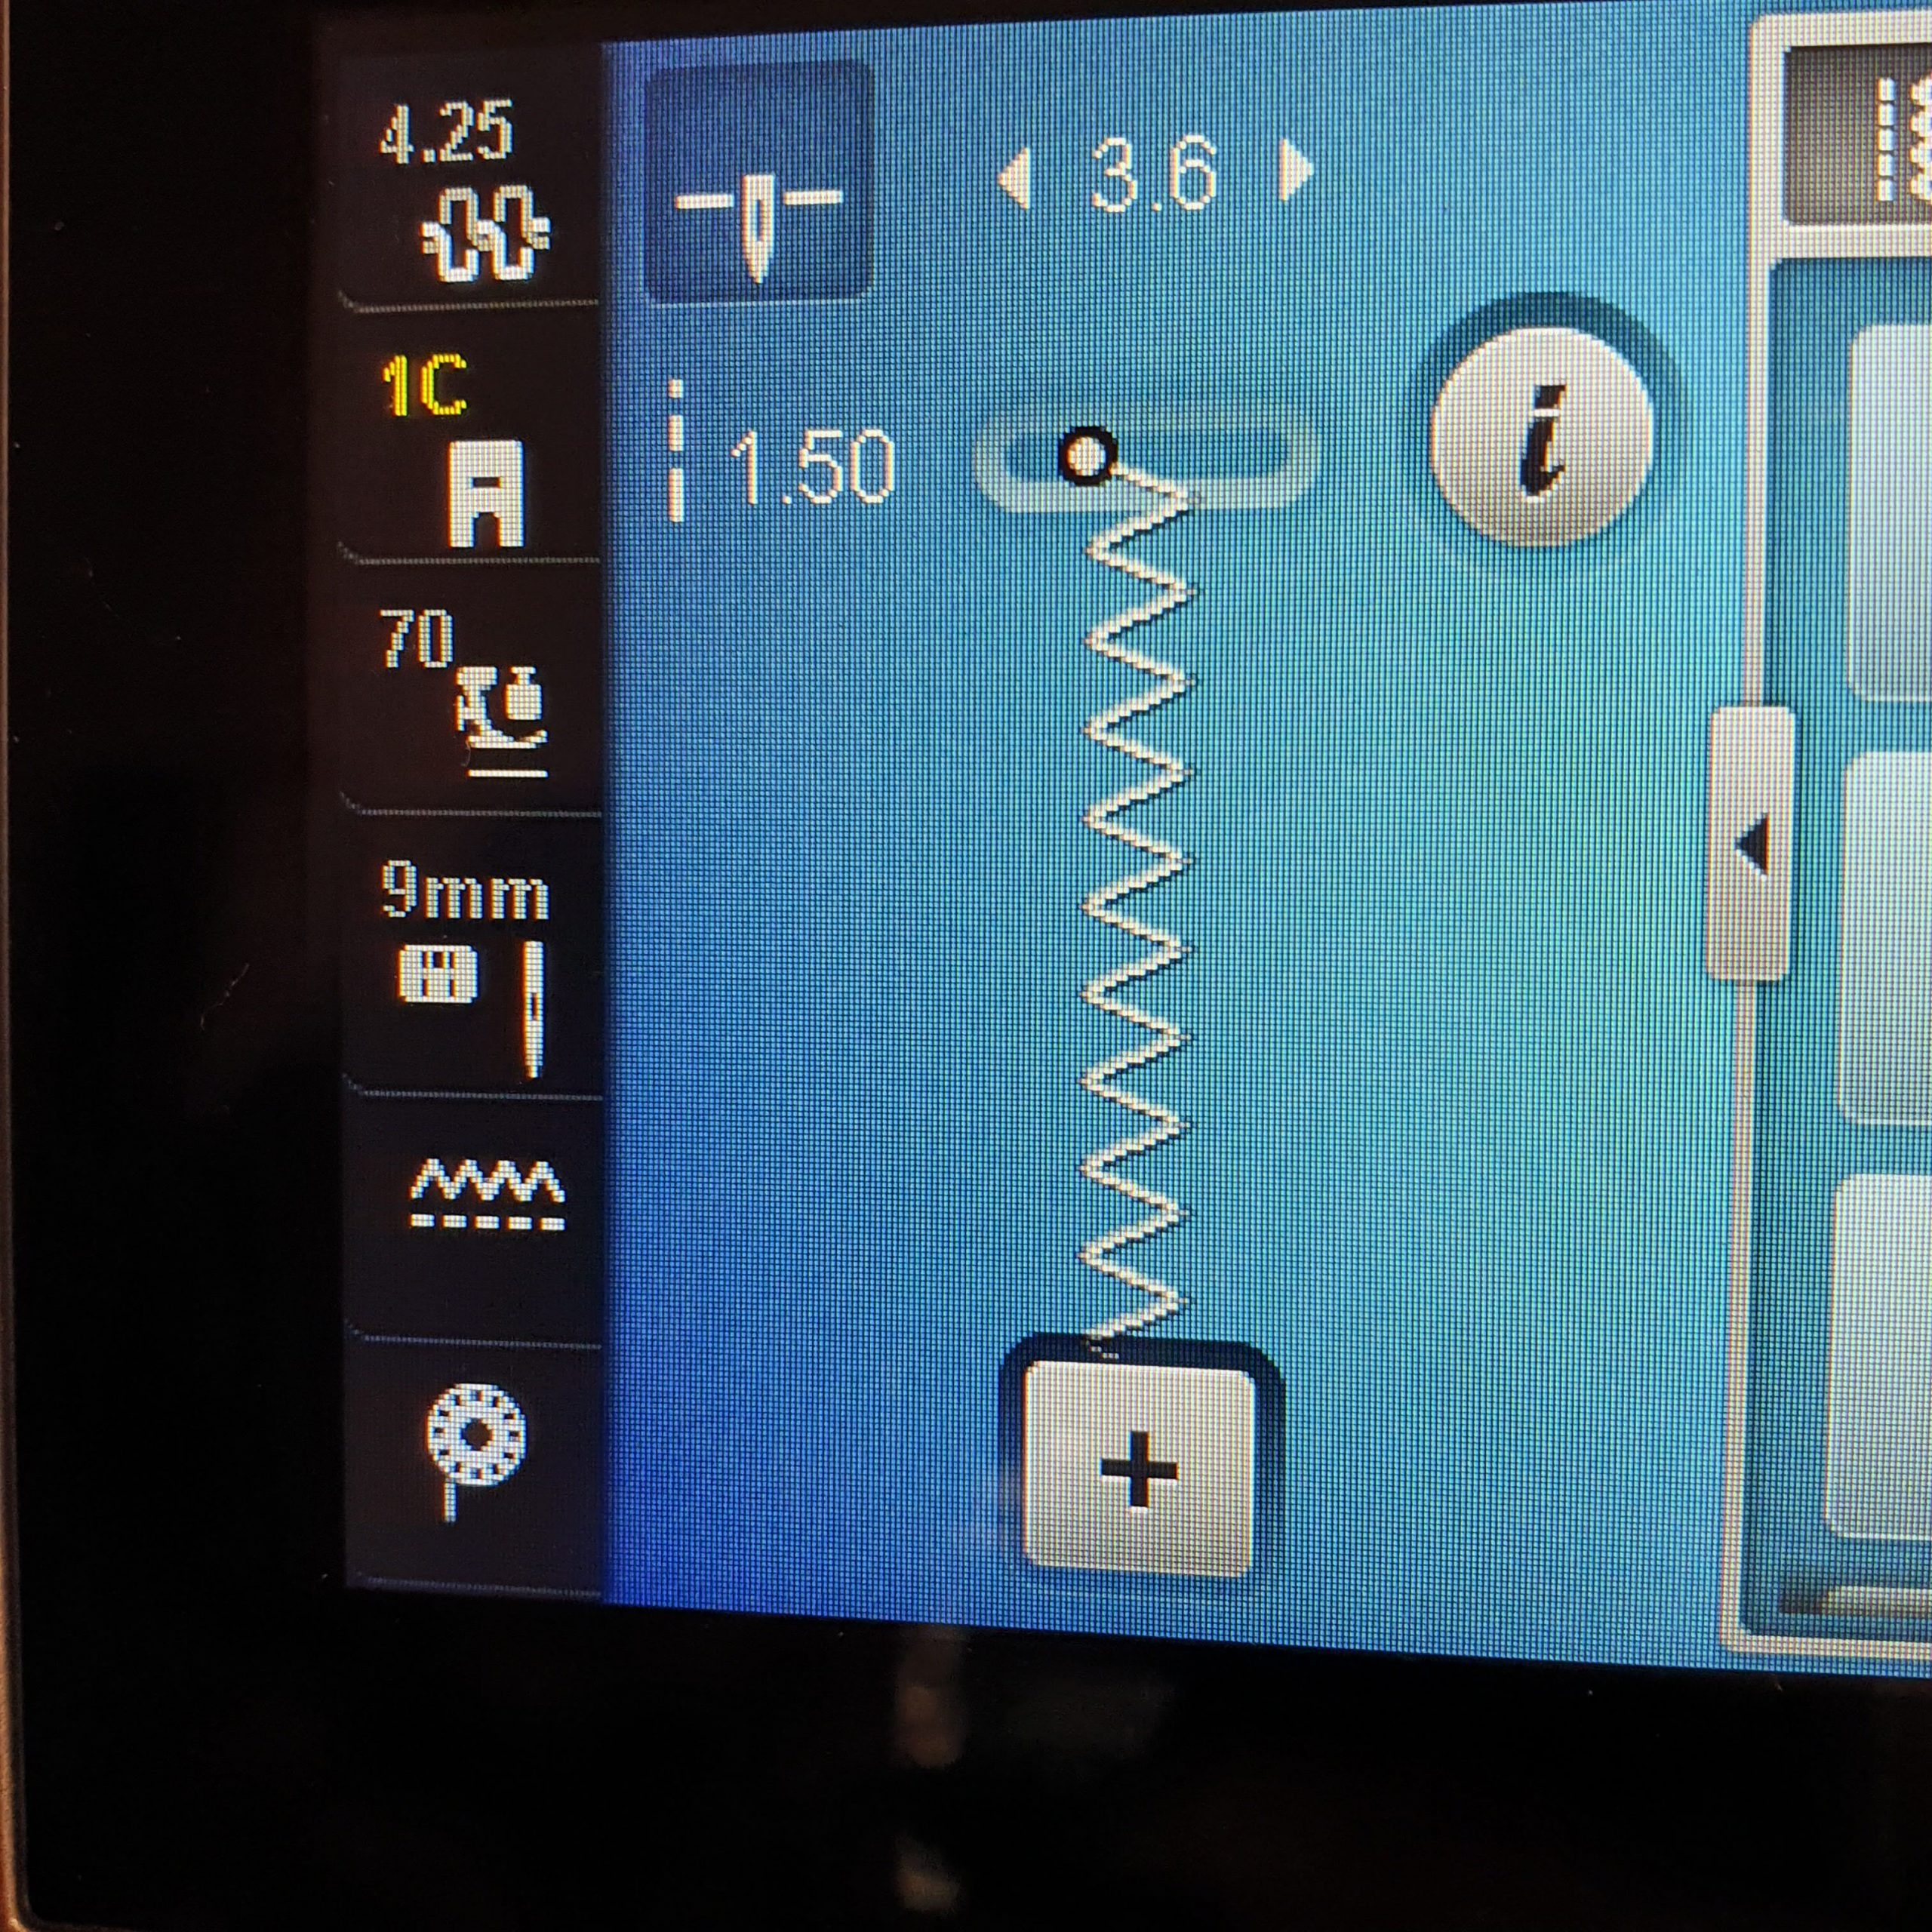
Zigzag settings
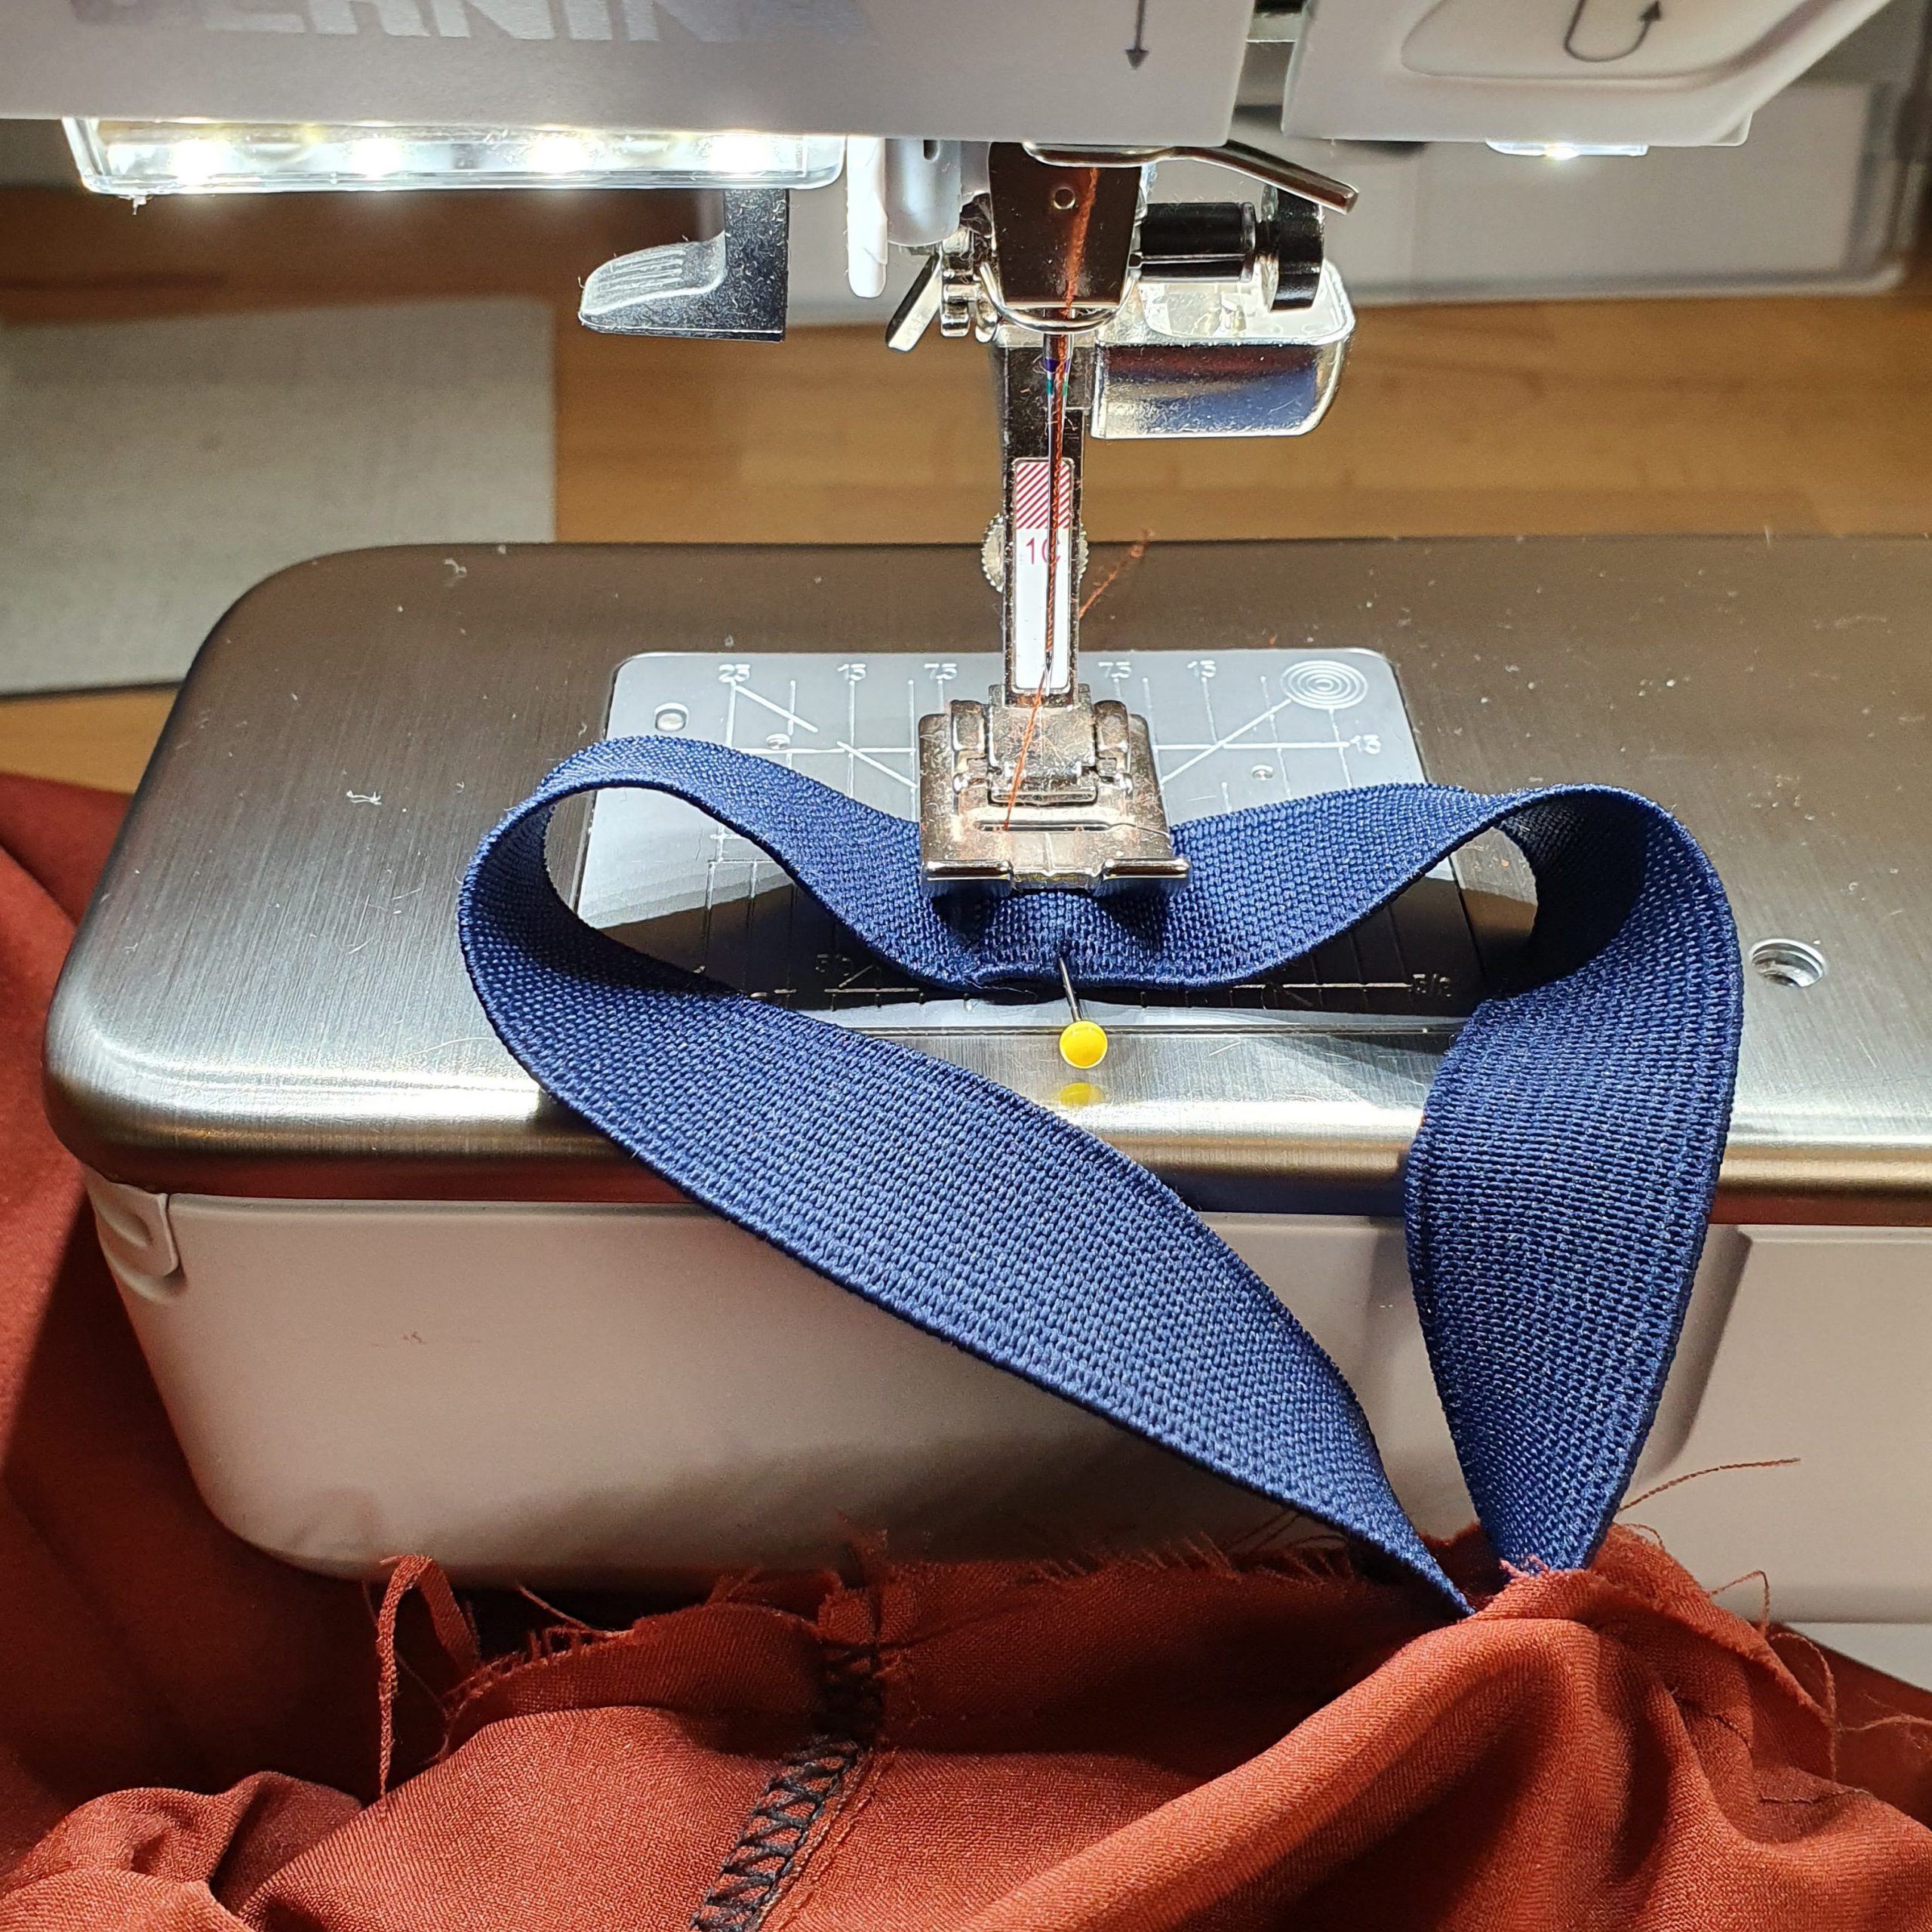
Ends together
Finish
The hem is finished with a three-thread rolled hem. For this I just use Mettler sewing thread in just the right colour and my bernette 64 AIRLOCK
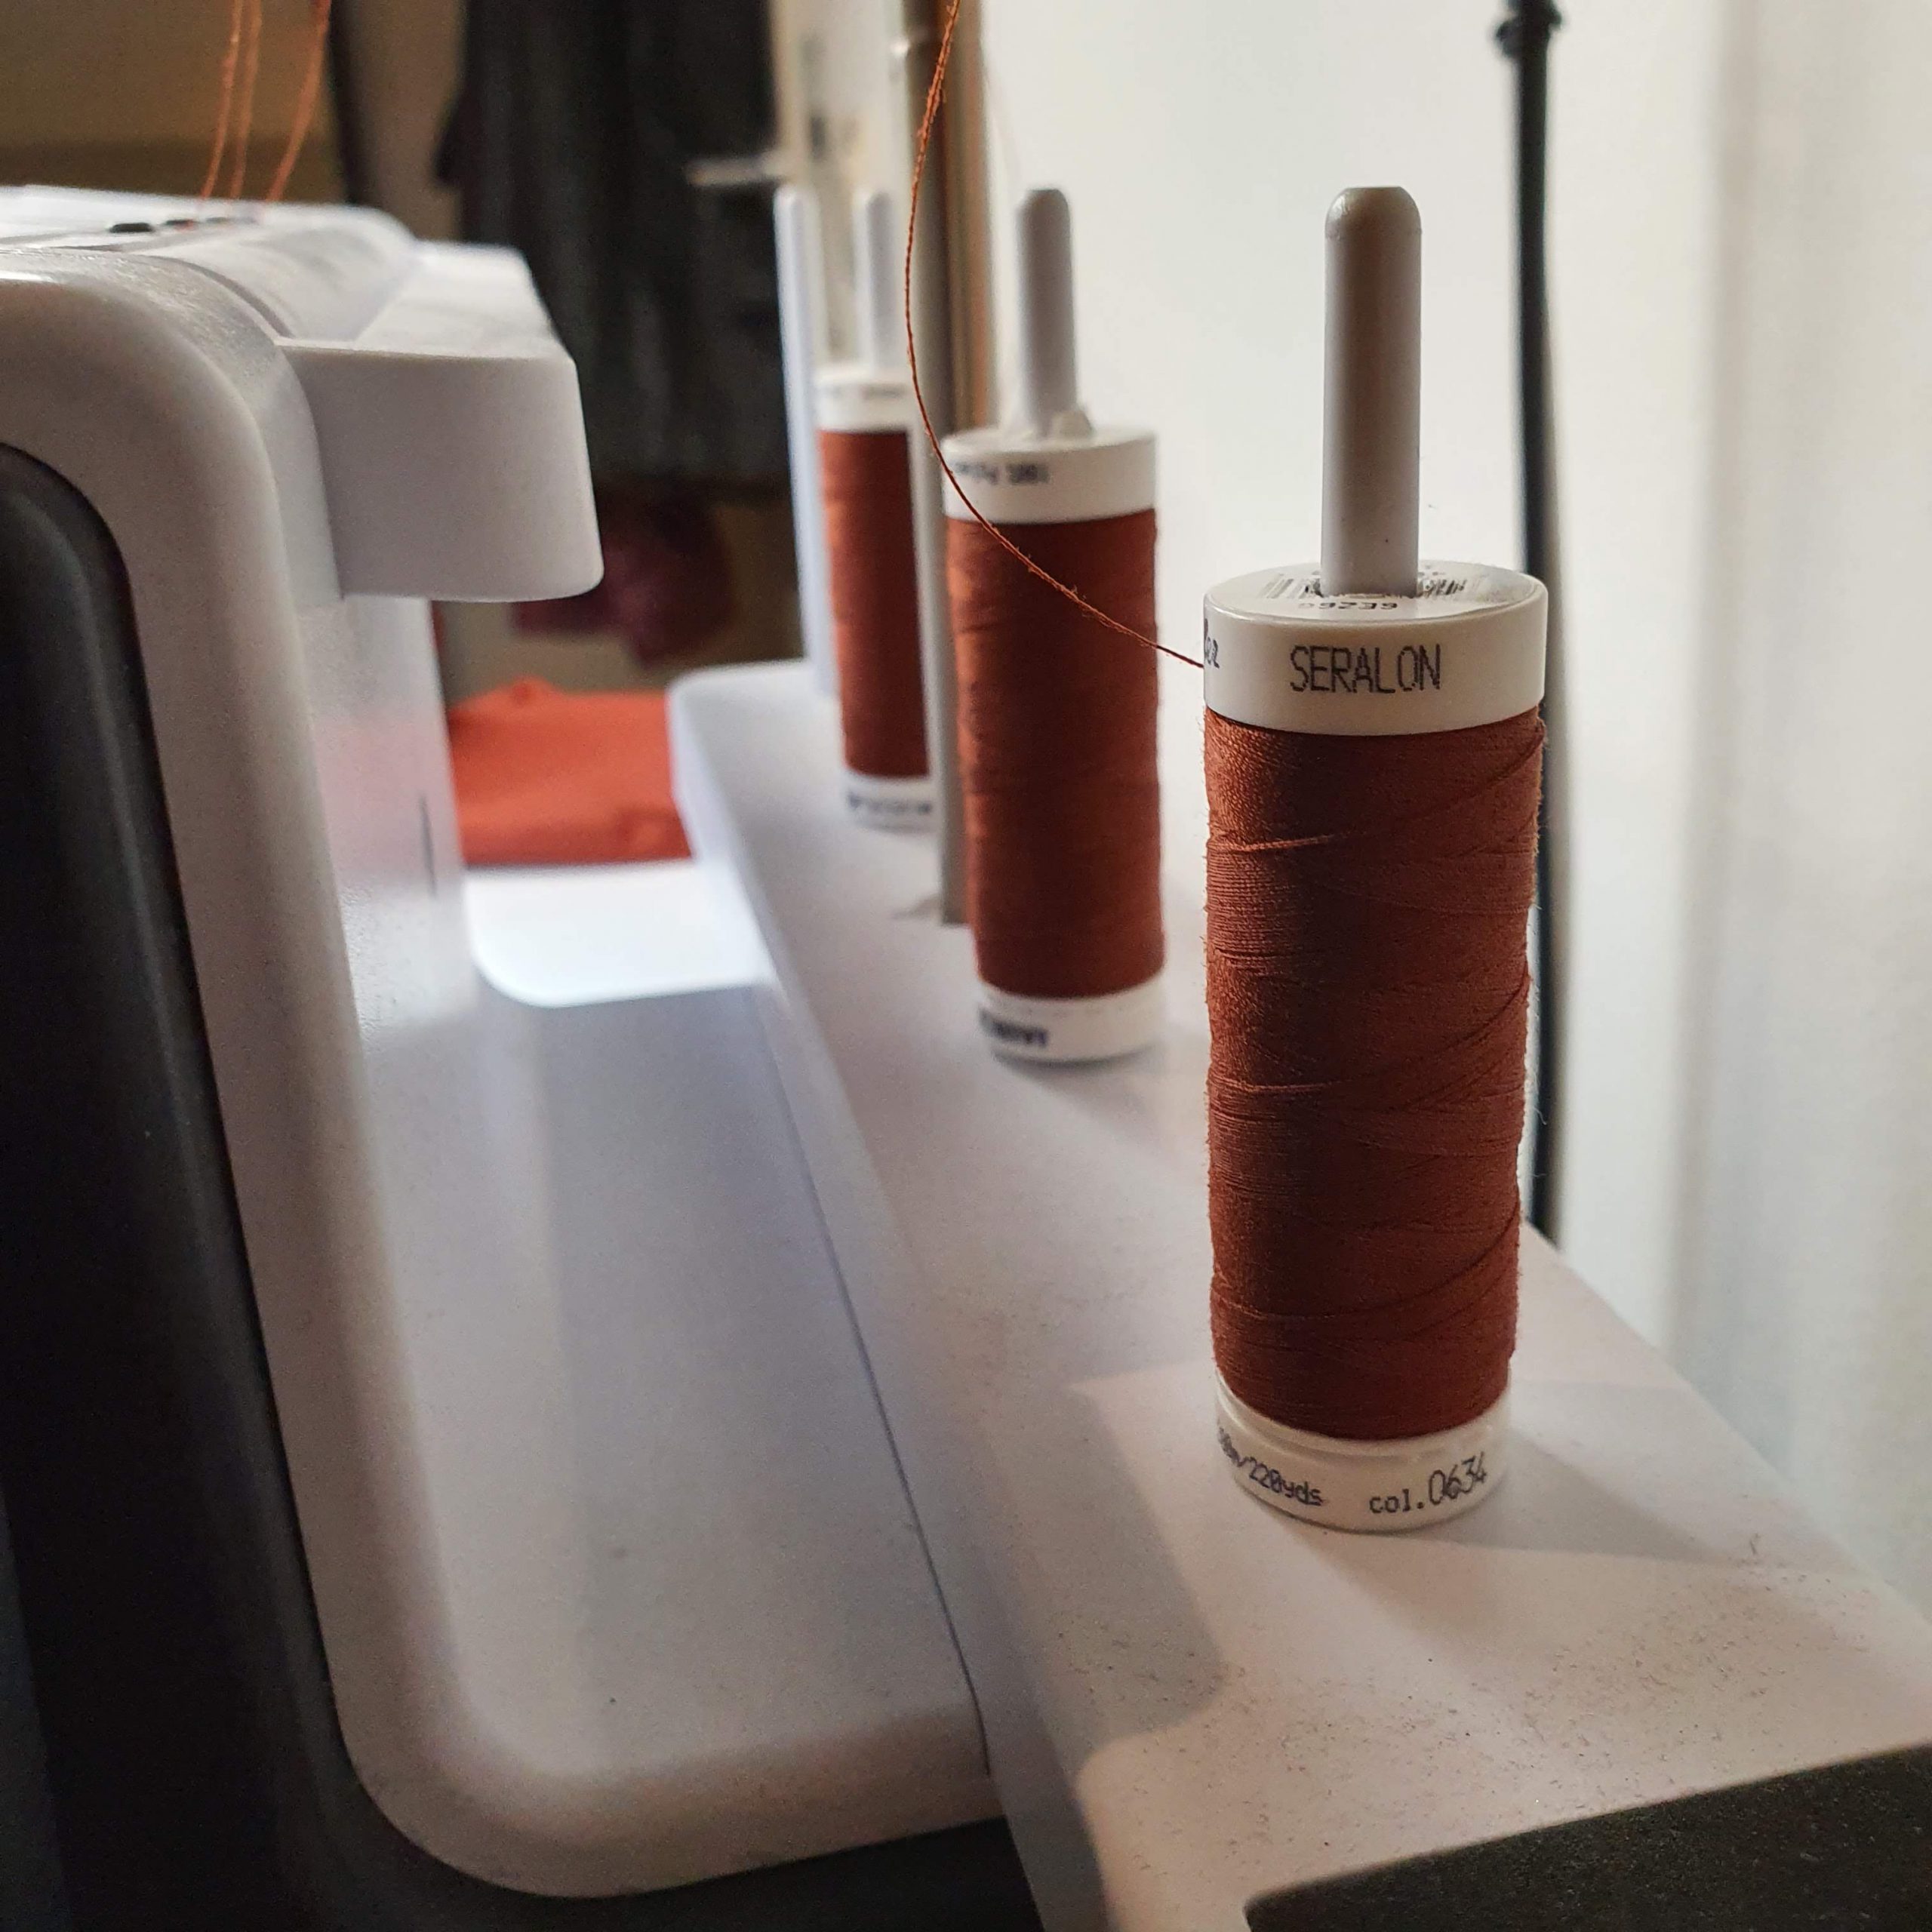
Normal sewing threads
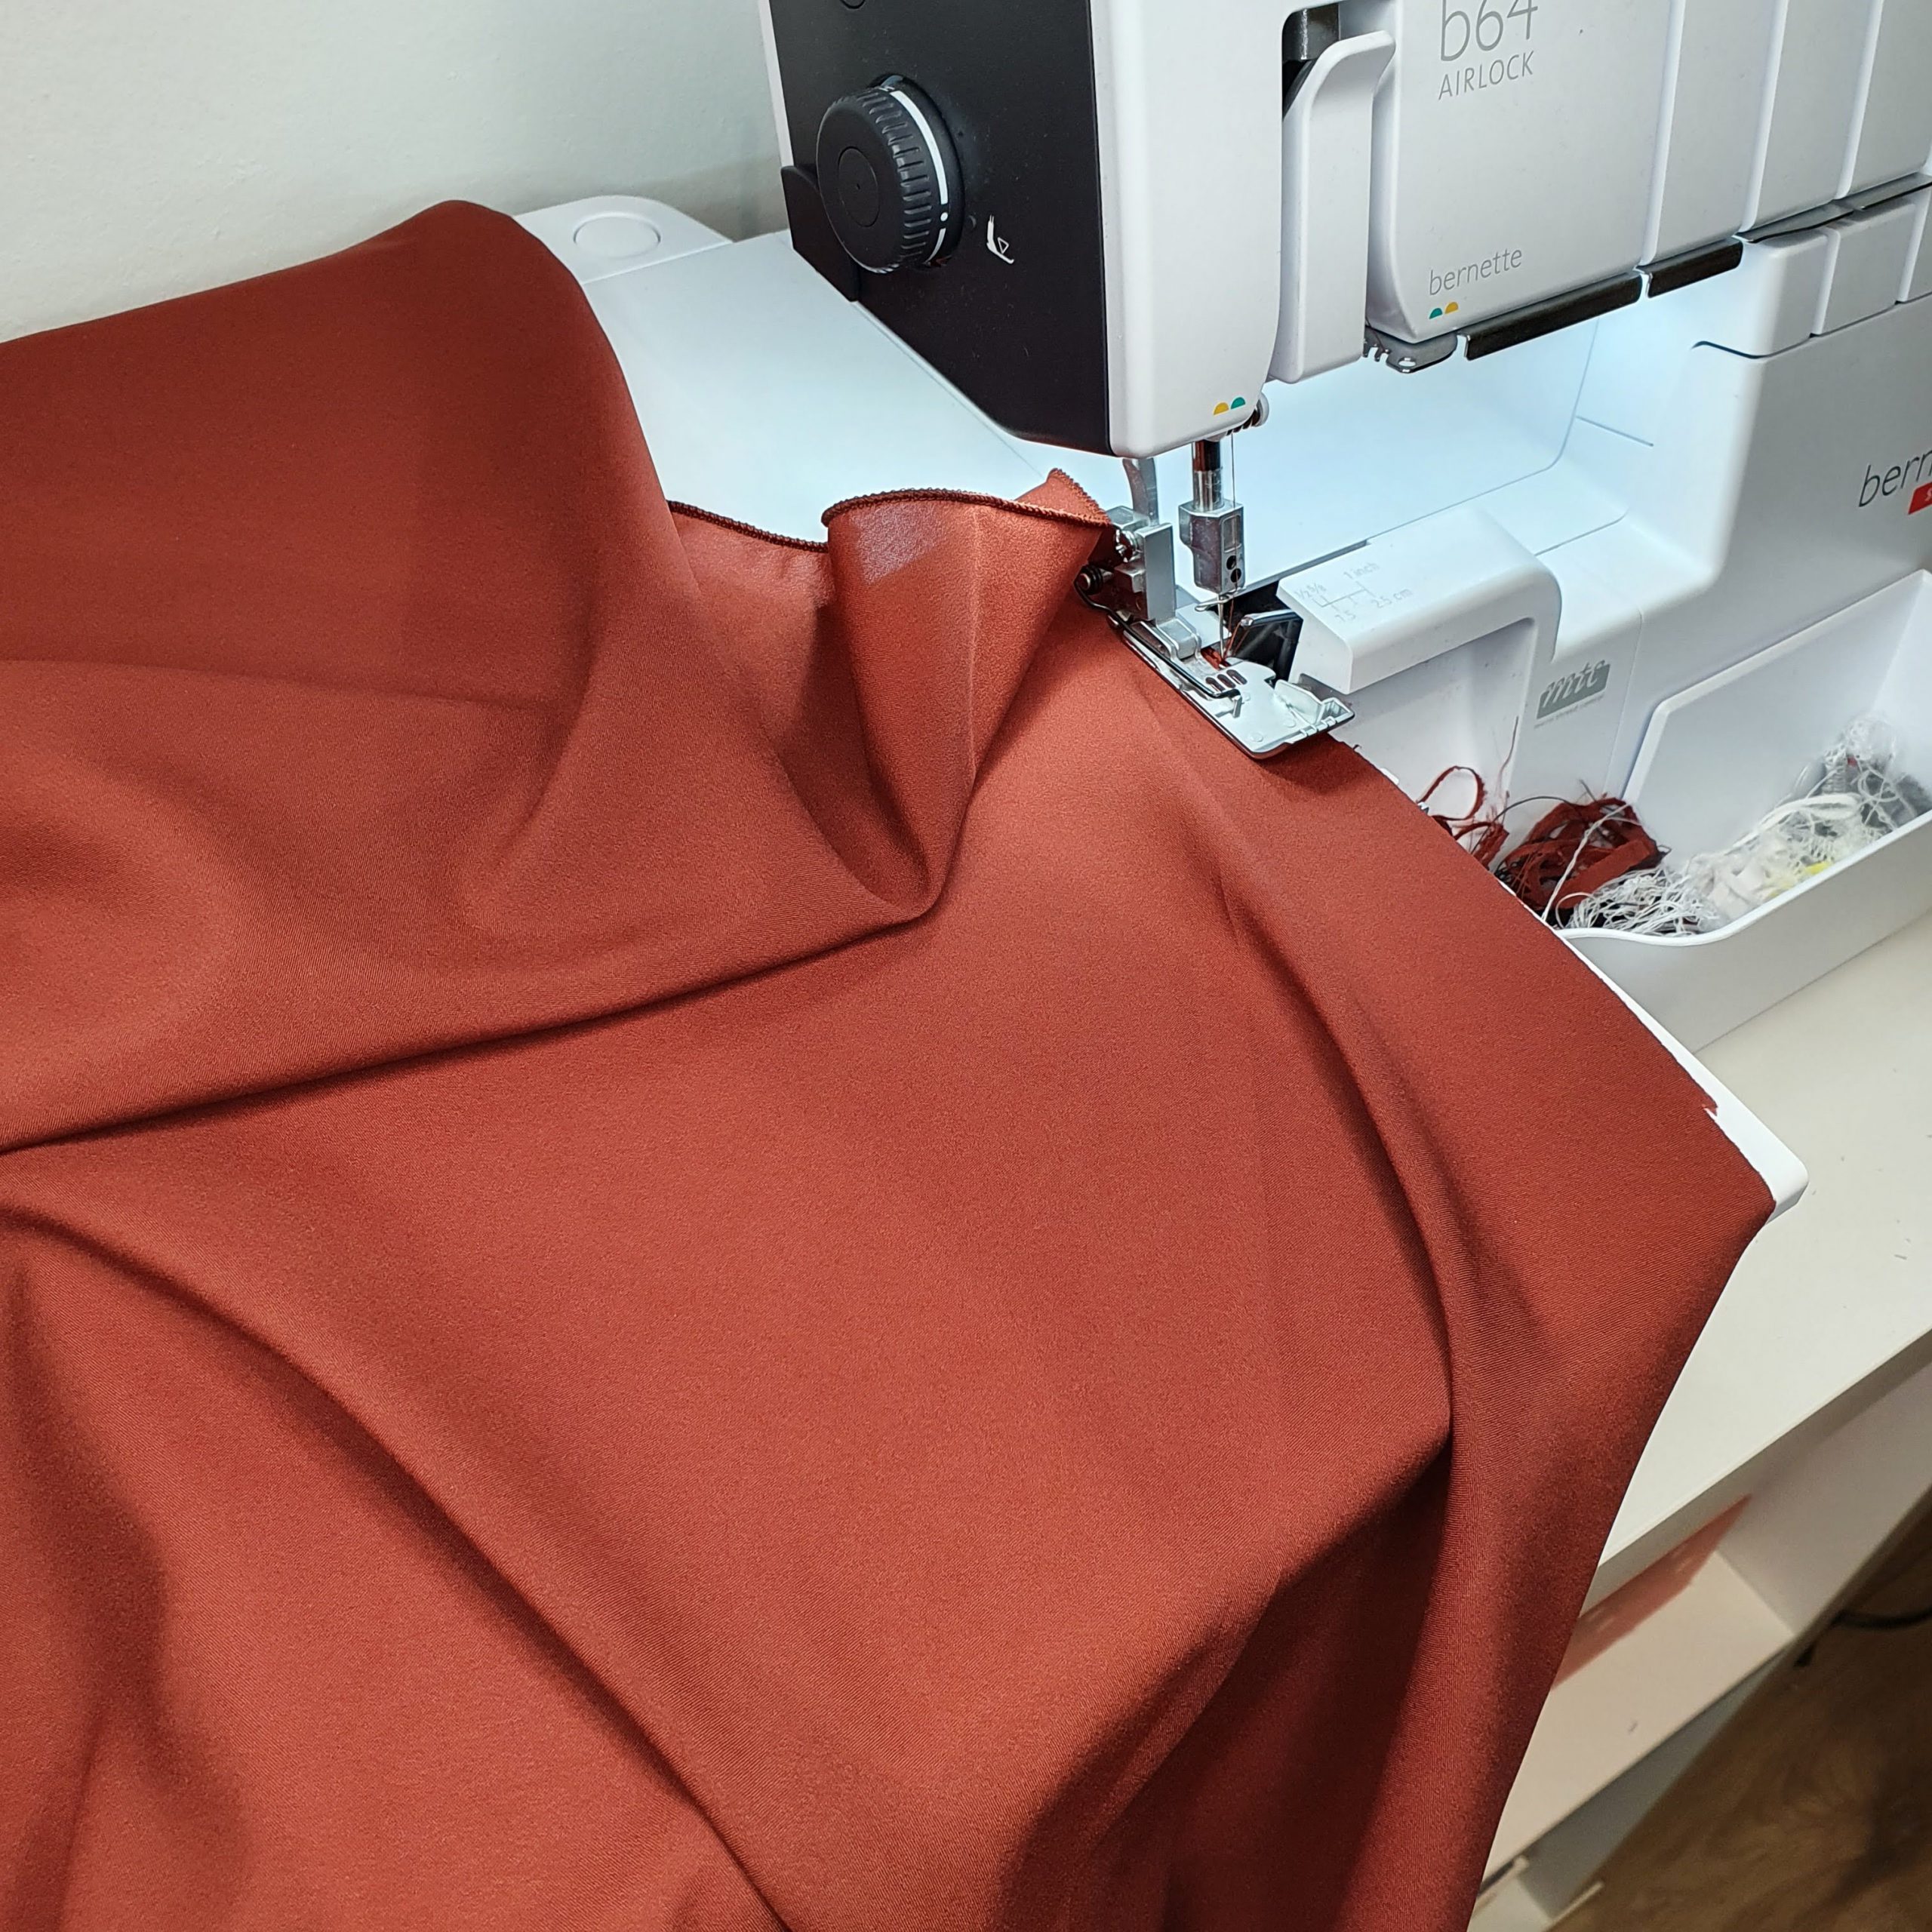
B64

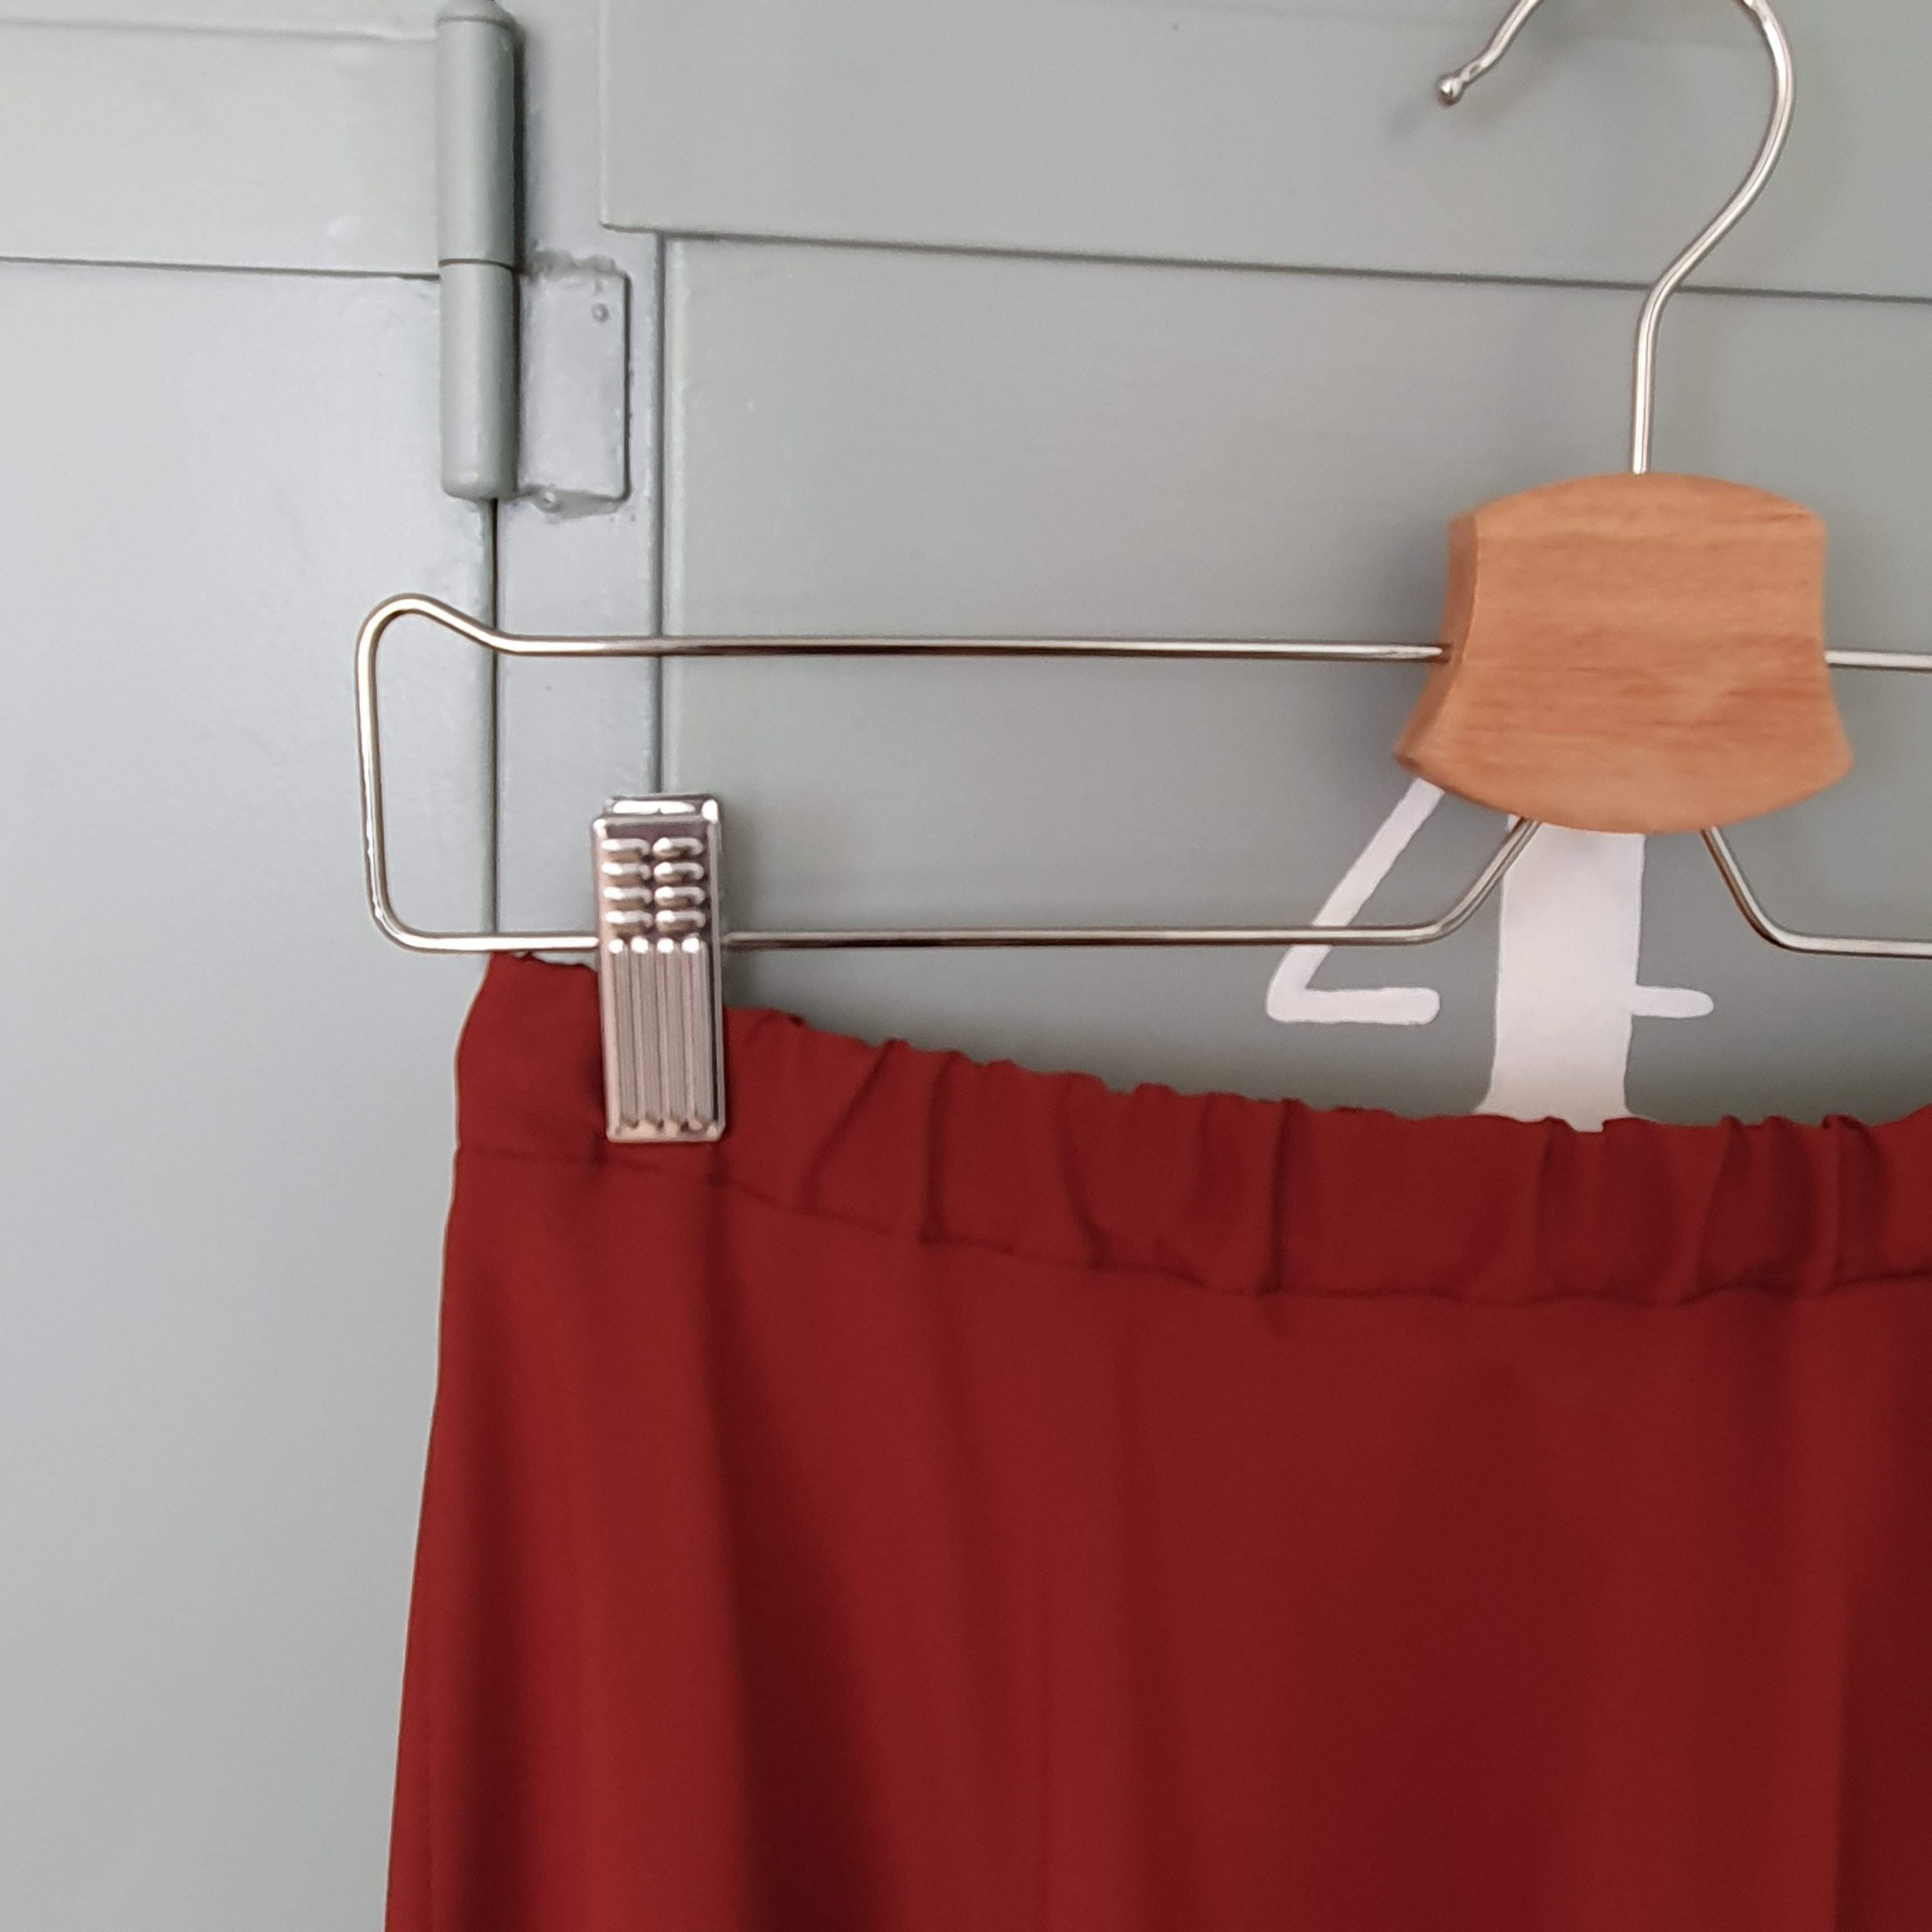
Great result
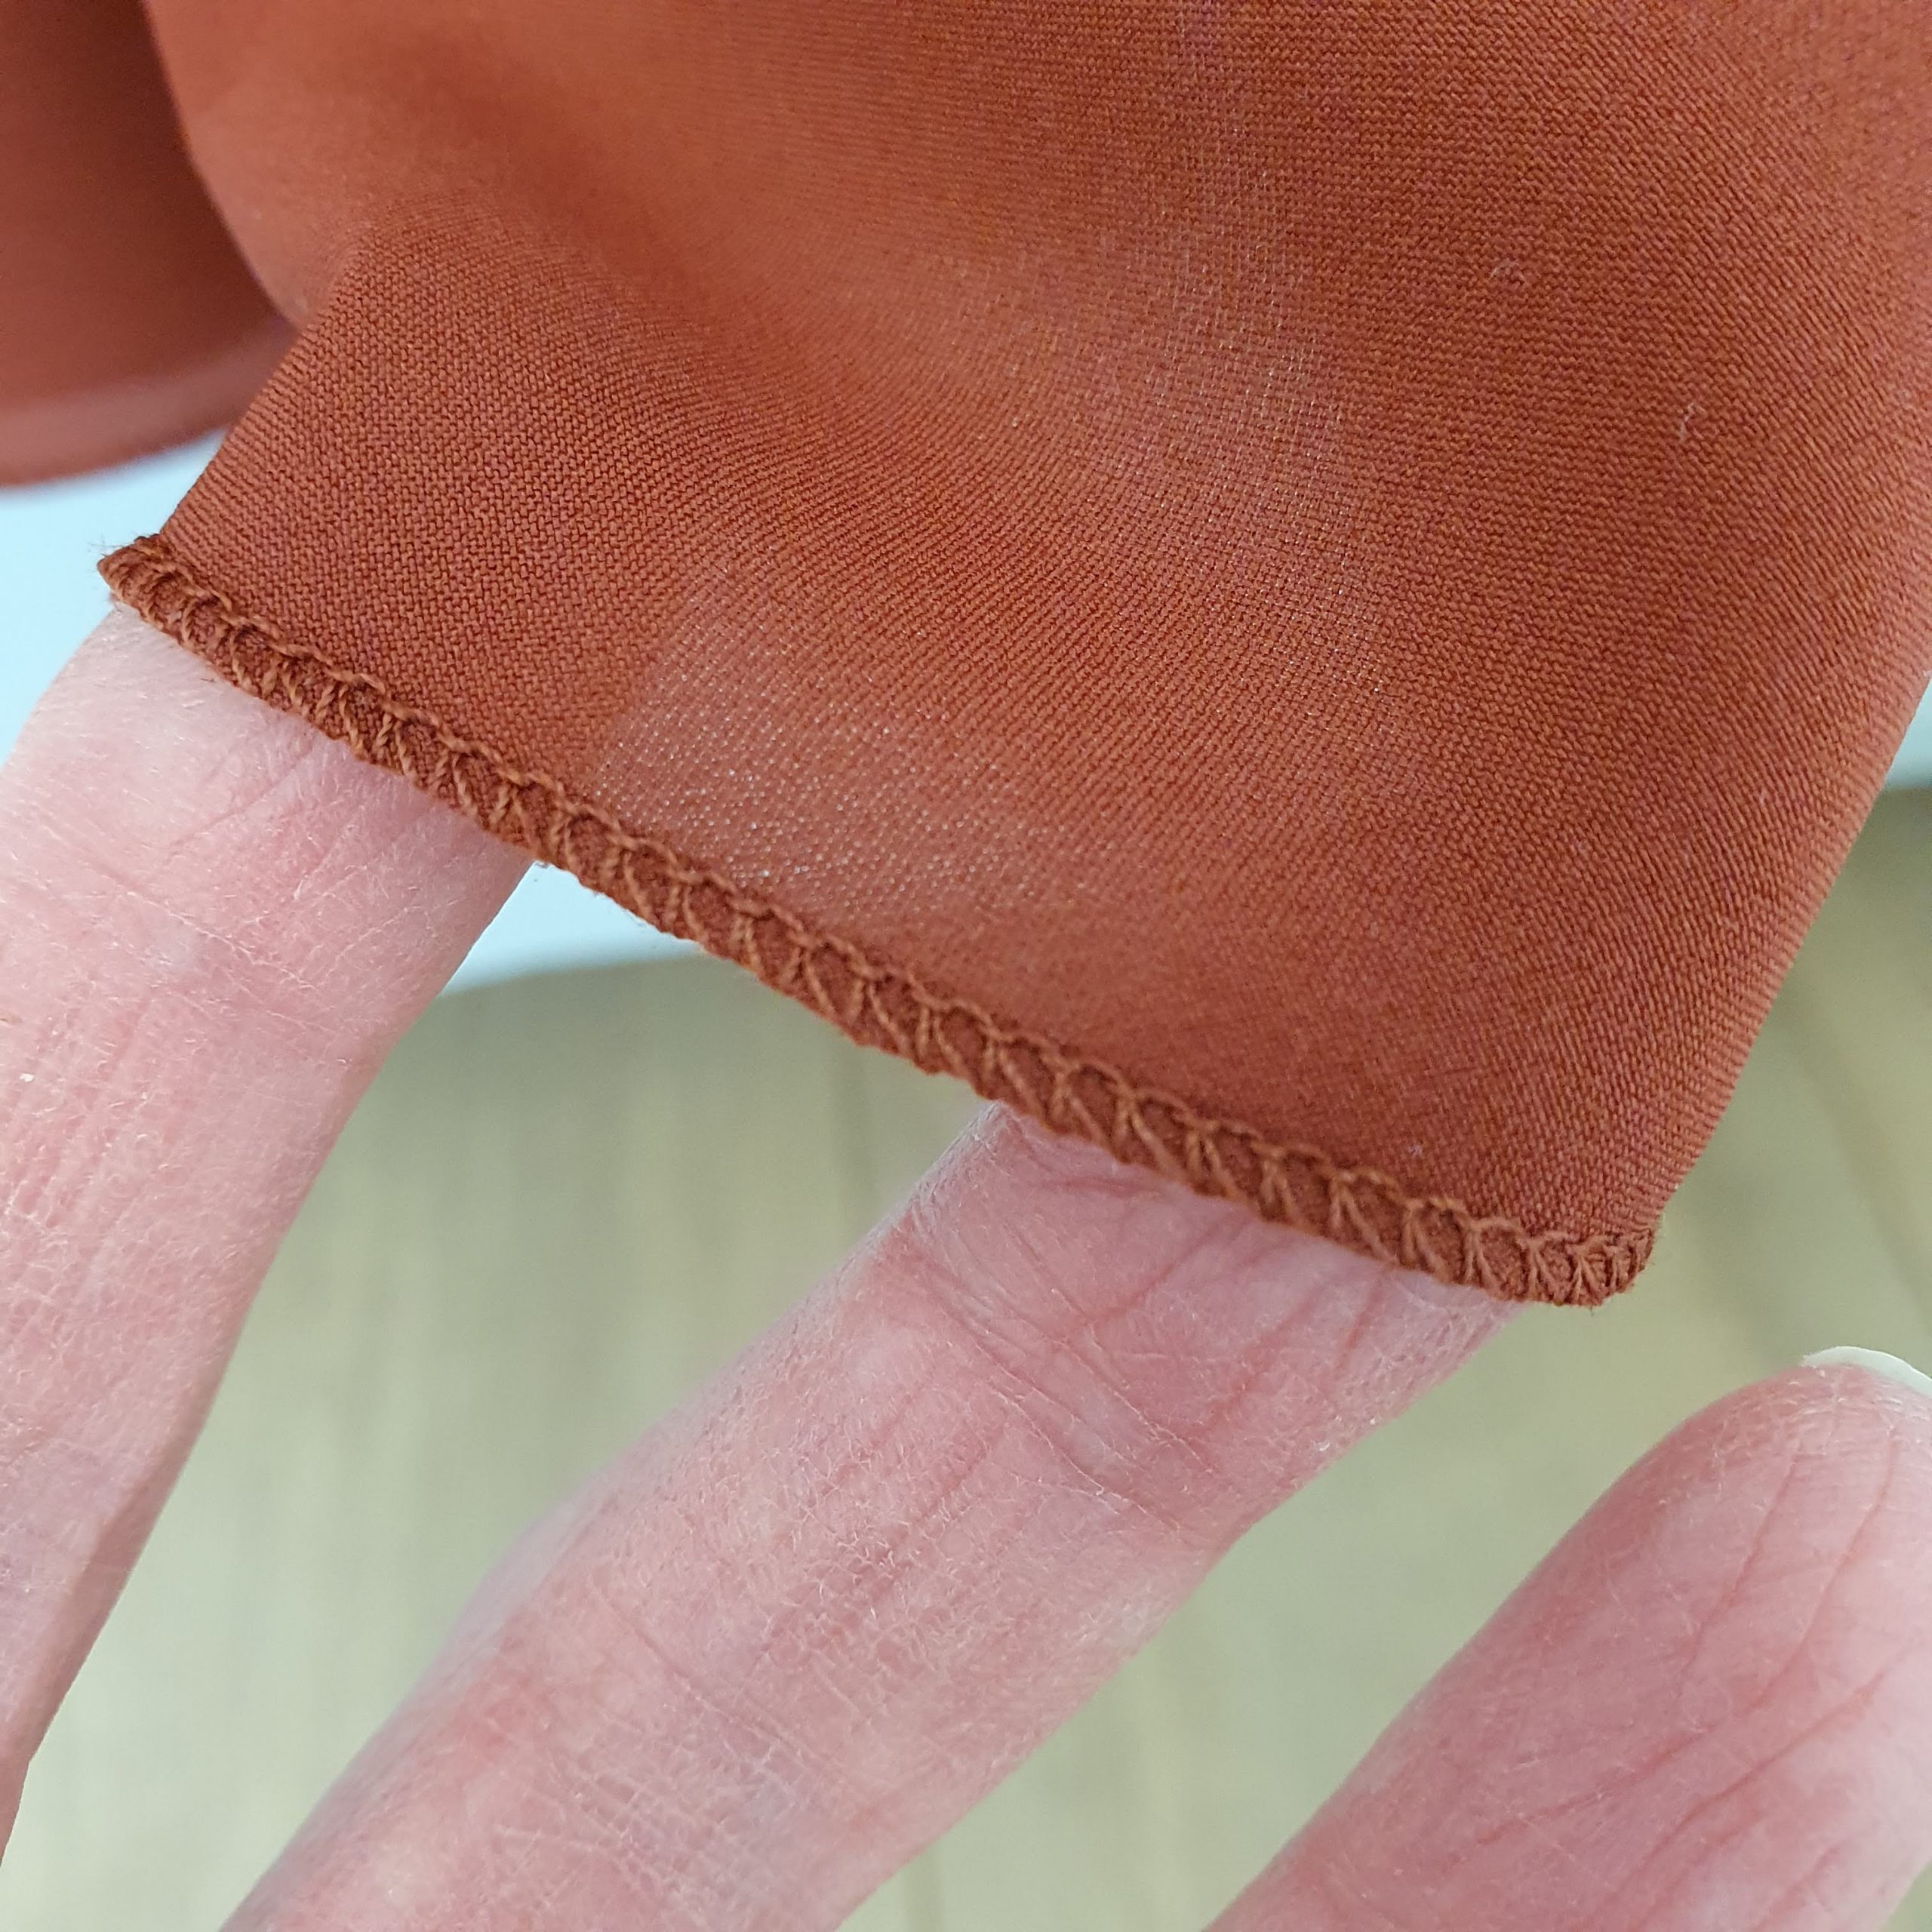
Three-thread rolled hem
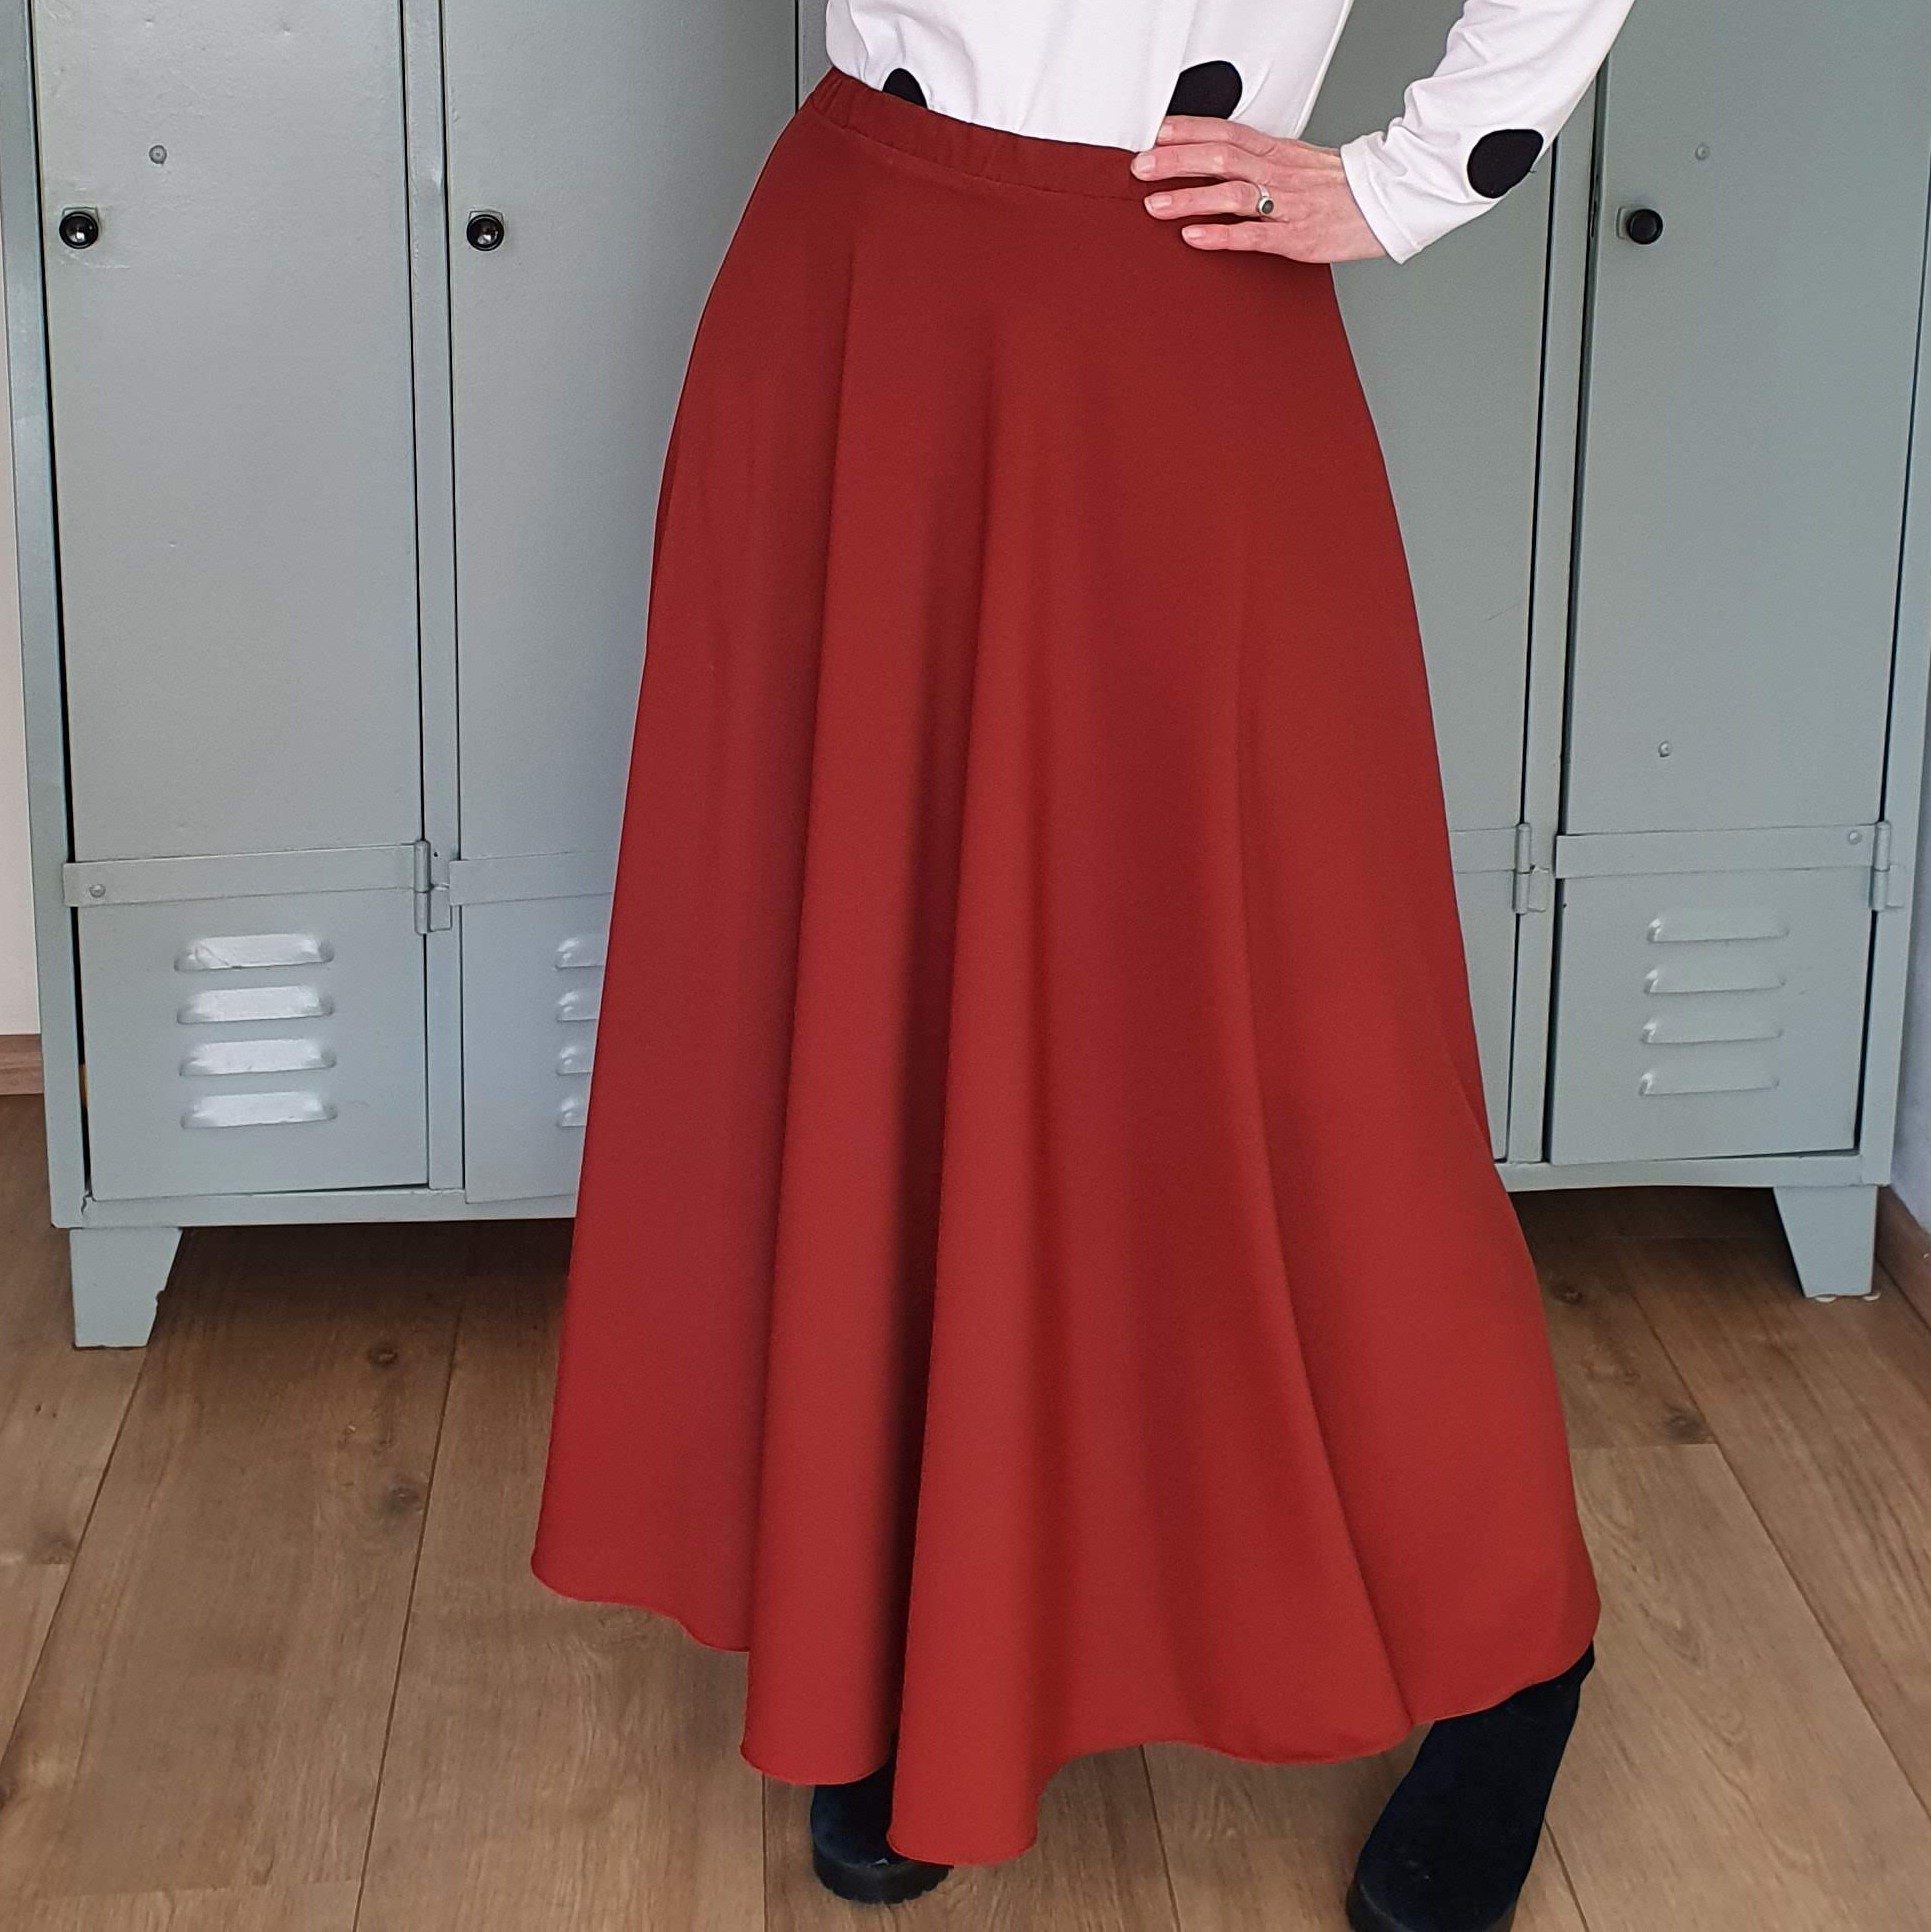
Another nice basic addition to the Time to shine capsule wardrobe. I can match it with so many items. The Time to Shine! capsule wardrobe is already taking shape.
All blogs within the Time to shine! themes can be found here: Time to shine blog overview

Very dandy
 Love,
Love,
Marlies


Lovely!
Thanks so much Karen!
Thanks so much for sharing this make!
My pleasure, Shirley!