 BERNINA Corporate Blog -
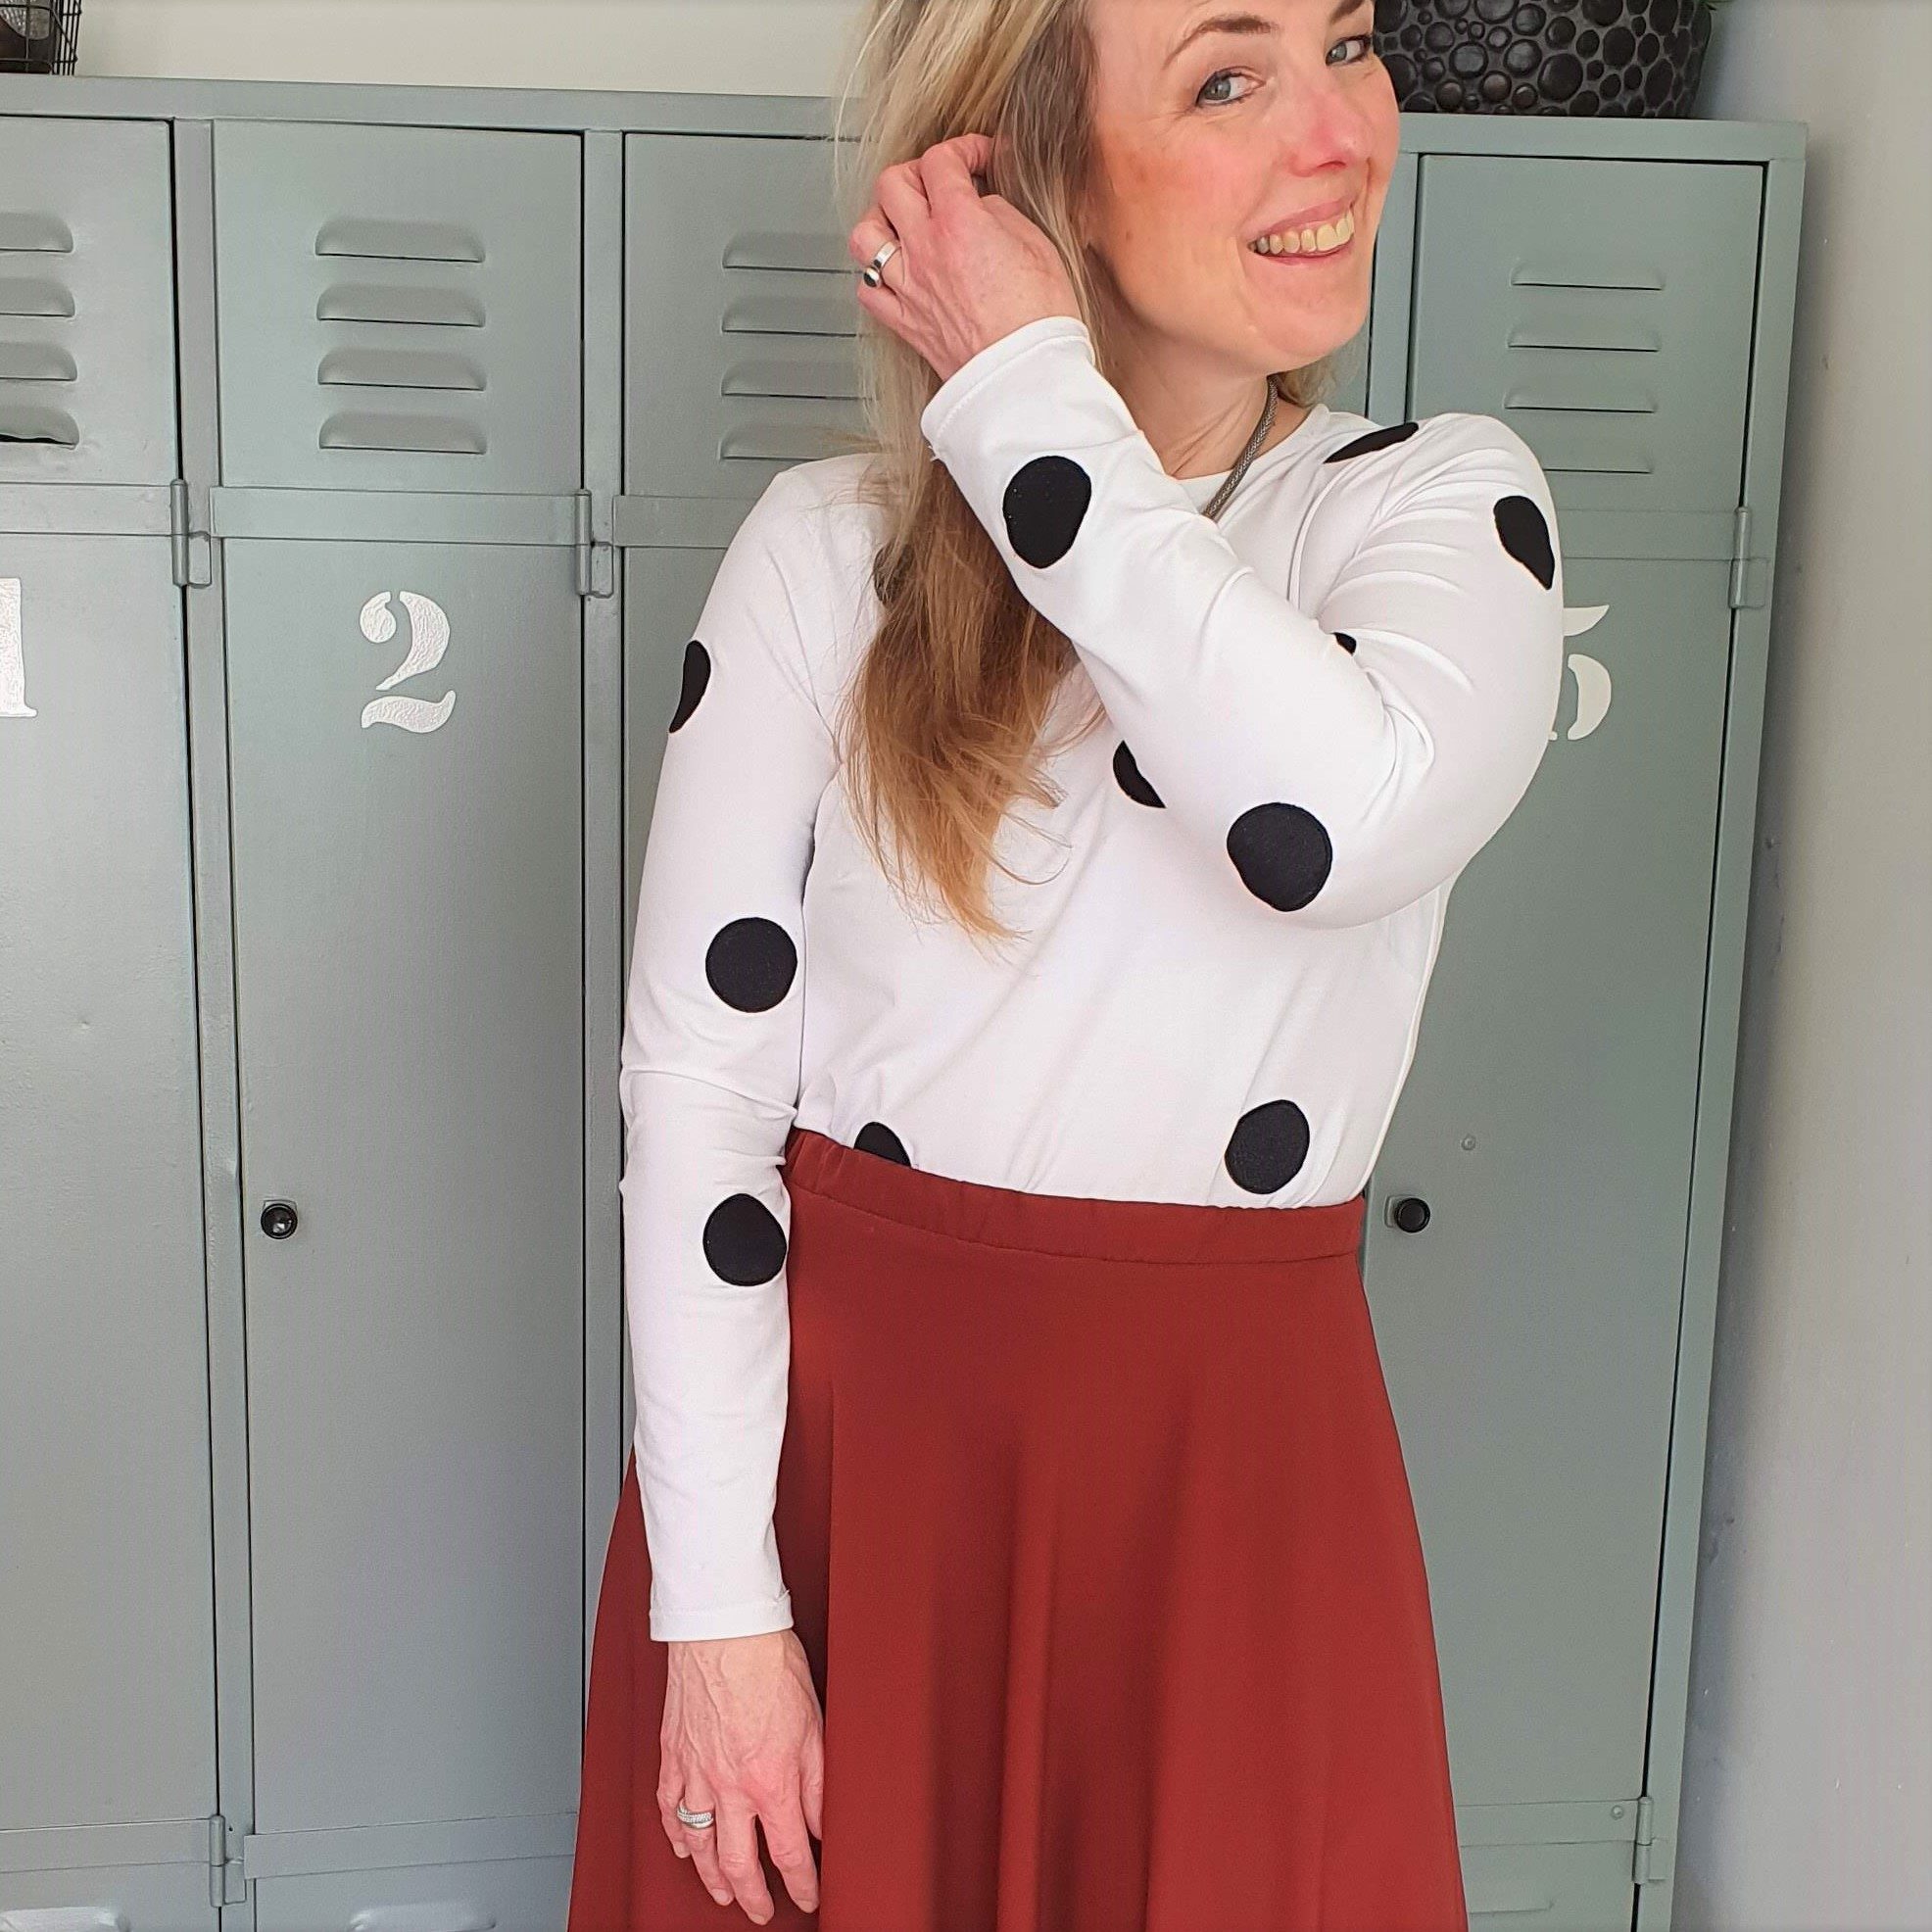
Embroidered polka dot long sleeve t-shirt
When you’ve been looking for a fabric with a certain random polka dot print to create a specific look and you can’t find it, there is only one solution: I make the print myself! In this blog you can read a few useful embroidery and sewing tips learned while making this polka dot long sleeve t-shirt.
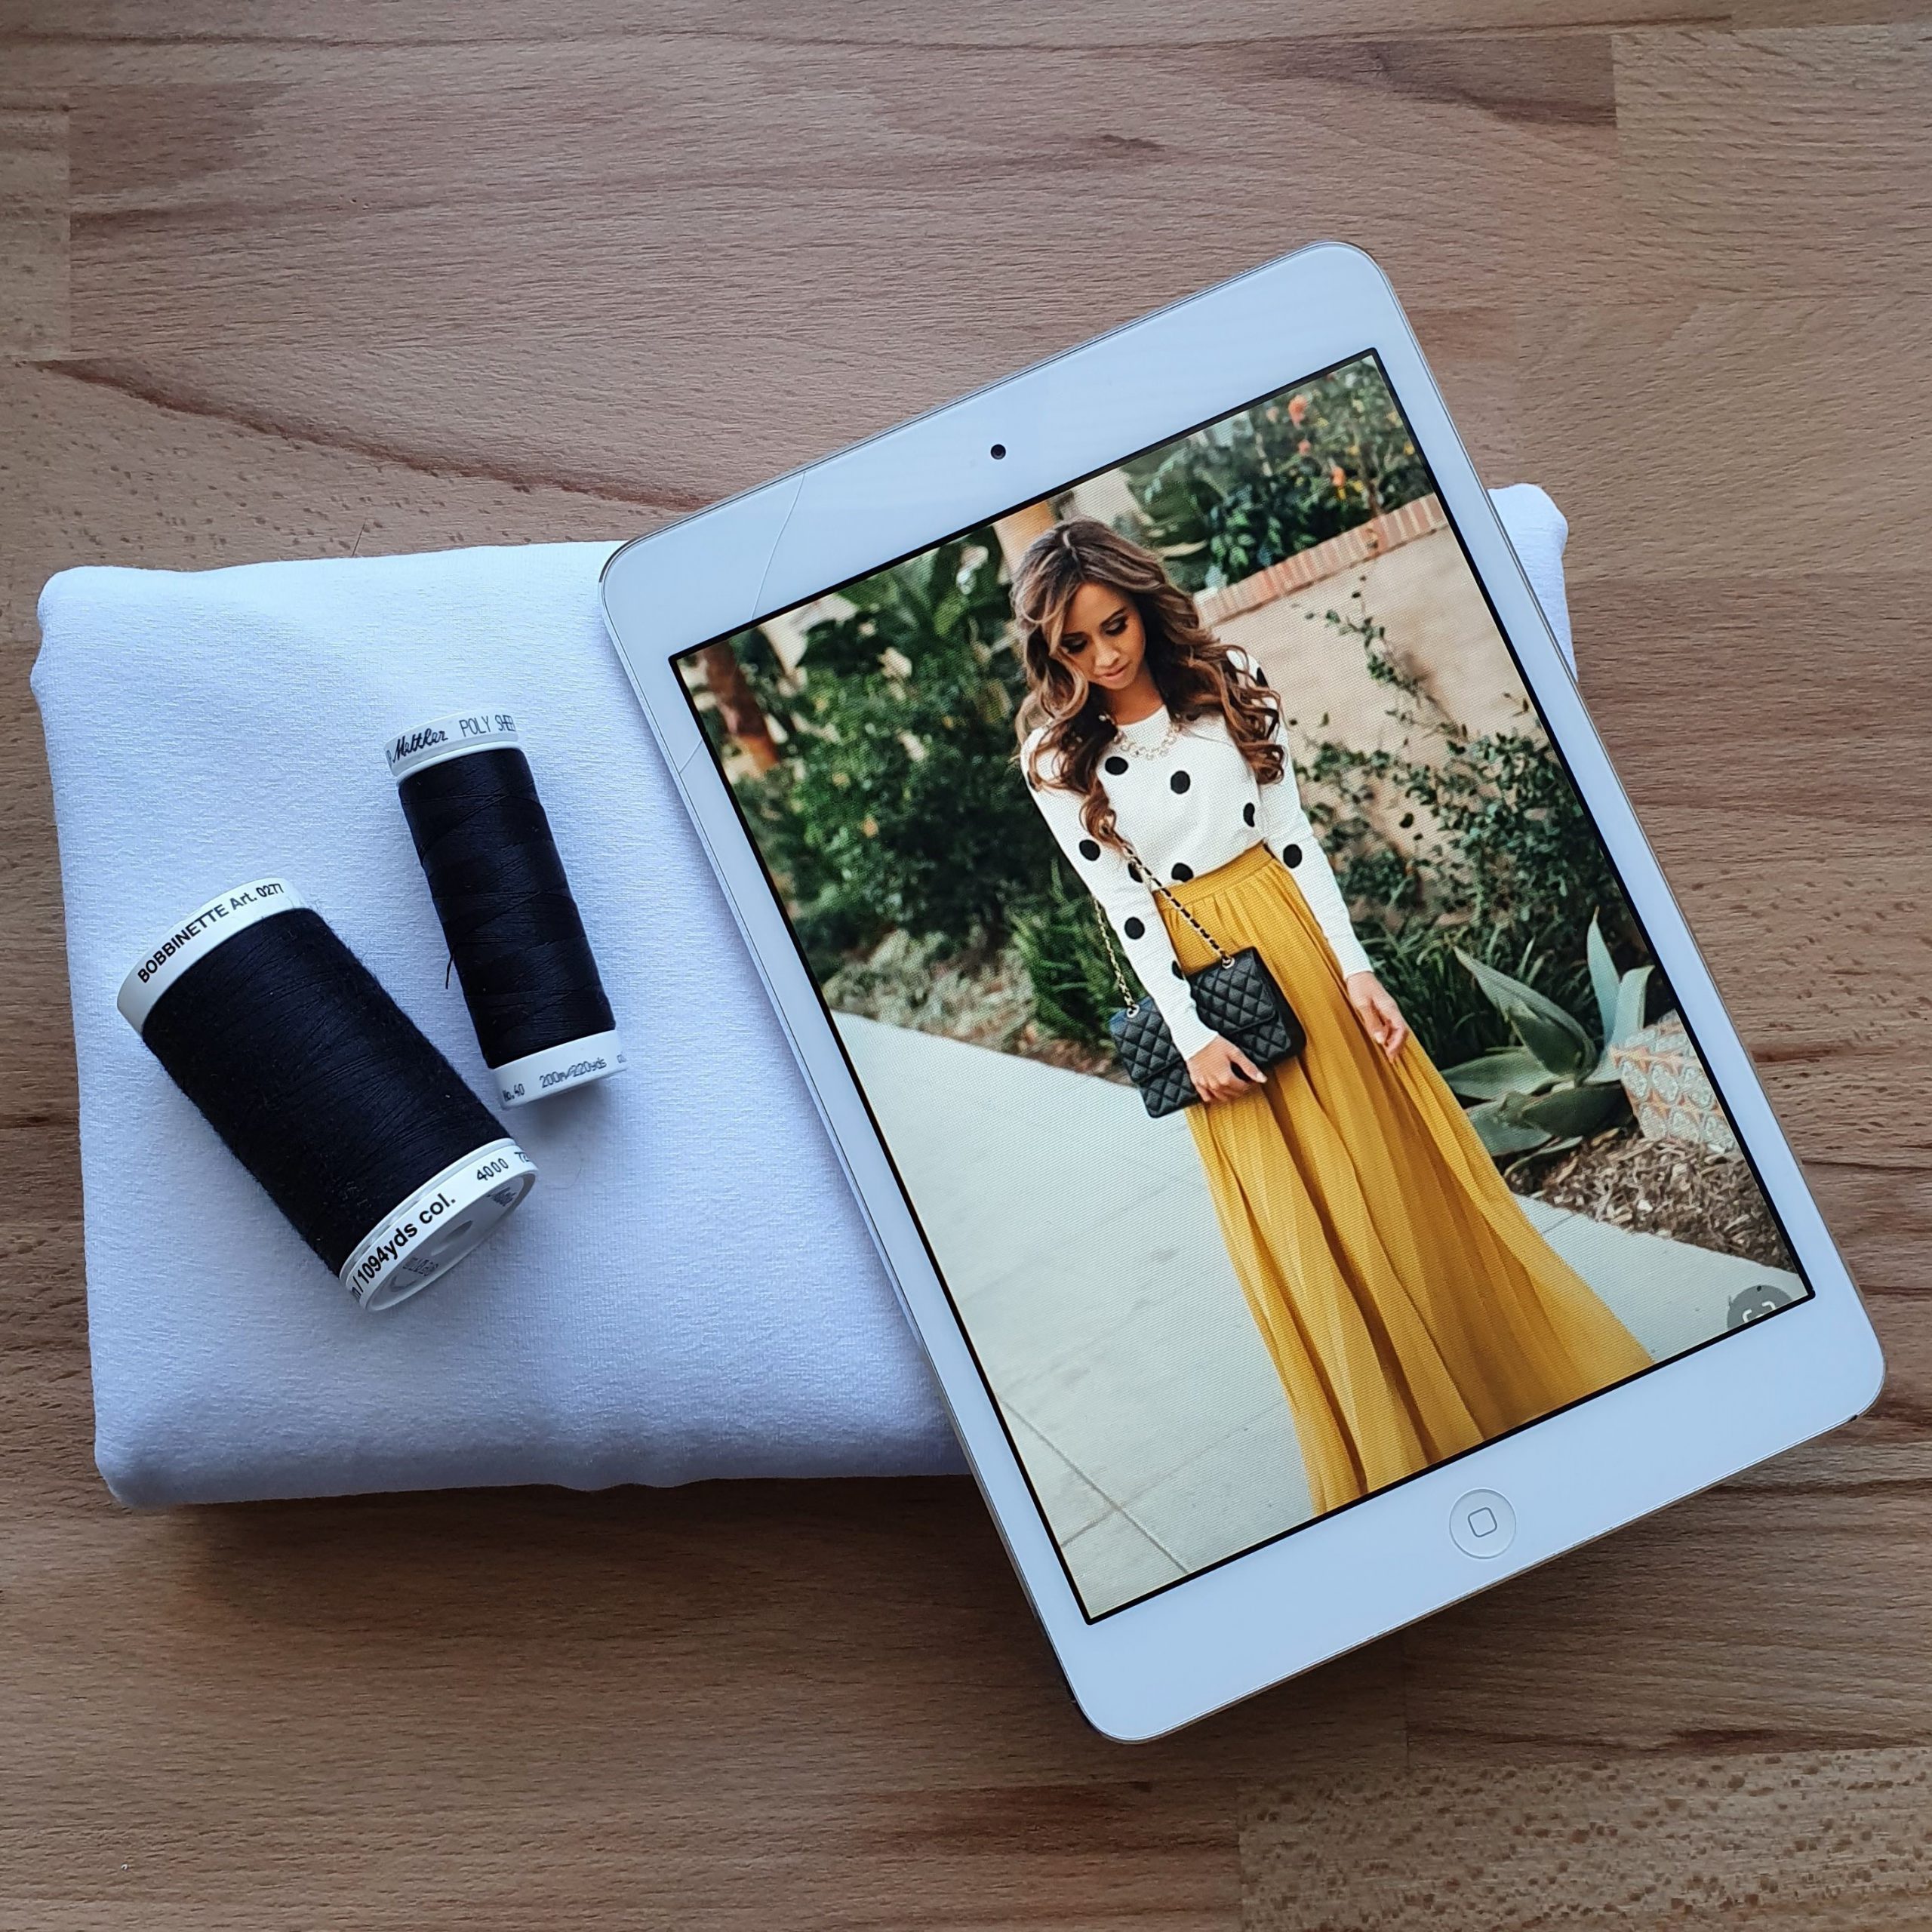
The look

There are different ways to approach this, but when you have a BERNINA 590 Crystal Edition embroidery machine, that is of course the first solution that comes to mind. I went to check this out.
Lees in het Nederlands
Testing
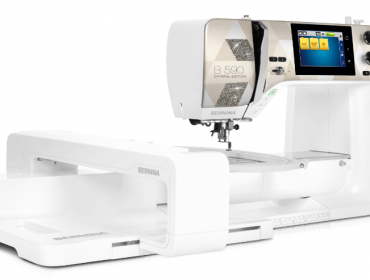
The fabric I used is a thicker jersey with quite a bit of stretch. That could be a challenge with embroidery. My very first jersey embroidery project was not a great success. What I learned then is that it is better to use a stabilizer on top (topping) than a backing stabilizer. It would have been useful if I had bought it back then, now I had to wait for that order to arrive. Or …. could I already start?
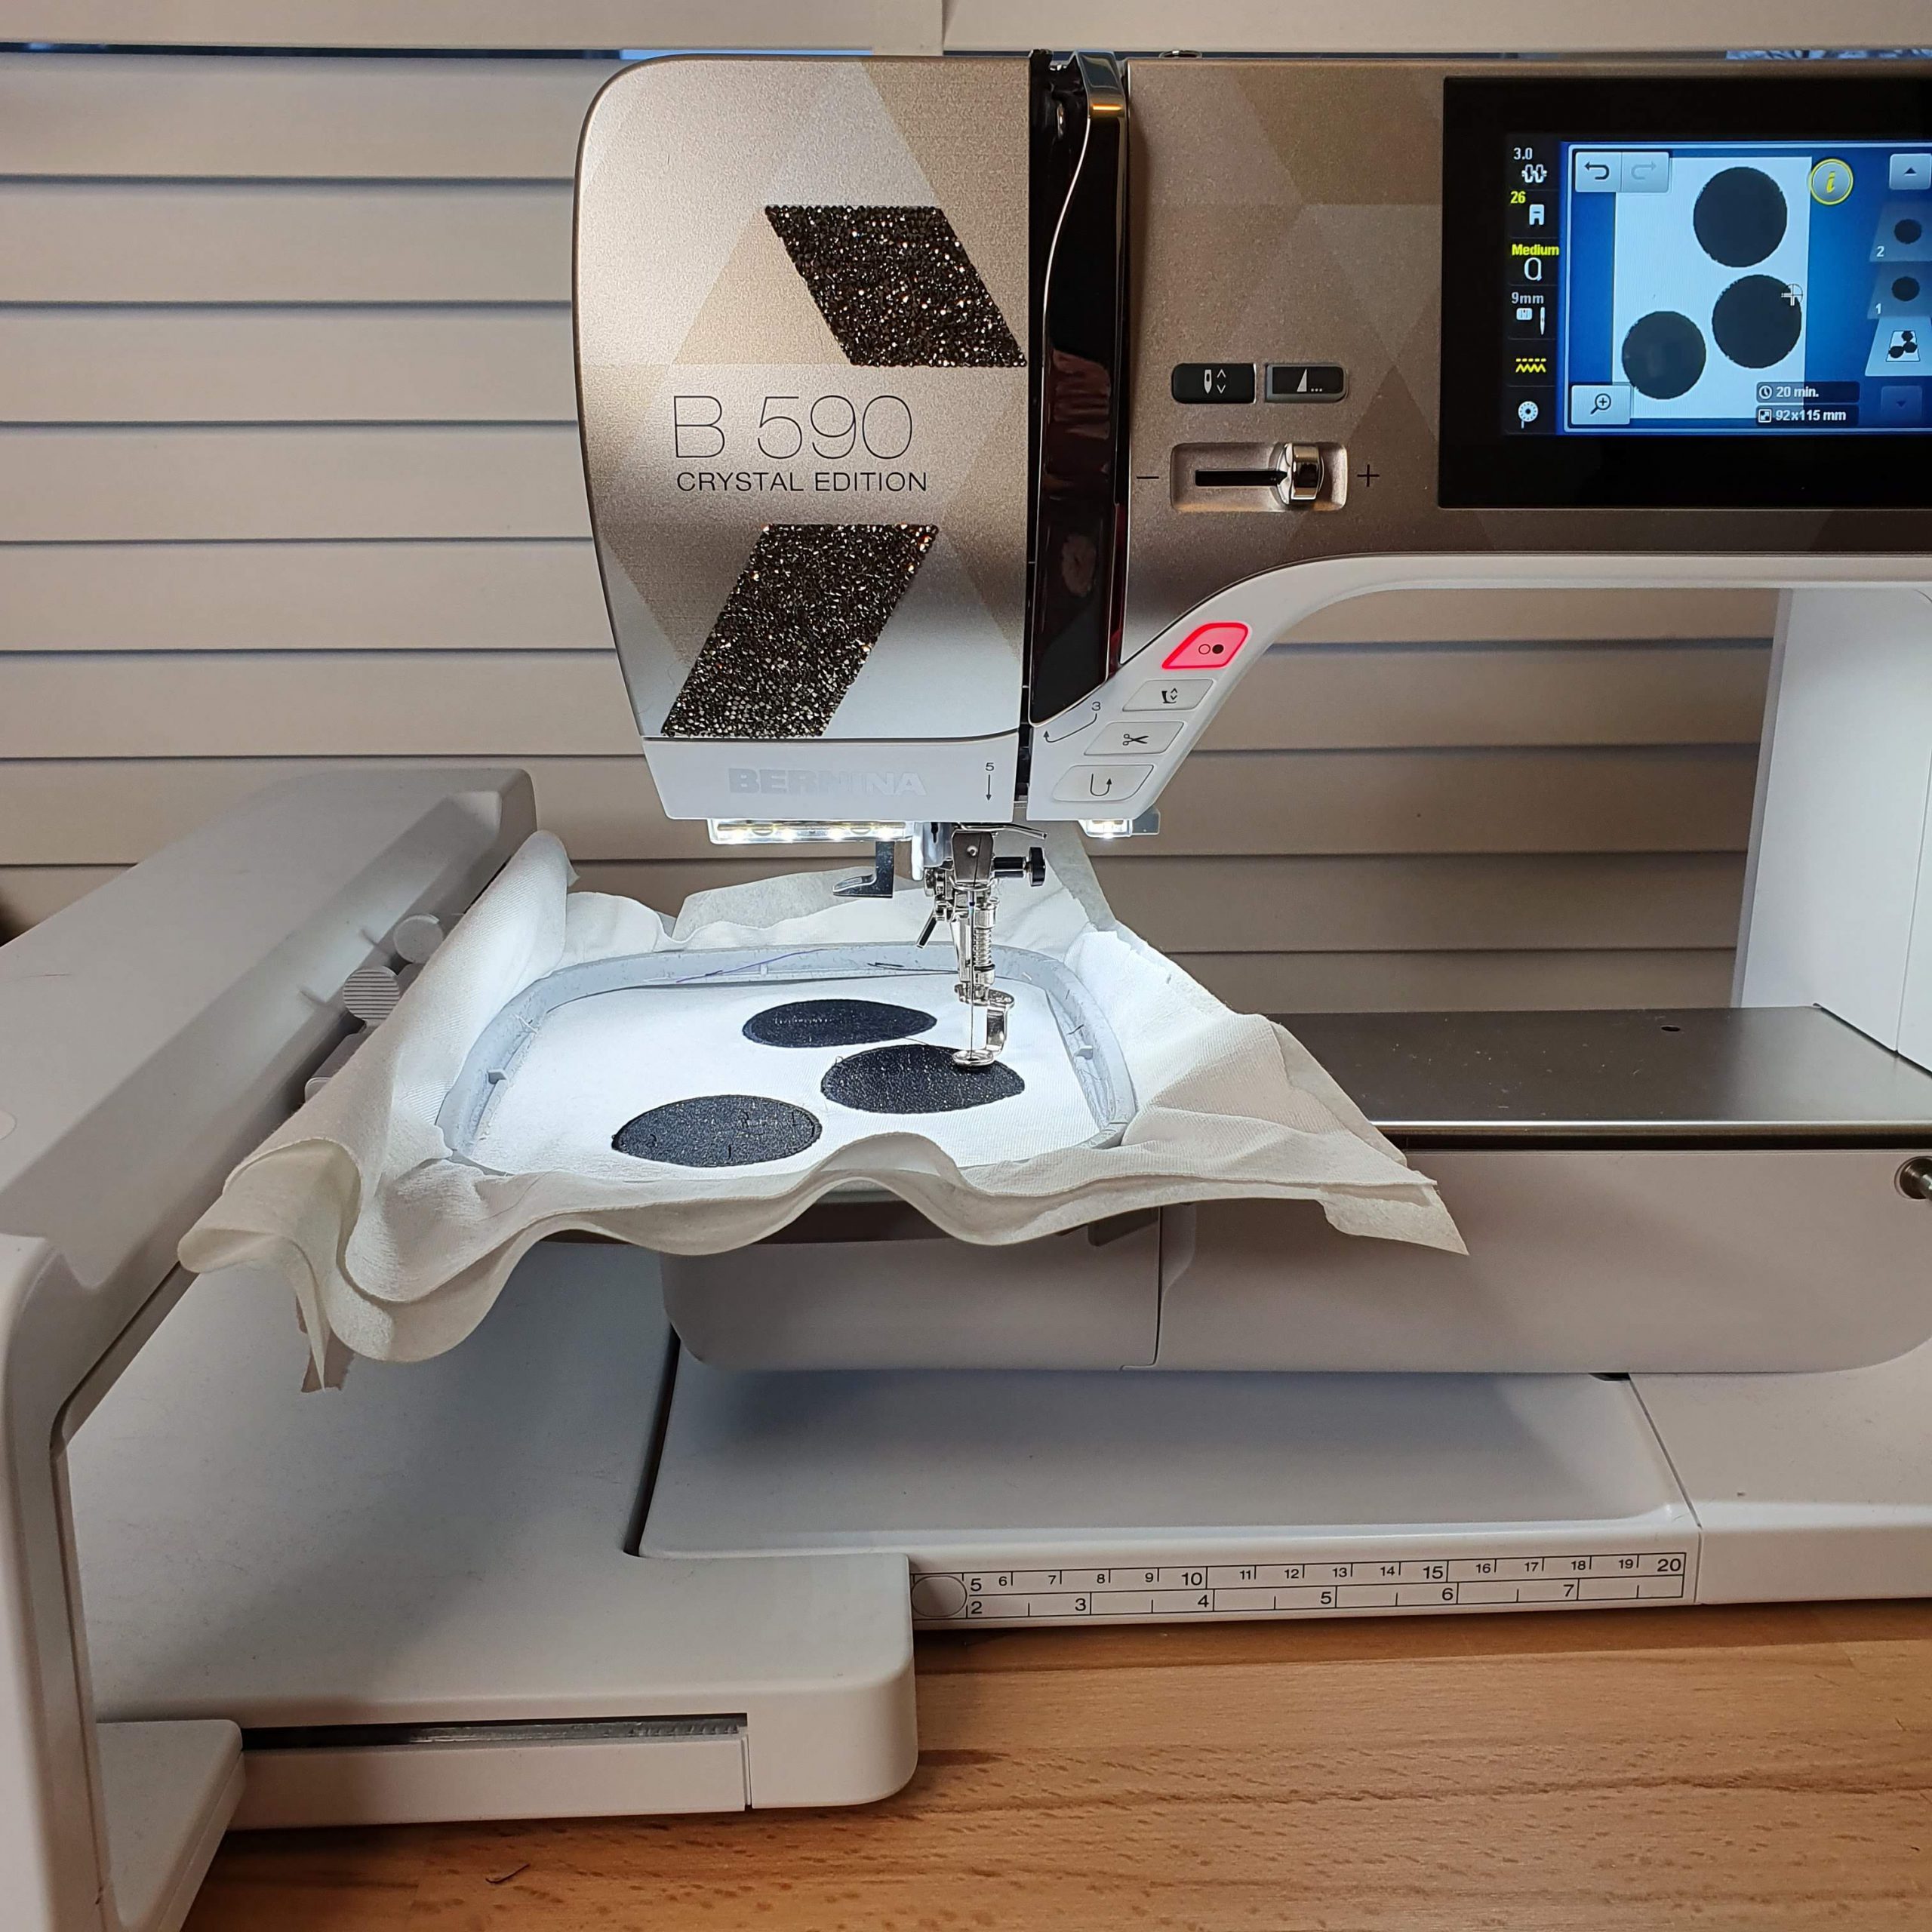
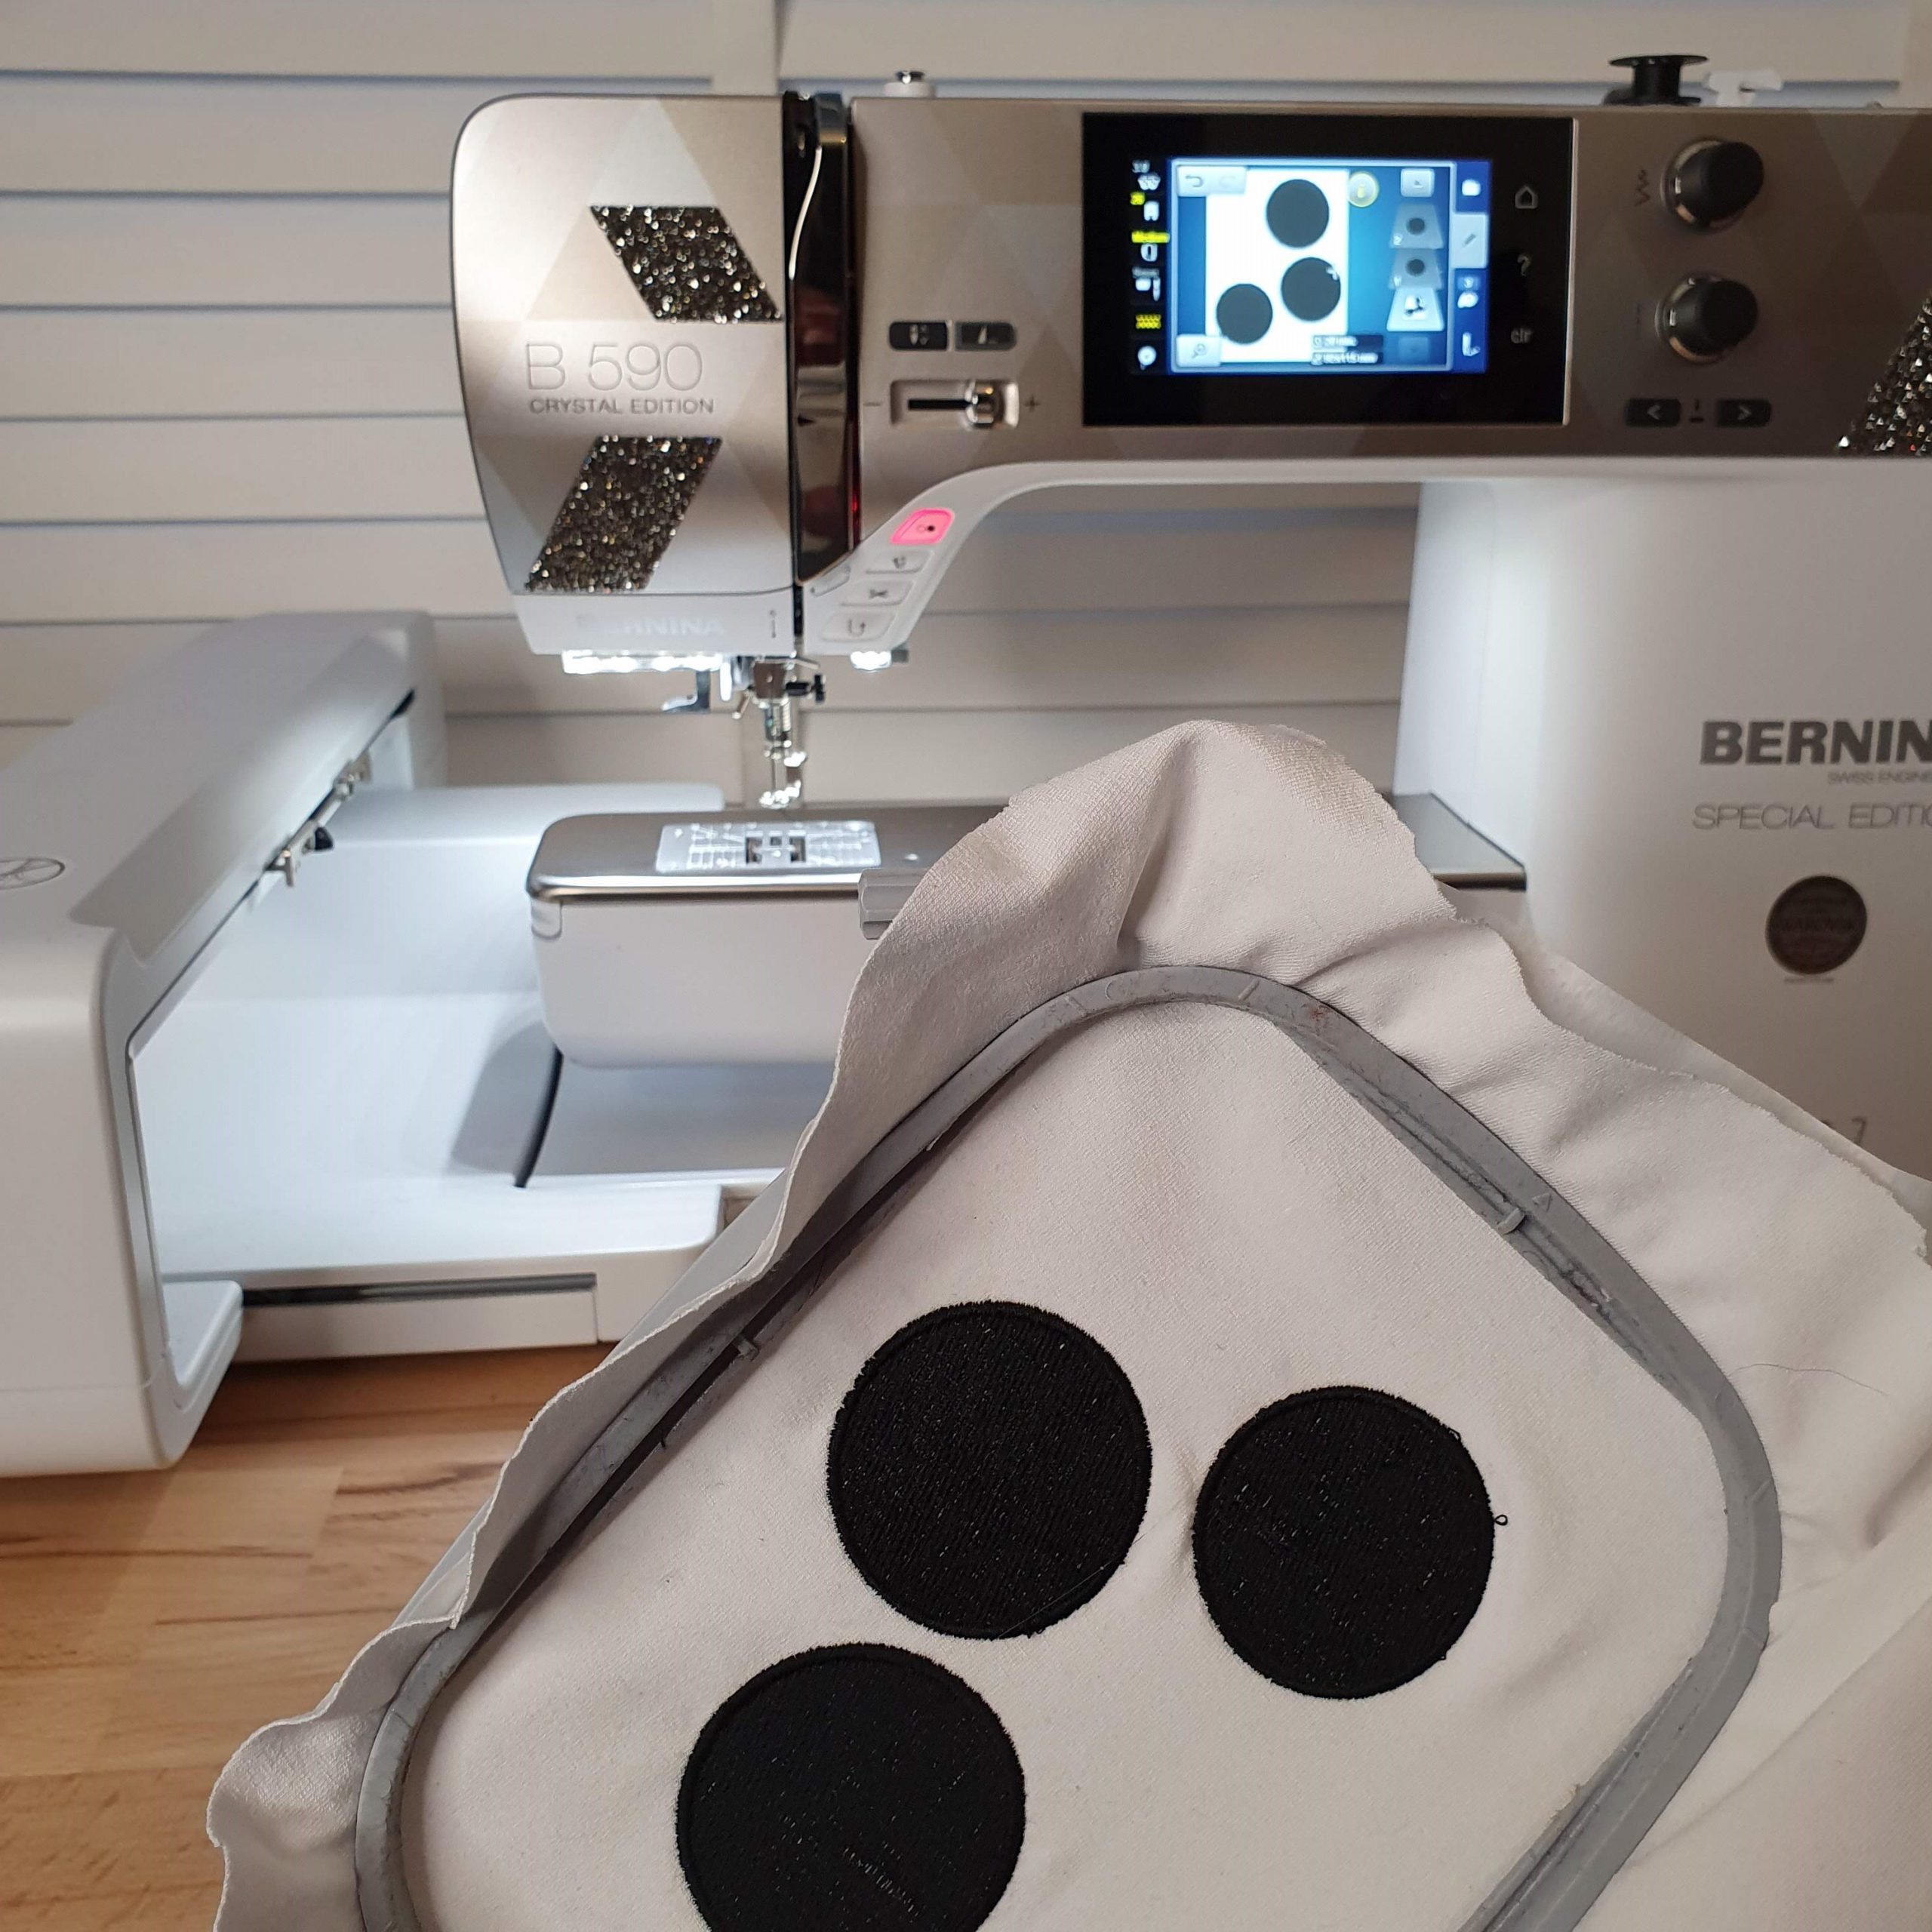
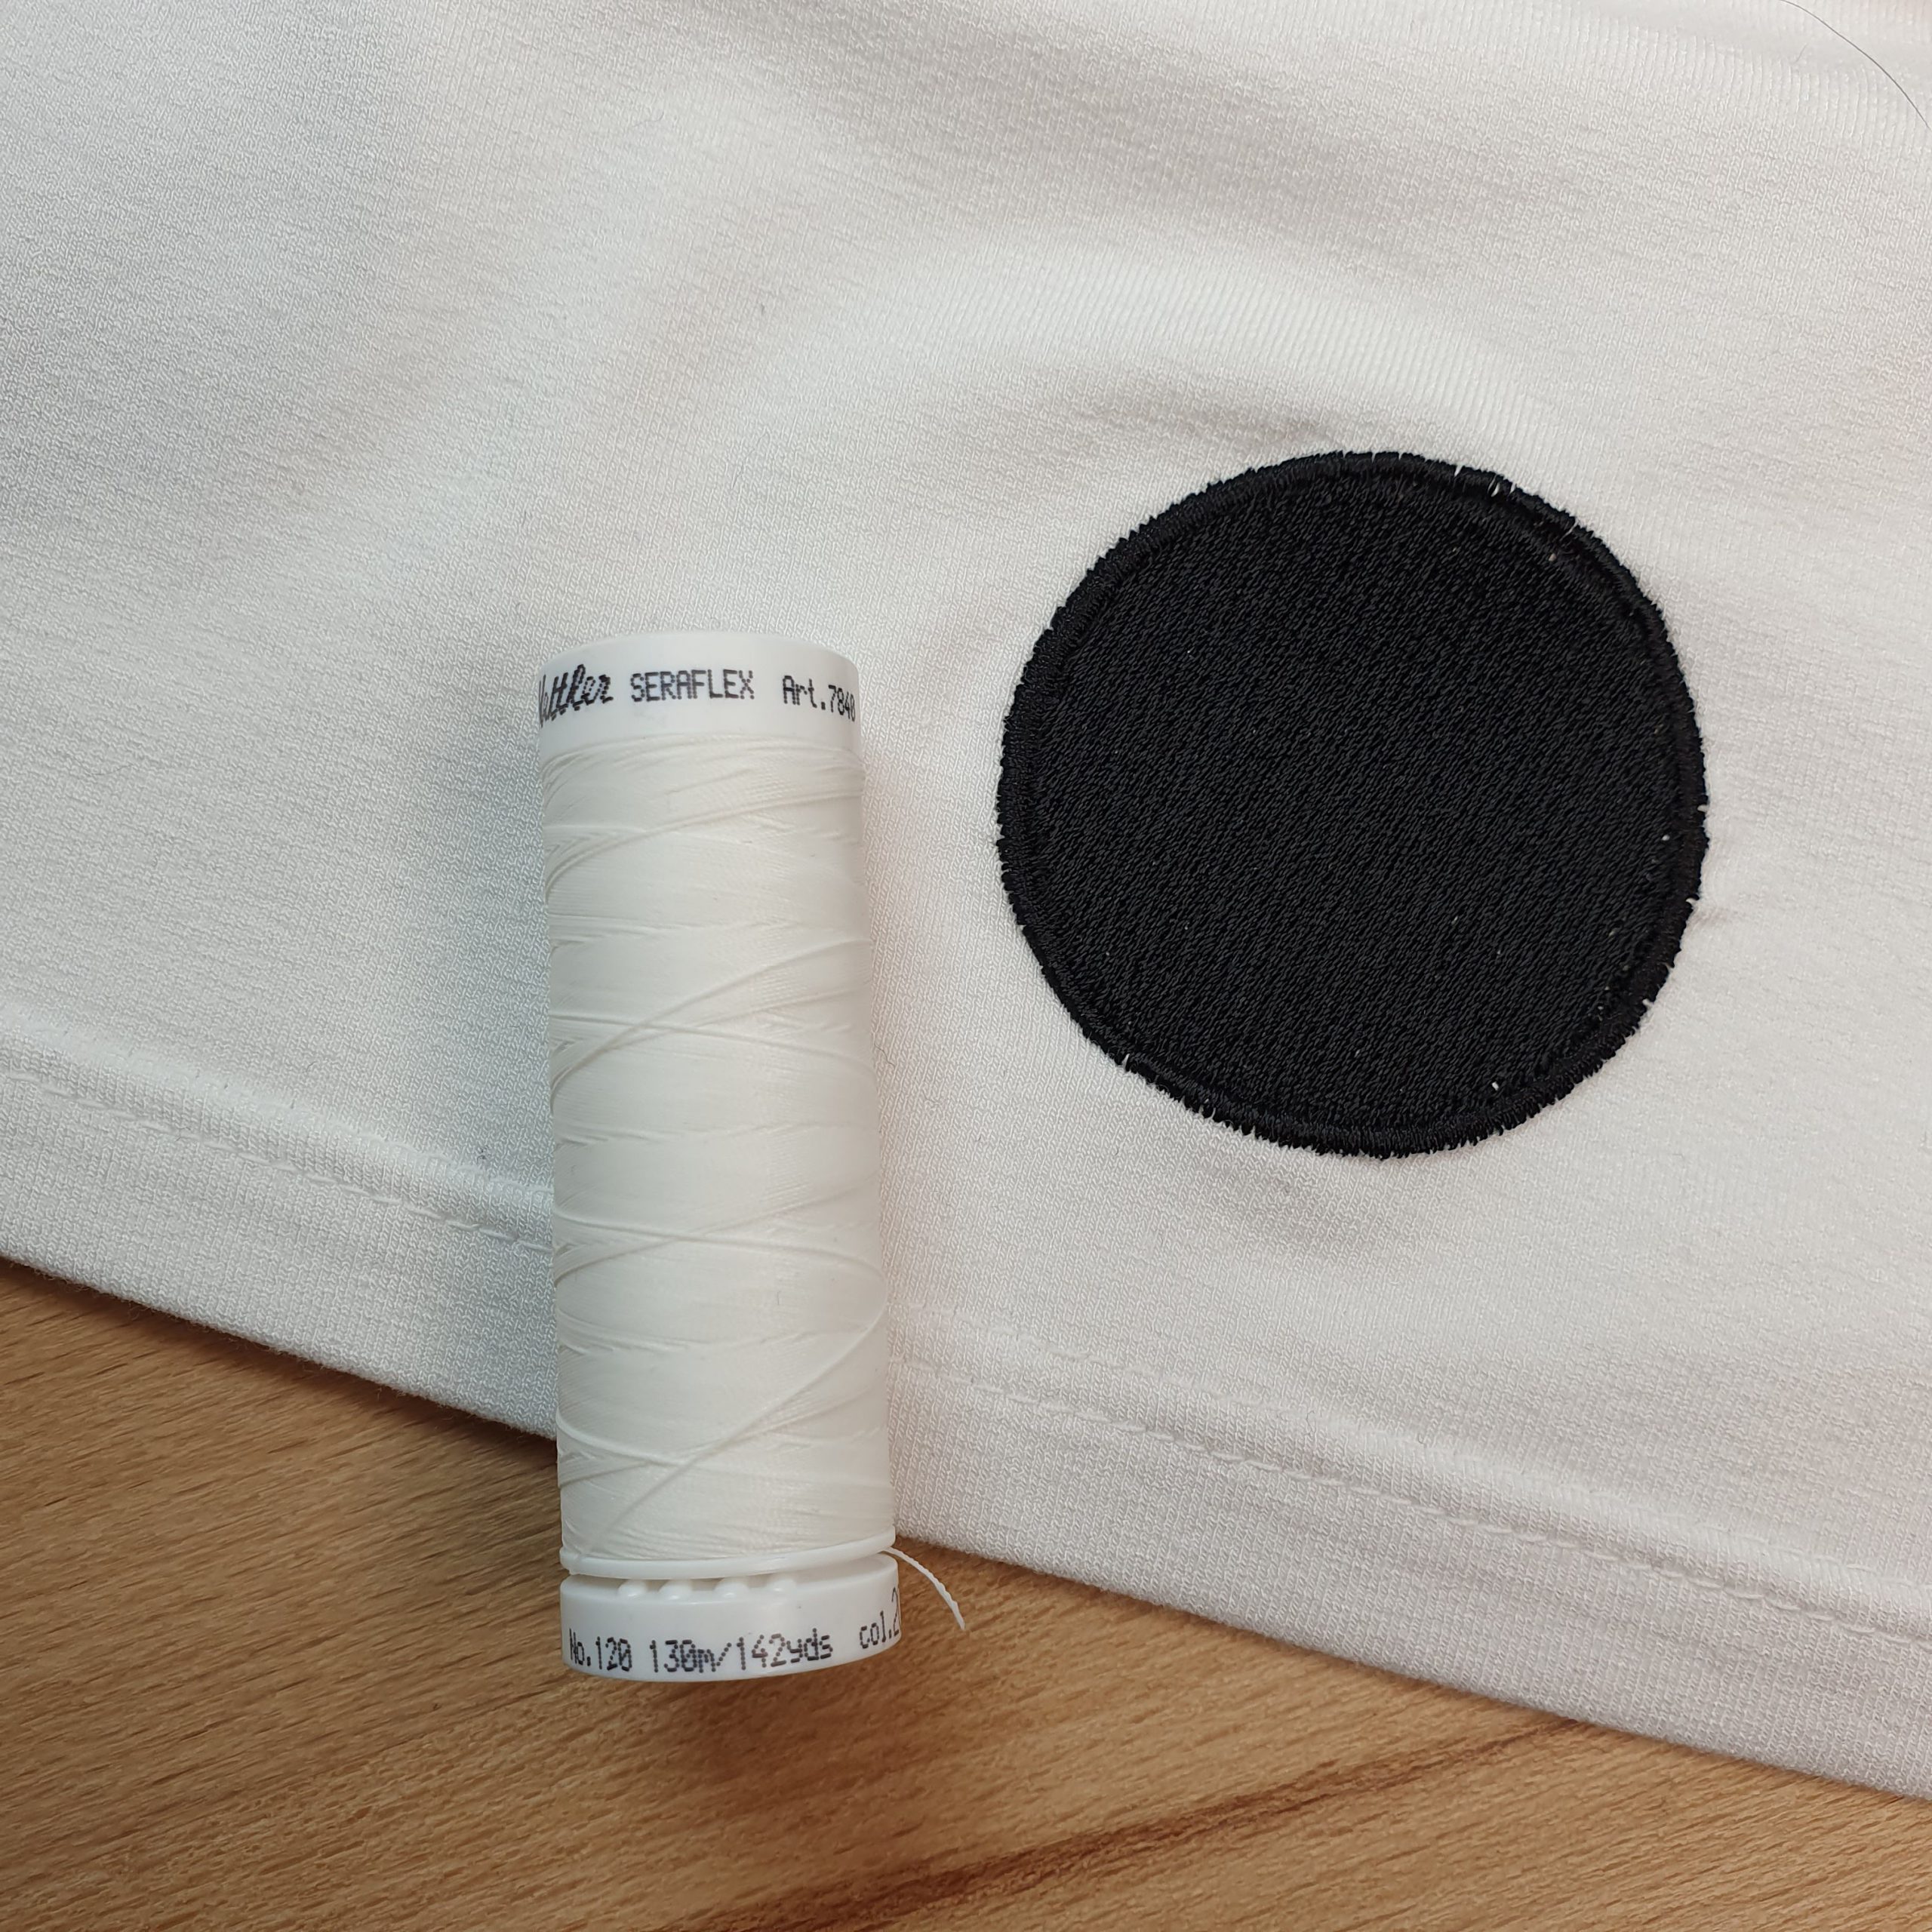
I bought the design ‘Black circle’ on embroiderydesigns.com. Lacking a topping stabilizer I started with a cut-away backing stabilizer. I tried the full size pattern, scaled down to 95% and to 90%. With different threads: regular black sewing thread and Poly Sheen embroidery thread from Mettler as upper thread. As bobbin thread white Bobinette from Mettler and normal black thread. The latter to see if the polka dot was more intense in colour (and in the absence of black Bobinette normal sewing thread). I wrote down all options on the back, so that I wouldn’t forget it when I could really get started.
Notes
Conclusions:
- Needed to wait for the (wash-away) topping stabilizer, because the fabric tends to bulge during embroidery;
- Use black Bobinette as bobbin thread, the colour is more intensive;
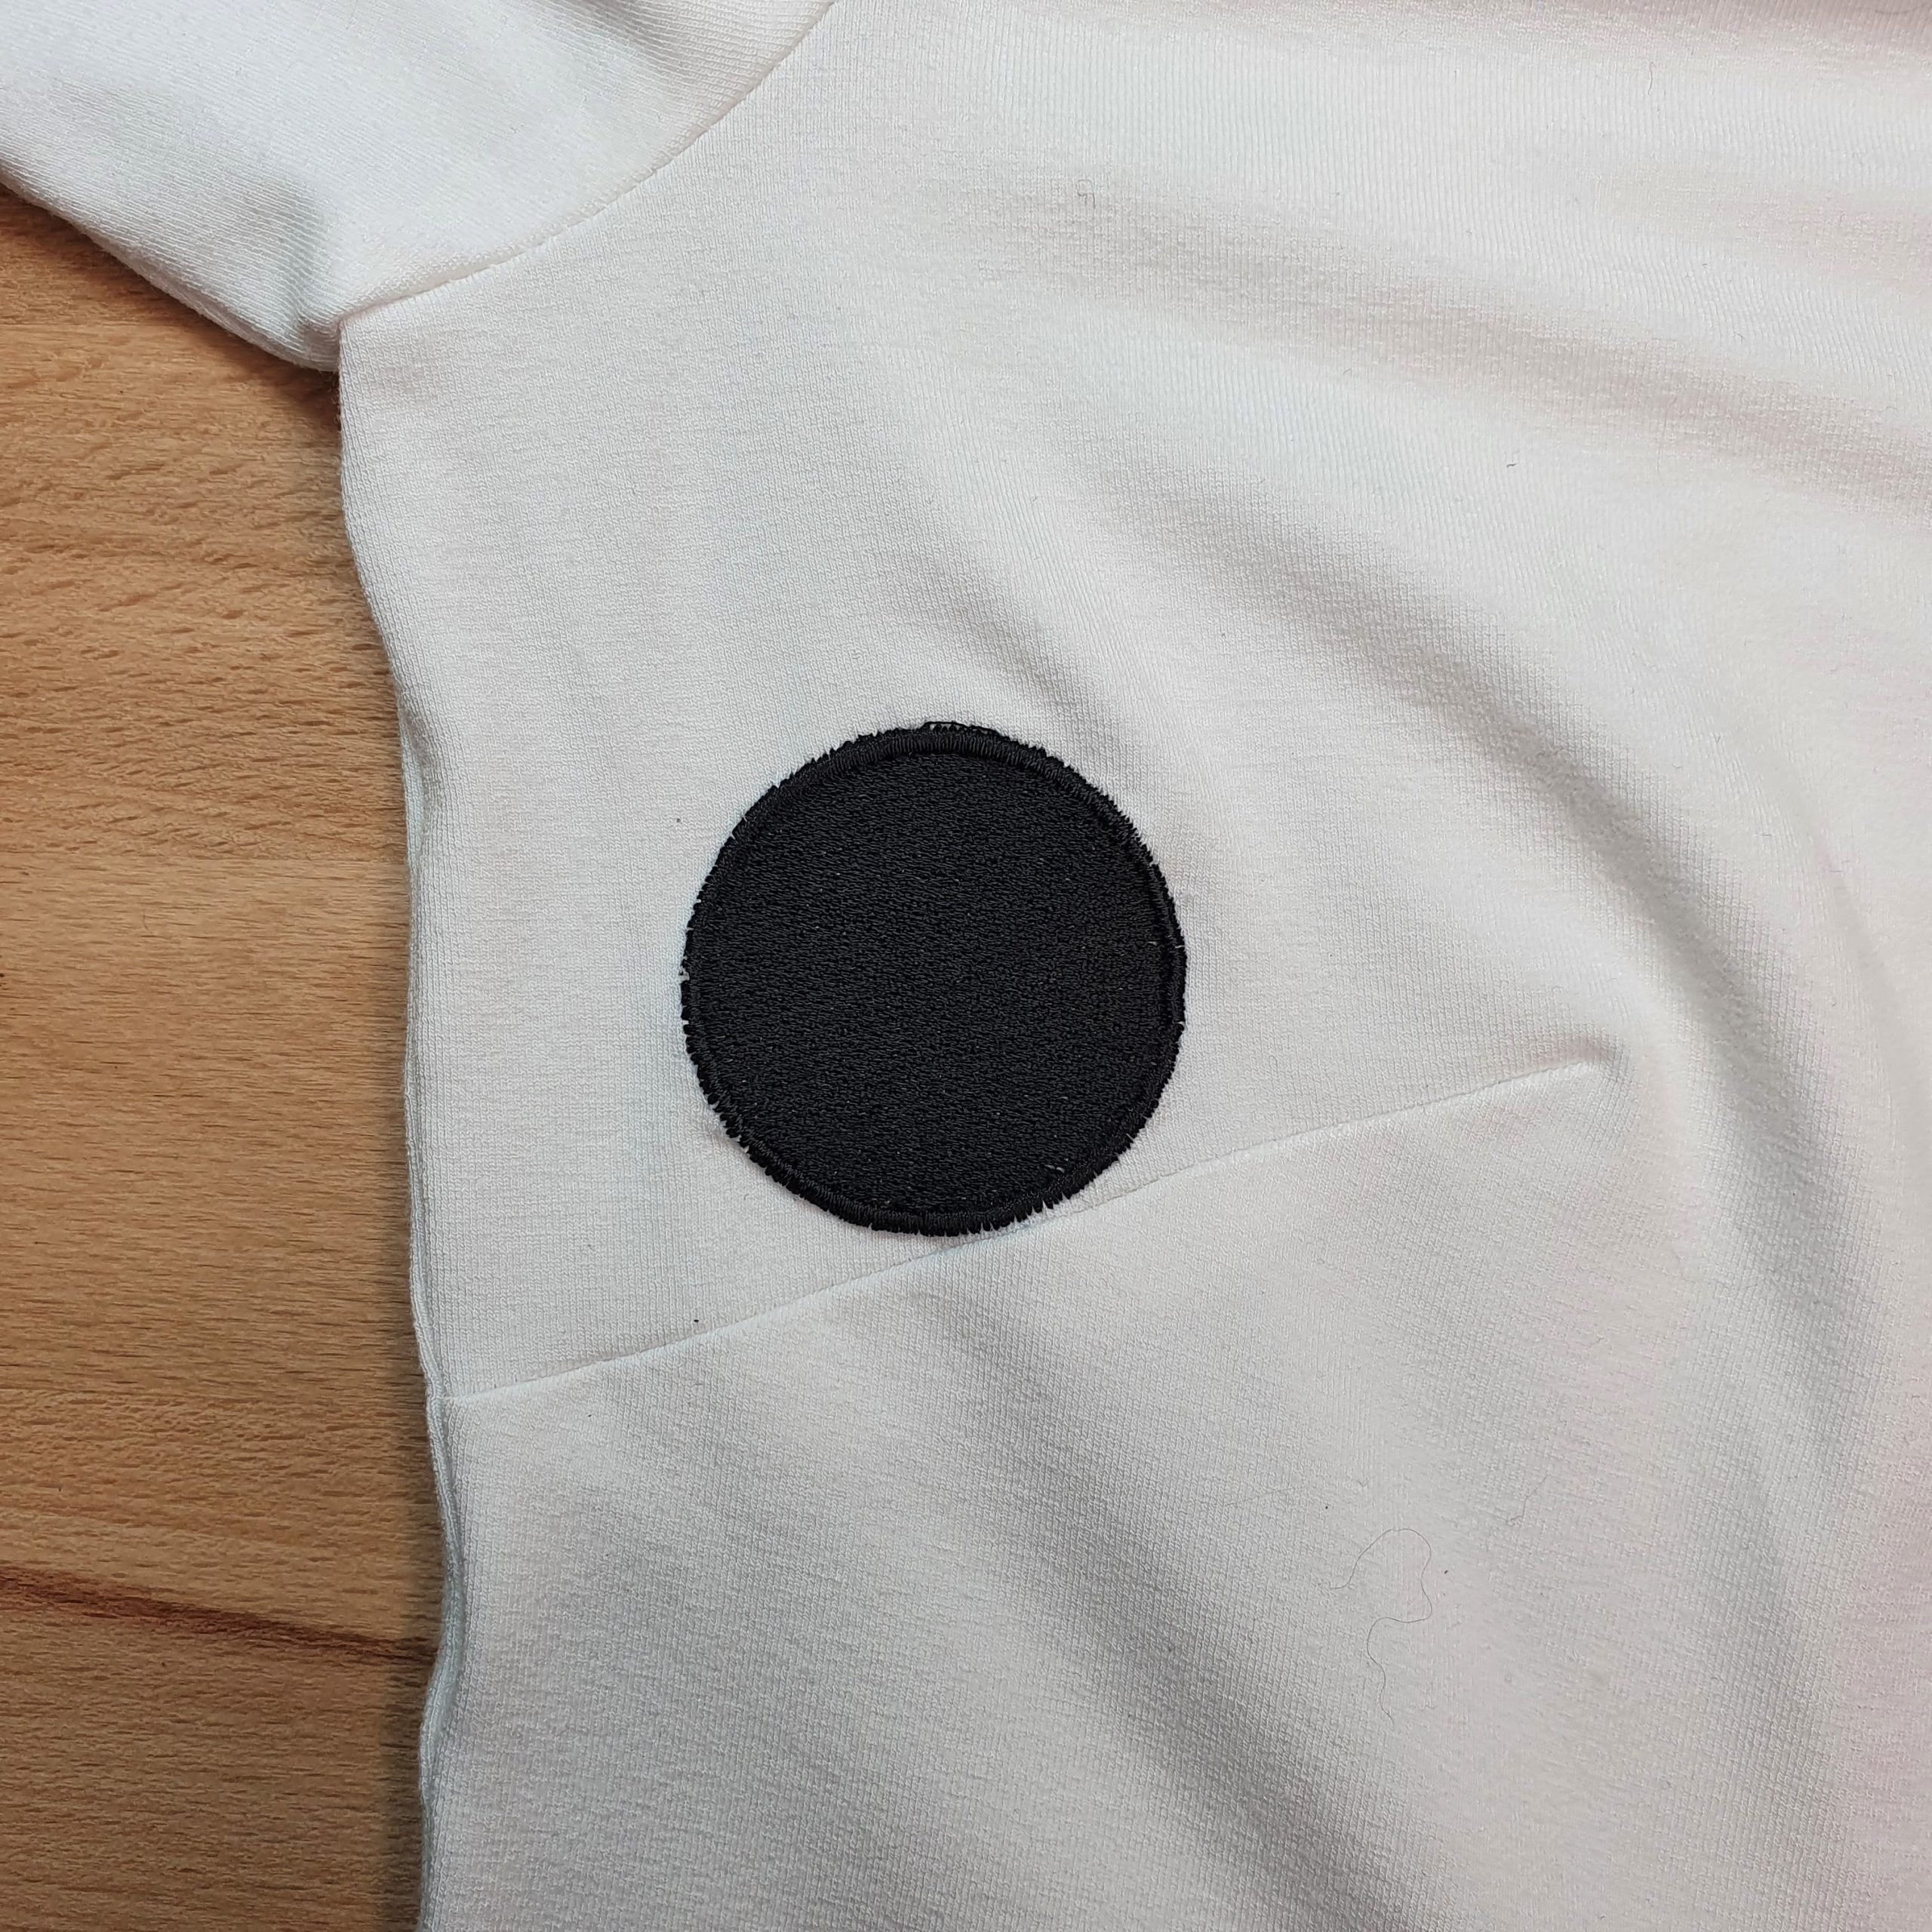
- The size 95% matched the print best;
- While the polka dot embroidery makes the fabric quite firm in that area, the fabric around it won’t pull.
The print
The pattern is by Knipmode (February 2022) and is a basic long sleeve t-shirt. Before embroidering I cut out the different pattern parts and marked which was the right side to keep you from embroidering the wrong side ;-). To determine the position of the polka dots, similar to the example, I cut a number of circles from cardboard with which I could determine the print.
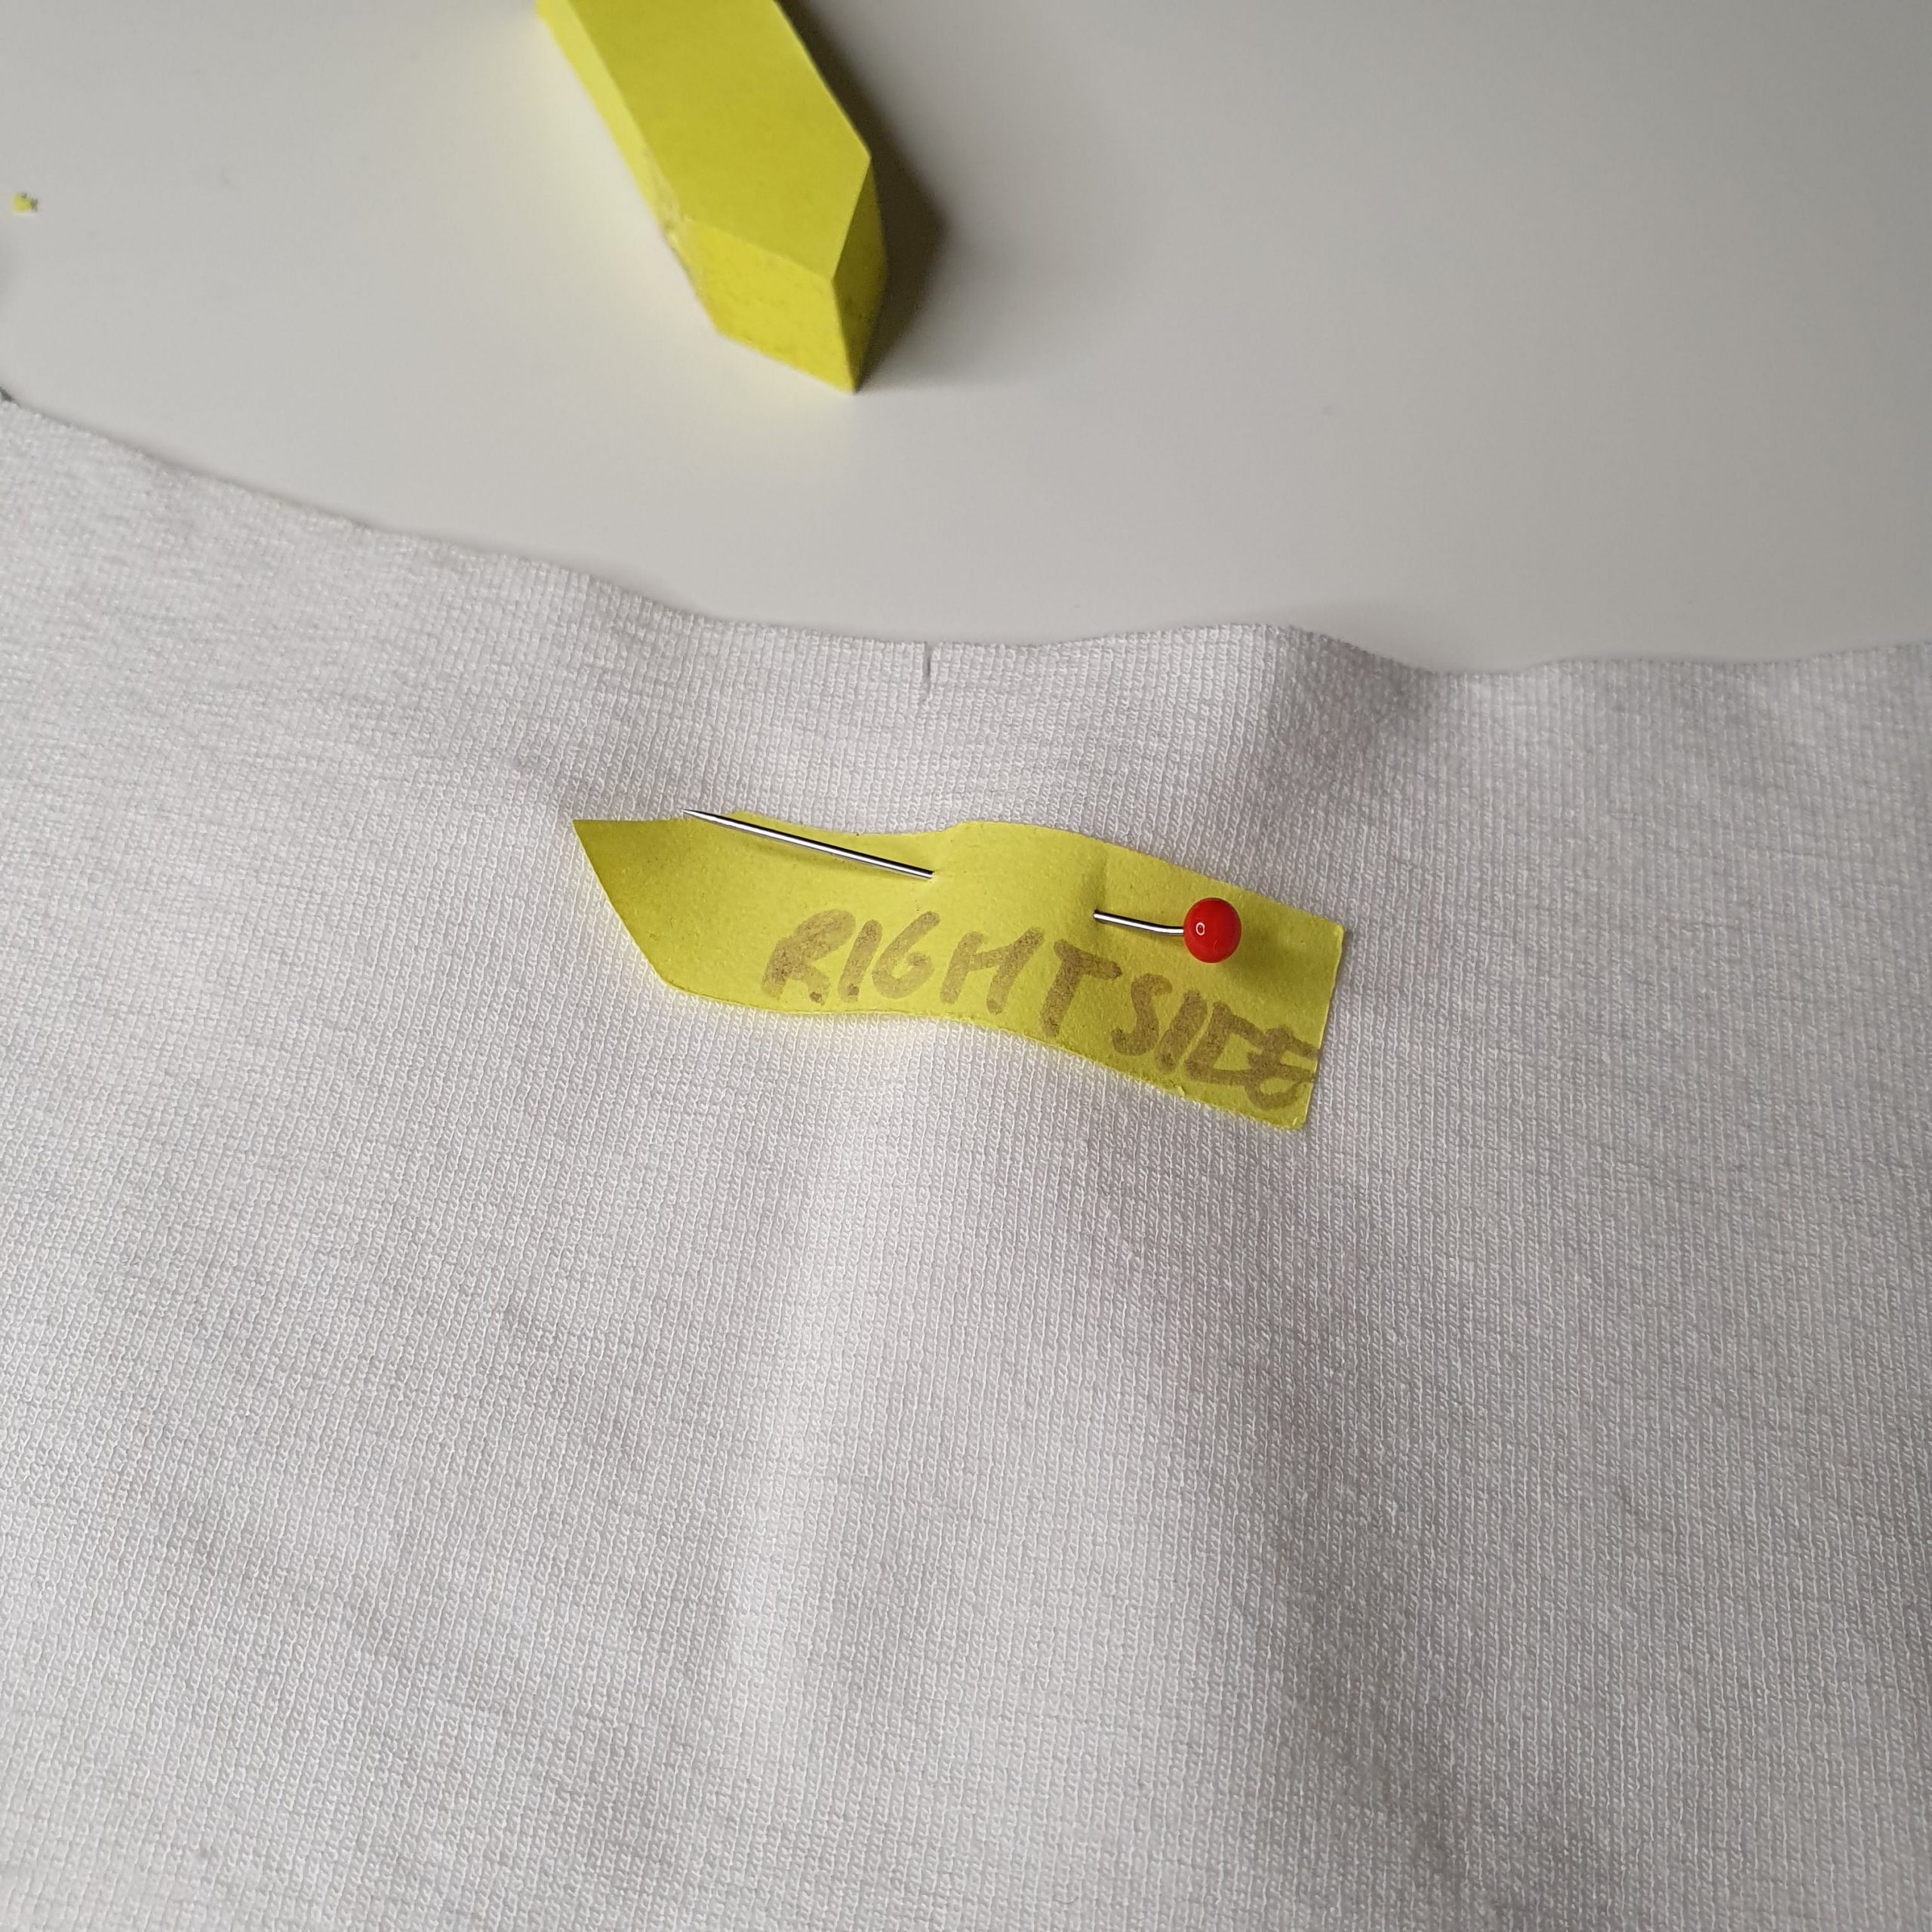
Label right sides
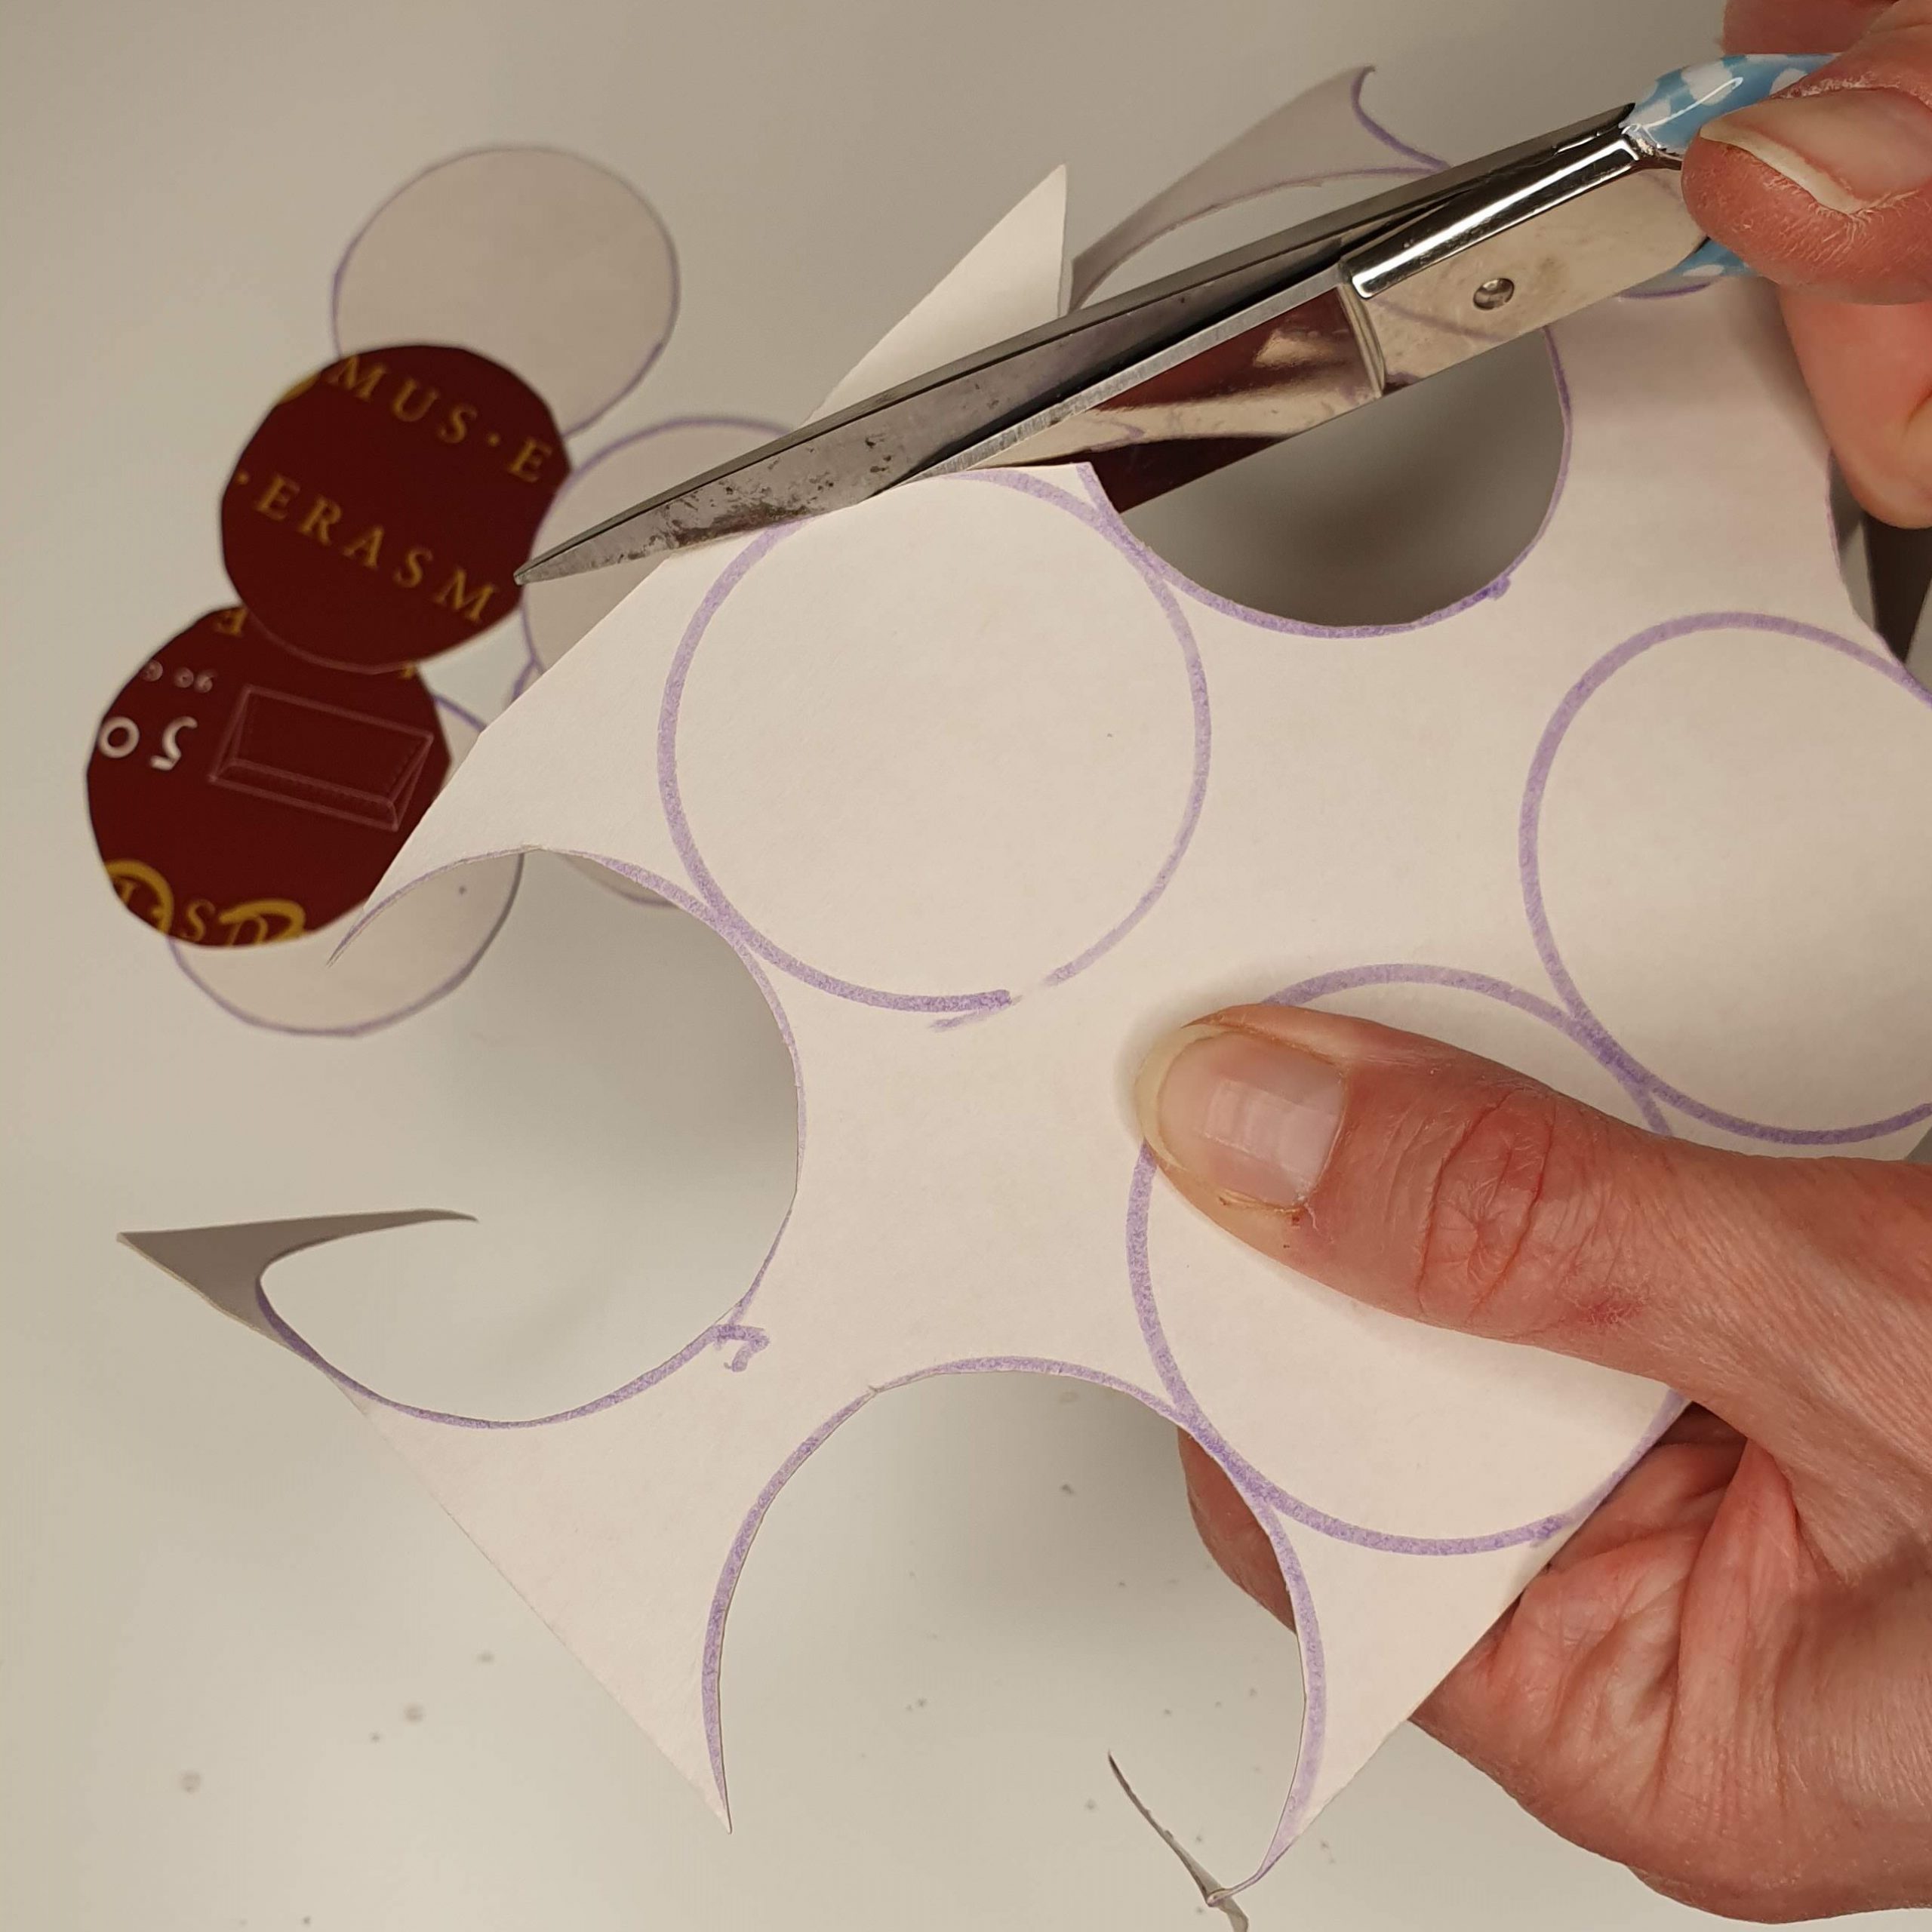
Paper polka dots

Polka dot positioning
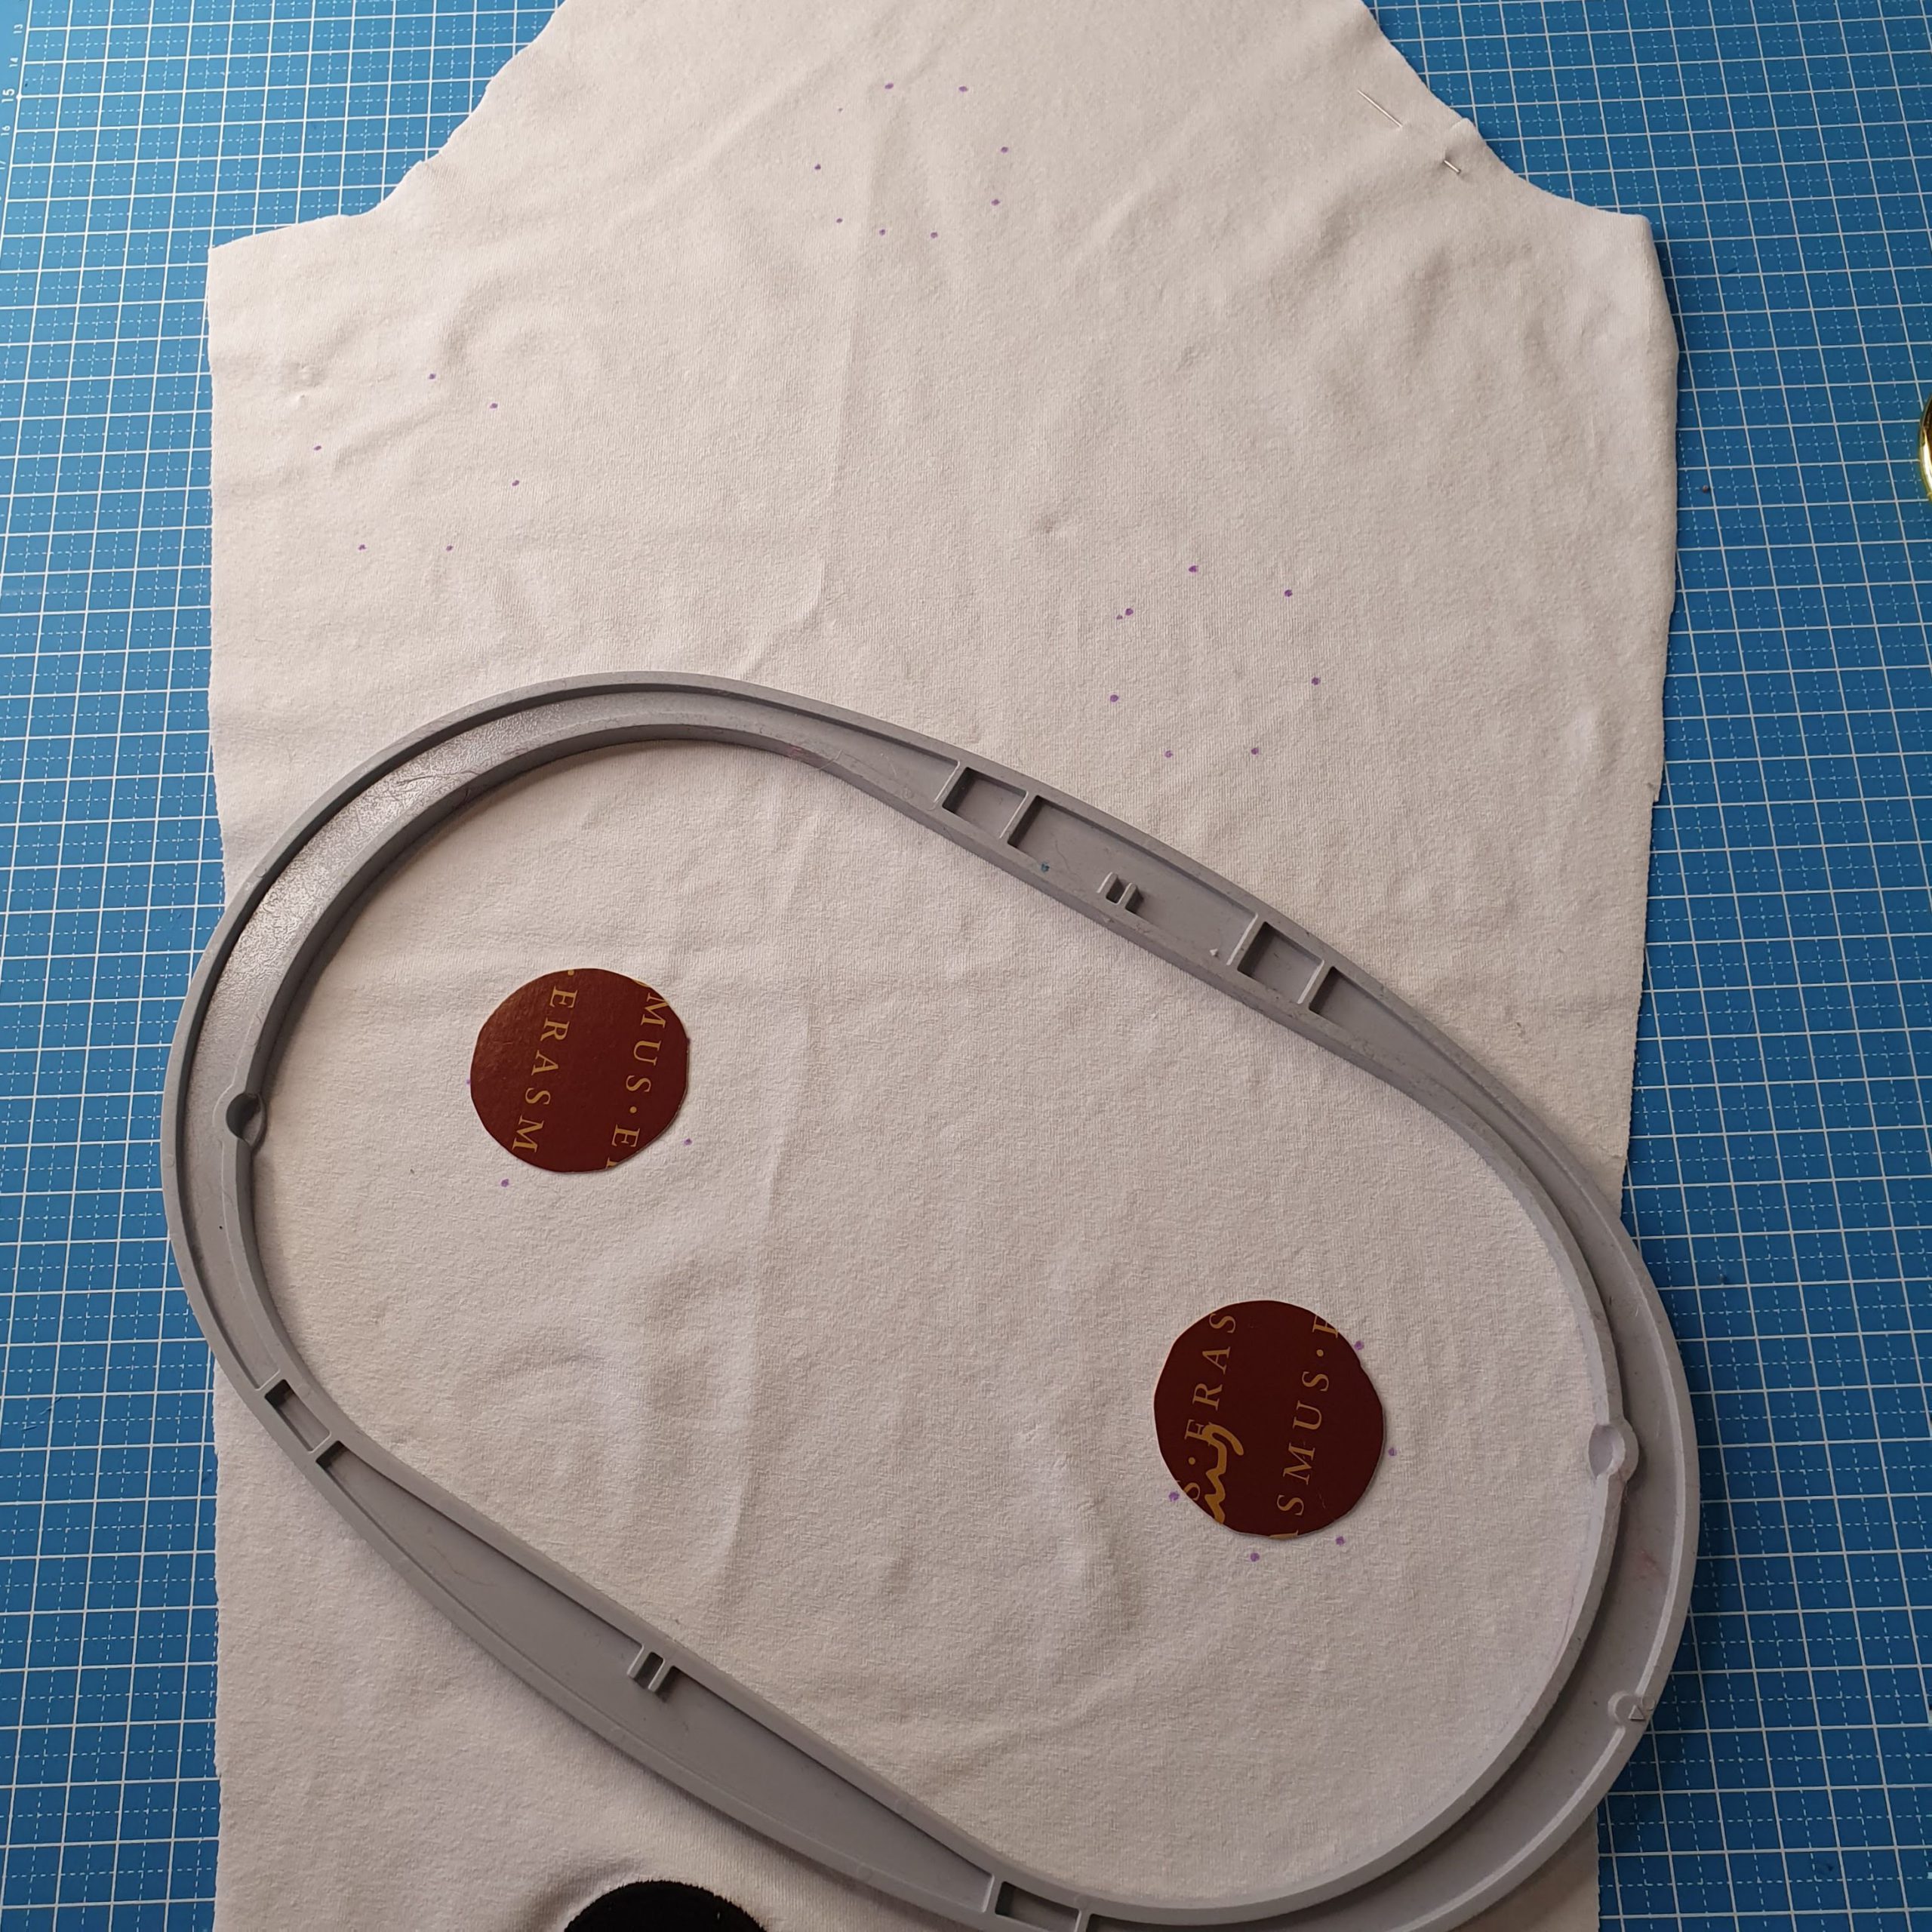
And then you run into things that you had not foreseen beforehand. With the dots on the fabric I put the two embroidery hoops I have on the fabric and it turns out that the polka dot placed on the shoulder is difficult to embroider with just a topping. Here I will also have to use a backing, otherwise it will never be possible to get the fabric in the hoop properly. This was also the moment when I realized that embroidering a single or two dots at a time uses up a lot of stabilizer. I started thinking about how I could approach this a bit more sustainably.
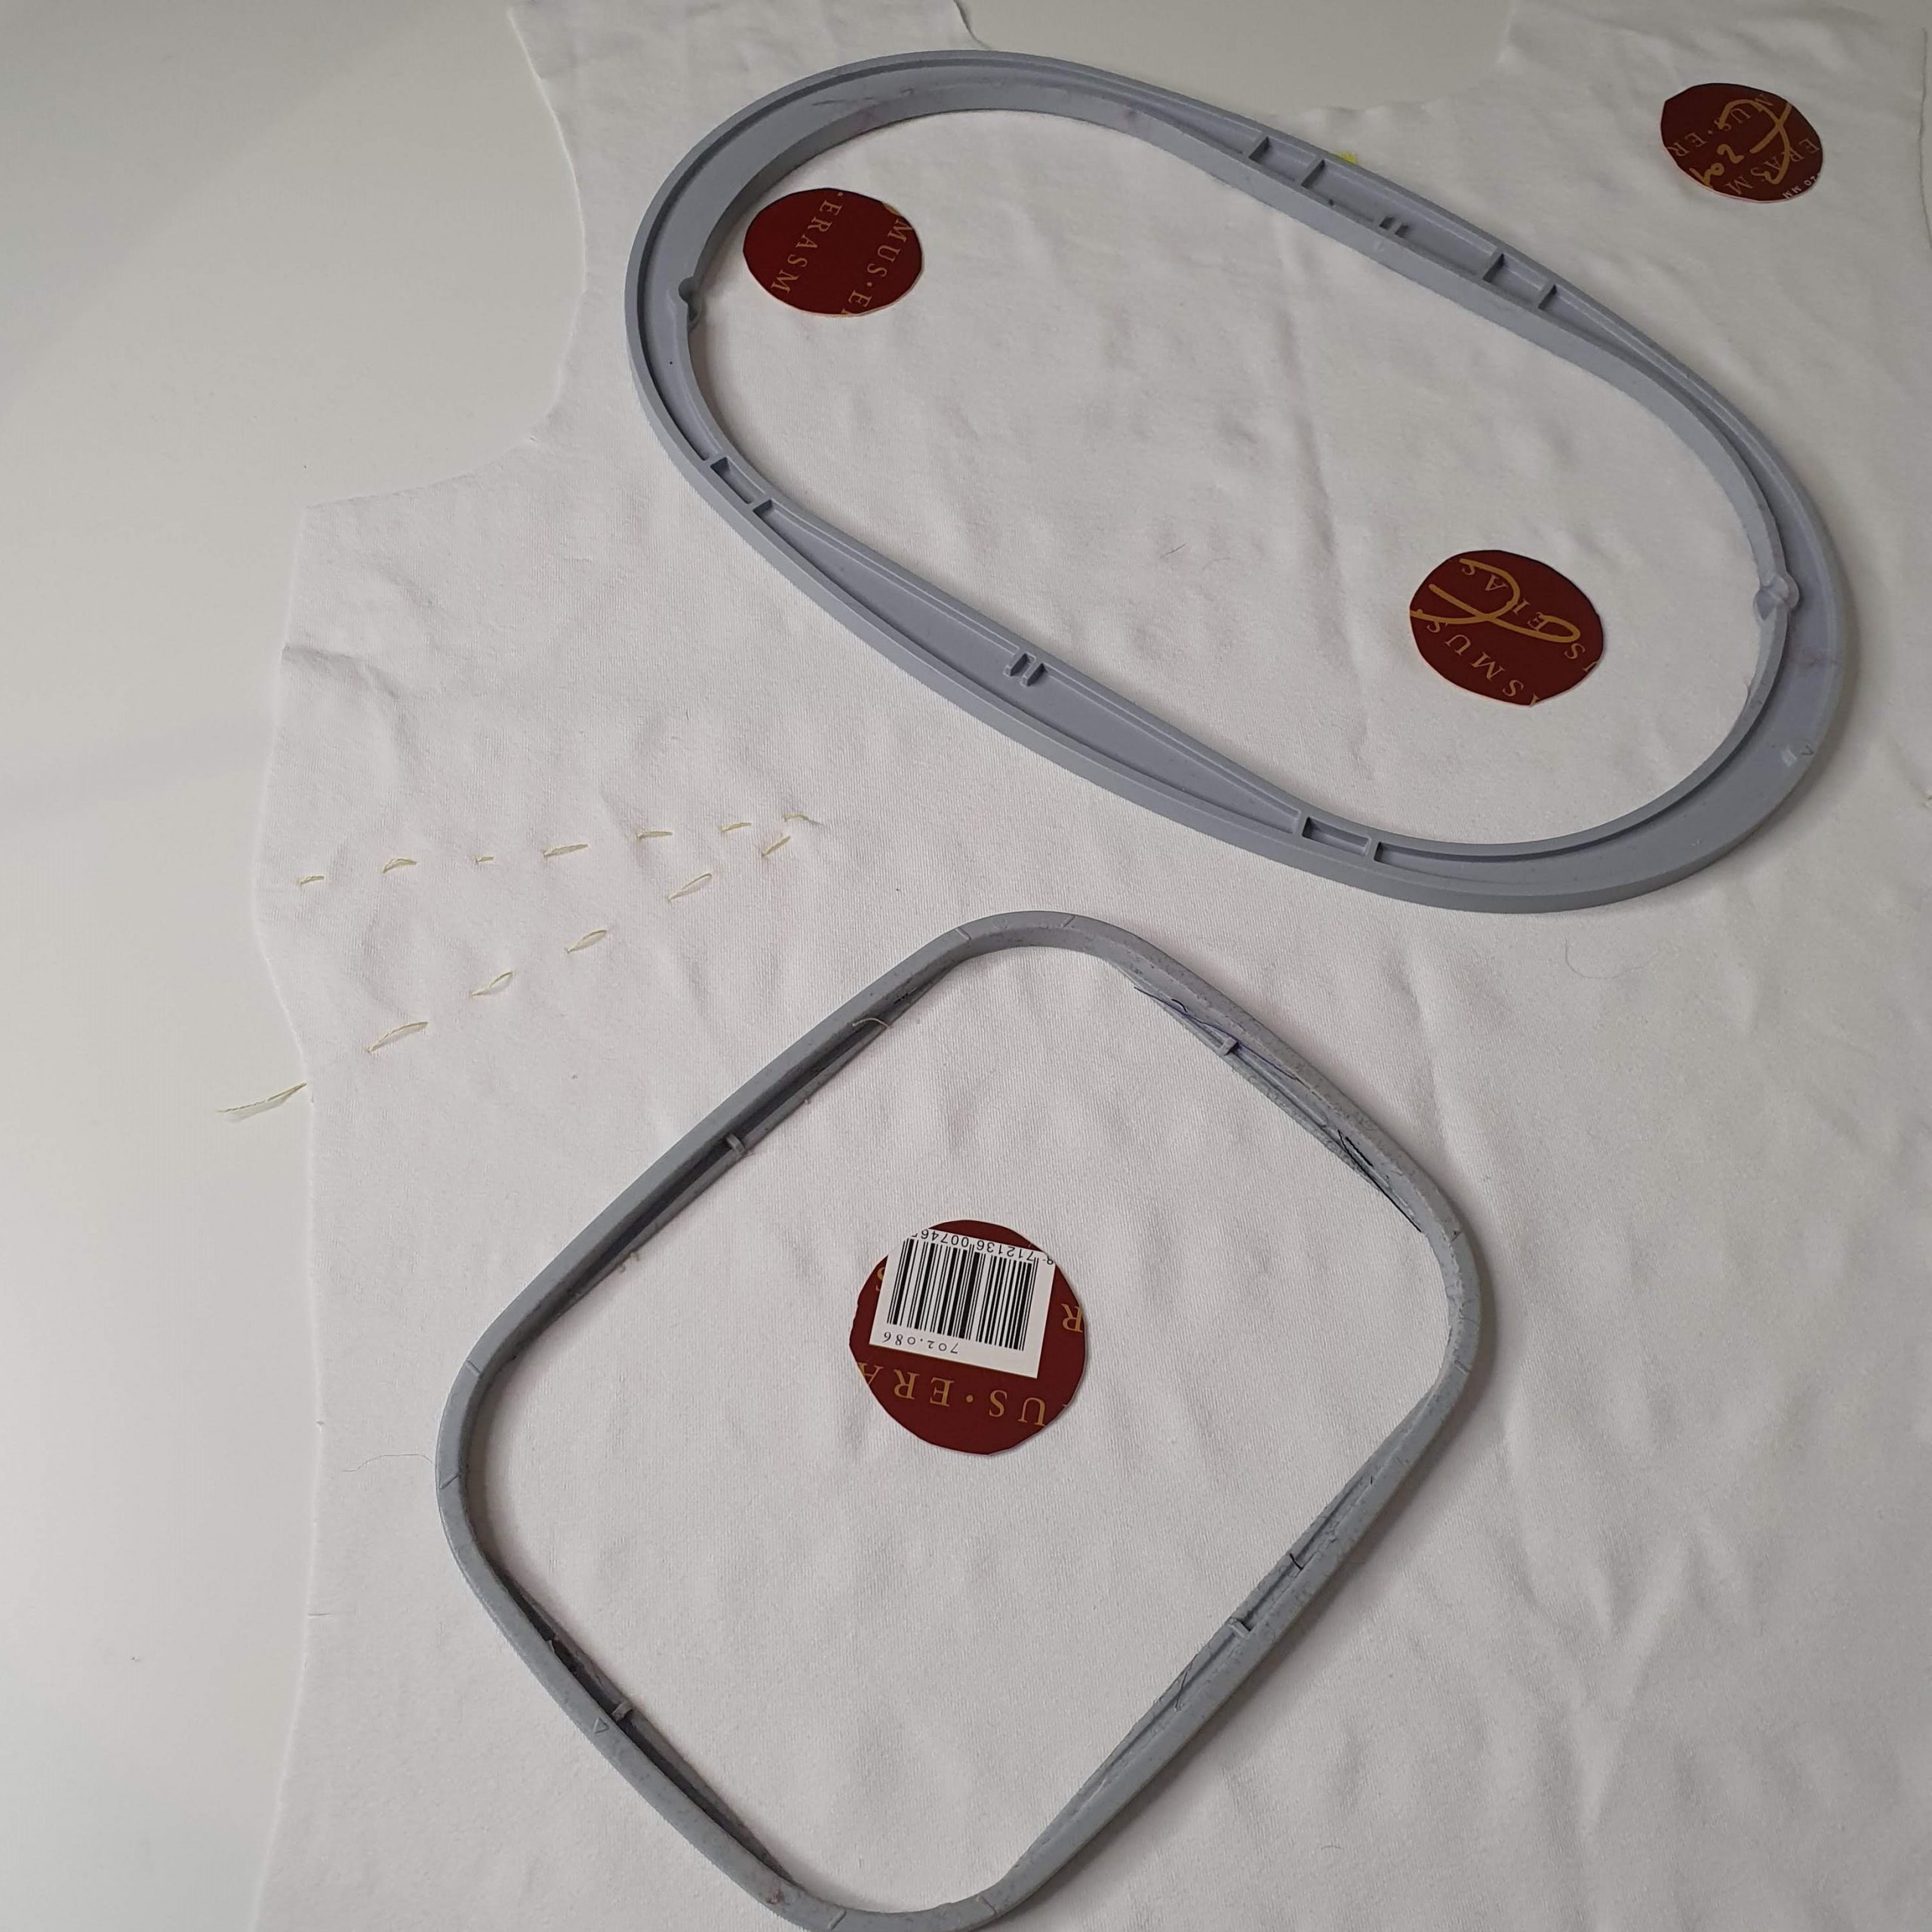
Fit medium and oval hoops
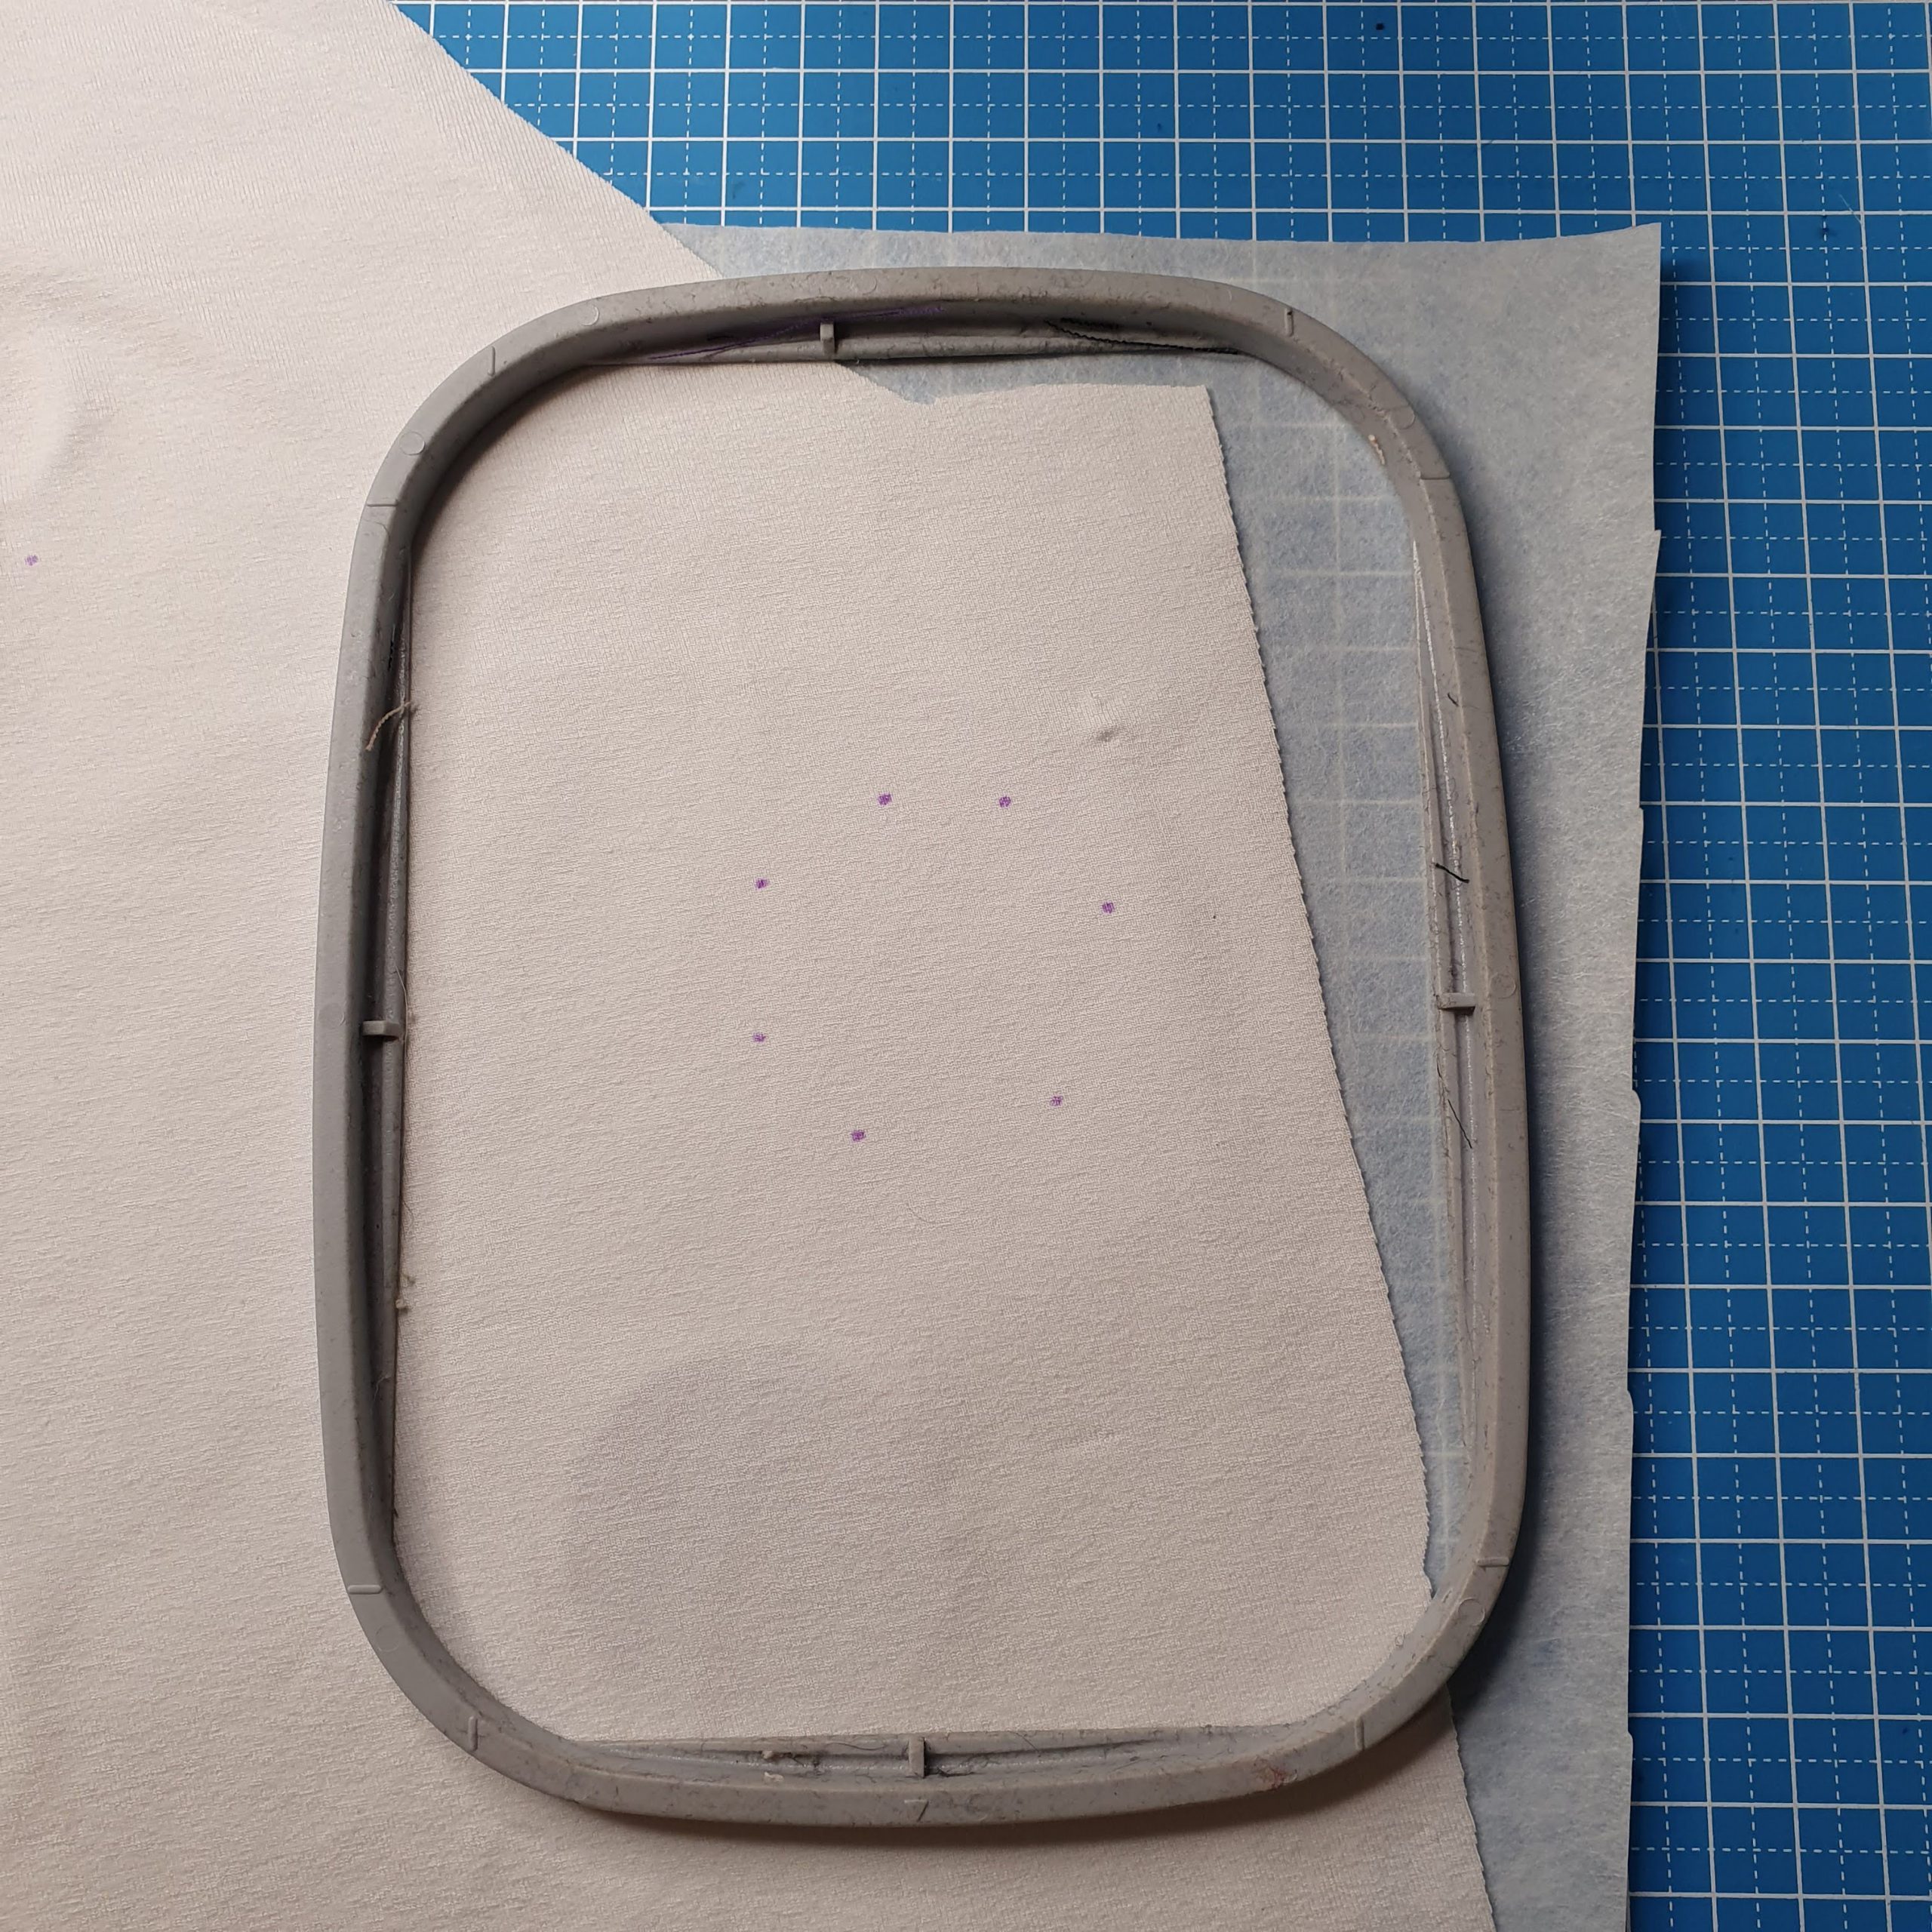
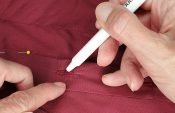
I then marked the selected place for the polka dots with a washable marker. Always check it on the fabric first (especially if it is a white fabric ;-))
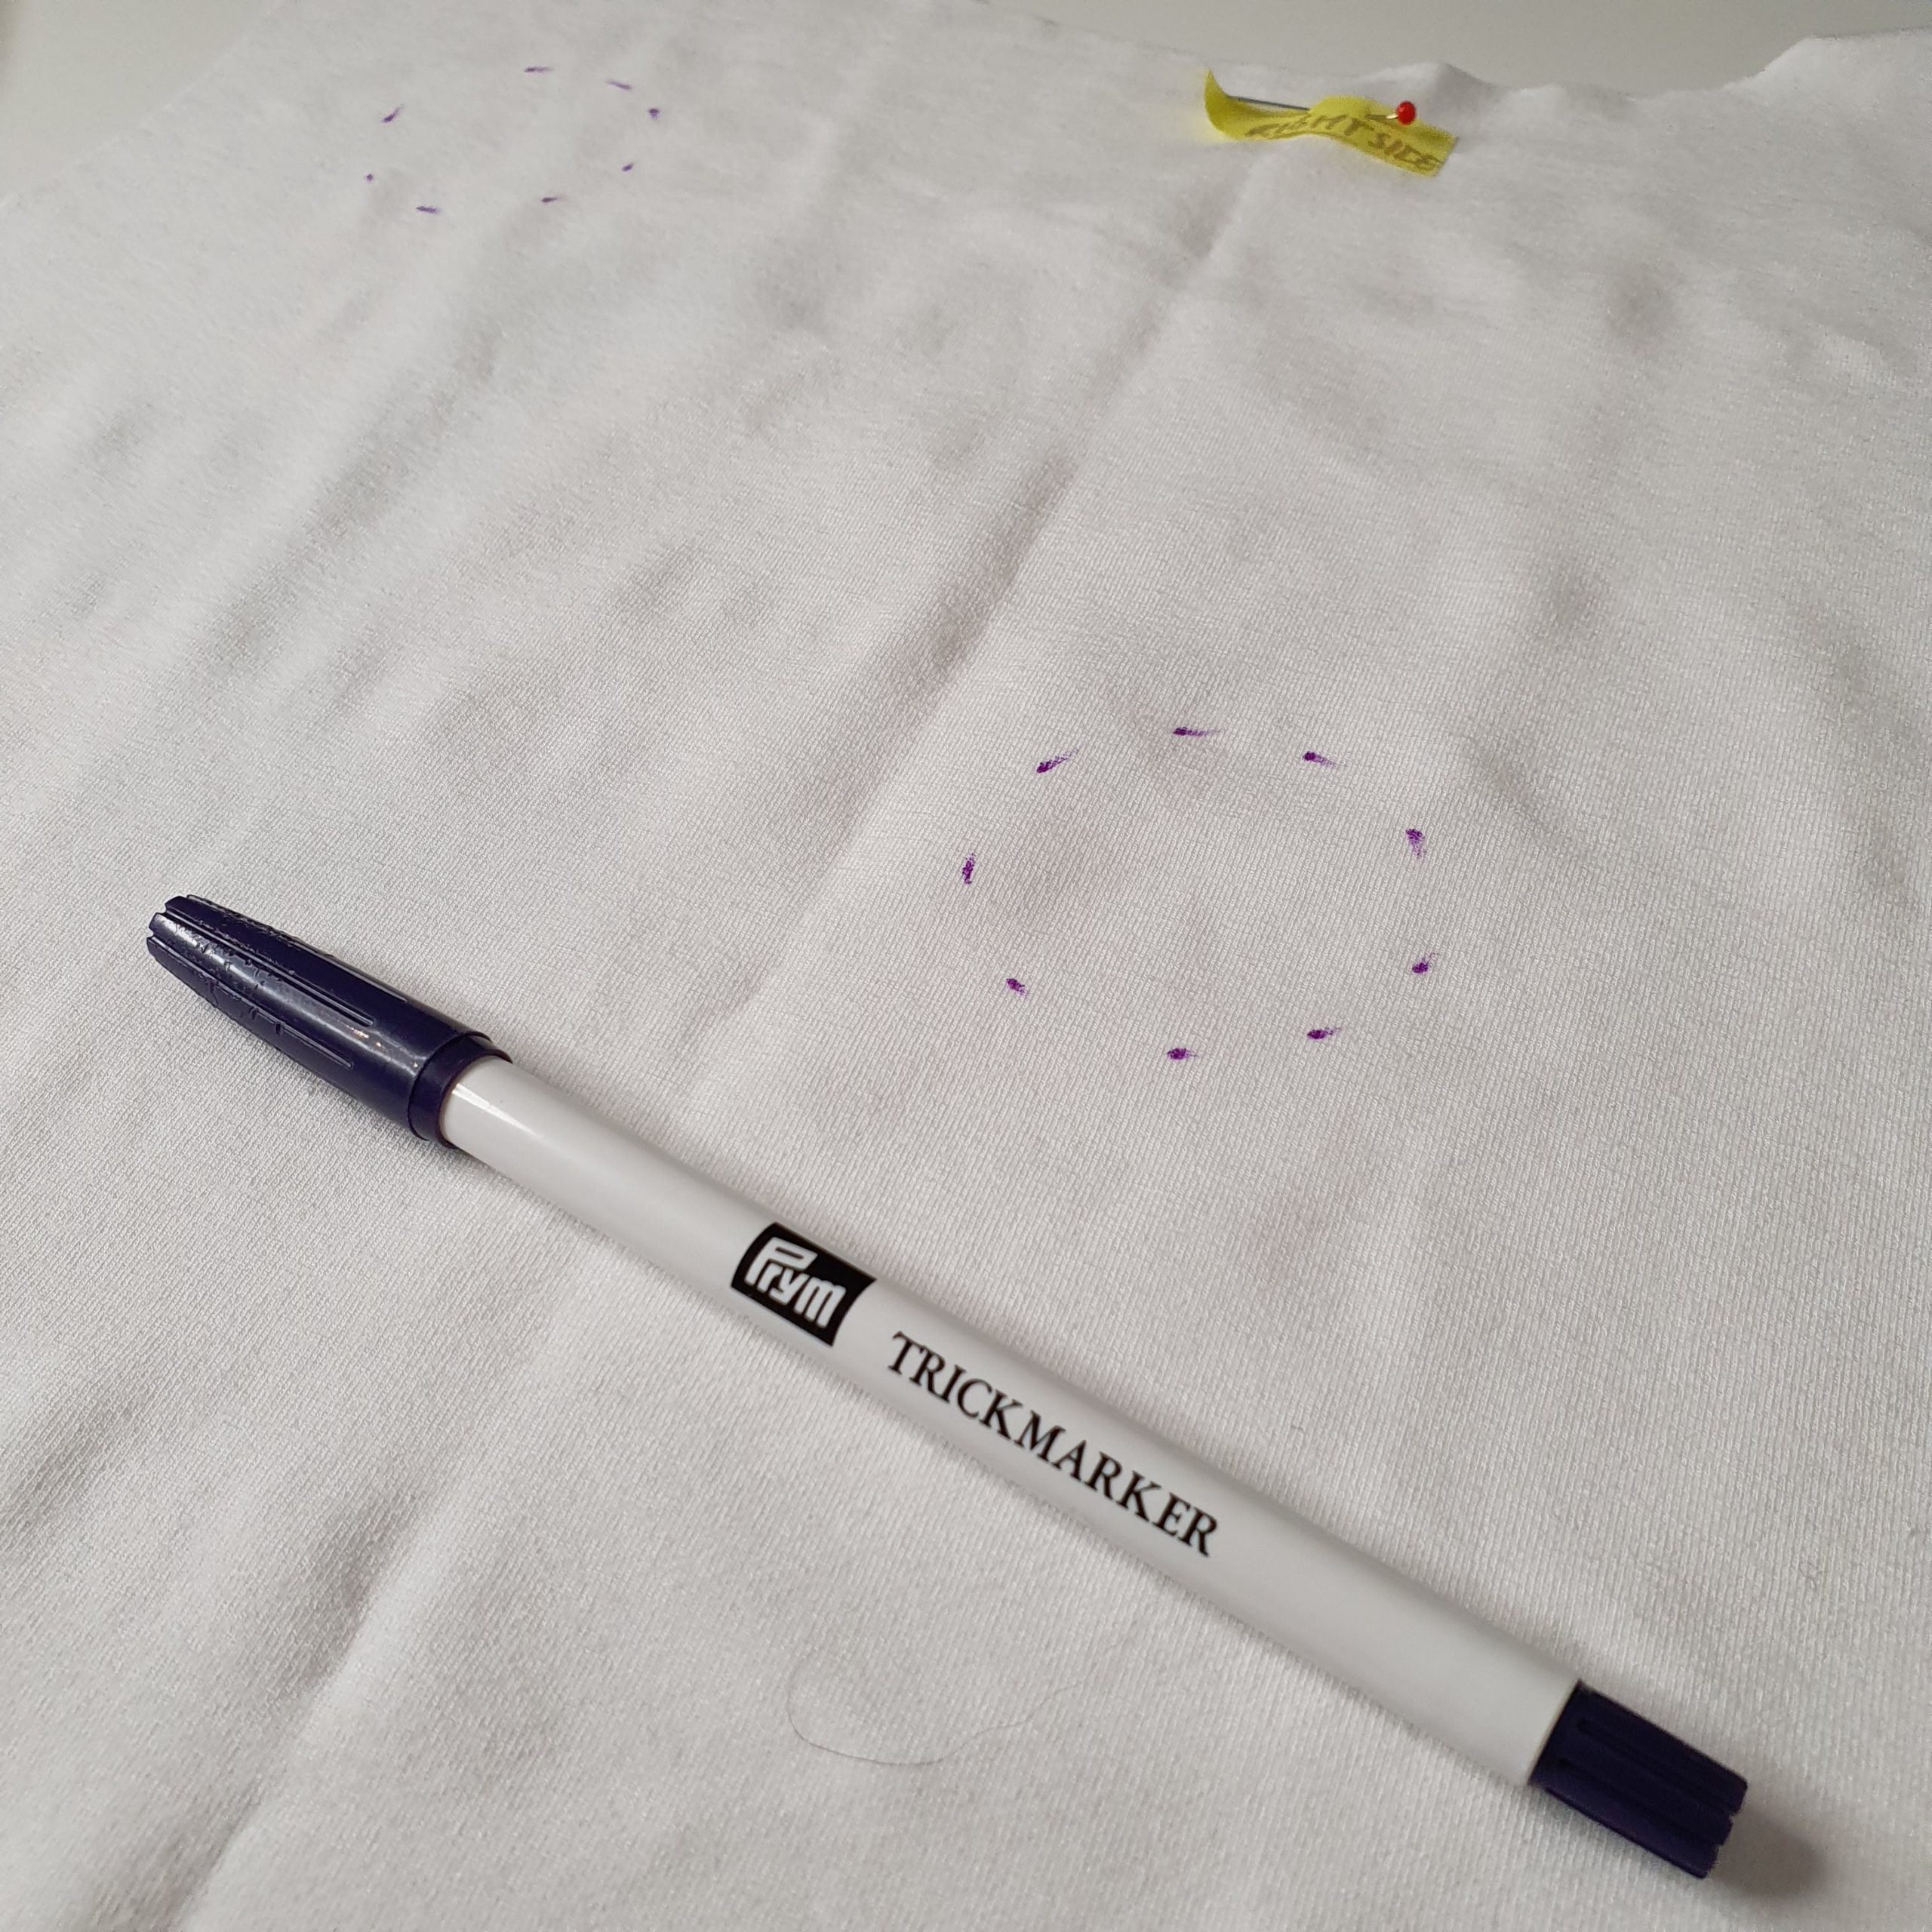
Trick marker
Trying medium hoop on the sleeve
Embroidery
With the materials delivered, the creation of the look could really begin. For the embroidery I used the combination of black Poly Sheen on top and black Bobinette on the bobbin.
Tip: mark the spools of thread for embroidery with a dot of nail polish. Handy to keep different bobbin threads apart.
For assembling and topstitching I used white Seraflex (thread with stretch). As topping I used water-soluble, extra strong and transparent embroidery foil (Madeira).
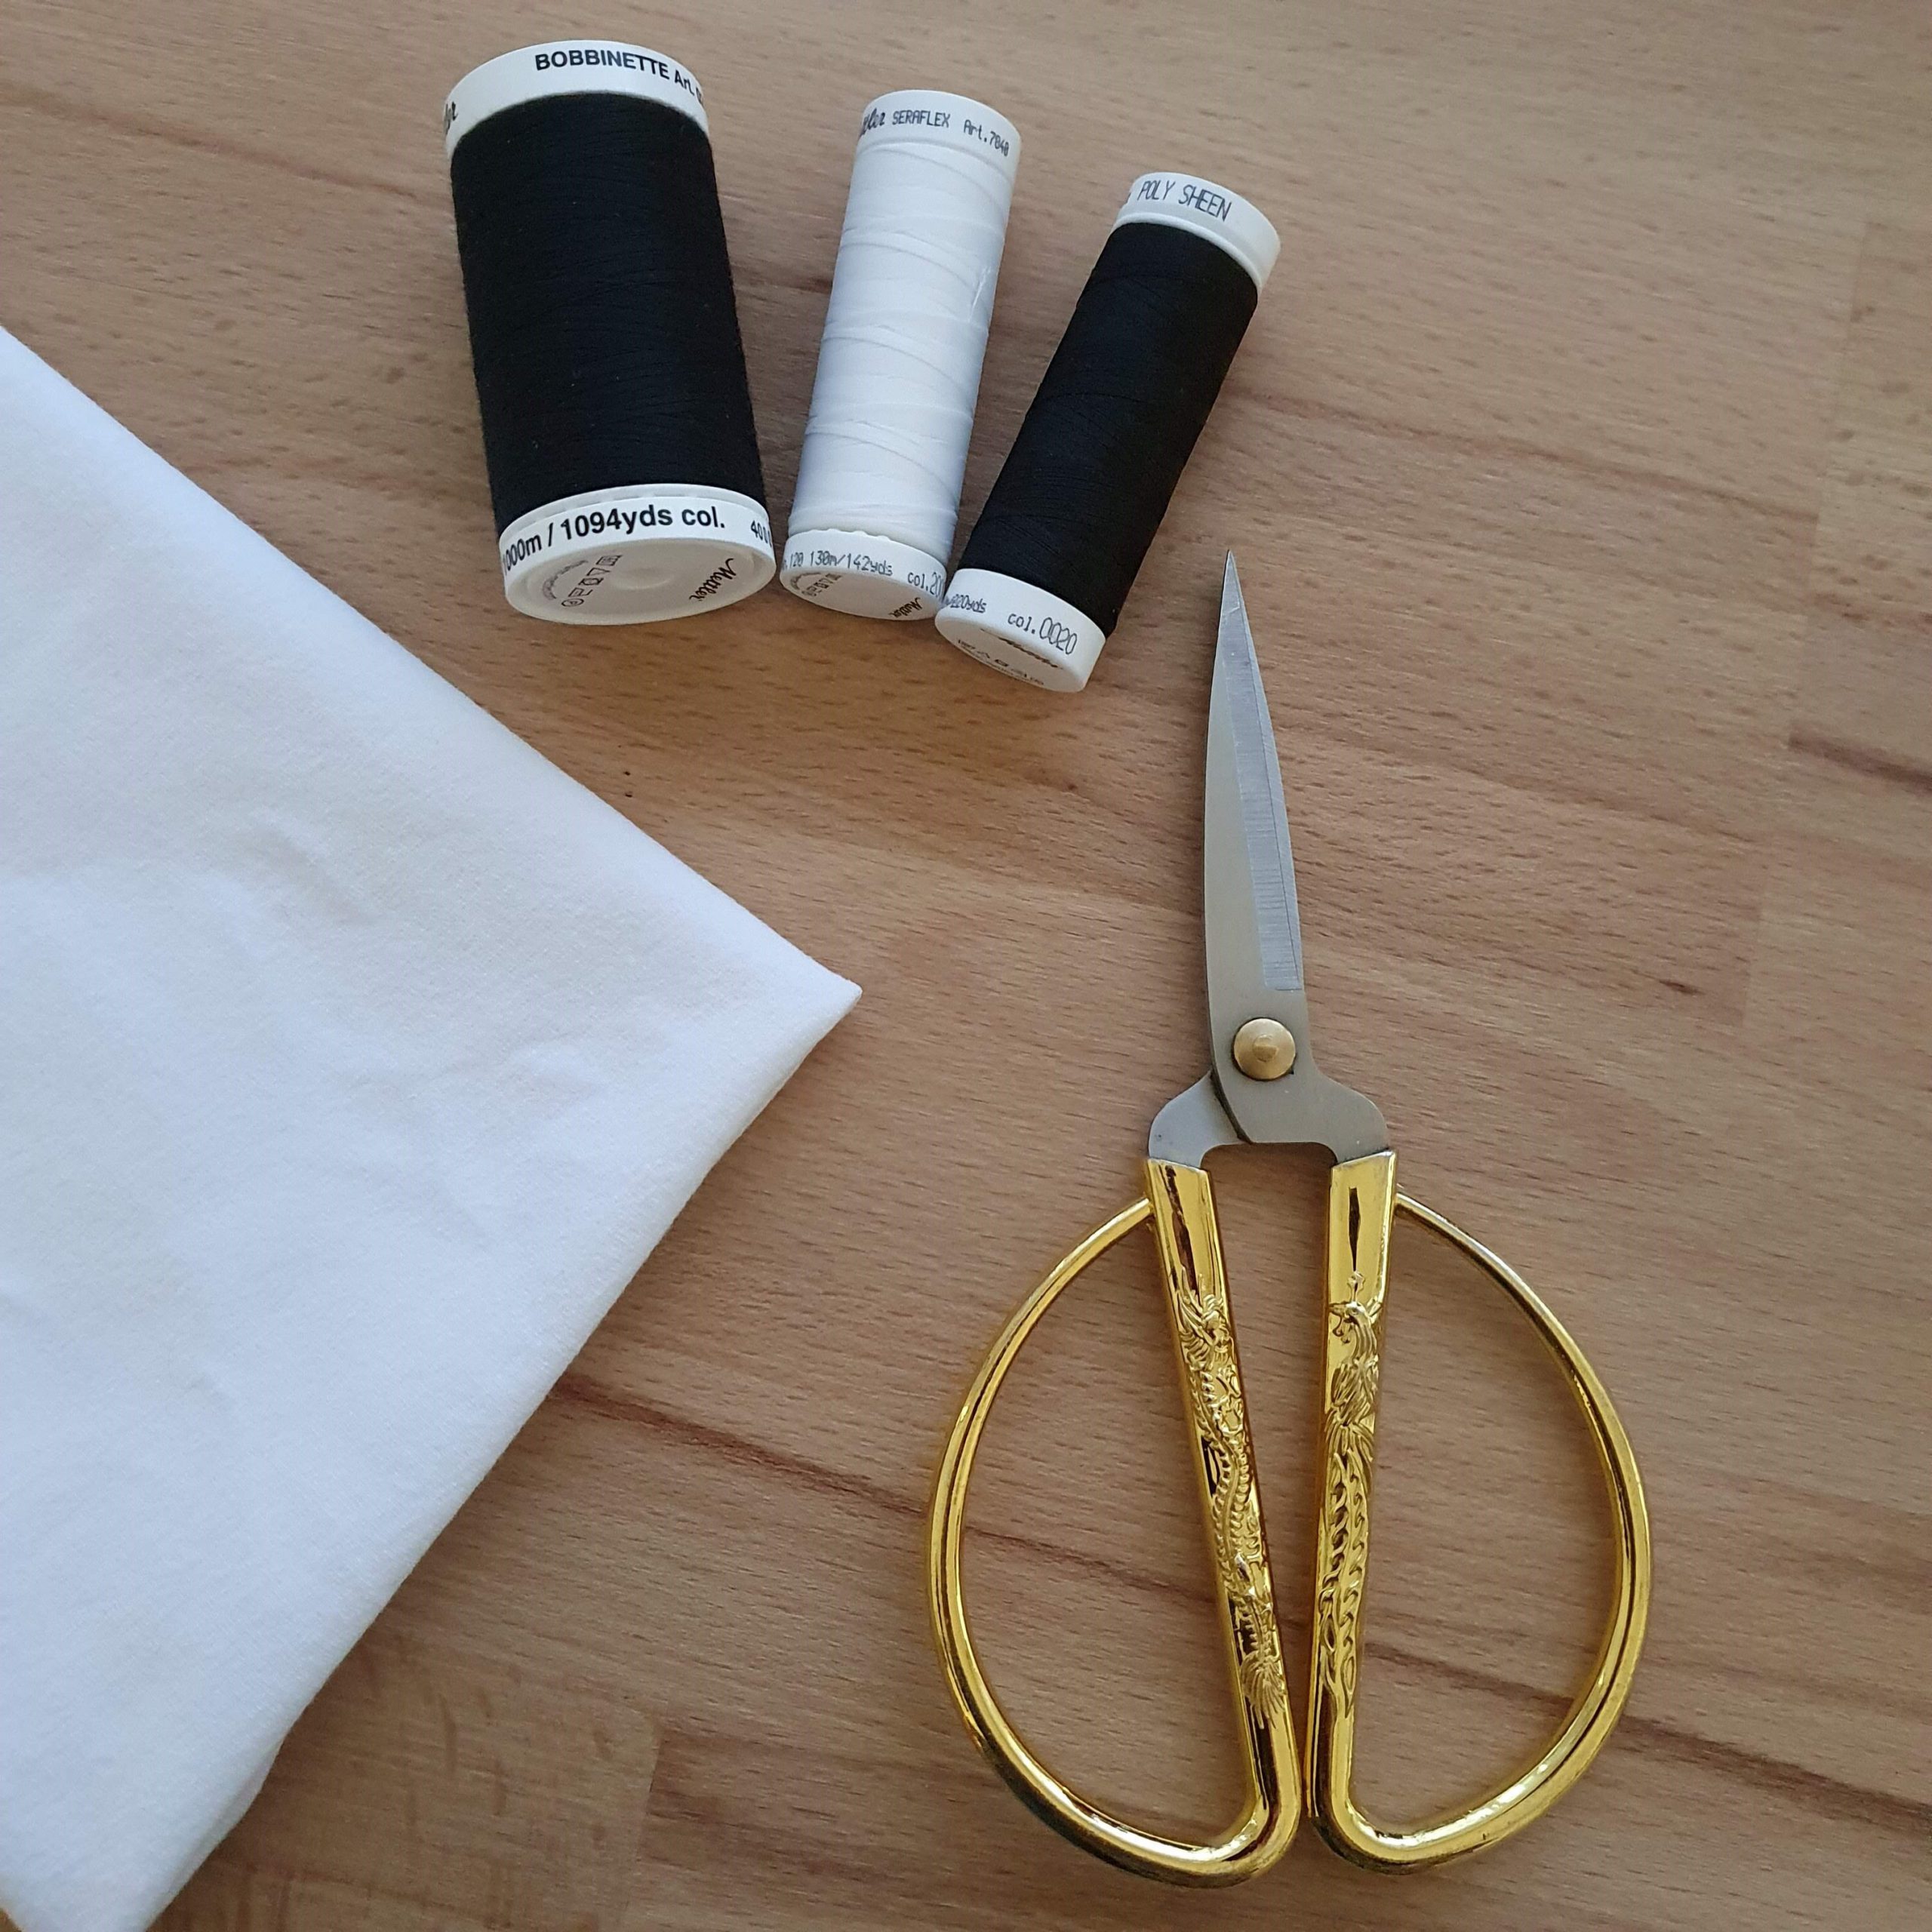
Little family of threads

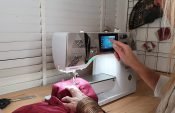
In action
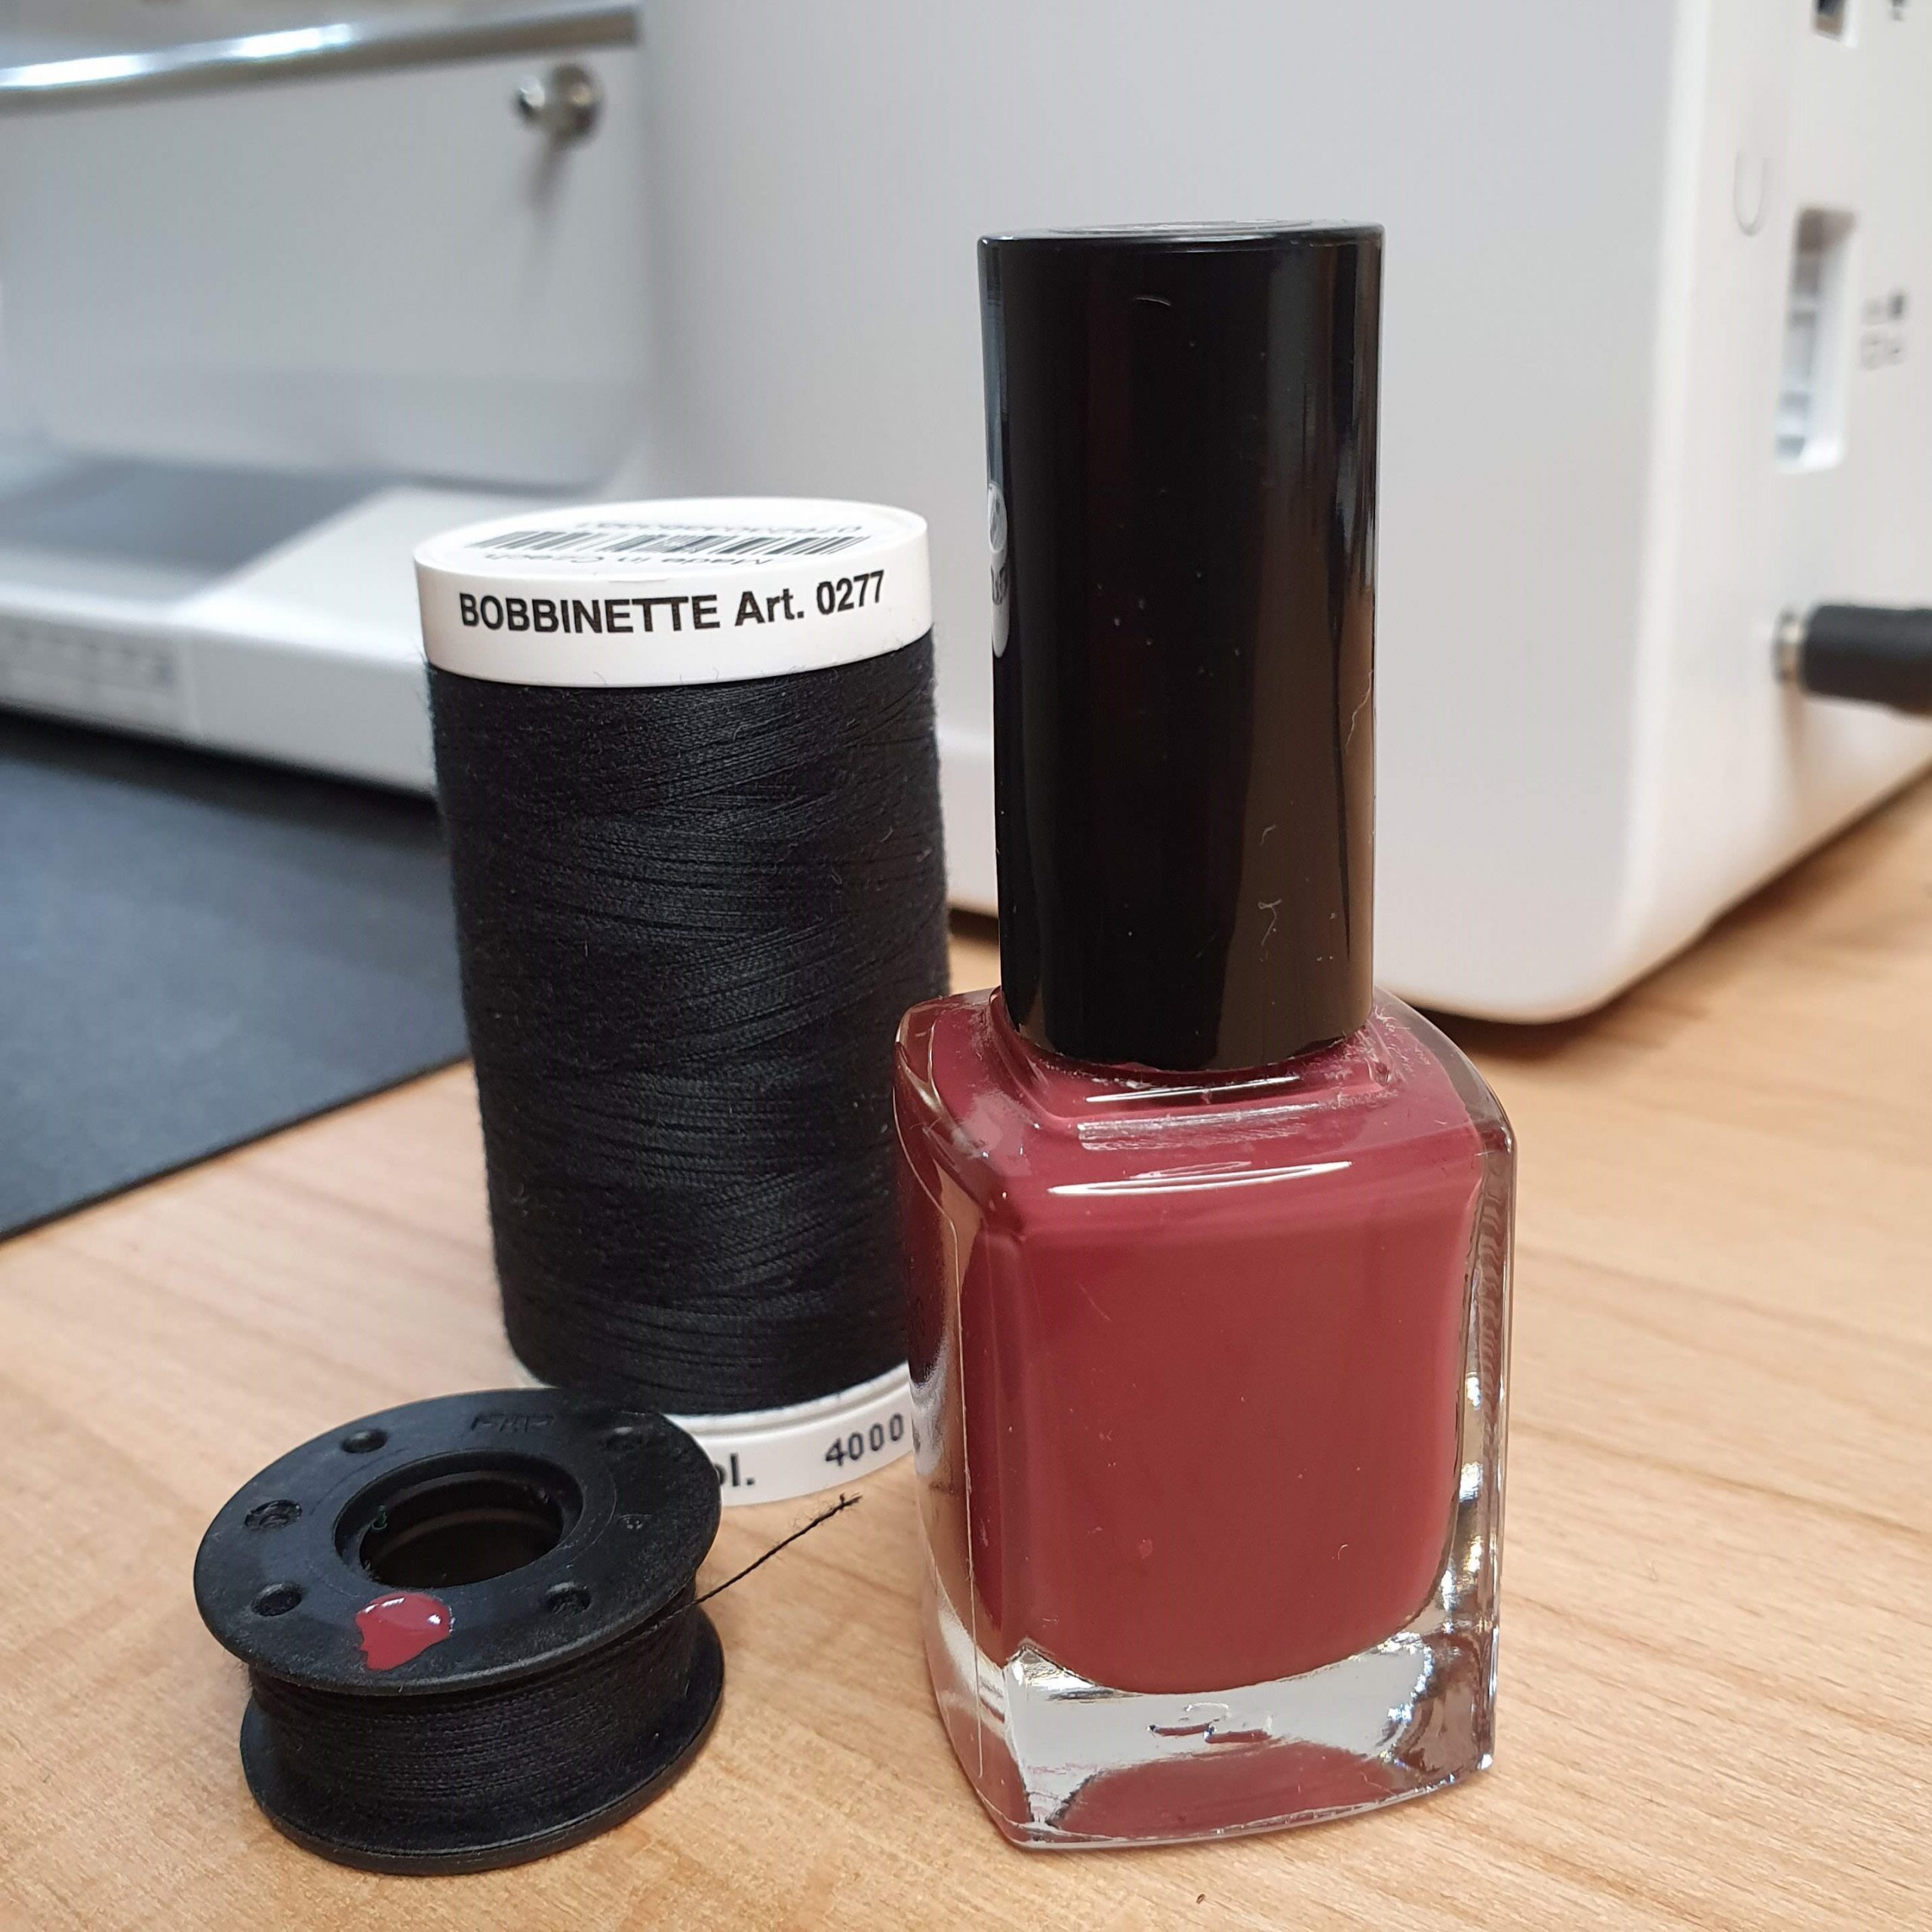
Mark bobbin
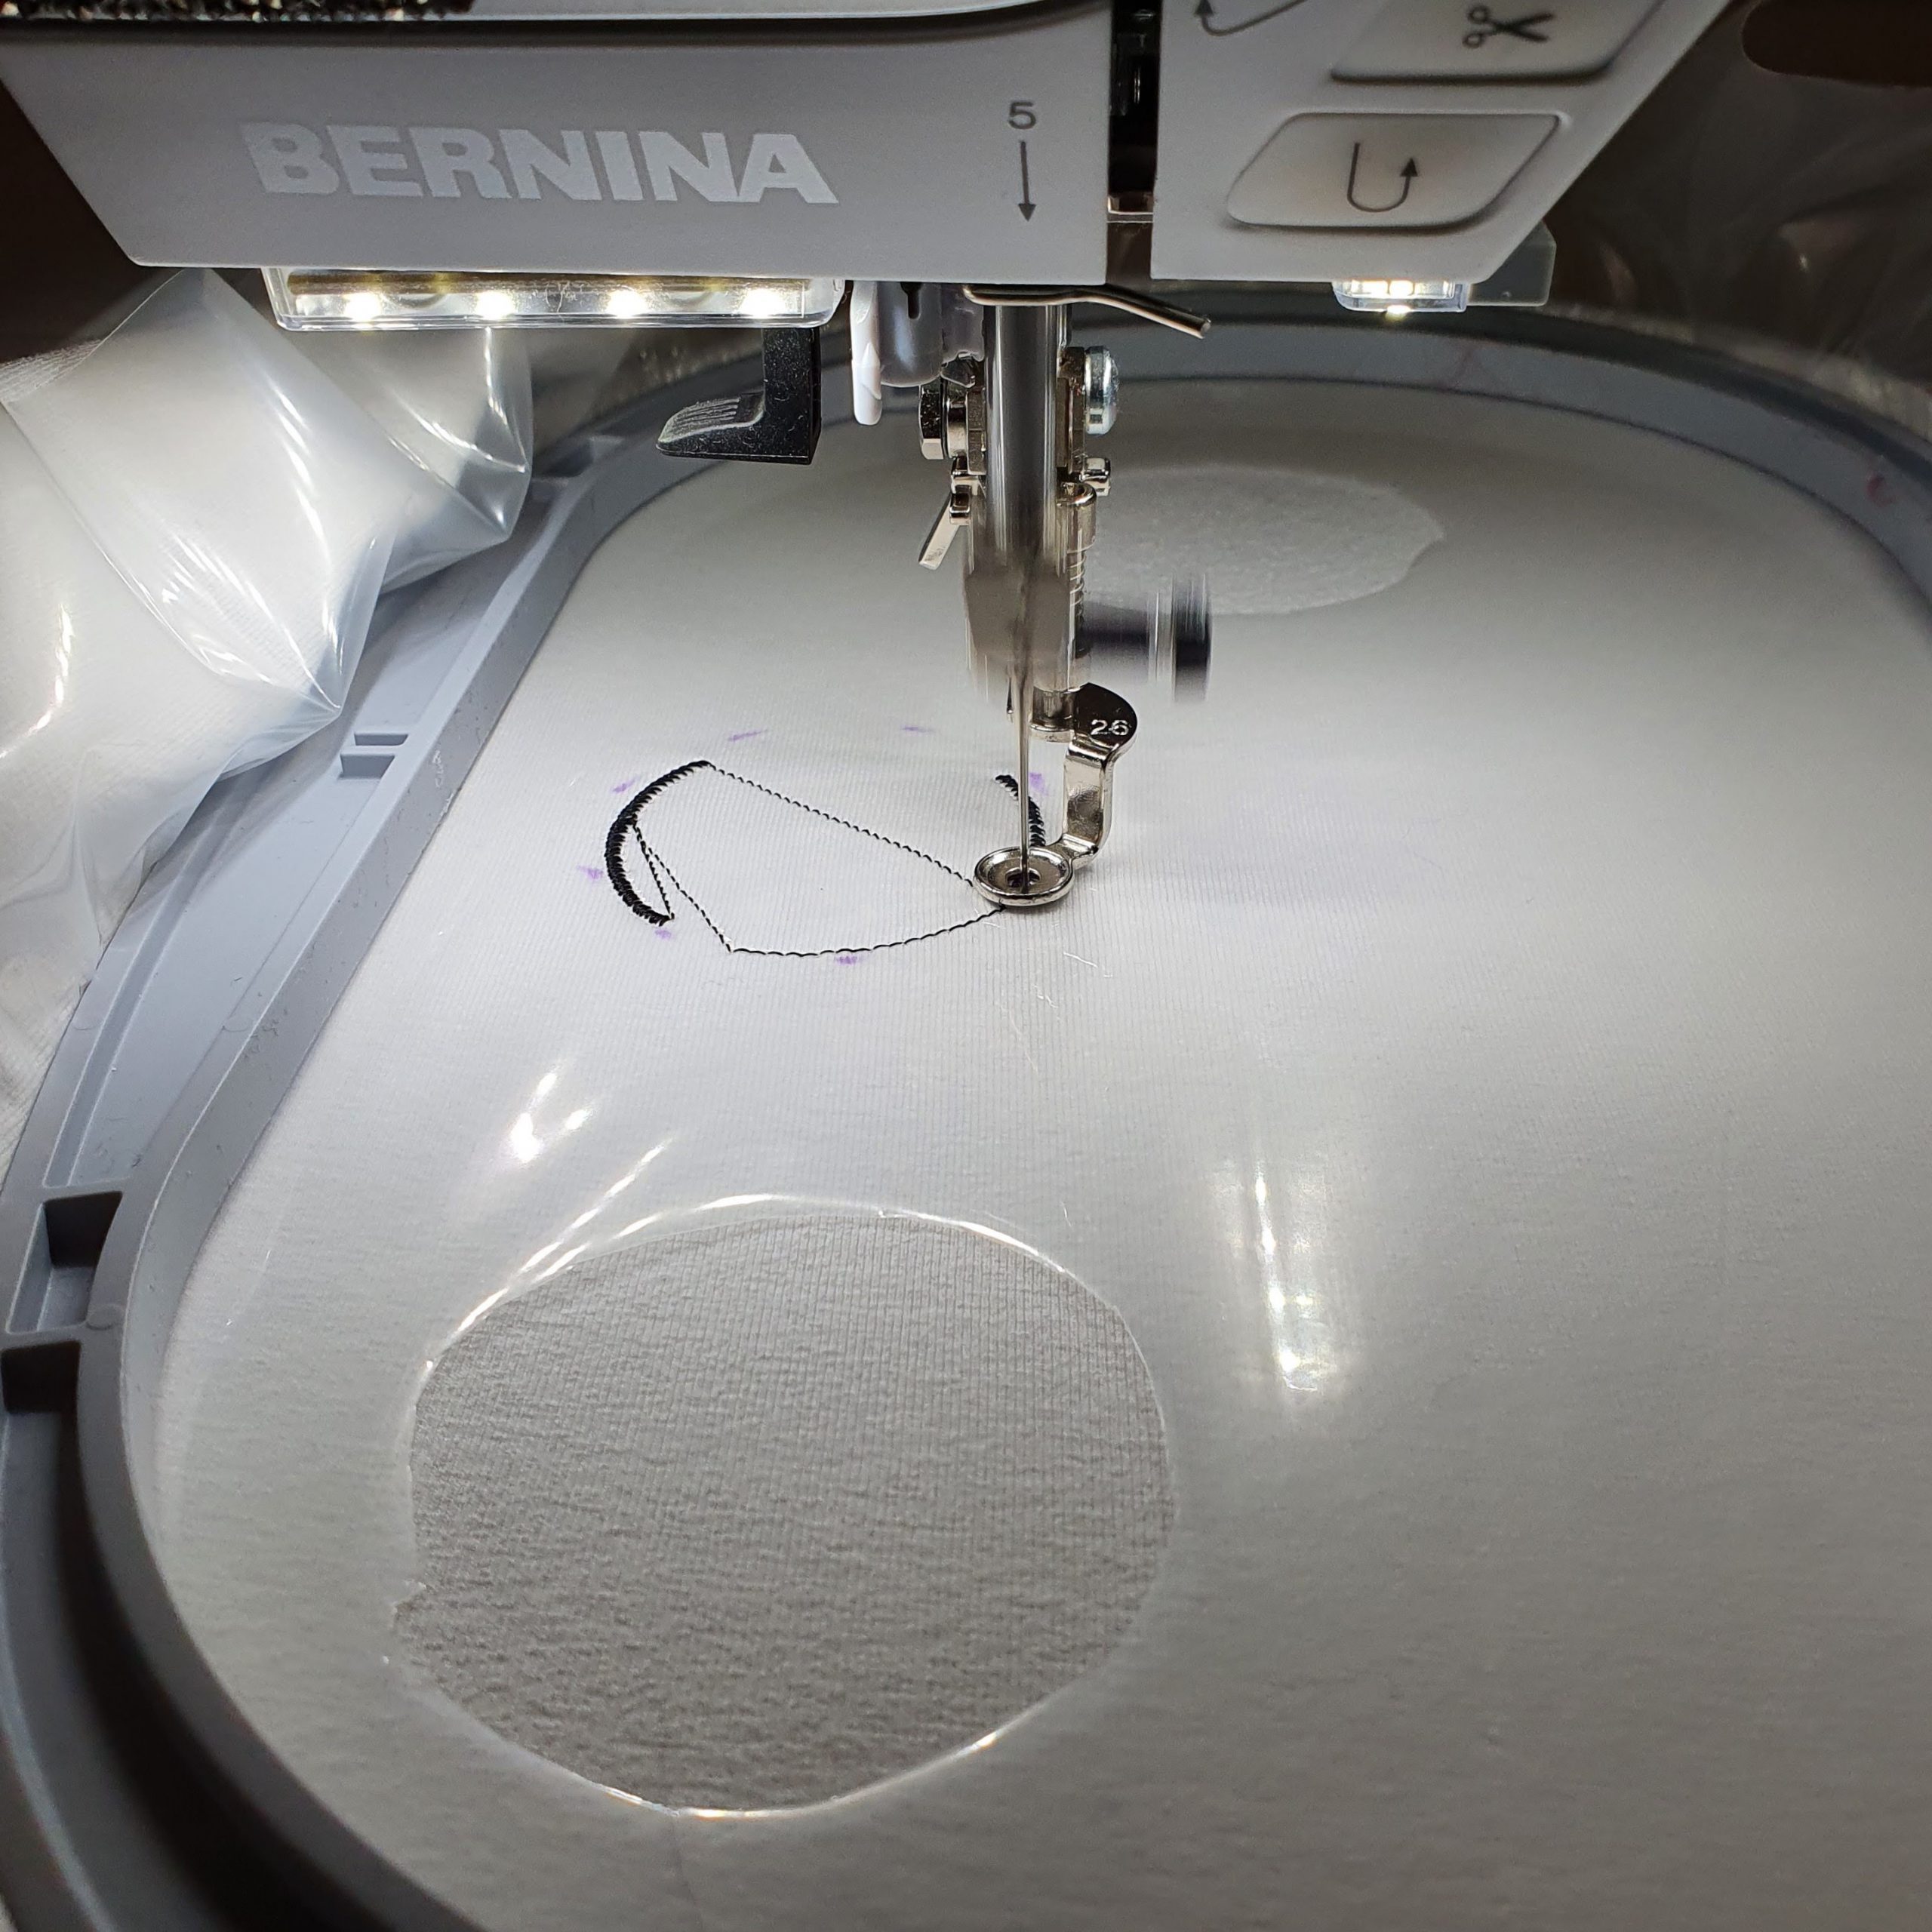
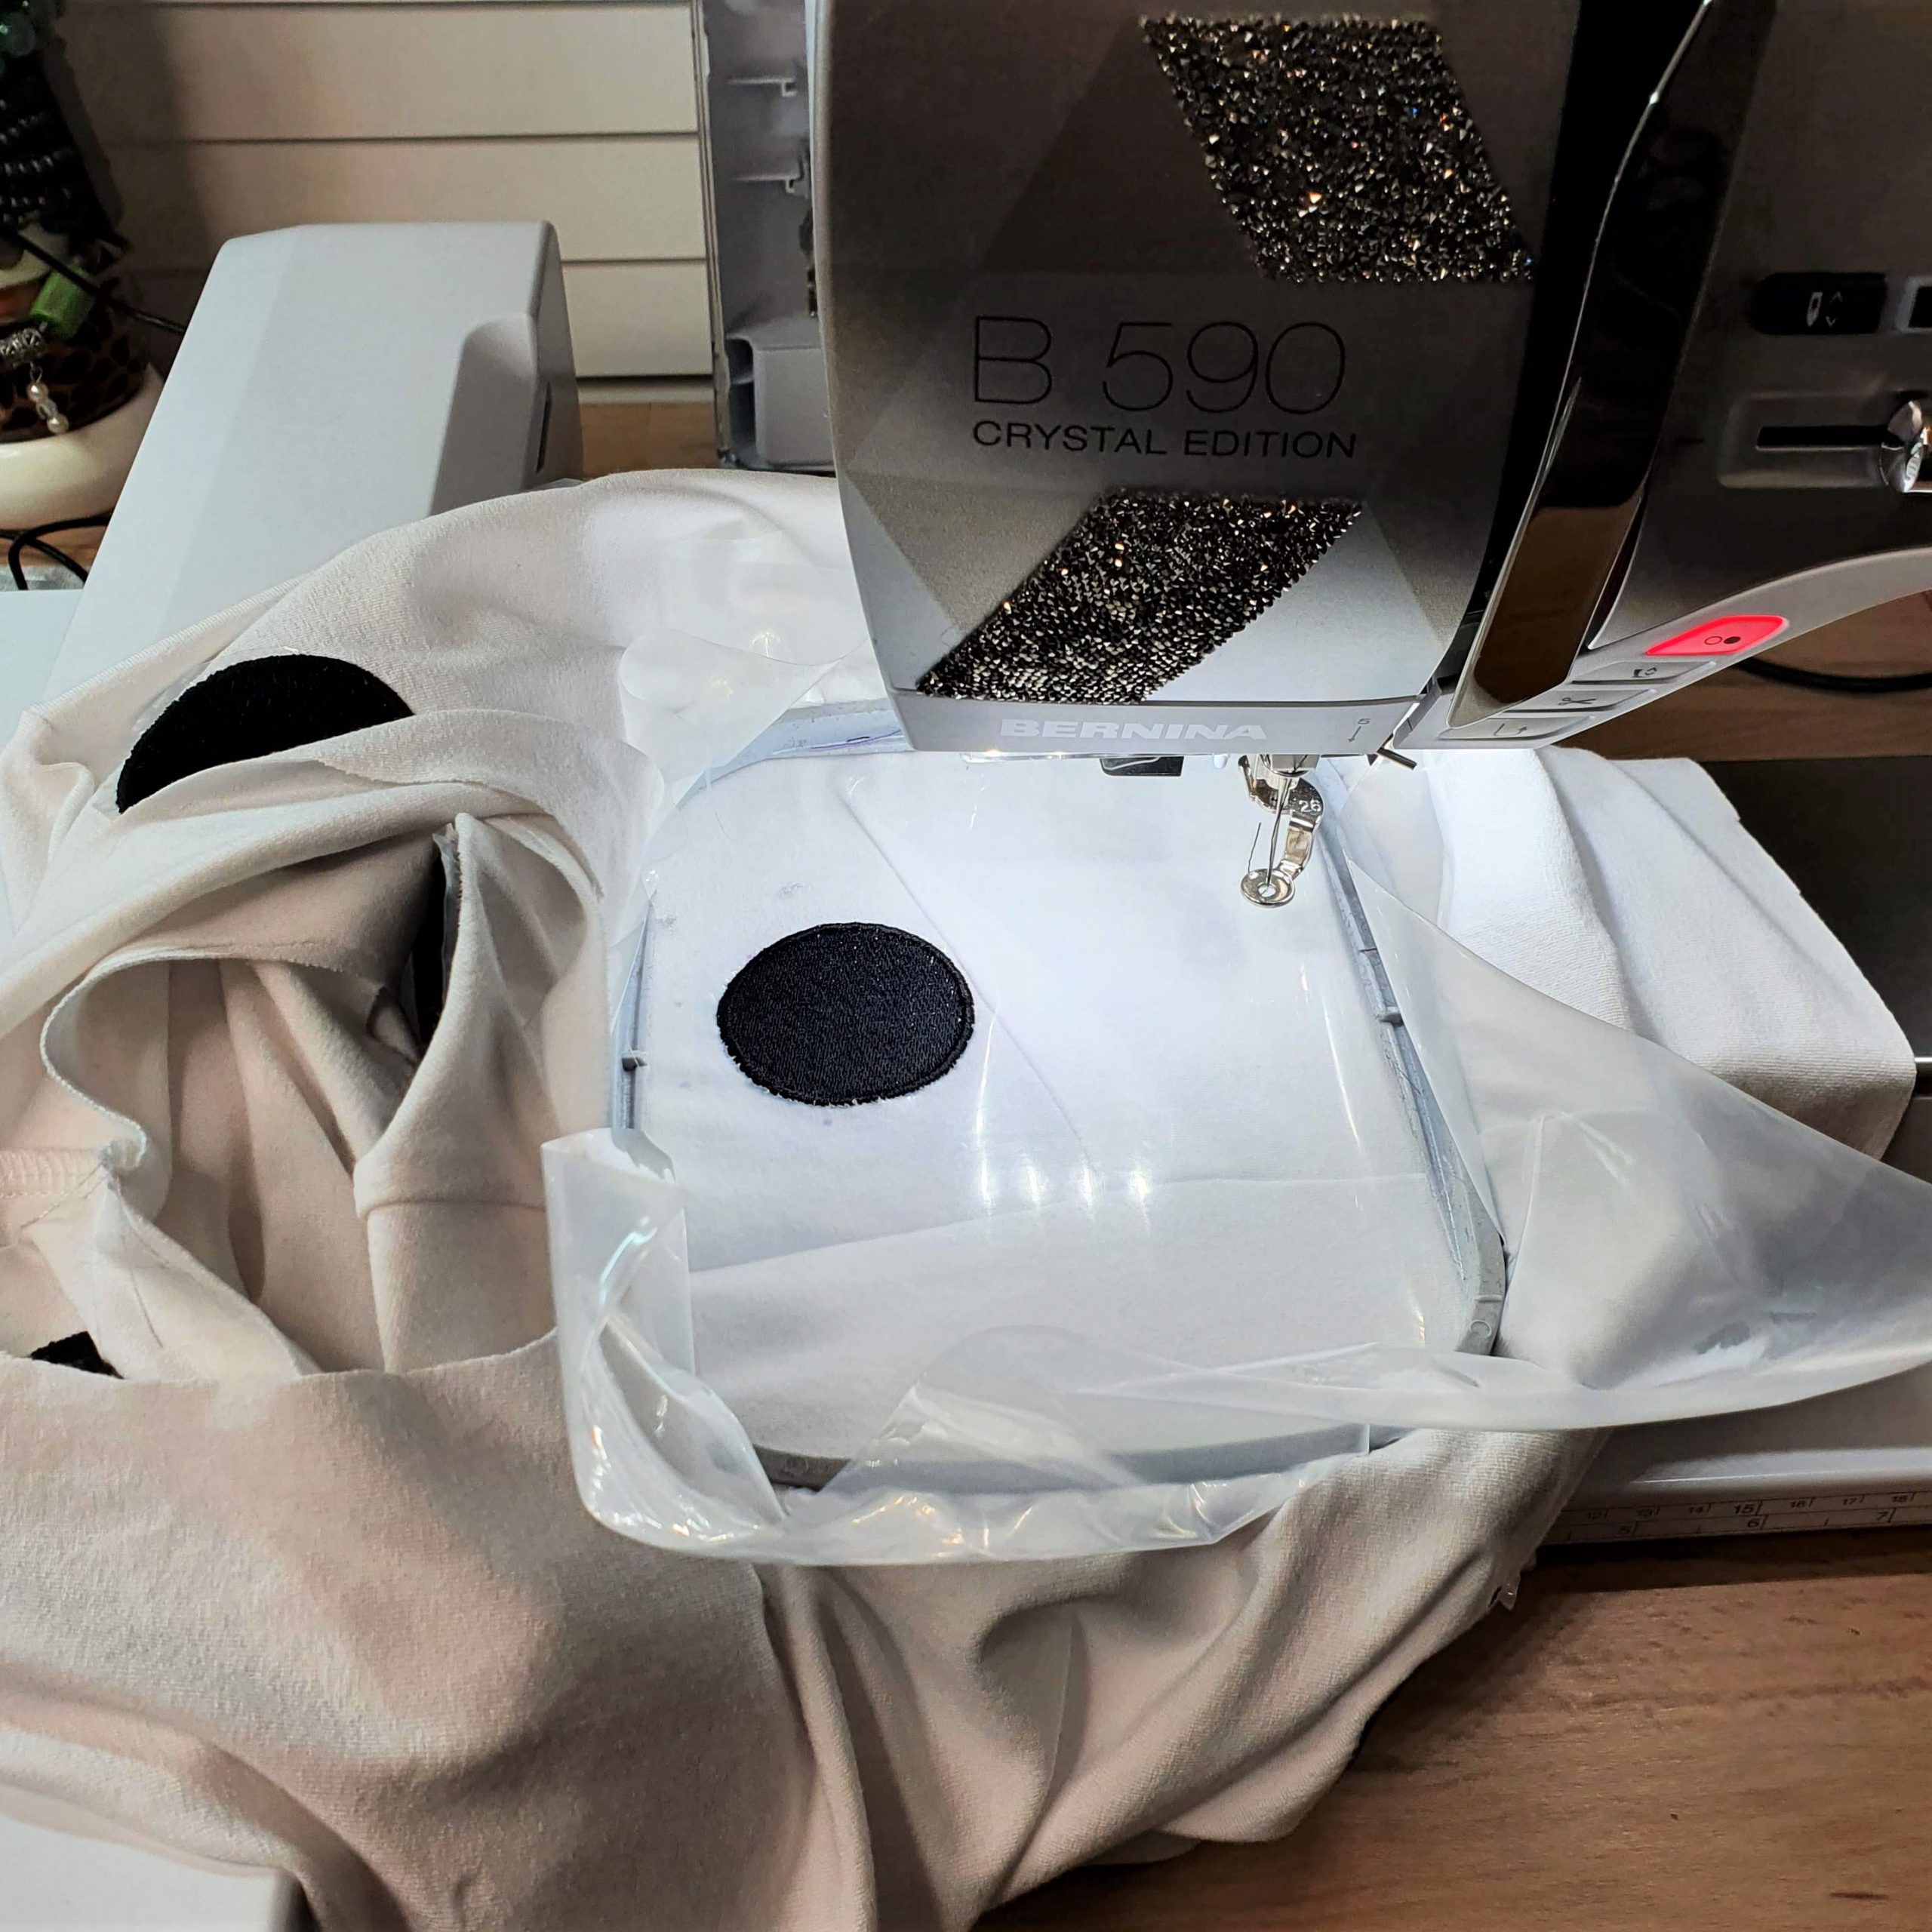
The fabric is clamped into the hoop with the foil on top so that one or two marked polka dots are well within the embroidery area. When the hoop is in place and the first polka dot at the correct size is selected. On the machine’s screen, I place the polka dot to match the mark. Sliding the embroidery frame ‘moves’ the needle to the correct starting position.
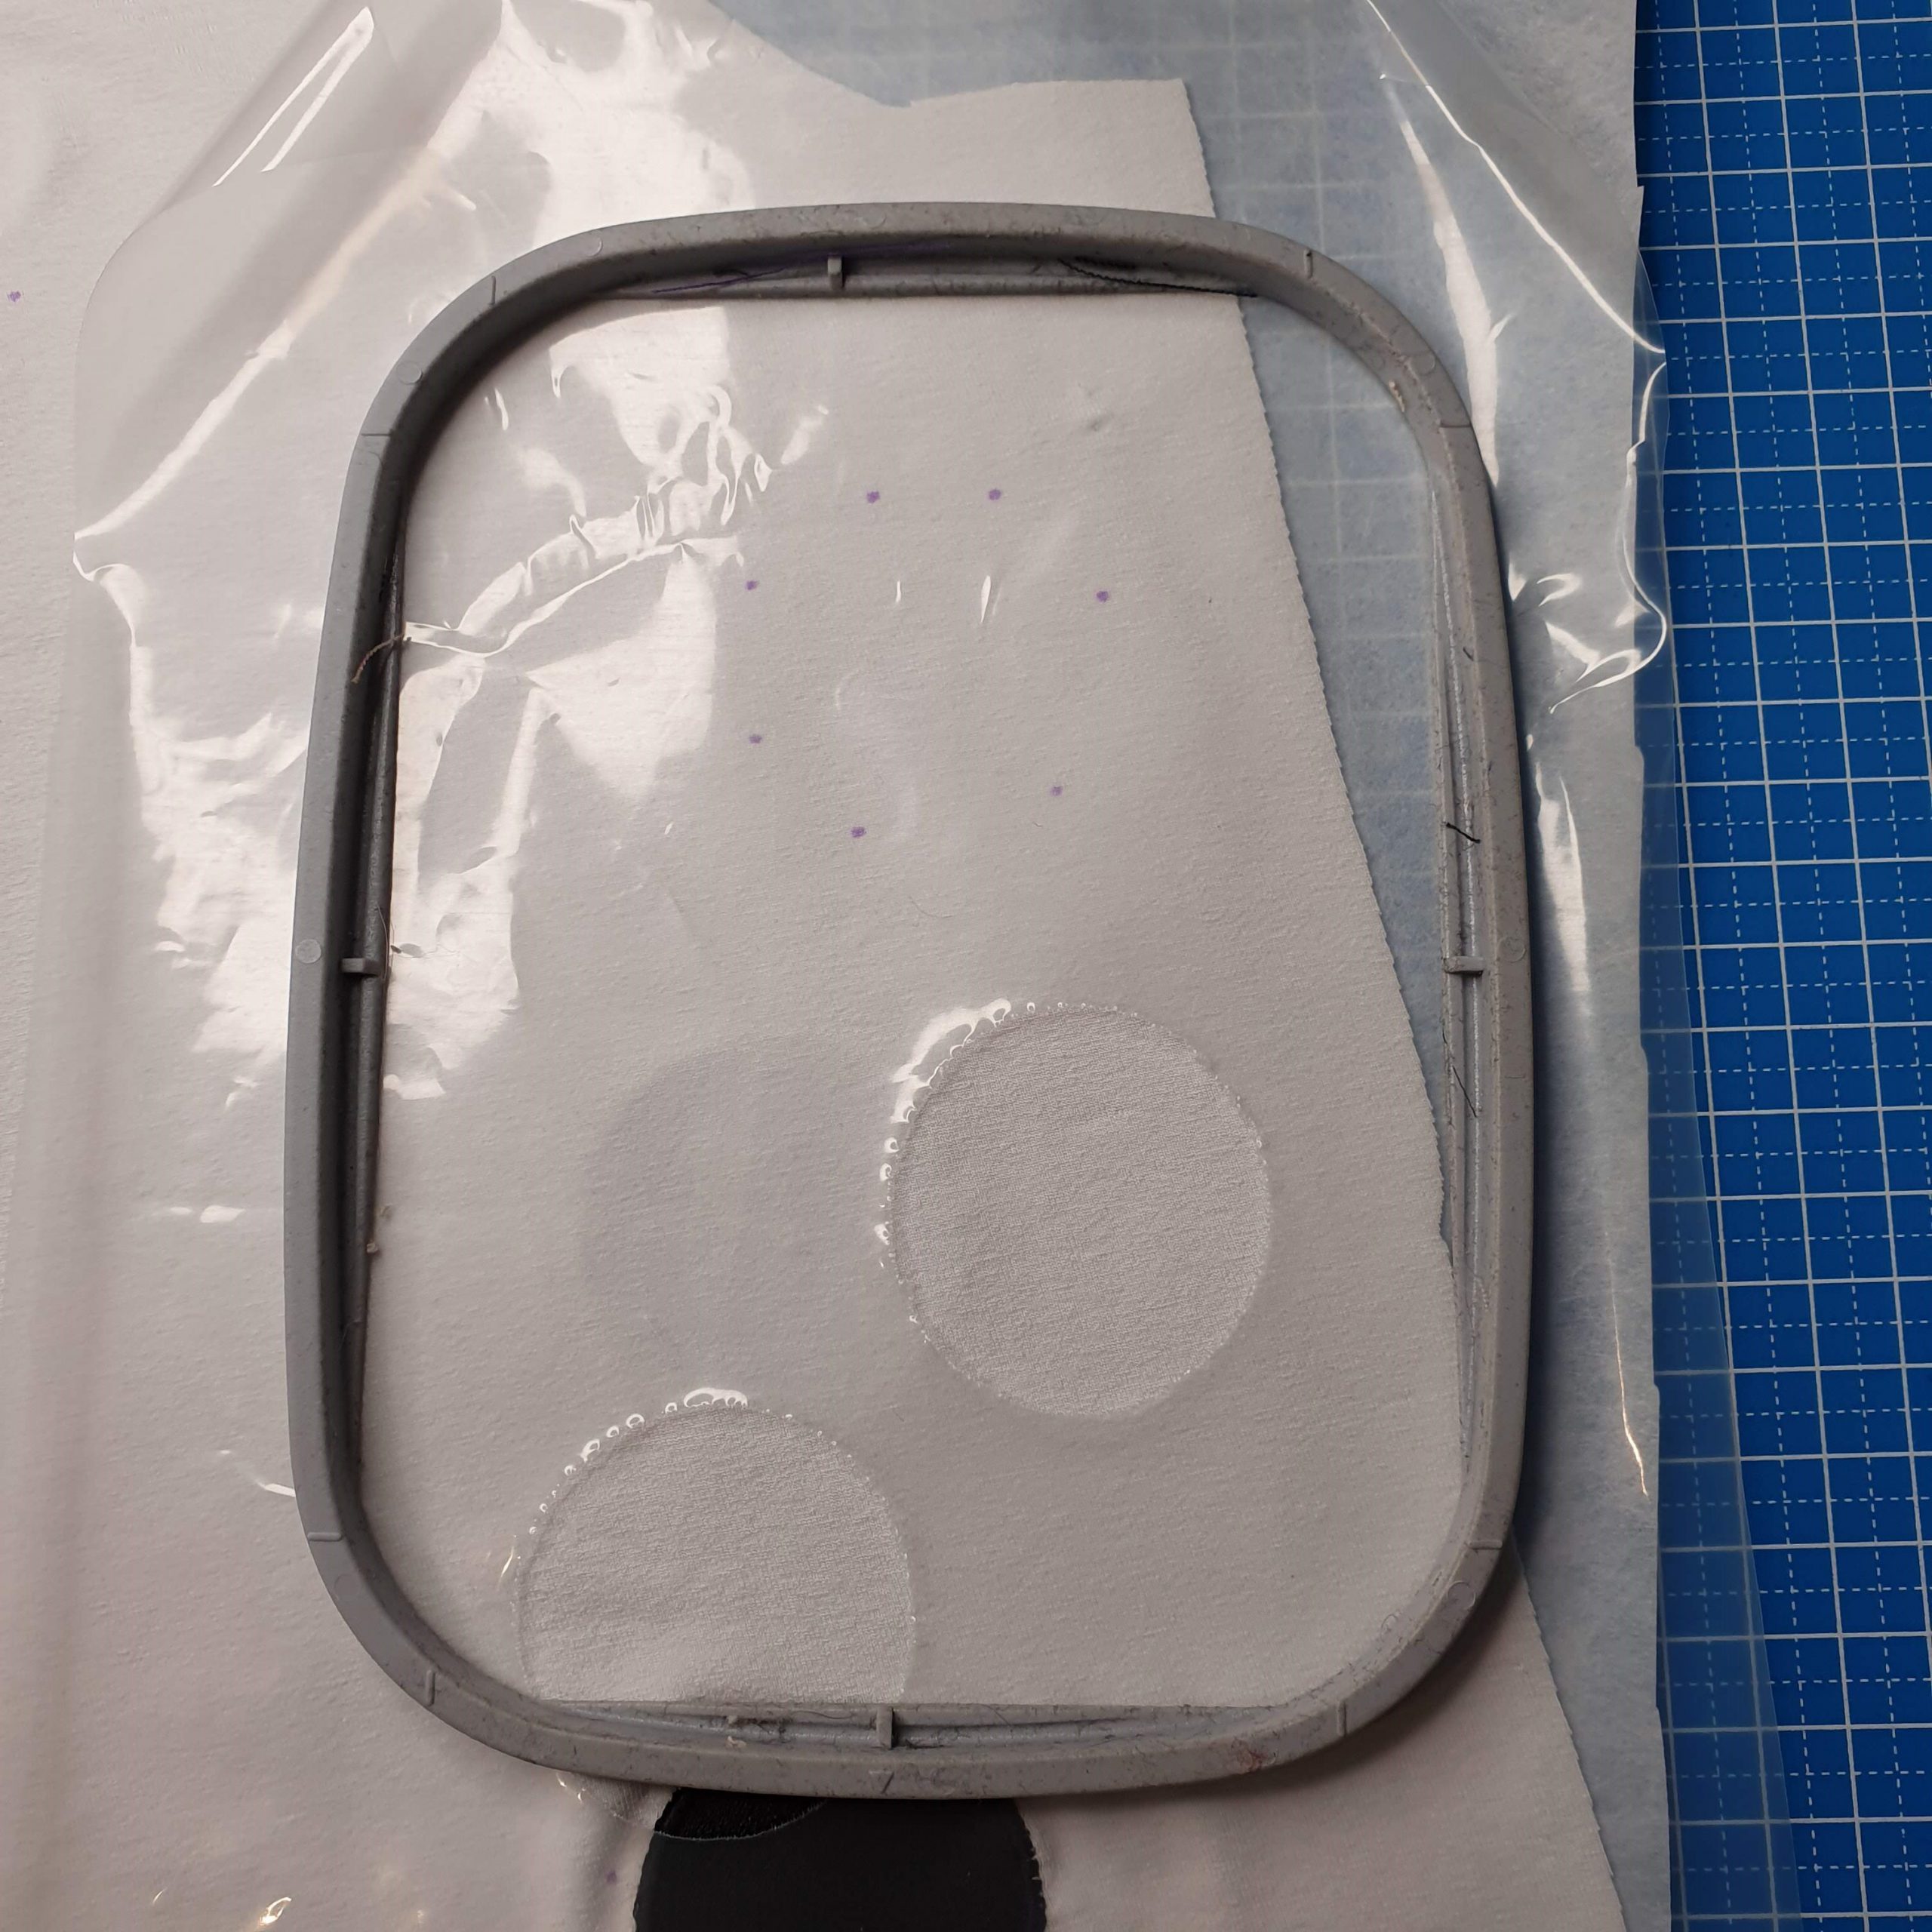
When a second polka dot could be embroidered in the same ring, I moved this polka dot in the screen and repeated the steps mentioned above. I carefully removed the topping after embroidering, so that only the embroidered polka dots were cut/torn out. Then it was time to hoop the fabric again with a layer of topping. I reused the same topping and placed it above the marked polka dot in such a way that it would provide enough strength for the embroidery.

Carefully cut
Reuse of the topping
Double Stabilizer
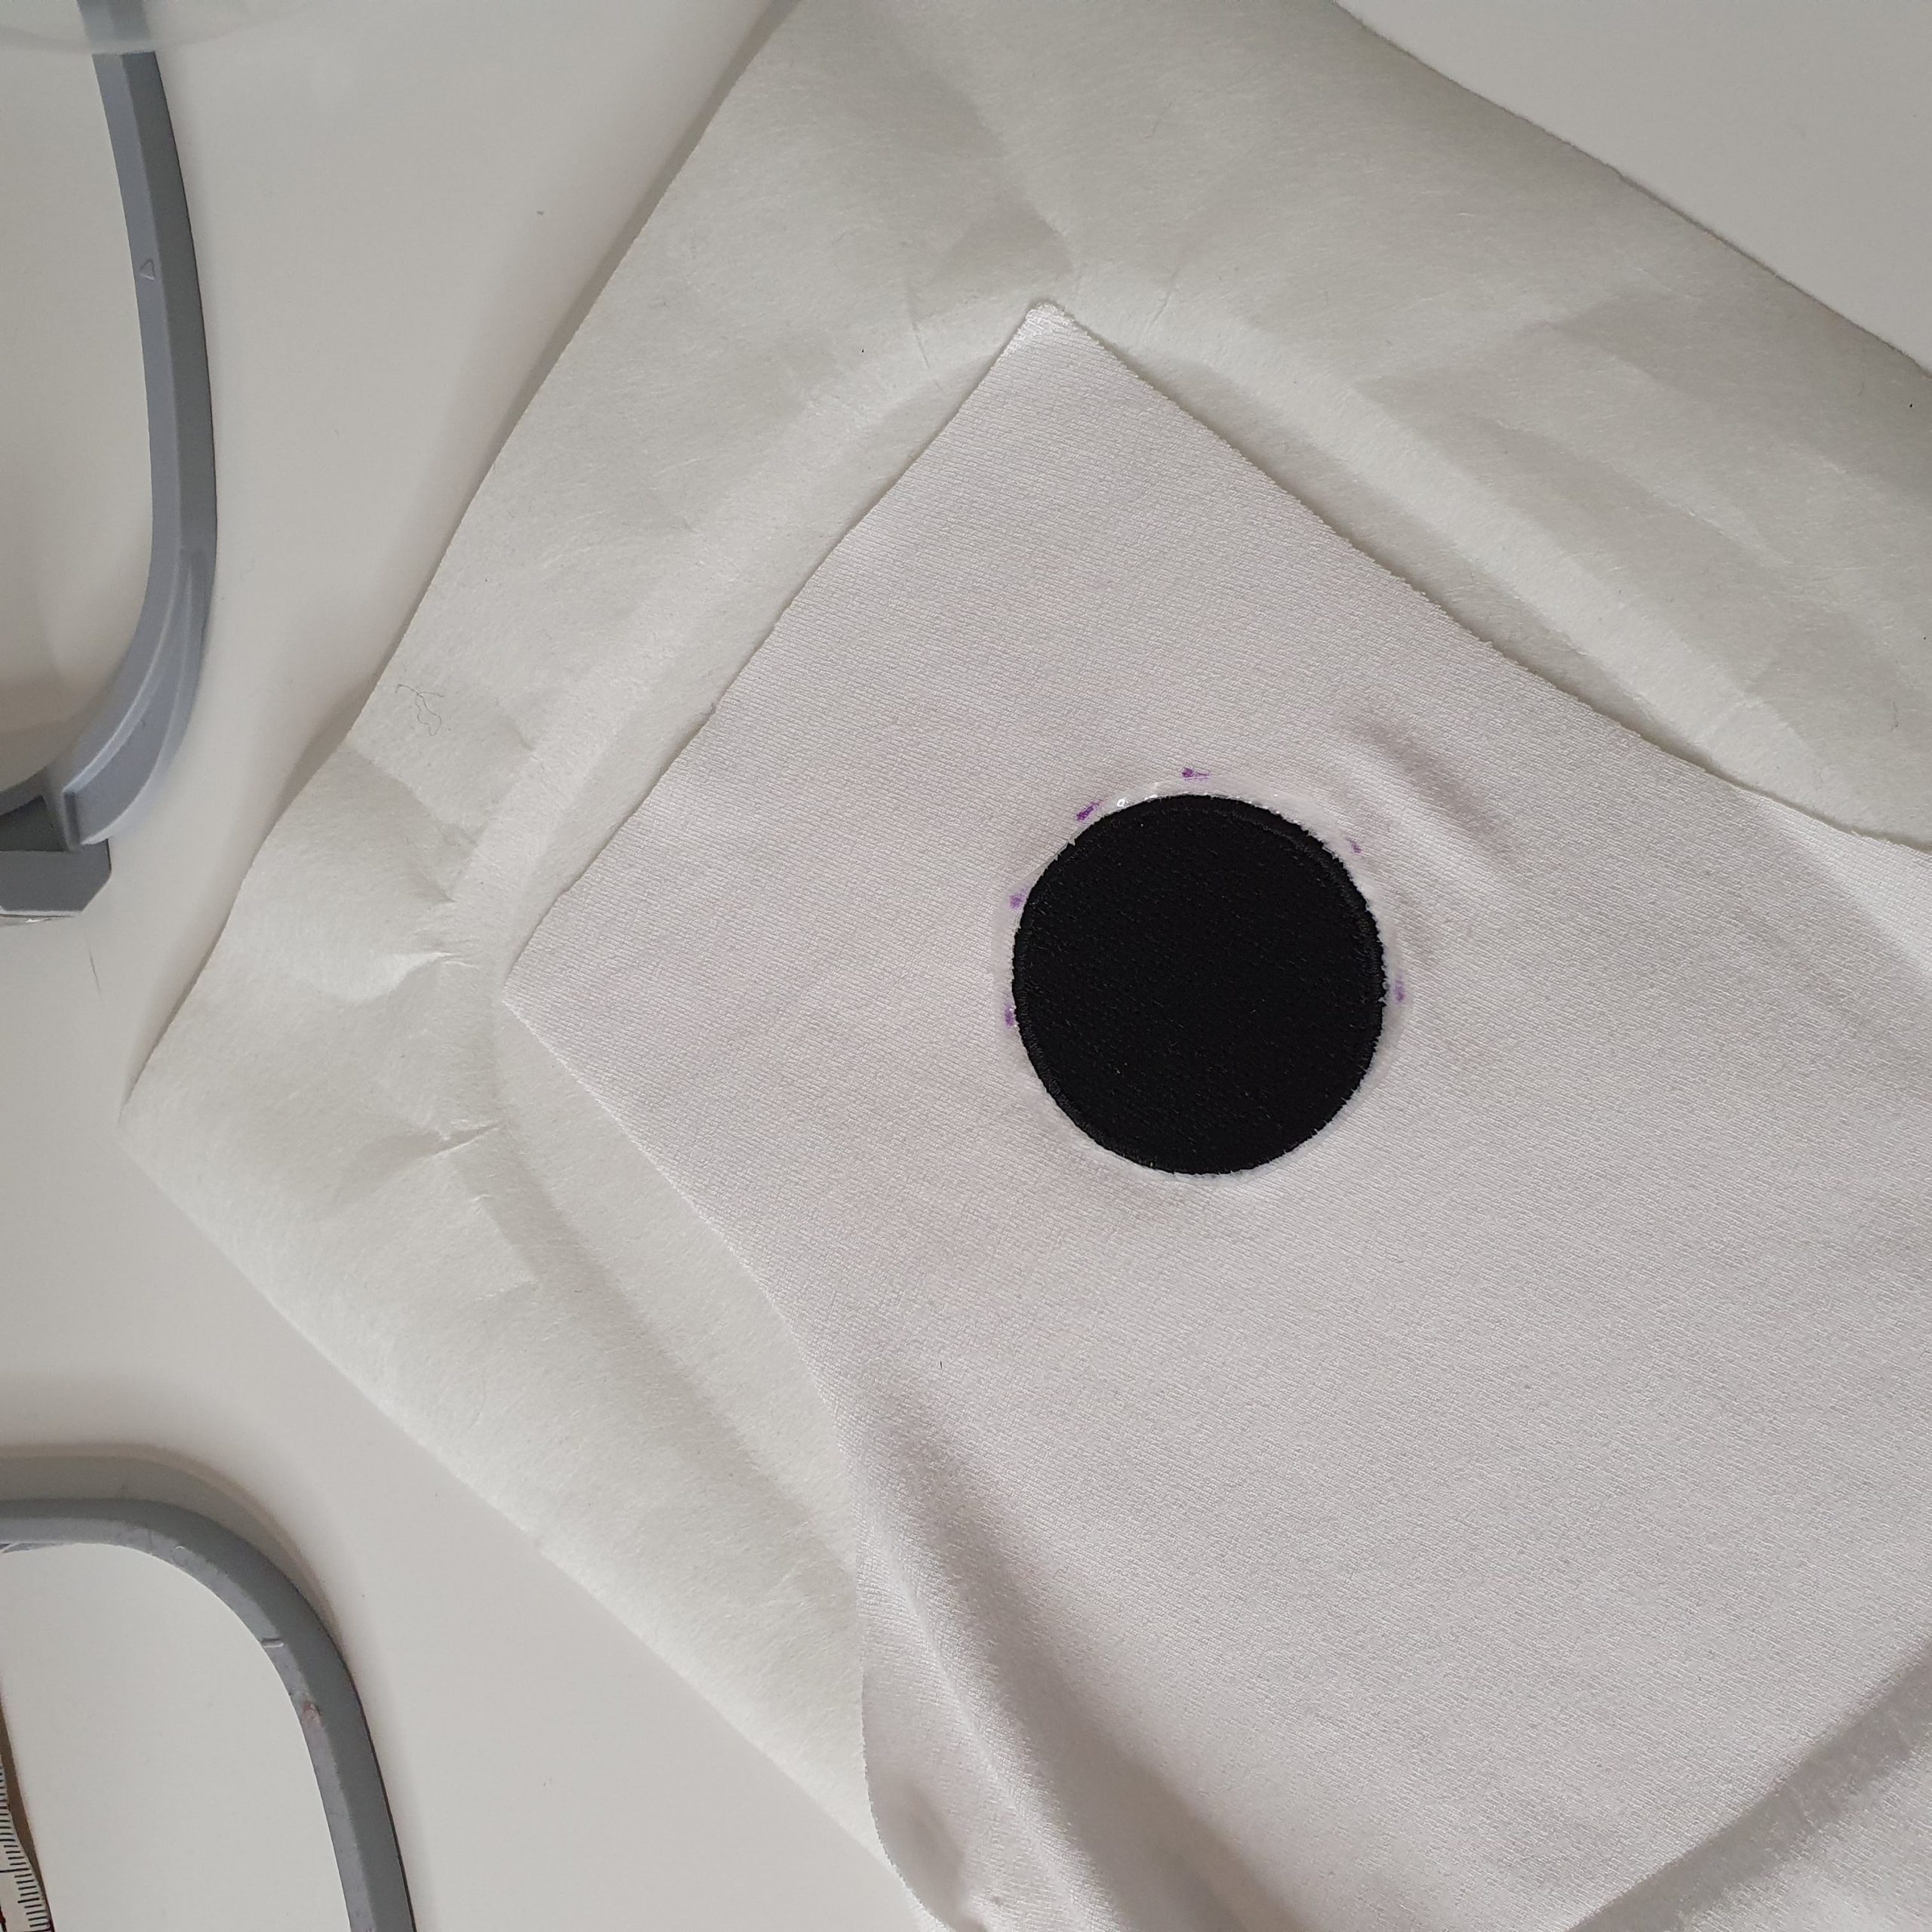
In retrospect, it might have been more convenient if I hadn’t cut out the pattern before embroidering it. Next time I will do this differently by, for example, drawing the pattern on the fabric, then embroidering and then cutting it out. Now my solution was also to use a backing stabilizer. I attached the pattern piece with spray glue and the topping went over it.
With the help of backing stabilizer, it fits in the hoop
Topping

All layers
With all polka dots embroidered, the pattern pieces of the long sleeve were provided with the print as I had in mind and the long sleeve t-shirt could be put together.
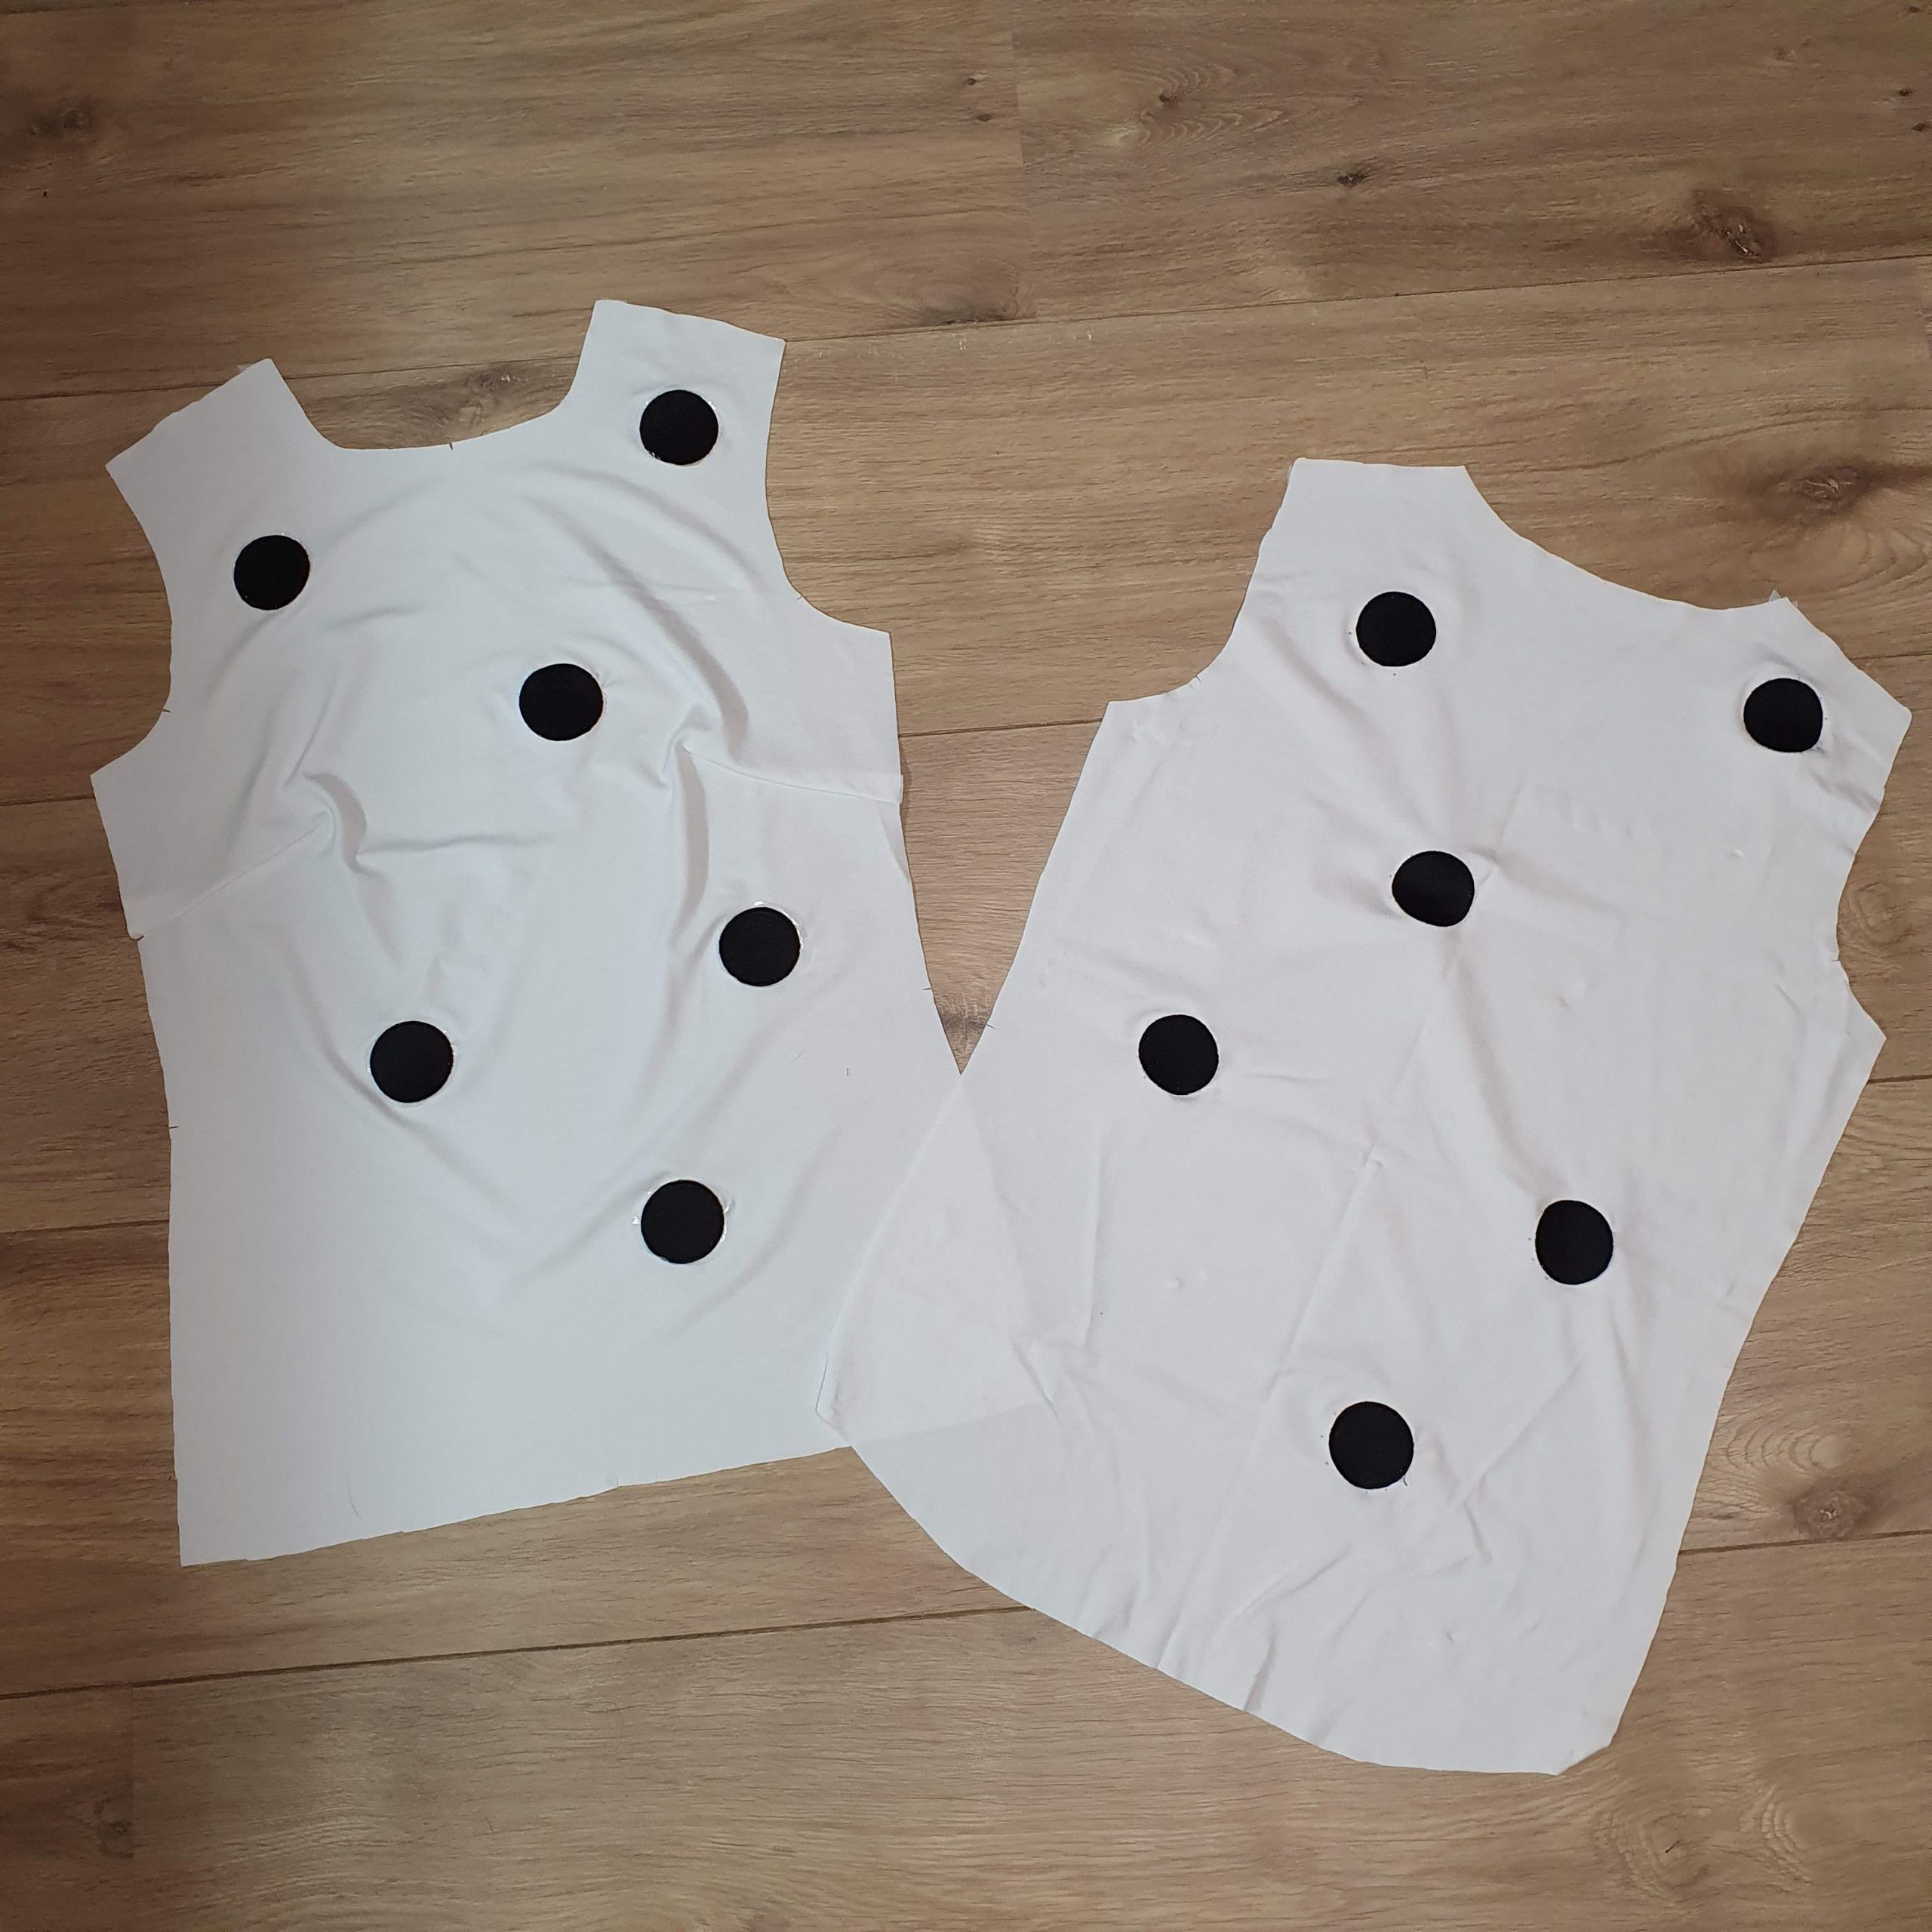
Front and back piece
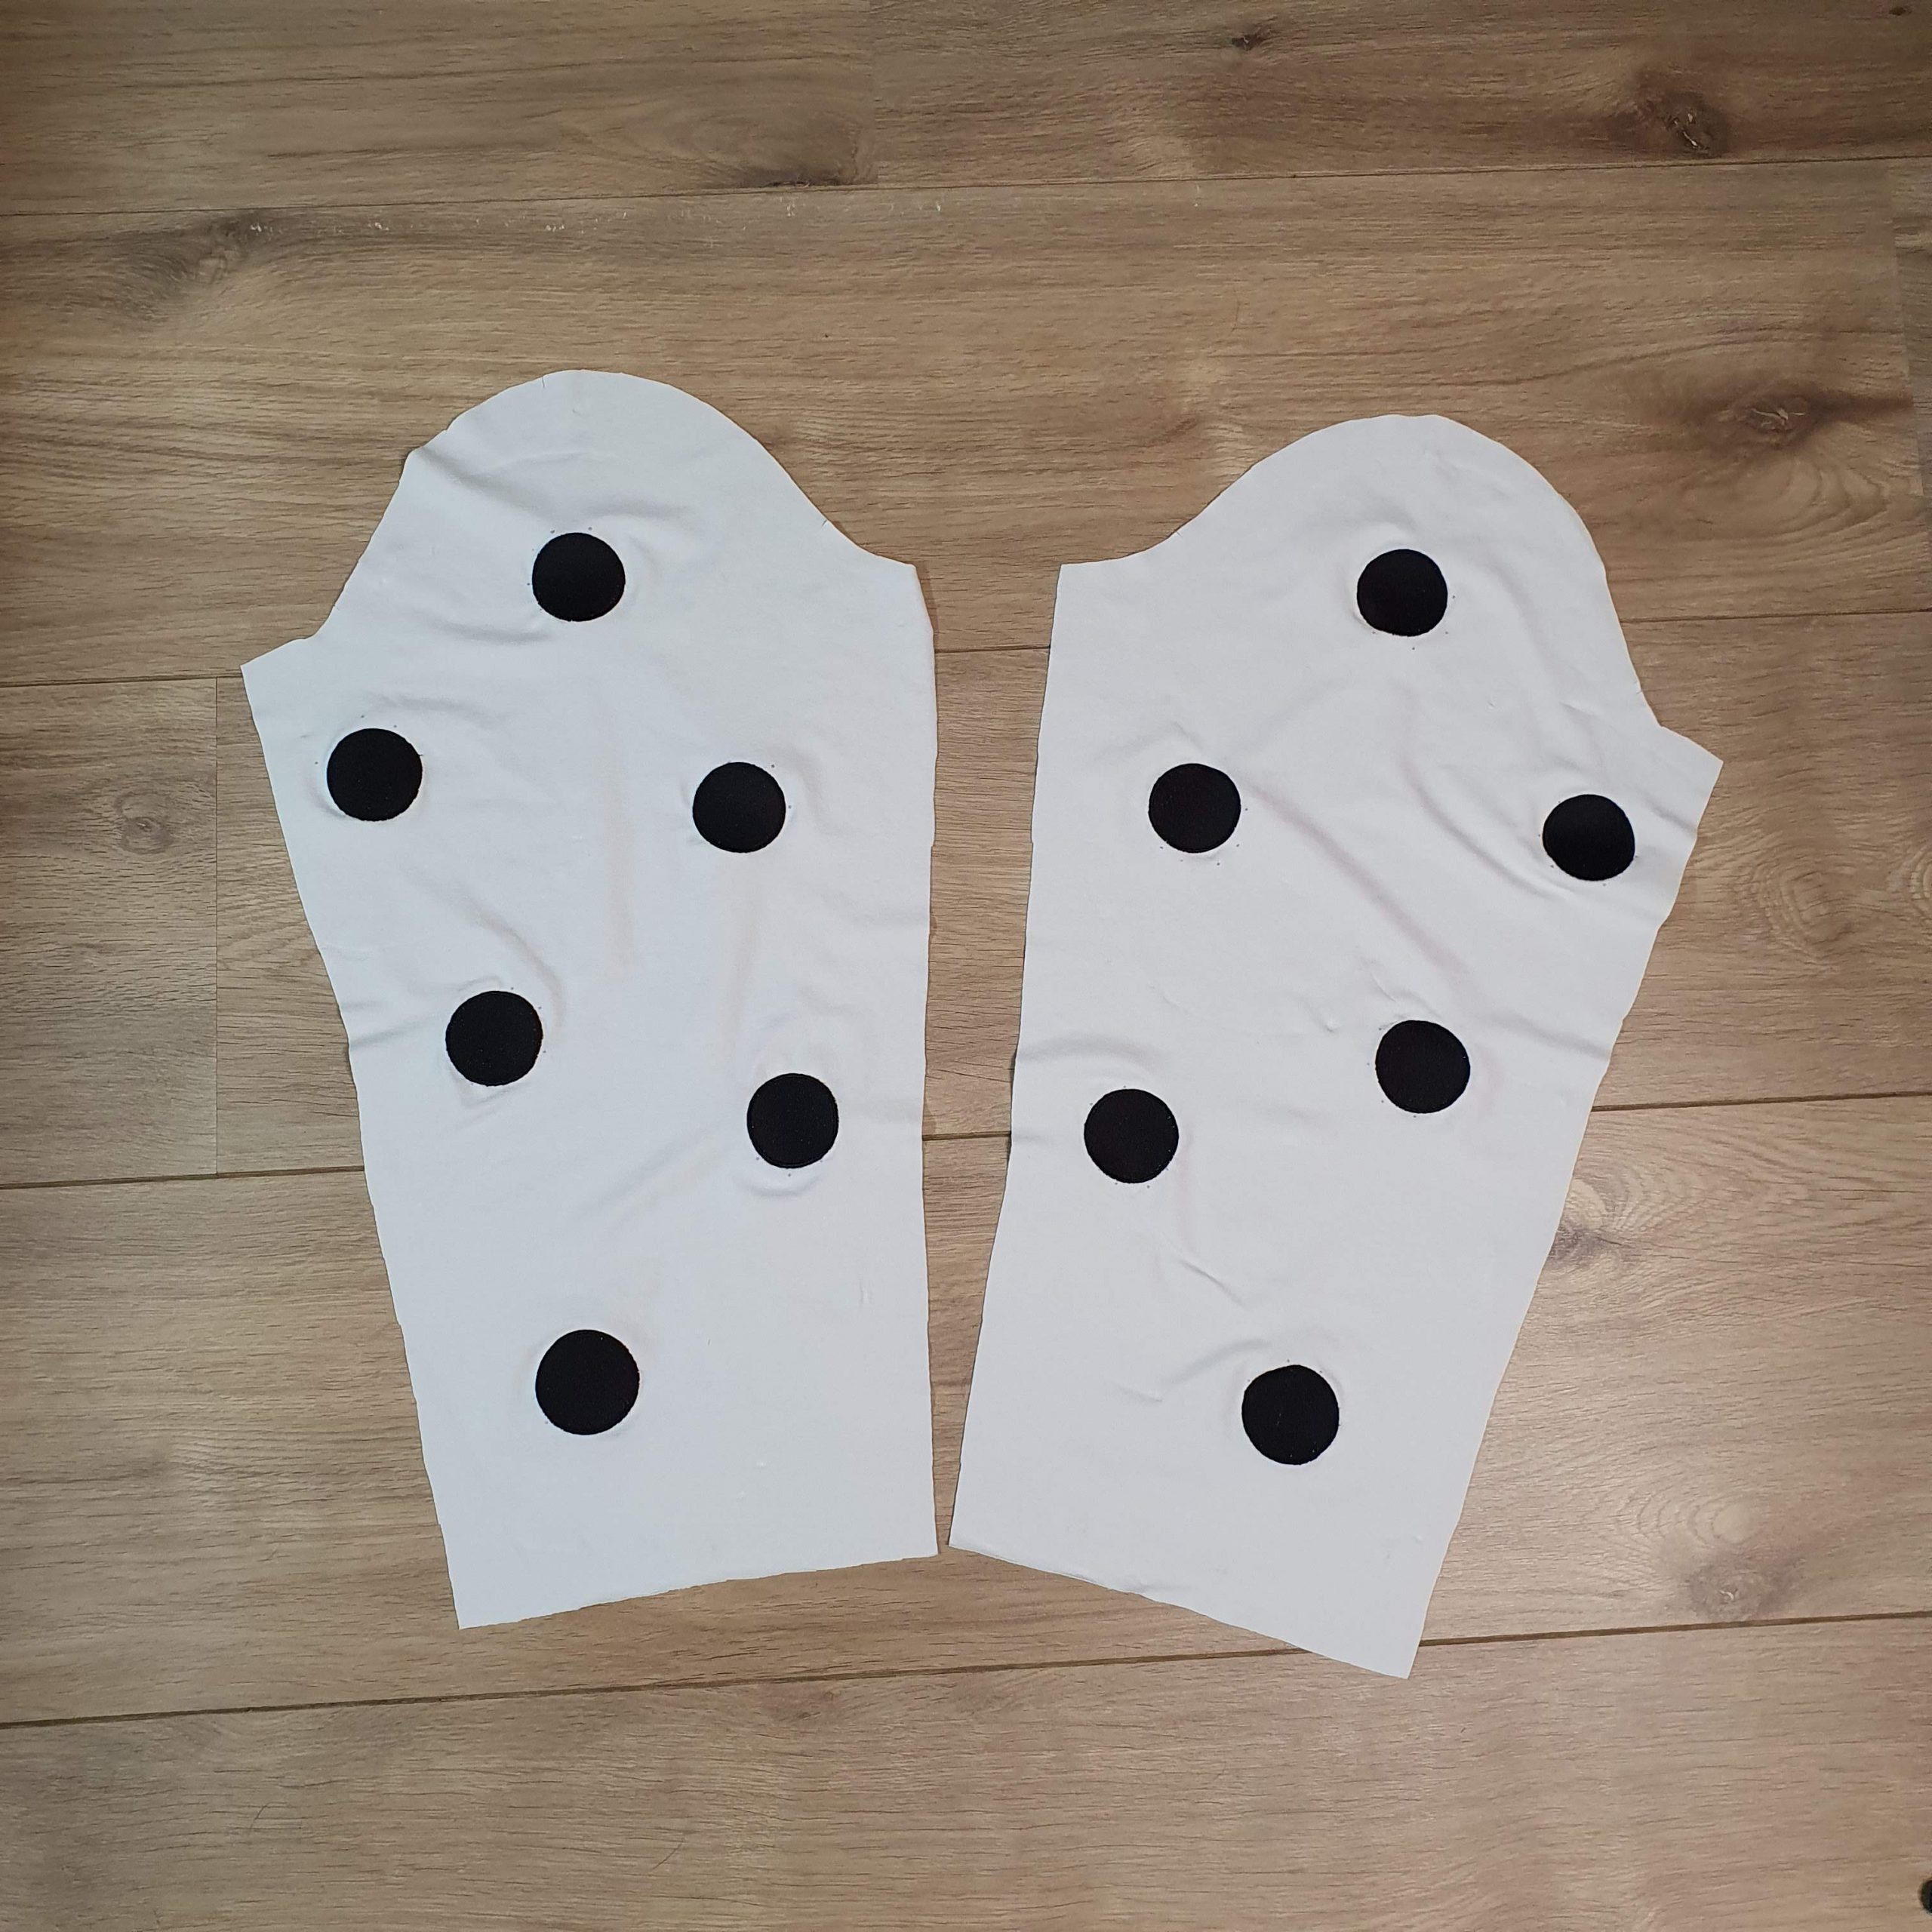
The sleeves

Seam band
With the shoulder and side seams sewn and the sleeves pinned, I checked again how the polka dots are places on the t-shirt. I could add an extra polka dot on the front. Just above one of the just-sewn dart. So the so far sewn shirt went into the hoop. Before and during embroidery make sure that nothing extra is embroidered with it.
Embroider the t-shirt
Extra polka dot

Finishing
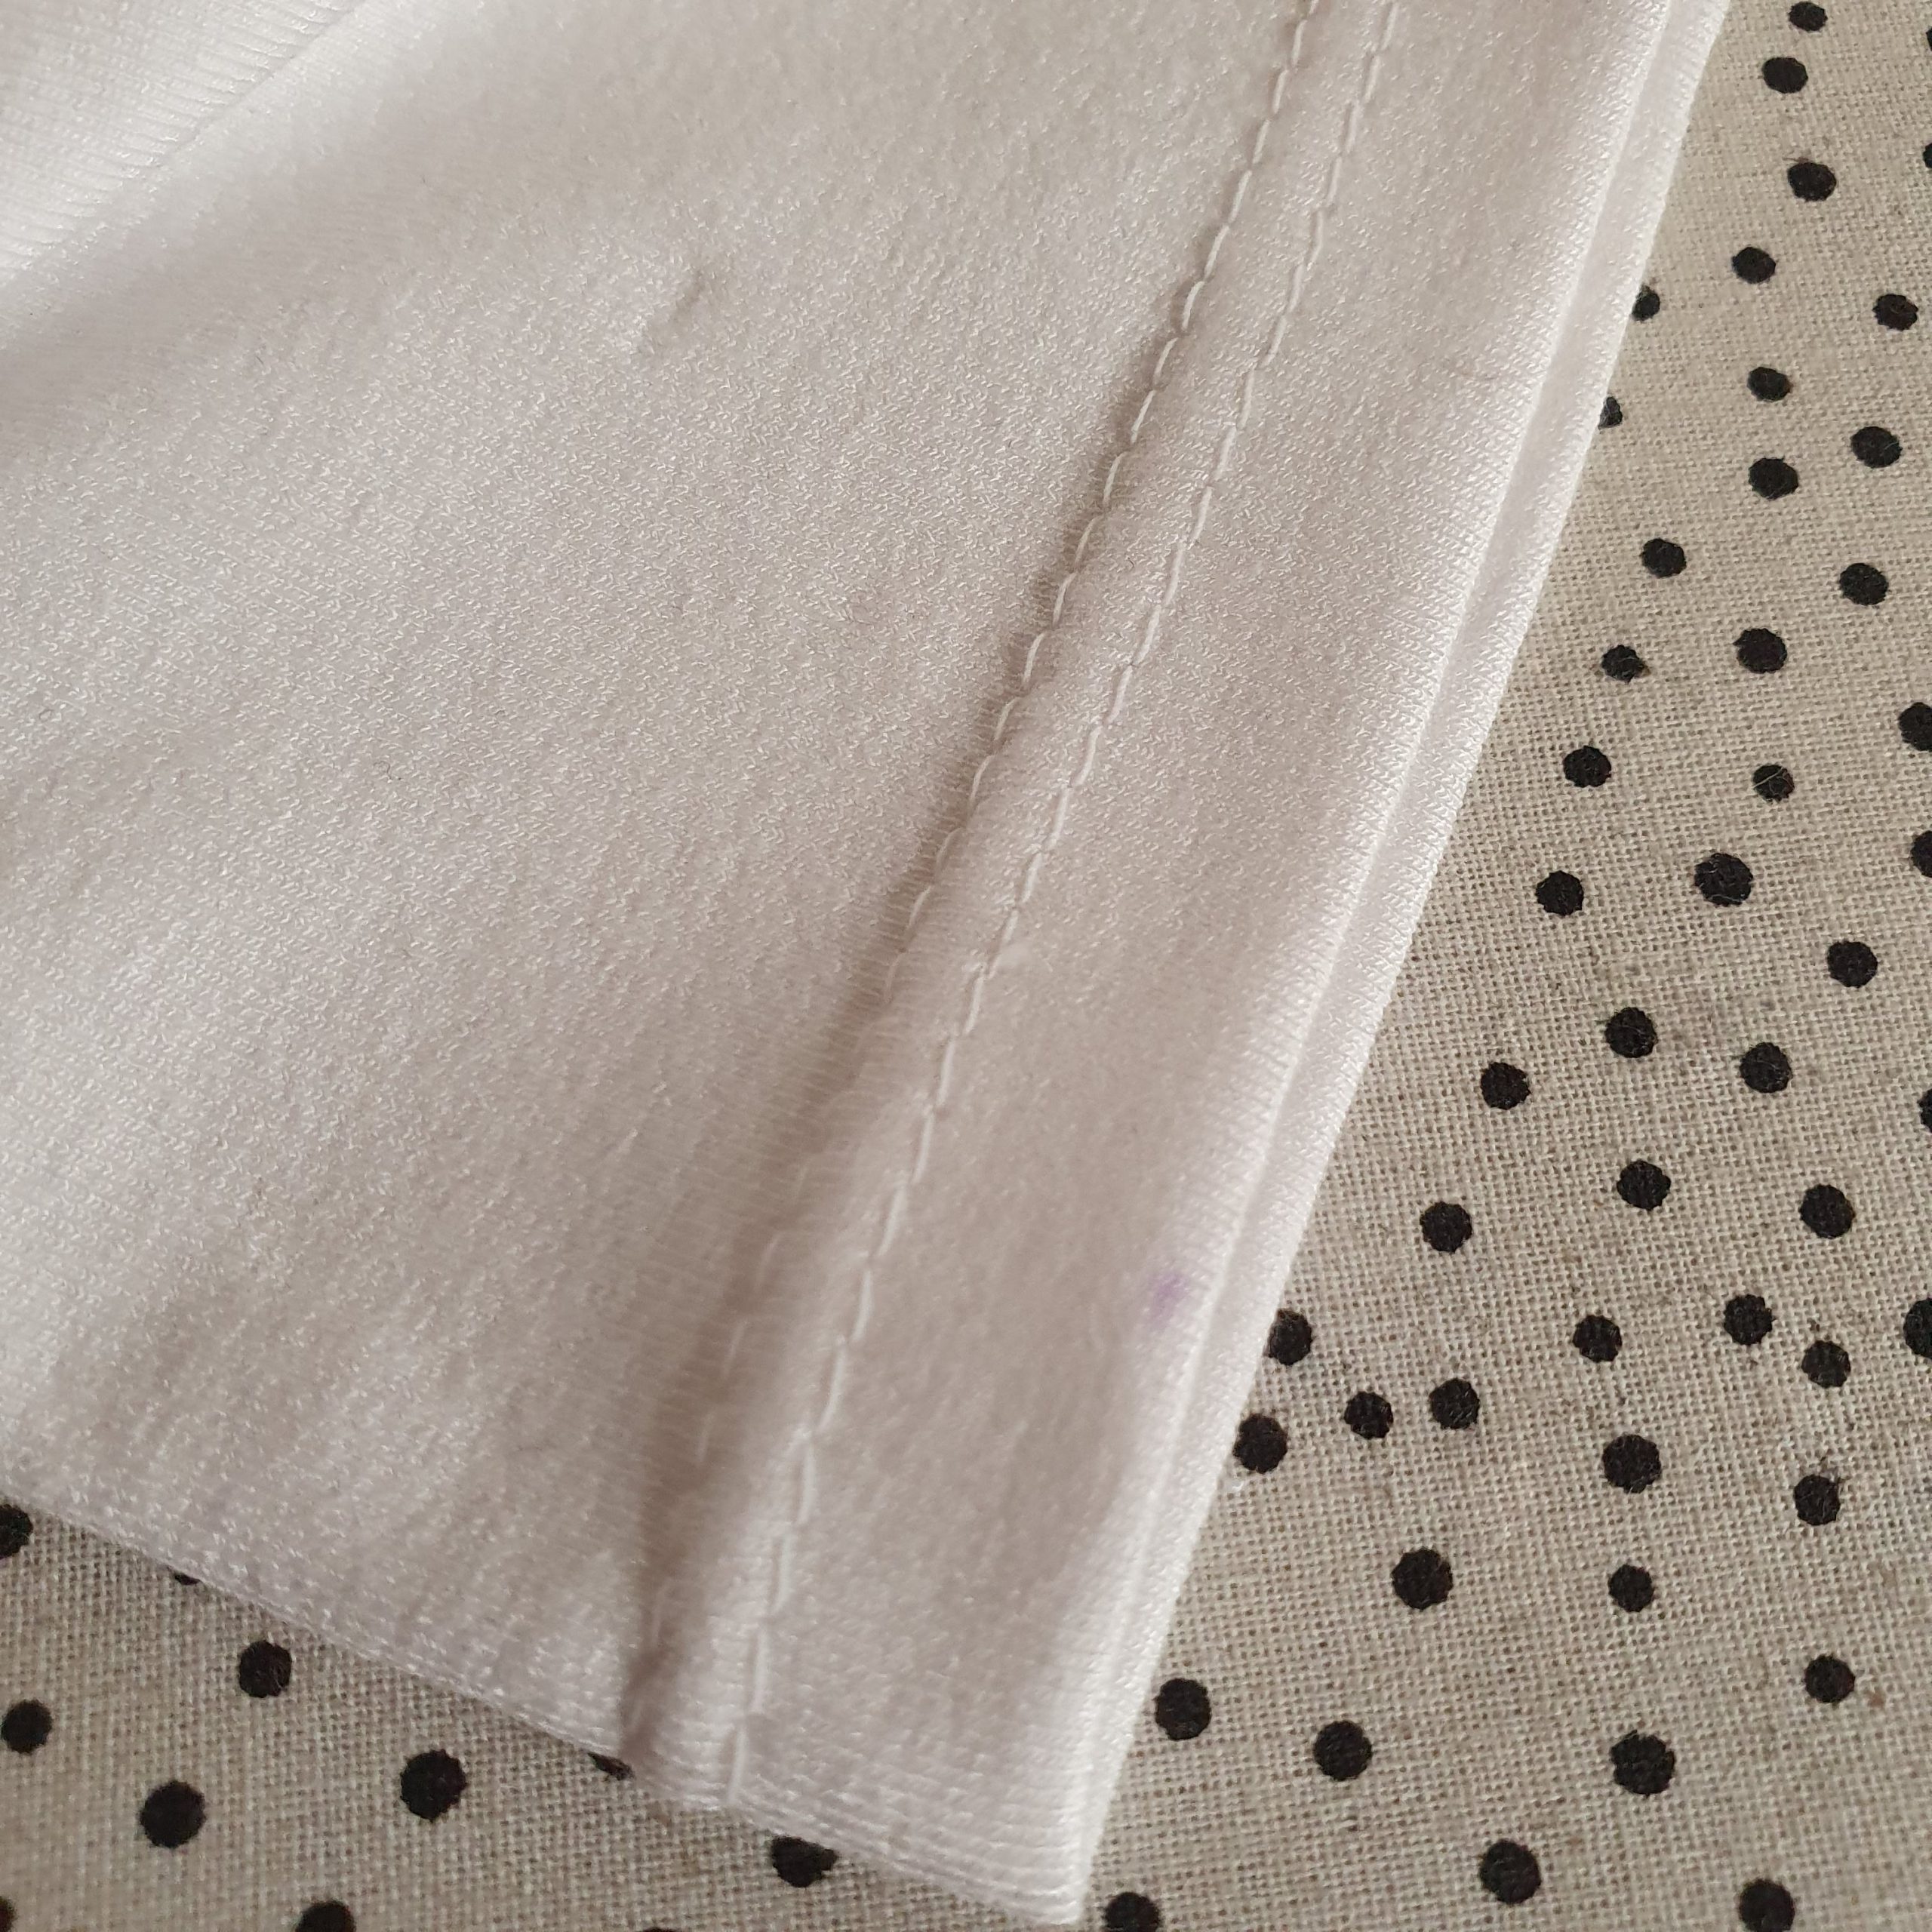
After inserting the sleeves, the finishing of the polka dot long sleeve can begin. The hem is finished with the over locker first, then folded over and topstitched with a twin needle and stitch length 4. When using Seraflex thread, don’t forget to use it on the bobbin as well. Sometimes it is necessary to adjust the tension to prevent the thread from snapping.
Stretch thread
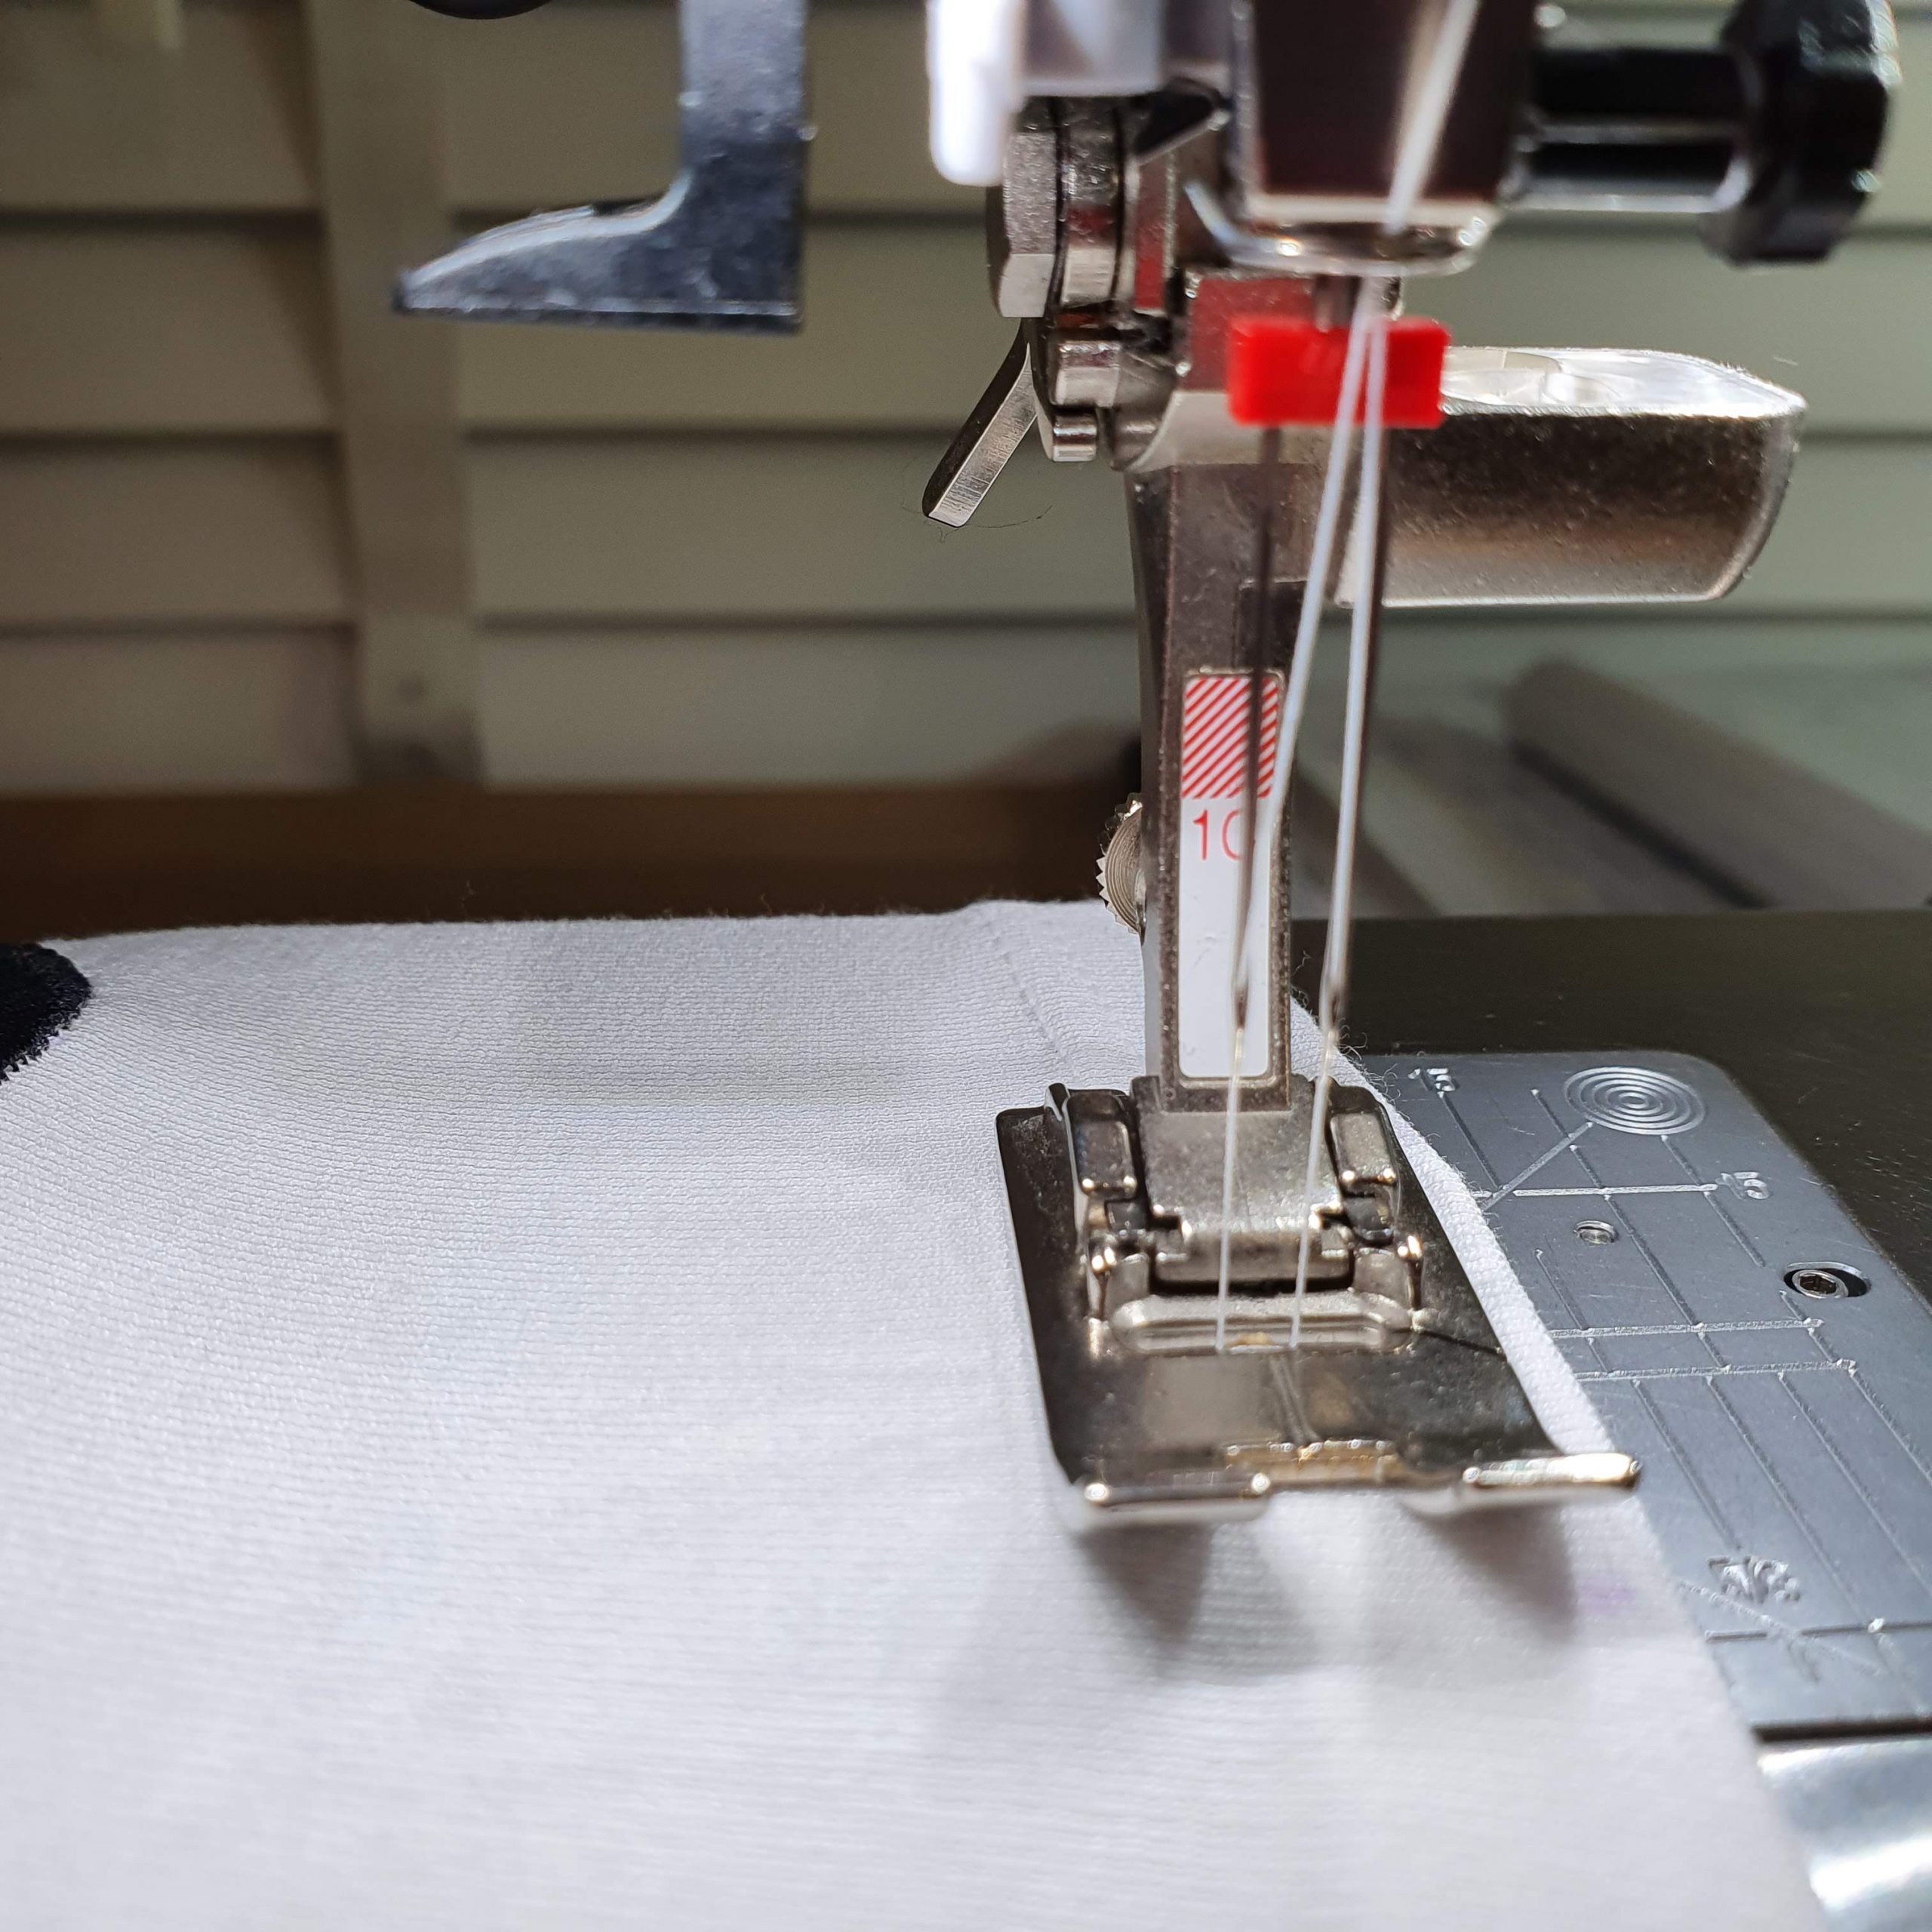
Twin needle
The neckline is finished with a bias tape in the same fabric. This is first stitched right sides together to the neck. Then, just as you would with a neck facing, the bias tape is first stitched narrow on the band. For this I used Open Embroidery Foot Open embroidery foot # 20, so you can see what you’re doing. The bias tape is then folded to the inside with a weft and topstitched again. Finally, add the label and this polka dot basic long sleeve is ready.


Close to the edge
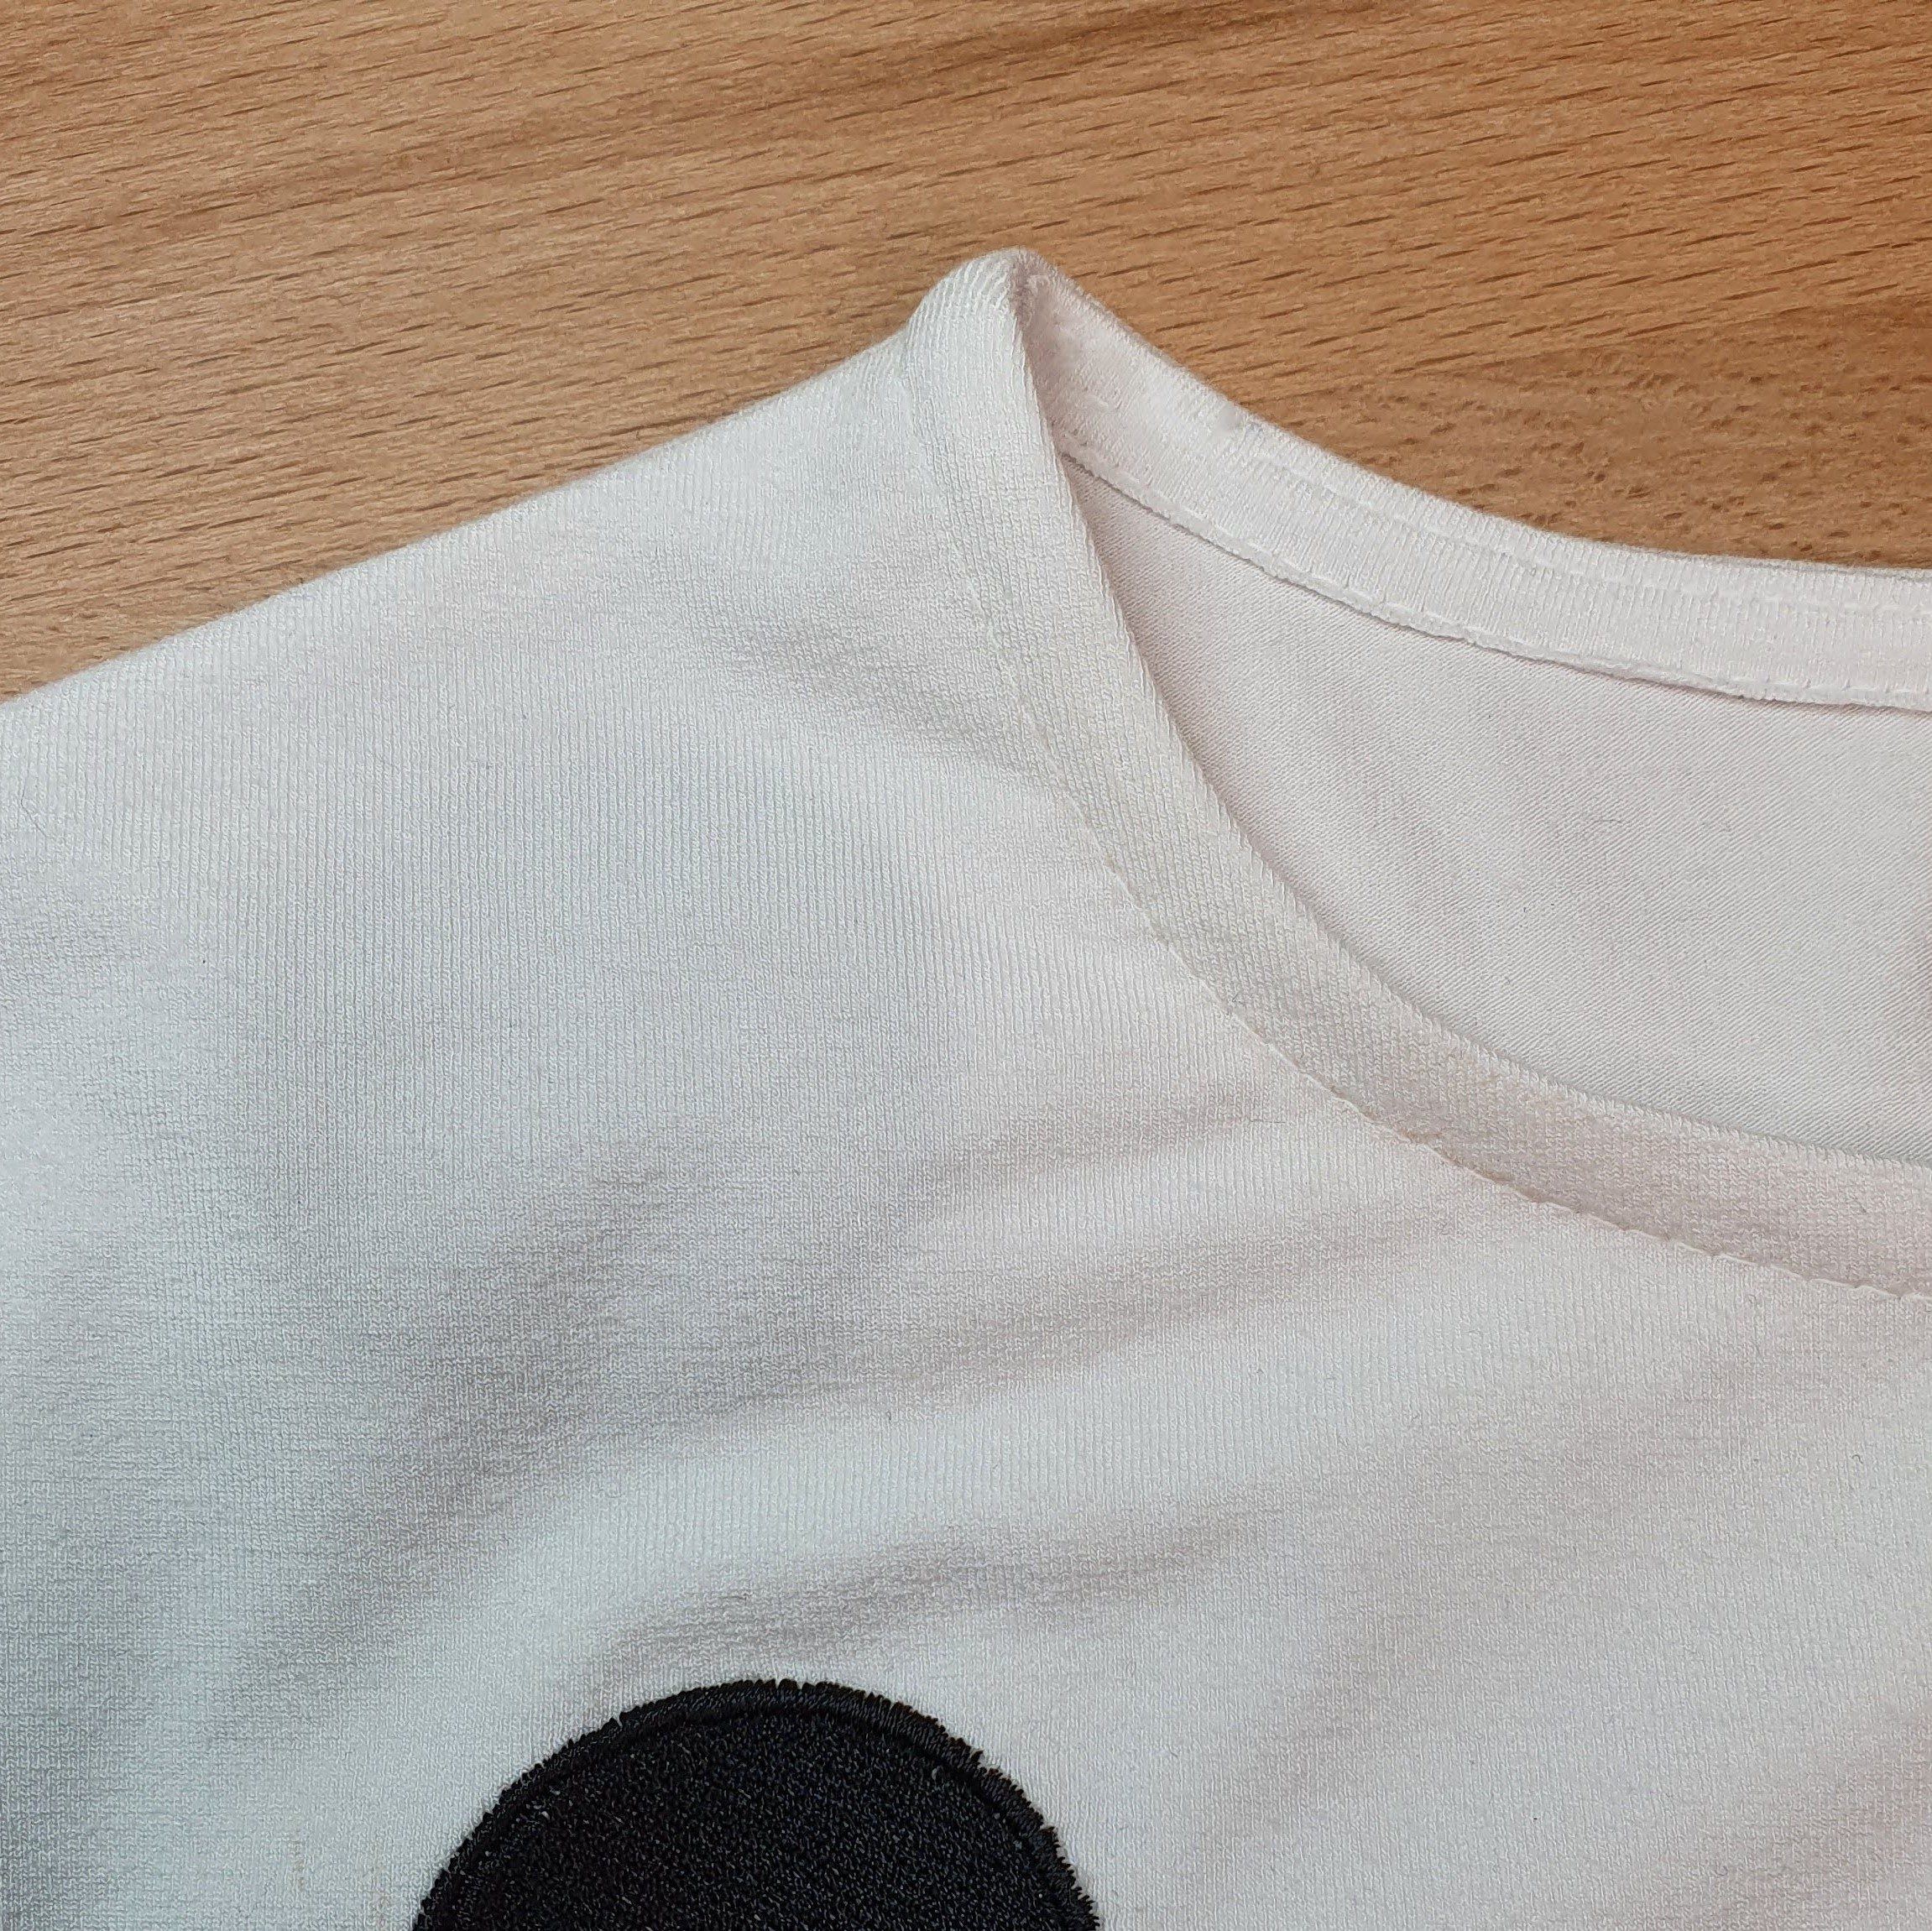
Top stitched eckline
Label
In the next blog I will show you how to make a semicircle skirt, which I use to complete this outfit. Both a nice addition to the Time to shine capsule wardrobe that I’m currently sewing.
Sneak peek semicircle skirt
See you then
Love,
Marlies


Hi there