 BERNINA Corporate Blog -
I have been writing about different projects that are easy enough for kids to get started with sewing. Making a book strap, a fabric pencil case or little Easter bags are great ways to get kids into sewing!
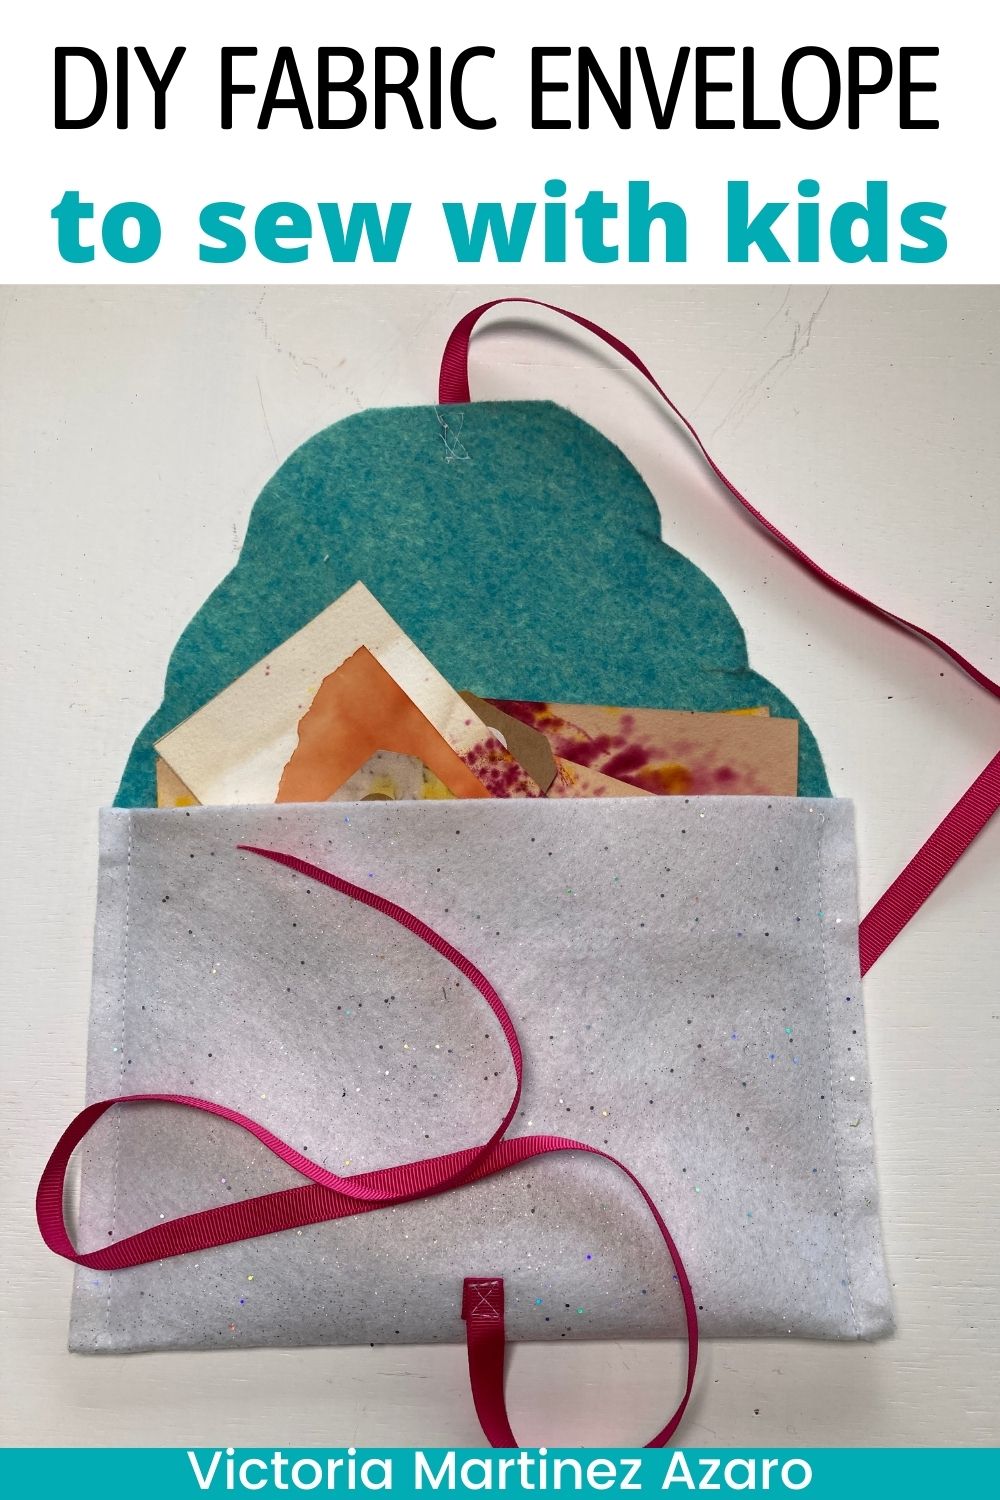
In this post I want to share another kid friendly sewing project: A DIY fabric envelope. This is a great first project to make and also it’s super handy for kids to use to hold special items inside or to use as gift wrapping.
You can make any size envelope you want. For this tutorial I am using A4 size sheets of felted fabric.
DIY Fabric Envelope tutorial
Materials & equipment:
- Sewing machine
- Felted fabric sheets
- Ribbon or tape (2 lengths)
- Pencil
- Fabric scissors
Step 1:
Gather your materials in your favorite colors. For this DIY fabric envelope I am using a white A4 size felted fabric sheet and a turquoise one which I cut in half.

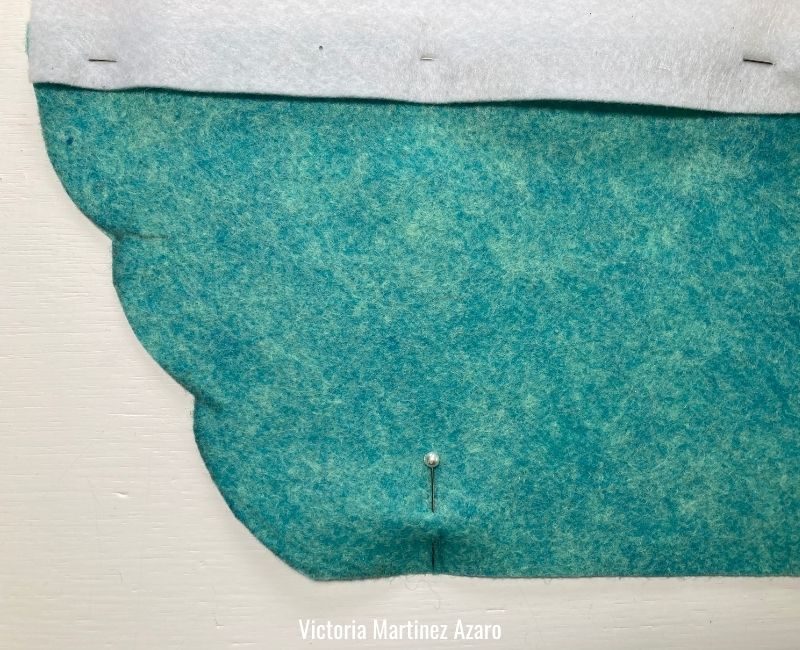
Overlap the top edges of both sheets by 1 cm. Pin
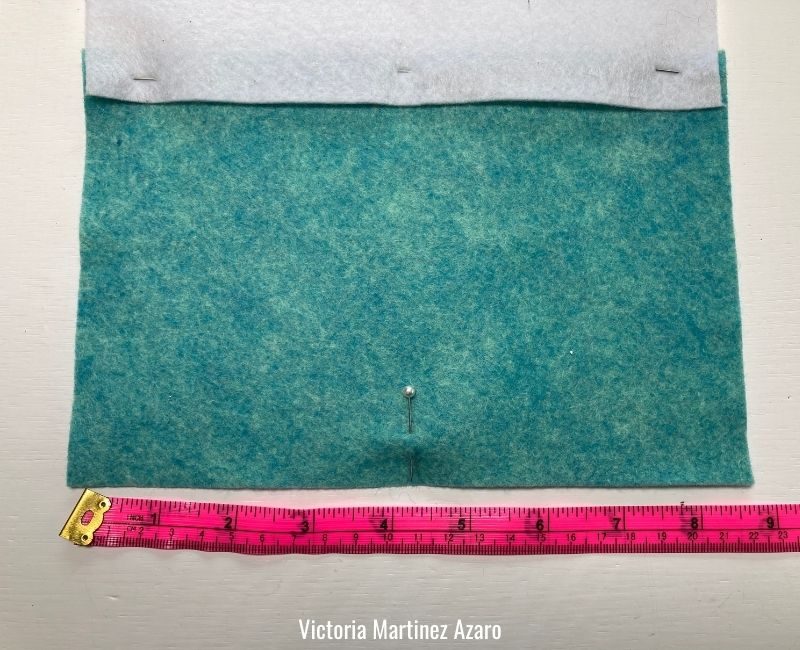
Measure the half way point of the turquoise fabric.
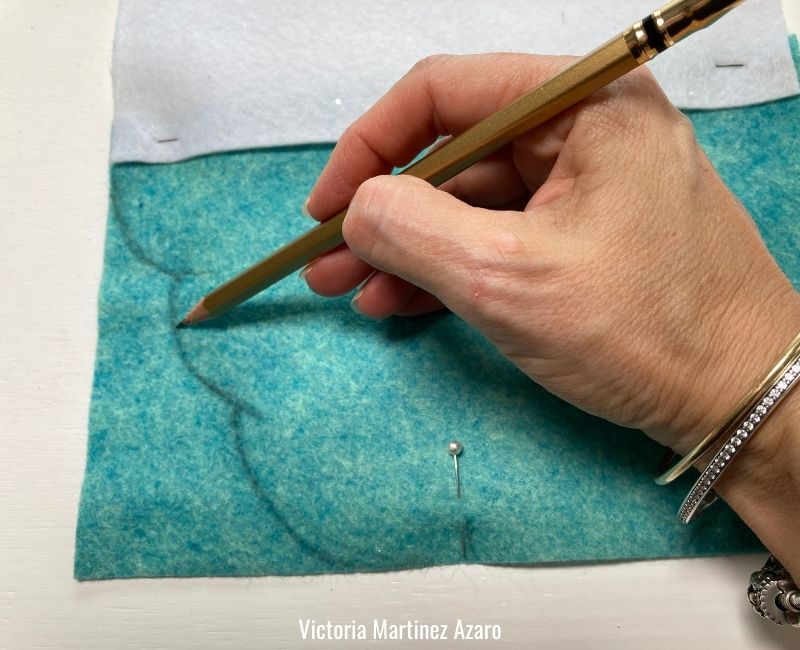
Using a pencil draw little round lines as shown in picture below.
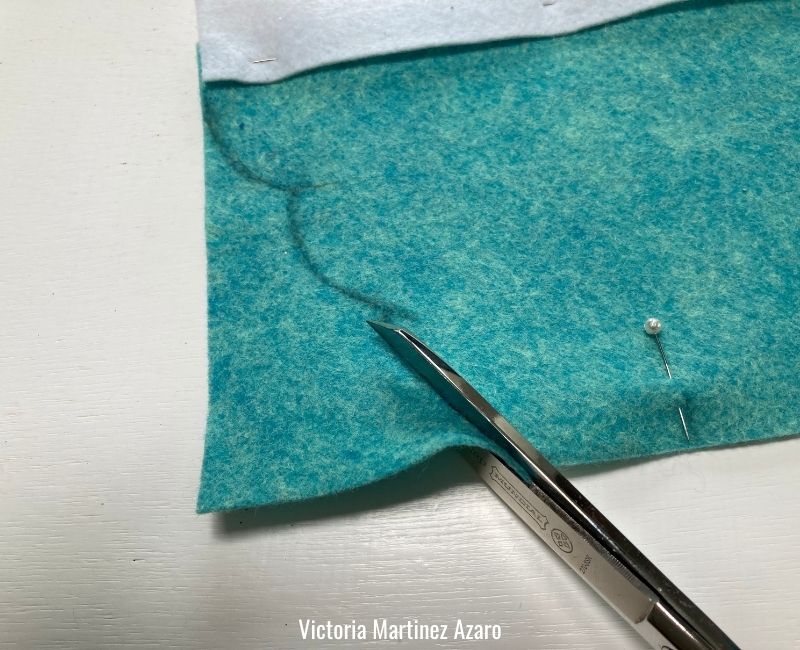
Cut through the marked lines using your fabric scissors.
Fold it in half so that you can trace the exact pattern on the other half of the fabric.

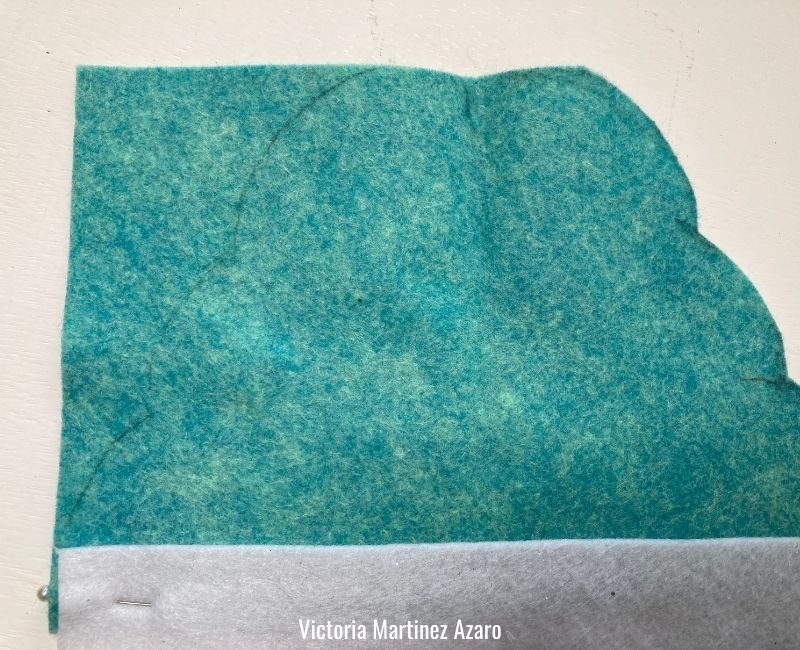
Cut the left half. This will be the flap of the fabric envelope.
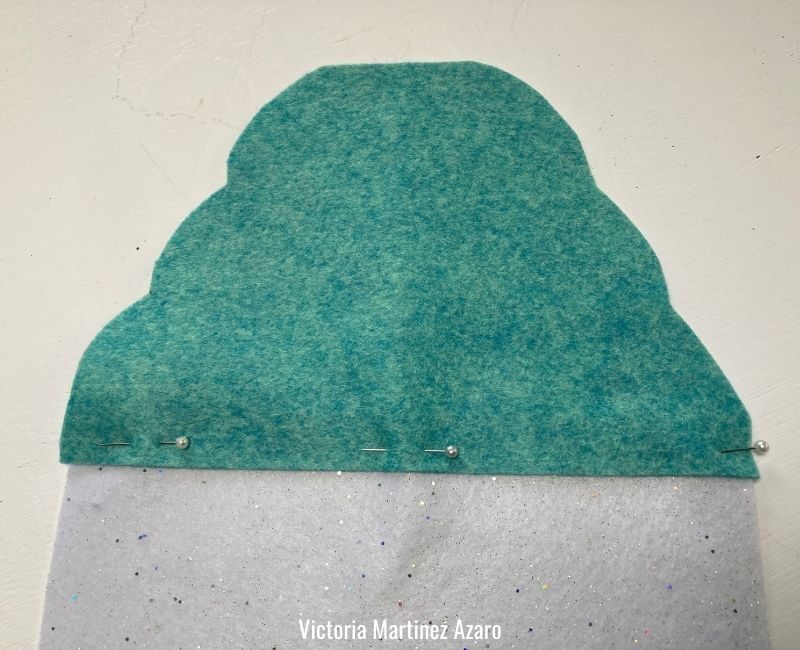
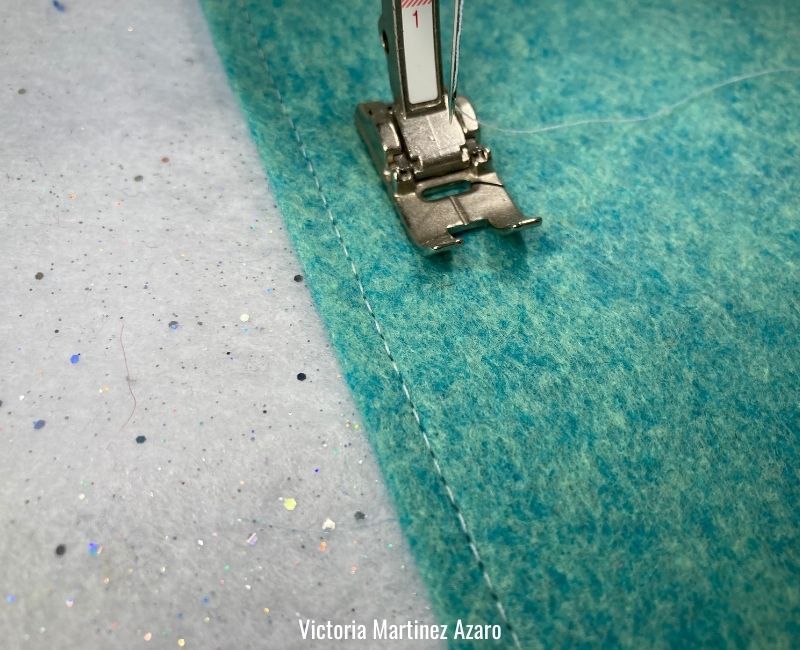
Step 2:
Sew the turquoise flap to the white sheet of fabric.
Step 3:
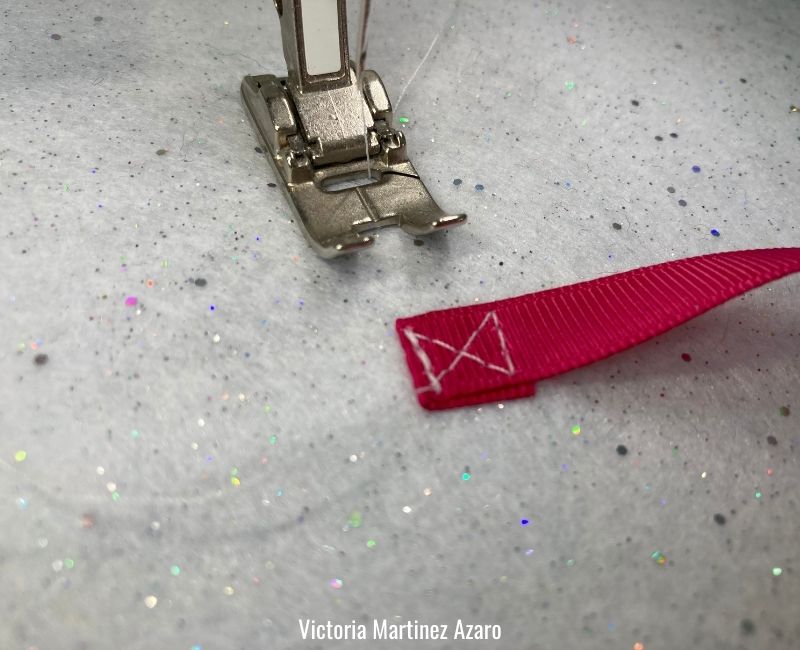
Fold the white fabric in half and position 1 strip of ribbon/tape.
Unfold and sew the ribbon in place. I created a cross shape but your kids can just attach by sewing a straight line 🙂
Step 4:
Fold the white fabric again and pin.
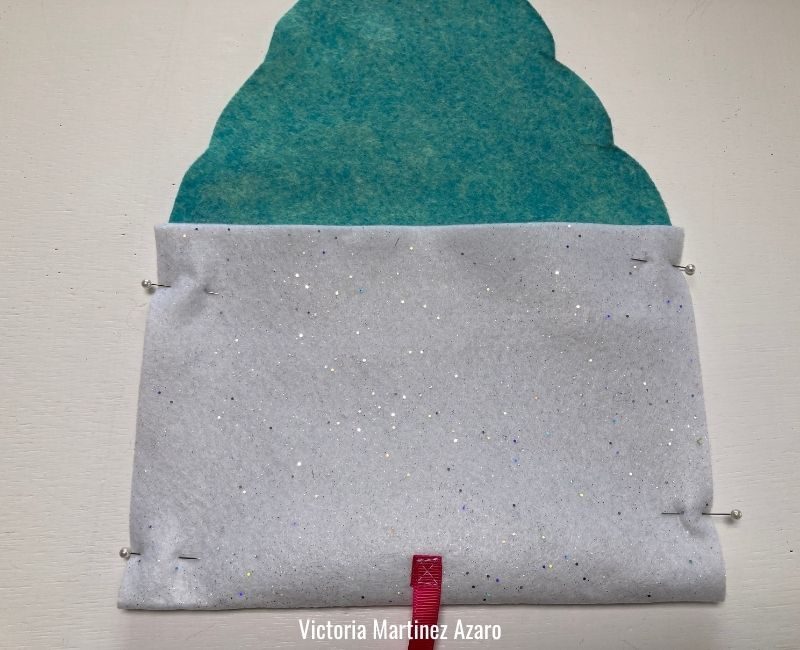
Sew on both sides of the fabric envelope.

Sew all the way to the top of the white fabric.

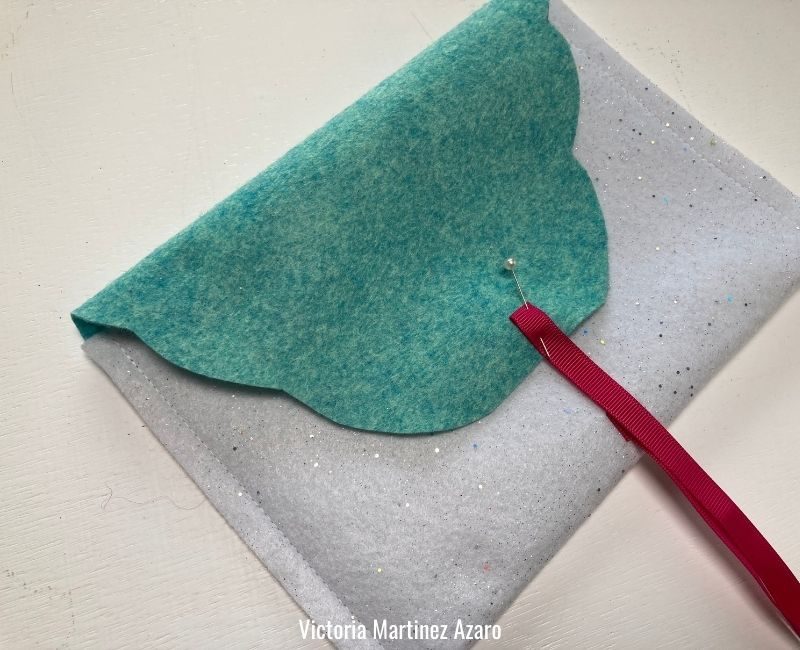
This is how the fabric envelope should look by now 🙂

Pin the other ribbon to the flap and sew in place.
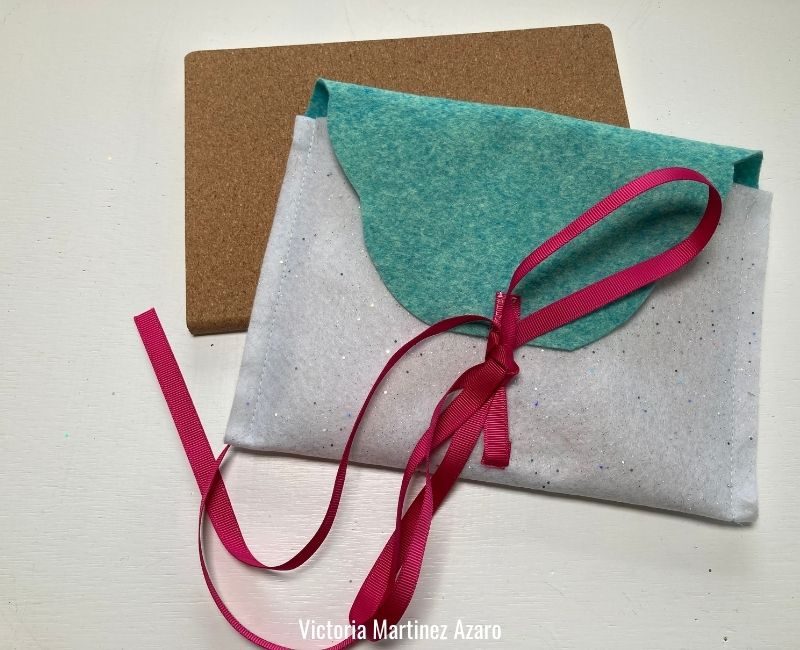
The fabric envelope is completed and ready to be filled with treasures, candy and top secret stuff!


0 Responses