 BERNINA Corporate Blog -
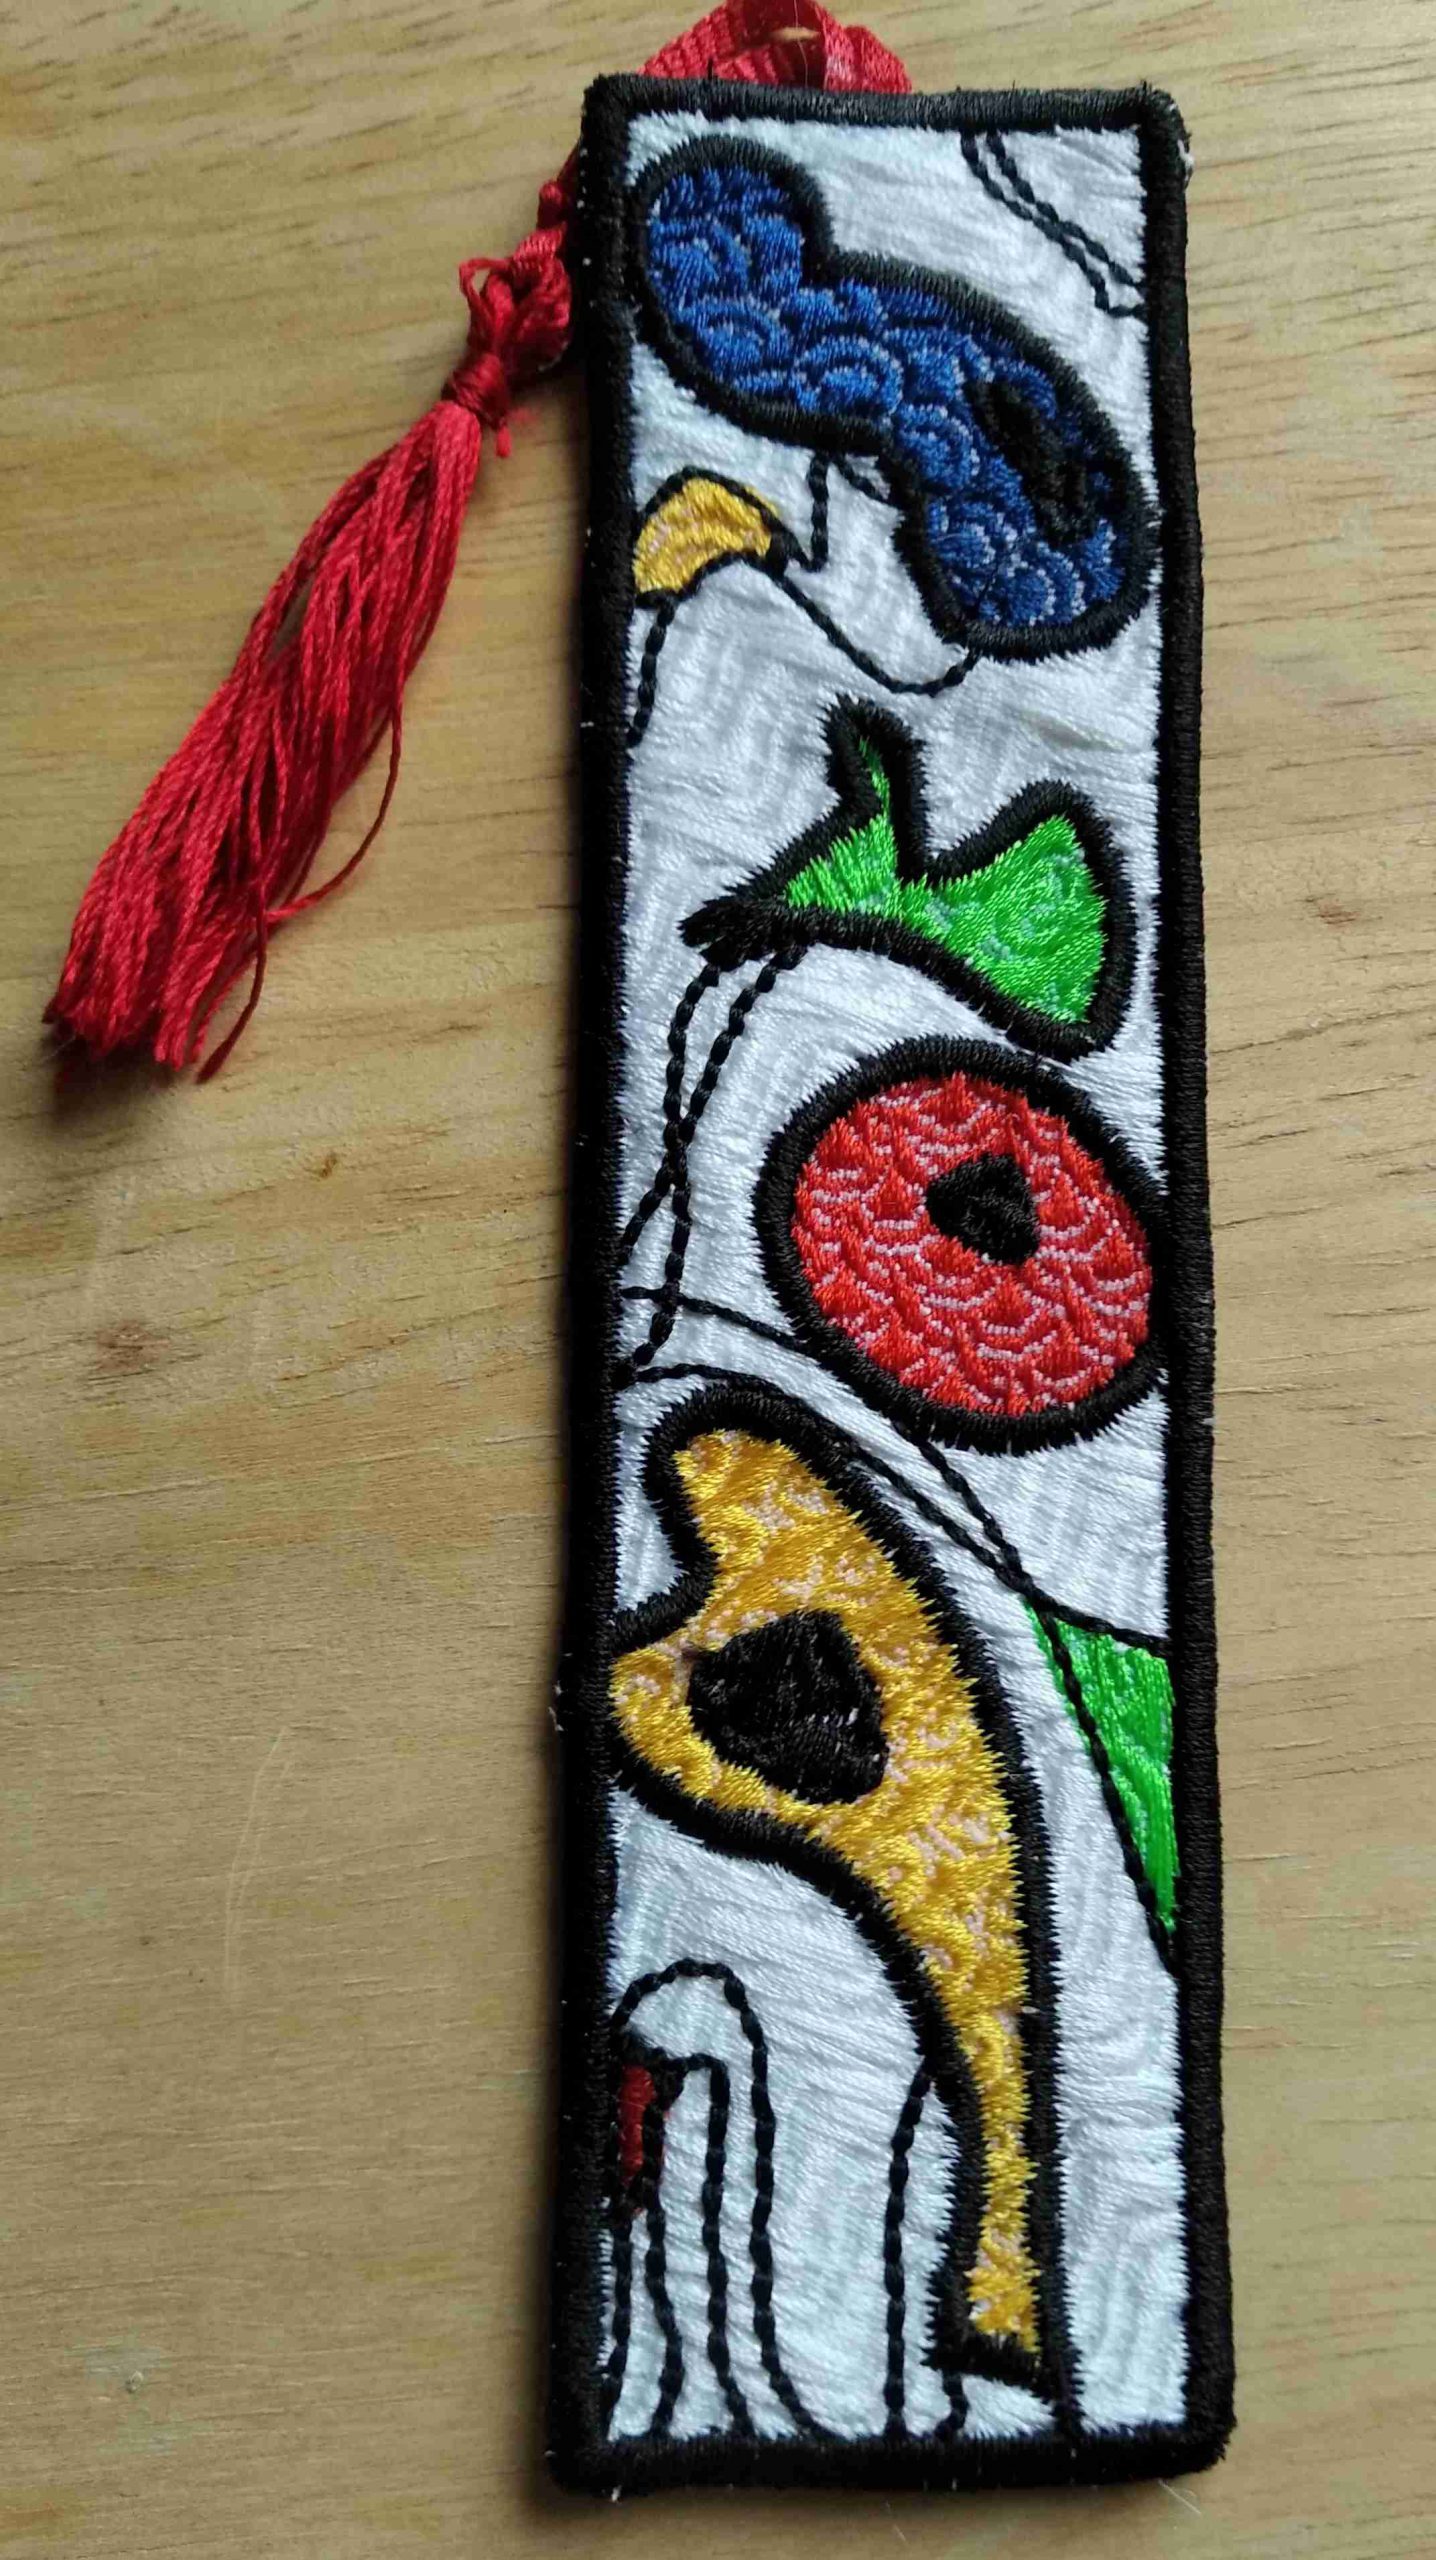
I created these bookmarks based on the designs of the artist ‘Miro’ to teach a class what wonderful texture effects can be created by using the ‘fancy fills’ within the Bernina Digitising software. This is a great project that could be done with children asking them to choose their own colours. 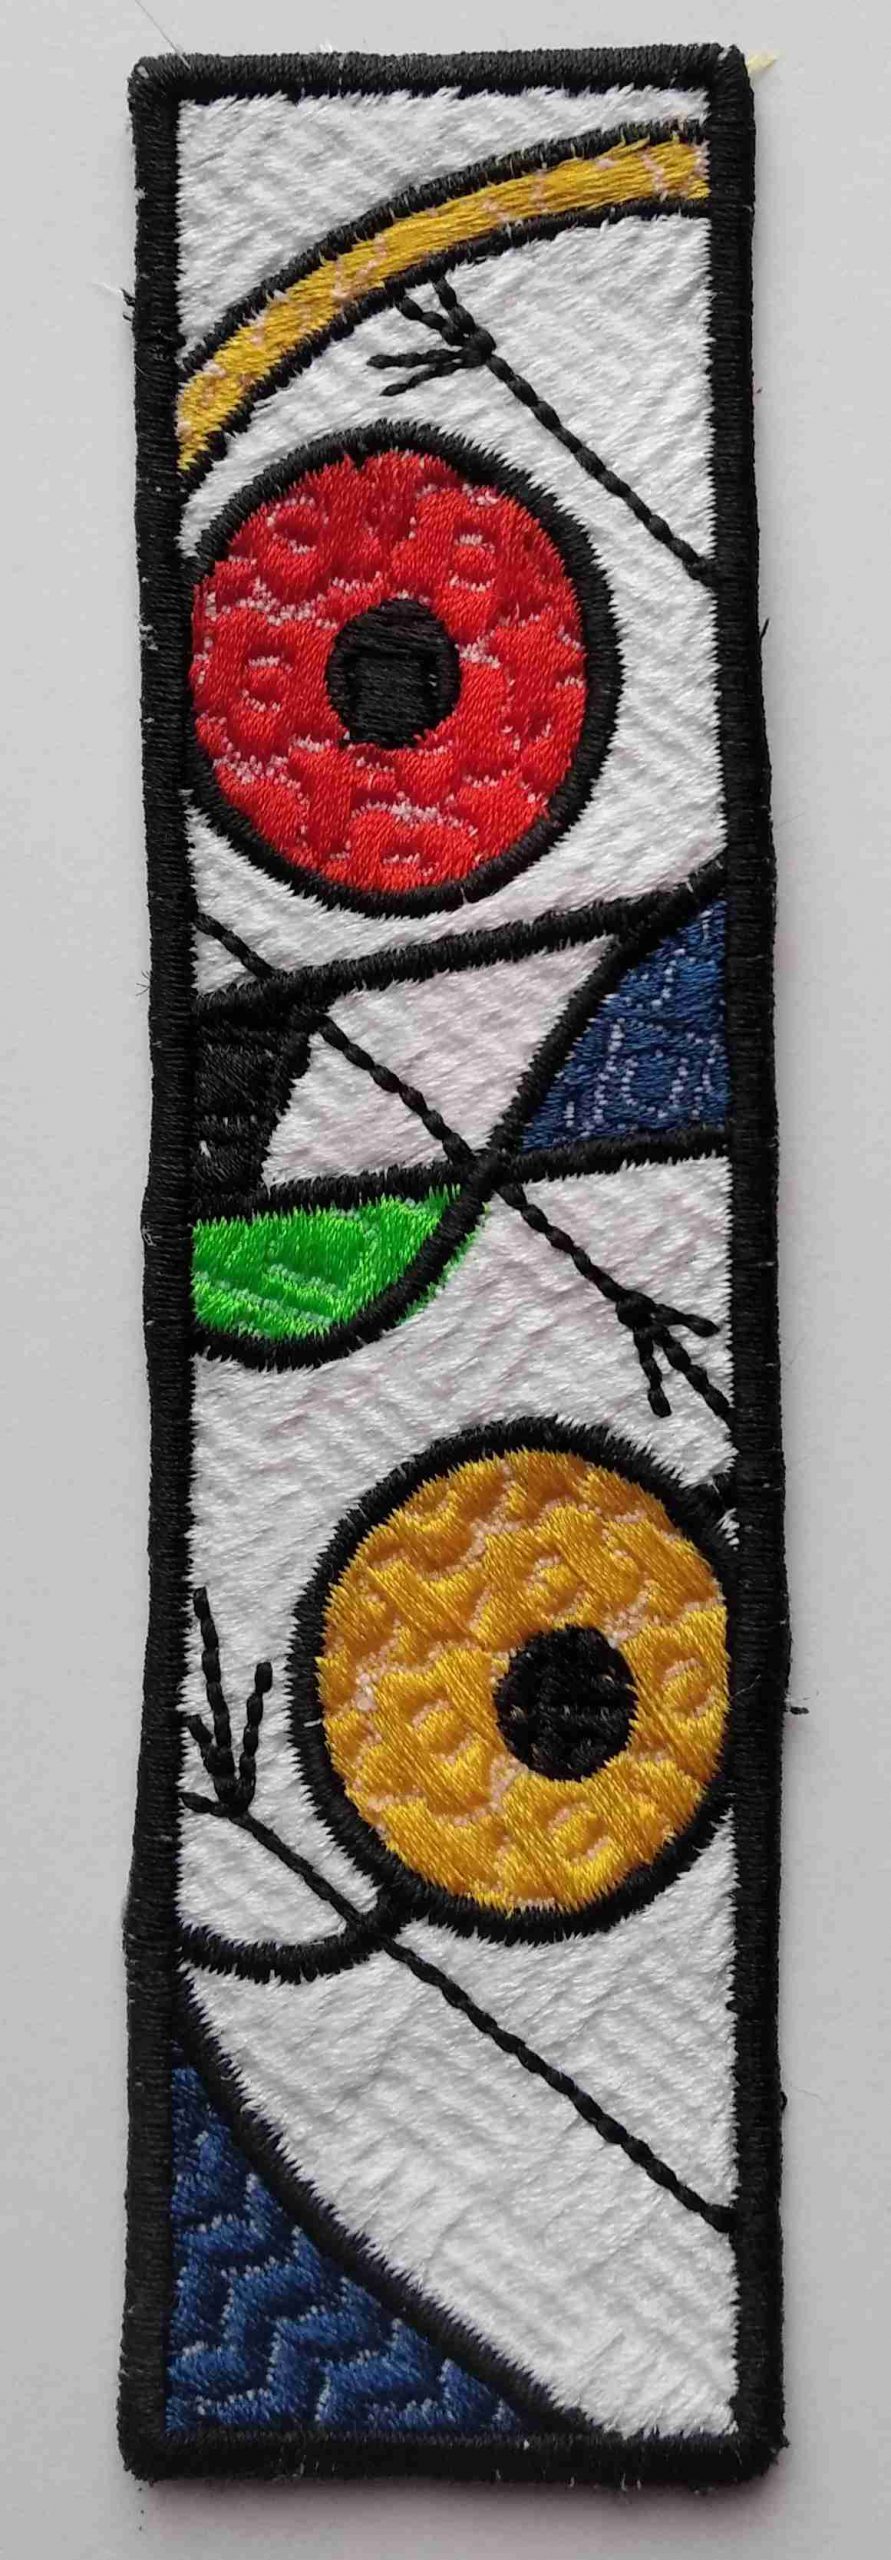
In this first blog post I have provided the downloadable EXP files for two different designs with the instructions of how to stitch them.
These designs stitch in the large oval embroidery hoop which comes with all models of Bernina embroidery machines. Two bookmarks can be stitched in each hooping.
In the next blog post I will provide the EMB files so that you can experiment with different fancy fills, or use the files as a basis to design your own bookmark.
Materials needed.
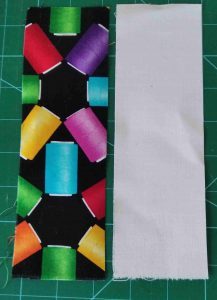
White base fabric 6cms x 15cms
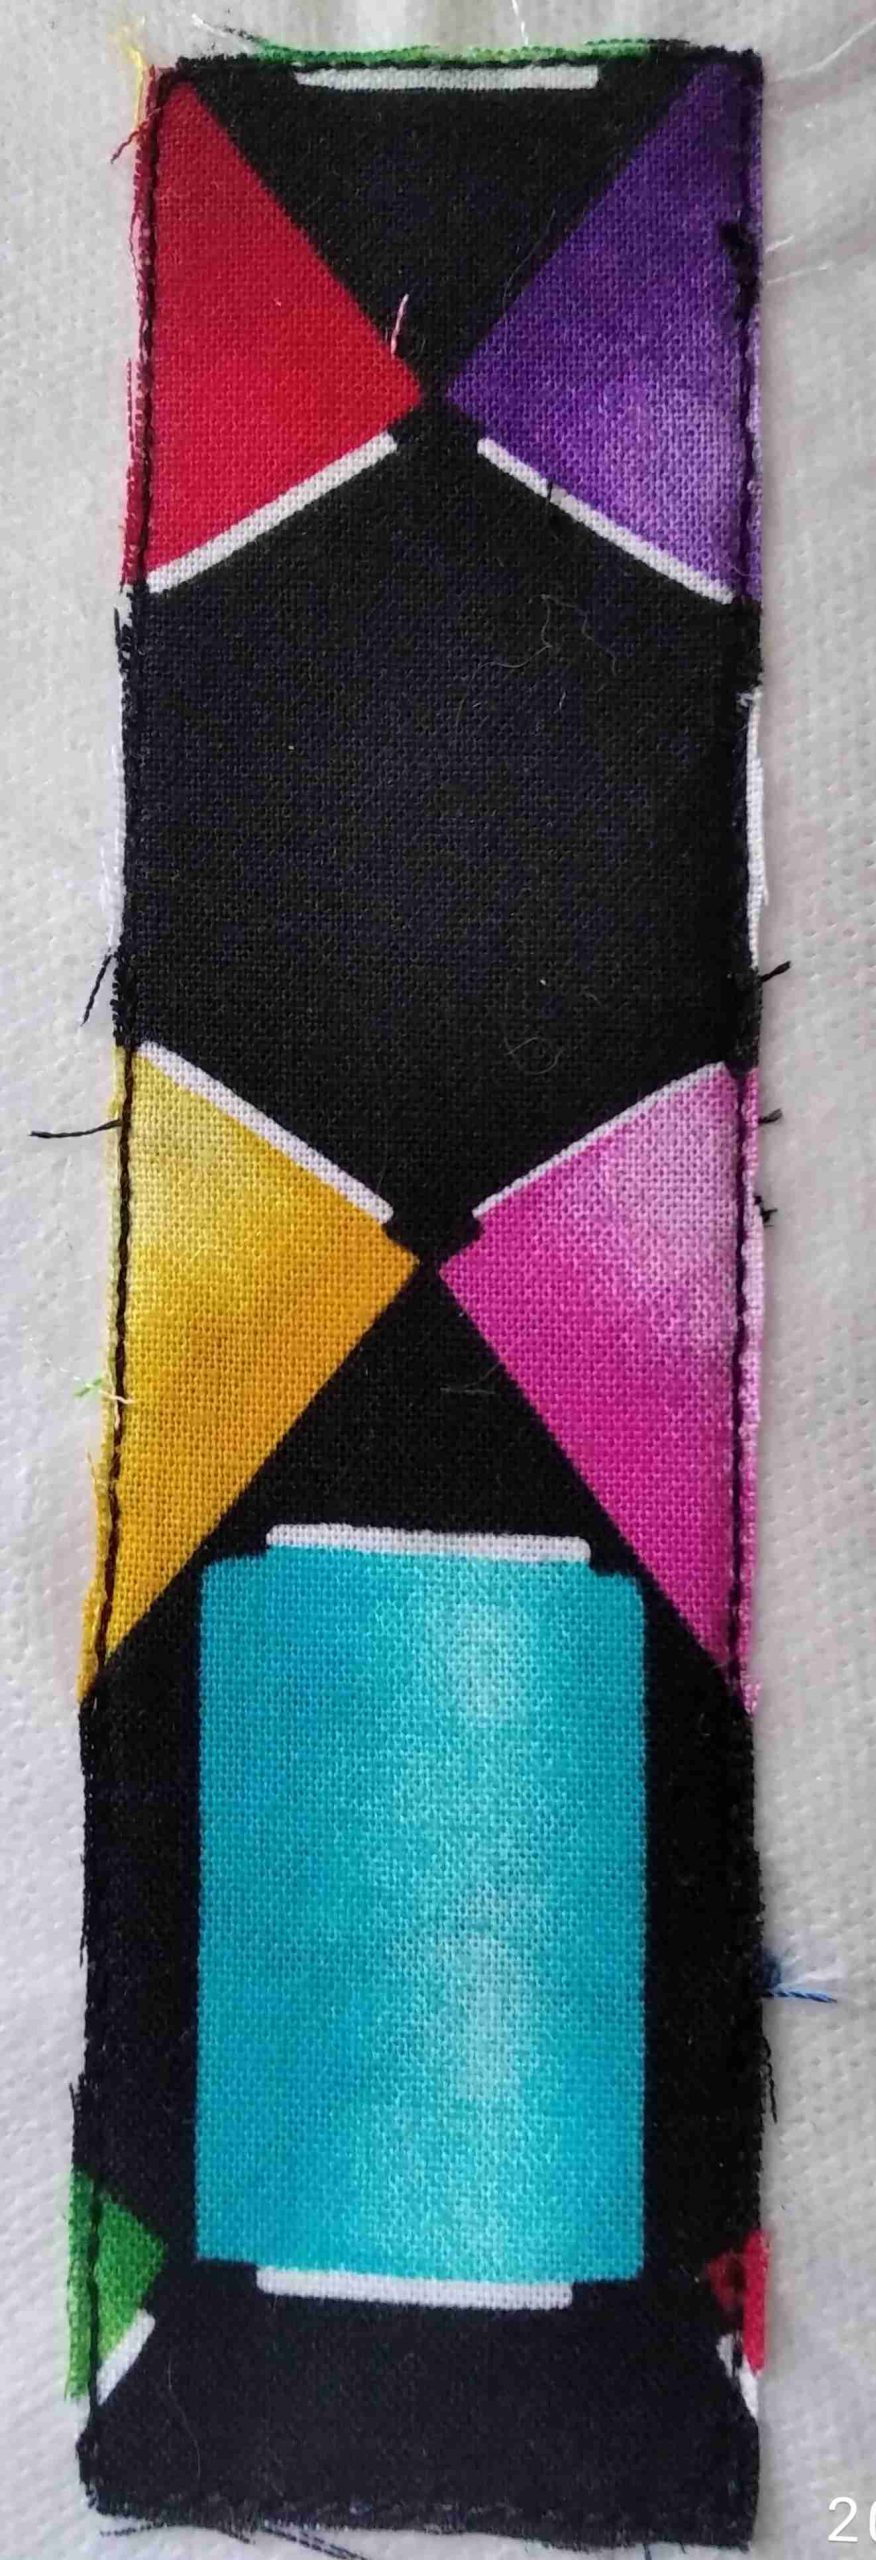
Coloured fabric for backing 6cms x 15cms
Water-soluble stabiliser
Embroidery threads
Optional Materials
Spray starch
Glue Pen
Tassel
Preparation.
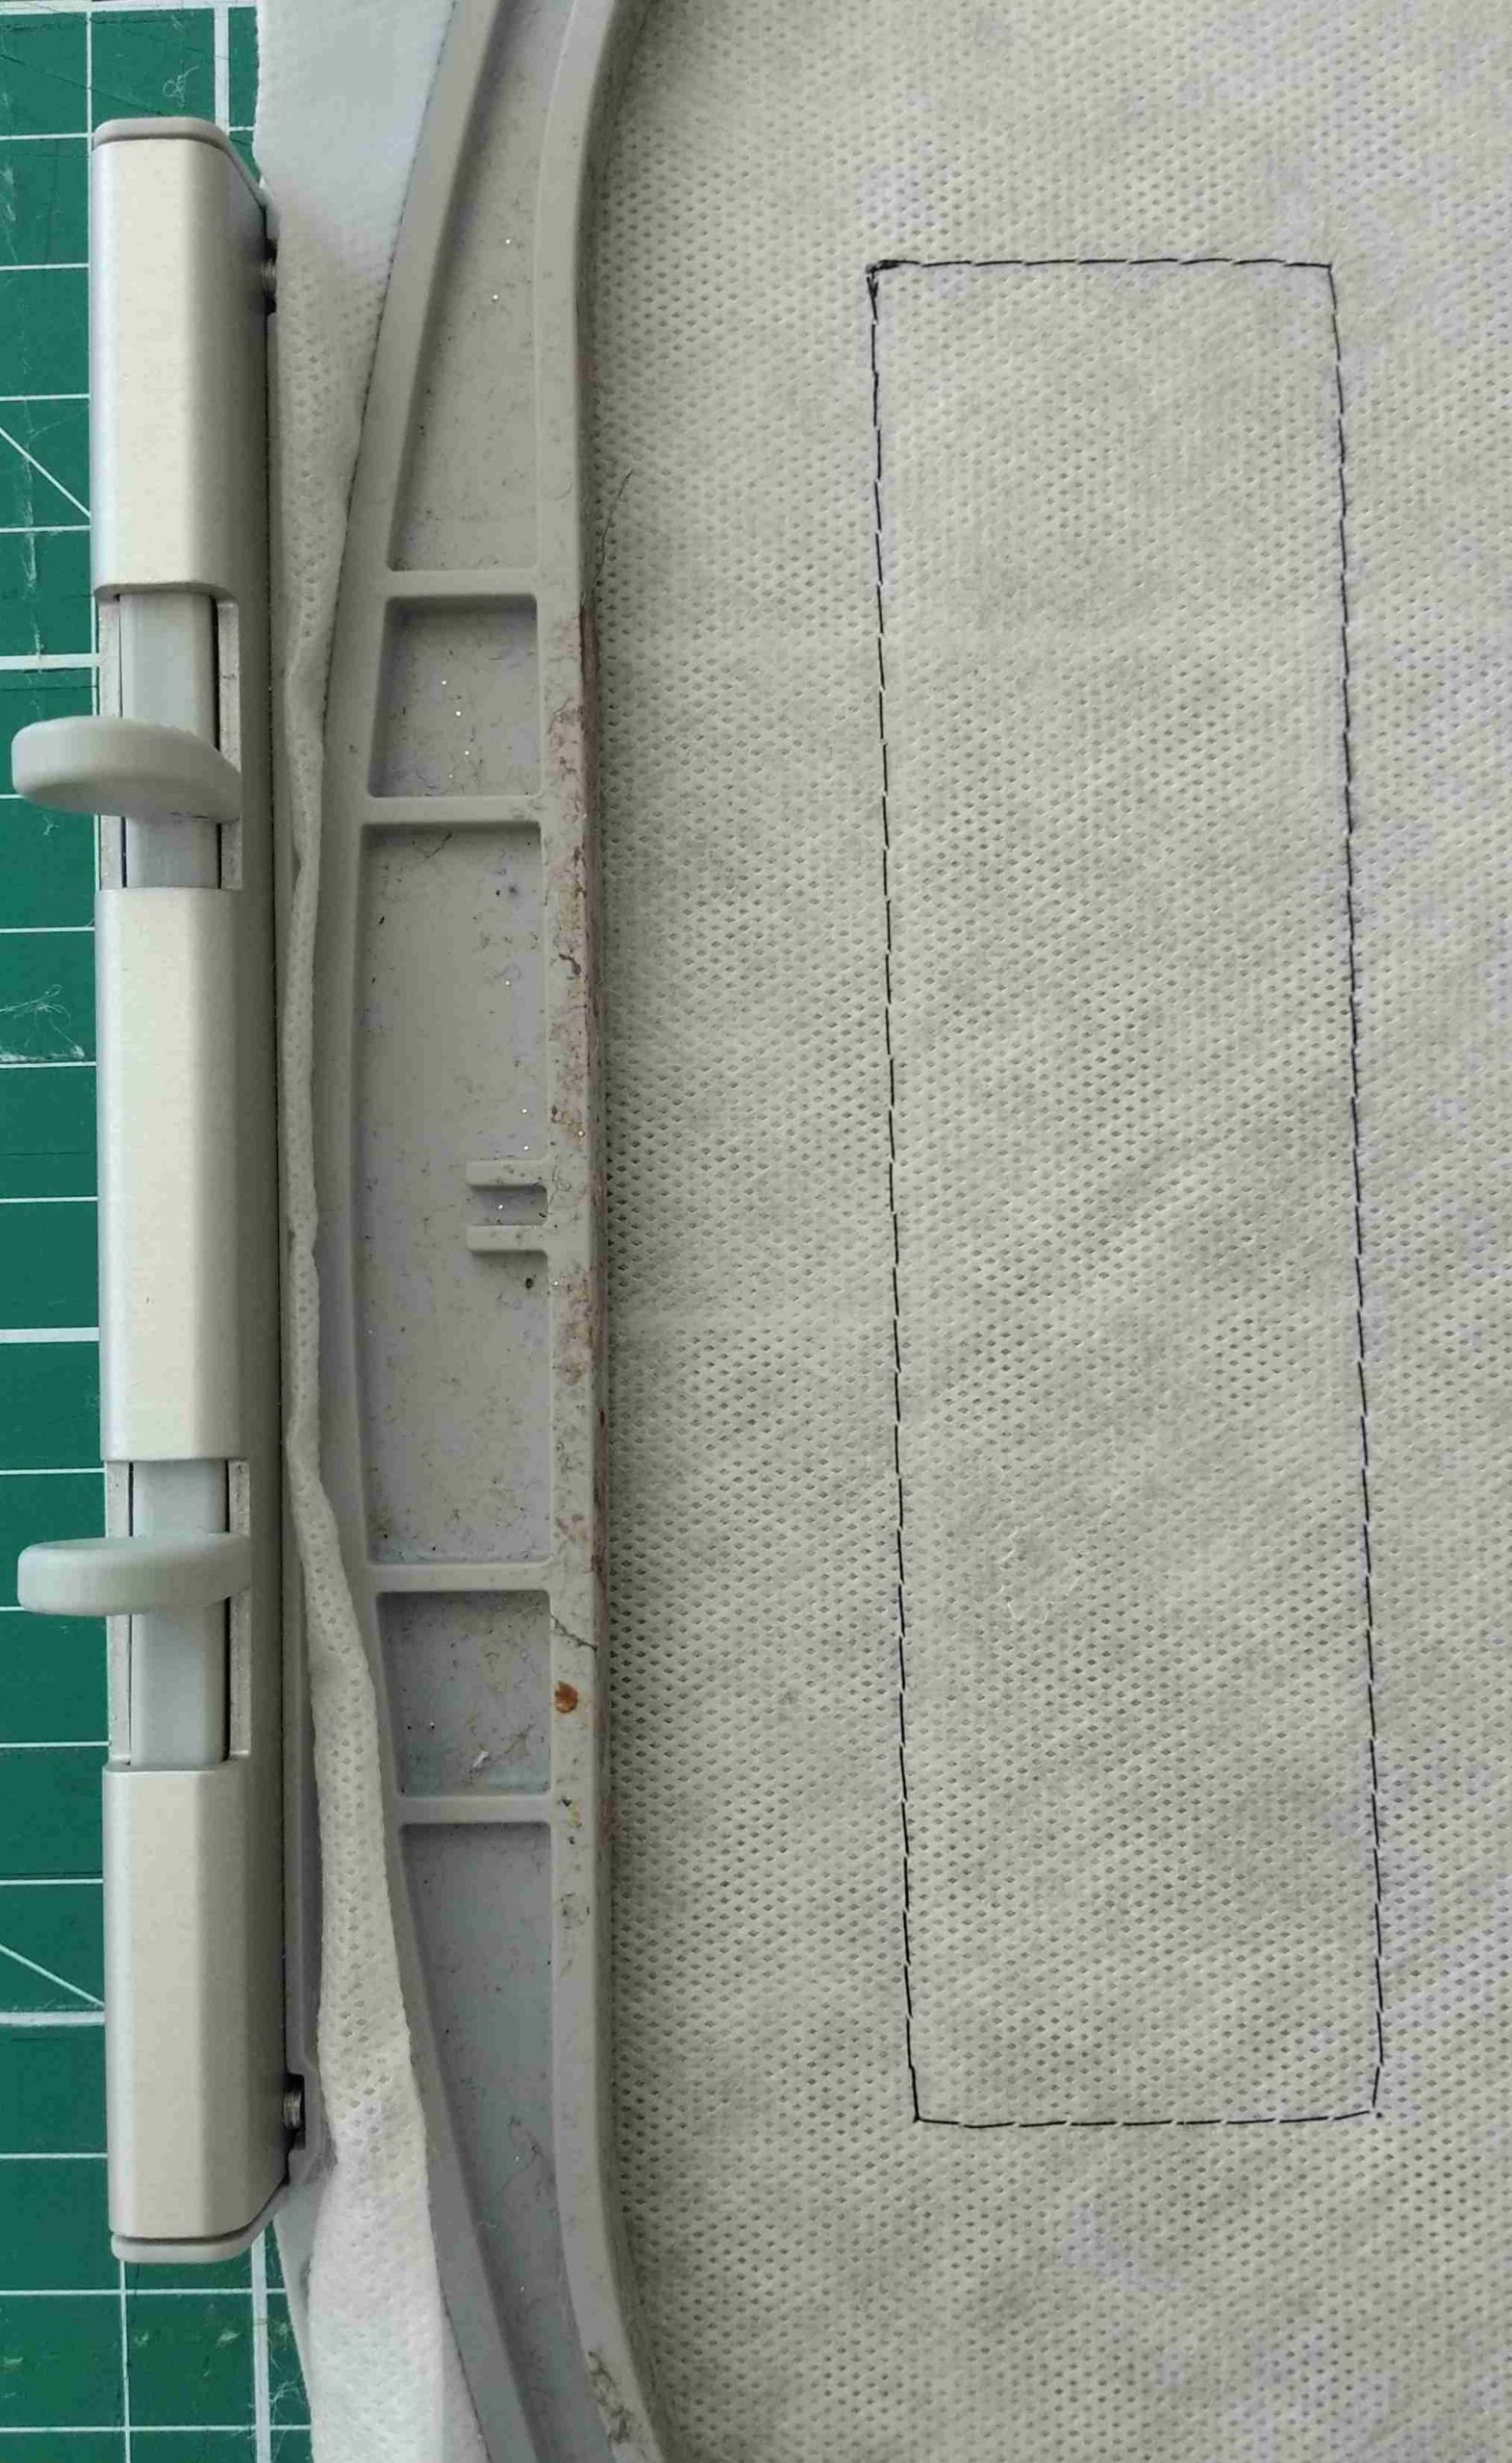
- Prepare main fabric and backing fabric cutting to 6cms x 15cms each rectangle, Use spray starch to stiffen these fabrics if wished. Tip. I really recommend spray starching the fabric as this helps stabilise the embroidery which is quite intense.
- Hoop a double layer of water soluble stabiliser. There is plenty of room to stich two bookmarks in the hoop so move the design towards one side of the hoop within your screen of the embroidery machine.
- Stitch the tack down line directly onto the hooped stabiliser. Tip. Use the same colour thread as your main thread colour i.e. white. I have only used a darker colour for photography purposes.

4. Lay background fabric over stitch rectangle and the next stitching lines will tack fabric in place. Again use the same thread colour as your main thread colour.

5. Stitch main thread colour background. 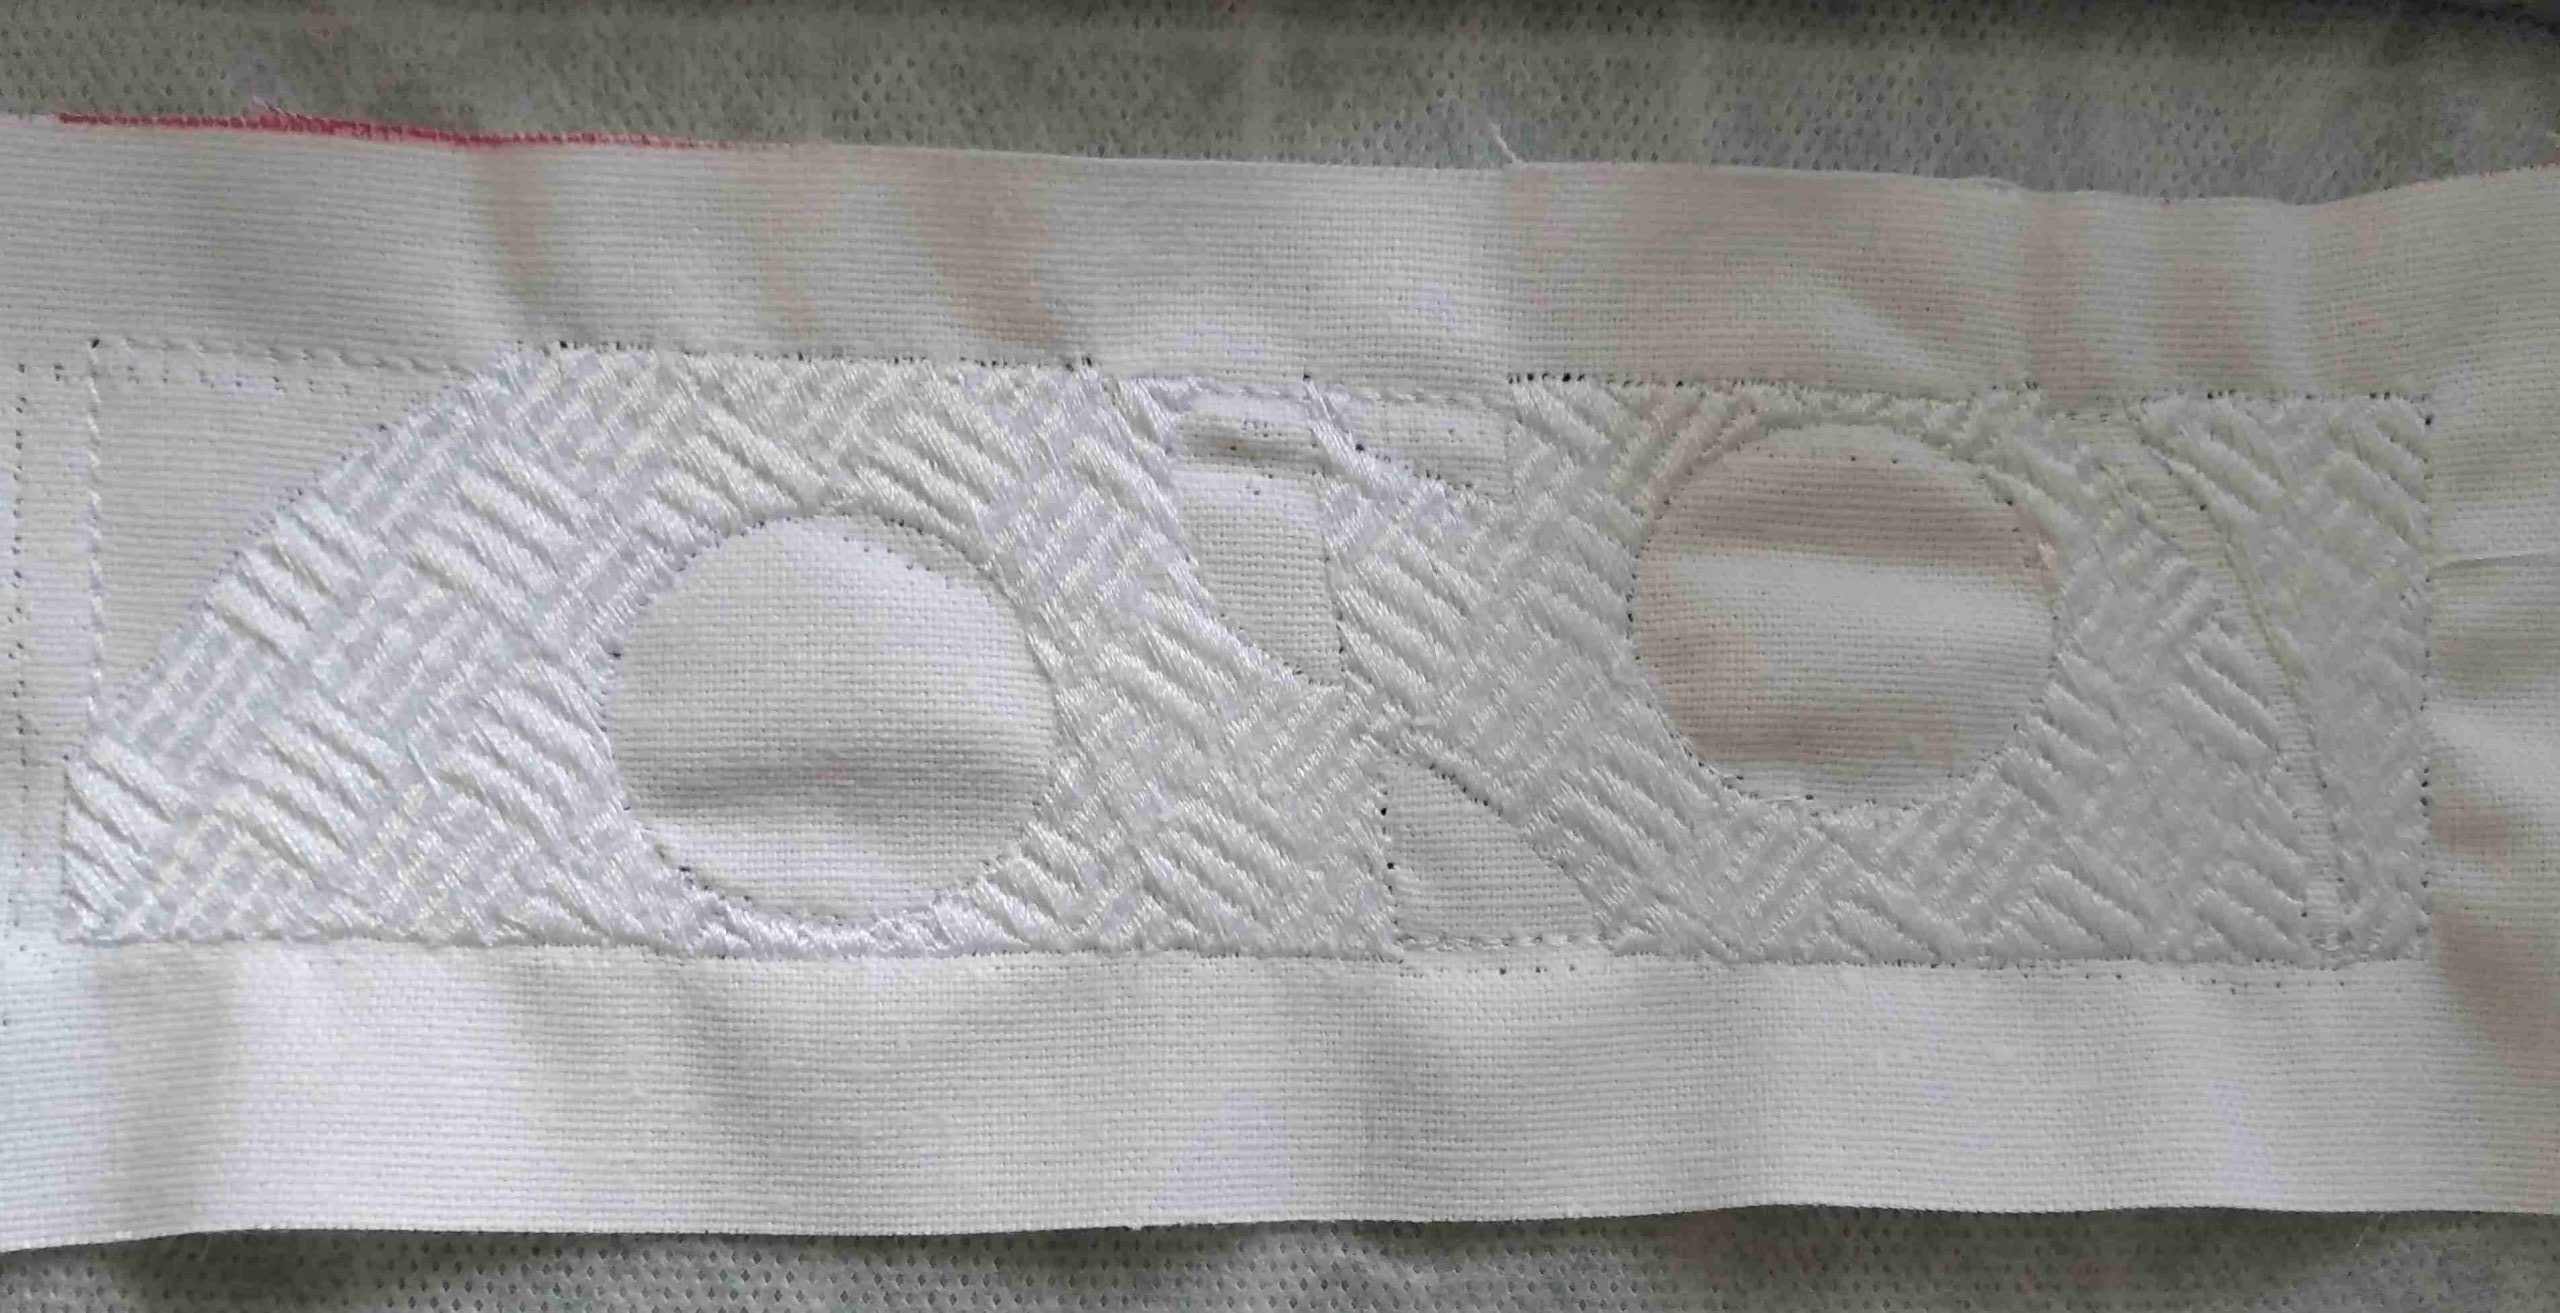
6. Following the colours and instructions on embroidery machine complete the rest of the coloured fill areas. Tip Use a white or neutral coloured bobbin thread for the background and brightly coloured areas. 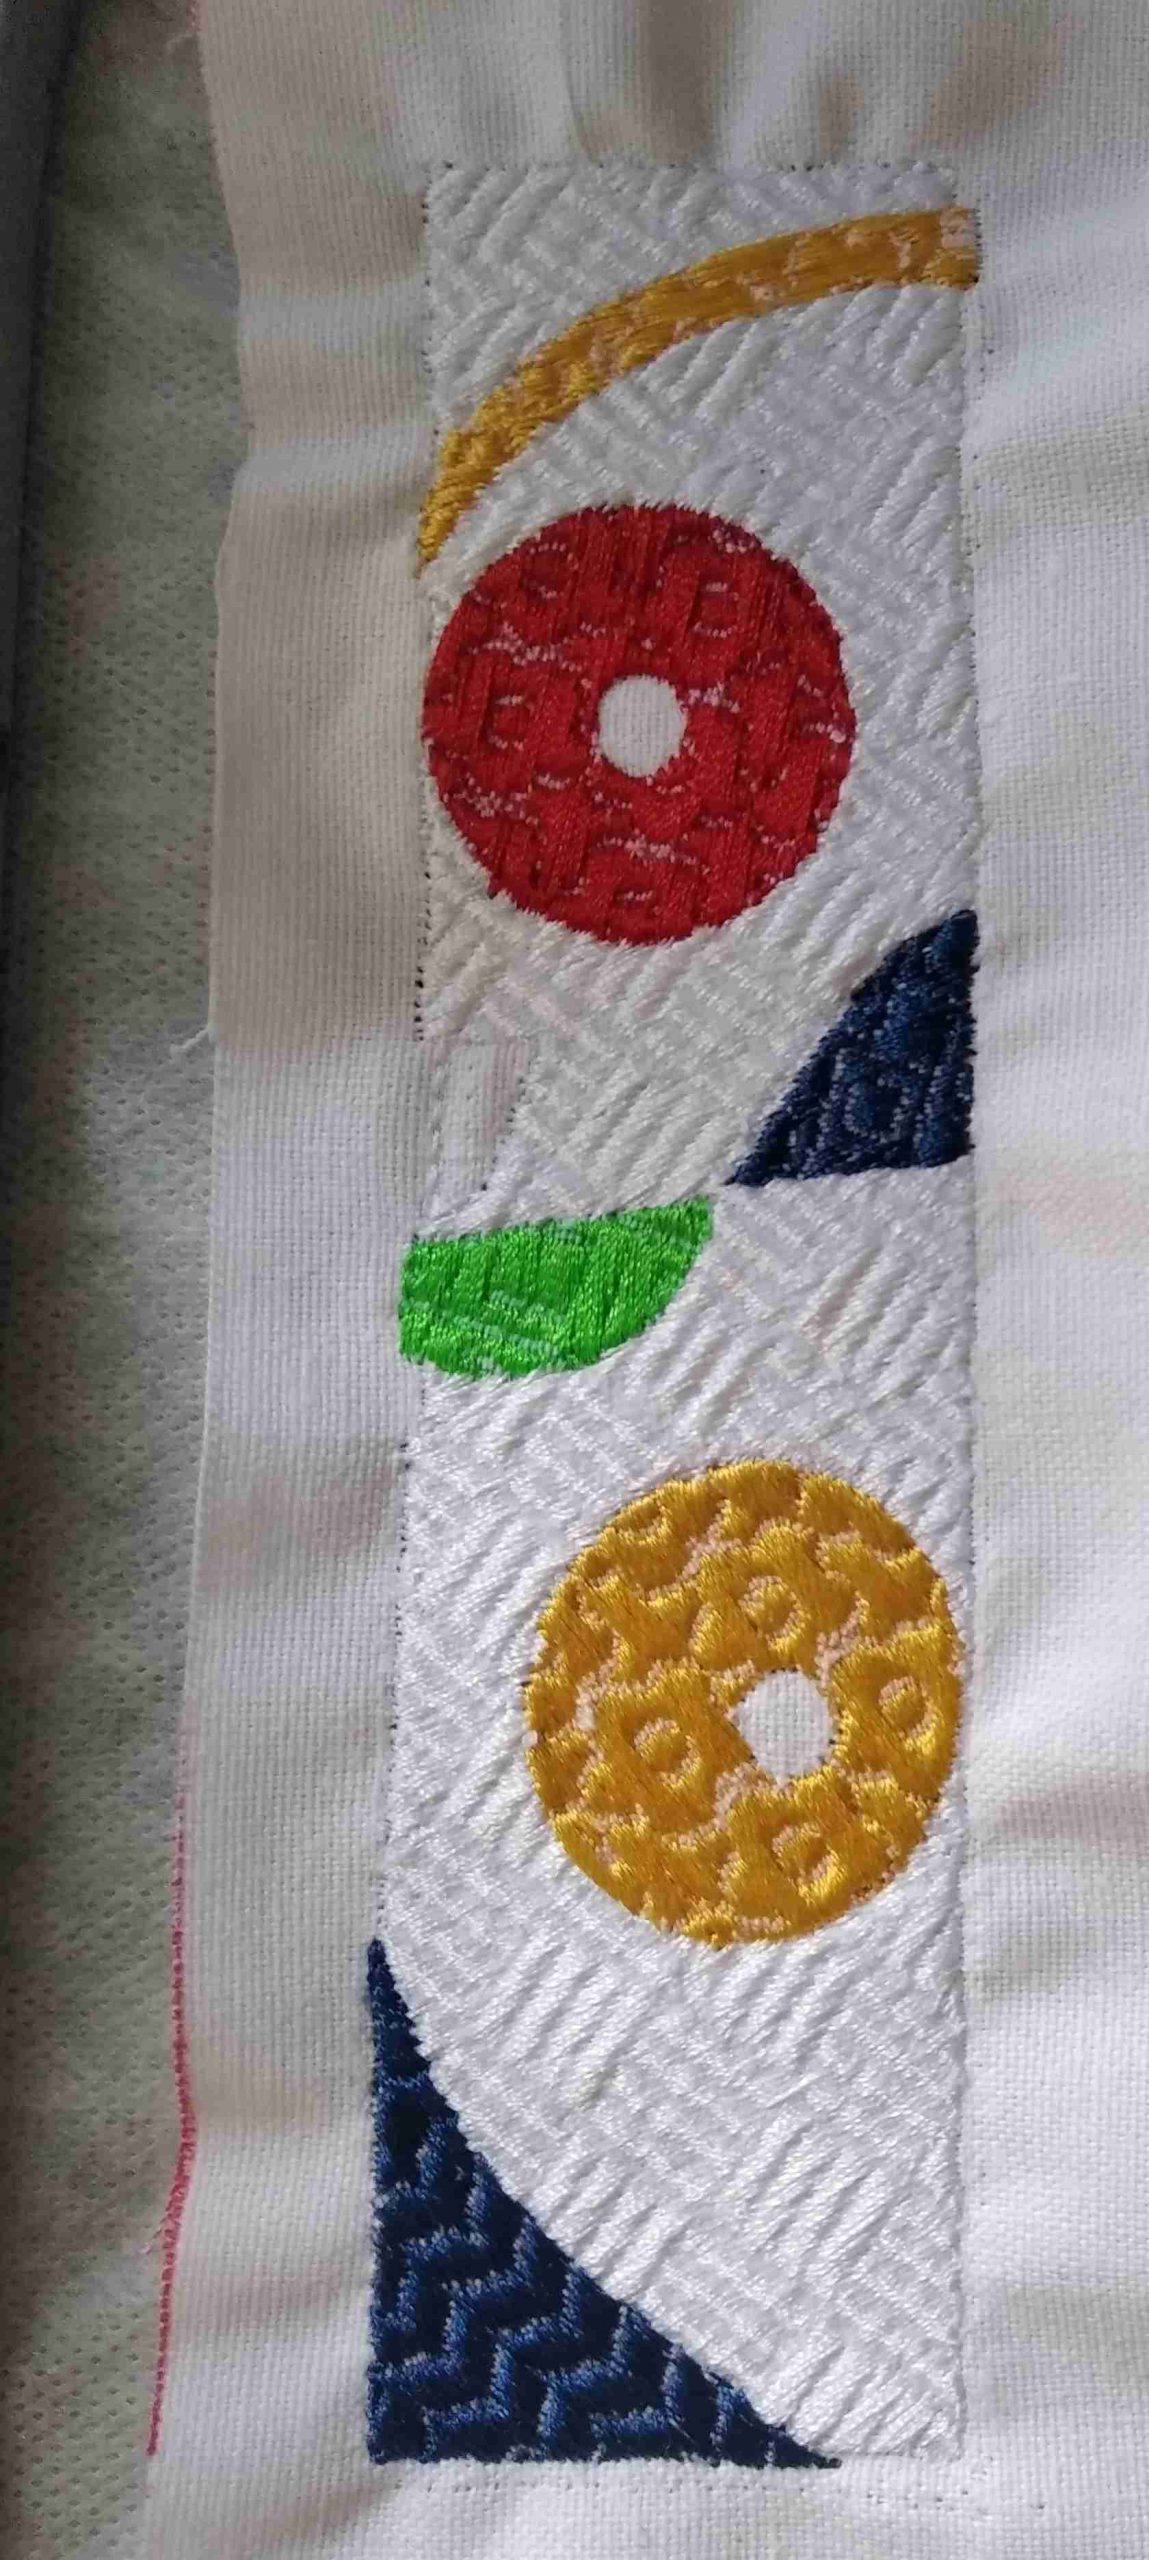
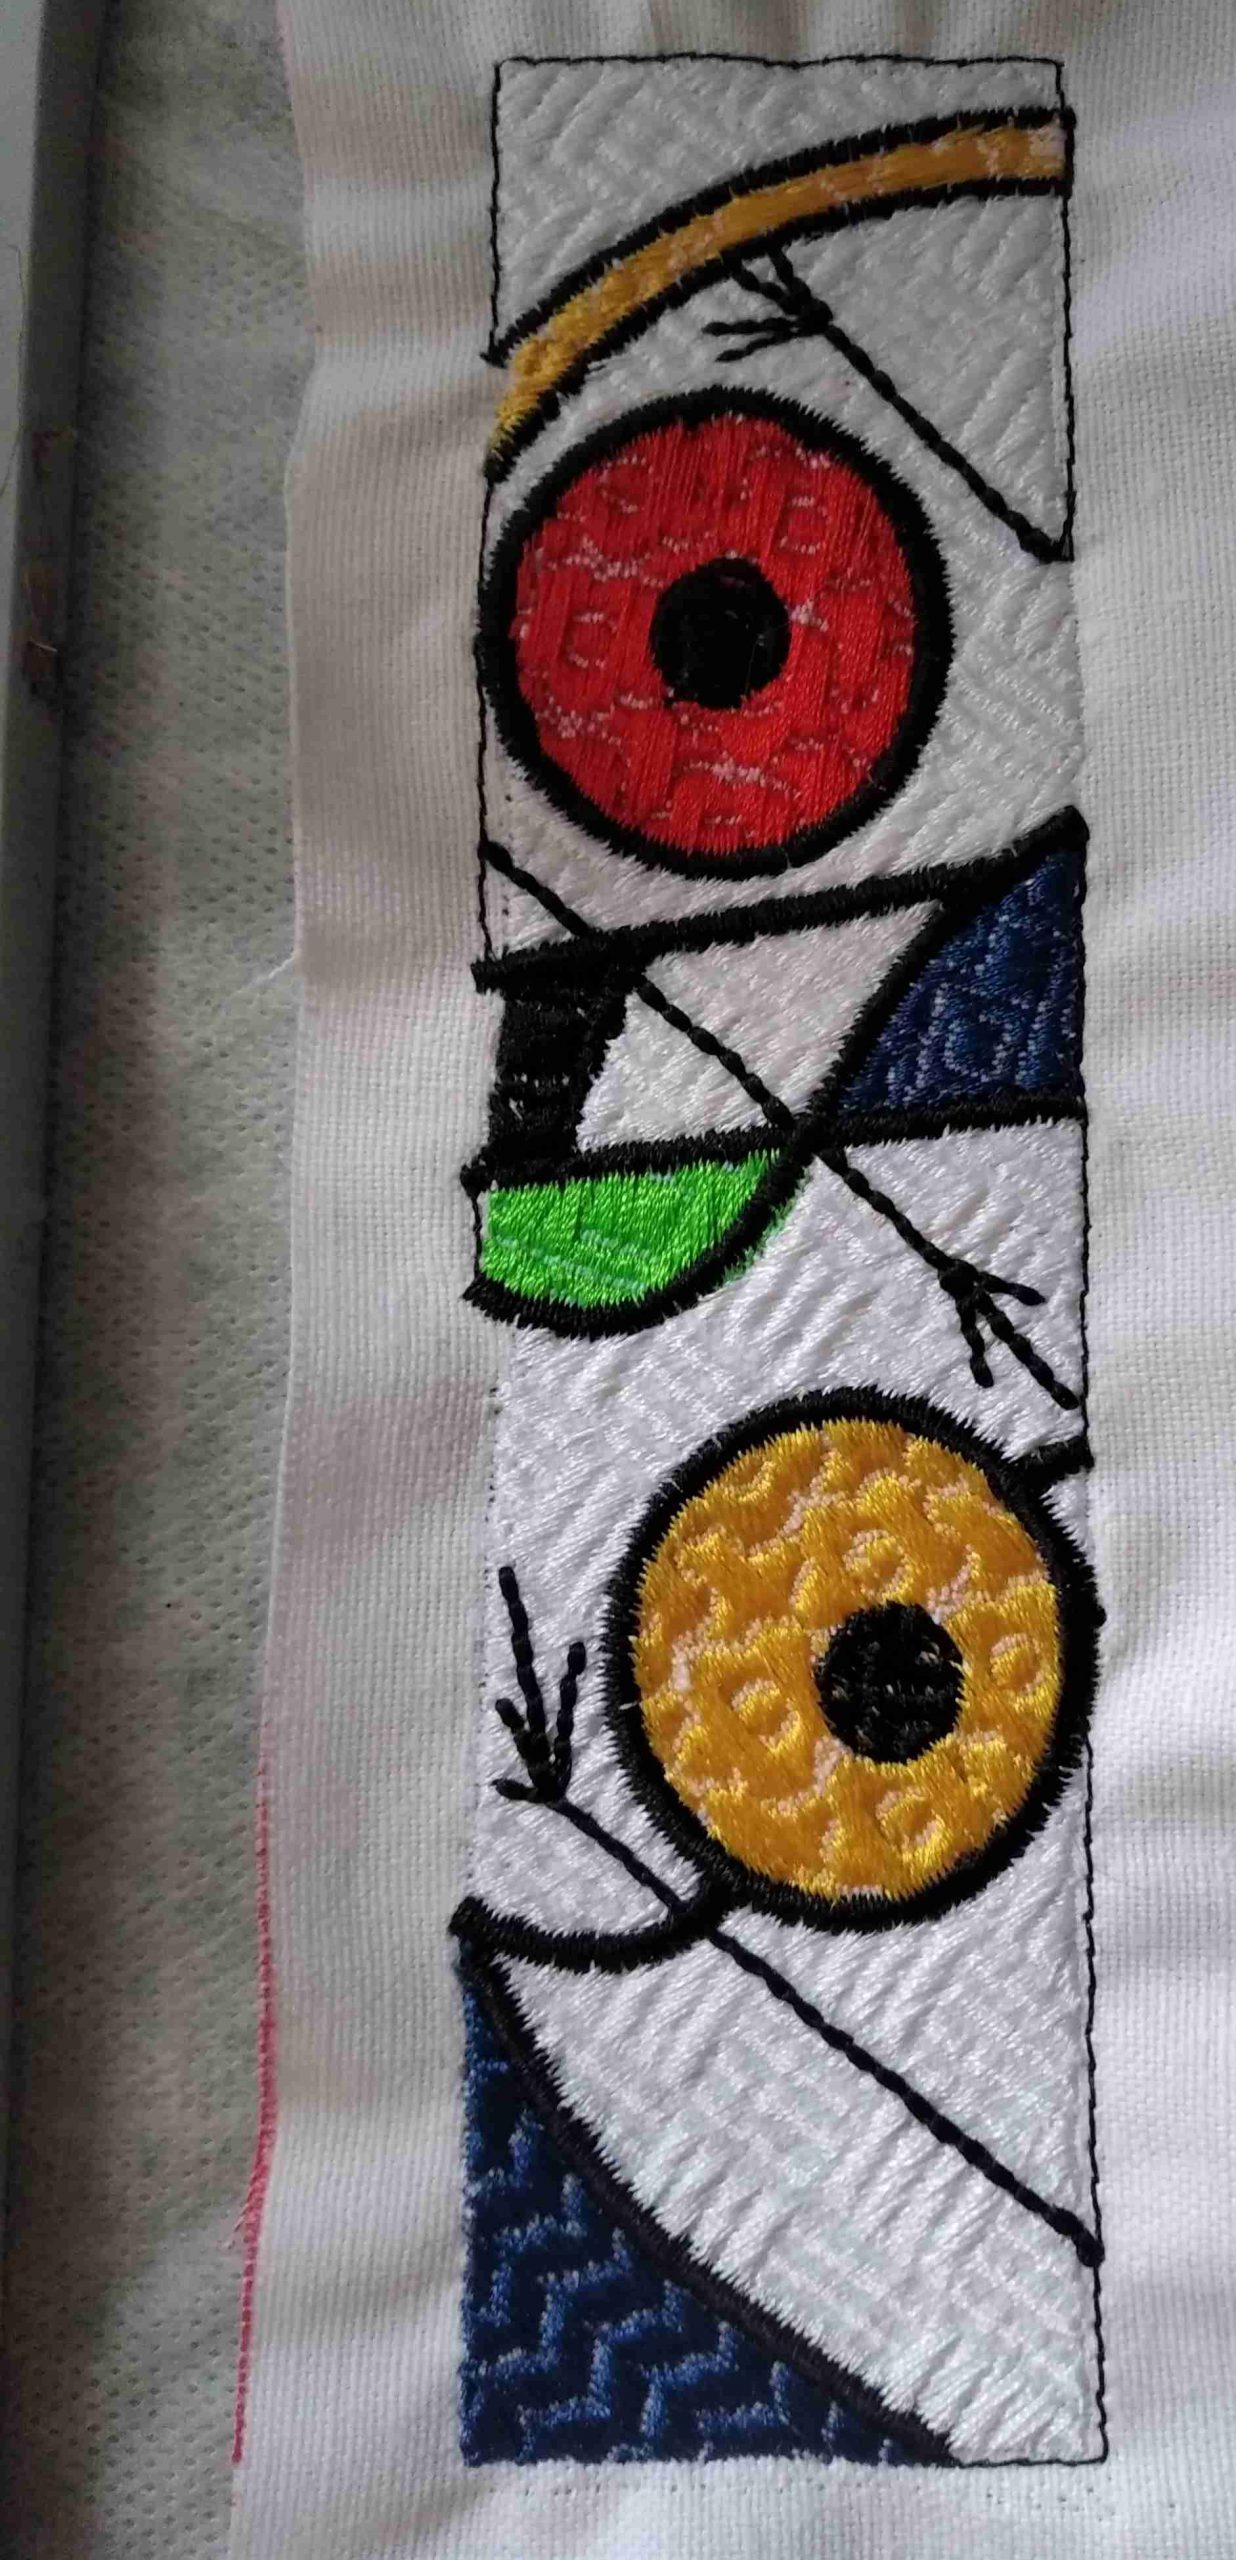
7.The black areas and satin stitch lines are the next to stitch so I suggest changing your bobbin thread to black at this point.
8. Remove hoop from machine carefully and lay wrong side up on a table. Use a fabric glue stick or temporary adhesive spray lightly on back of embroidery. I used a fabric glue stick (yellow coloured). 
9. If you wish add your tassel again holding in place with fabric glue and pinning well away from area to be embroidered.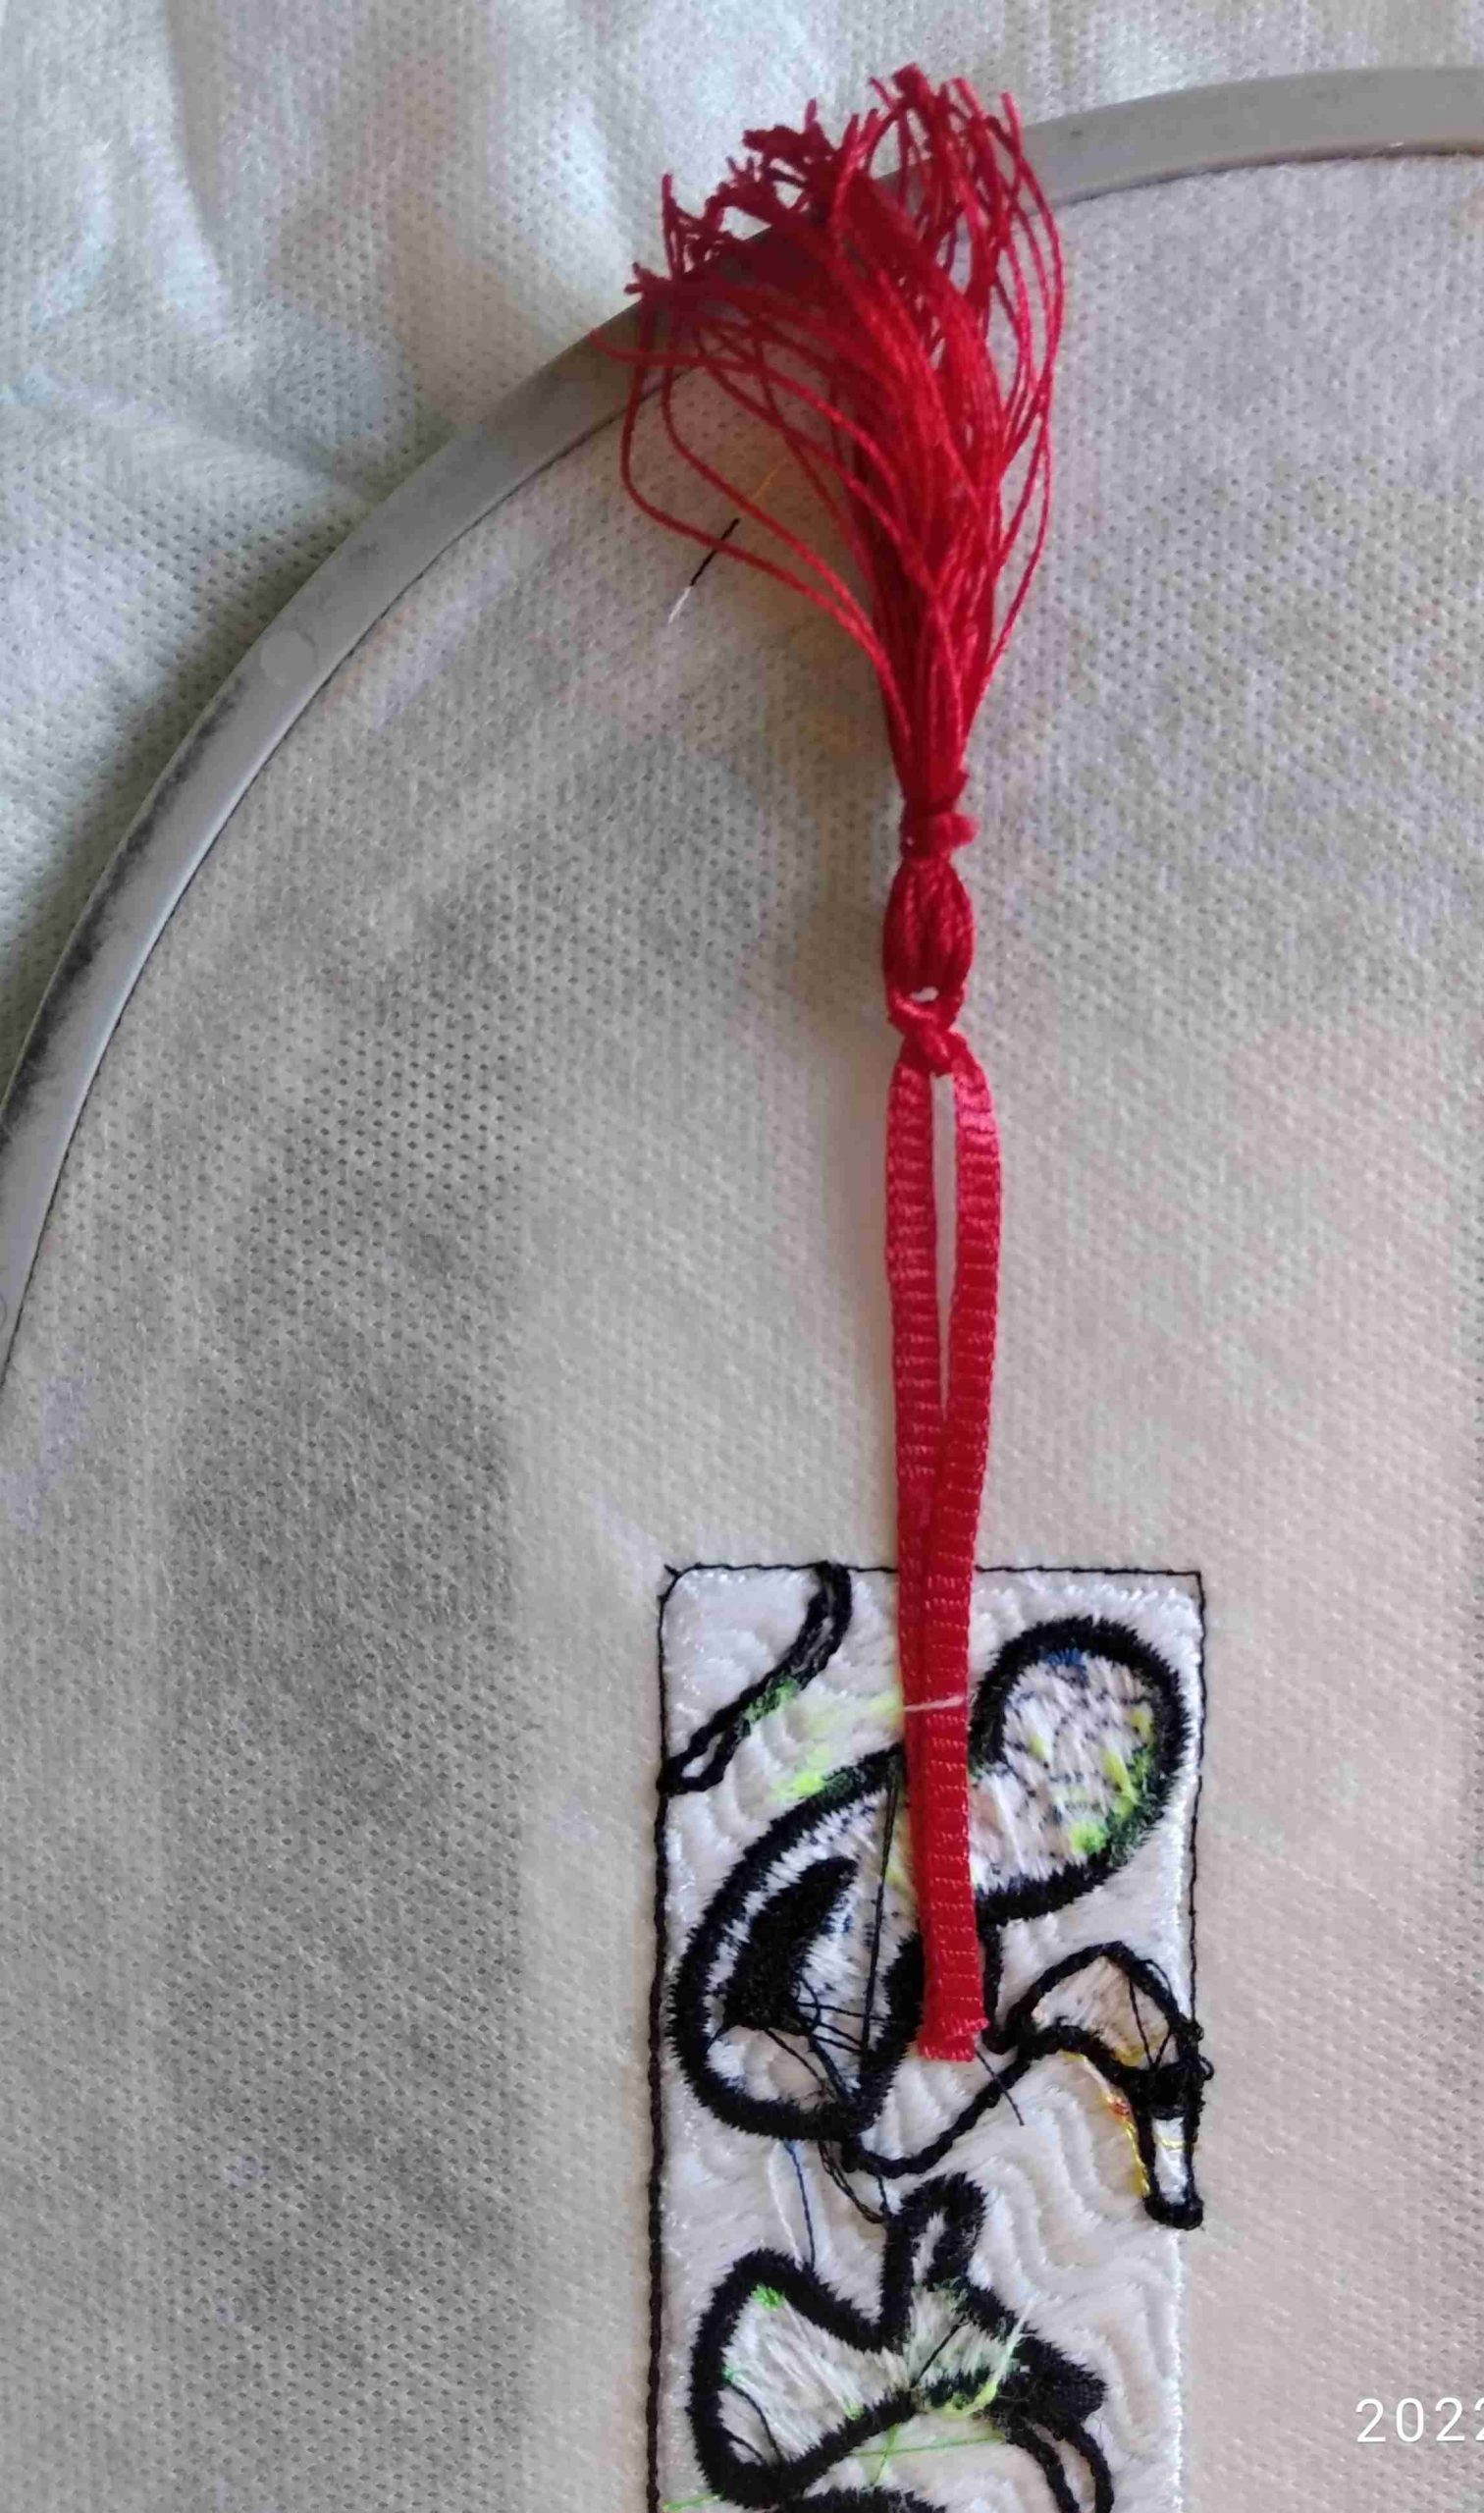
10. Lay backing fabric over embroidery rectangle smoothing carefully into place.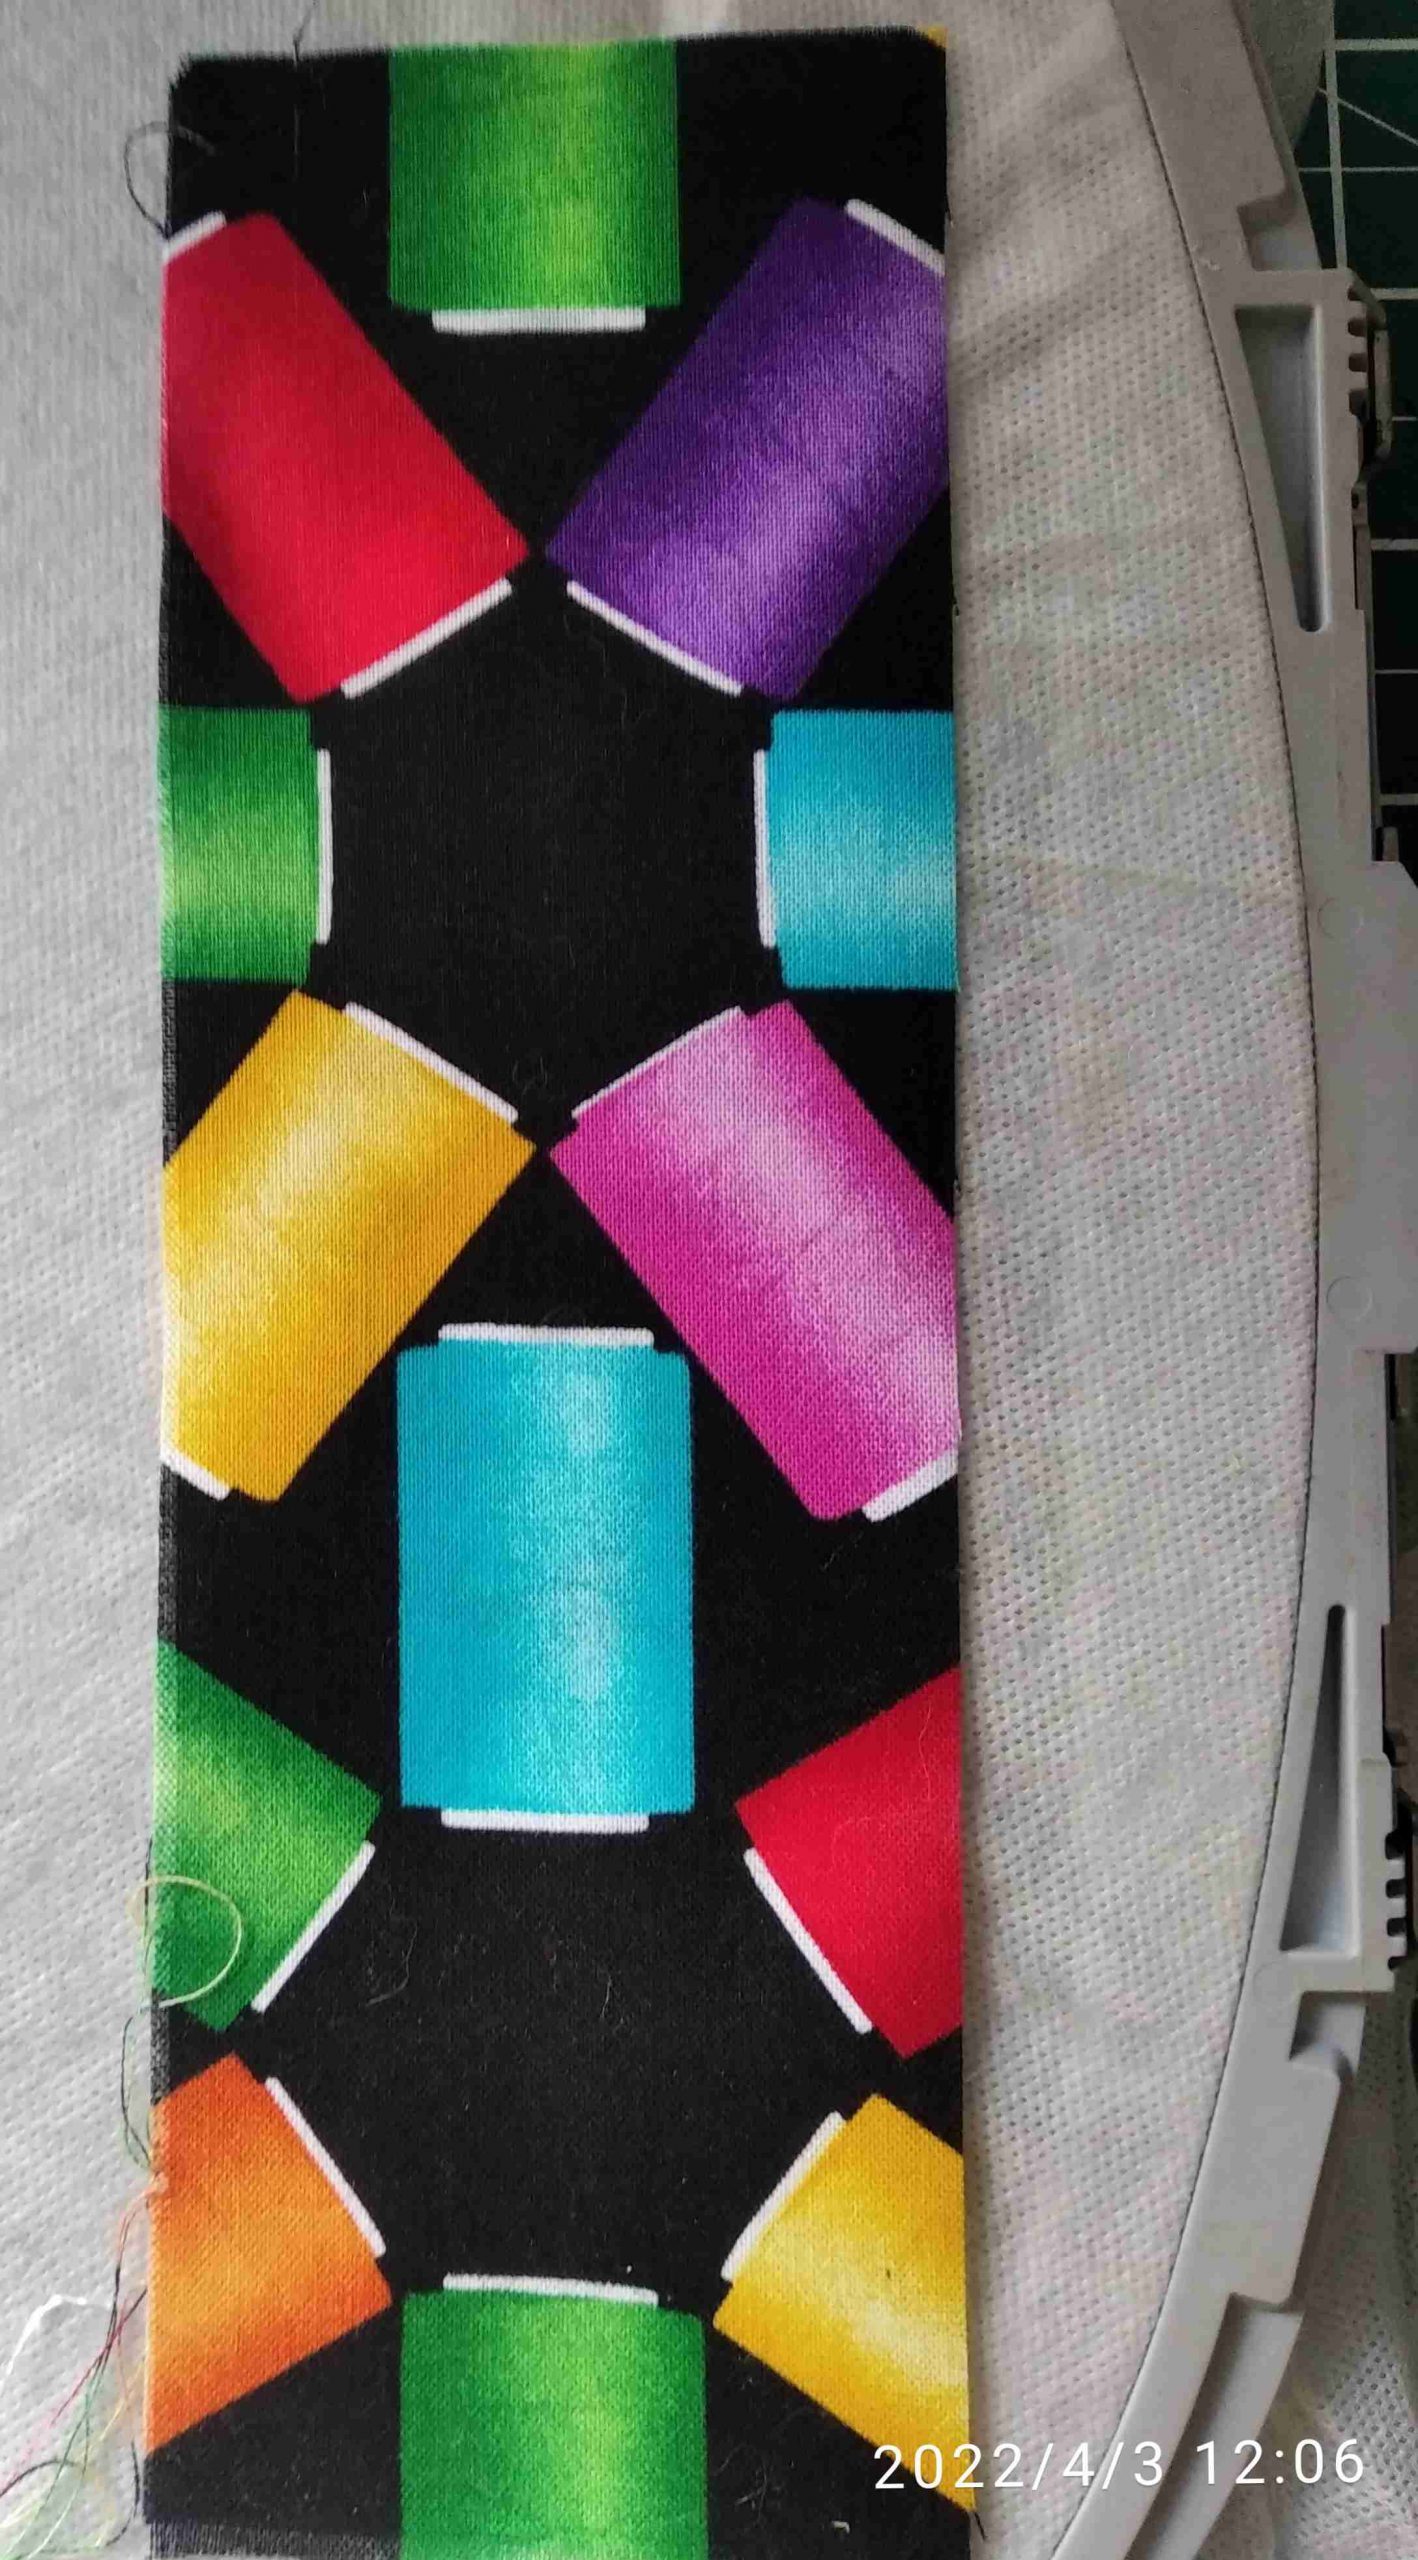
11. Return the hoop to the embroidery machine and the tack down ;lines with stitch to hold backing fabric in place. Tip, keep checking that the fabric on the wrong side stays in place. With the glue holding it, it should not move.
12. Remove hoop from machine 
and using small sharp scissors or applique scissors, trim the fabric front and back of the embroidery right back to stitching lines.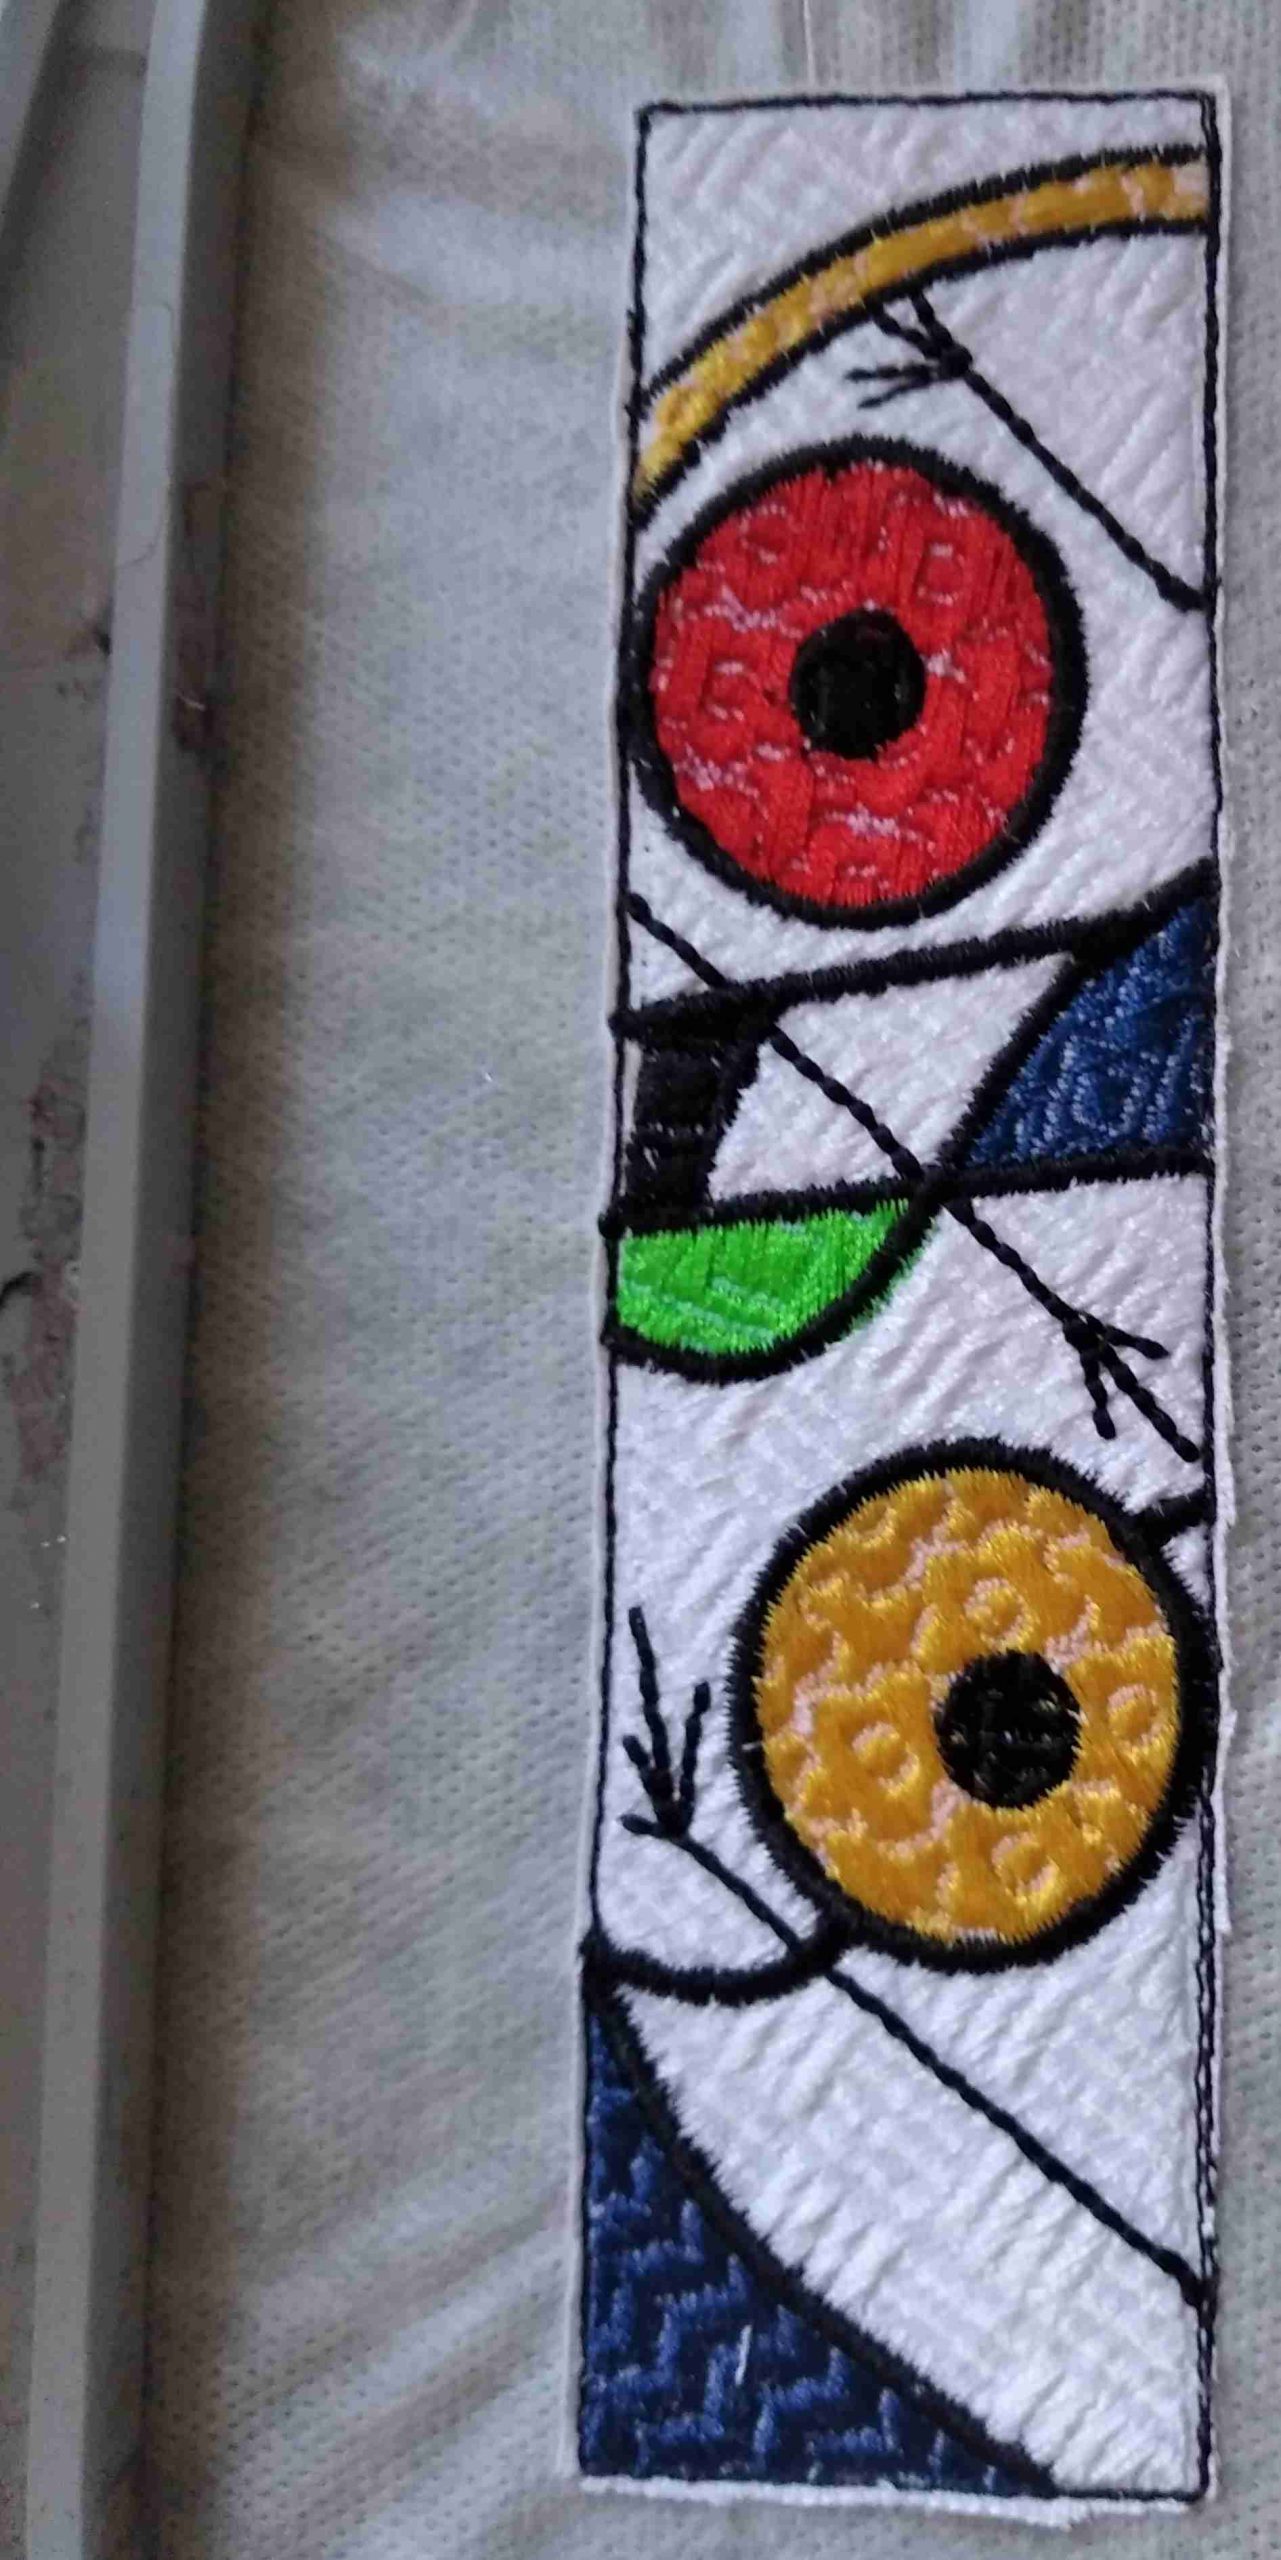
 13. Return the hoop to the machine and the final satin outline will stitch.
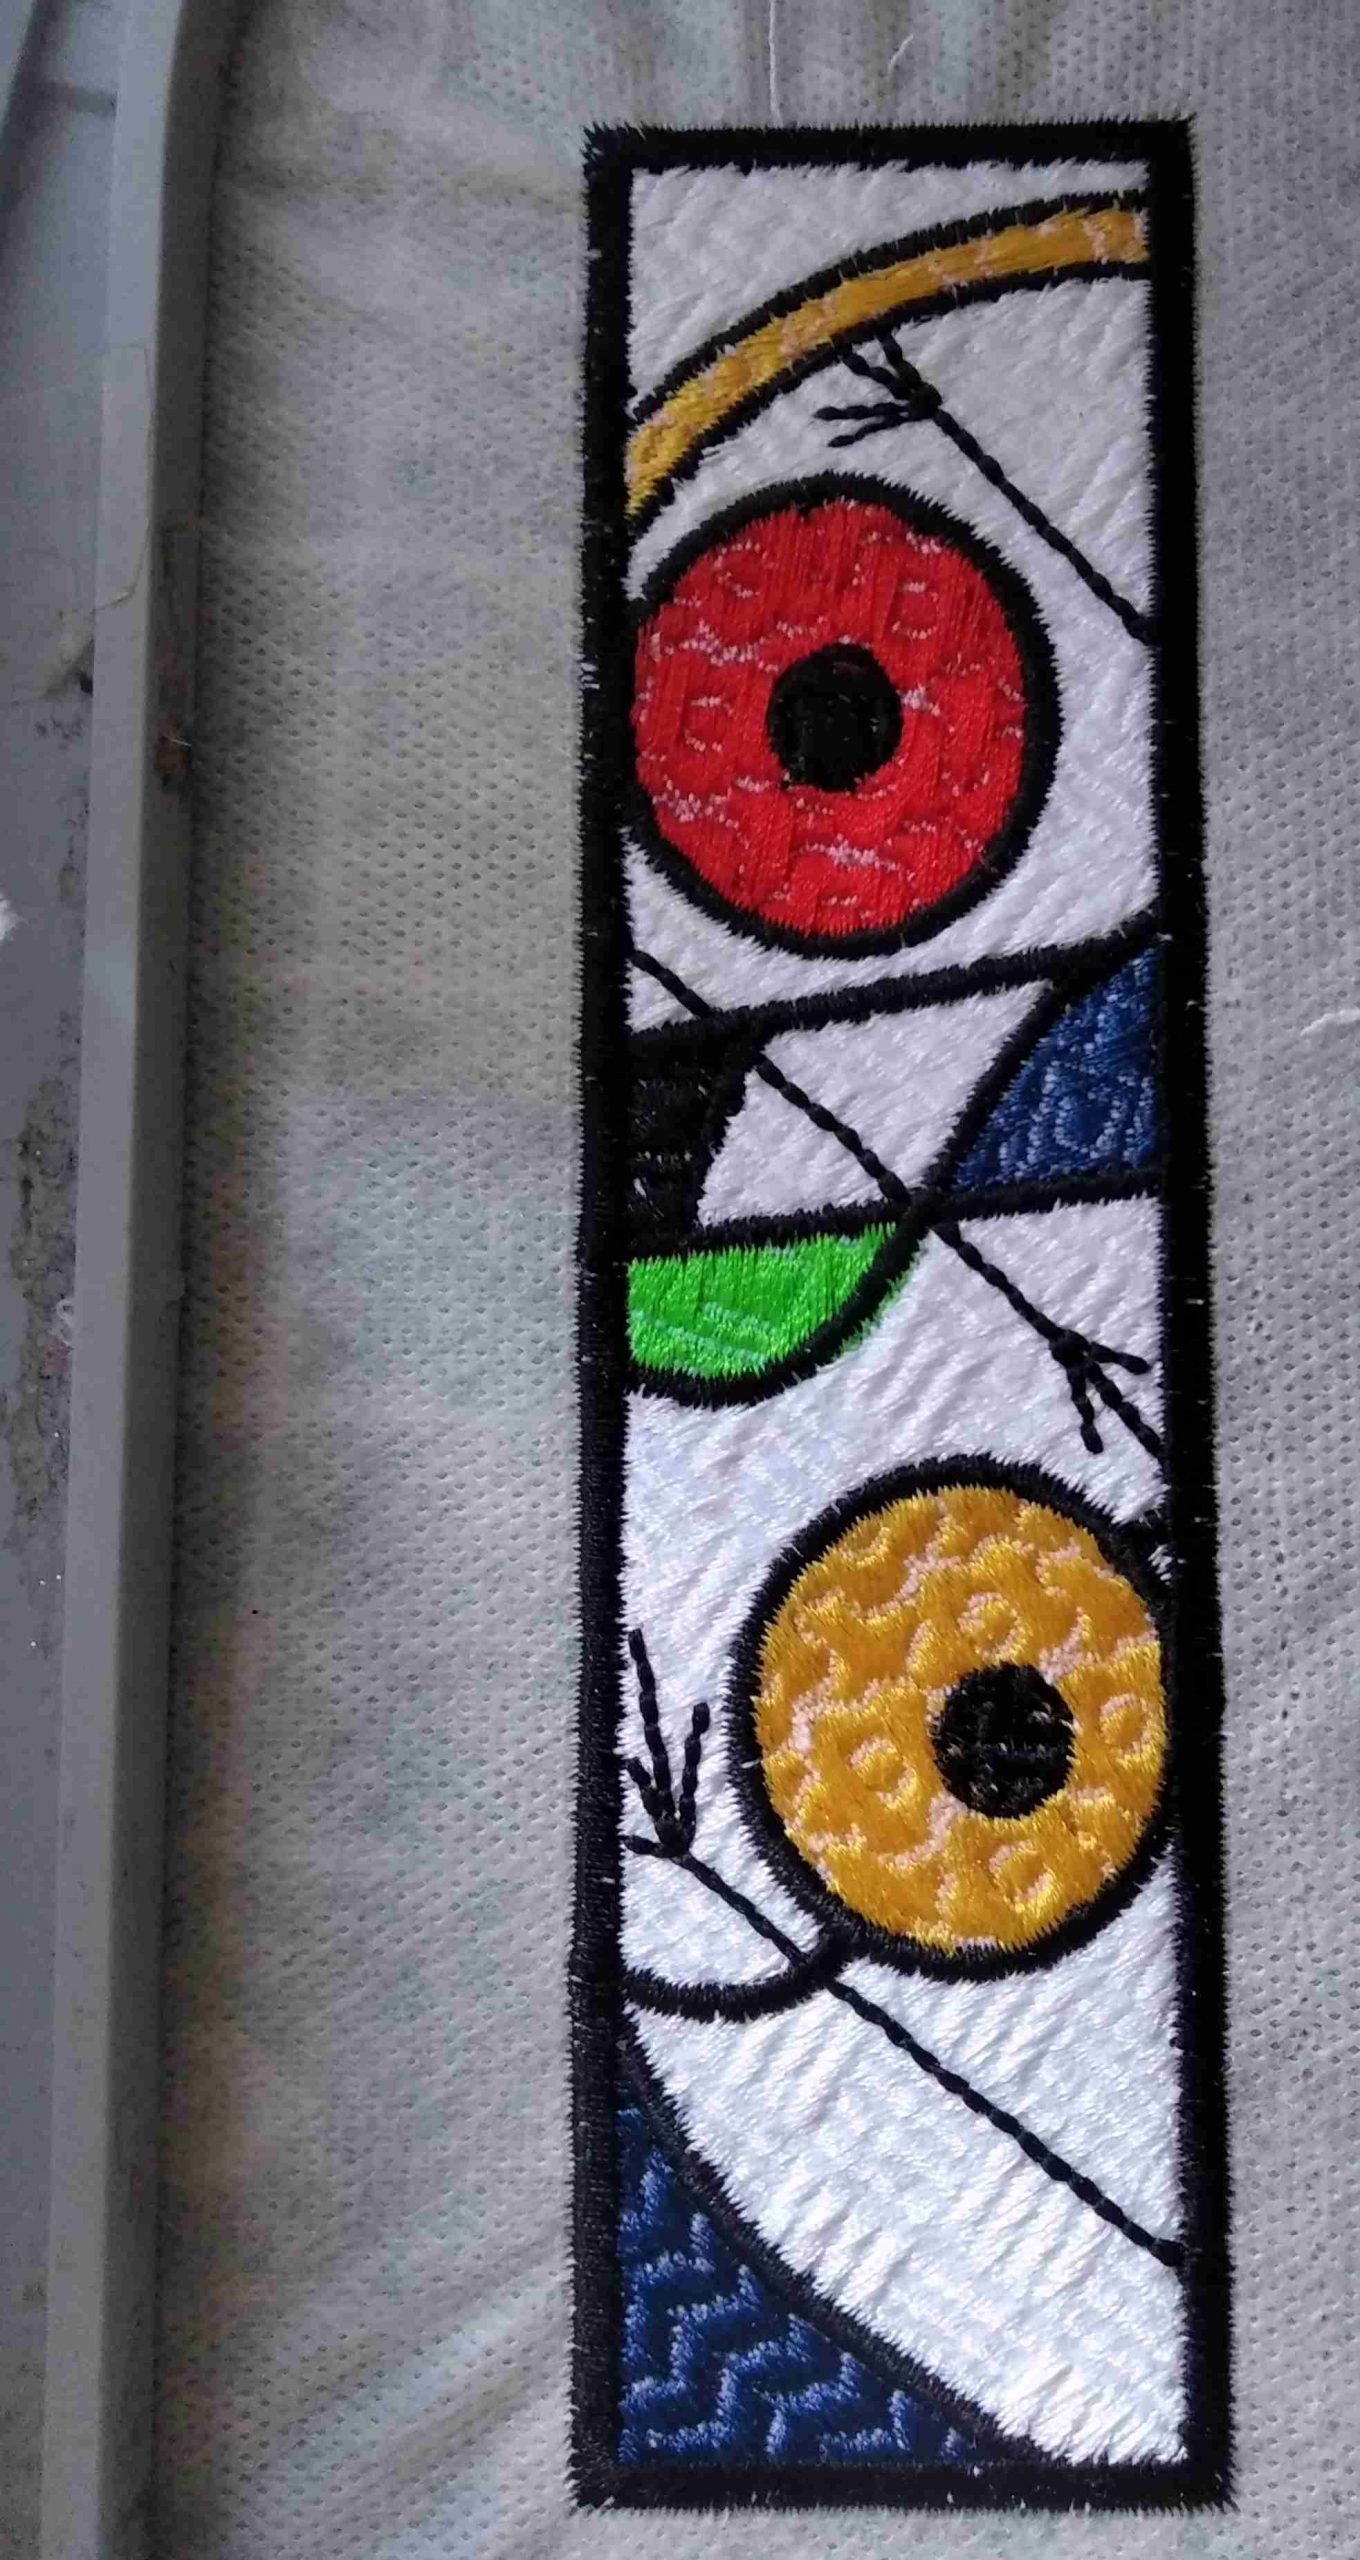
Your finished bookmark.
14. Stitch second bookmark if wished. Have fun playing with different colours. Cut out bookmarks and wash away excessive stabiliser.

Hi Carolyn I got my Bernina embroidery attachment for my birthday a couple of weeks ago. Please I have come across your blog it will help me get started on my first project thank you
Really pleased that you like the bookmarks. Hope you enjoy your first project.